


How To Install Aluminium Balustrade Posts: Getting The Foundation Right
Learning how to install aluminium balustrade posts correctly is one of the most important stages of any balustrade project. Everything that follows - the rails, screen panels, and finished appearance of the system - depends on posts that are accurately positioned, firmly secured, and perfectly plumb. Get this stage right and the remainder of the installation becomes significantly easier. Cut corners here and every stage that follows becomes more difficult.
Whether you are completing a full aluminium balustrade post installation on a new deck, balcony or patio, or replacing existing posts, following the correct installation sequence will help ensure a safe, professional-looking result.
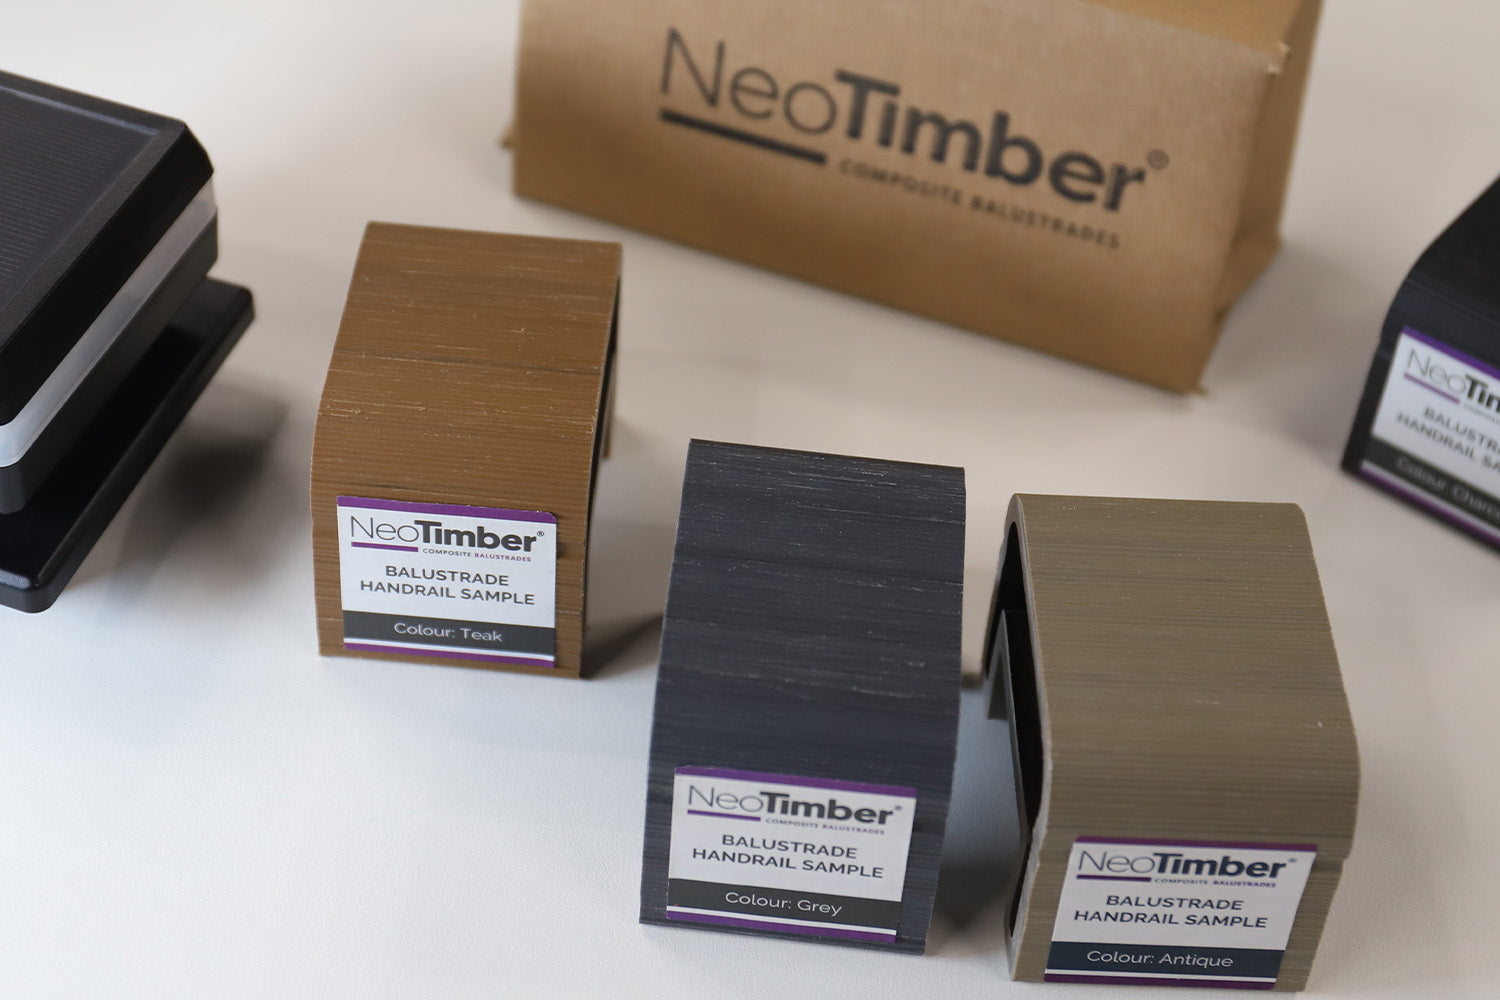
This guide explains how to install aluminium balustrade posts using the NeoTimber® system. There are three steps to follow for every post in your run, and they need to be completed in sequence.
Step 1: Positioning Aluminium Balustrade Posts
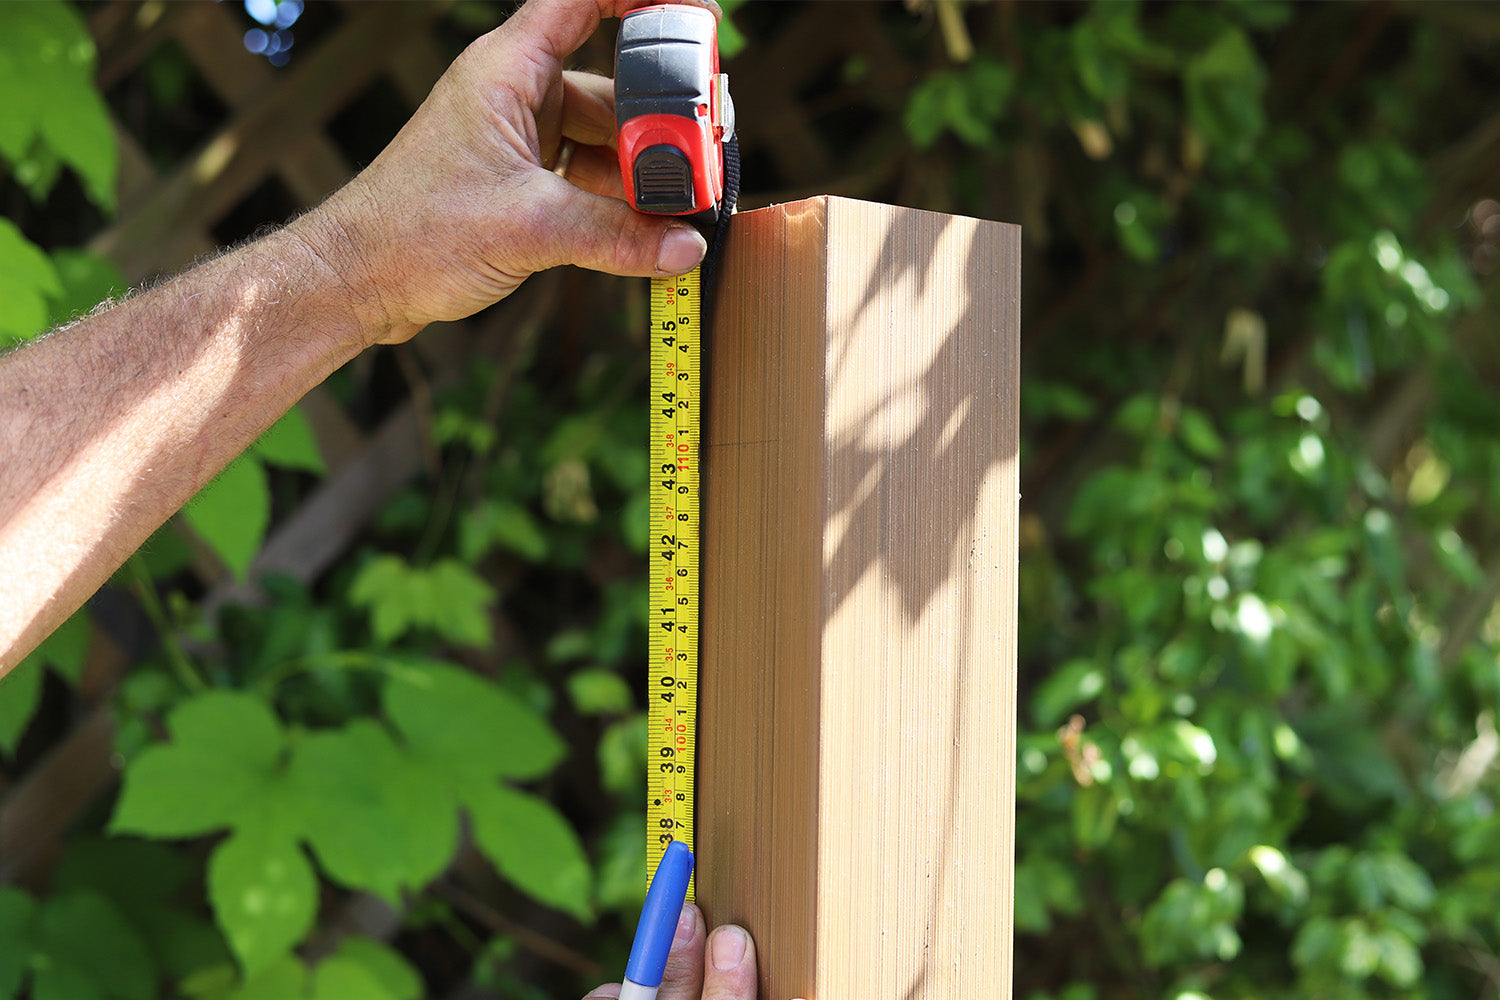
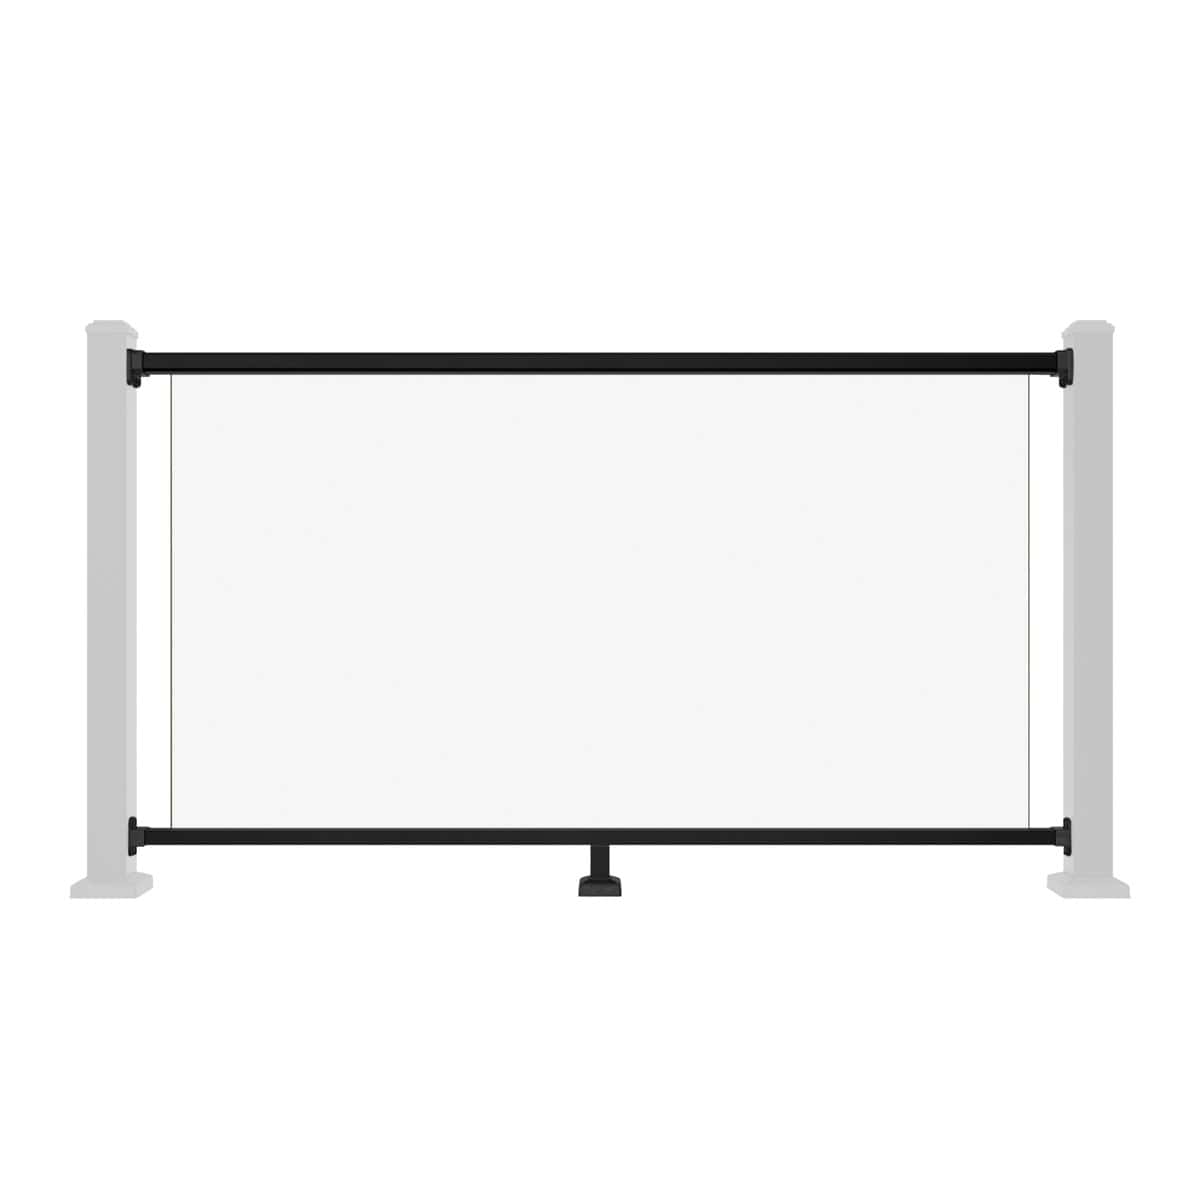
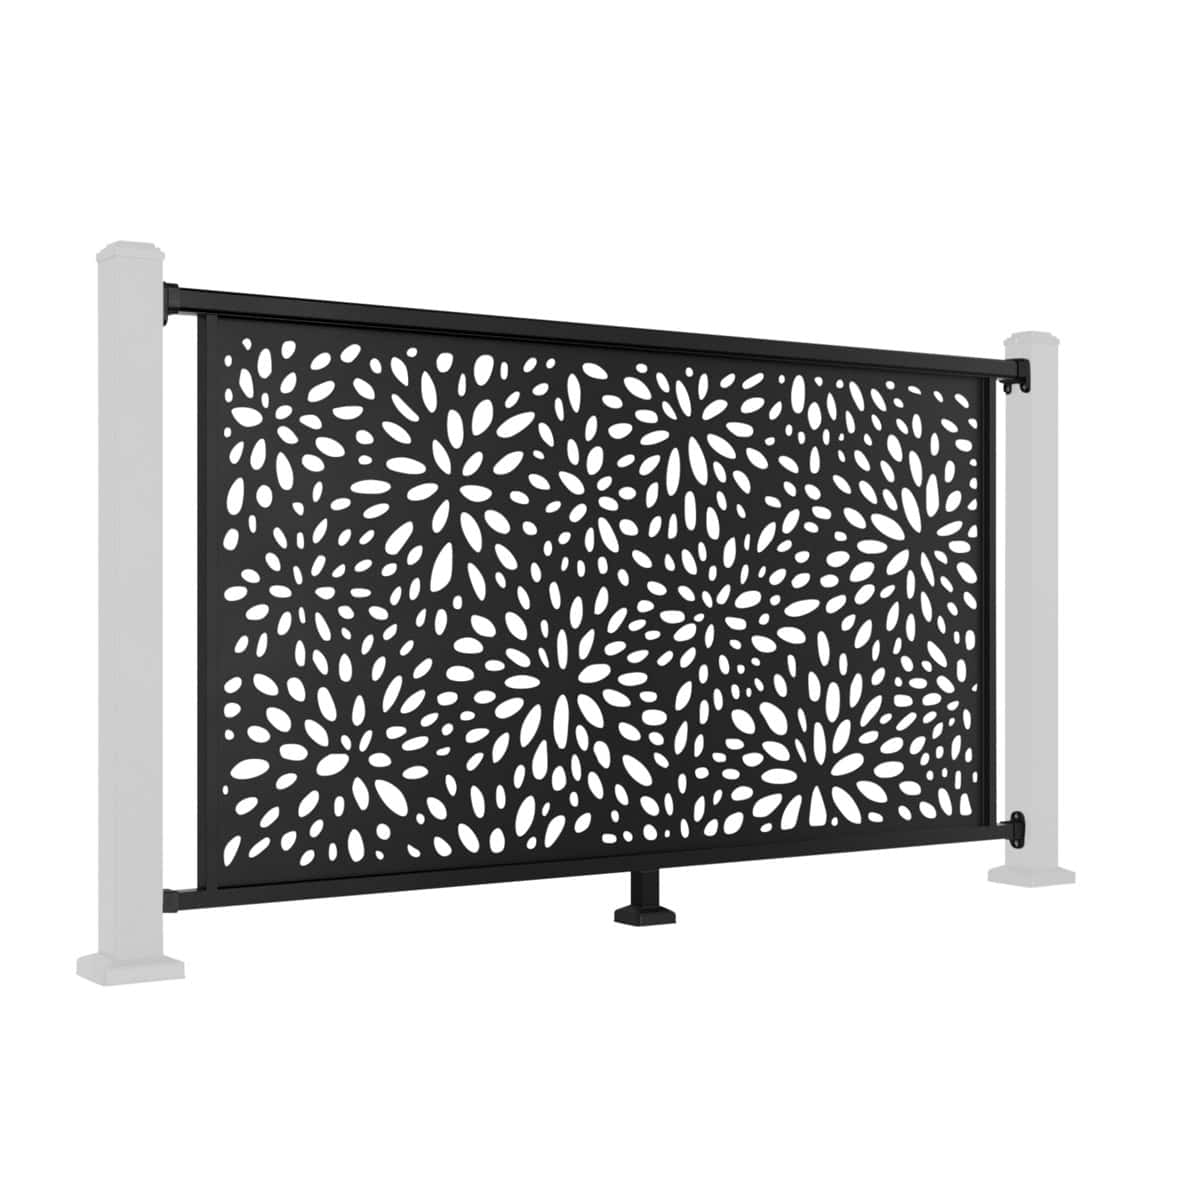
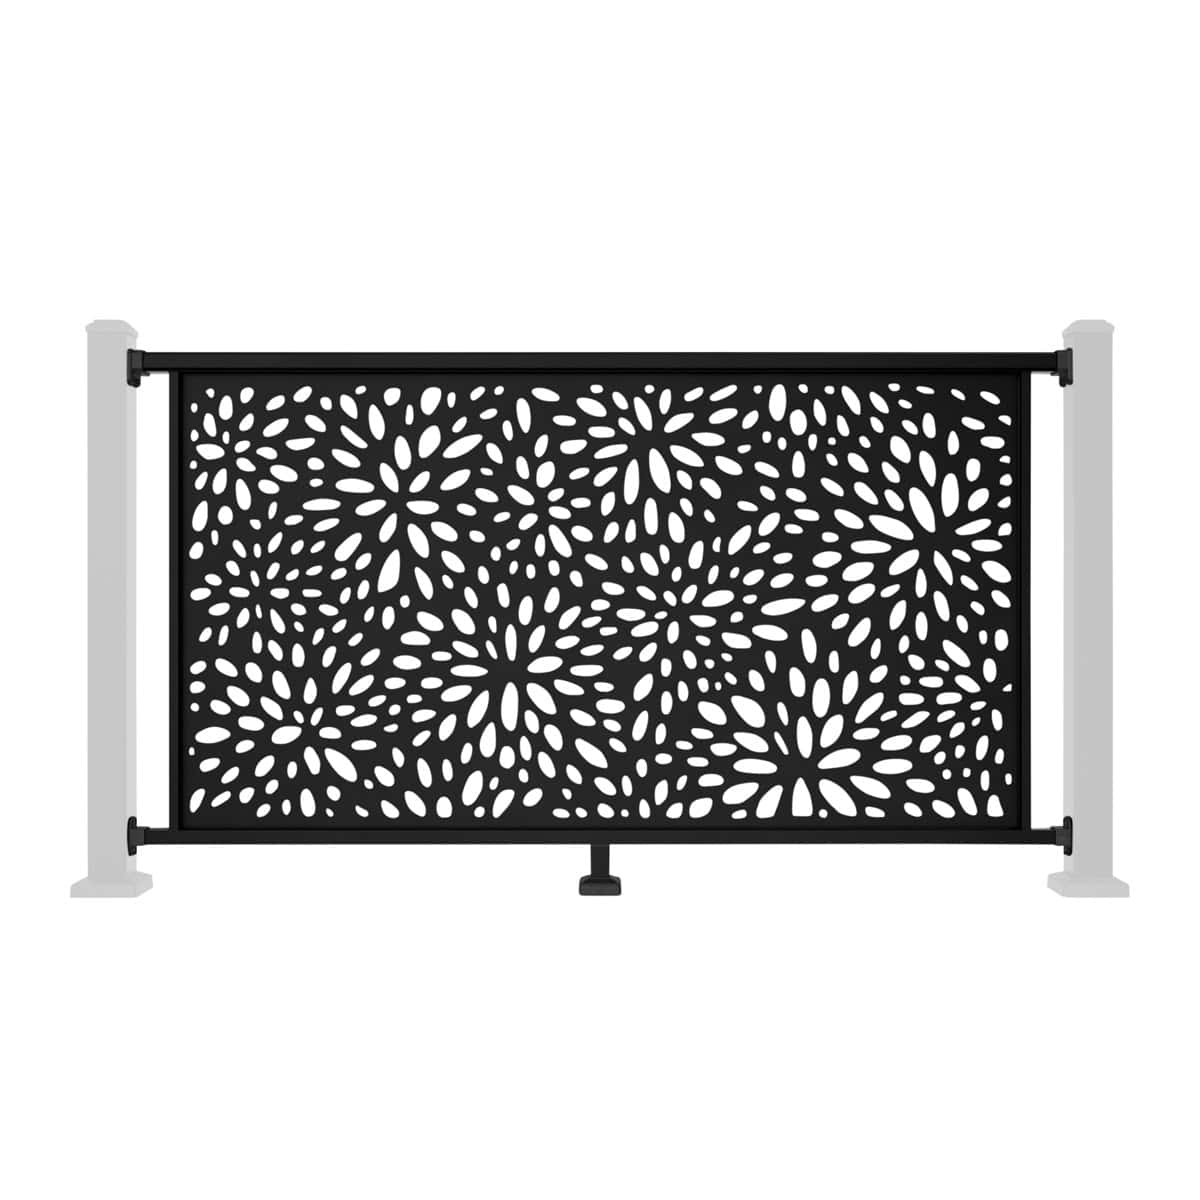
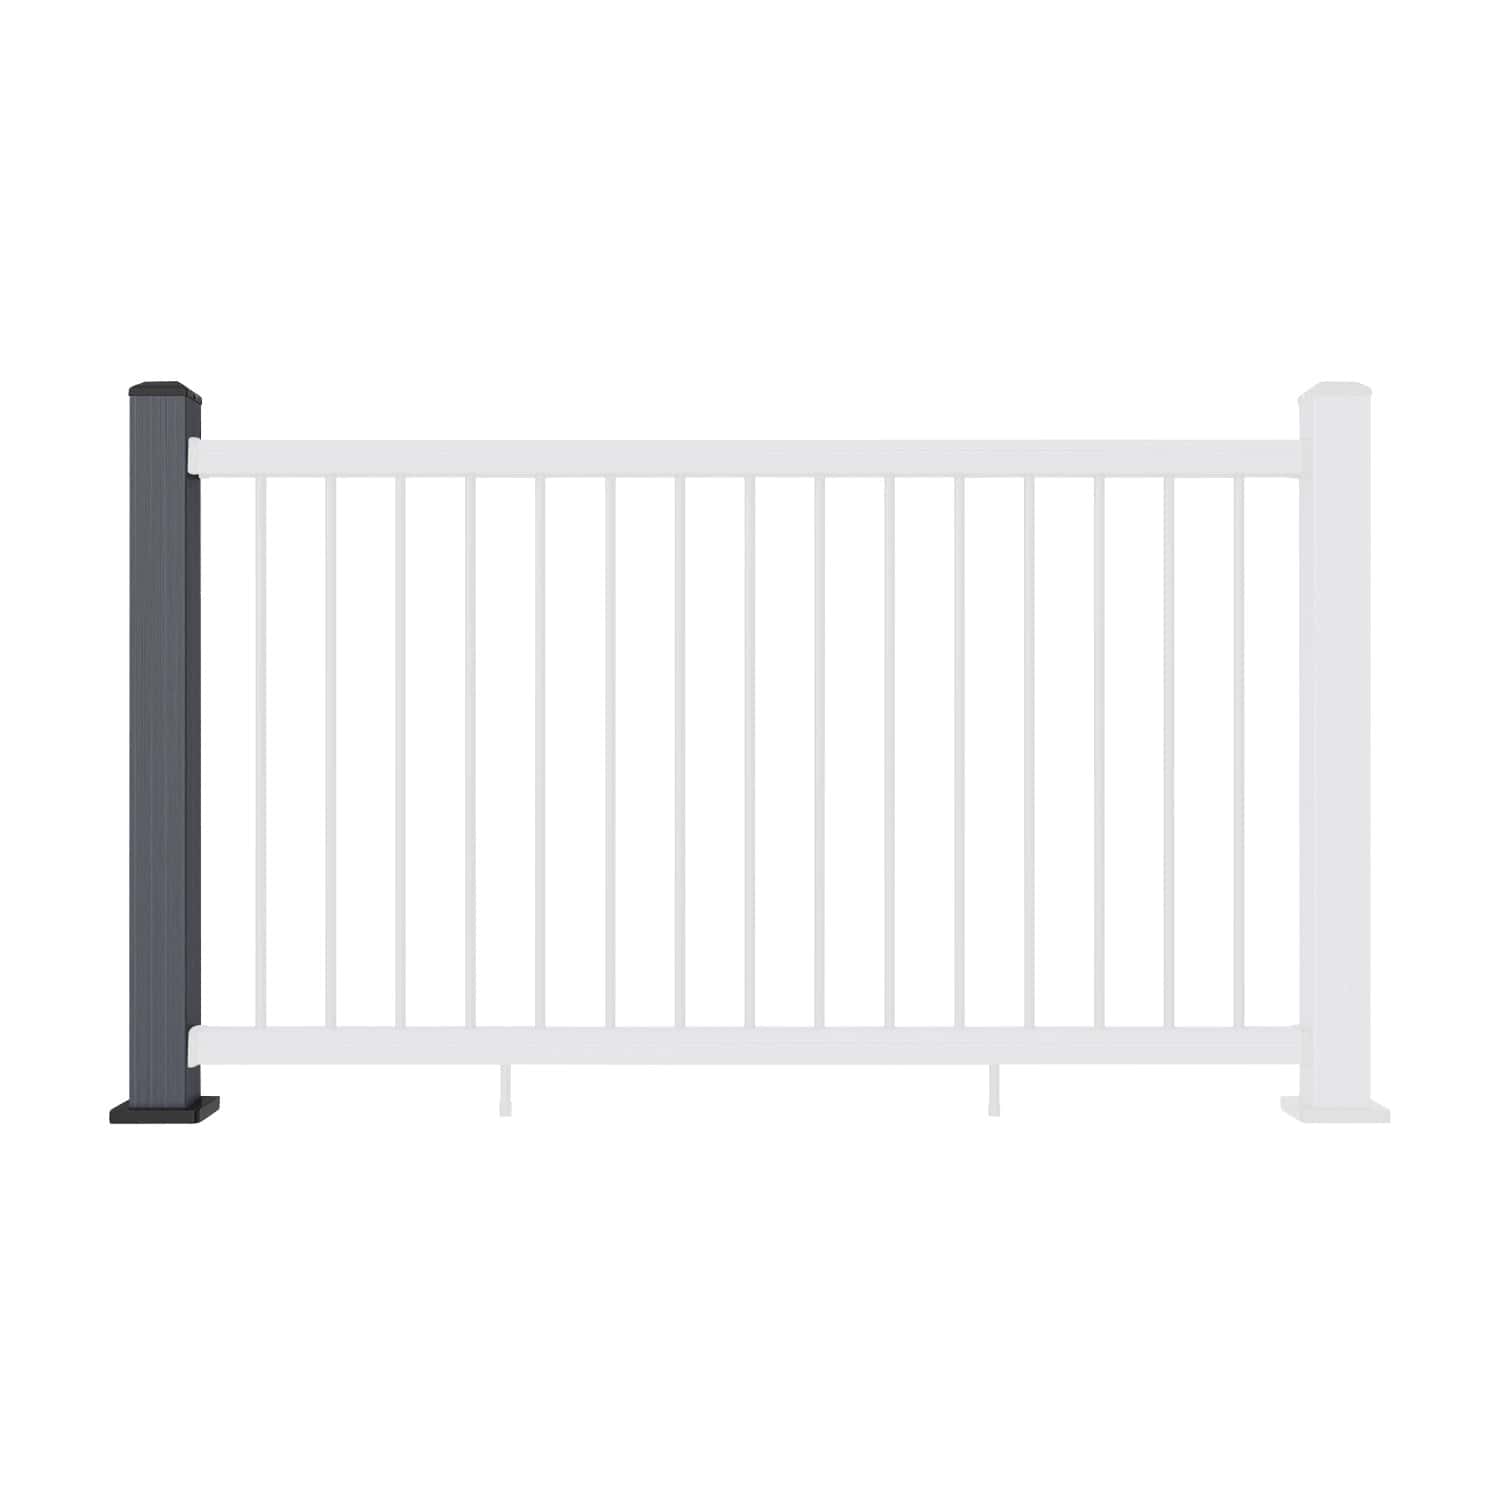
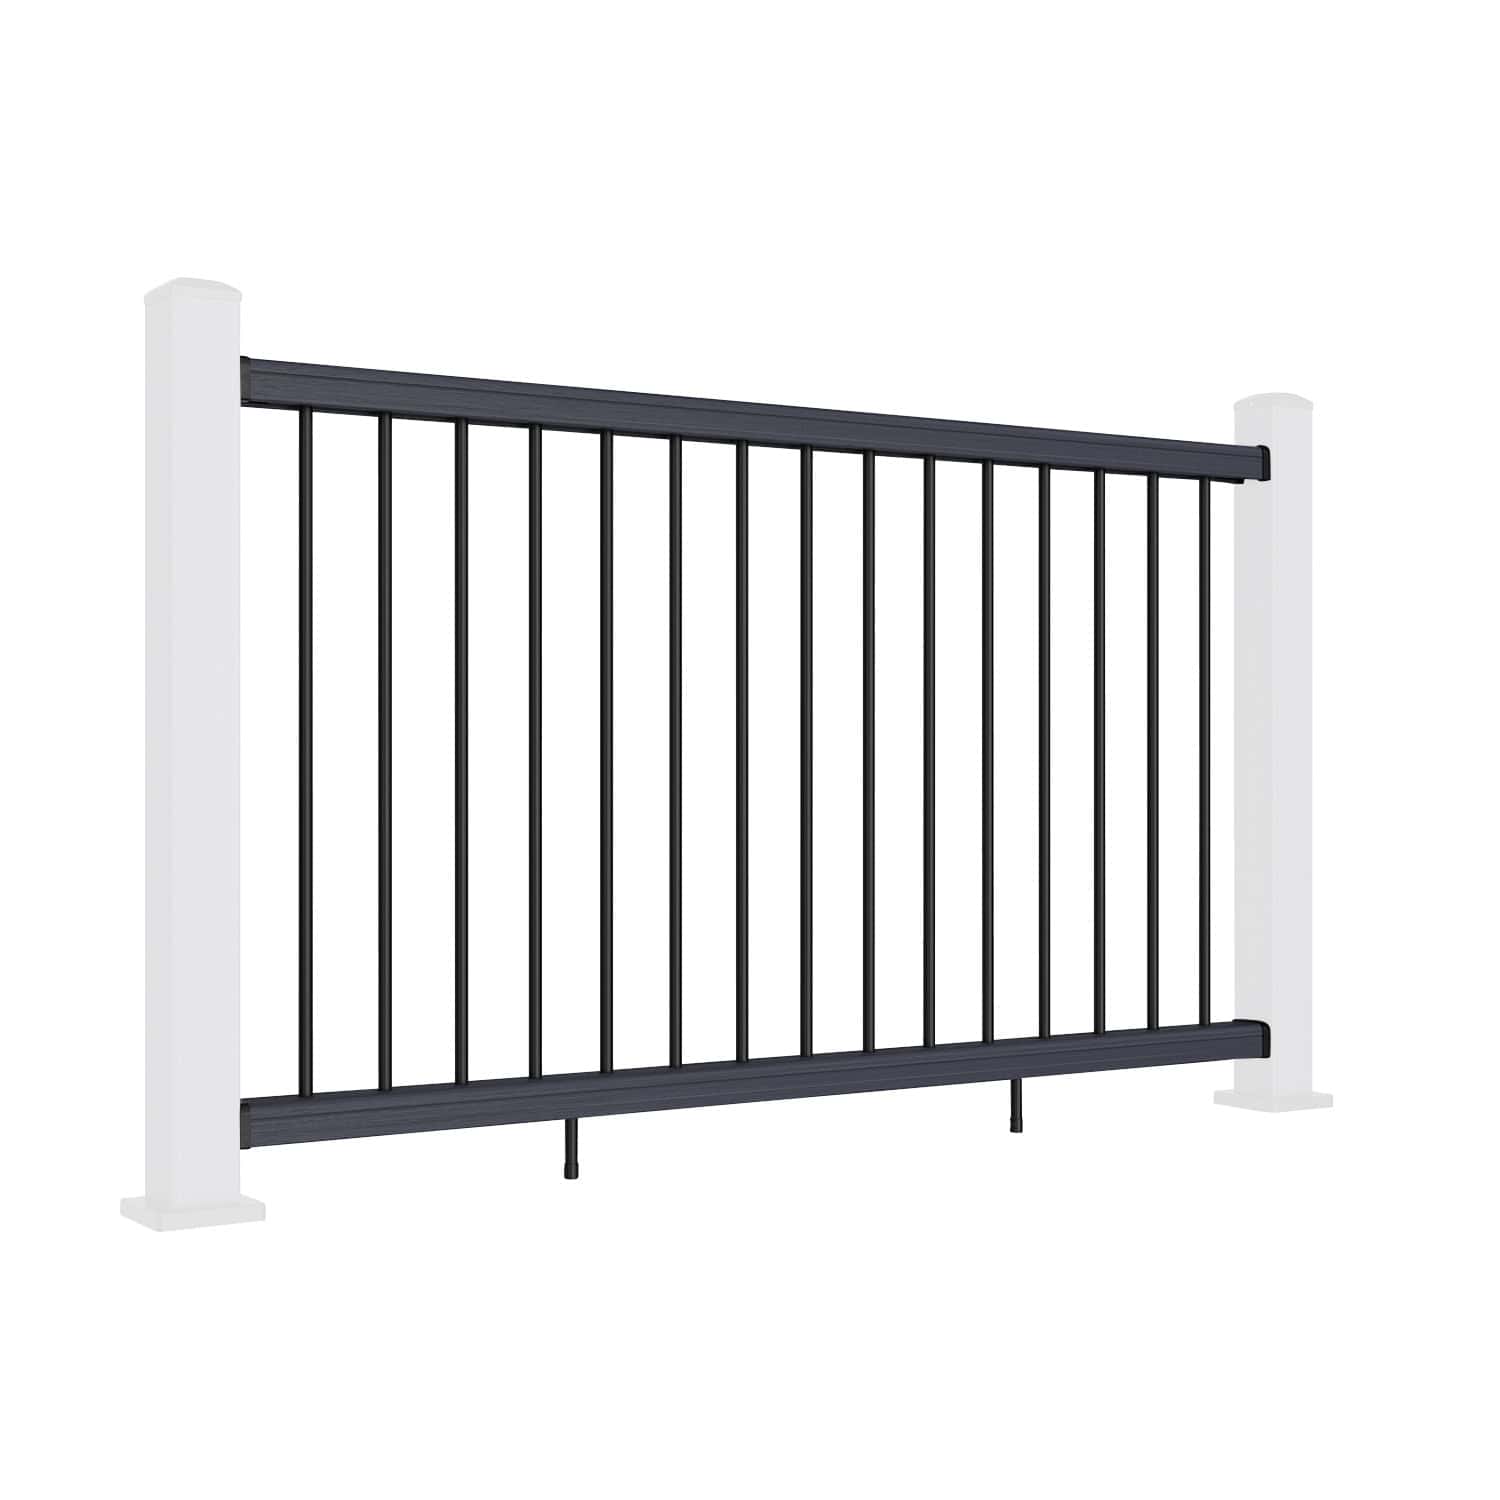
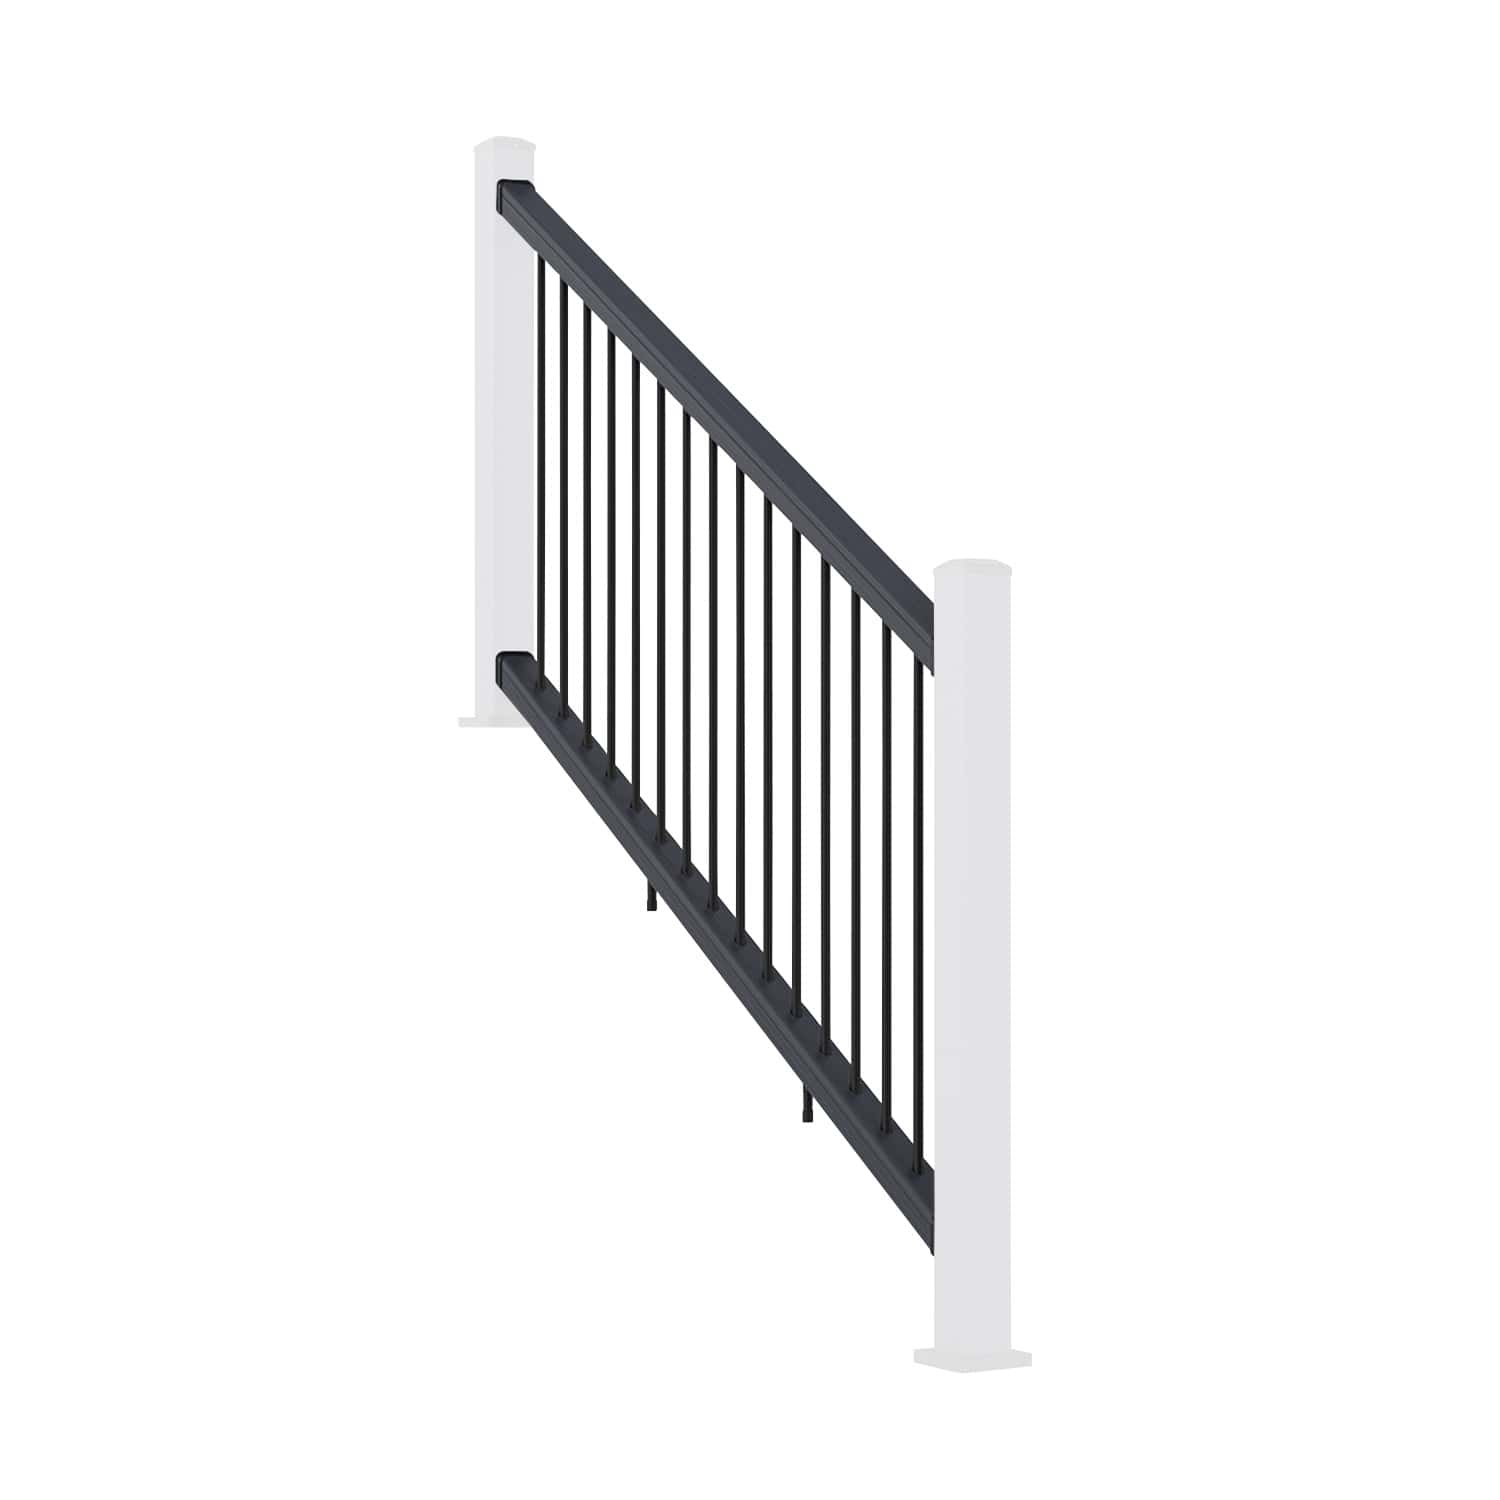
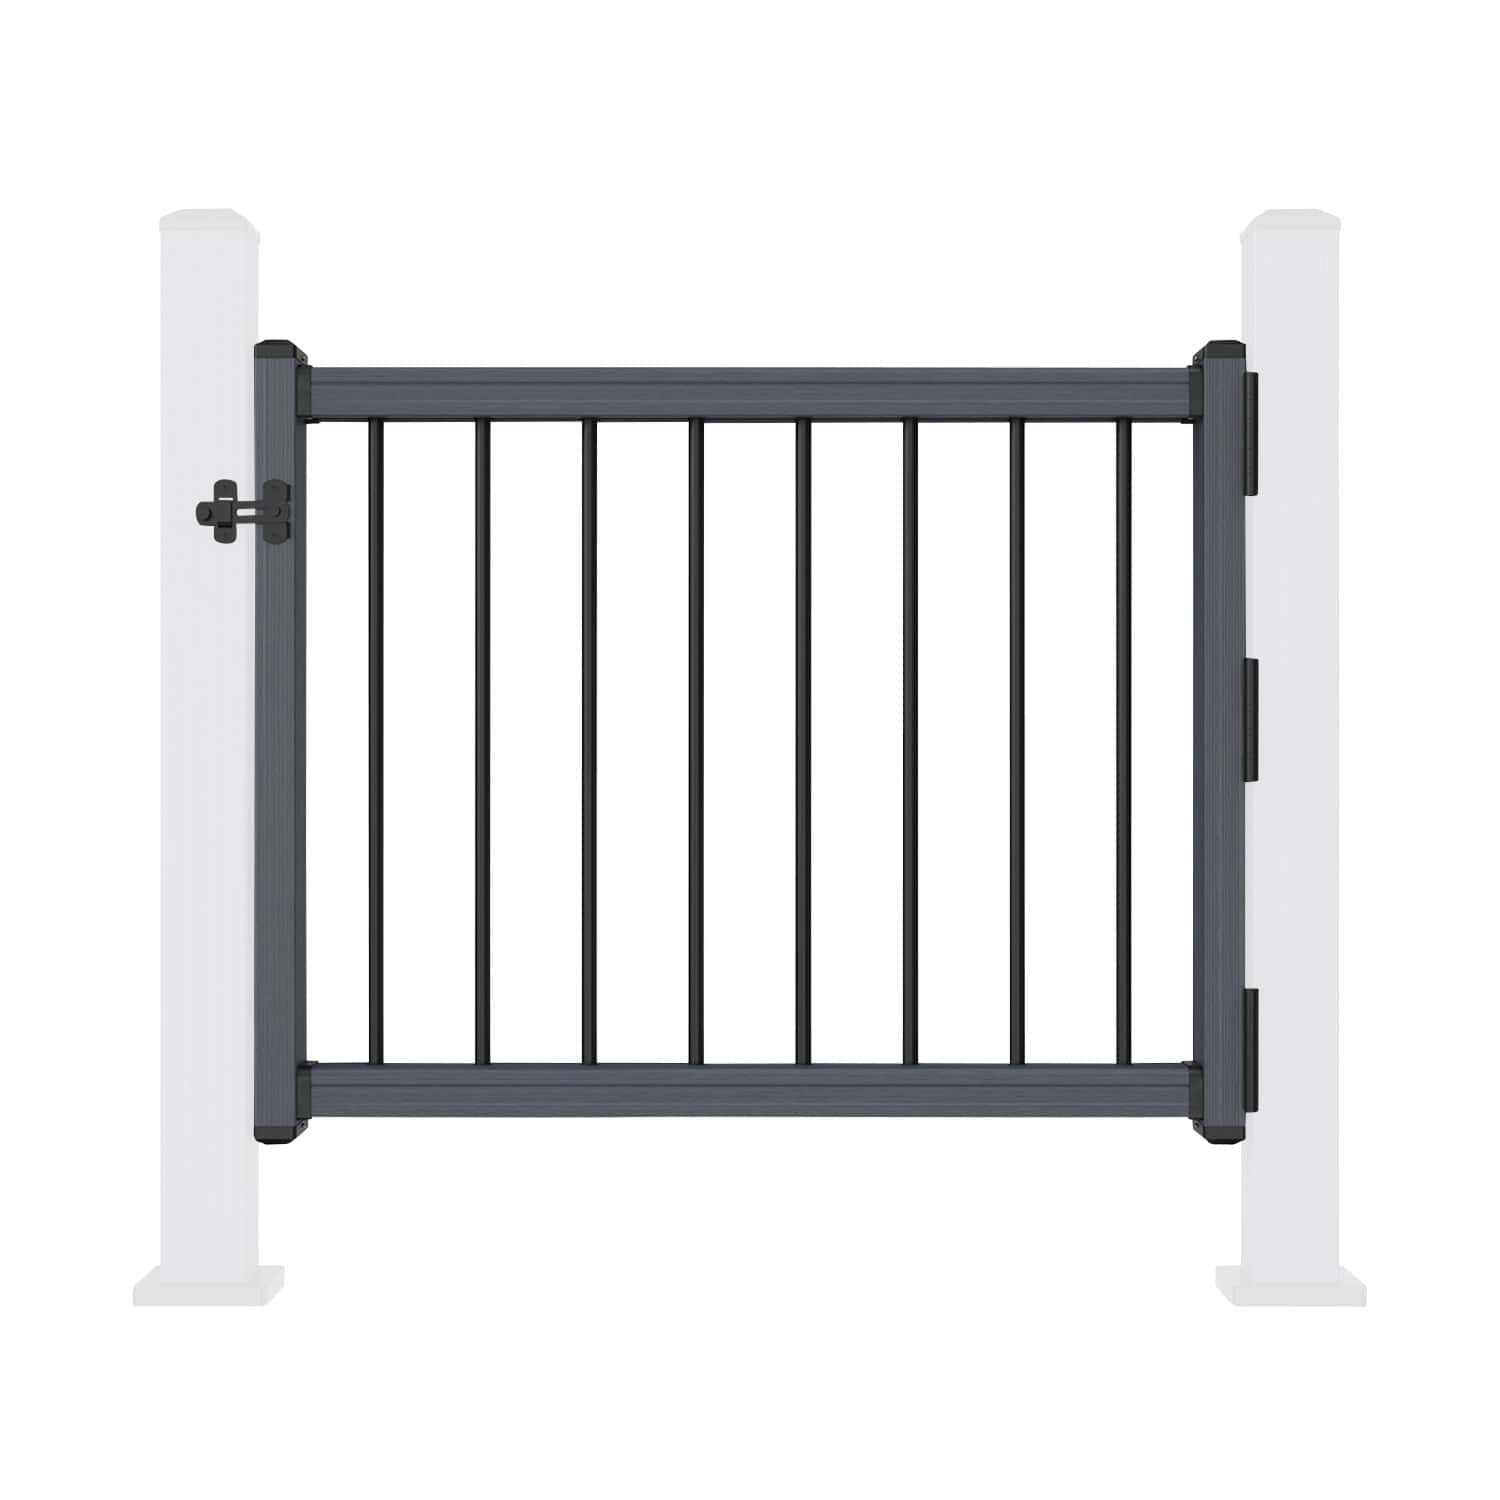
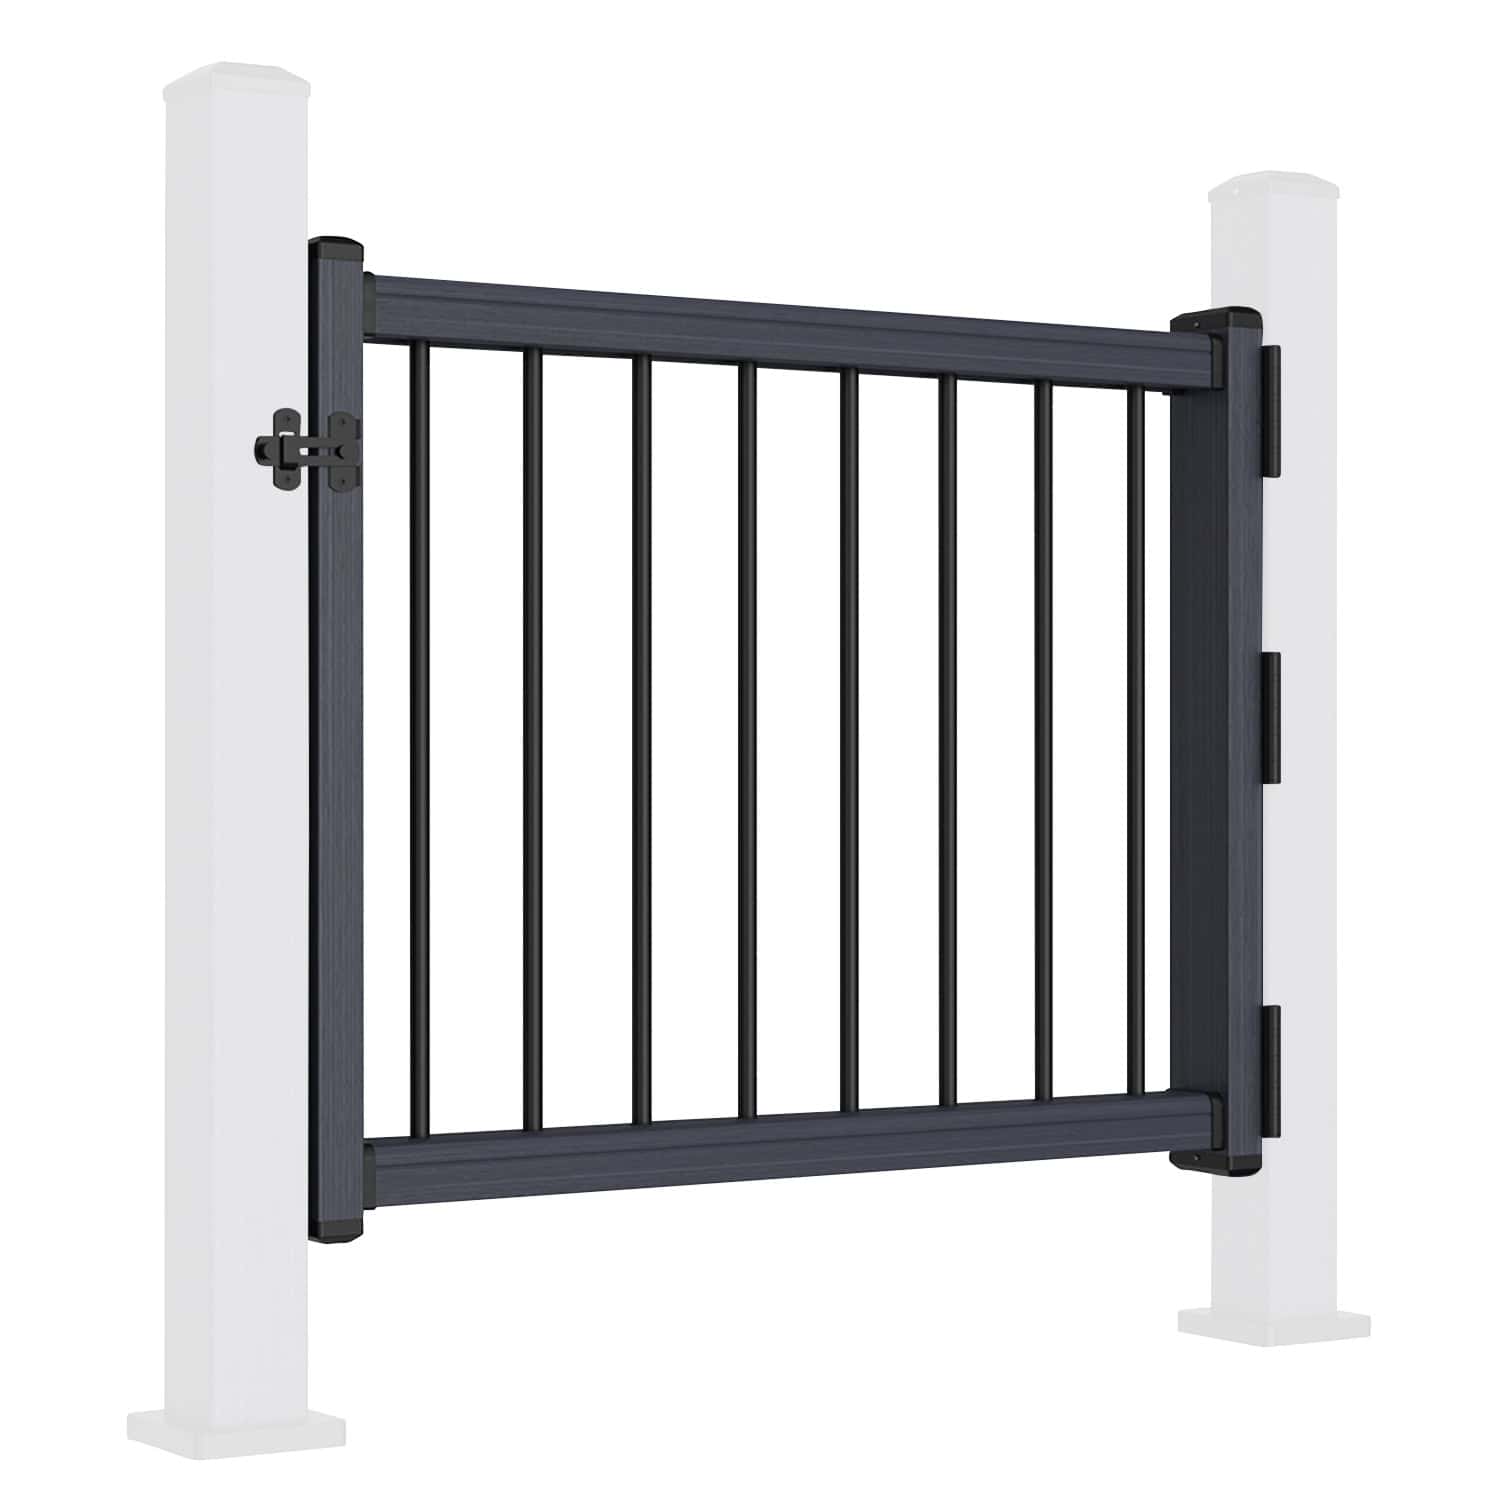
The first stage of aluminium balustrade post installation is positioning each post accurately. Before a single fixing goes in, position all posts and measure the spacing between each pair. The post-to-post distance must be exactly 1,910mm - this is what ensures your screen railing panels fit correctly between them. Each post should also be positioned no closer than 50mm from the edge of the deck.


Fixings must go directly through a solid deck board and into the structural frame below - not into a board joint, a gap, or any surface that isn't fully supported. If you're unsure whether a fixing point is over solid structure, check before you drill.
Step 2: Securing Aluminium Balustrade Posts With M8 Fixings
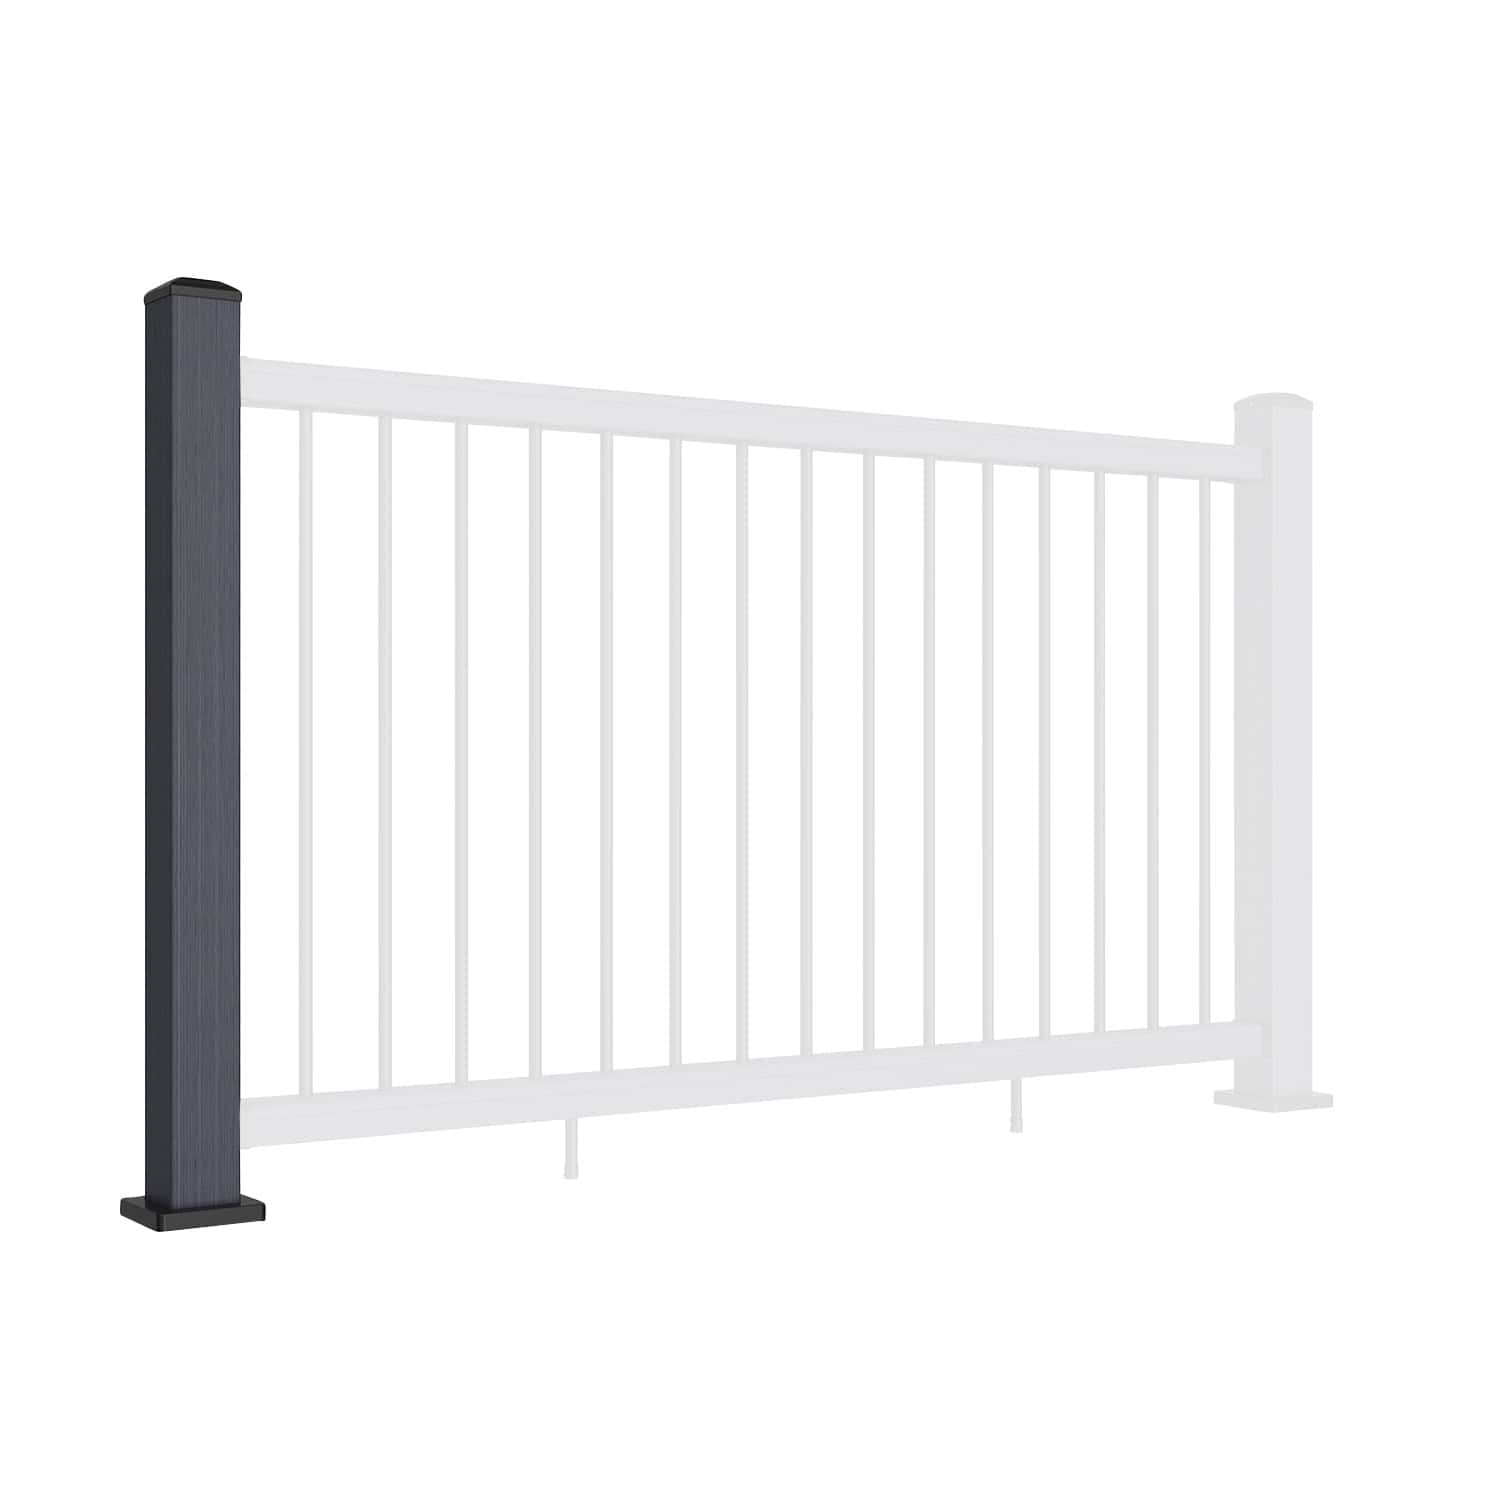
Once the aluminium balustrade post is positioned correctly, place it squarely on the sub-base and mark all four fixing hole positions clearly with a pencil before drilling.

For timber decking, pre-drill each marked position with a 7mm bit and fix using the M8 timber screws supplied. For concrete substrates, use a 10mm bit and fix with M8 expansion bolts. In both cases, tighten all four fixings firmly and evenly - don't over-tighten one and leave another loose.


Step 3: Aligning, Covering And Finishing The Post
Before completing the aluminium balustrade post installation, check the post with a spirit level and confirm it is perfectly vertical and square. This is the ideal time to make any minor adjustments before the base cover trim is fitted.

Once you're satisfied the post is true, slide the base cover trim down over the post and into position, then secure it with structural adhesive. Finally, attach the post cap to the top and fasten using the screws provided.


Repeat this process for every post in the run before moving on to the next stage of the balustrade installation.
Before Continuing Your Aluminium Balustrade Installation
All aluminium balustrade posts must be plumb, square and fully secured before railing installation begins. Do not move on to the next stage until every post in the run has been fixed, checked and aligned correctly. Taking the time to verify your aluminium balustrade post installation now is significantly easier than correcting alignment issues once rails and panels have been installed.