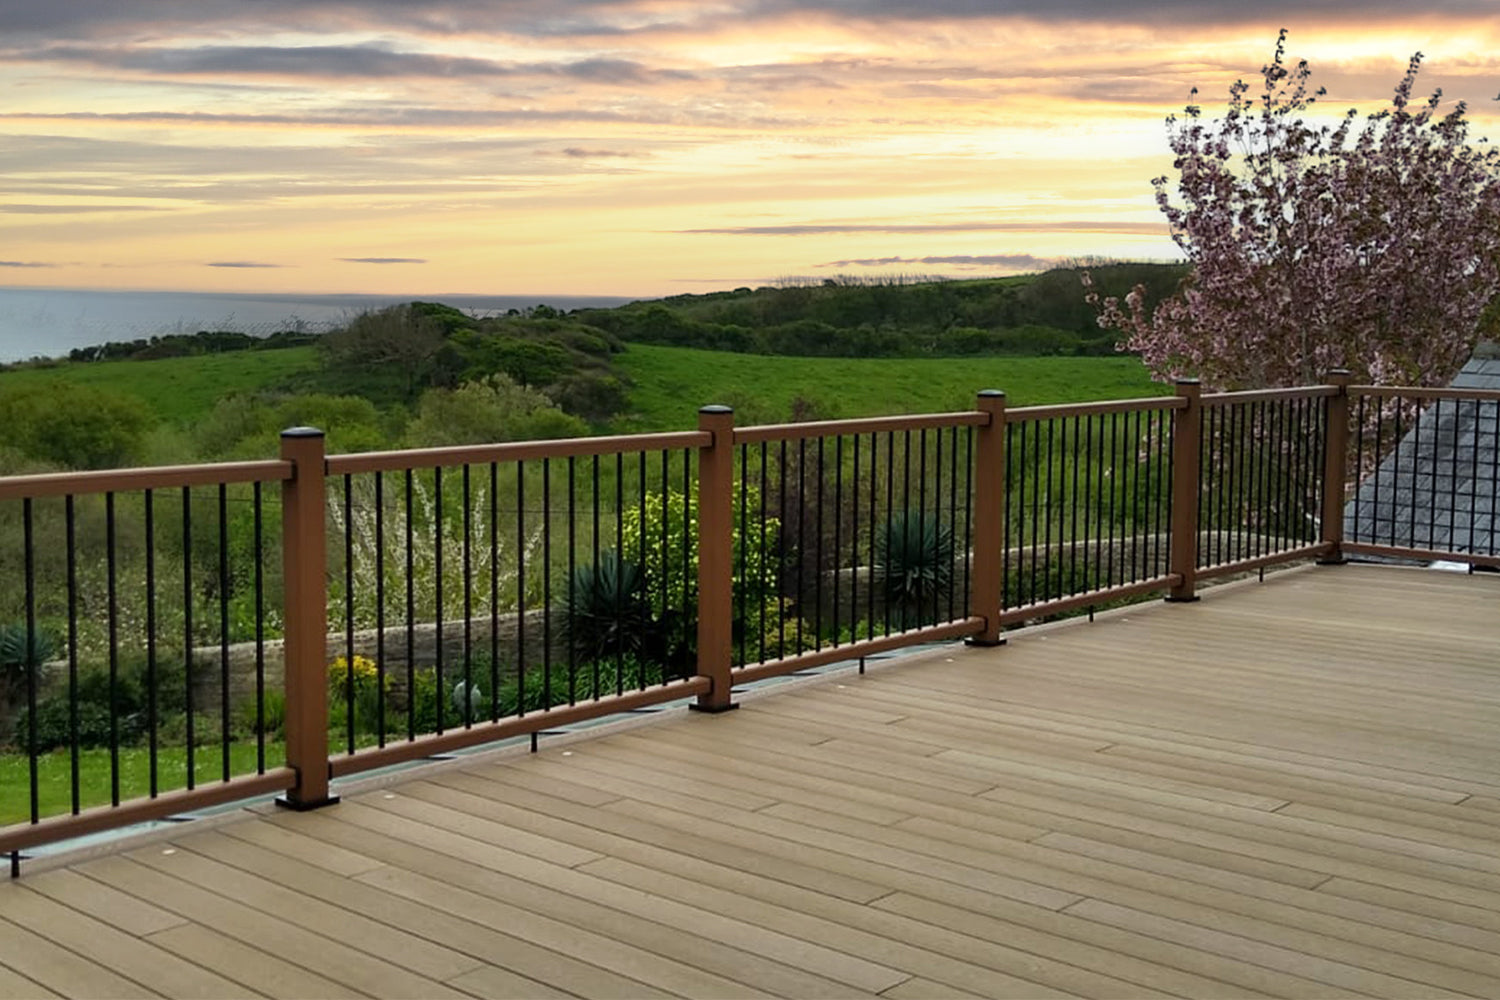


How To Prepare For An Aluminium Balustrade Installation: Handling, Site Prep & Tools
Getting an aluminium balustrade installation right starts long before the first balustrade post is fixed into position. Careful preparation helps protect your materials, improve installation accuracy and support a safe, secure and professional-quality finish.
Before work begins, it is important to understand how components should be handled and stored, how the site should be assessed, and which tools should be available. Taking the time to prepare properly can help avoid unnecessary delays, damage or fitting issues later in the project.
Handling & Storing Your Components

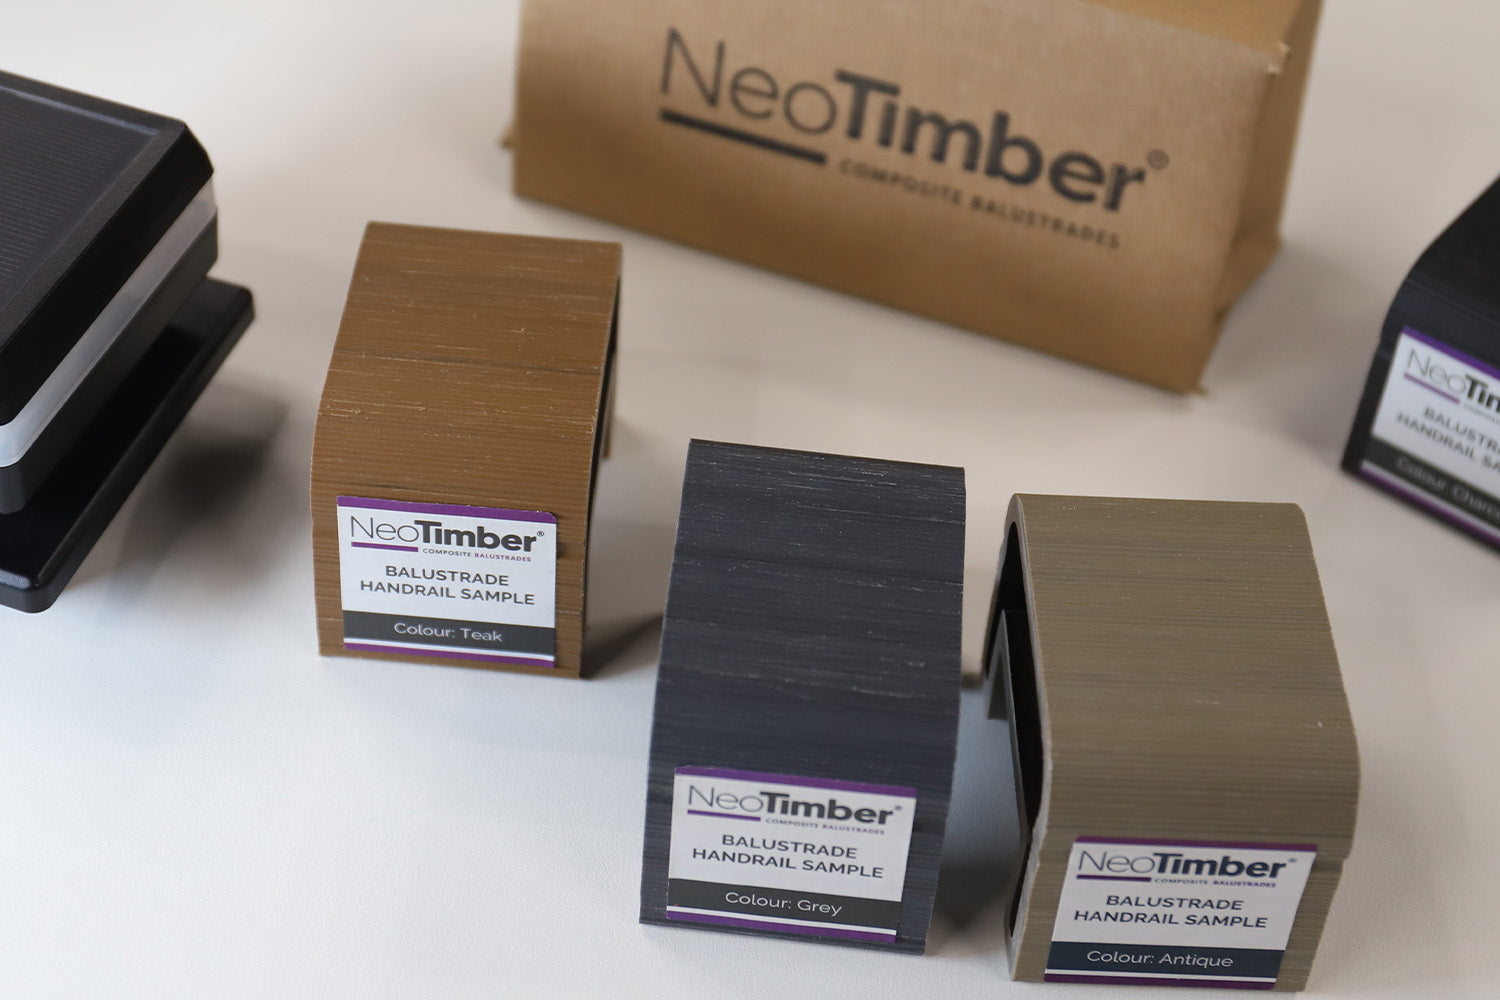
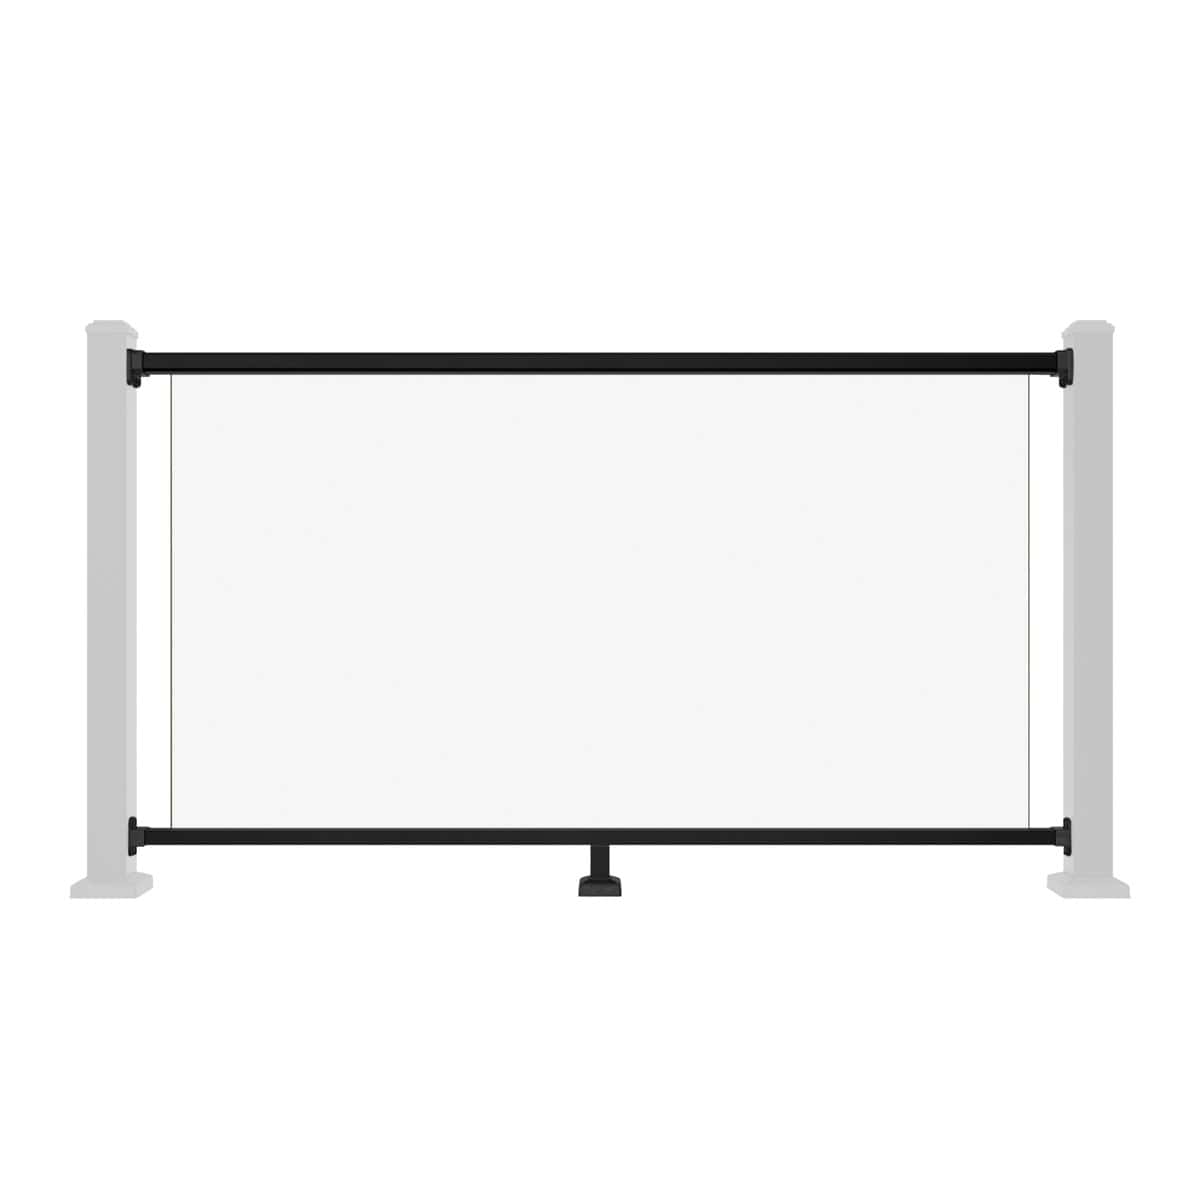
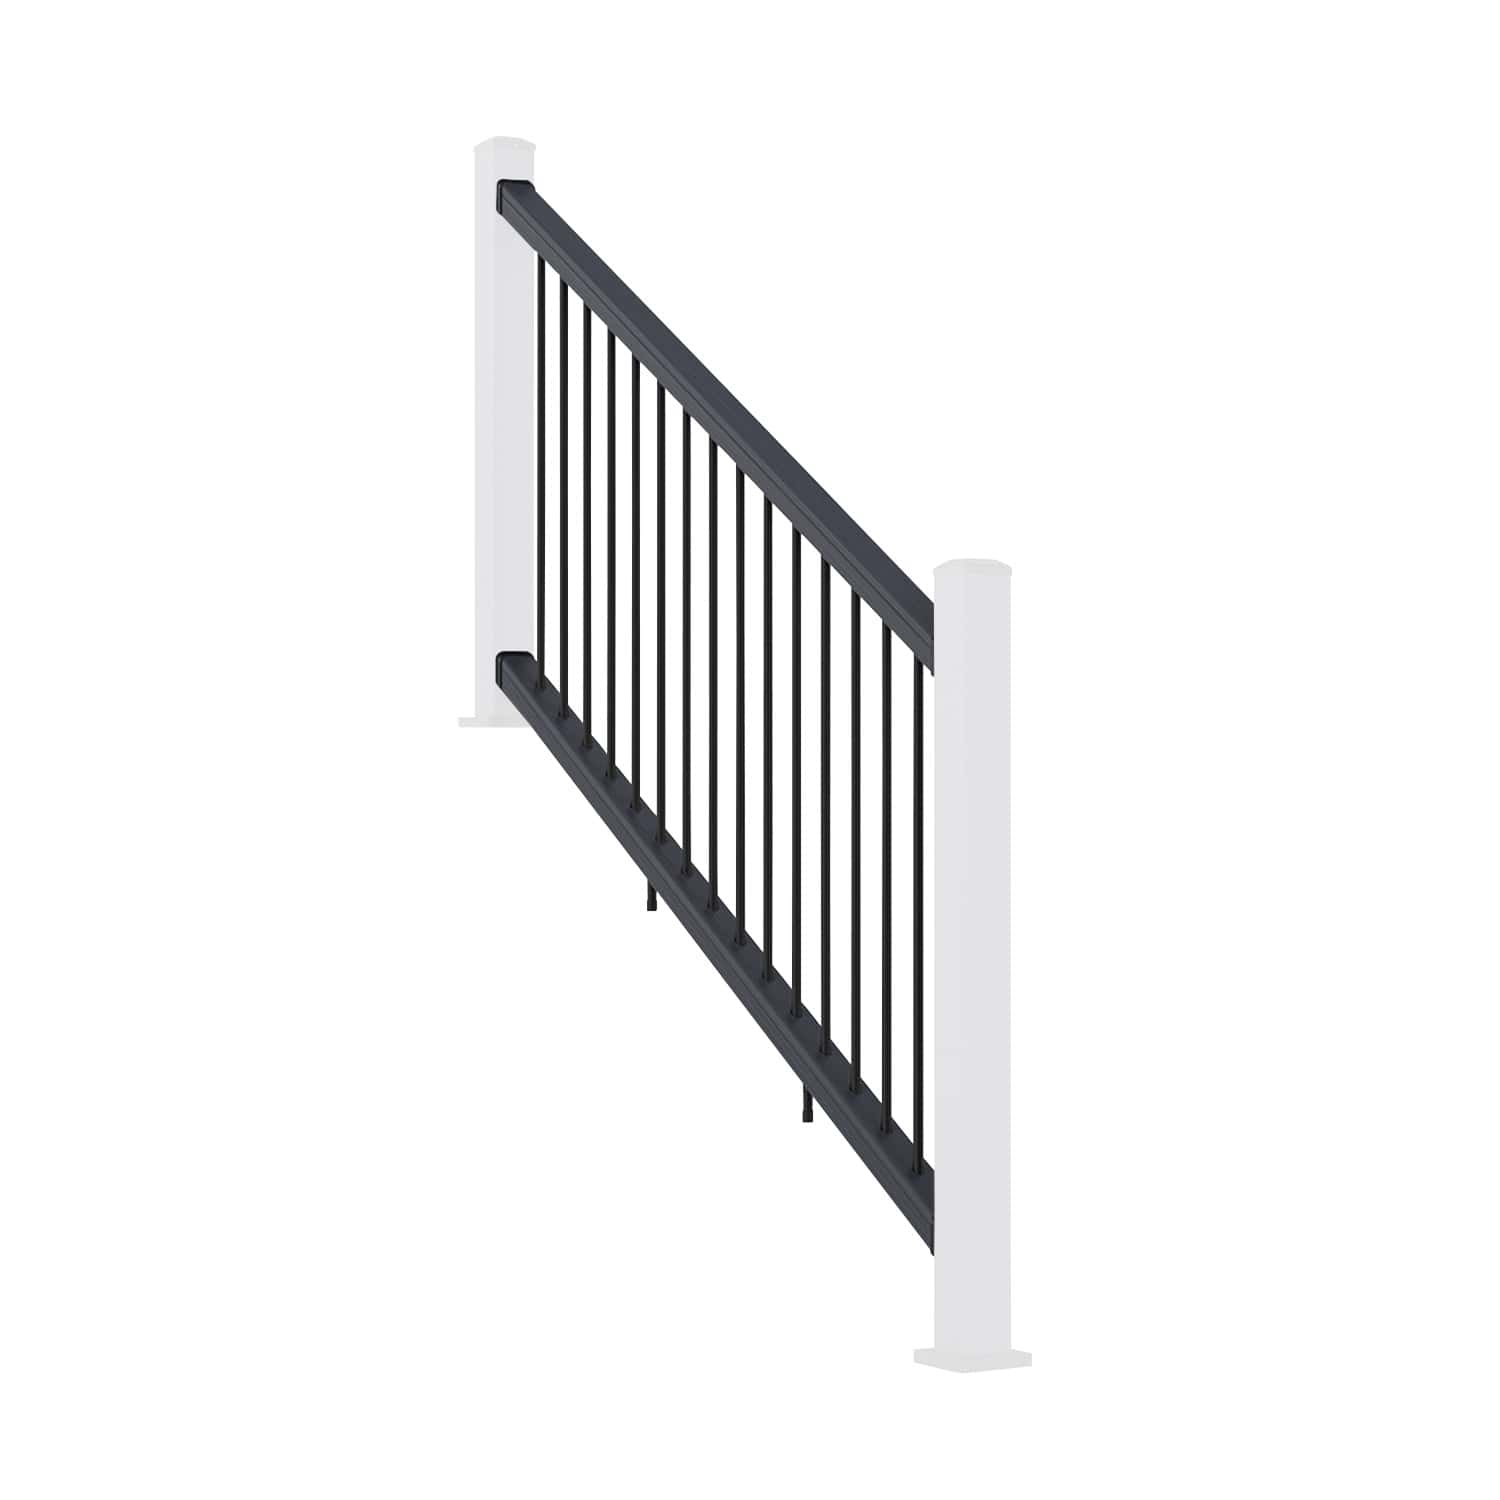
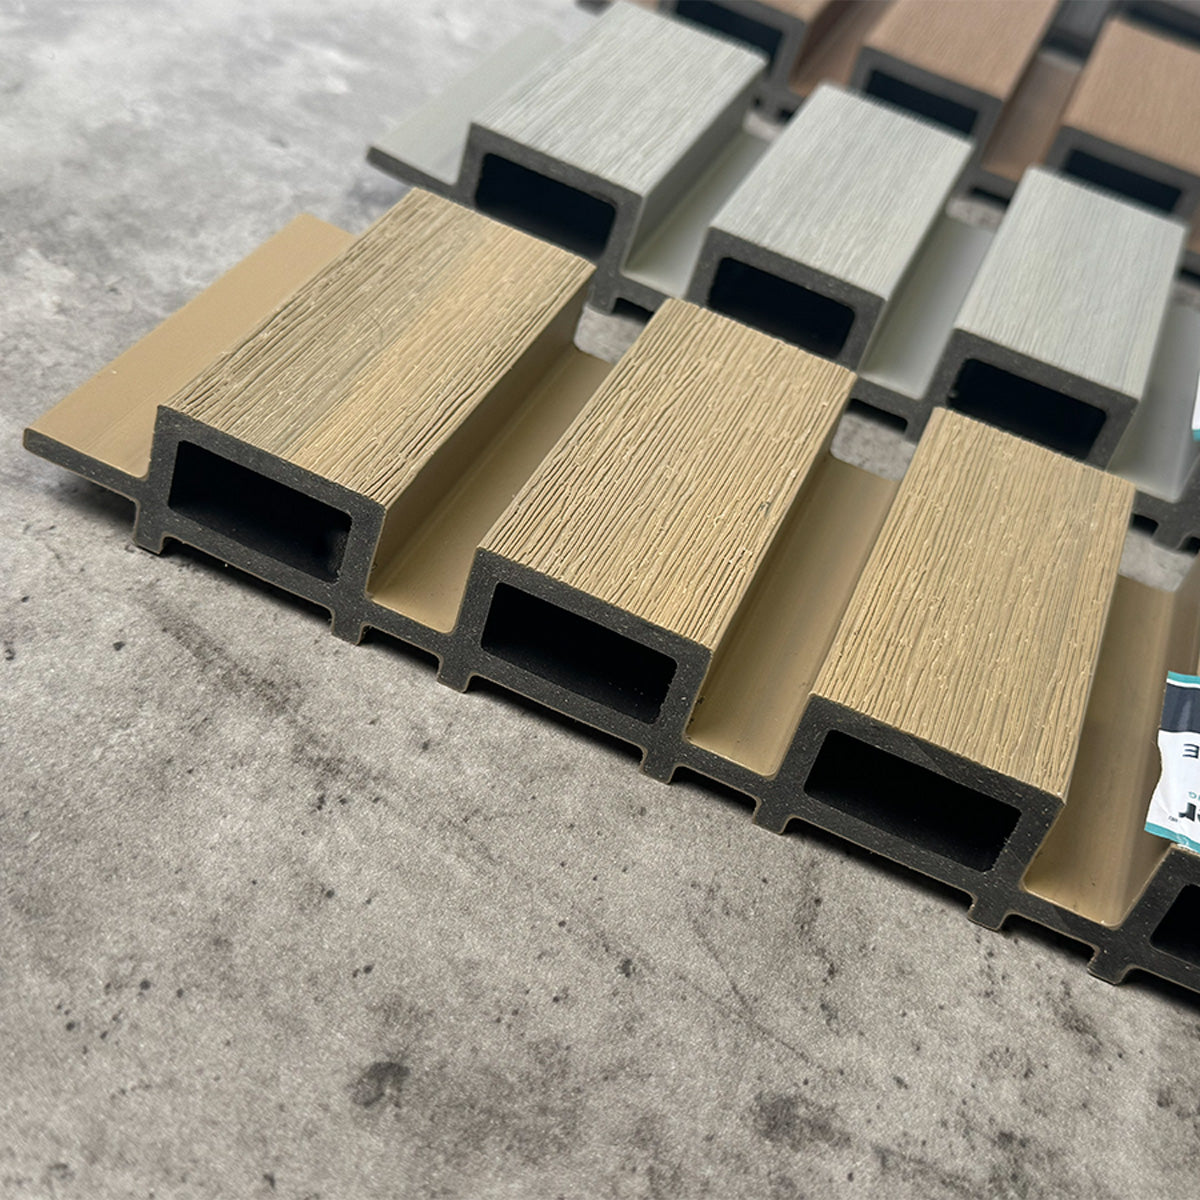
Aluminium balustrade components are precision-manufactured, so correct handling and storage are essential. Poor storage can lead to surface marks, distortion or damage that may affect the appearance and performance of the finished installation.
Store all posts, rails, panels and accessories on a clean, dry and level surface until they are required. Keep protective packaging in place for as long as possible, particularly on visible surfaces, to reduce the risk of scratching during handling.
Avoid stacking components in a way that could introduce bending, pressure points or unnecessary stress. Posts, rails and panels should never be dragged across hard or abrasive surfaces. Longer components, such as rails and screen panels, should always be carried by two people to keep them supported and prevent accidental damage.
Before installation begins, inspect every component carefully. Check for transit damage, missing parts, surface defects or incorrect quantities. Any issue is much easier to resolve before the system has been fitted.
Preparing The Site
Good site preparation is one of the most important parts of any successful aluminium balustrade installation. A well-prepared site helps ensure the balustrade is correctly aligned, securely fixed and suitable for long-term use.
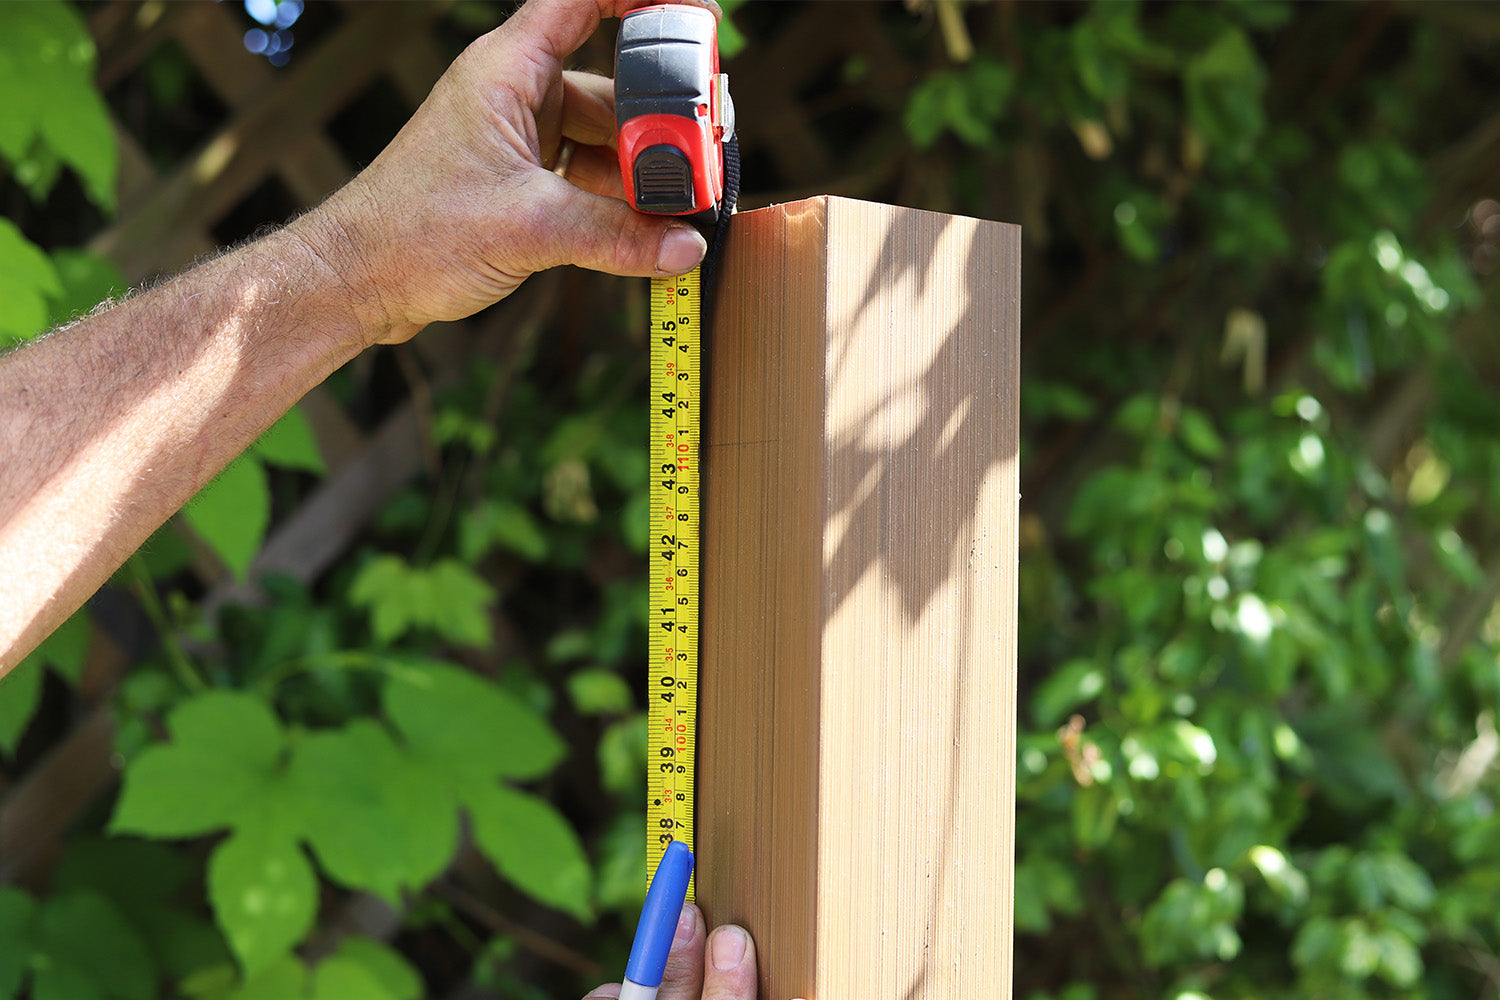
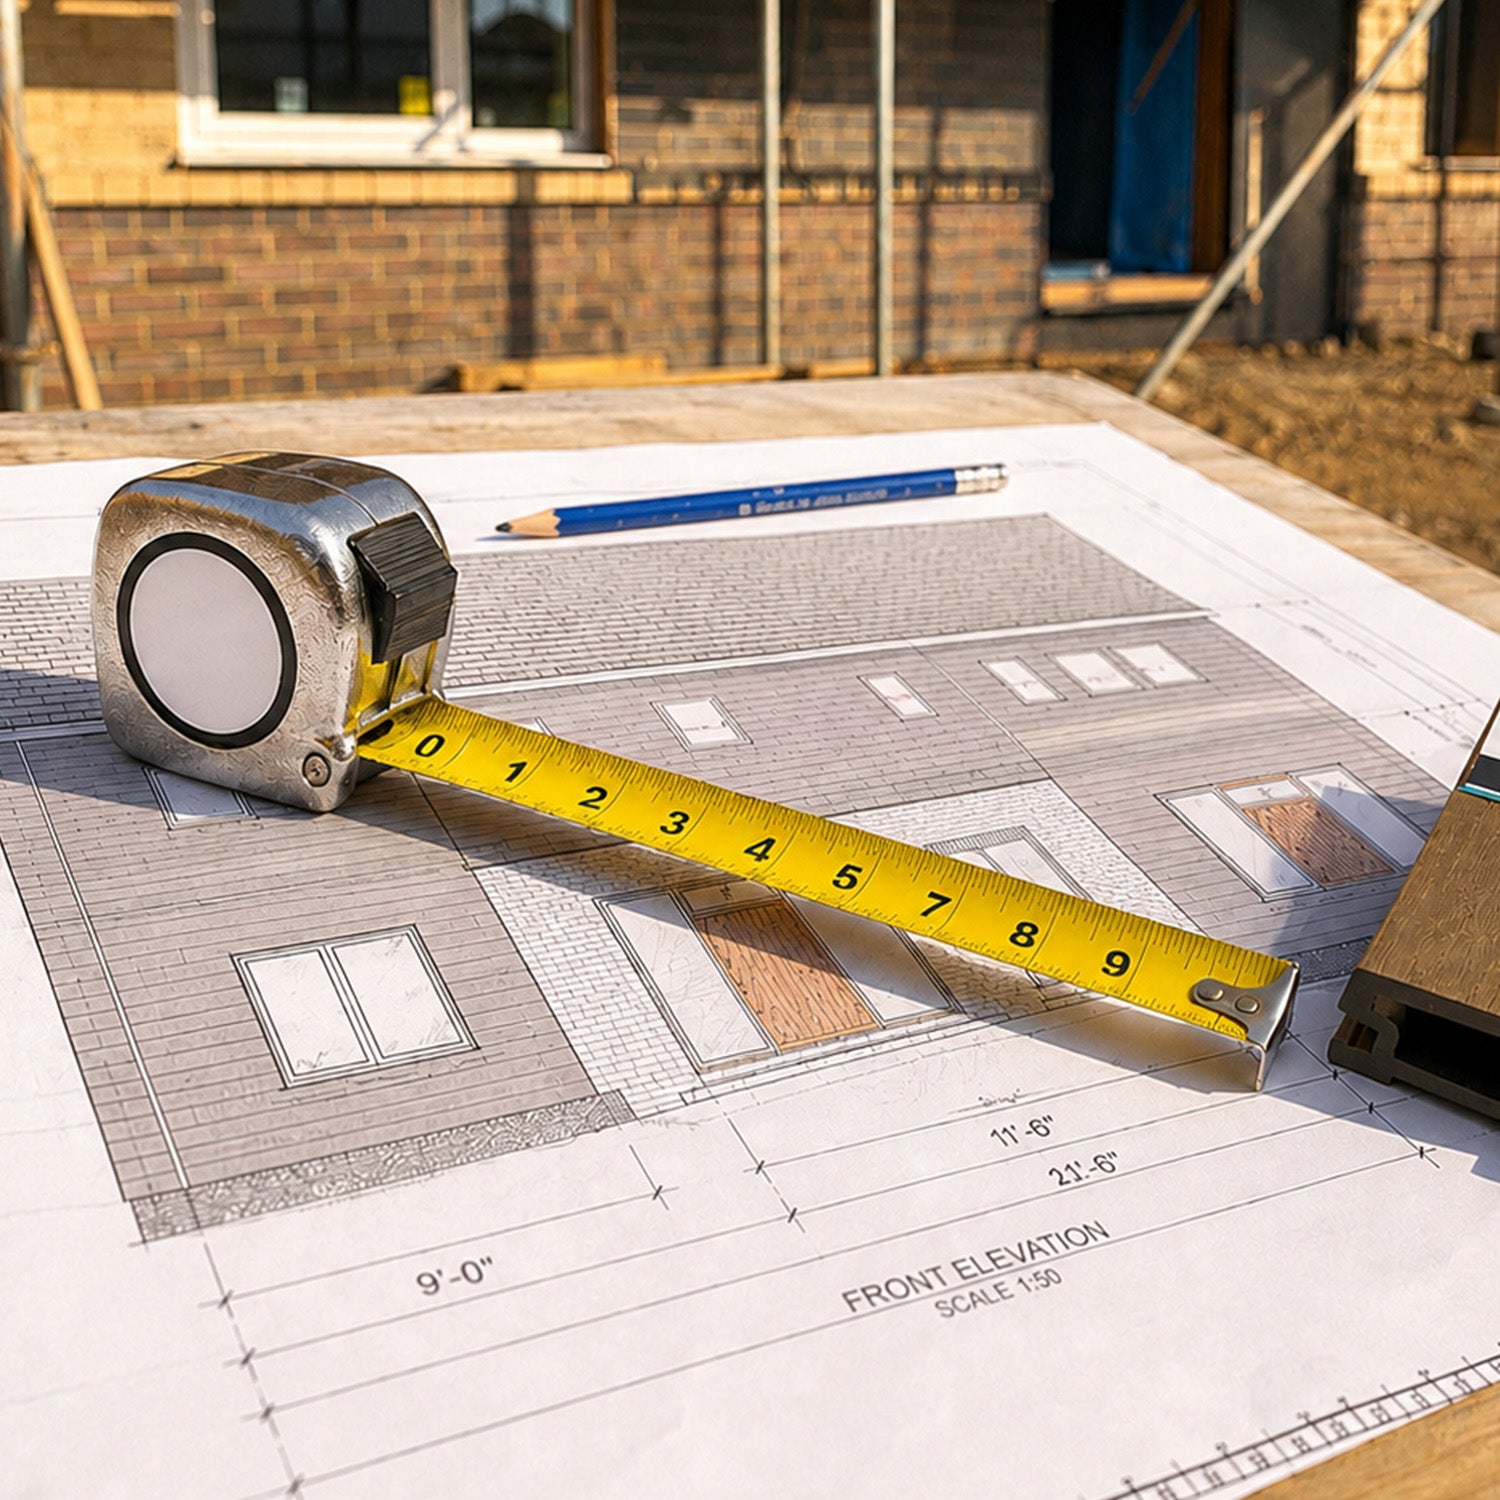
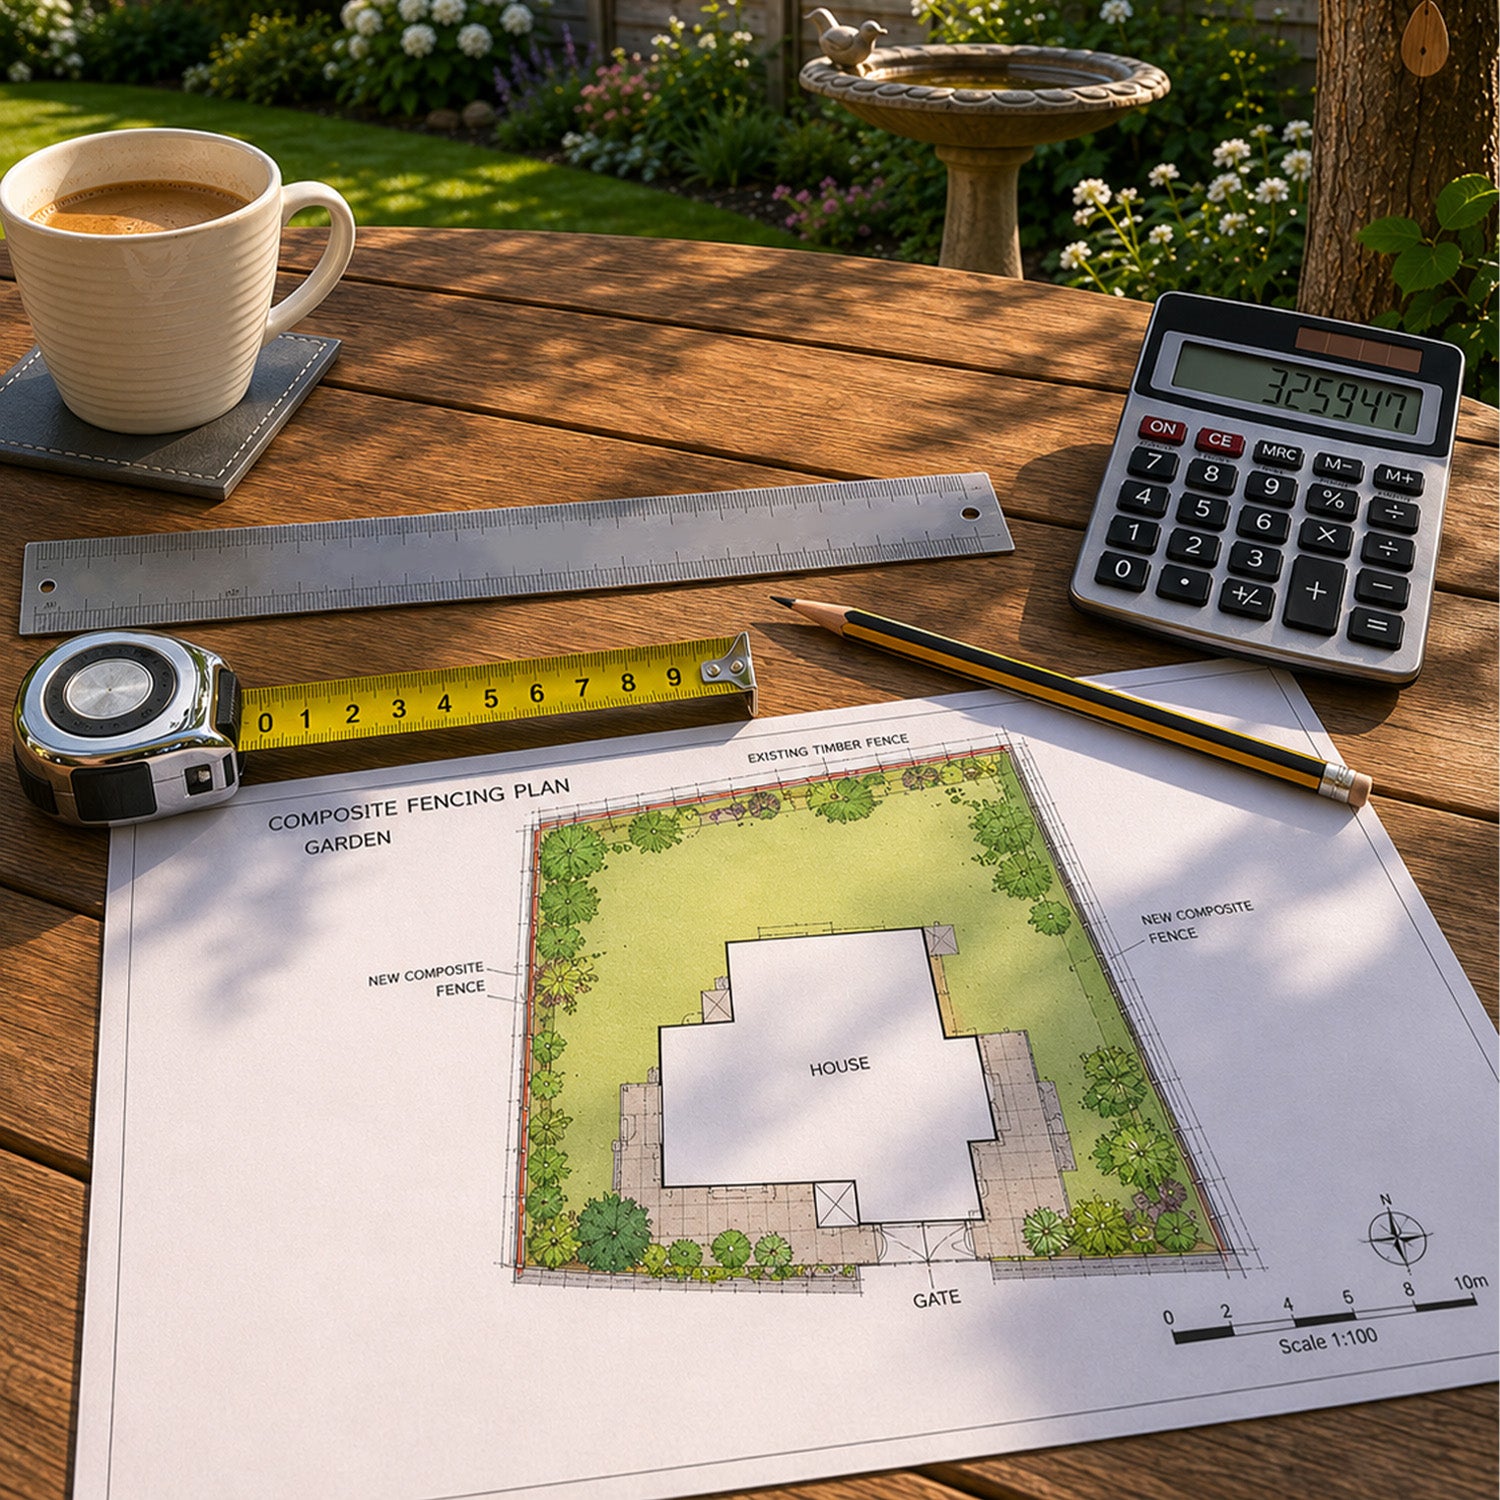
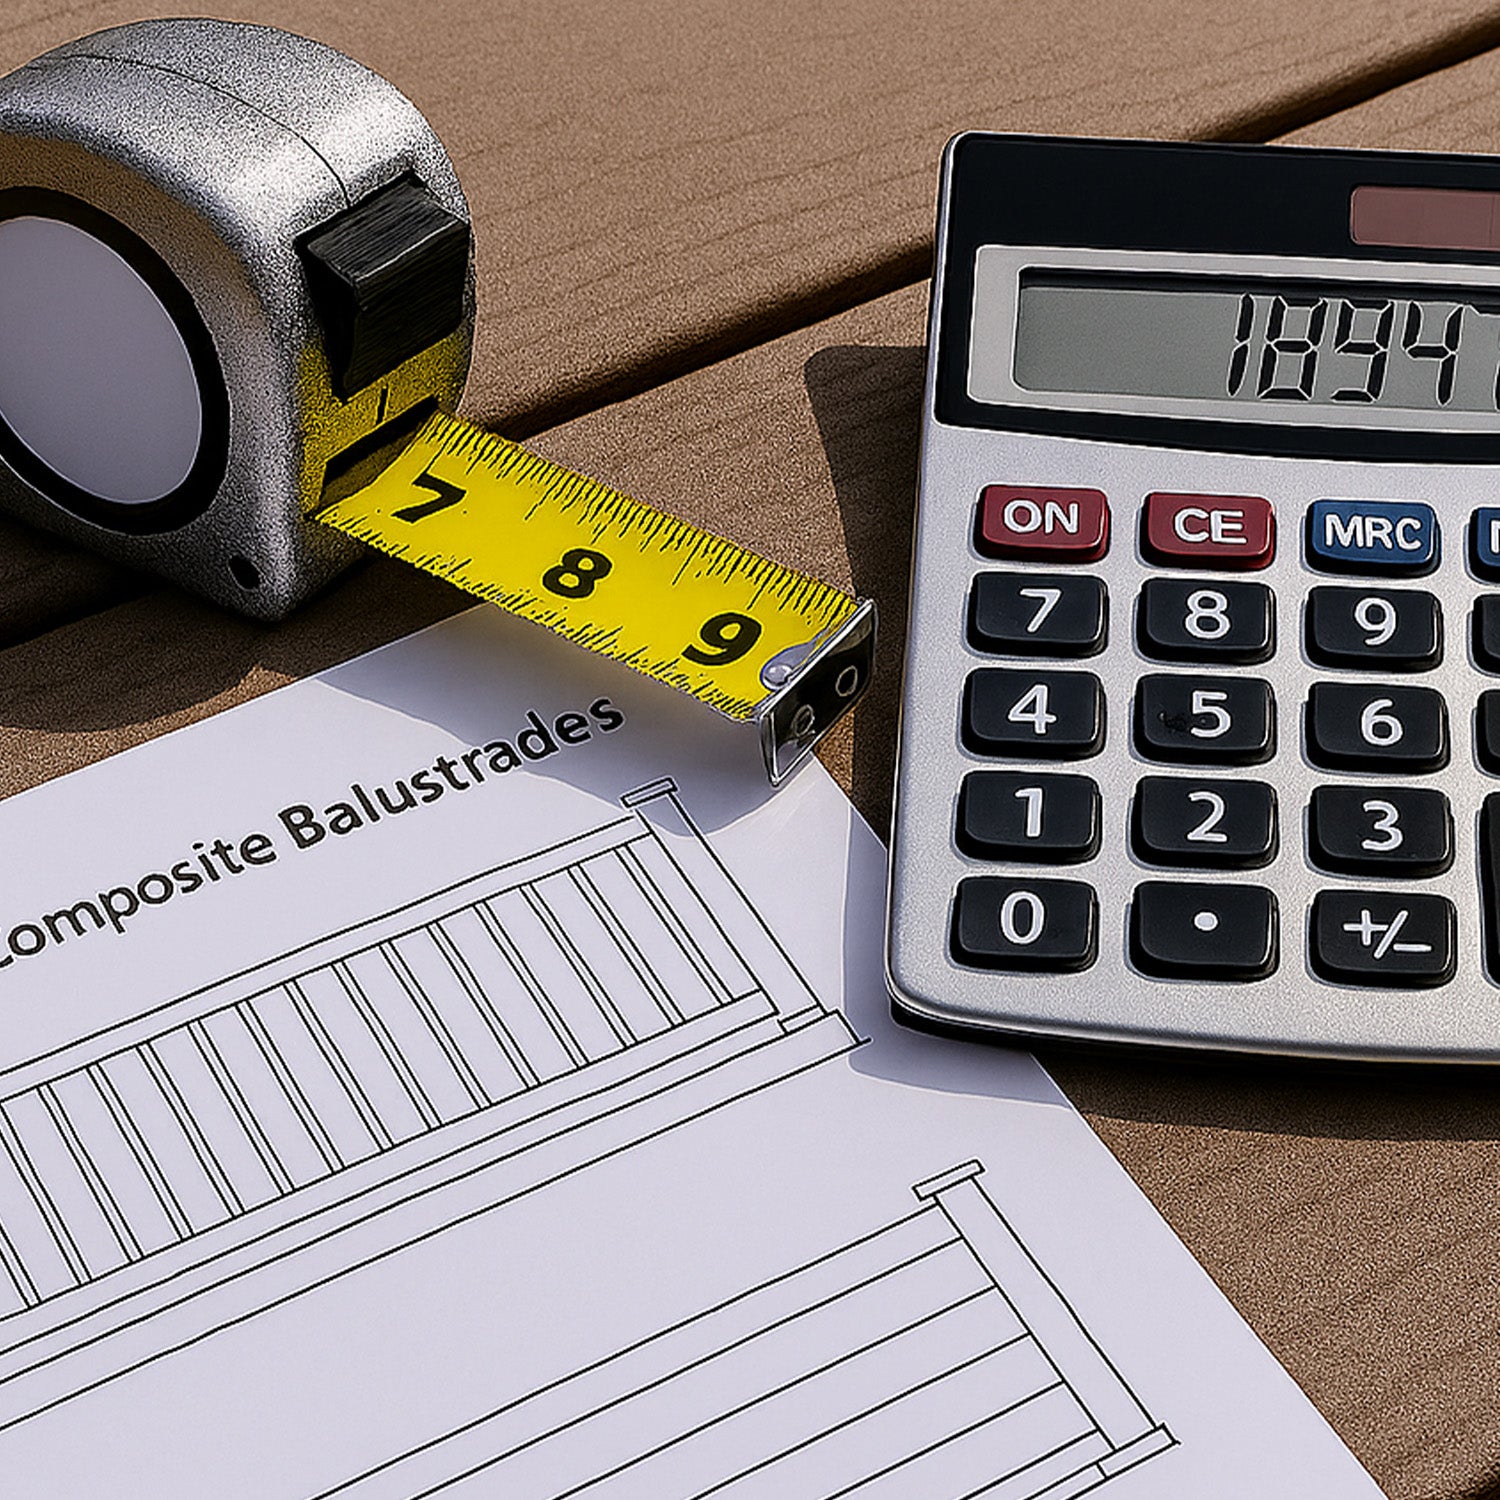
Start by checking the proposed layout against your project drawings or measurements. Mark out all key setting-out lines clearly, including post positions, corners, gate openings and changes in direction. Accurate marking at this stage will make the installation process much smoother.
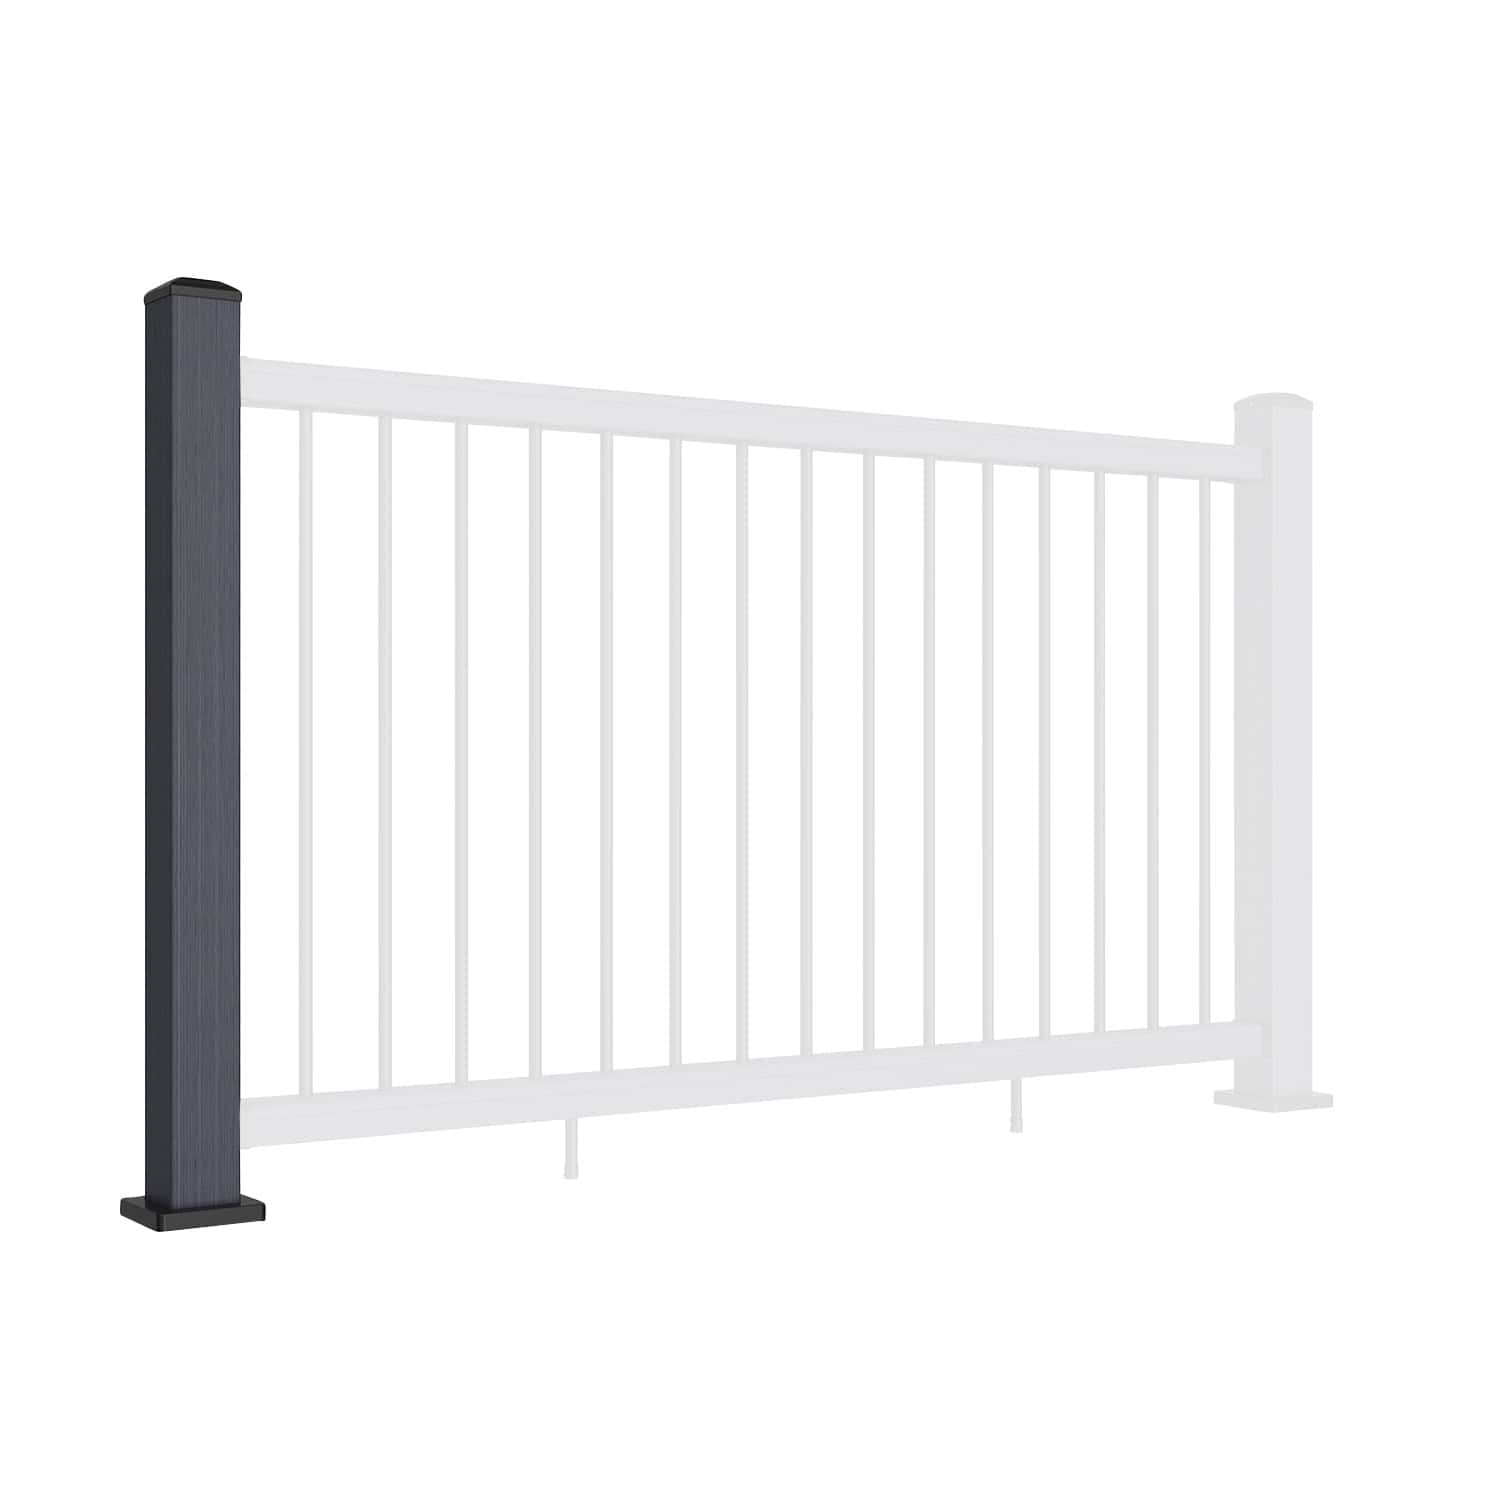
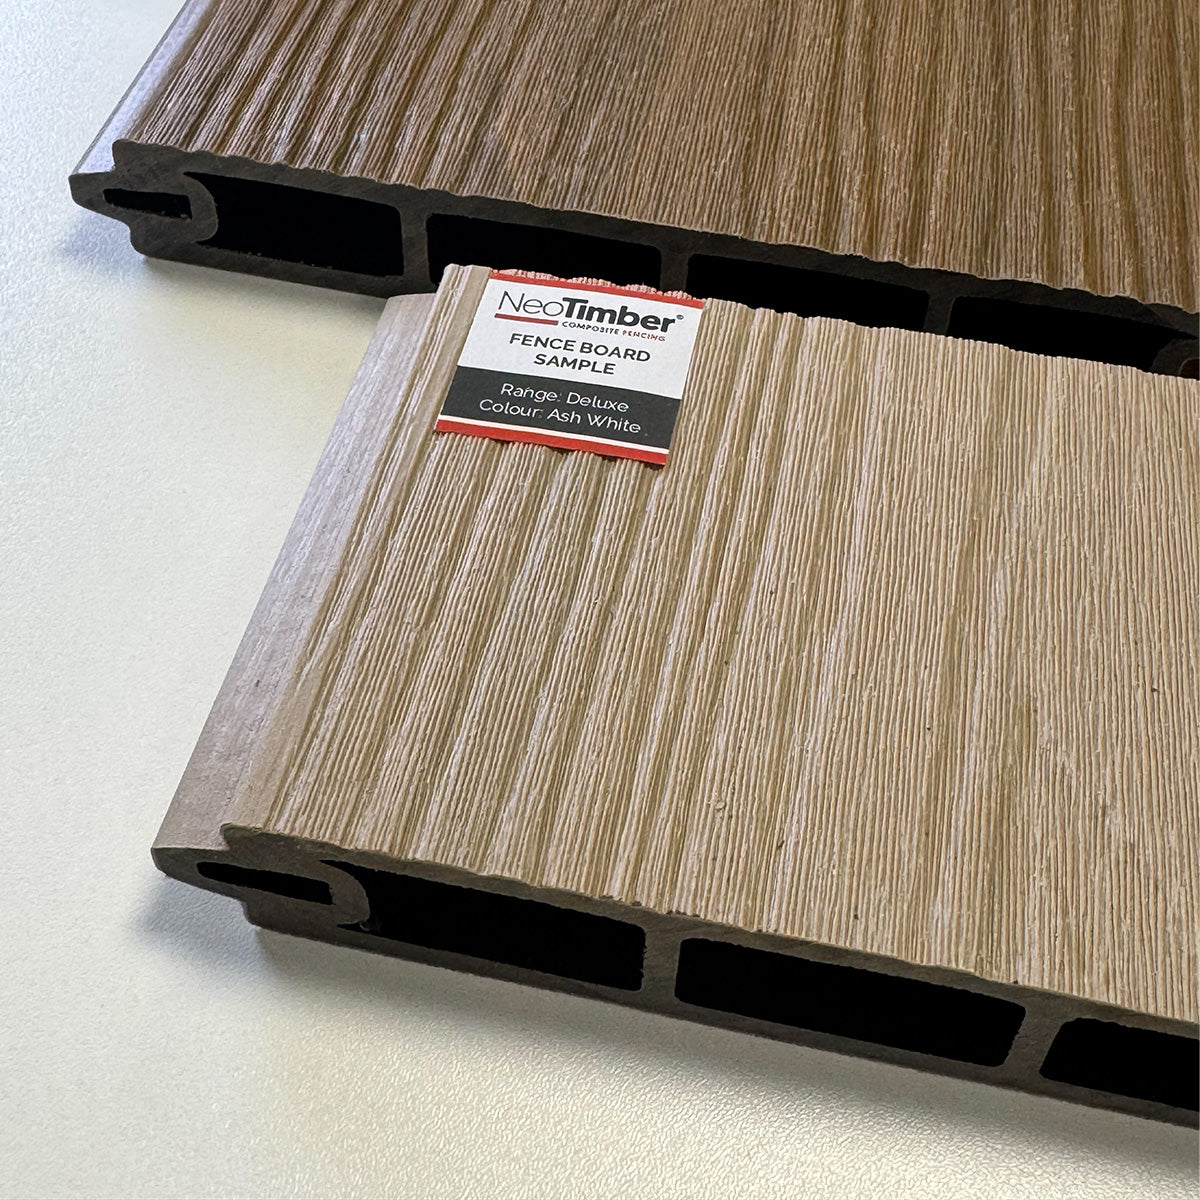
The fixing surface must also be checked before work begins. Whether you are fixing into timber decking, composite decking, concrete or another suitable substrate, the structure must be sound, stable and capable of supporting the required loads. Do not fix balustrade posts into weak, loose, damaged or unsuitable surfaces.
Compliance should always be considered before installation. Make sure the system is being installed in line with your project specification and any relevant building regulations. In the UK, Approved Document K and BS 6180 are key references for guarding height, safety and loading requirements.
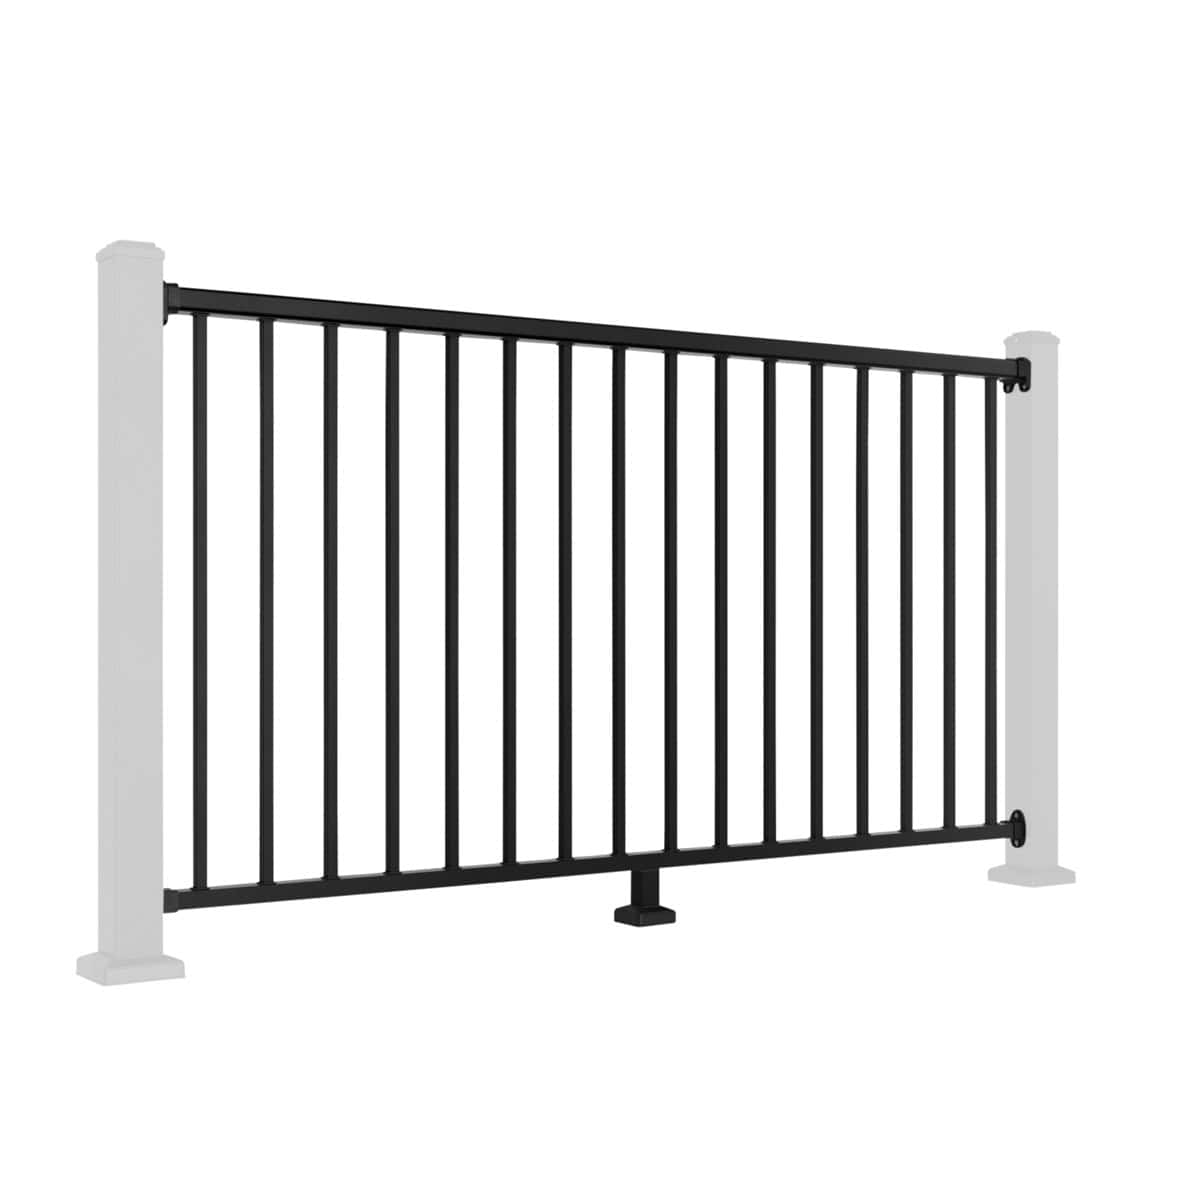
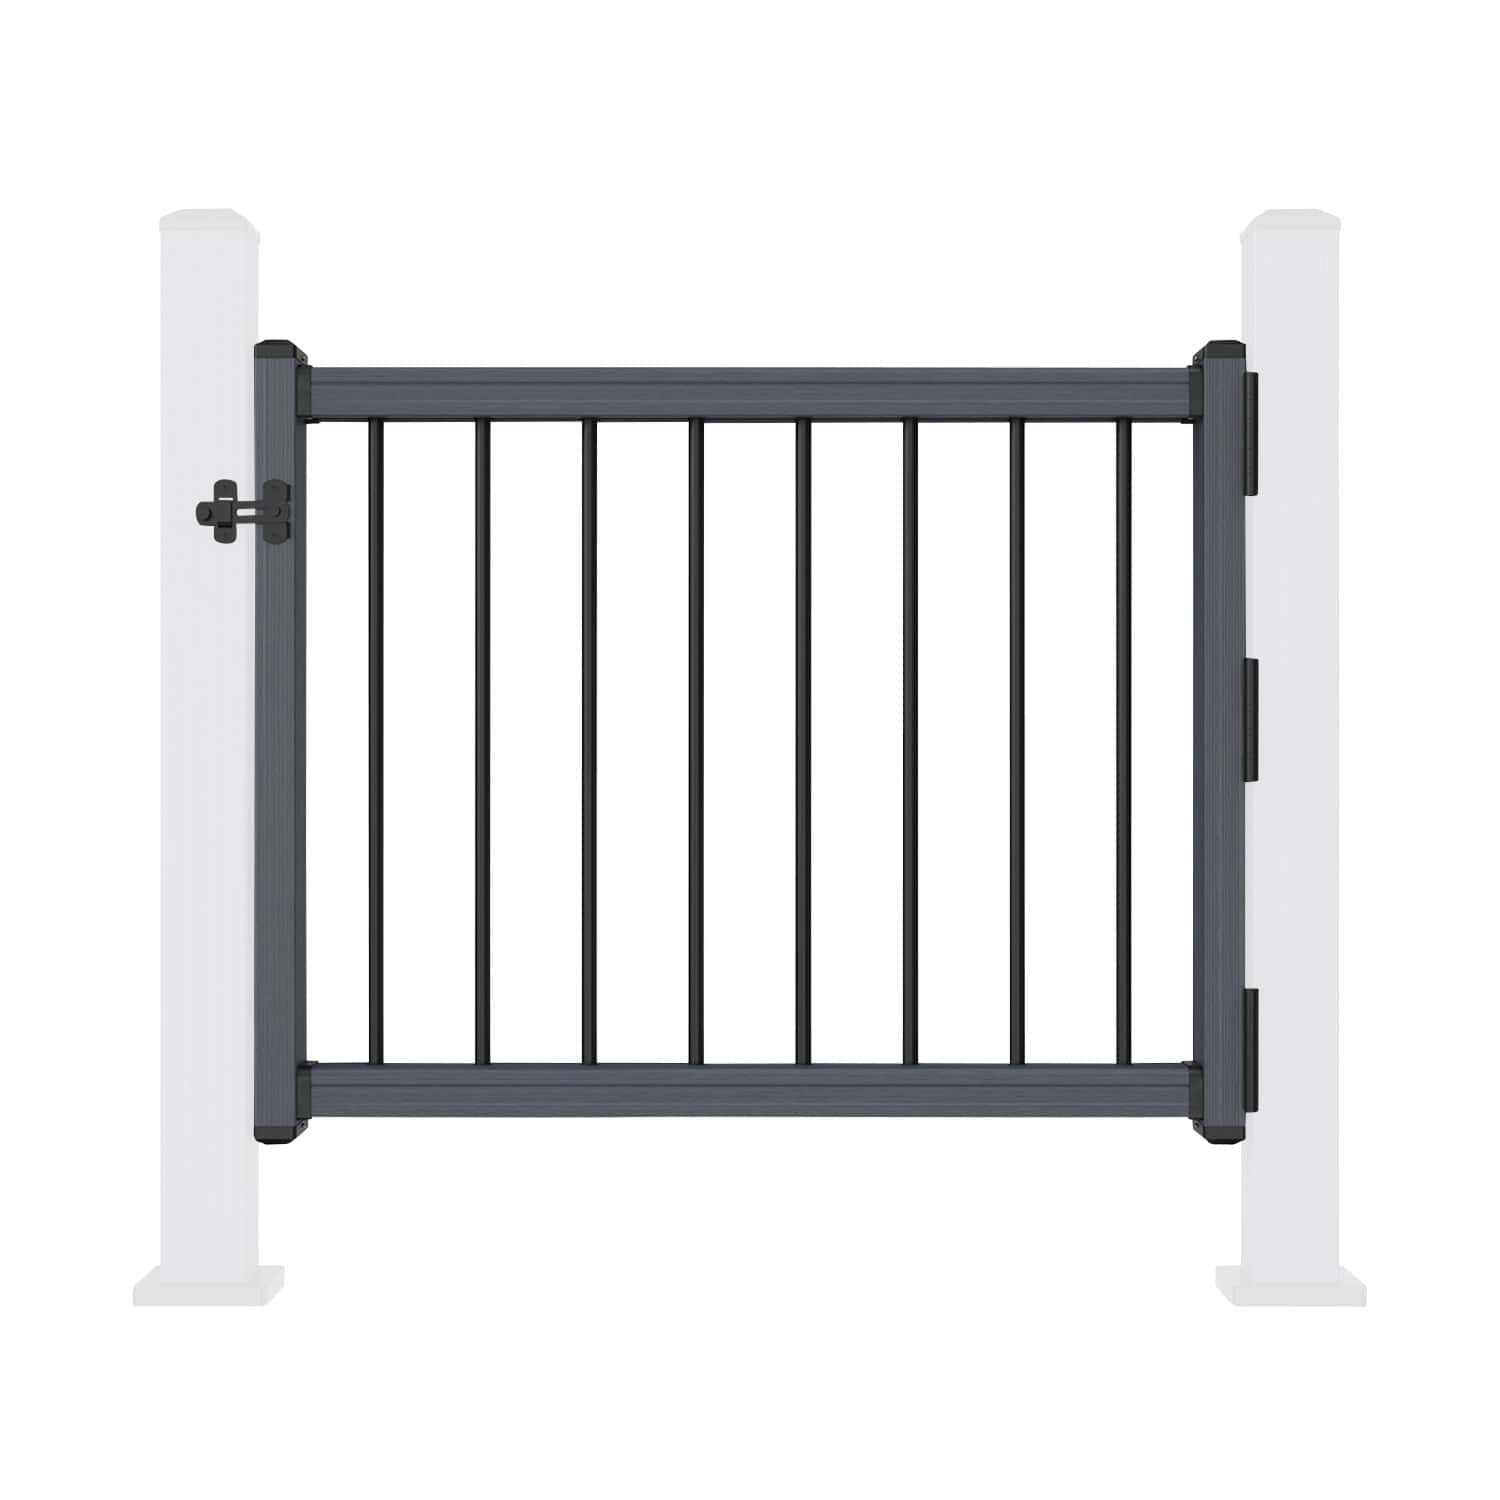
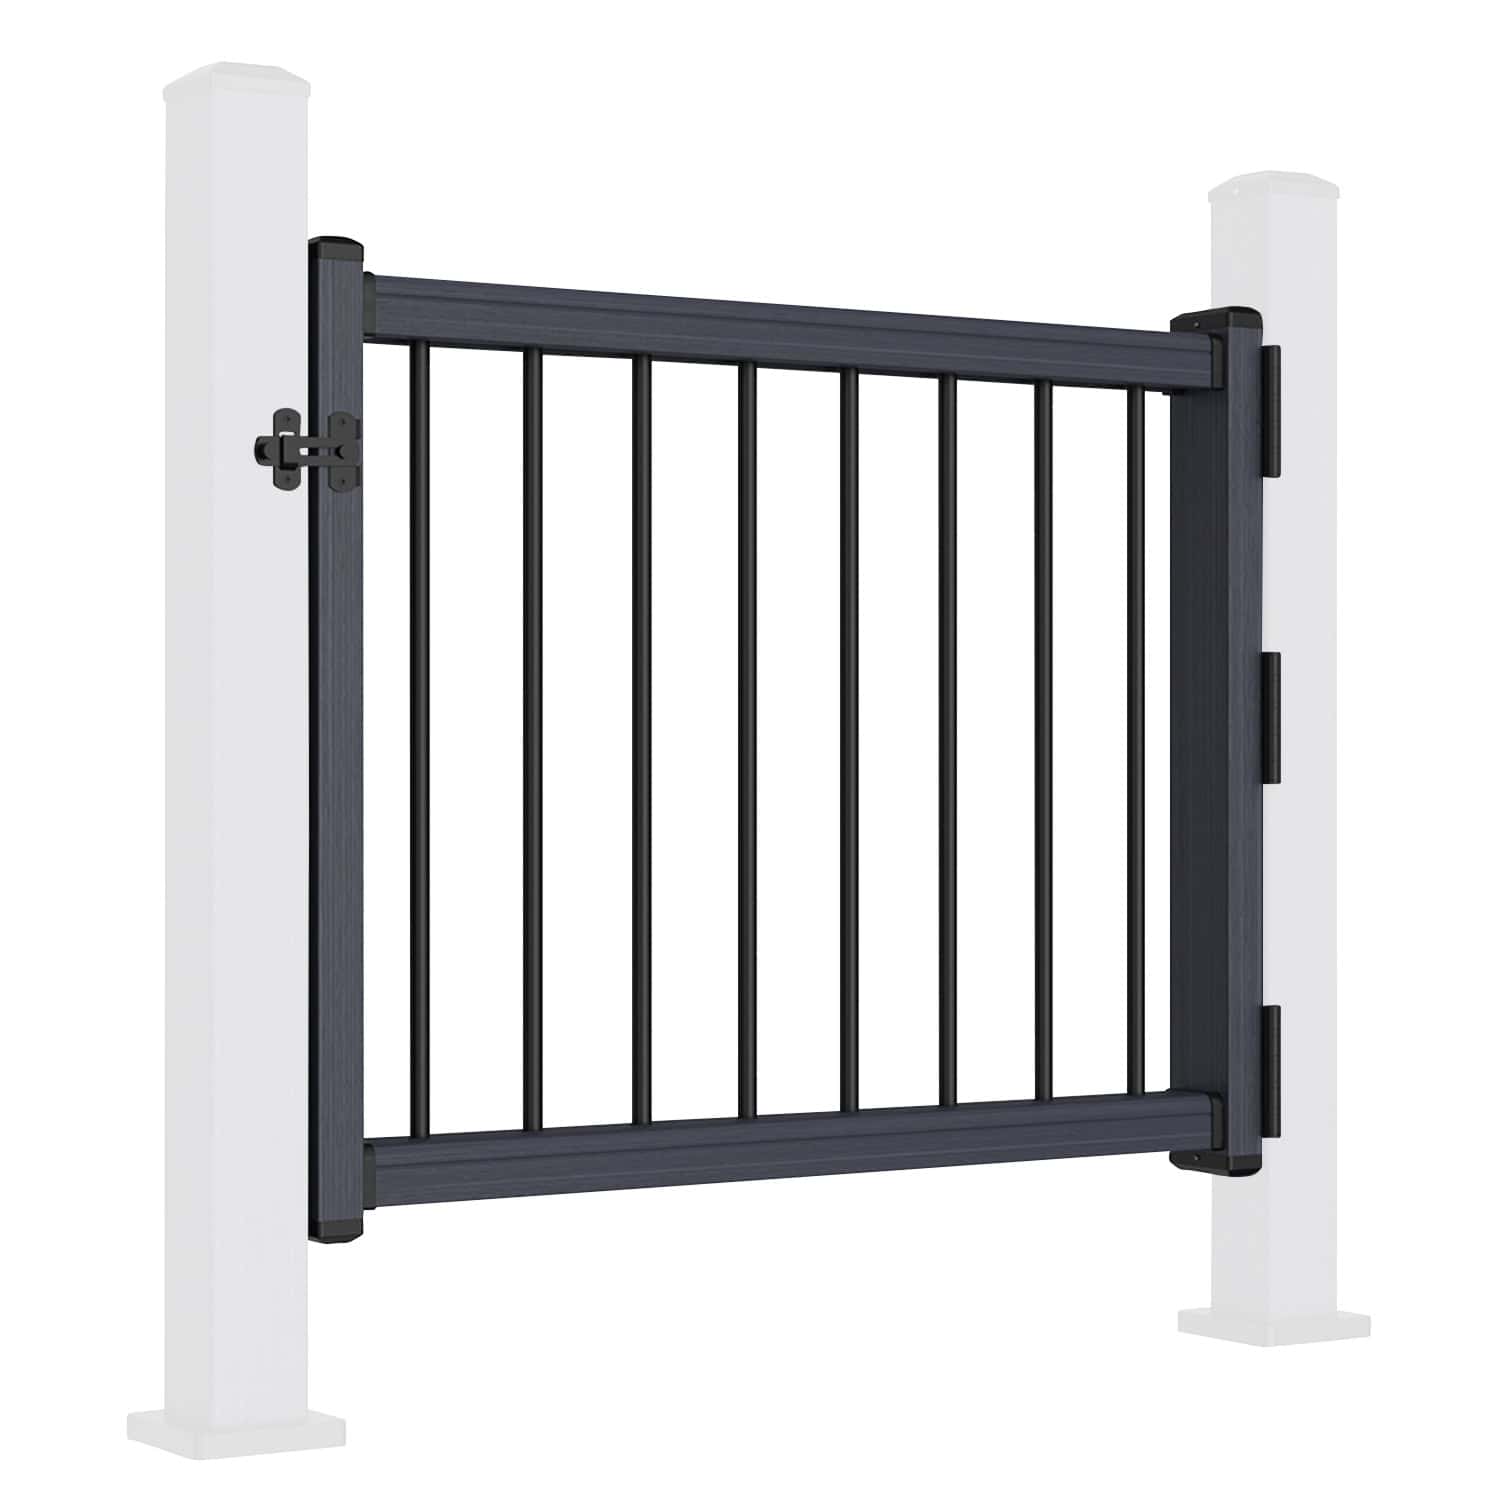
Where possible, dry-fit key components before applying permanent fixings. This allows you to check post spacing, rail alignment, panel fit and overall appearance before committing to the final installation.
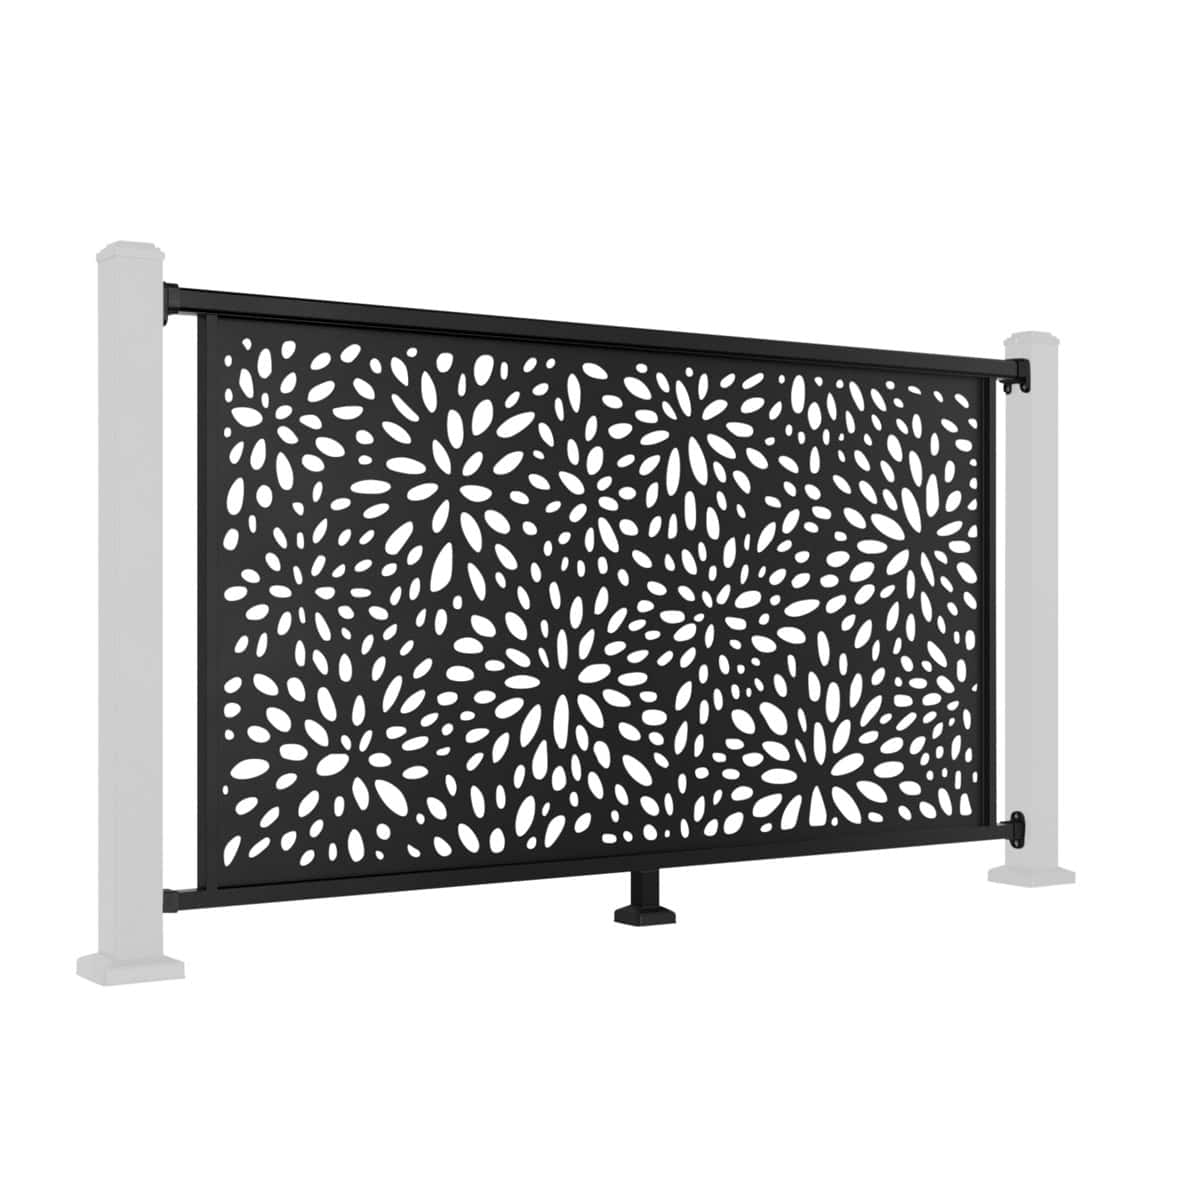
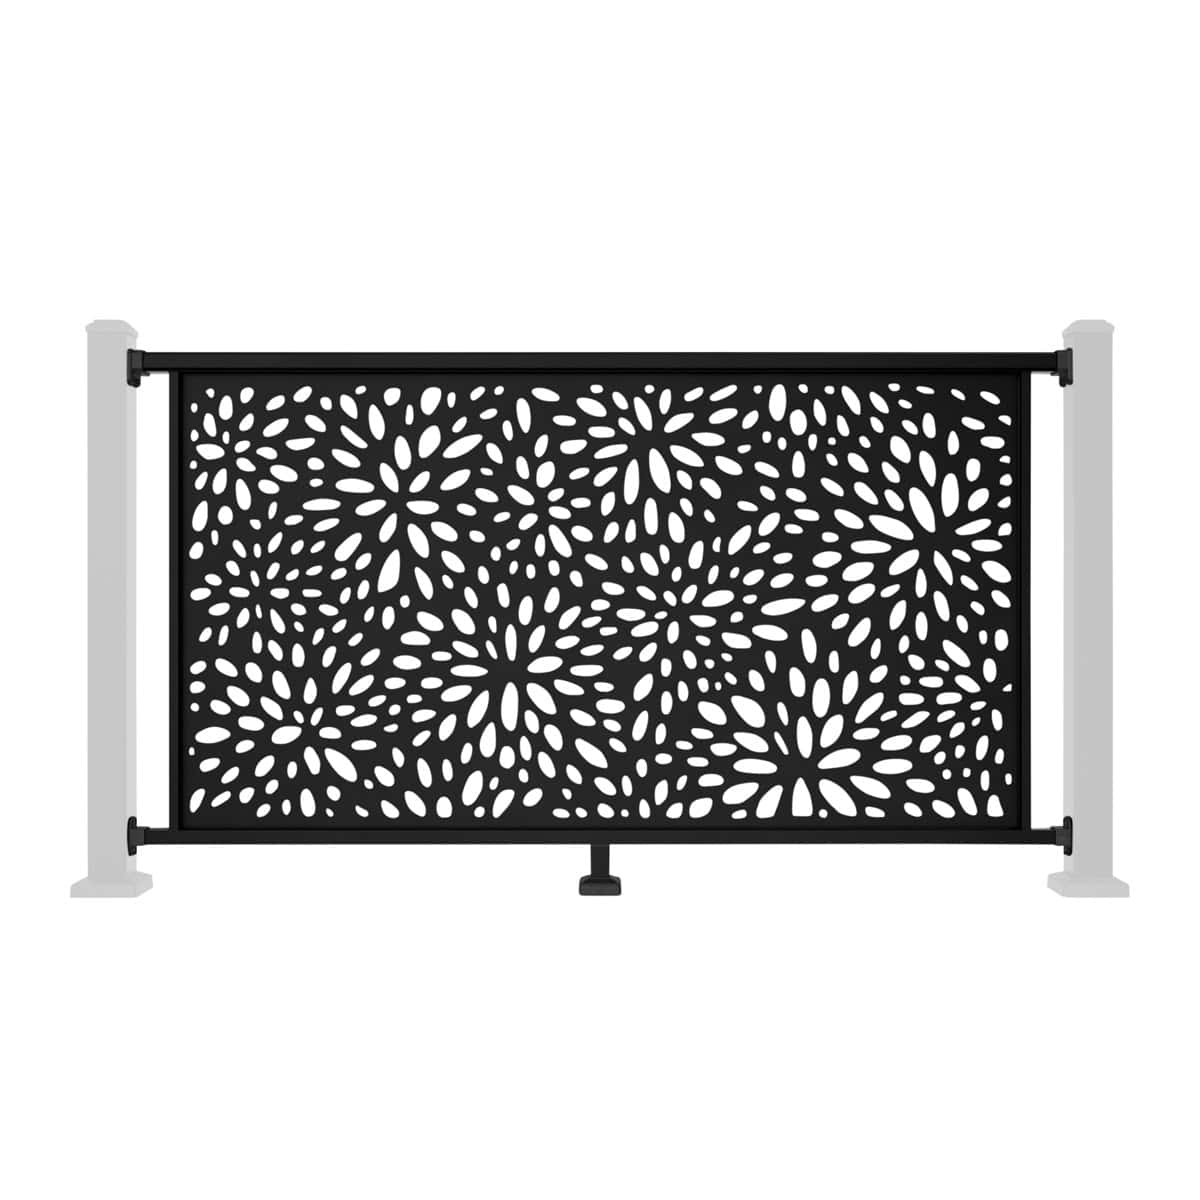
For screen systems, always confirm the correct panel orientation before installation begins. Screen panels can only be fitted once posts are fully fixed, plumb and square. Once the rail set is secured, repositioning a panel may require disassembly, so it is worth checking carefully before fixing.
Tools You'll Need
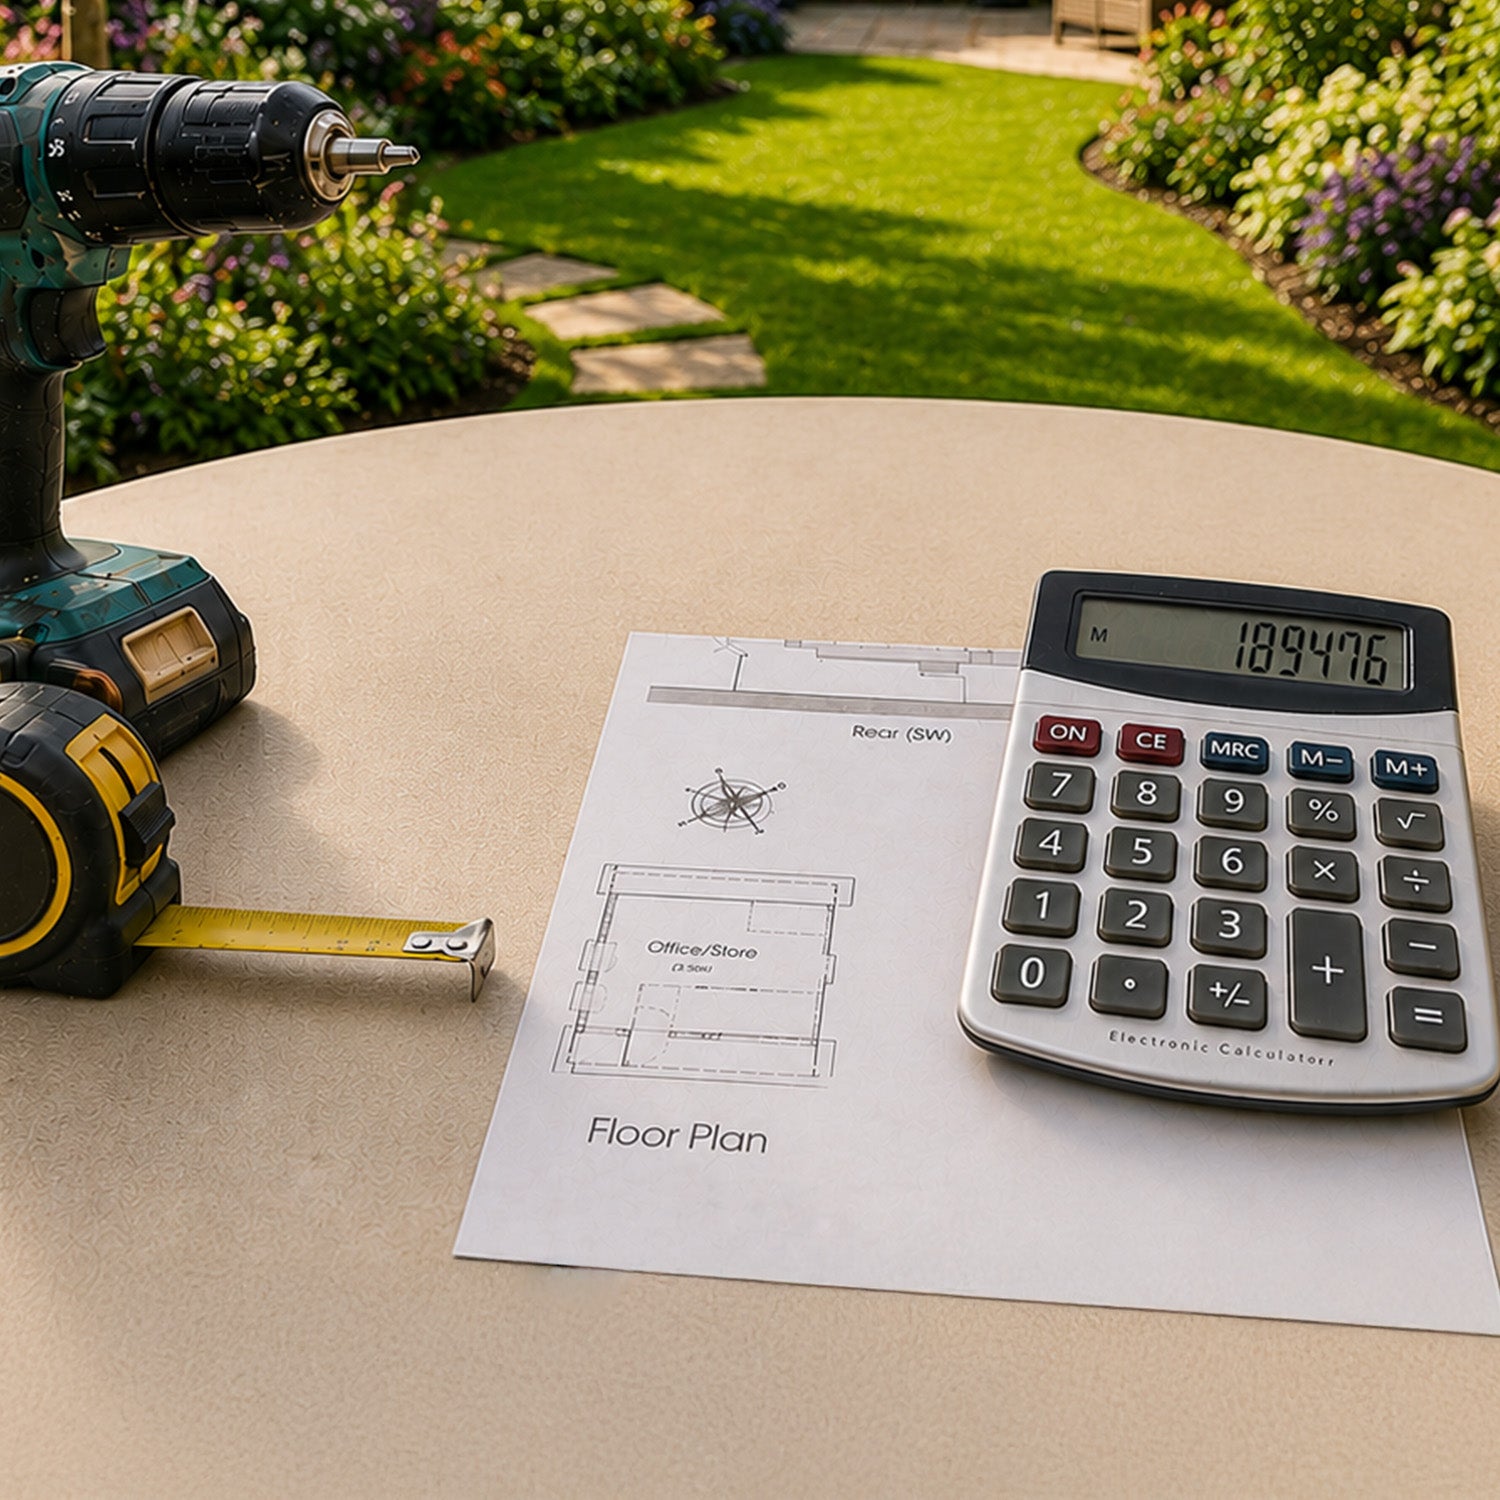
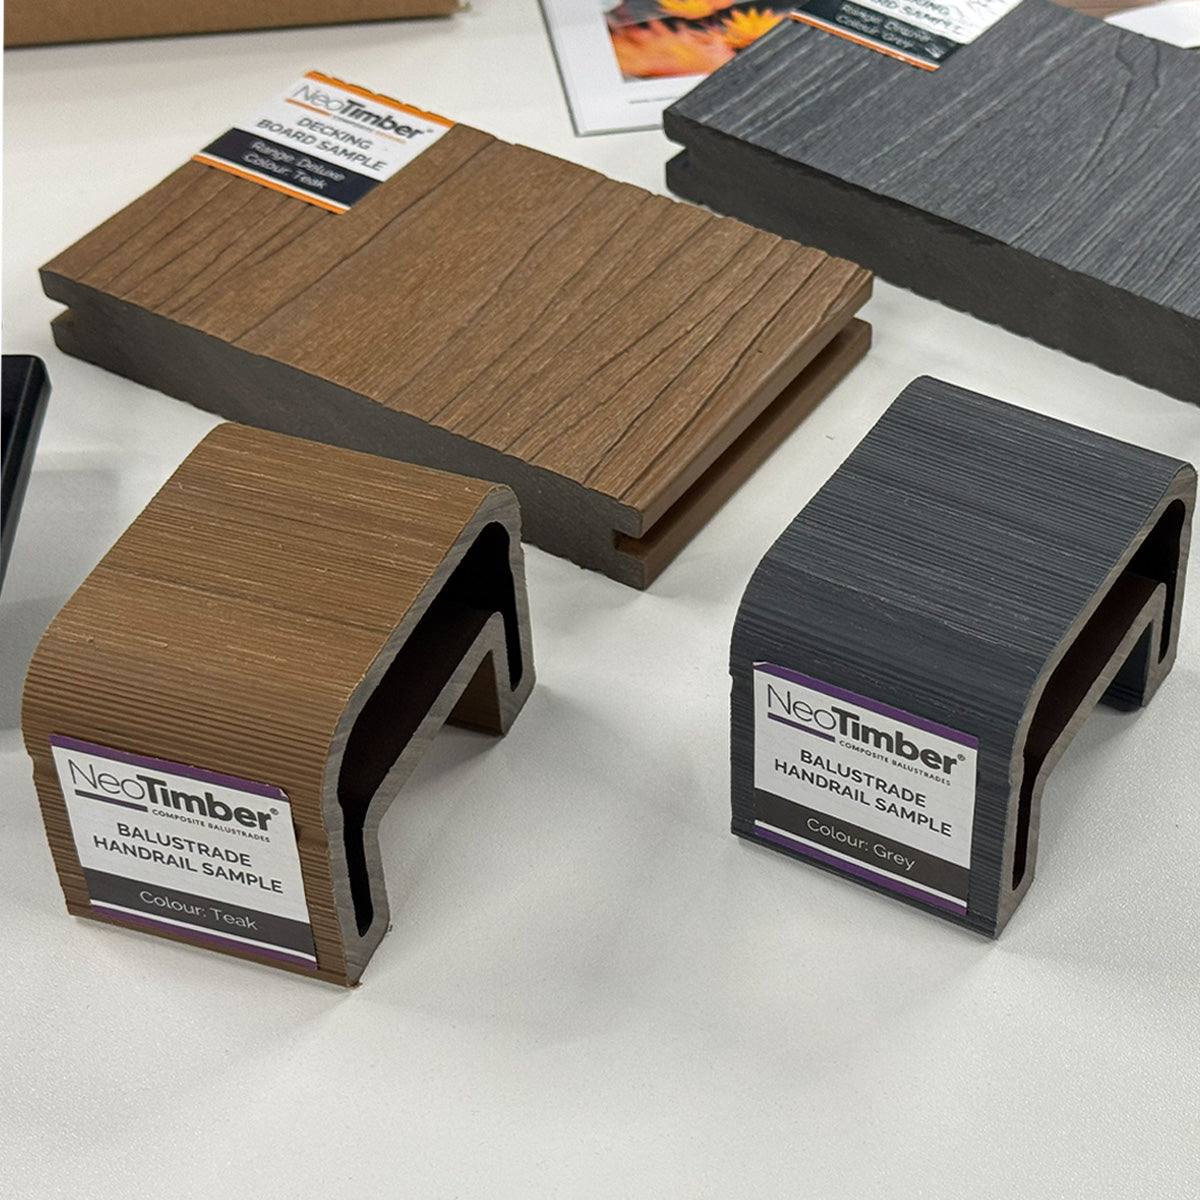
NeoTimber® aluminium balustrade systems are designed to be installed using standard professional tools. Before starting, make sure all required tools, fixings and safety equipment are available on site.
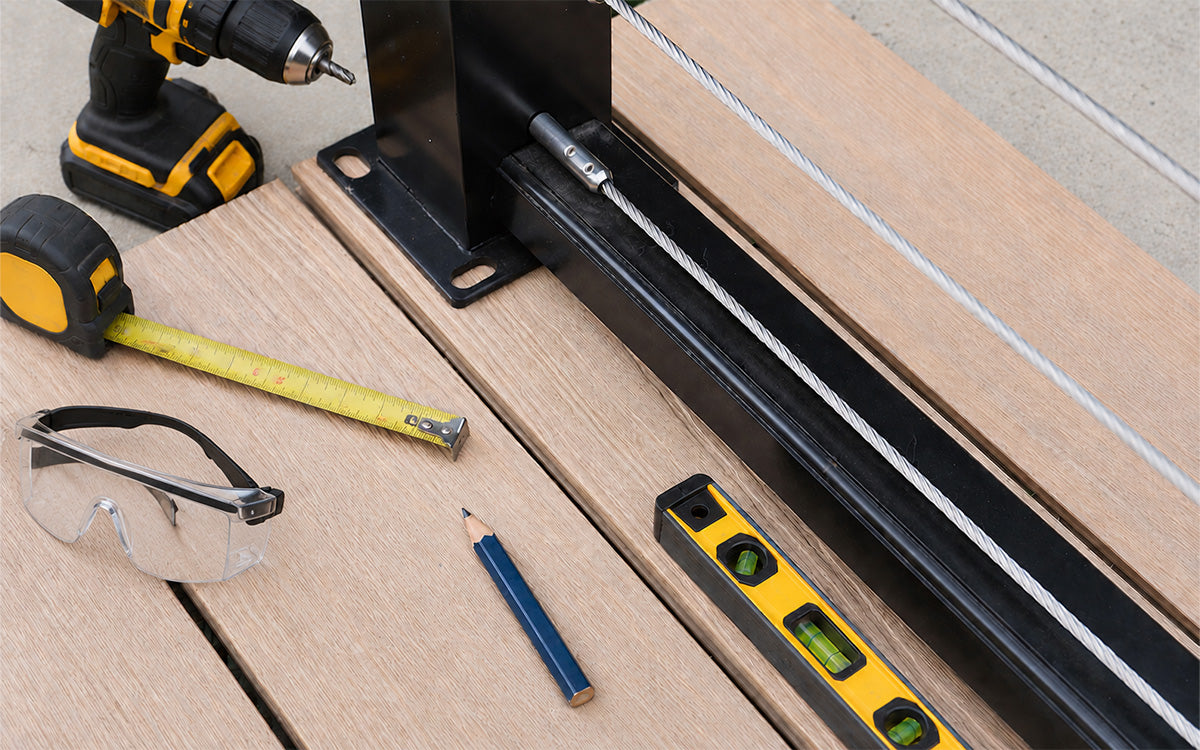
Measuring and setting out: tape measure, pencil or chalk line, spirit level with a minimum length of 600mm, and suitable markers for post positions and fixing points.
Drilling and fixing: power drill or impact driver, 7mm drill bit for timber substrates, 10mm drill bit for concrete substrates, M8 spanner or socket set, and the correct screw bits for the supplied fixings.
Cutting and finishing: hacksaw or mitre saw with an aluminium-rated blade, structural adhesive gun, fine metal file or deburring tool for cleaning cut edges.
Safety equipment: safety glasses, work gloves and protective footwear should be worn throughout the installation process.
Having everything ready before work begins helps avoid delays and ensures each stage of the installation can be completed safely, accurately and efficiently.
Final Checks Before Installation
Before fixing the first post, take a few minutes to complete a final pre-installation check. Confirm that all components are present, the layout has been marked correctly, the fixing surface is suitable, and the correct tools and fixings are available.
Preparation may not be the most visible part of the installation, but it has a major impact on the finished result. By storing components correctly, preparing the site thoroughly and working with the right tools, you can help ensure your NeoTimber® aluminium balustrade installation is safe, secure and built to last.