

How To Install Aluminium Balustrade Screen Railings In Five Simple Steps
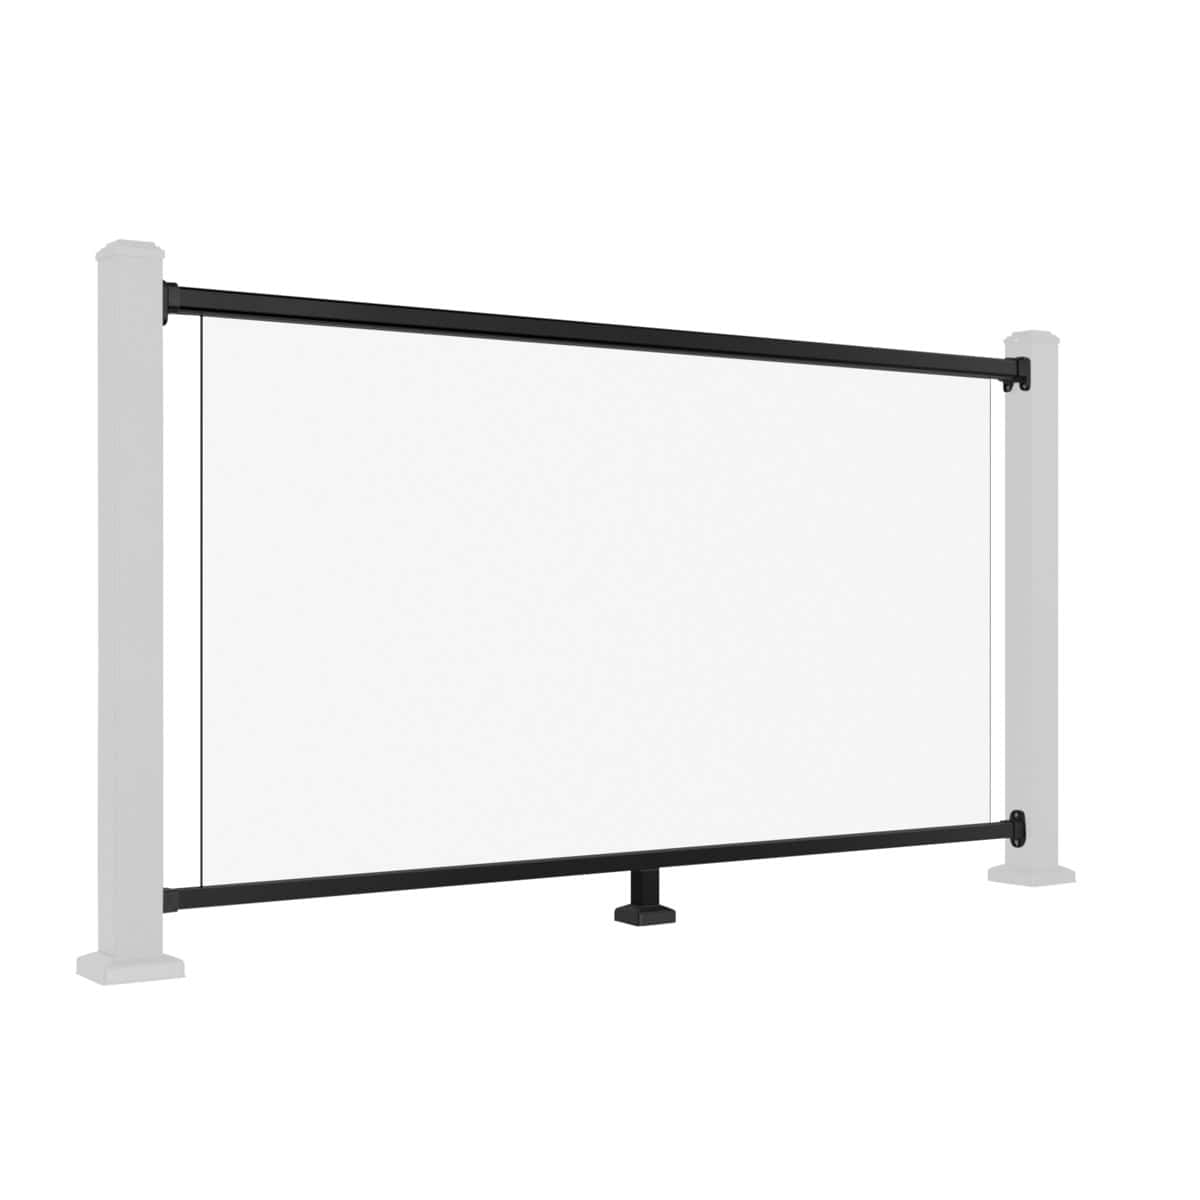
With every post fixed, plumb and square, you are ready to begin the aluminium balustrade screen installation. This stage involves fitting the screen panel, rail set and fixing brackets to create a secure, attractive and fully supported balustrade system.
If you are researching how to install aluminium balustrade screen railings, following the correct installation sequence is essential. Work through the five steps below in order, as the foot block attachment must be completed before the rail set is offered into position.
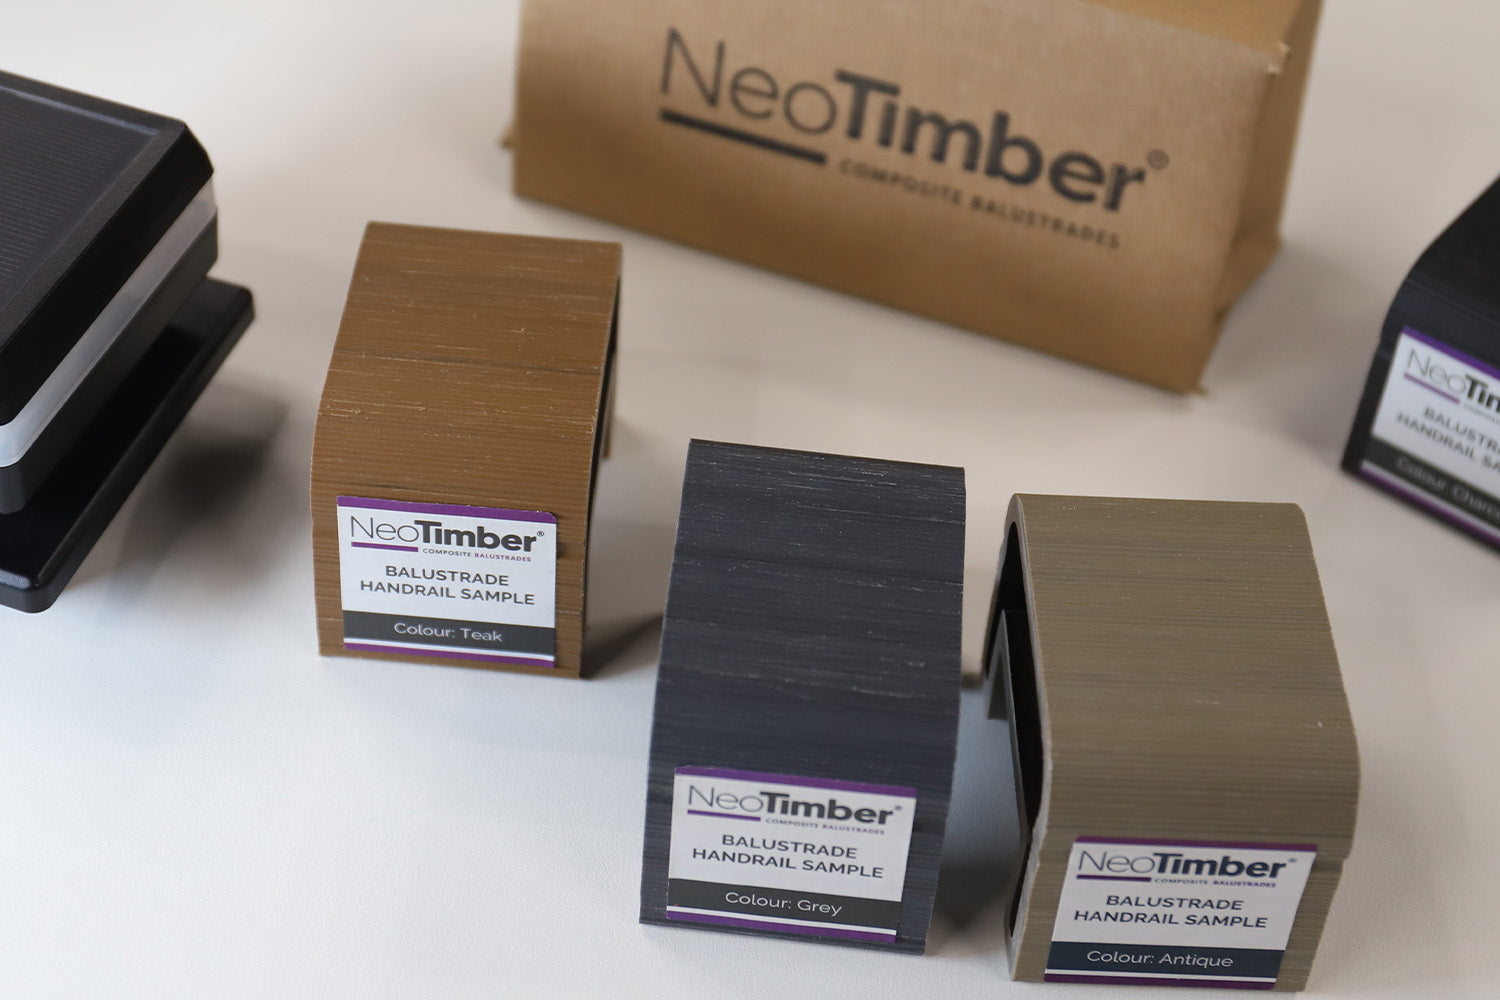
This guide explains how to install aluminium balustrade screen railings using the NeoTimber® system. By following the process below, installers can achieve a professional finish while ensuring the screen panel and rail set are correctly aligned and securely fixed.
Step 1: Preparing The Bottom Rail For Screen Installation
Before the rail set goes anywhere near the posts, the foot blocks need to be fixed to the bottom rail. Mark the foot block connector fixing position on the underside of the bottom rail, pre-drill the marked hole, and secure the foot block connector using the screws provided.
Don't skip ahead - this step cannot be done once the rail set is between the posts.


Step 2: Fitting Brackets For Aluminium Balustrade Screen Railings
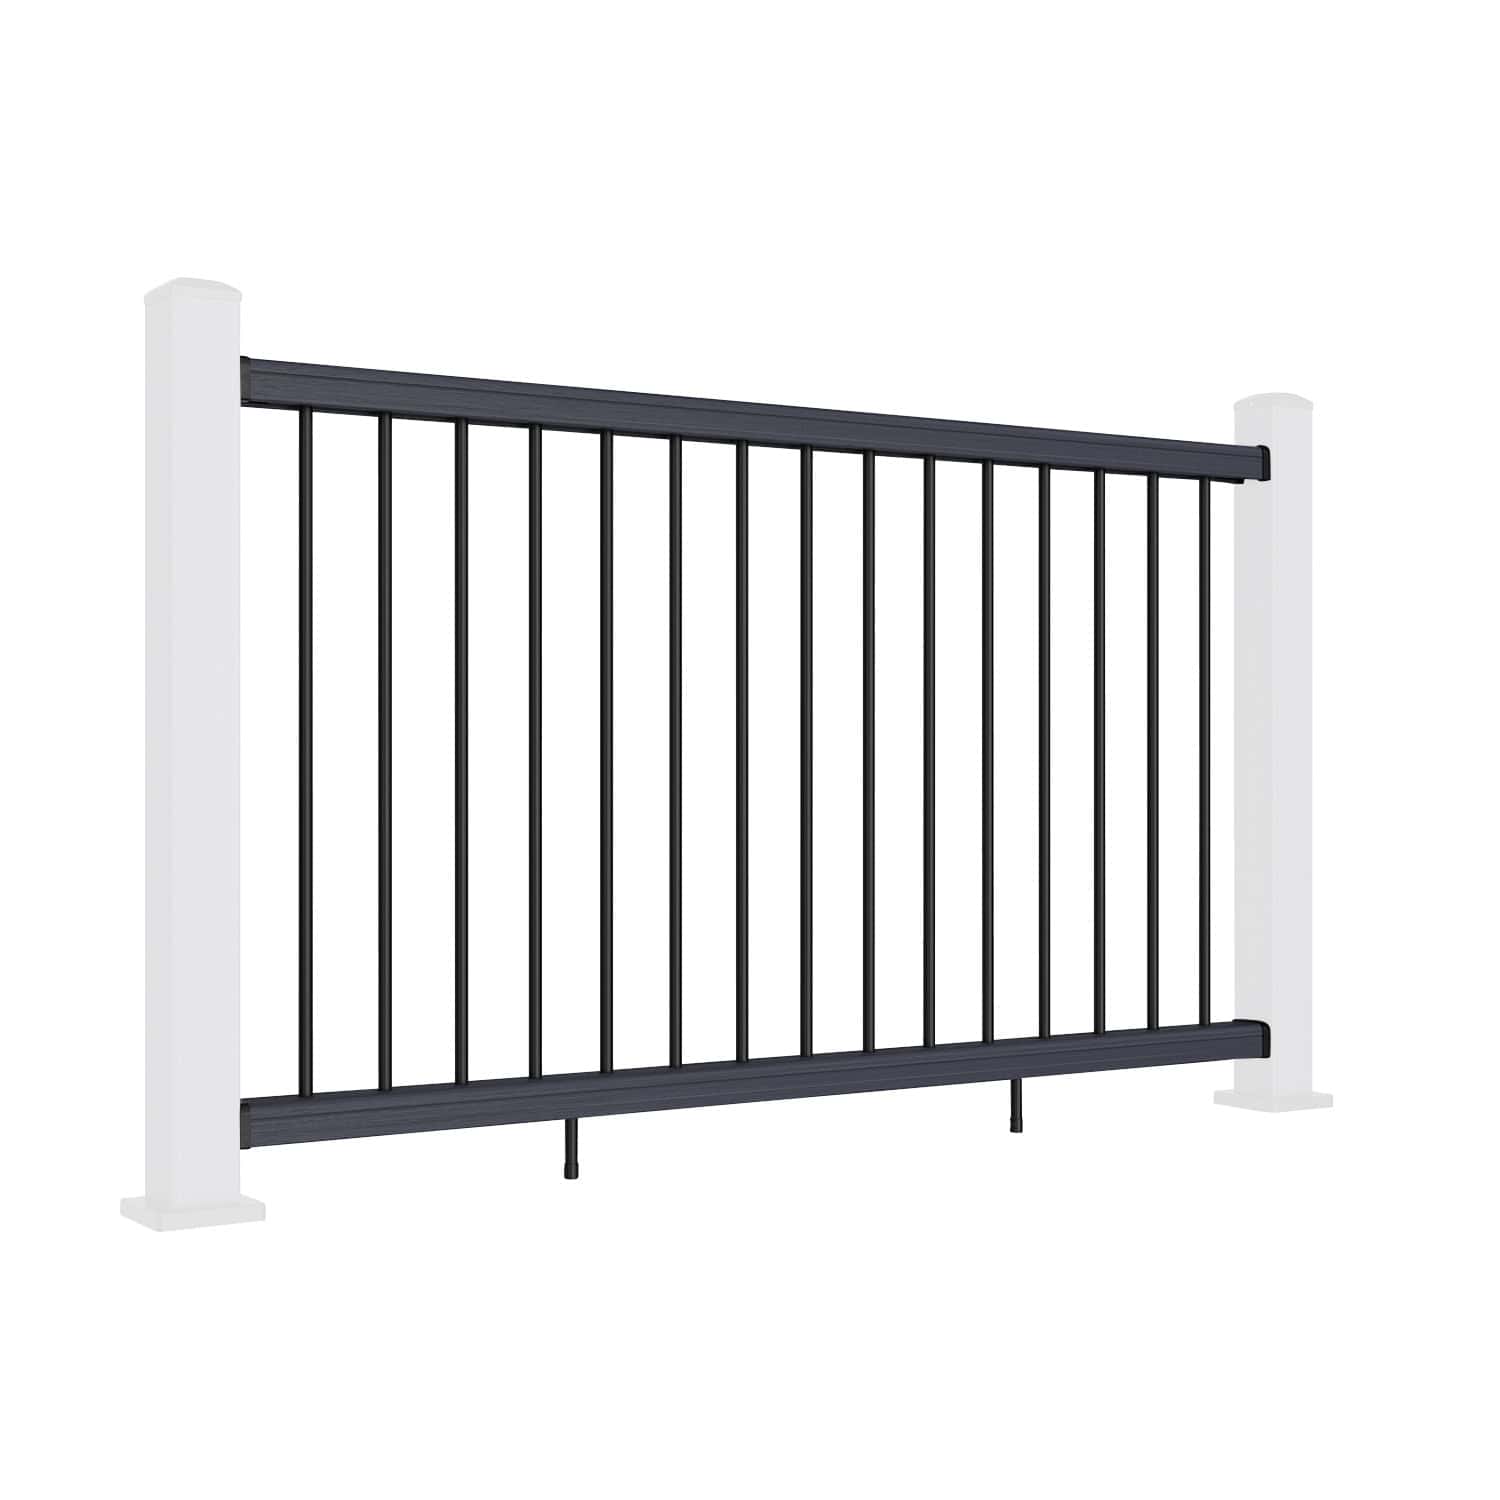
Slide the top rail bracket onto the ends of the top rail, and the bottom rail bracket onto the corresponding ends of the bottom rail. Check that both brackets are correctly oriented before you offer the rail set into position - it's a small detail that's easy to overlook and awkward to fix once the set is up.


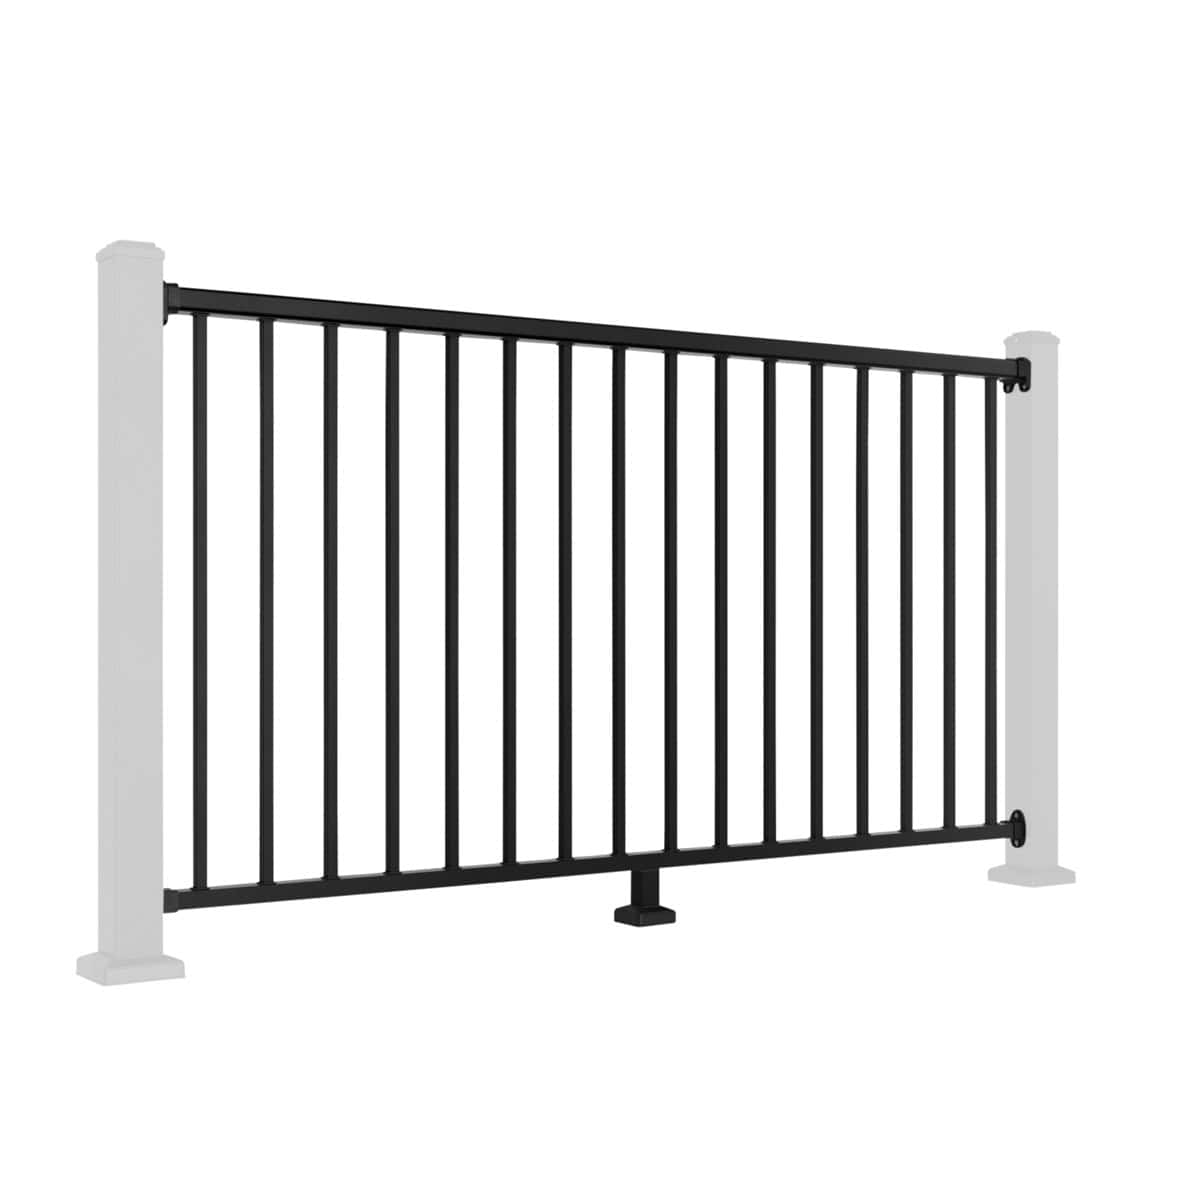
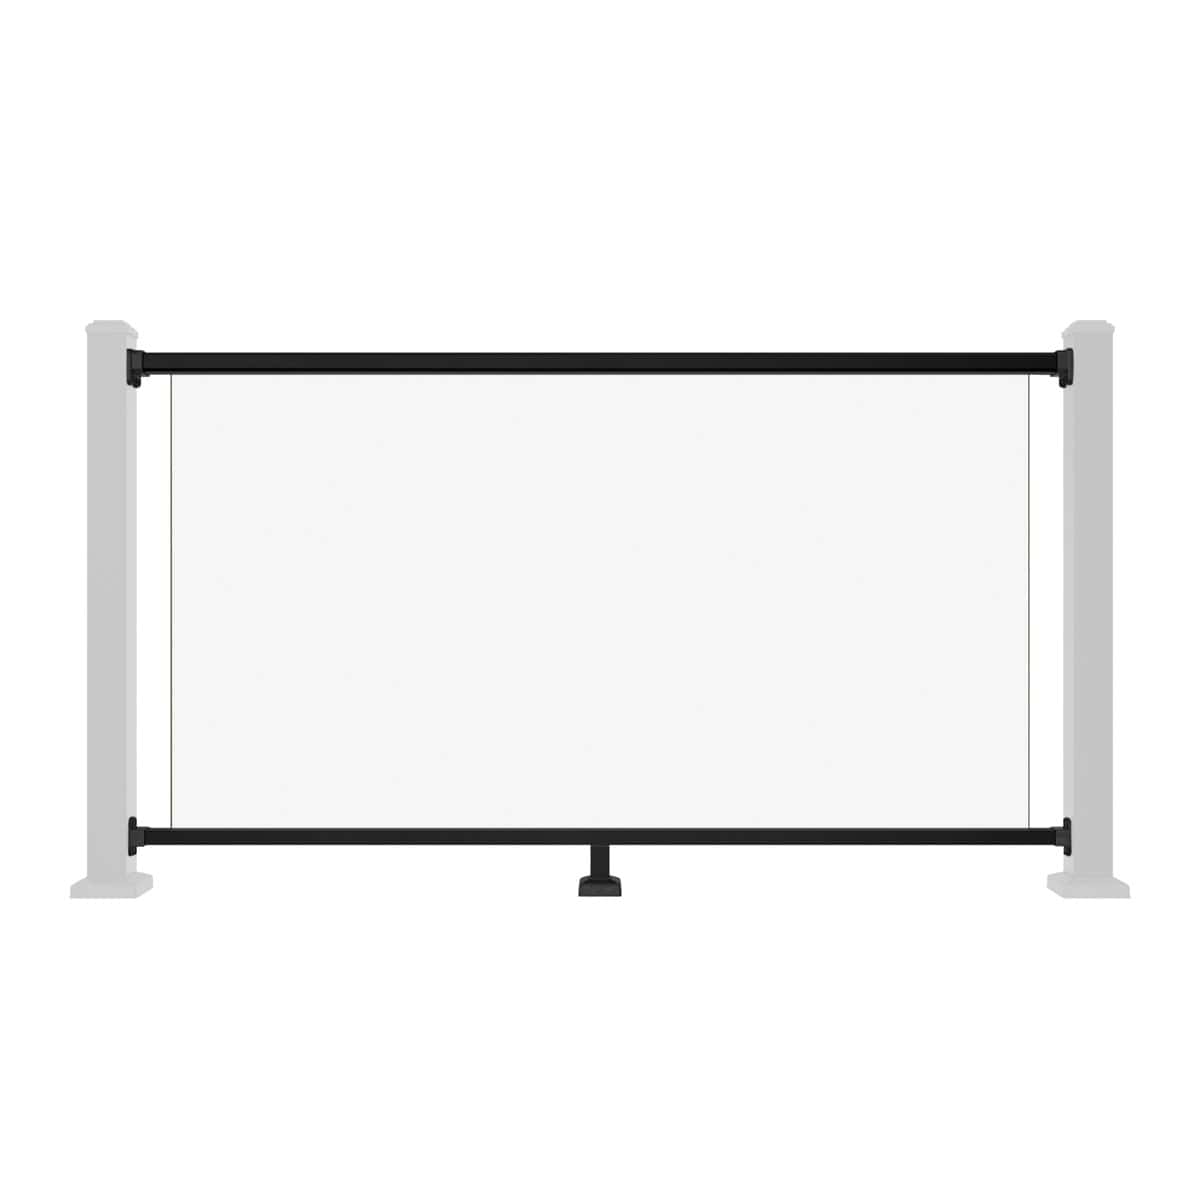
Step 3: Positioning The Rail Set For Aluminium Balustrade Screen Installation
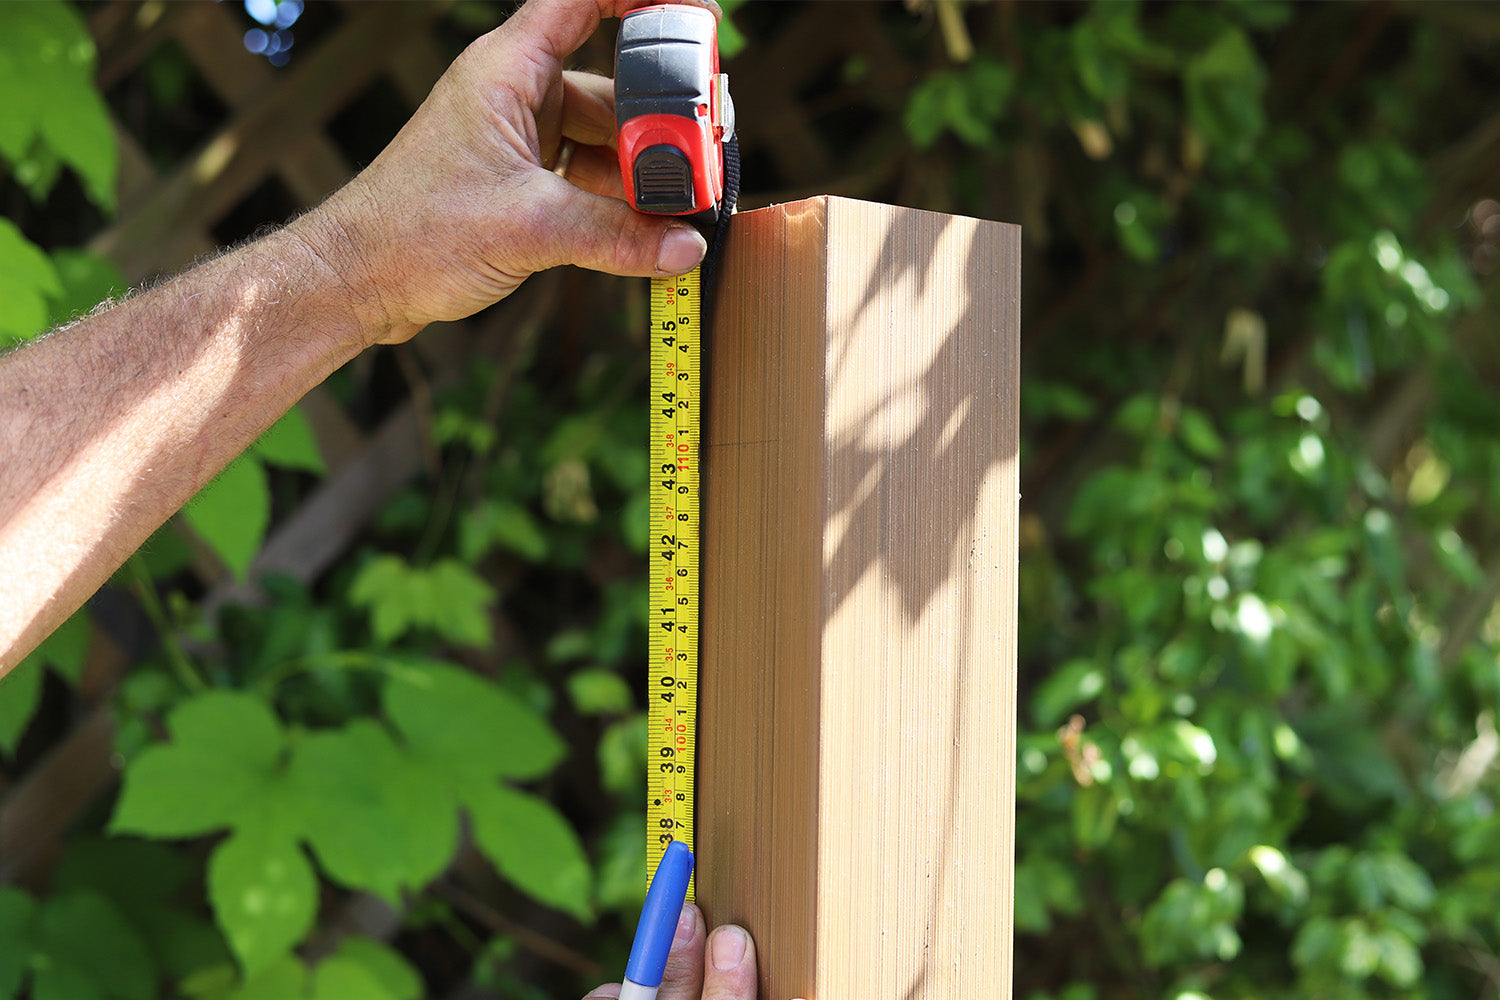
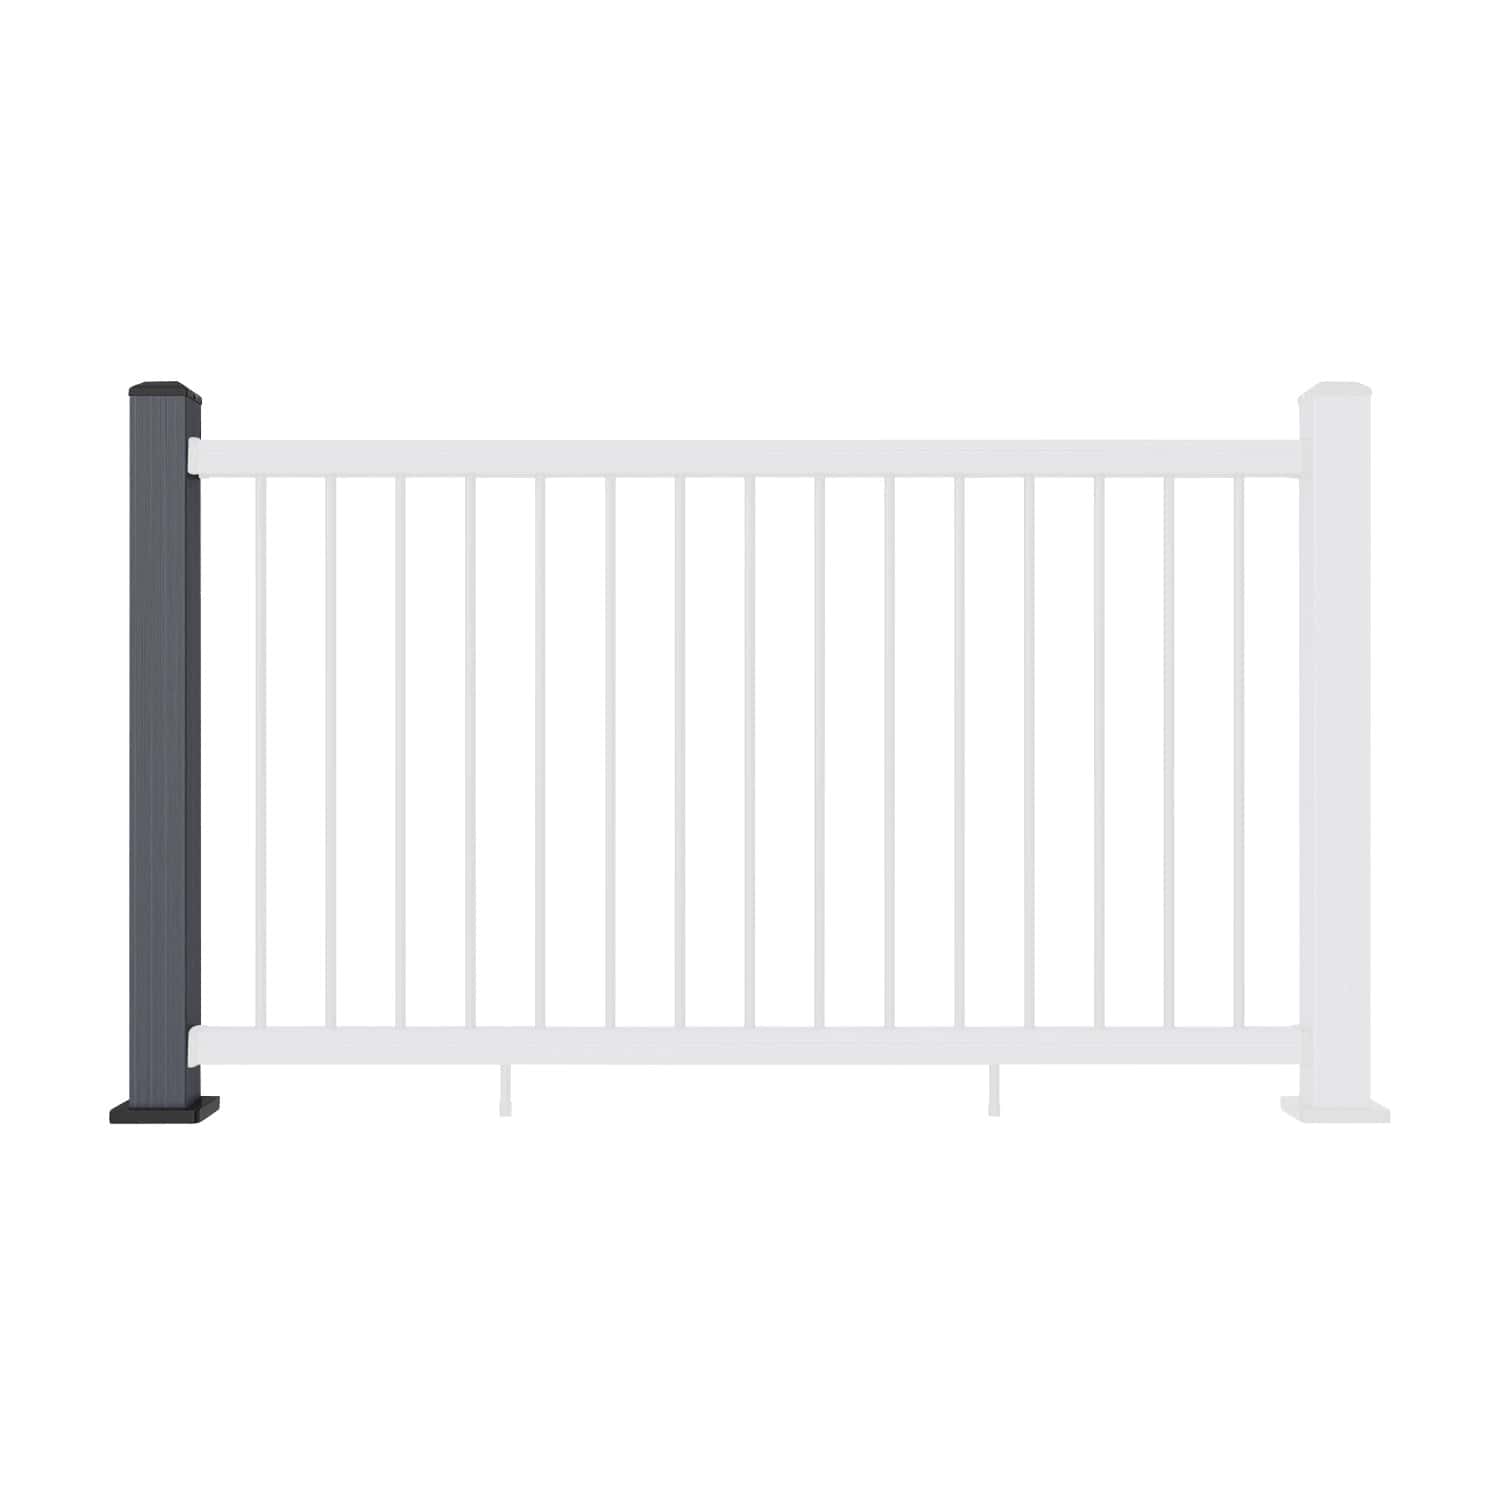
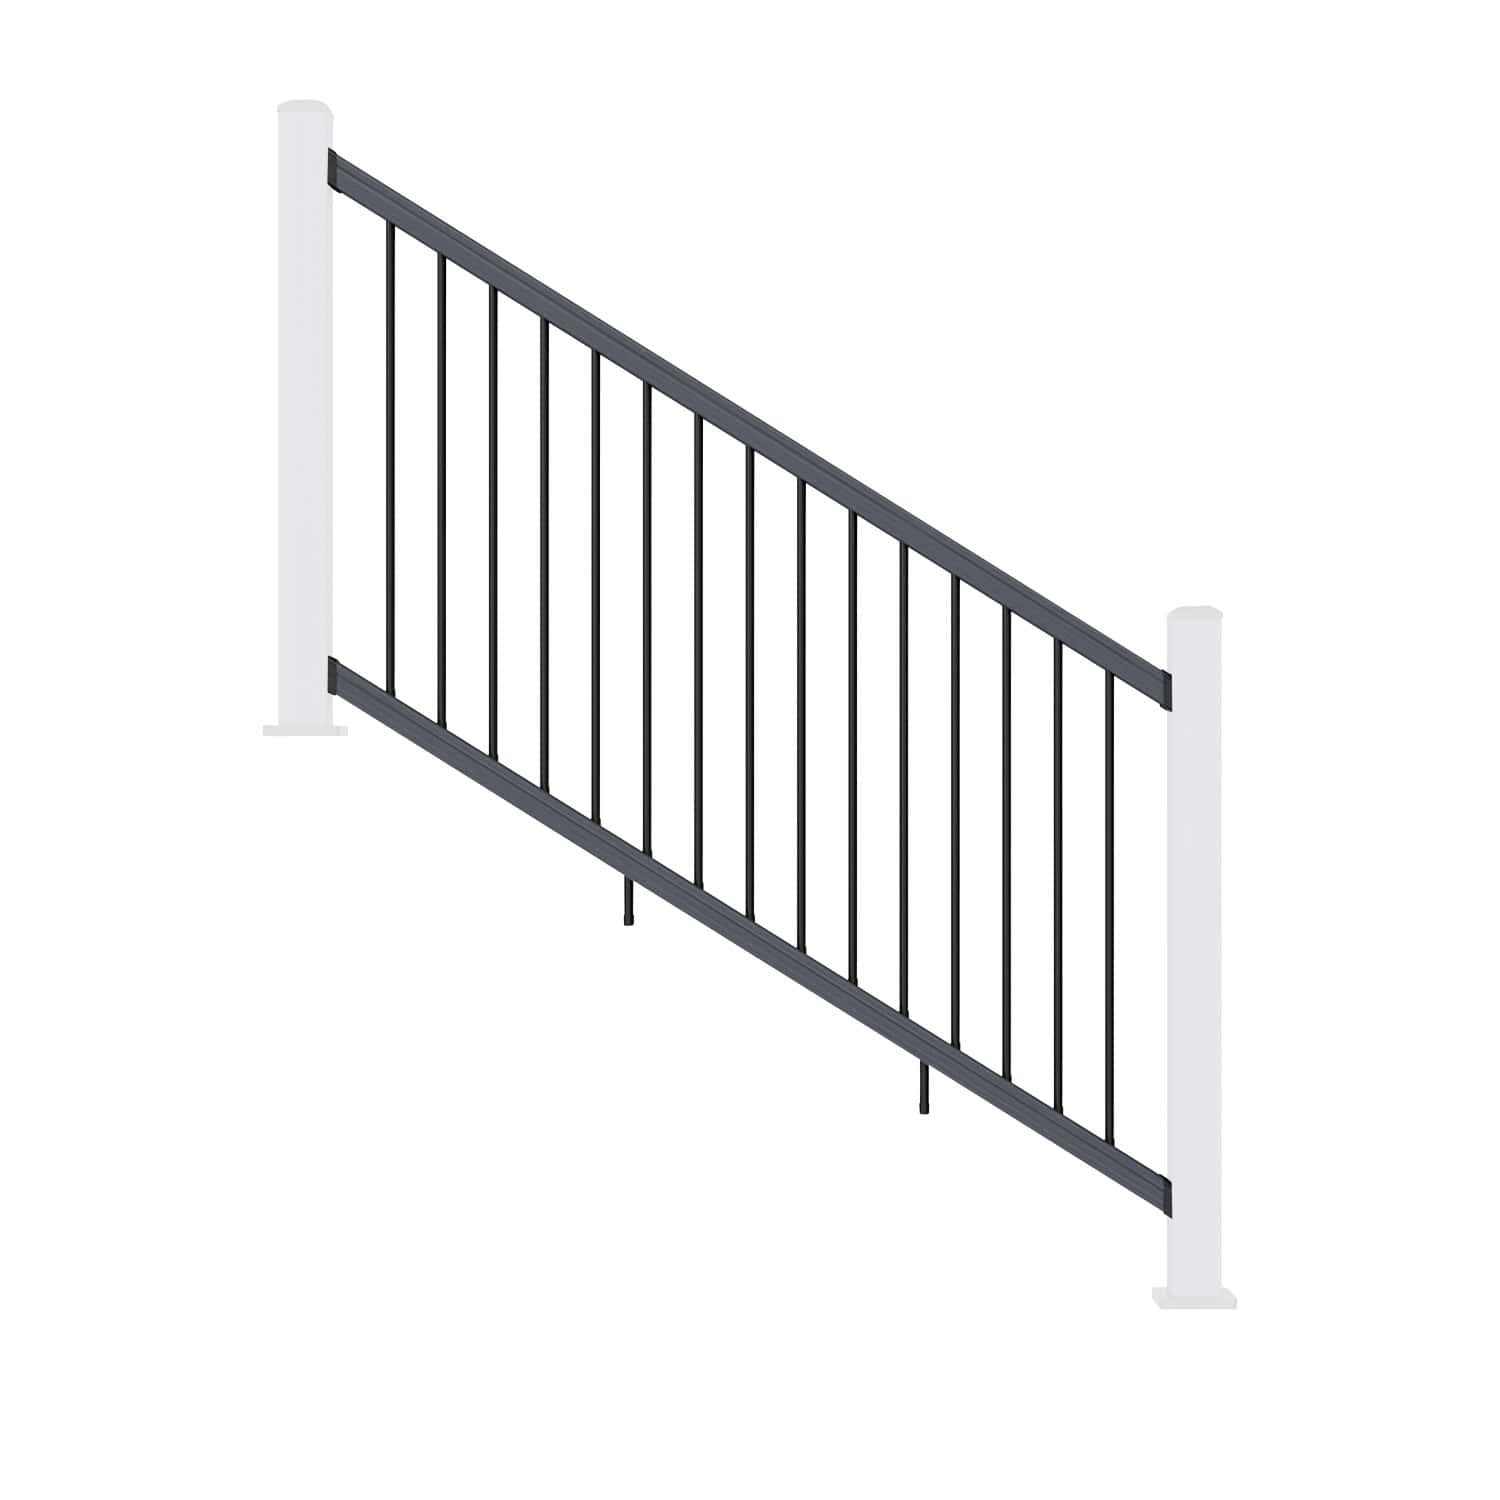
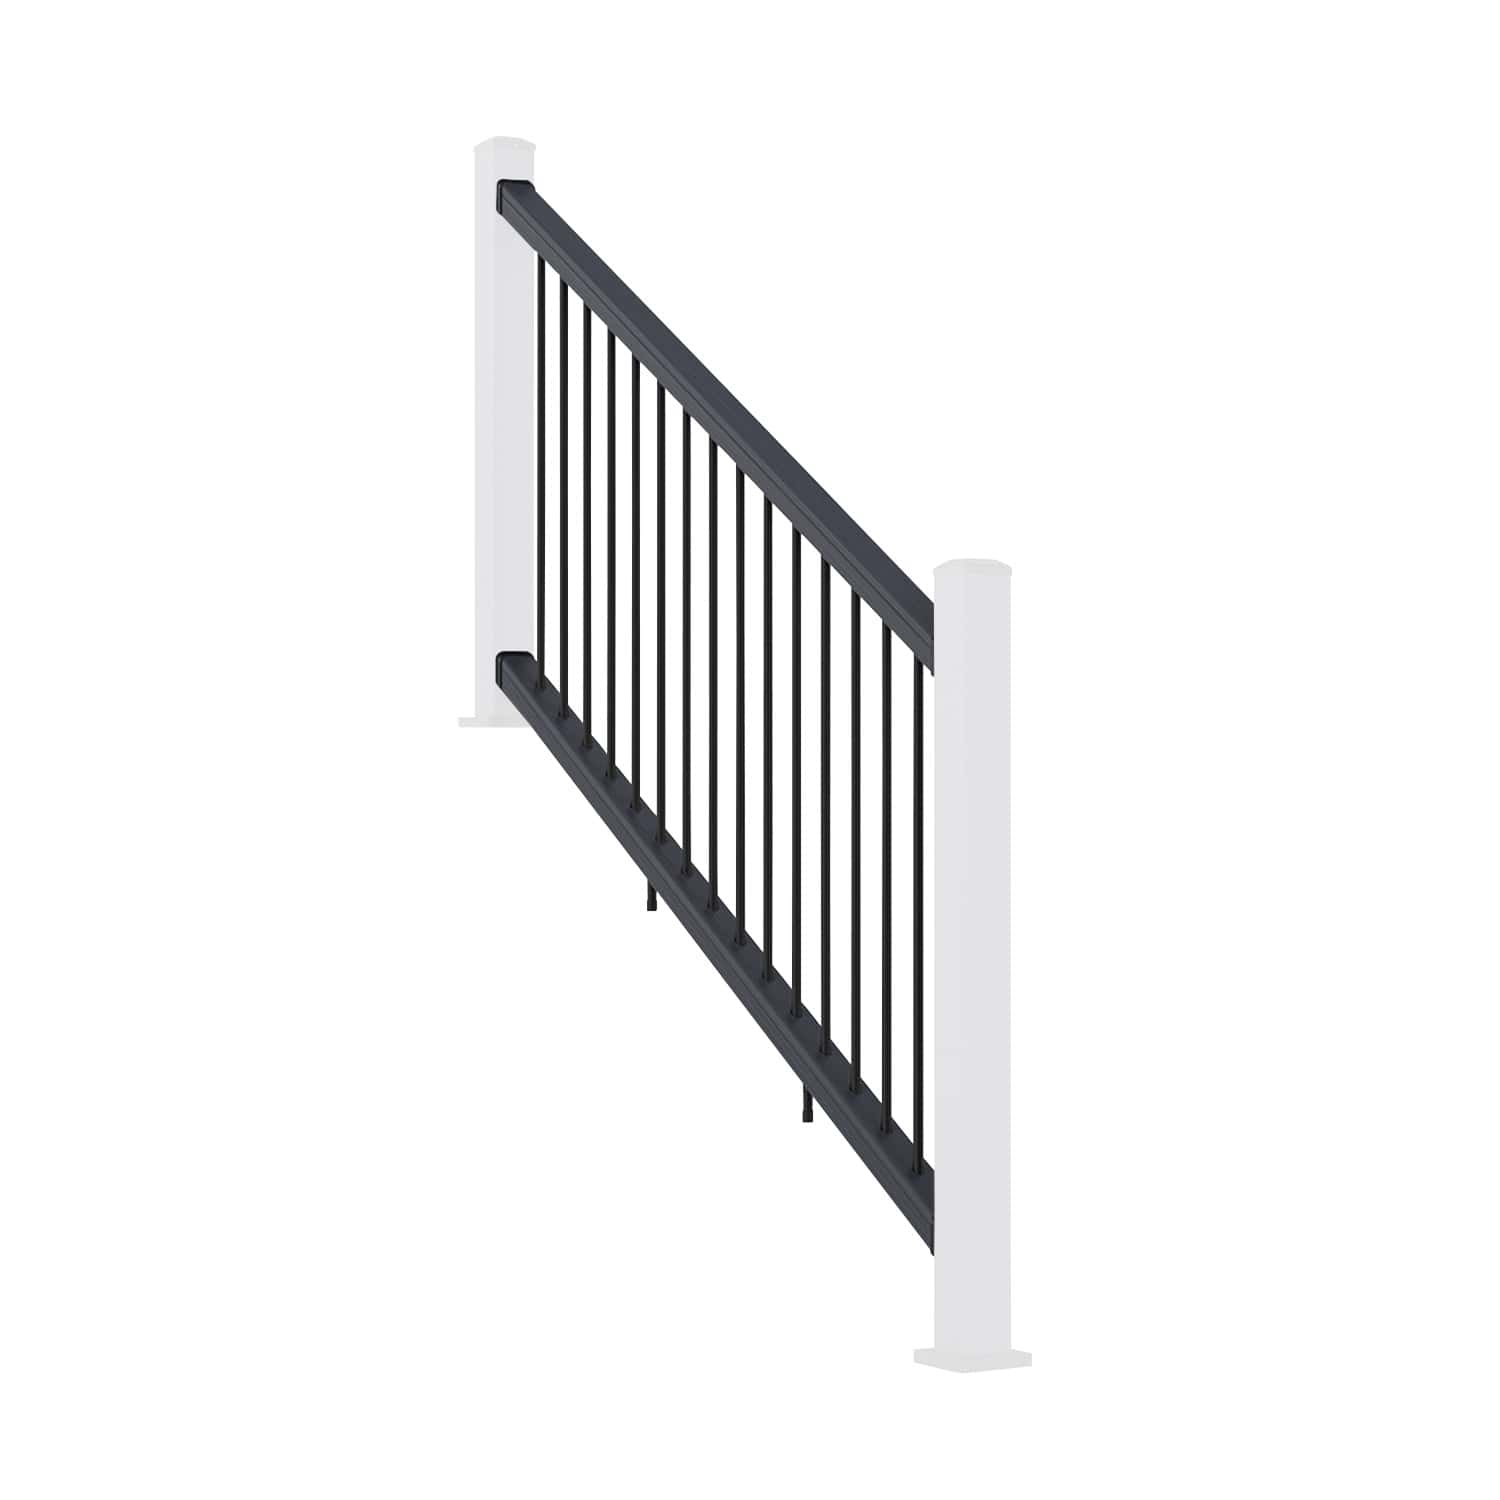
Offer the assembled rail set up between the fixed posts. The underside of the bottom rail should sit 98mm above finished floor level; the top of the handrail must sit 1,105mm above finished floor level. Confirm both heights at each post before marking any fixing positions - don't assume the floor is perfectly level.

Step 4: Fixing The Top And Bottom Rail Brackets To Posts
With the rail set at the correct height, centre each bracket on the post face and mark the screw hole positions with a pencil. Accurate bracket fixing is an important part of aluminium balustrade screen installation and helps ensure the panel remains correctly aligned once installed.
Drill at the marked positions and secure the brackets using the self-tapping screws provided. Before tightening everything fully, check that the rail set is level across both posts and sitting square.


Step 5: Final Reinforcement Screws
Once the rail set is secured and the screen panel is confirmed as correctly oriented and fully seated within both rail channels, install one additional reinforcement screw through each bracket into the top and bottom rails. These fixings are installed from the rear, non-visible side and provide additional rigidity to the completed aluminium balustrade screen installation.


Final Checks Before Completing Your Screen Railing Installation
Before signing off, work through this checklist:
- All post caps are fitted and secure
- All base cover trims are fixed with structural adhesive
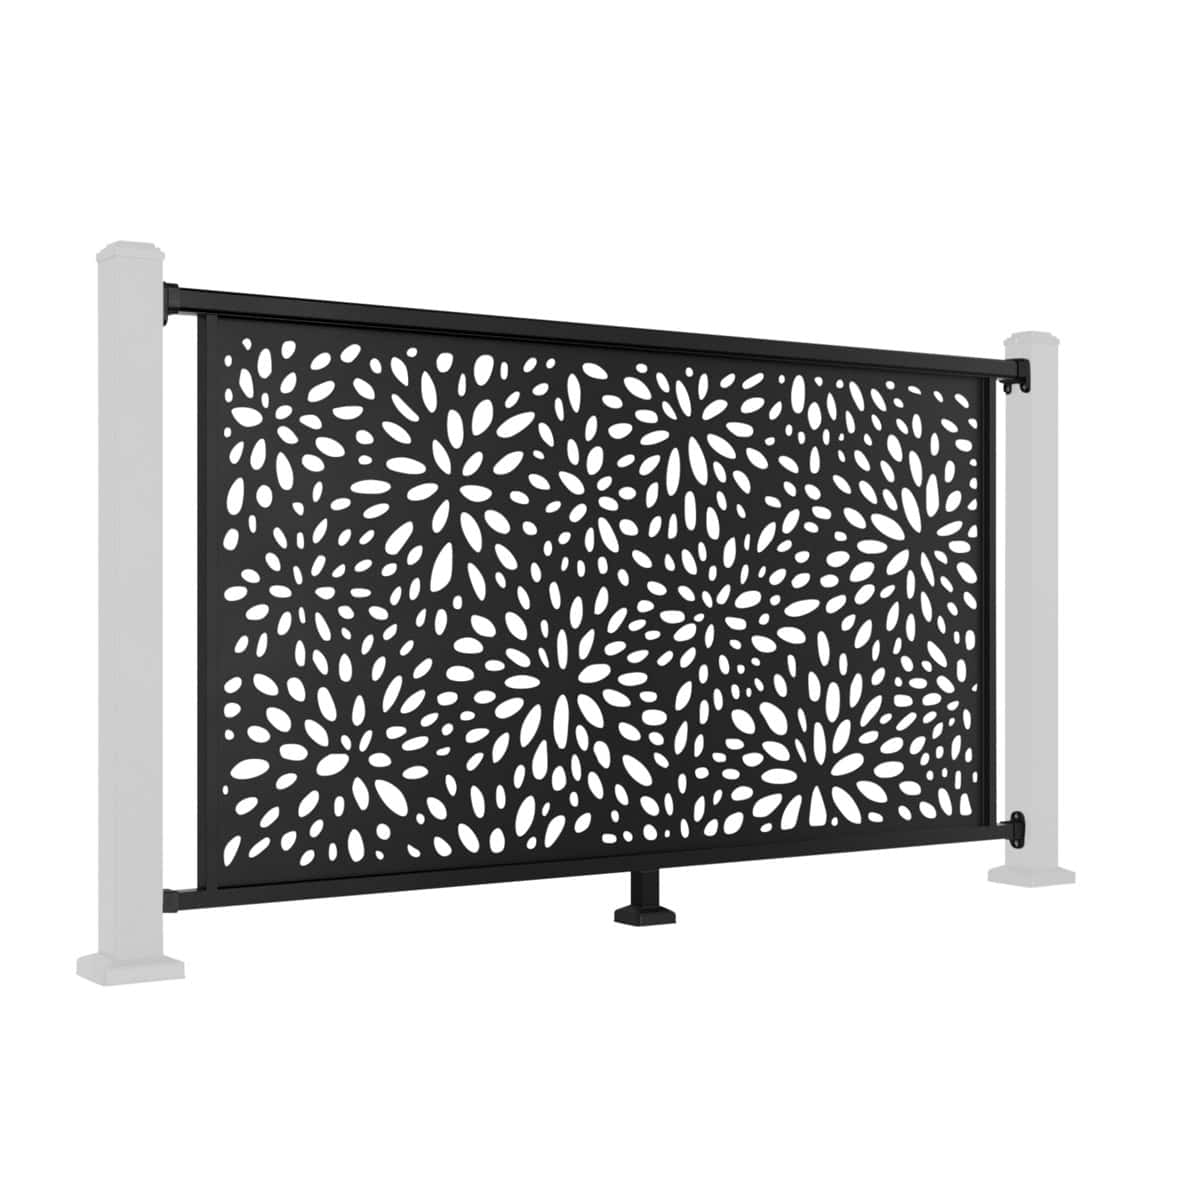
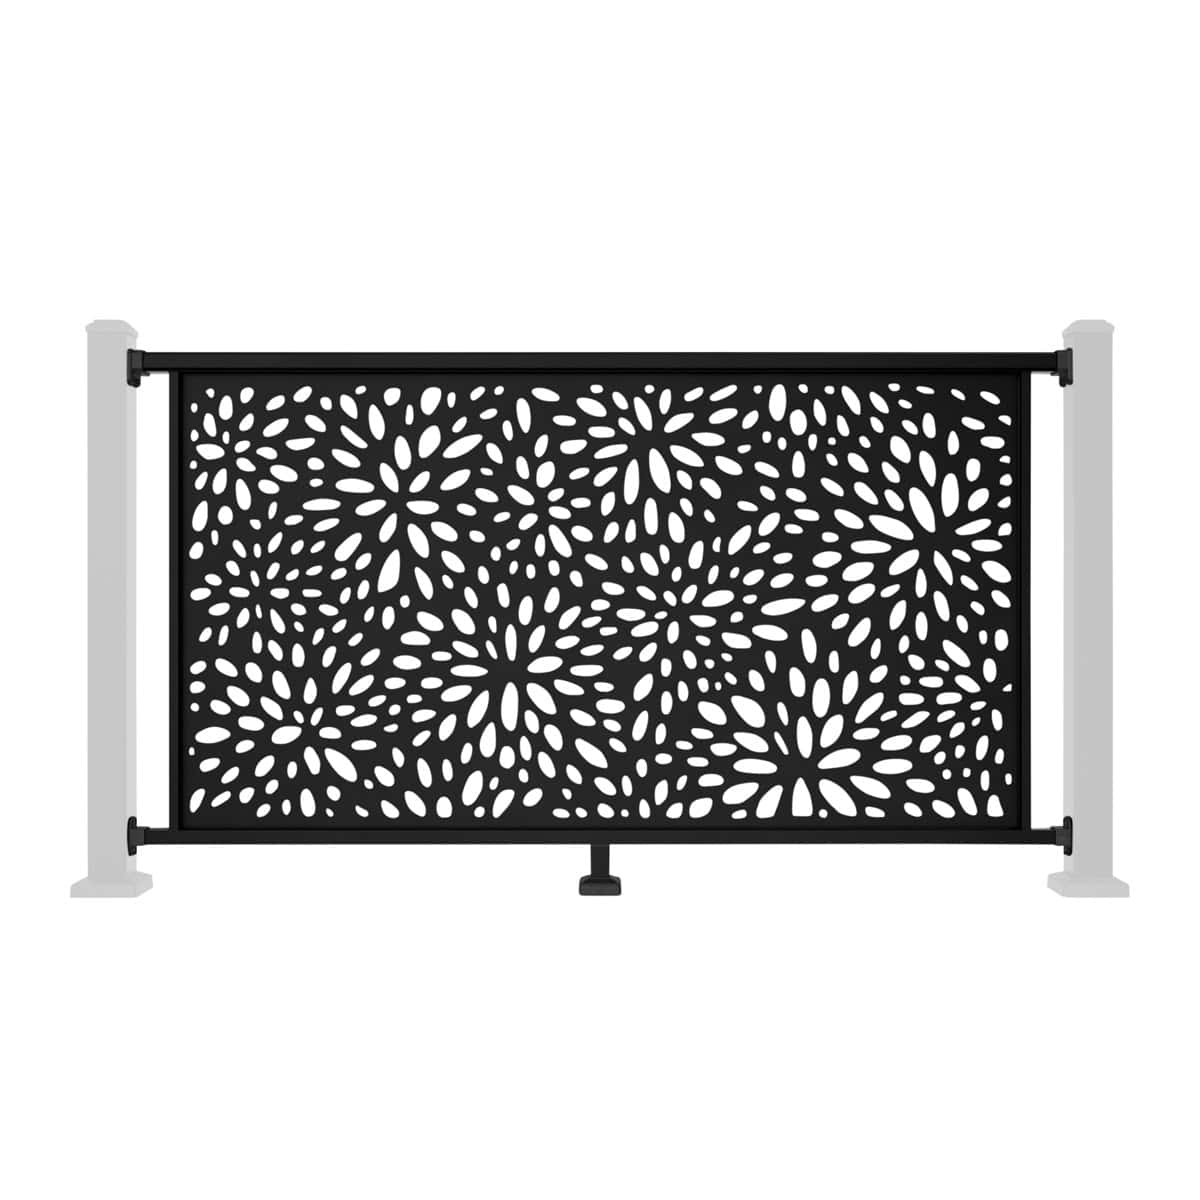
- Screen panel is correctly oriented and fully seated within both rail channels
- All bracket fixings are tightened
- Rail set is level and stable under light lateral load
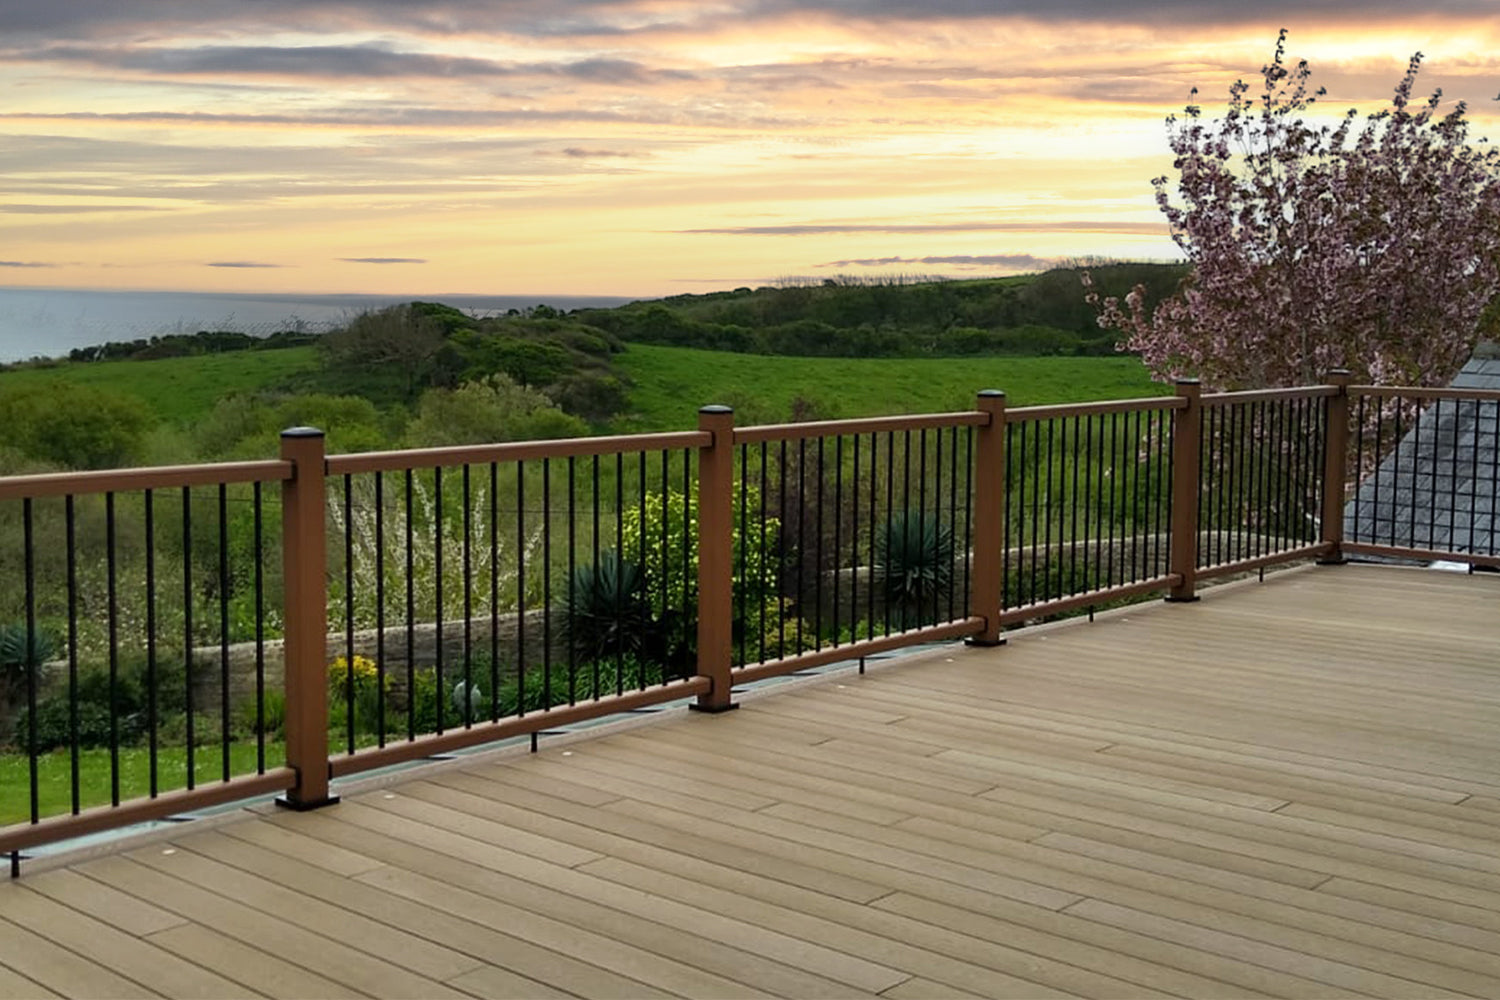
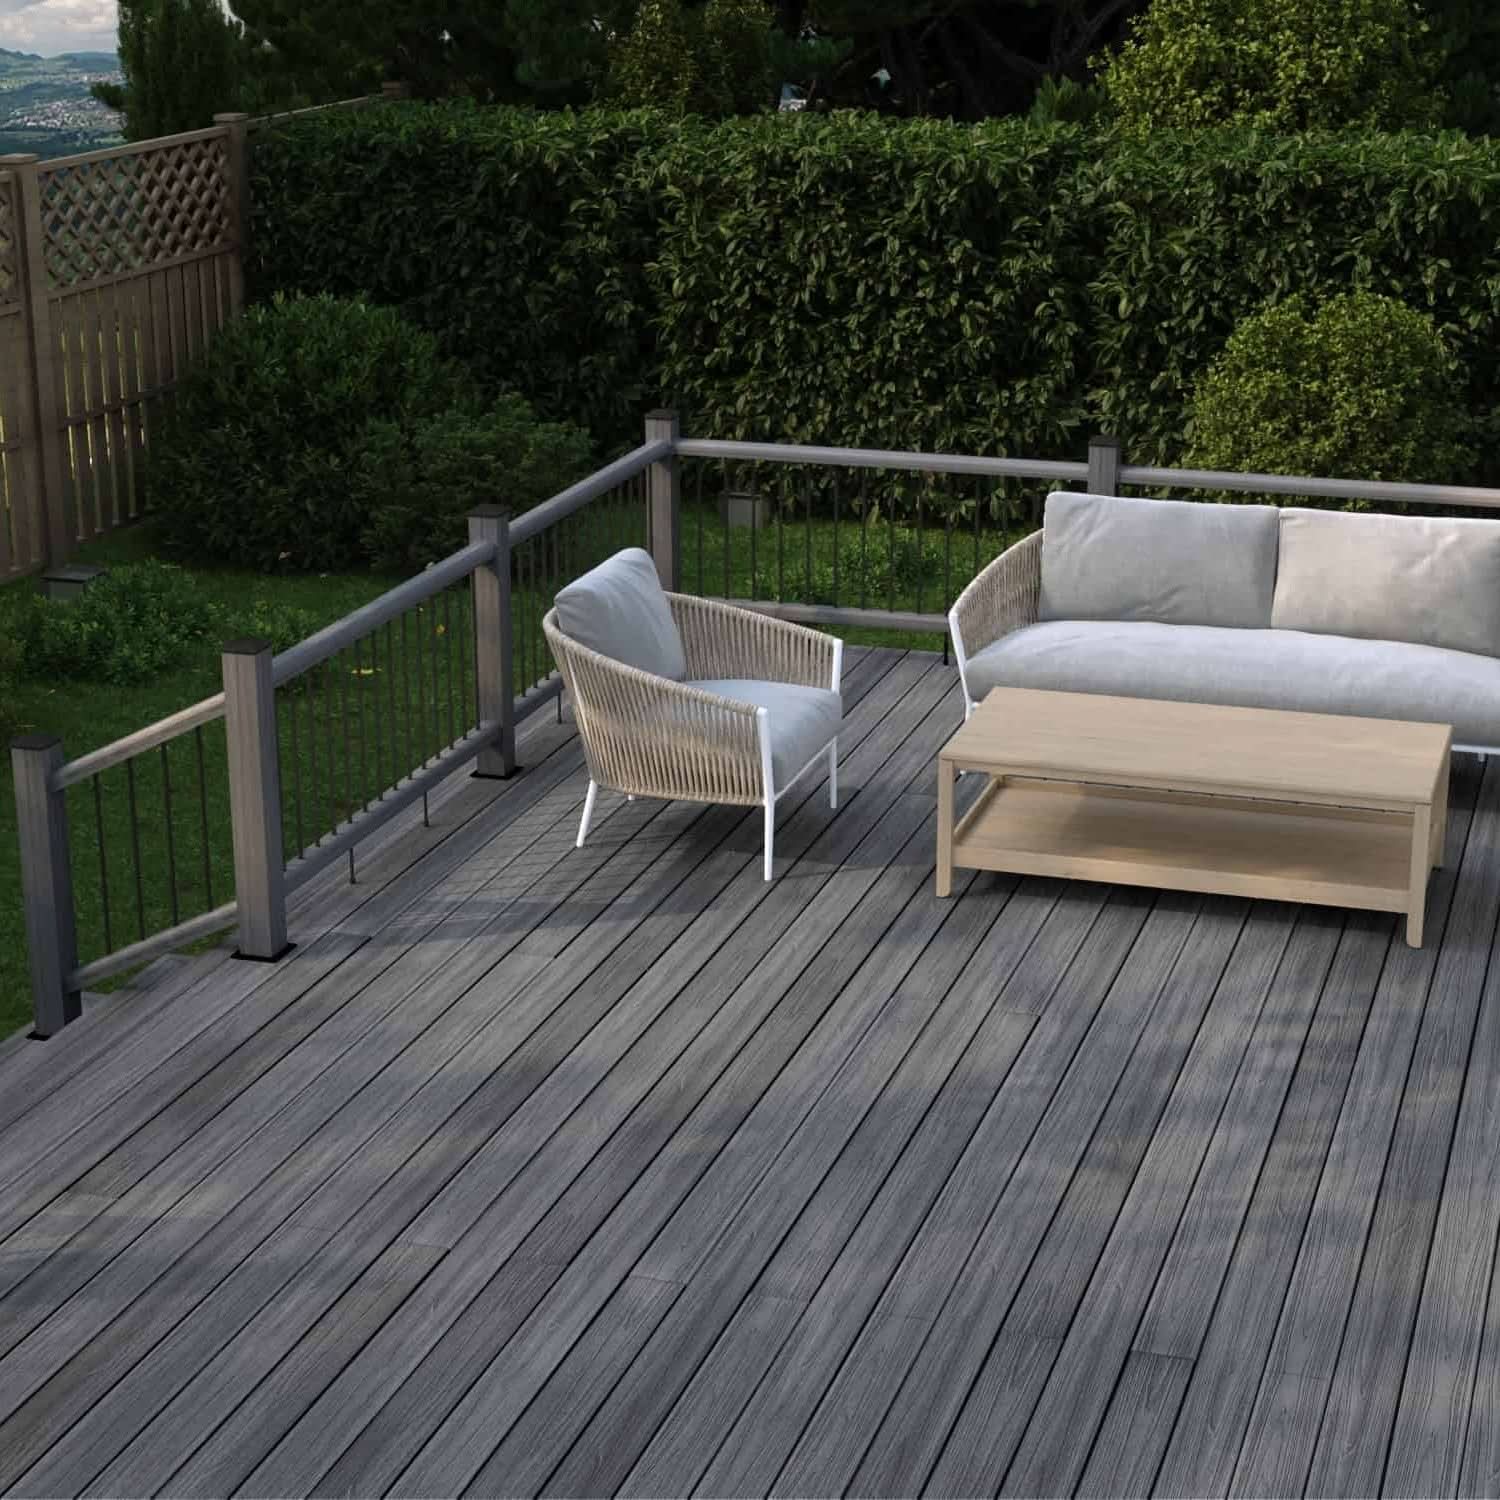
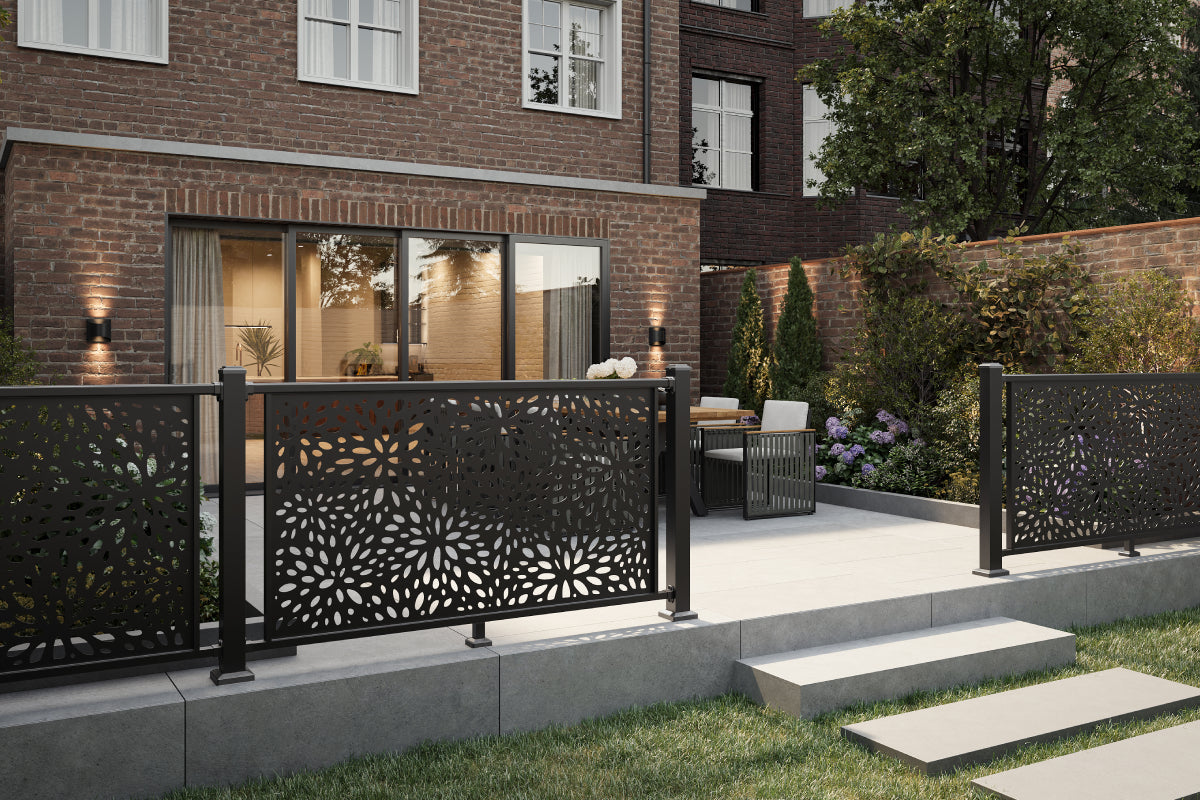
If everything checks out, your aluminium balustrade screen installation is complete. Correctly installed aluminium balustrade screen railings provide a secure, low-maintenance and contemporary boundary suitable for decks, patios and balconies.