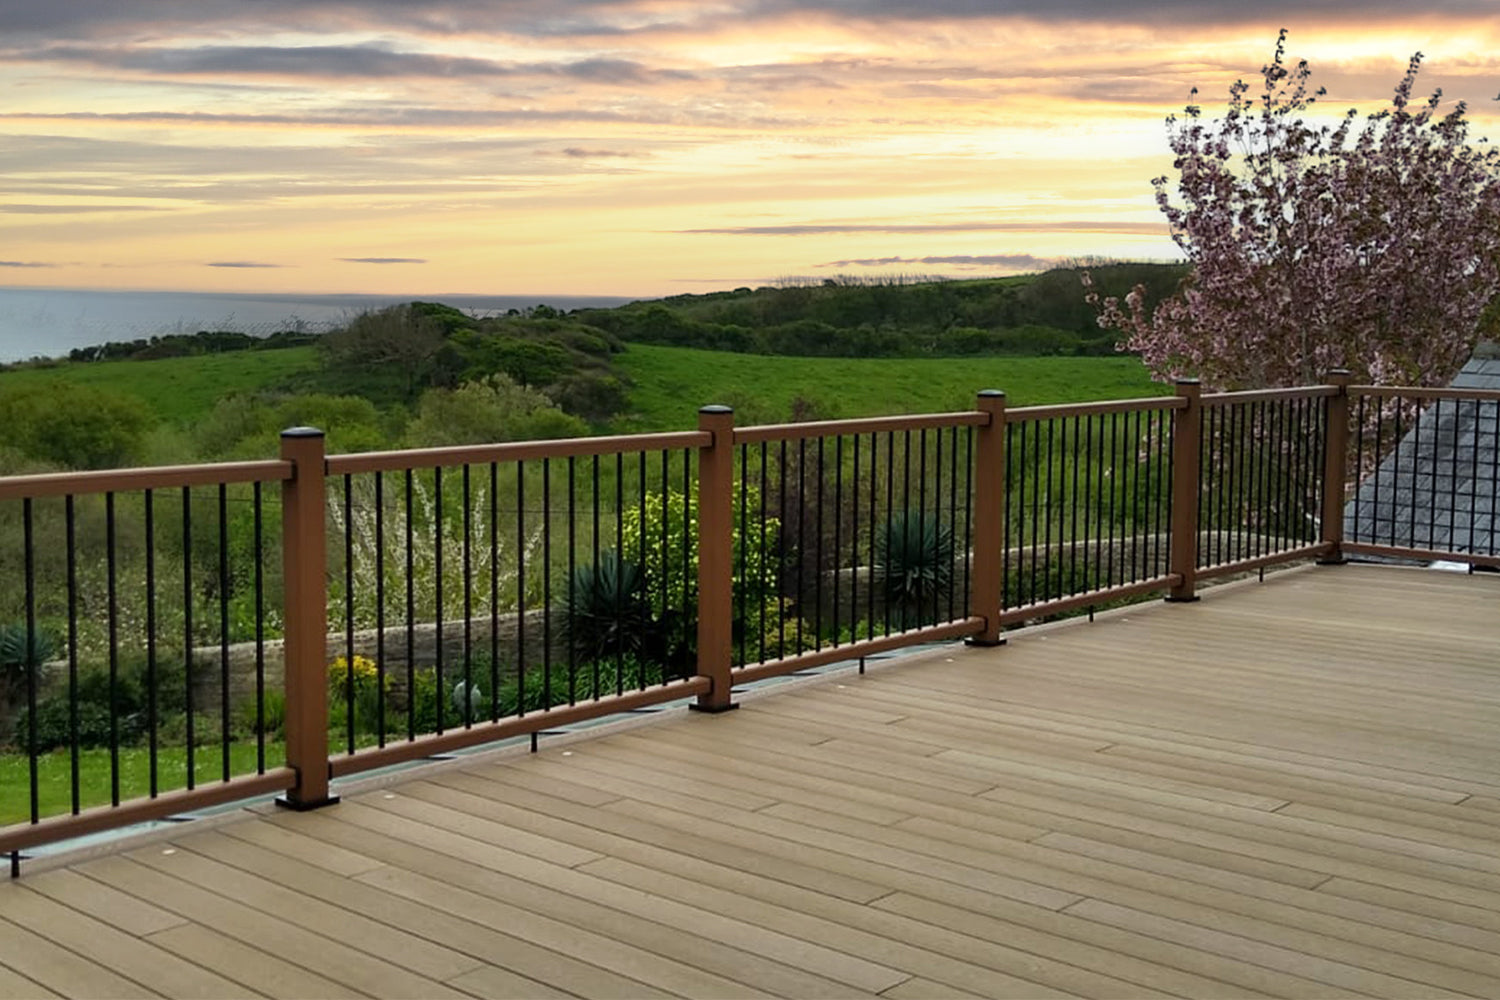


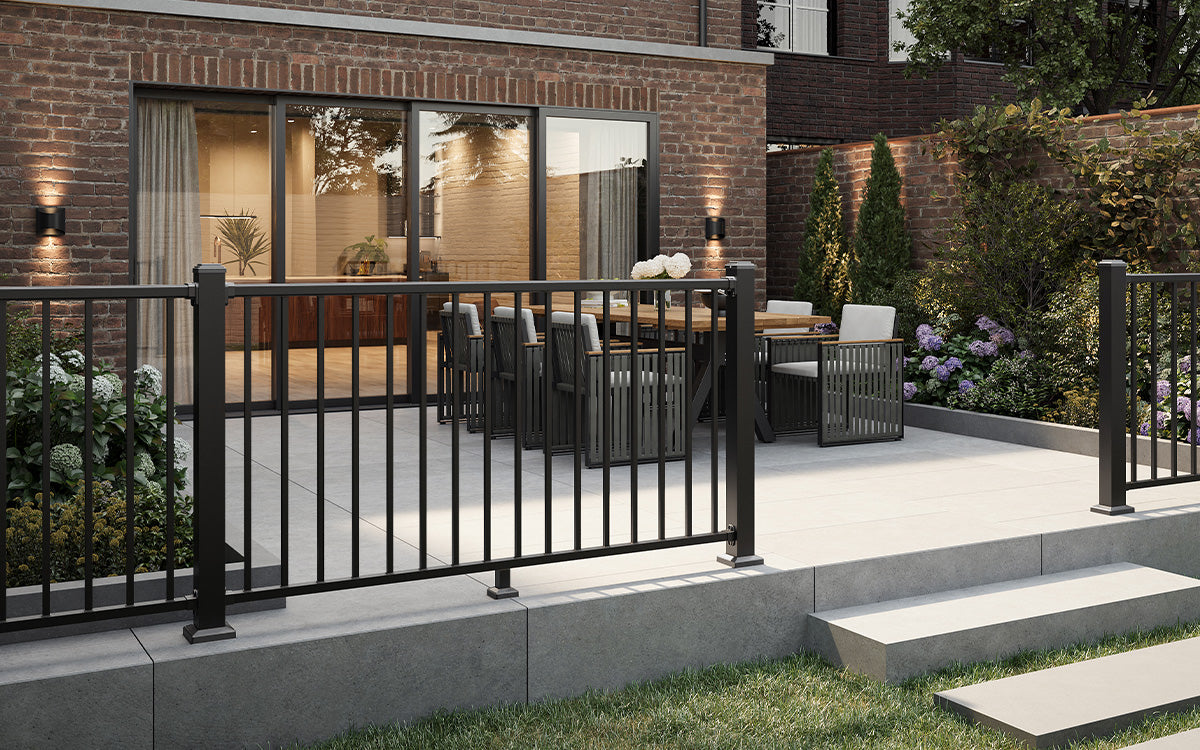
How To Install Aluminium Balustrade Spindle Railings Step By Step
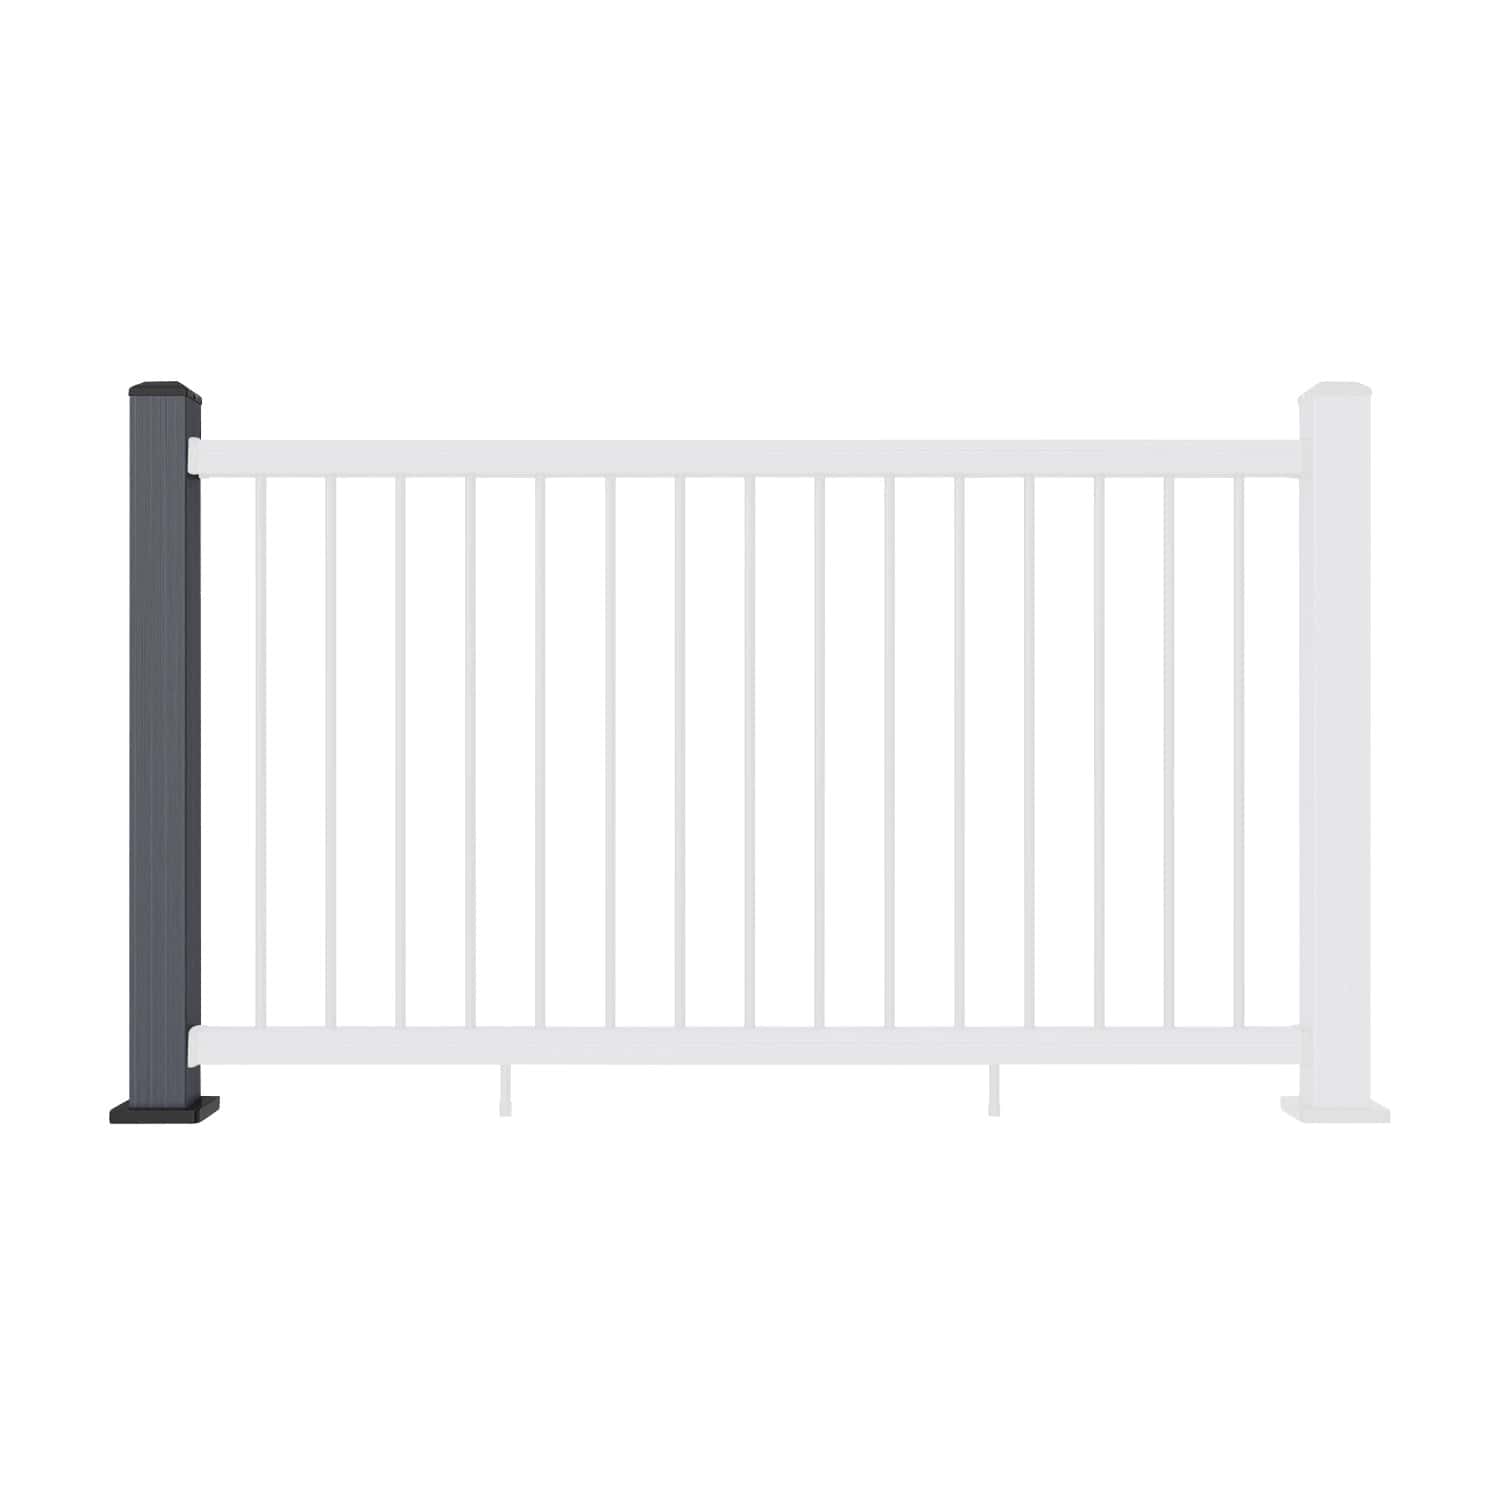
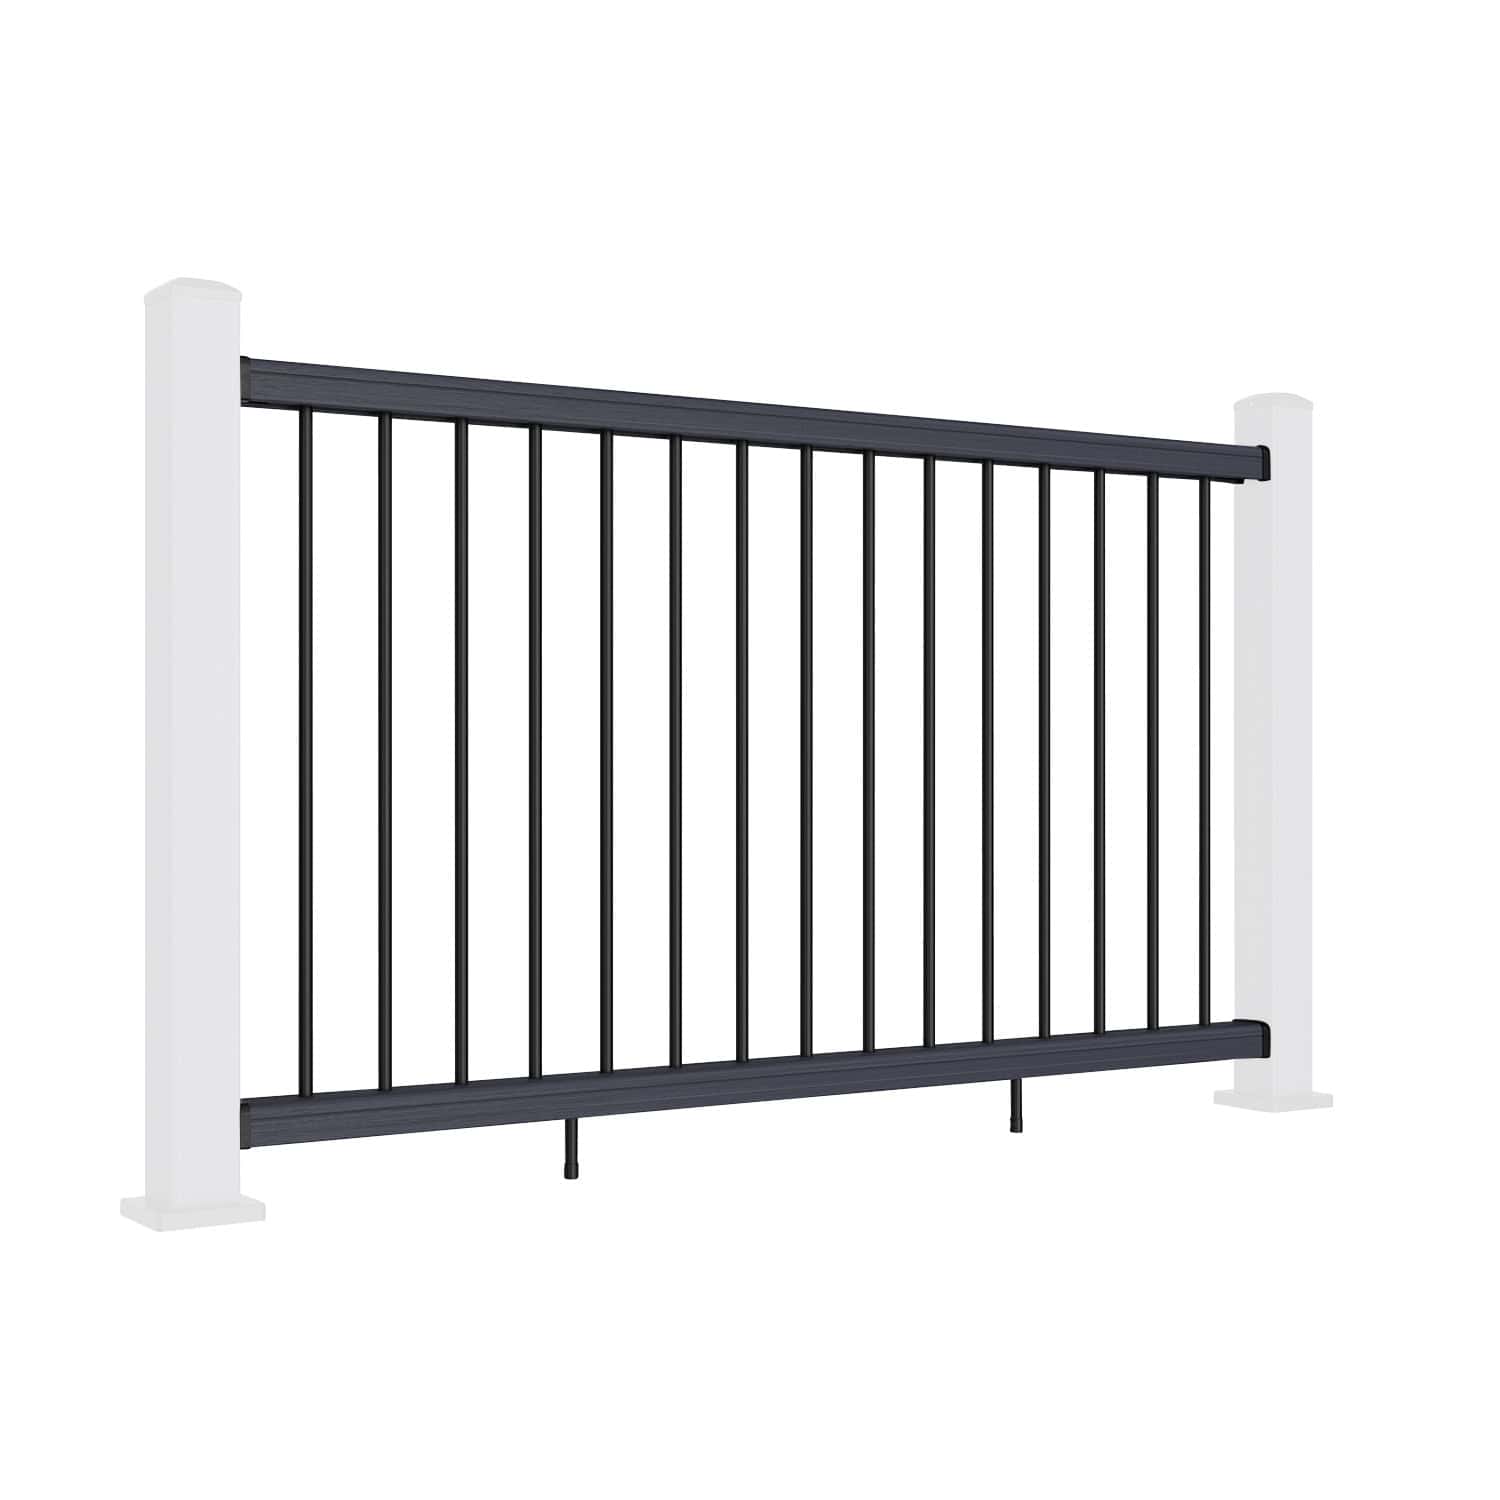
With every post fixed, plumb and square, you are ready to begin the aluminium balustrade spindle installation. This stage involves fitting the rails, spindles and support components to create a secure, attractive and fully compliant balustrade system.
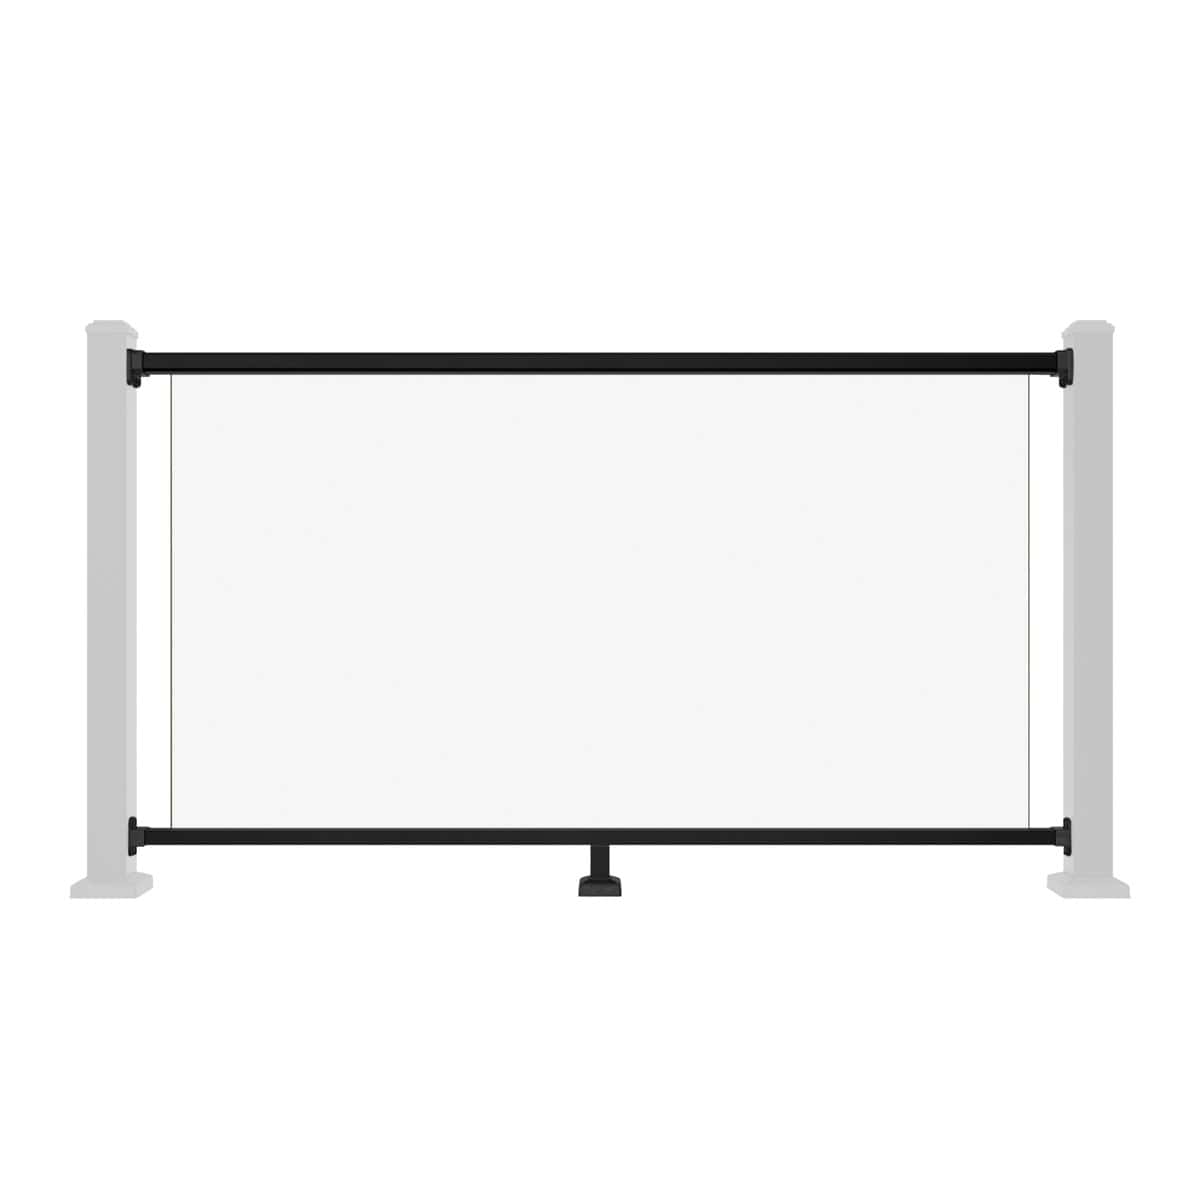
If you are researching how to install aluminium balustrade spindle railings, following the correct installation sequence is essential. The bottom rail and foot blocks are installed first to establish accurate spindle positioning, while the top handrail is fitted later to complete the system. Work through each step in order and do not move on until the current step is complete.
This guide explains how to install aluminium balustrade spindle railings using the NeoTimber® system. Follow the steps below for both straight and stair installations to achieve a professional and long-lasting result.
Straight Railing Installation
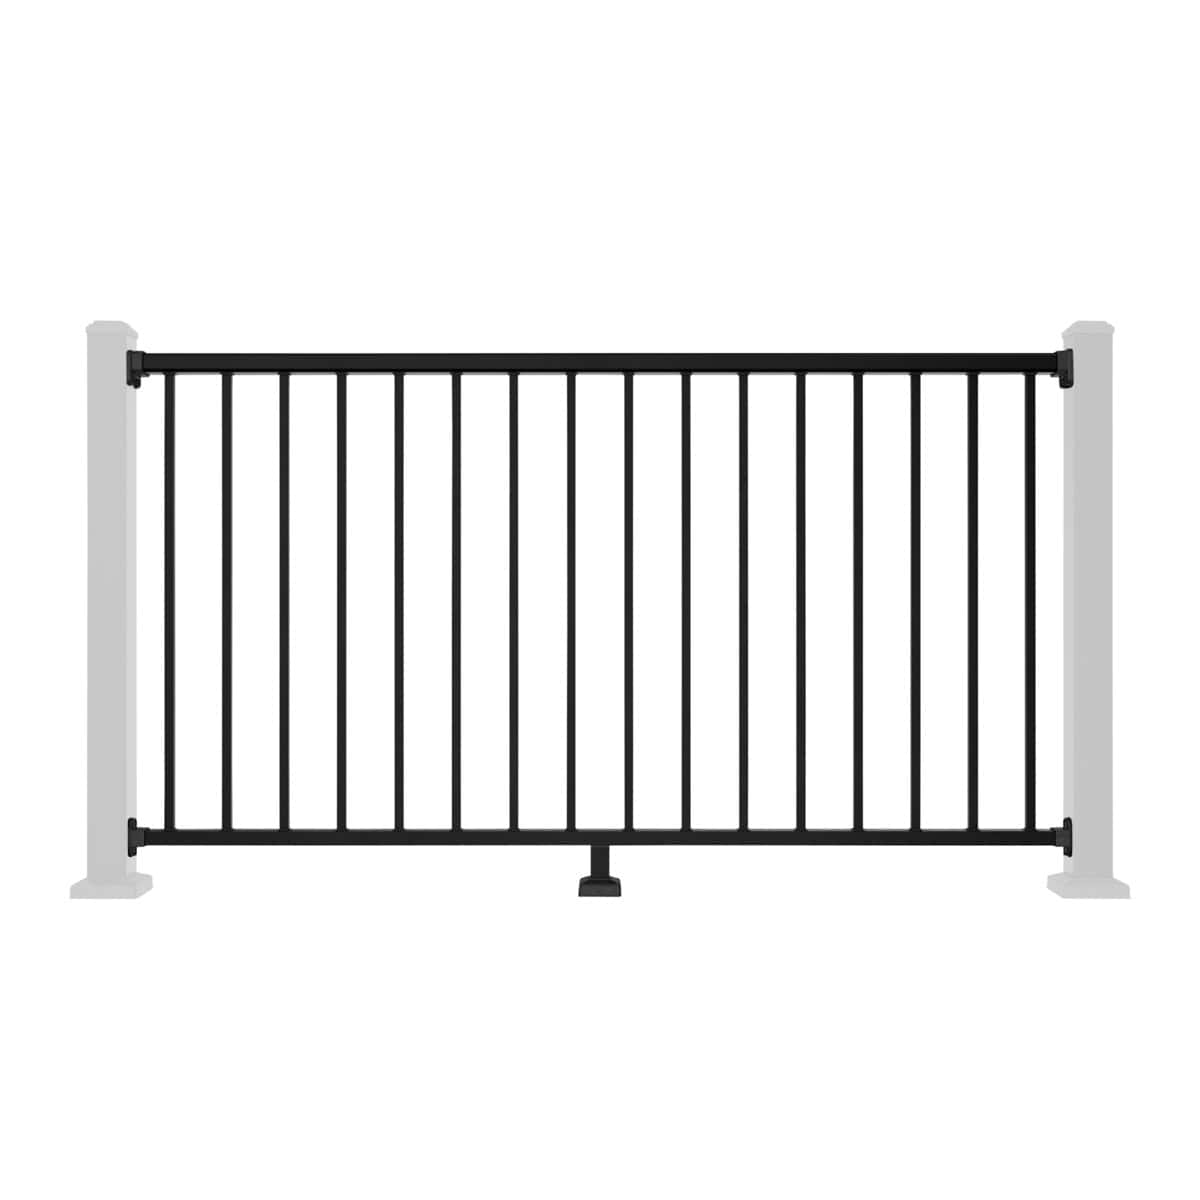
Step 1: Attaching Foot Blocks To The Bottom Rail
Before the rail set goes anywhere near the posts, fix the foot blocks to the bottom rail on the ground. Mark the foot block connector fixing position on the underside of the bottom rail, pre-drill the marked hole, and secure the foot block connector using the screws provided. This step must be completed before the rail set is offered into position between the posts.


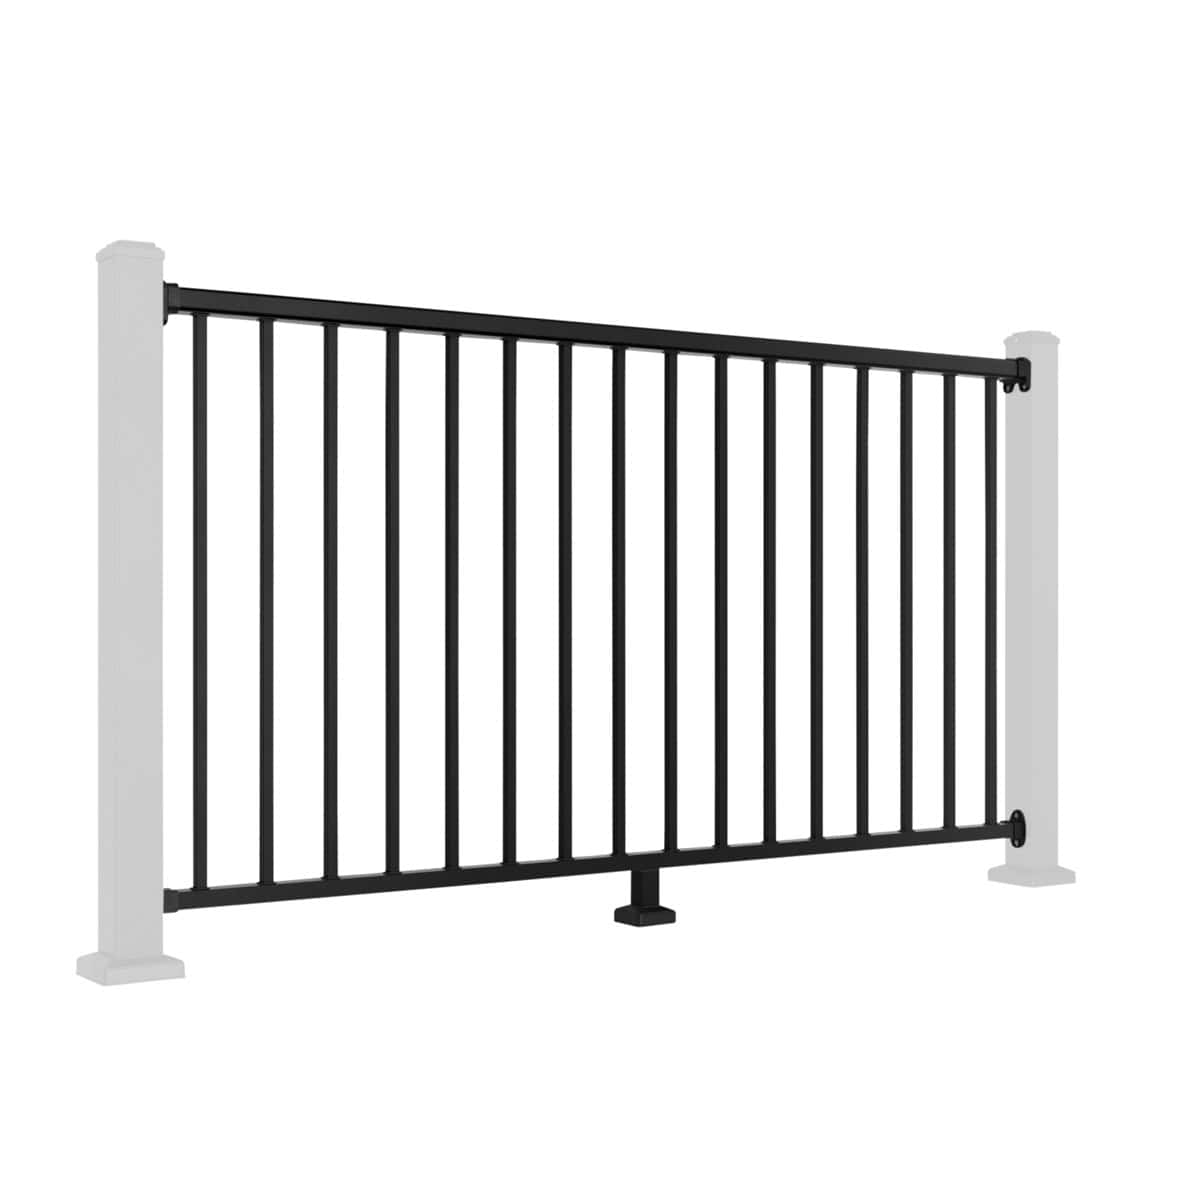
Step 2: Installing Rail Brackets For Aluminium Balustrade Spindle Installation
Using the paper setting-out template supplied with the system, mark the correct fixing positions for the top and bottom rail brackets on the posts. Pre-drill the fixing holes at the marked positions and secure the brackets using the fixings provided.


With the brackets fixed, position the bottom rail into the bottom post connectors. Confirm the foot block is in full contact with the deck surface before proceeding.
Step 3: Installing Spindles Into The Bottom Rail
With the bottom rail correctly positioned and supported, insert each spindle downward into its pre-drilled hole in the bottom rail. Work along the rail in sequence and make sure every spindle is fully seated before moving on. Do not proceed to the next step until all spindles are inserted and correctly positioned.

Step 4: Connecting Spindles To The Top Handrail
Once all spindles are positioned within the bottom rail, connect them to the top handrail. Correct spindle alignment is a key part of aluminium balustrade spindle installation and ensures the completed railing section remains visually consistent and structurally secure.
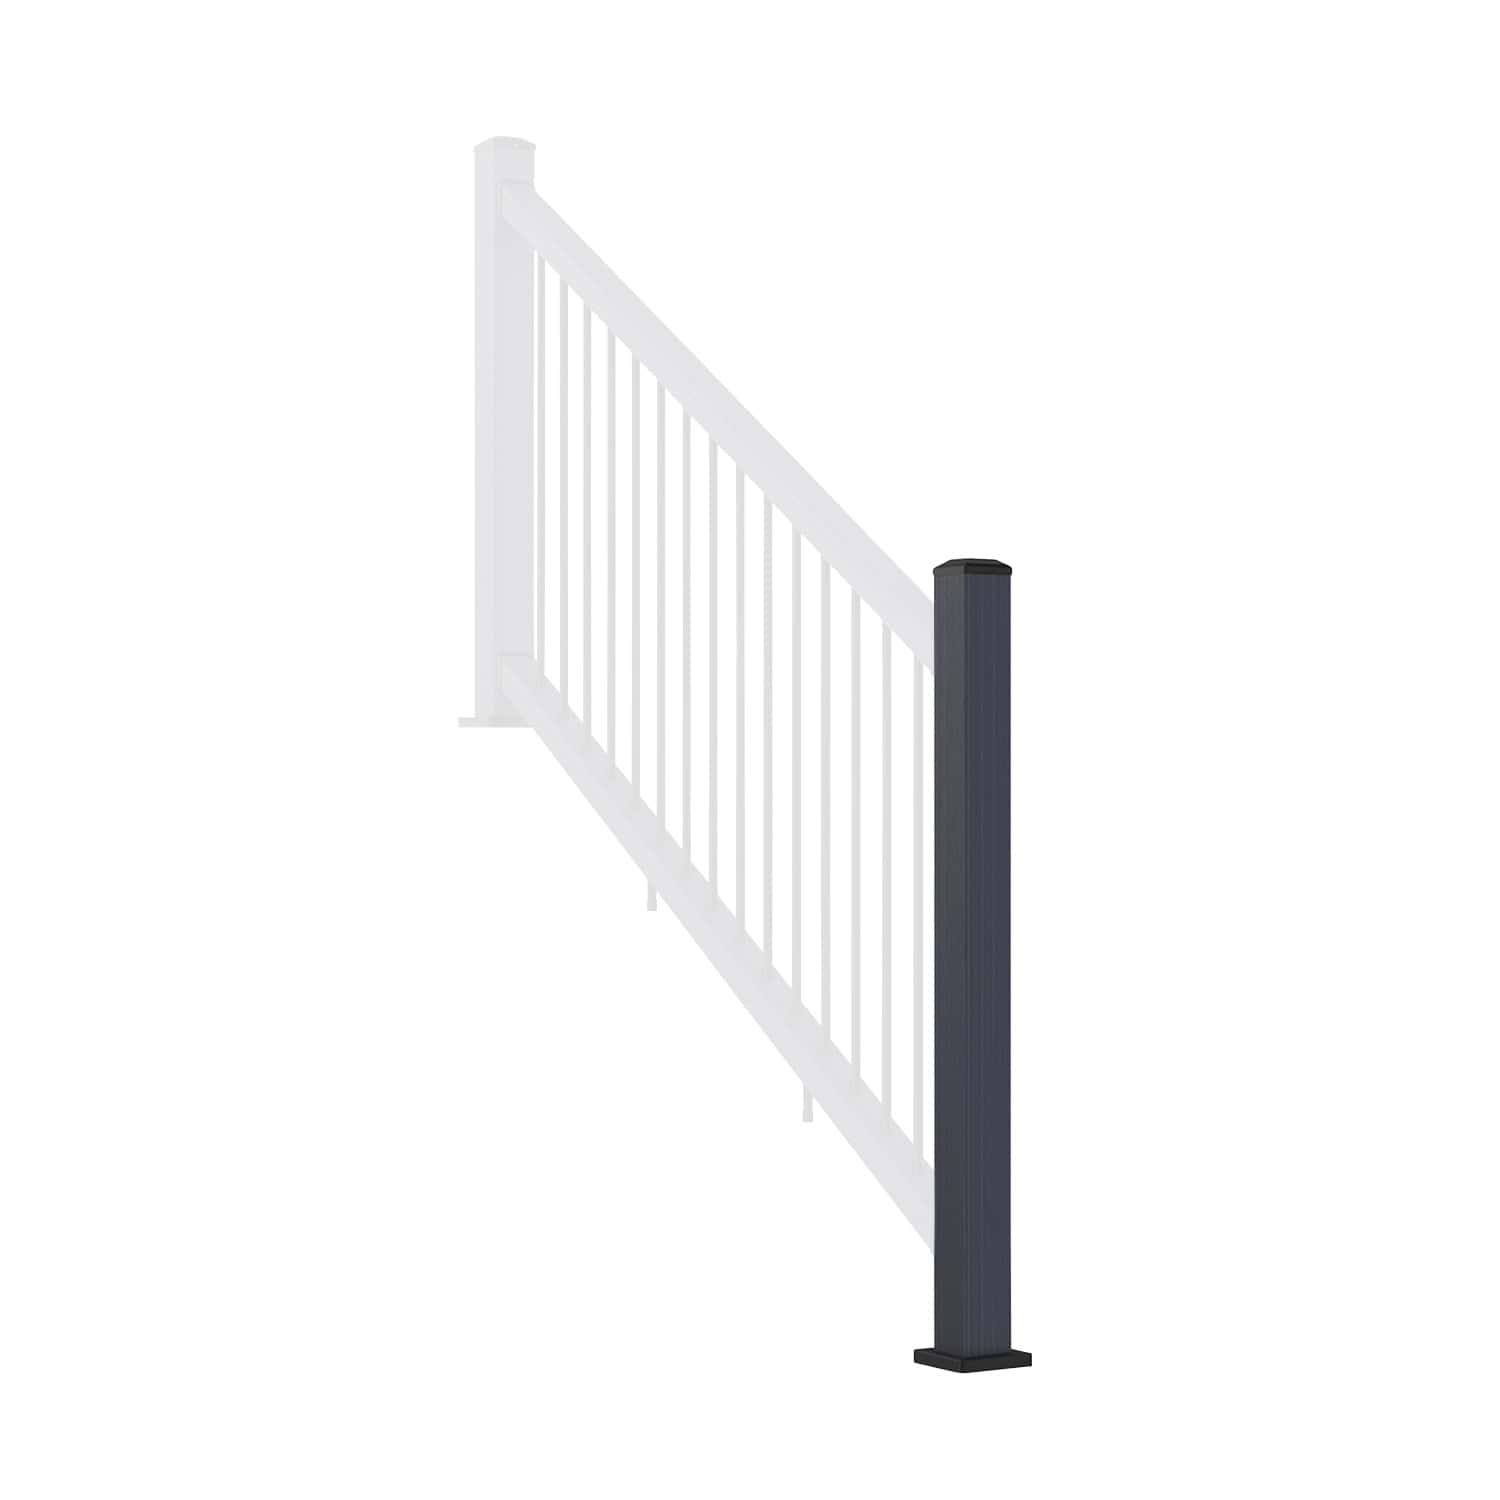
Insert the top end of each spindle up into the corresponding pre-drilled hole in the top handrail. Slide one end of the assembled handrail fully into the top bracket on the fixed post.

With that end engaged, gently flex the opposite post outward. The base plate screws on this post should not yet be fully tightened, allowing enough clearance to slide the other end of the handrail fully into its top bracket. Once both ends are engaged, tighten all base plate screws fully.
Step 5: Final Reinforcement Screws
Once the railing section is securely installed with all spindles engaged and both rails correctly seated in their brackets, install one additional reinforcement screw through each bracket into the top and bottom rails from the rear, non-visible side. These fixings provide additional rigidity and help complete the aluminium balustrade spindle installation.


Carry out a final check that all spindles are plumb, evenly spaced and fully seated in both rails, and that the completed installation is stable under light lateral load.
Final Checks Before Completing Your Spindle Railing Installation
- All post caps are fitted and secure
- All base cover trims are fixed with structural adhesive
- All spindles are plumb, evenly spaced and fully seated in both rails
- All bracket and base plate fixings are fully tightened
- Handrail is level across both posts
- Railing is stable under light lateral load
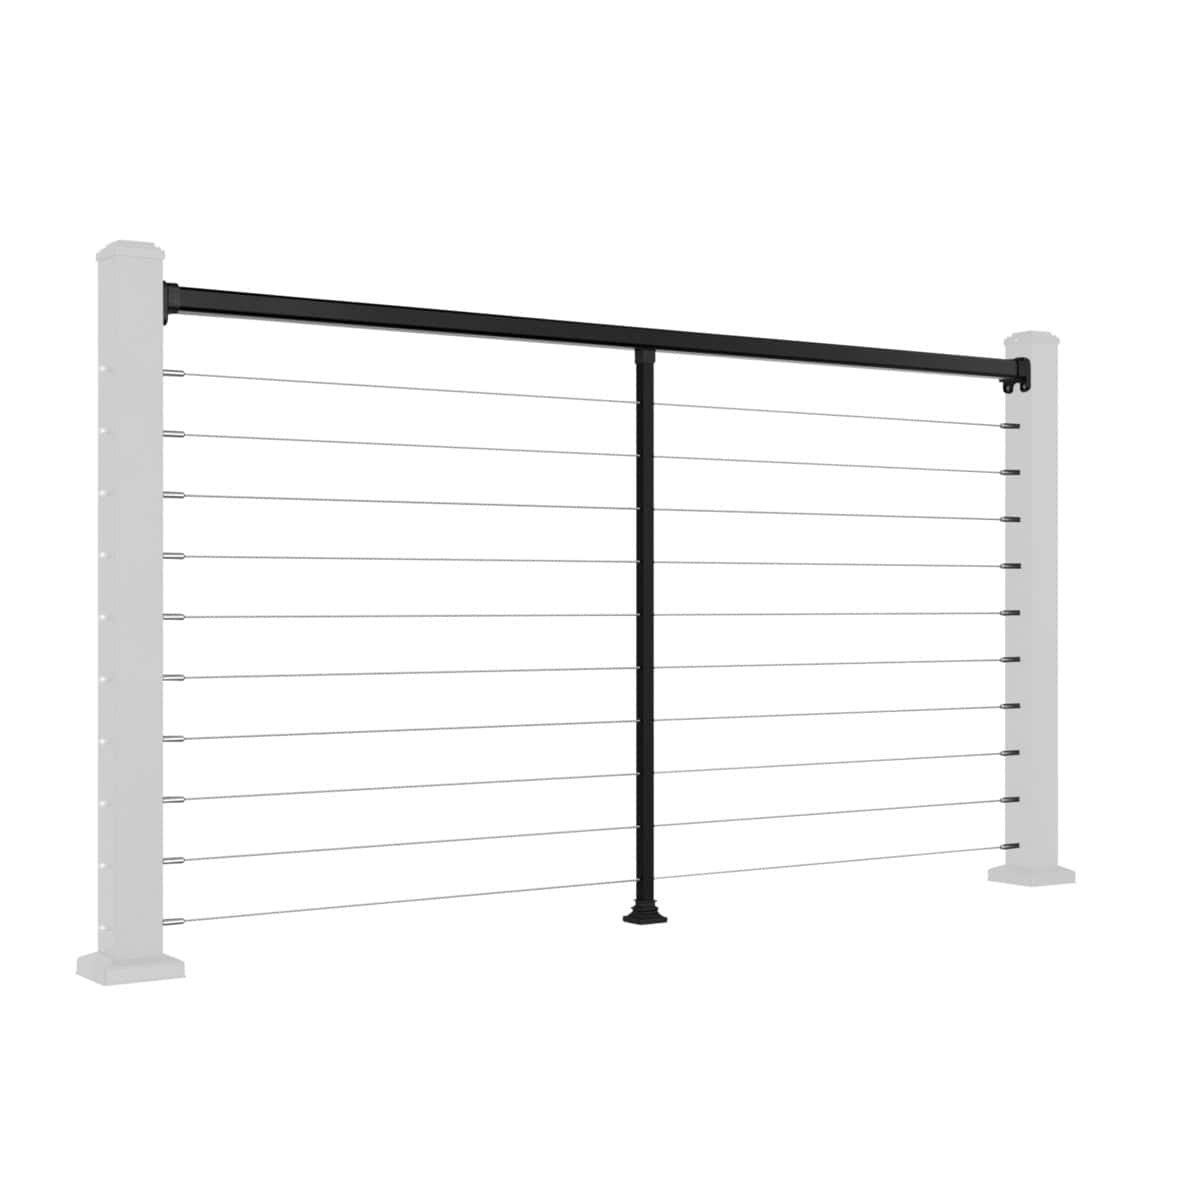
Stair Railing Installation
The stair spindle railing follows the same principles as the straight installation but uses adjustable angle brackets to accommodate the slope of the staircase. This version of aluminium balustrade spindle installation allows the railing system to follow the stair pitch while maintaining a consistent and compliant handrail height above the nosing line.
One important measurement to confirm before you begin: the post-to-post spacing on a stair installation is measured along the slope of the staircase, not horizontally. Confirm this measurement before fixing any posts. The adjustable brackets supplied accommodate a range of stair angles, so do not attempt to bend or modify them to fit.
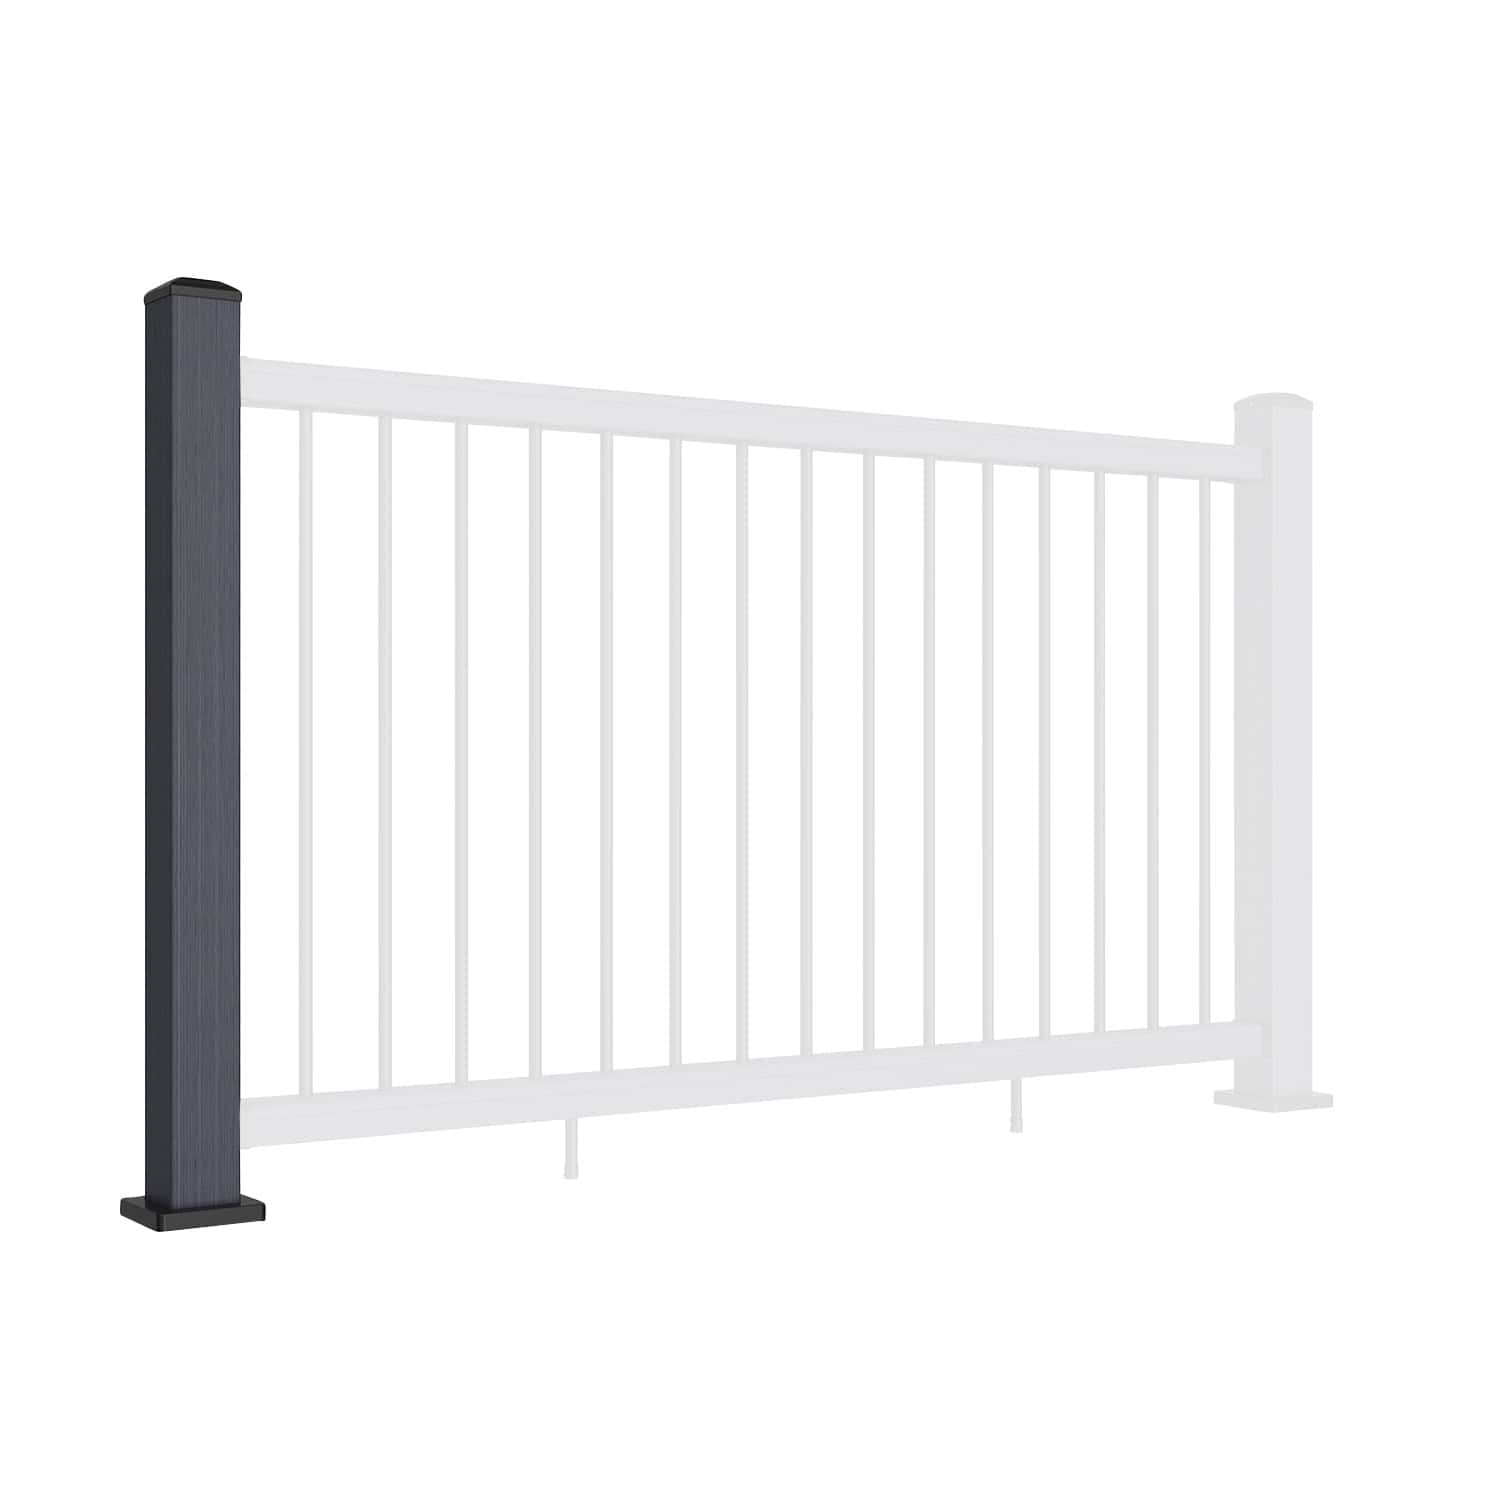
Step 1: Positioning And Fixing Stair Posts
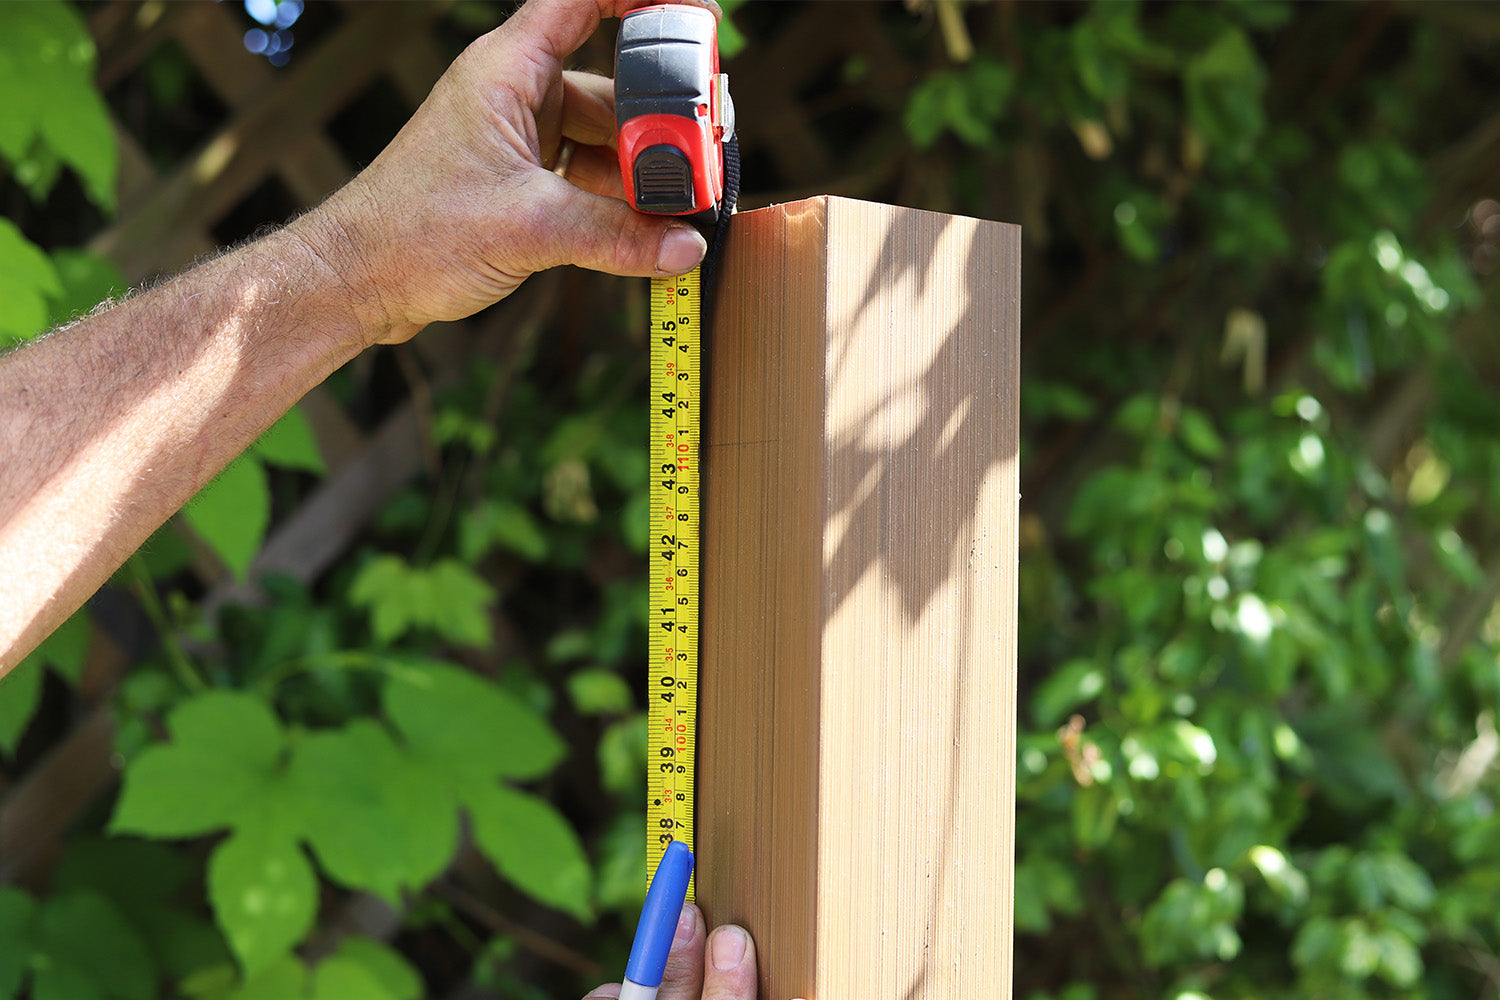
Measure and mark the location of all stair posts, confirming the sloping distance between posts is 1,910mm for a full railing section. Where posts are being fixed onto decking, position each one at least 50mm from the deck edge.


Drill pilot holes and fix the posts securely using the appropriate M8 fixings for the substrate. Use a 7mm pilot hole and M8 timber screws for timber, or a 10mm pilot hole and M8 expansion bolts for concrete. Once fixed and verified as plumb, fit post caps and slide the base cover trims into position, securing with structural adhesive.
Step 2: Setting Out And Installing Adjustable Rail Brackets
Position the bottom rail along the stair nosing line to establish the correct angle. Mark the fixing positions for the adjustable bottom bracket on the post, align the bracket to the marked line, then mark, pre-drill and secure using the fixings provided.


Using the paper setting-out template supplied, position the adjustable top bracket at the correct angle to match the stair pitch. Mark, pre-drill and fix to the post. Repeat for all posts in the run. If rails need to be cut to length, use a hacksaw or mitre saw with an aluminium-rated blade.
Step 3: Installing The Foot Block Support
Position the foot block centrally along the bottom rail. For a standard 1,910mm section, this places it at the mid-point. Mark the fixing positions on both the deck surface and the underside of the bottom rail, then pre-drill pilot holes at both sets of marked positions.


Fix the foot block connector to the bottom rail using the screws provided, then fix the foot block base plate to the deck. Fit the base cover trim to complete the foot block assembly.
Step 4: Inserting Spindles Into Both Rails
With the bottom rail supported and in position, insert the lower end of all spindles into the pre-drilled holes in the bottom rail. Work along the rail in sequence, ensuring every spindle is fully seated before proceeding.

Carefully align and insert the upper end of each spindle into the corresponding pre-drilled hole in the top handrail. Check that all spindles are evenly seated and visually aligned in both rails before moving on.
Step 5: Installing The Assembled Section Between Posts
With all spindles engaged in both rails, offer the handrail section up between the stair posts. Slide the top handrail into the adjustable top brackets, ensuring the angle of the rail correctly matches the stair pitch.

Confirm the section is evenly spaced between both posts, that all spindles are plumb relative to the stair slope, and that the top and bottom rails are fully and evenly seated within all brackets before fixing.
Step 6: Securing And Final Fixing
With the railing section correctly positioned and confirmed as aligned and stable, install locking screws through each bracket into the top and bottom rails from the rear, non-visible side. Tighten all fixings fully.


Carry out a final check on spindle alignment, bracket security, base plate tightness and the overall stability of the completed installation. The railing should be firm and resistant to lateral loading before the installation is signed off.
Final Check: Stair Railing
- All post caps are fitted and secure
- All base cover trims are fixed with structural adhesive
- All spindles are aligned with the stair rake, evenly spaced and fully seated in both rails
- All bracket, locking and base plate fixings are fully tightened
- Completed railing is stable and firm under lateral load along its full length
If all checks have been completed successfully, your aluminium balustrade spindle installation is complete. The finished system should provide a durable, low-maintenance and contemporary balustrade solution for many years to come.