


Step-By-Step Aluminium Decking Board Installation Guide
Once your subframe is complete, level and securely fixed, you can begin the aluminium decking board installation process. NeoTimber® aluminium decking uses a hidden Starter Clip and Metal FastClip system to create a clean, consistent deck surface without visible fixings or exposed screw heads.
Follow the steps below in sequence, working from the outside edge of the framework inward until all aluminium decking boards are securely installed.
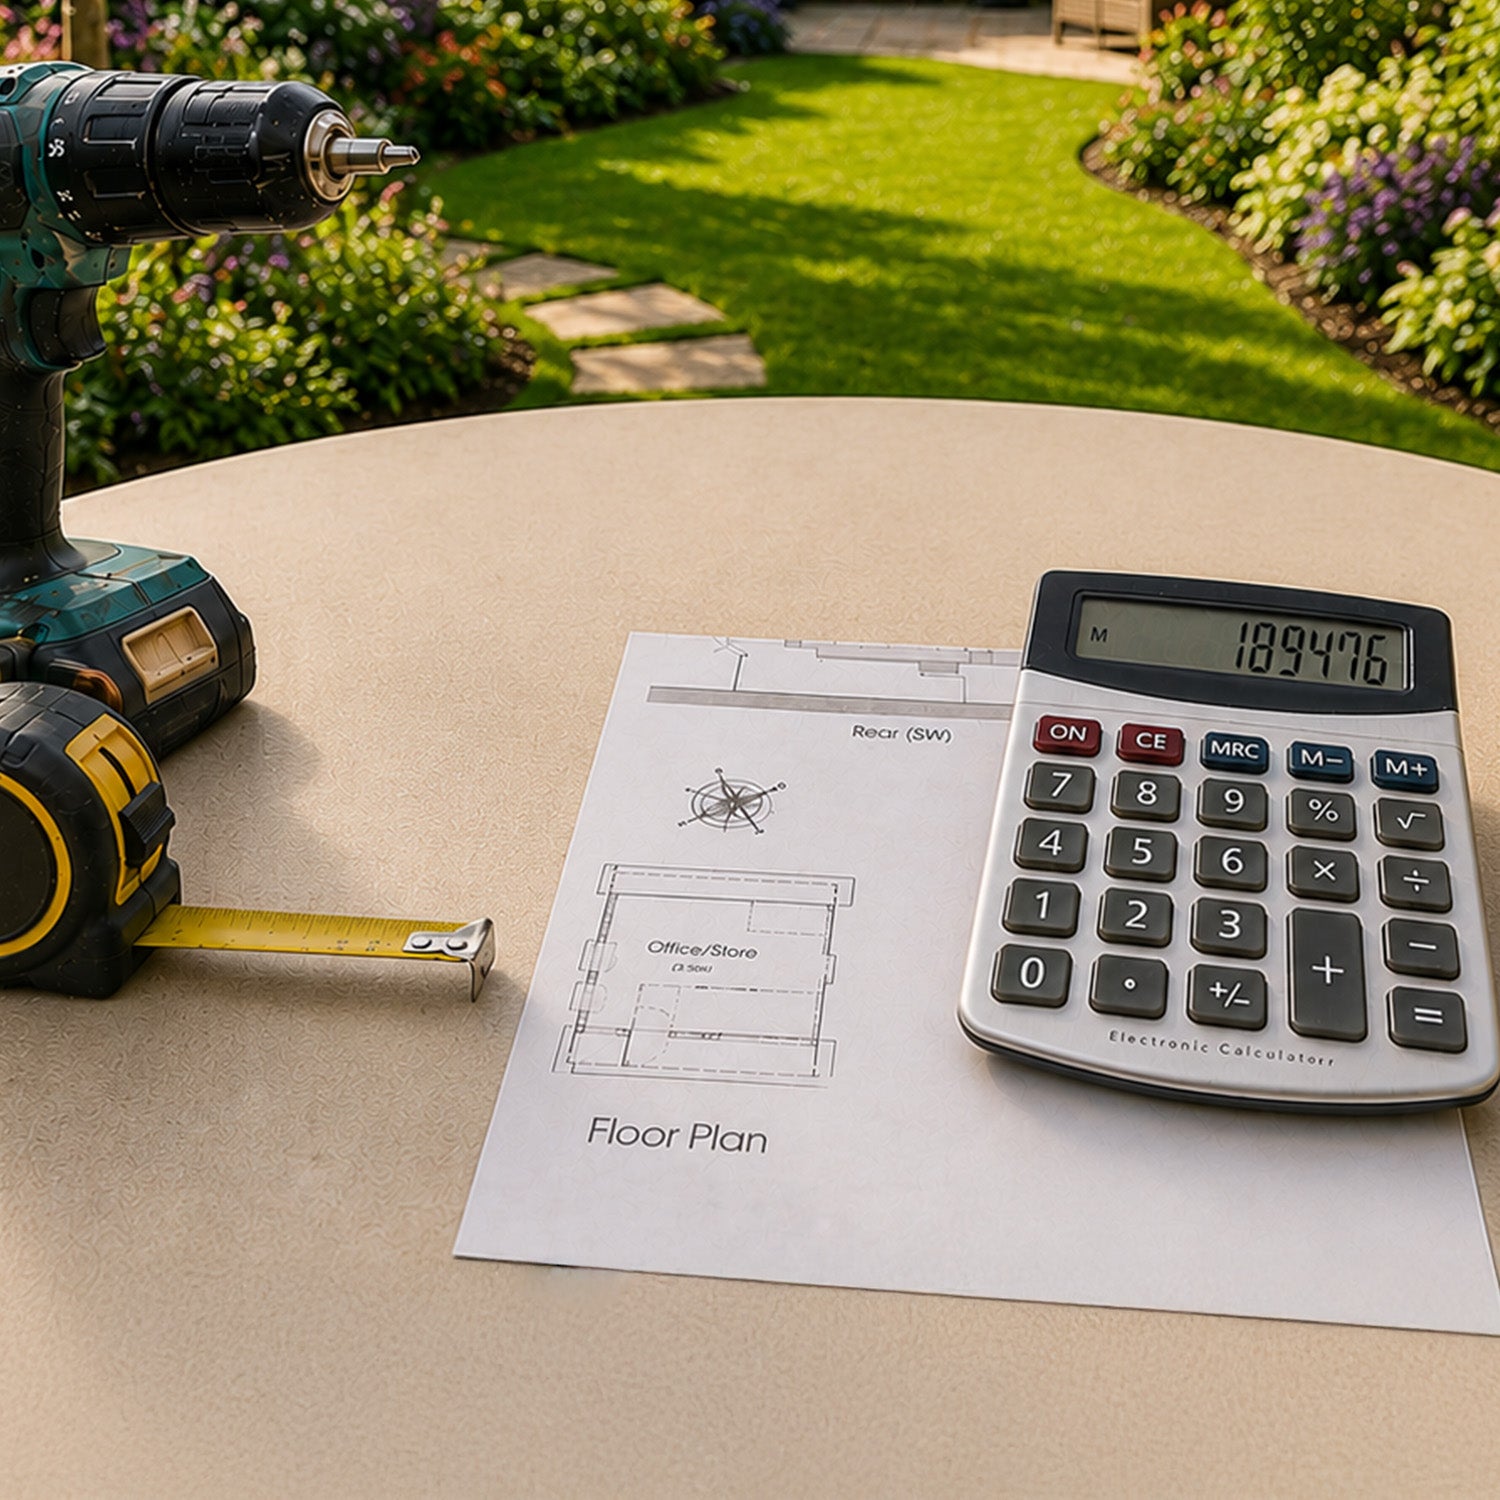
Before You Begin Laying Aluminium Decking Boards
Before installing the first board, check that all aluminium joists are correctly spaced, level and securely fixed to the supporting structure. Clear the work area of any debris that could scratch the board surface, and confirm that your clips, screws, drill bits and PPE are ready for use.
Where possible, dry-lay a small section of boards before fixing to confirm your layout, board direction and final edge detail.
Step 1: Install The First Aluminium Decking Board Using Starter Clips
Begin at the outside edge of the framework. Attach NeoTimber® Starter Clips to the frame edge using the steel screws provided, spacing them at 250–350mm intervals along the joist.
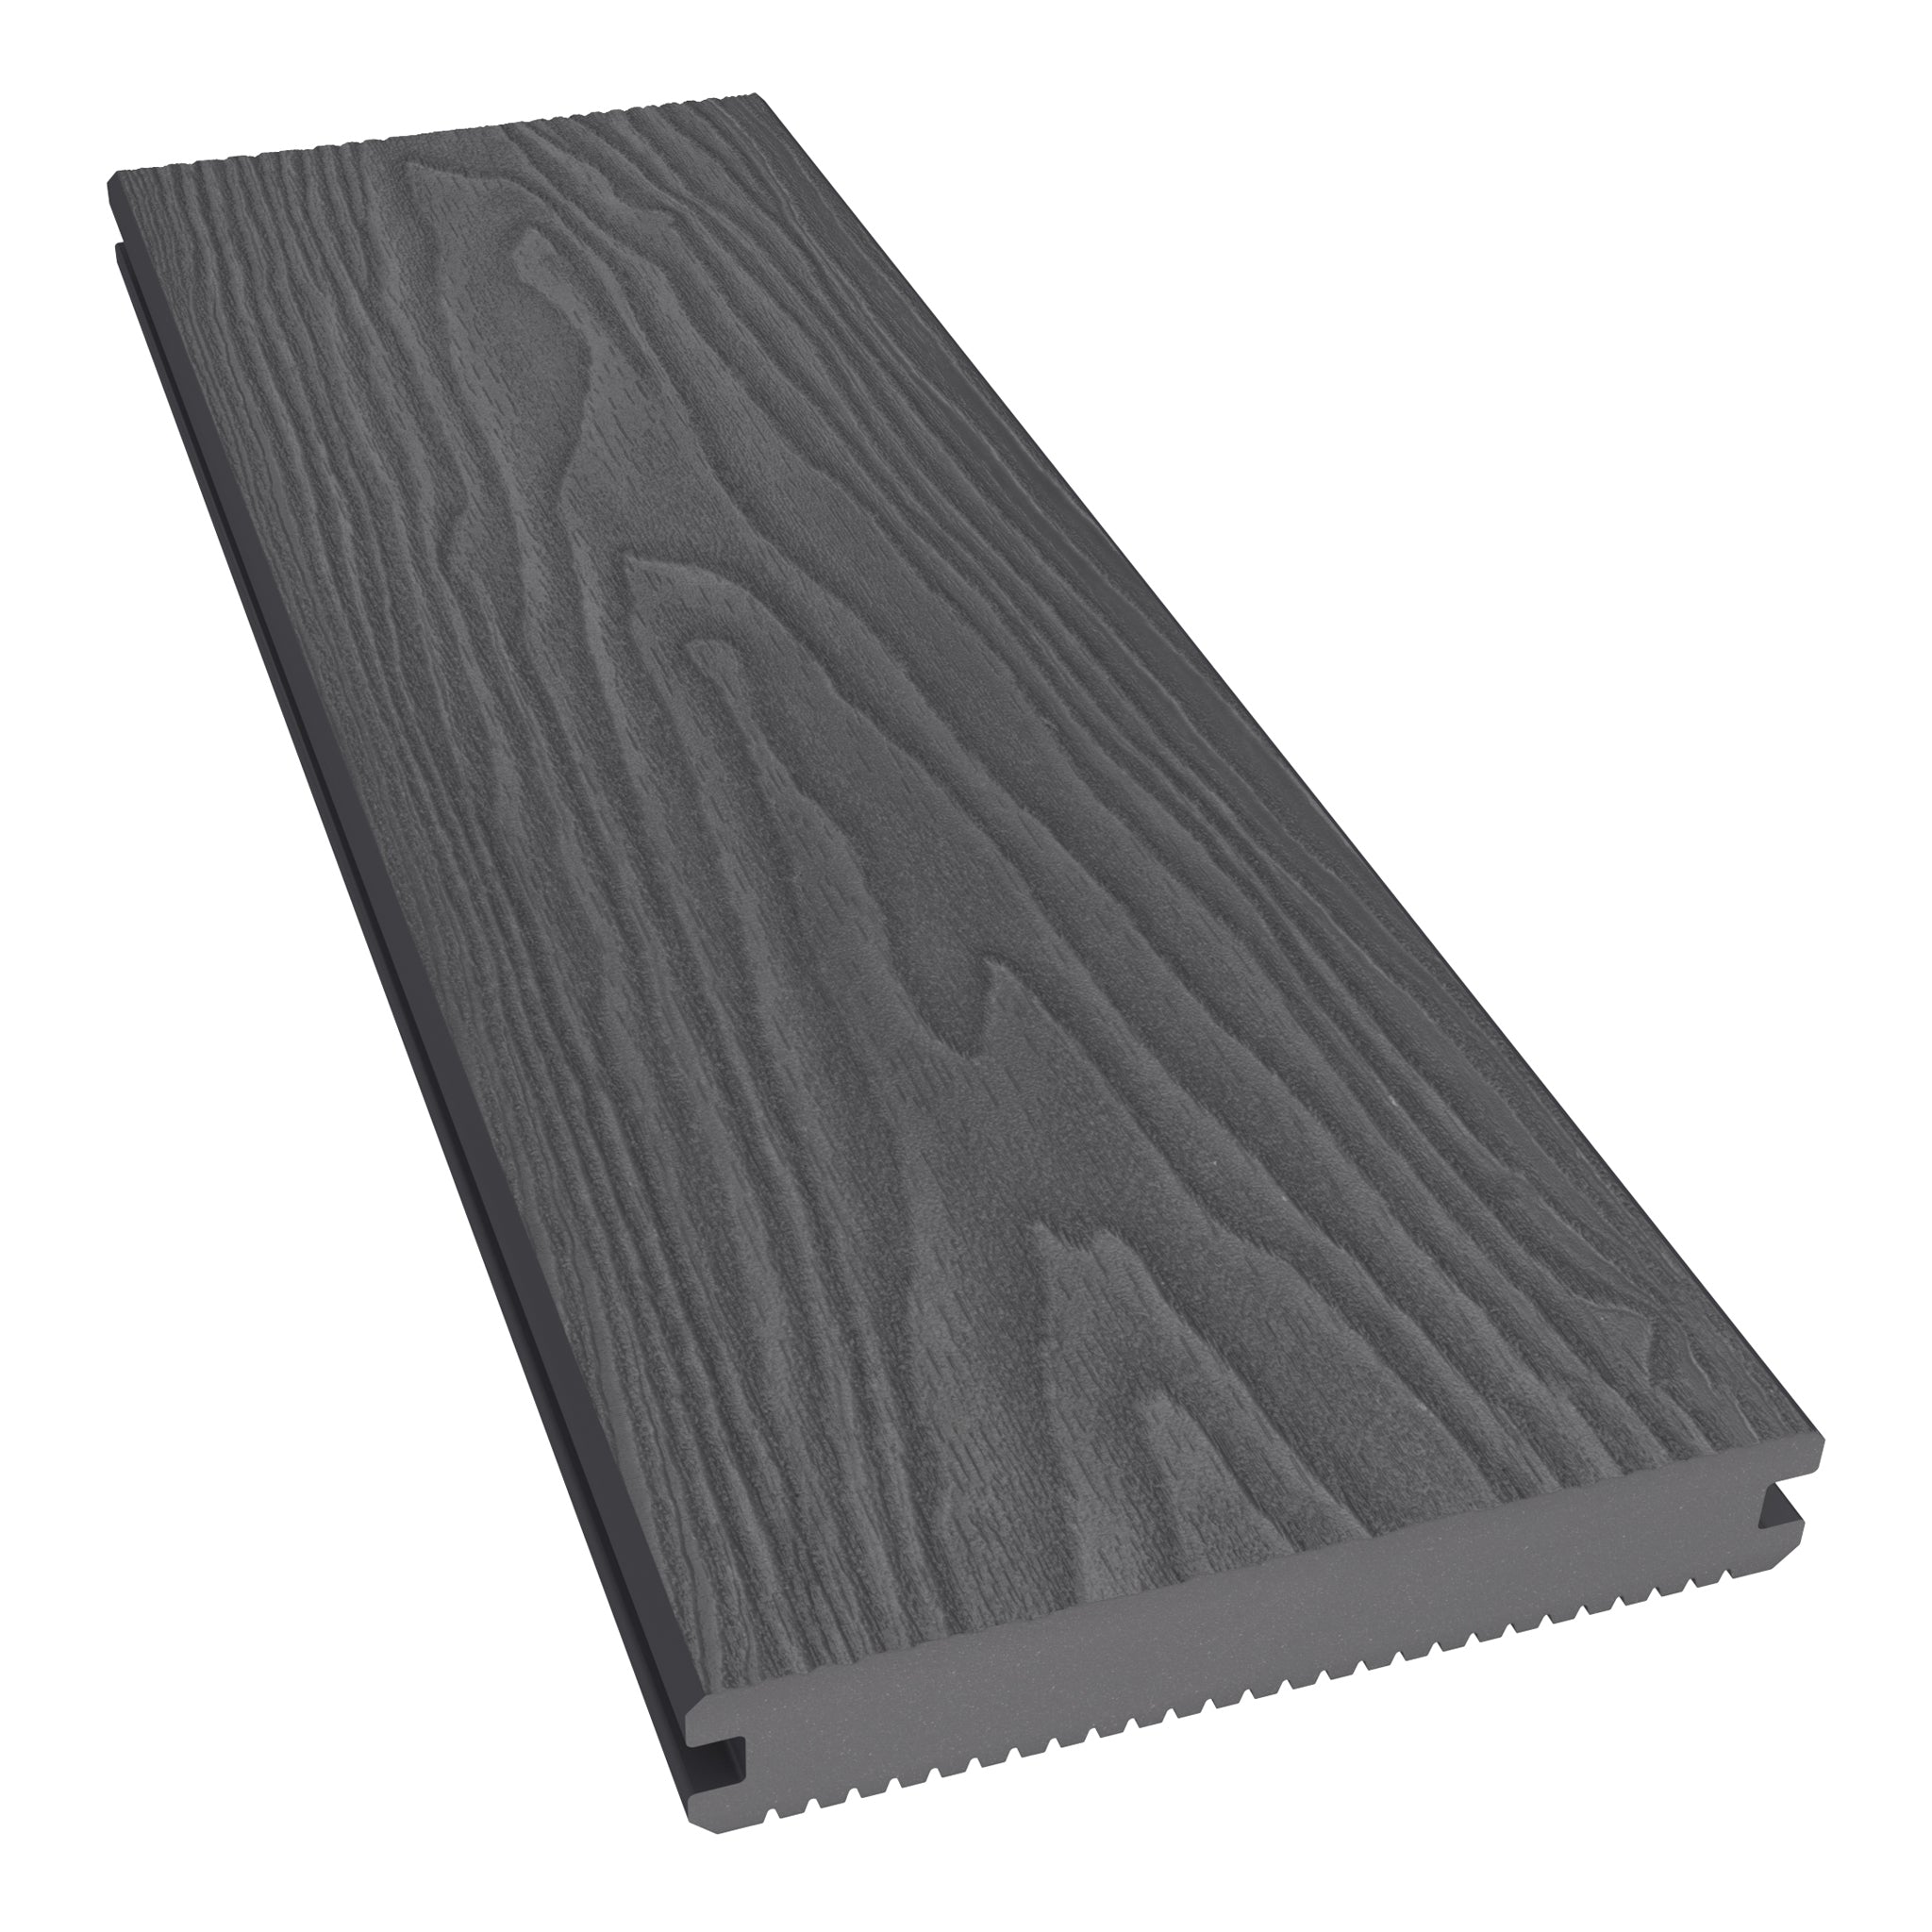
Once all Starter Clips are securely positioned, align the grooved channel on the underside of the first aluminium decking board with the opening of the Starter Clip. Insert the board at a slight angle, then push it firmly into place until it is properly seated.


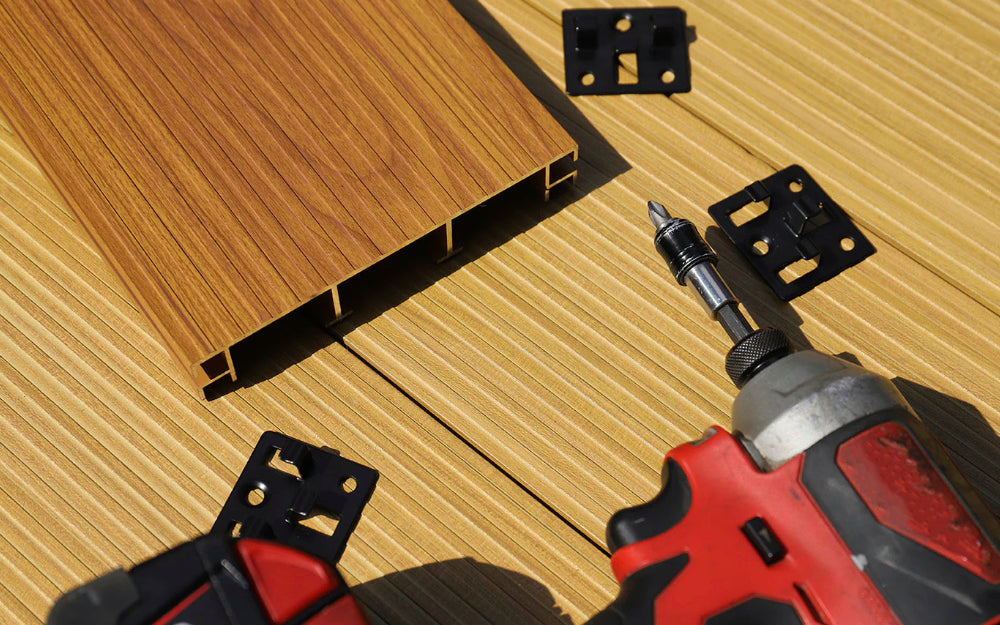
Step 2: Install Subsequent Boards Using Metal FastClips
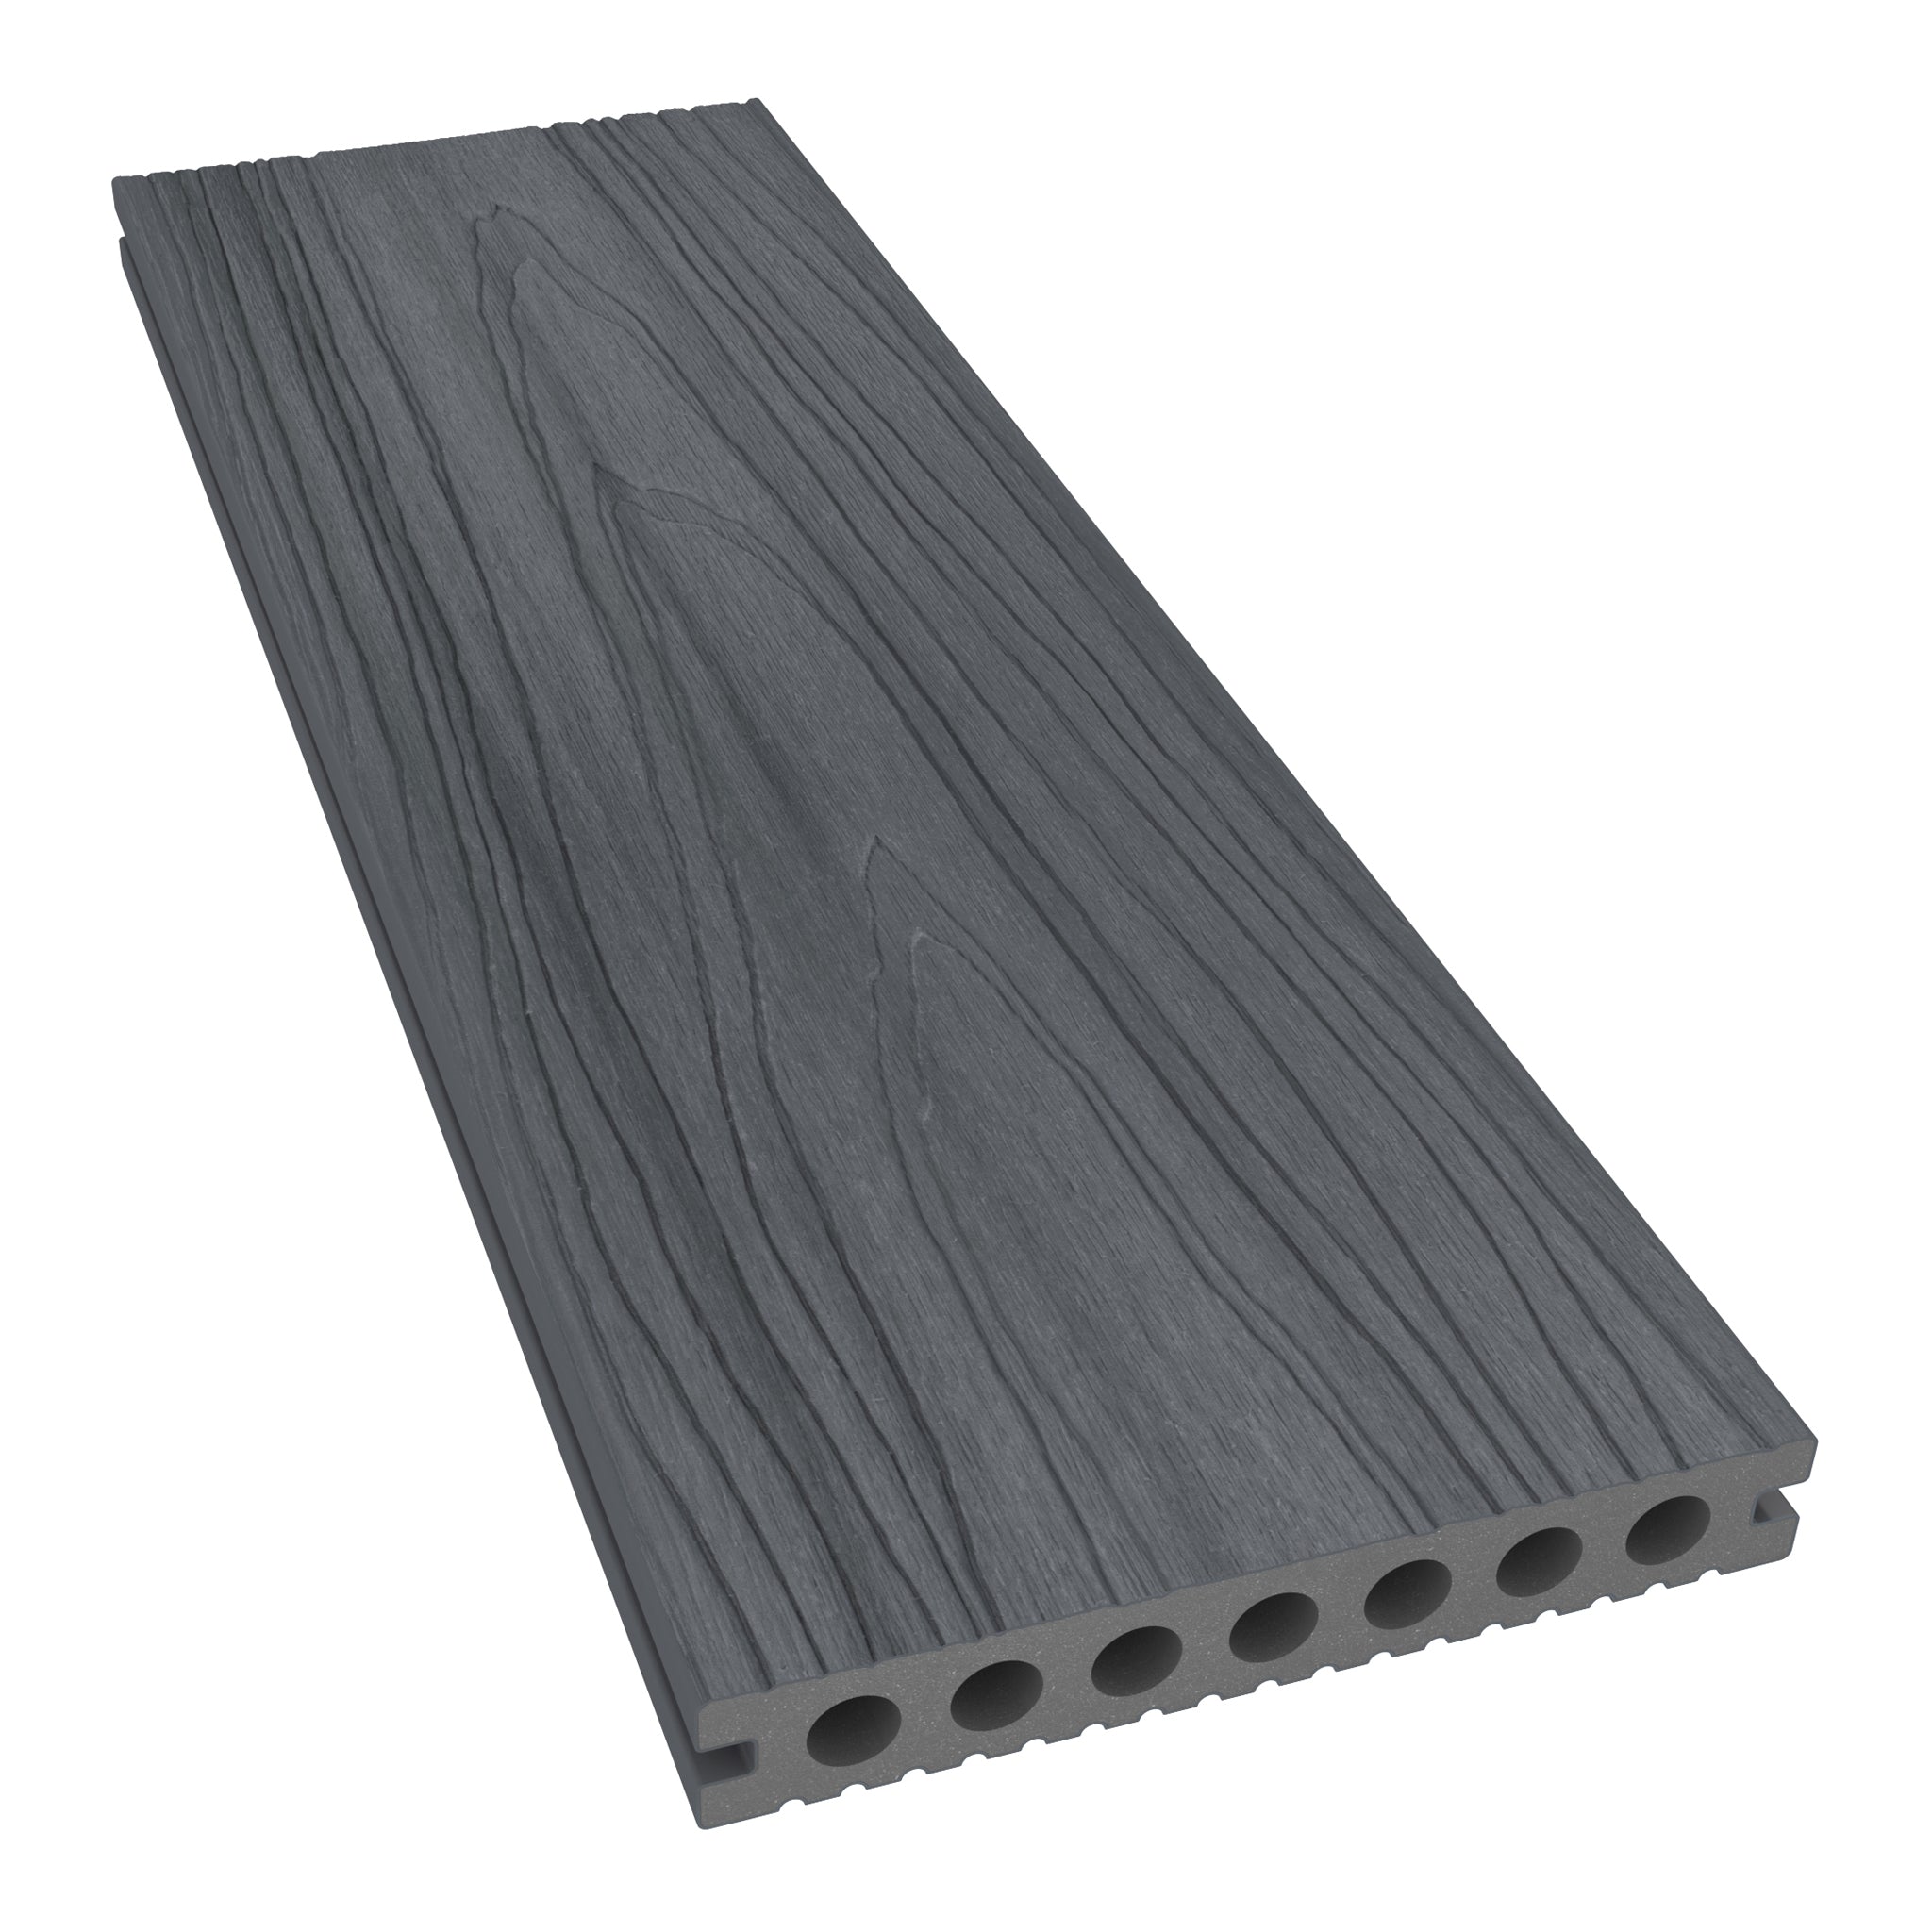
With the first aluminium decking board in place, use NeoTimber® Metal FastClips to secure each remaining board. Position the single-pronged side of the FastClip into the grooved channel of the board already installed.
Secure the FastClip by screwing through the countersunk hole and into the aluminium joist below. One screw is required per clip, and one clip should be fitted at every point where a board crosses a joist.

Align the grooved channel of the next board with the open side of the FastClip, then push the board into position. Repeat this process row by row, maintaining a consistent installation pattern until you reach the final board.
Step 3: Attach The Final Aluminium Decking Board
To install the final board, place the grooved channel on the inside edge of the board into the last row of Metal FastClips. Where accessible, pre-drill a 4mm pilot hole at a 45-degree angle into the grooved channel of the final exposed edge.
Fix the board securely to the subframe using suitable screws at 500mm intervals. This helps hold the final board firmly in position while keeping the finished edge neat and secure.


Alternative Aluminium Decking Board Fixing Method
If the grooved channel is not fully accessible and a 45-degree fixing angle is not possible, an alternative face-fixing method can be used. In this situation, screw through the top face of the aluminium decking board and into the joist below.
Always pre-drill an oversized pilot hole before face-fixing to help prevent unnecessary stress on the board. NeoTimber® coloured decking screws are recommended to provide a secure fixing with a discreet, colour-matched finish.
Final Checks After Board Installation
Once all boards are installed, check that each aluminium decking board is securely fixed, all clips are correctly seated, and the finished surface is level and consistent. Clear away any metal swarf, dust or debris from cutting and drilling to protect the powder-coated finish.
Completing these final checks helps ensure your aluminium decking board installation is neat, secure and ready for trims, edge details or final finishing touches.