


Everything You Need To Know Before Installing Aluminium Decking
A successful aluminium decking installation starts long before the first board is fixed into place. Correct preparation, careful handling, suitable storage, accurate planning and having the right tools on site all play an important role in achieving a clean, secure and long-lasting finish.
Before your NeoTimber® aluminium decking goes down, use the following pre-installation guidance to ensure your materials, workspace and subframe are properly prepared.
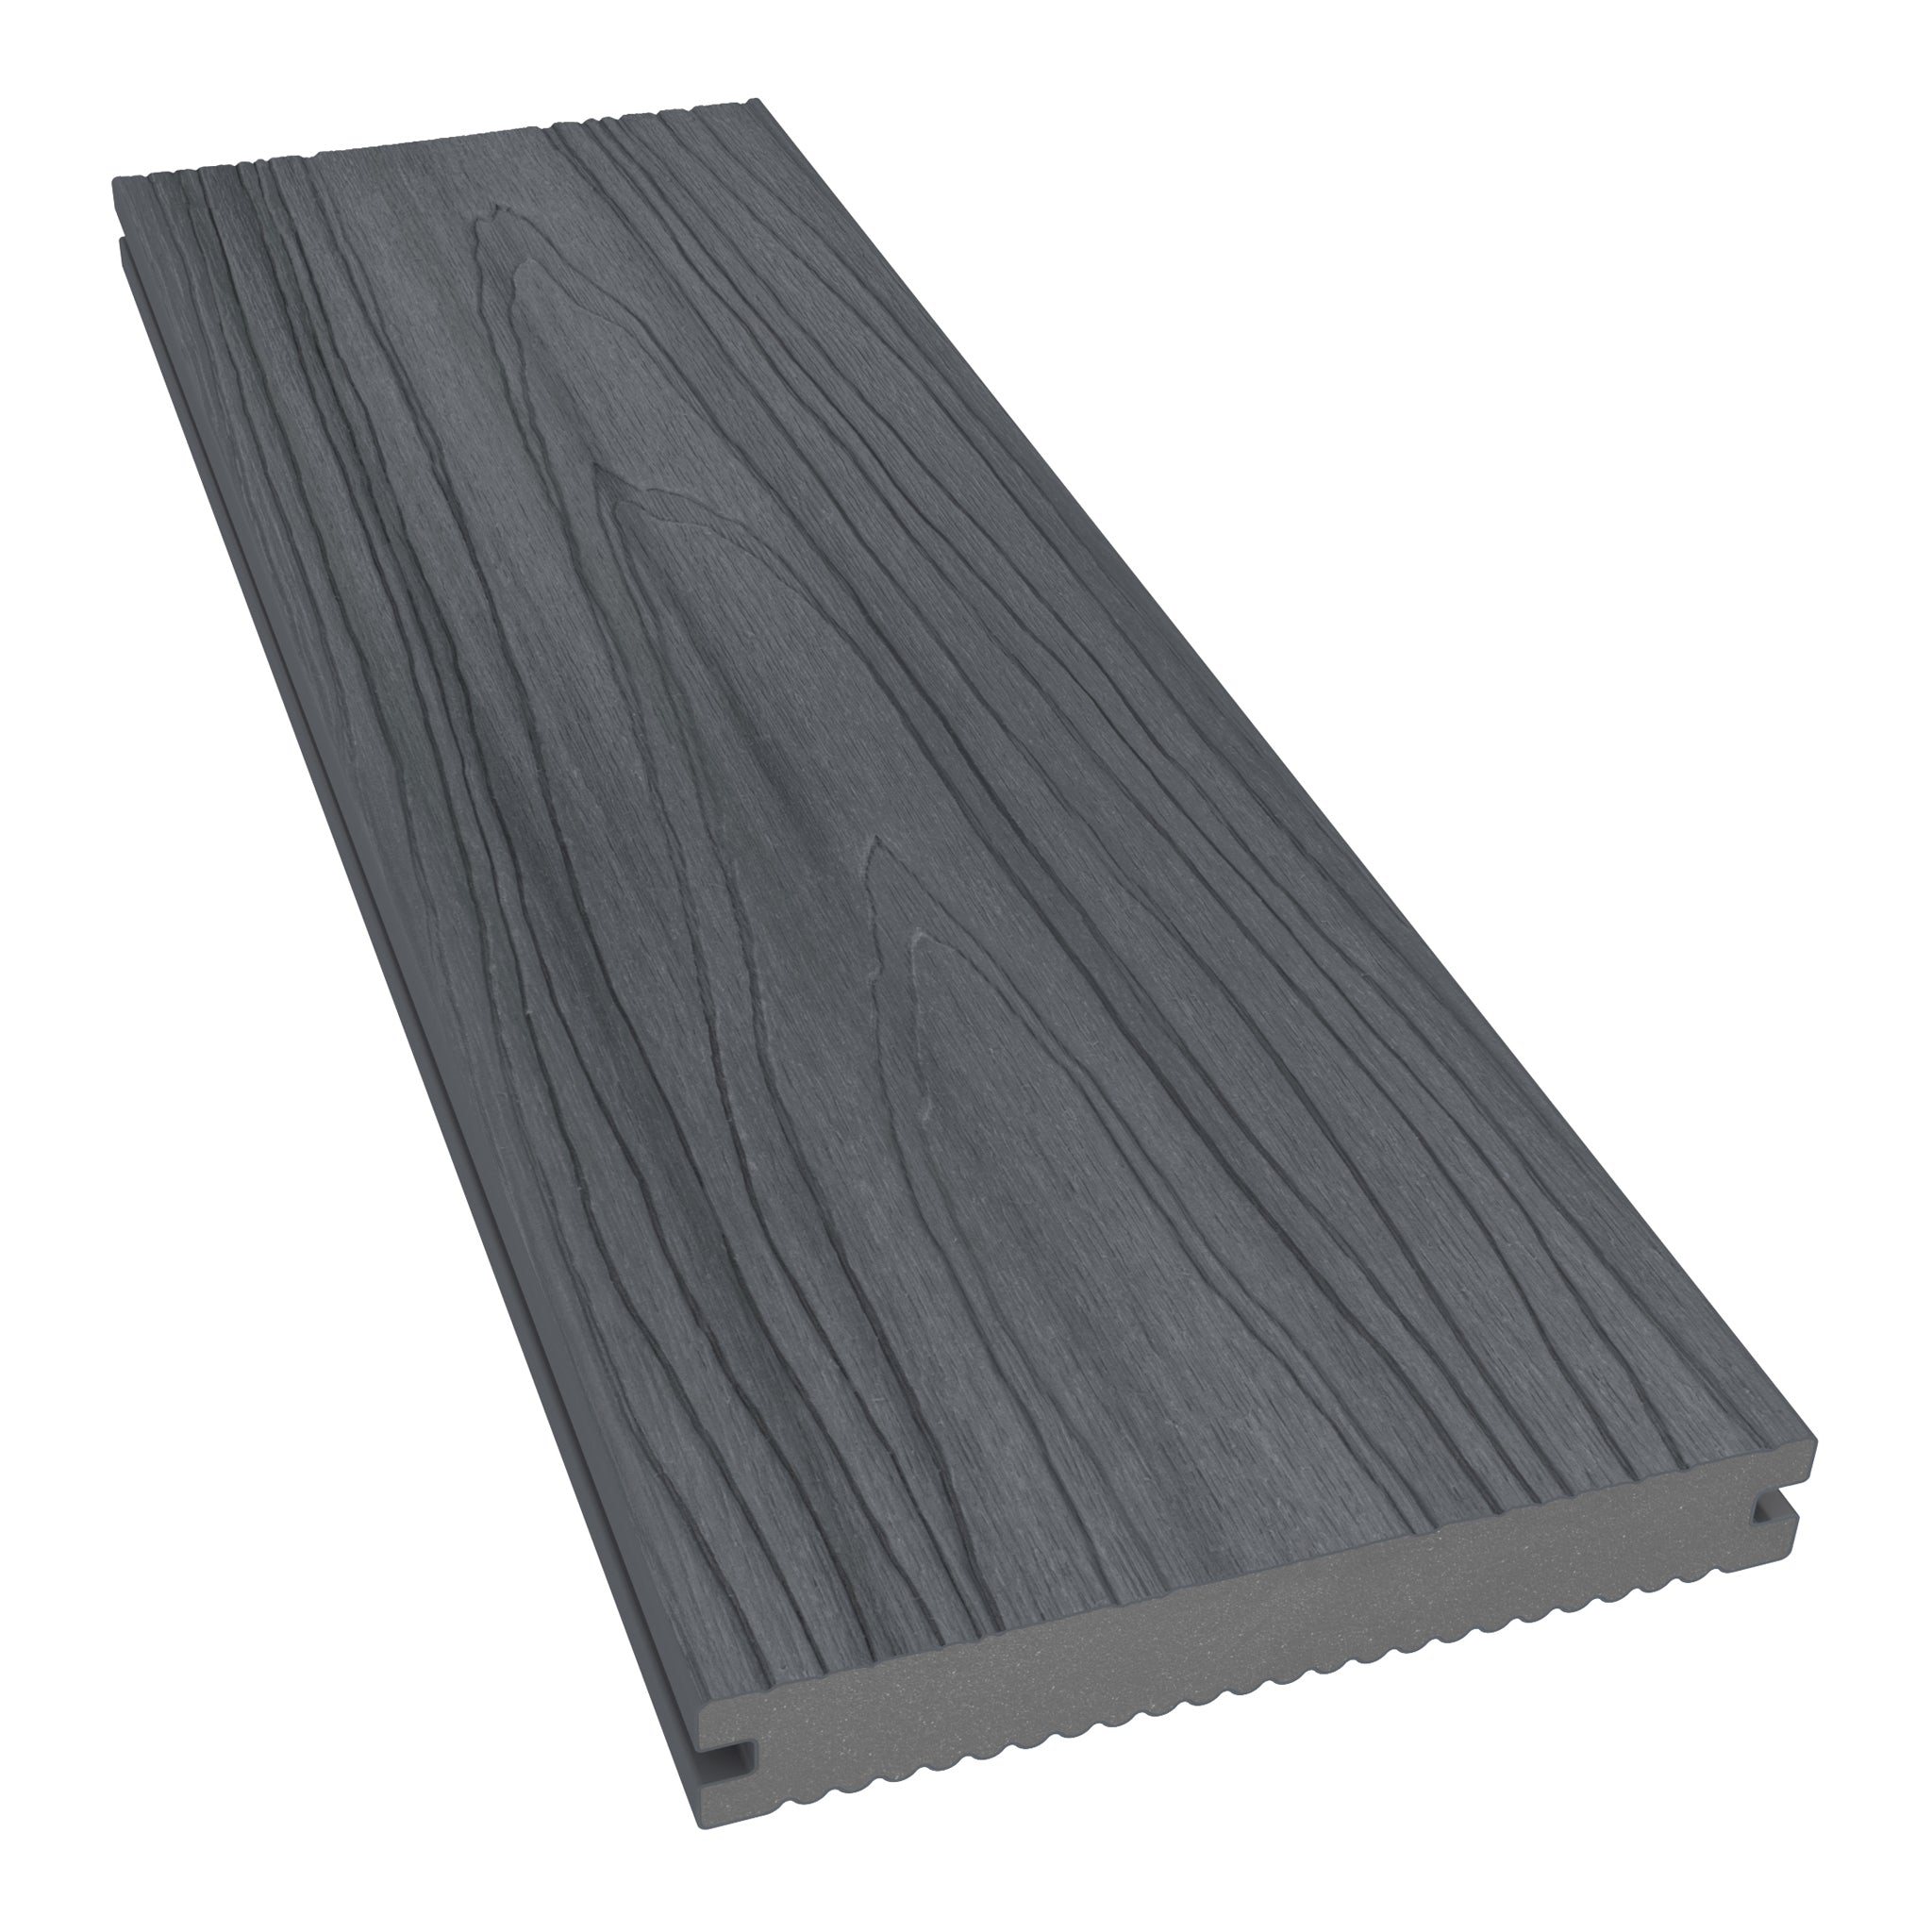
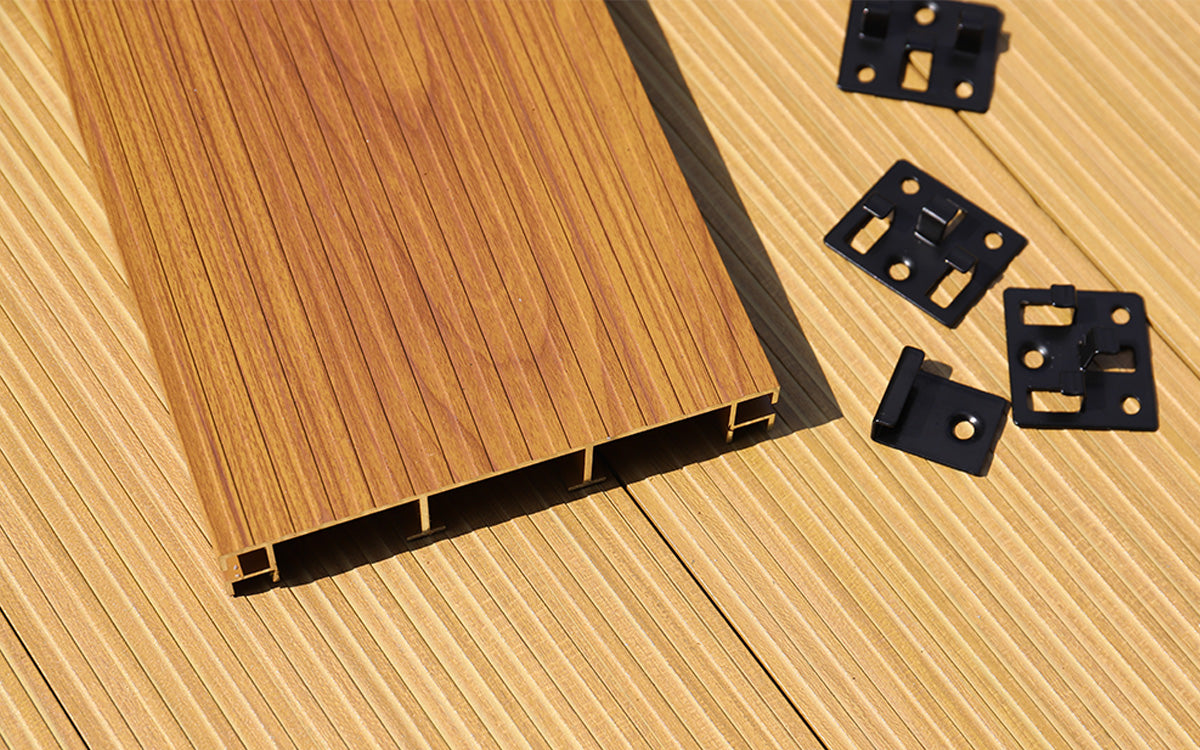
Handling And Storing Aluminium Decking Boards
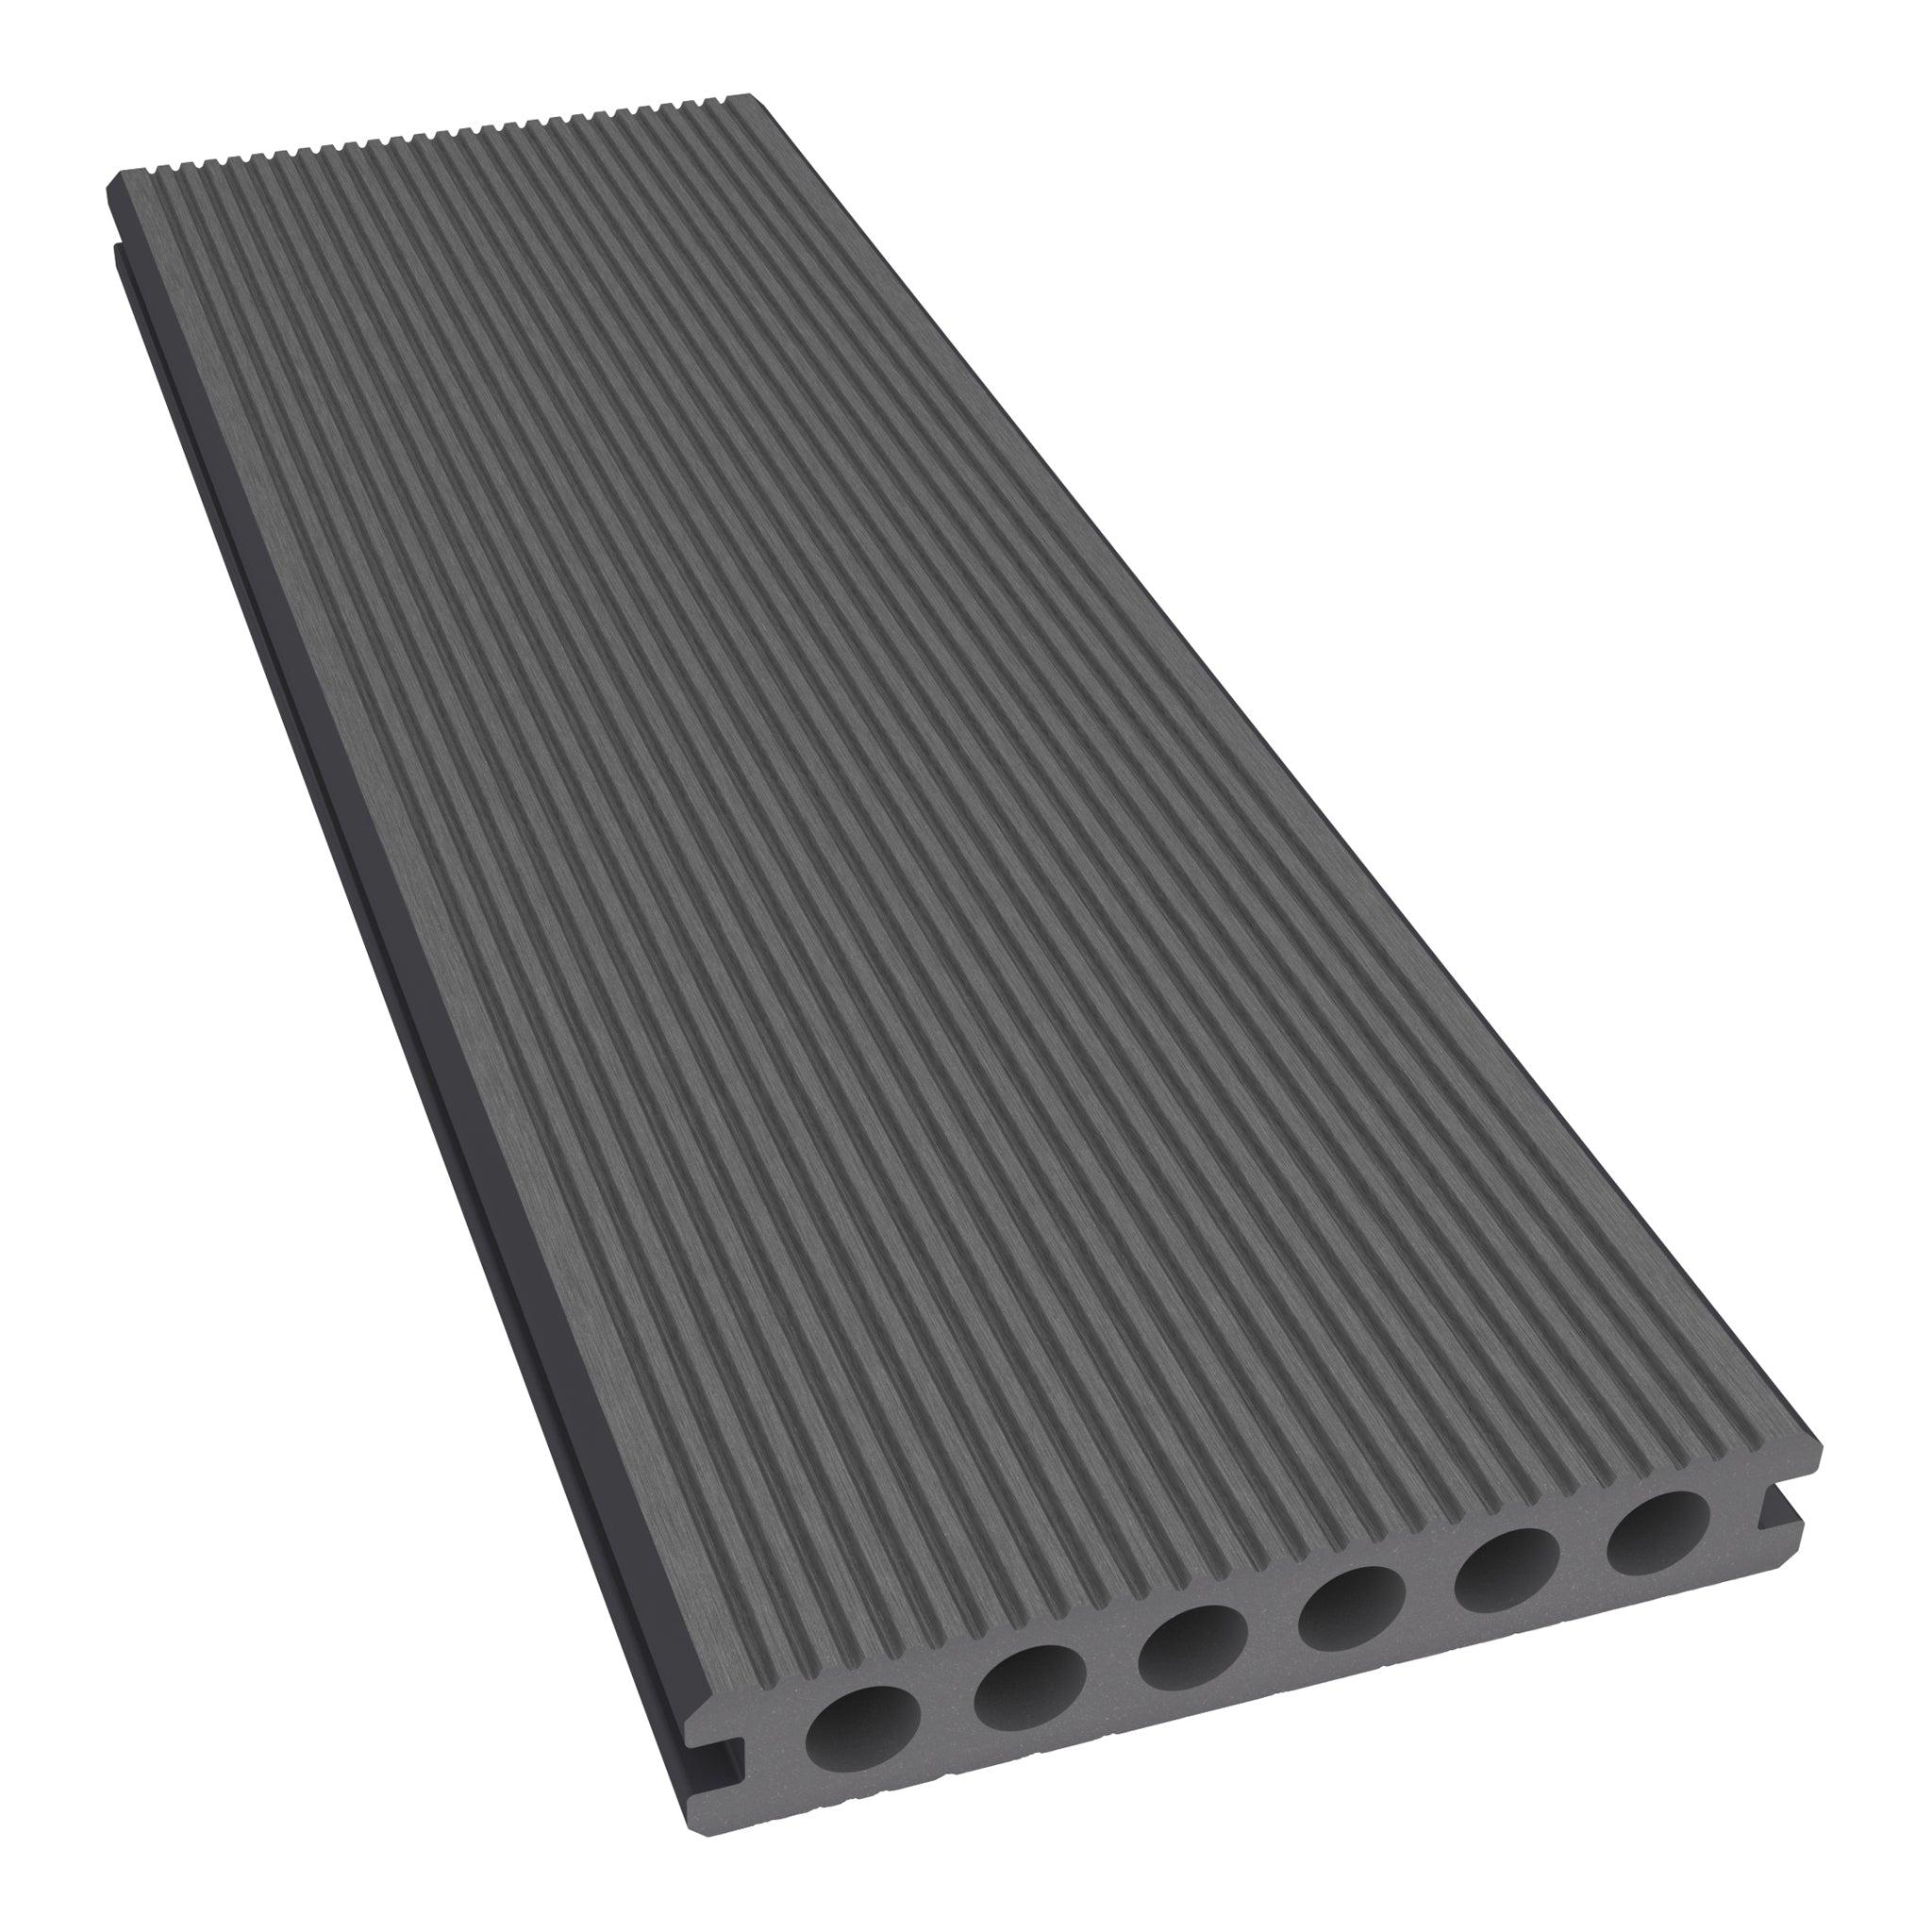
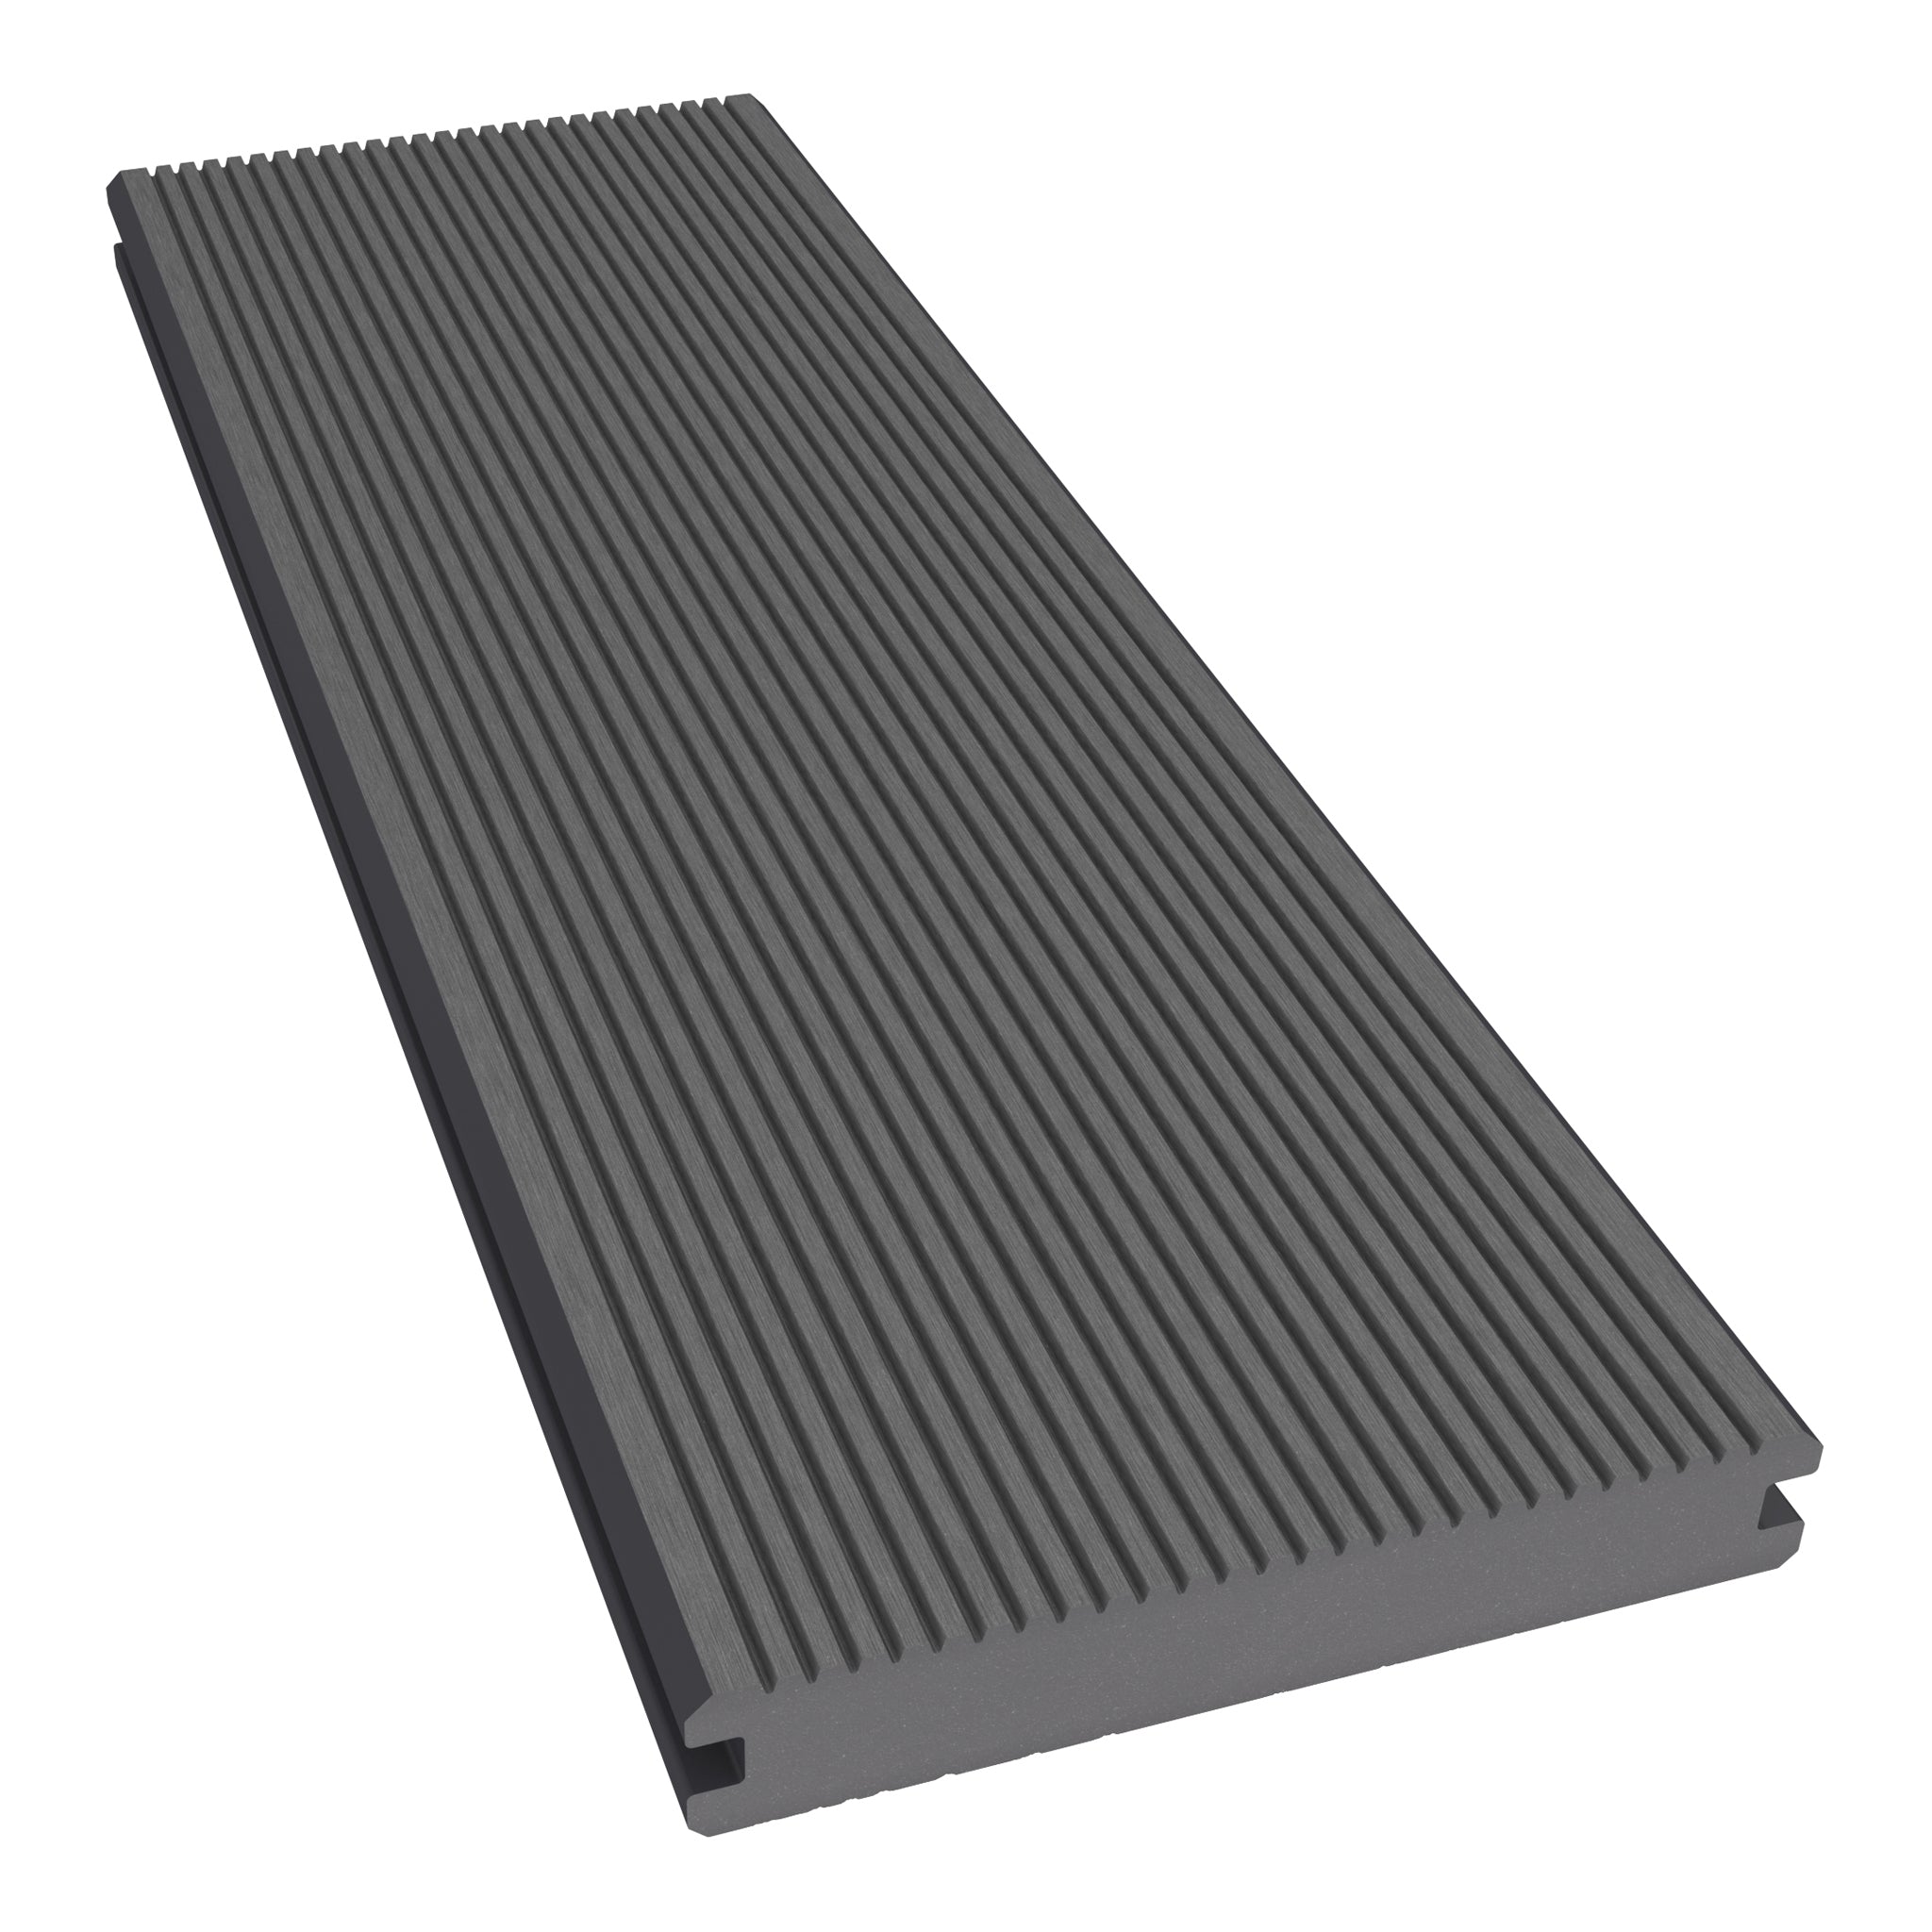
NeoTimber® aluminium decking boards feature a durable powder-coated finish that should be handled with care during transport, storage and installation. To help maintain the appearance of the boards, keep the working area clean and free from dirt, grit and sharp debris that could scratch the surface.
Avoid dragging or sliding boards across each other, as this can damage the coating or the aluminium profile itself. Where possible, lift and position boards individually.
If boards need to be stored outdoors prior to installation, keep them elevated on battens and covered with waterproof sheeting. Battens should be positioned at centres no greater than 500mm to provide even support and prevent water accumulation.
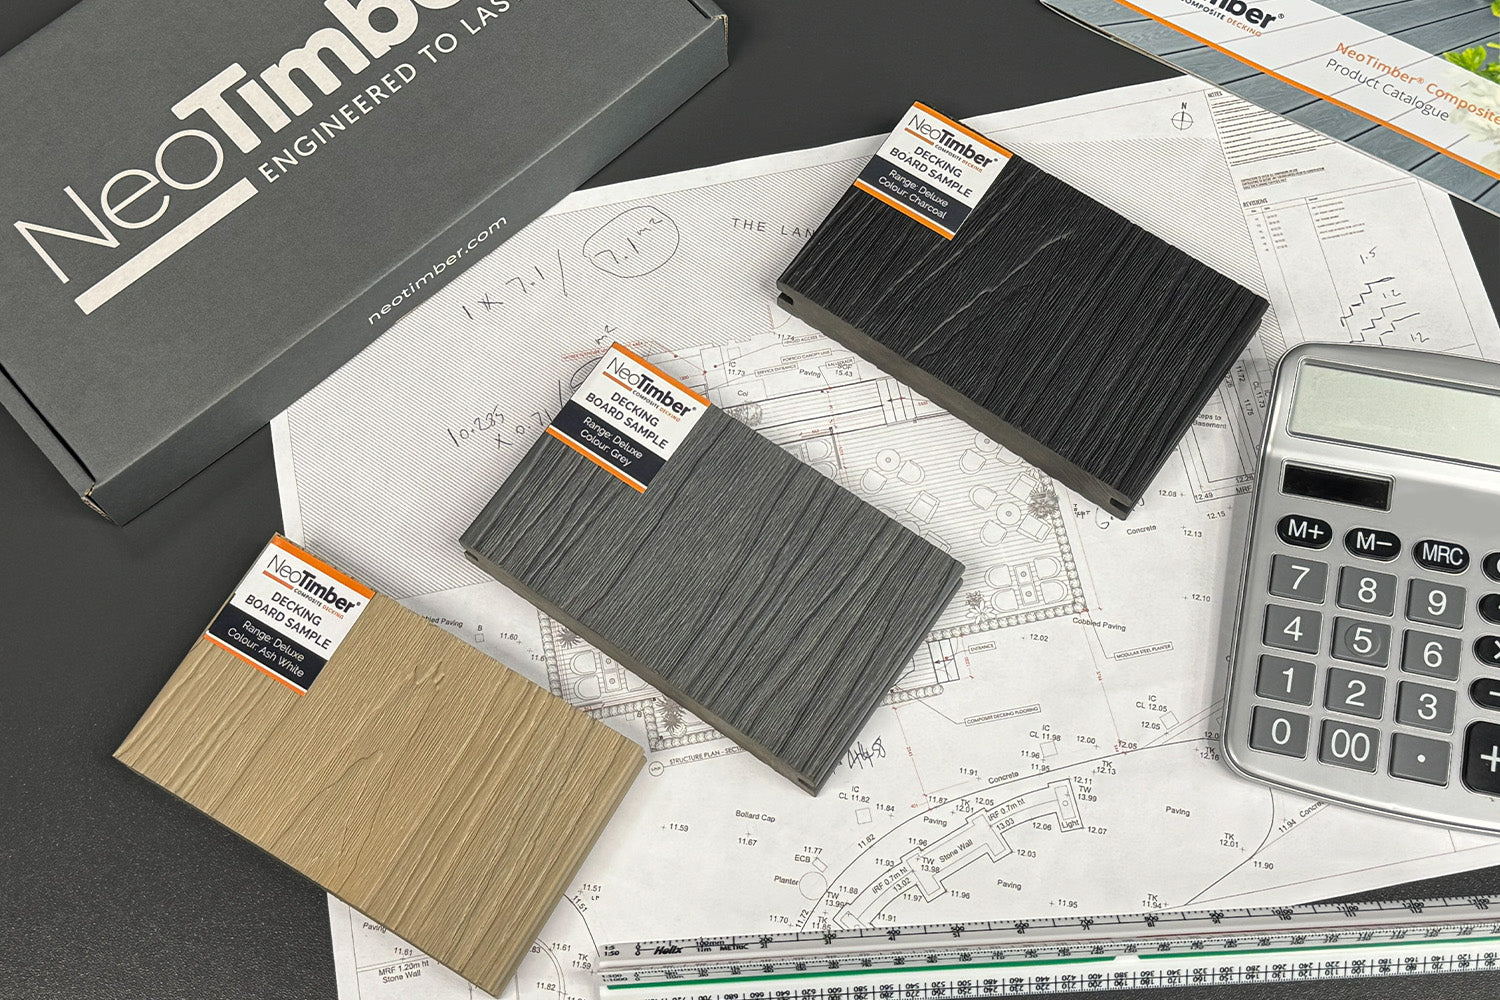
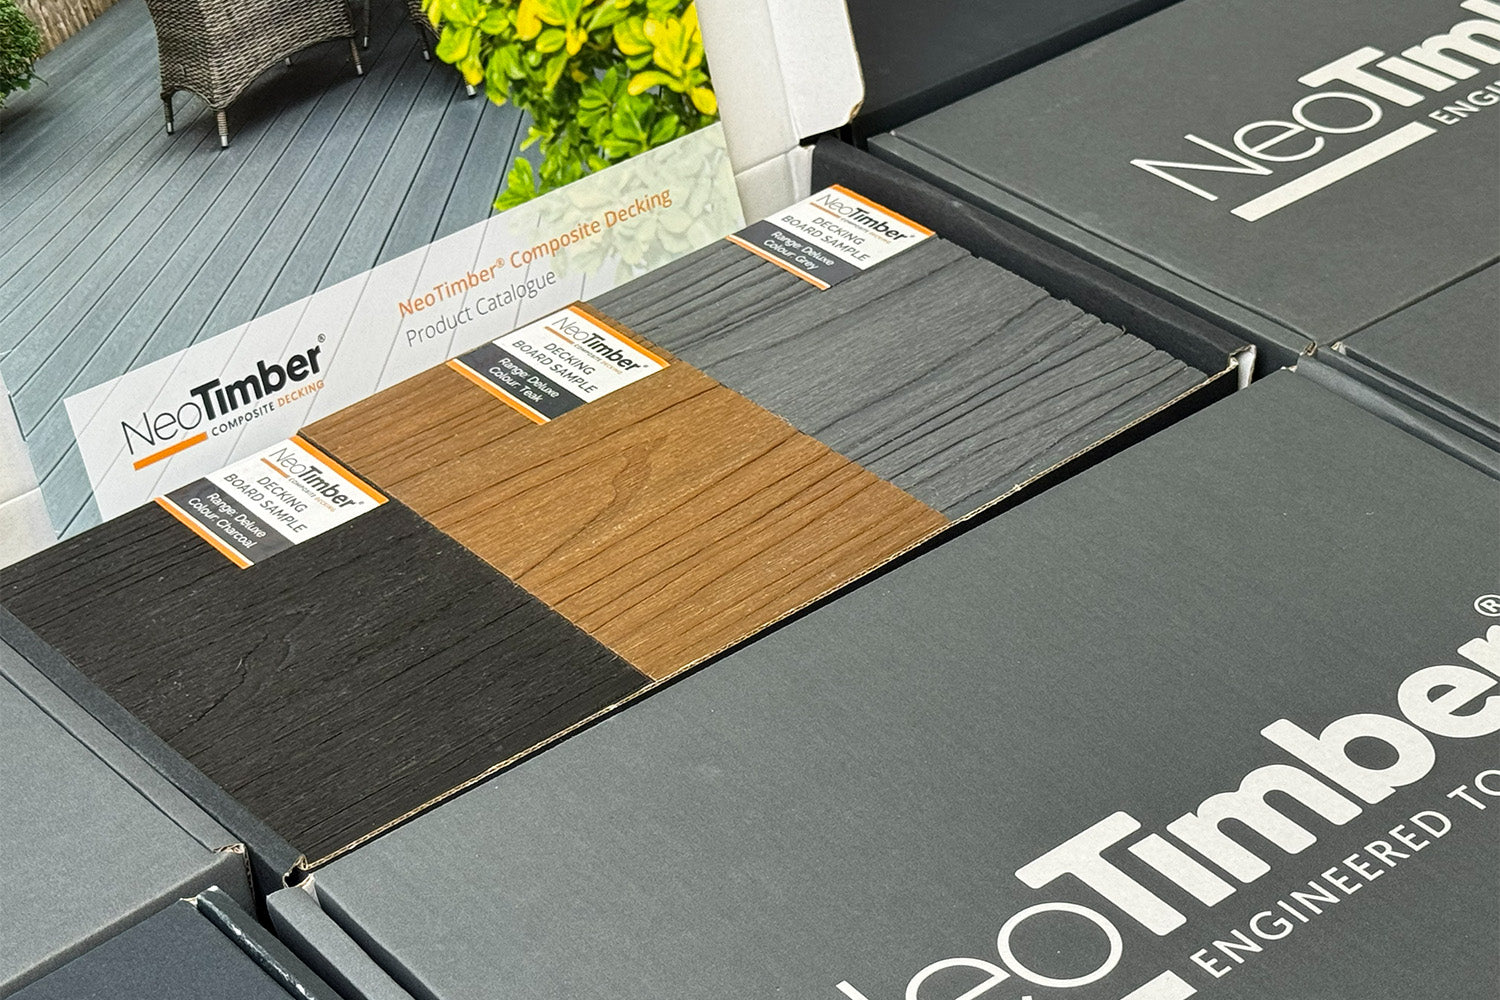
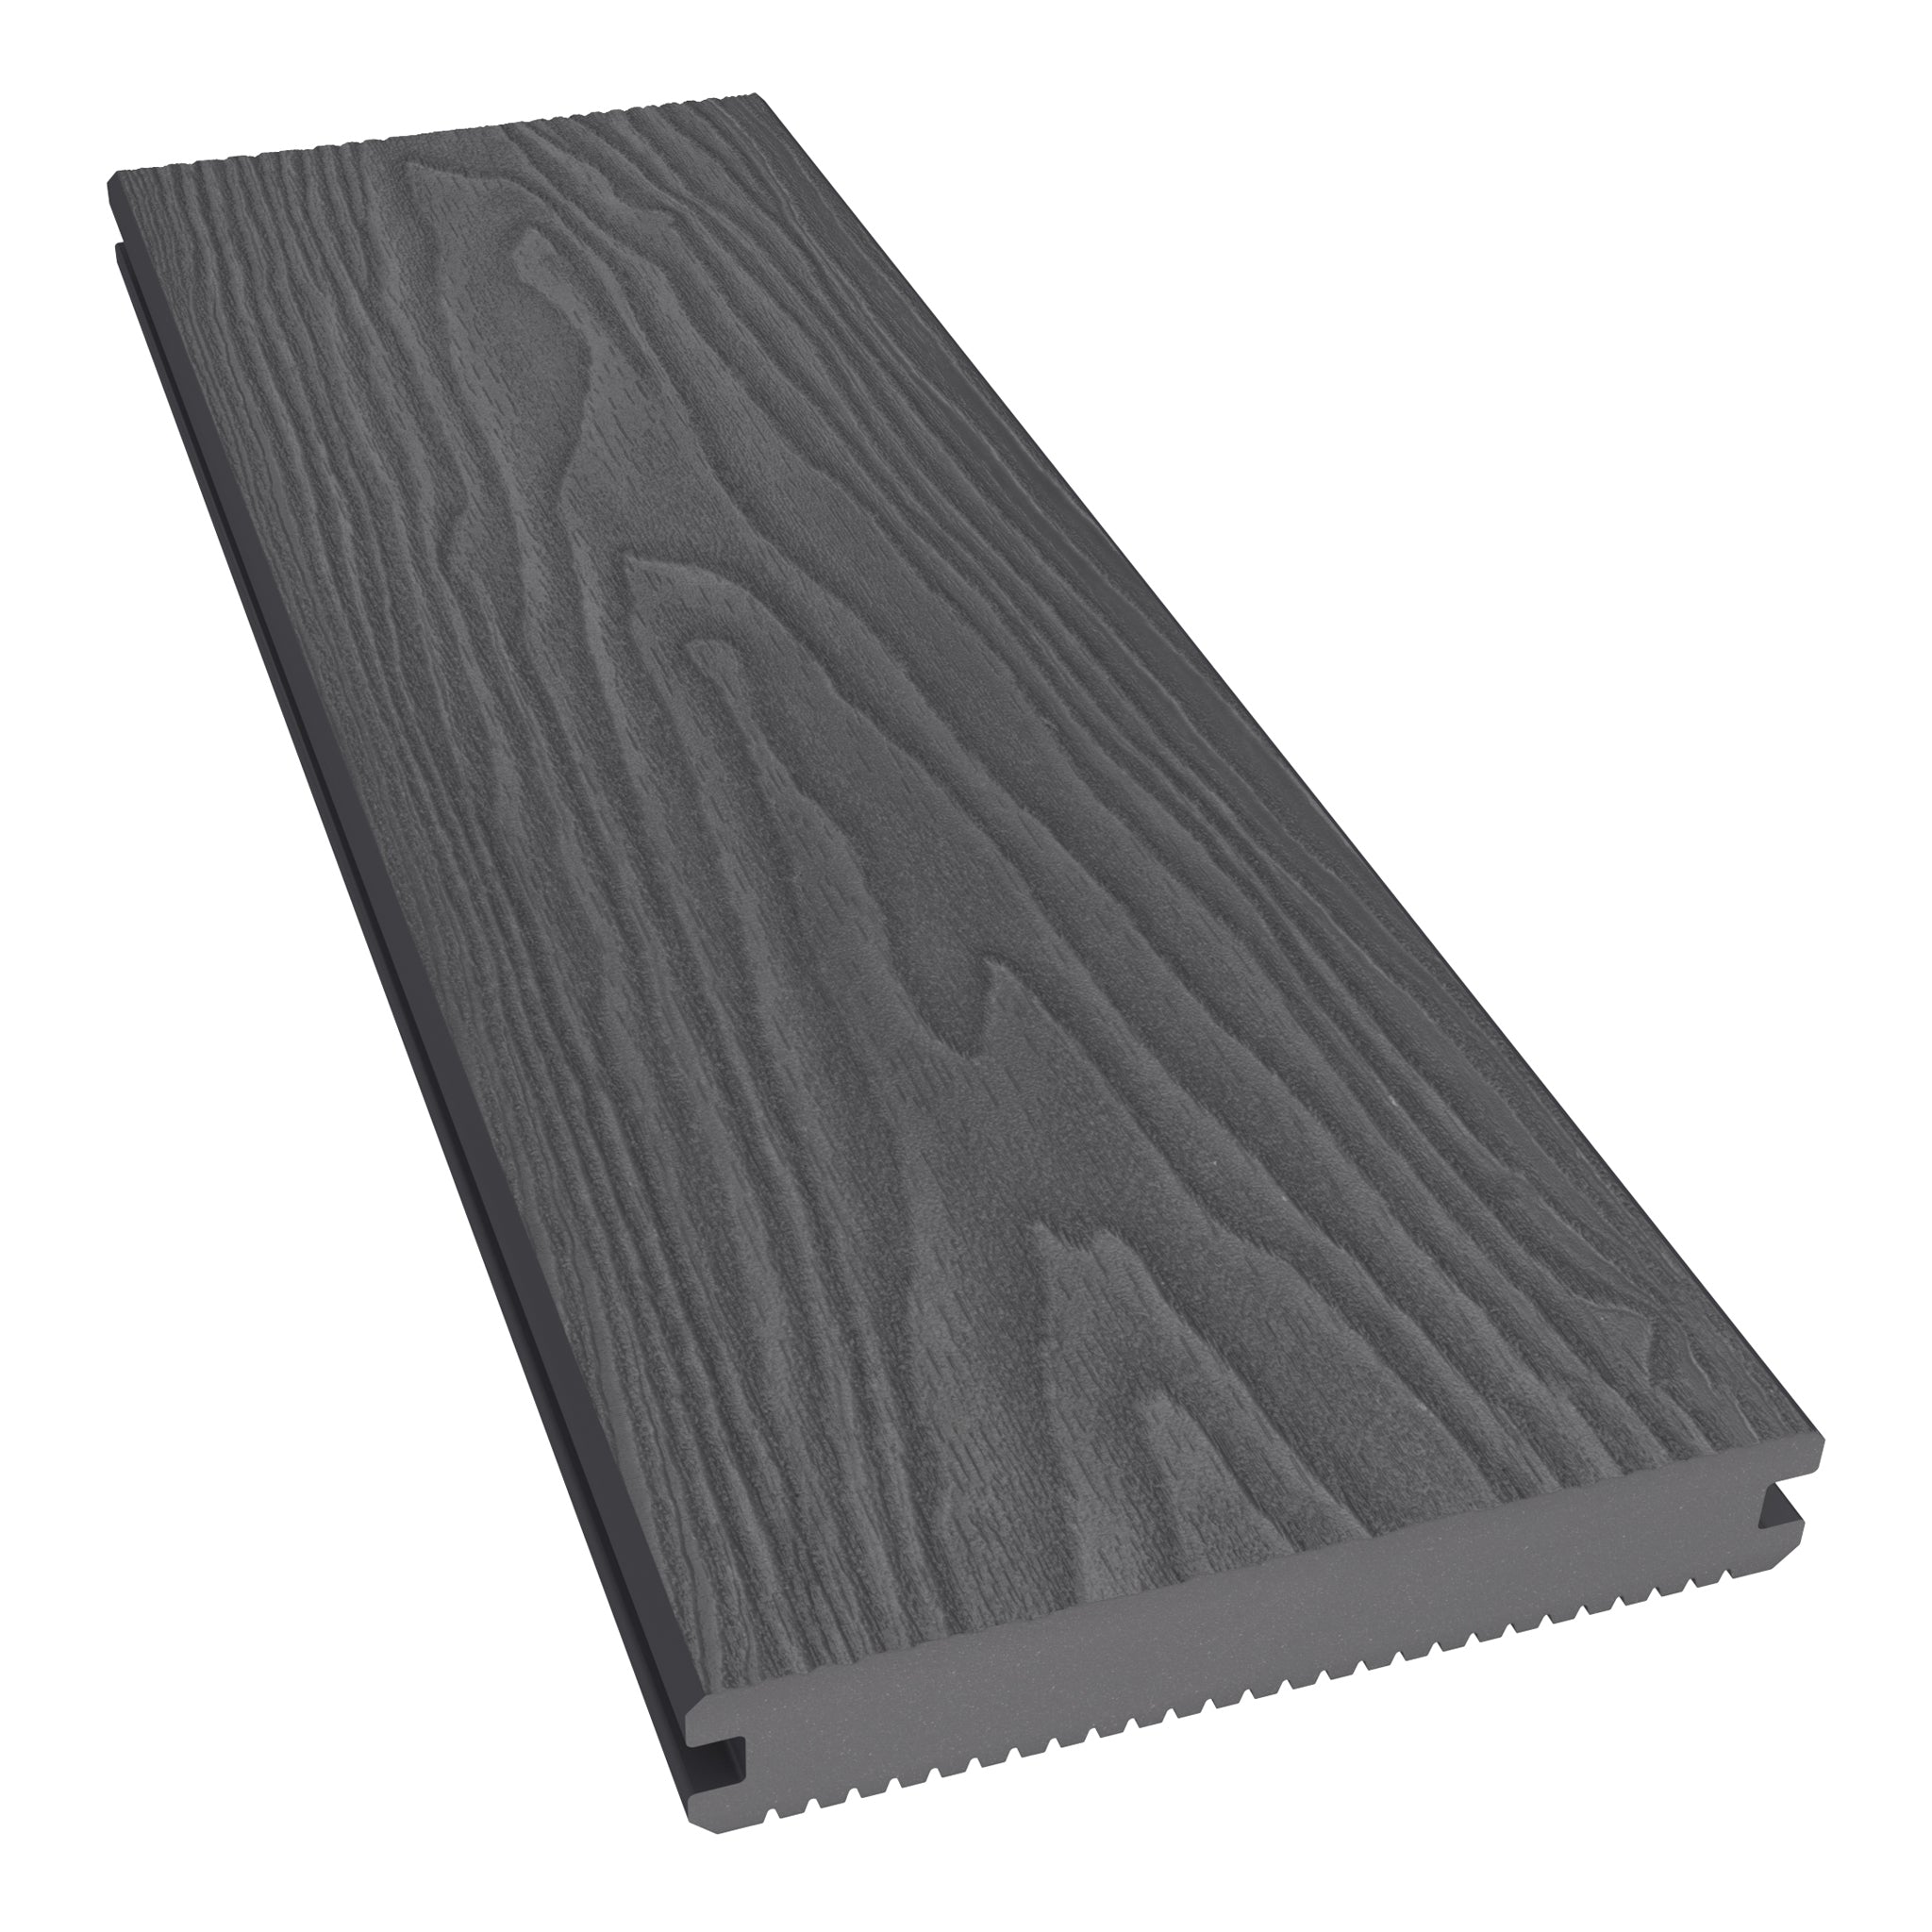
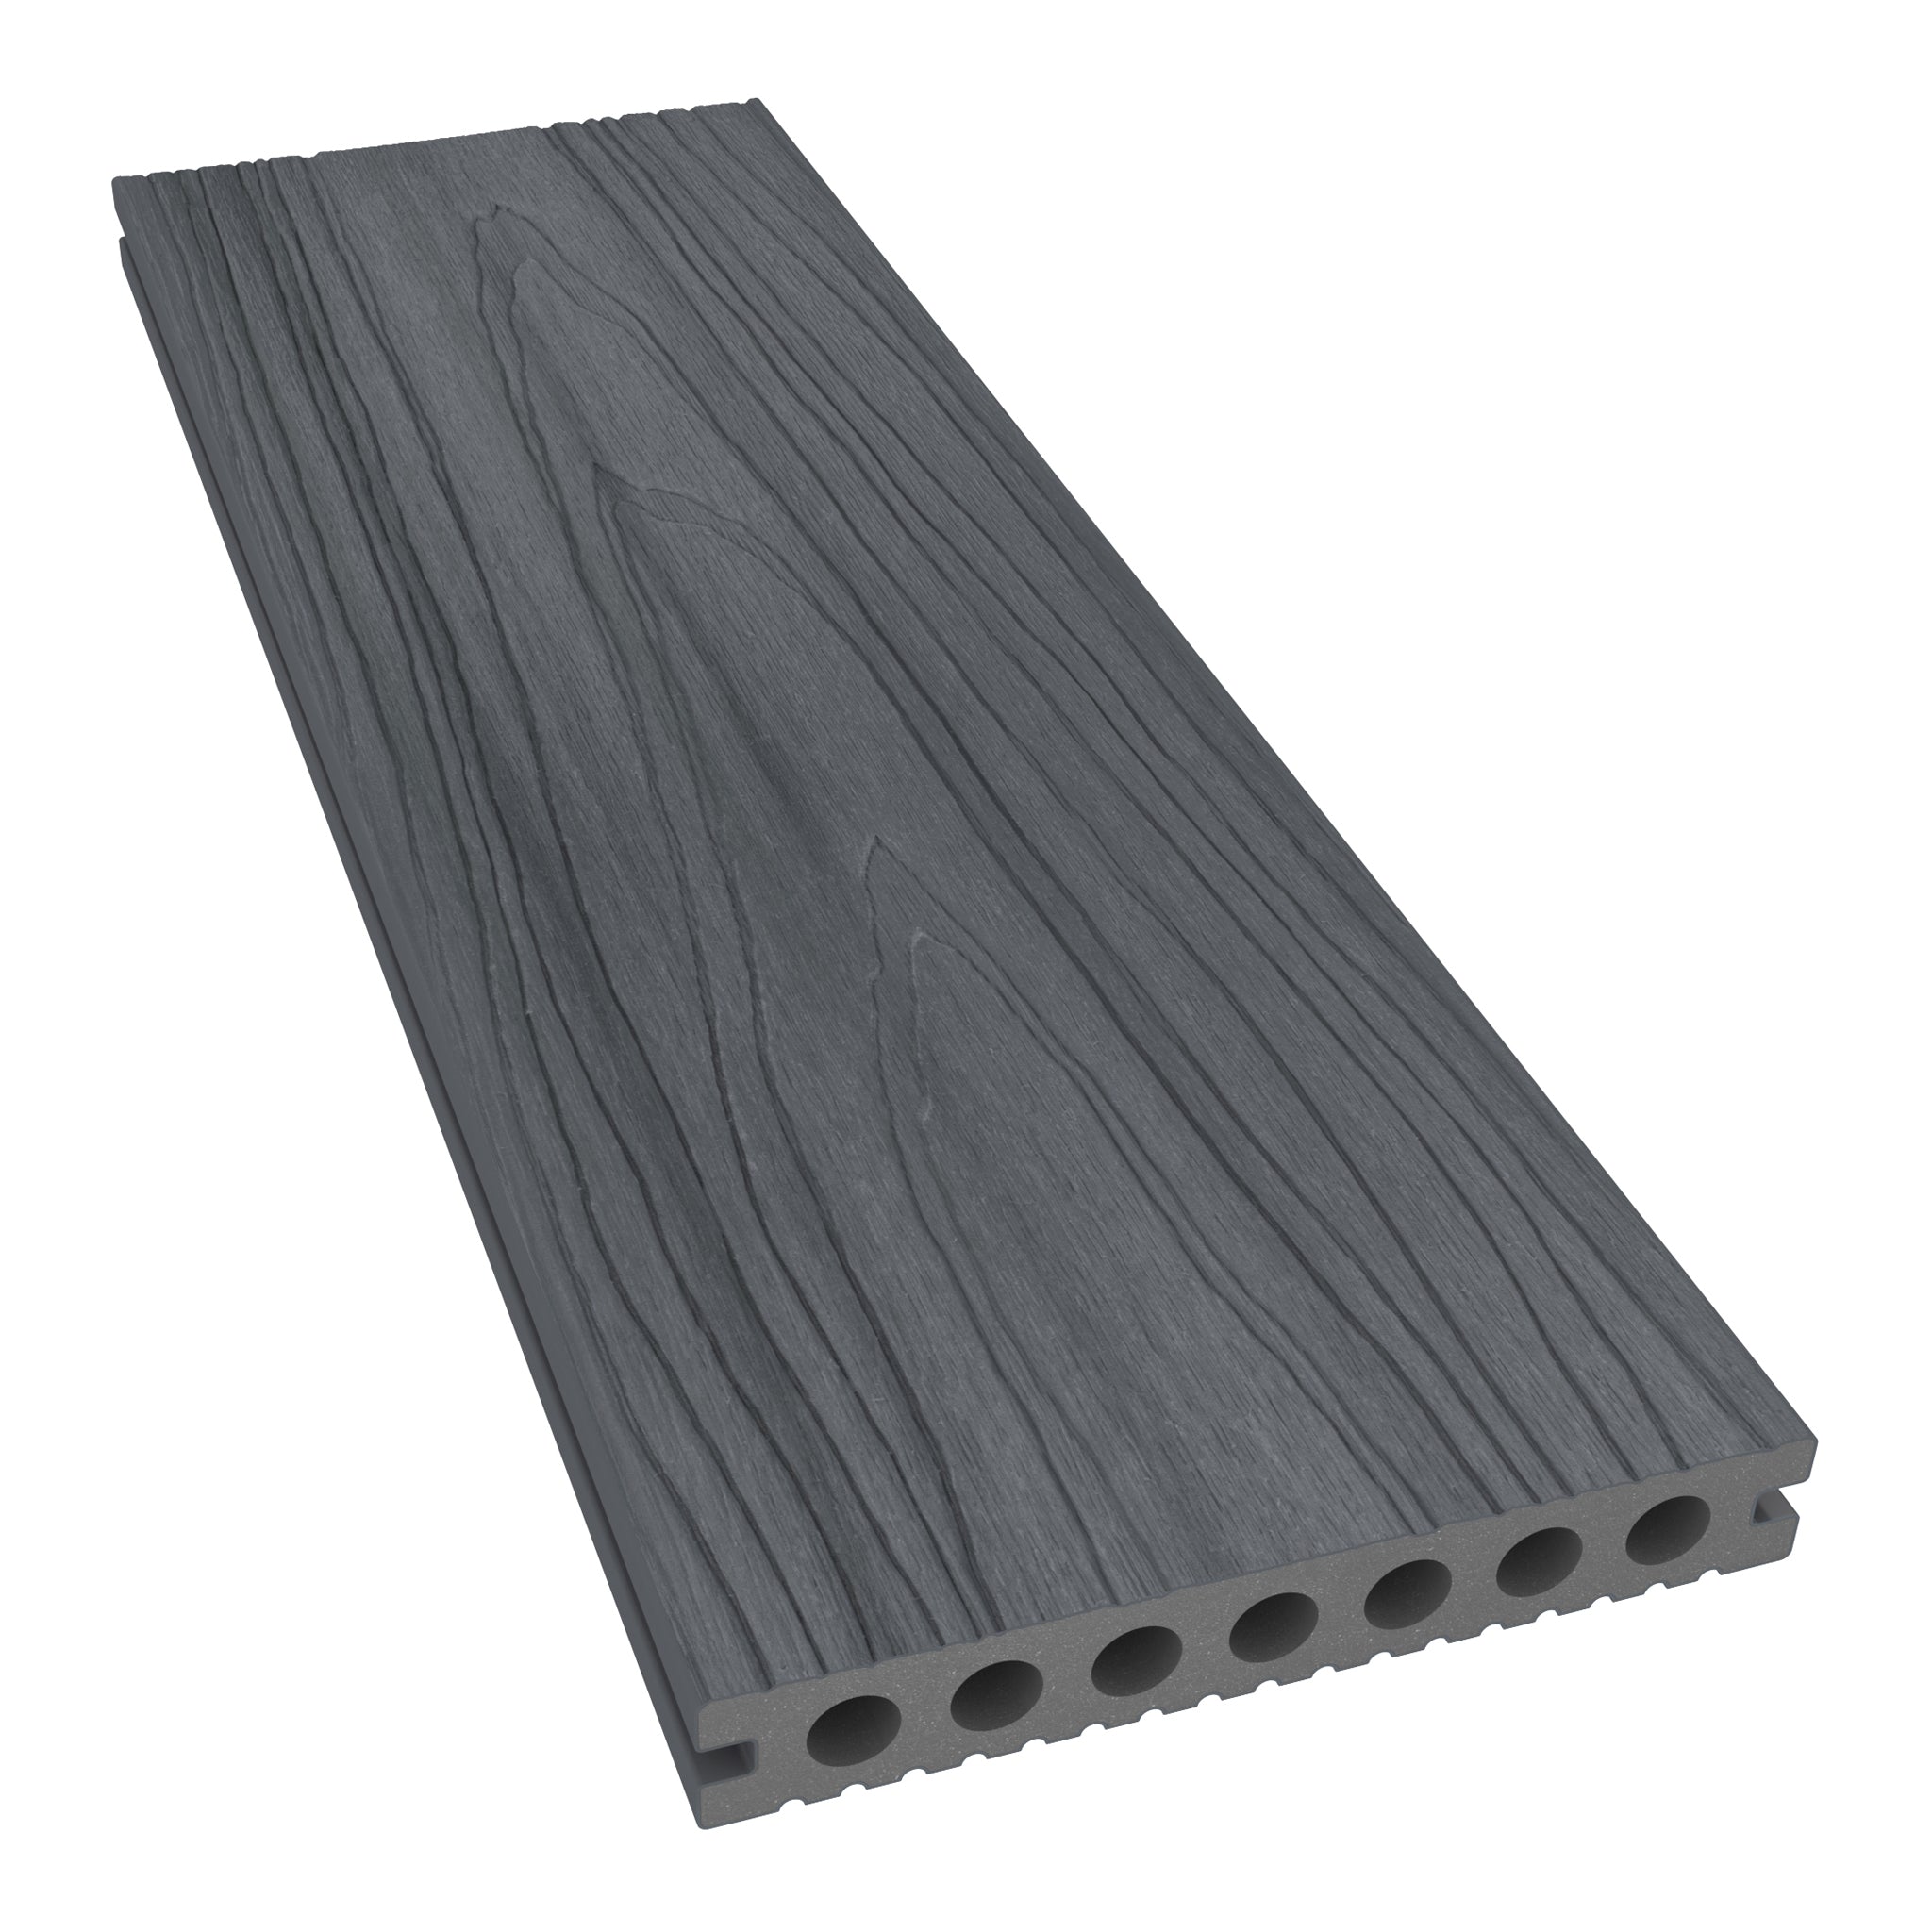
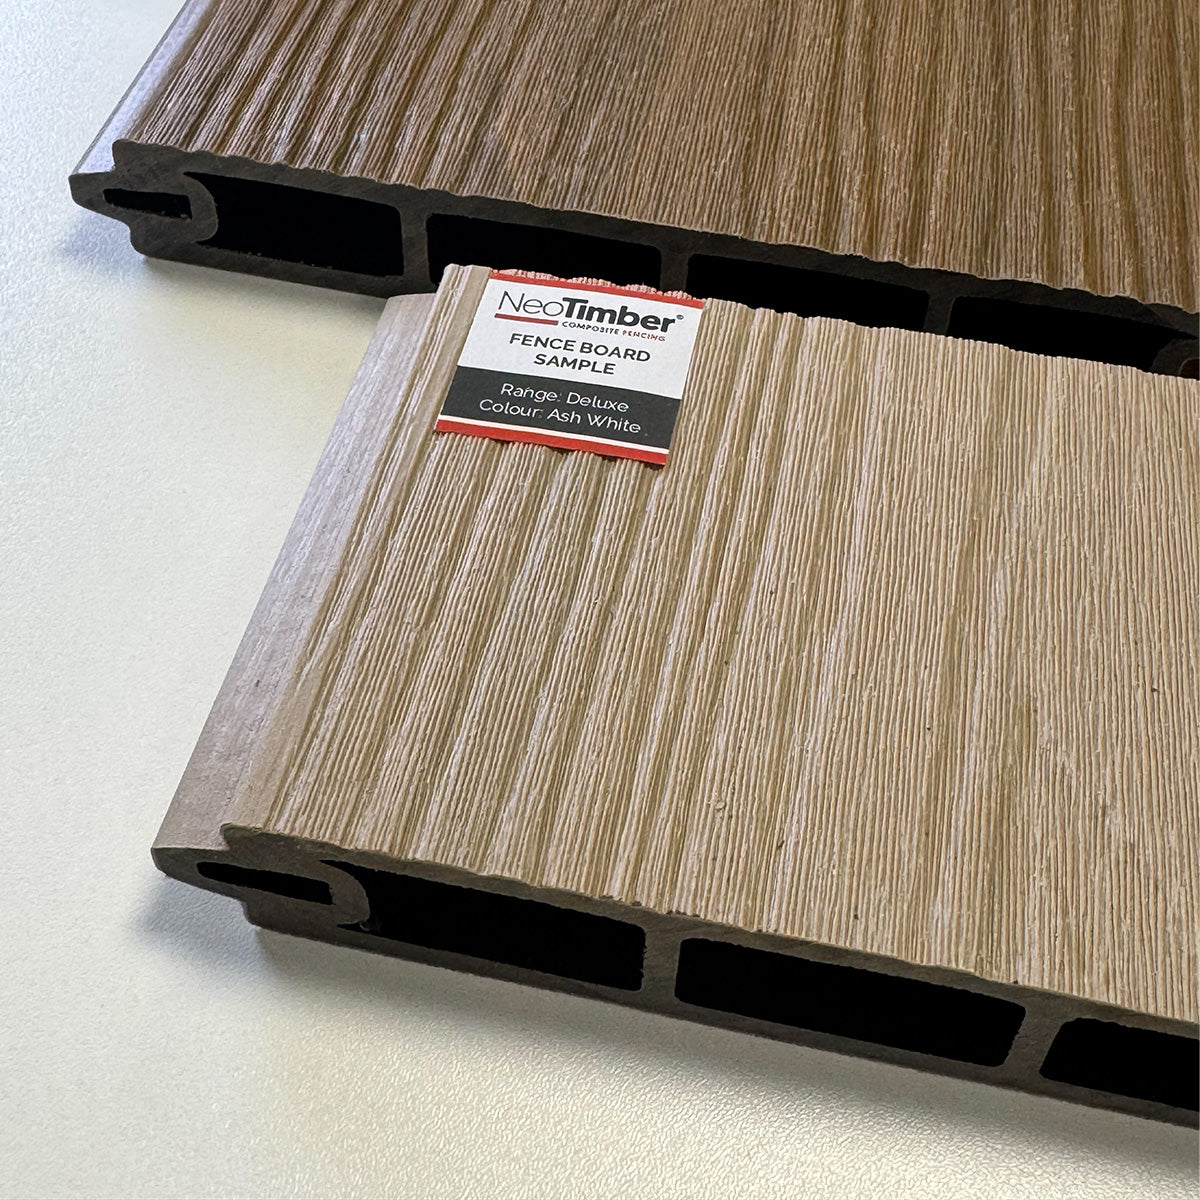
Understanding Colour Characteristics
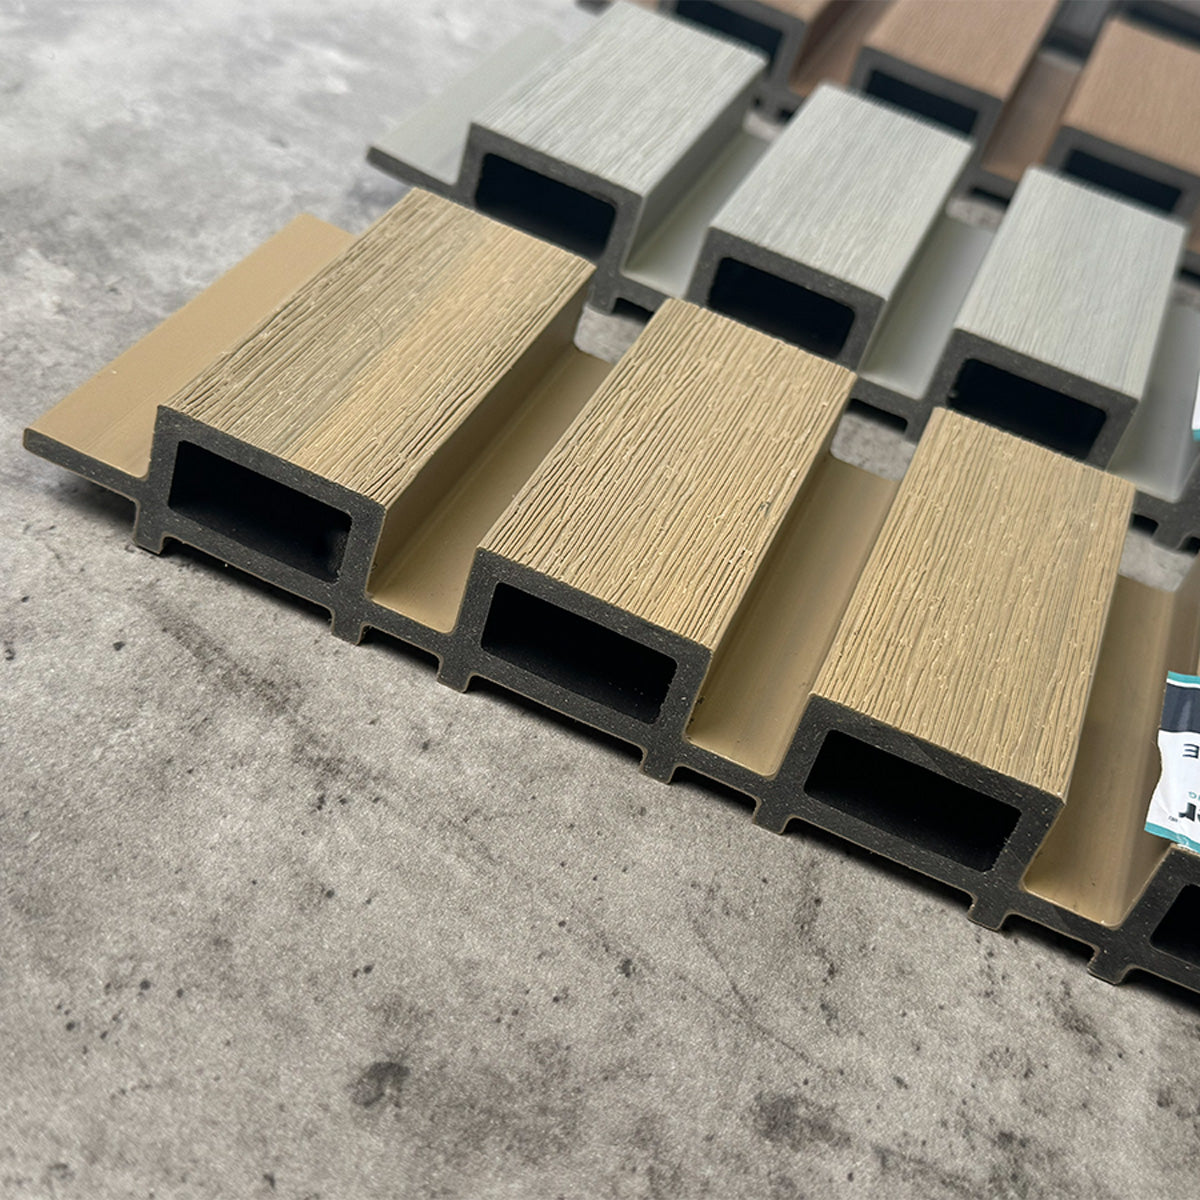
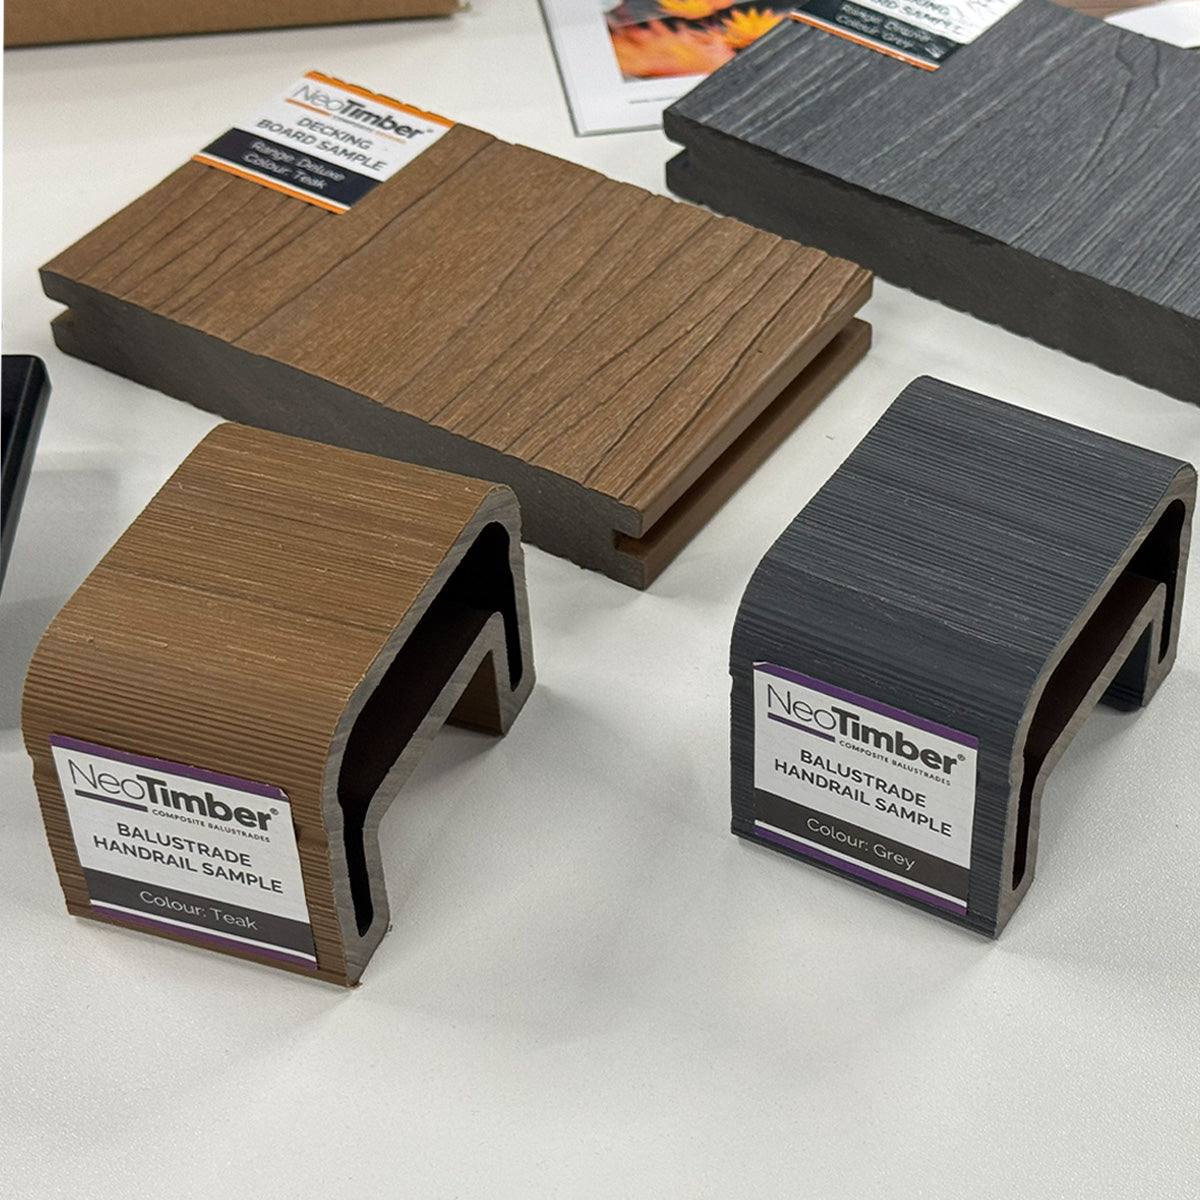
NeoTimber® aluminium decking is available in five colour options across two distinct ranges. The Pure range offers a consistent, uniform finish across every board, whilst the Woodgrain range incorporates natural colour and texture variation to recreate the appearance of real timber.
This variation is an intentional design feature and should be expected when boards are delivered. For the most natural appearance, we recommend mixing boards from multiple packs during installation.


Each colour option is complemented by matching aluminium decking trims, helping to create a seamless and coordinated finish throughout the installation.
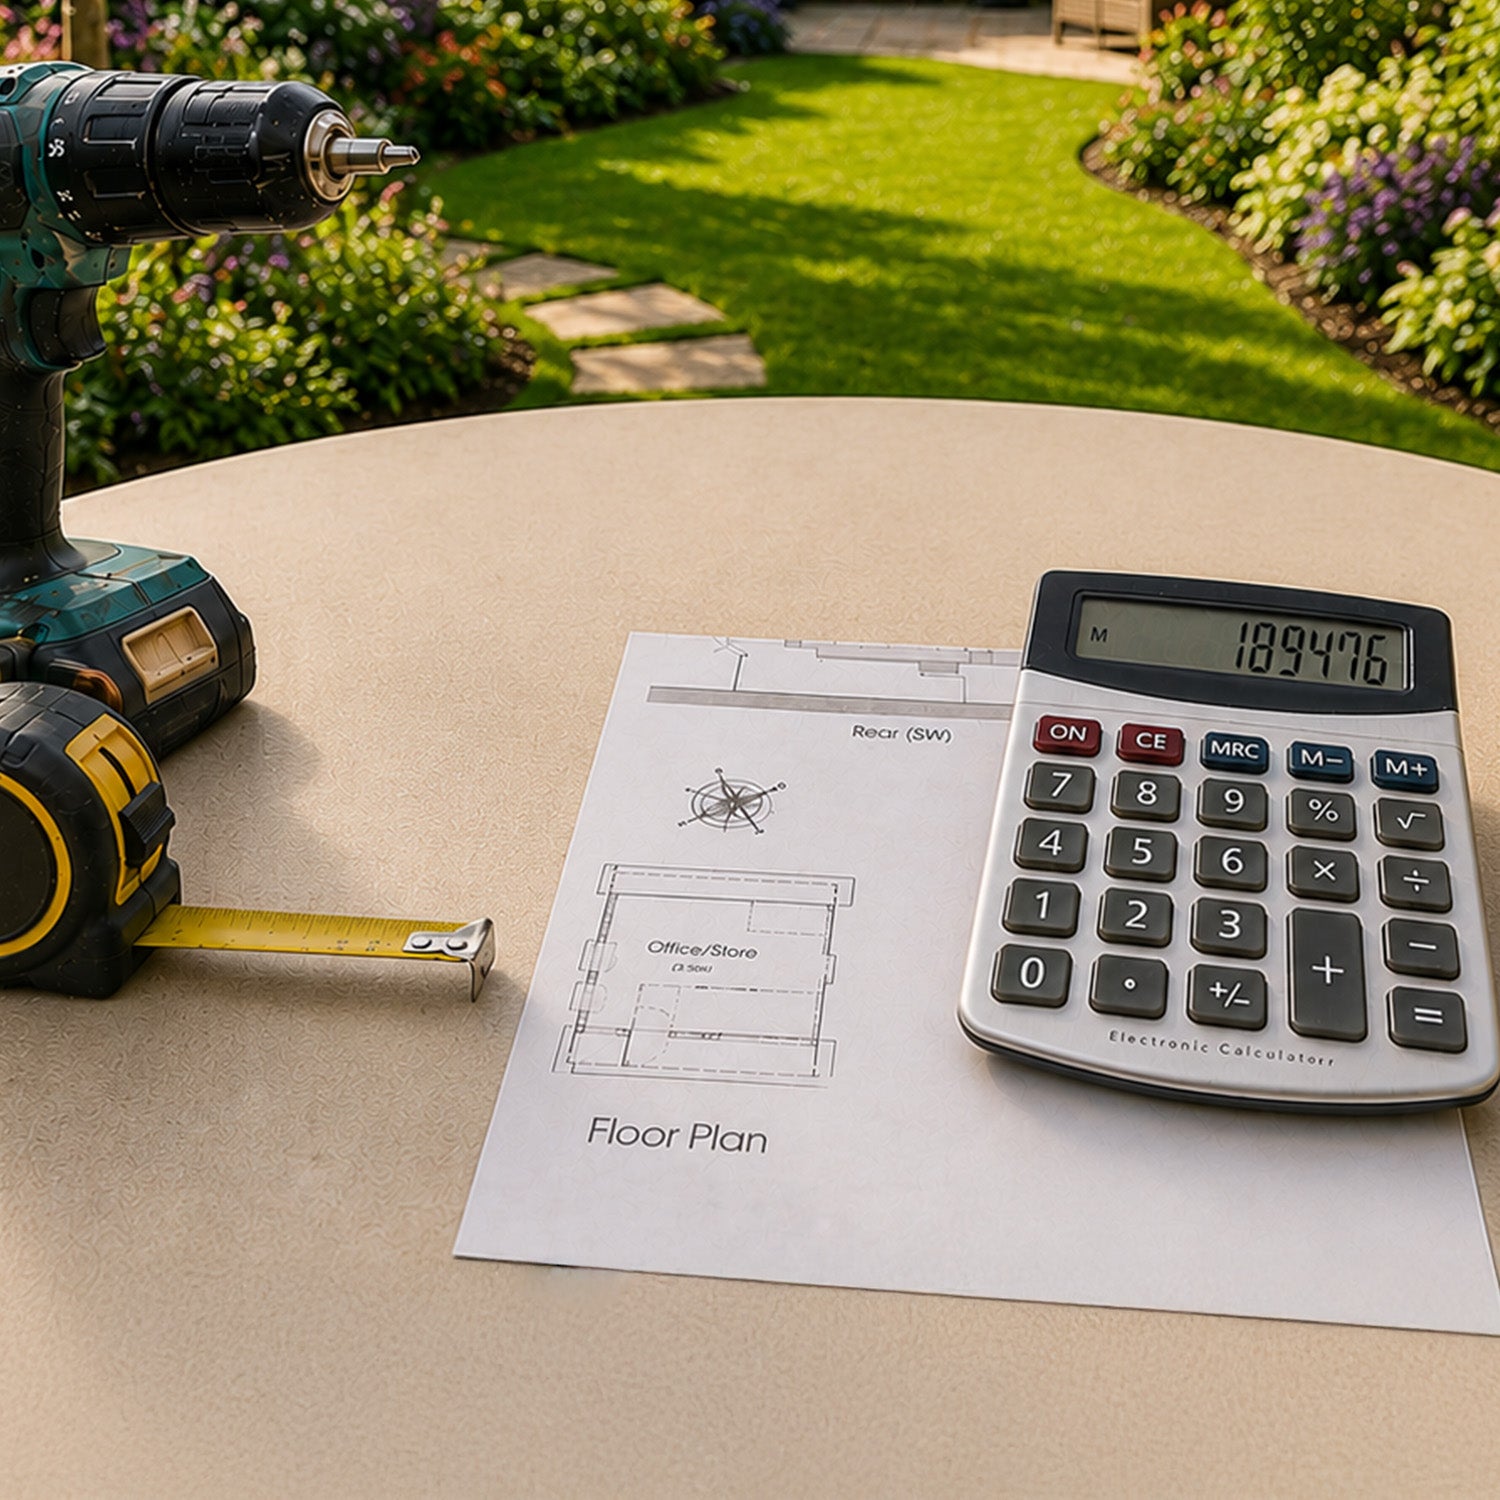
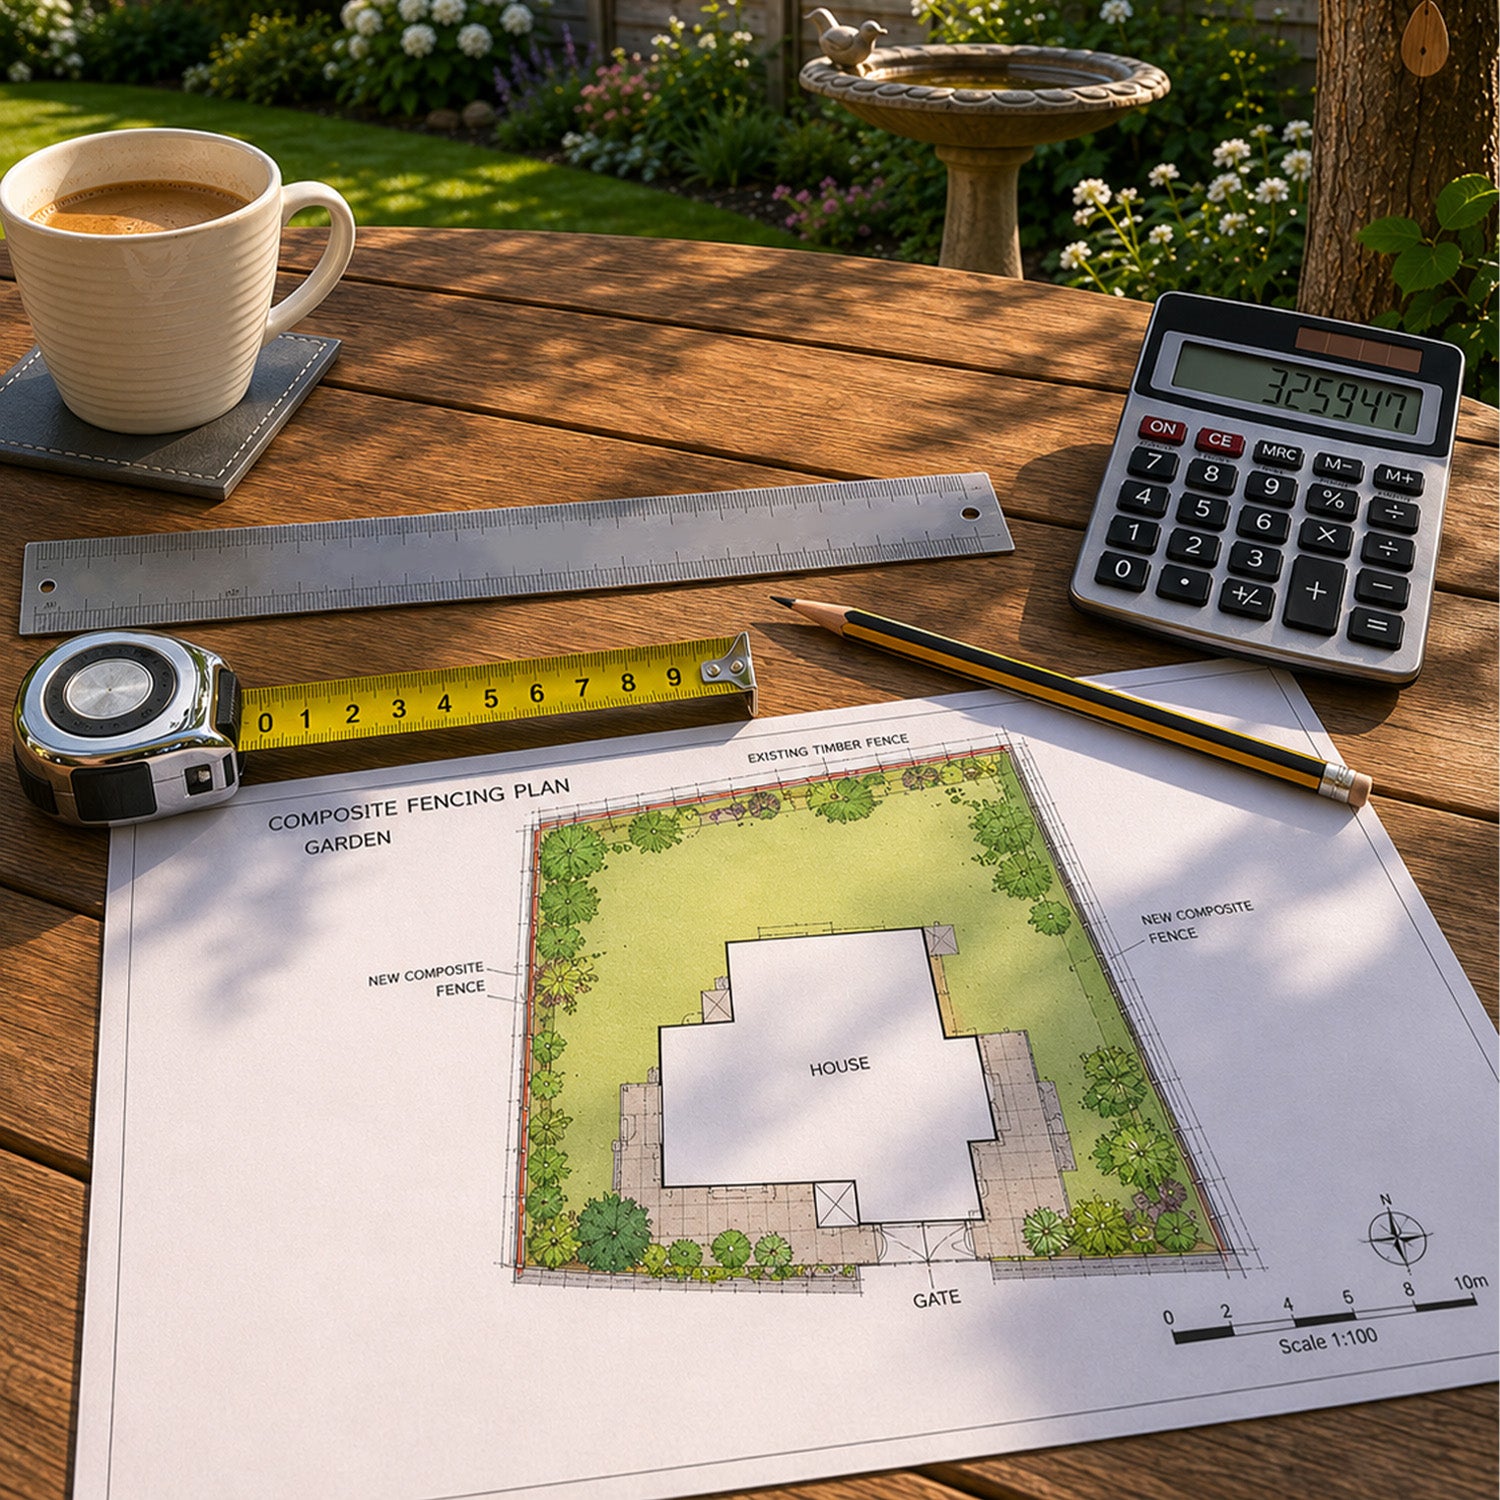
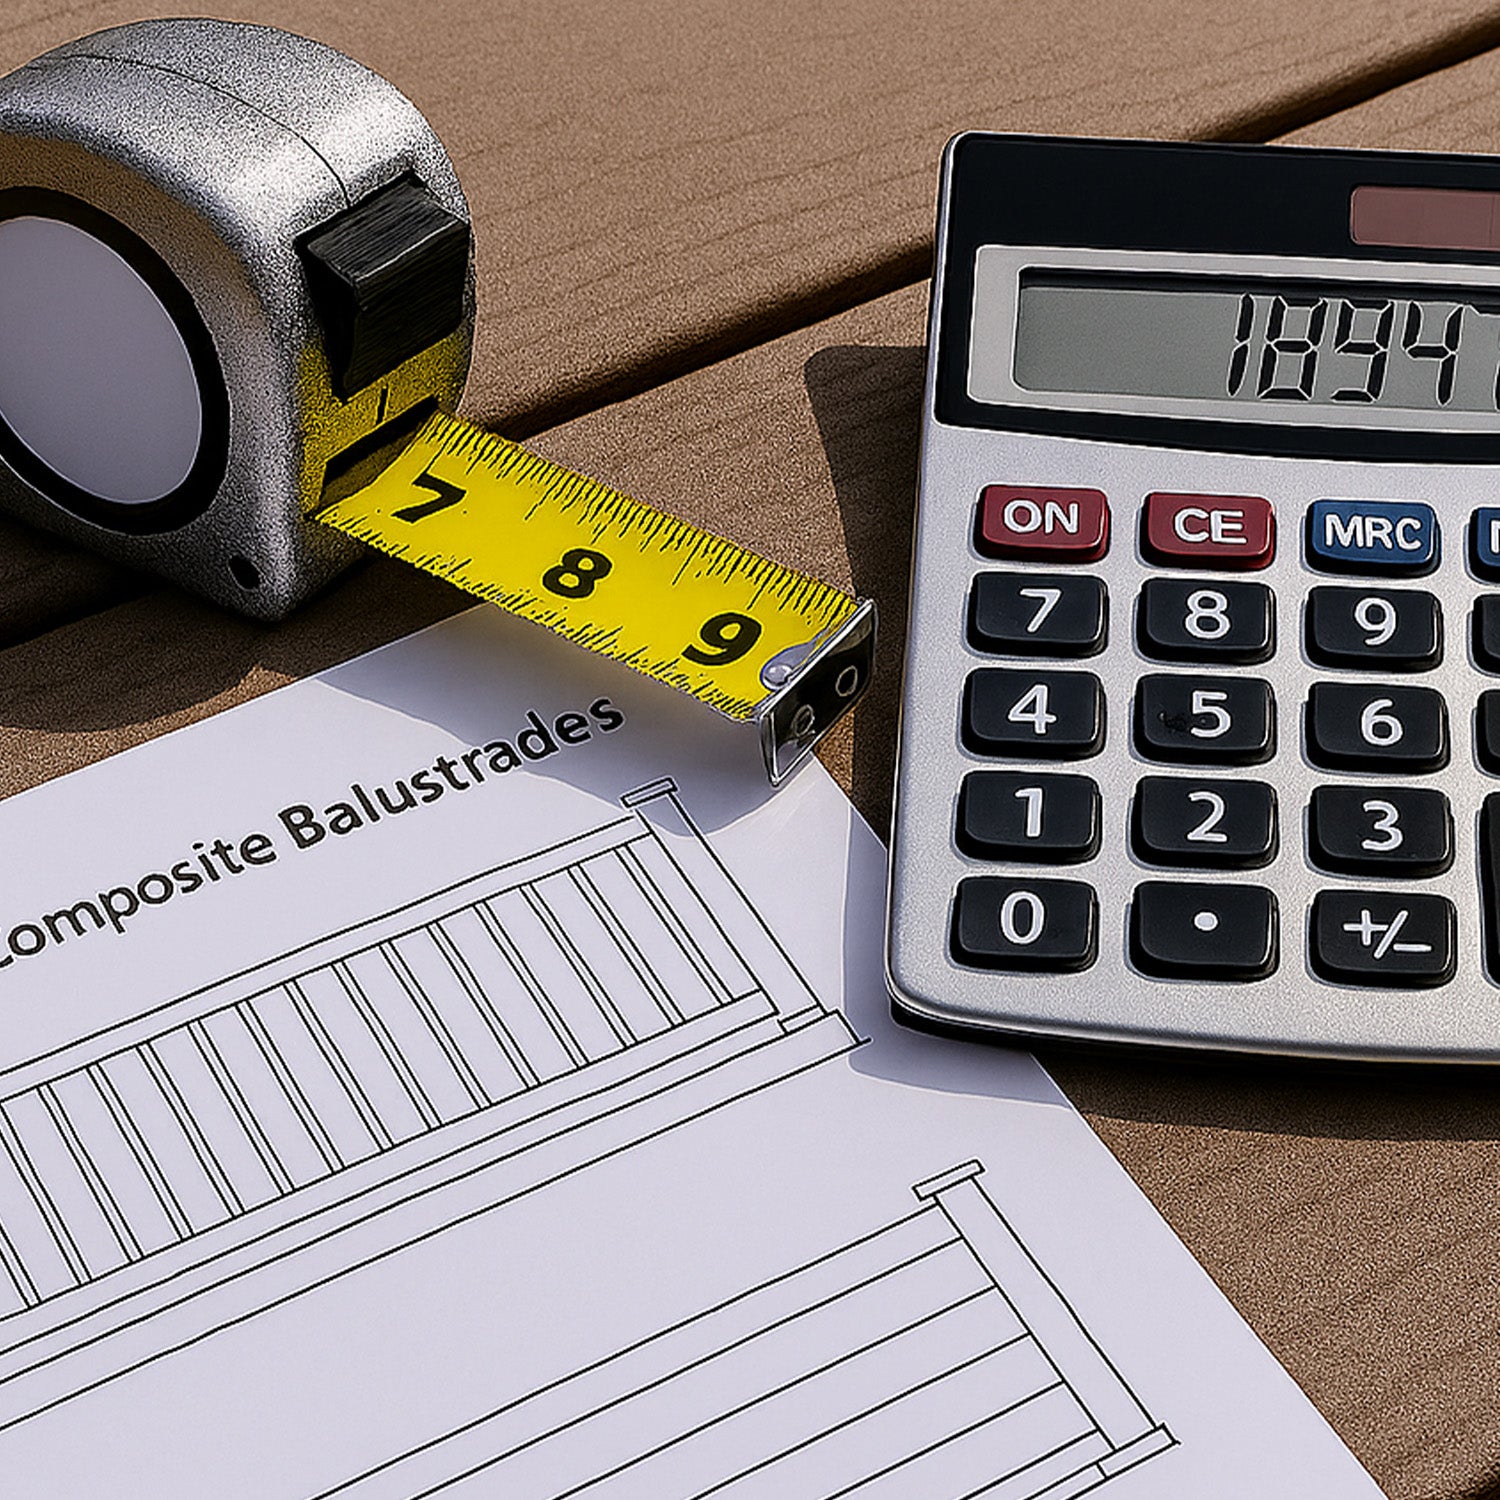
Planning Your Aluminium Decking Project
Careful planning is essential before installing aluminium decking. Consider the overall size, shape and finished height of the deck, along with the intended board direction and any design features.
You should also account for fixed obstacles such as walls, fences, drainage channels, inspection covers, door thresholds and existing landscaping elements that may influence the layout.
When ordering materials, allow for cutting waste. NeoTimber® recommends a wastage allowance of 5–10% for standard installations and approximately 15% for diagonal, angled or more complex decking layouts.
Choosing The Right Subframe
NeoTimber® aluminium decking must always be installed onto a suitable supporting framework. The system is compatible with aluminium, composite, timber and plastic subframes, depending on the project requirements.
For high-rise, balcony and fire-sensitive applications, a metal subframe should be specified. Regardless of subframe type, a minimum clearance of 35mm beneath the framework must be maintained to promote airflow and effective drainage.

Accounting For Thermal Expansion
Like all metal products, aluminium expands and contracts in response to changes in temperature. NeoTimber®'s FastClip installation system automatically maintains the required side-to-side board spacing.
When joining aluminium decking boards end-to-end, maintain a 2mm expansion gap. At aluminium joist end-to-end connections, an expansion gap of 8–10mm should be observed.
Allowing for thermal movement is an important part of any aluminium decking installation and helps ensure long-term performance.
Tools Required For Installing Aluminium Decking
NeoTimber® aluminium decking can be cut and installed using commonly available metalworking and construction tools. For the cleanest cuts, carbide-tipped blades are recommended.
When using a circular saw, select a blade with 40–50 teeth. If pilot drilling decking boards, use a 3mm drill bit.

Before installation begins, confirm that all required tools, accessories and PPE are available on site.
Recommended tools: Hammer drill, hand drill, tape measure, pencil or chalk, jigsaw, circular saw or mitre saw, spirit level and carpentry square.
Recommended PPE: Ear protection, safety glasses, safety gloves, long sleeves, dust mask and safety footwear.
Final Pre-Installation Checklist
Before laying your first board, ensure all materials have been inspected, your subframe has been completed and levelled, drainage requirements have been considered, and all expansion allowances have been accounted for.
Taking the time to prepare properly will help ensure a smoother aluminium decking installation process and a professional finished result that performs for many years to come.