


Aluminium Decking Trim Installation: Finishing Your Decking Edges
Once all aluminium decking boards have been laid, clipped and secured, the final stage is the aluminium decking trim installation. This important finishing step helps create a clean, professional edge detail while covering exposed board ends and protecting the perimeter of the deck.
NeoTimber® Aluminium Corner Trim is designed to coordinate with the aluminium decking colour range, helping create a neat, seamless finish across the completed installation.
What Is Aluminium Decking Corner Trim?
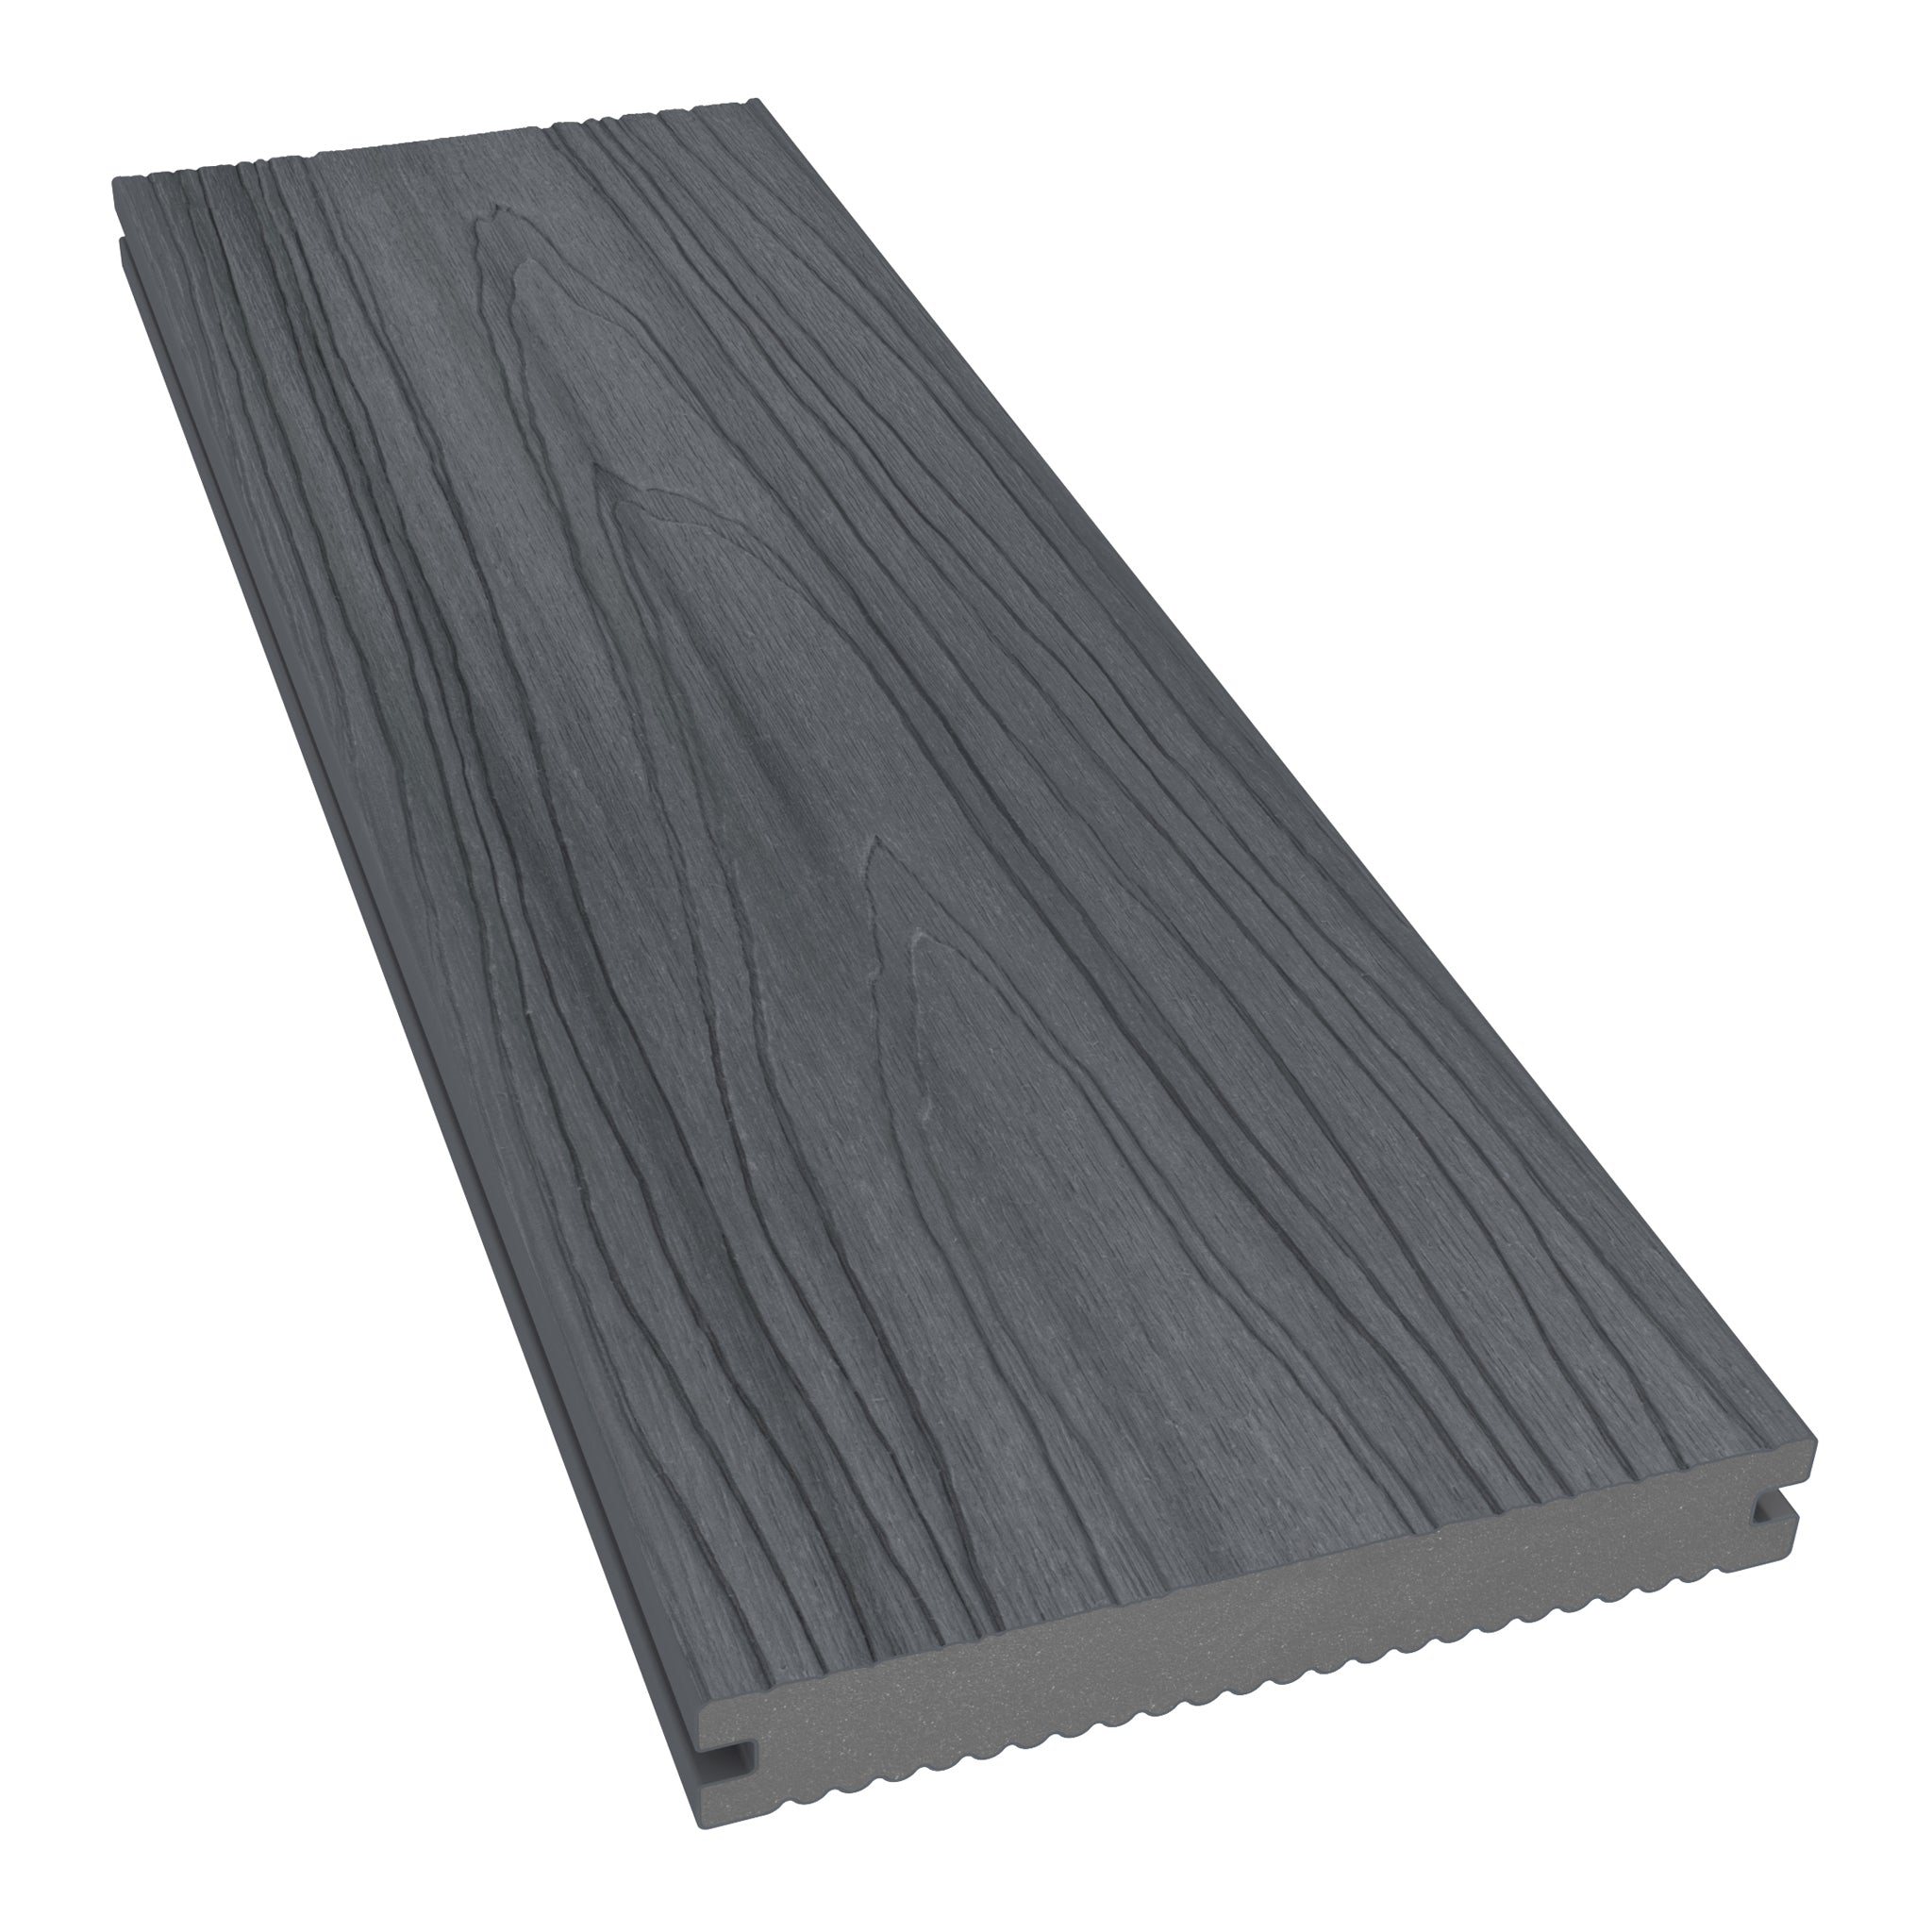
Aluminium Corner Trim is a finishing profile that wraps around the exposed outer edge of the deck. It covers the ends of the aluminium decking boards and helps conceal the side of the subframe below, creating a more polished and complete appearance.
The trim is available in colours designed to complement the NeoTimber® aluminium decking range, allowing the finished deck edge to match the main deck surface.
Before Installing Aluminium Decking Trims
Before fitting the trim, check that all deck boards are fully secured, all Starter Clips and Metal FastClips are tightened, and all expansion gaps have been maintained correctly. The exposed edge should be clean, straight and free from debris before the Corner Trim is positioned.
Dry-fit each trim length first to confirm alignment, cut requirements and corner details before final fixing.
How To Install Aluminium Decking Corner Trim
Position the Corner Trim along the exposed edge of the aluminium decking boards, ensuring it sits flush and evenly against the board ends. Once correctly aligned, screw directly through the trim and into the deck boards at 500mm intervals along the full length of the edge.
Work carefully from one end to the other, checking the trim remains straight and level before each fixing is fully tightened. This helps prevent the trim from twisting or pulling out of alignment during installation.


Cutting And Joining Aluminium Decking Trims
Where two trim lengths meet at a corner, cut each piece to a neat mitre for the cleanest finish. A mitre saw fitted with an aluminium-rated blade is recommended to achieve accurate, tidy cuts.
Take care to measure twice before cutting, particularly around corners, steps and perimeter details. Clean, accurate cuts will help the trim sit flush and improve the overall finish of the installation.
Colour Matching Your Aluminium Decking Trim
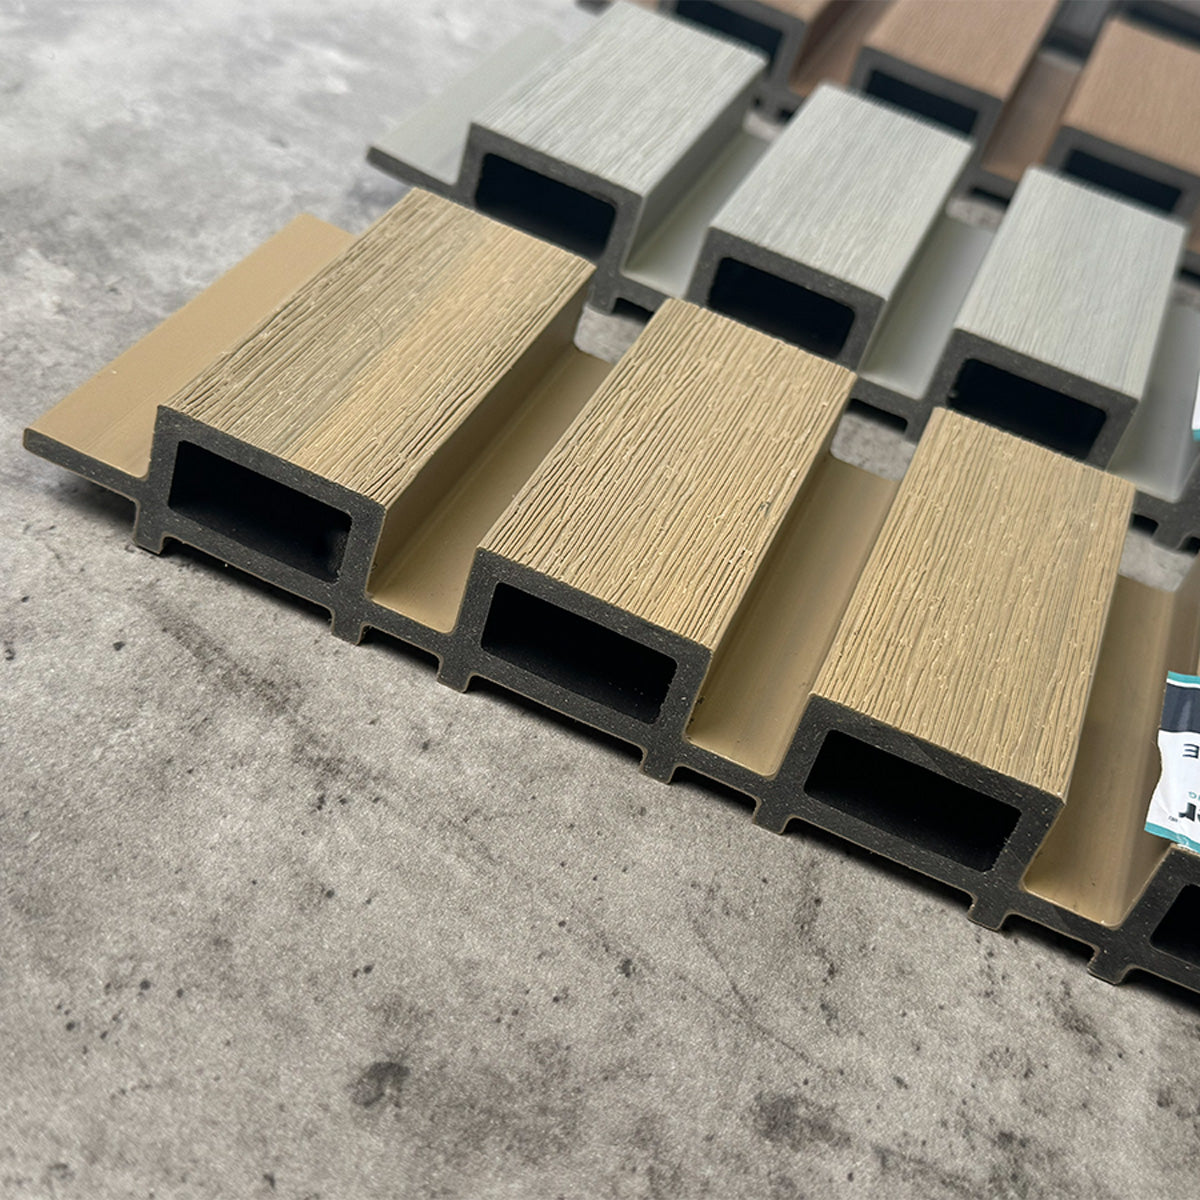
NeoTimber® trim options are available to match each colour in both the Pure and Woodgrain aluminium decking ranges. When ordering, check that your trim and board colours are from the same range and colourway to ensure a consistent finished appearance.
For the best result, confirm trim colours at the same time as ordering your decking boards, especially if you are combining boards, trims and other finishing accessories across one project.
Completing The Aluminium Decking Trim Installation
Once the Corner Trim is fixed and all screws are fully tightened, carry out a final check across the entire aluminium decking installation. Confirm that all boards are securely clipped, all Starter Clips and Metal FastClips are fixed correctly, all joins are properly gapped, and the trim is flush and even along every exposed edge.
At this stage, the aluminium decking trim installation is complete and the deck is ready for use.
Aftercare Following Installation
After installation, remove any swarf, dust or debris created during cutting and drilling. This helps protect the powder-coated surface and keeps the finished deck looking clean.
For further guidance on caring for your NeoTimber® aluminium decking, including cleaning advice and how to treat marks or scratches, refer to the aluminium decking care guide.