


Building Your Own Deck Can Be Simpler Than You Think
Learning how to build a composite deck is much easier when the project is broken down into clear stages. Whether you are planning a full DIY composite deck project or simply researching how to lay composite decking correctly, every part of the installation follows a clear and logical sequence, from planning the layout through to fitting the final trims. This step-by-step guide explains the key stages of the process. NeoTimber® installation guides and videos also offer additional detail and practical support throughout your project.
With the right preparation and the right system, building your own deck can be an enjoyable and rewarding project. Before long, an empty or tired outdoor space can become somewhere to enjoy summer barbecues, crisp autumn evenings and even the colder months of the year. With slip-resistant options available across the range, you can enjoy your outdoor space throughout the seasons.
From planning and product selection through to our dedicated delivery team, NeoTimber® is there to support you at every stage. Our approved installer network is there to help if you decide you would rather leave the installation to somebody else. However, if you would rather roll your sleeves up, this guide will take you through the key stages of the process.
Plan And Prepare Before Building A Composite Deck
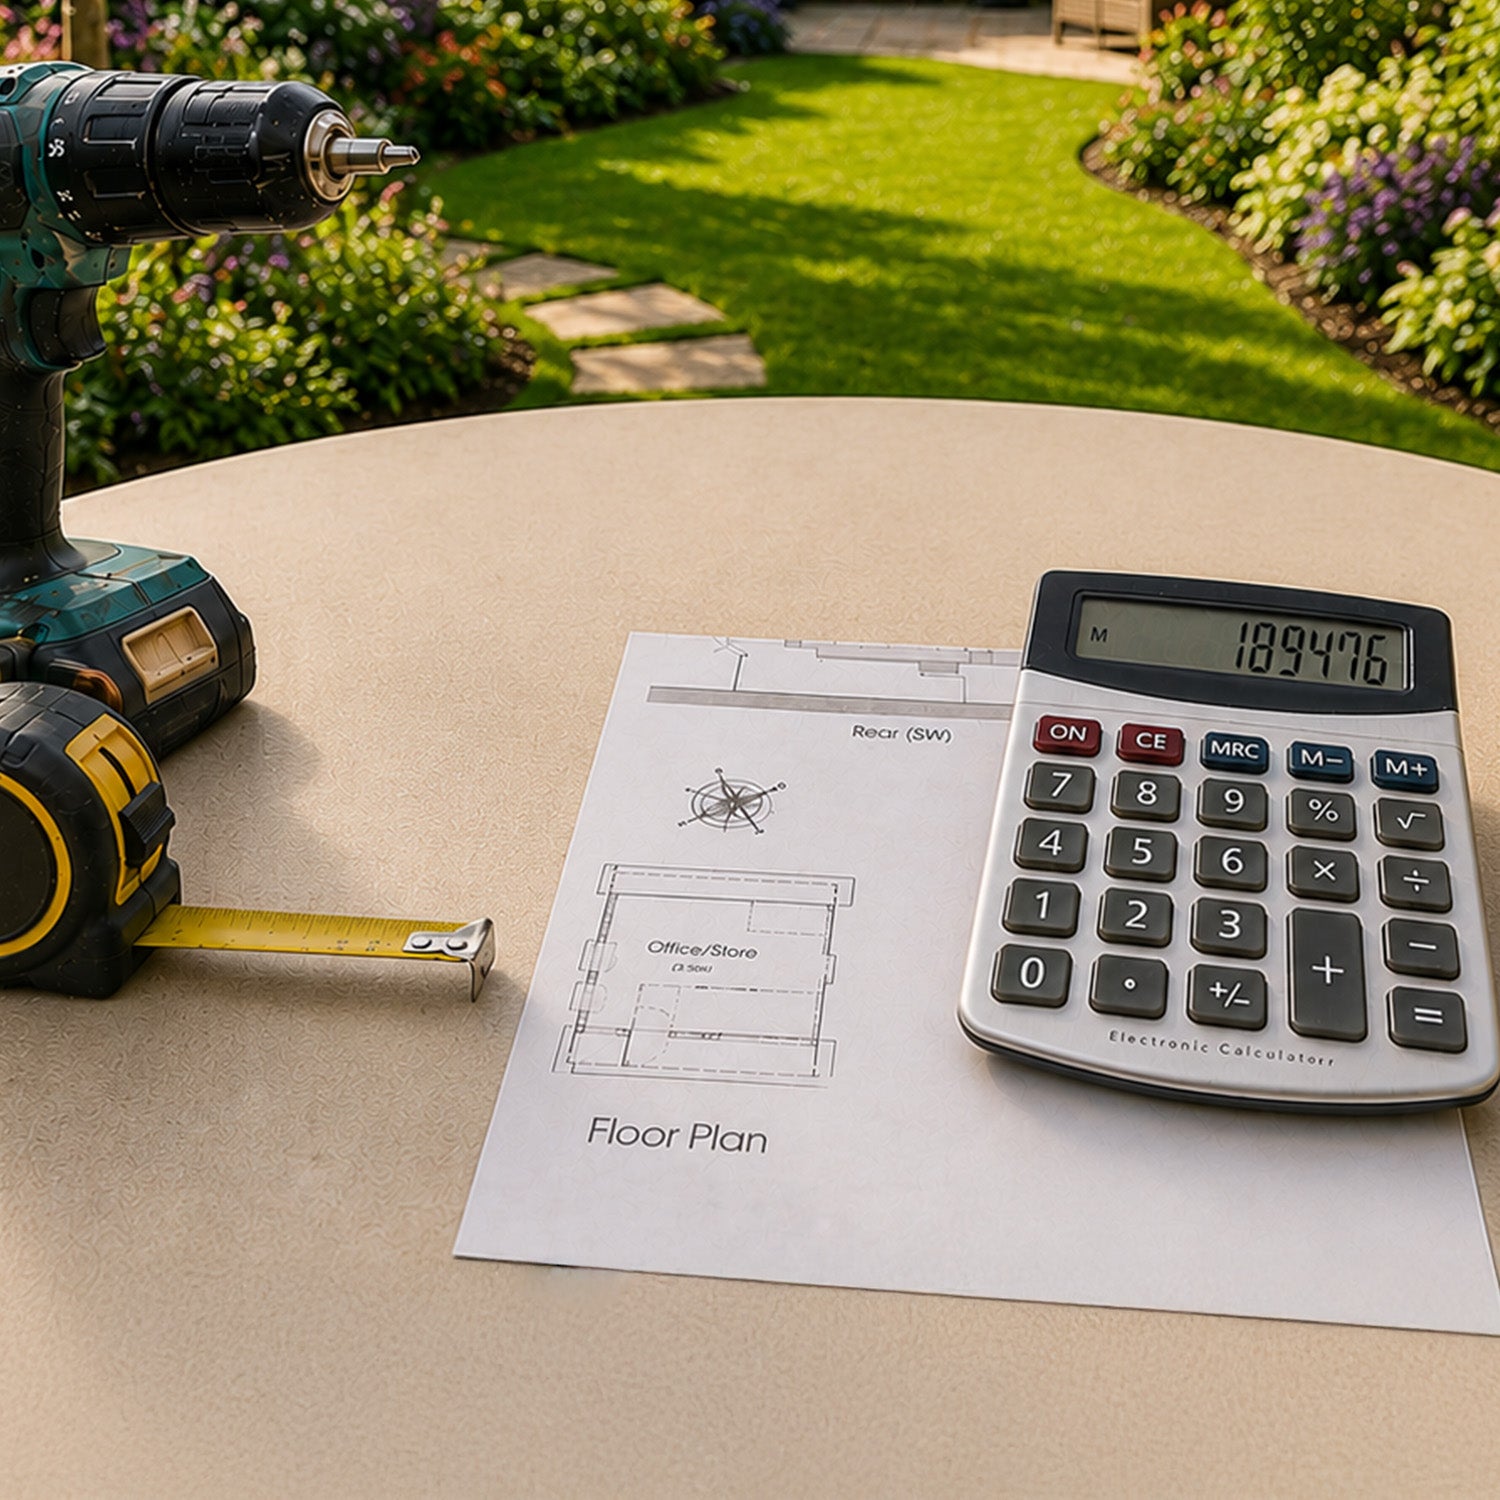
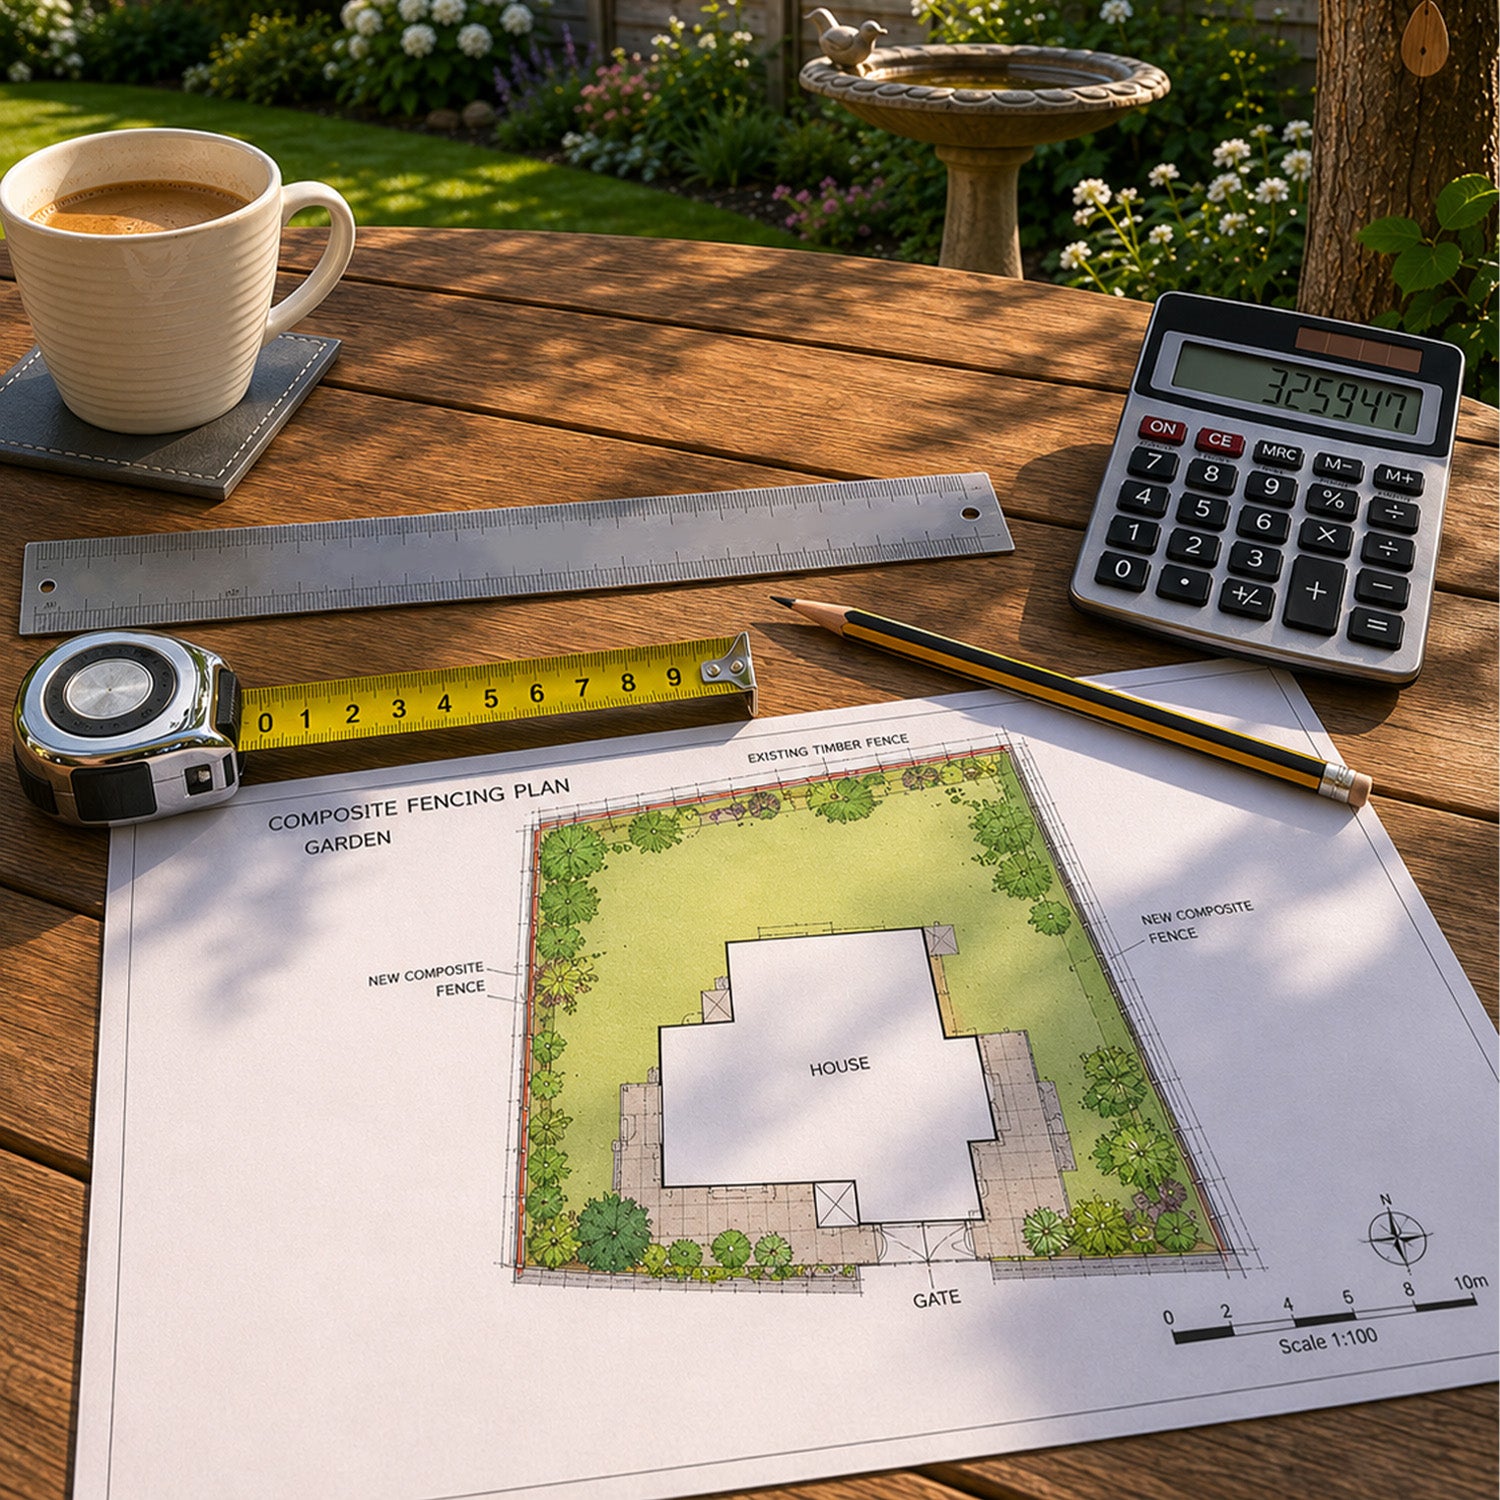
Before building a composite deck, it is worth spending time planning the layout. The size, shape and orientation of the area will influence the position of your joists, board layout and any board joins. Fixed features such as walls, fences, drains and door openings should also be considered before installation begins.
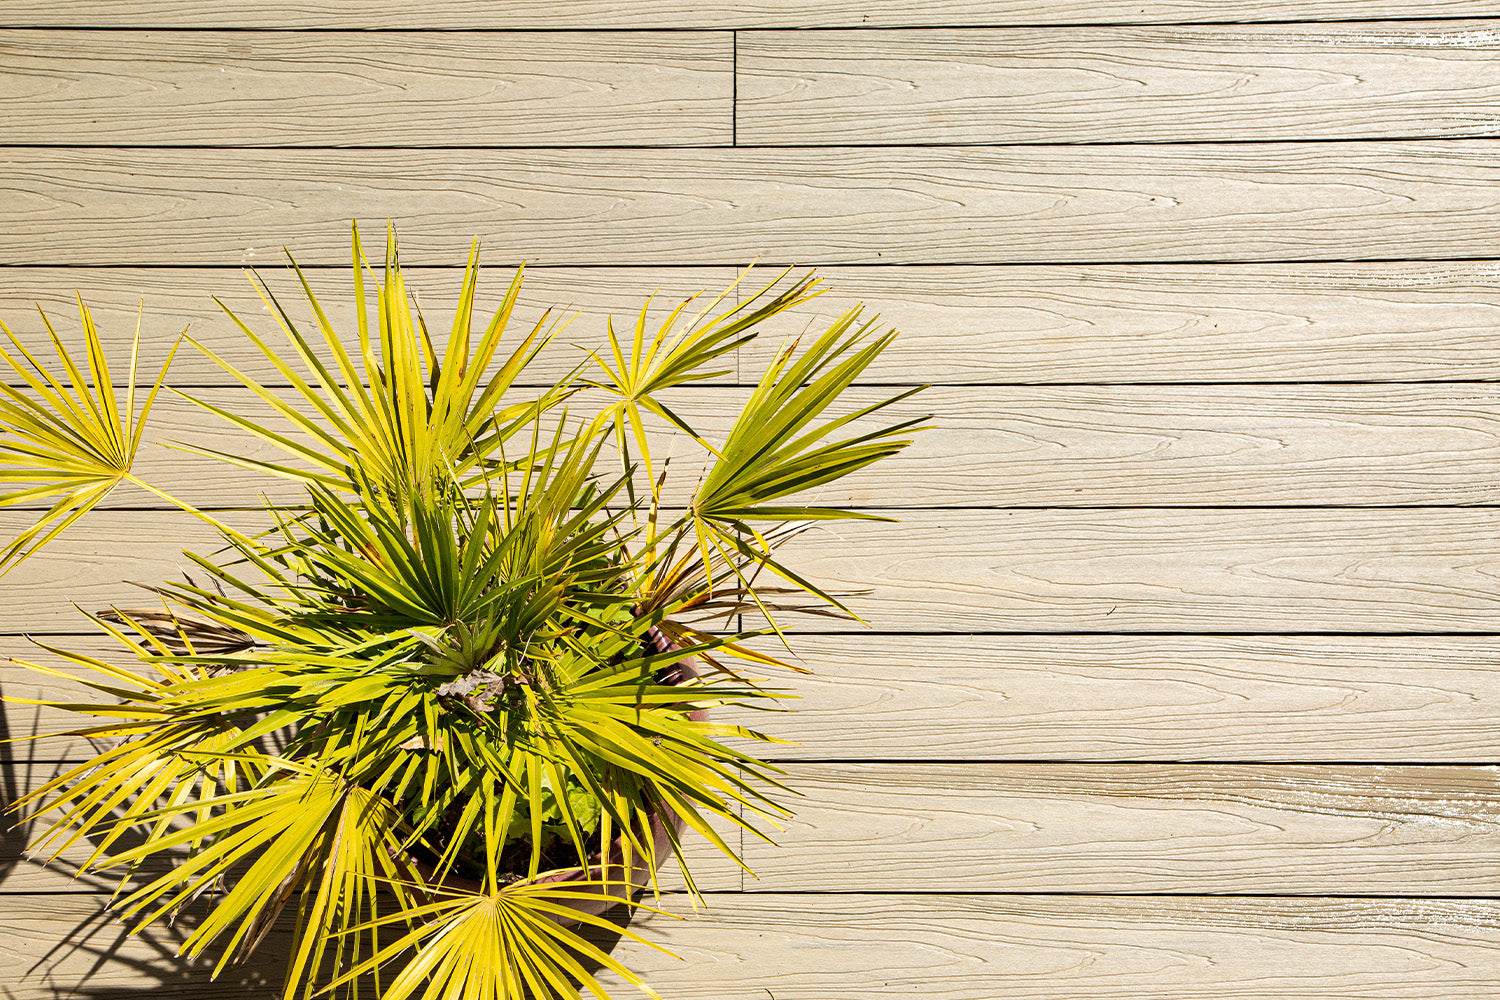
The direction of the boards can also change the overall appearance of the finished deck. Many homeowners use board orientation to help make a space feel wider or longer. NeoTimber® recommends allowing an additional 5-10% material for cuts and wastage. For diagonal or angled installations, a 15% allowance is recommended. Our composite decking calculator can help you with this.
Preparing your materials correctly before installation is equally important. Store boards on wooden battens spaced approximately 400-500mm apart. They should then be allowed to acclimatise to the outside environment for at least 24 hours before fitting. Keeping the work area tidy also helps protect the boards from unnecessary scratches and debris.

DIY Composite Deck Tools, Materials And Preparation
One of the easiest ways to build a composite deck efficiently is to prepare all tools and materials before work starts. Standard woodworking tools can be used throughout the process, making a DIY composite deck installation more straightforward for many homeowners with basic DIY experience.
Common tools include a tape measure, spirit level, drill, hammer drill, pencil or chalk line, jigsaw and circular or mitre saw. NeoTimber® recommends using carbide-tipped blades for the cleanest cuts and a 3mm drill bit when countersinking. Appropriate safety equipment, including gloves, eye protection and suitable footwear, should also be used throughout the installation.
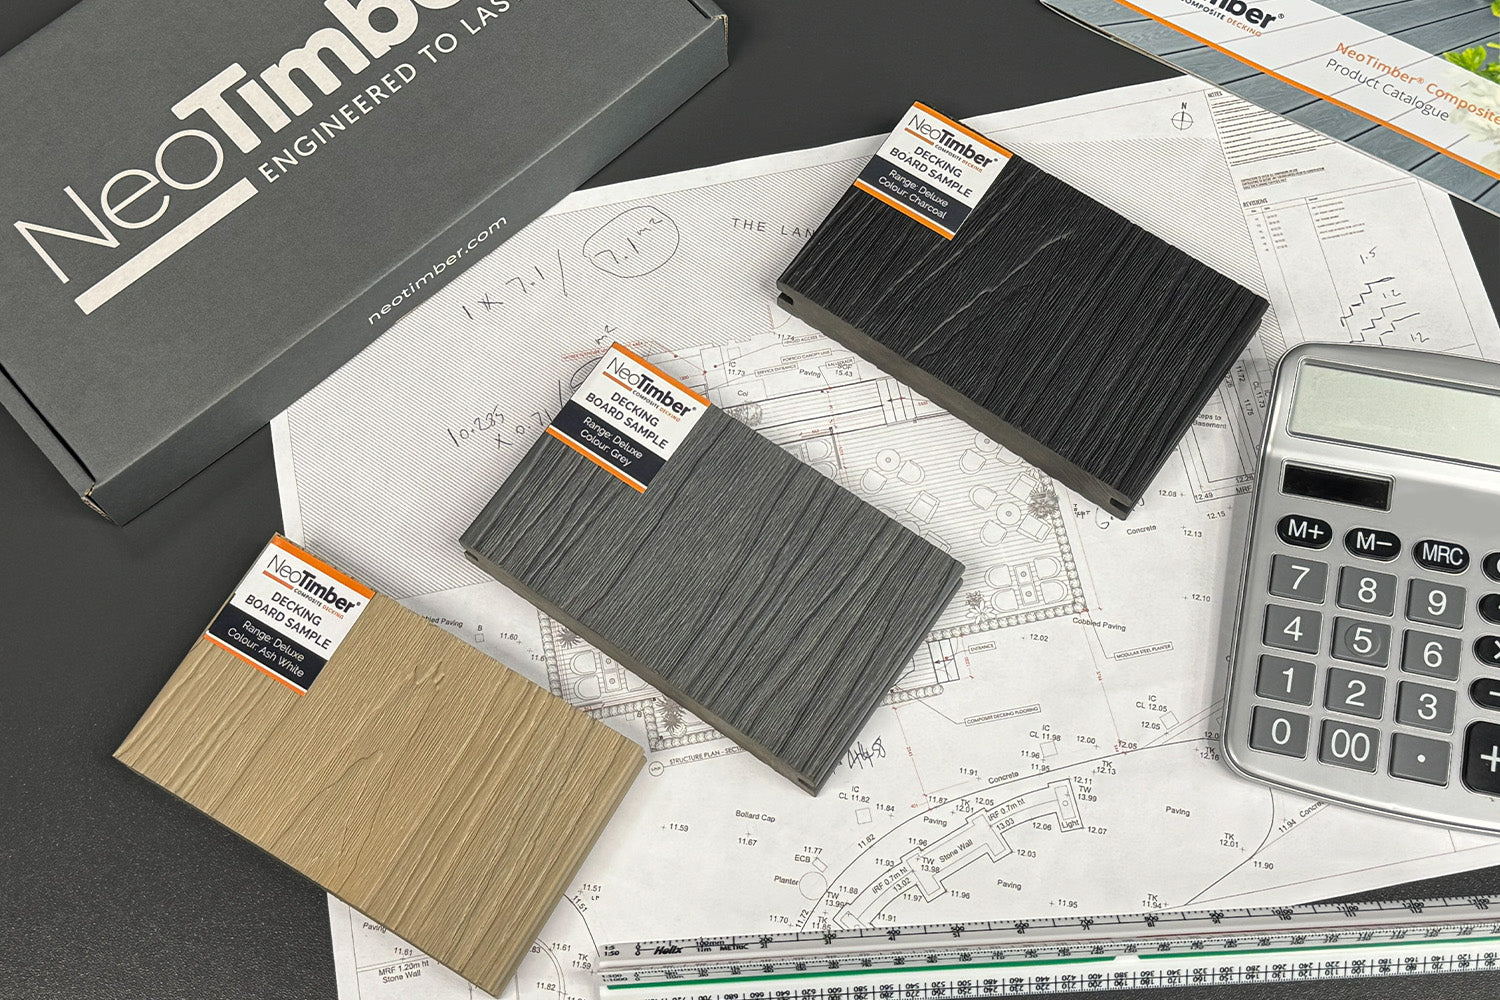
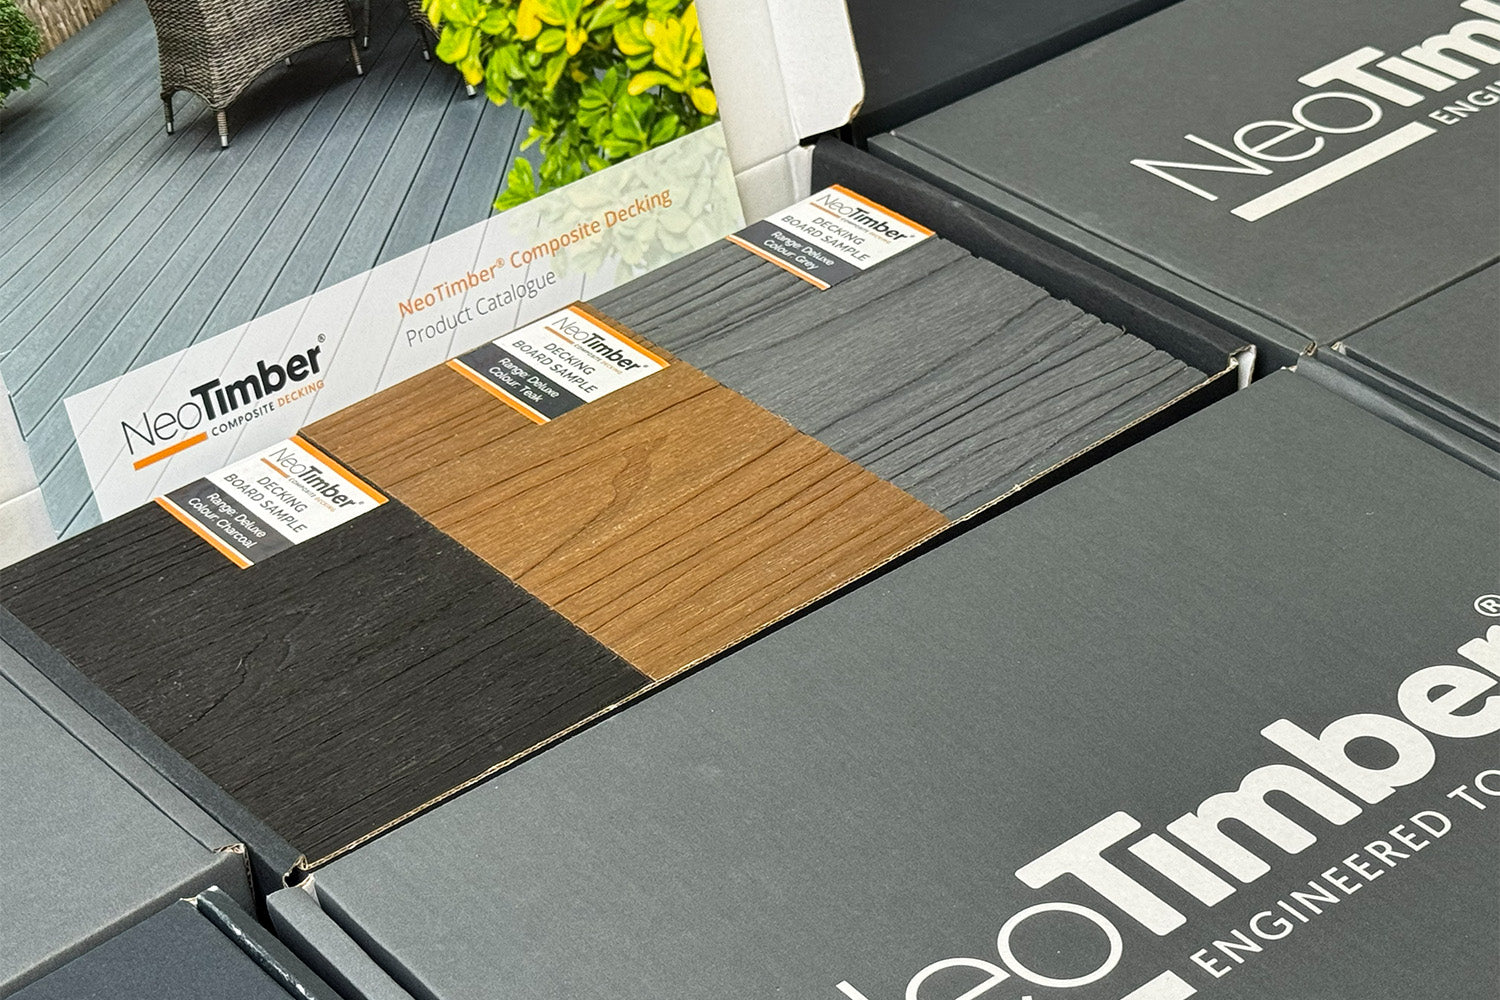
Alongside your composite decking boards, you will also need the right composite joists, Starter Clips, FastClips, fixing screws and finishing decking trims. Having everything ready before installation begins can help the project progress much more smoothly.

Subframe Installation When Building A Composite Deck
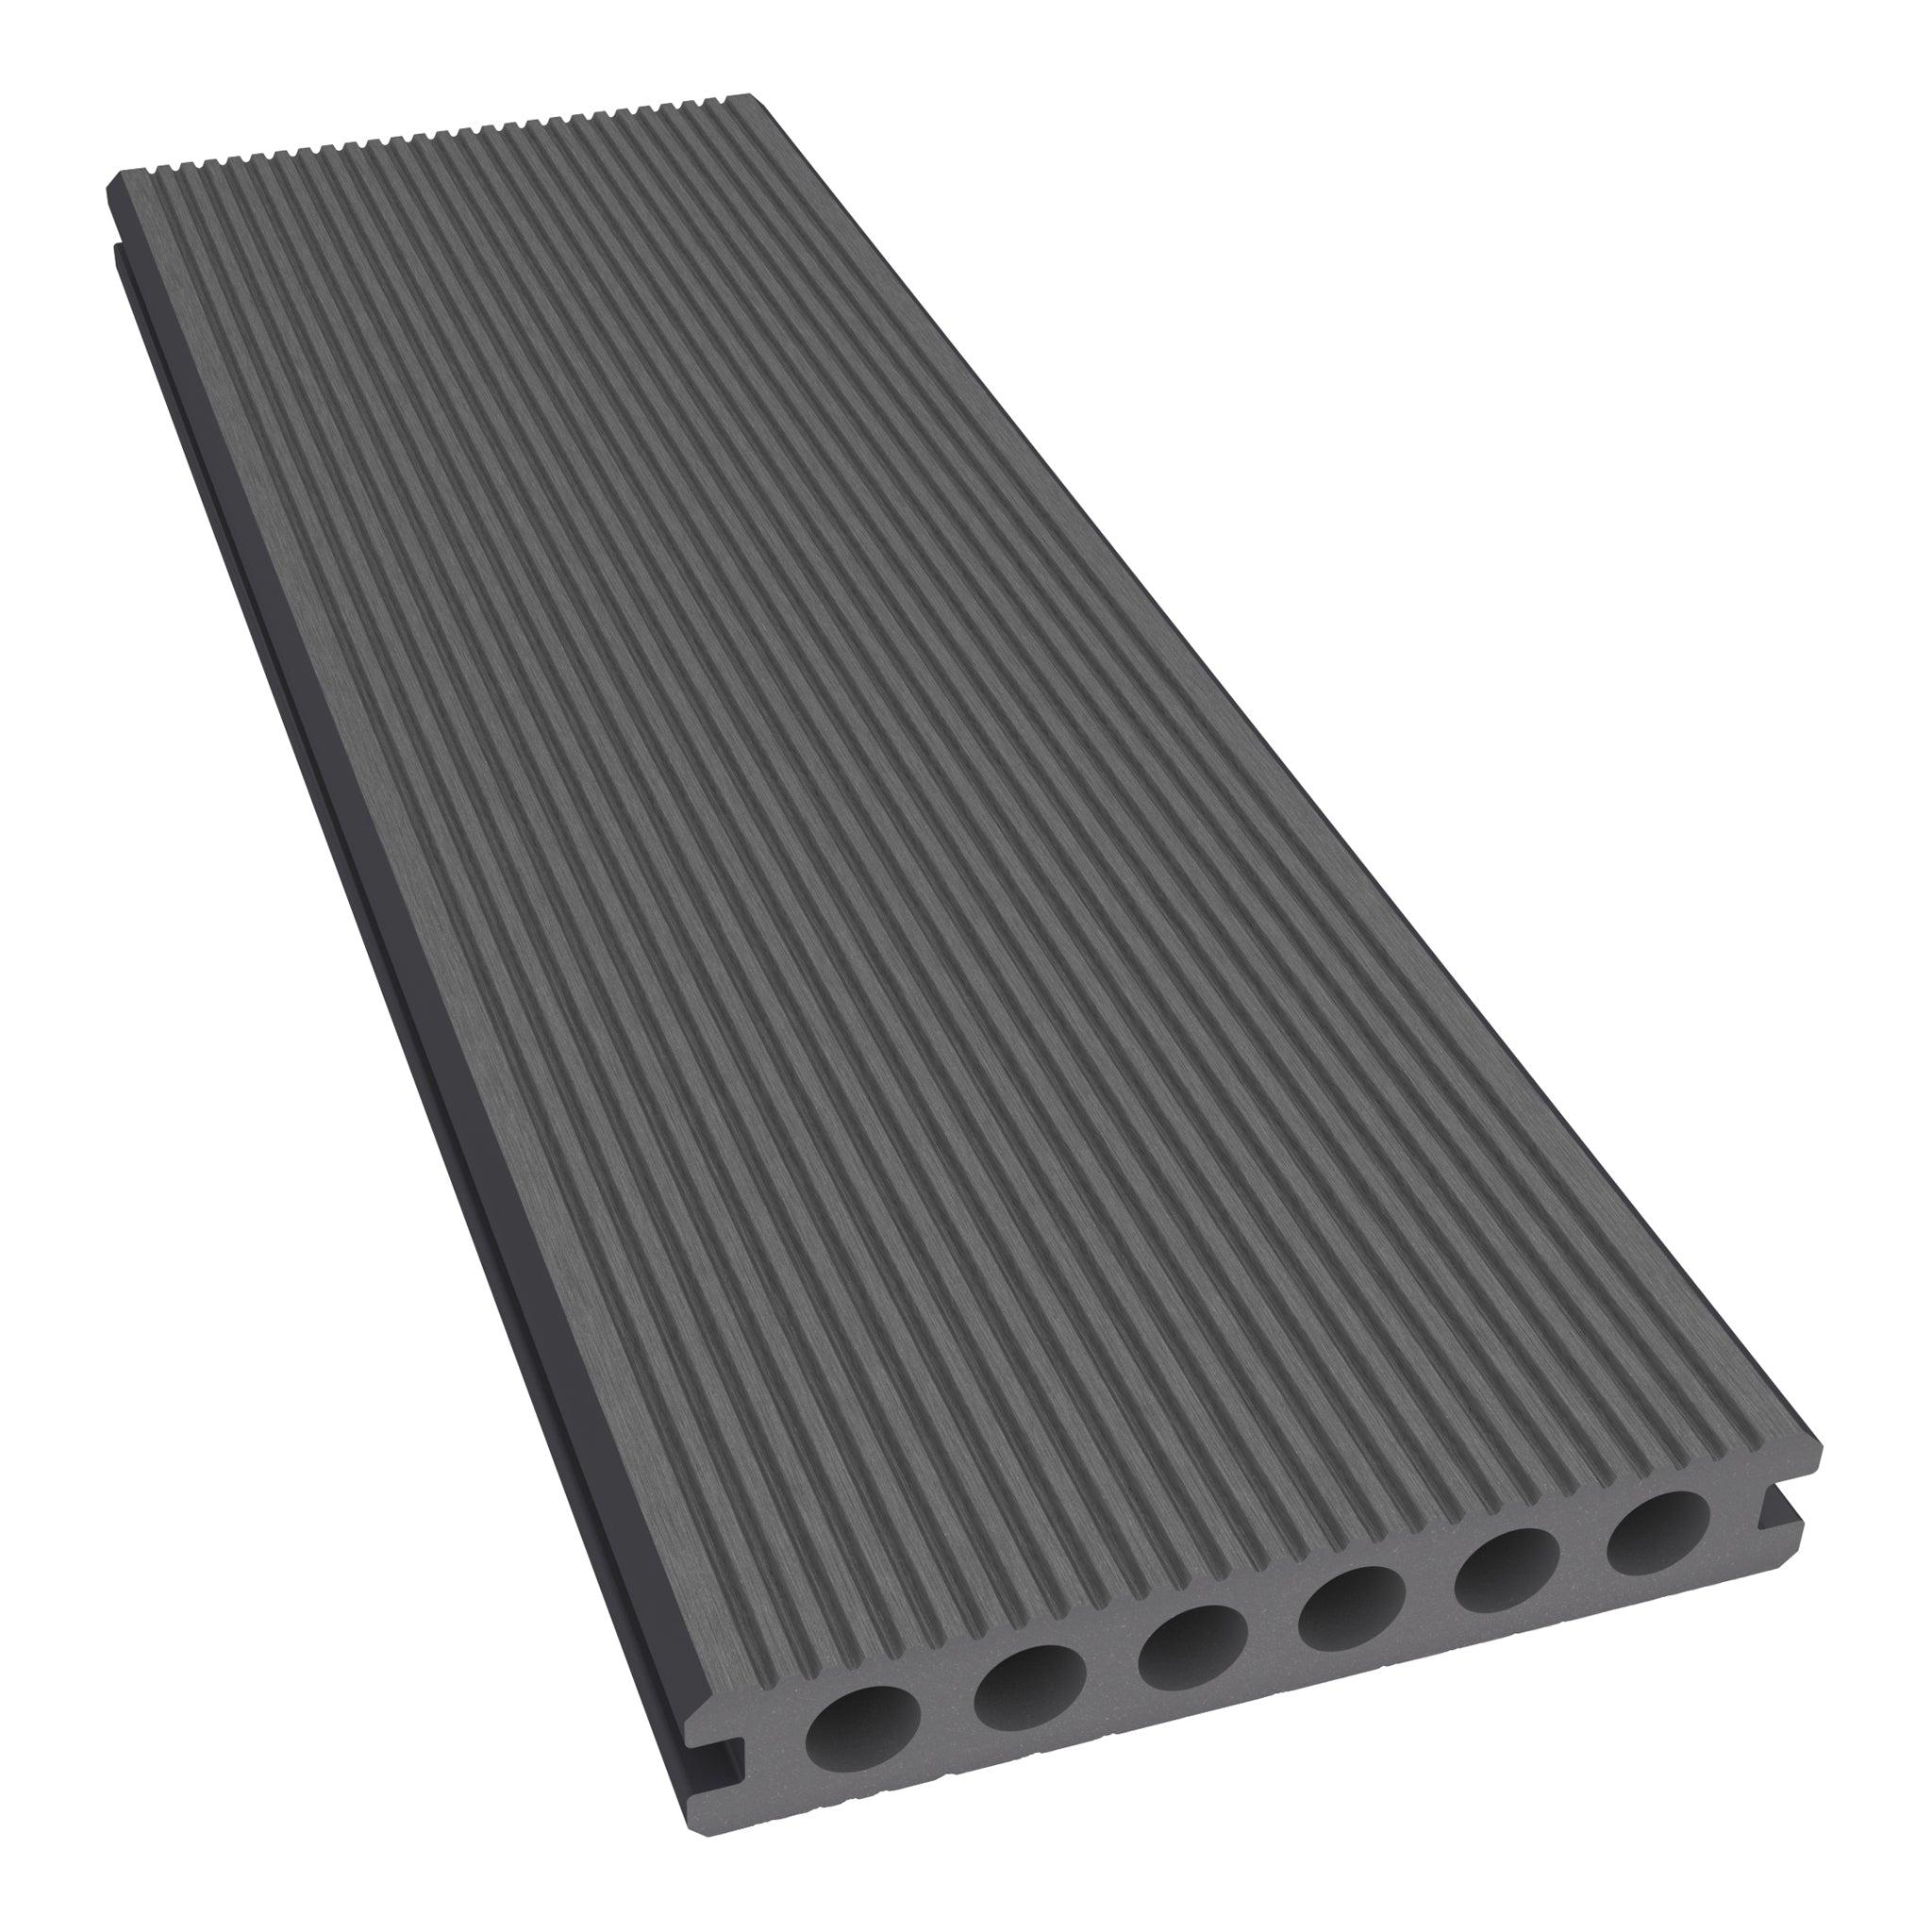
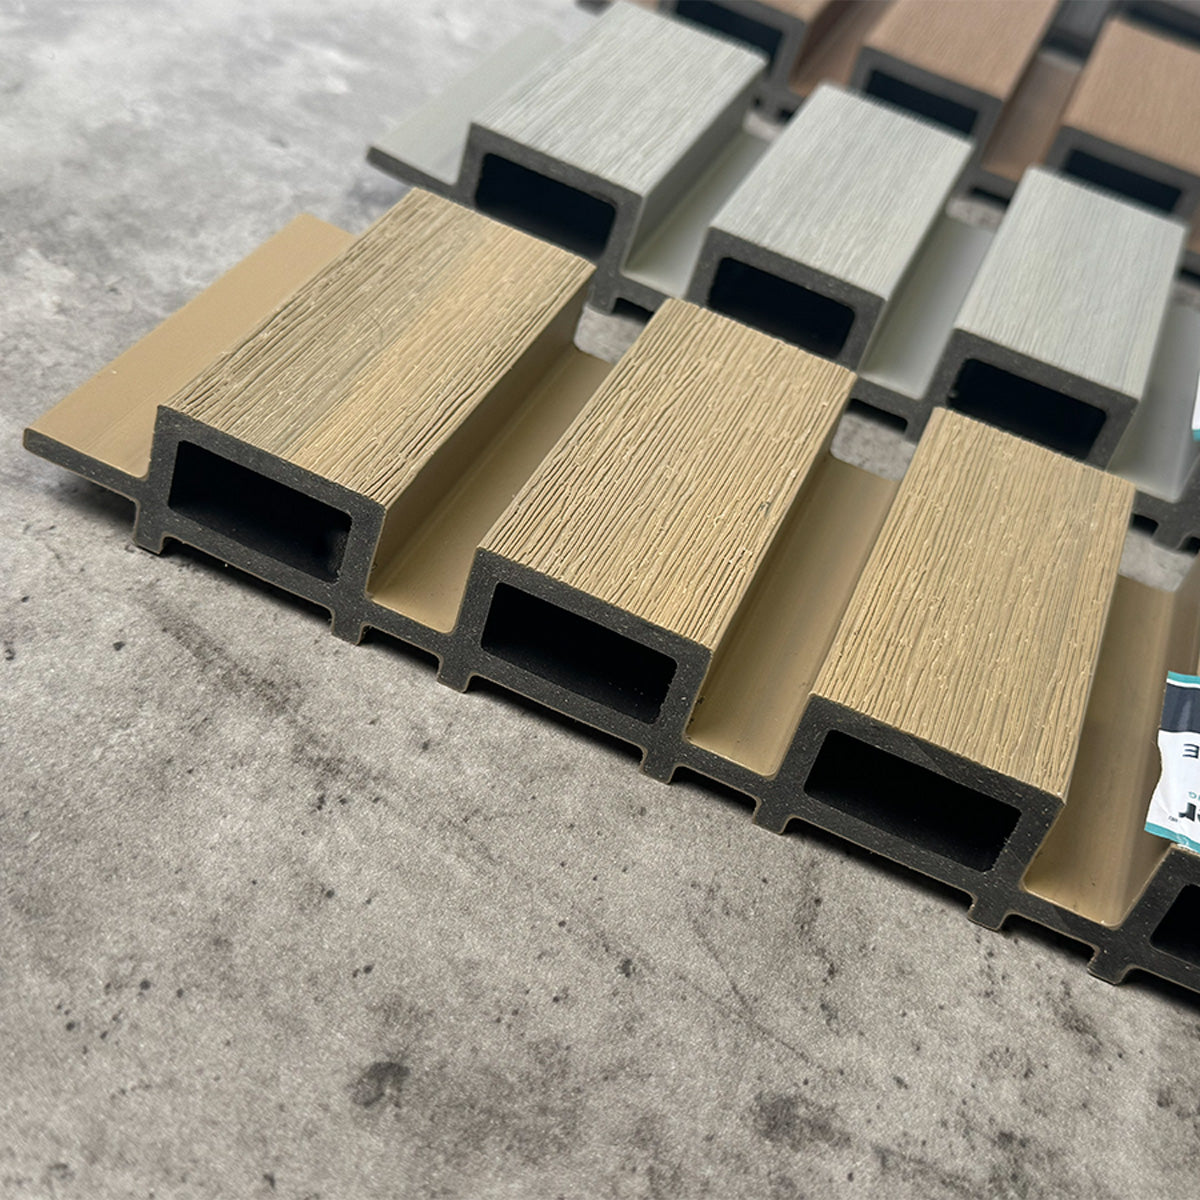
A strong foundation is essential when building a composite deck that will remain stable, safe and attractive for many years. Every NeoTimber® deck board should be installed directly onto a suitable subframe. Composite, plastic, timber and metal joists can all be used, although a minimum clearance of 35mm should always be left beneath the framework to provide adequate airflow.
NeoTimber® offers three main subframe options depending on the project. Composite joists are designed for installation directly onto solid, flat concrete bases and provide a long-life alternative to timber. Adjustable pedestals are ideal for roof terraces, balconies and other flat surfaces where additional height is required. Plastic joists and posts provide a practical solution for raised decks and installations over uneven ground.
Whichever option you choose, the joist network should normally run at right angles to the direction of the deck boards. Joists should be positioned at centres of between 250-350mm. Where two boards are expected to meet, double joists should be incorporated into the structure to provide sufficient support.
How To Lay Composite Decking One Board At A Time
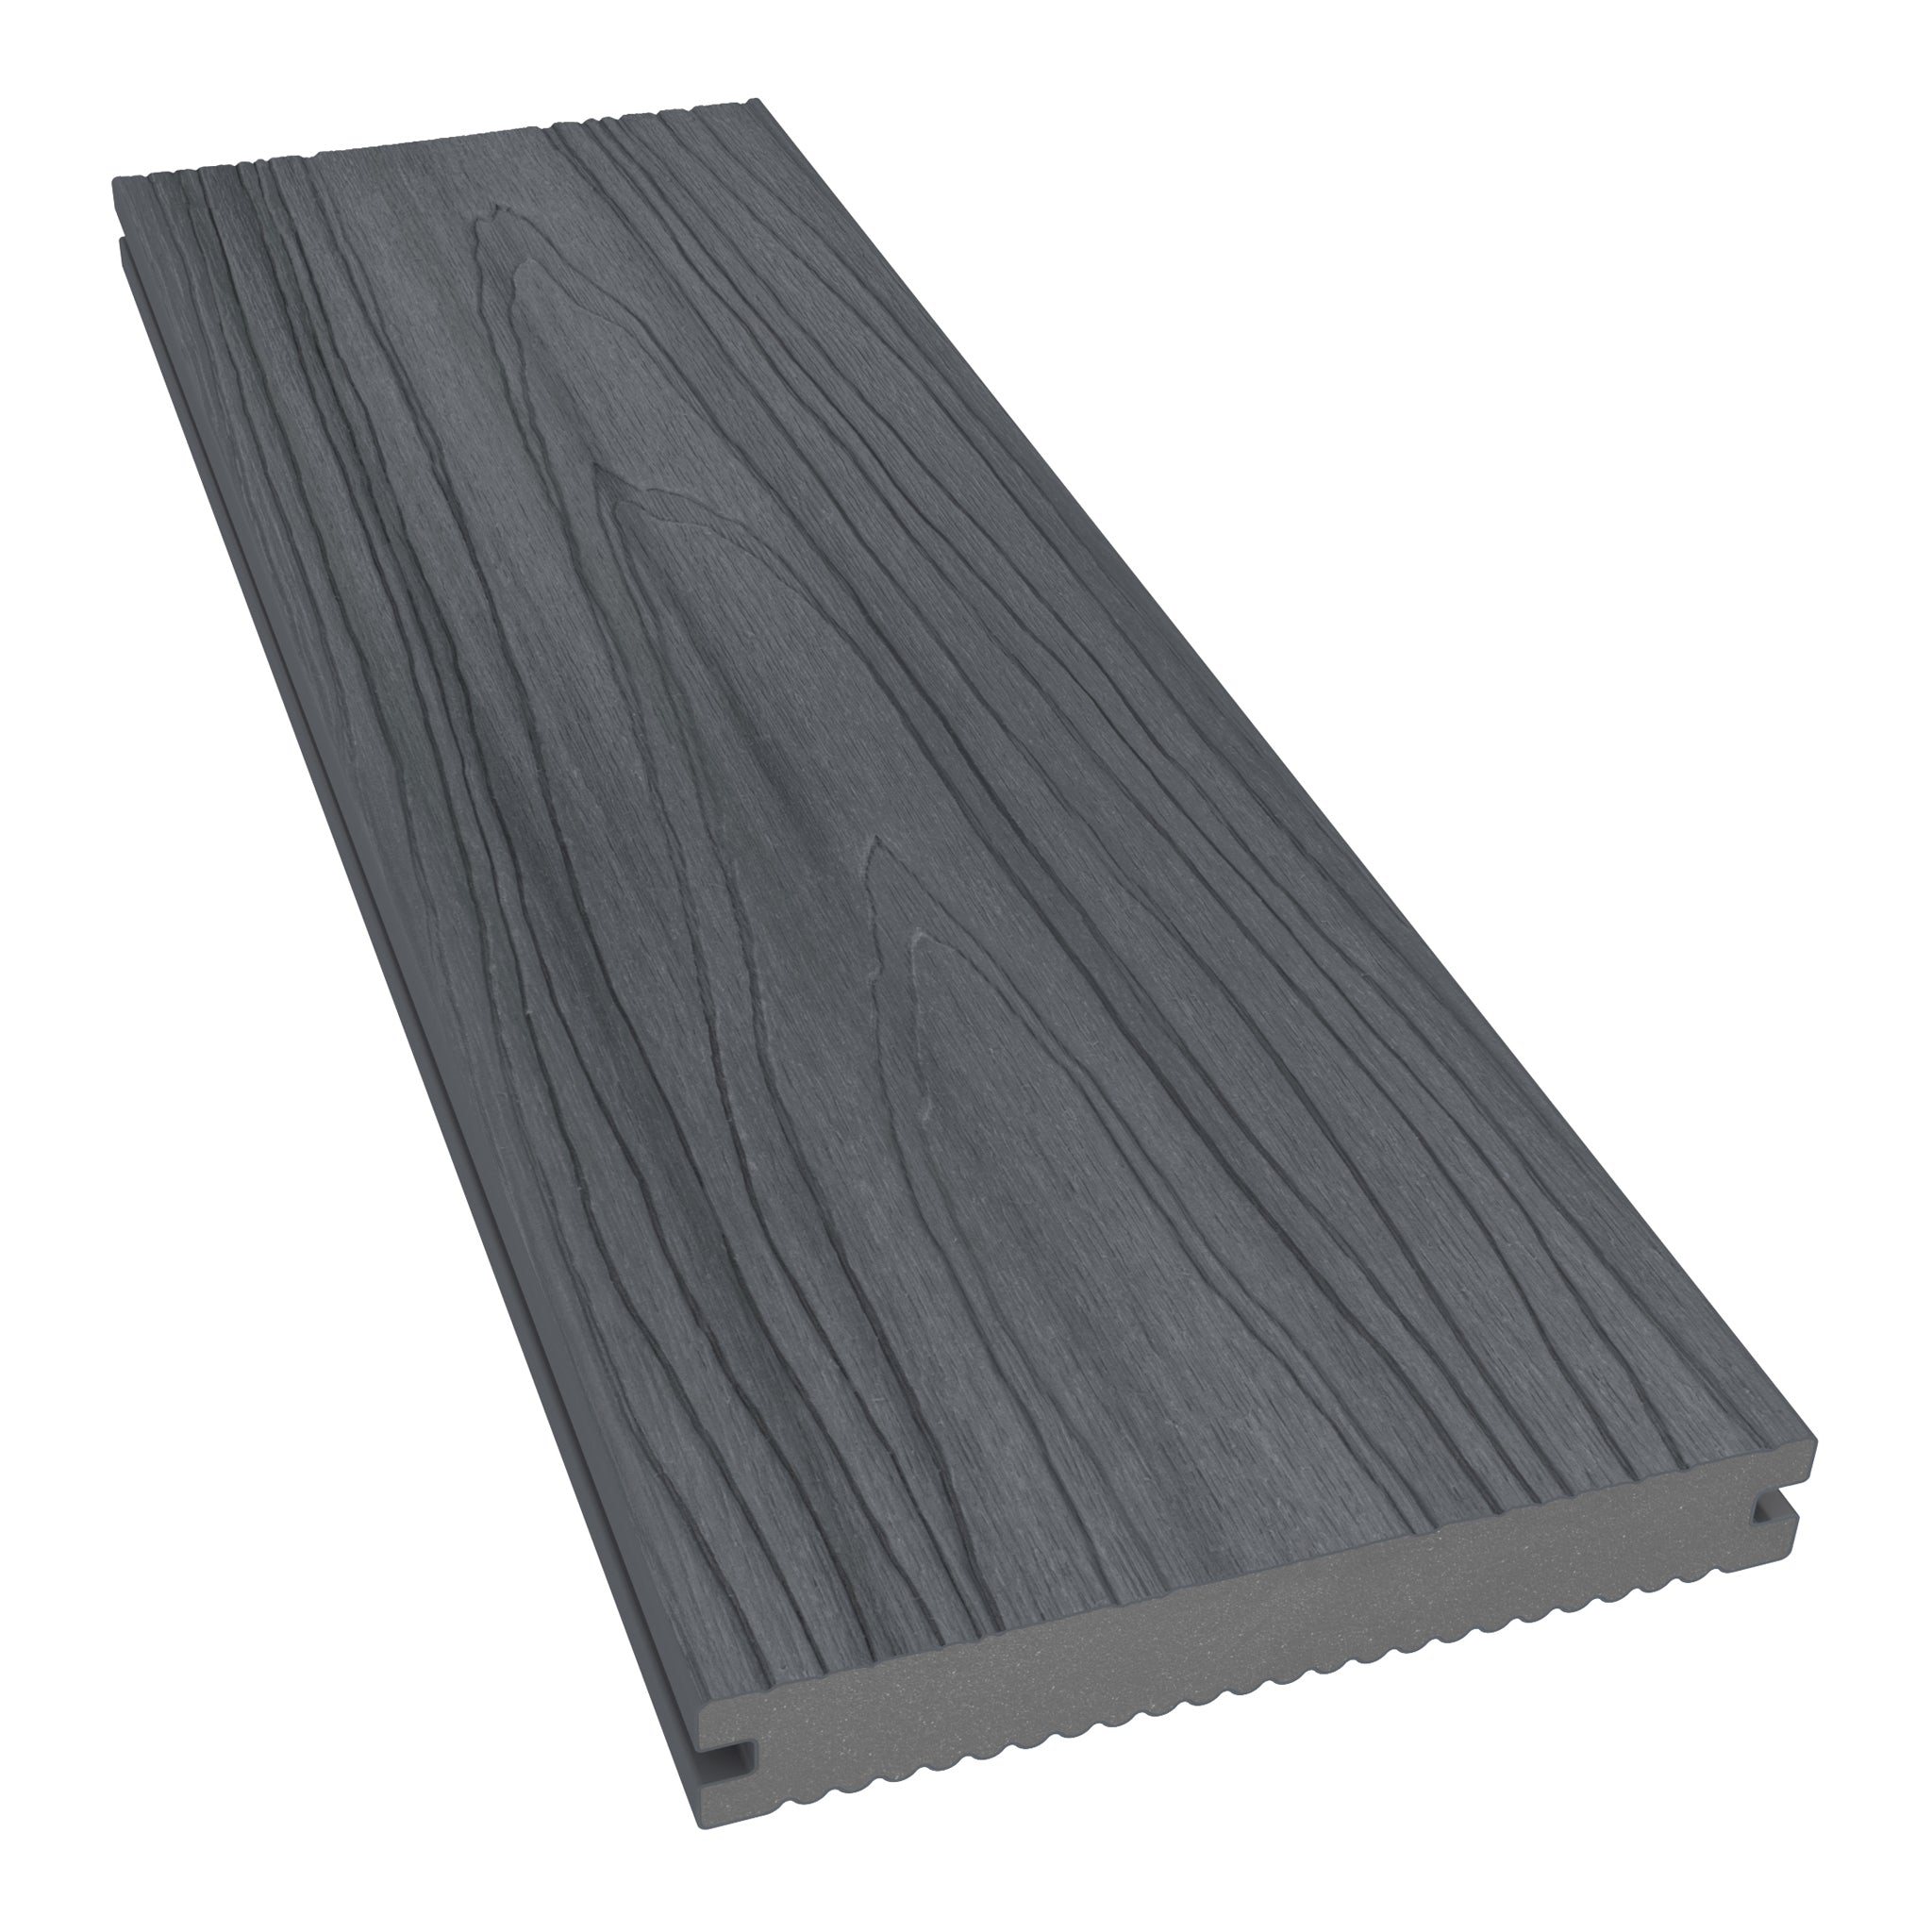
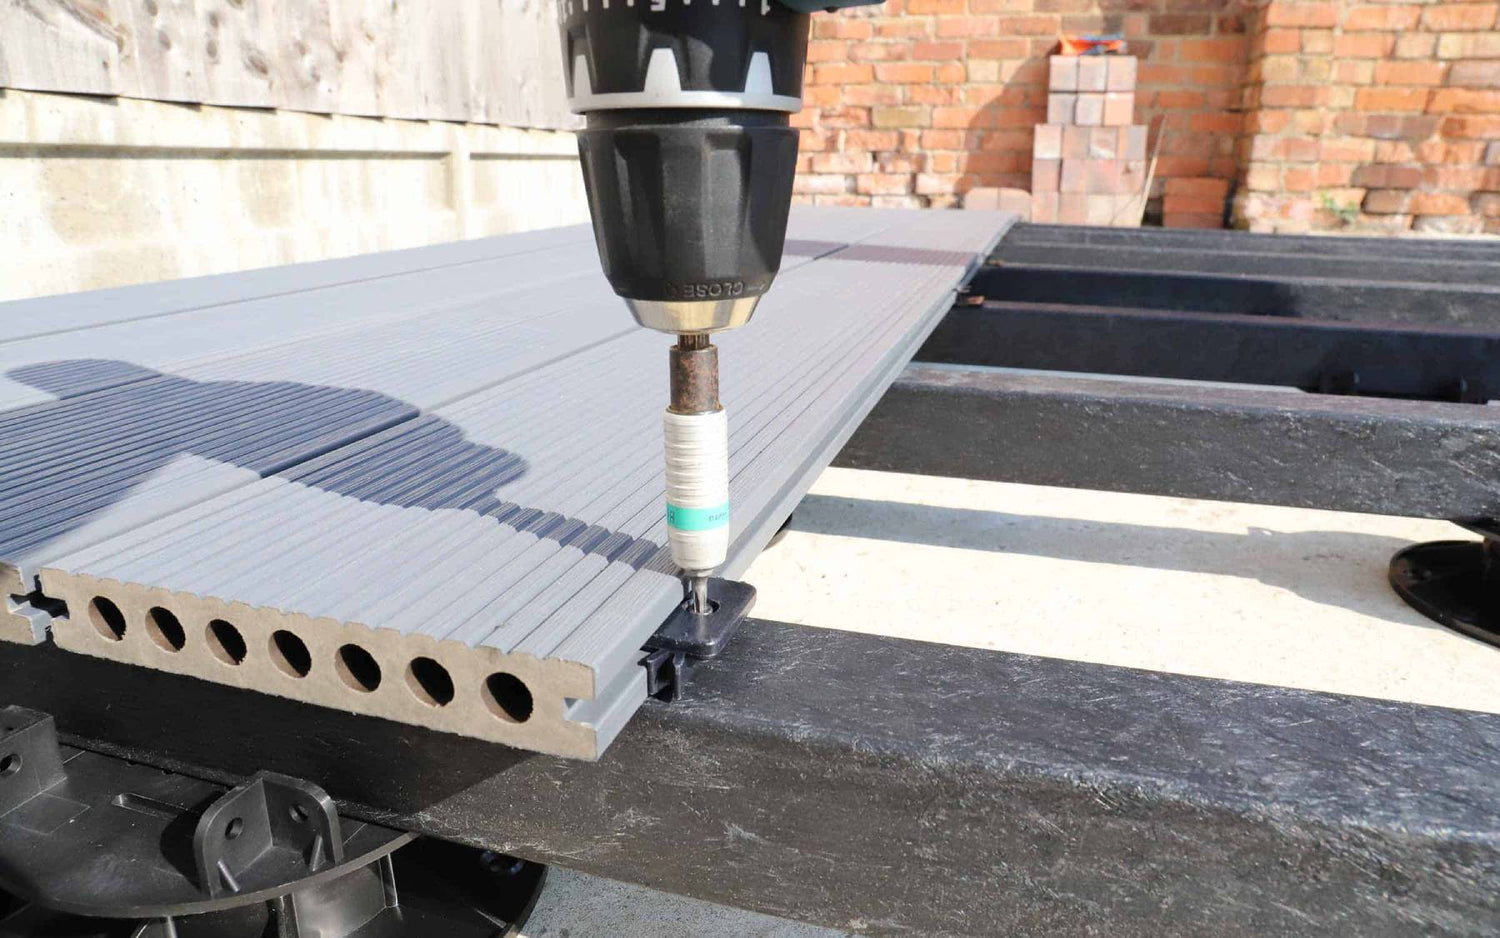
Once the subframe is complete, you are ready to lay composite decking boards. The process begins at the outside edge of the project using Starter Clips. A Starter Clip should be positioned wherever a board and joist intersect, creating a secure fixing for the first row of decking.
After the first row is in place, all remaining boards are installed using FastClips. Each clip is fixed into the exposed groove of the previous board before the next board is clicked into position. This hidden fixing system creates a clean appearance across the finished deck while maintaining consistent spacing between boards.
Composite materials naturally expand and contract as temperatures change. NeoTimber® guidance recommends maintaining suitable end-to-end gaps between boards, ranging from 1-6mm depending on the outside temperature.
The final board is secured by fixing through the exposed grooved edge into the joist network. Where this is not possible, the board can be face-fixed using an oversized pilot hole to help prevent damage to the material.
Common Installation Mistakes
Many homeowners who build a composite deck for the first time discover that small details often make the biggest difference. One of the most common mistakes when laying composite decking is failing to allow sufficient space for expansion and contraction. Incorrect joist spacing can also affect the long-term performance of the installation.
It is also worth considering features such as picture framing and decking steps before construction begins. A picture frame layout requires double joists where boards run perpendicular to the main decking area, so these decisions are best made during the planning stage.

Finishing Touches And Maintenance
The finishing details complete the installation and help define the overall appearance of the deck. Exposed edges can be finished using corner trims, skirting trims or a combination of both. NeoTimber® recommends pre-drilling oversized pilot holes before fixing trims into position and using the provided colour-matched decking screws for a more discreet finish.
Once you have finished the installation, maintaining your deck is straightforward. Routine cleaning every 3-6 months with warm soapy water and a soft-bristled brush will help remove dirt and debris from the surface. For a deeper clean, a jet wash of no more than 3100 PSI can be used with the fan attachment held at least 250mm from the boards. You can find additional advice in our decking care guide.
Summary
Learning how to build a composite deck is largely about following a clear sequence. Plan the project carefully, prepare the right tools and materials, build a suitable subframe, then lay composite decking boards using the correct fixing system before adding the finishing details.
For many homeowners, building a composite deck is easier than expected when approached one stage at a time. Whether you choose a full DIY composite deck installation using our guides and videos or prefer to work with our approved installer network, NeoTimber® is there to help every step of the way.
Once the final board is in place, all that is left to do is enjoy the outdoor space you have created. Ultra-low-maintenance materials mean no more sanding and staining, leaving more time to relax with family and friends and create lasting memories.
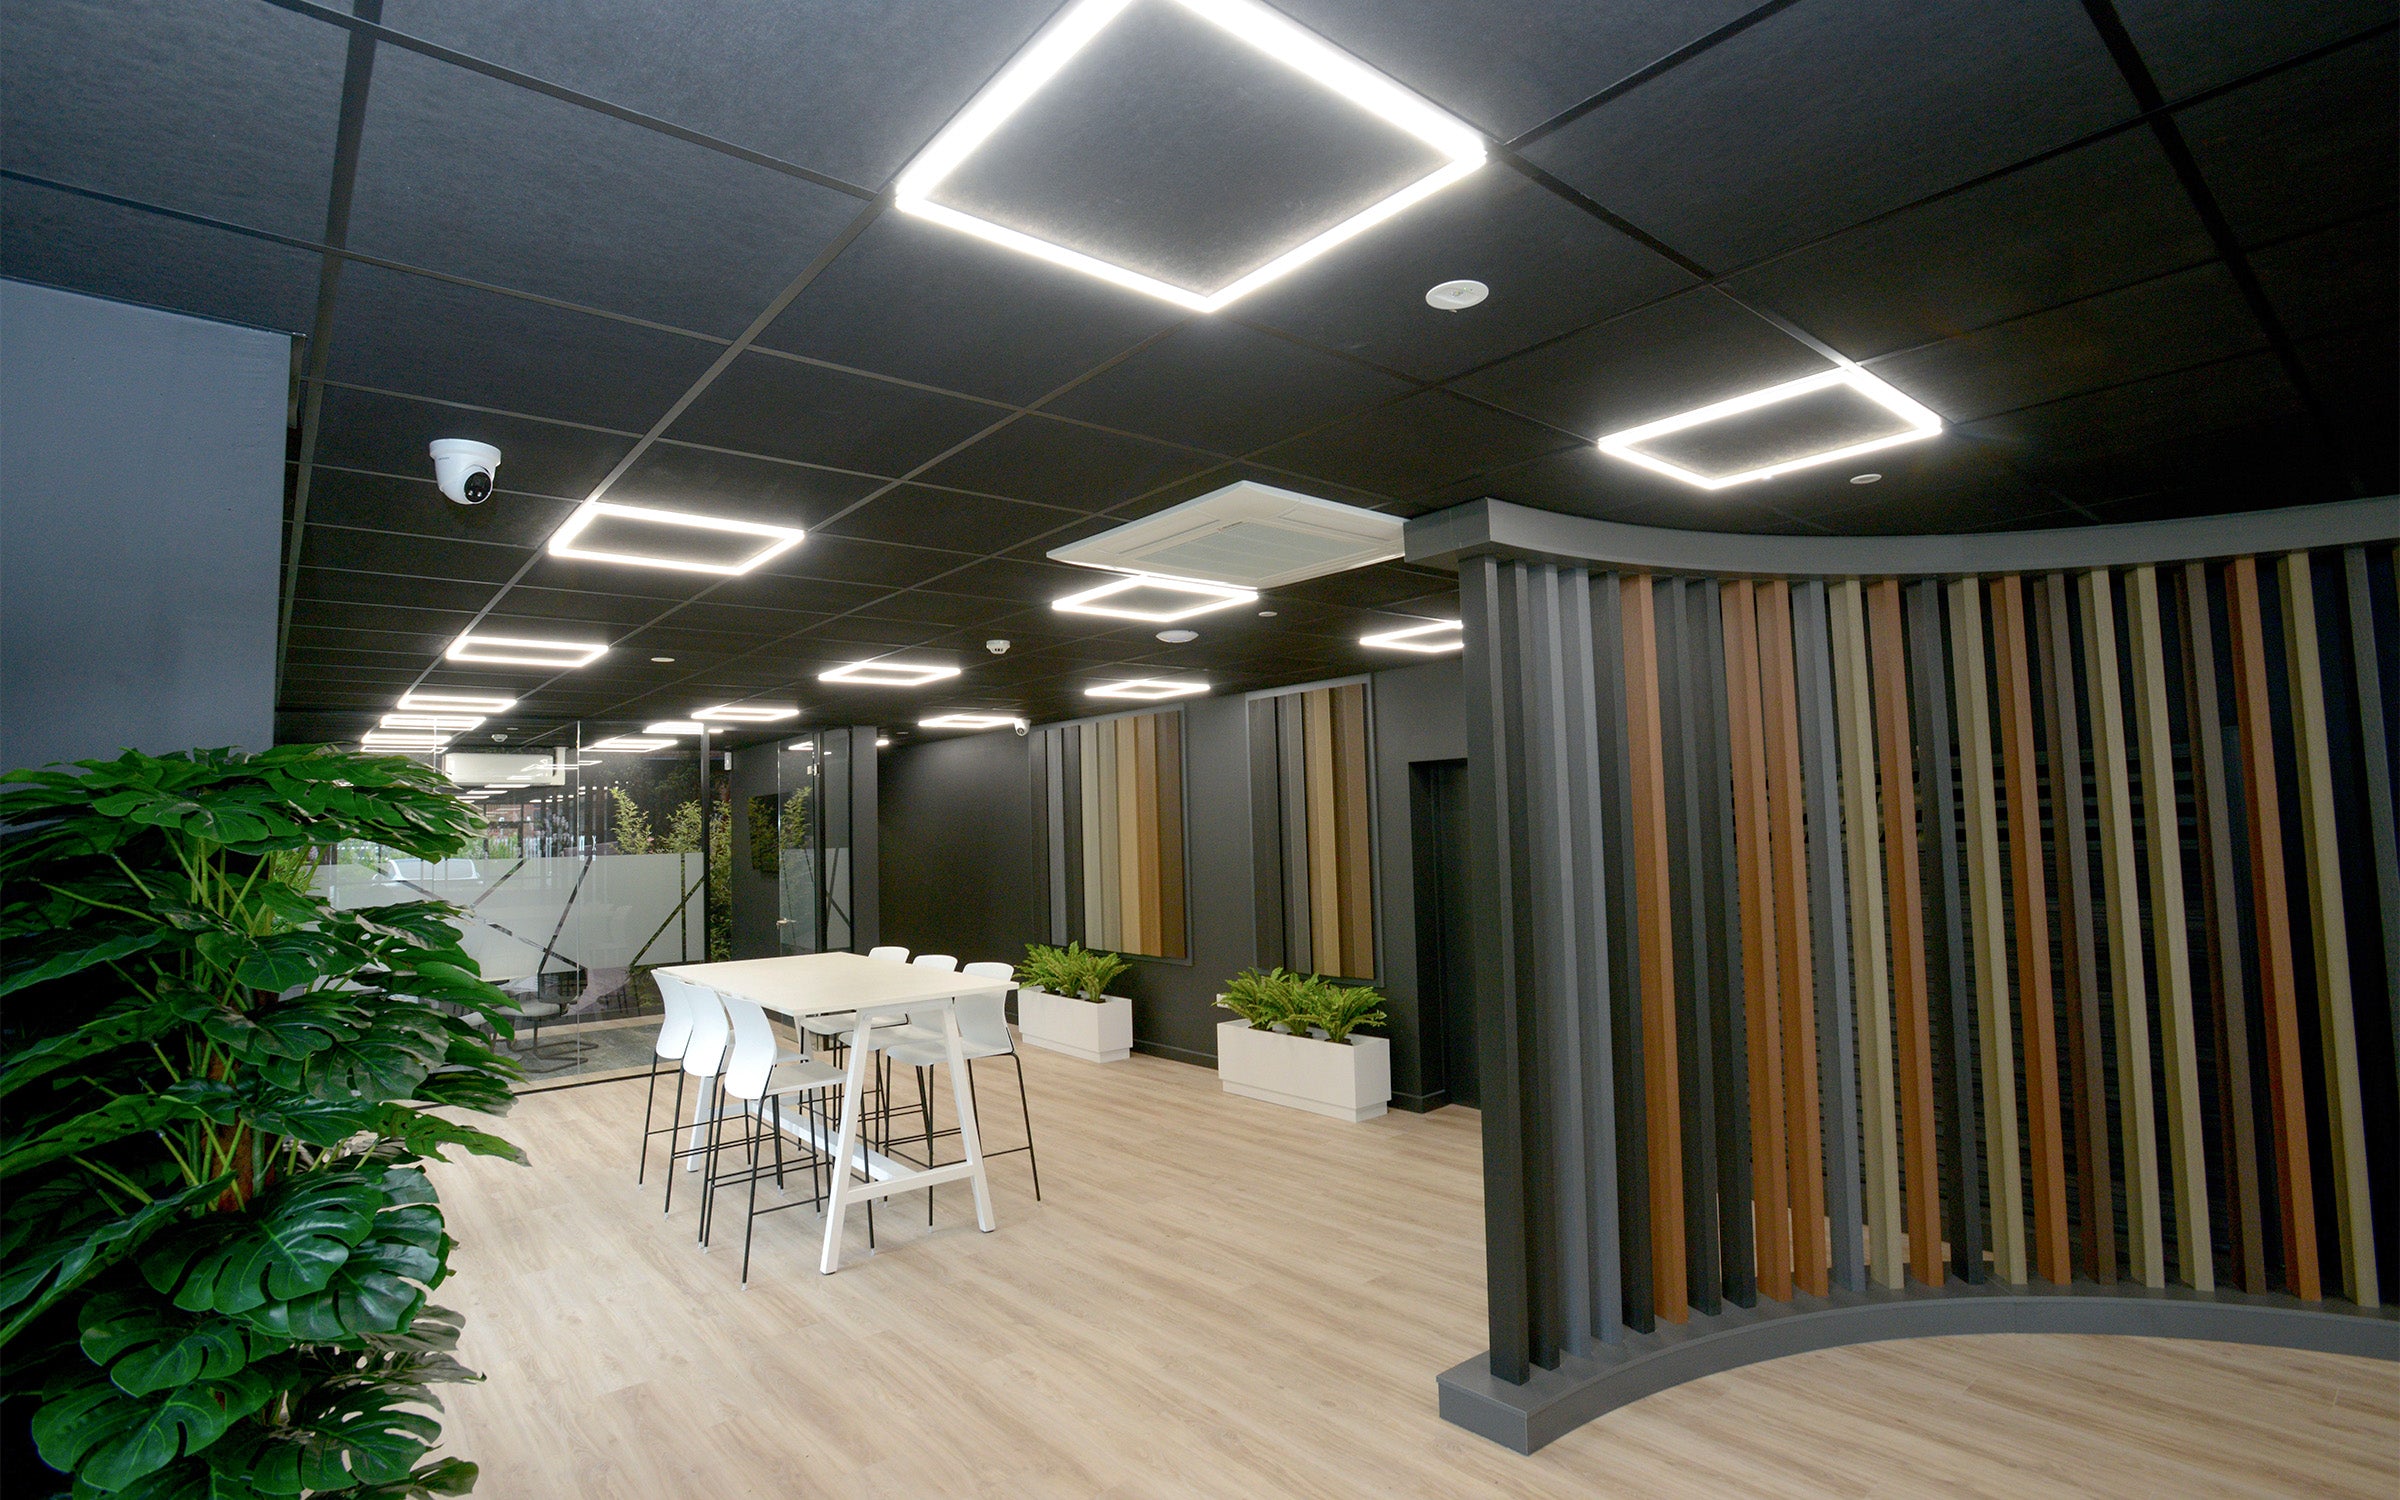
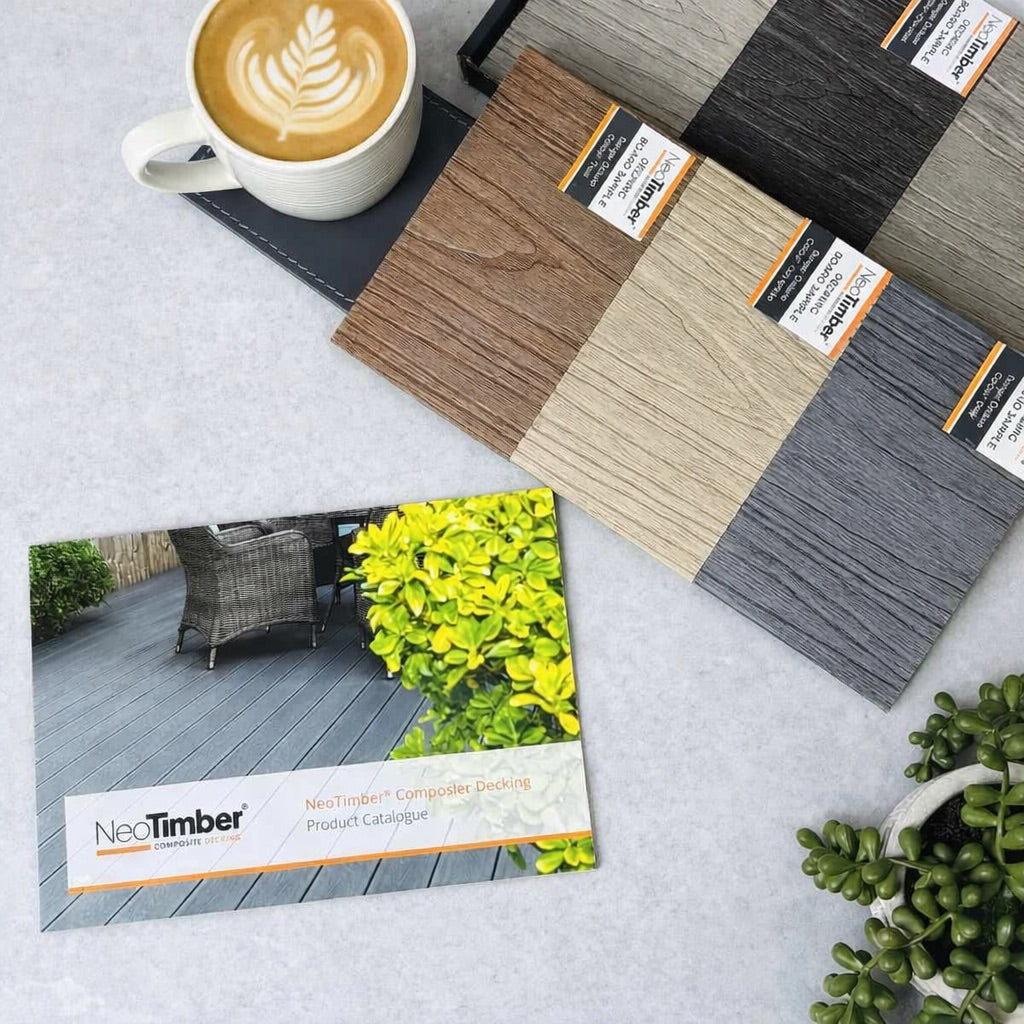
Supported by a 25-year residential and 10-year commercial warranty, NeoTimber® provides long-term confidence as well as long-lasting style. Complete the space with colour-matched fencing, cladding, and accessories such as lighting for a truly considered outdoor design.