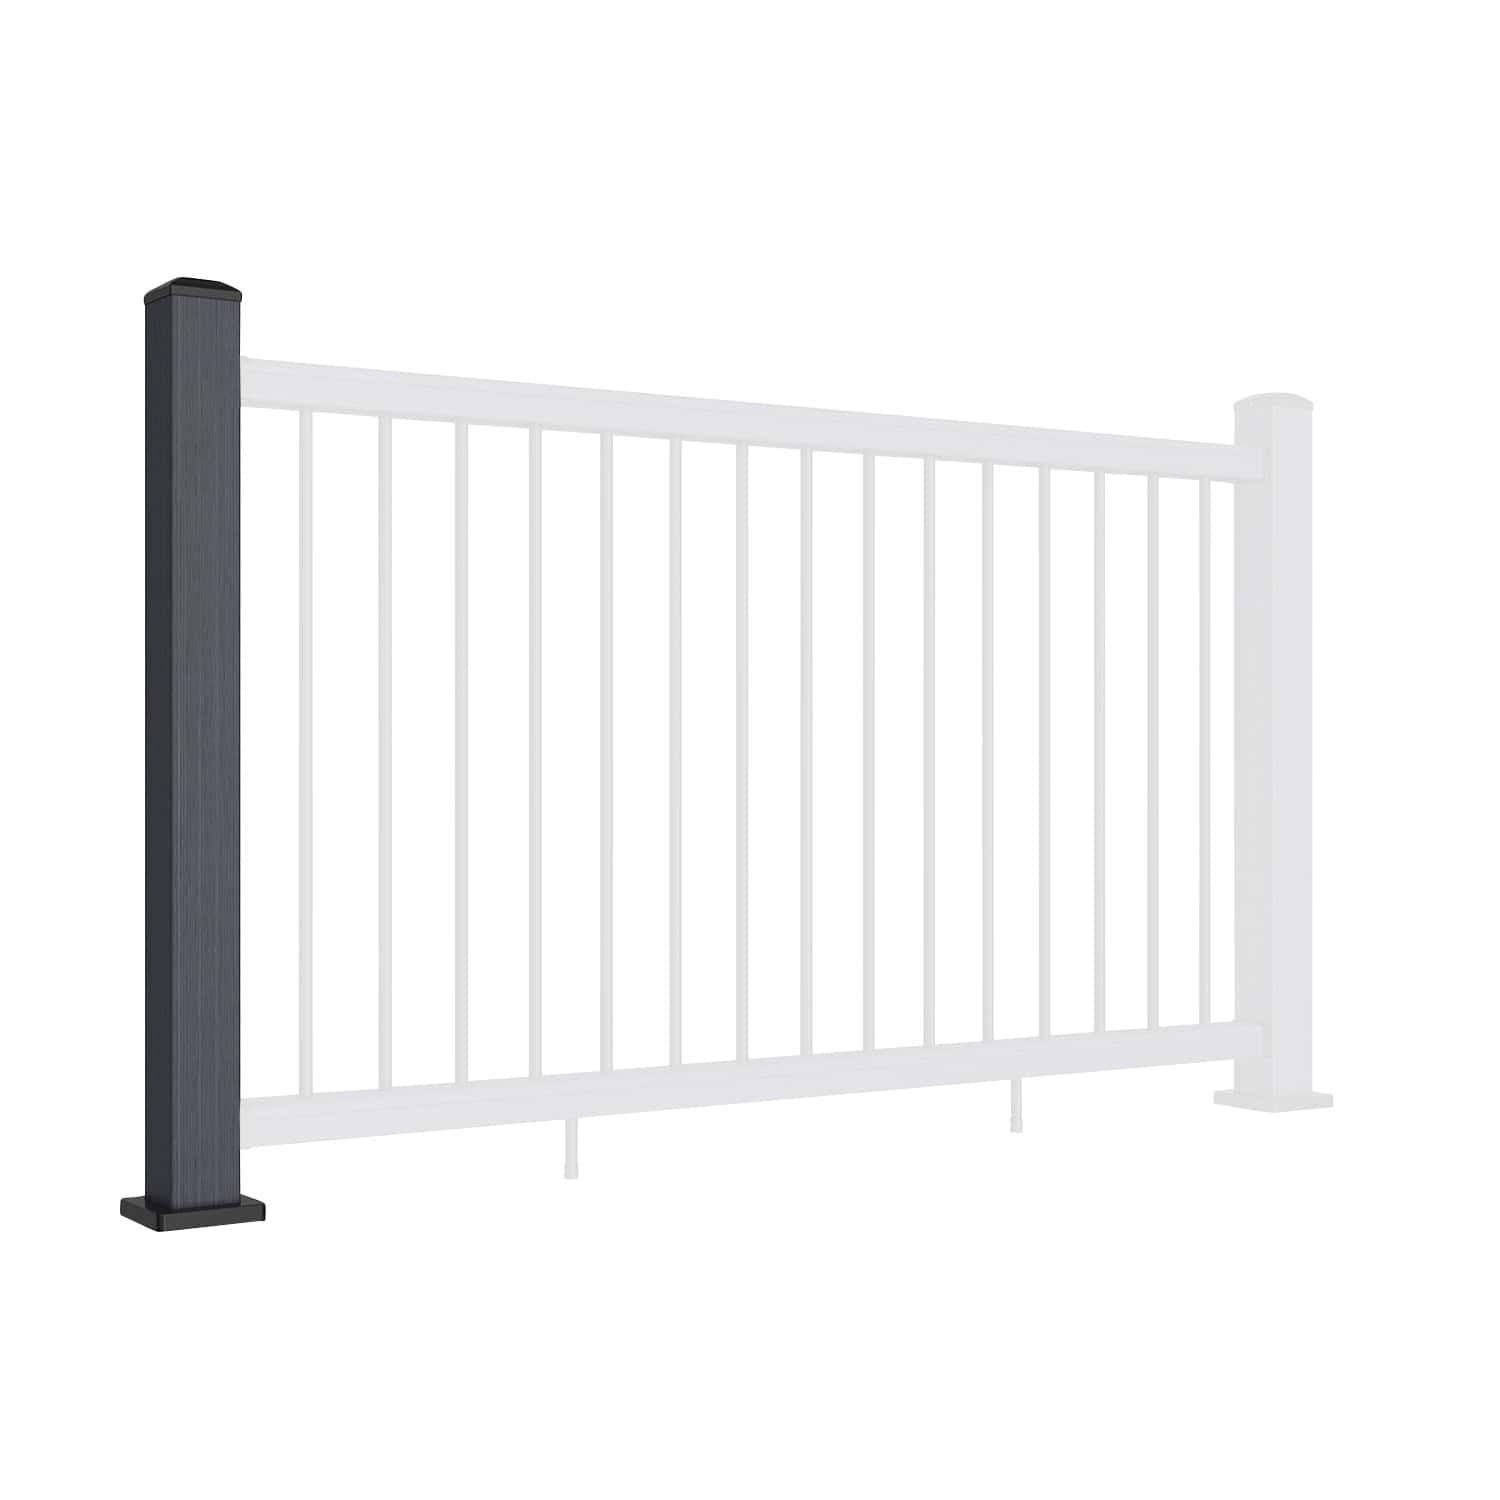
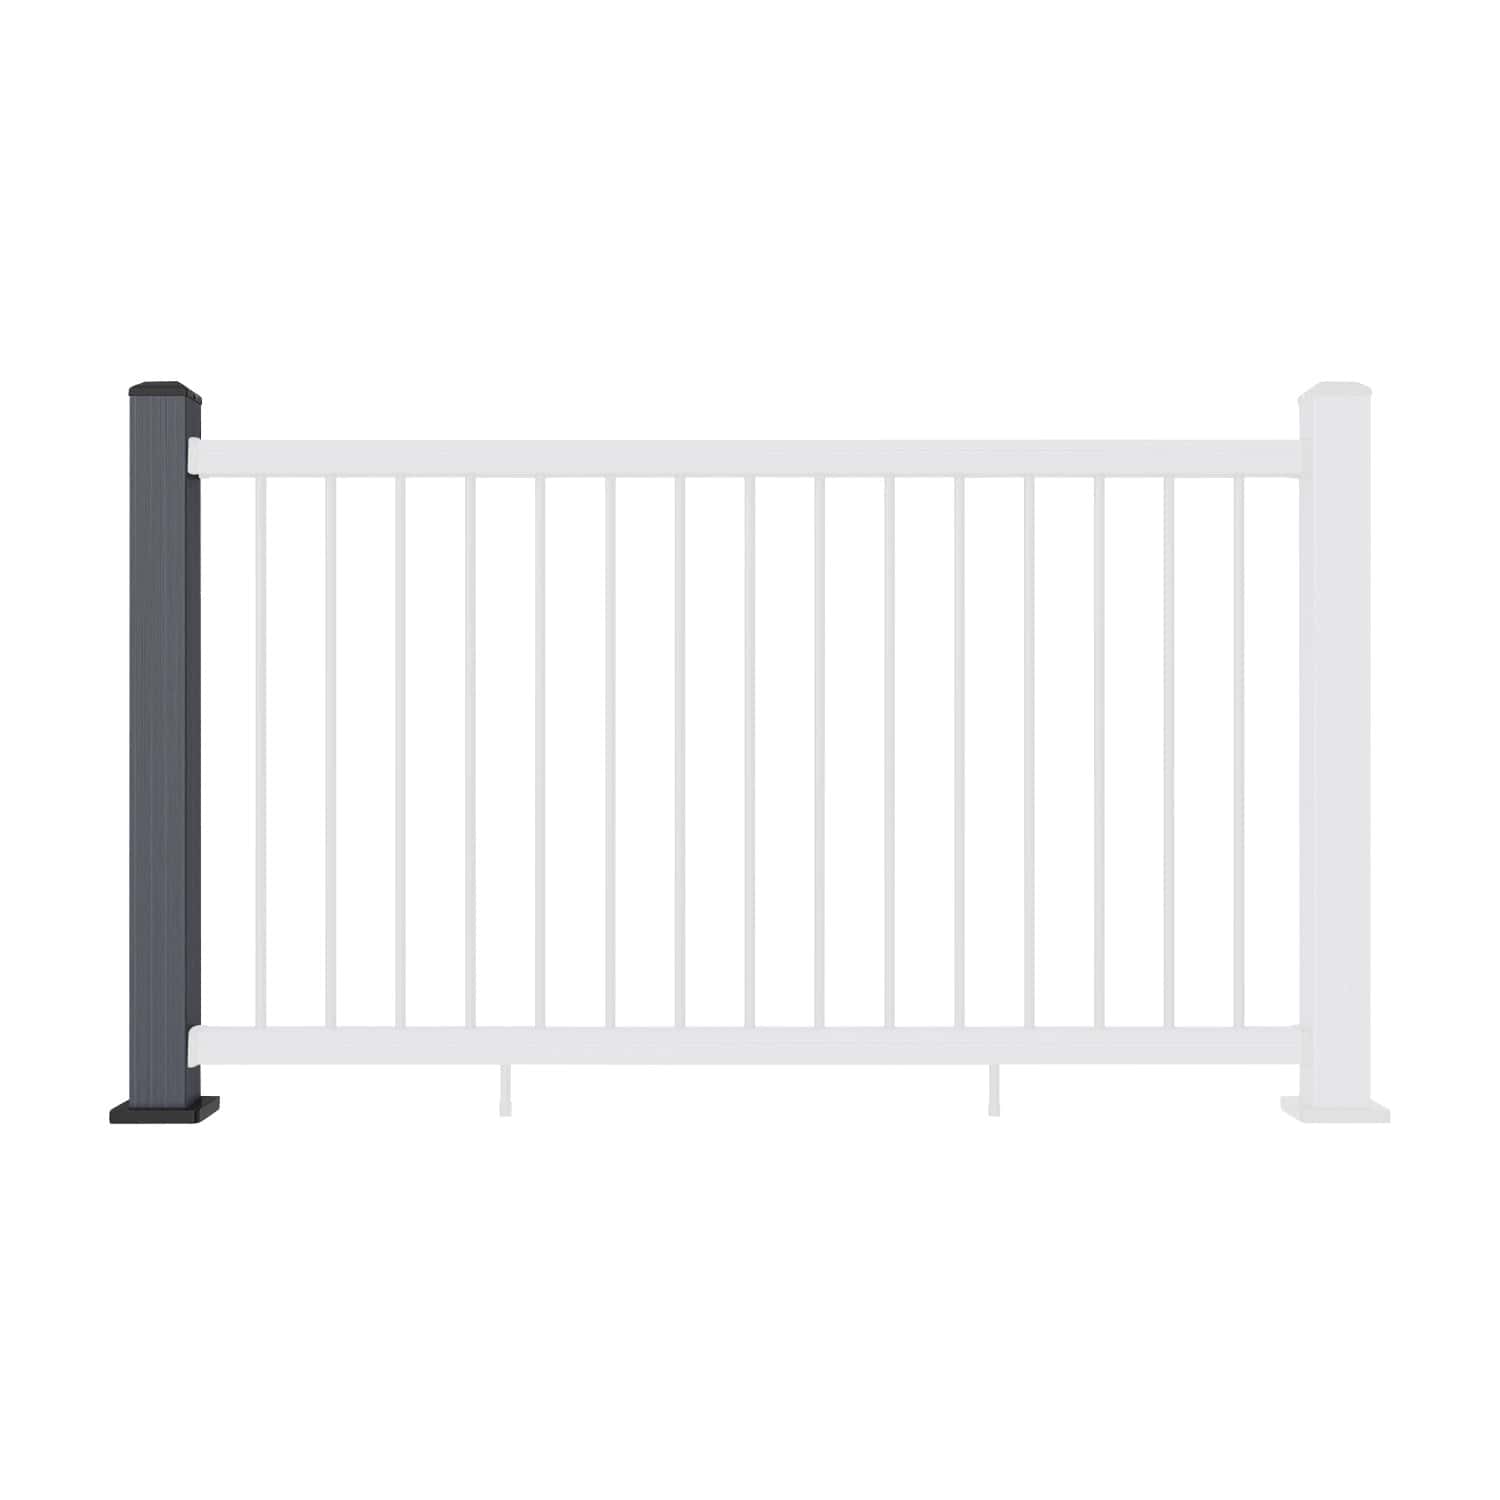
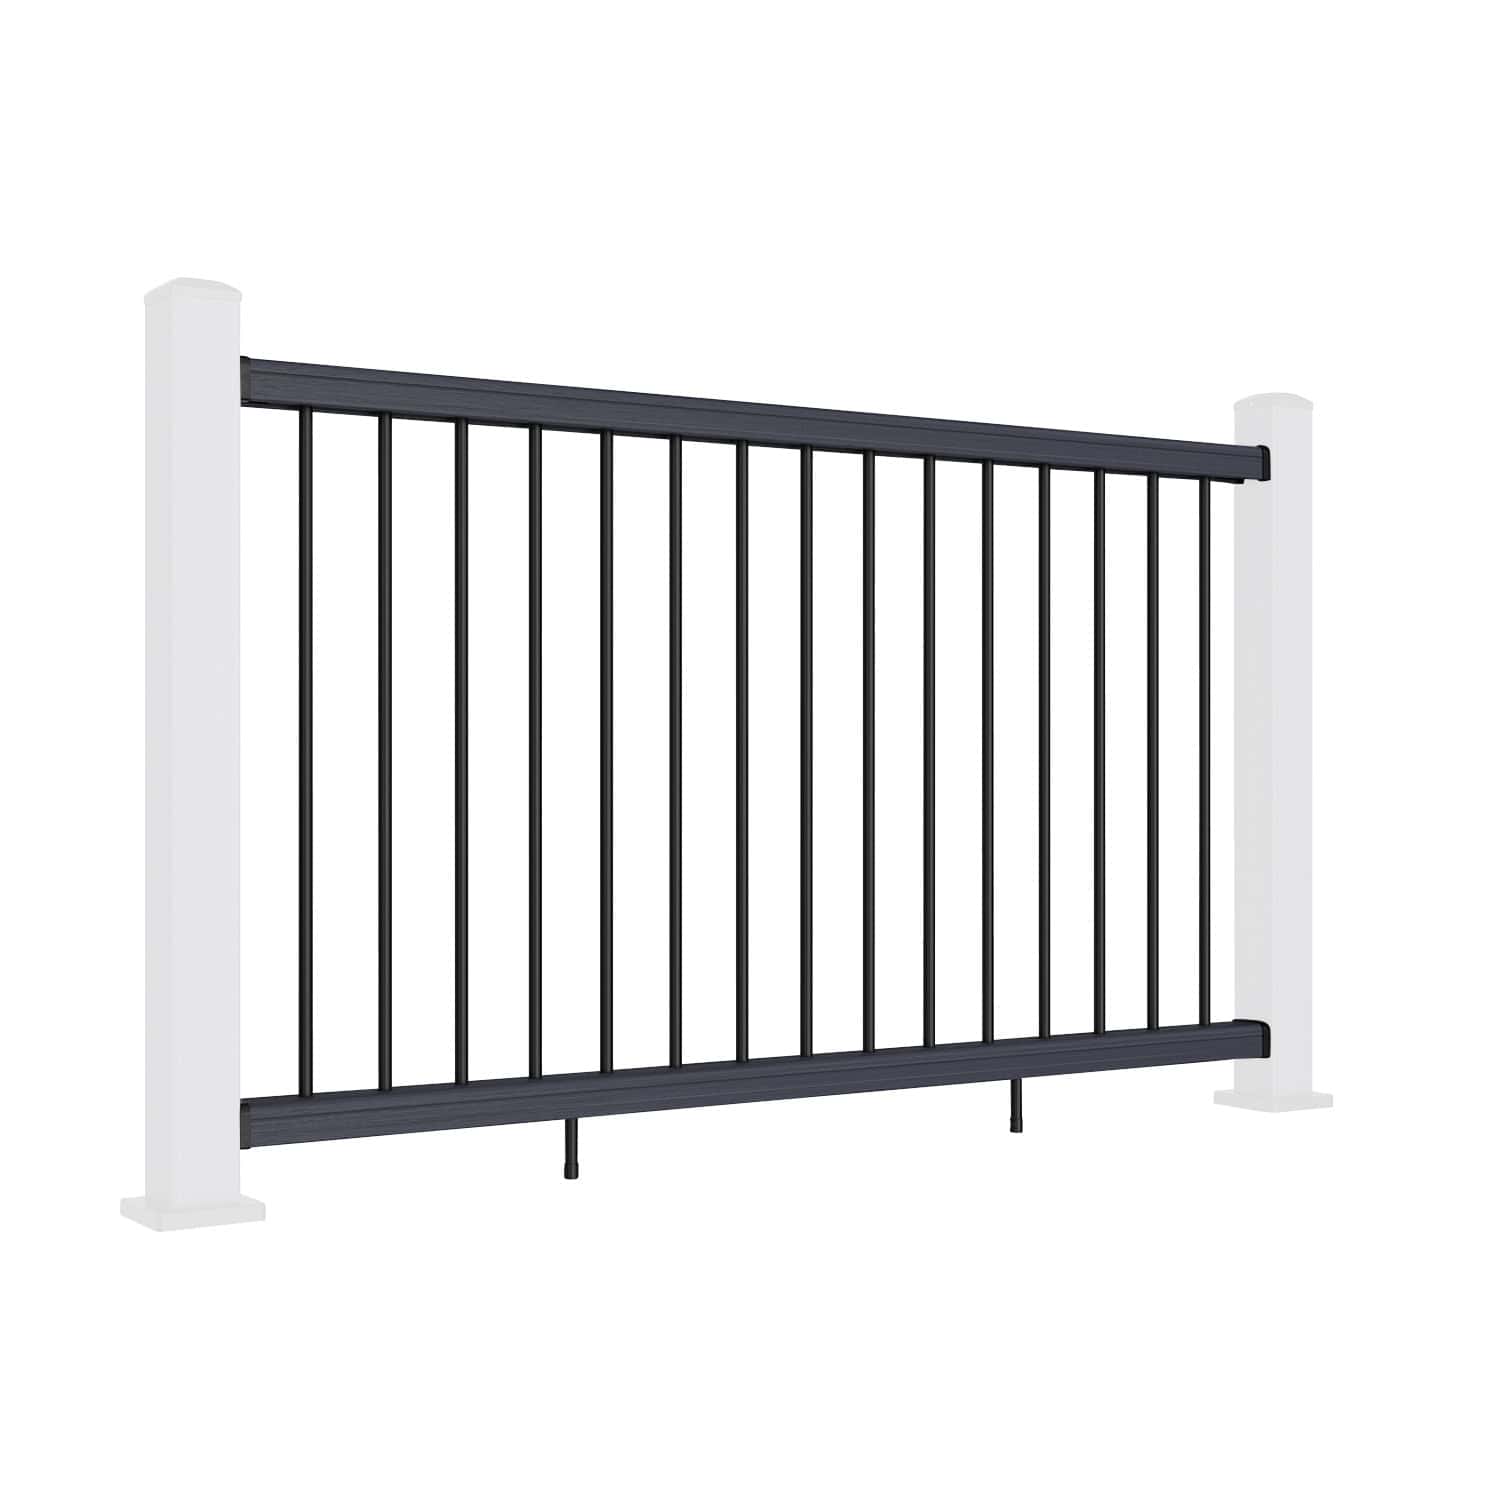
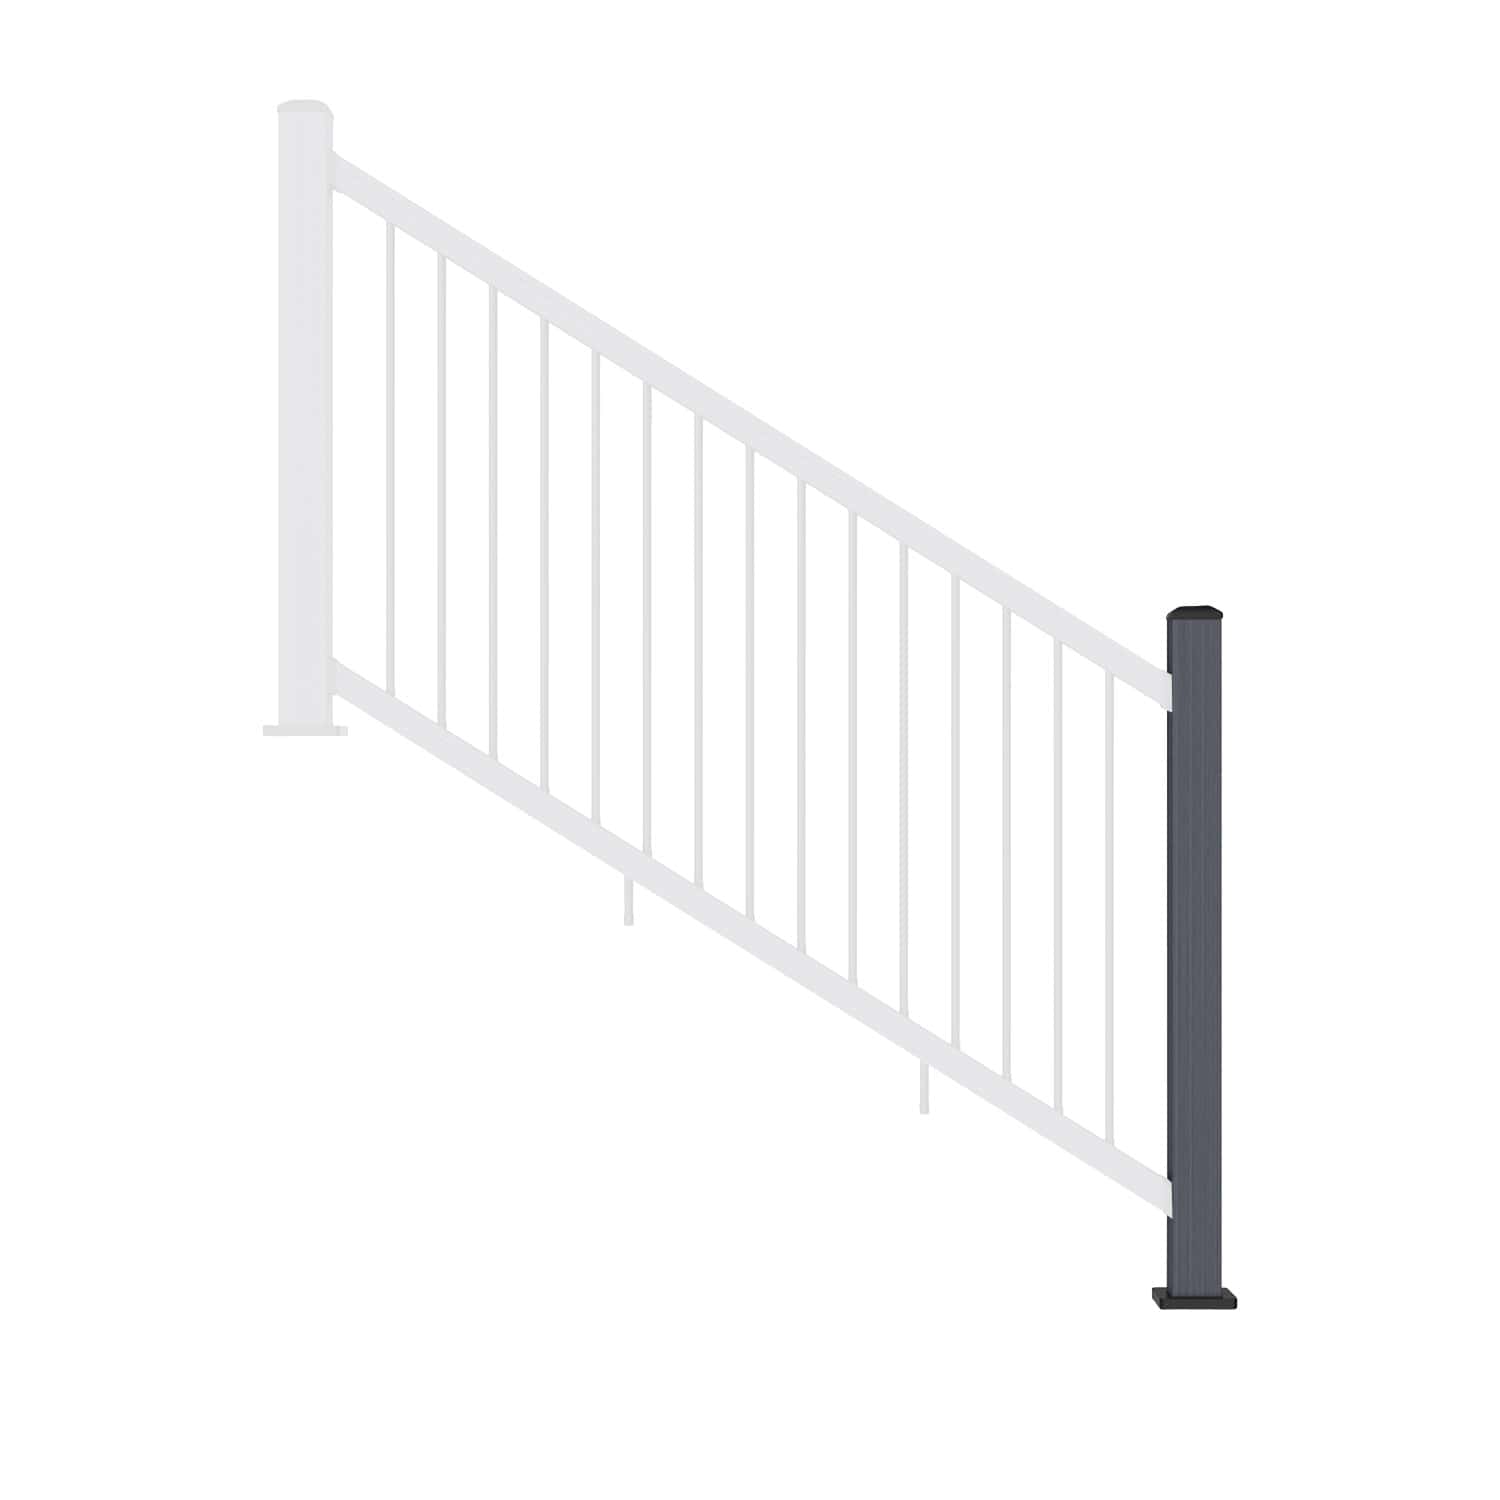
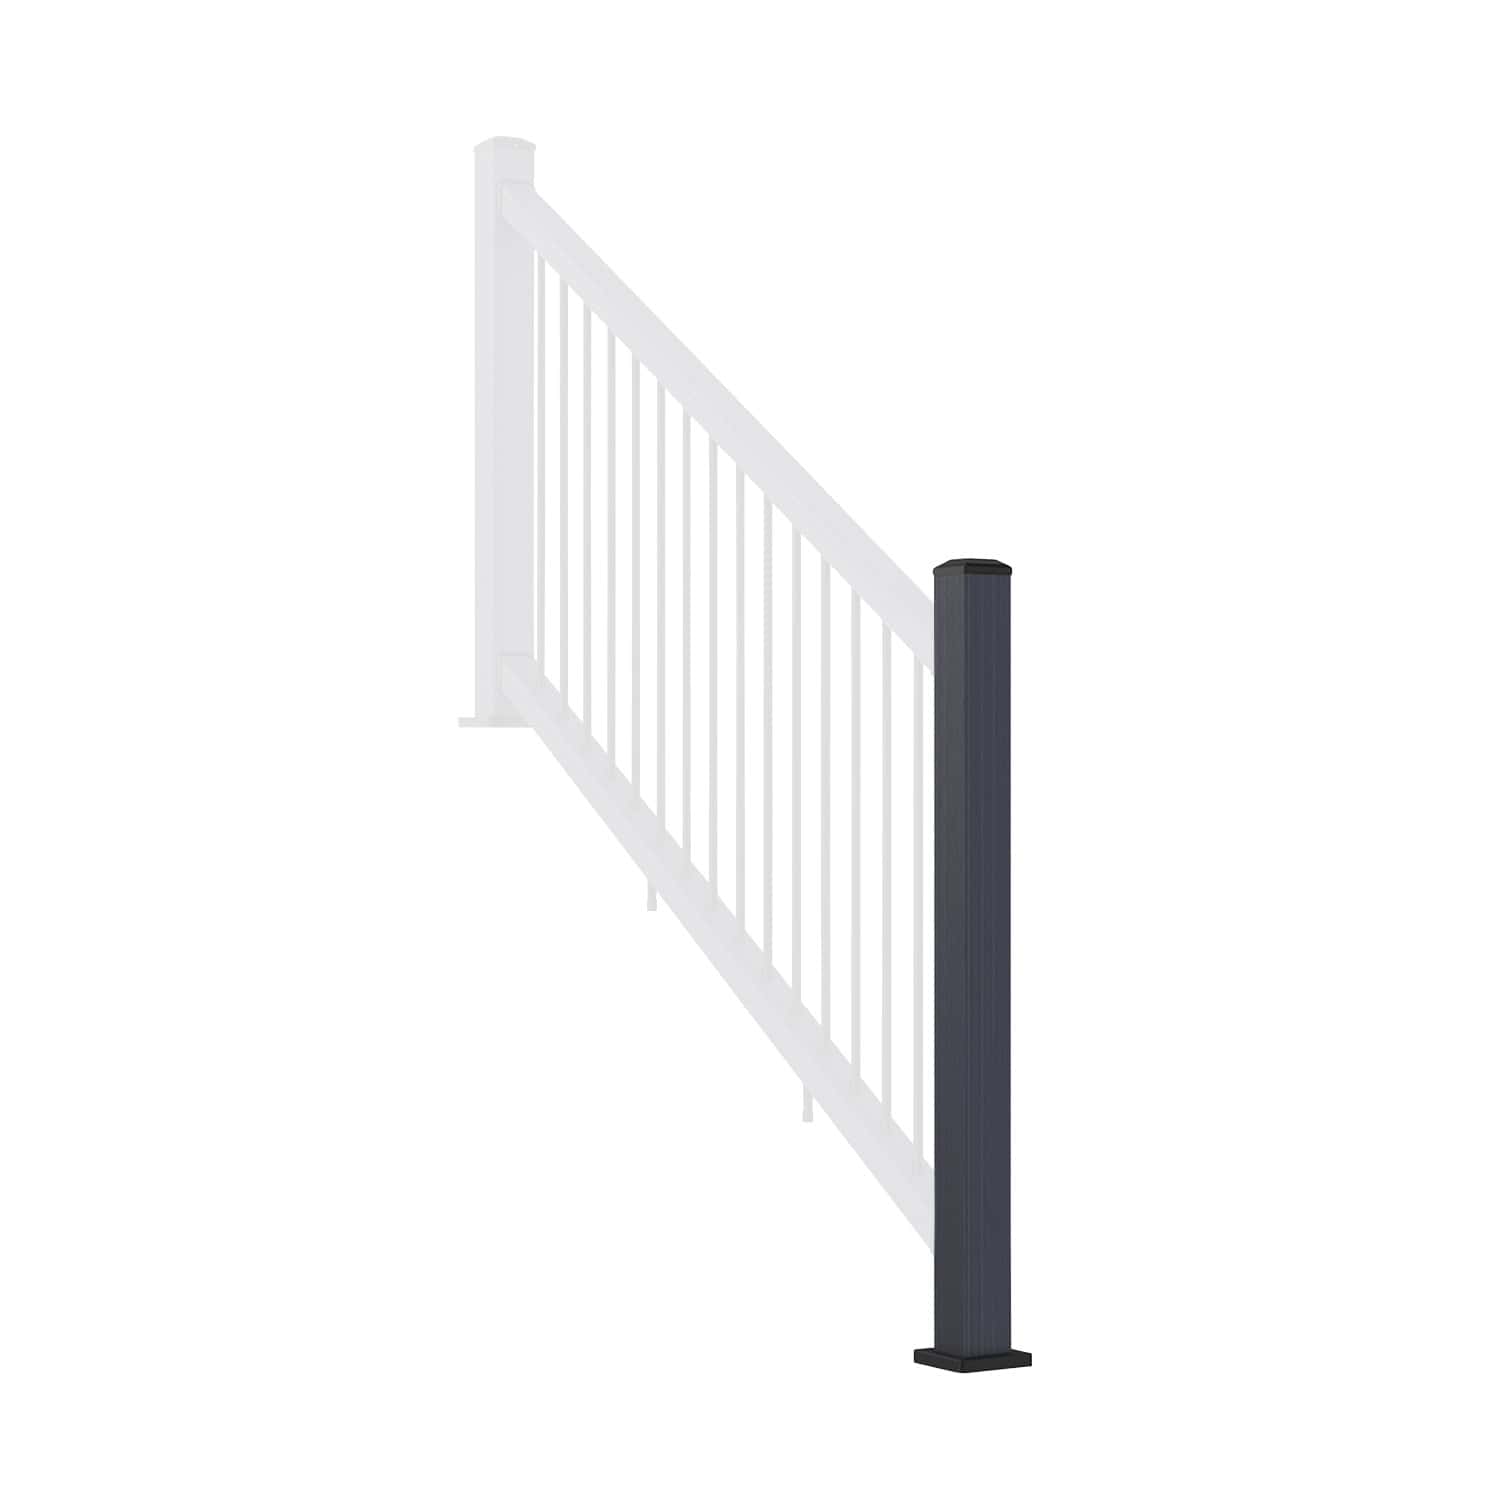
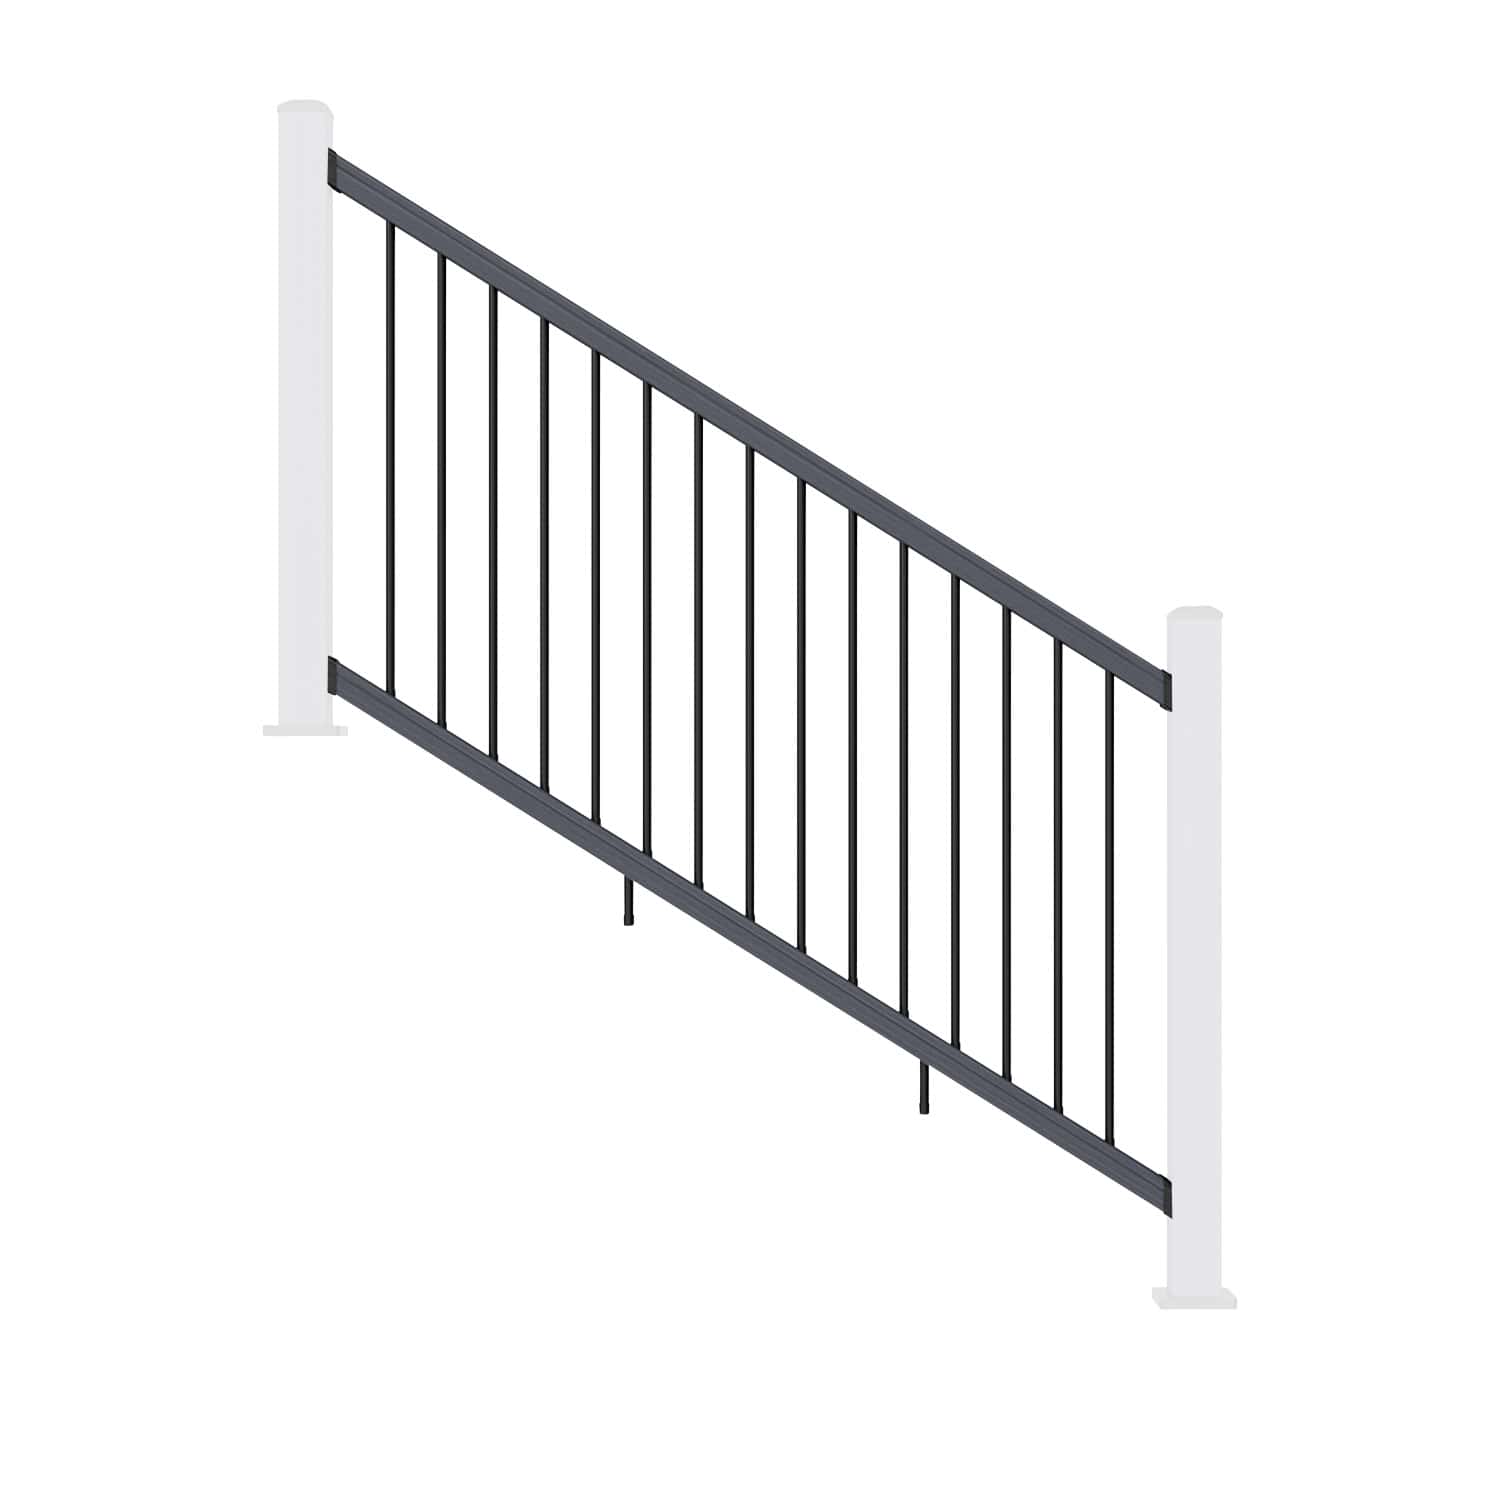
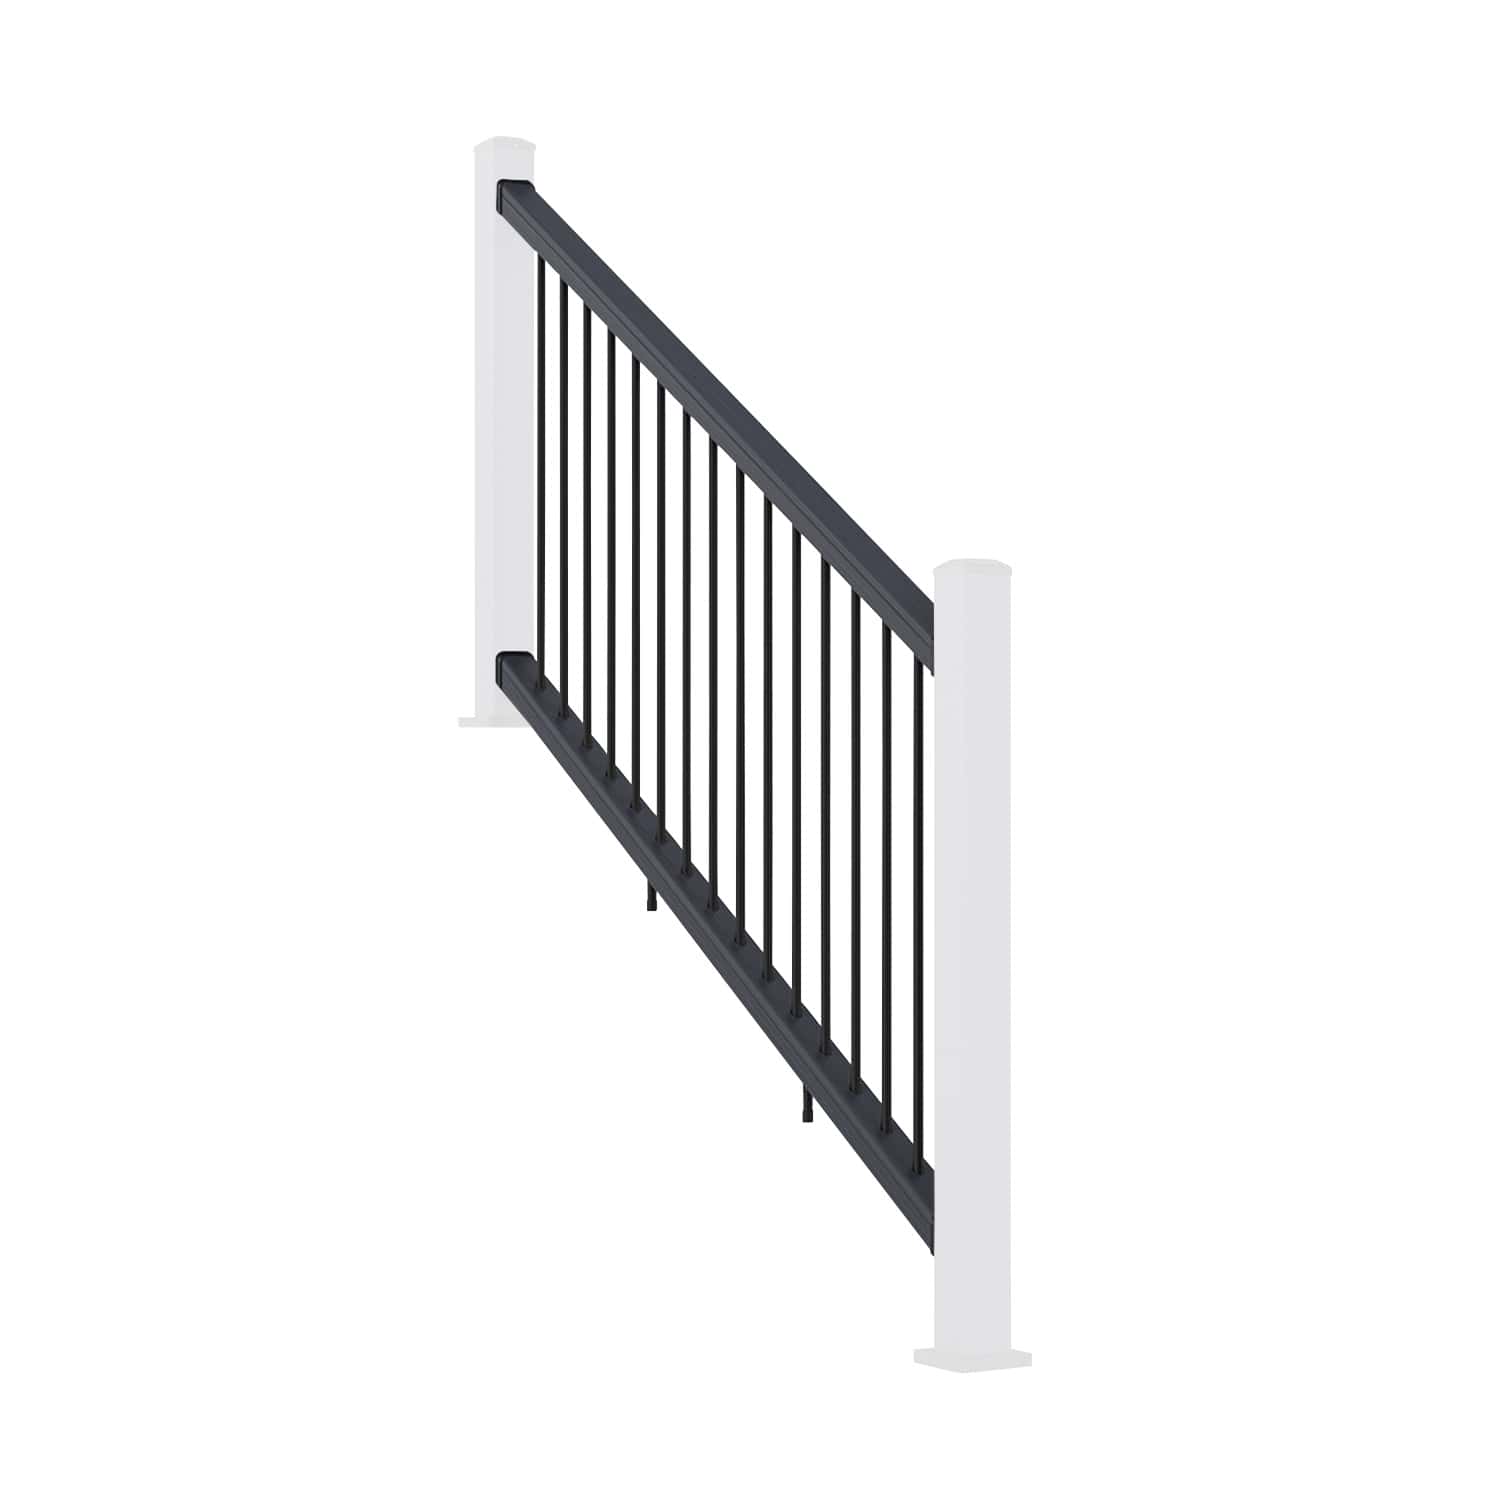
Prepare Your Components and Site Before Fitting Aluminium Balustrades
This aluminium balustrades pre-installation information covers the checks to complete before fixing the first post: component condition, storage, the supporting structure, layout and equipment. Good preparation helps avoid damaged finishes, incorrect setting out and delays once installation begins.
Use this overview alongside the current NeoTimber® aluminium balustrade installation instructions and your project specification. The fixing method and structural requirements must suit the actual location and selected system.
Explore our balustrade resources for wider planning advice, or browse the aluminium balustrade range to identify your components.
In this guide: Check your delivery · Handling and storage · Structural preparation · Layout and dry fitting · Tools and equipment · Final checklist · FAQs
1. Check the Components Before Work Begins
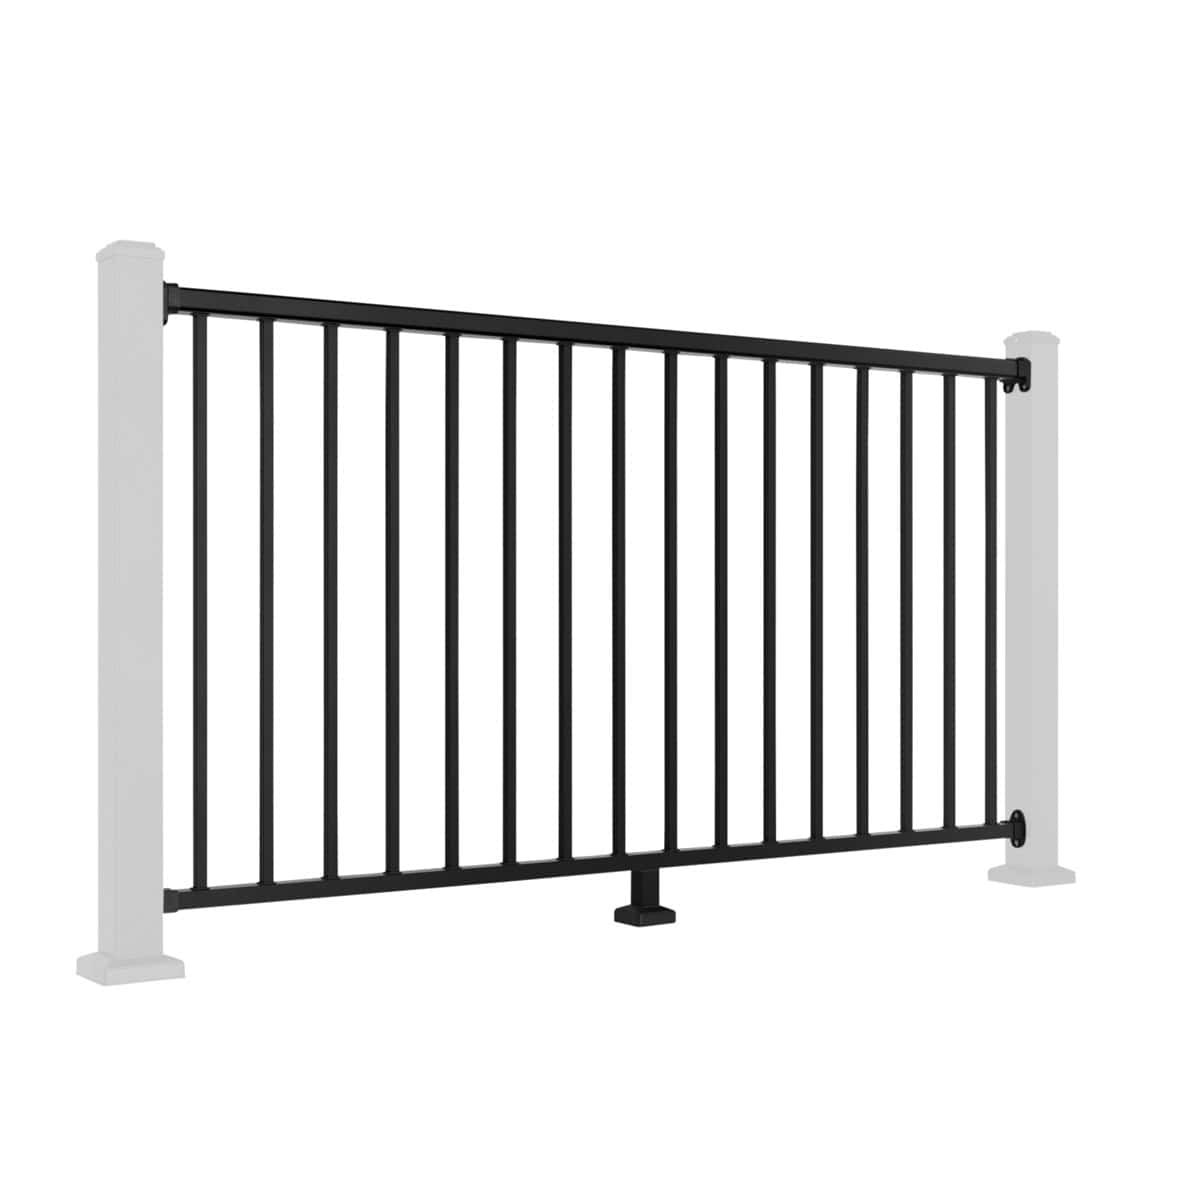
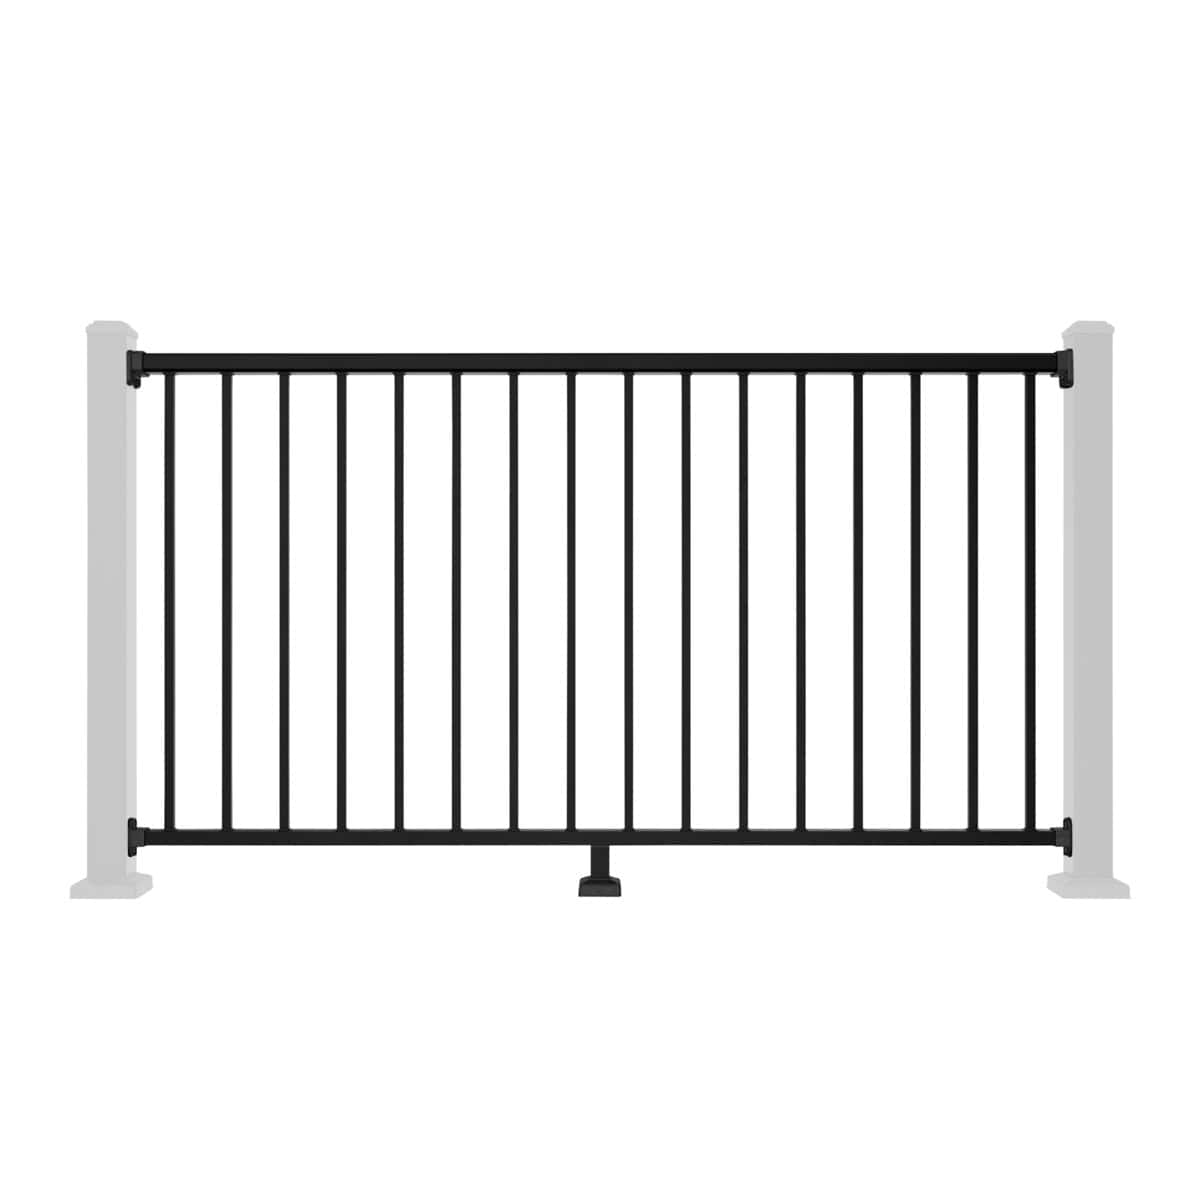
Compare the delivery with your order and the planned layout. Identify posts, rails, infill panels, connectors, caps and the specified fixings. Keep different component types clearly organised so that the correct parts are used at corners, ends, stairs and intermediate positions.
Inspect surfaces and connection points for transit damage or distortion. Report missing or damaged items before cutting or fixing them, and retain product labels and order details for reference. Do not install a component whose condition or suitability is uncertain.
2. Handle and Store Aluminium Components Carefully
Prepare a clean, dry, level storage area with suitable support for long items. Avoid uneven stacks, unsupported overhangs and concentrated pressure that could damage the finish or distort a component.
Retain protective packaging as directed while keeping components dry and accessible for inspection. Do not drag posts, rails or panels across paving, decking or other abrasive surfaces. Keep drilling swarf and cutting debris away from finished faces.
Use two people for long rails and screen panels so that the load remains supported. Plan the route from storage to the work area before lifting, and follow any separate handling instructions for glass or other infill materials.

3. Confirm the Supporting Structure and Fixing Design
A sound-looking surface is not enough to establish a suitable balustrade fixing. The connection must transfer the required loads through the base plate and fixings into an adequate supporting structure.
Deck boards alone should not be assumed to provide suitable anchorage. A timber or composite deck installation may require a designed connection into appropriately reinforced framing. Concrete installations need an anchoring arrangement suitable for the concrete condition, dimensions and edge distances.
Confirm the substrate, reinforcement or blocking requirements and exact fixing specification before drilling. Hole diameters, embedment, spacing and tightening requirements must follow the selected fixing system; a generic drill size is not suitable for every base.
Check for concealed services and avoid drilling where it may damage structural elements. If the substrate or connection design is uncertain, obtain an assessment from a suitably qualified professional before installation.
Confirm the Project’s Guarding Requirements
Where the balustrade provides guarding, establish the applicable requirements for the location and use before ordering or setting out. Required height, infill arrangement and design loads depend on the project. Requirements also differ across UK jurisdictions, so one reference should not be treated as a universal approval.
Ask the project designer or relevant building control body to confirm the applicable specification. Manufacturer instructions and product information support that process but do not replace assessment of the complete installation.
4. Mark Out the Layout and Check Component Fit
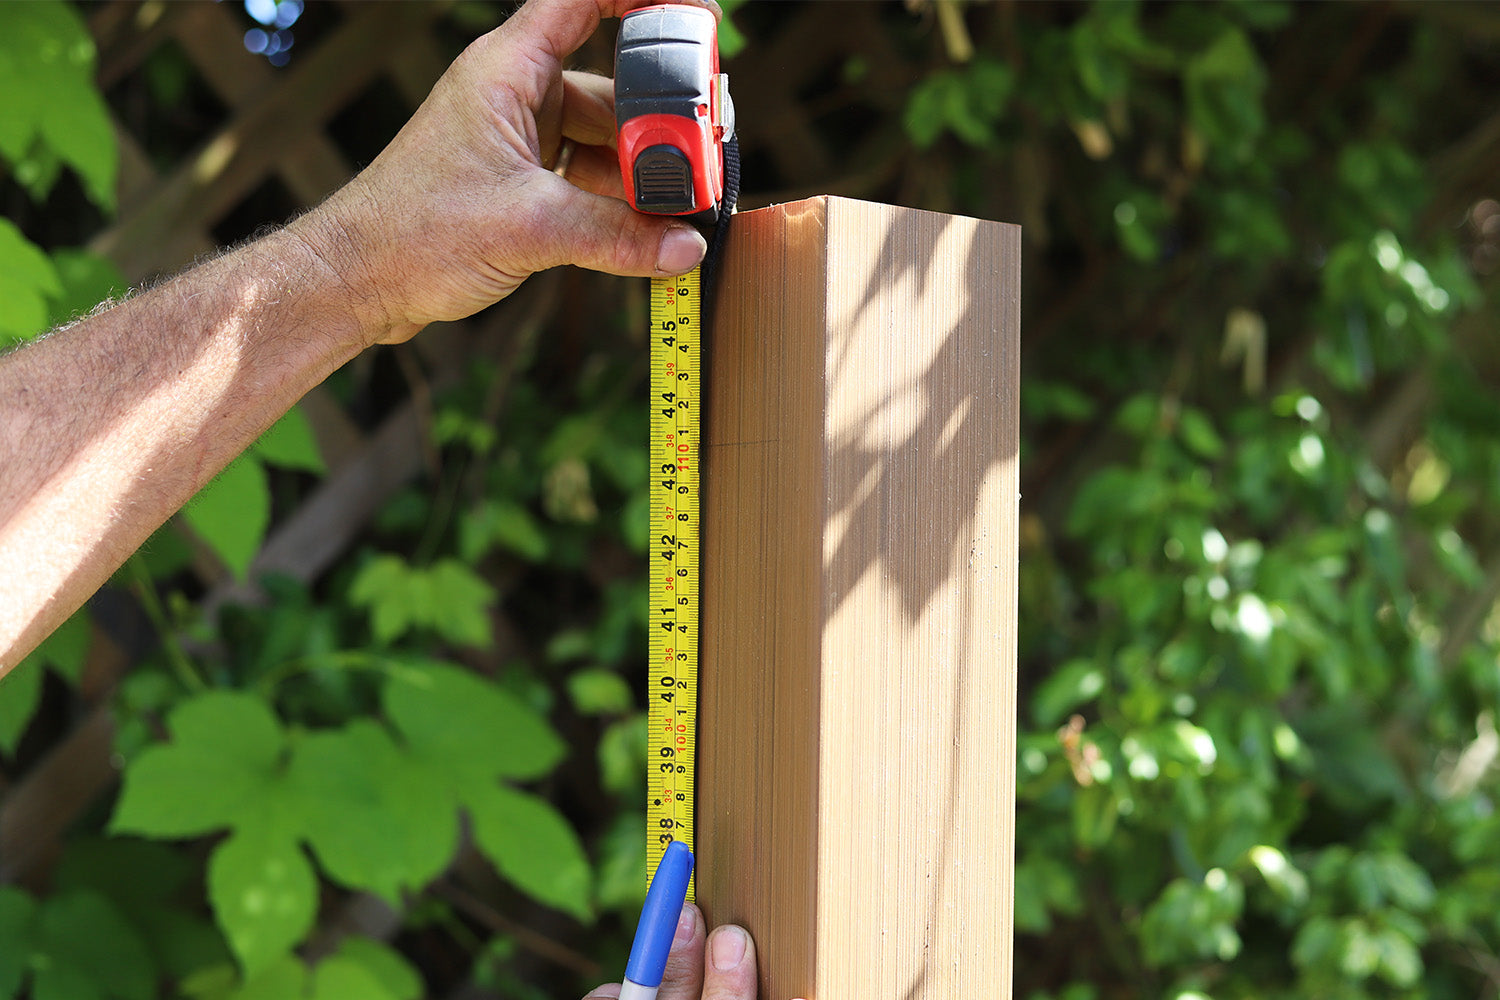
Work from the approved layout and actual site measurements. Mark post positions, corners, ends, access openings and changes in level. Distinguish clear openings from post-centre measurements and account for the selected connectors and infill.
Check alignment and the finished level before committing to permanent fixings. Where the instructions permit, dry-fit key components to verify rail lengths, panel engagement and orientation. Do not change specified post spacing simply to avoid cutting a rail or to force a panel into a bay.
Prepare for the Selected Infill Type
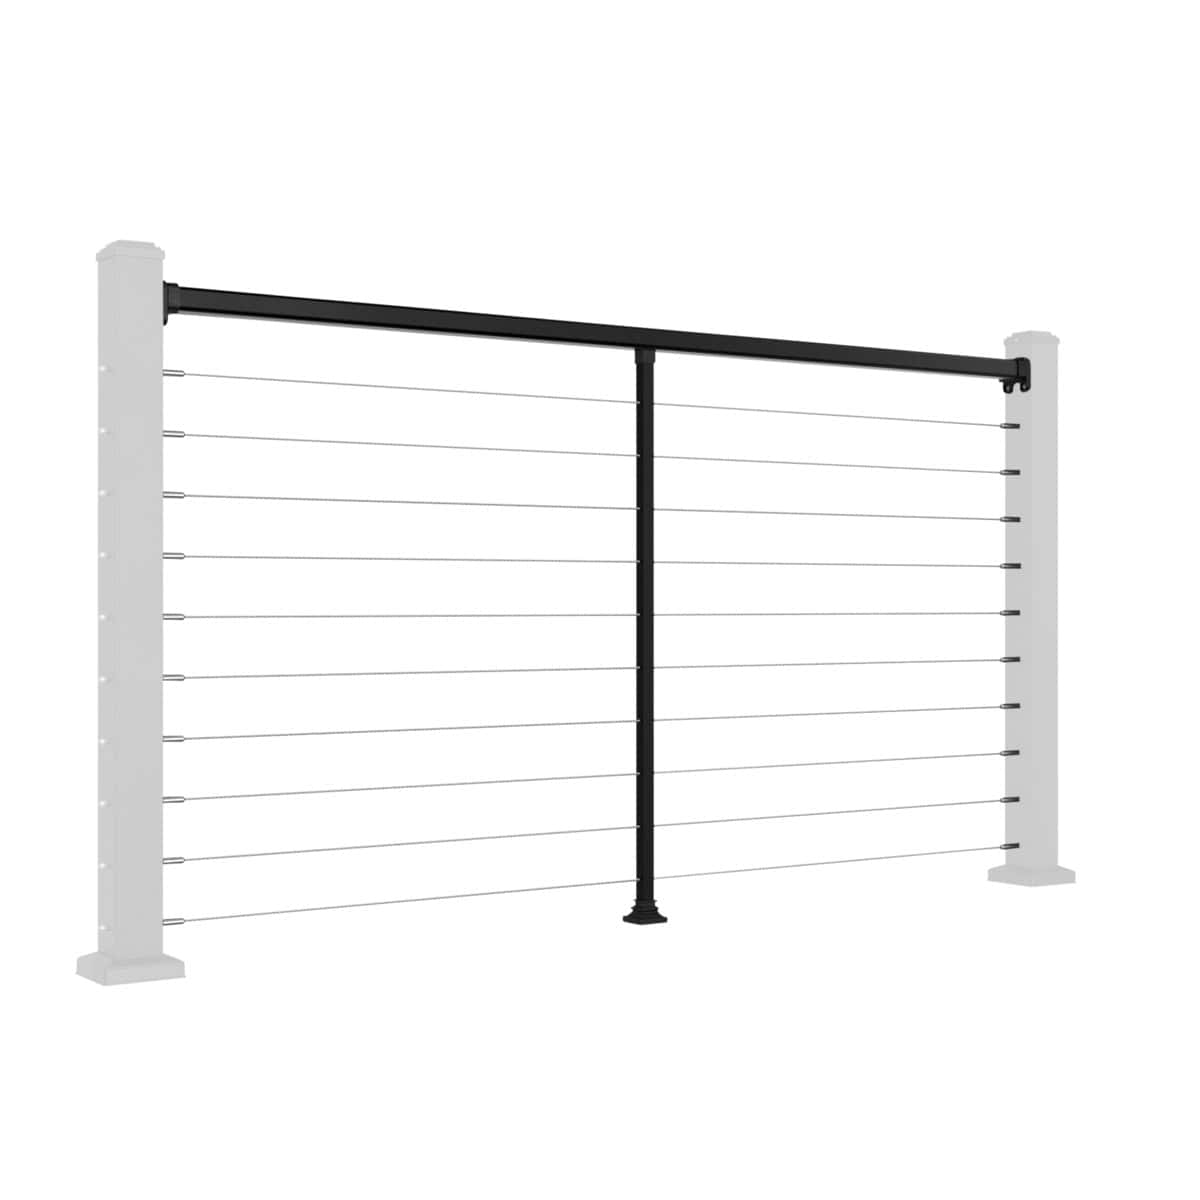
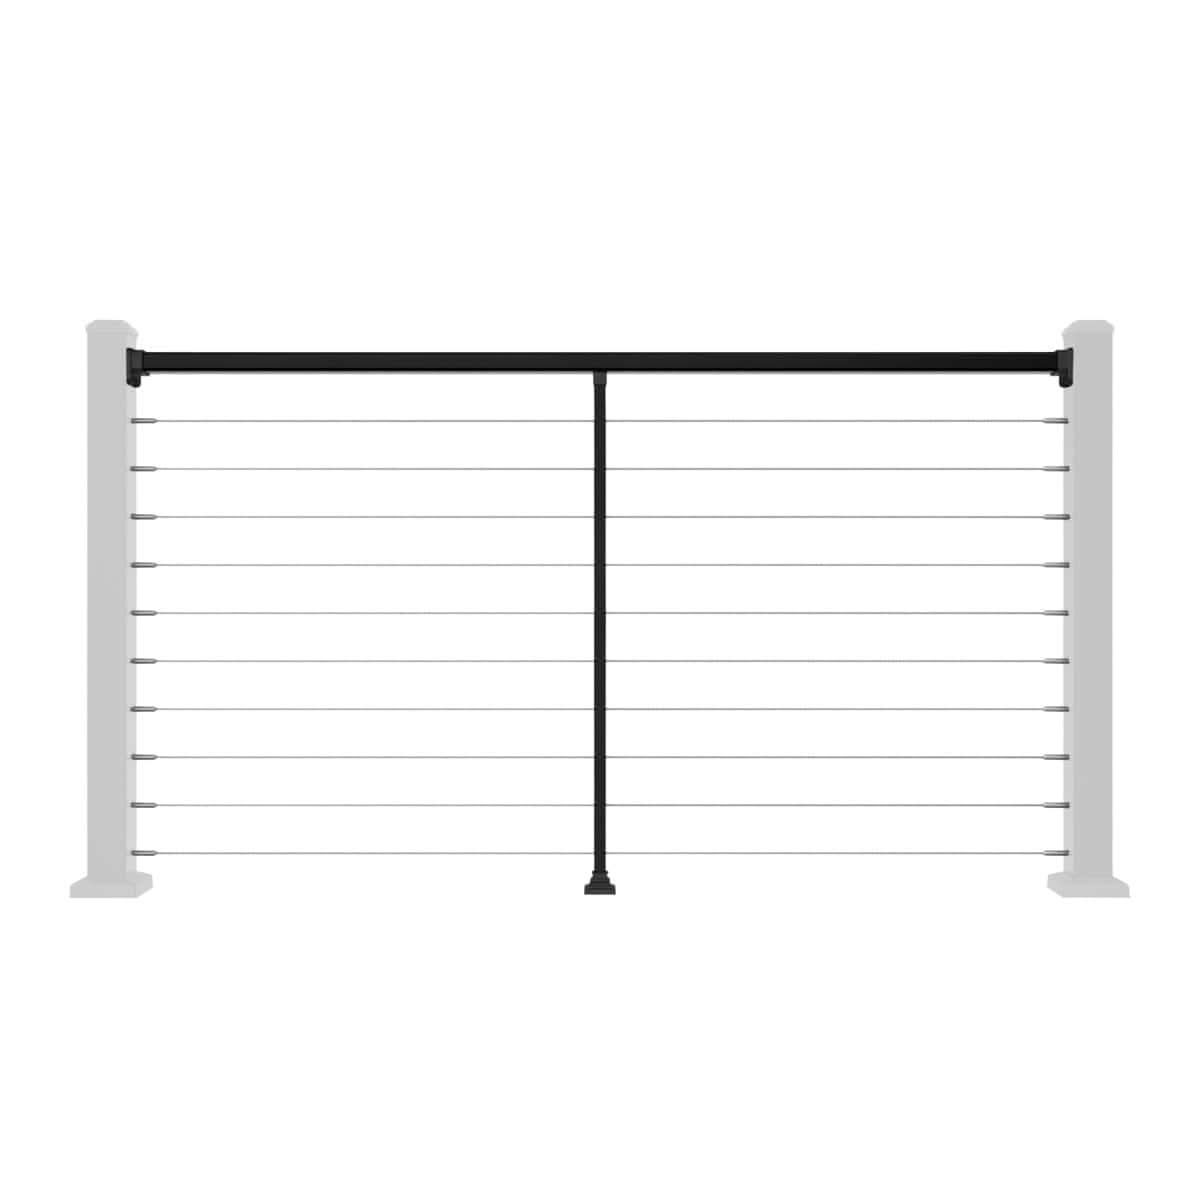
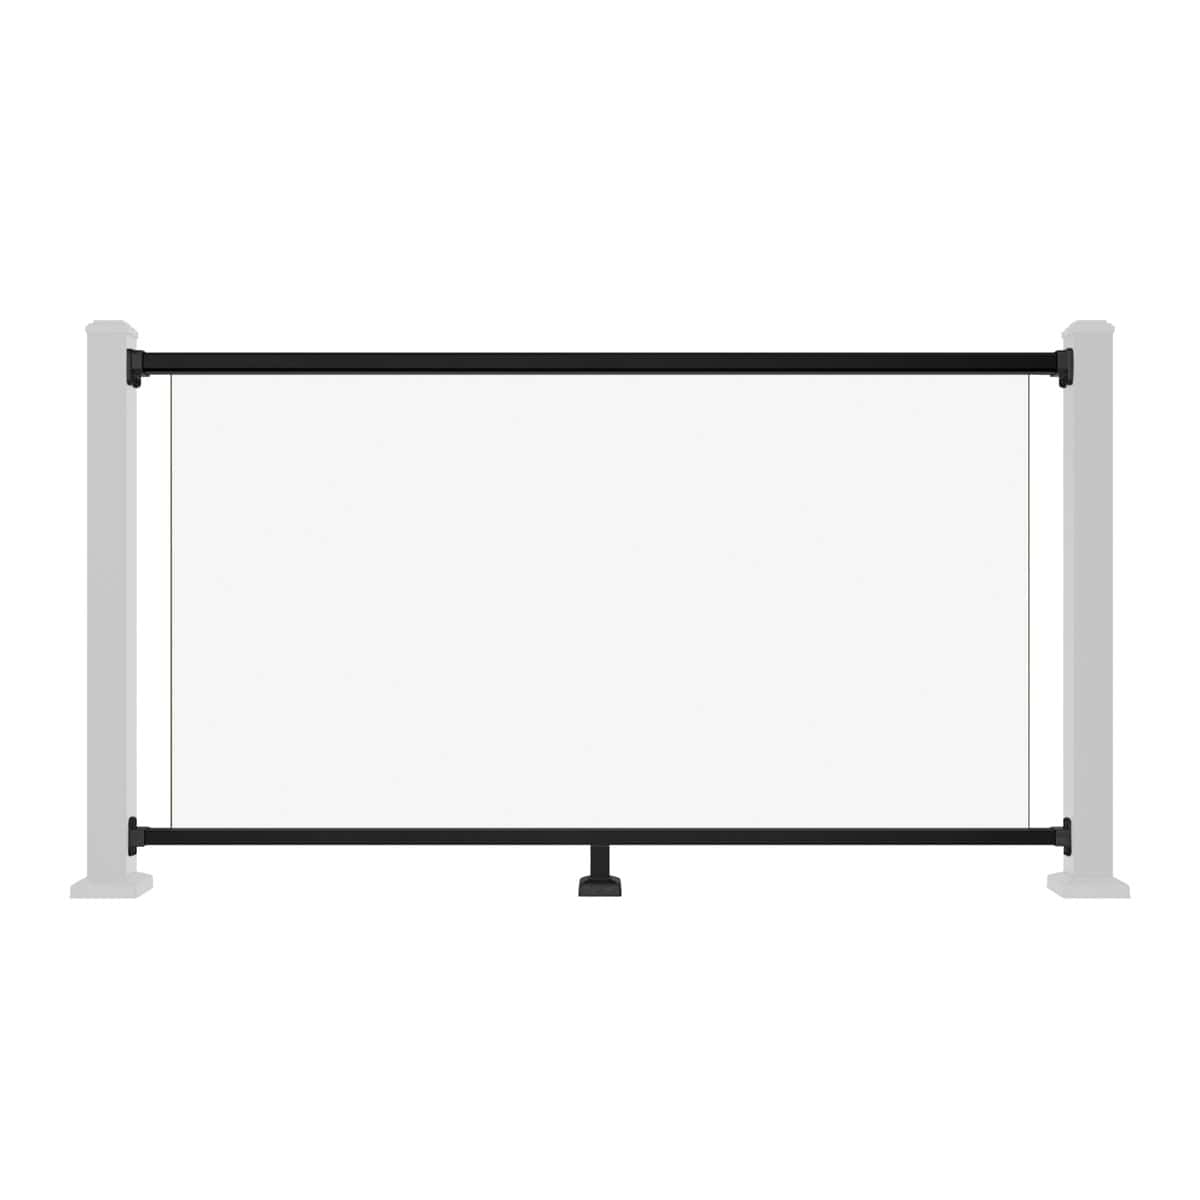
Confirm the separate instructions for glass, screen, spindle or wire arrangements. Their fitting sequence and component requirements can differ, and stair configurations need their own layout checks.
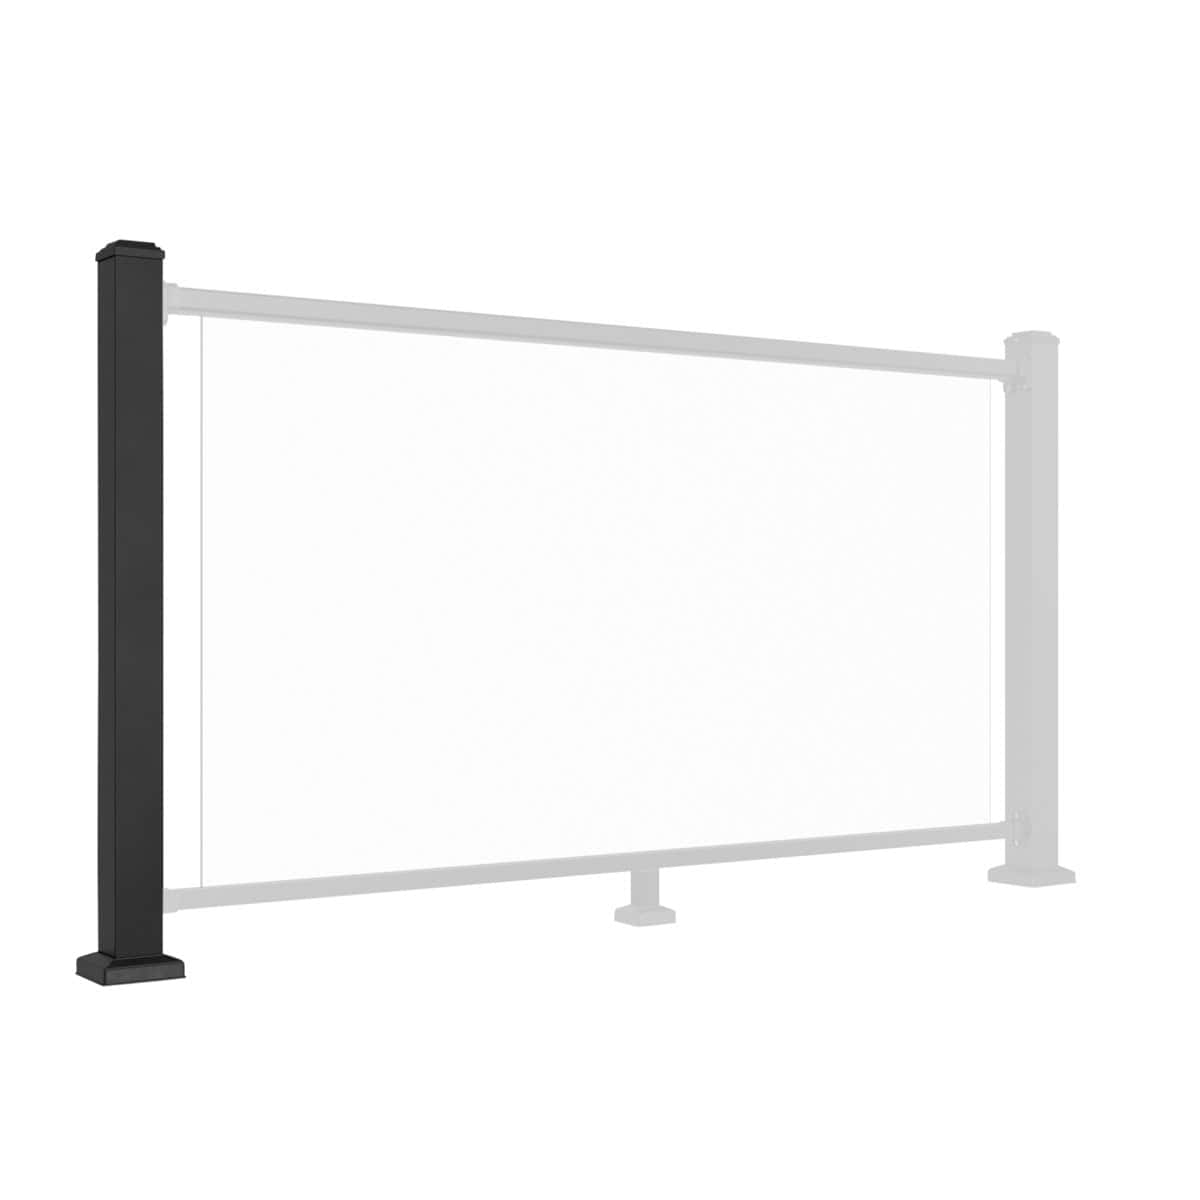
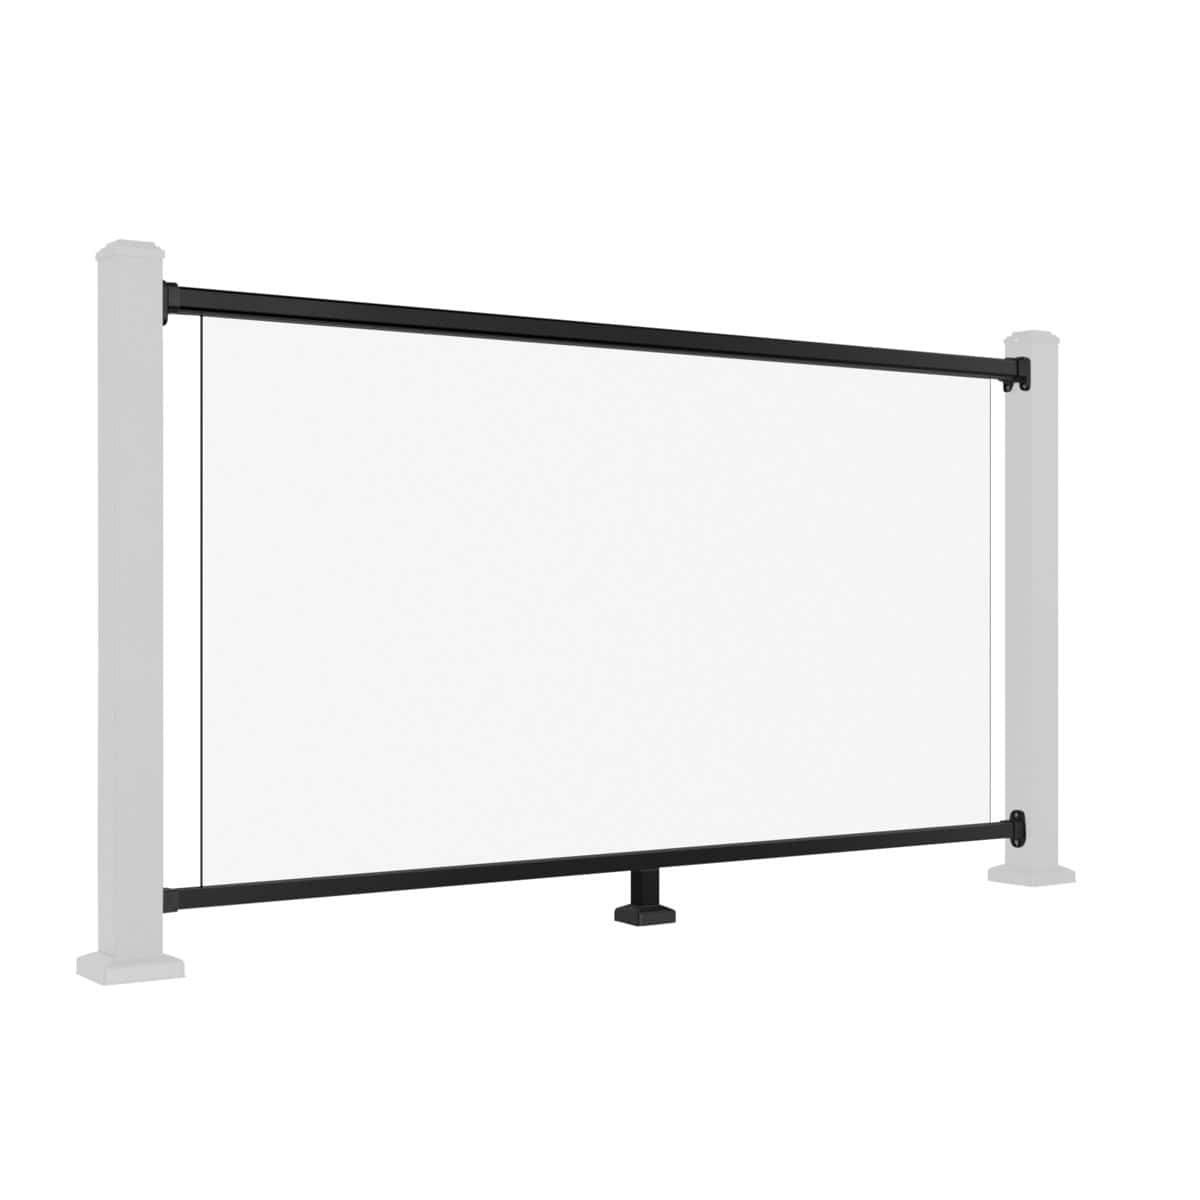
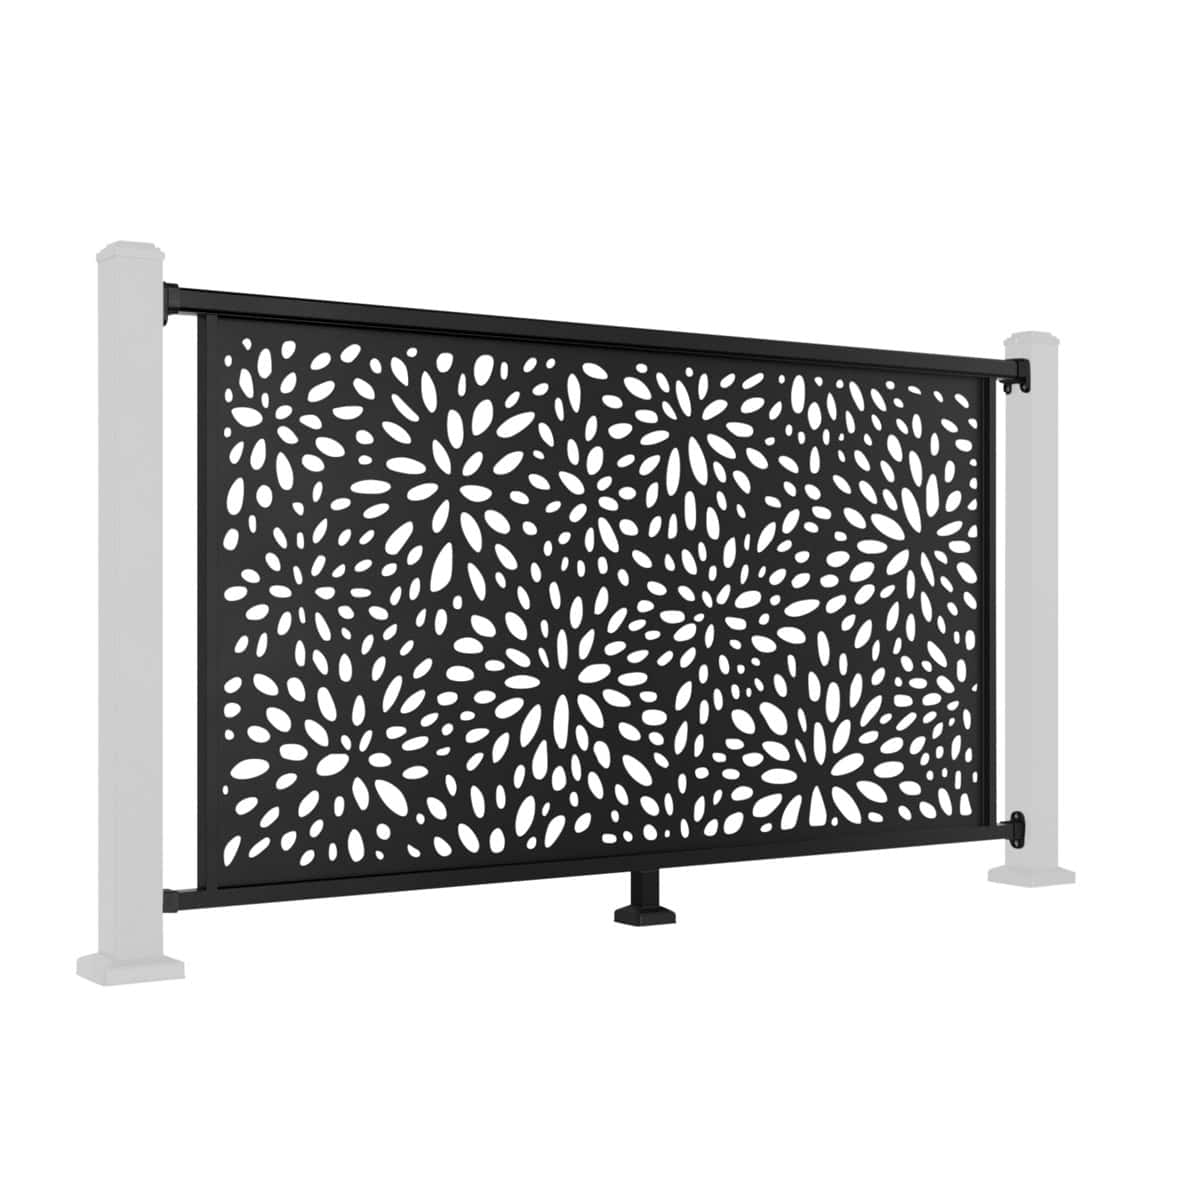
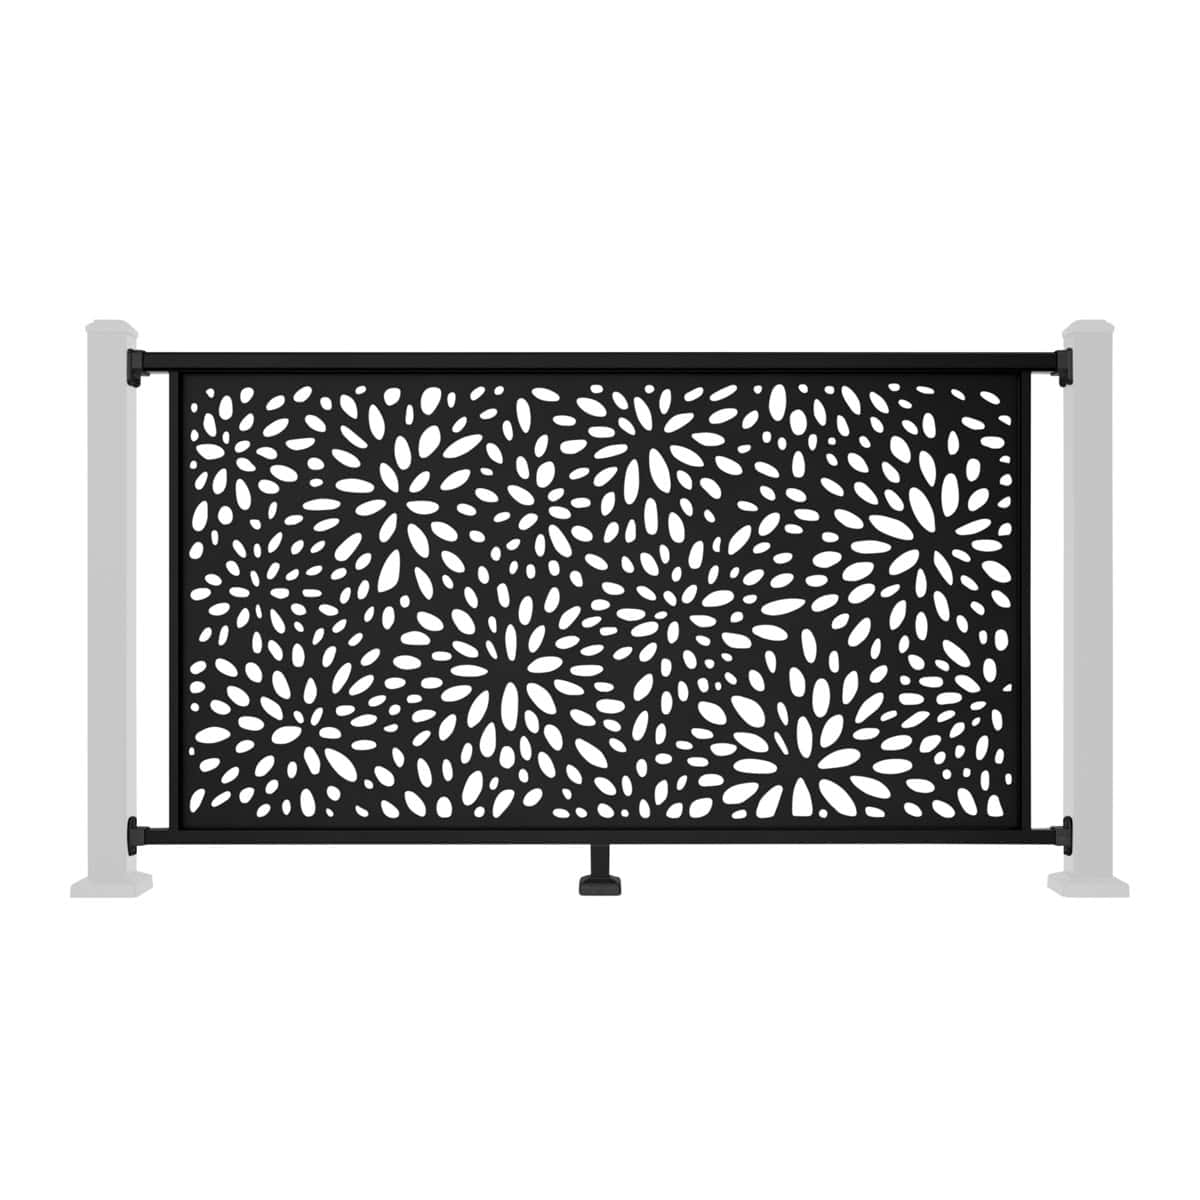
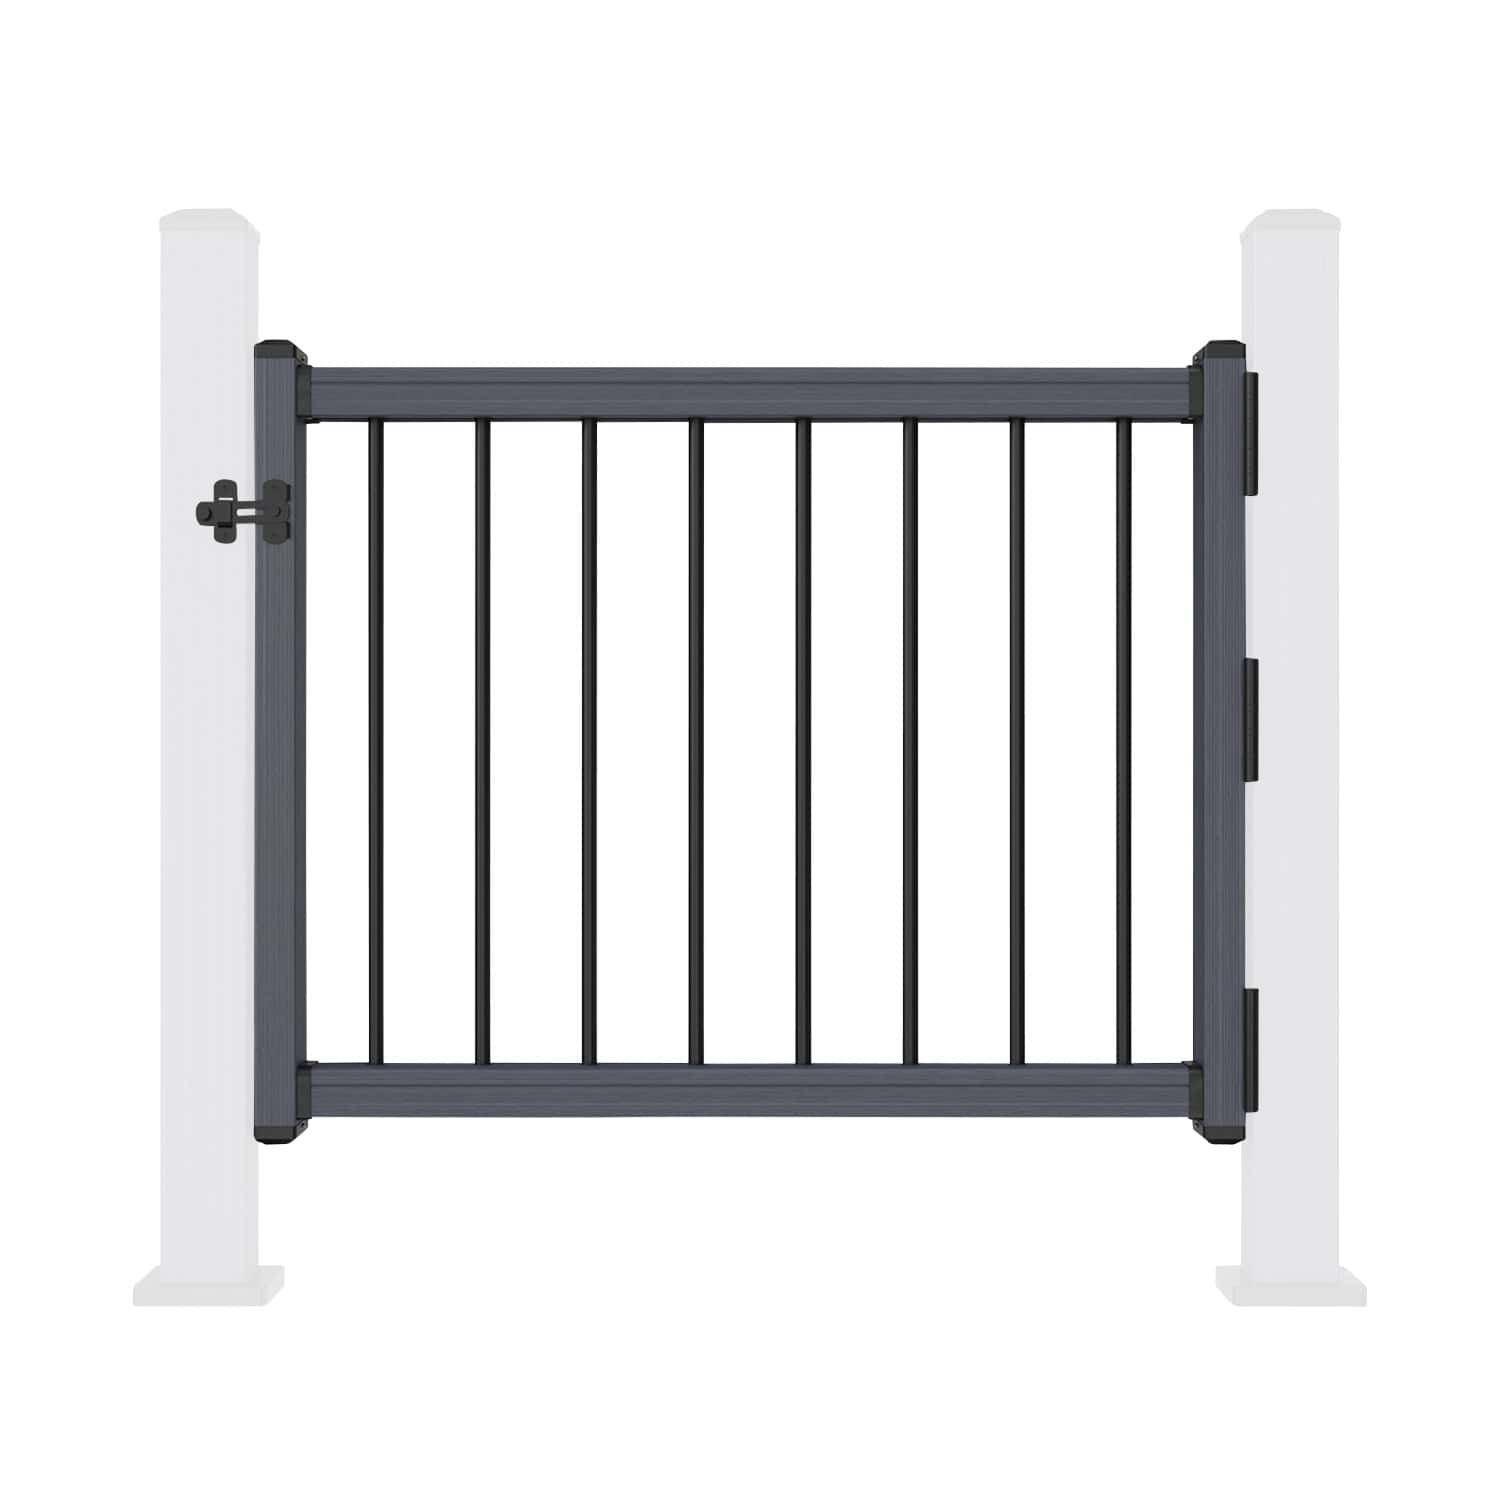
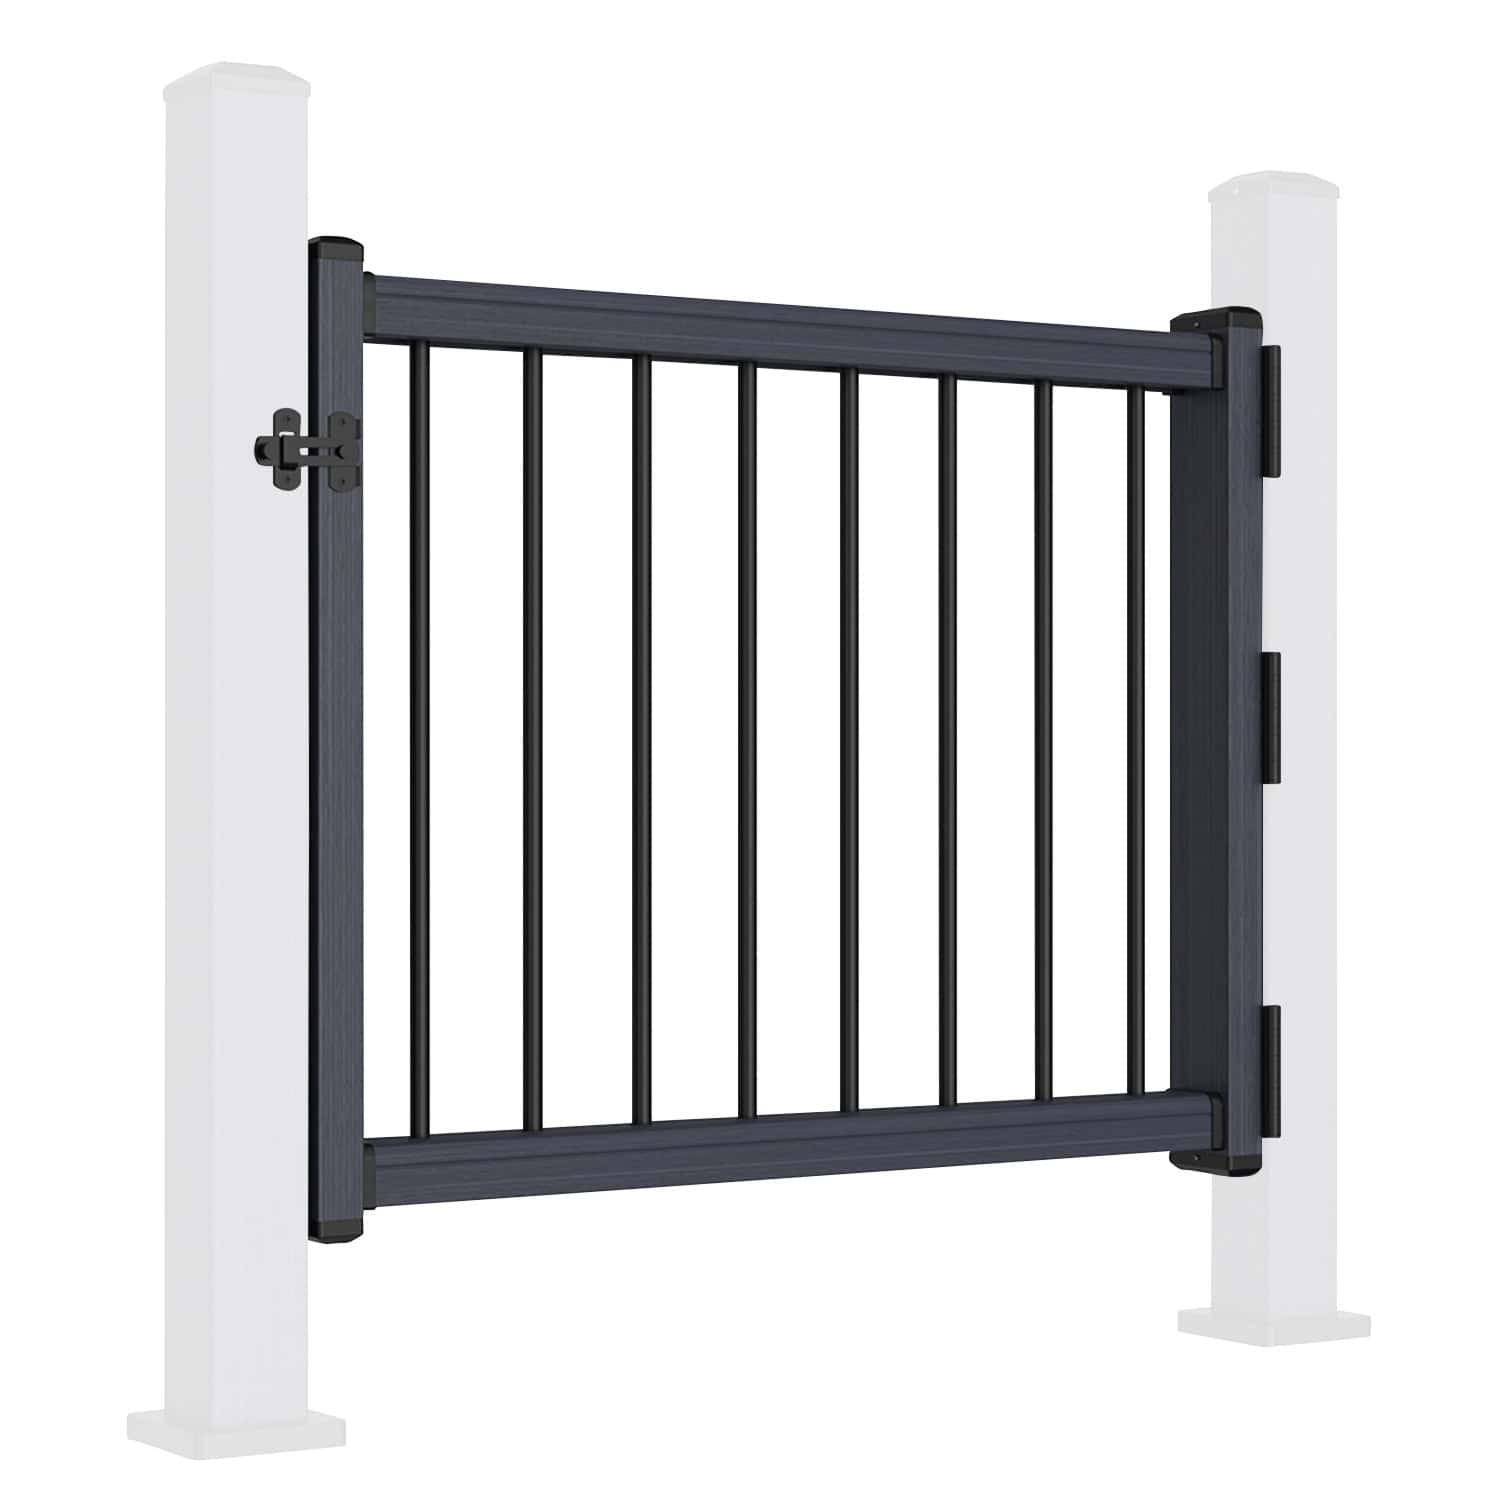
For screen railings, identify the intended panel orientation before securing the assembly. Confirm that posts are correctly fixed, upright and square at the required stage. Repositioning infill after the rails are secured may require disassembly.
Keep suitable temporary edge protection in place where needed during the work. A partly assembled balustrade must not be relied on as completed guarding.
5. Prepare the Correct Tools, Fixings and Protective Equipment
Use the tool list for the selected configuration and substrate. Assemble the equipment before starting, then check that blades, bits and tightening tools match the actual materials and fixings.
Equipment to confirm before installation:
| Task | Typical equipment | Important check |
|---|---|---|
| Measuring and alignment | Tape measure, pencil, chalk line and suitable spirit level. | Use the approved layout and actual component dimensions. |
| Drilling | Appropriate drill, specified bits and any required hole-cleaning equipment. | Match hole diameter and depth to the fixing specification. |
| Fastening | Correct drivers, sockets or spanners; torque tool where specified. | Use the required tightening method rather than uncontrolled impact driving. |
| Cutting and finishing | Suitable aluminium-cutting equipment, file or deburring tool. | Confirm which components may be cut and any cut-edge treatment requirements. |
| Bonding, if specified | The approved adhesive and compatible application gun. | Check product suitability, surface preparation and curing instructions. |
| Protection and handling | Eye and hearing protection, suitable footwear and task-appropriate handling protection. | Follow equipment instructions and the site’s working arrangements. |
Only use adhesives where the installation method specifies them. An adhesive should not be substituted for required mechanical fixings. Follow tool instructions for safe clothing and glove use around moving machinery.
Final Pre-Installation Checklist
- Components and quantities match the selected system and layout.
- Damaged or incorrect items have been resolved before fitting.
- The supporting structure and fixing design have been confirmed.
- Applicable guarding requirements are reflected in the project specification.
- Post positions, infill orientation and changes in level are checked.
- Correct tools, fixings and any specified adhesive are available.
- The work area, handling arrangements and temporary protection are ready.
Resolve discrepancies before the first permanent fixing. Preparation is the point at which layout and component issues are usually easiest to correct.
Frequently Asked Questions
What should I check first when the materials arrive?
Compare quantities and component types with the order and layout, then inspect for damage before cutting or fitting anything.
Can balustrade posts be fixed directly to deck boards?
Do not assume deck boards provide suitable anchorage. The connection must transfer loads into an adequate supporting structure using the specified arrangement.
Which drill bit should I use?
Use the diameter and drilling method specified for the actual fixing and substrate. A generic timber or concrete bit size is not appropriate for every installation.
Can I use the same fitting sequence for every infill?
No. Glass, screen, spindle and wire systems can have different requirements. Use the guide for the selected configuration.
Should I dry-fit the components?
Where the instructions permit, dry fitting can help confirm alignment, orientation and fit before permanent connections are made.
When should I seek professional advice?
Before installation if structural capacity, fixing design, guarding requirements or component suitability remain uncertain.
Move to Installation With the Details Confirmed
Once the site, components and equipment are ready, follow the appropriate post and railing guides in the NeoTimber® aluminium balustrade installation resources. Contact the team if you need help identifying the correct product instructions before work begins.