


Prepare Your NeoTimber® Composite Louvre Battens, Framework and Fixings
This composite louvre batten pre-installation guide covers the key considerations before fitting your battens. From choosing the right profile and checking your supplied components to planning support spans and preparing the supporting framework, a little preparation helps ensure a smoother installation.
Use this preparation guide alongside the current NeoTimber® composite louvre batten installation instructions for your chosen application. The guidance covers both cladding and fencing installations, including vertical and horizontal batten arrangements.
Explore the NeoTimber® composite louvre batten range for available profiles, colours and accessories.
In this guide: Supplied components · Batten profiles · Supporting framework · Support spans · Installation planning · Fixing preparation · FAQs
1. Check Your Louvre Batten Components Before Installation
Before starting your project, check that you have all the required NeoTimber® composite louvre batten components. The supplied fixing system includes the battens, concealed fixing clips, colour-matched screws and composite end caps, with optional galvanised steel inserts available where additional reinforcement is required.
NeoTimber® supplies the following components:
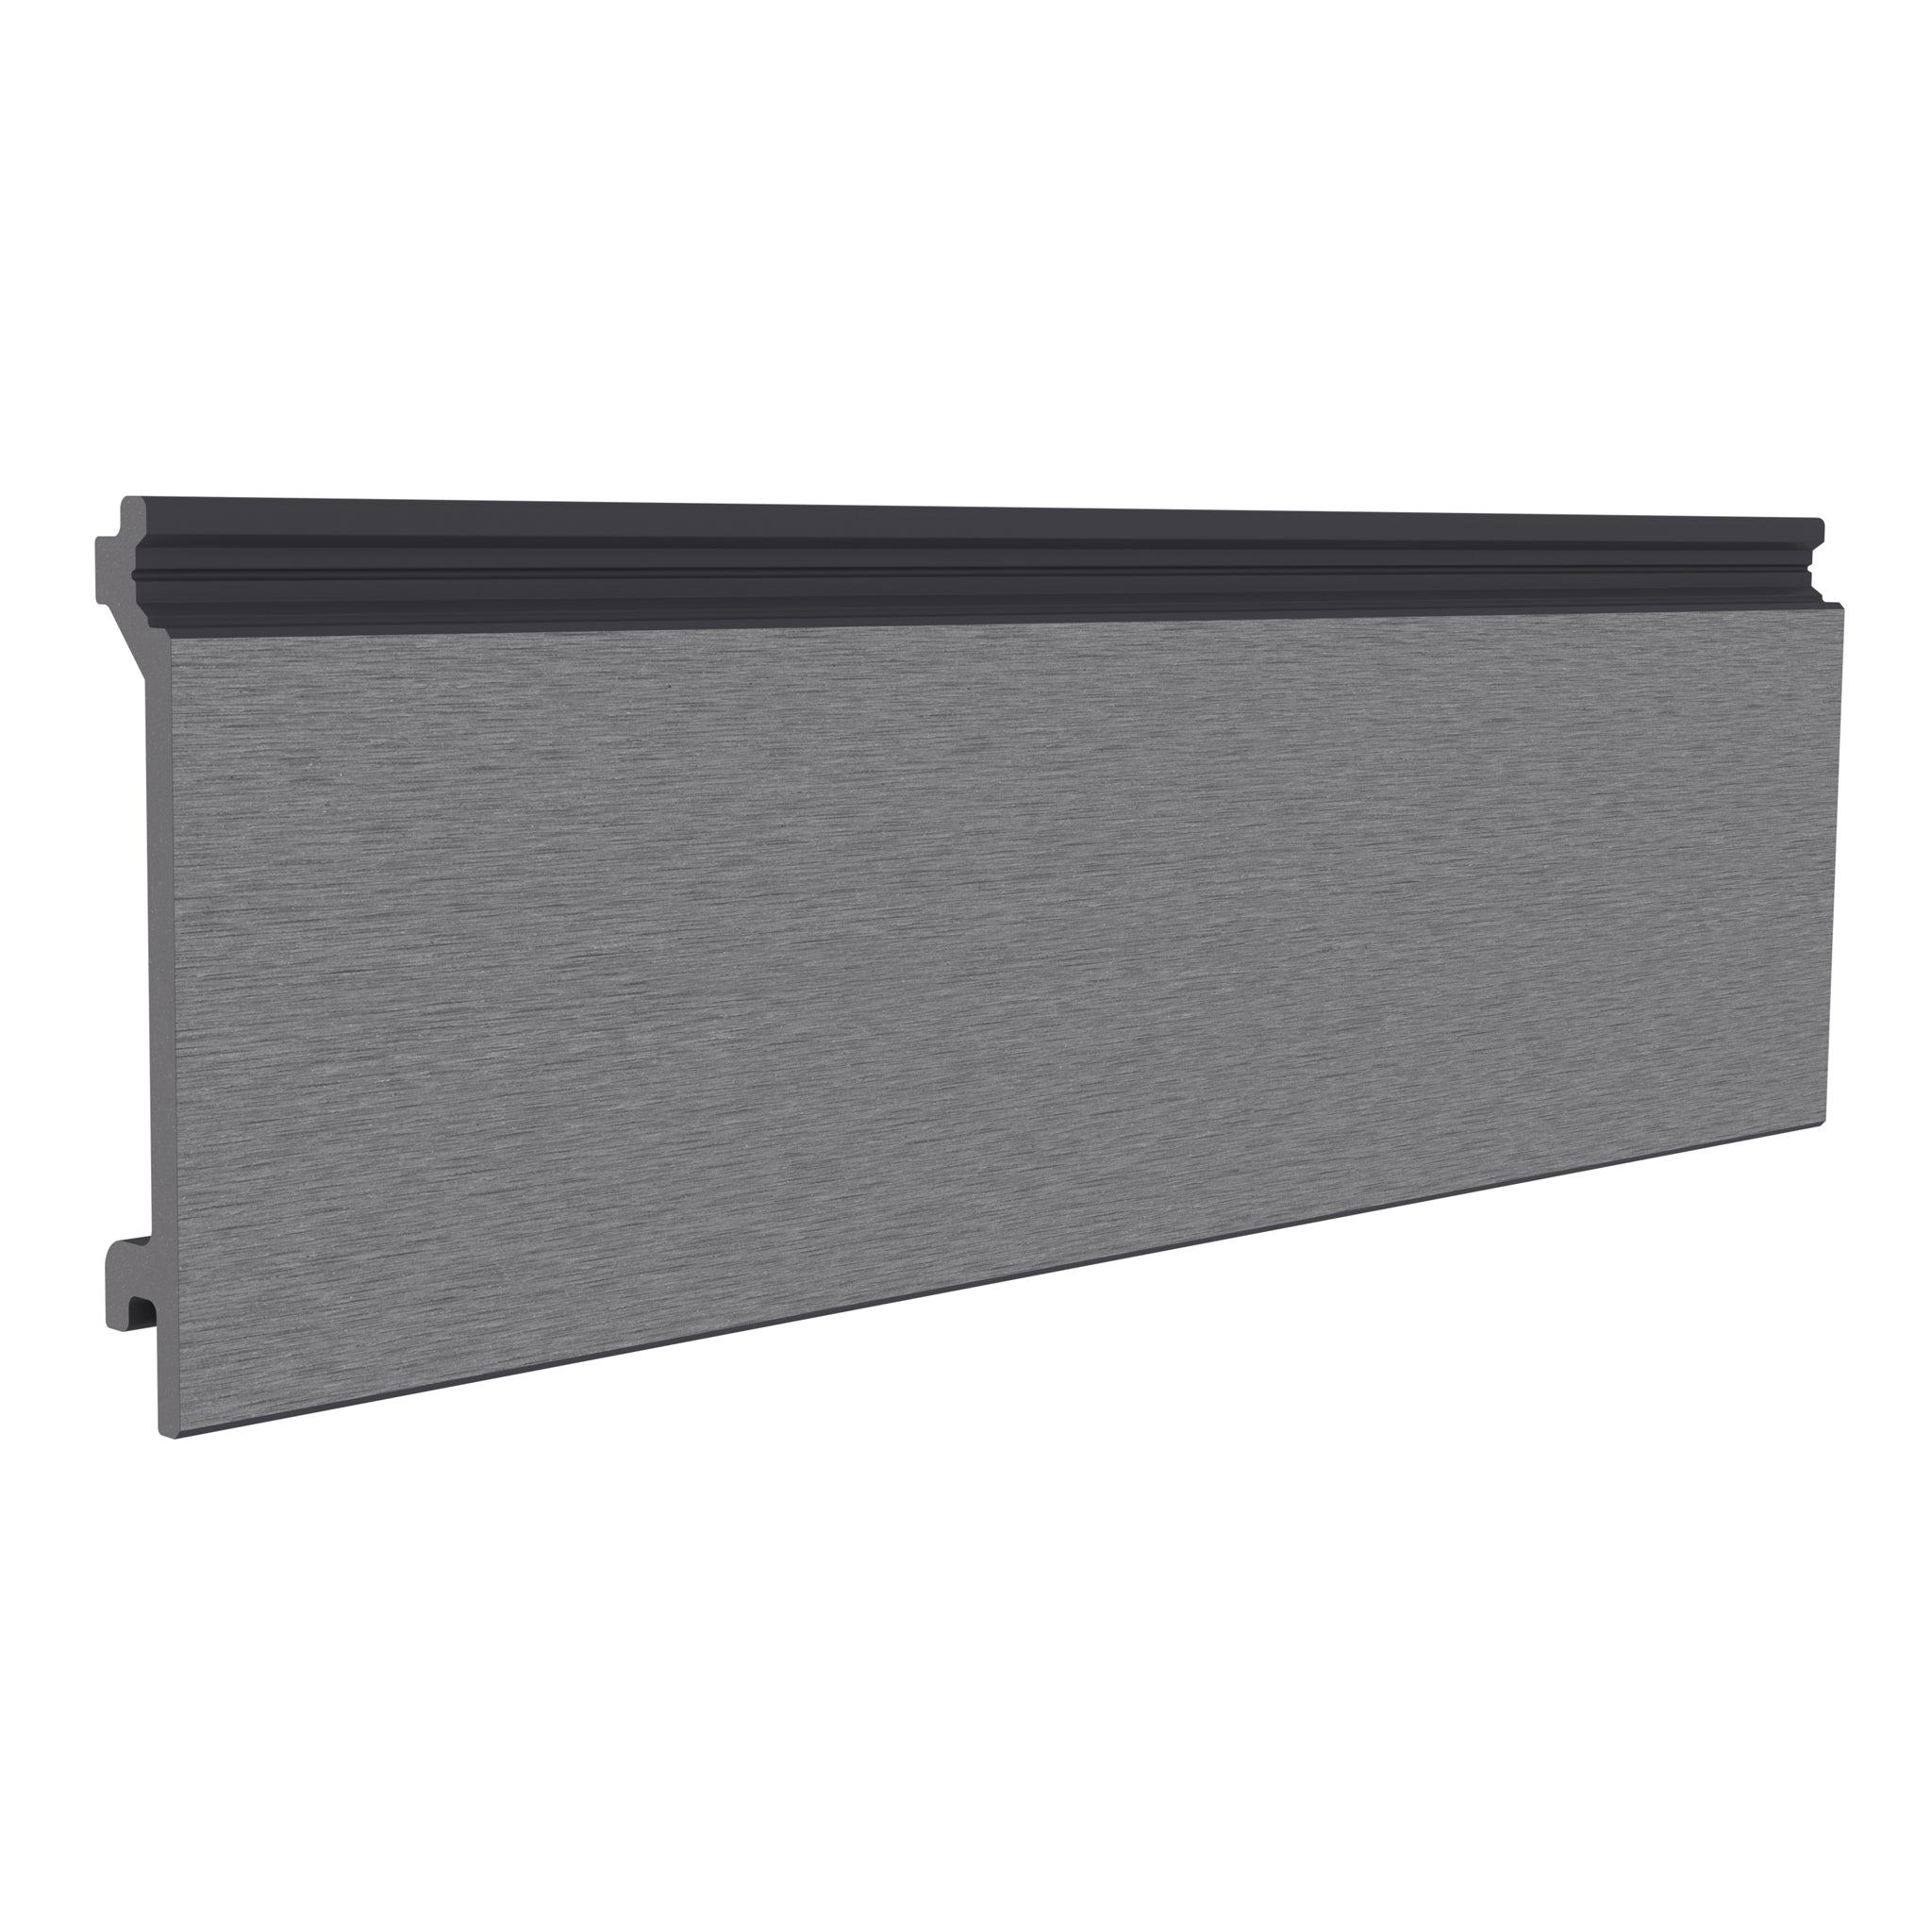
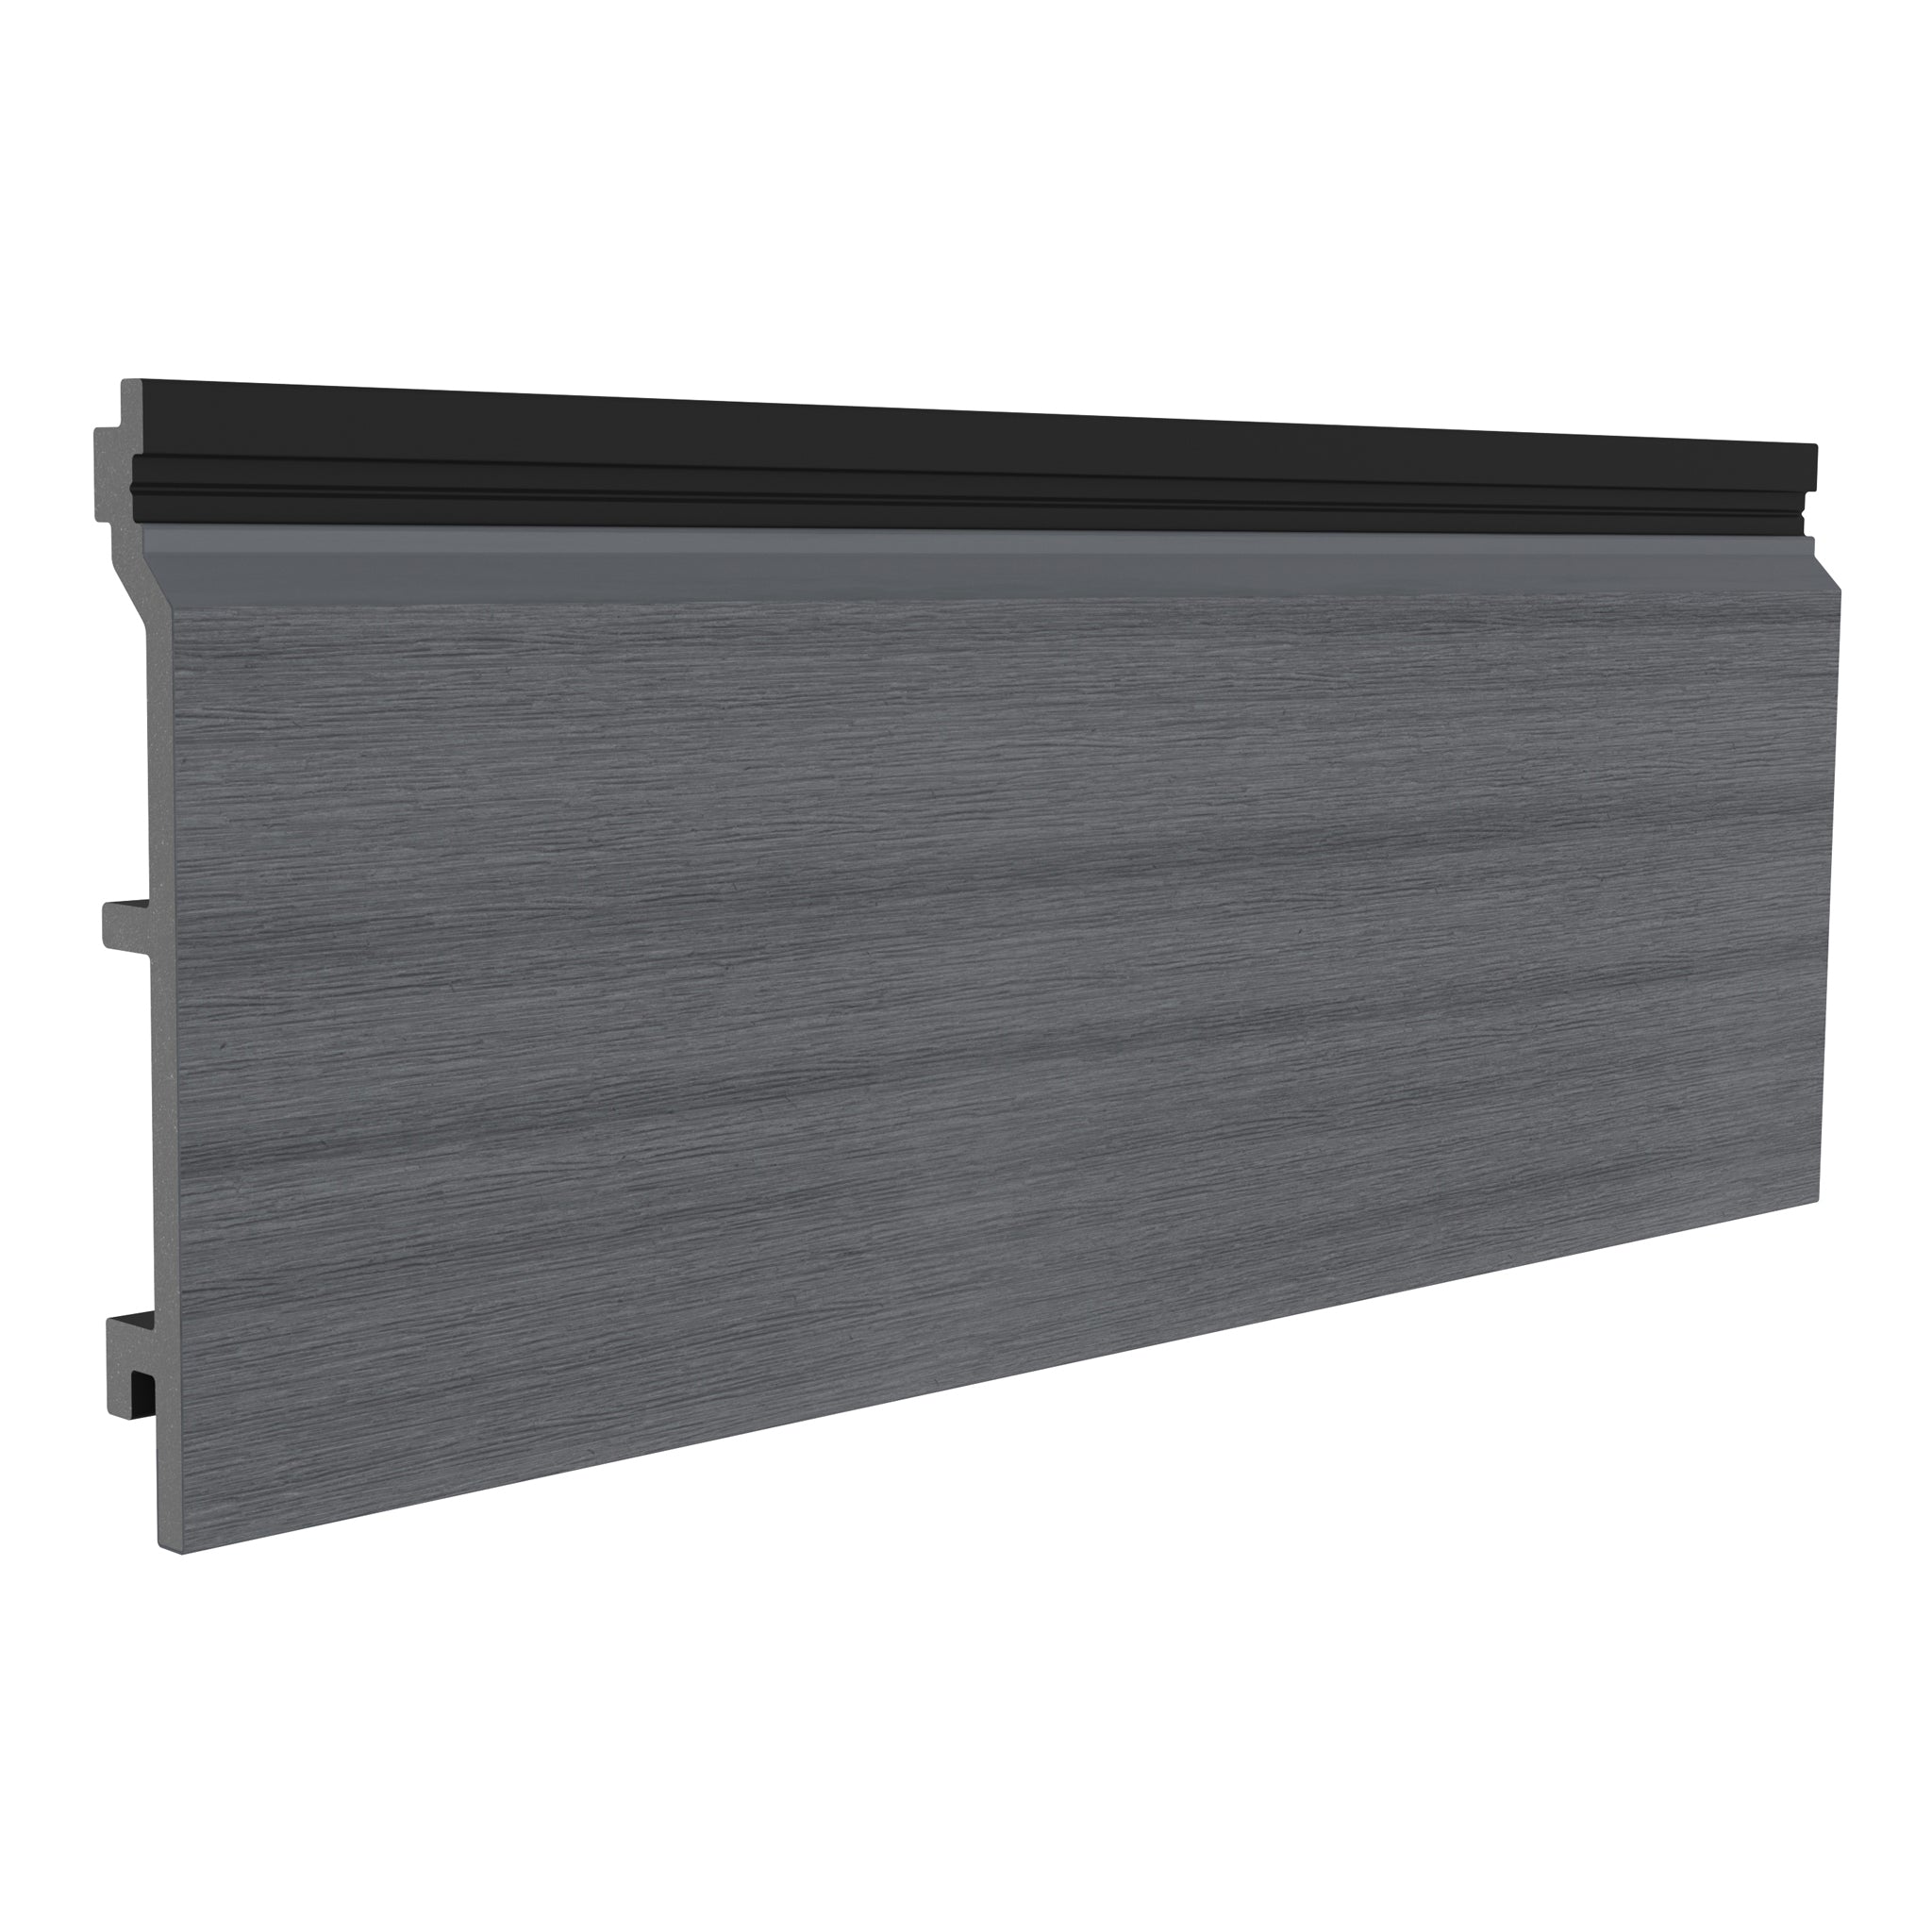
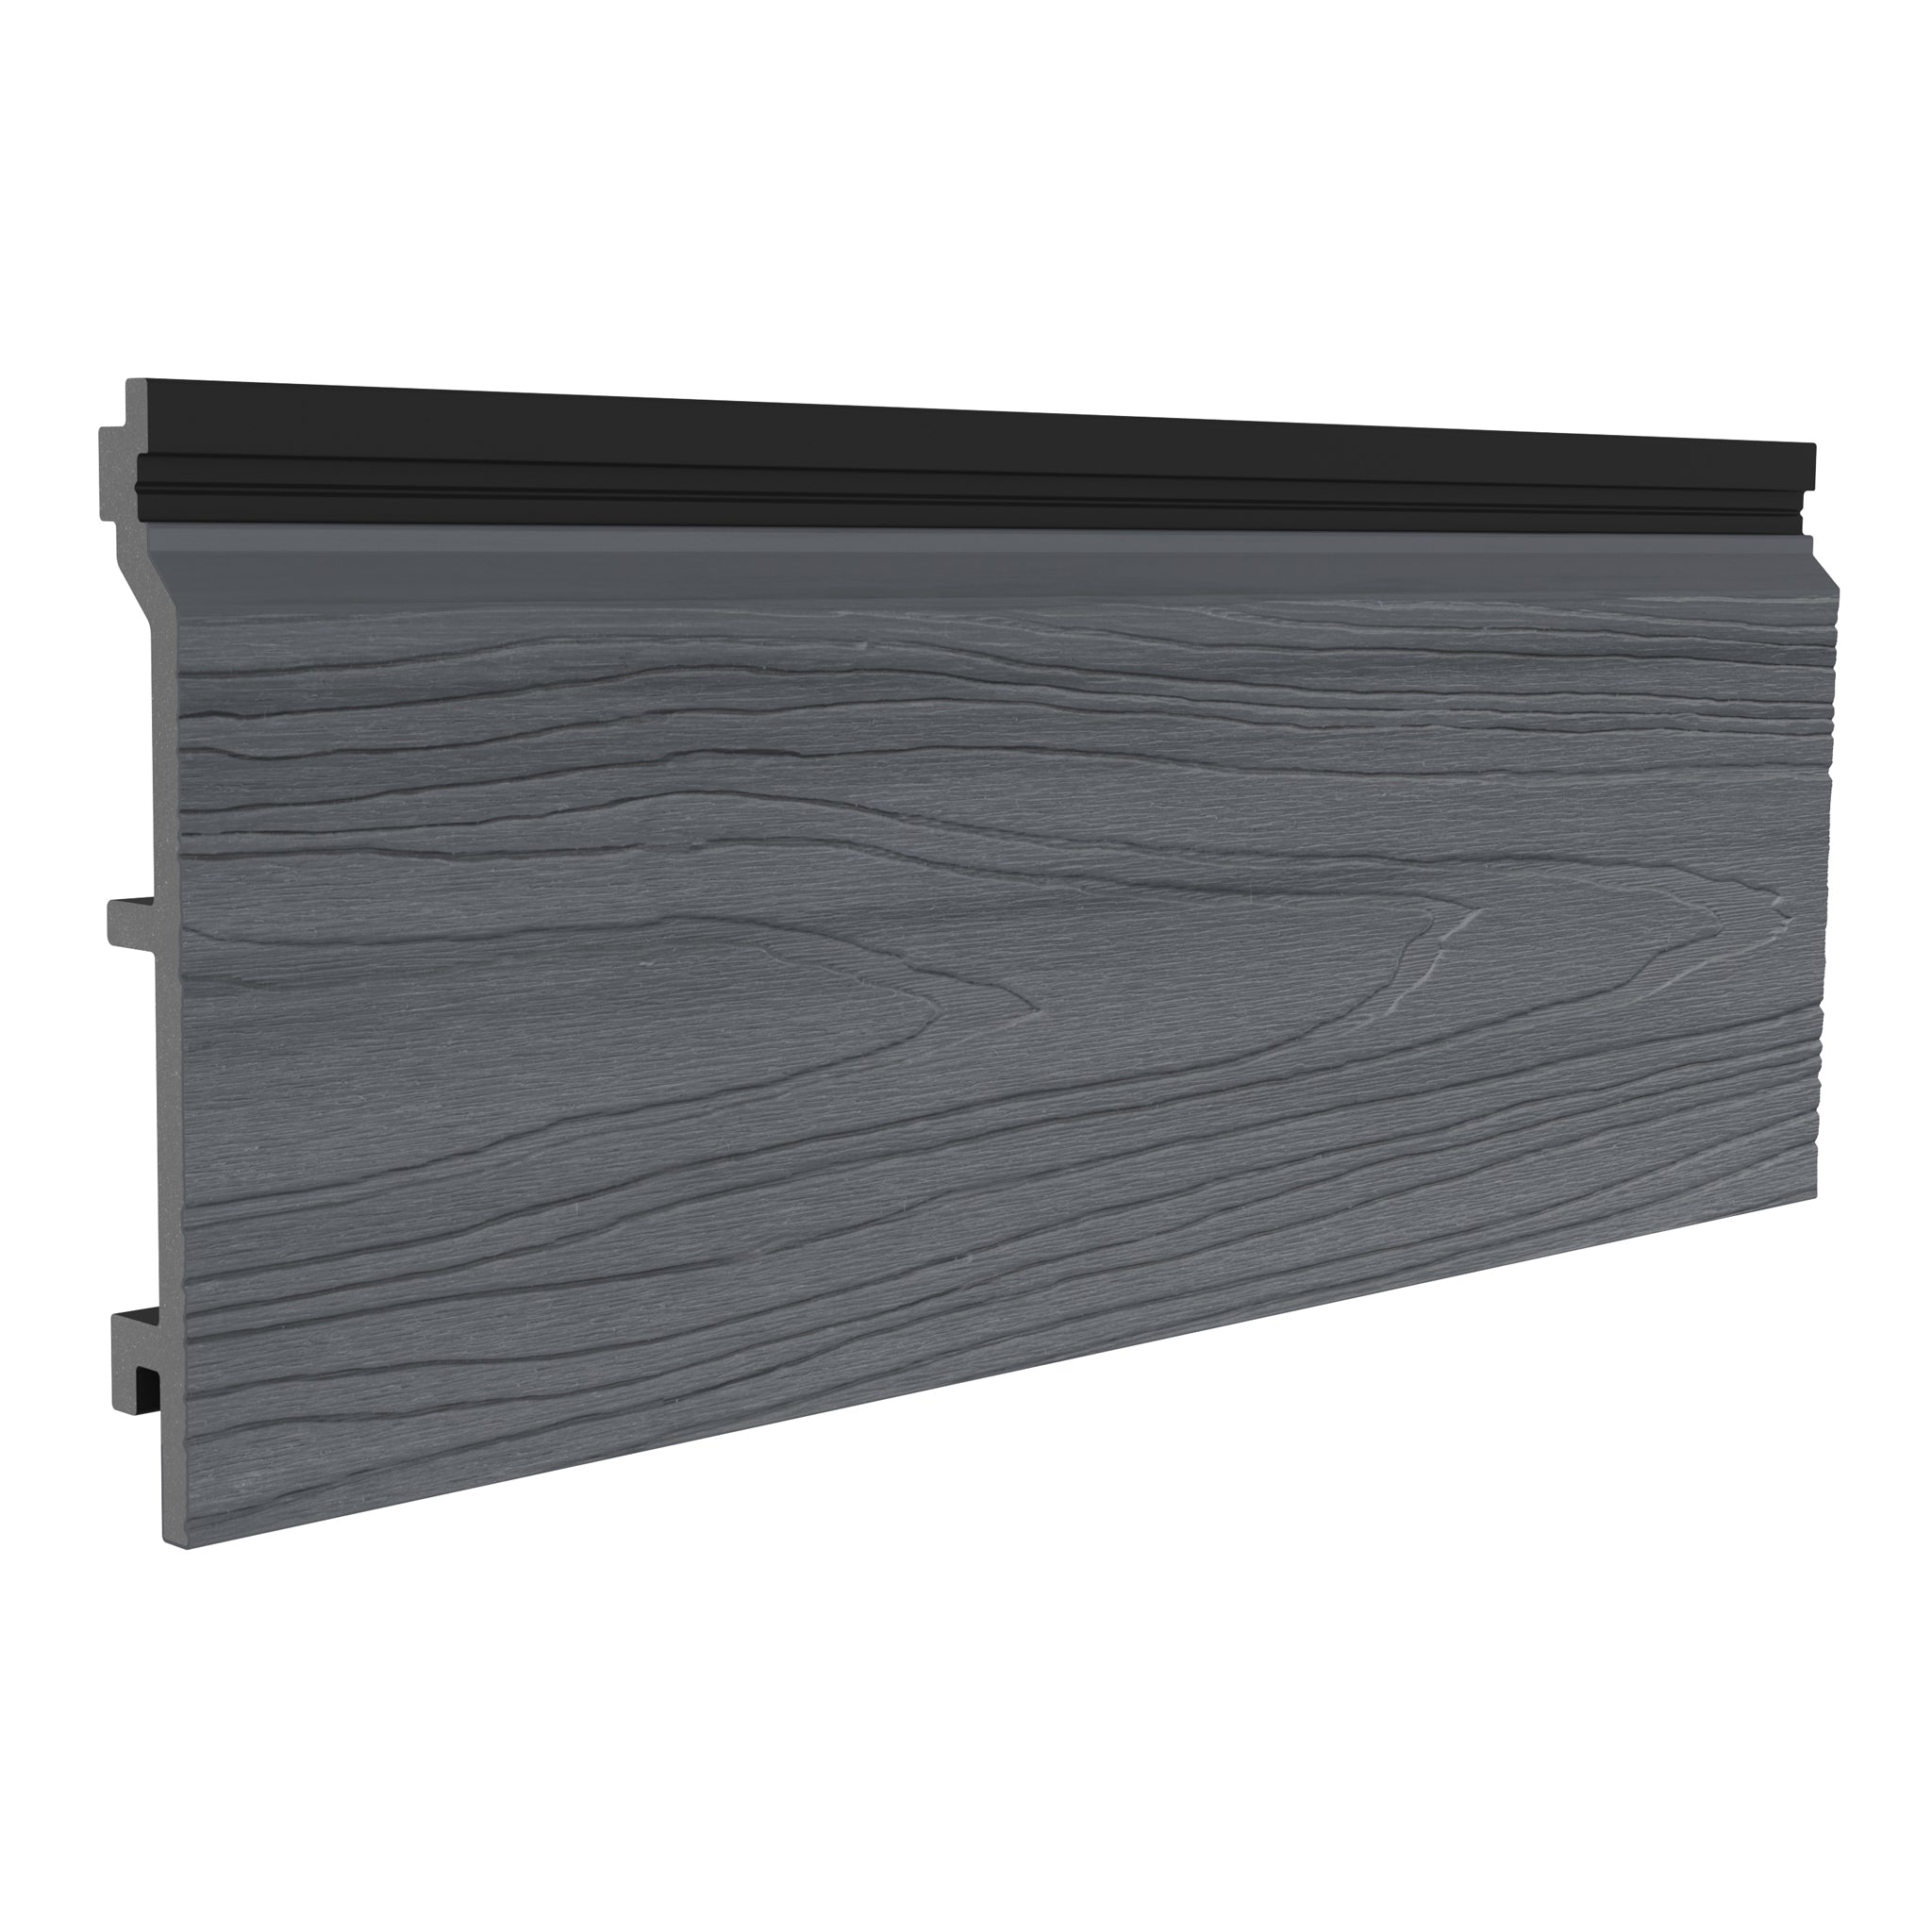
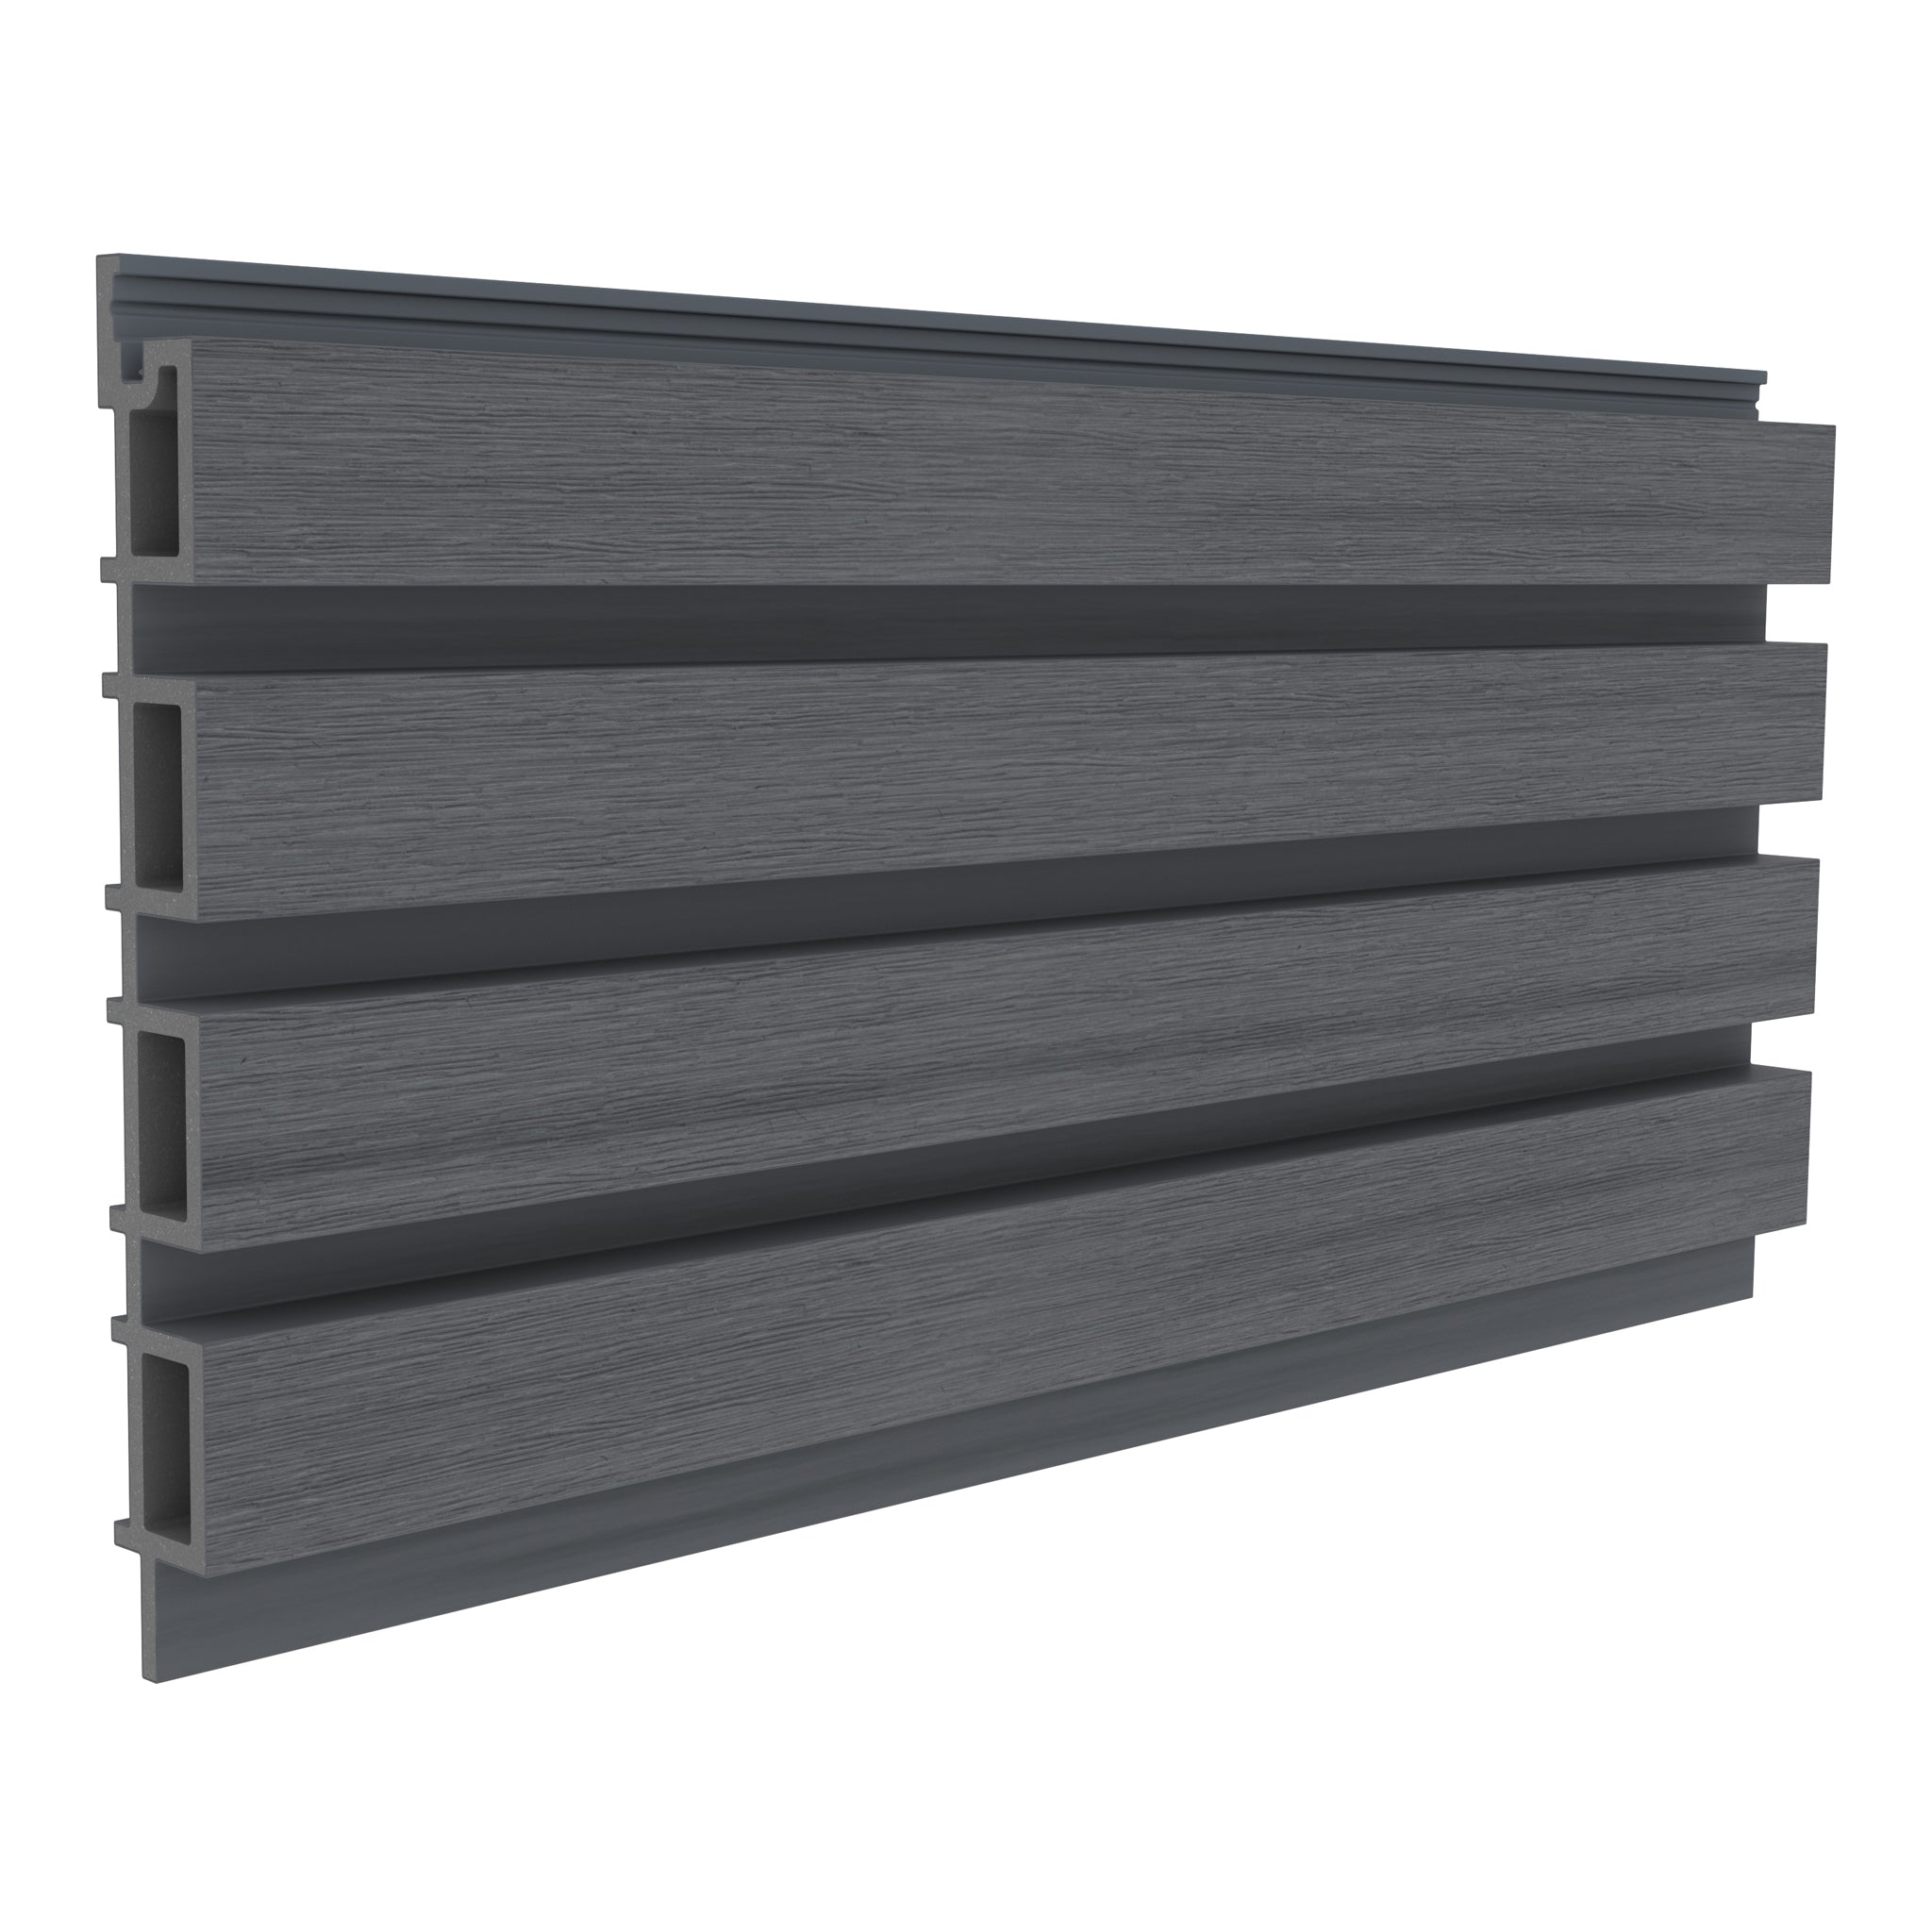
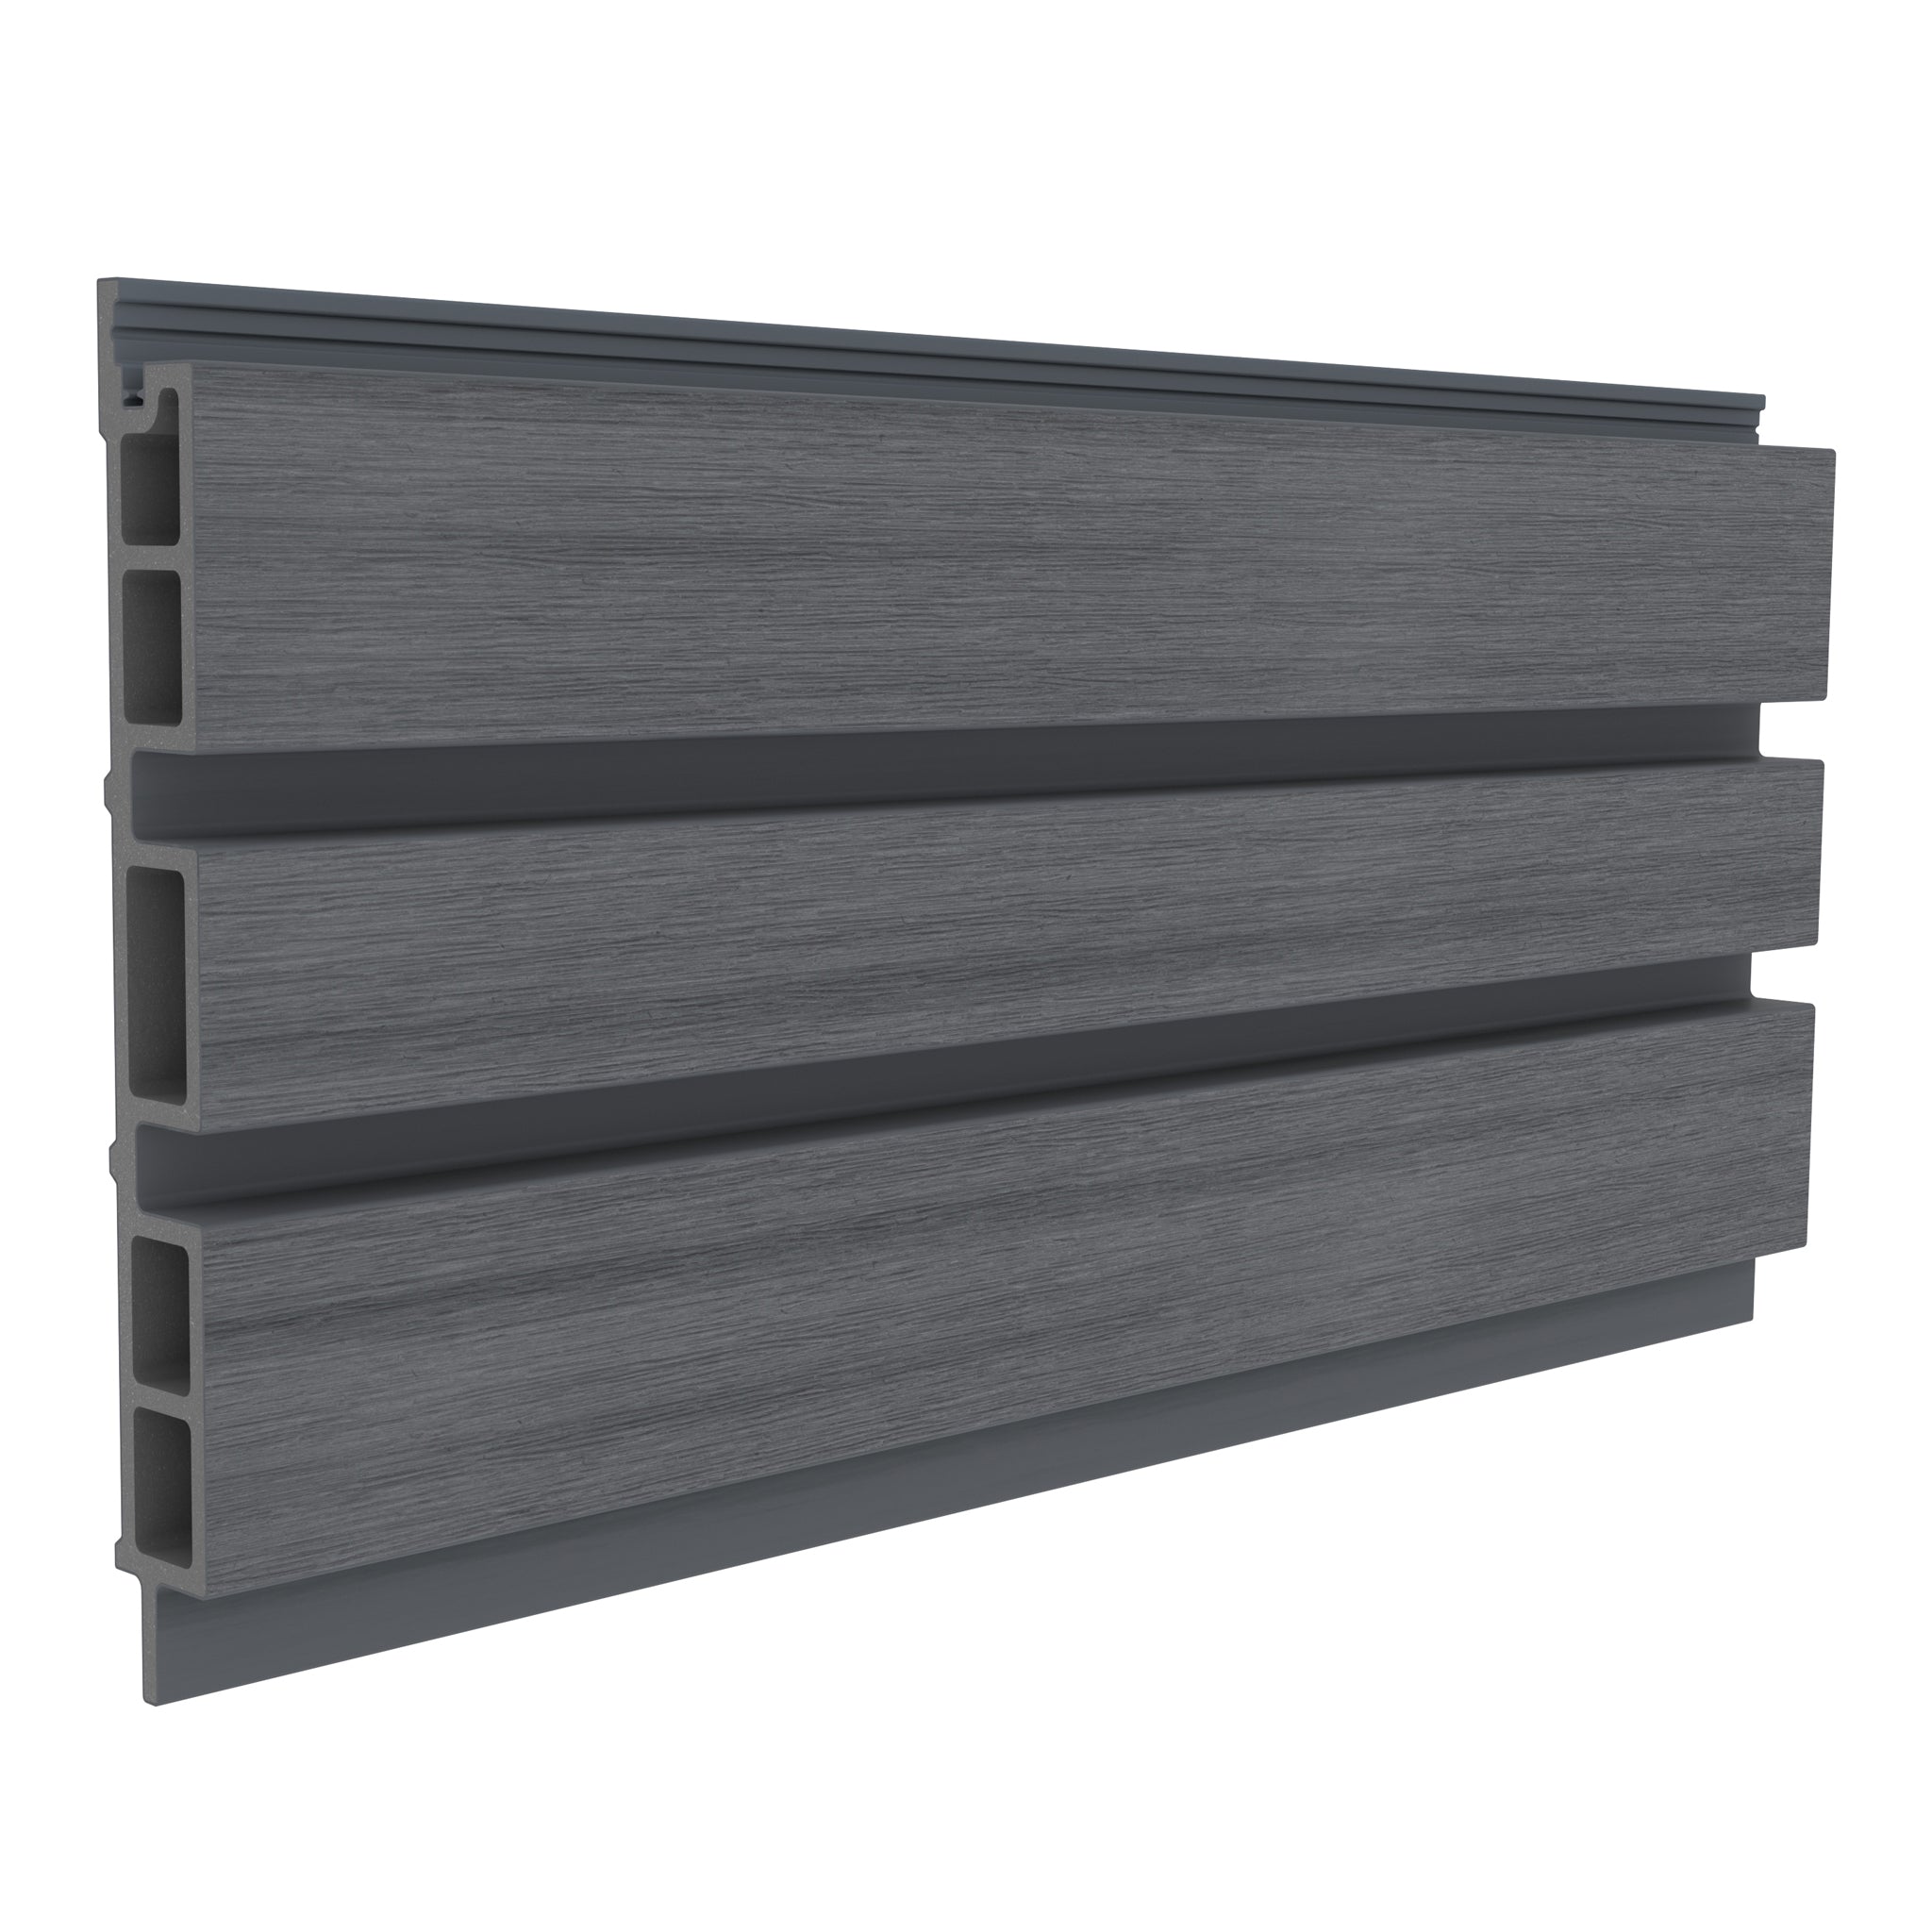
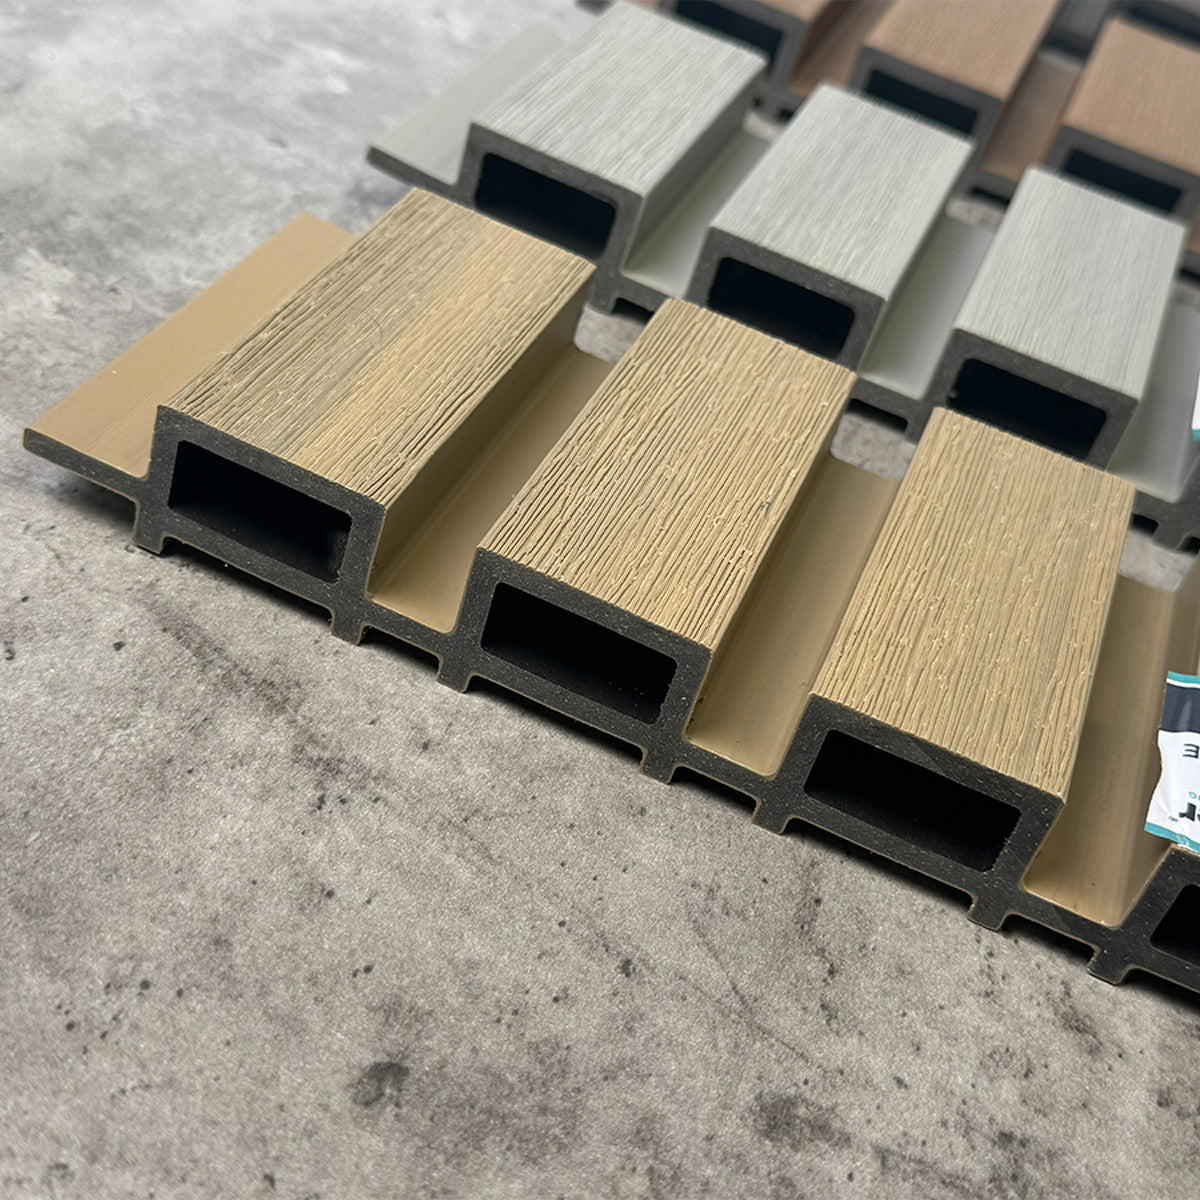
- Composite Louvre Battens: Available in 50mm, 100mm and 150mm profiles, supplied in 3,600mm lengths.
- Concealed Fixing Clips: Designed to secure the battens to the supporting framework, with colour-matched stainless steel screws.
- Composite End Caps: Colour-matched caps used to close the exposed ends of hollow batten profiles.
- Galvanised Steel Inserts (Optional): Internal reinforcement that slides inside the hollow batten profile to increase the maximum support span.
Check your delivery against your order and inspect all components before installation. Confirm that you have the correct batten profiles, fixing clips, screws and matching end caps for your chosen design.
2. Choose the Right Louvre Batten Profile and Finish
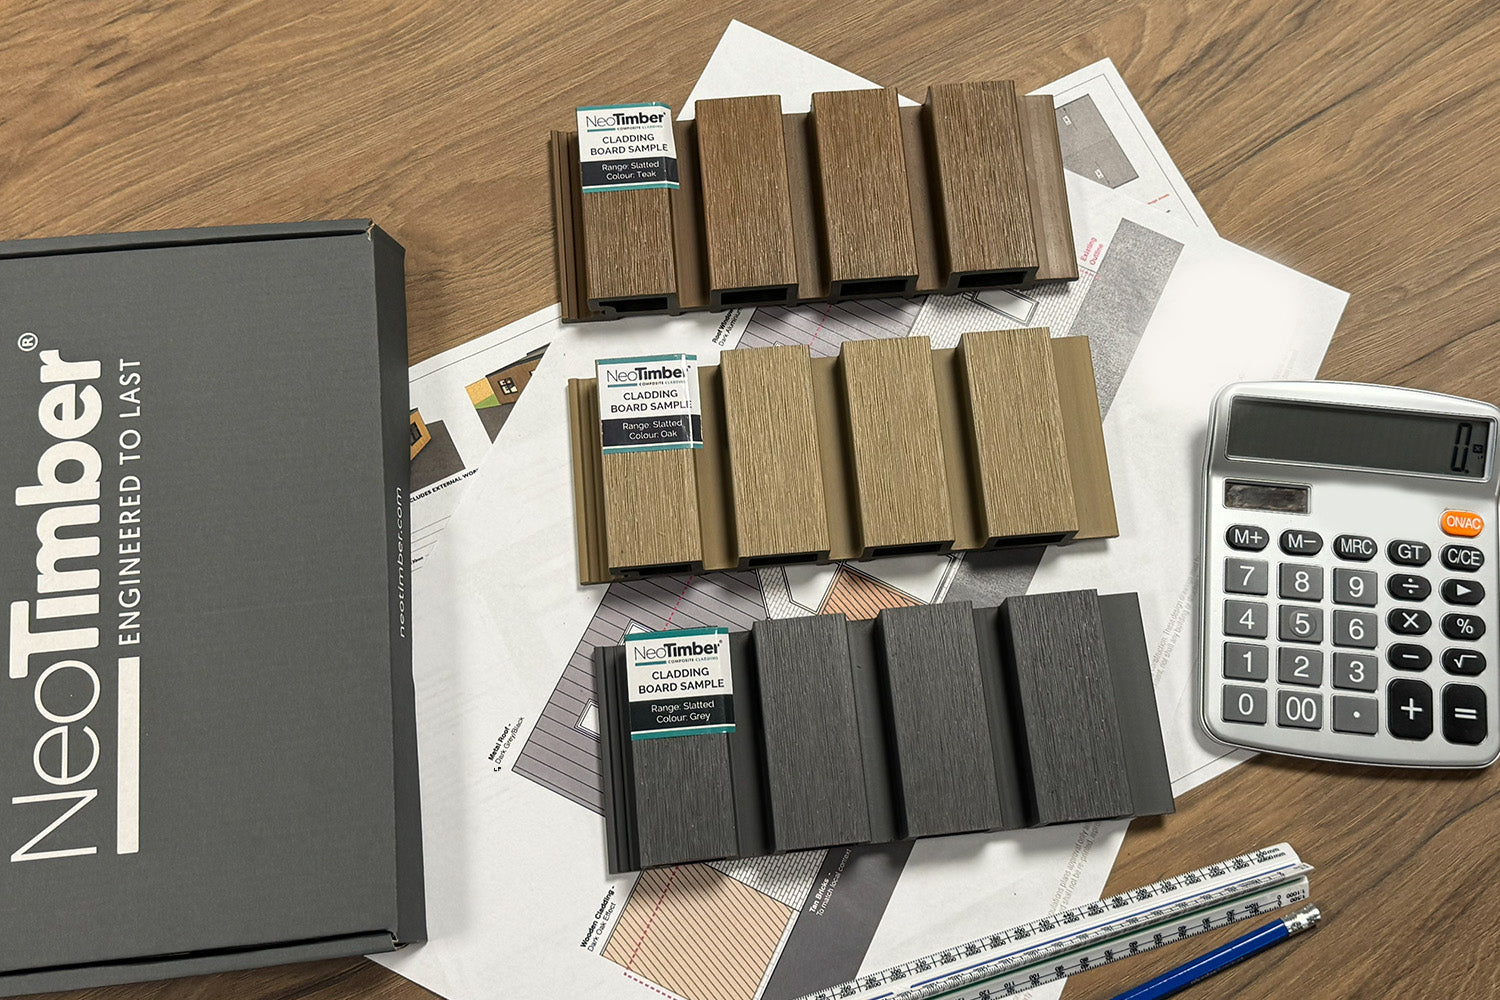
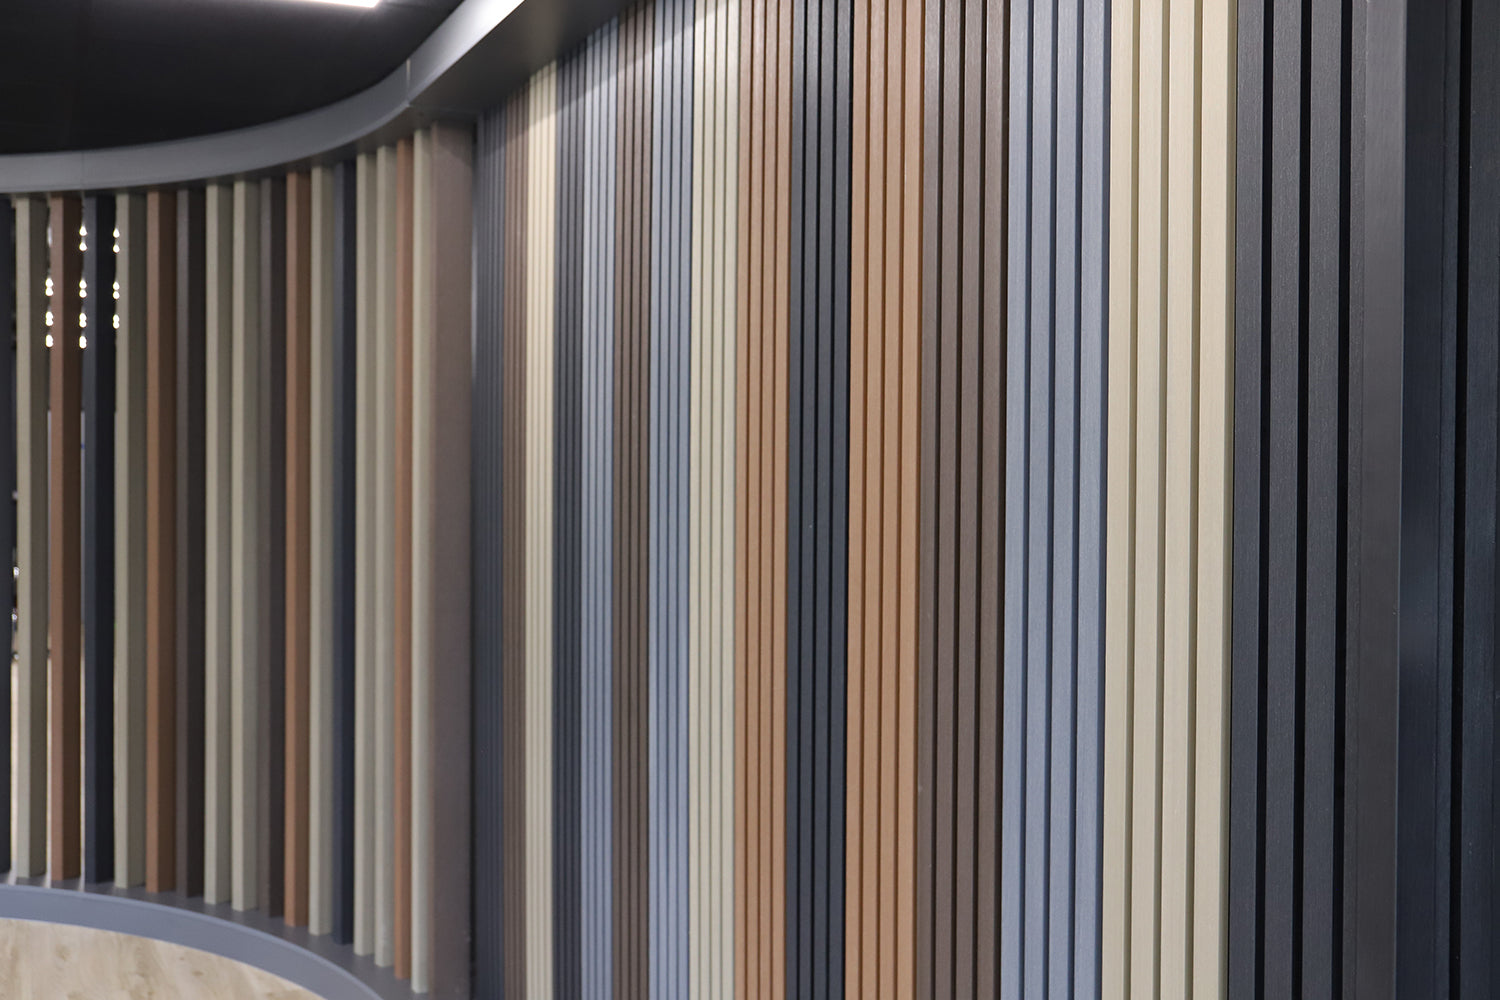
NeoTimber® composite louvre battens are available in three profile sizes, allowing you to select the width that best suits your cladding or fencing project.
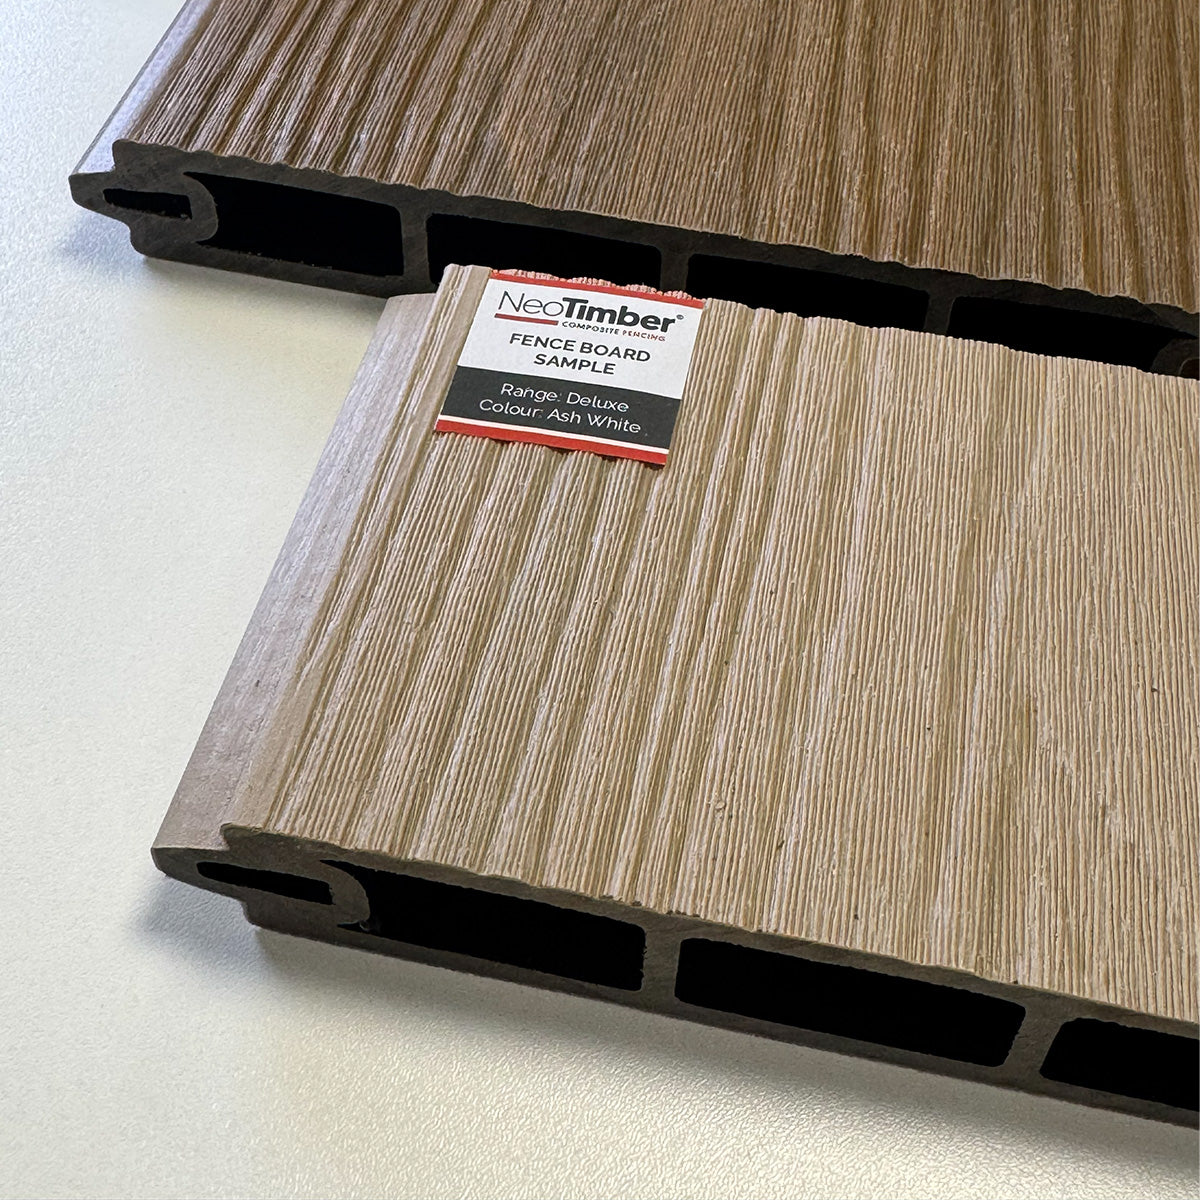
All three profiles feature a wood-polymer capped composite construction with a brushed texture finish. Each is supplied in a 3,600mm length and is available in eight colour options.
Available batten profiles:
| Profile Size | Weight Per Metre | Weight Per 3.6m Length |
|---|---|---|
| 50mm x 50mm | 1.17kg | 4.21kg |
| 100mm x 50mm | 2.51kg | 9.04kg |
| 150mm x 50mm | 3.39kg | 12.20kg |
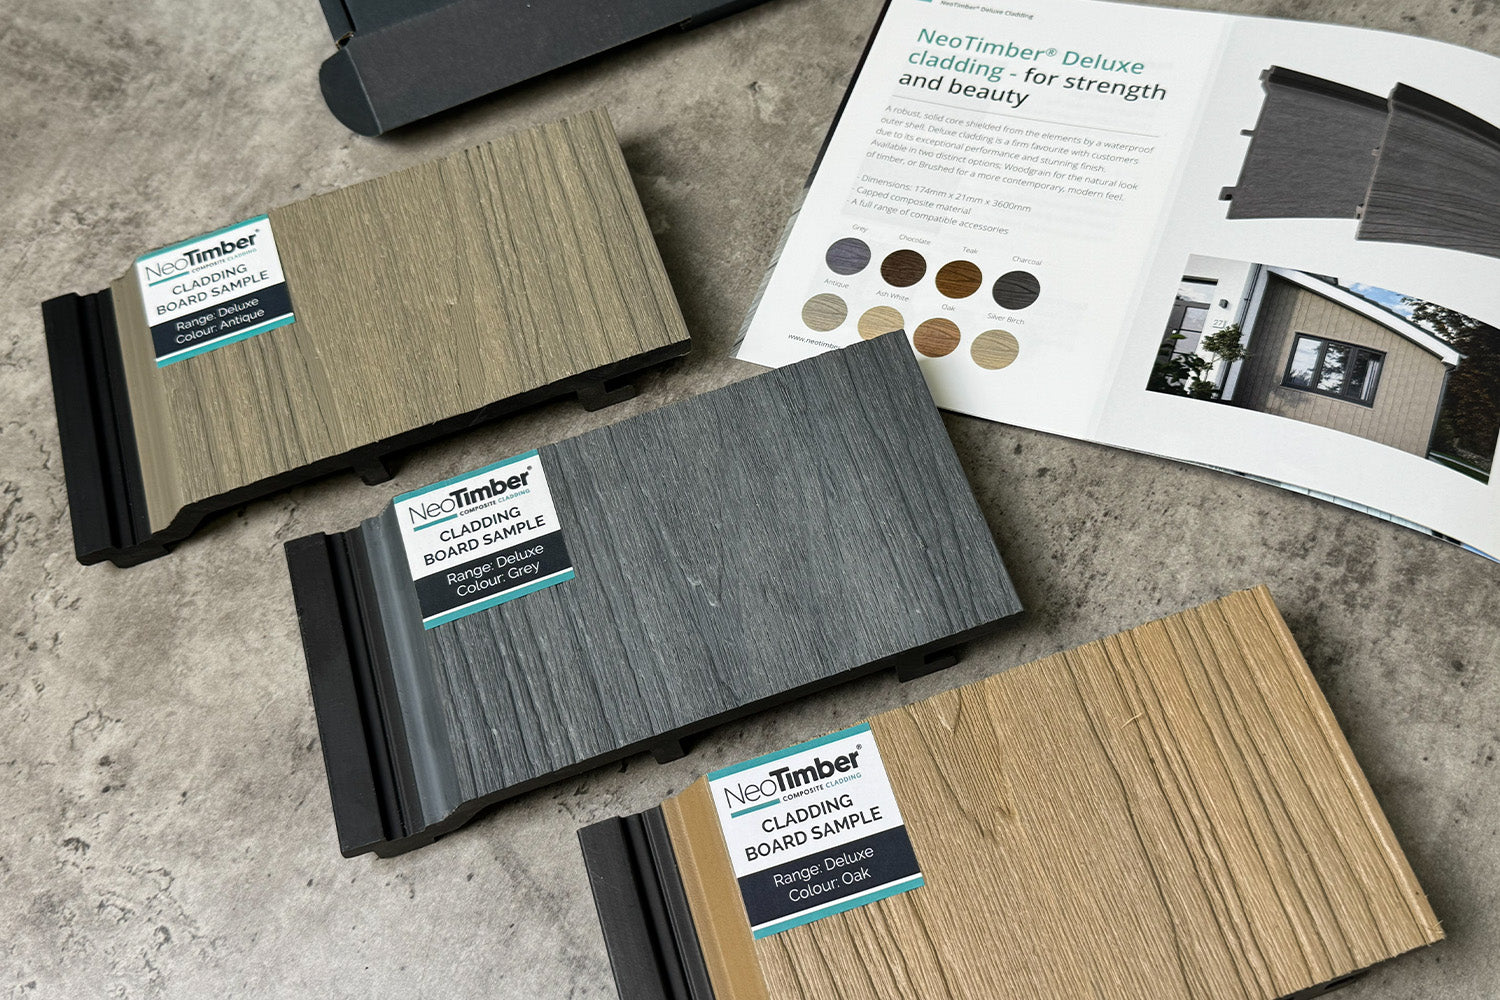
Available colours: Antique, Ash White, Charcoal, Chocolate, Grey, Oak, Silver Birch and Teak.
Consider the overall appearance of your project when selecting a profile and colour. The three widths offer different visual proportions, while the brushed finish provides a consistent wood-inspired appearance across the range.
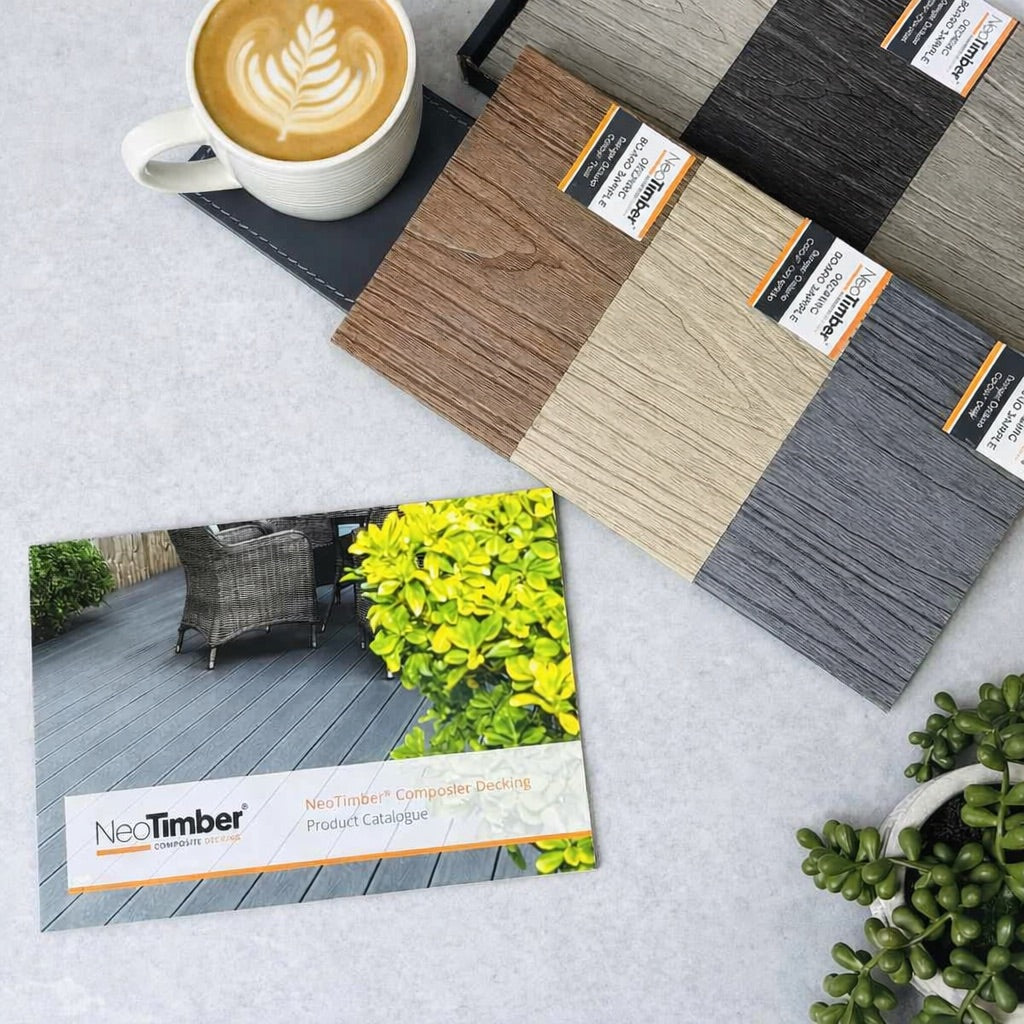
Confirm your chosen profile, quantities and current colour availability against the NeoTimber® product catalogue before ordering.


3. Prepare Your Supporting Framework
Before installing your composite louvre battens, you will need a suitable supporting framework in place. This provides the structure onto which the concealed fixing clips are secured.
NeoTimber® does not supply the supporting framework for cladding or fencing applications. This remains the installer's responsibility and may be constructed using timber, aluminium or steel, depending on the application, site conditions and project specification.
The concealed fixing system is designed to work across different framework materials. The fixing clips are secured directly to the face of the relevant framing members, which may include:
- Wall Battens: Supporting members used for composite cladding installations.
- Fence Rails: Horizontal structural members used to support louvre battens within fencing applications.
- Timber Framework: Timber framing suitable for the intended installation.
- Aluminium or Steel Framework: Metal framing selected according to the project requirements.
Confirm that your framework is in place, suitably positioned and appropriate for the intended application before installing the concealed fixing clips.
4. Understand Batten Support Spans
Correct support spacing is an important consideration when planning your louvre batten installation. NeoTimber® composite louvre battens have a maximum recommended support span of 600mm without additional reinforcement.
For installations requiring greater rigidity or wider support spacing, optional galvanised steel inserts can be fitted inside the hollow batten profiles. These increase the maximum support span from 600mm to 1,200mm without changing the concealed clip fixing method.
Maximum support spans:
| Configuration | Maximum Support Span |
|---|---|
| Composite Batten Without Steel Insert | 600mm |
| Composite Batten With Steel Insert | 1,200mm |
Steel inserts may be particularly useful for taller screens, exposed fencing or applications requiring wider batten support spacing. One insert per batten length is recommended where additional structural rigidity is needed.
Consider your intended batten arrangement and support requirements before installation to establish whether additional reinforcement is necessary.

5. Plan Your Batten Layout and Spacing
Before fixing your first clip, take time to plan the layout of your louvre battens. Consider the overall appearance, intended spacing and direction of your batten runs to achieve a consistent finish across the installation.
NeoTimber® composite louvre battens can be installed vertically or horizontally using the same concealed clip fixing system. However, the clip orientation needs to be adjusted for vertical installations to allow the battens to expand and contract correctly.
When planning your layout, consider the following:
- Batten Direction: Decide whether your battens will run vertically or horizontally before positioning the fixing clips.
- Batten Spacing: Plan consistent spacing across the installation to achieve an even appearance.
- Support Positions: Allow for the recommended support spans when positioning your framework.
- Visual Alignment: Plan your batten run from eye level outward before fixing the first clip to help maintain consistent spacing.
Taking time to establish your layout beforehand can help reduce unnecessary adjustments and achieve a more consistent result across your cladding or fencing project.
6. Prepare Your Fixings and Installation Tools
NeoTimber® composite louvre battens use a concealed clip fixing system, with colour-matched stainless steel screws supplied alongside the fixing clips.
The fixing clips use two sets of holes, each serving a different purpose. The round holes secure the clip to the supporting framework, while the slotted holes allow the batten to be fixed to the clip while accommodating slight movement as temperatures change.
Before installation, familiarise yourself with the fixing components and ensure you have the appropriate tools ready.
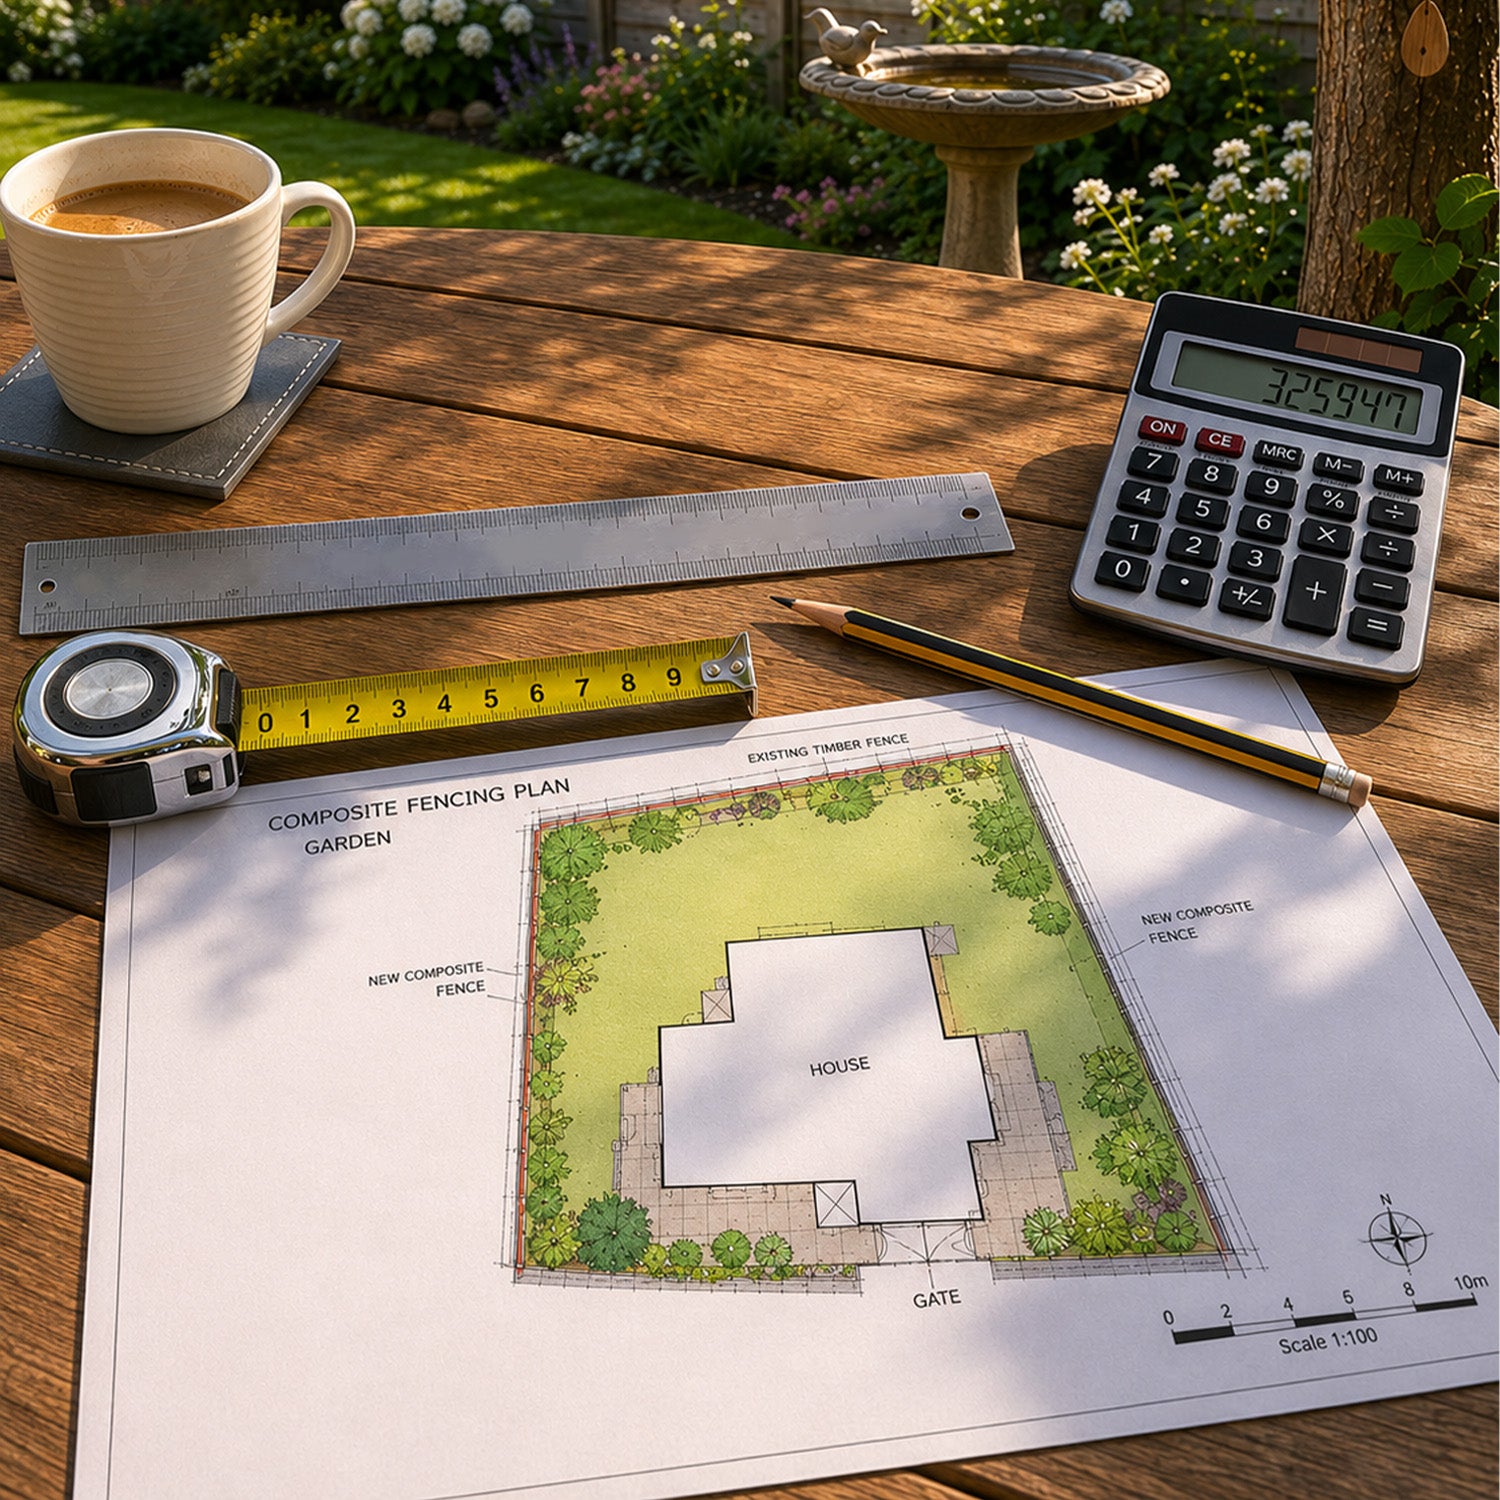
- Measuring: Tape measure, pencil and spirit level for marking out your framework and clip positions.
- Drilling: Suitable drill and drill bits for preparing batten fixing points.
- Fixing: Appropriate driver and T15 bit for the supplied 3mm x 35mm stainless steel screws.
- Cutting: Suitable cutting equipment for trimming composite battens and optional steel inserts.
- Finishing: Silicone adhesive for securing colour-matched composite end caps.
Important: All batten fixing points must be pre-drilled before screws are installed. Do not drive screws directly into the composite profiles without pre-drilling.
NeoTimber® concealed fixing clips should be positioned approximately 400-600mm apart along the batten run. The fixing sequence and clip orientation are covered in the next stage of our installation guide.
Final Pre-Installation Checklist
Before moving on to the installation stage, use this checklist to confirm that your project is ready:
- Your chosen batten profile and quantities have been confirmed.
- All battens, fixing clips, screws and end caps are available.
- Your supporting framework is in place and suitable for clip fixing.
- Required support spans have been considered and steel inserts selected where necessary.
- Your batten direction, spacing and overall layout have been planned.
- All batten fixing points will be pre-drilled before screws are installed.
- The appropriate tools and finishing materials are ready.
Once these checks are complete, you can move on to positioning the concealed fixing clips and installing your composite louvre battens.
Frequently Asked Questions
What sizes are NeoTimber® composite louvre battens available in?
NeoTimber® composite louvre battens are available in three profiles: 50mm x 50mm, 100mm x 50mm and 150mm x 50mm. All profiles are supplied in 3,600mm lengths.
What colours are available?
The range is available in eight colours: Antique, Ash White, Charcoal, Chocolate, Grey, Oak, Silver Birch and Teak.
What supporting framework can I use?
The supporting framework may be constructed from timber, aluminium or steel, depending on the application and project specification. NeoTimber® supplies the battens and fixing components but does not supply the supporting framework.
What is the maximum support span for composite louvre battens?
Without additional reinforcement, the maximum support span is 600mm. Fitting optional galvanised steel inserts increases this to 1,200mm.
Do I need steel inserts for my installation?
Steel inserts are optional and can be used where additional rigidity is required, such as taller screens, exposed fencing or installations with wider support spacing.
Can composite louvre battens be installed vertically and horizontally?
Yes. NeoTimber® composite louvre battens can be installed in either direction using the same concealed clip fixing system. For vertical installations, the fixing clips must be rotated 90 degrees to allow movement along the batten length.
Do composite louvre battens need pre-drilling?
Yes. All batten fixing points must be pre-drilled before installing screws. Screws should not be driven directly into the composite profiles without pre-drilling.
Continue With Your Composite Louvre Batten Installation
With your materials checked, supporting framework prepared and layout planned, you're ready to move on to the next stage. Follow our NeoTimber® composite louvre batten installation guide to learn how to position the concealed fixing clips, secure your battens and complete the finishing details.
If you need further advice before starting your project, contact the NeoTimber® team for assistance.