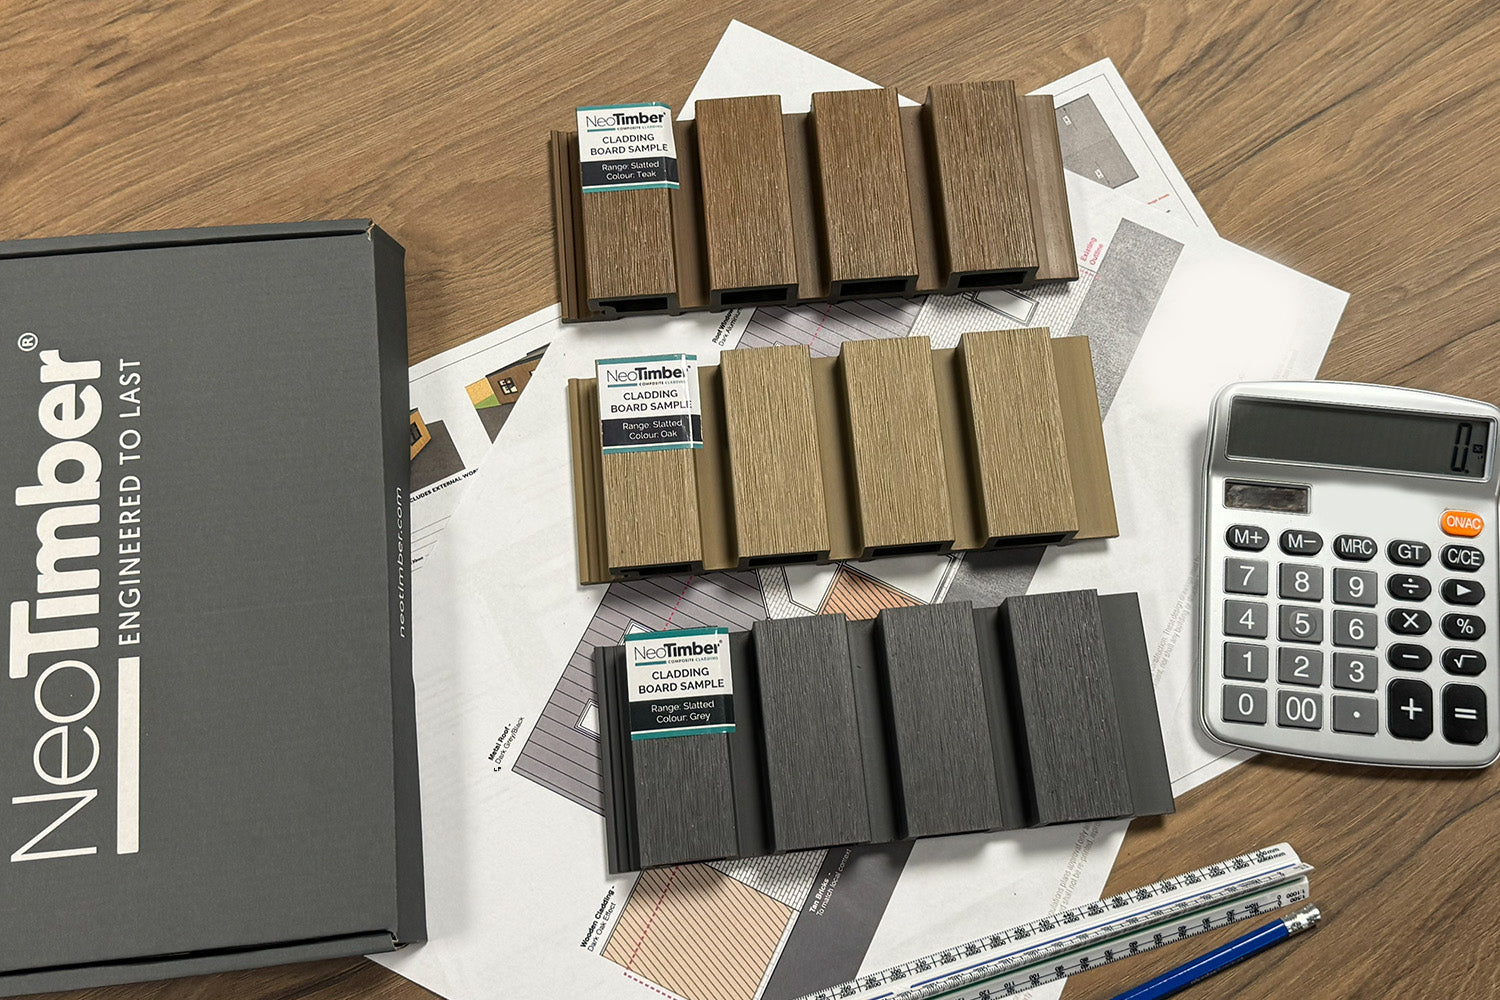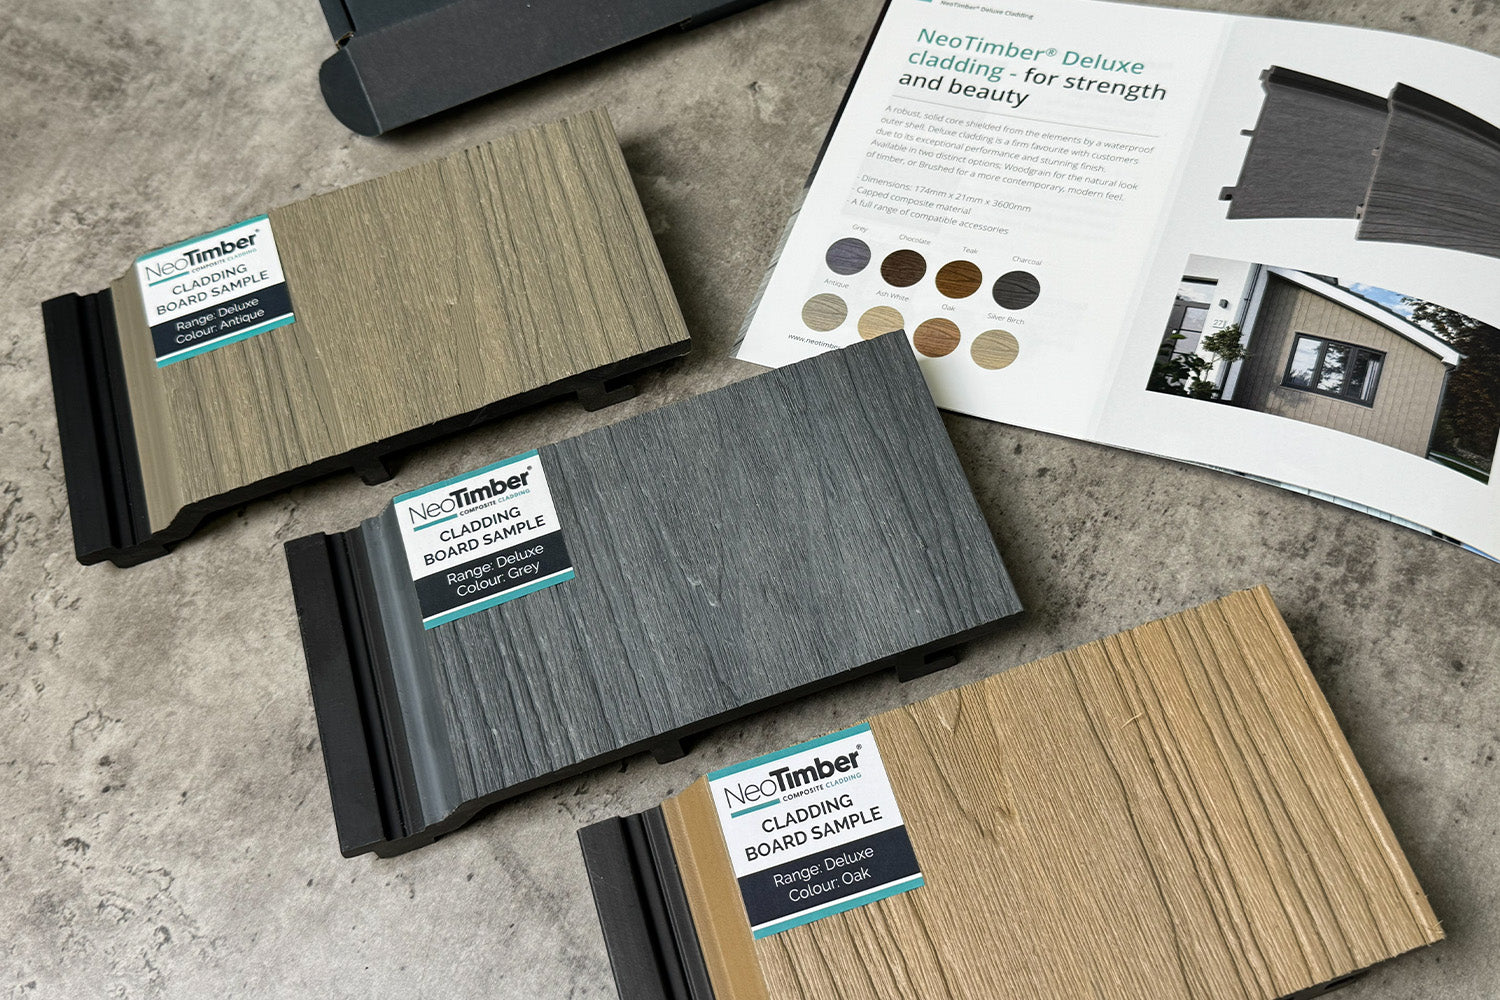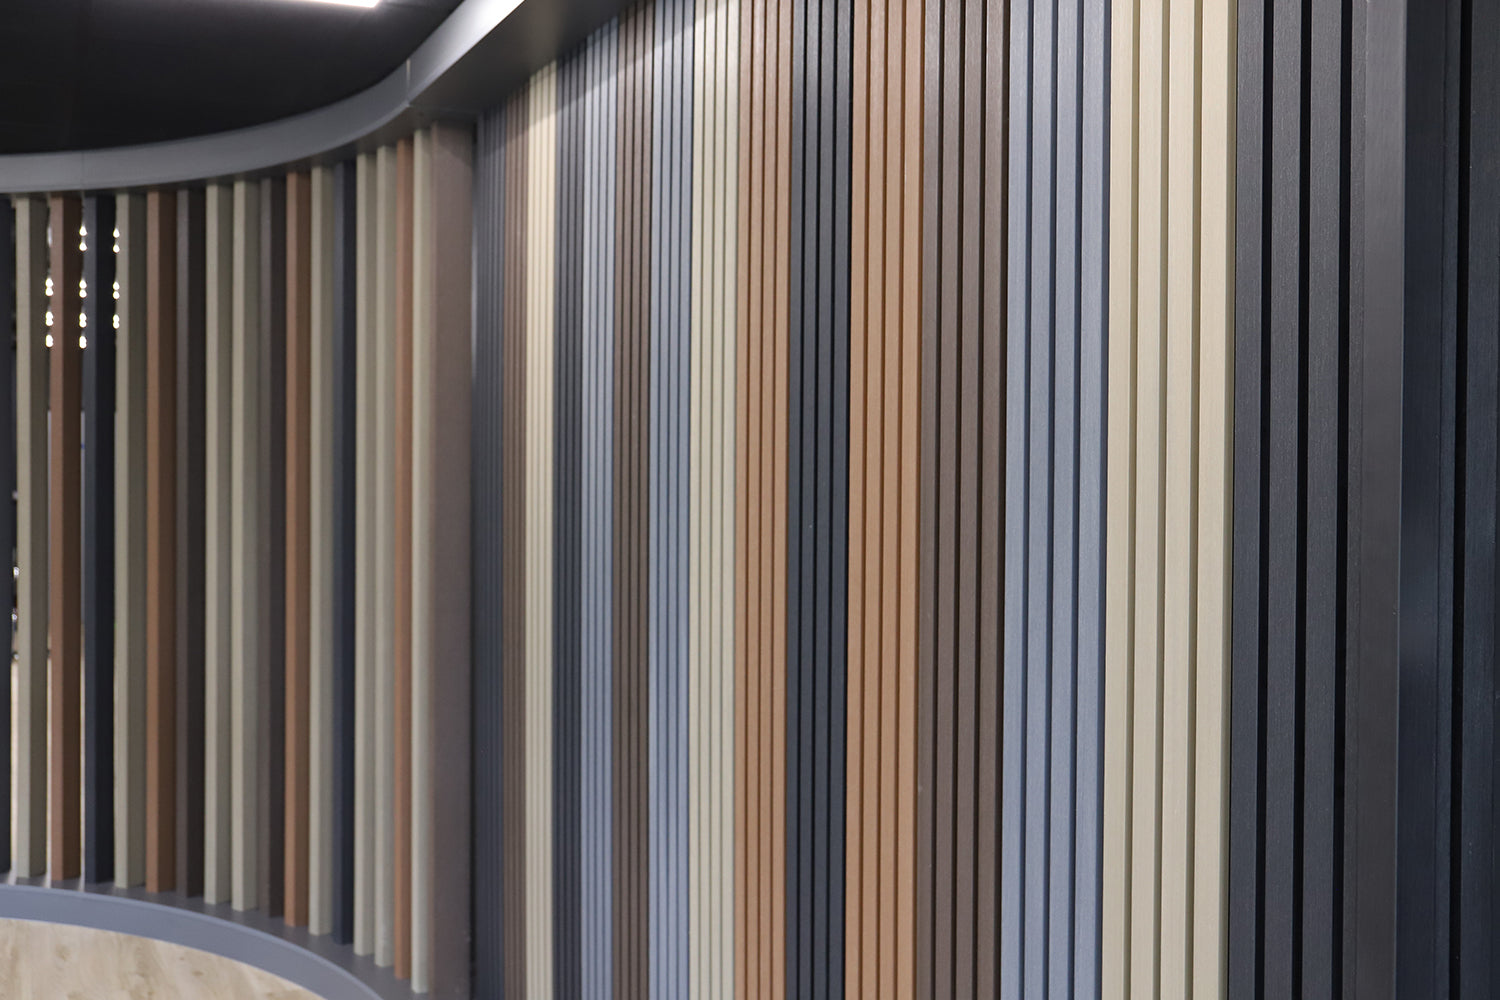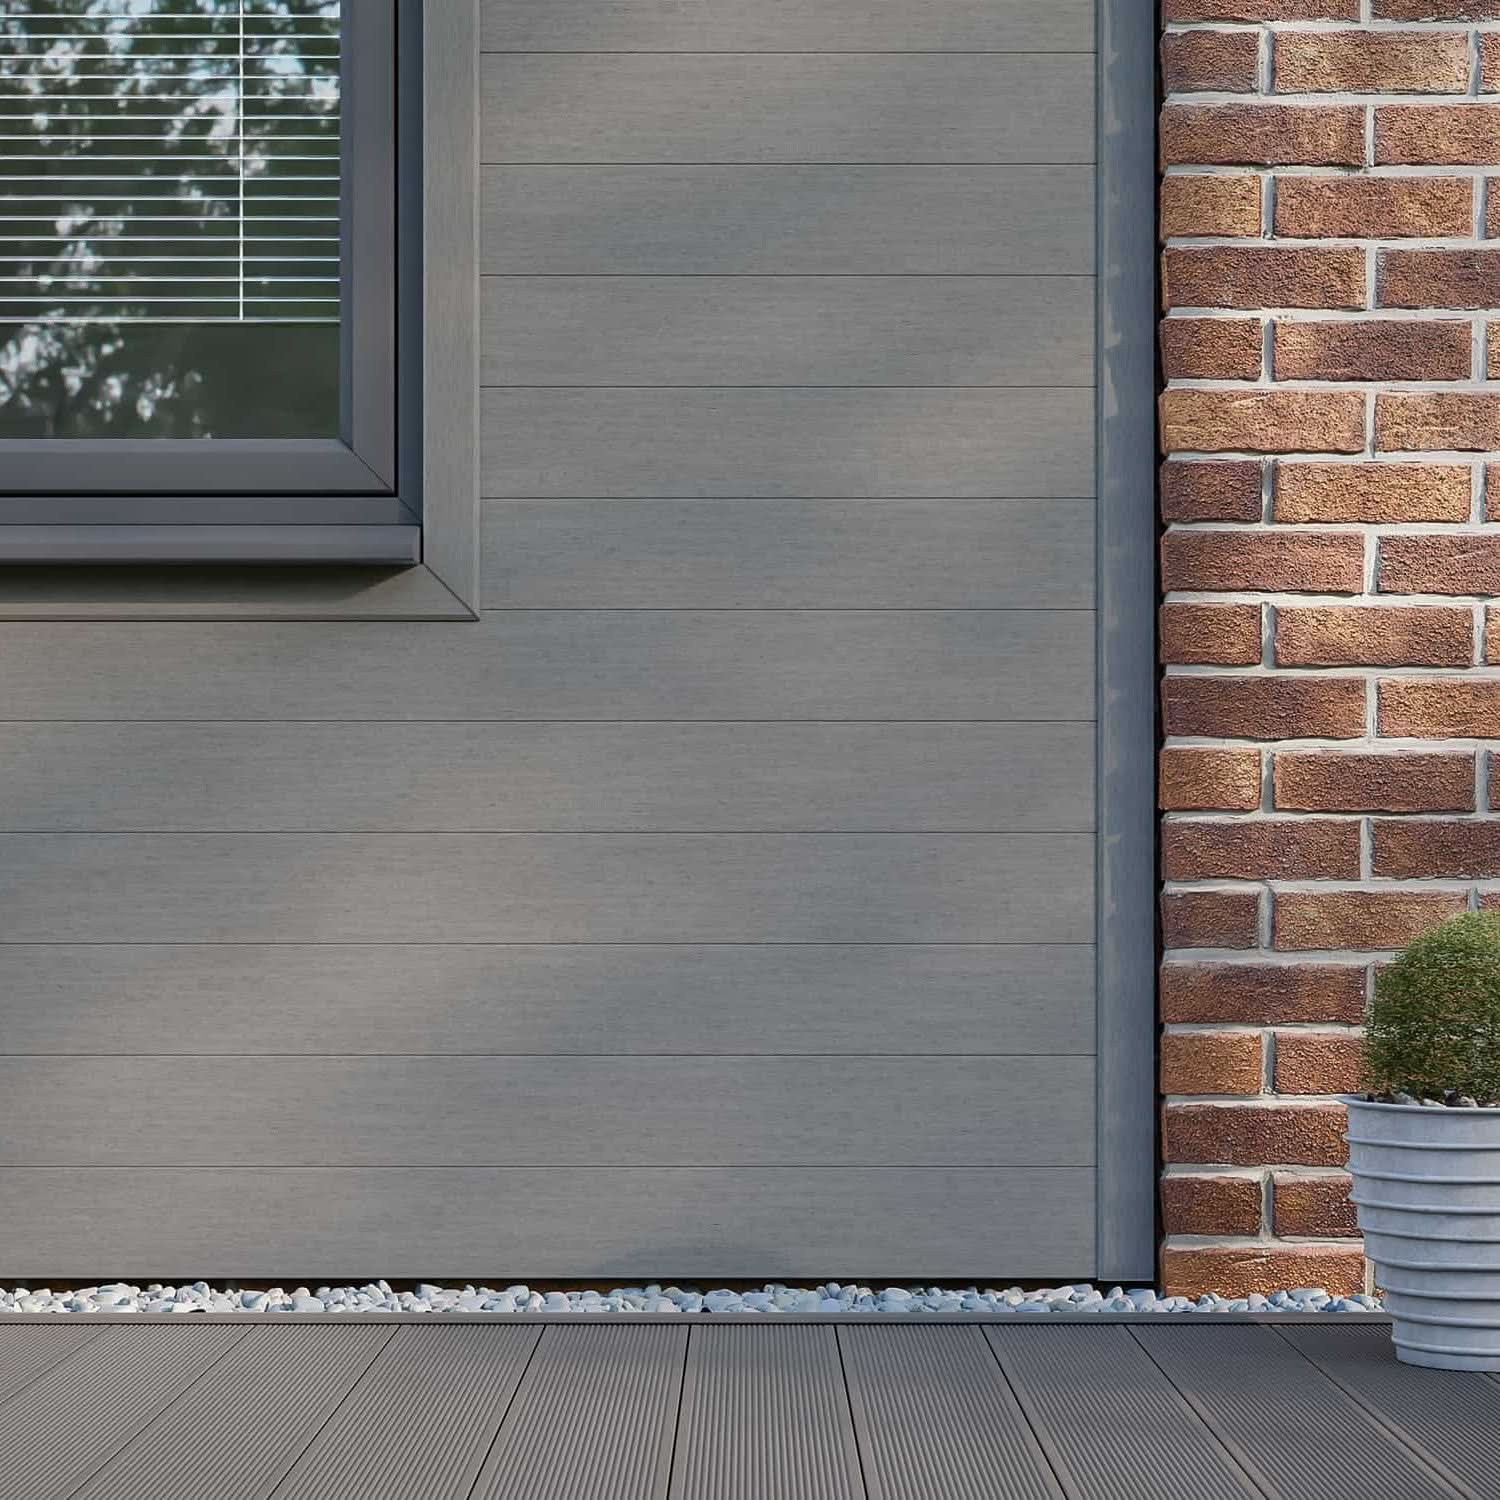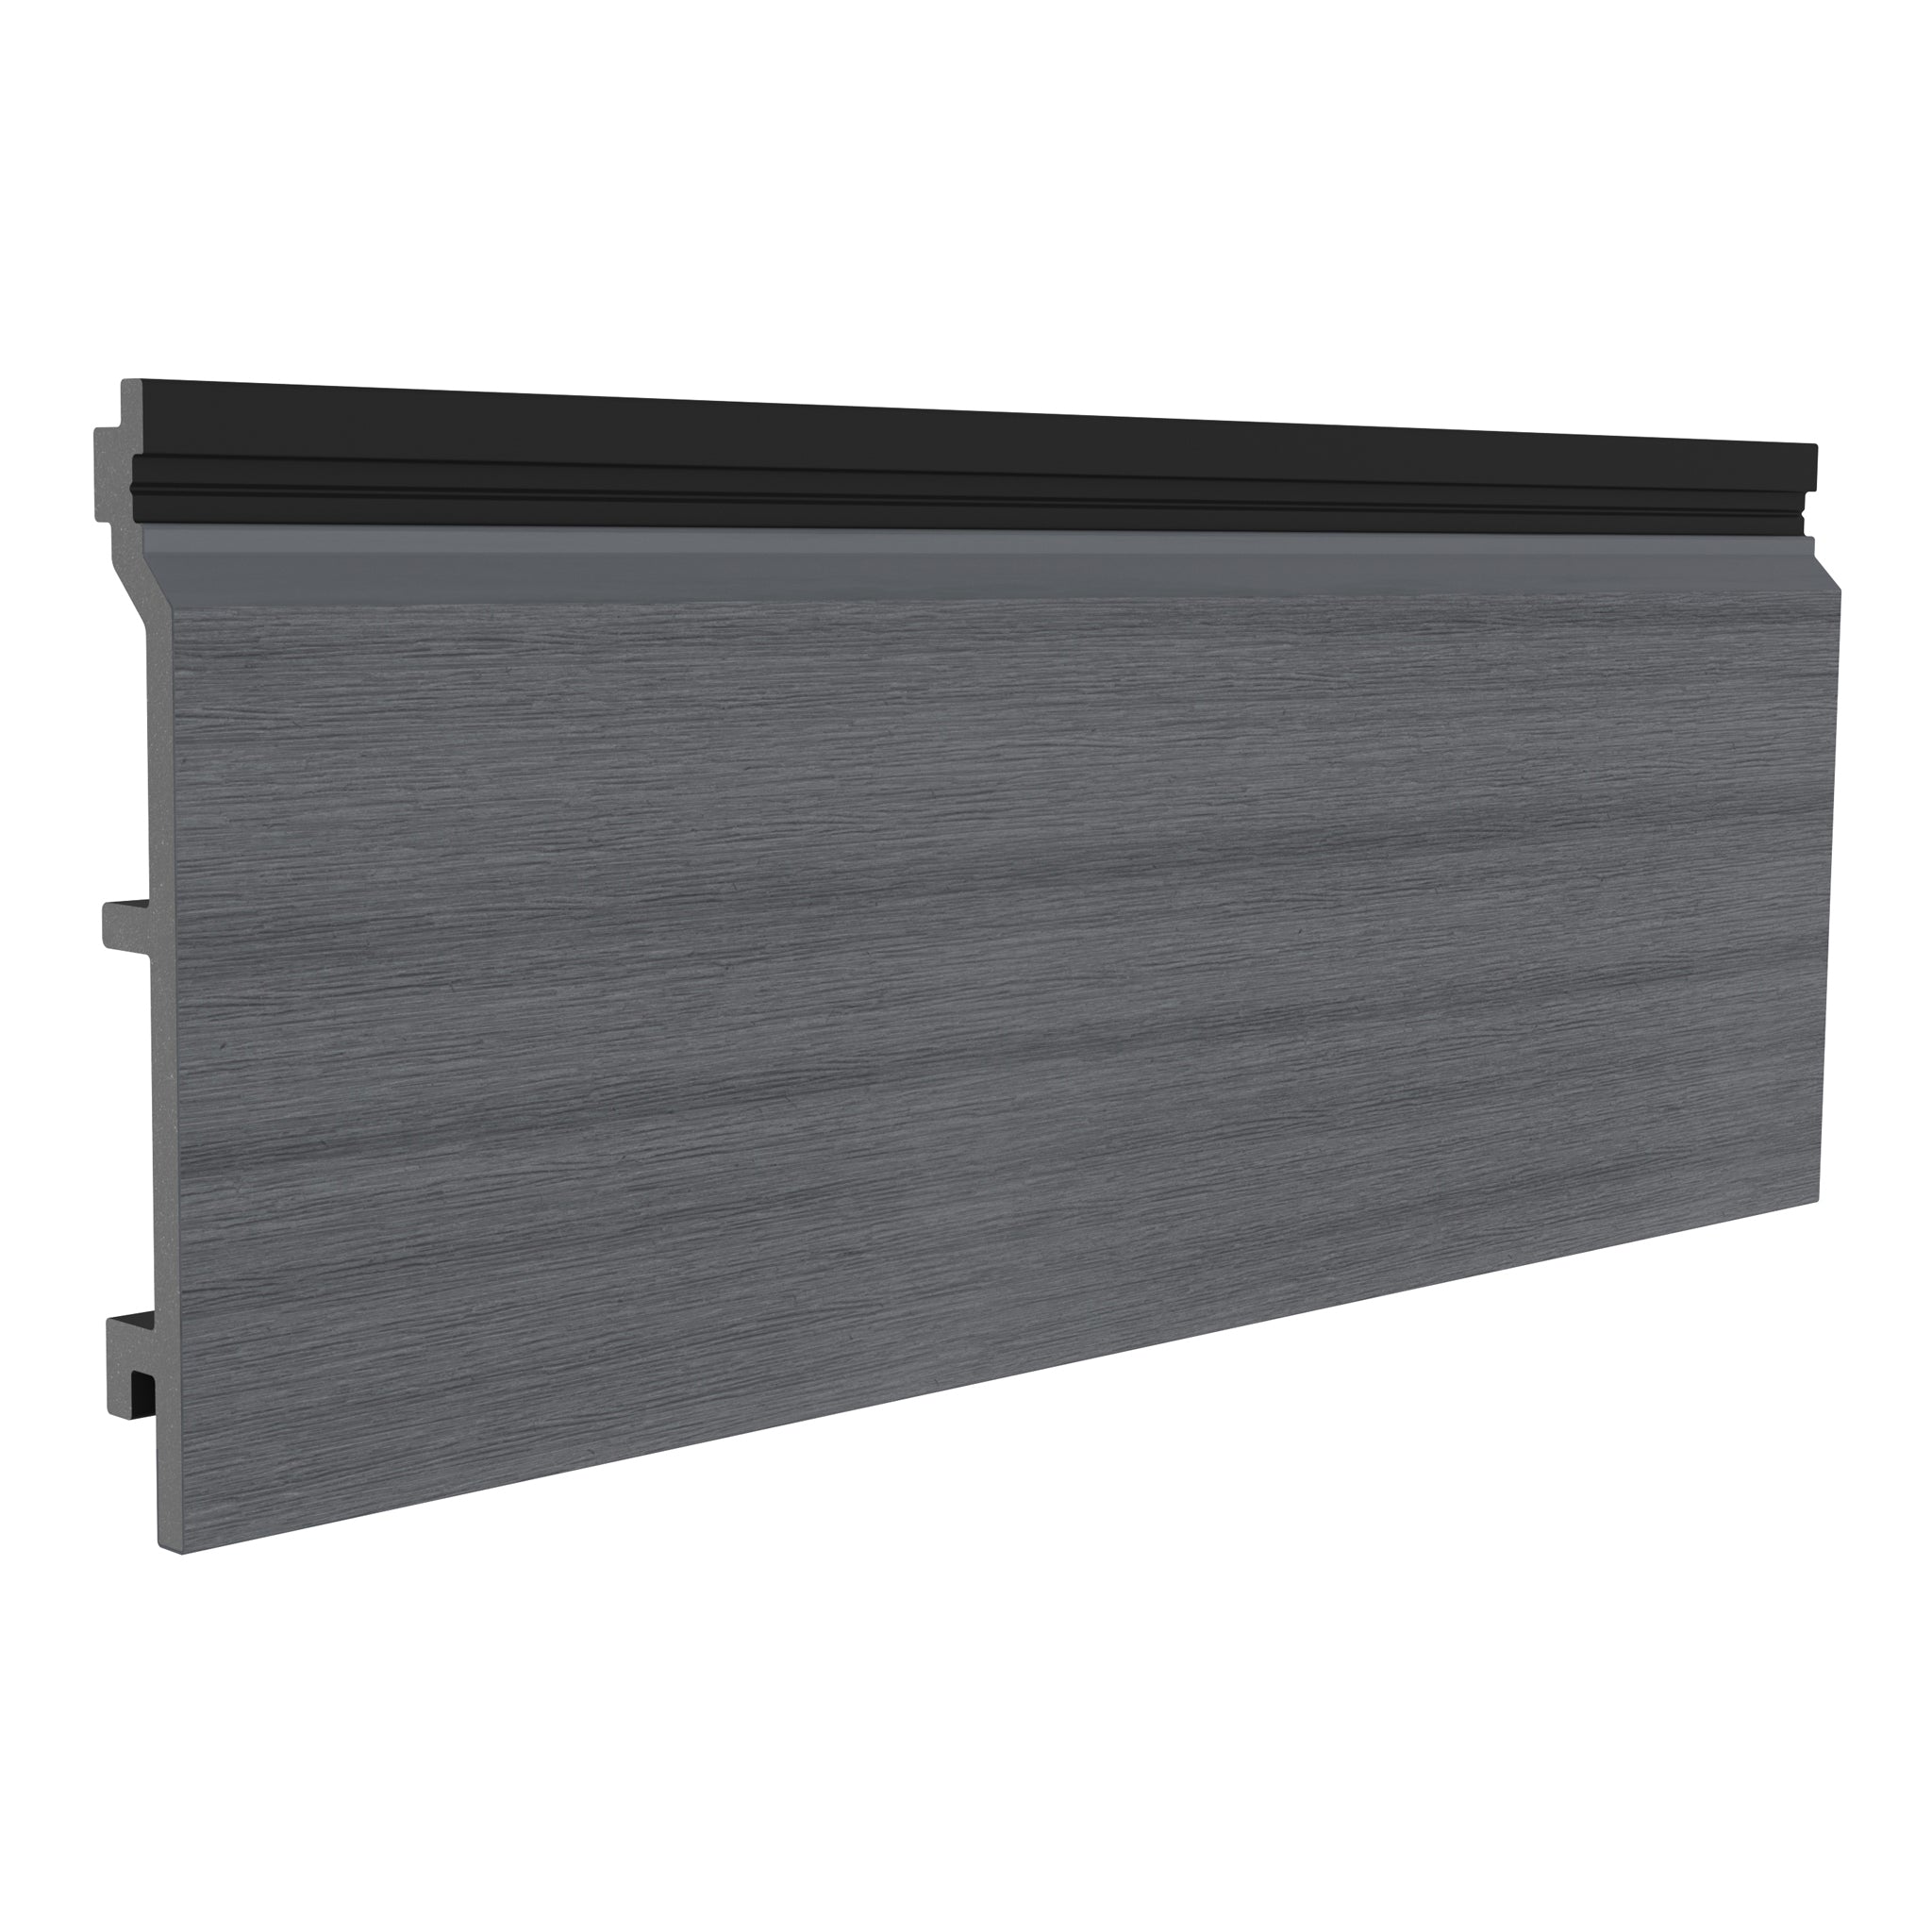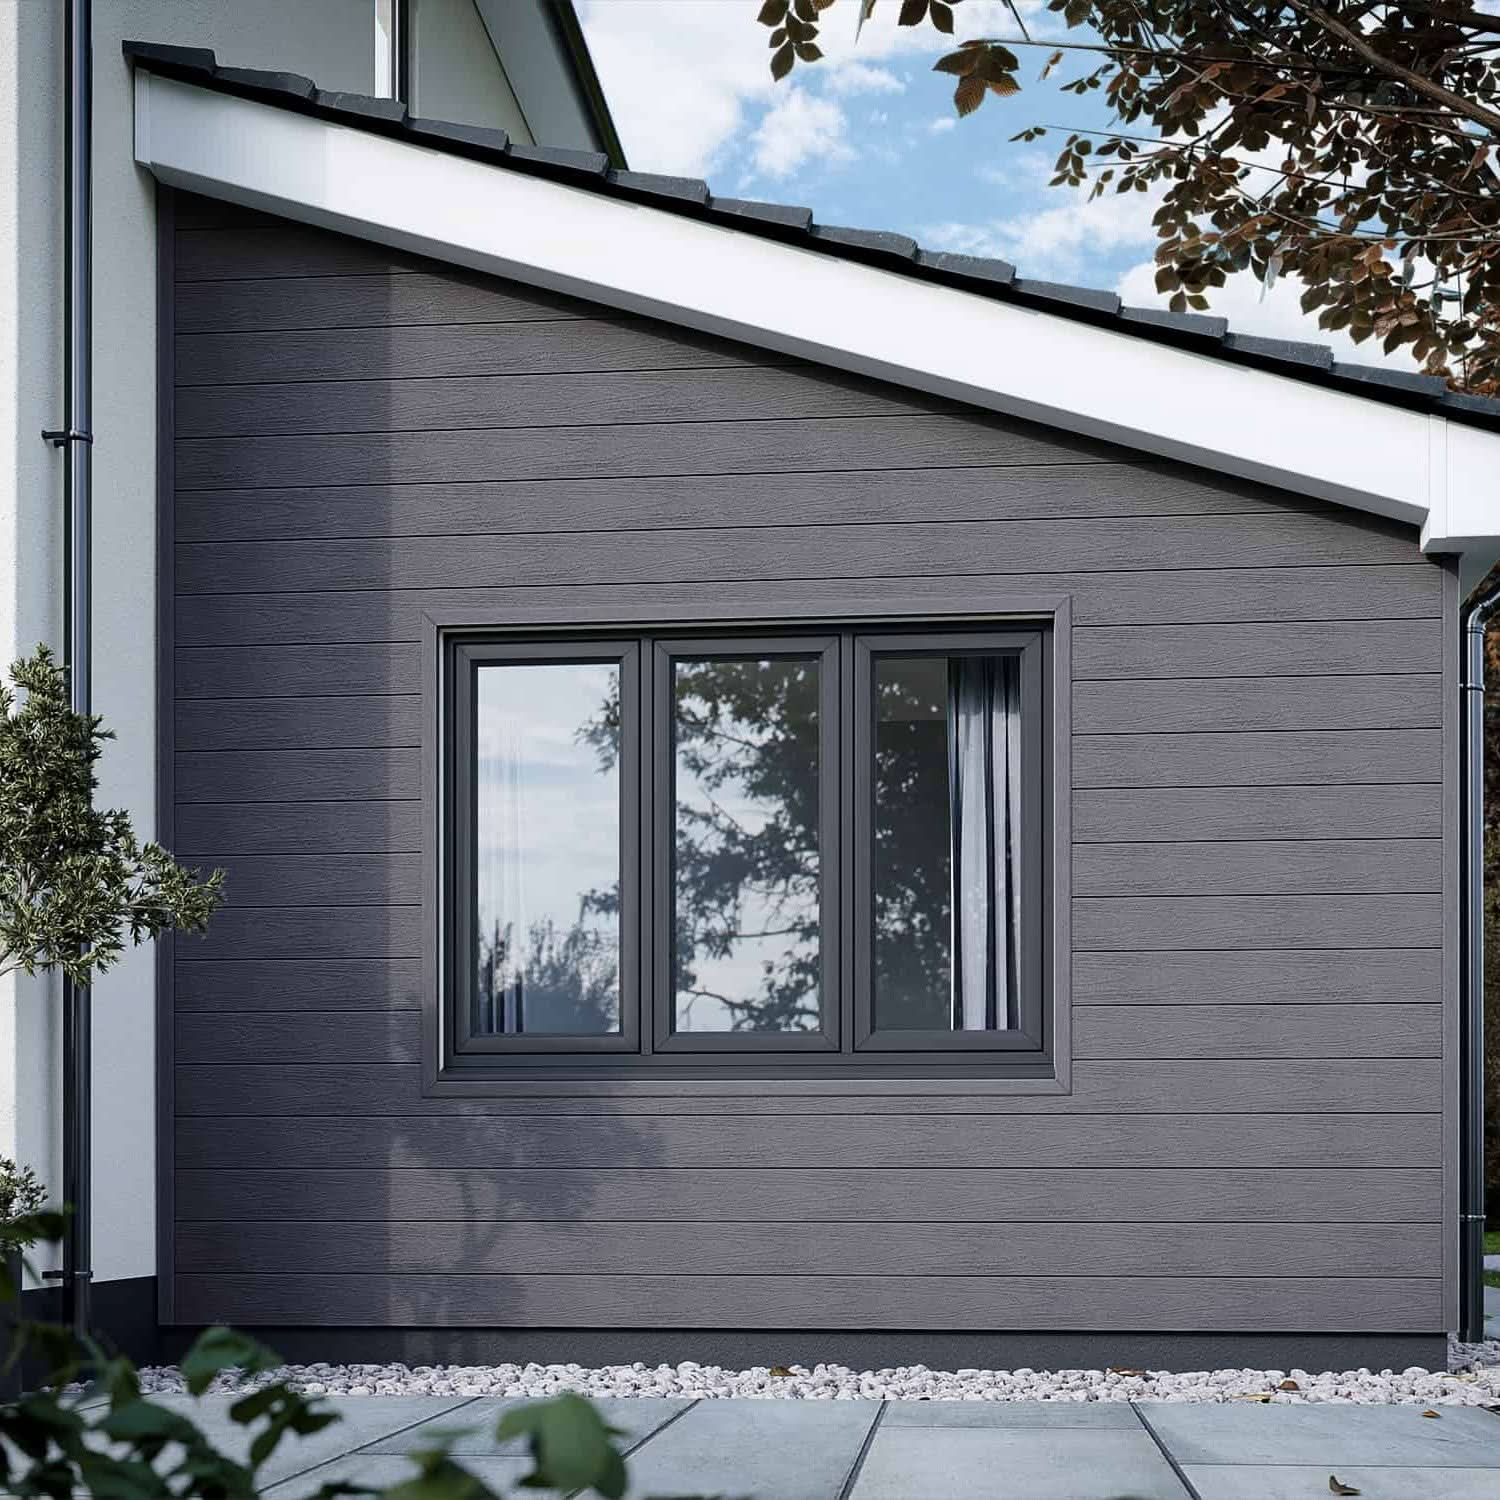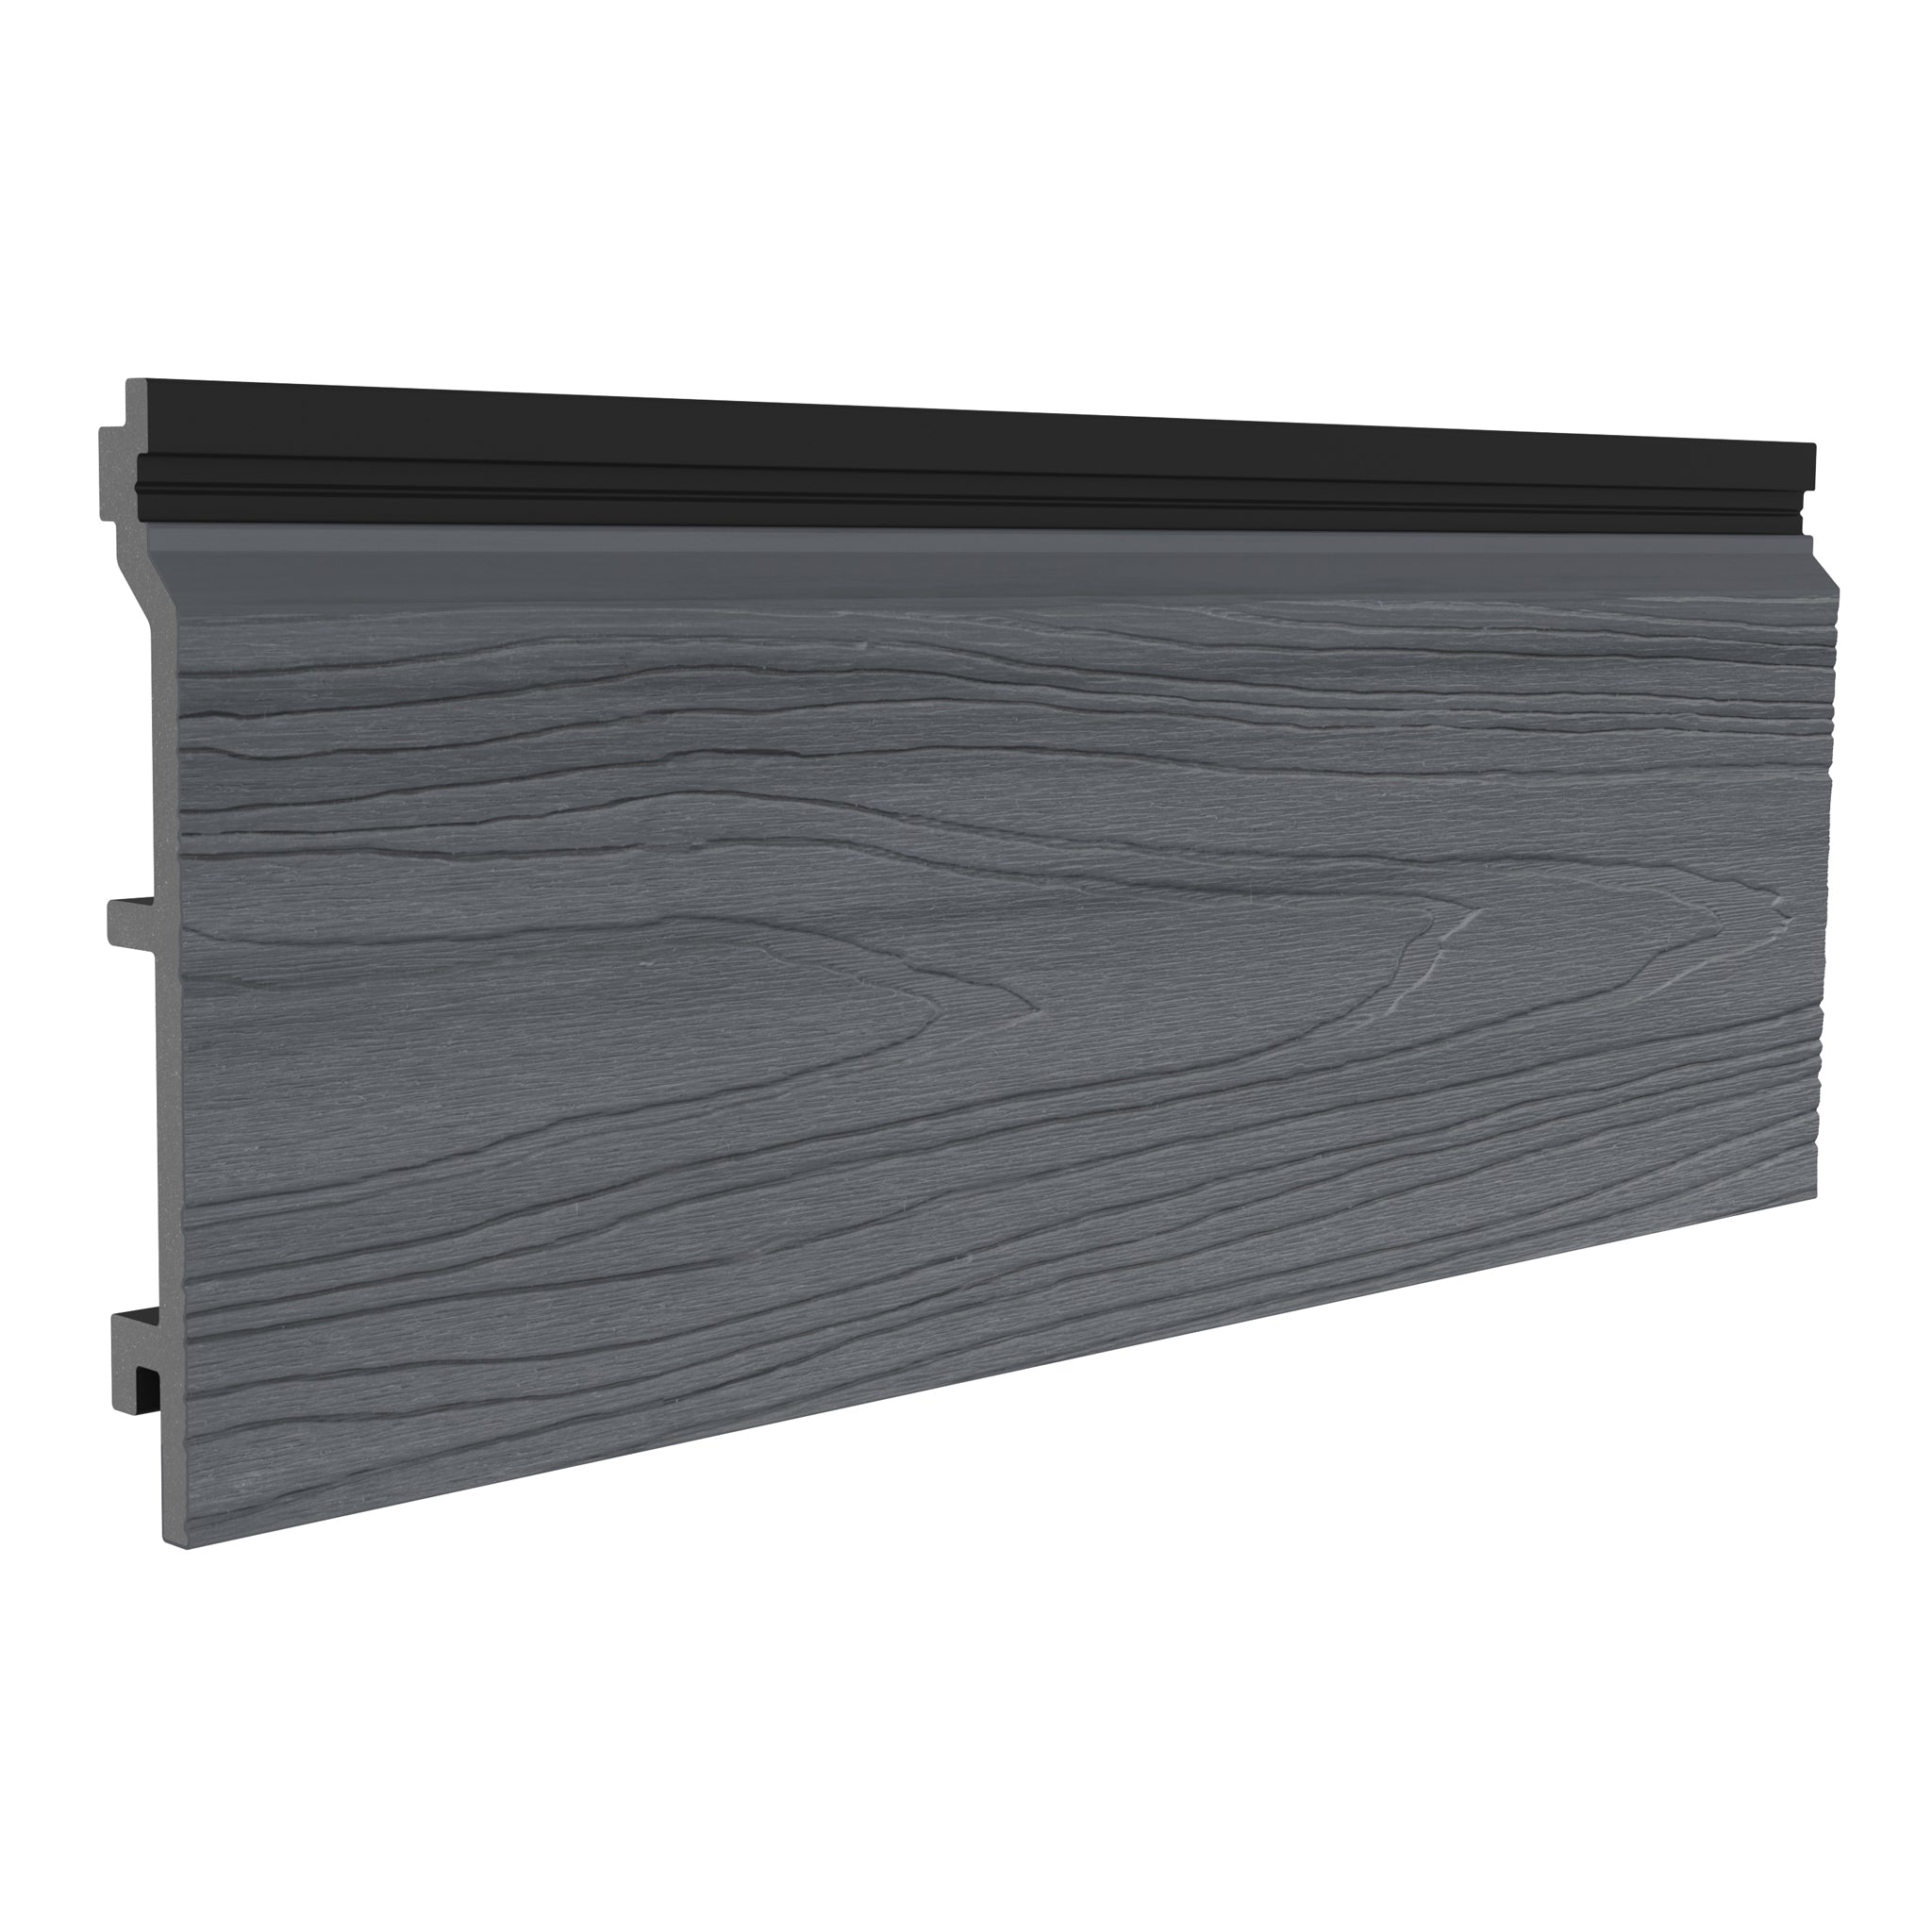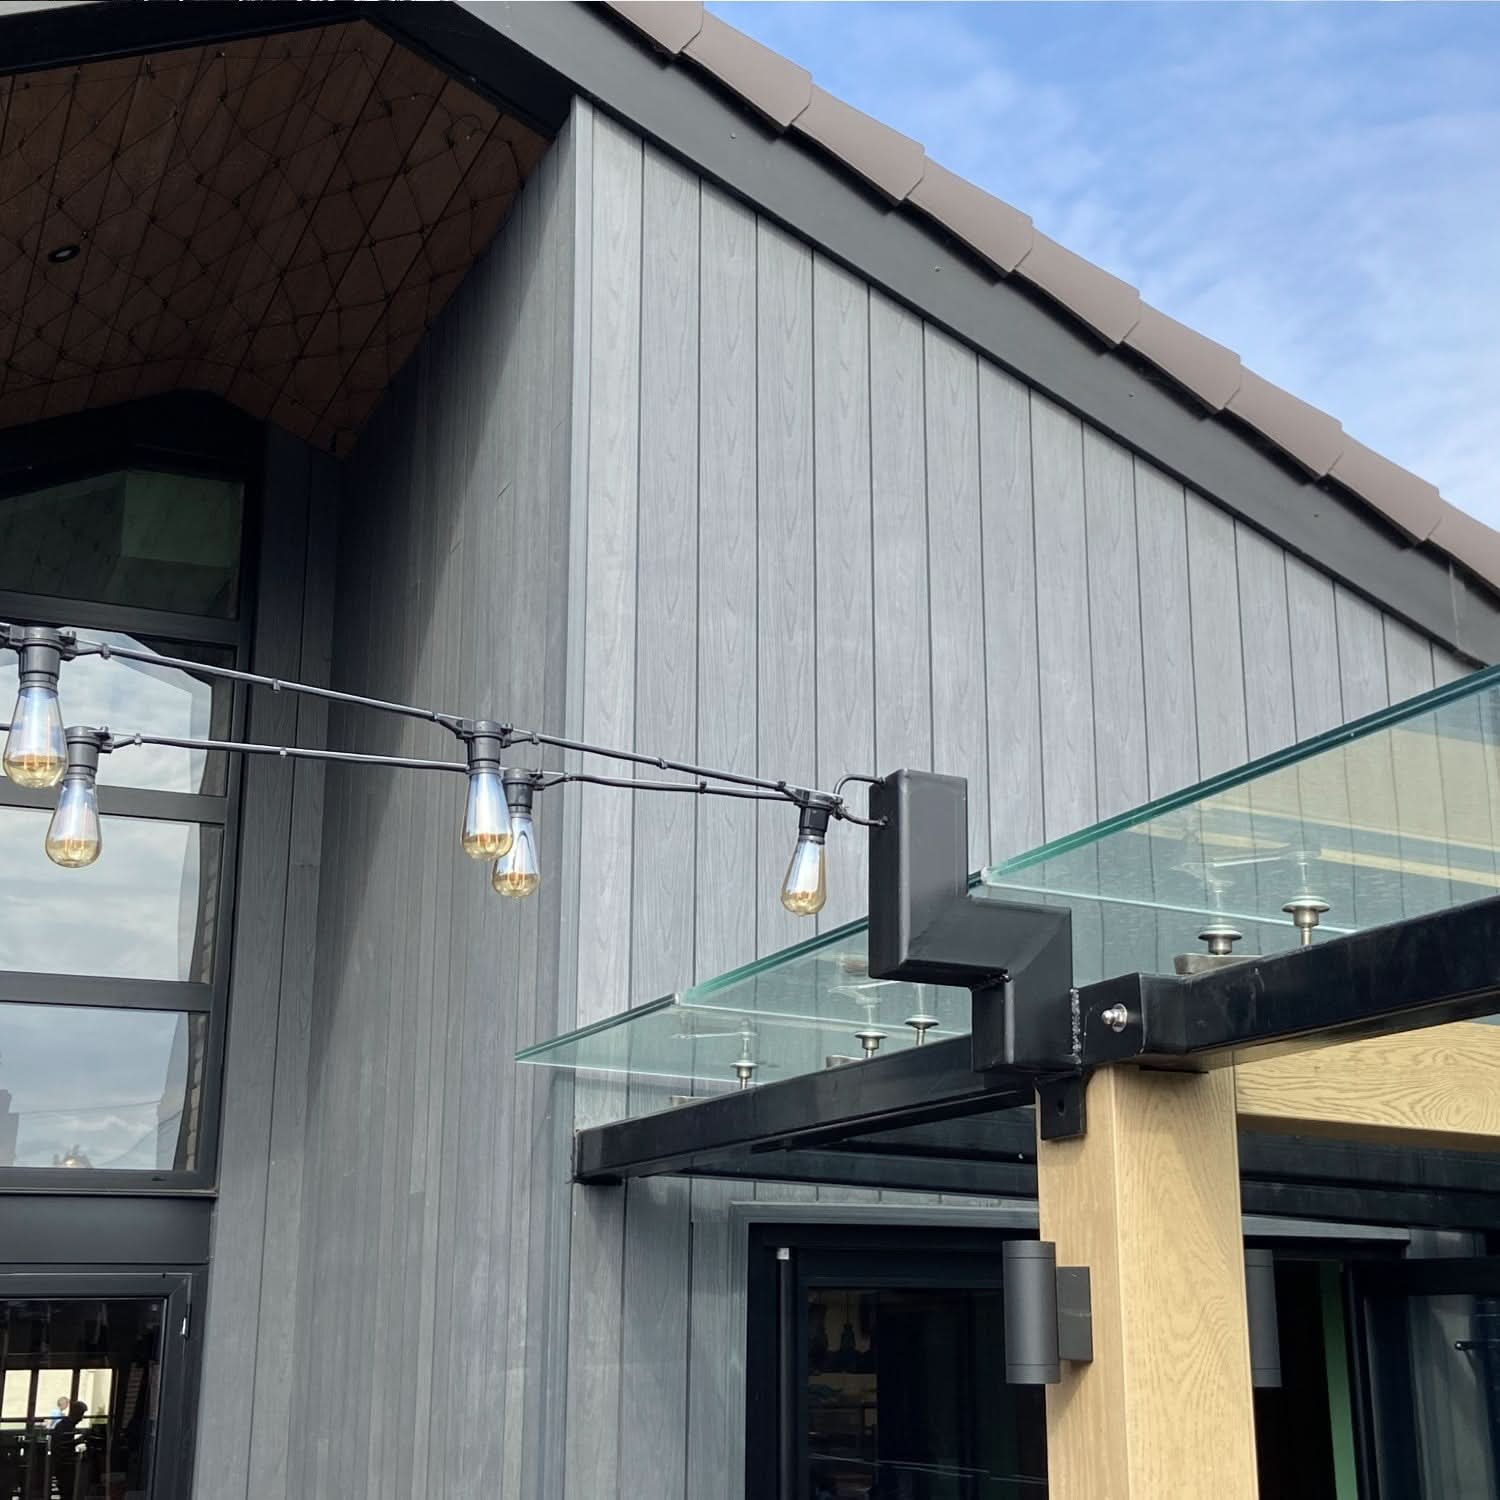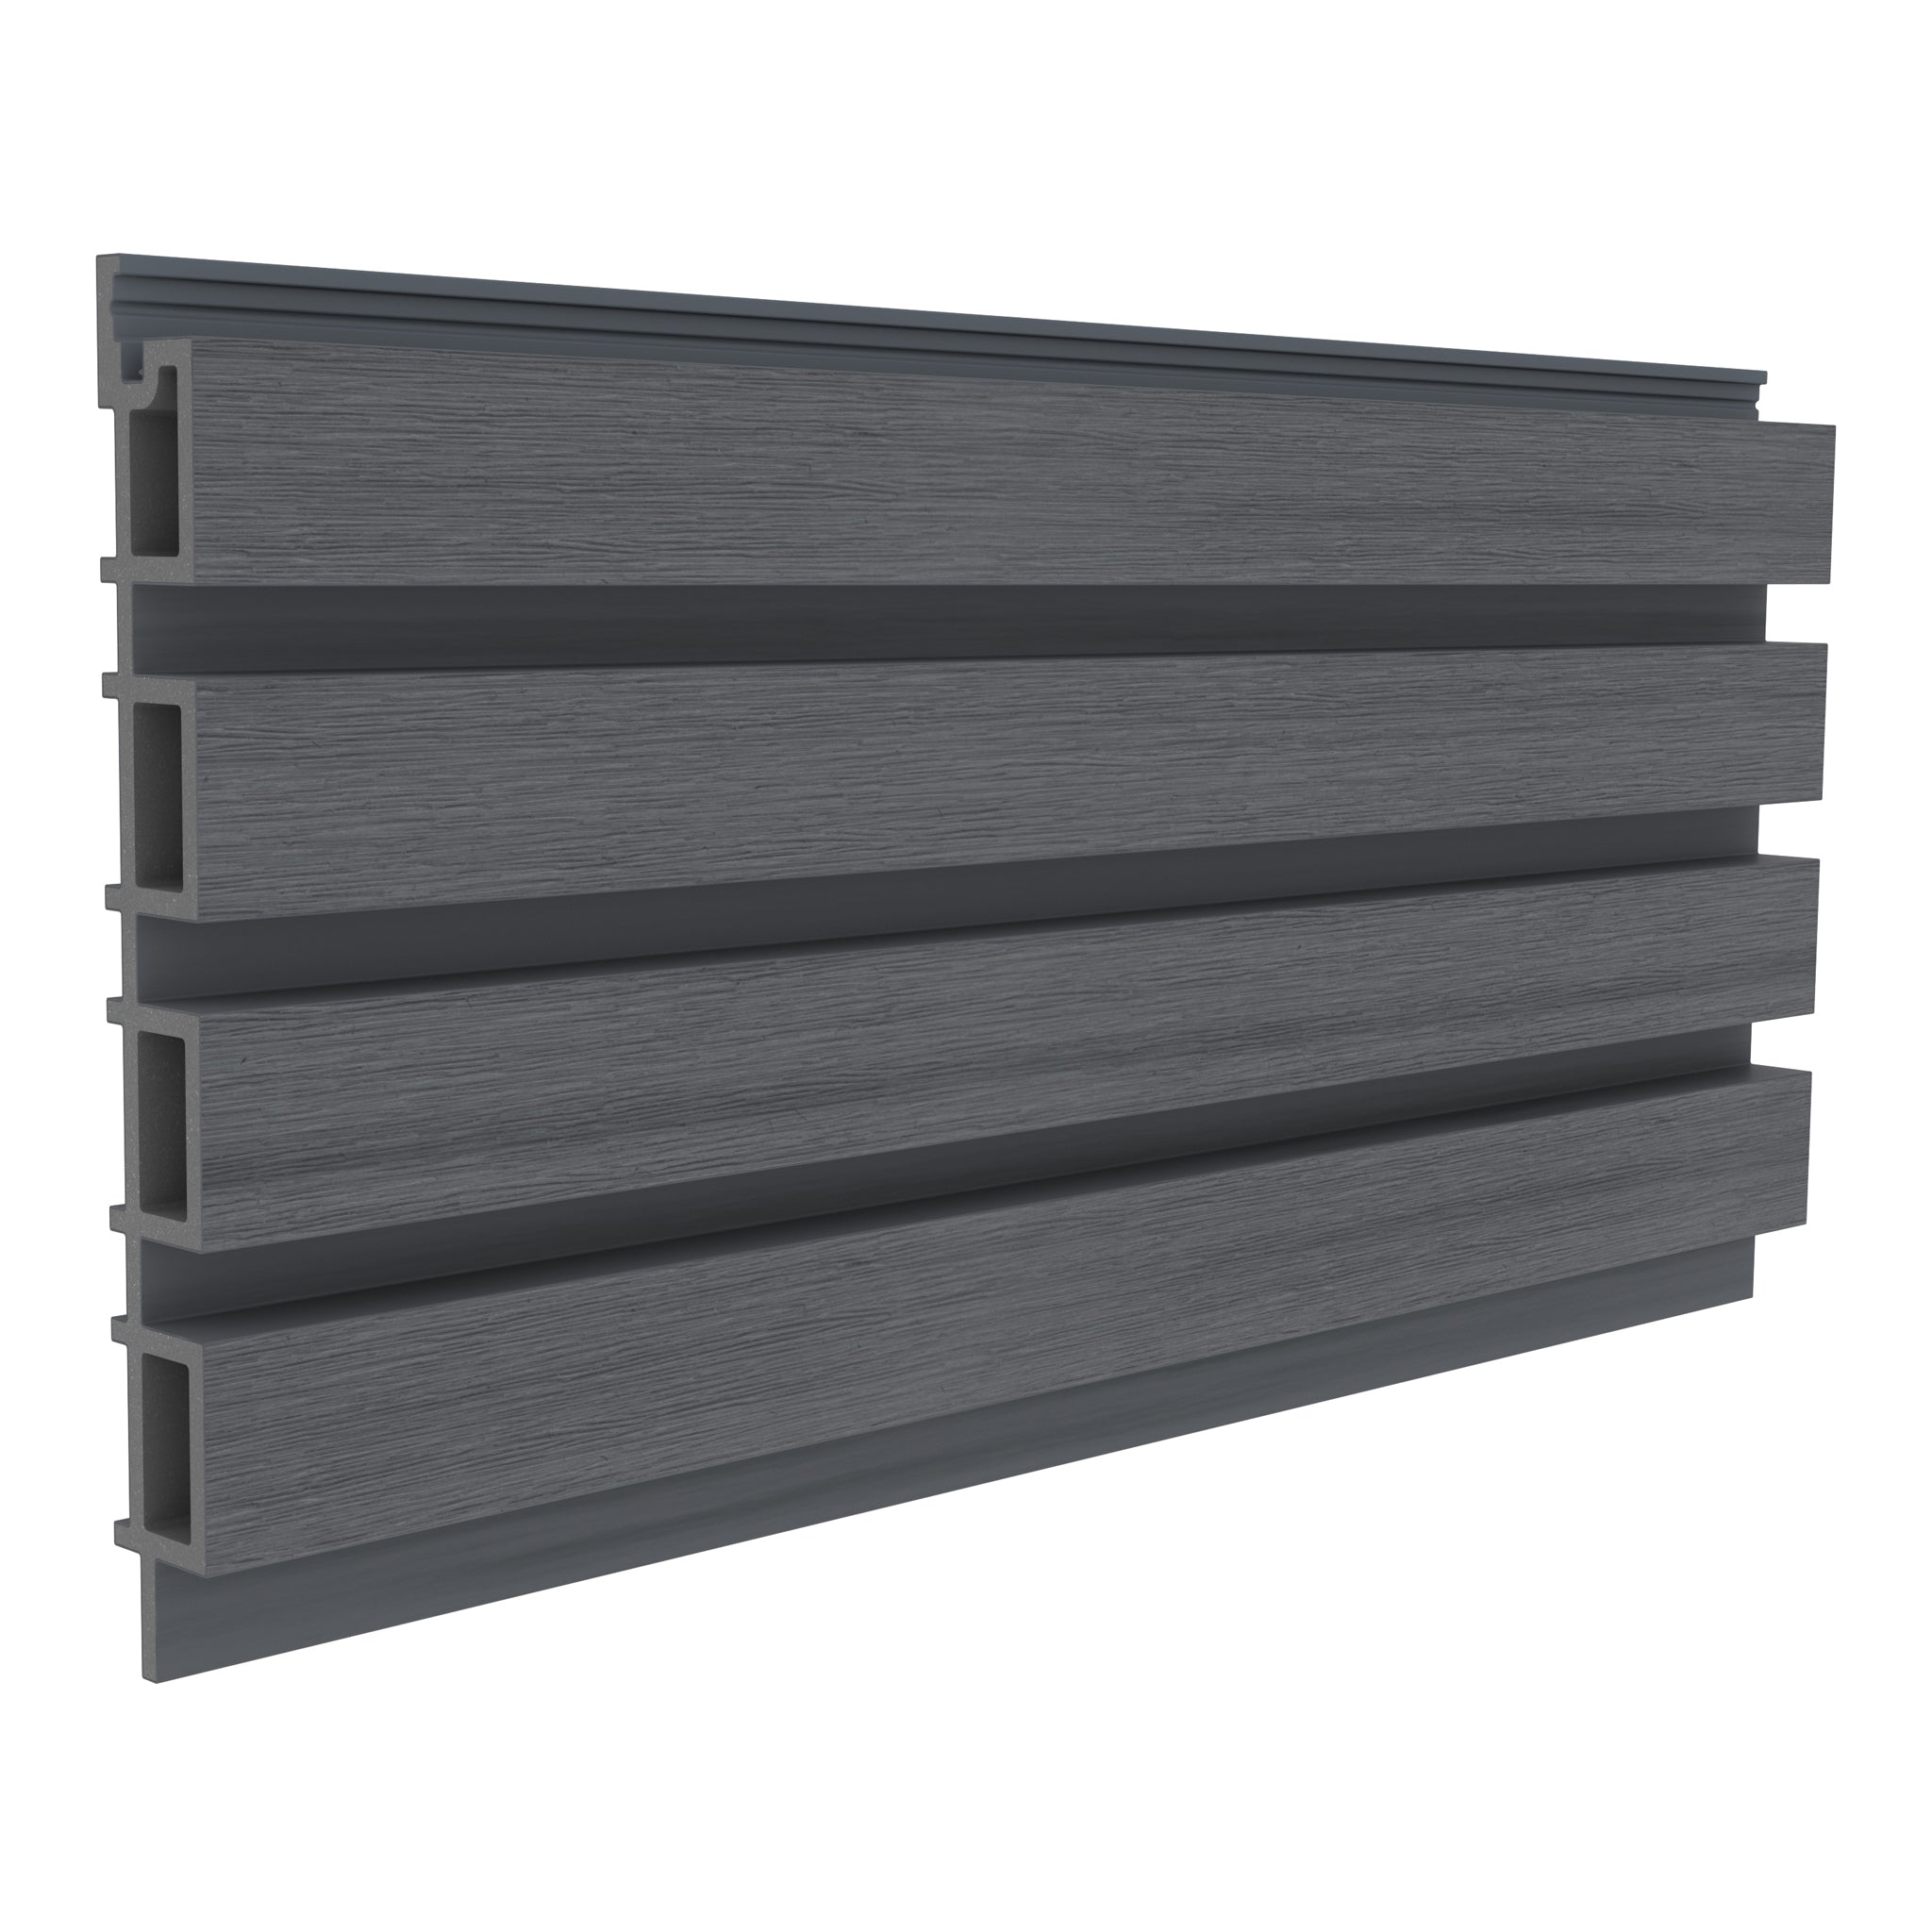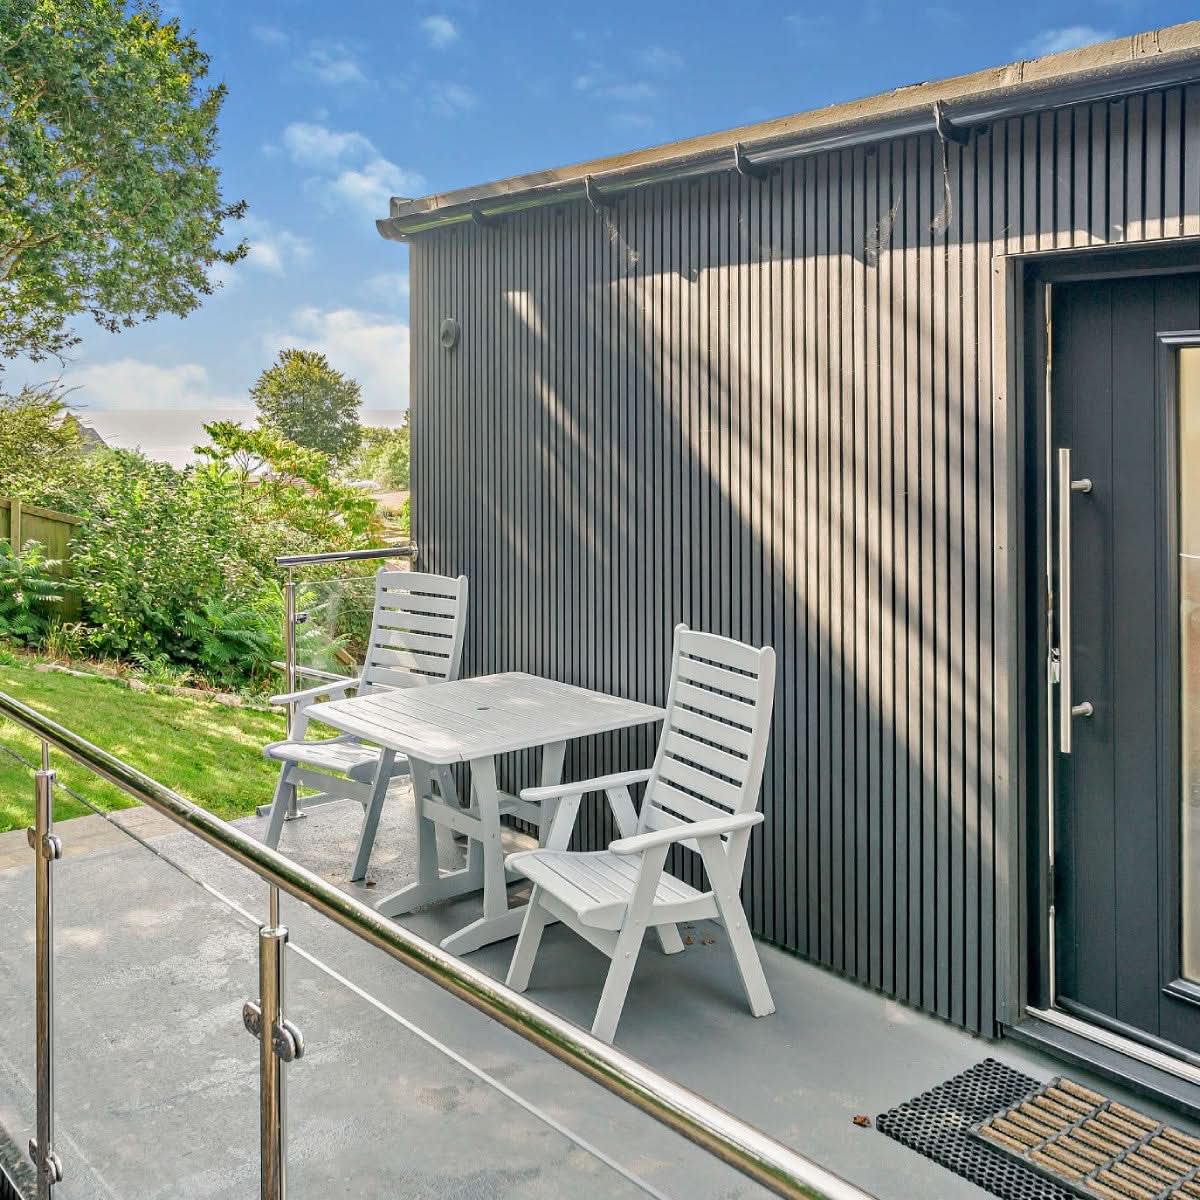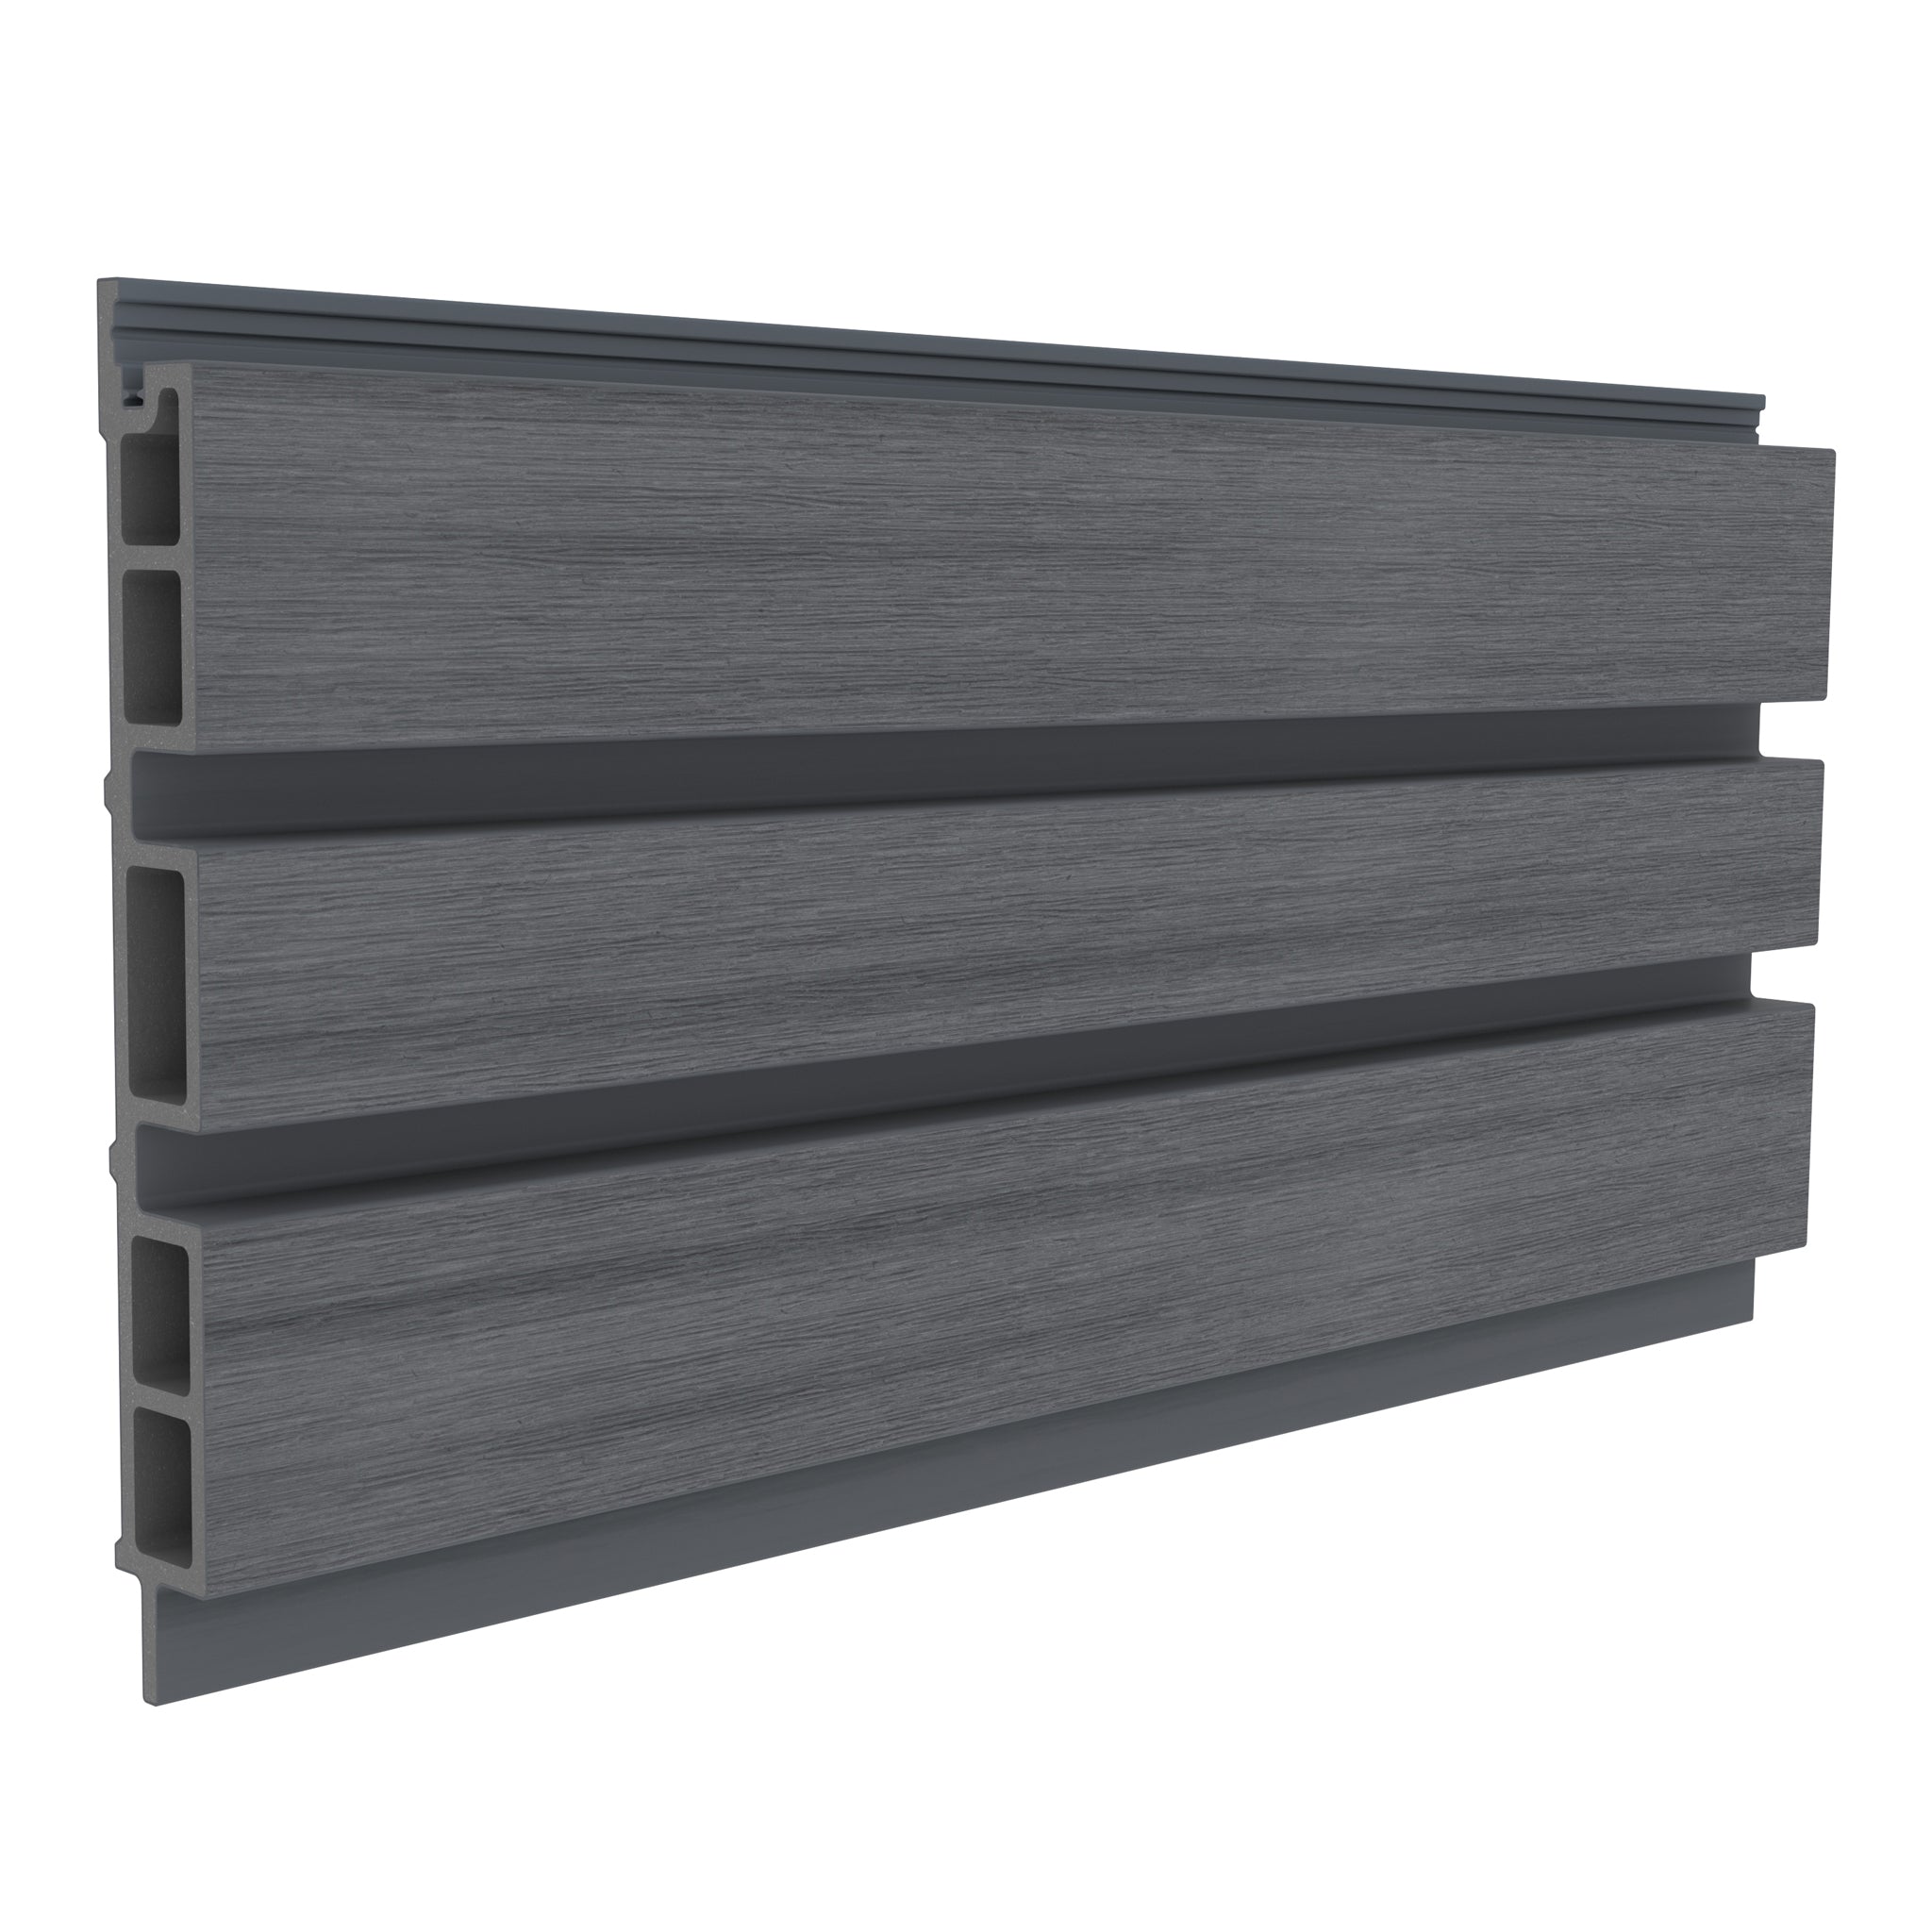
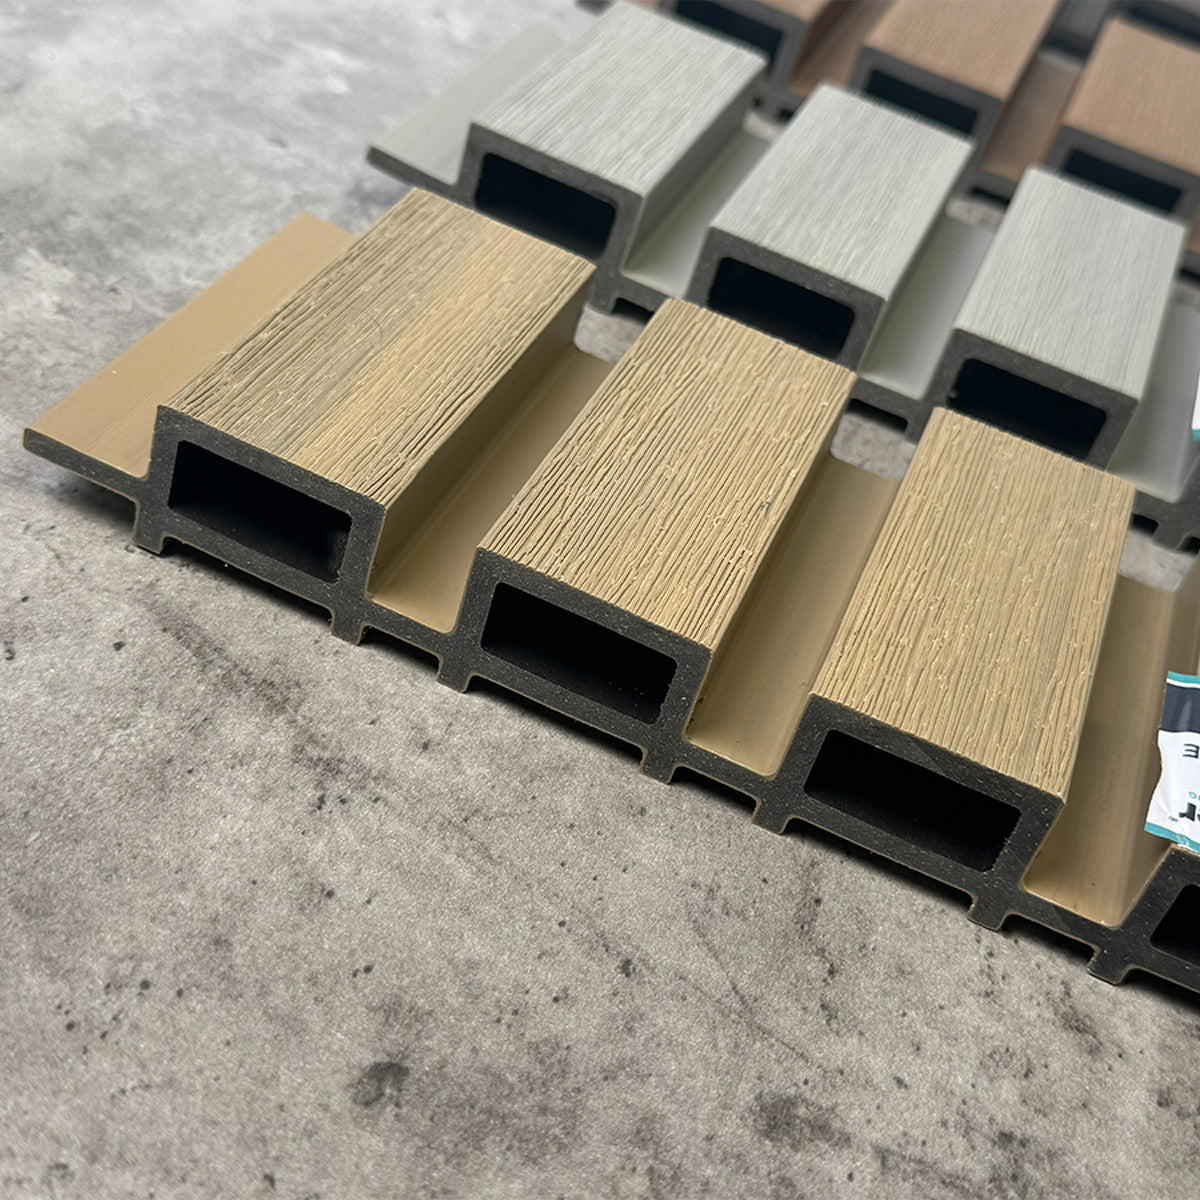
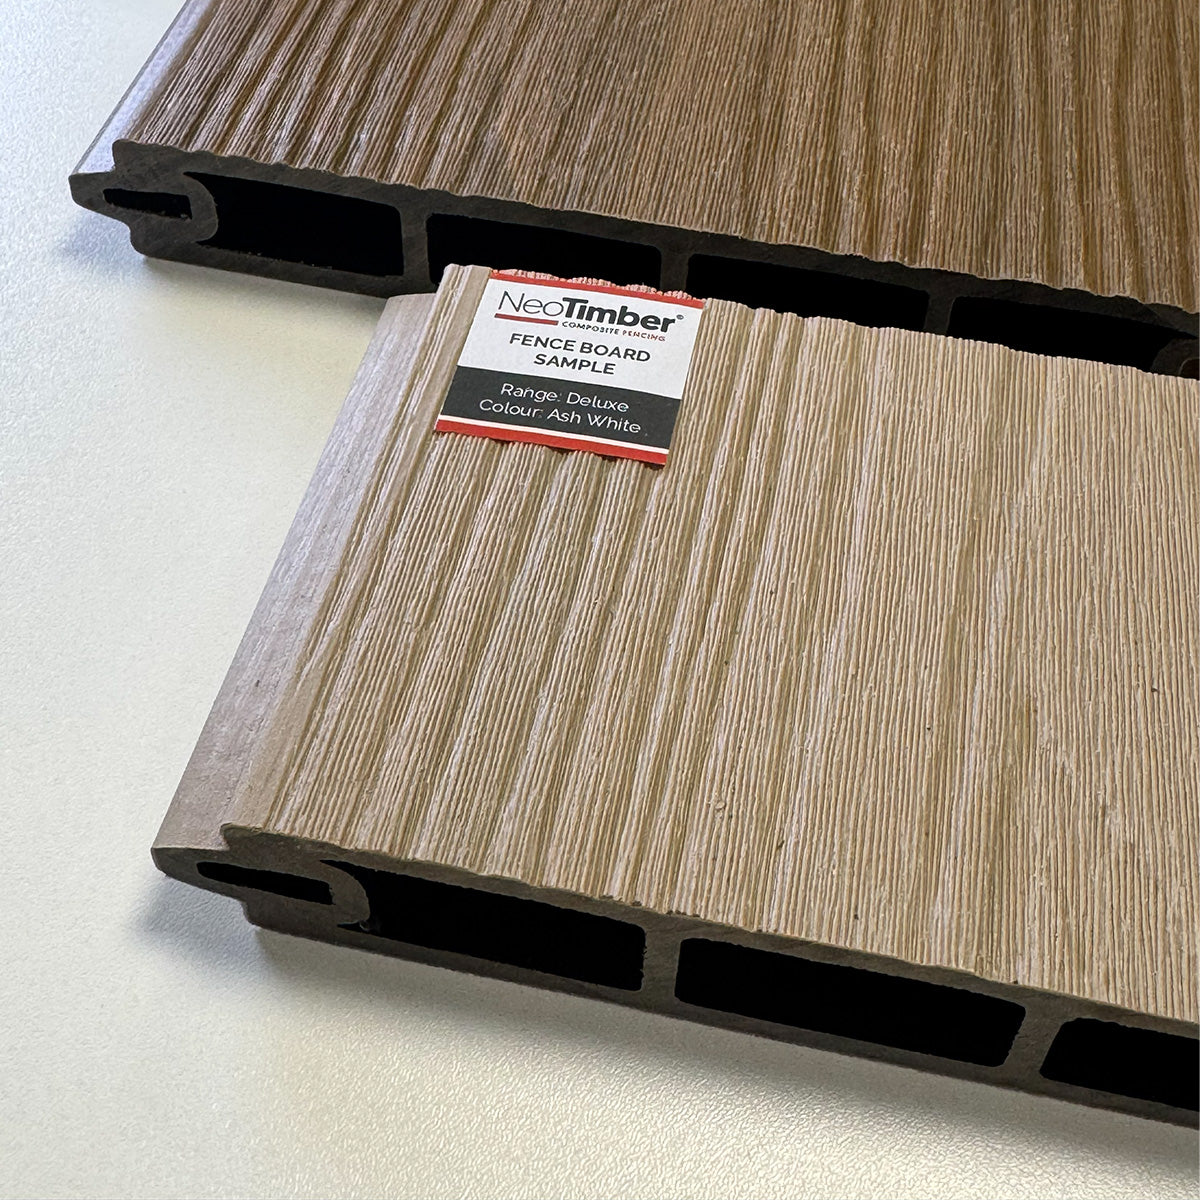
Prepare the Wall and Supporting Framework Before Fitting Decorative Battens
Fixing a batten to a wall starts with identifying the wall construction and the role of the batten. A supporting rail secured to masonry is different from a decorative composite profile clipped onto that rail. Each connection needs a fixing method suited to the materials, loads and exposure.
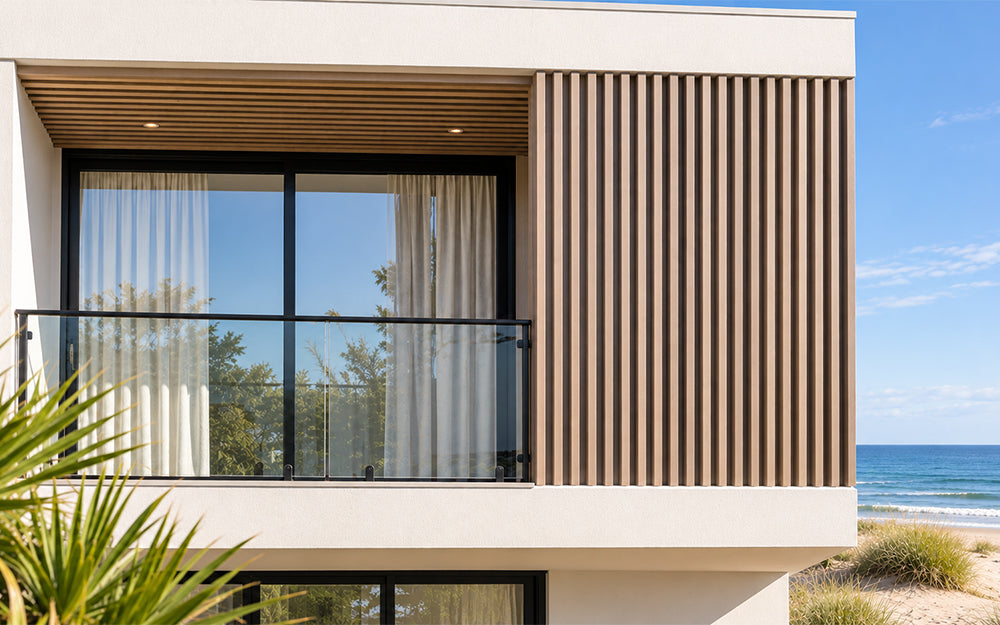
If you are creating a linear exterior feature with composite batten cladding, plan the wall anchors, supporting framework and visible profiles as one arrangement. The steps below explain the sequence and the information to confirm before drilling.
First, Identify Which Batten You Are Fixing
Two components are often described with the same word:
- Supporting battens or rails: the framework attached to the wall, carrying the decorative finish.
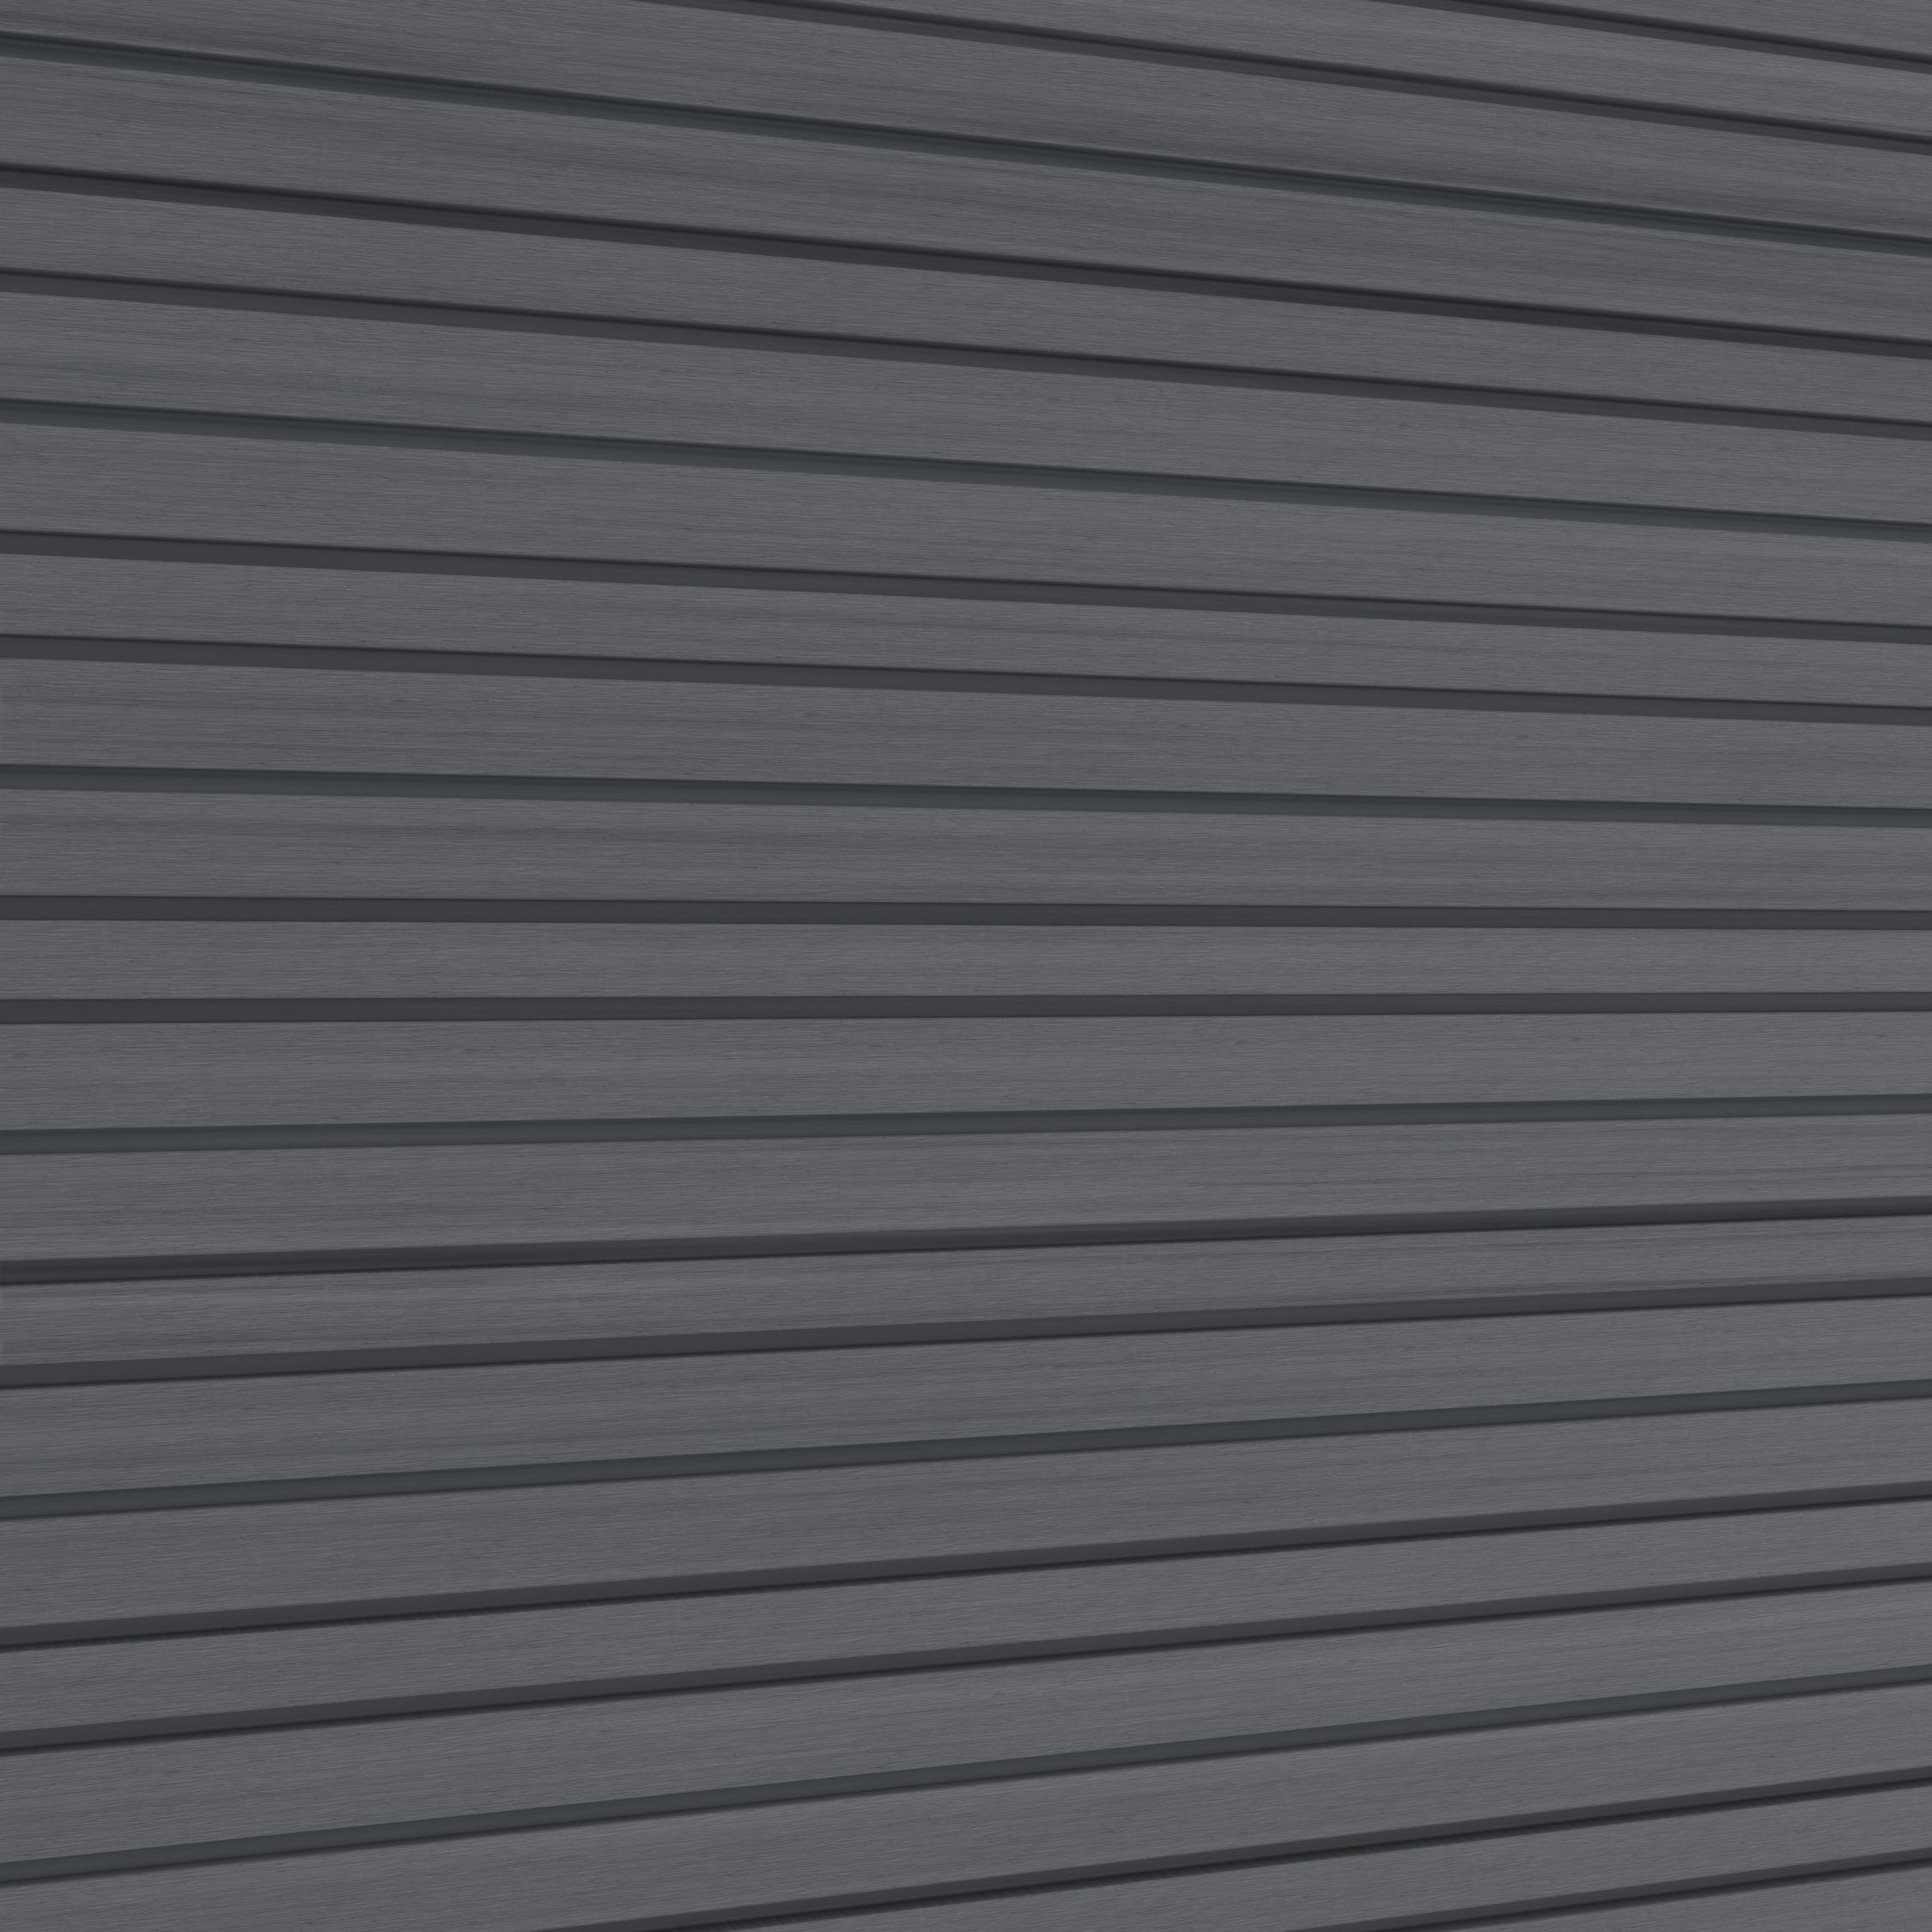
- Decorative profiles: the visible battens that create the repeated lines and shadow pattern.
For a clip-mounted system, there are separate connections from the wall to the supports, from the supports to the clips, and from the clips to the profiles. A concealed clip is not automatically a masonry anchor, and a decorative profile should not be assumed to function as a structural rail.
Step 1: Assess the Wall Construction and Condition
Establish whether the fixing will engage with concrete, solid masonry, hollow masonry or a framed wall. Surface finishes can conceal the actual substrate, so do not choose an anchor based on the visible render or plaster alone.
Wall conditions to establish before selecting fixings:
| Wall or surface | What to confirm |
|---|---|
| Concrete or solid masonry | Condition, anchor suitability, embedment and required edge distances |
| Hollow or lightweight masonry | A fixing approved for the specific substrate and load |
| Rendered or insulated wall | How the attachment reaches suitable structure without relying on the finish |
| Framed construction | The position and capacity of appropriate structural fixing points |
Have loose, cracked or deteriorated areas assessed before adding a finish. If the wall construction or fixing capacity is uncertain, seek technical advice; testing may be needed. Identify concealed cables, pipes and other services before drilling.
Step 2: Plan the Layout and Supporting Rails
Measure the feature area and mark corners, openings, exposed ends and any junctions with other finishes. Decide whether the decorative profiles will run vertically or horizontally, then position supports to provide the attachment points required by the selected system.
Upright profiles commonly cross horizontal supports; horizontal profiles commonly cross vertical supports. The exact arrangement, including any secondary framework, must follow the product guidance and wall design. Do not copy a freestanding fence detail directly onto a building.
Keep three measurements separate: the visible gaps between profiles, the spacing of supporting rails, and the spacing of anchors securing those rails to the wall. They serve different purposes and need not be equal.
Step 3: Choose Anchors and Compatible Components
Select fixings for the actual substrate and proposed loads. Check the anchor manufacturer’s instructions for drill diameter, embedment, edge distances, spacing, hole preparation and tightening. There is no single screw-and-plug size suitable for every wall.
Account for the supporting member’s thickness and any intervening layers when choosing fixing length. For exterior work, confirm that fixings, brackets and supports are compatible and suitable for the exposure. Do not assume an anchor approved for solid concrete is suitable for hollow blockwork.
For background on substrate-dependent selection, see the concrete block manufacturer’s fixing guidance. The final specification must relate to your own wall and chosen anchor.
Step 4: Set Out and Secure the Framework
Gather measuring tools, a level, suitable marking and detection equipment, the specified drilling tools and appropriate protective equipment. Confirm the installation sequence before starting, especially where a through-fixing method is specified.
- Mark the support positions and permitted anchor locations.
- Check alignment and the fixing clearances required by the anchor instructions.
- Drill using the method and depth specified for the substrate and fixing.
- Prepare the holes and install the anchors exactly as instructed.
- Secure and check the supports without over-tightening or distorting them.
Where an uneven surface needs adjustment, use an approved packing or bracket detail. Do not pull a rail tightly against an irregular wall if that bends the member or compromises the connection.
For exterior cladding, preserve the specified drainage and ventilation arrangement. Any membrane, insulation or weatherproof layer penetrations need an appropriate detail; an open decorative finish is not itself a weatherproof wall.
Step 5: Fit the Decorative Profiles
Once the framework has been checked, mark the decorative pattern and fit the compatible clips or other specified attachments. Check the first profile carefully, then maintain the planned gaps as you work across the feature.
Follow the current batten installation guidance for movement allowances, support requirements and profile retention. Do not substitute direct screws or adhesive for a specified clip system without approval.
If reinforcement is required, confirm the complete permitted arrangement before assembly. An insert does not automatically allow an arbitrary unsupported span. Use the appropriate end treatment for cut or exposed profiles.
Step 6: Check the Completed Installation
Review alignment, gaps, corners and end details. Confirm that profiles are retained as specified, supports are secure and drainage routes remain clear. Resolve unexpected movement or damaged connections before treating the feature as complete.
Keep the product information and fixing specification for future inspection and maintenance. Larger, exposed or technically complex installations are worth reviewing with an experienced installer before work begins.
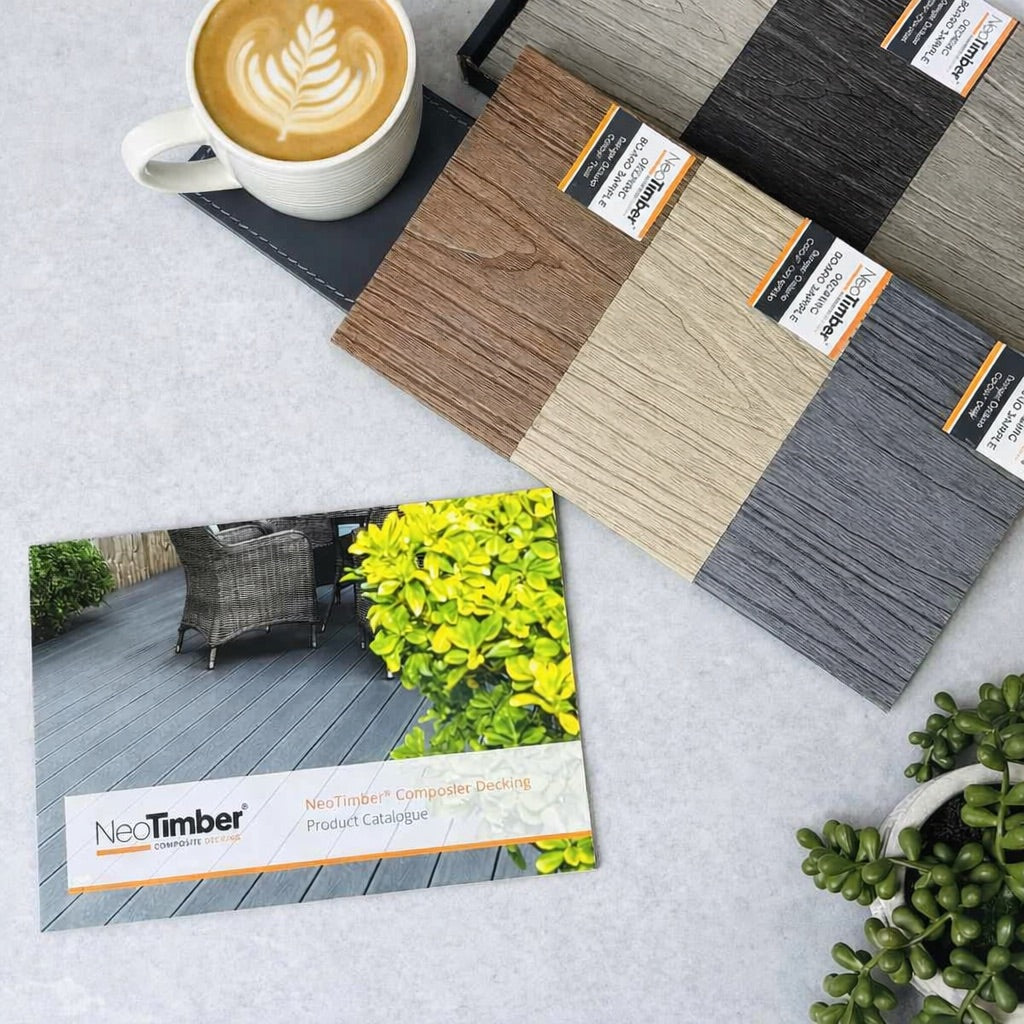
Explore the Louvre Batten product information and our cladding resources, or contact NeoTimber® to discuss the intended application.
Wall Batten Fixing FAQs
What screws should I use for fixing a batten to a wall?
Choose a fixing system approved for the wall substrate, load, support thickness and exposure. Follow its specified dimensions and installation method rather than using a universal screw size.
Can I fix decorative composite battens directly to brick?
Only if the selected product’s approved detail permits it. A system designed for clips on supporting rails should not be converted to direct masonry attachment without technical confirmation.
Can I use adhesive instead of mechanical fixings?
Only where the complete system specifically allows it. General-purpose adhesive is not a substitute for required anchors, brackets or retention clips.
How far apart should wall fixings be?
Anchor spacing depends on the substrate, loads, support arrangement and fixing specification. It is separate from both decorative gap size and profile-support spacing.
Can I fix through external insulation?
This needs a detail designed for the wall build-up, with suitable support and weather-management provisions. Do not rely on insulation or render to provide structural anchorage.
Can an installer help assess the project?
Yes. Share the wall construction, measurements and proposed finish with the installer before ordering. You can submit a project enquiry through the installer service to check availability in your area.