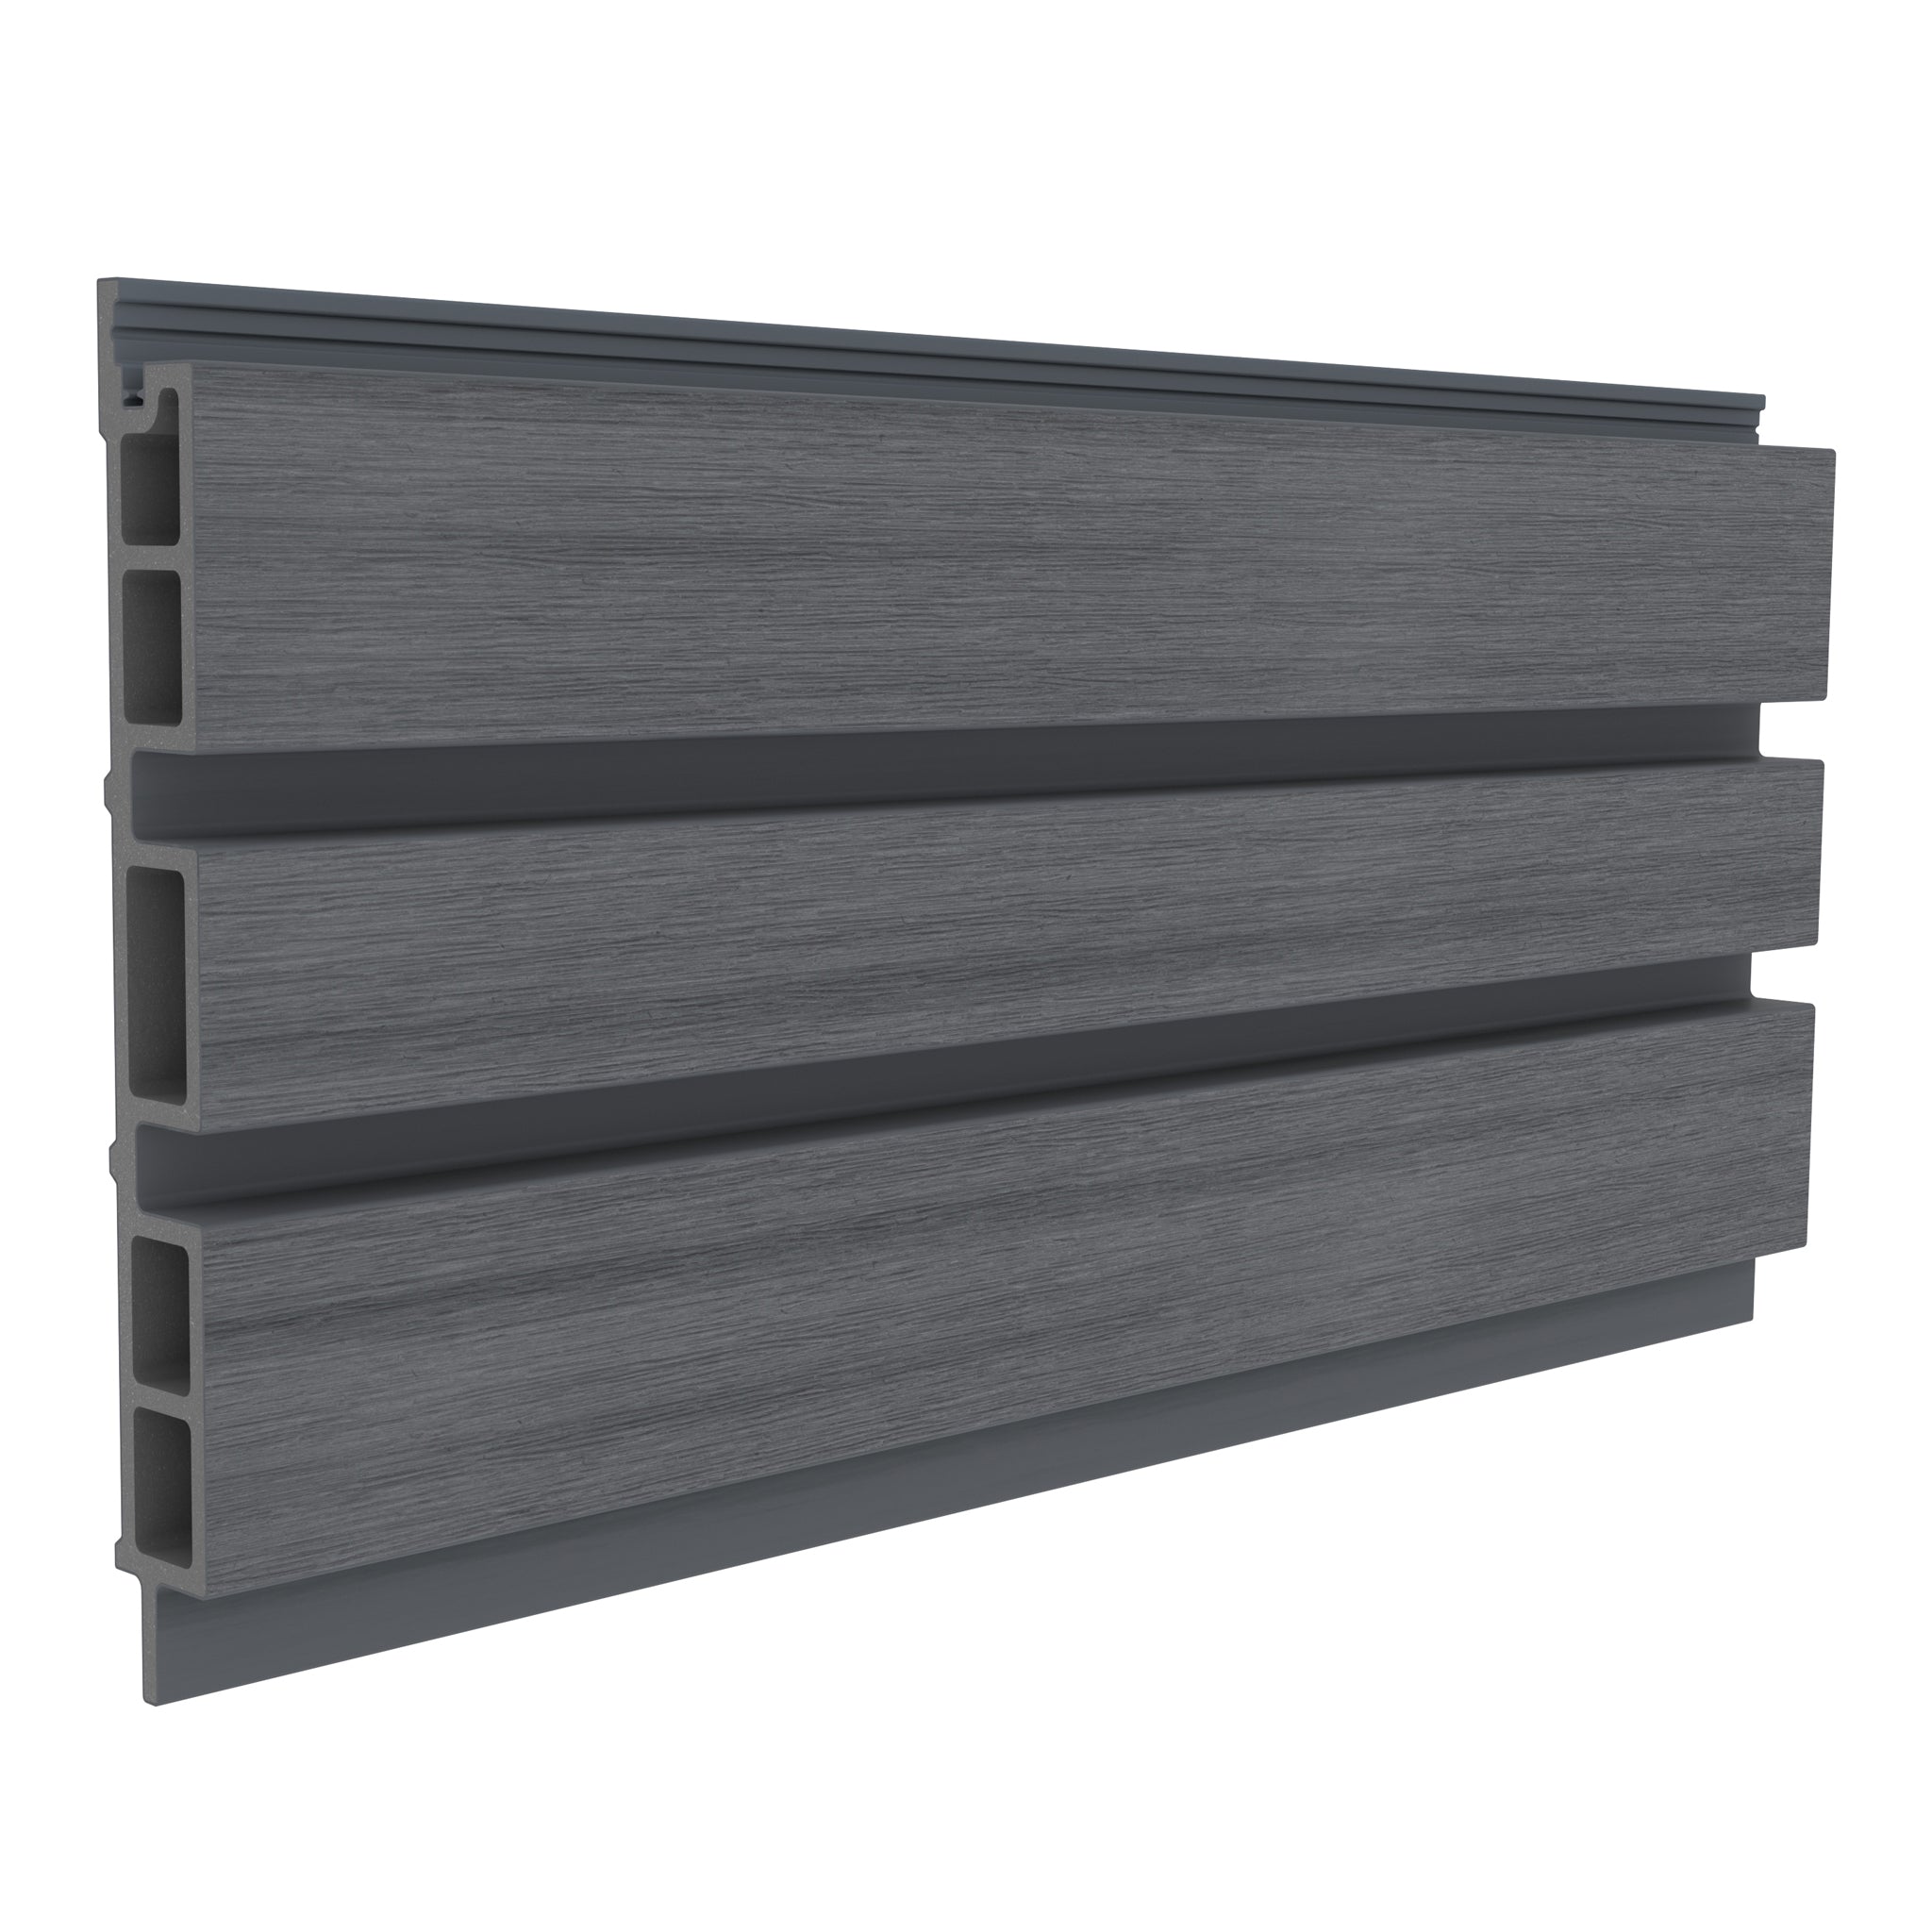
Plan a Secure Composite Cladding Installation for an Exposed Site
Installing composite cladding in high wind areas starts with the whole wall system: the boards, their fixings, the supporting battens and the anchors connecting those battens to the building. Choosing a durable board is only one part of the specification. Each connection needs to suit the exposure and the structure behind it.
Whether your project is a coastal home, an open countryside property or a garden building on an exposed plot, careful preparation helps you make informed decisions. This guide explains what to consider before fitting composite cladding, how NeoTimber’s batten-spacing guidance applies, and why safe working conditions matter as much as the finished appearance.
Use this article alongside the NeoTimber® installation resources and the current instructions for your chosen range. For an unusually exposed site, obtain project-specific advice before purchasing fixings or building the subframe.
Can You Install Composite Cladding in High Wind Areas?
Composite cladding may be an option for an exposed property where the product and complete installation are confirmed as suitable. The important question is how the proposed system will perform on your particular building. A product description alone cannot establish that a wall will withstand its design wind loads.
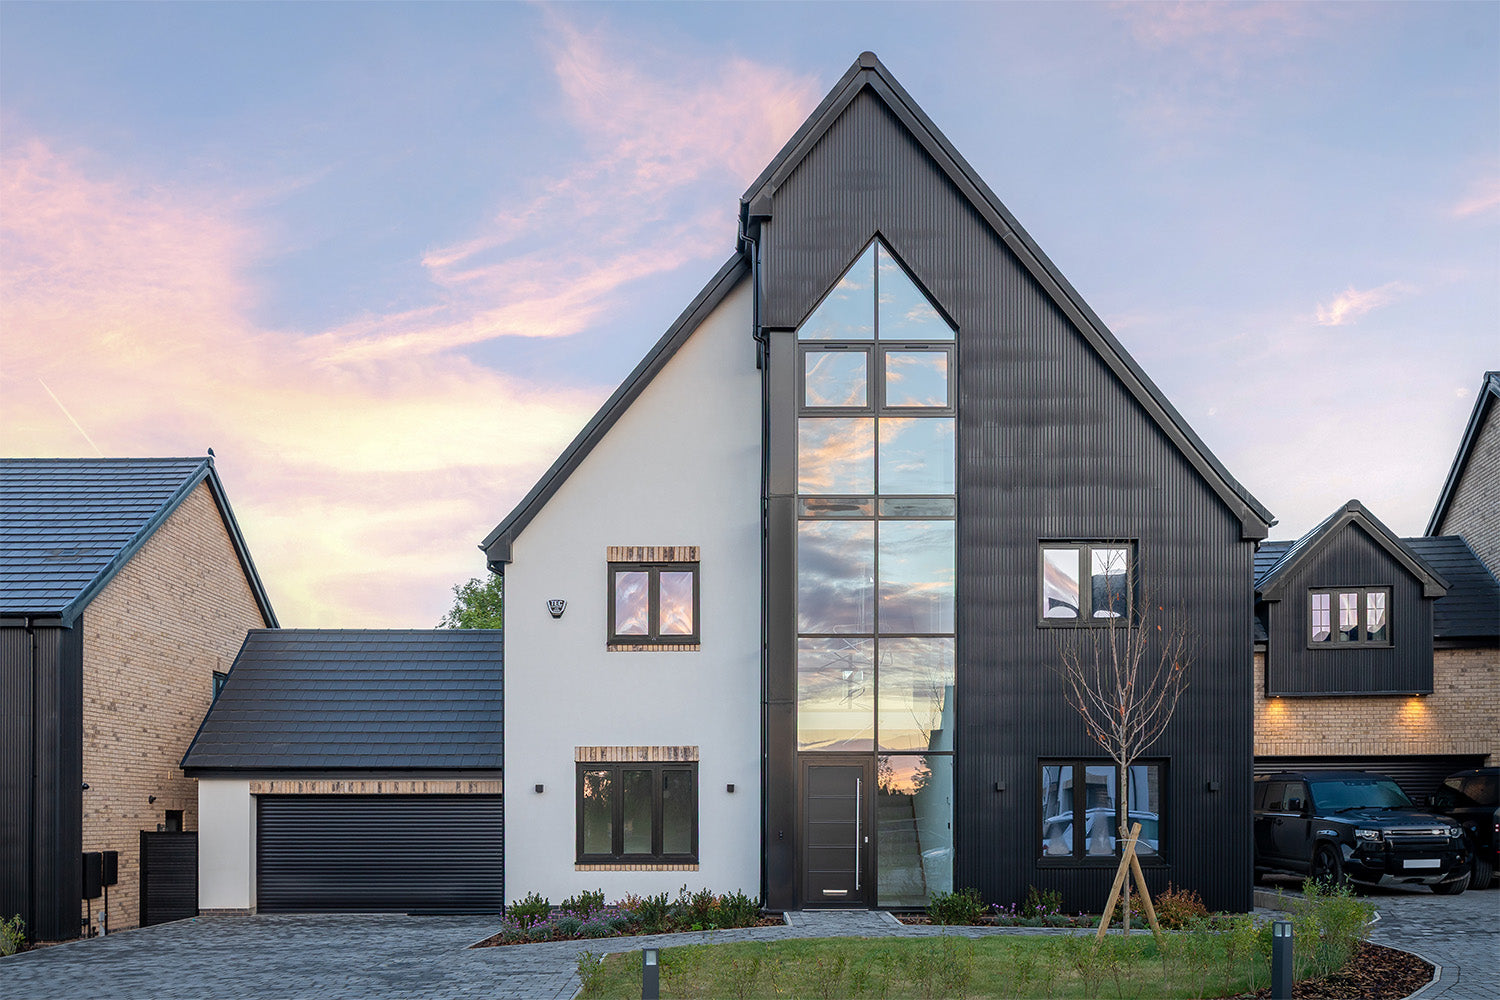
Exposure varies between sites and between parts of the same building. Height, surrounding terrain, nearby buildings and the position of the façade can all influence the assessment. Corners and edges may need particular attention. A sheltered ground-level wall should not automatically be treated like an upper-storey elevation facing open land.
Before deciding on cladding, share the building height, location, wall construction, intended board orientation and proposed range with the supplier or installer. Ask whether additional technical assessment is needed. Where wind resistance is uncertain, a suitably qualified designer or structural engineer can assess the loads and connections.
Understand the Connection Between Boards, Battens and the Wall
Think of the installation as a chain of connections. Boards attach to a subframe, and that subframe attaches to the supporting wall. A sound board fixing cannot compensate for a loose batten or an unsuitable wall anchor. Likewise, adding more battens does not repair weak masonry.
Inspect the supporting structure before starting. Existing render, loose mortar or a decorative wall finish should not be assumed to provide a suitable anchorage. The fixing specification needs to account for the actual substrate and the required connection through any intervening layers.
For a timber-framed garden room, confirm where the structural supports sit and how the subframe will connect to them. For a masonry property, check the wall condition and specify anchors appropriate to that construction. Resolve these details before concealing the wall behind boards.
Batten Spacing for Installing Composite Cladding in High Wind Areas
NeoTimber’s installation guidance sets a maximum batten spacing of 500 mm and suggests reducing centres to 400 mm in high wind load areas. Centres are measured from the centre of one batten to the centre of the next. Closer spacing creates more support and fixing positions along the boards.
The 400 mm recommendation is installation guidance, rather than a universal wind-resistance rating. Confirm that it applies to your chosen product and project using the current installation documents. A particular exposure, wall construction or fixing arrangement may require a different specification established by the designer.
Read the composite cladding subframe guide when planning the layout. Allow for support at board ends, joints, corners and openings as required. Include the additional battens and fixings in your material calculations, rather than relying solely on the façade’s area.

Specify Suitable Fixings and Preserve Board Movement
The fixing method needs to follow the instructions for the exact board profile. Confirm the board screws, fixing positions, pilot holes and supporting batten requirements before installation. Wall anchors require their own assessment; they perform a different job from the screws holding boards to battens.
On a coastal site, discuss exposure to salt and the suitability of metal components with the supplier or designer. Specify compatible fixings for the environment and materials involved. Substituting an apparently similar screw without checking its suitability can undermine an otherwise carefully planned installation.
Composite materials expand and contract with temperature. Wind exposure does not remove the need for the prescribed movement gaps or fixing-hole details. Do not improvise extra face screws, tighten boards together or fill movement gaps in an attempt to make the façade more secure. Follow the approved detail and seek advice if the standard arrangement needs changing.
Allow for Wind-Driven Rain, Drainage and Ventilation
A wind-exposed wall also needs an appropriate approach to rain. Composite boards form the outer finish; they should not be assumed to make the complete wall waterproof. The underlying wall build-up, membranes where required, flashings and opening details need to manage moisture.
Keep the ventilation and drainage routes required by the installation design clear. Consider how water will leave the cavity at the base and around interruptions such as windows. For vertical boards, confirm the supporting arrangement maintains the intended drainage path; simply rotating a horizontal installation detail may be insufficient.
These details are easiest to settle before fitting begins. Agree the interfaces with roofs, doors, windows and adjacent finishes so that the cladding works as part of the building envelope.
Check the Forecast and Plan a Safe Working Window
Check local forecasts and weather warnings through the Met Office before starting and during the job. Consider gusts, rain and conditions at the work position. A forecast reading at ground level cannot confirm that access equipment is safe to use higher up.
A single wind-speed figure should not be presented as permission to proceed. Follow the access equipment’s operating limits and the site risk assessment, and stop if conditions prevent safe handling or stable working. Long boards can be awkward to control in gusts, even during a relatively low-level installation.
Plan storage so loose boards, packaging and tools remain secure. Keep the area below the work clear of people and avoid leaving partially fitted components unsecured when weather changes.

Choose Access Equipment That Suits Cladding Work
Handling boards and operating tools at height requires an appropriate working platform. Decide on access before delivery, taking account of the working height, duration, ground conditions and space needed to handle materials.
The HSE’s working-at-height guidance explains the need to plan work, use competent people and select suitable equipment. Its ladder guidance limits ladder use to suitable low-risk, short-duration tasks. A scaffold or other platform may be appropriate, subject to assessment and competent installation.
Do not use a drainpipe as an assumed secure anchorage or rely on another person holding a ladder to make unsuitable conditions acceptable. Check the access arrangement with the person responsible for safe working before lifting boards into position.

A Practical Checklist Before Installation
- Confirm the selected range is suitable for the building and intended application.
- Review exposure and establish whether project-specific wind-load advice is needed.
- Inspect the supporting wall and agree the batten-to-wall fixing specification.
- Confirm batten centres, board-end support and details around openings.
- Check board fixings, movement gaps, ventilation and drainage against current instructions.
- Plan suitable access, material handling, storage and weather monitoring.
- Record the agreed specification before covering the subframe.
The NeoTimber® pre-installation guide provides further preparation advice. Keeping photographs of the subframe and concealed fixings can also help with the project handover.
Inspect the Finished Installation and Maintain It
Before removing access equipment, check that the boards, trims and fixings match the agreed details. Look for missing fixings, unsupported ends, obstructed drainage routes or gaps that have closed during fitting. Correct issues while they remain accessible.
After severe weather, inspect from a safe position for loose trims, unusual movement or visible damage. Avoid climbing to investigate an unstable component yourself. Arrange professional assessment where necessary, and follow the relevant maintenance instructions for routine care.
Frequently Asked Questions
Is 400 mm batten spacing enough for every windy site?
No. It is NeoTimber’s suggested spacing for high wind load areas, but project suitability also depends on the loads, wall construction, anchors, board fixings and complete installation. Confirm the specification for your site.
Can I add more screws to improve wind resistance?
Only where the manufacturer or project designer specifies that arrangement. Unplanned fixings can interfere with movement or damage the board profile. Obtain an approved detail instead of modifying the system on site.
Can I install composite cladding during strong winds?
Postpone work when conditions prevent safe access or board handling. Follow the site assessment and equipment limits, and continue monitoring conditions throughout the installation.
Start With a Specification That Suits Your Site
Successful installation on an exposed property depends on careful preparation and consistent execution. Agree the subframe, fixings, weather detailing and access arrangements before focusing on the final colour and finish.
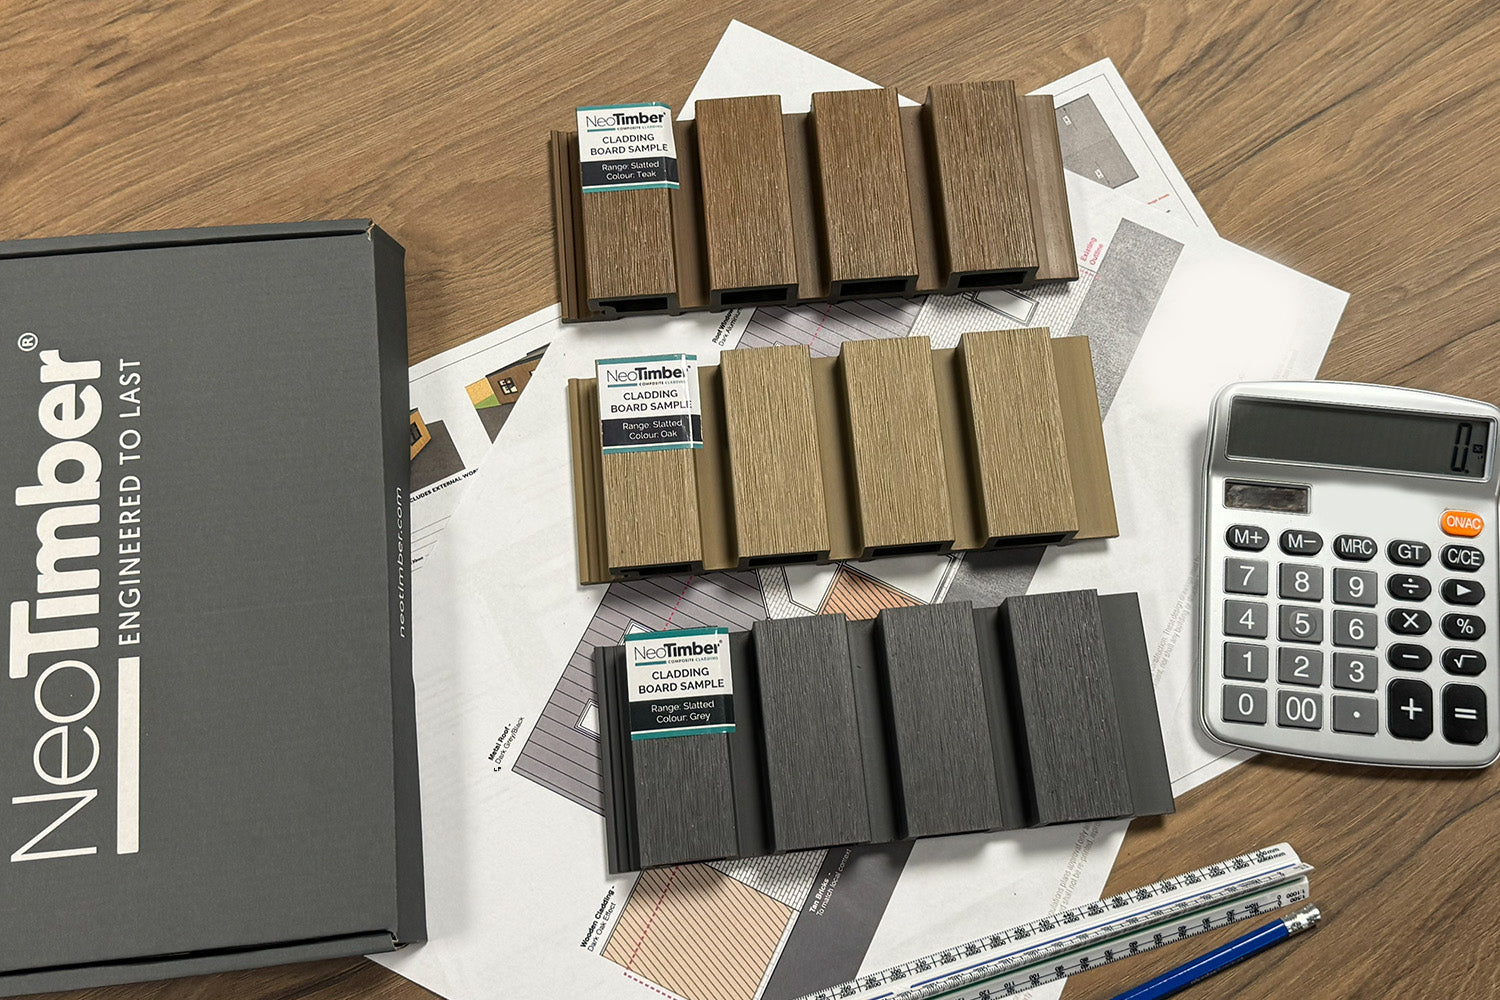
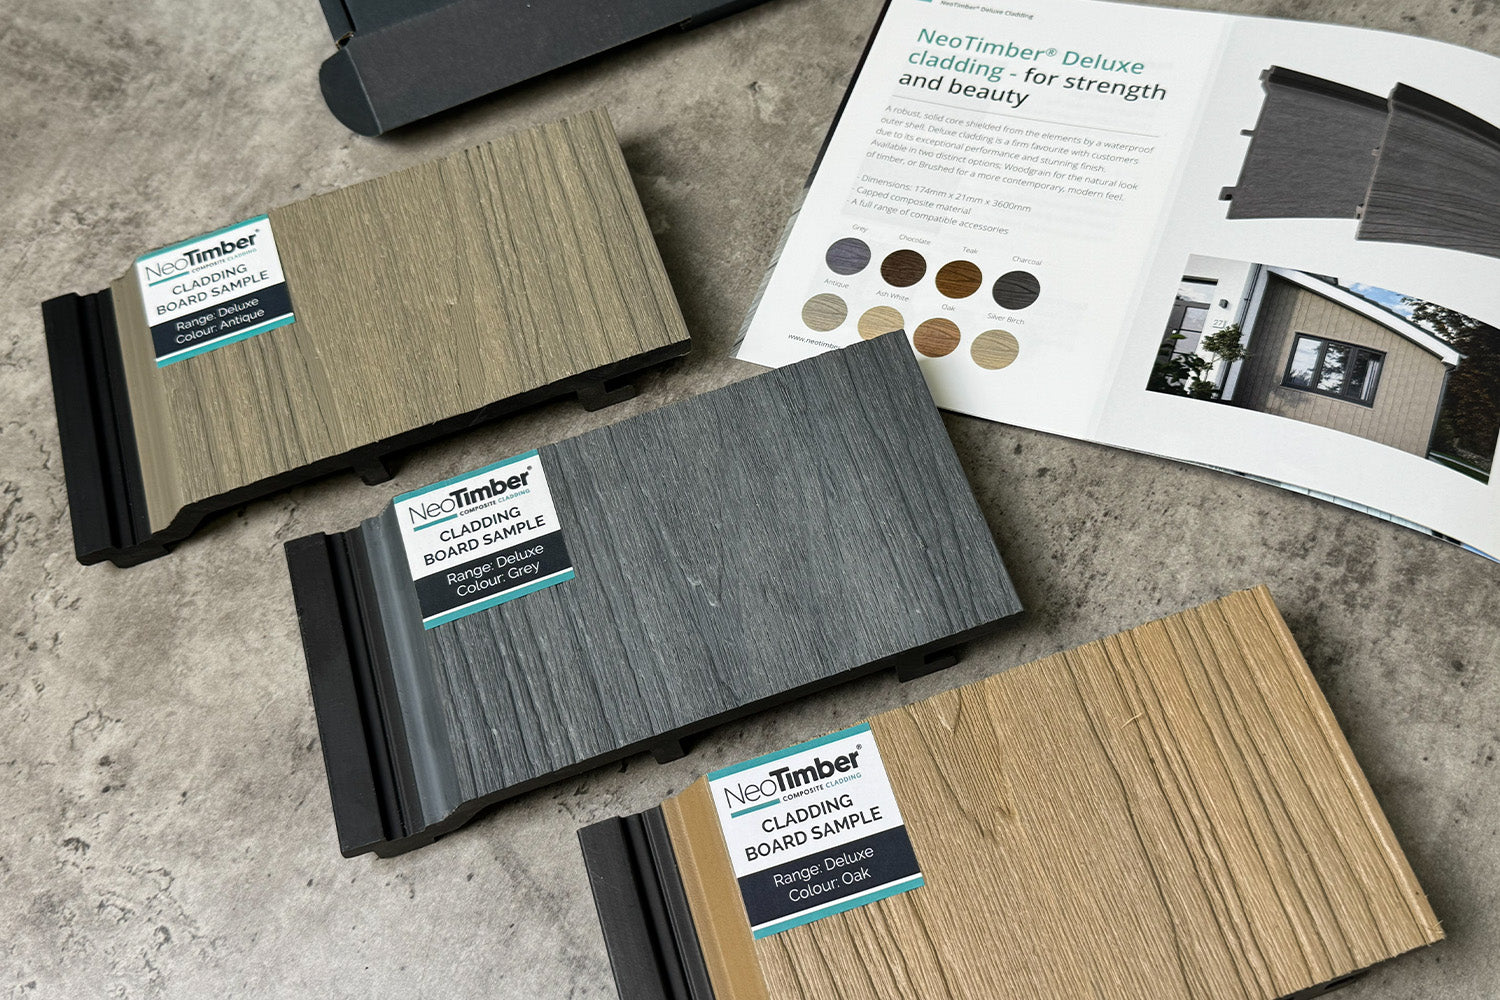
Explore NeoTimber® composite cladding ranges, review the installation resources and request free cladding samples to compare finishes. With the technical questions resolved, you can choose the appearance of your exterior with greater confidence.