
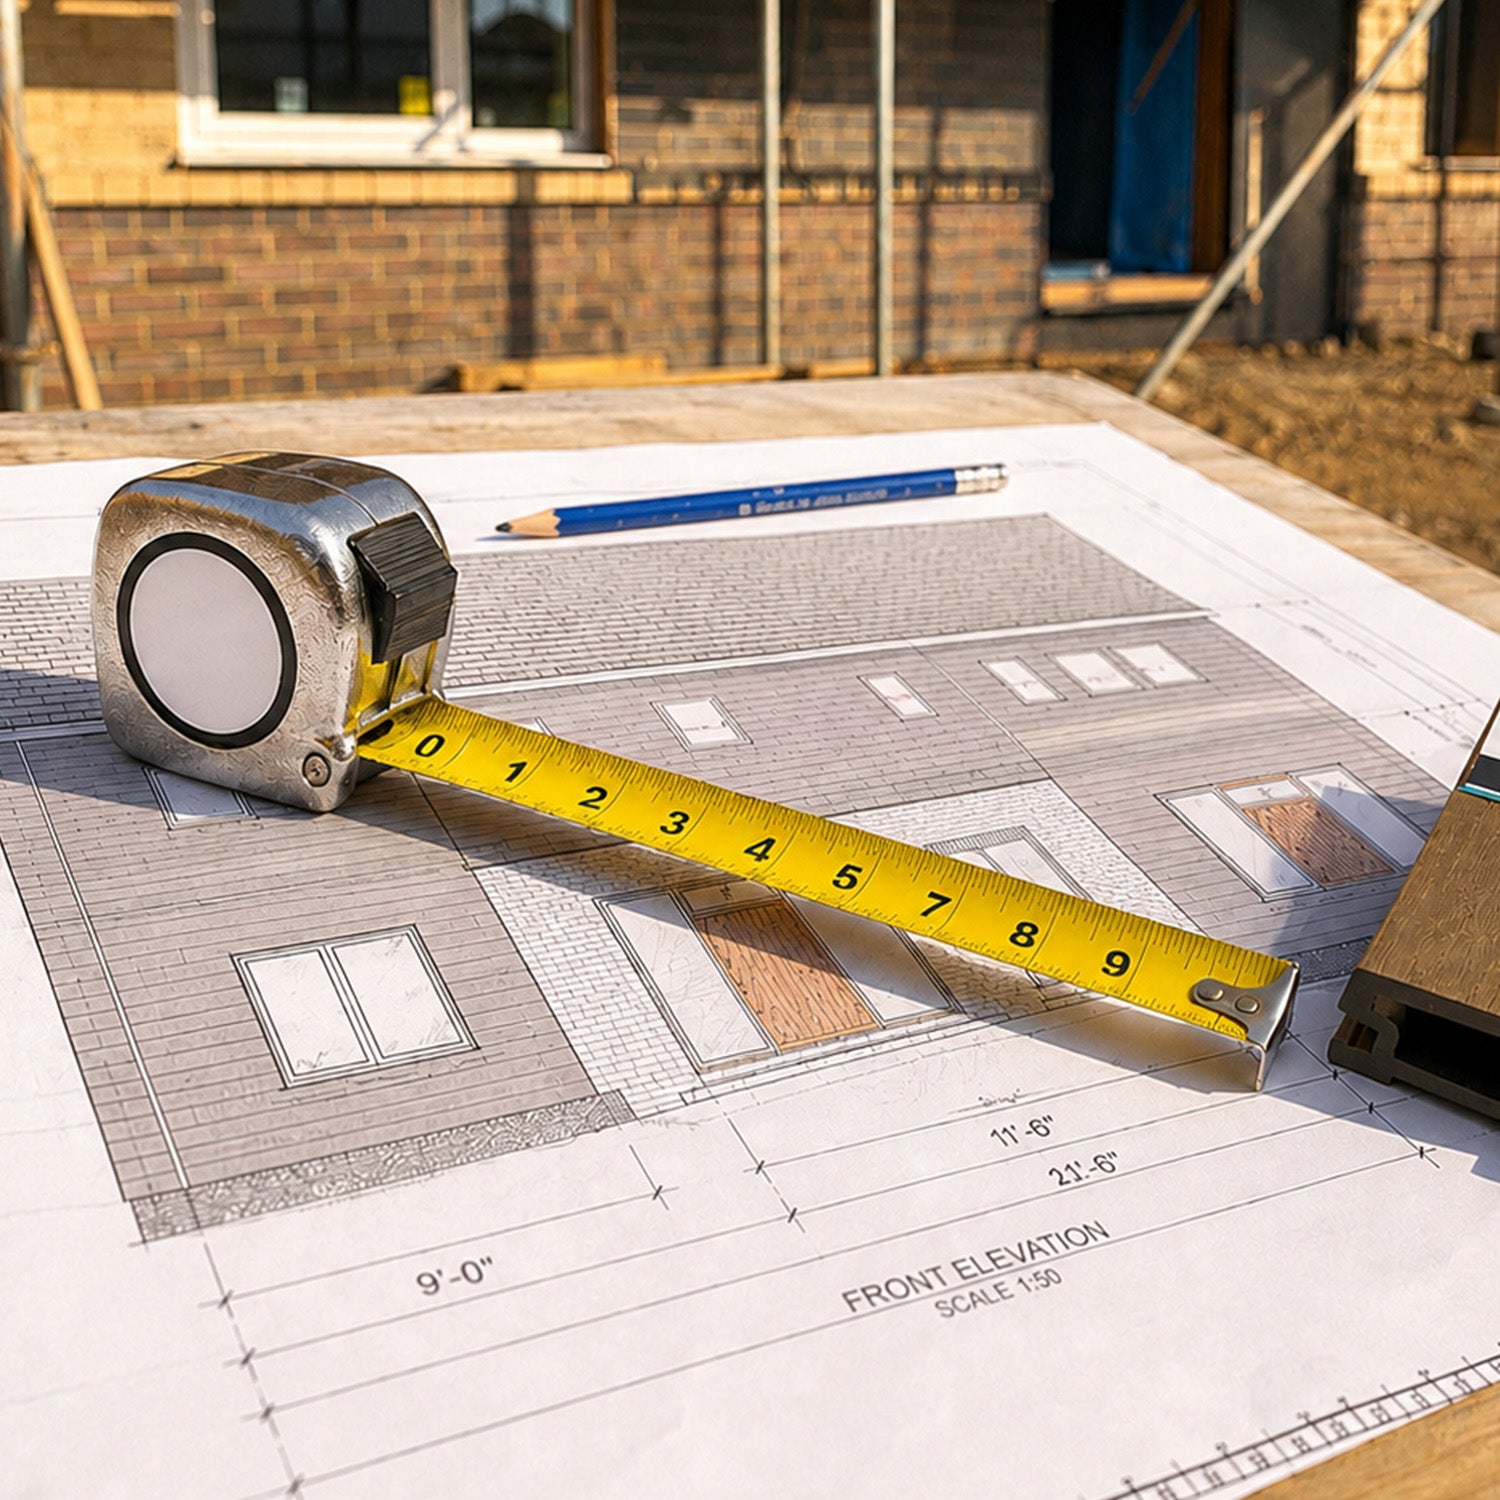


A Step-By-Step Guide To Aluminium Decking Subframe Installation
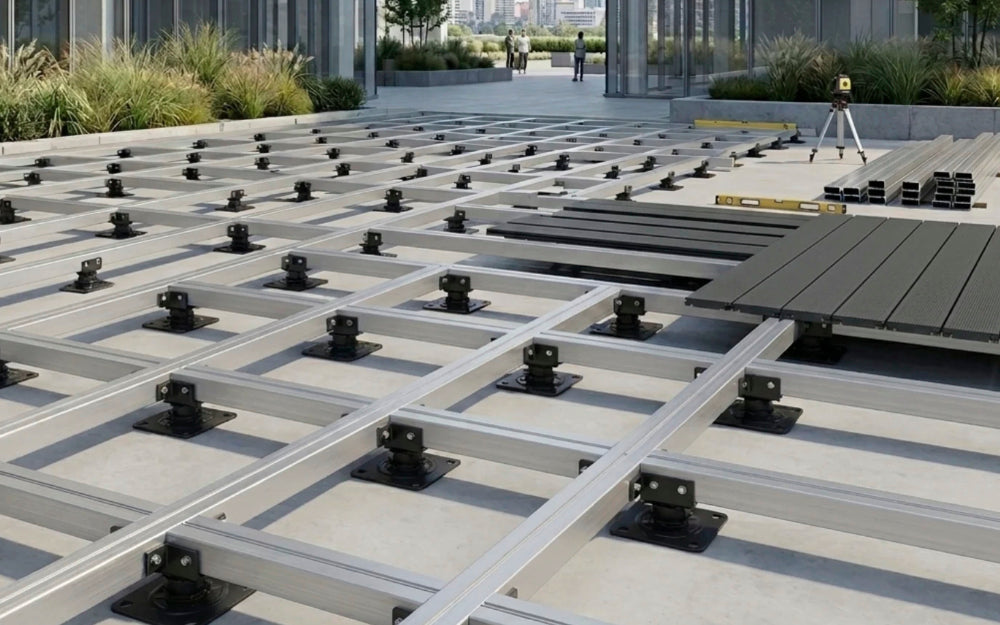
Before any aluminium decking boards are installed, a strong, level and correctly spaced subframe must be in place. The NeoTimber® aluminium decking subframe installation system uses adjustable steel pedestals and aluminium joists to create a stable base that can be built to the required height.
This makes the system particularly well suited to roof terraces, balconies, flat solid foundations and projects where accurate height adjustment is required. Work through the following steps in sequence before moving on to the aluminium deck board installation stage.
Understanding The Aluminium Decking Subframe System
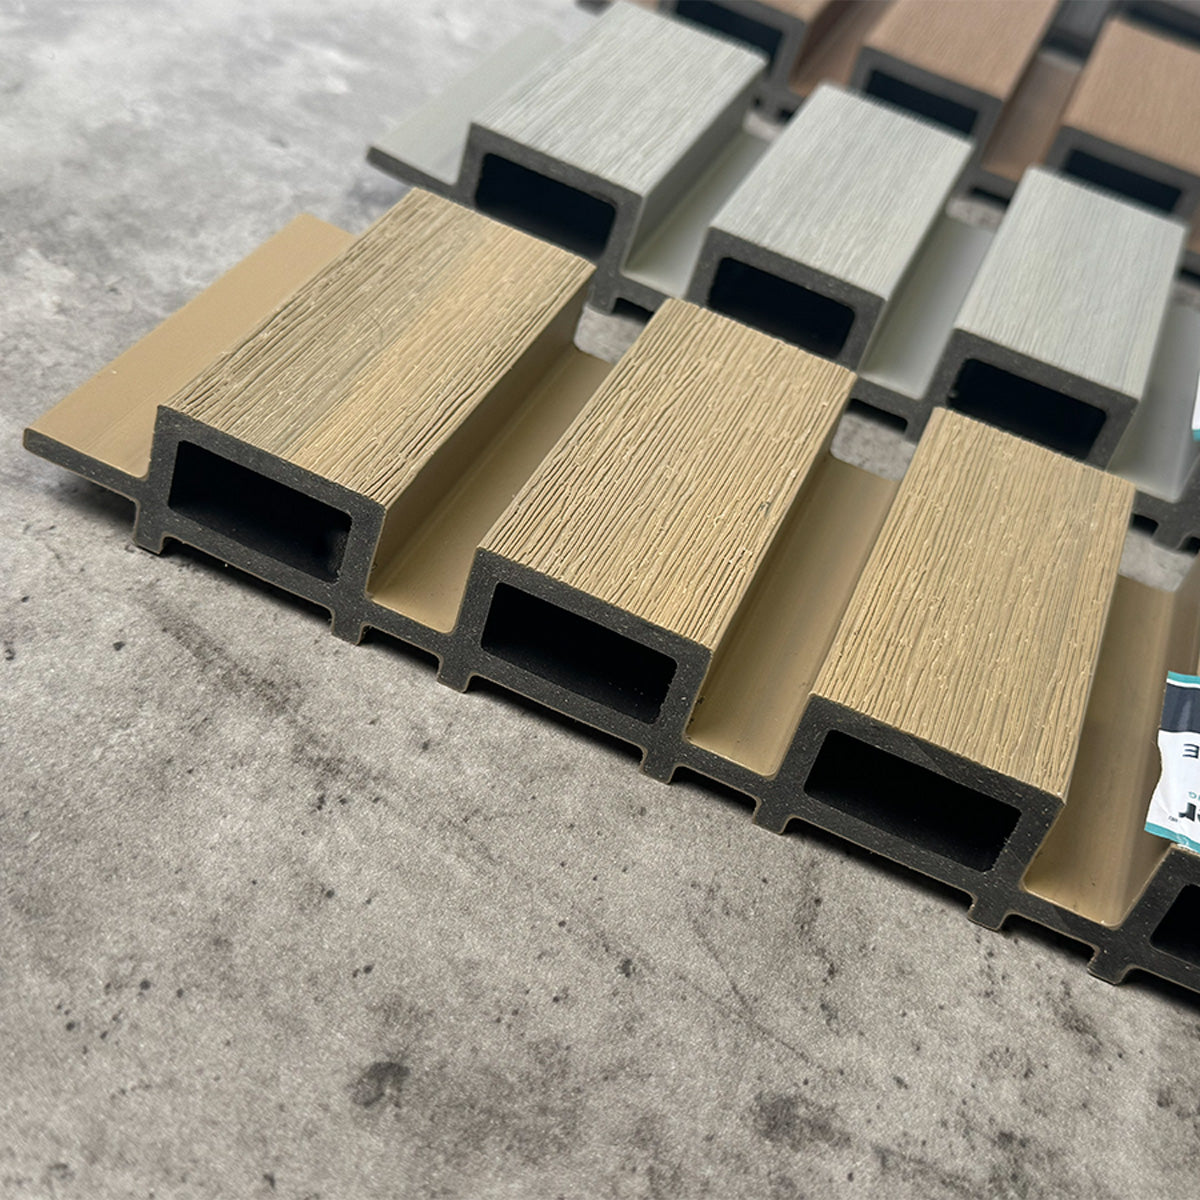
The NeoTimber® aluminium decking subframe is made up of adjustable steel pedestals and aluminium joists, which sit beneath the decking boards to provide structural support. The final installed height of the system depends on the pedestal height selected, the depth of the aluminium joist and the 21.5mm thickness of the aluminium decking board.
Where height restrictions apply, such as around door thresholds, balcony edges or existing structures, always confirm the full build-up height before specifying your pedestal size.
Step 1: Laying Out Your Pedestals
Start at the edge of the proposed decking area and position the adjustable steel pedestals in a linear grid pattern. The orientation of each pedestal should follow the direction in which the aluminium joists will run.

There are two key spacing rules to follow. Along the span of the aluminium joists, pedestals should be spaced at 500mm centres. Along the span of the aluminium decking boards, pedestals should be spaced between 400mm and 500mm centres.
Getting this pedestal grid correct at the outset is essential for a stable aluminium decking subframe installation, as it ensures the joist network is properly supported in both directions.

Step 2: Adjusting The Height Of Your Pedestals
Once the pedestals are positioned, adjust each one to the required height by twisting the pedestal cradle until the desired level is reached. Lock the cradle securely in place using the locking nut positioned directly below it.
Use a spirit level across the joists as you work to check that the aluminium decking subframe remains level before any fixings are fully tightened.


Step 3: Fixing Aluminium Joists Onto The Pedestals
Lay the aluminium joists at right angles to the intended direction of the deck boards. Position each joist across the pedestal grid and make any final height adjustments required to create a level surface.
Once the joists are correctly aligned and level, secure each aluminium joist to the pedestal by screwing through the fixing holes in the joist cradle.

Step 4: Supporting And Securing Joist Joins
Where two aluminium joists meet end-to-end, the join must be supported by a pedestal positioned directly beneath it. Leave an 8-10mm expansion gap between the two joining joists to allow for thermal movement.
Deck board joins above the subframe should also be supported by double joists. This provides adequate bearing beneath each board end and helps maintain a secure, professional finish across the deck surface.

Step 5: Preparing The Subframe For Deck Board Installation
Once the aluminium decking subframe installation is complete, check that all pedestals are stable, all joists are level and all fixings are secure. The decking boards can then be laid over the completed joist network.
Begin at the outside edge of the framework and work inward. Use NeoTimber® Starter Clips for the first row of boards and Metal FastClips for all subsequent rows. Full deck board fixing guidance is covered in the next section of this installation guide.

Final Checks Before Installing Aluminium Decking Boards
Before moving on to the board installation stage, inspect the full aluminium decking subframe carefully. Confirm that pedestal spacing, joist spacing, expansion gaps, double joist support and finished height are all correct.
A well-prepared subframe is the foundation of a successful aluminium decking installation, helping ensure the finished deck is level, secure and built for long-term performance.