



Plan, Prepare and Build Your Composite Deck with Confidence
Building a deck with composite decking becomes easier to understand when you divide the work into clear stages: plan the layout, prepare the site, install a suitable subframe, fit the boards and complete the edges. Each stage affects the next, so a little preparation can prevent avoidable cutting, missing components and last-minute changes.
If you want to build a composite deck yourself, this guide explains the main decisions and installation sequence. Use it alongside the NeoTimber® installation guides and videos, which provide the detailed requirements for your chosen products. The correct support spacing, gaps and fixings depend on the system and layout.
For a straightforward garden project, DIY may be a practical option if you have the necessary skills and equipment. Raised structures, roof terraces and complex designs need an appropriate specification before work begins. If you would prefer professional help, use the Find an Installer service.
Jump to a stage
1. Plan the Layout Before Building a Composite Deck
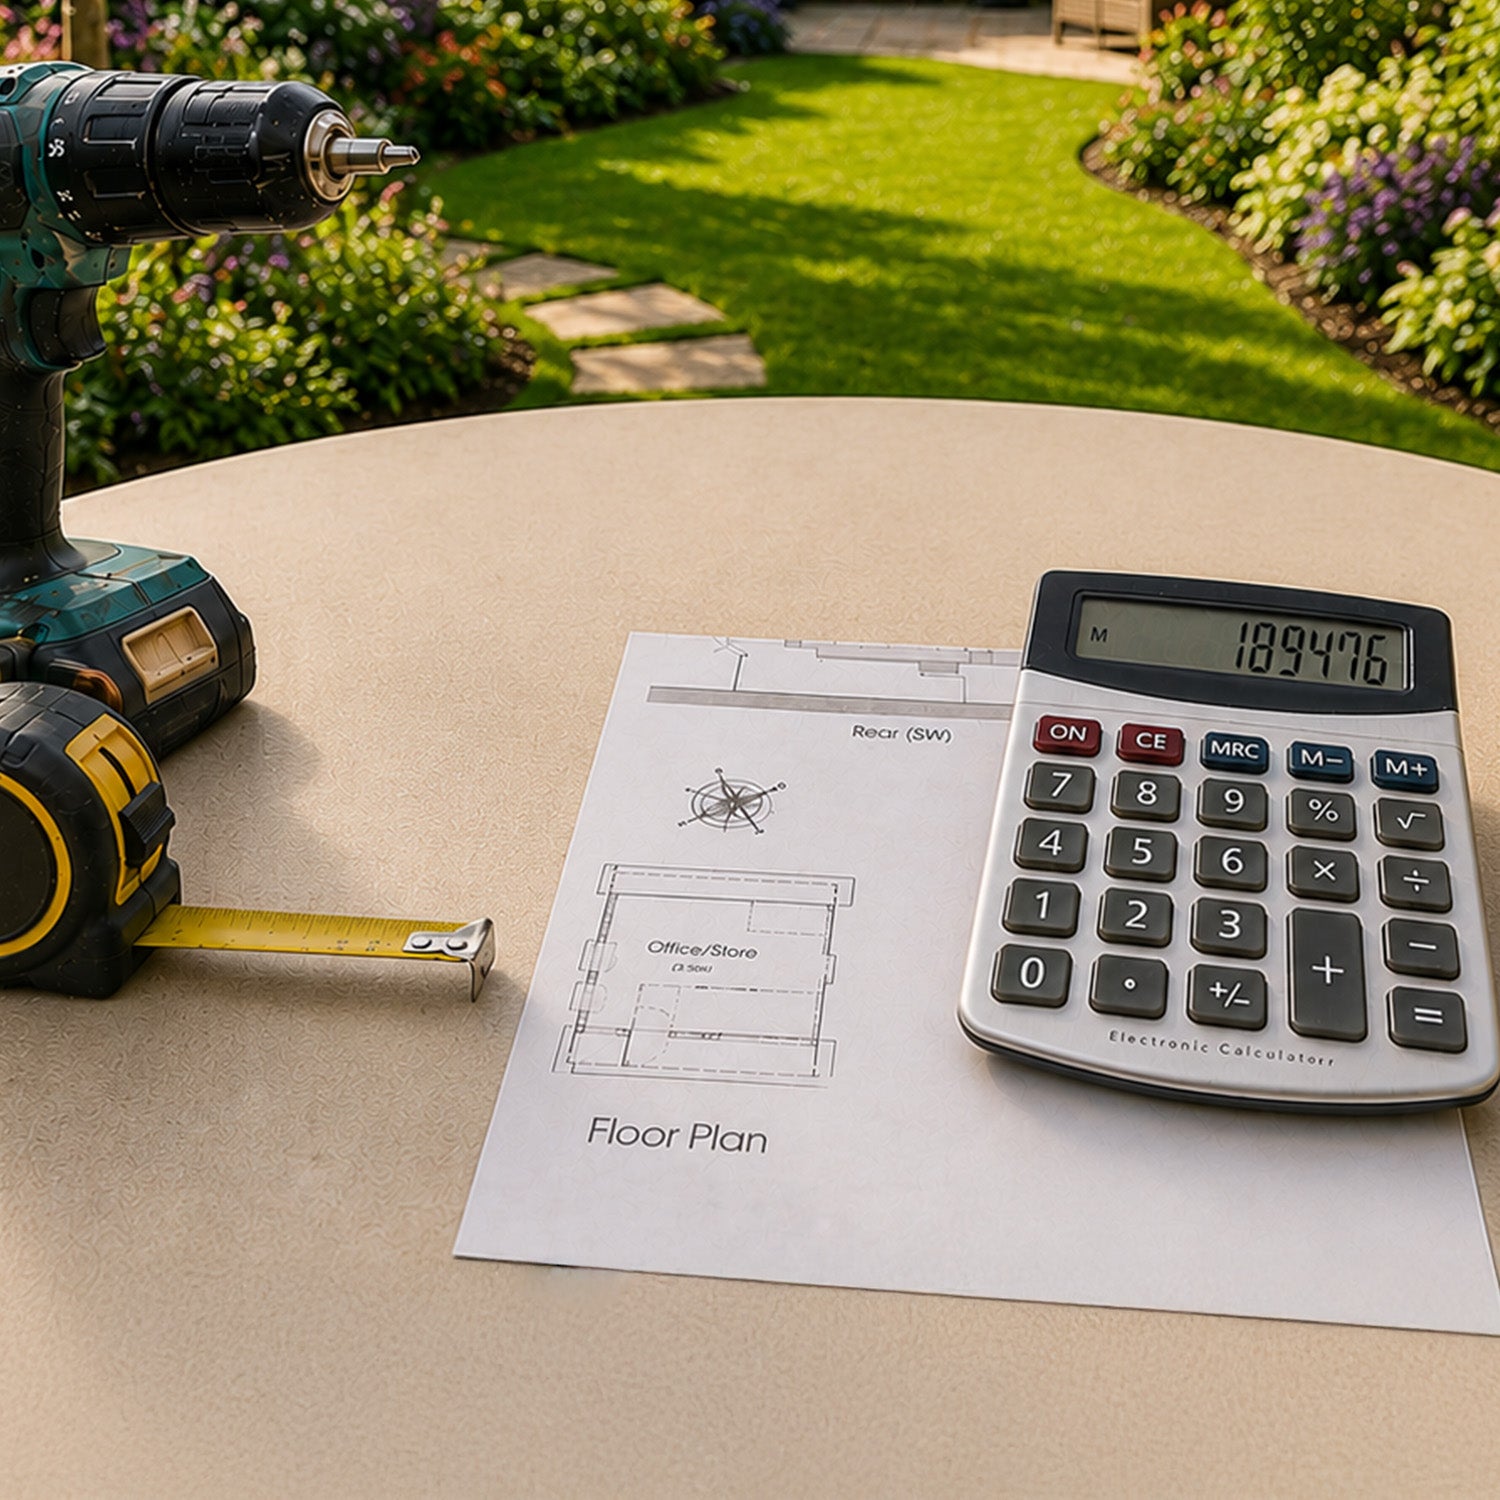
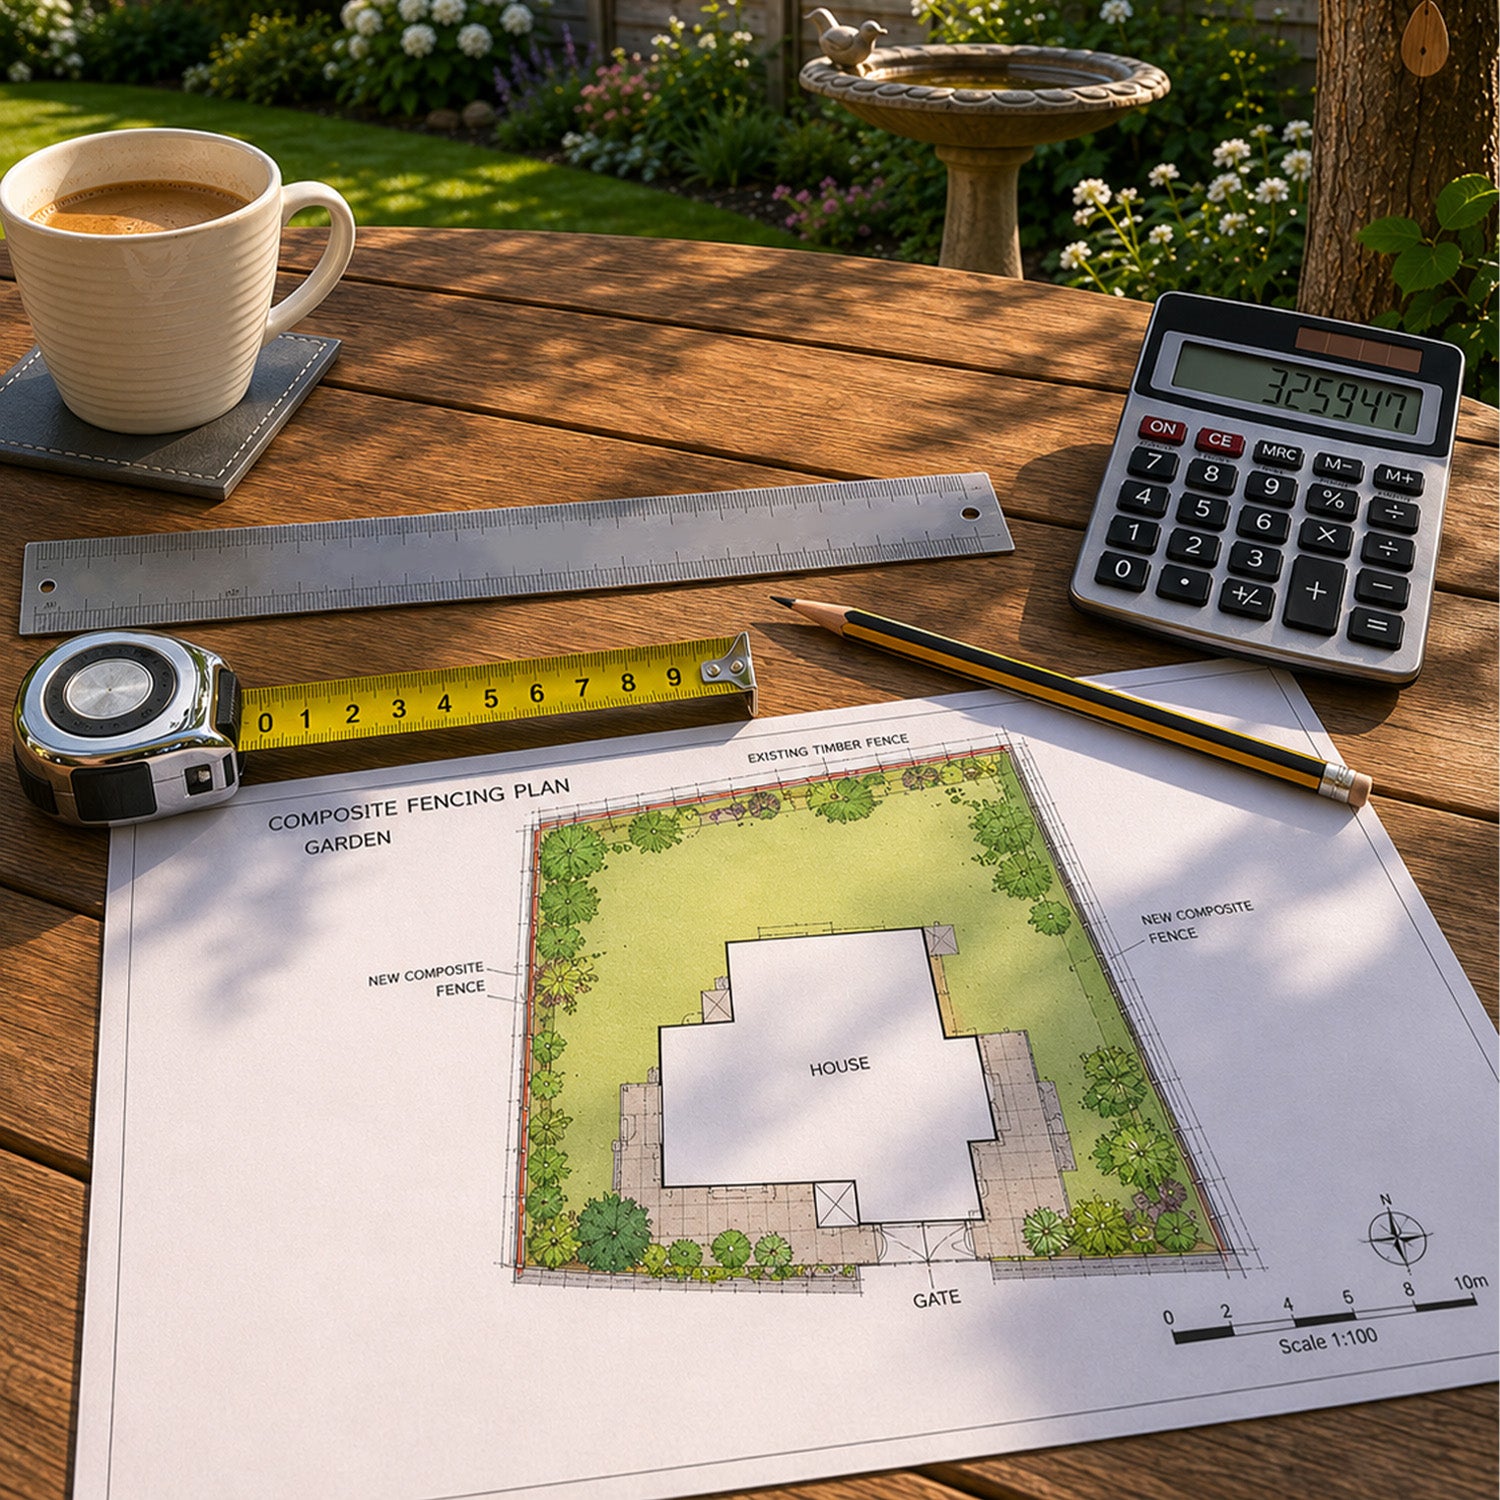
Start with a measured drawing of the proposed area. Record walls, door openings, drains and other fixed features. Think about how people will move through the space and leave enough room for furniture to be used comfortably.
Choose the direction of the boards before designing the frame. The layout determines where supports and board joints will be needed. Picture-frame borders, steps and angled patterns should also be drawn at this stage, rather than added after the main frame is complete.
Calculate boards and accessories together
For a rectangular deck, multiply length by width to find the surface area. A 4-metre by 3-metre deck covers 12 m², but that measurement alone does not tell you the final number of boards. Available lengths, installed spacing, borders and cuts all affect the order.
NeoTimber® recommends allowing 5–10% for cuts and waste, increasing to 15% for diagonal or angled layouts. Use those figures as a planning allowance, then check the actual cutting schedule. The decking calculator can help you prepare an initial material estimate.
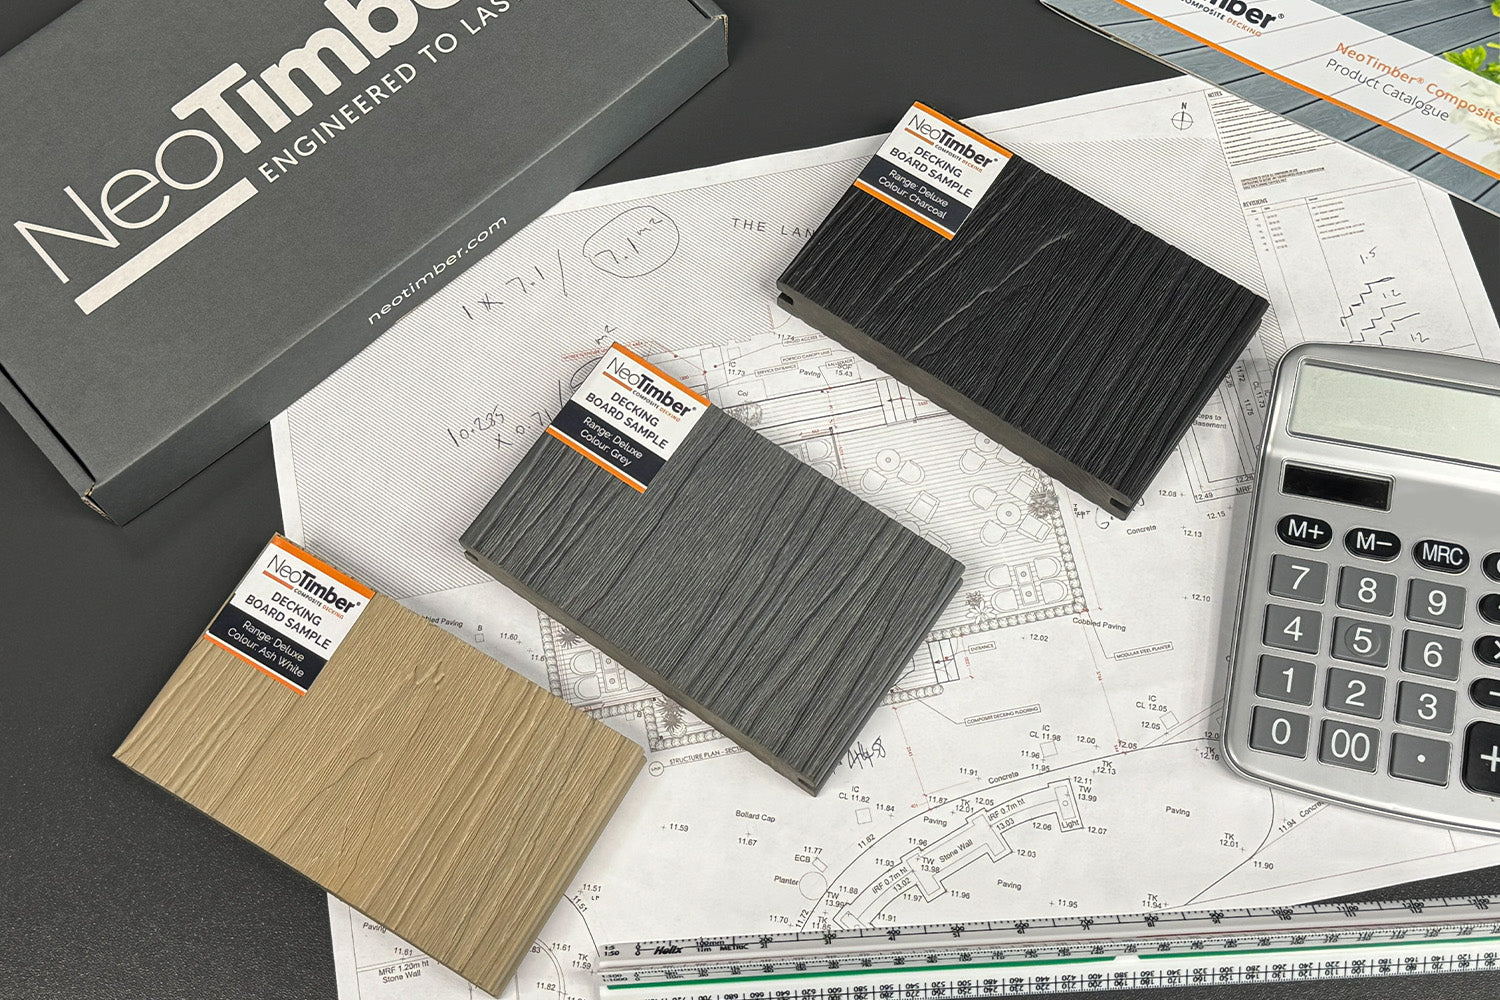
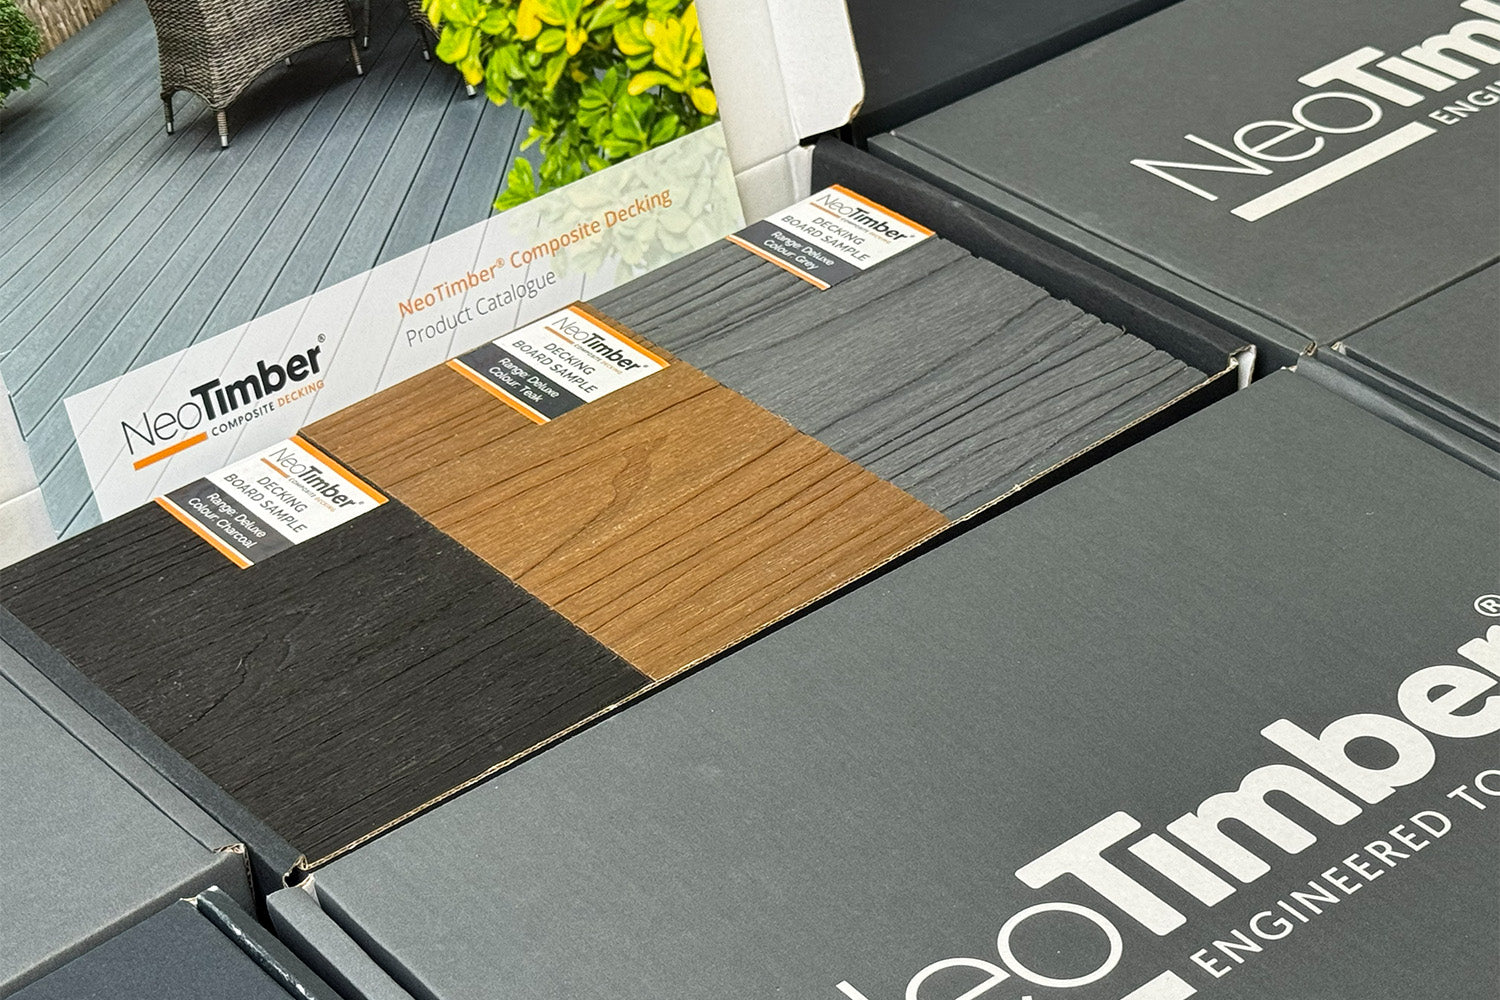
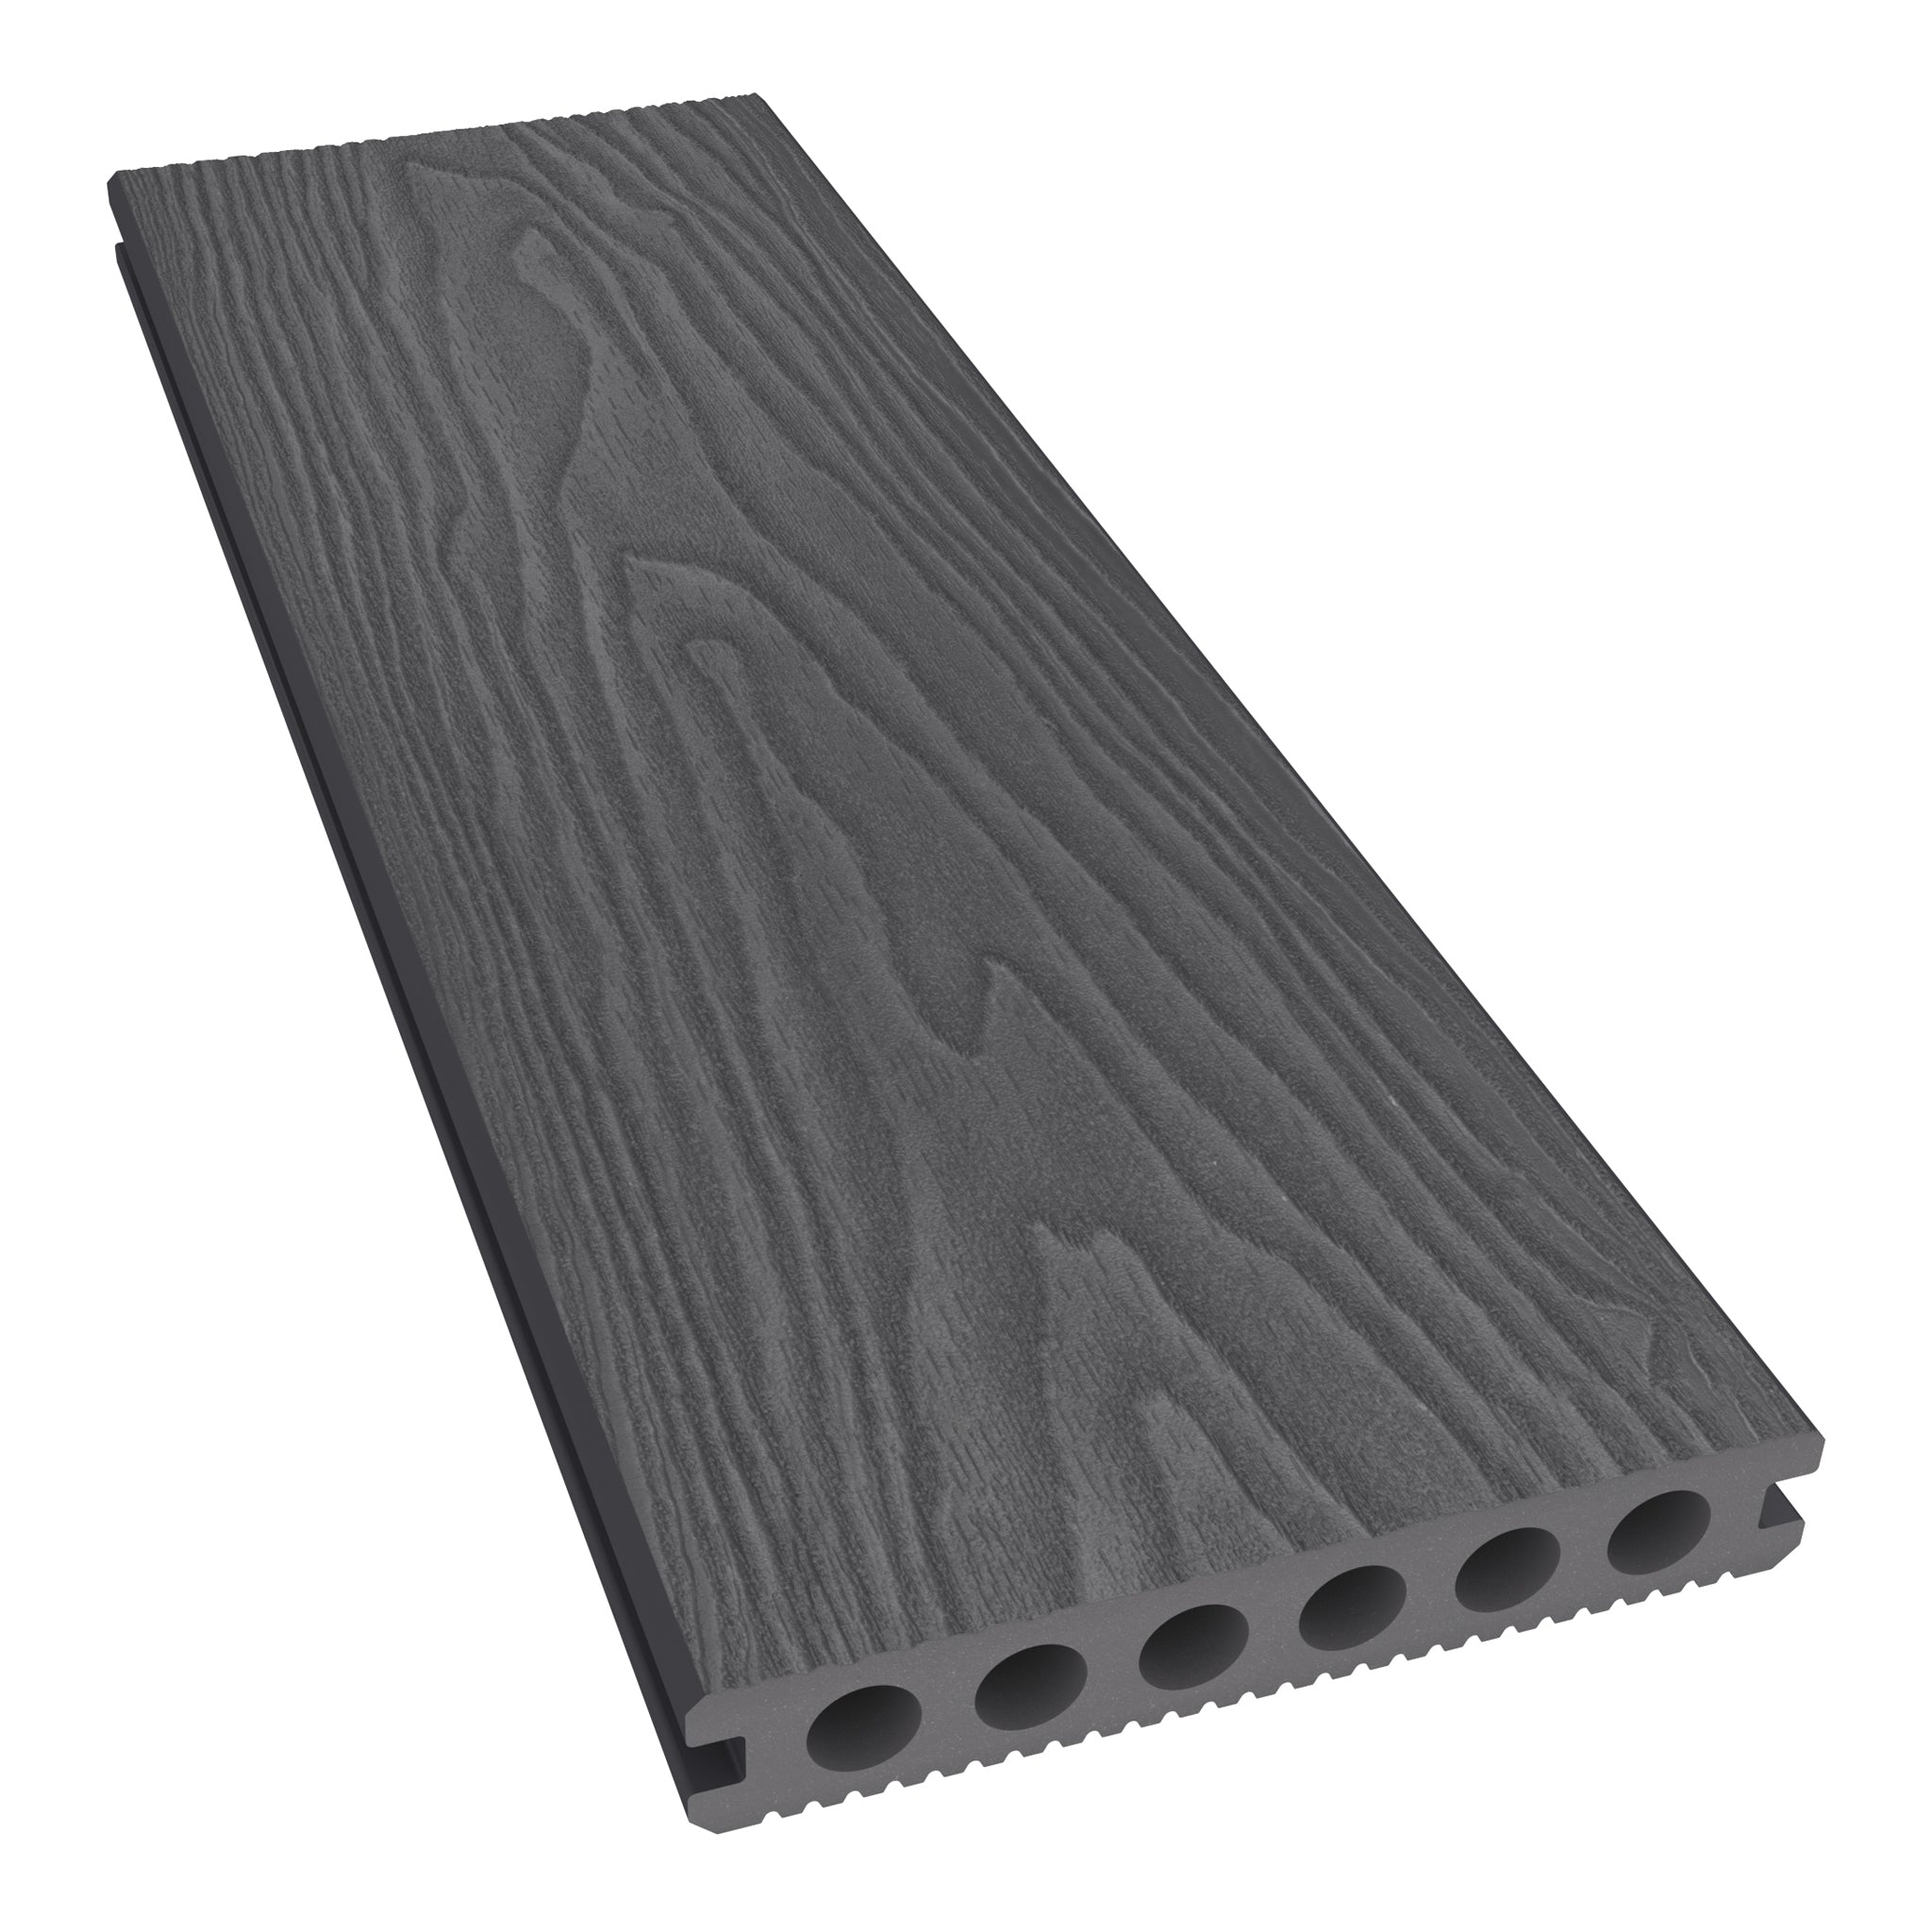
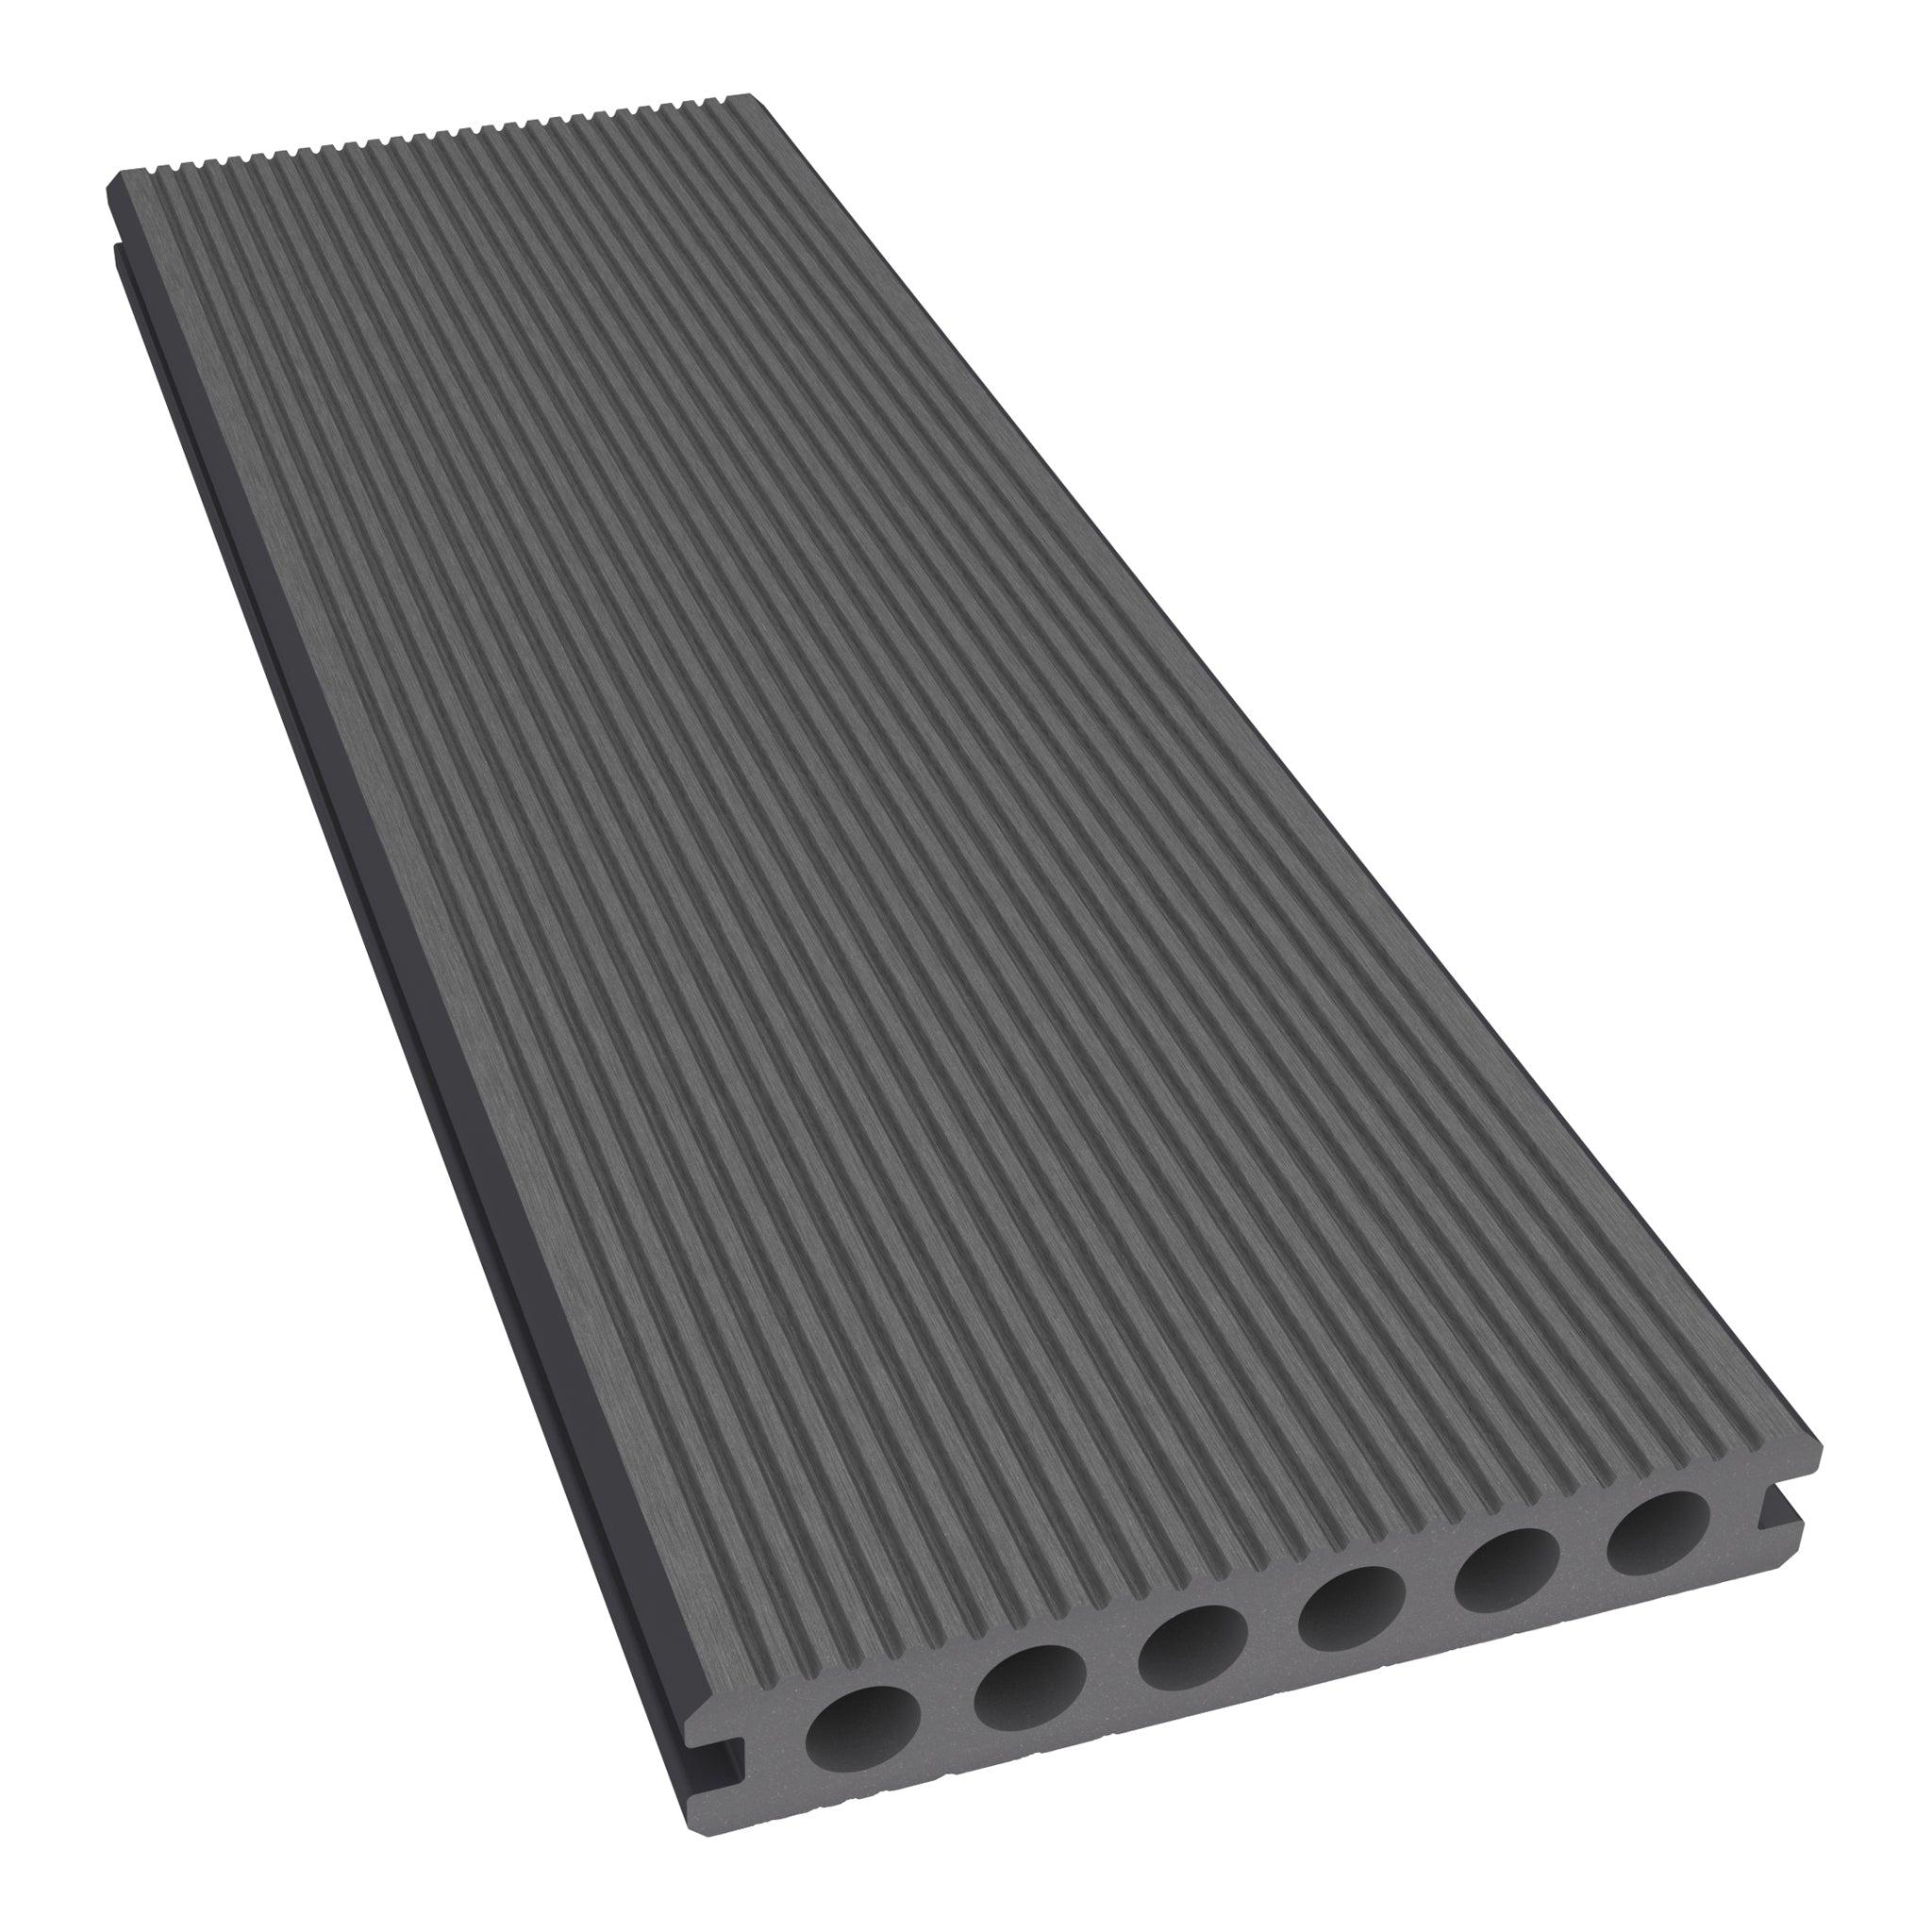
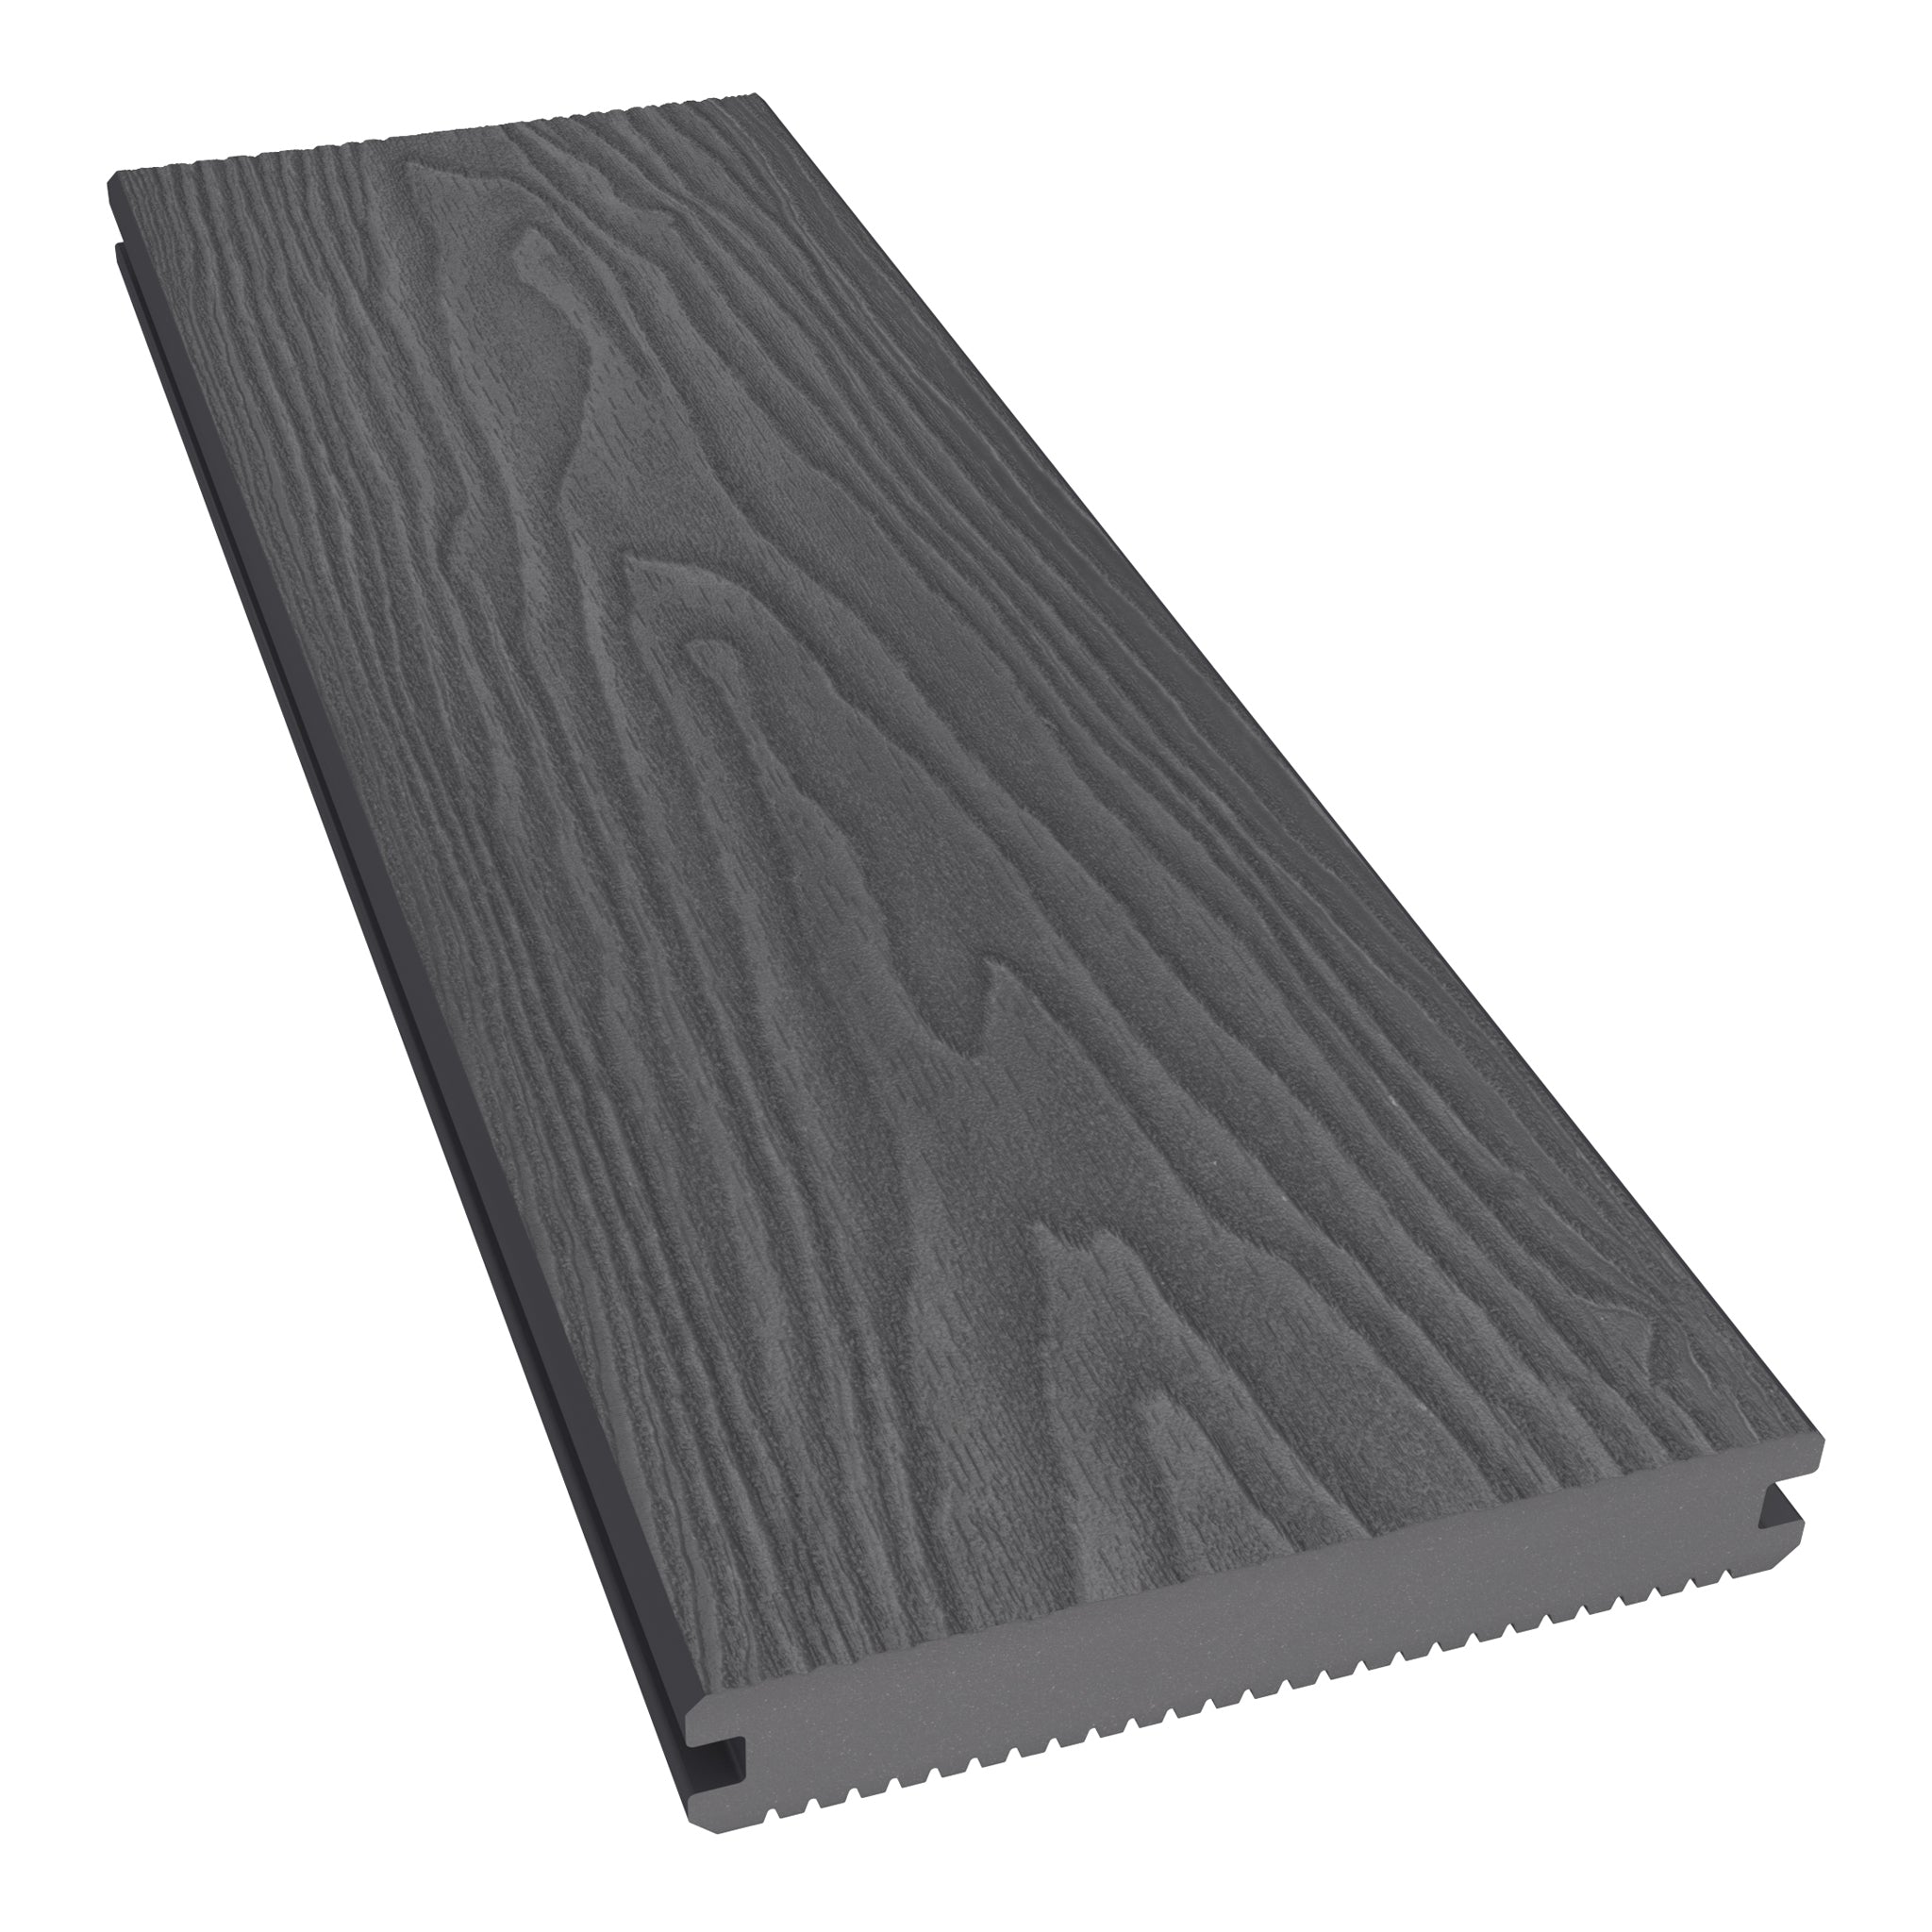
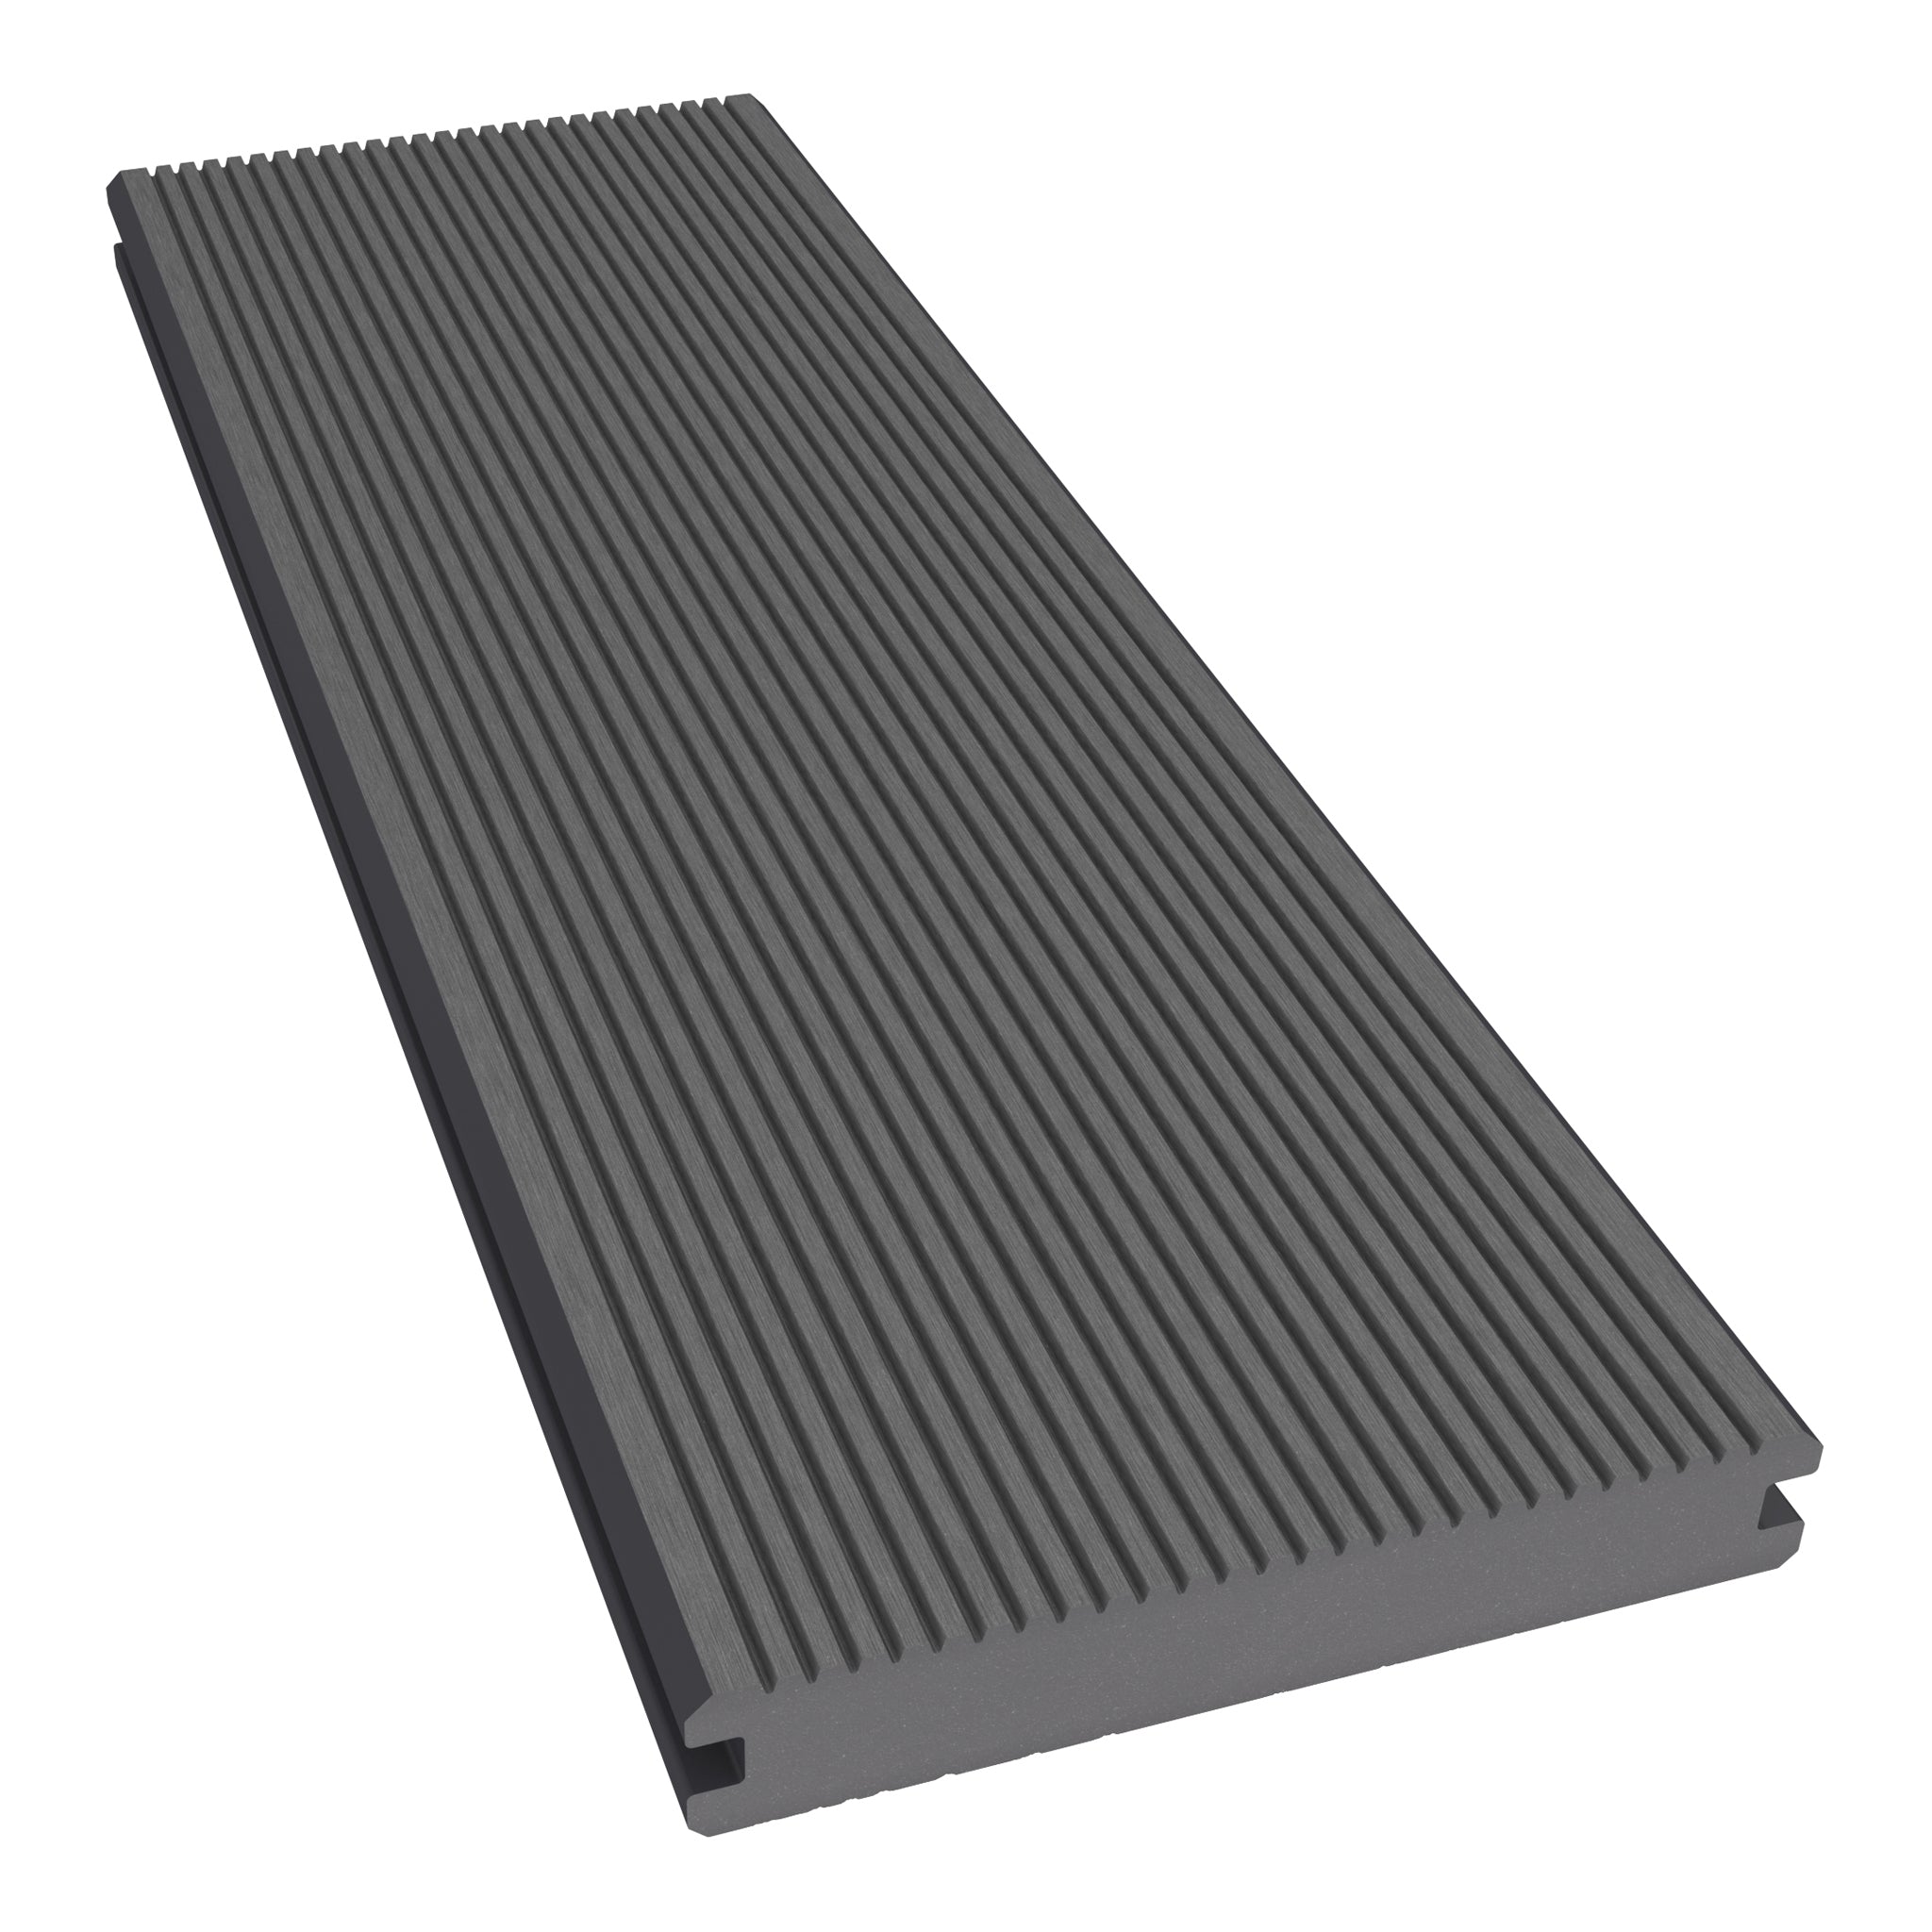
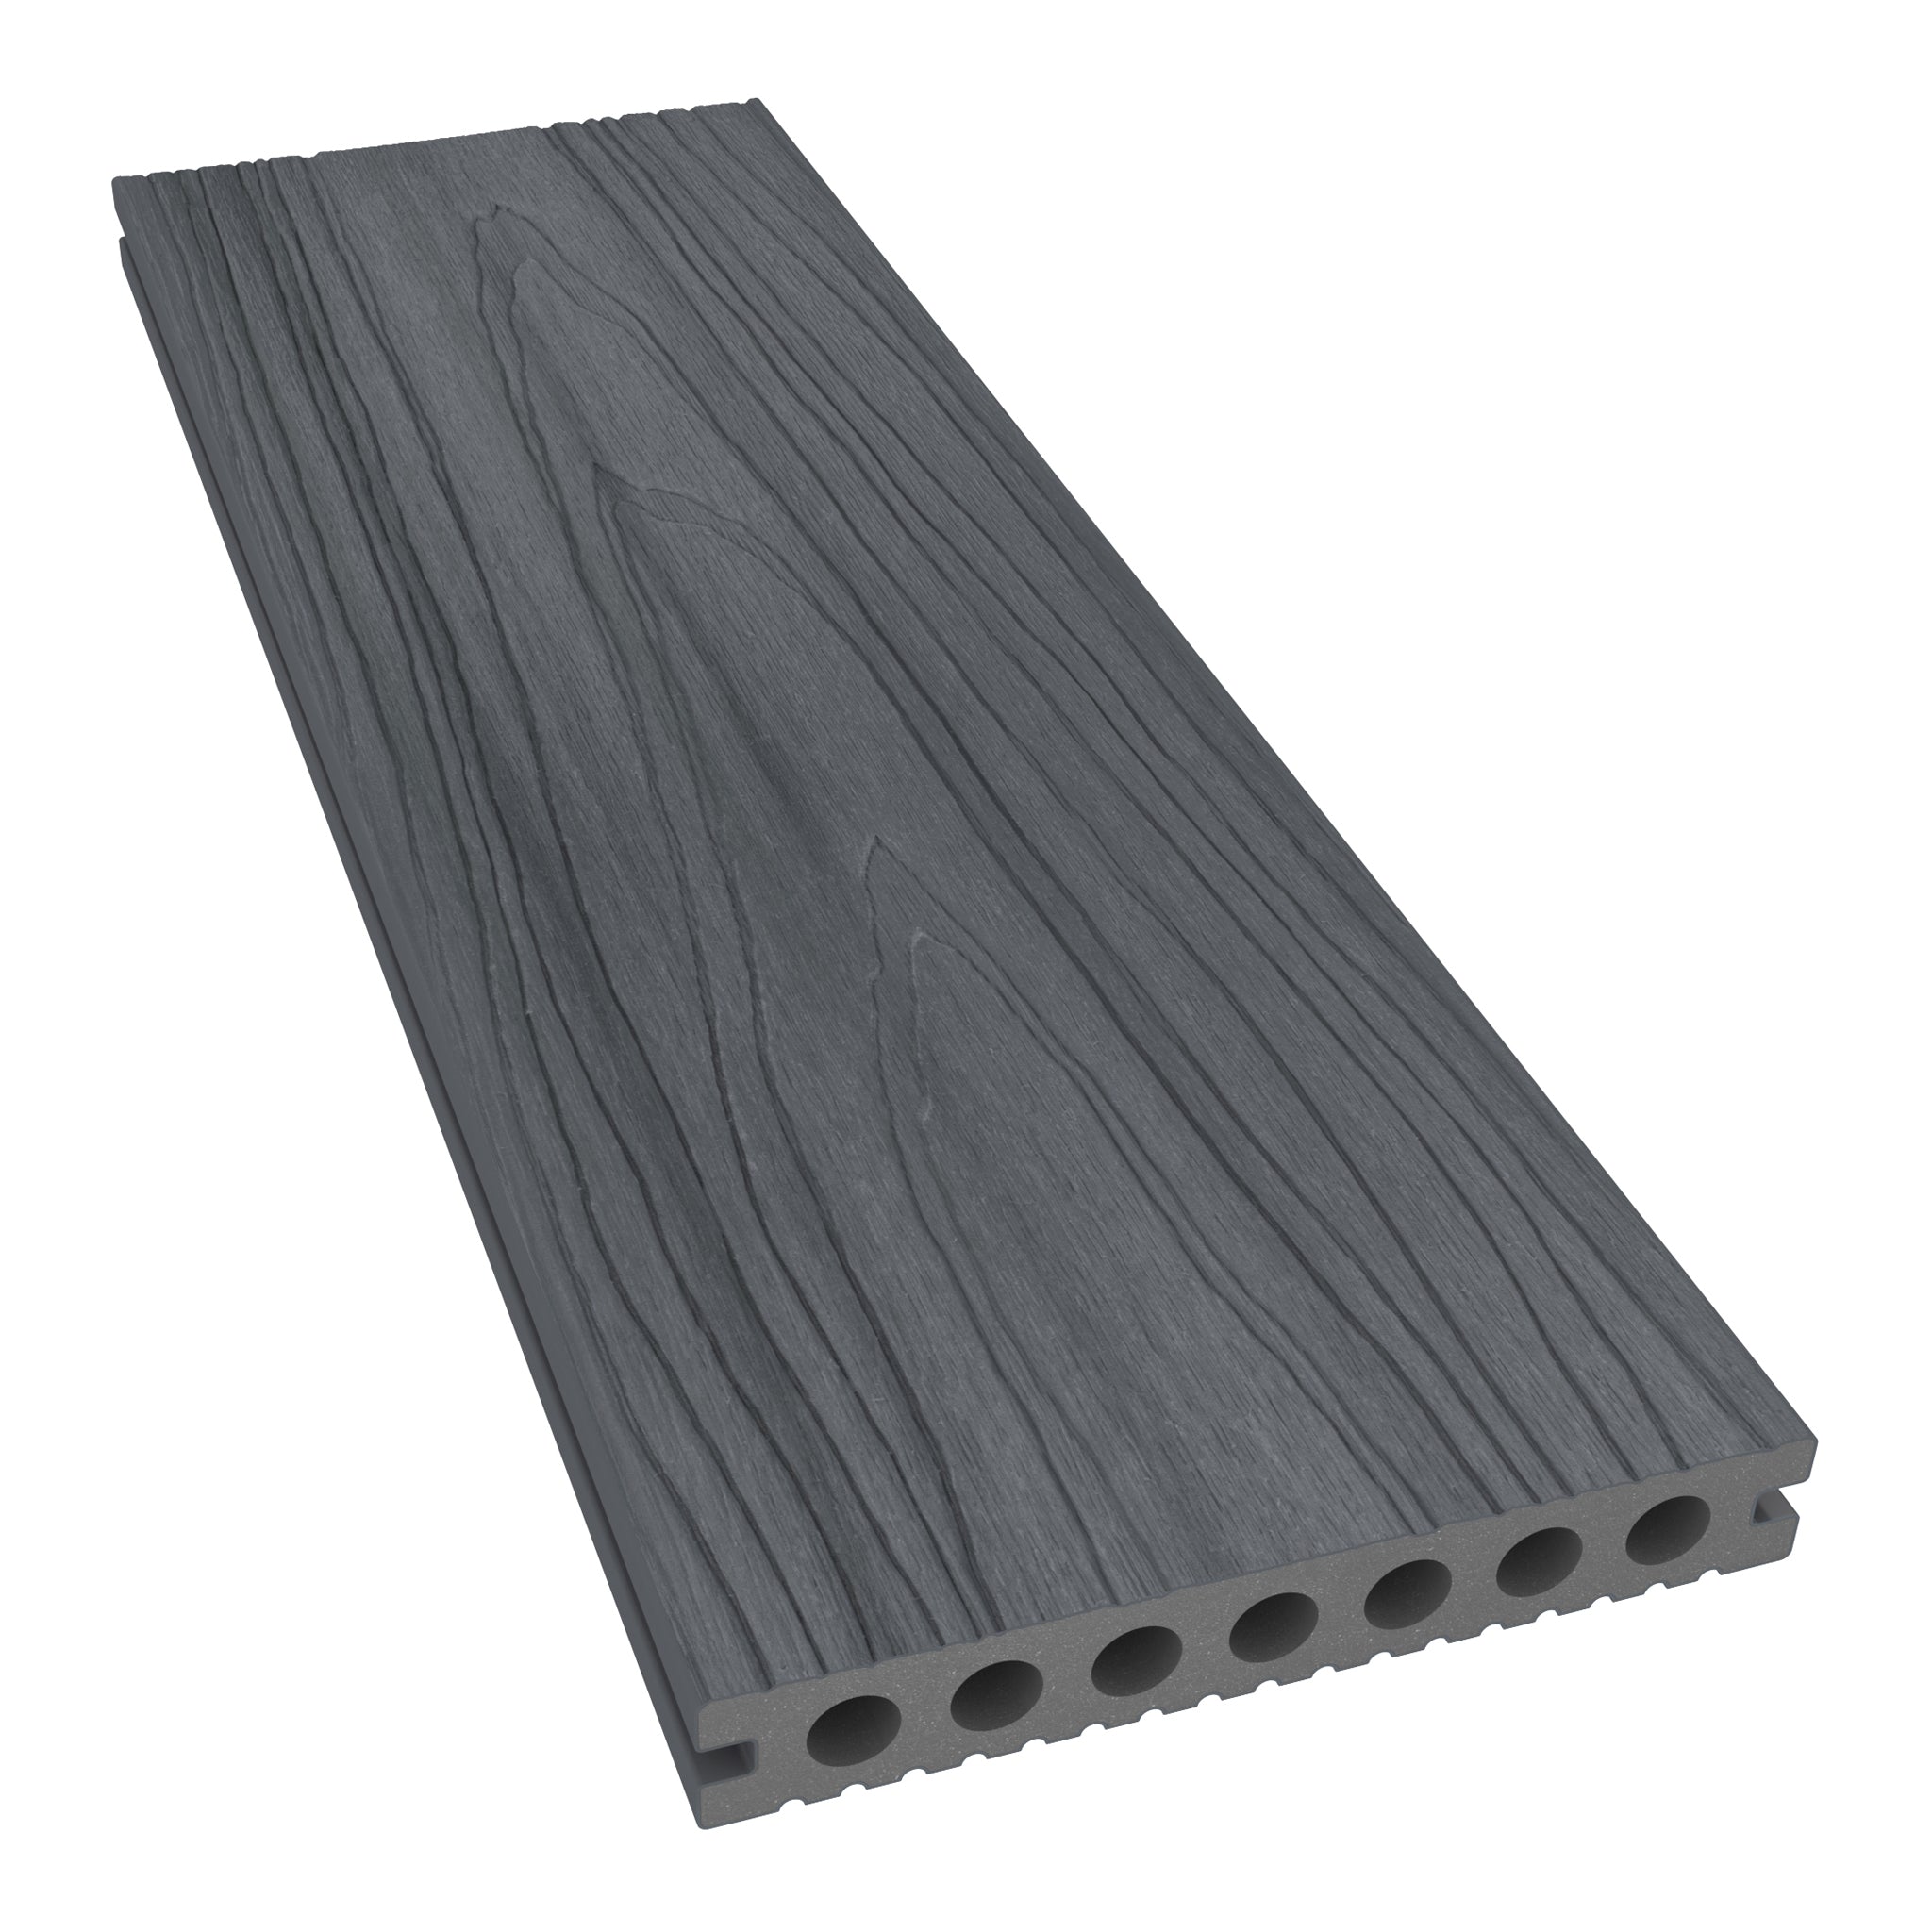
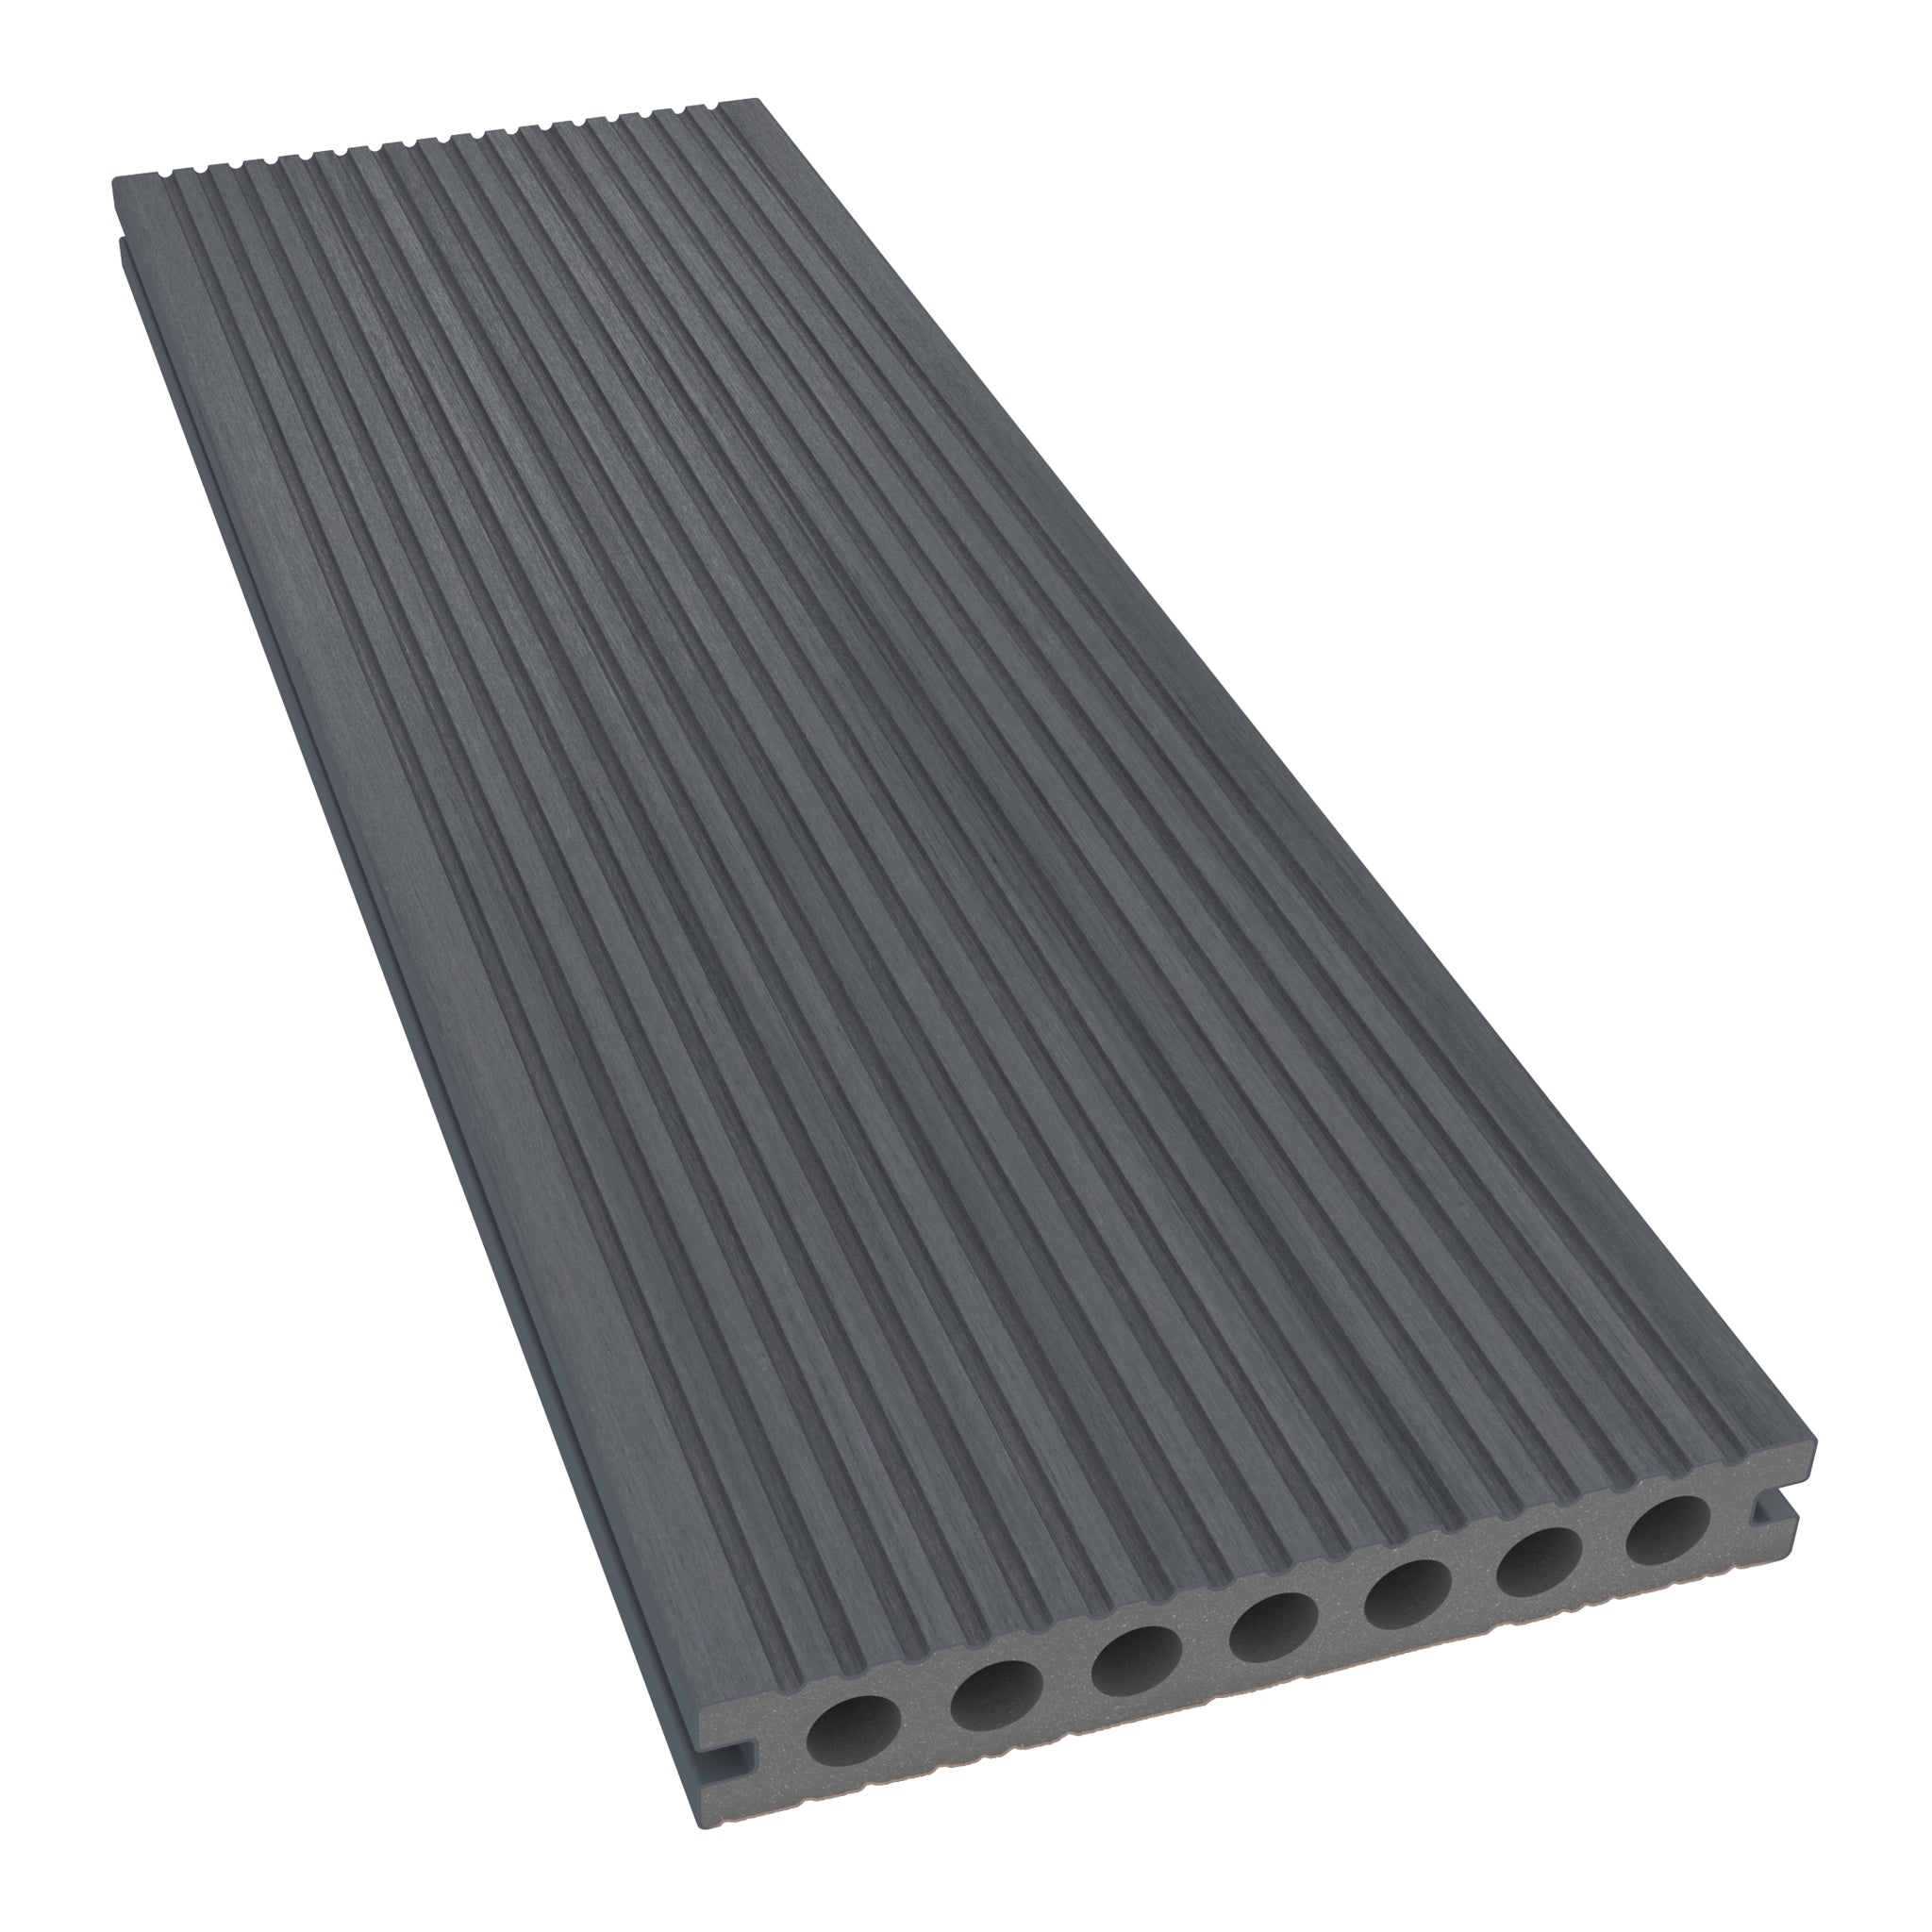
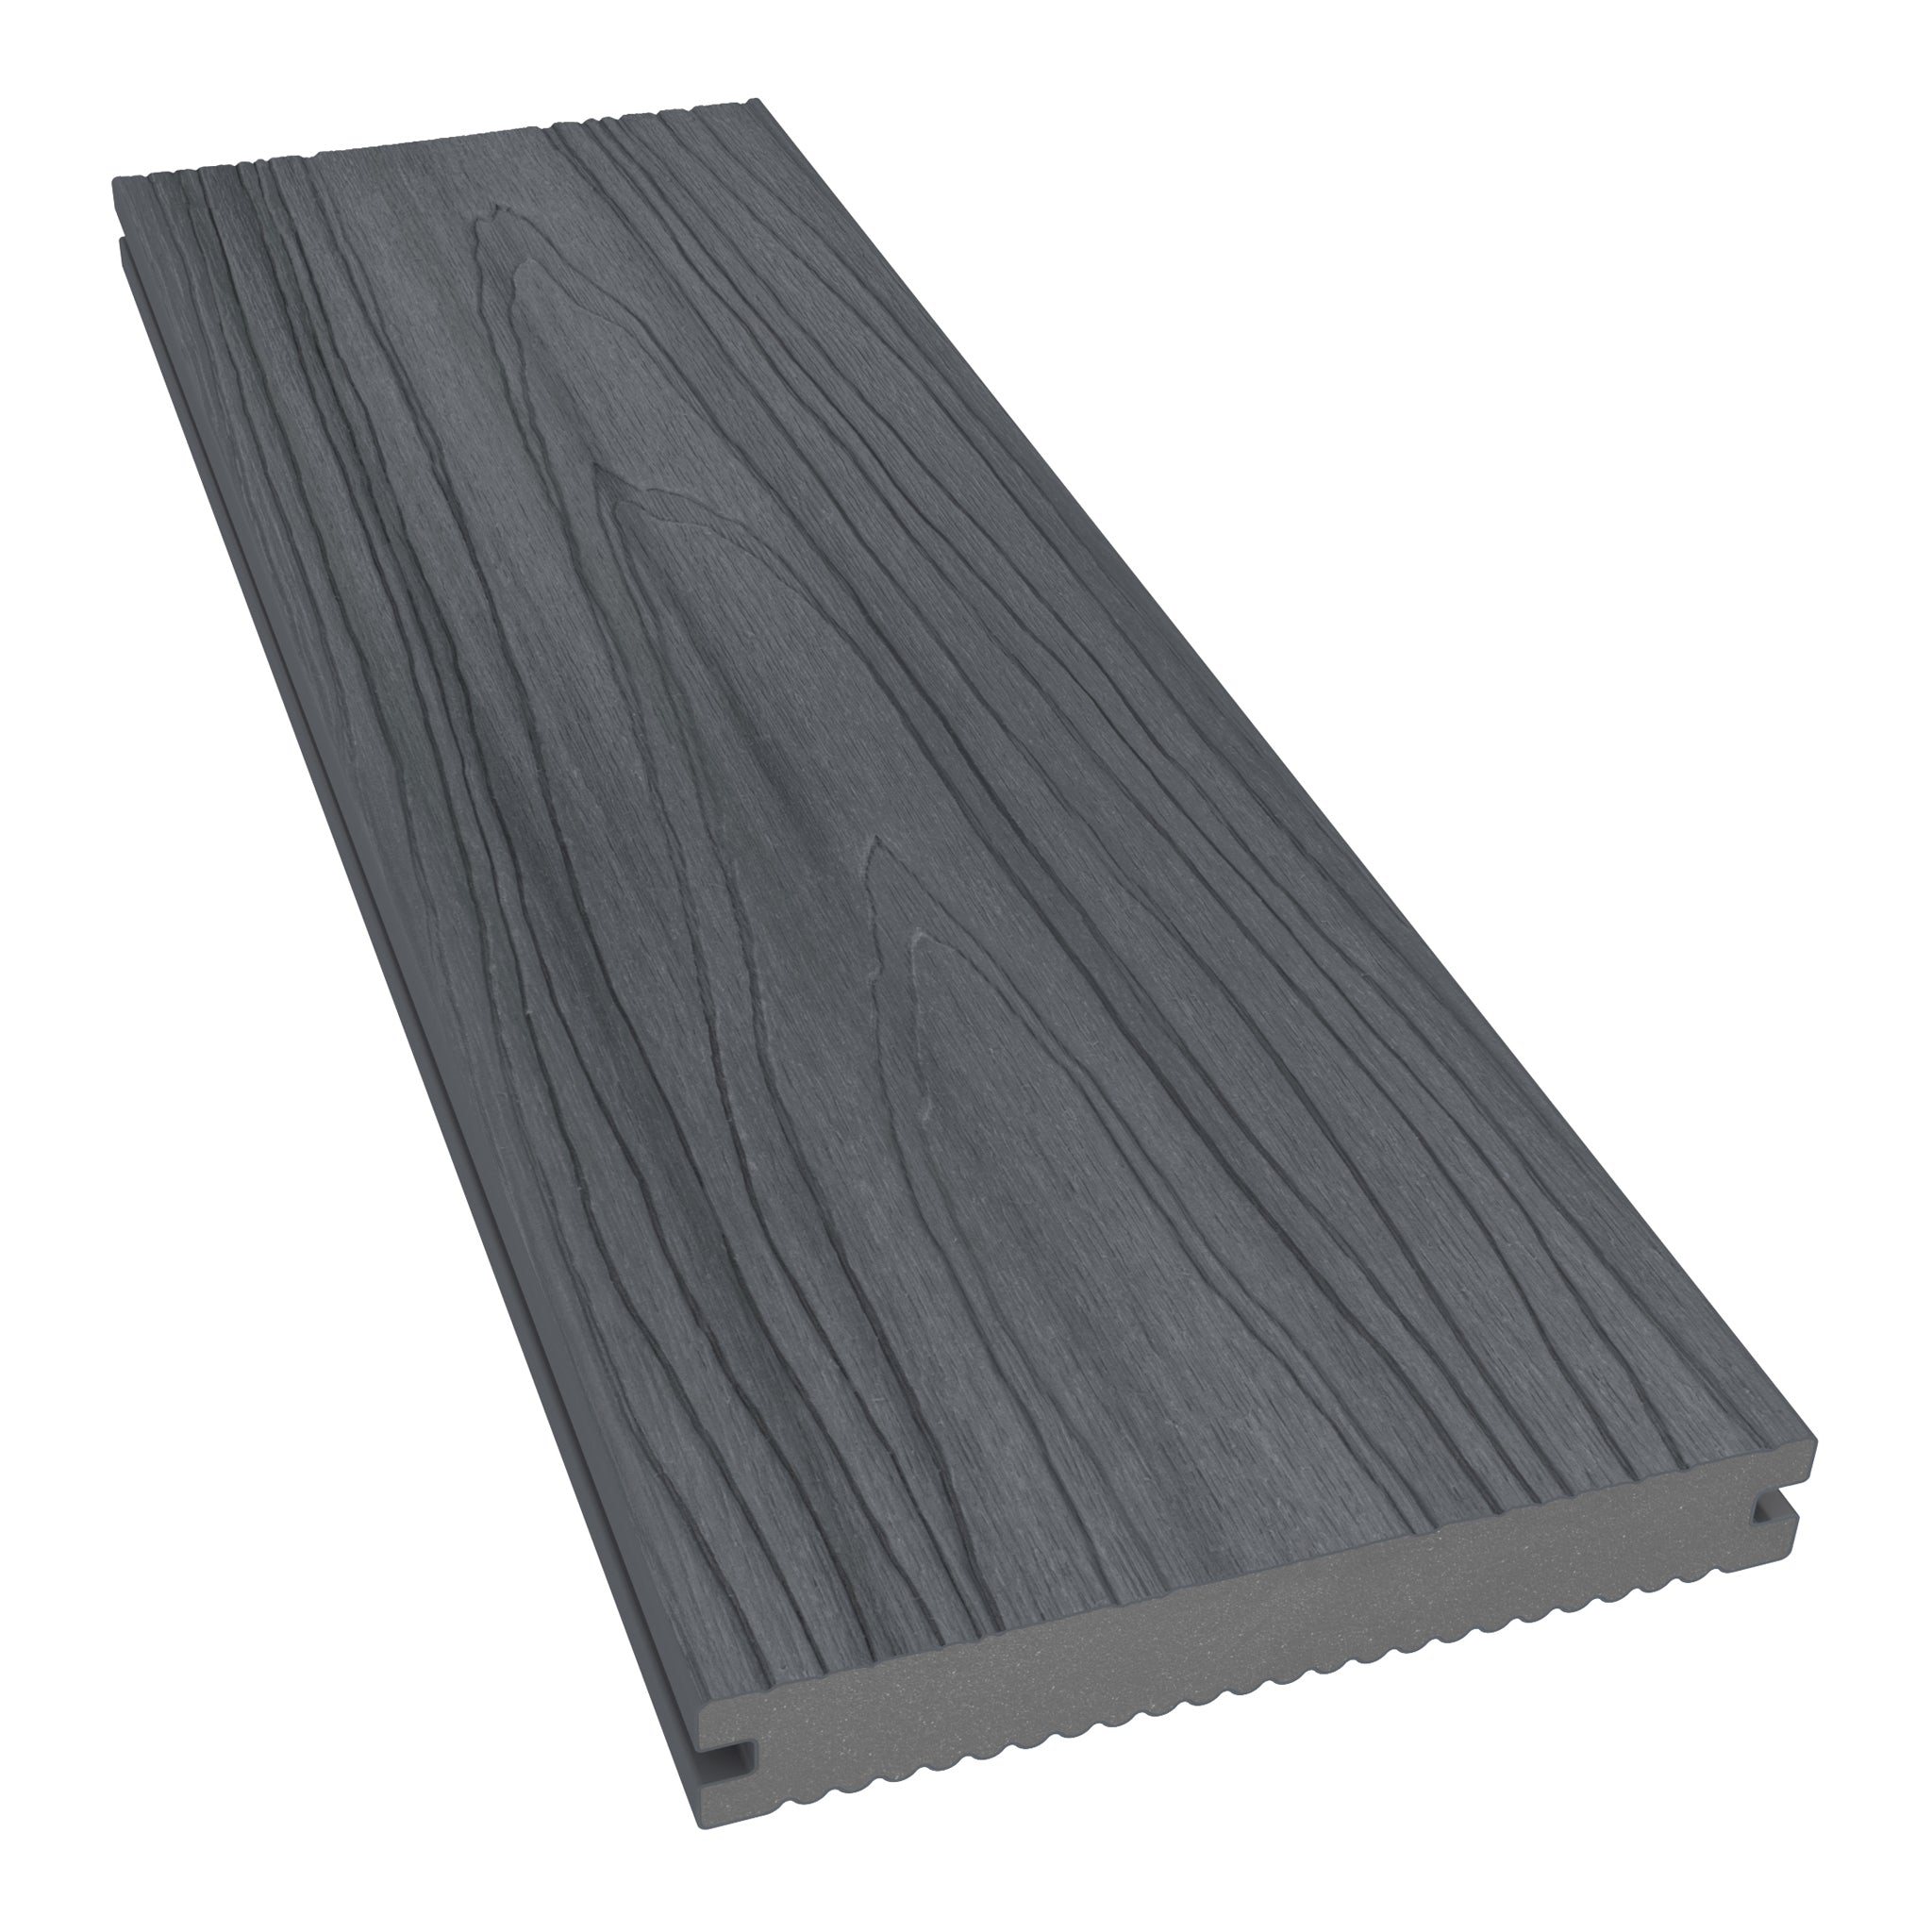
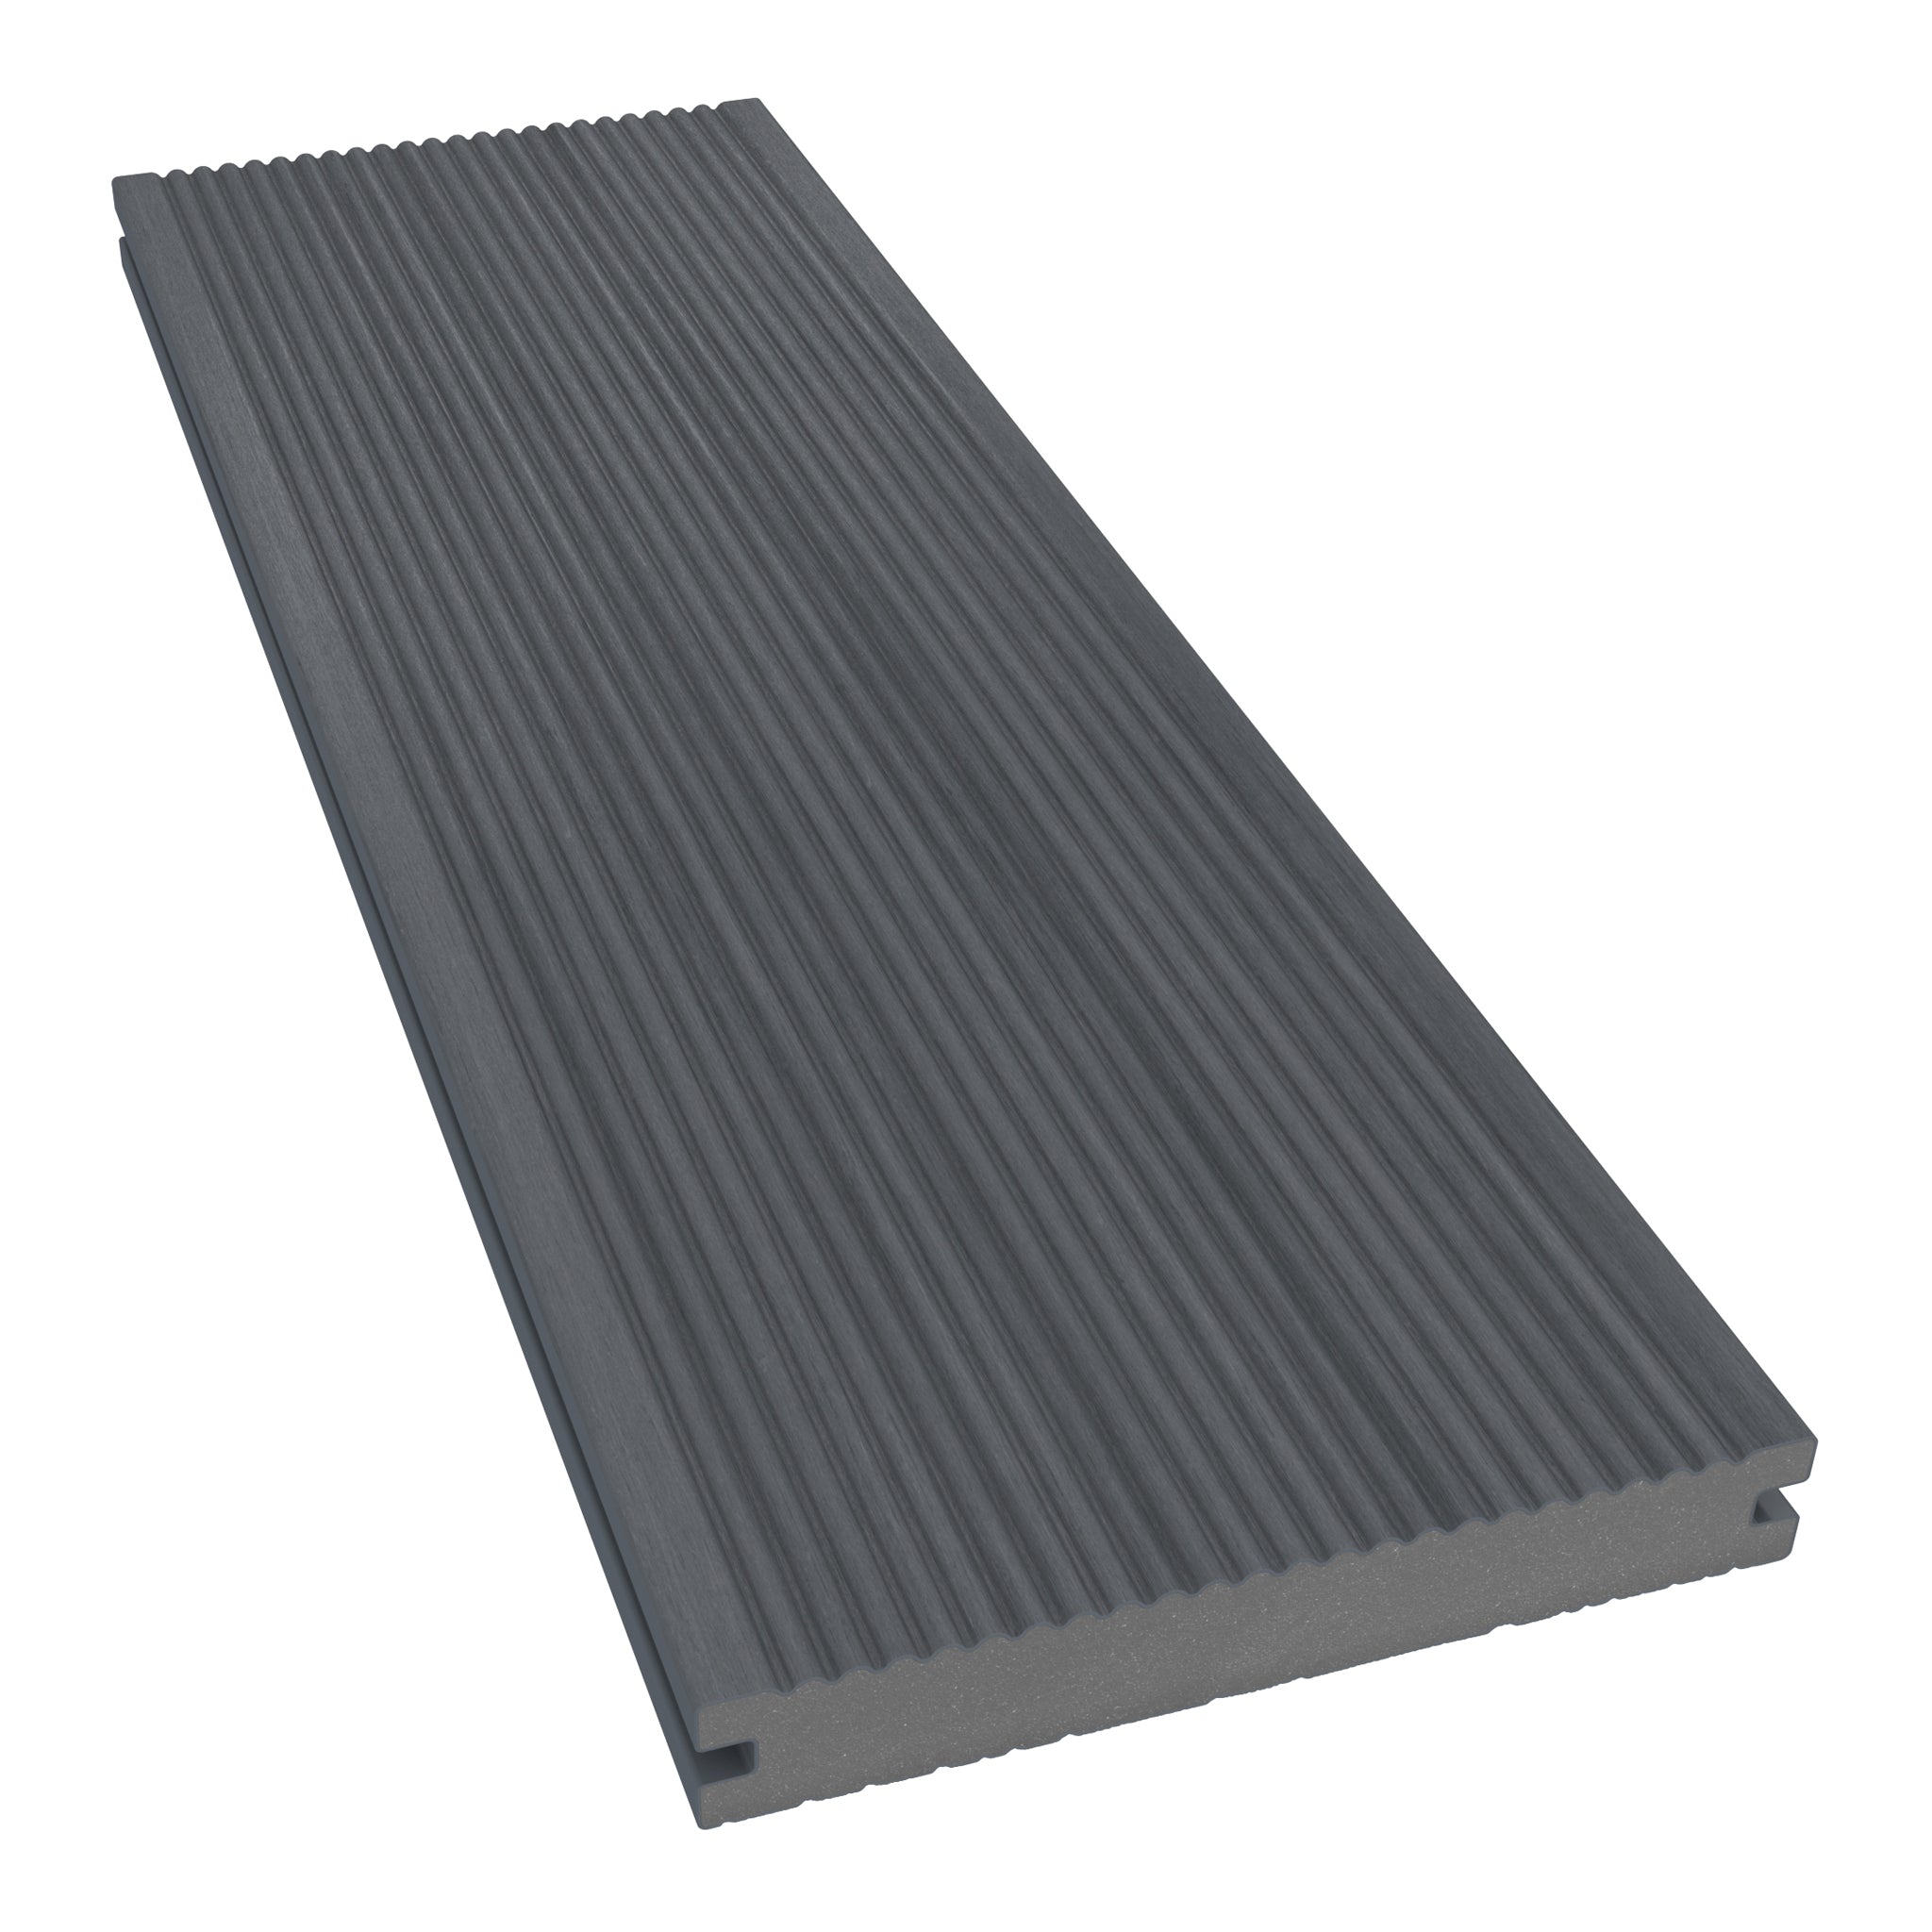
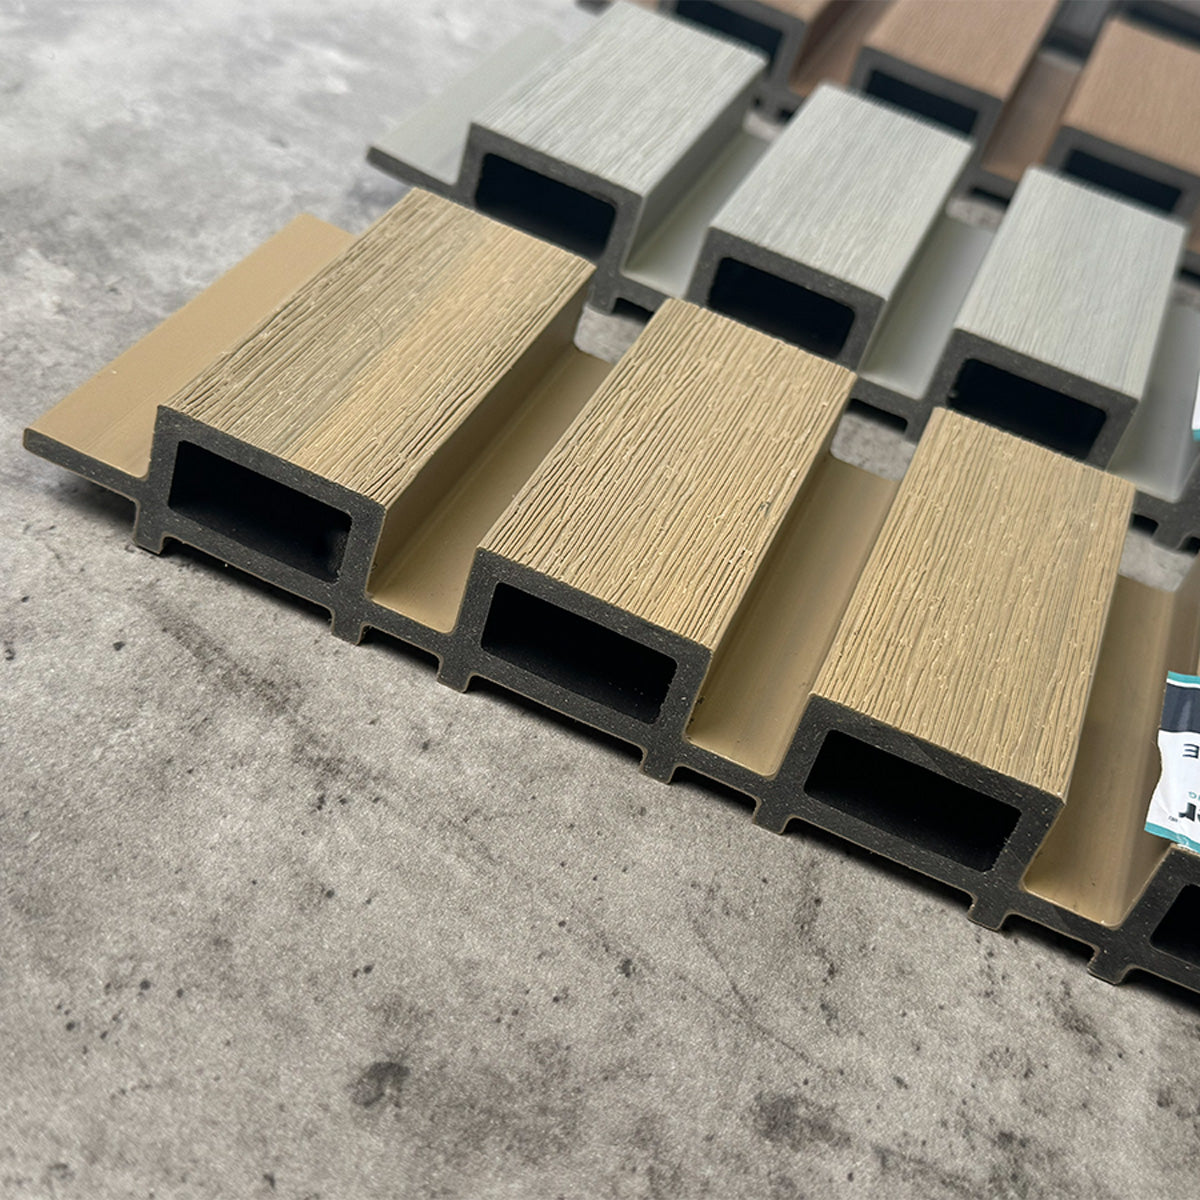
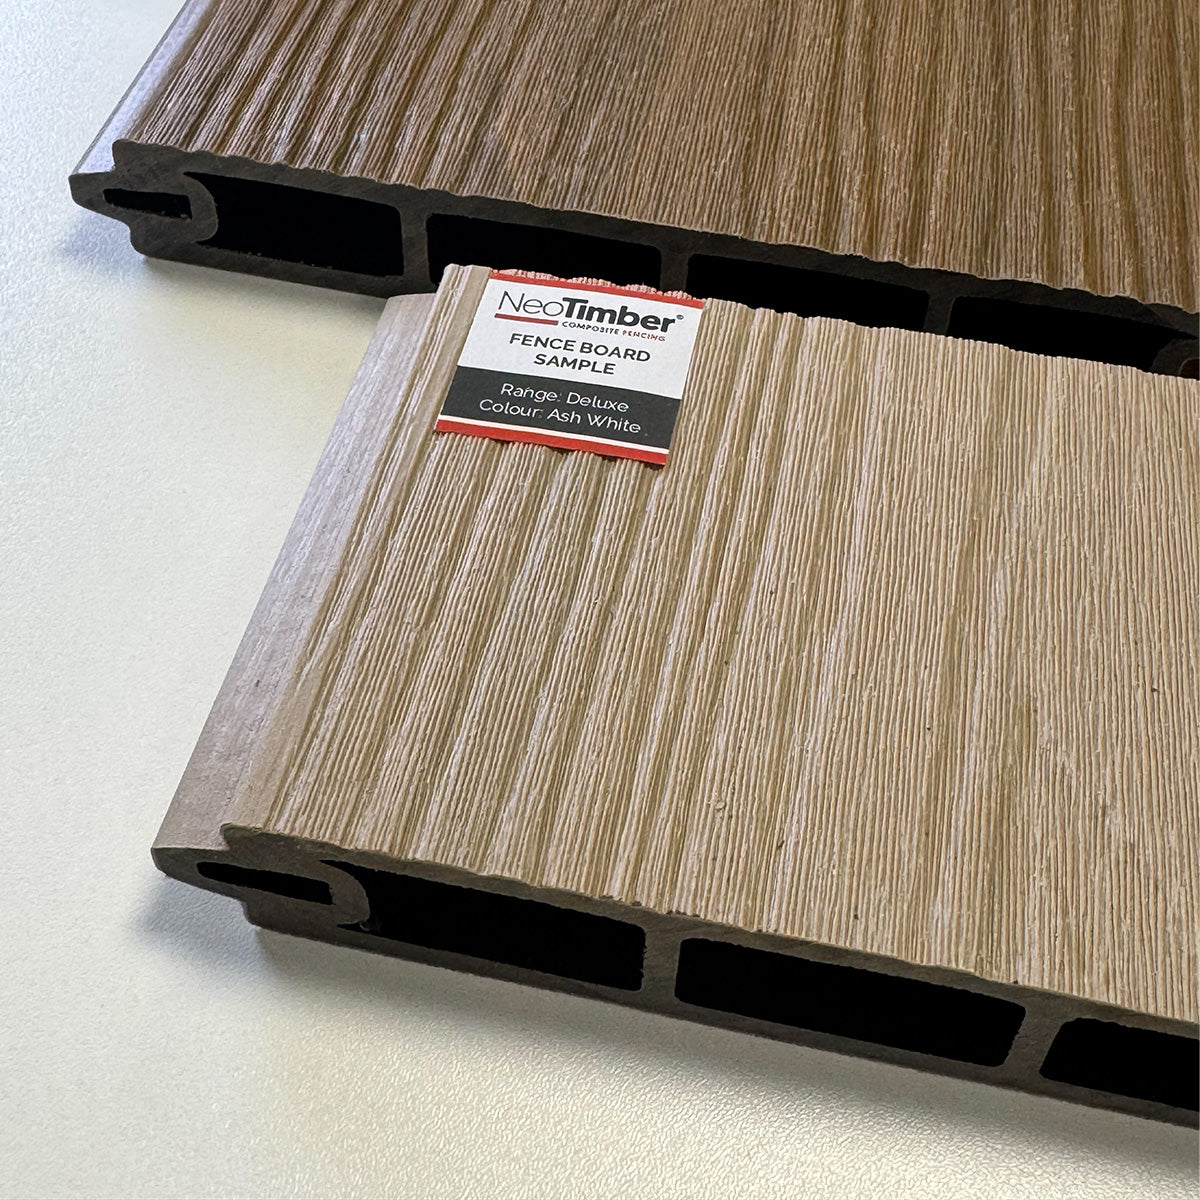
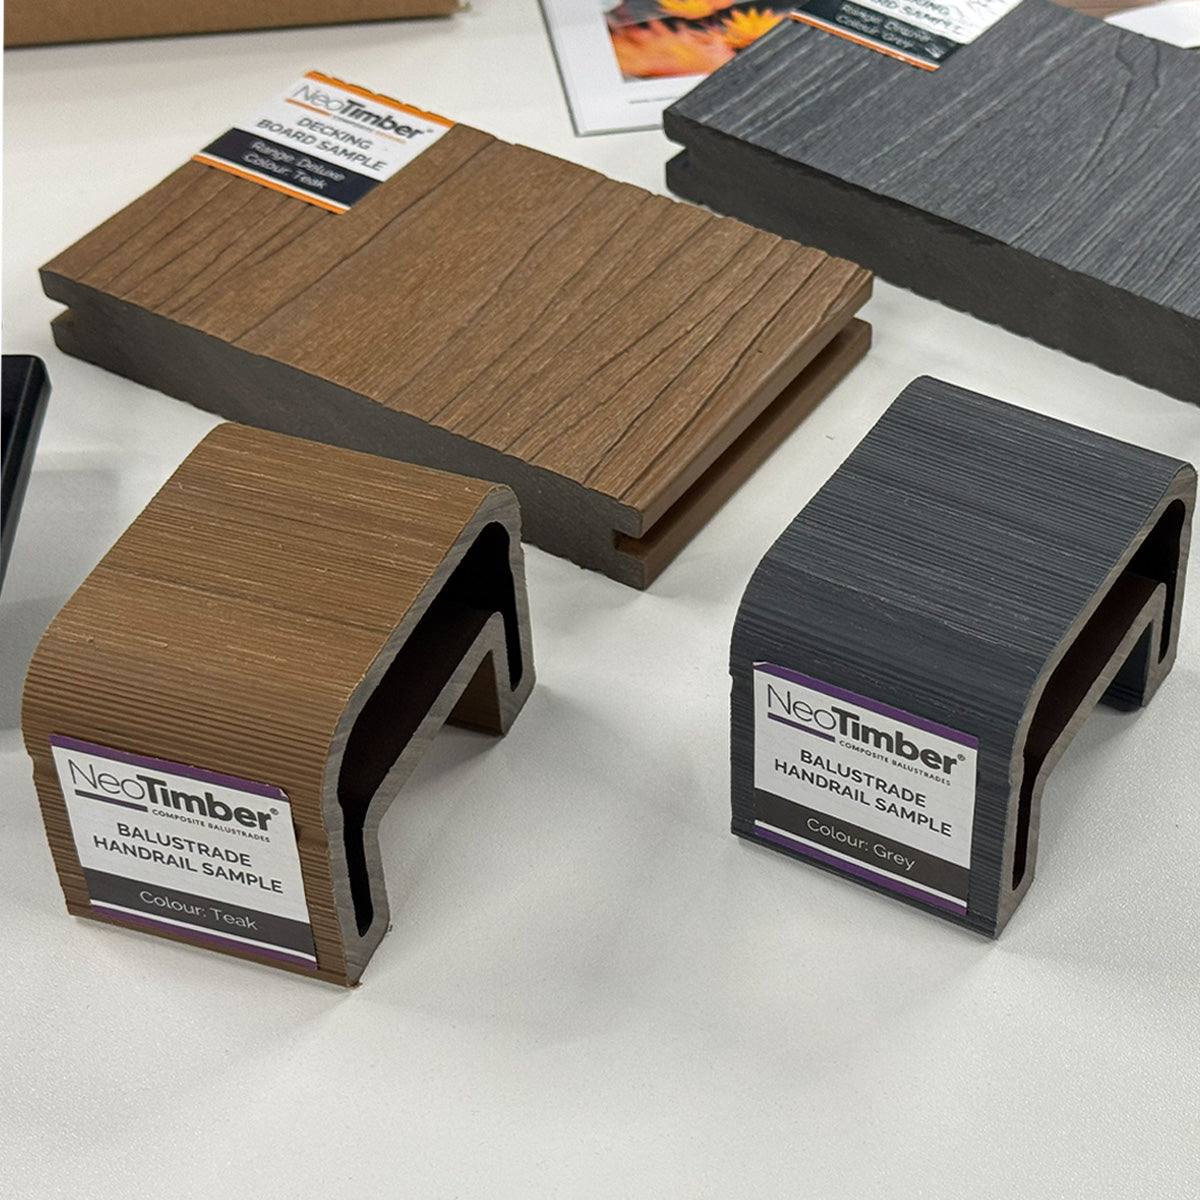
Include the subframe, supports, compatible clips, screws and finishing trims. Confirm the selected board range and colour before ordering, ideally after comparing physical decking samples.
2. Prepare Your Tools, Materials and Work Area
Read the complete installation instructions before starting. This helps you identify the right tools and avoids reaching a stage that requires a component you have not ordered.
- Measuring and marking: tape measure, pencil or chalk line, spirit level and carpentry square.
- Cutting: a suitable saw and blade for the selected material.
- Drilling and fixing: drill, appropriate bits and the specified fixings for the boards and subframe.
- Safe working: suitable supports or clamps and the protective equipment required by the tool and product instructions.
Use the specified pilot-hole and countersinking details for each fixing; they are not the same operation. Do not assume that one drill-bit size is correct for every screw, trim or subframe connection.
Store and handle boards correctly
Prepare a clean, flat storage area and support the boards as instructed. NeoTimber® advises allowing at least 24 hours for boards to acclimatise outdoors before fitting. Avoid dragging boards across each other or leaving grit between surfaces, which can cause scratches before installation has begun.
Keep offcuts, packaging and tools away from the finished faces as you work. Follow the pre-installation guidance for handling, storage and preparation.

3. Install a Suitable Subframe
The subframe supports the boards and establishes their fixing positions. Choose it to suit the site, construction height and selected decking system. Composite boards should not simply be laid directly onto soil or treated as a substitute for a supporting structure.
Explore the NeoTimber® subframe options and check the intended use of each component. A low-profile joist intended for support on a solid base is not automatically suitable for spanning between pedestals or posts. Pedestals also need a compatible joist and suitable supporting surface.
Distinguish joist spacing from support spacing
The distance between joists supporting the deck boards is different from the distance between supports beneath a joist. Both need to meet the relevant system requirements. Board direction, application and product choice can affect the arrangement, so do not use a single spacing figure for every project.
Plan additional support at board ends, joints, borders and changes of direction where required by the installation guide. For a typical straight layout, the main joists run across the direction of the boards, but decorative details may need a different local arrangement.
Check drainage, ventilation and alignment
Prepare the base and frame so they follow the specified drainage and ventilation requirements. Keep intended water routes clear and confirm how the deck meets walls, thresholds and other structures. Do not close off required airflow when designing the fascia.
Before fitting boards, check the frame dimensions, alignment, stability and fixing positions against the plan. If reusing an old frame, assess its condition and compatibility first. Replacing the visible surface does not correct an unsuitable supporting structure.

4. Fit the Composite Decking Boards
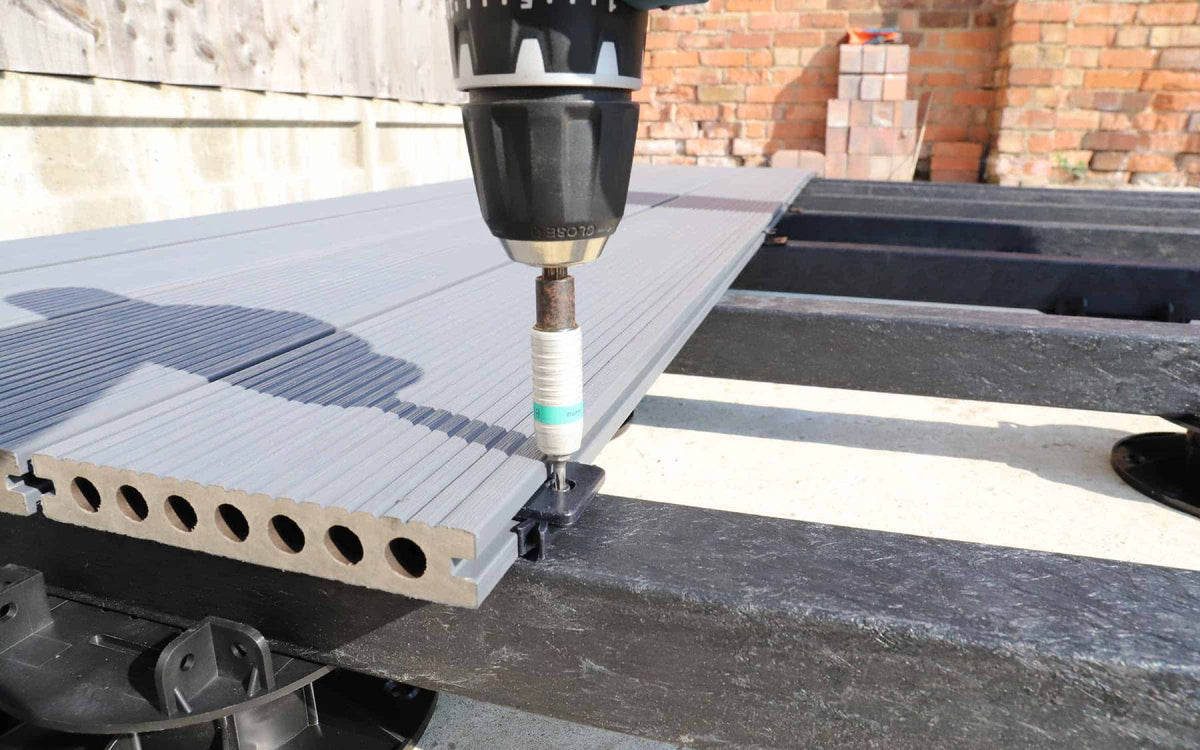
Once the subframe has been checked, work through the board-fixing sequence in the current NeoTimber® guide. Establish the starting edge and check the first row carefully: an alignment error here can become more noticeable as the deck progresses.
- Set out the first board. Mark its position and check the required clearances from fixed features.
- Fit the specified starter fixings. Use the approved positions and secure the first board as instructed.
- Install the compatible hidden clips. Engage the next board and follow the prescribed screw-tightening sequence.
- Check as you progress. Review alignment, gaps and support at joints before continuing across the deck.
- Secure the final row. Use the end-board fixing detail specified for the product and layout.
NeoTimber® provides detailed guidance on fitting composite boards and trims. Do not force a board into position or substitute an improvised fixing method when a detail is unclear.
Allow for expansion and contraction
Composite decking moves as temperatures change. Side-to-side spacing created by compatible clips does not remove the need for end gaps or clearances at walls and other fixed objects.
Use the manufacturer’s gap guidance for the conditions at installation and the selected product. Check these requirements before cutting boards to their final length. A neat-looking tight joint can cause problems if it prevents the intended movement.
5. Complete the Edges and Inspect the Deck
Fit the selected fascia, corner trims or edge boards using the relevant fixing method. Pre-drilling and movement allowances may differ from those used for the main boards, so check the trim detail rather than copying the surface-fixing method.
Keep ventilation and drainage openings clear. Decorative trims finish the appearance; they should not be used to disguise unsupported board ends or compensate for missing frame components.
- Check board alignment and the specified gaps.
- Confirm fixings and finishing components are secure.
- Inspect borders, steps and joints against the agreed details.
- Remove offcuts, swarf and other construction debris.
- Clean the surface using an approved method.
- Keep the product documents and order records for future reference.

Common Mistakes When Building a Deck with Composite Decking
| Mistake | Better approach |
|---|---|
| Designing the frame before choosing the layout | Mark joints, borders and steps before finalising the supports. |
| Using a universal joist spacing | Follow the requirements for the selected board, joist and application. |
| Leaving no room for movement | Check end gaps and clearances as well as clip-controlled side spacing. |
| Mixing incompatible components | Confirm the fixing system and subframe arrangement before ordering. |
| Closing off the frame with trims | Preserve the specified ventilation and drainage paths. |
| Reusing an unchecked frame | Assess its condition and suitability before fitting replacement boards. |
Looking After Your Finished Composite Deck
NeoTimber® composite decking does not need regular sanding, staining or sealing. It still needs cleaning to remove dirt and debris. Follow the care instructions for the selected range, particularly before using a pressure washer or specialist cleaner.
Keep access to the product resources and care information. Low maintenance means a simpler care routine, not that the surface can be left without attention.
Review the current warranty terms for your chosen boards. NeoTimber® lists standard composite decking cover of 25 years for residential applications and 10 years for commercial or high-use environments, with a 10-year residential warranty for Classic Lite. Conditions and exclusions apply.
Building a Composite Deck FAQs
Can I build a composite deck myself?
A straightforward project may suit a competent DIYer who can follow the complete installation guidance. Assess the frame construction, site and equipment required before deciding. Seek appropriate help for structural design or details outside your experience.
Can composite decking be laid directly on concrete?
The boards need a suitable supporting framework. A sound concrete base may form part of the installation, but the joists, fixing arrangement, ventilation and drainage must follow the selected system’s guidance.
What gap should I leave between composite decking boards?
Use the product-specific instructions. Compatible clips establish side spacing, while end gaps and clearances to fixed objects need separate attention. Temperature at installation can affect the required end-to-end gap.
How much waste should I allow when building a composite deck?
NeoTimber® suggests 5–10% for cuts and waste, or 15% for diagonal or angled installations. Check those allowances against your actual board lengths and cutting plan, especially where the design includes borders or steps.
How long does it take to build a composite deck?
The time depends on the deck size, preparation, frame design and your experience. Allow time for delivery checks, storage and acclimatisation as well as construction. Prepare the whole material list before scheduling the work.
Start Planning Your Composite Deck
A successful project begins with a clear layout and a suitable supporting system. Once those are established, you can work through the board installation and finishing stages with fewer unexpected decisions.
Explore NeoTimber® composite decking, use the decking calculator to prepare an estimate, and read the full installation guide before starting. If you decide to leave the fitting to a professional, find an approved installer to discuss your plans.