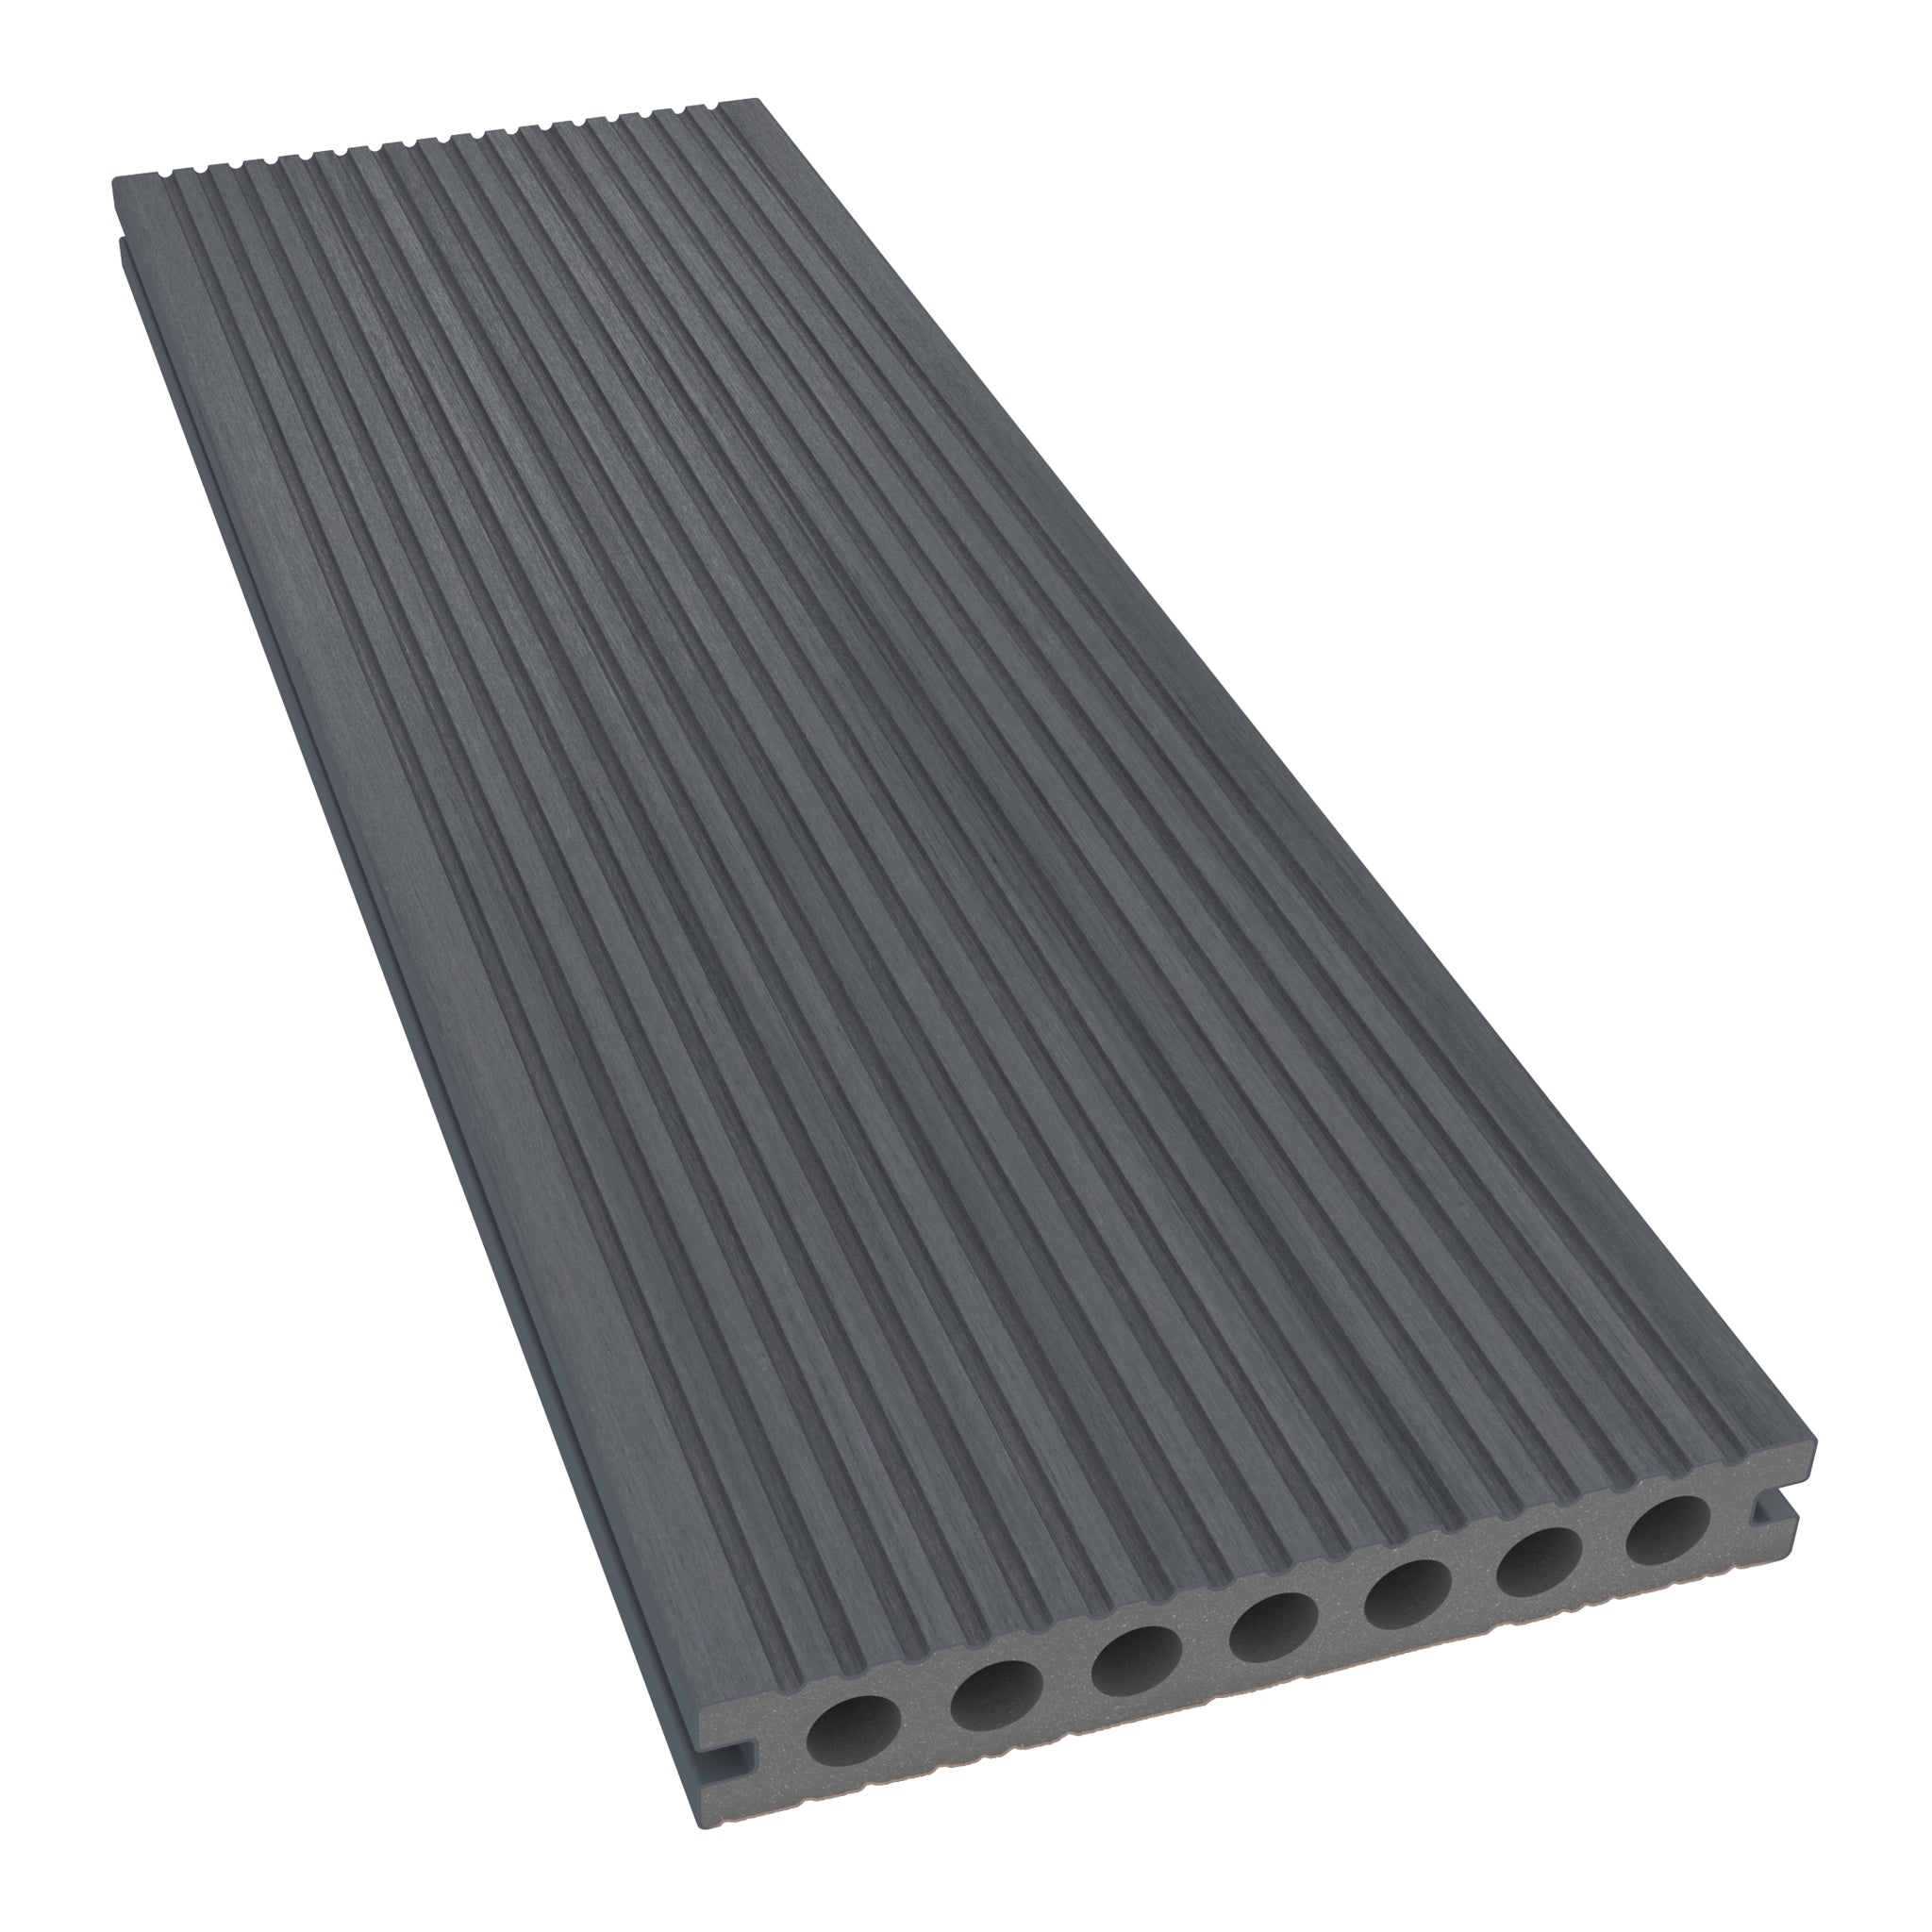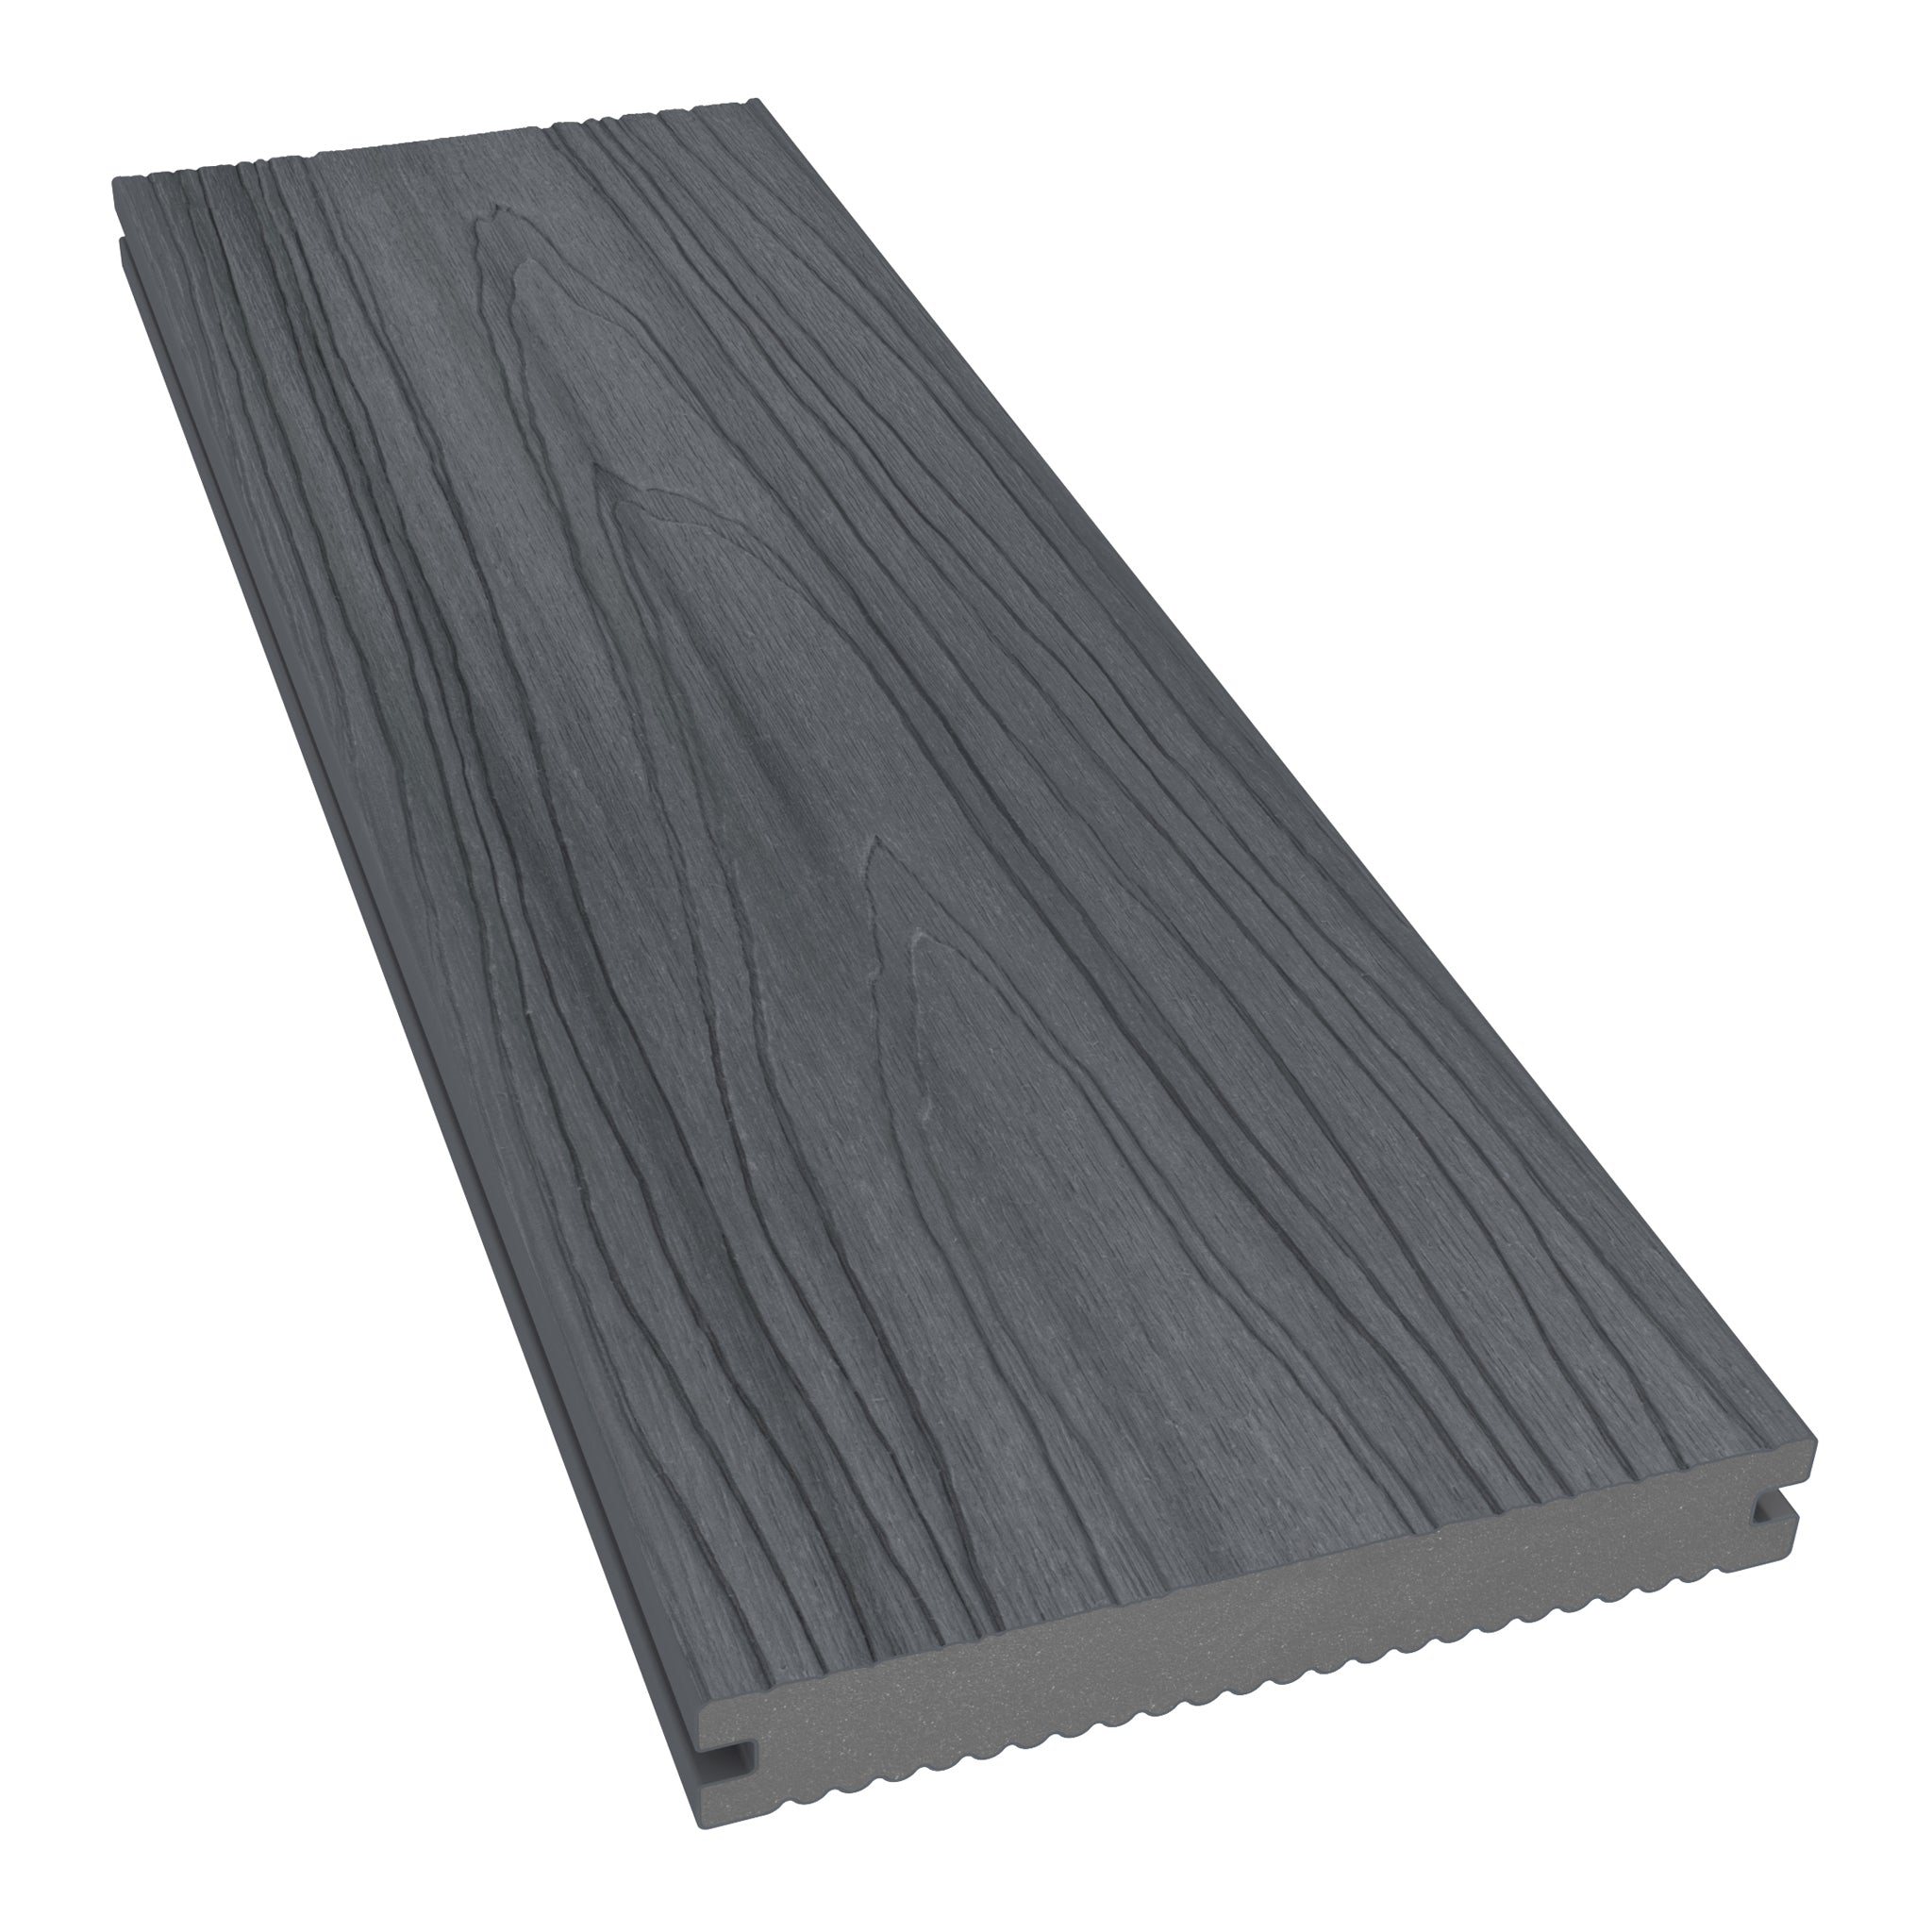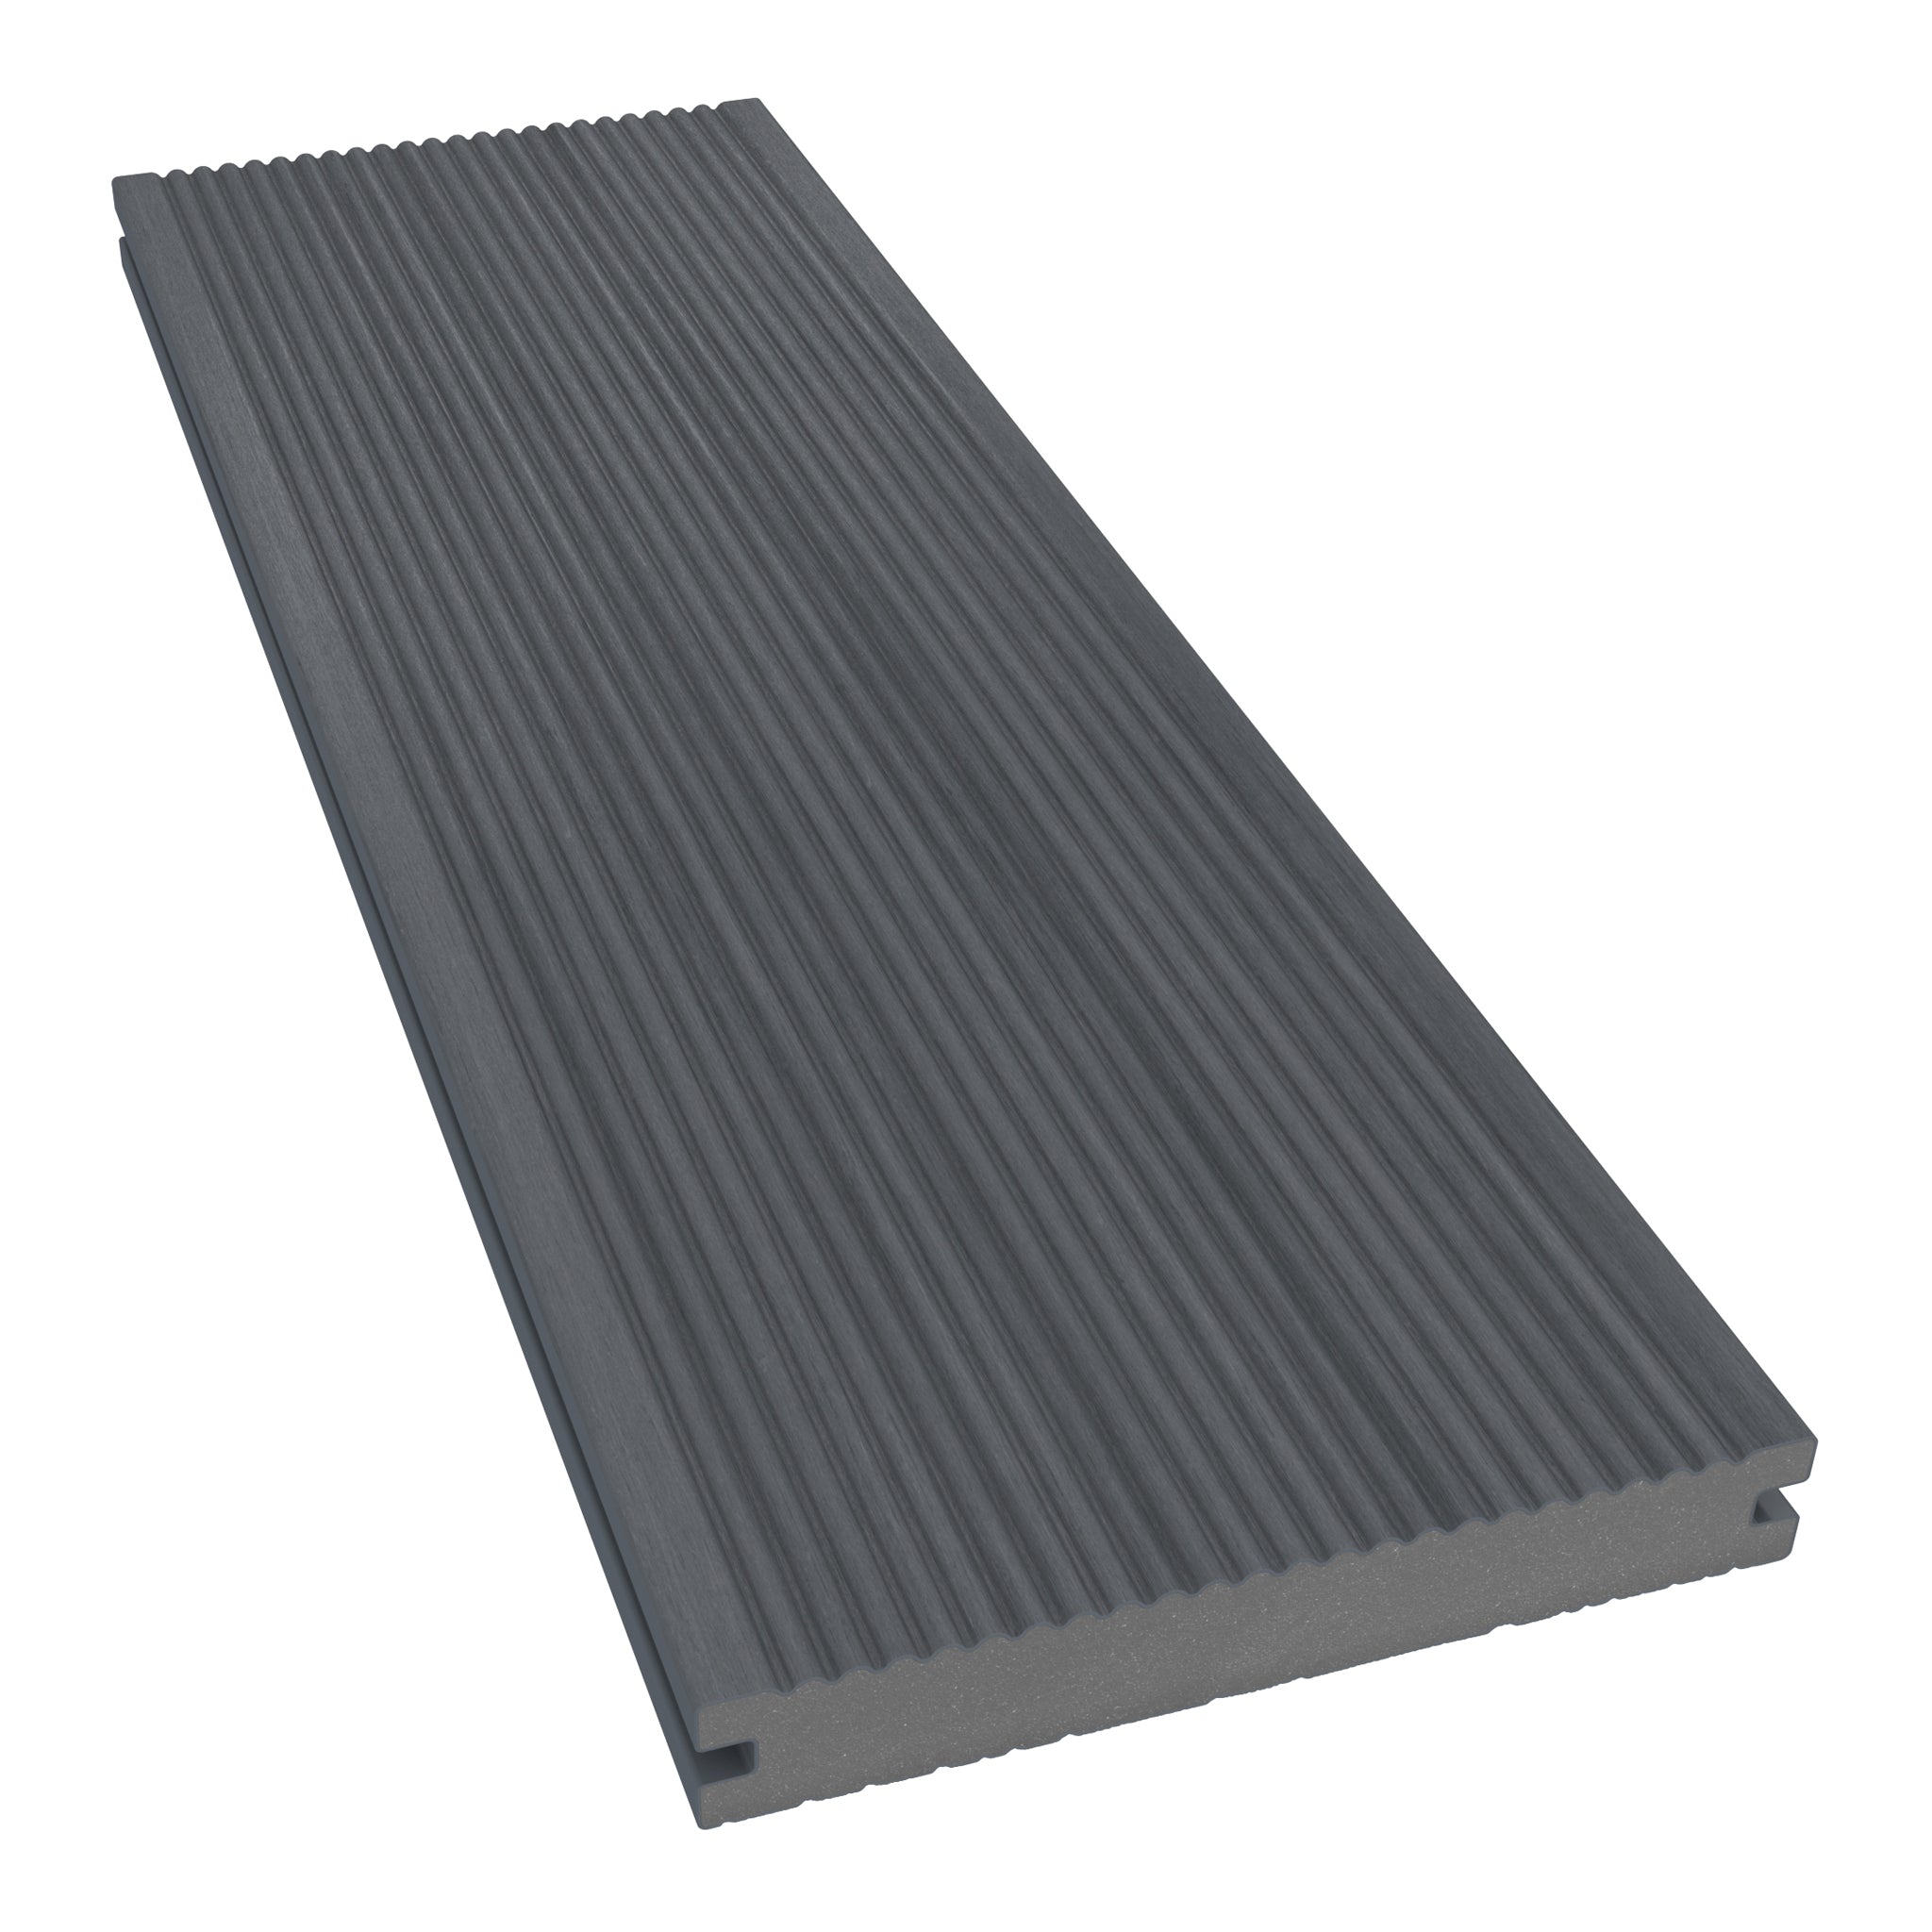






How to Fit Composite Decking Above an Existing Concrete Patio
Can you install composite decking over concrete? Yes, provided the concrete is suitable and the boards are fitted to an appropriate subframe. For NeoTimber® composite deck boards, do not skip the framework or lay the boards flat against the slab. The installation needs the specified support, drainage, ventilation and movement allowances.
Using an existing concrete base may avoid unnecessary removal work, but the condition of the slab and the available height determine whether it is practical. Before ordering, check how the finished deck will meet doors, walls, drains and neighbouring surfaces.
This guide explains the main checks and subframe options. Use the NeoTimber® installation resources for the detailed requirements of your chosen boards, joists and fixings.
Why Composite Deck Boards Need a Subframe
A subframe provides regular support beneath the boards and a suitable place to secure their fixings. It also establishes the layout, including the supporting positions at board ends, borders and joints.
Keeping the boards above the concrete forms part of the drainage and ventilation arrangement. Water passing through the deck must still be able to leave the area beneath it. A moisture-resistant board does not make a deck waterproof or remove the need to manage standing water.
The framework also needs to allow the decking system to accommodate temperature-related movement. Fixing boards directly to concrete would bypass the intended board-and-clip arrangement. Choose the complete system before deciding how to attach it to the base.
Check Your Concrete Patio Before Covering It
Do not assume an old patio is suitable simply because it feels hard underfoot. Inspect the surface and consider how it will support and, where required, hold the fixings for the new structure.
- Condition: identify loose, damaged or moving areas that need assessment before installation.
- Drainage: look for standing water and establish where runoff will go after the deck is built.
- Available height: measure the space for supports, joists and boards, including the required clearances.
- Junctions: check doors, steps, vents and the point where the deck meets the building.
- Access: retain access to drains and inspection covers where needed.
- Fixing suitability: confirm that the slab and chosen anchors suit the proposed installation.
Resolve problems before covering the surface. A new frame cannot make an unstable slab sound, and adjustable supports do not cure poor drainage. If the condition or construction of the base is uncertain, have it assessed by a suitable installer.

Choose the Right Subframe for Decking Over Concrete
Low-level composite joists on a suitable solid base
NeoTimber® composite decking joists are designed for low-level installations supported on a suitable solid concrete base. This arrangement may be useful where you want to limit the overall construction height.
These joists should be used according to their specific installation requirements. Do not assume a product intended for support along a solid base can instead span between widely spaced pedestals or posts.
The composite joist installation guide explains the layout and fixing details. Check the current instructions before drilling or ordering anchors, rather than copying a fixing distance from an unrelated system.
Pedestals with compatible spanning joists
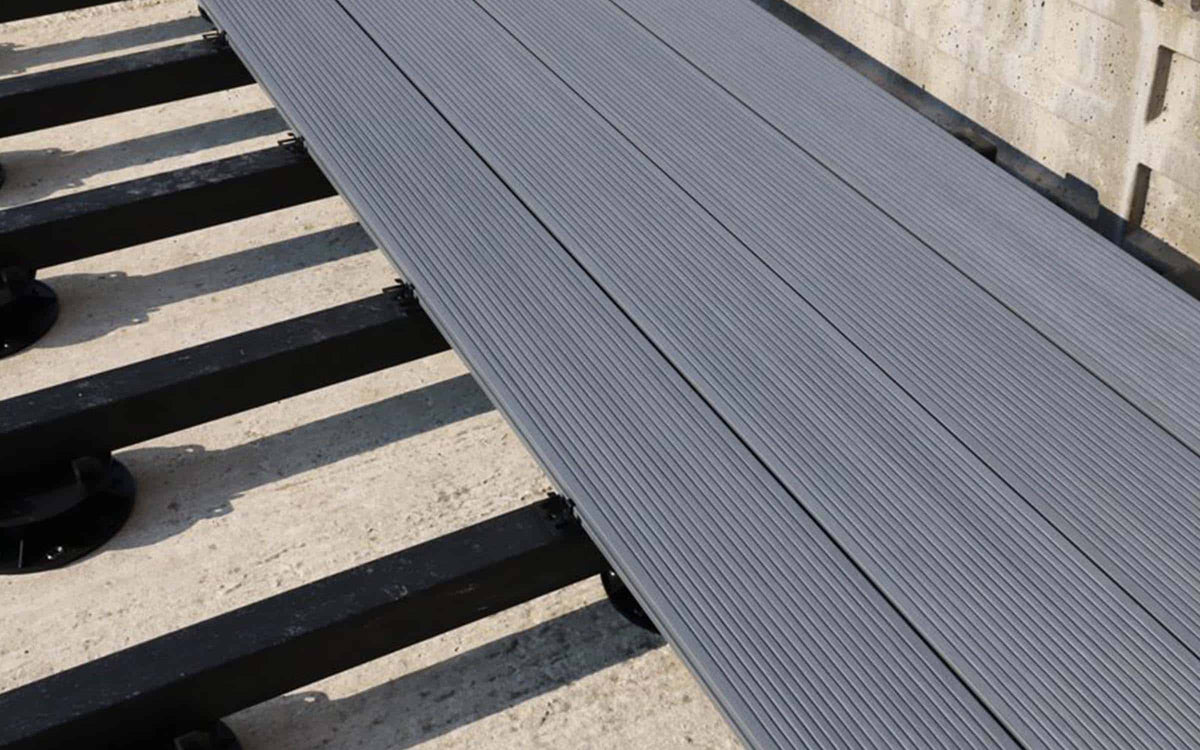
Adjustable pedestals provide another approach where the design calls for additional height above a suitable base. They support a compatible joist network, which in turn supports the deck boards.
The support spacing beneath the joists is different from the spacing between joists beneath the boards. Both need to match the selected products and intended use. NeoTimber’s pedestal installation guidance identifies suitable plastic joist arrangements; do not substitute the low-level composite joist without confirmation.
Review the full subframe range with your installer if you are unsure which arrangement suits the site.
| Approach | Main consideration | What to confirm |
|---|---|---|
| Low-level joists on a solid base | Keeping the construction height down | Base condition, drainage, joist support and concrete fixings |
| Pedestal-supported joist network | Achieving a raised finished level | Compatible joists, support spans, pedestal arrangement and total height |
Allow for Drainage, Ventilation and Door Clearance
Measure the complete construction depth, not just the height of the joist. For a pedestal arrangement, the finished level includes the pedestal, joist and board thickness. Other specified components and clearances also need to be included.
Check that doors can operate and that the new level does not obstruct wall vents or compromise the building’s existing moisture-control details. A raised deck should not simply be brought up to a door threshold without considering the junction.
Plan how water will pass beneath and out of the installation. Joists and finishing trims must not create barriers that trap runoff. Follow the selected system’s drainage and ventilation requirements and preserve access for cleaning or inspection where necessary.
There is no single minimum overall height that applies to every combination of boards, joists and supports. If a low threshold makes the required construction impossible, revise the design rather than remove essential clearances.

How to Install Composite Decking Over Concrete
The exact fixing details depend on the system, but the planning sequence is straightforward. Complete each stage before moving on to the next.
- Assess and prepare the base. Remove debris, resolve defects and confirm a suitable drainage route.
- Draw the board layout. Mark the direction, joints, borders and required access points.
- Specify the supporting system. Choose compatible joists, supports and fixings for the slab and intended height.
- Install and check the frame. Follow the product instructions and verify alignment, support positions and clearances.
- Fit the boards. Use the specified starter fixings and hidden clips, with the required movement gaps.
- Finish the edges. Fit suitable trims while maintaining drainage and airflow.
- Inspect the completed work. Check fixings, joints, access and the transition to adjacent surfaces.
Read the full instructions before making holes in the slab. Check for concealed services and any waterproofing that could be affected. Roof terraces and waterproofed structures require their own appropriate specification; they should not be treated as an ordinary ground-level concrete patio.
Watch the composite joist installation video
The video below accompanies the low-level joist approach. Use it with the written guide for that system, rather than applying its details to every subframe option.
Common Mistakes to Avoid
- Laying boards directly on concrete: use the required supporting framework.
- Covering a drainage problem: establish where water will go before building.
- Confusing joist types: confirm whether the product is intended for solid-base support or spanning between supports.
- Ignoring total height: include every component and check the surrounding junctions.
- Using arbitrary fixing details: select the correct anchors and layout for the system and base.
- Closing every edge: maintain the specified airflow, drainage and inspection access.
Joist tape, where appropriate to a timber system, is not a substitute for suitable drainage or a sound frame. Likewise, moisture resistance should not be interpreted as permission to leave any subframe permanently sitting in pooled water.

Composite Decking Over Concrete FAQs
Can you install composite decking over concrete without removing it?
Yes, if the concrete is suitable, drainage can be maintained and there is enough space for the required subframe and boards. Assess the existing base first; keeping it is only useful if it can support the proposed installation.
Can I screw composite deck boards directly to concrete?
Not for the NeoTimber® deck-board system described here. The boards require a suitable framework and compatible fixings. Follow the manufacturer’s system instructions rather than bypassing the subframe.
Can pedestals compensate for uneven concrete?
They can provide height adjustment within an appropriate designed system, but they do not repair an unstable slab or solve standing water. Check the base condition, support arrangement and permitted adjustment before using them.
Can I use timber joists over concrete?
A timber subframe may be an option where it is correctly specified and compatible with the decking. Its support, treatment, moisture exposure and drainage details need to be considered. Do not assume joist tape makes unsuitable timber or a wet installation acceptable.
How much extra height will the deck add?
Add the thickness or height of the selected supports, joists and boards, together with any other required components. Confirm the finished level against doors, vents, steps and drainage details before ordering.
How much decking should I order?
Measure the area, choose the board direction and plan joints and borders. Use the decking calculator for an initial estimate, then check the quantities and cutting allowance against the final design.
Plan Your Concrete Patio Upgrade
A suitable concrete base can be a useful starting point for a new deck. Check its condition, choose the correct subframe and resolve drainage and height before fitting the boards.
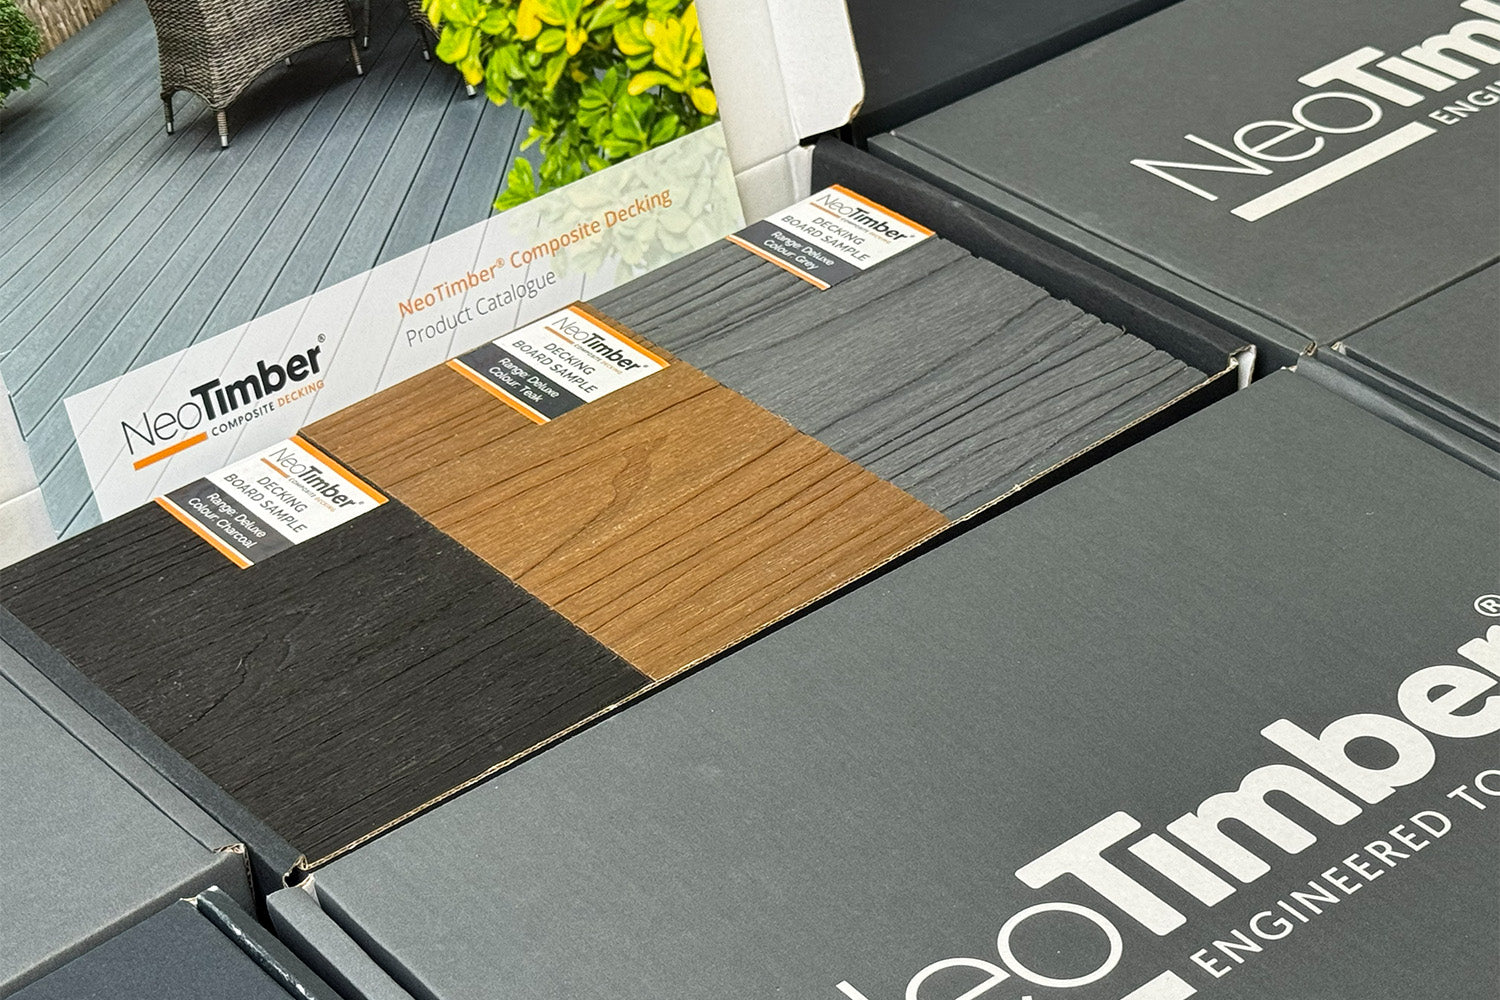
Explore NeoTimber® composite decking, order free samples to compare finishes, or find an approved installer to assess your project.