Choosing the Right Clips and Screws for Your Composite Deck
Composite decking fixings connect the boards to the supporting frame and help create a consistent finish across the deck. Choosing compatible clips and screws matters just as much as selecting the board colour: the correct system supports the intended spacing, appearance and installation method.
NeoTimber’s range includes starter clips for the first row, FastClips for the main board runs and colour-matched screws for specified board and trim details. This guide explains what each fixing does and how to plan your order. Explore our decking guide for a broader introduction, or browse the composite decking range alongside the compatible accessories.
Which Composite Decking Fixings Do You Need?
A single type of fastener will not necessarily cover every part of a project. The first row, main surface, perimeter and finishing trims can require different solutions.
| Fixing | Main purpose | Key consideration |
|---|---|---|
| Starter clips | Secure the first row of compatible boards | Starting alignment and fixing positions |
| 3mm Metal FastClips | Concealed fixing between grooved boards | A consistent 3mm side-to-side gap |
| 6mm Plastic FastClips | Concealed fixing with provision for board removal | A consistent 6mm side-to-side gap |
| Colour-coded decking screws | Specified face-fixed board and finishing details | Board profile, screw position and fixing method |
| Colour-coded trim screws | Secure compatible finishing trims | Trim instructions and screw compatibility |
These fixings attach decking components; they do not replace the structural connections required to construct and anchor the subframe. Check compatibility with both the board and the supporting material before fitting.
Starter Clips: Set the First Row Accurately
The first board establishes the alignment of the rows that follow. NeoTimber® composite decking starter clips secure that starting row through the compatible board groove, providing a discreet alternative to visible face fixings at the starting edge.
The current set contains 100 stainless-steel clips with matching screws. The clips have an electroplated black finish and are designed for use with NeoTimber® composite decking and edge boards.
Calculate the requirement from the starting-edge layout and the specified support positions. Deck area alone is not a reliable way to count starter clips: a narrow deck, multiple separate sections and a complex perimeter can have very different requirements.

FastClips: Hidden Fixings for the Main Decking Area
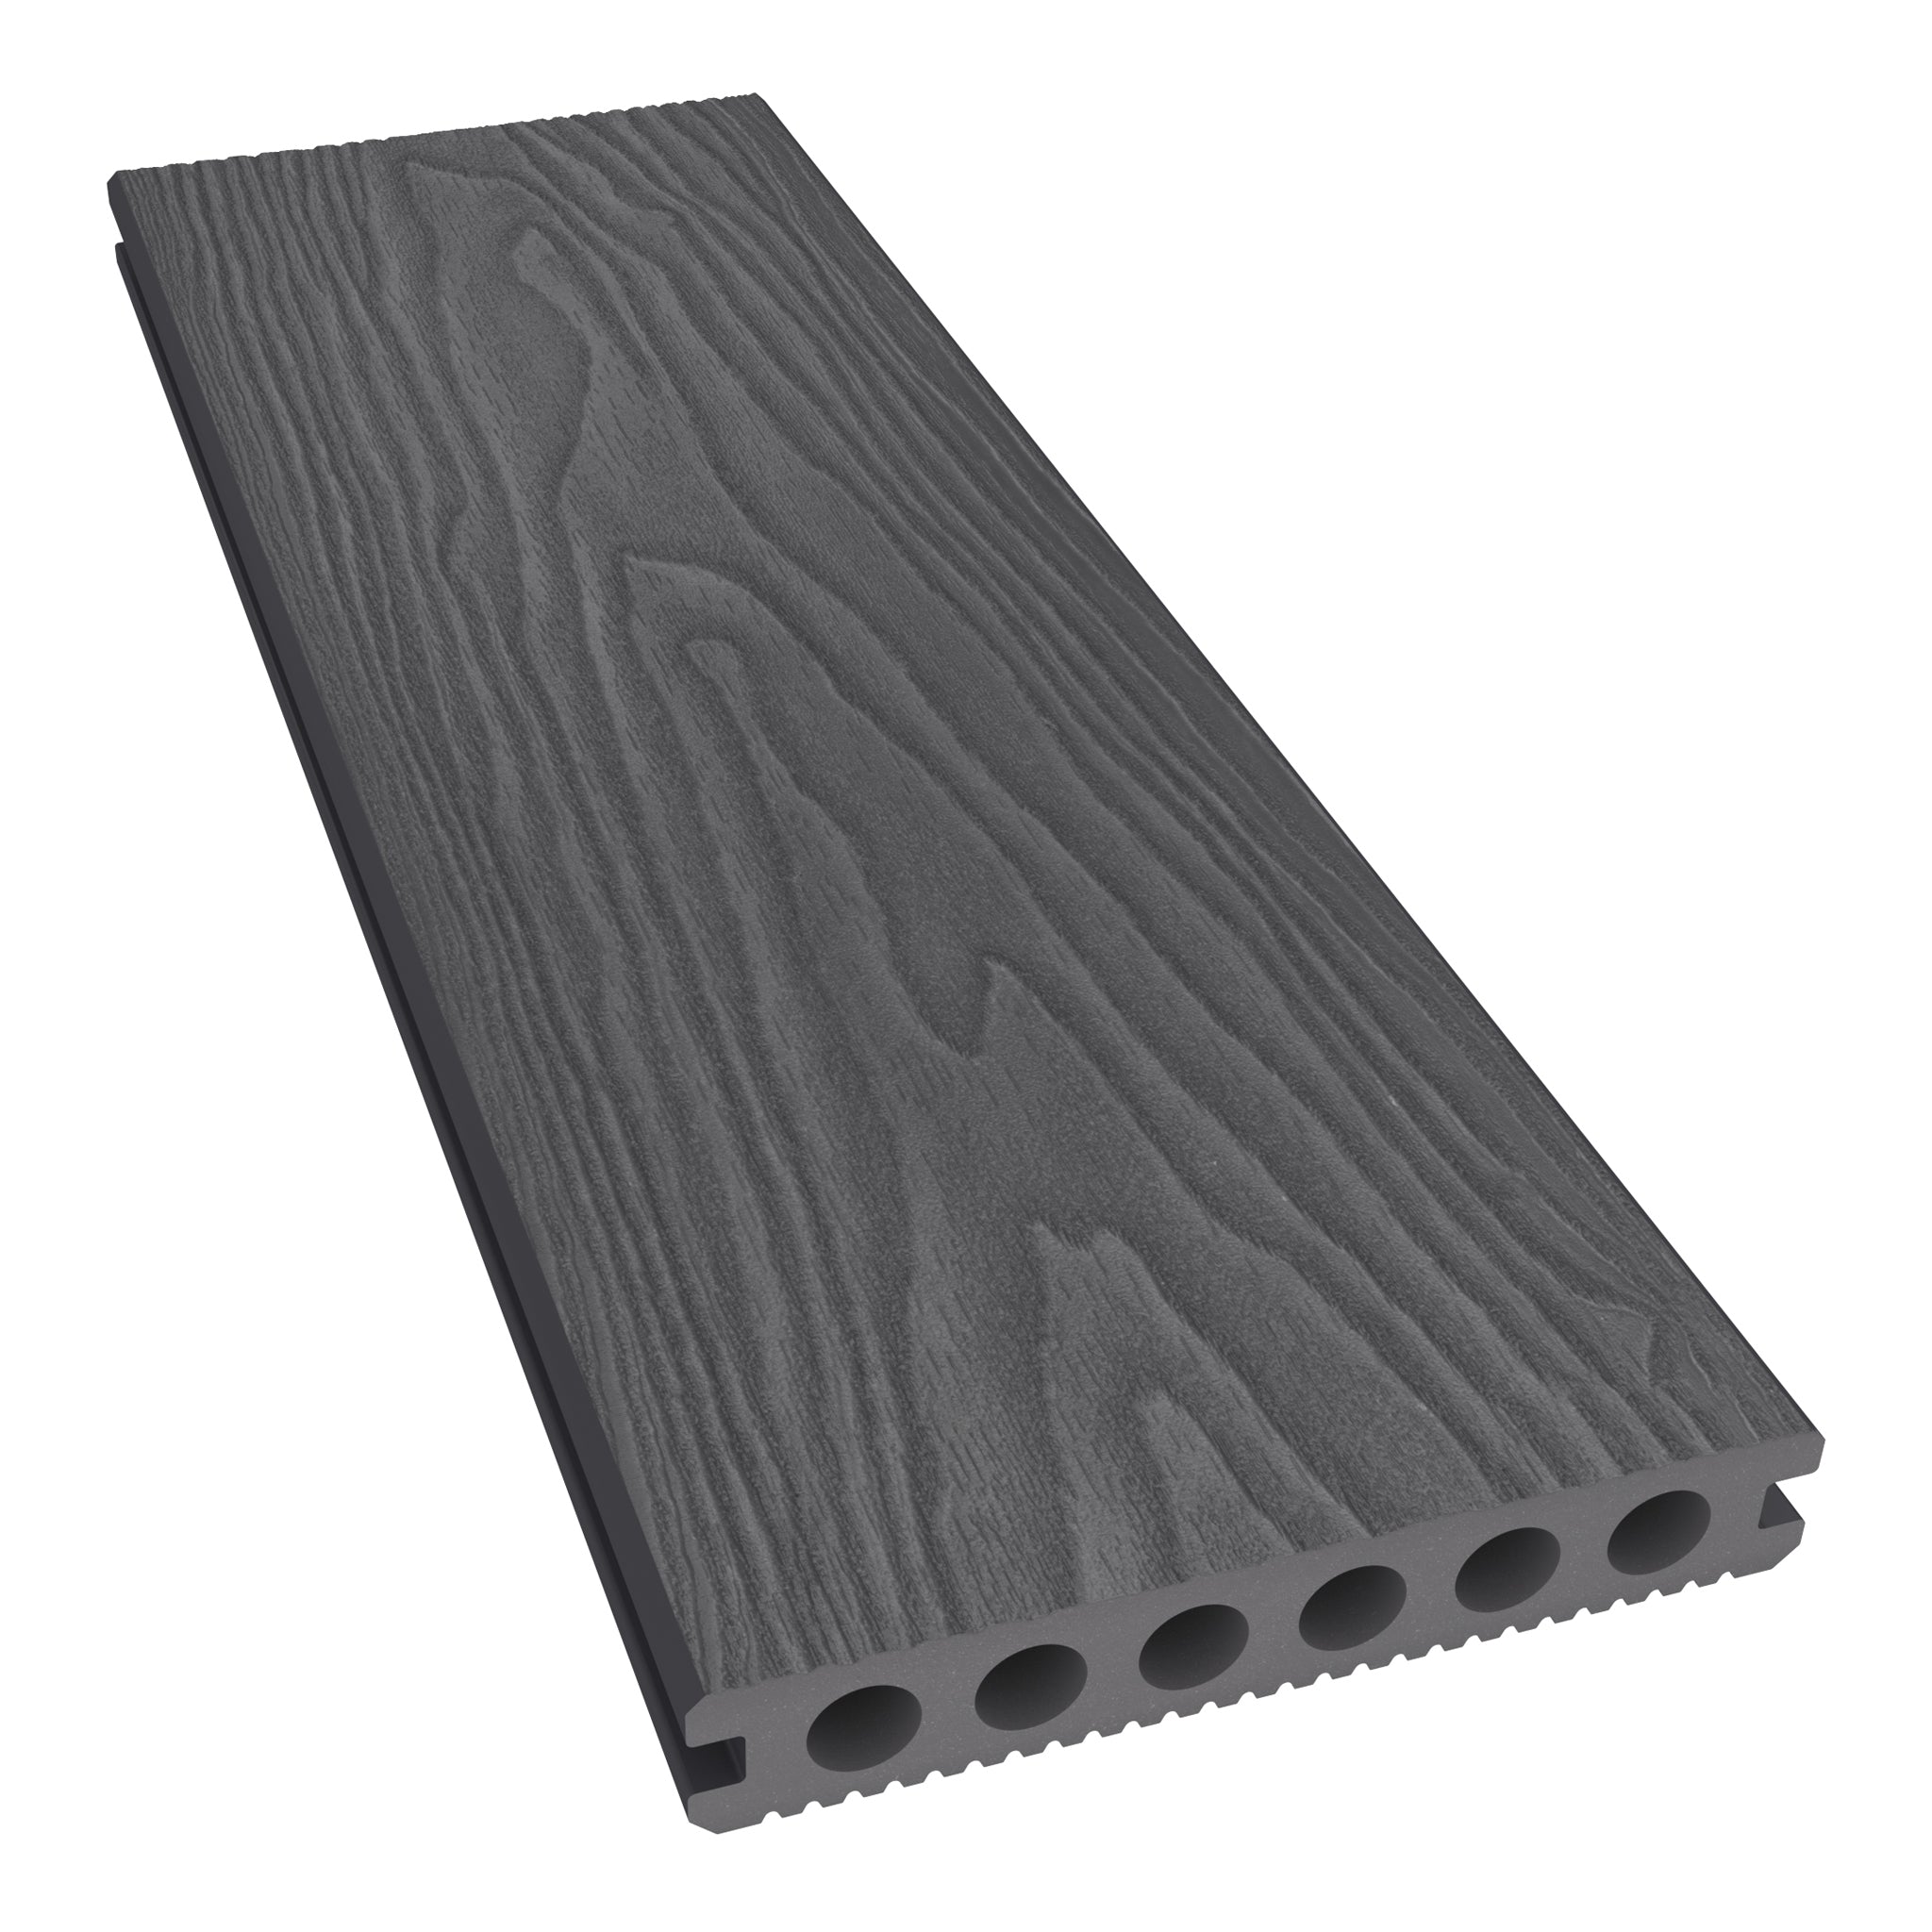
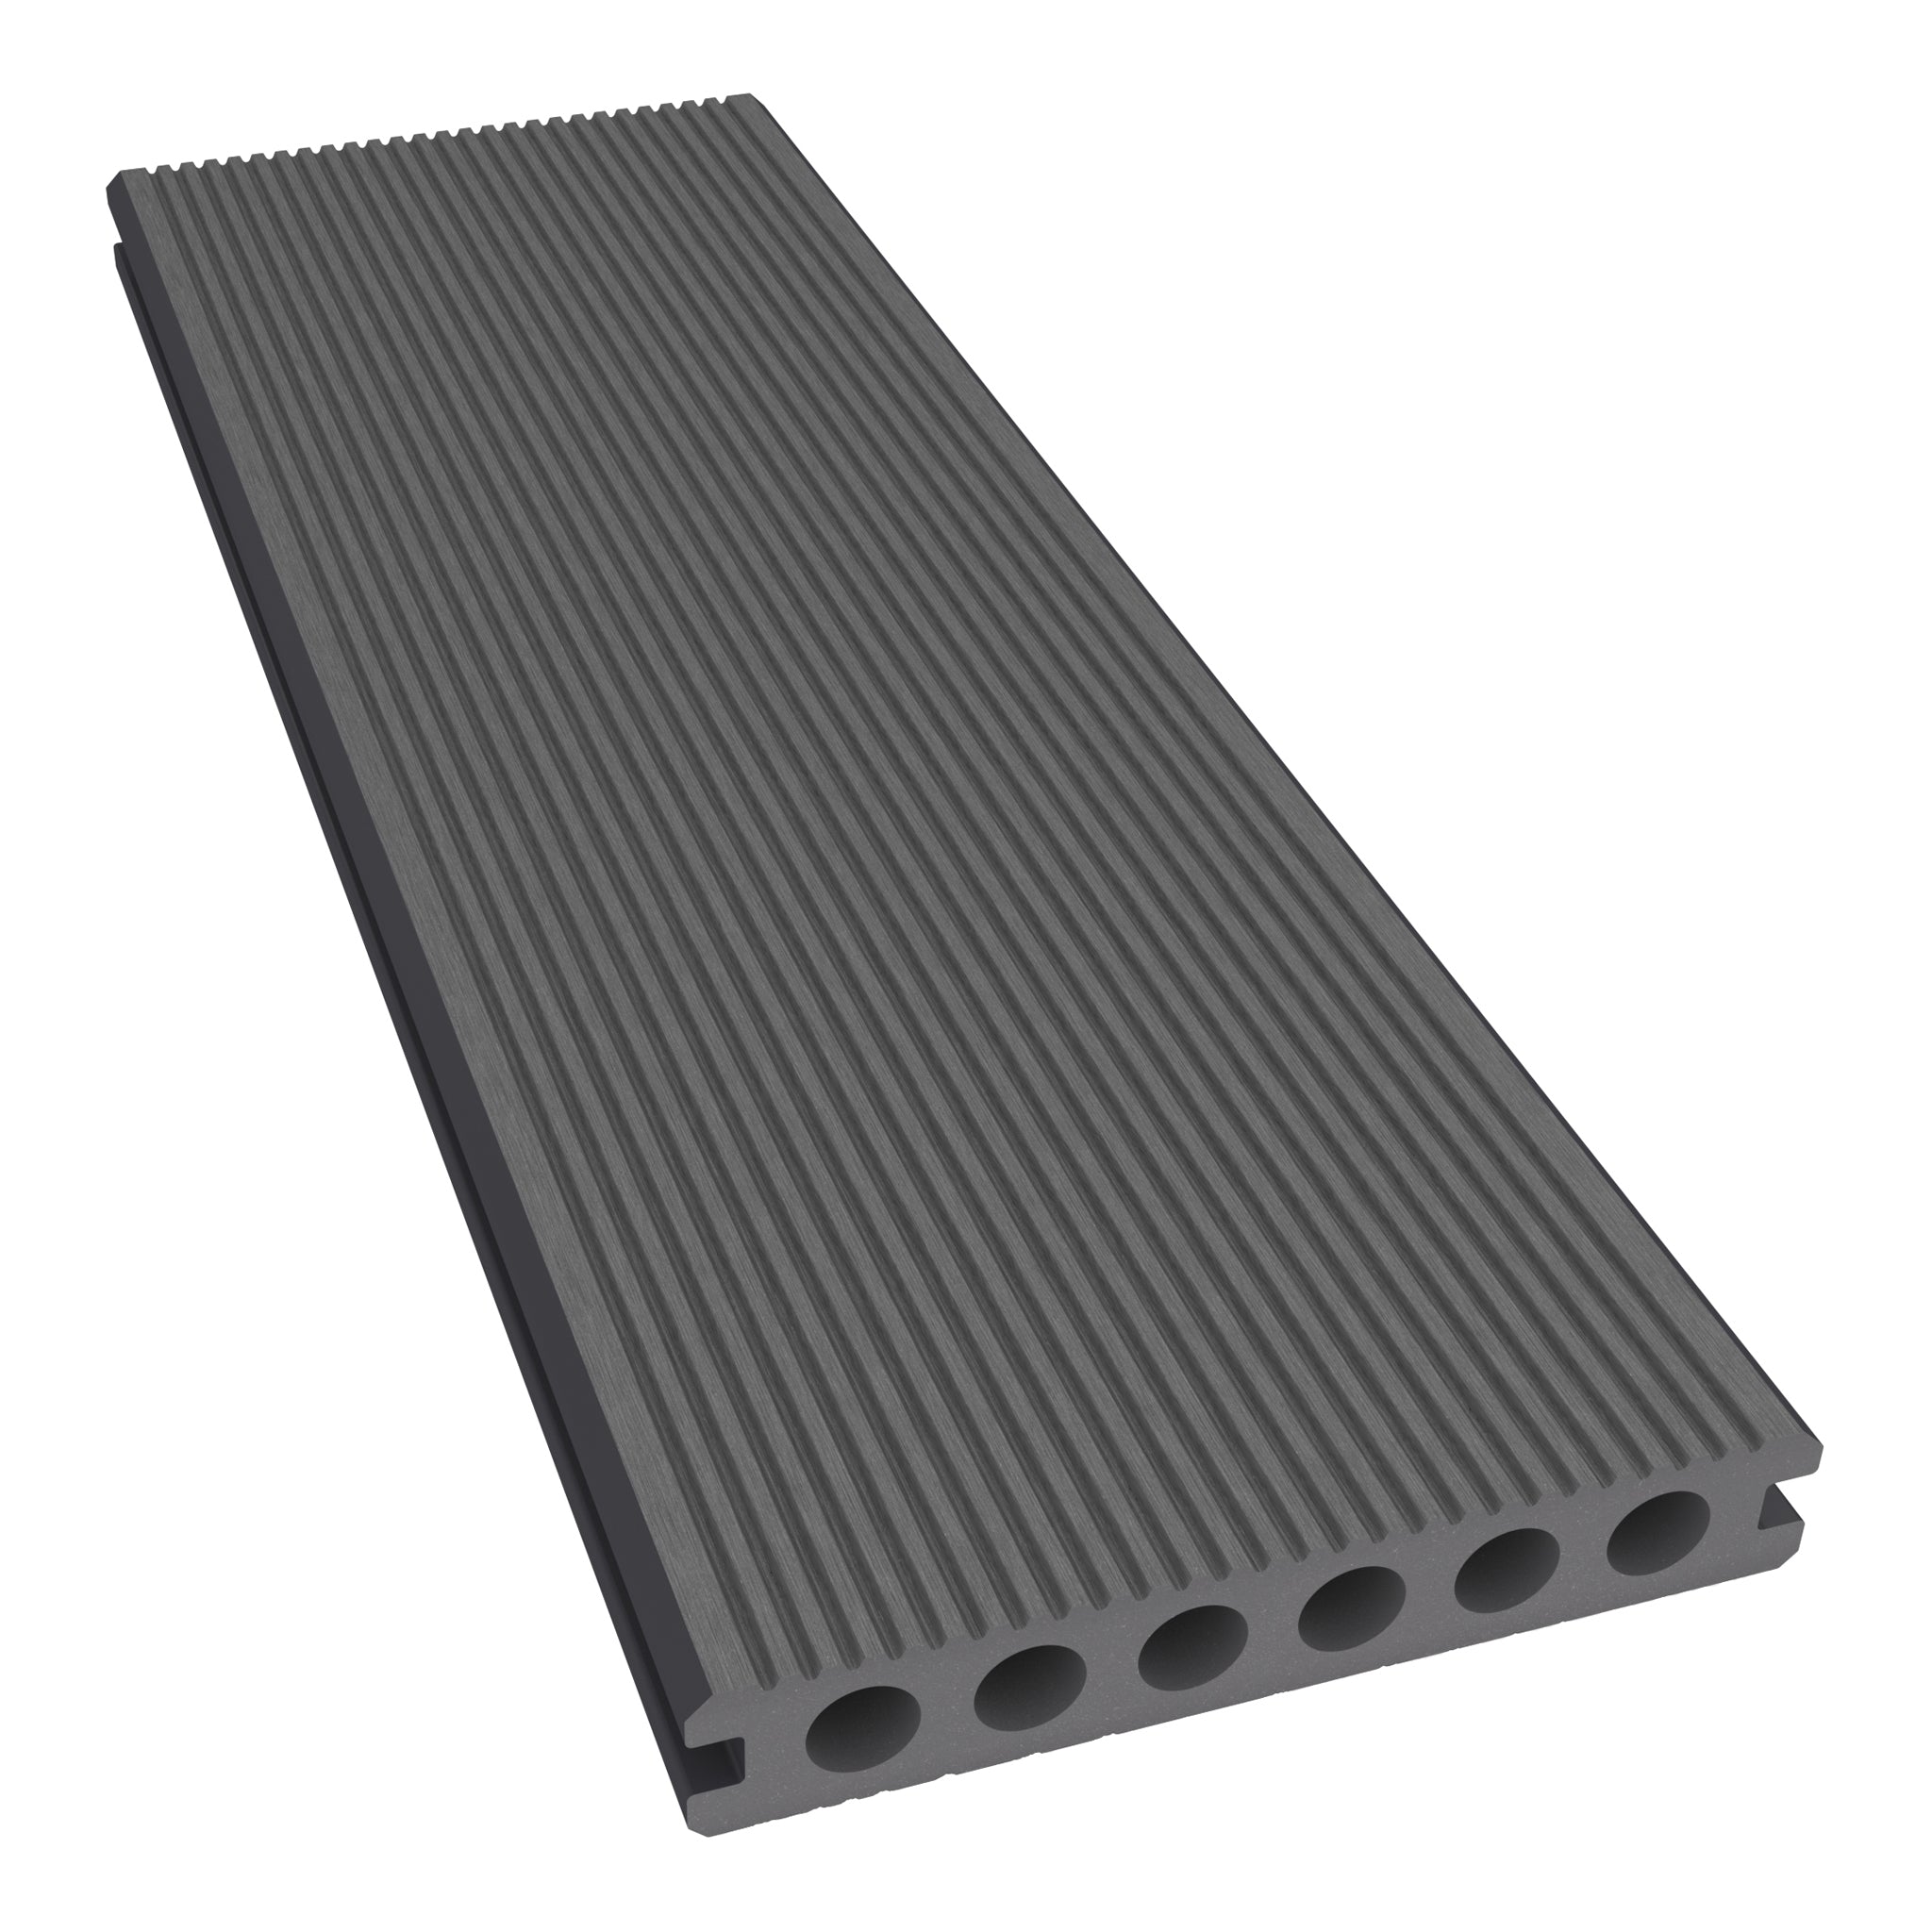
FastClips fit into the grooved edges of compatible boards and fasten them to the subframe. This keeps most main-surface fixings out of sight and helps maintain consistent spacing along the run.
NeoTimber® offers metal and plastic options. Their gap dimensions refer to the space between the long sides of adjacent boards. They do not determine the separate expansion clearances needed at board ends, walls or other fixed objects.
3mm Metal FastClips
The 3mm Metal FastClip fixing set uses stainless-steel clips to create a narrow, consistent gap between boards. Its discreet black finish suits projects where a less visible fixing is a priority.
Each set contains 100 clips with matching screws. Choose this option where the 3mm spacing and installation method suit the specified board system, and follow the instructions for tightening and positioning the fixings.

6mm Plastic FastClips
The 6mm Plastic FastClip fixing set creates a wider gap between boards. Each pack contains 100 plastic clips with stainless-steel screws.
A useful feature of this system is the ability to remove boards along the run, which can help when access to the space beneath the deck is required. Allow for the layout and finishing details when planning future access: a removable board does not automatically make the whole deck an unrestricted access platform.
Compare the appearance of the two gap options before installation. Once chosen, use the specified system consistently across the relevant area.

Colour-Coded Screws for Boards and Trims
Some details need a visible fixing rather than a concealed clip. Colour-coded screws help those fixing points blend with the surrounding finish. Board screws and trim screws have different purposes, so select the product specified for the component you are securing.
Colour-Coded Trim Screws
Coloured composite decking trim screws provide a coordinated fixing for compatible trims, including the corner and skirting details described in the product guidance.
Check the trim’s fitting instructions for support, drilling requirements and fixing positions. A neat screw head contributes to the appearance, but the correct fixing method is what keeps the finishing detail properly attached.

Colour-Coded Decking Screws
Coloured composite decking screws are intended for specified board-fixing details where clips cannot be used. They can provide a more discreet finish at visible fixing points.
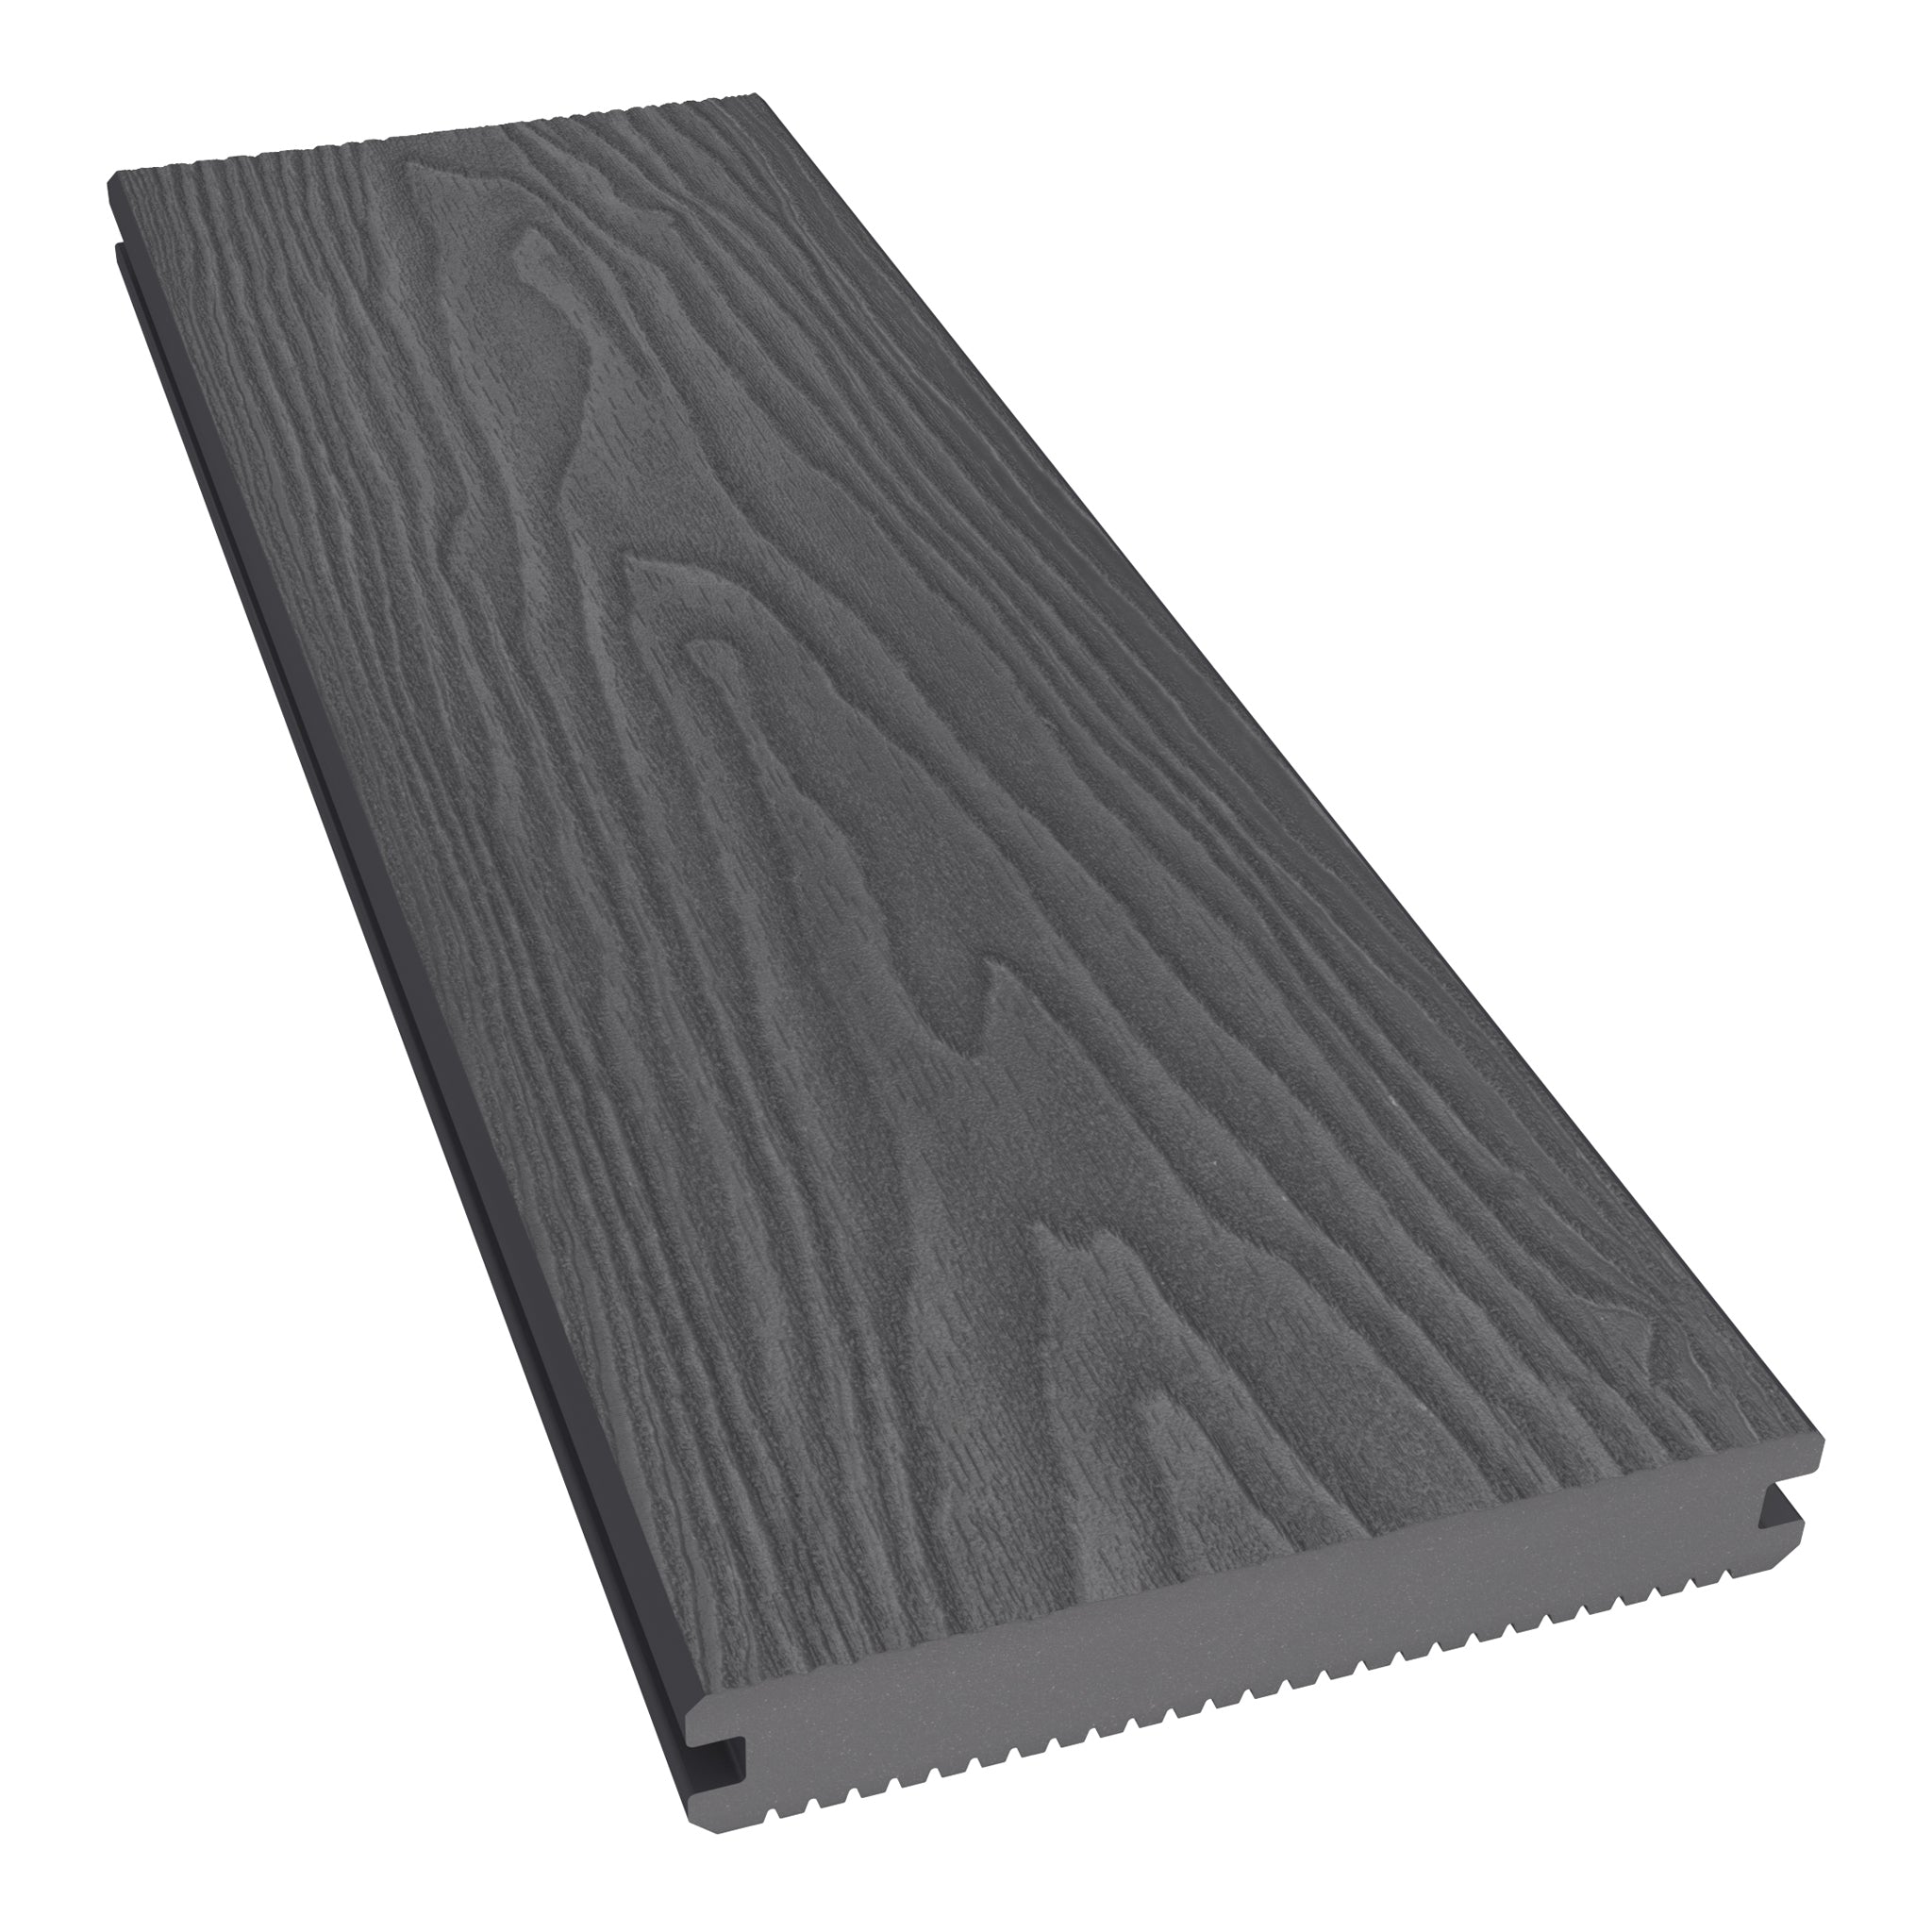
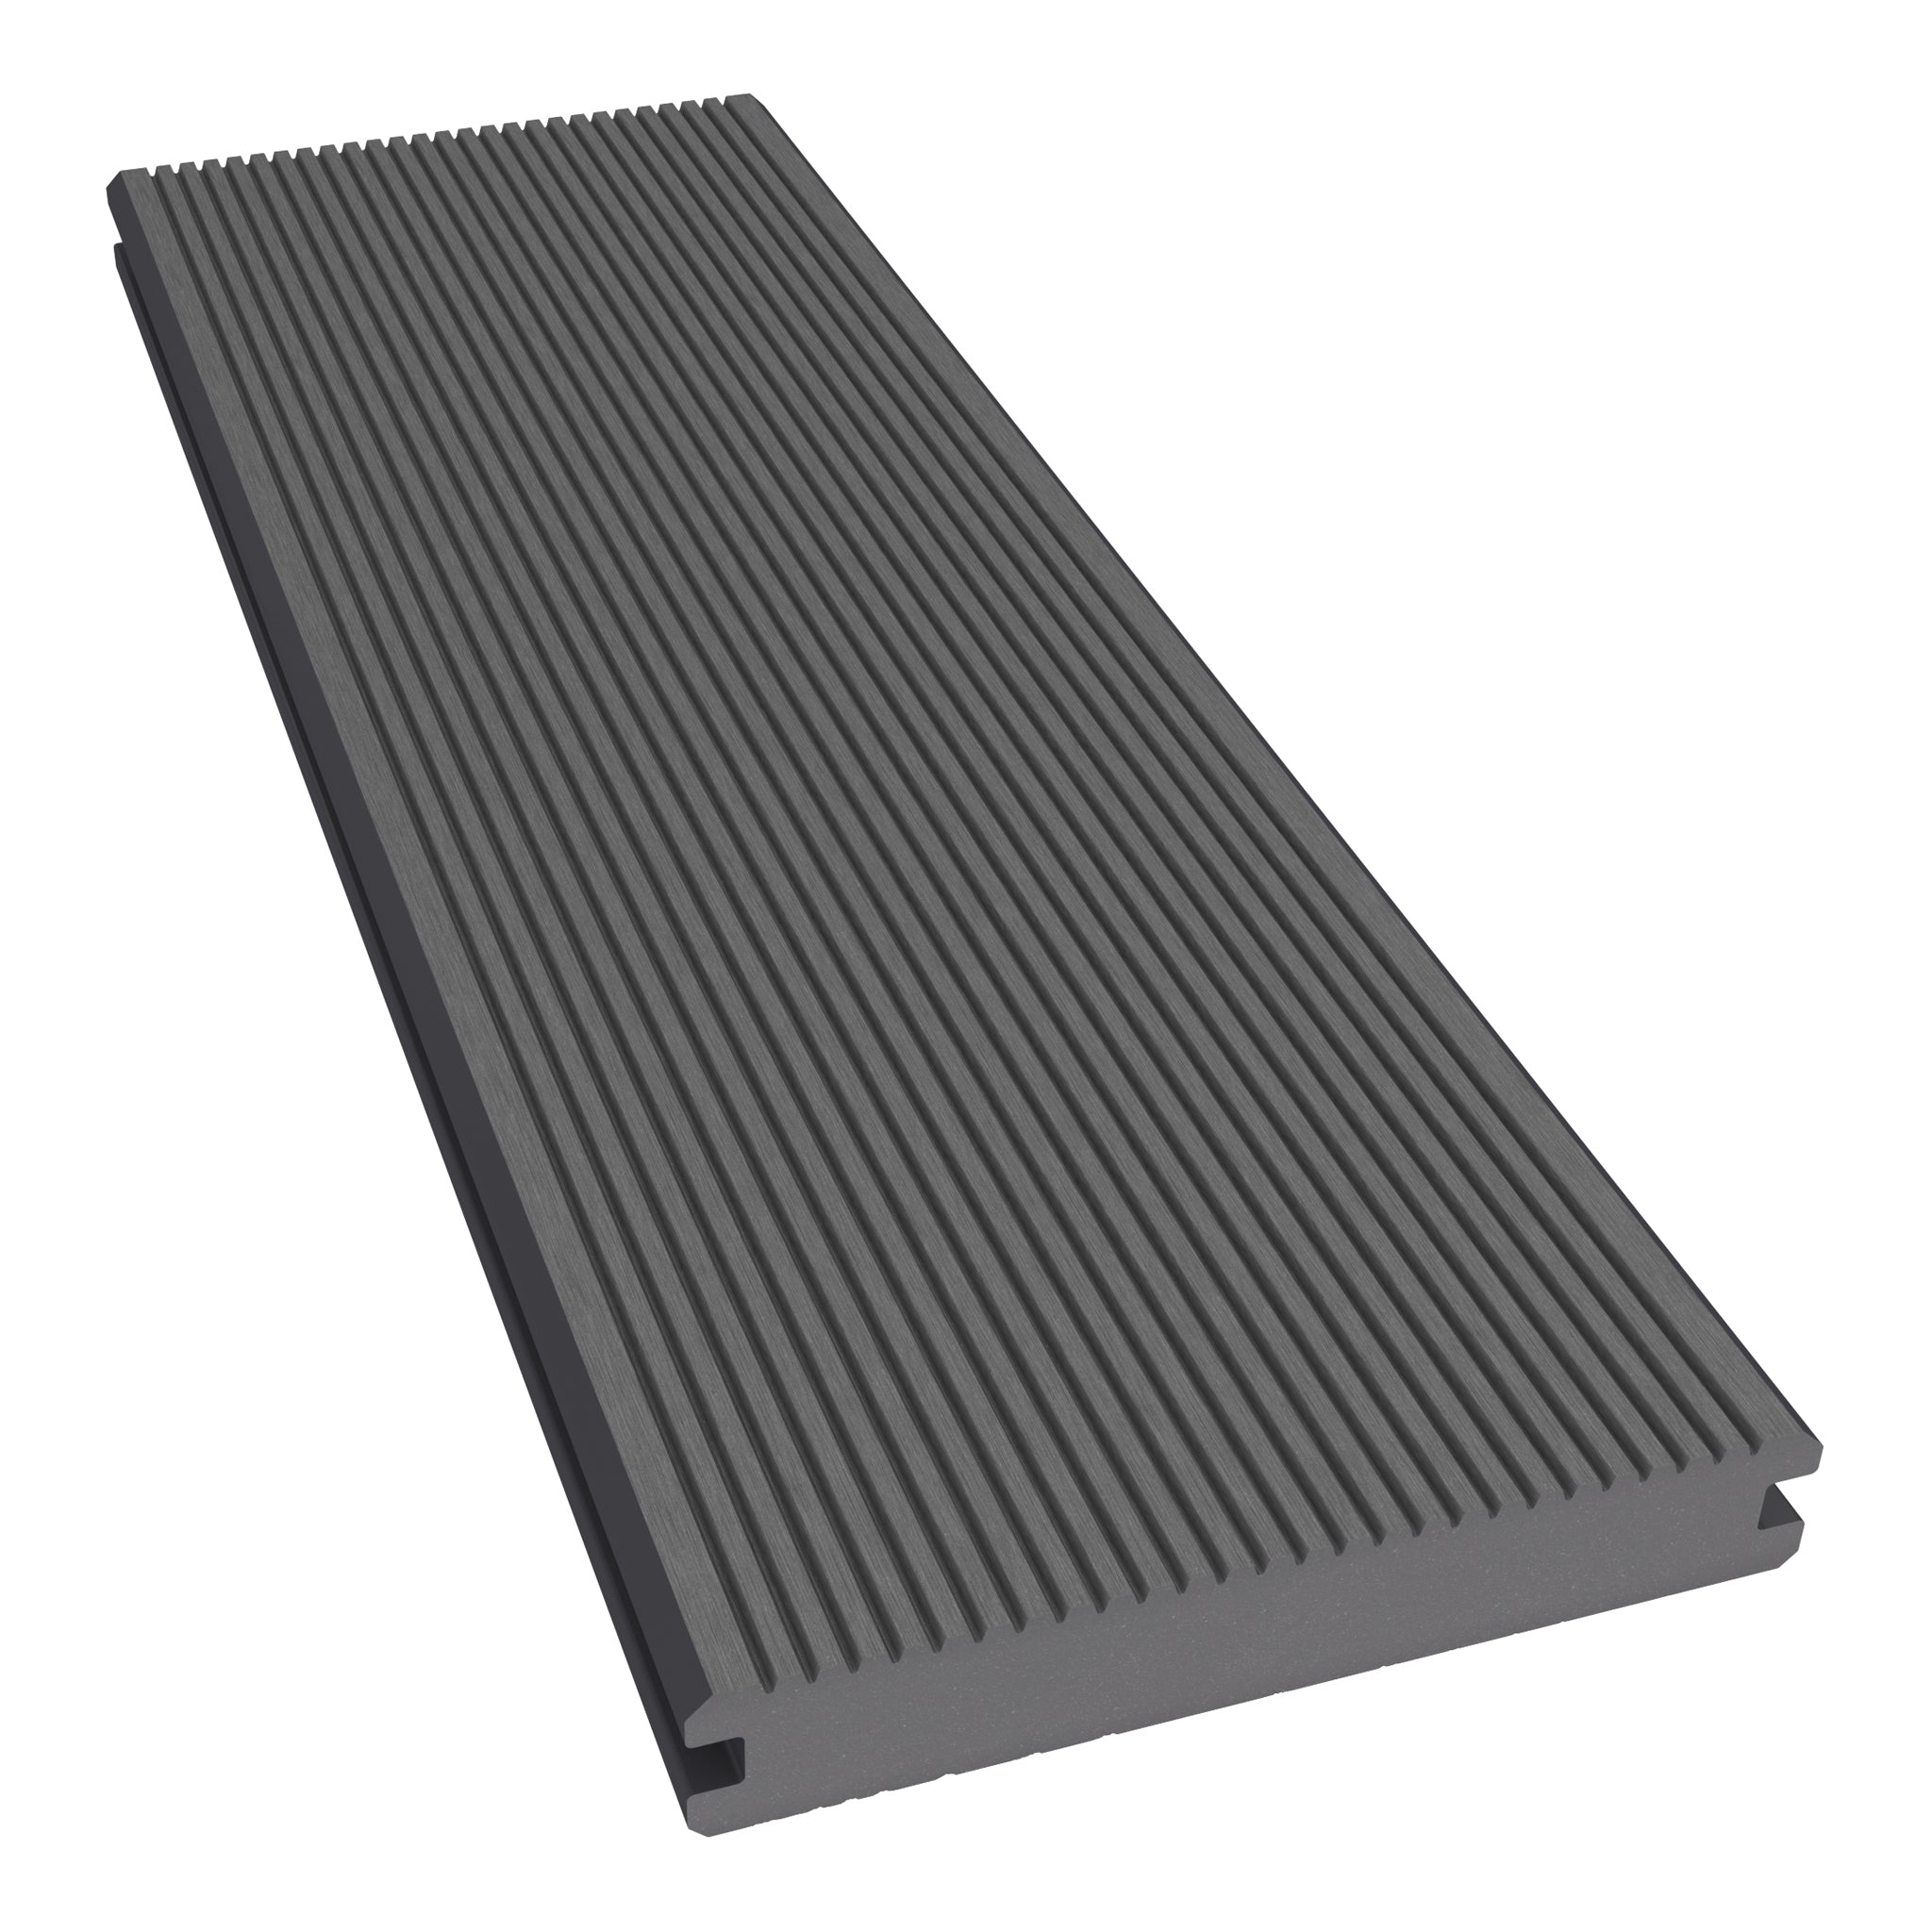
Do not assume every board can be face-fixed in the same way. Confirm the method for the chosen solid or hollow profile, including any pre-drilling requirements. Hollow profiles need particular attention to fixing position and should not be treated as solid timber.

How to Estimate Fixing Quantities
Plan the boards and frame together before calculating composite decking fixings. Board length, joist spacing, board-end joints, picture framing and separate deck sections all influence the final quantity.
- Draw the board layout and identify the supporting joists.
- Count the starter-edge fixing positions separately from the main board runs.
- Include the additional support and fixings required at joints and borders.
- List trims and any specified face-fixed details separately.
- Convert the requirements into full packs and review the list against the installation guidance.
Use our composite decking calculator to help estimate materials, then check unusual layouts with the technical team. Avoid treating a general pack-coverage estimate as an exact requirement for every design.
Installation Checks That Help Avoid Problems
Read the composite decking installation guidance before work starts. The following checks are particularly useful:
- Confirm compatibility: match clips, screws, board grooves and subframe materials.
- Support the fixing points: resolve board ends, borders and changes of direction in the frame design.
- Allow for movement: follow the specified end and perimeter clearances as well as the clip-controlled side gaps.
- Follow the tightening method: do not over tighten fixings or deform clips and boards.
- Keep drainage paths clear: clips alone cannot correct an installation with poor drainage or inadequate ventilation.
Composite Decking Fixings FAQs
Can I use ordinary wood screws instead of decking clips?
Use the fixing system approved for your board and application. Ordinary wood screws should not be assumed to provide an equivalent replacement for concealed clips or specified composite decking screws.
Do hidden fixings make every screw invisible?
They conceal the fixings across the main grooved-board surface. Some starting, finishing or trim details may still require specified visible screws.
Does a 3mm clip provide every expansion gap the deck needs?
No. The 3mm dimension describes the side-to-side board spacing. Board ends, perimeter clearances and other junctions require their own allowances under the installation instructions.
Which fixings help with future board removal?
The 6mm Plastic FastClip system is designed to allow board removal along the run. Plan access needs before fitting, including any surrounding trims or details that could obstruct removal.
Complete Your Deck with Compatible NeoTimber® Fixings
A well-planned fixing system brings the boards, frame and finishing details together. Choose your clips alongside the board specification, calculate quantities from the layout and resolve unusual details before installation.
Explore the composite decking accessories guide or contact NeoTimber® for help selecting the appropriate fixings for your project.