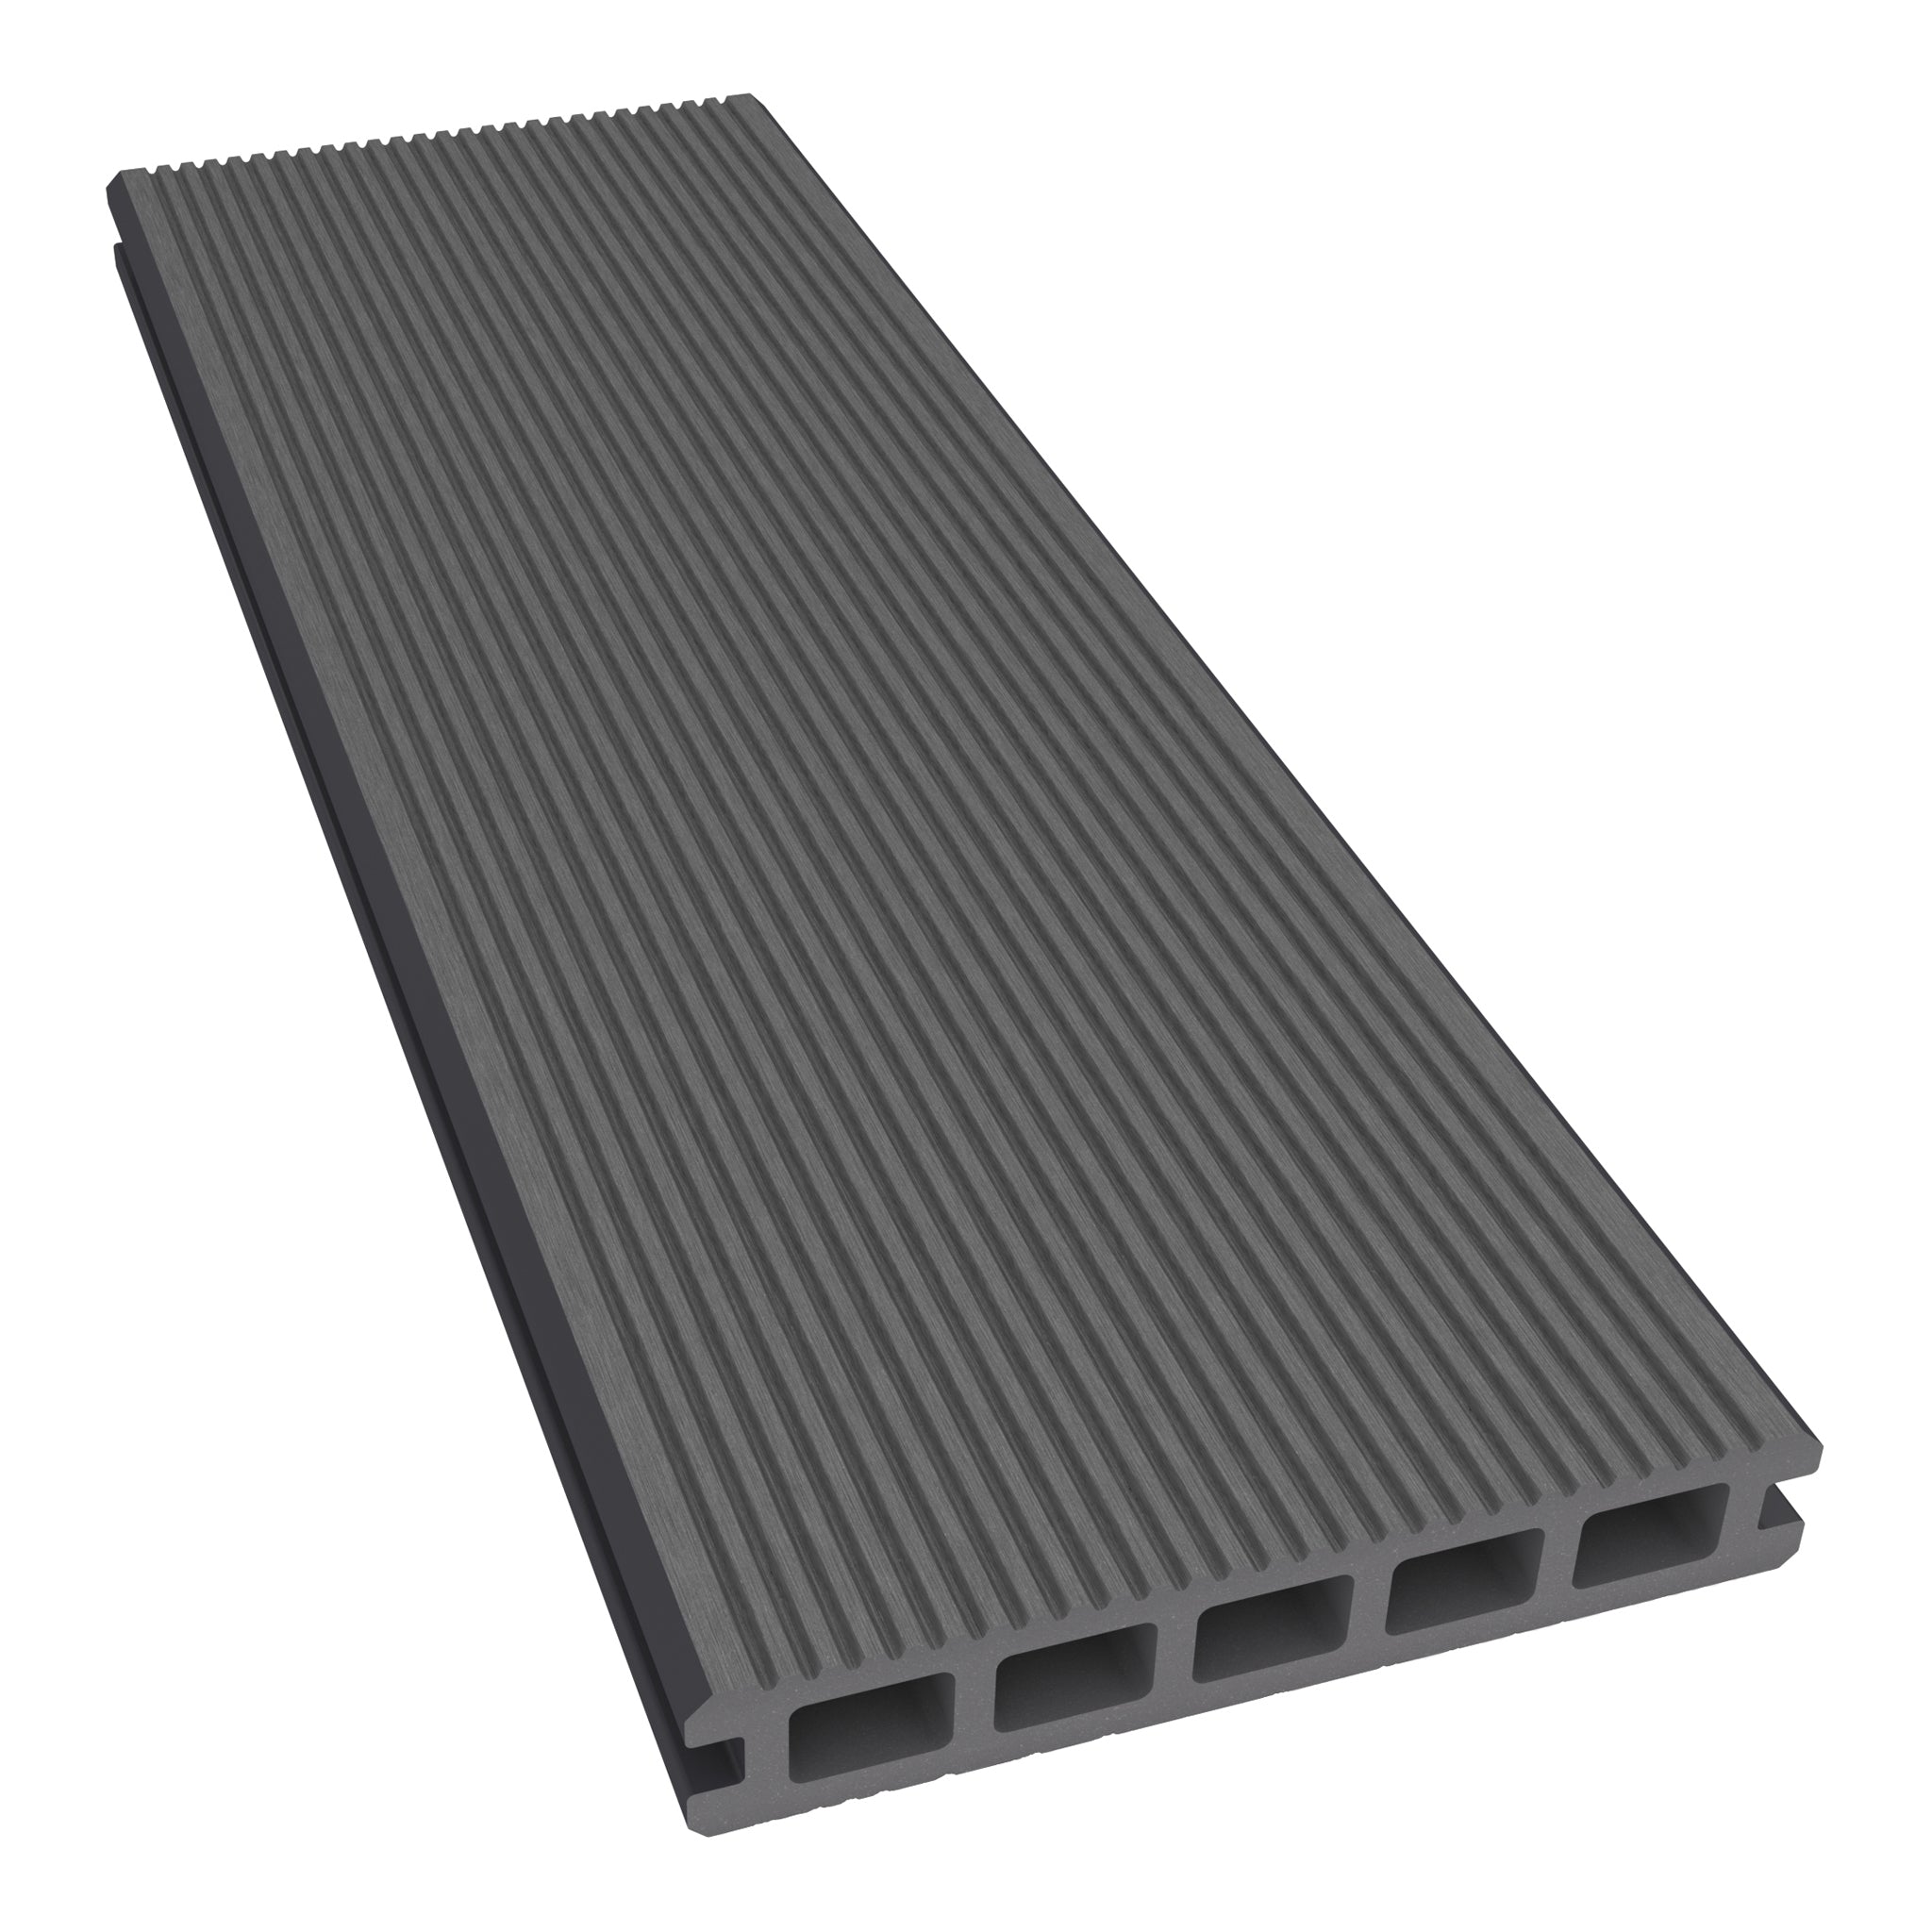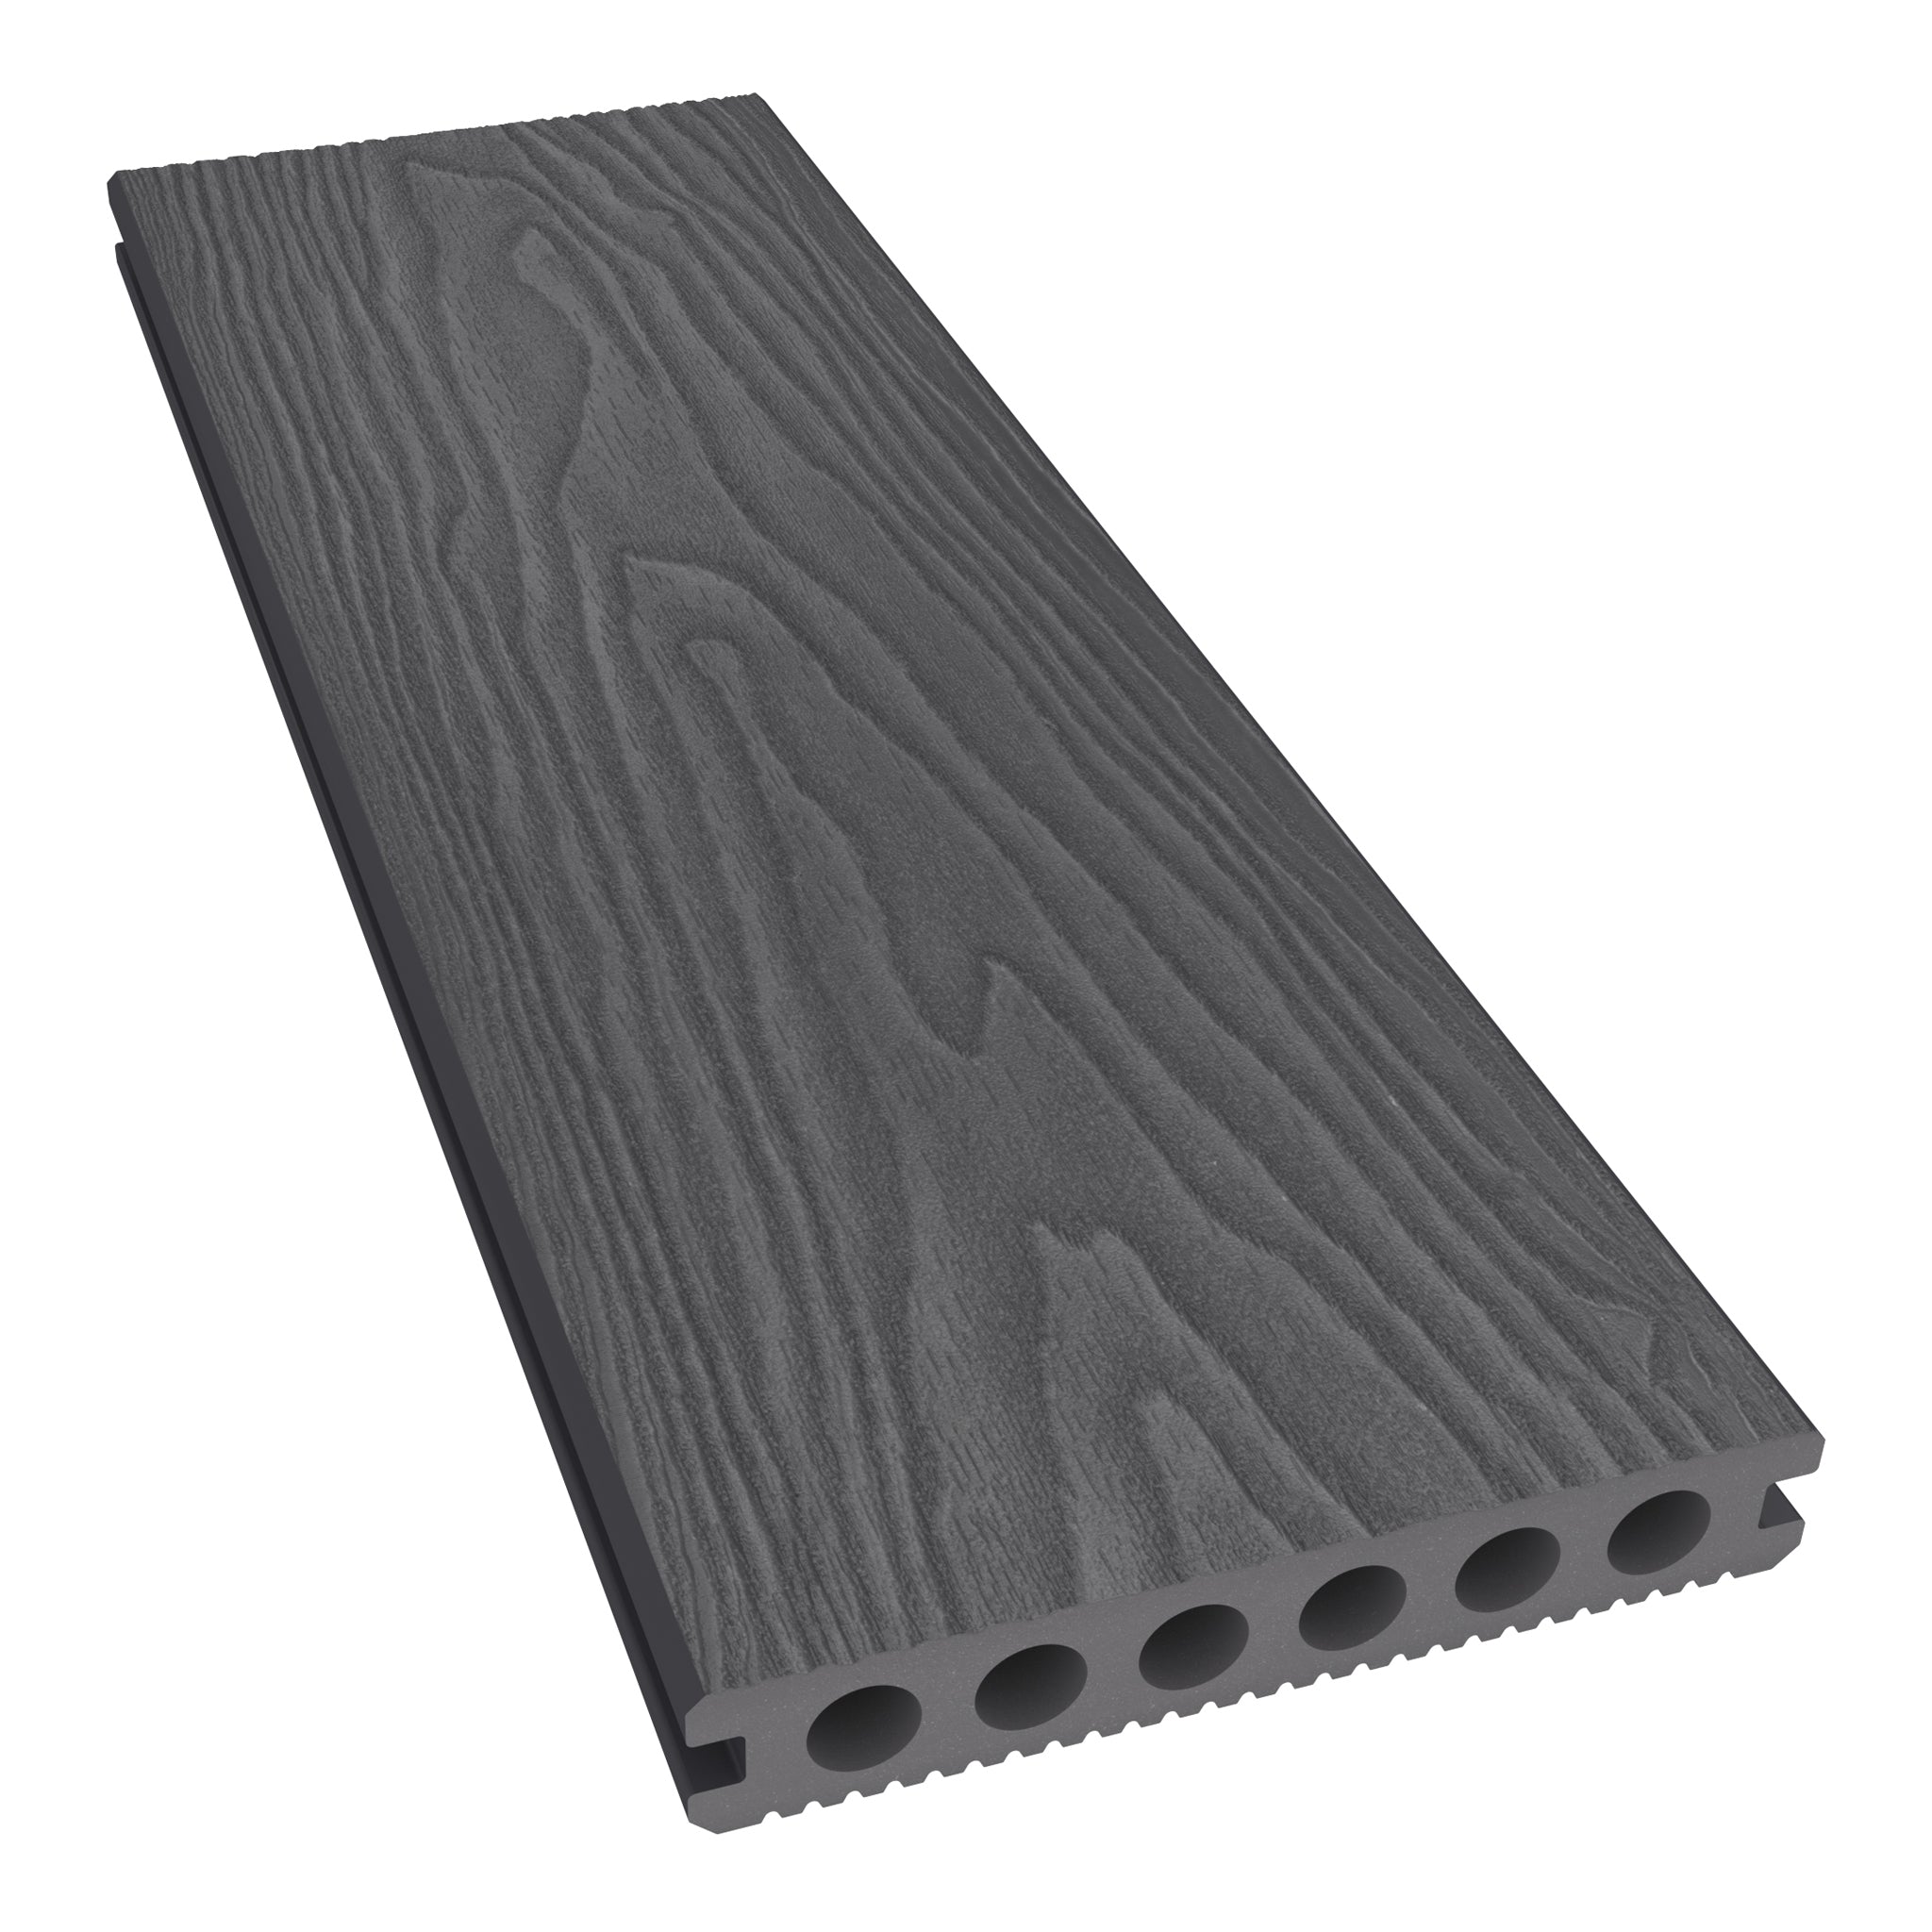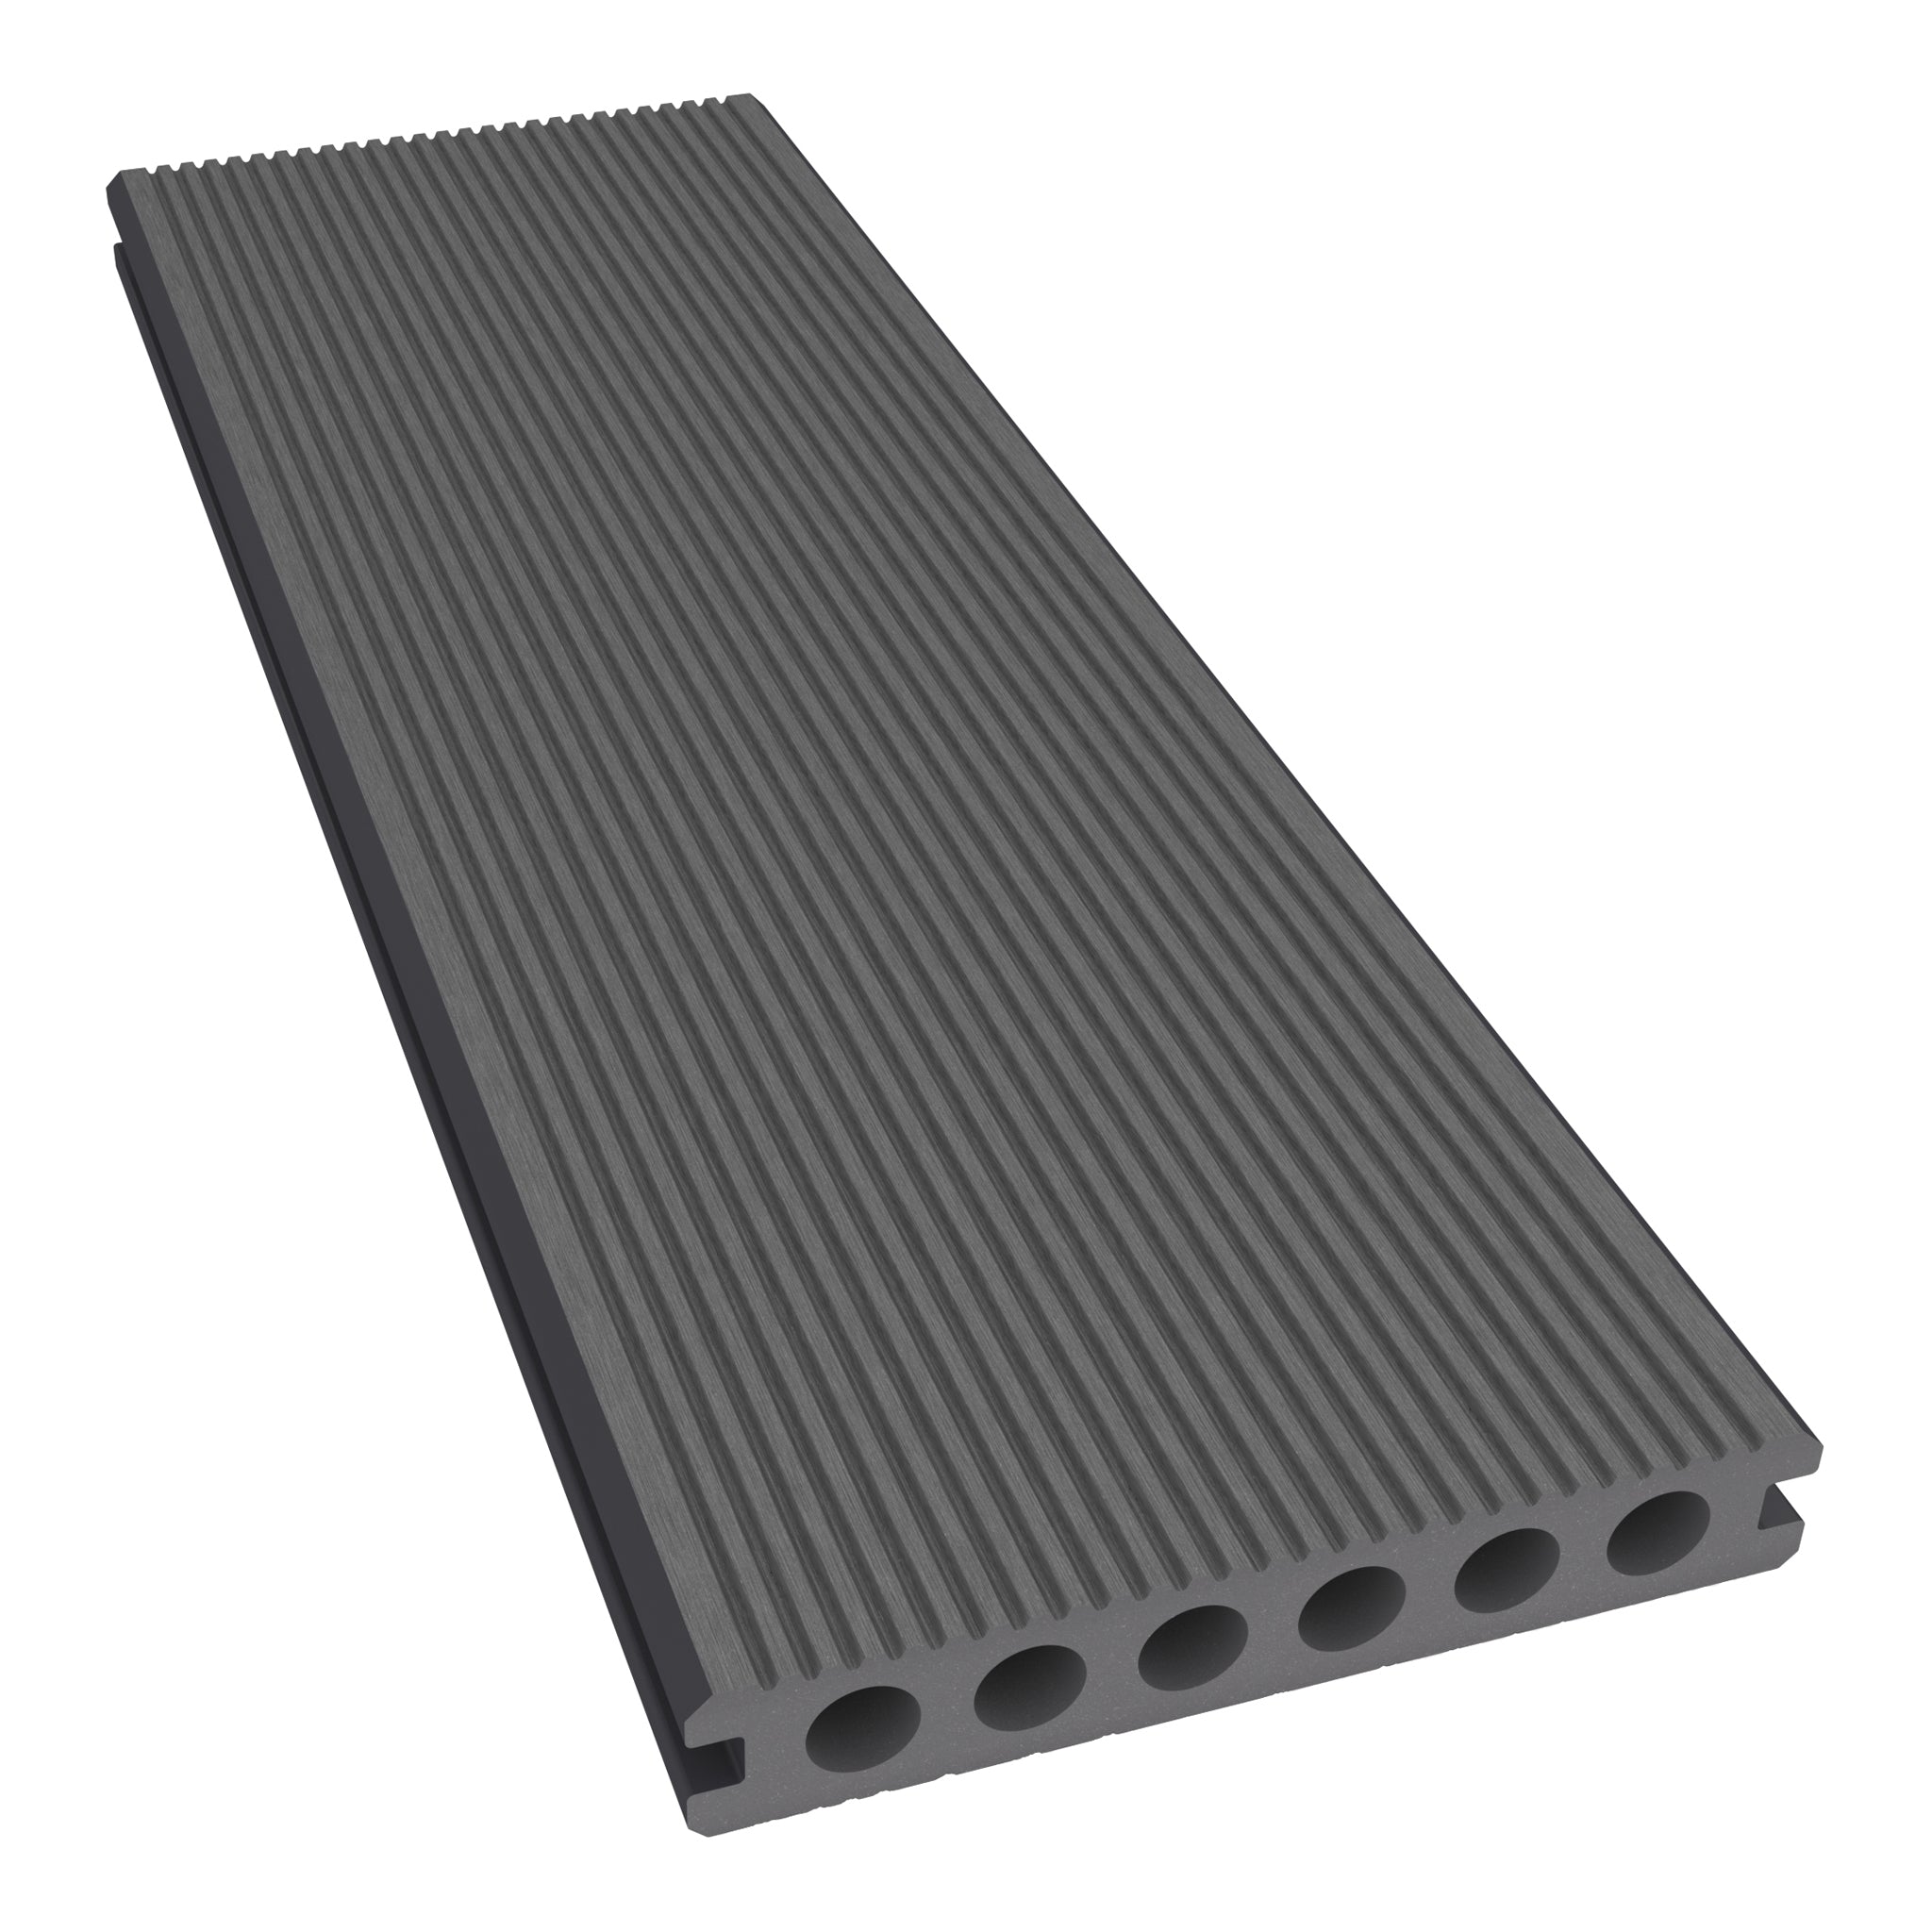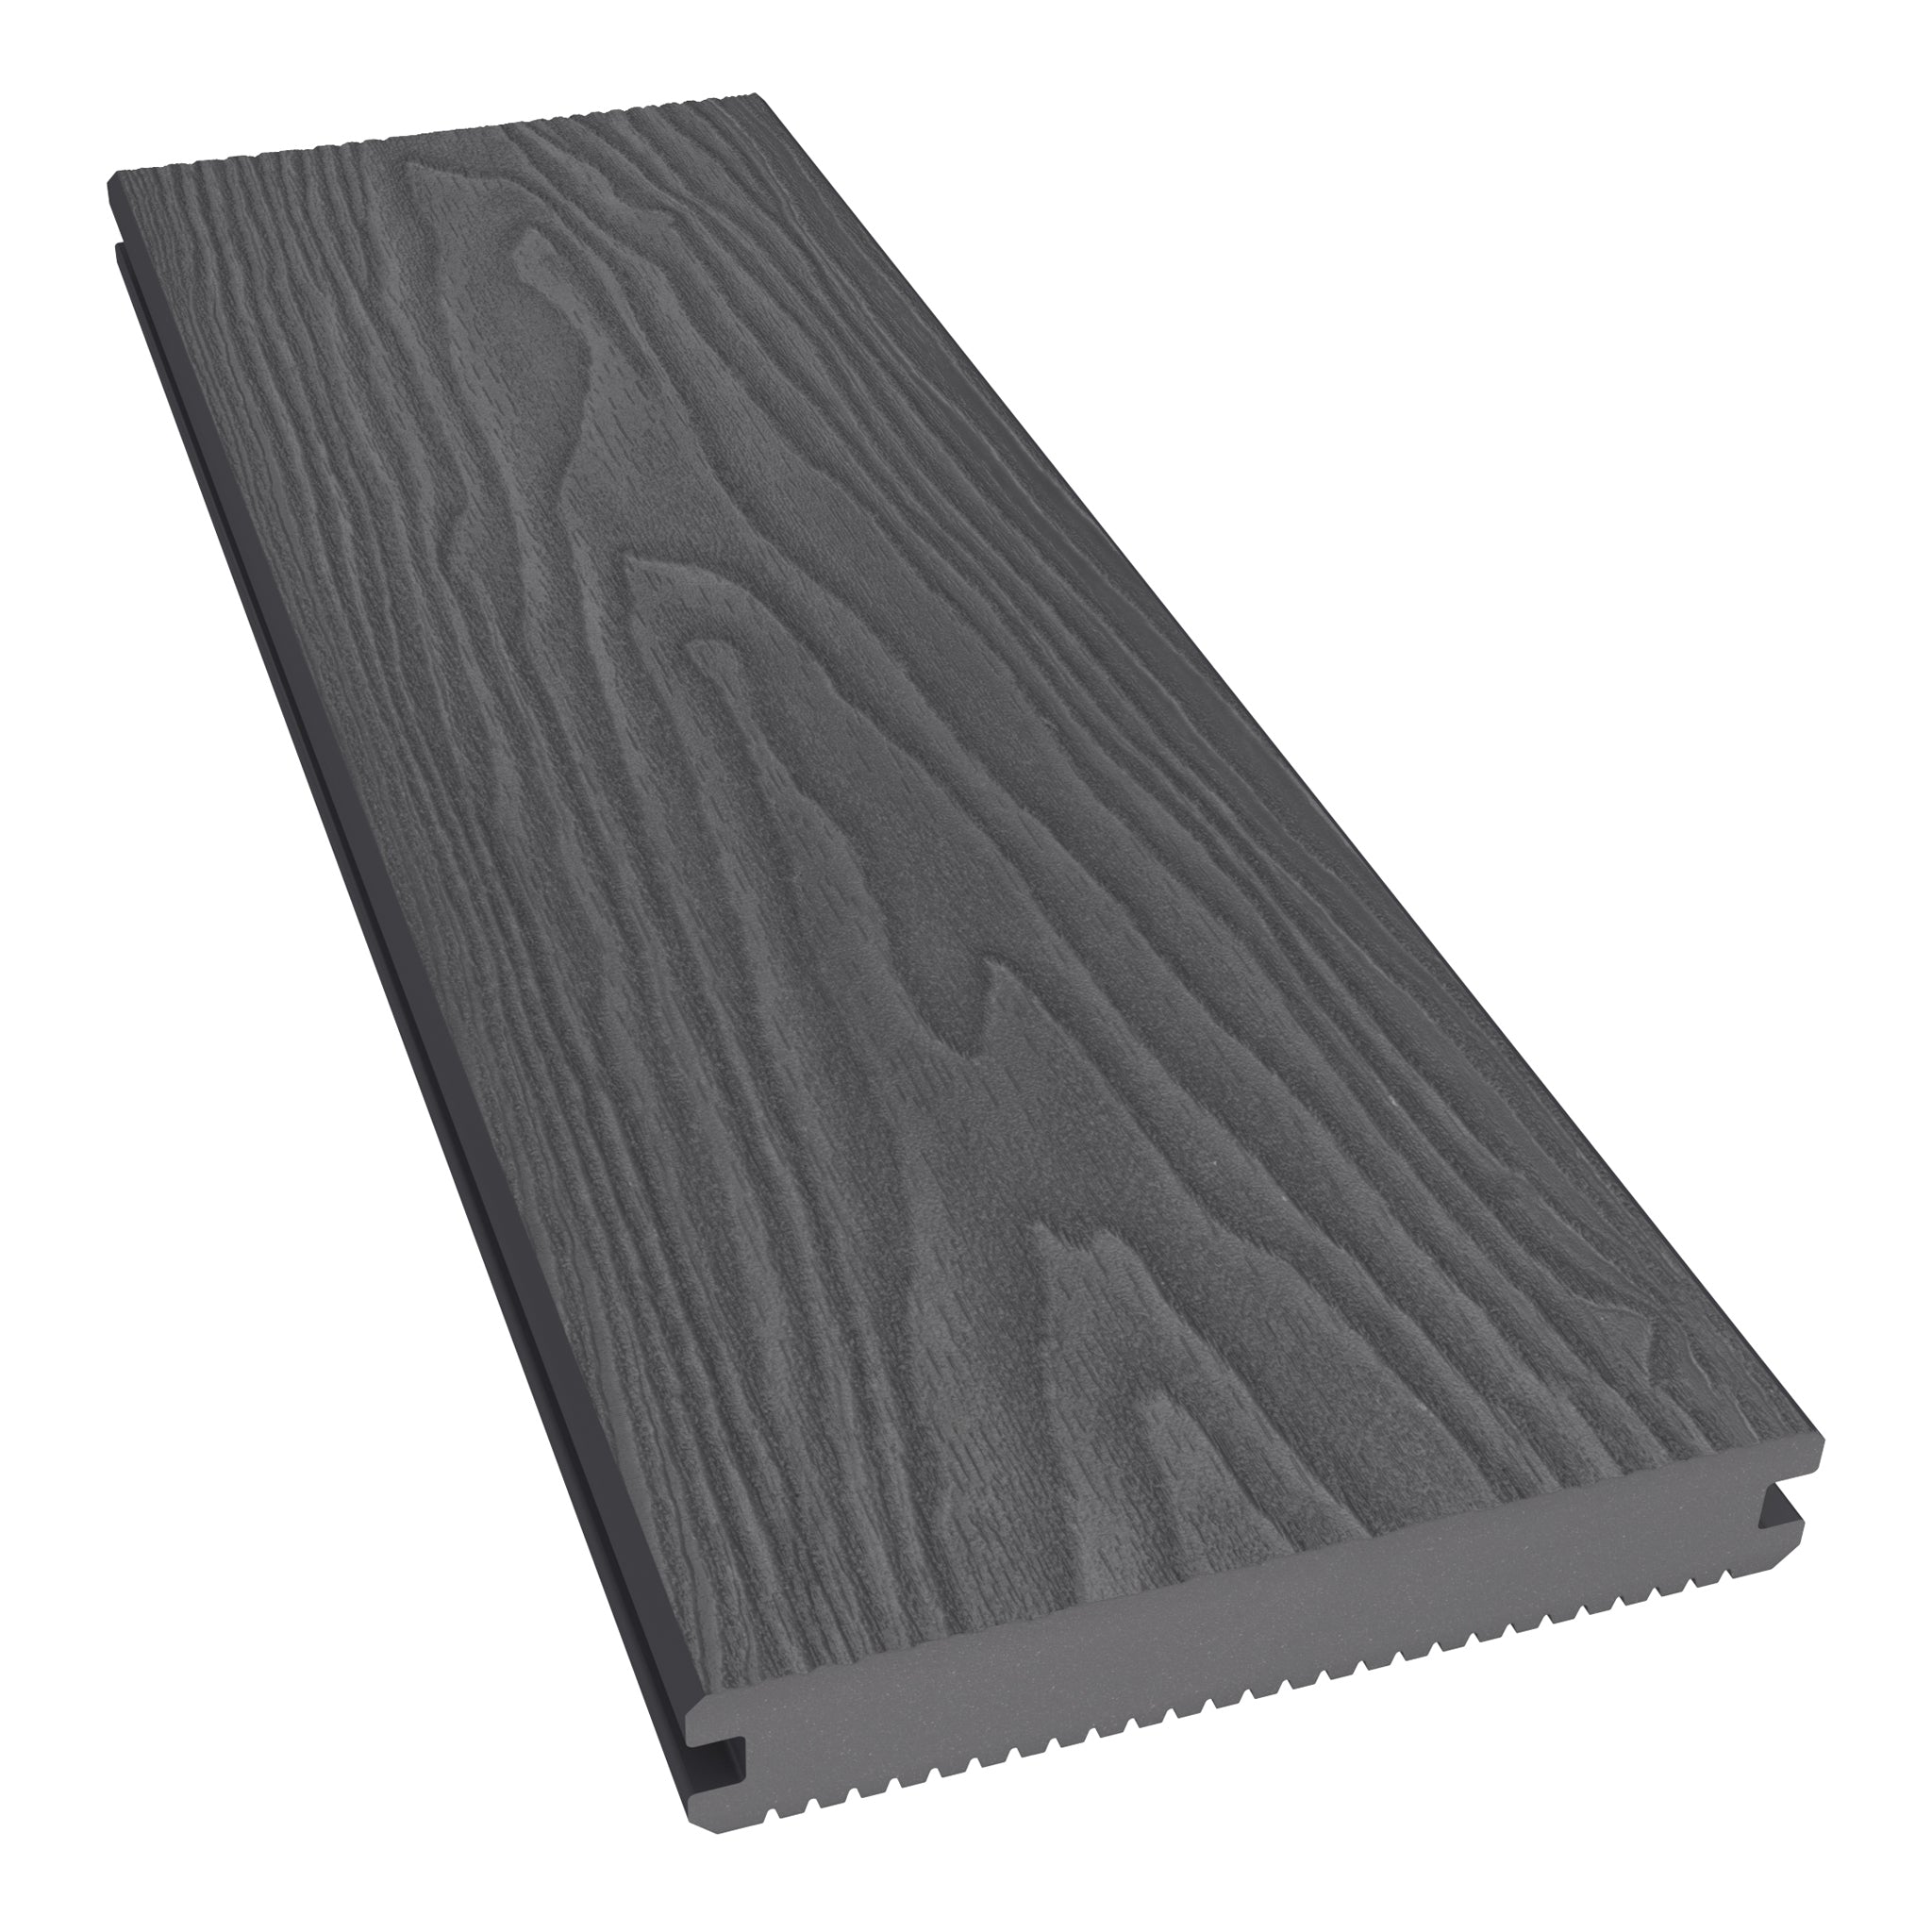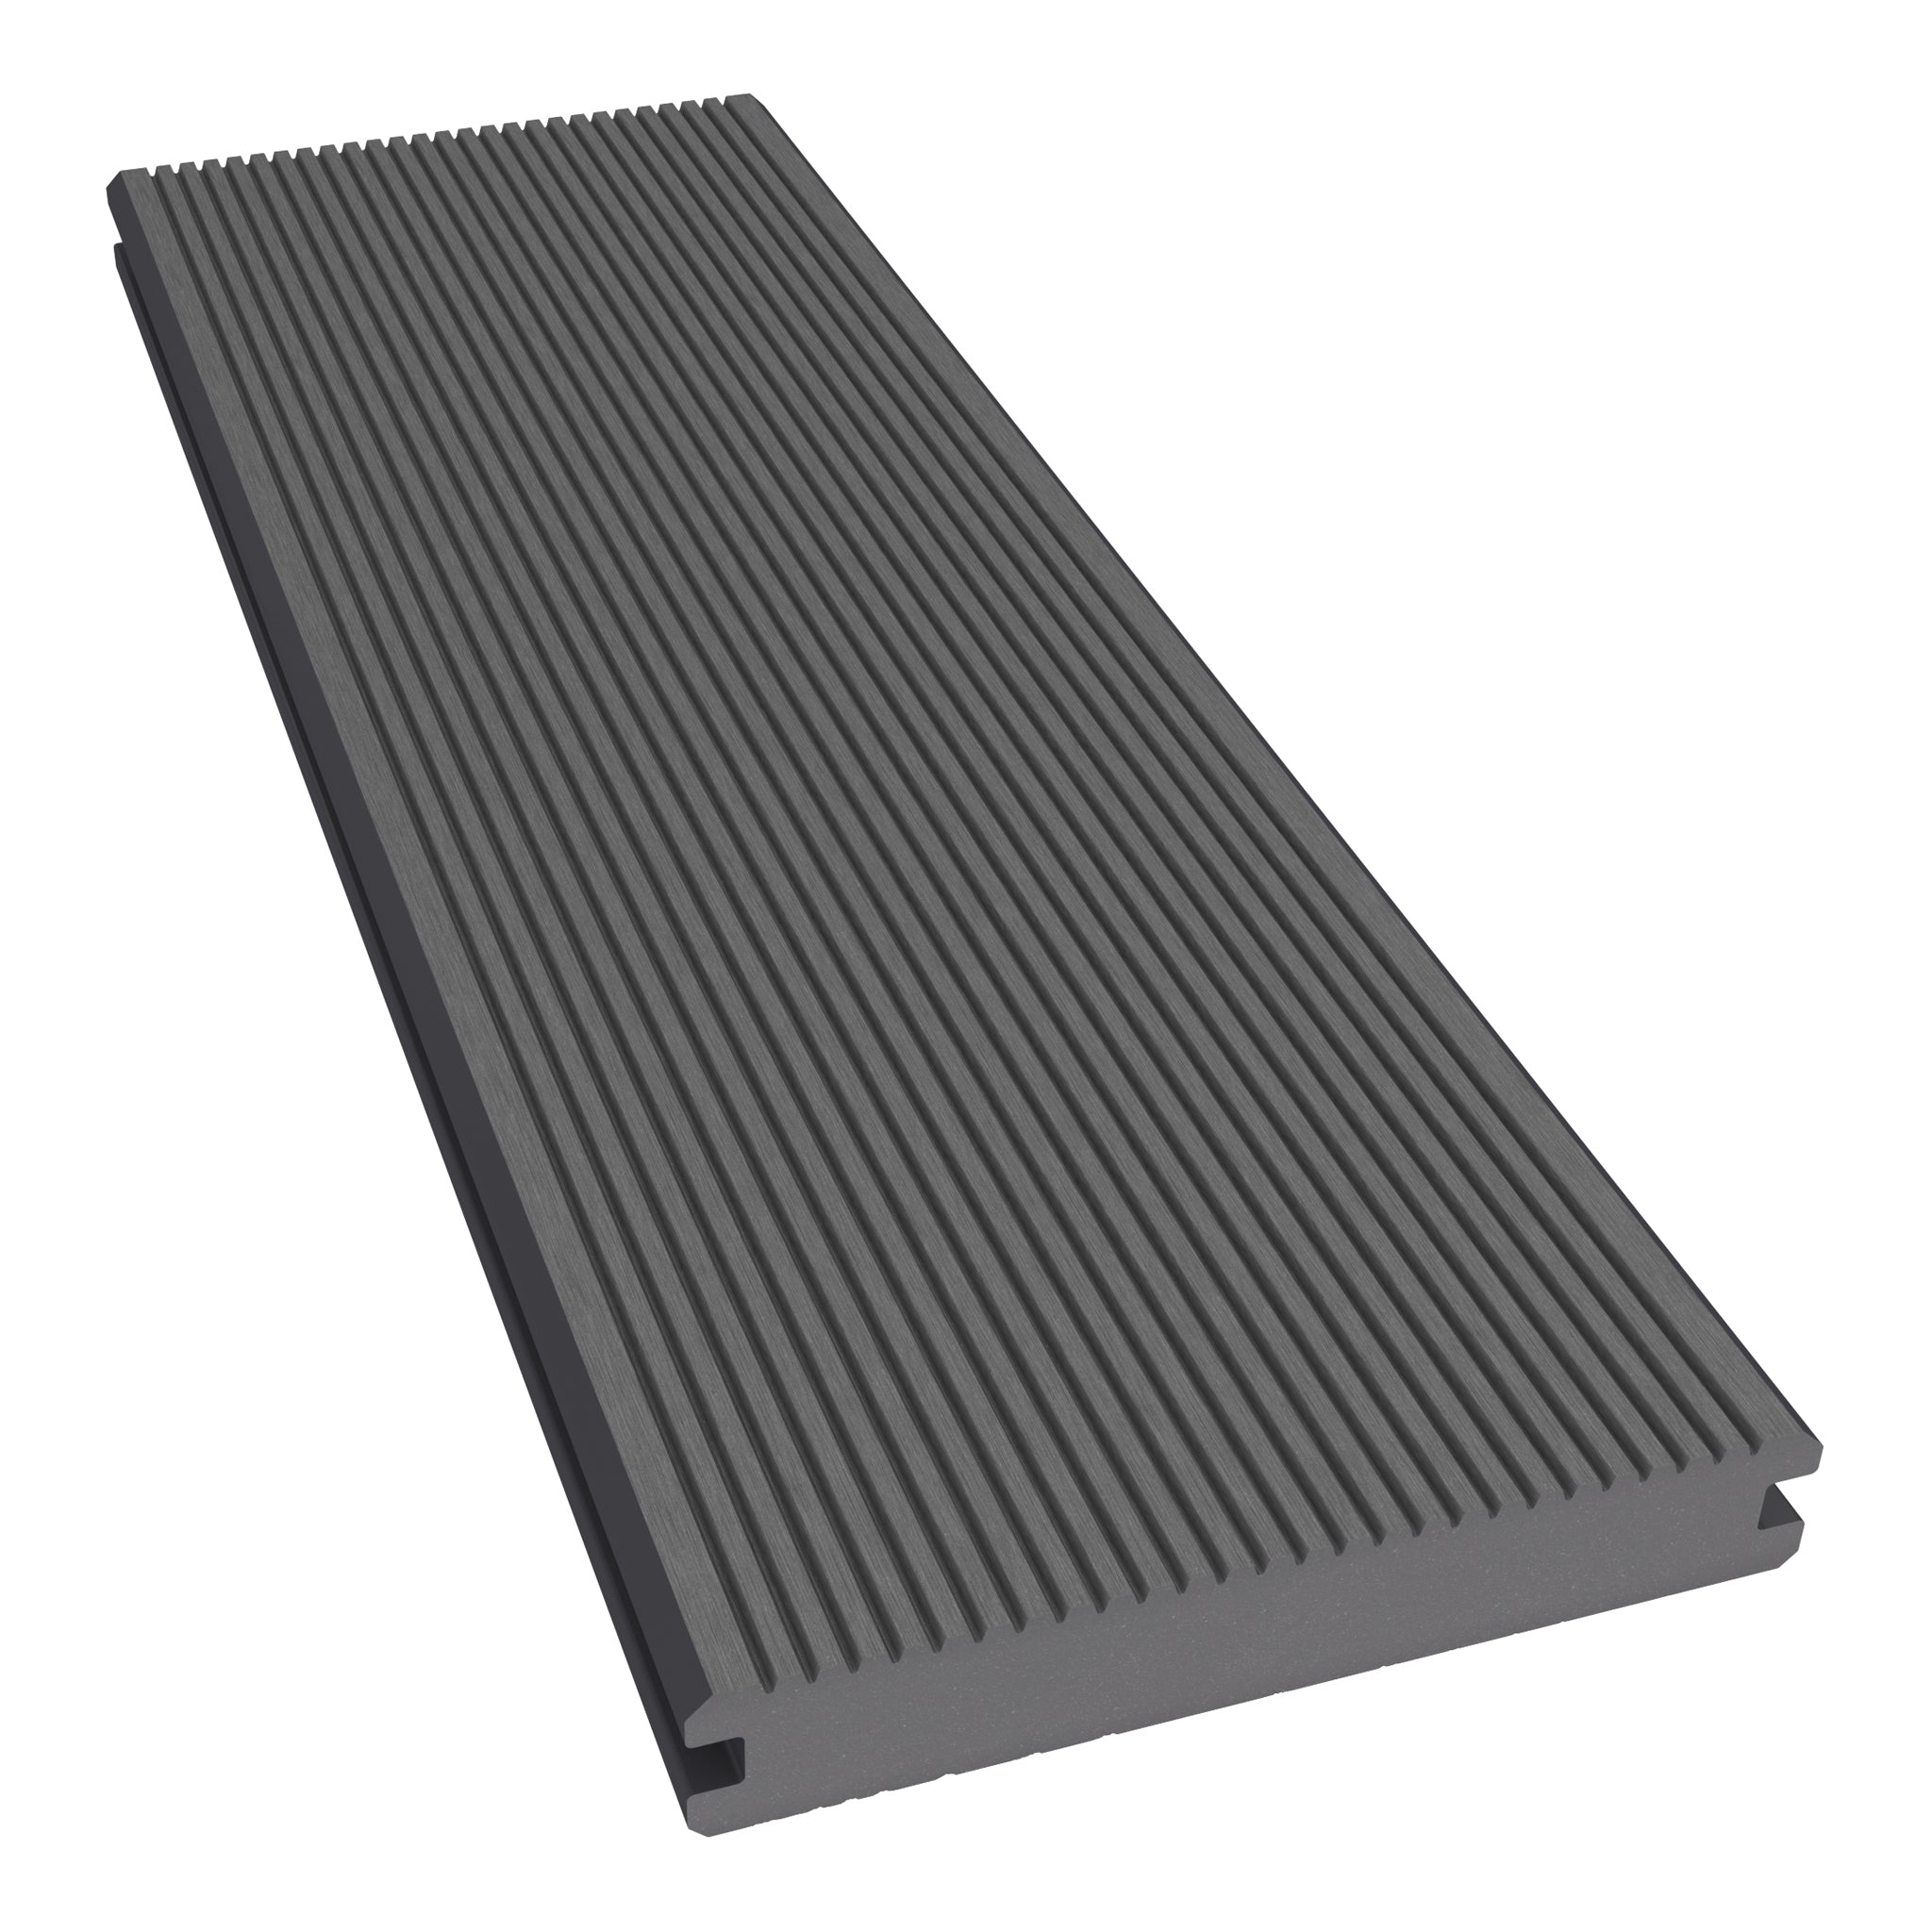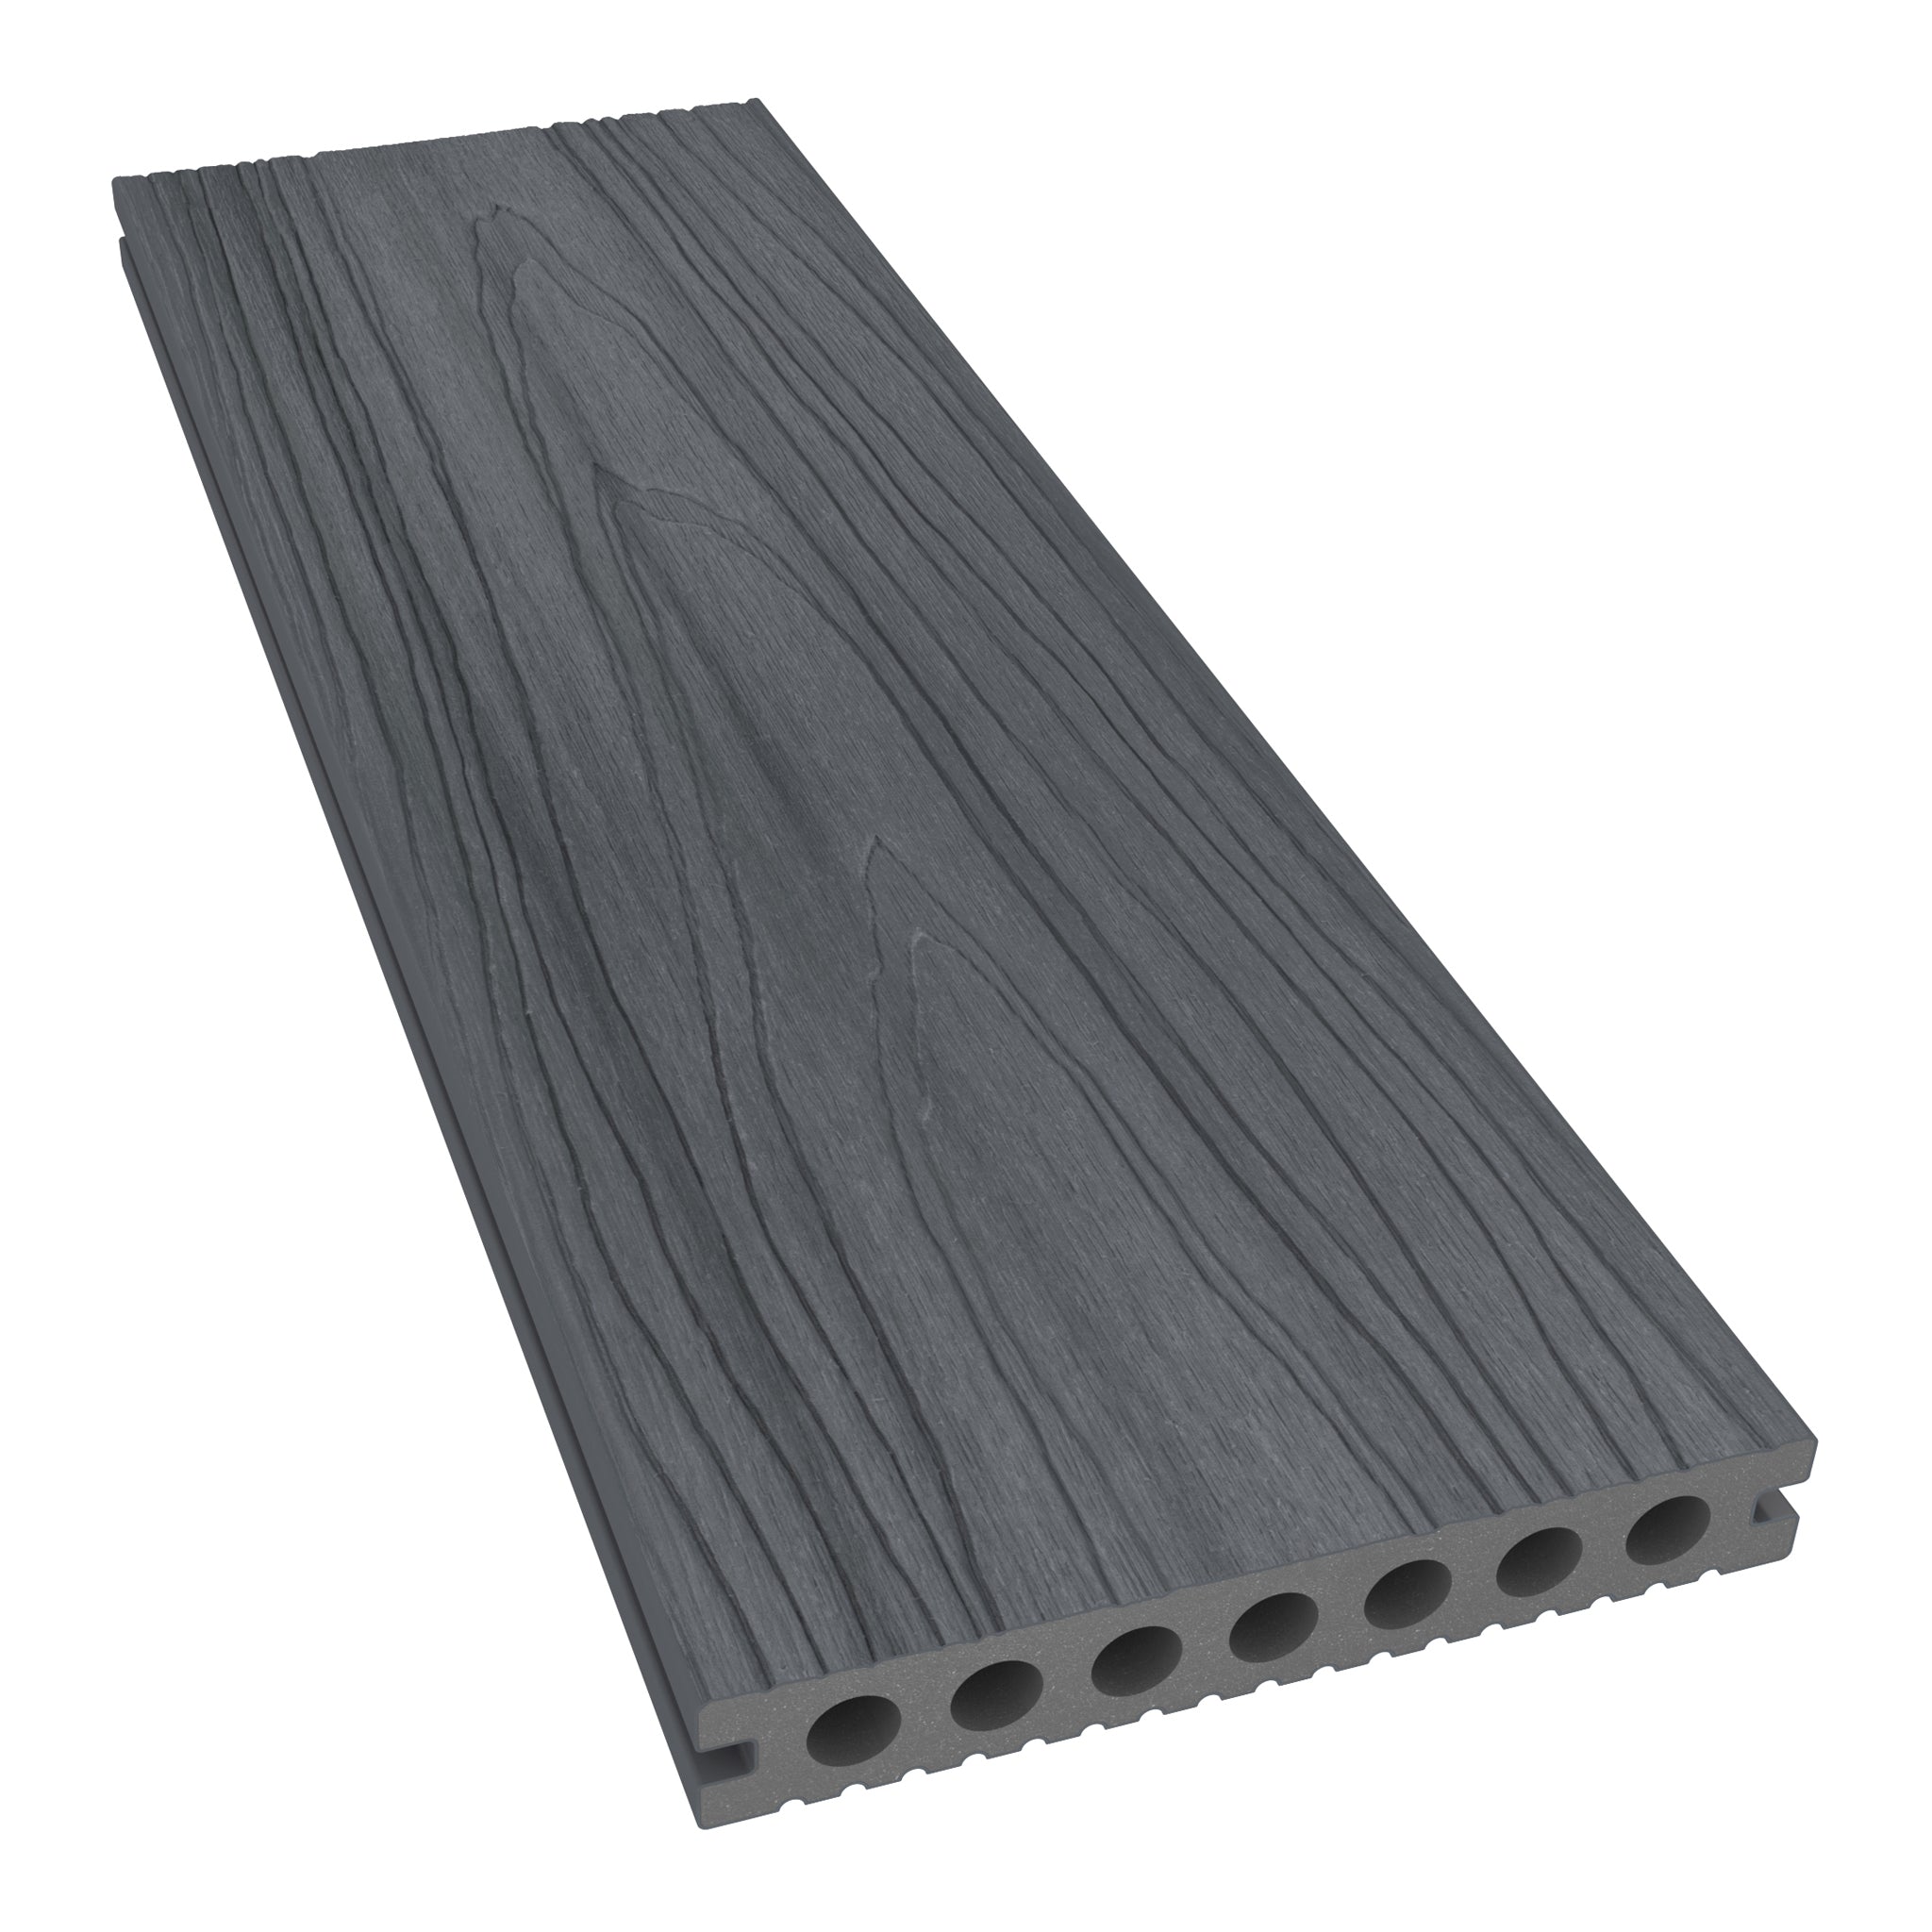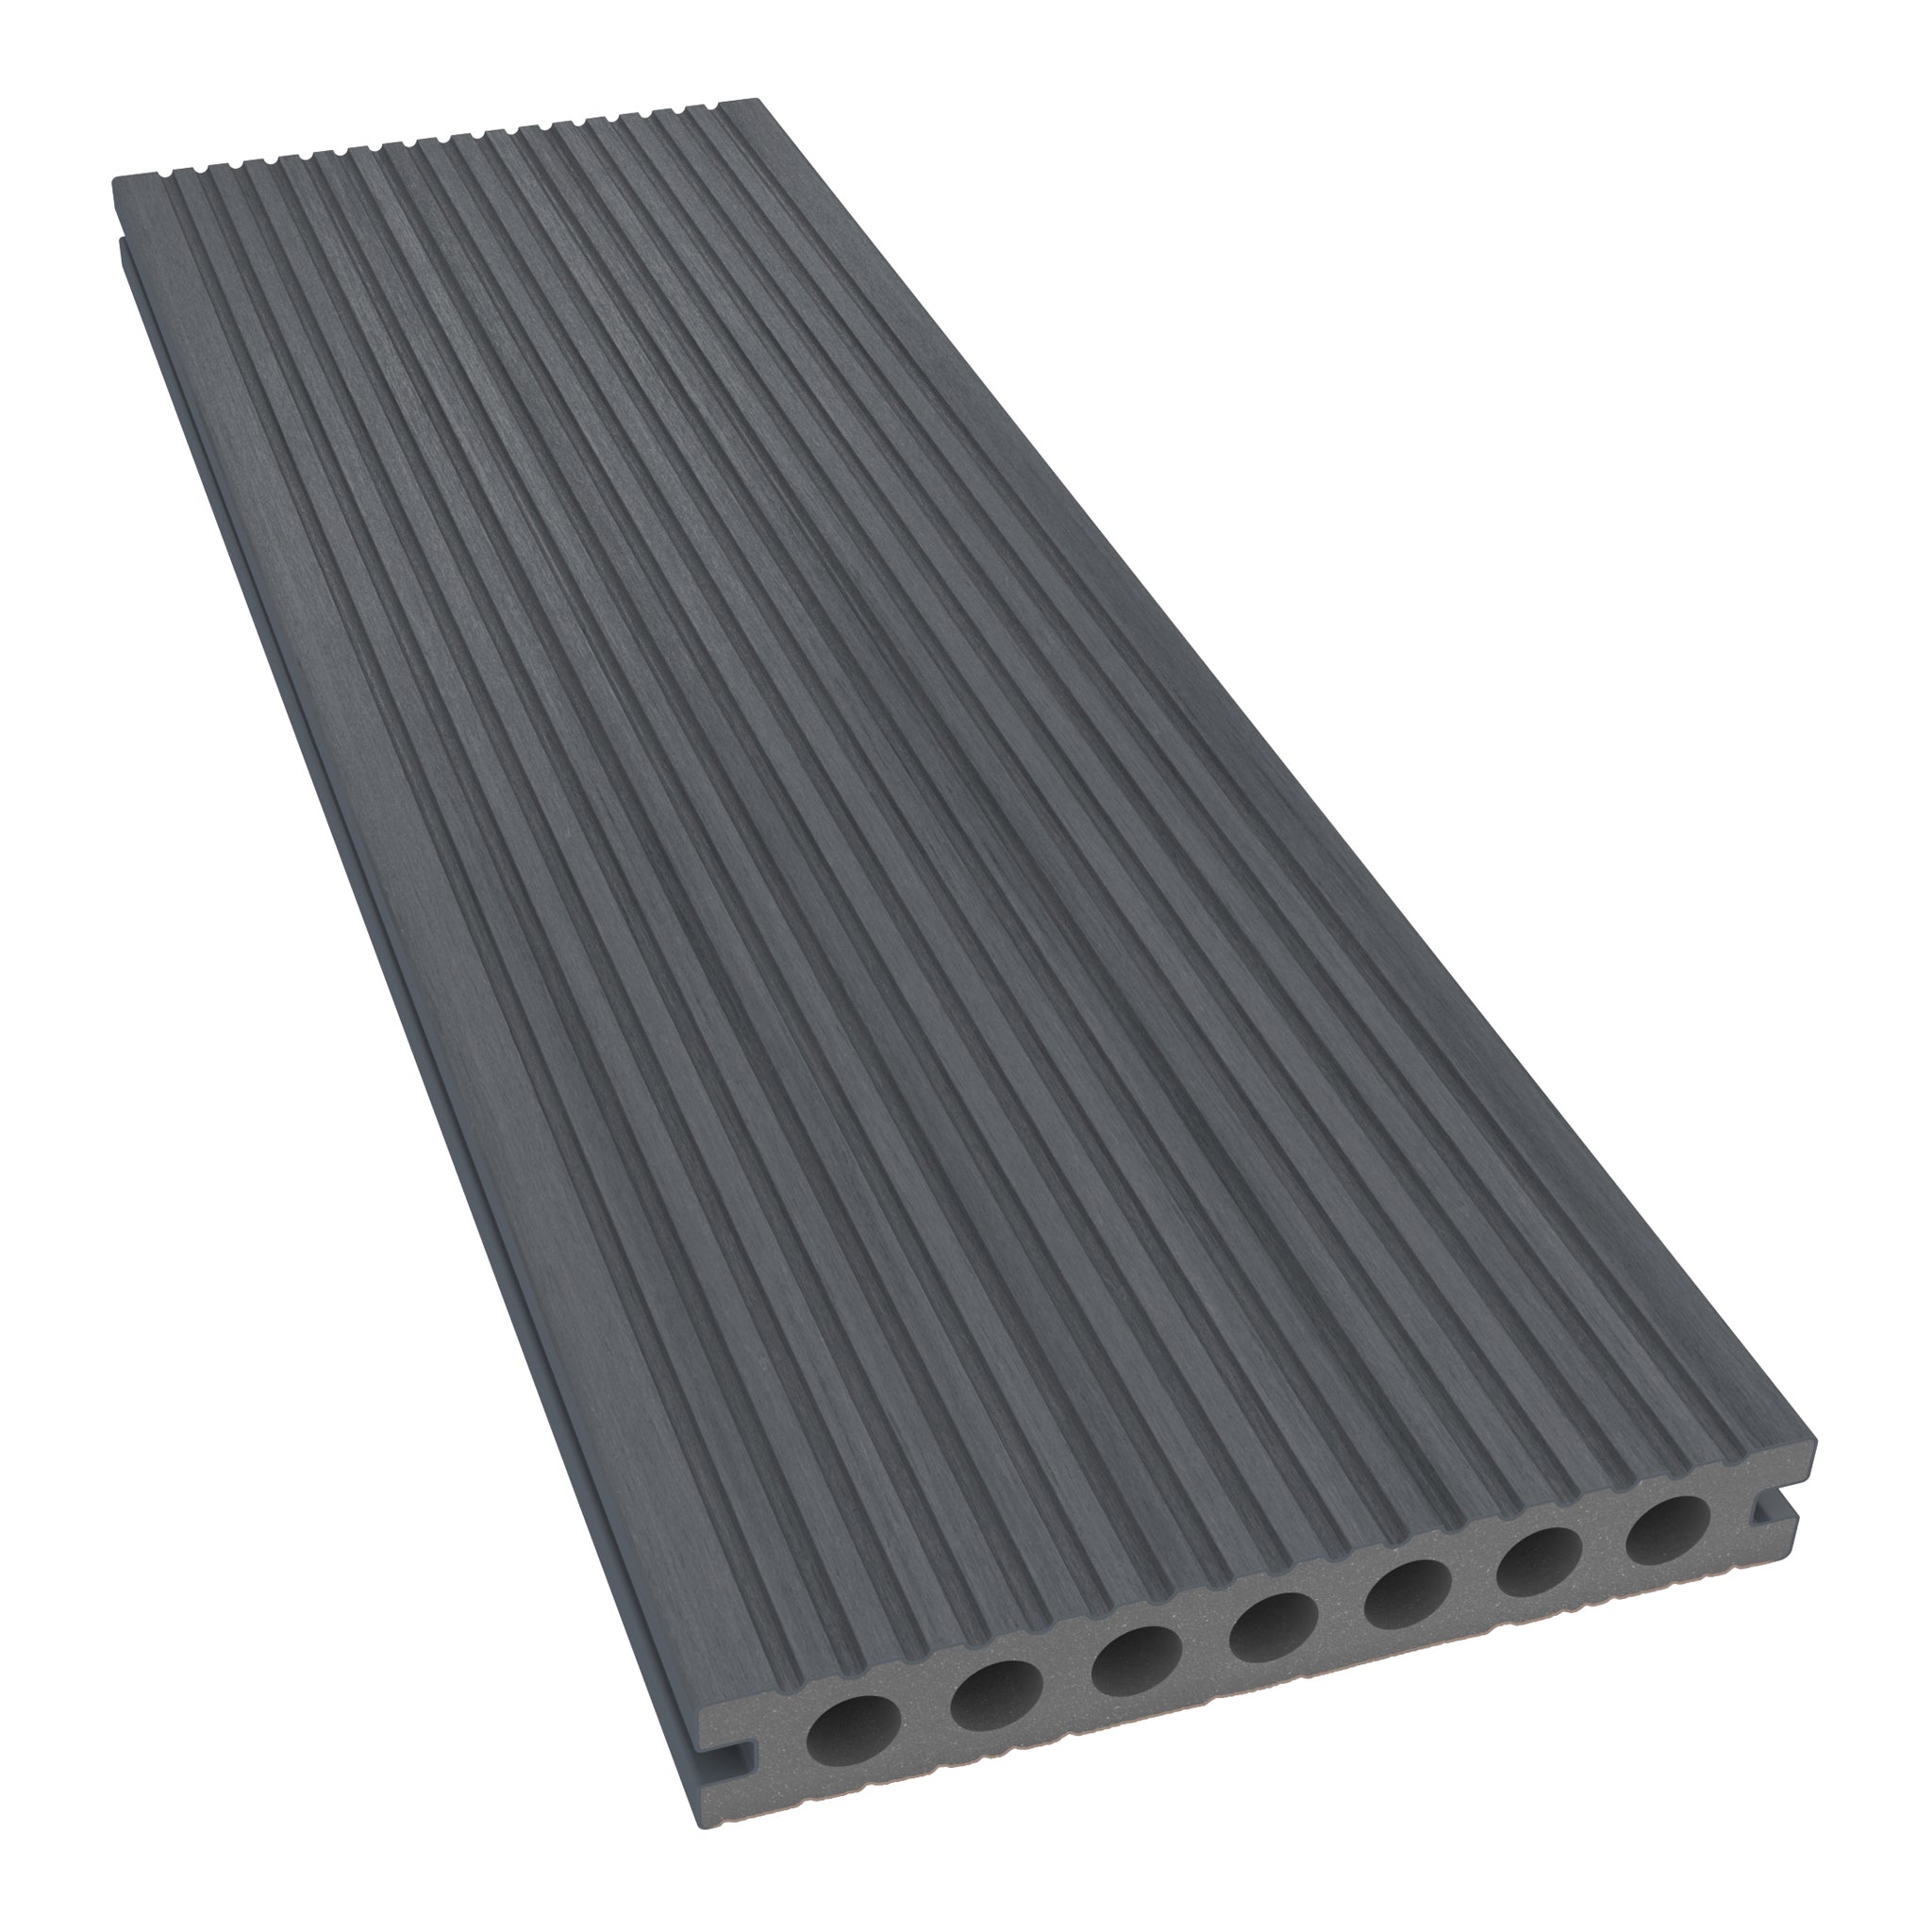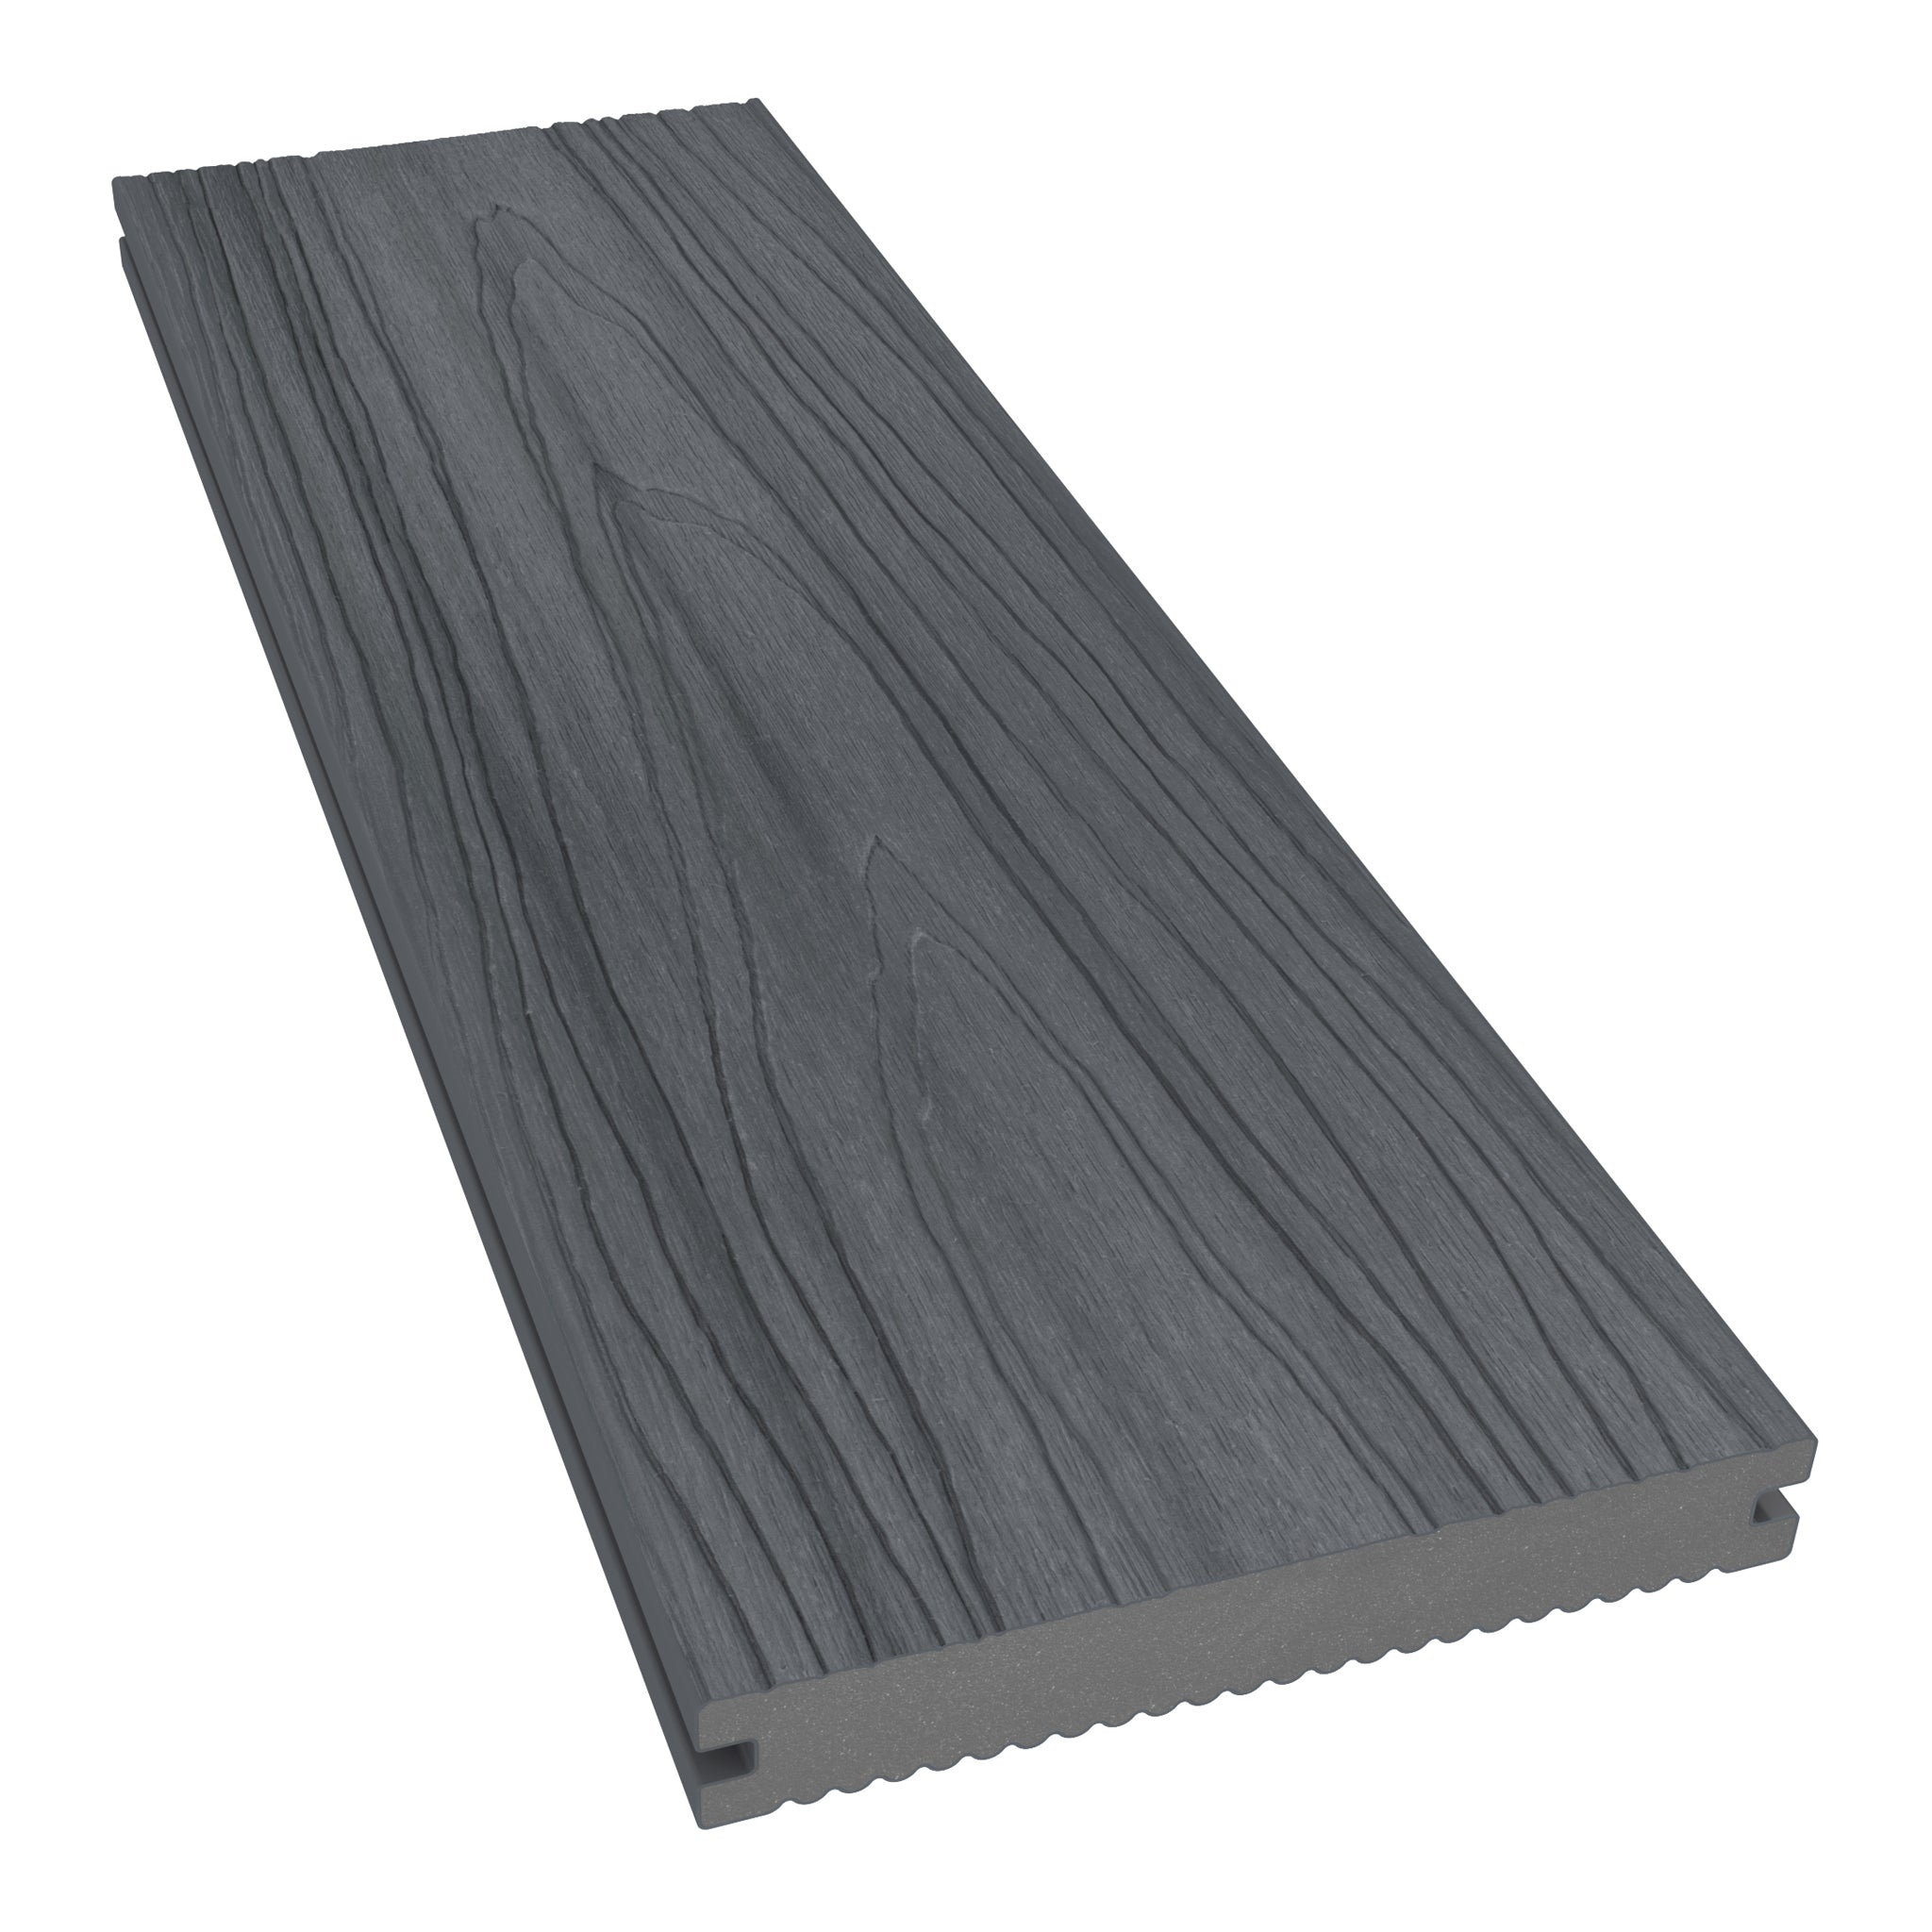




Get Your Composite Deck Installation Right: Twelve Problems to Prevent
The most costly mistakes to avoid when installing composite decking often start beneath the surface: unsuitable supports, missing joint details or drainage that has not been planned. A tidy finish cannot compensate for an inadequate frame.
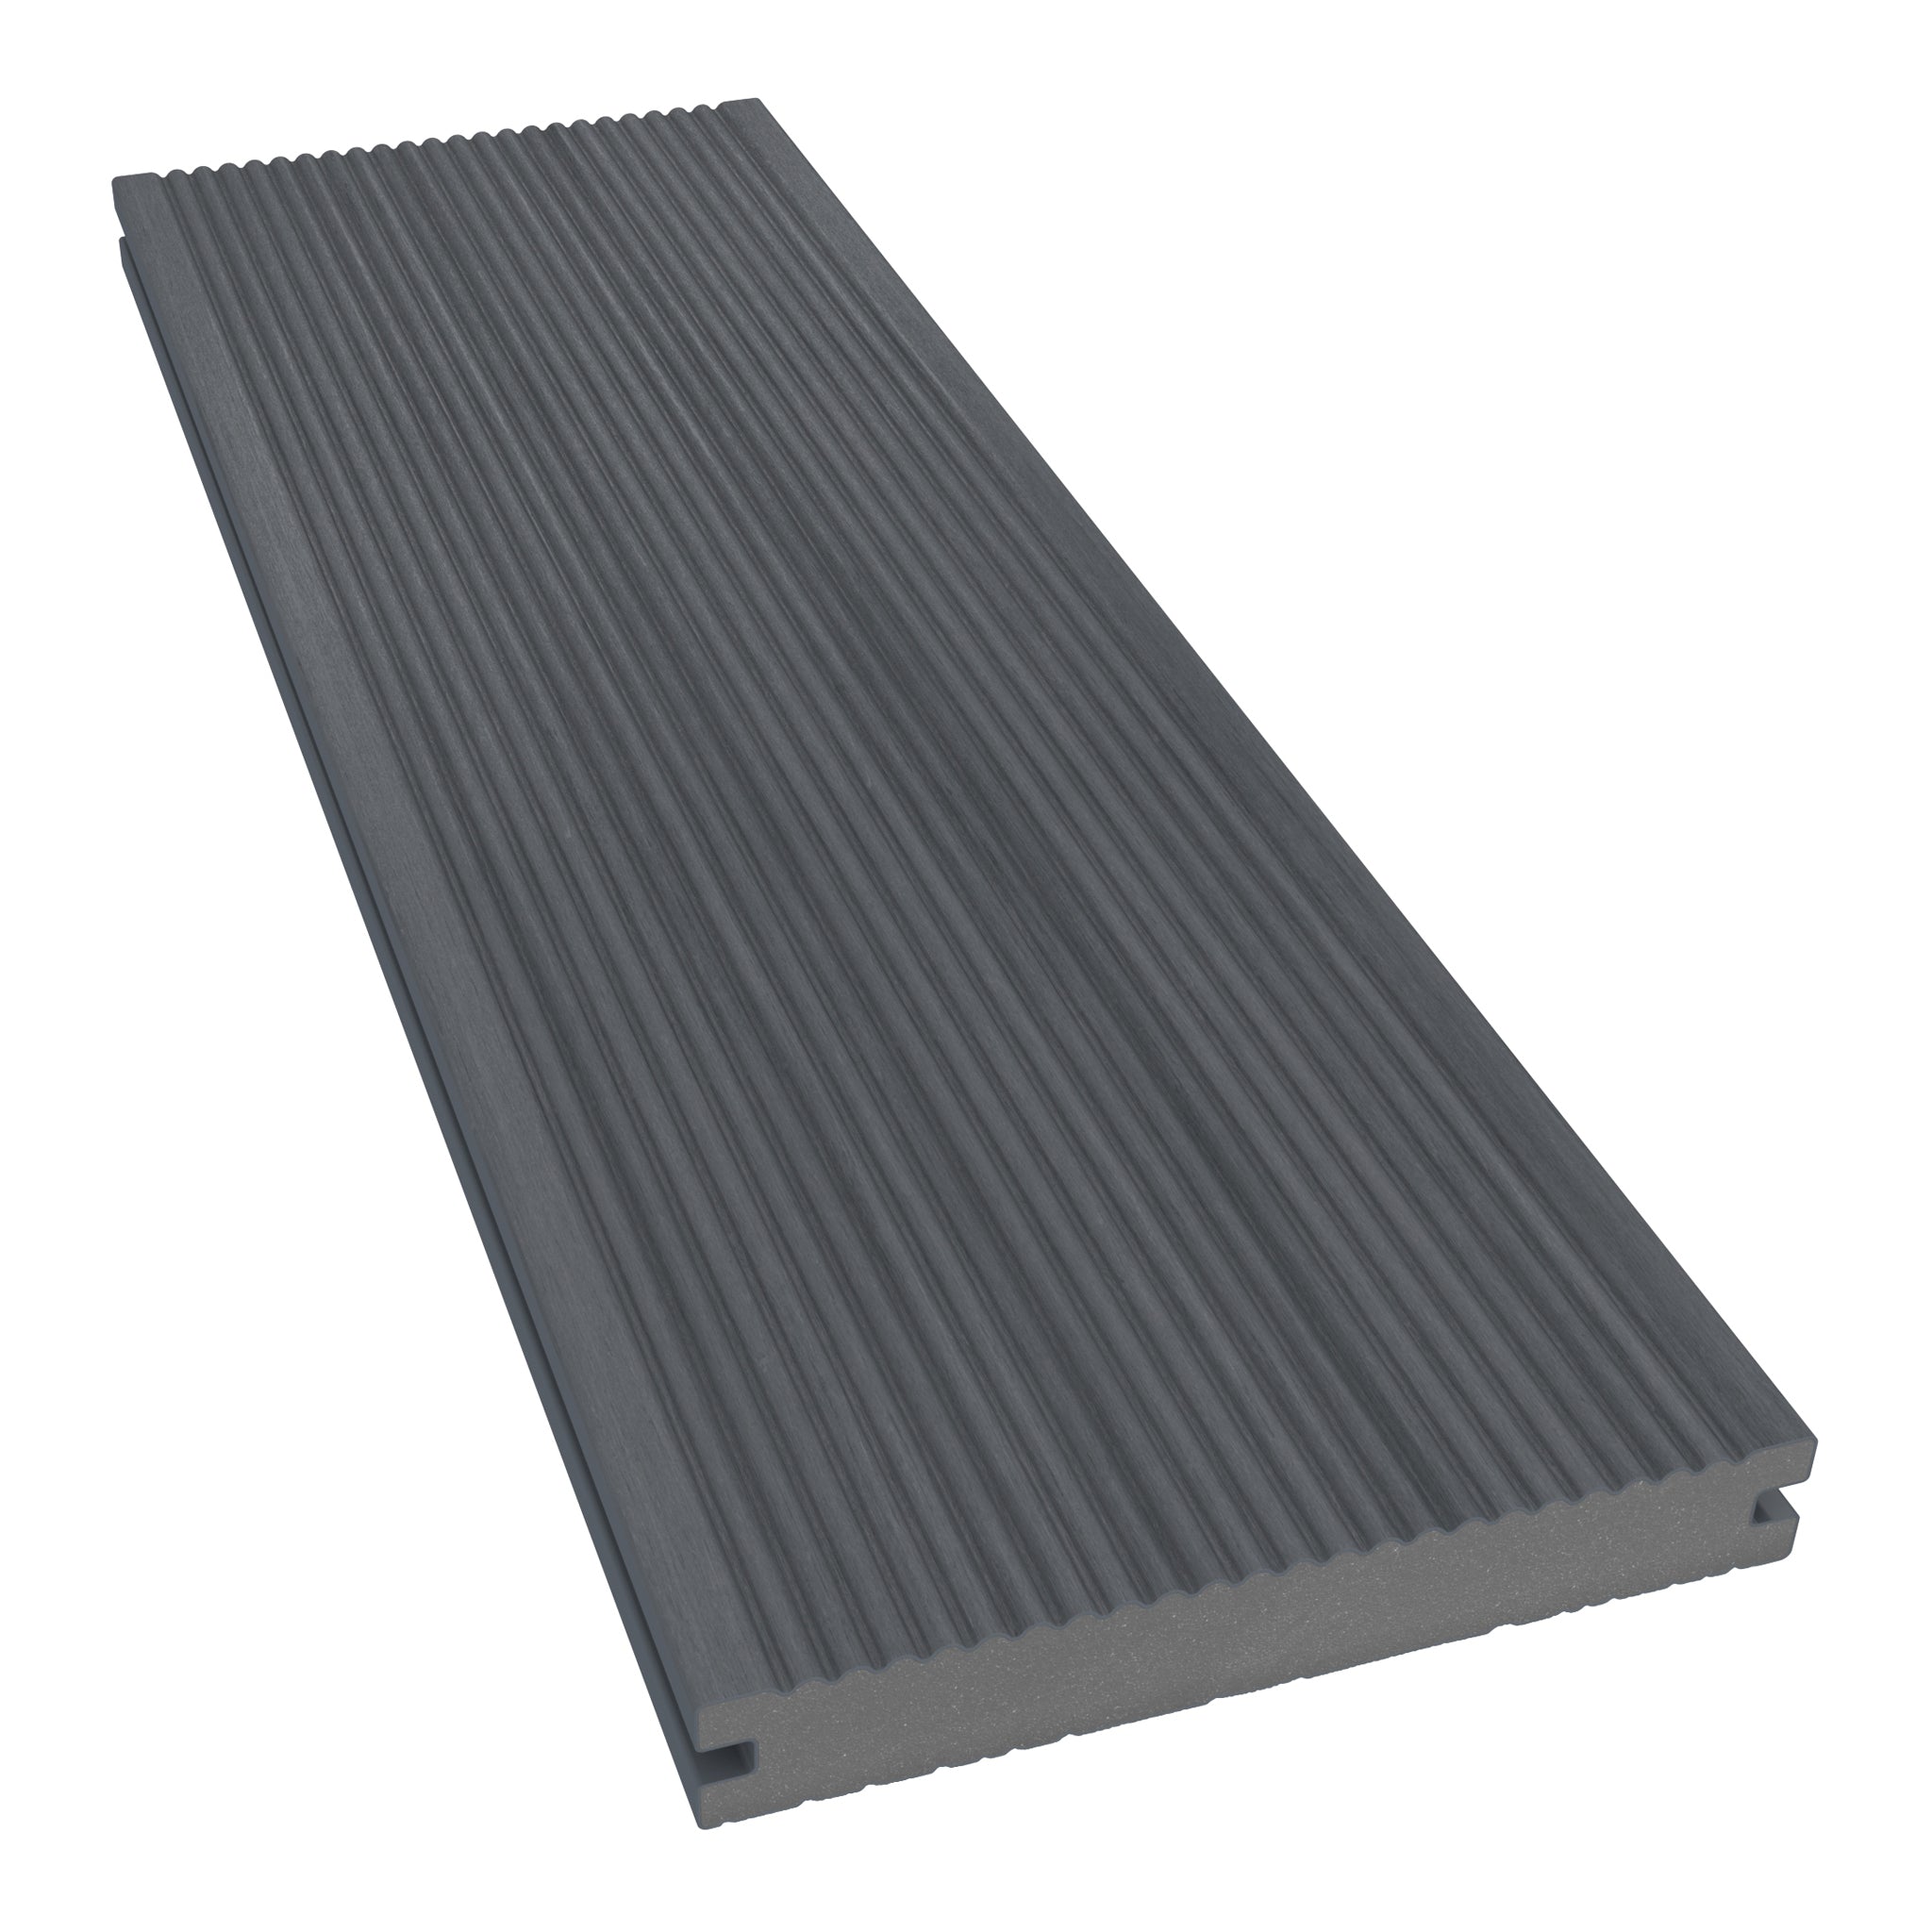
Composite boards can be worked with familiar tools, but they need product-specific installation methods. This guide explains twelve common errors, why they matter and what to check before work progresses.
Explore our general decking guidance and composite decking collection, then use the current installation instructions for your selected system. This article is a practical checklist alongside those instructions.
Jump to: Movement gaps · Subframe selection · Joist spacing · Fixings · Board joints · Drainage · Final checklist · FAQs
1. Using the Wrong Board-End Gaps
Composite boards expand and contract as temperatures change. If board ends are fitted too tightly, movement can become restricted; excessive gaps can also spoil the finish. Side gaps, board-end gaps and clearances against walls serve different purposes.
What to do instead: Check the current instructions for your exact board, length and installation conditions. Measure each joint rather than estimating by eye. A clip’s side spacing is not the required board-end gap.

2. Blocking Ventilation Beneath the Boards
A tightly enclosed deck can trap damp air and debris. Fascia details, nearby ground and surrounding walls all affect airflow, so board gaps alone do not establish adequate ventilation.
What to do instead: Plan the required underside clearance and ventilation routes before setting finished levels. Follow the selected system’s guidance and keep openings clear; do not assume a single minimum clearance suits every construction.

3. Choosing a Frame Material Without Checking Its Role
Timber, recycled plastic, composite and metal components have different span, connection and support requirements. Moisture resistance does not make a component suitable for any structural duty.
What to do instead: Specify the frame and supports together. Low-profile composite joists intended for a solid base must not be used as unsupported beams. Flood exposure needs assessment beyond choosing a rot-resistant material.

4. Reusing an Old Frame Without Assessing It
New boards can conceal decay, loose connections or inadequate foundations. An existing frame may also have spacing that does not suit the replacement decking.
What to do instead: Check its condition, support positions, connections and capacity before deciding what to retain. Seek competent advice where its adequacy is uncertain. A steel frame is not automatically self-anchoring, particularly on an exposed roof.

5. Setting Joists Too Far Apart
Insufficient board support can lead to excessive flex or damage. Diagonal layouts, steps and heavier-use settings may require different arrangements from a straightforward residential layout.
What to do instead: Use the board’s specified joist centres and account for board direction and loading. Distinguish the distance between joists from the support span along each joist; satisfying one measurement does not establish the other.

6. Using Incompatible Clips or Screws
A fixing that looks similar may have a different fit, grip, spacer or screw specification. Substituting it can affect board restraint and movement.
What to do instead: Use the approved fixing system for the selected board and frame. Check screw suitability for the supporting material and follow the tightening instructions. Avoid assuming all hidden clips are interchangeable.

7. Improvising Face Fixings
Face screws are not automatically wrong, but using them where a clip is specified can create problems. Incorrect positions, overtightening or unsuitable holes can damage a board or restrict movement.
What to do instead: Follow the approved method for each detail. First or final boards, edges and steps may have specific face-fixing instructions. Read our guide to screwing composite decking rather than treating every board identically.

8. Neglecting Cut Ends of Treated Timber
Cutting or drilling treated timber can expose areas that need additional protection. Ordinary paint is not a substitute for the treatment specified for the timber.
What to do instead: Follow the timber supplier’s requirements for cut-end preservative and compatible treatments before enclosing difficult-to-reach areas. Joist tape may help protect the top surface, but does not repair decay or replace required end treatment.

9. Leaving Board Joints Without Suitable Support
A butt joint needs the specified support and fixing positions for both board ends. Squeezing two ends onto an unsuitable single joist can leave inadequate room for secure fixings.
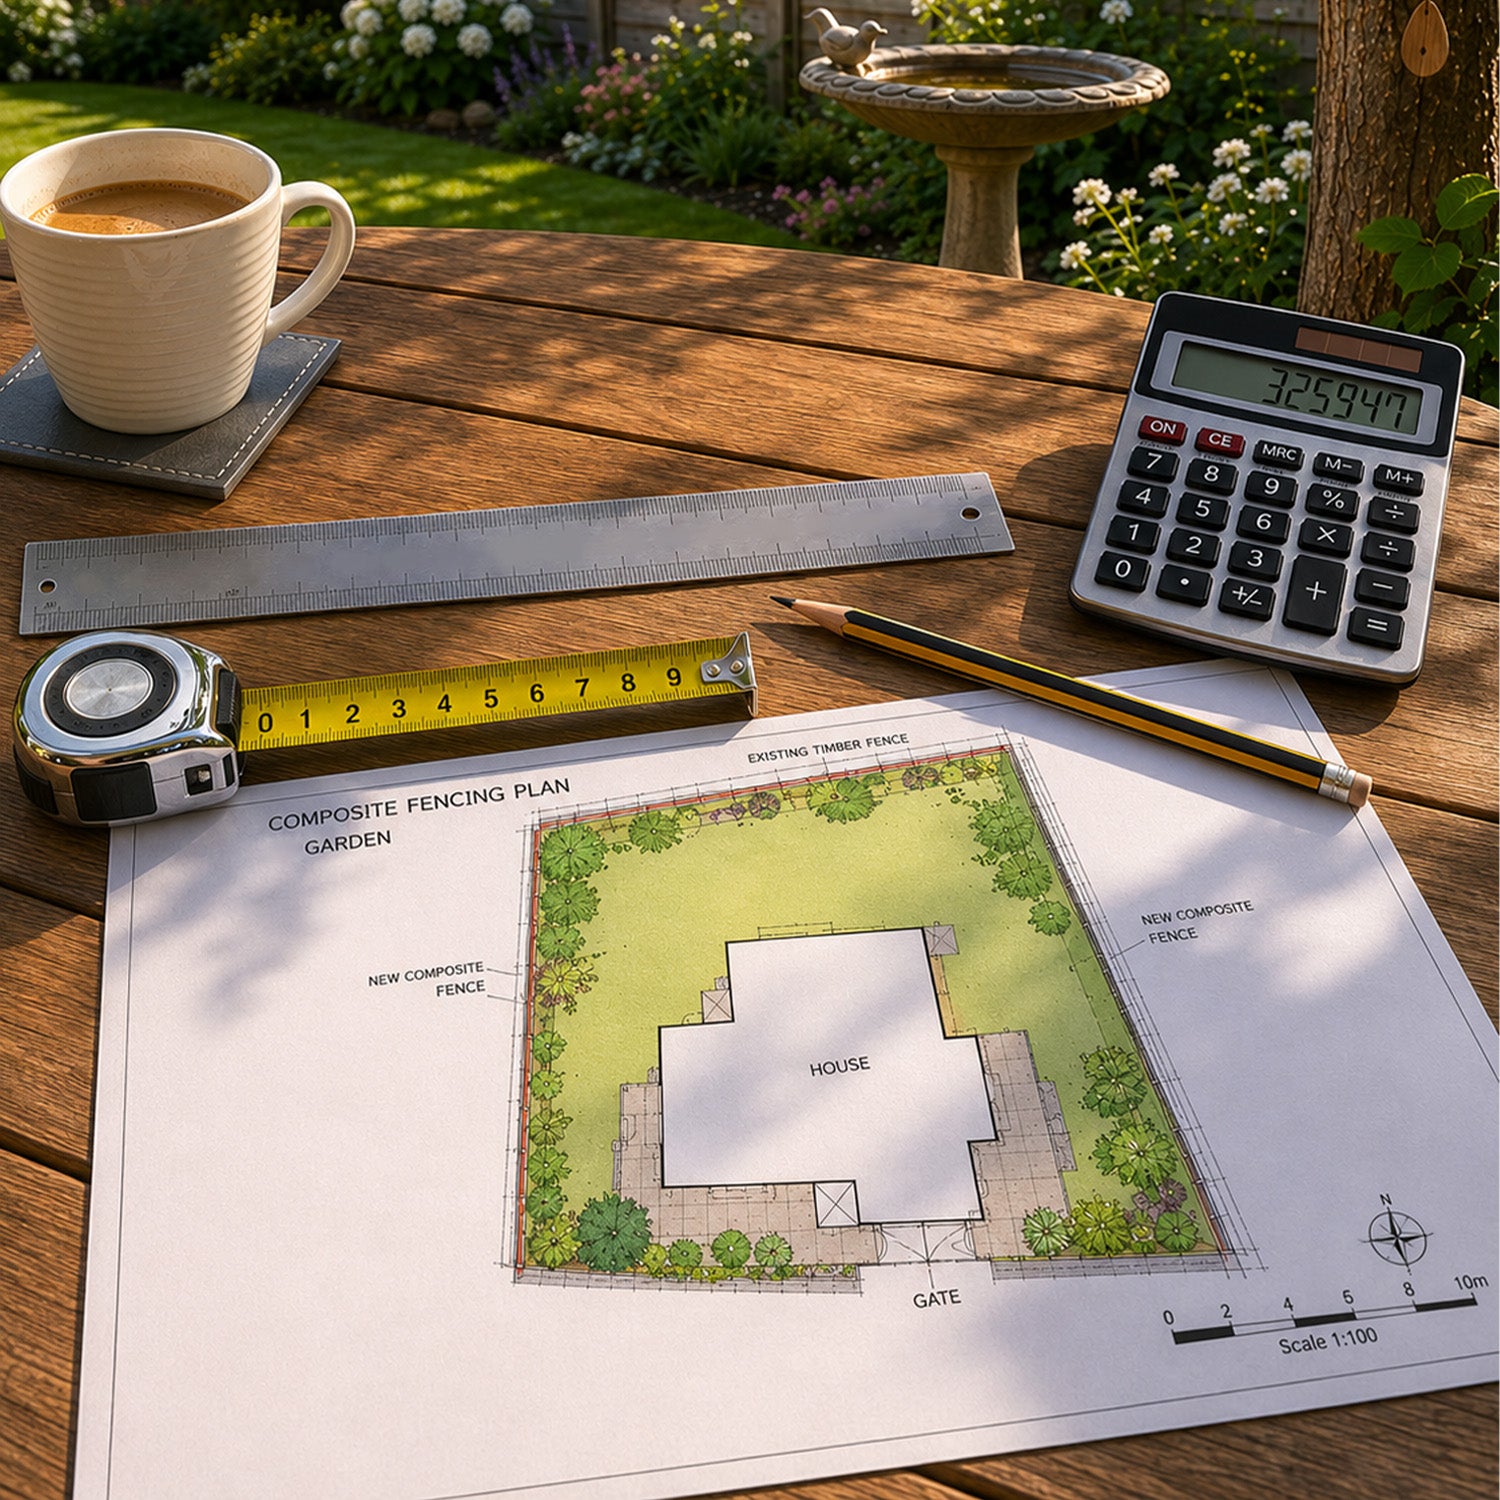
What to do instead: Mark joints on the drawing before building the frame. Provide double joists or the approved alternative detail, with the correct end gaps and fixing setbacks. Plan extra support for picture-frame borders too.

10. Following Another Product’s Installation Method
Previous experience is useful, but profiles, material formulations and accessories vary. An old guide or another manufacturer’s video may describe a different system.
What to do instead: Use the latest guidance for the boards you have bought. Check storage, preparation, cutting and fixing requirements before starting. Resolve conflicting instructions with the supplier instead of combining methods.

11. Ignoring Drainage Through and Beneath the Deck
A deck can have open board gaps and still trap water below. Blocked outlets, an unsuitable base or poorly planned falls can leave standing water and debris.
What to do instead: Follow the selected system’s fall requirements and provide a clear drainage route. Where a 1% fall is specified, that means 10mm per metre, not one degree. Confirm direction, base drainage and threshold details rather than applying that figure to every project.

12. Assuming the Board Profile Approves the Whole Project
Choosing solid rather than hollow boards does not establish that a deck can support a hot tub or substantial planter. A roof or balcony also introduces requirements that cannot be resolved through board selection alone.
What to do instead: Assess the complete structure, expected loads and applicable fire requirements. Compare individual product specifications and obtain specialist design input where needed. Avoid treating a garden installation detail as approval for every setting.

Check These Details Before Covering the Frame
Photograph concealed work and check the following while corrections are still accessible:
- The base, foundations and connections suit the intended loading.
- Joist centres and support spans meet their separate requirements.
- Each board joint and border has the specified support.
- Water can drain and ventilation routes remain clear.
- Approved clips and screws are available for every detail.
- Thresholds, steps, edges and any required guarding are resolved.
If you identify unusual movement or suspect inadequate support on an existing deck, restrict access where necessary and arrange assessment before attempting a cosmetic repair. Read our decking frame guide for an overview of the decisions involved.
How Installation Affects Warranty Coverage
Check the applicable decking warranty terms for the selected range and application. Product coverage is conditional and should not be read as protection against every installation fault. Keep purchase records, product details and photographs of the work, and ask your installer about separate workmanship arrangements.
Composite Decking Installation FAQs
What is the most important mistake to avoid?
Starting without checking the complete system. The boards, frame, support positions, gaps, fixings and drainage must work together; correcting one detail does not compensate for another that is unsuitable.
Can I install composite boards on my existing timber frame?
Only after confirming it is sound and suitable for the new system and loads. Assess spacing and connections as well as visible condition.
Do hidden clips set every required gap?
No. A clip may control side spacing, but board-end and perimeter clearances must be established separately using the relevant instructions.
Must I always use double joists at board ends?
Use the joint detail specified for the system. Double joists are a common way to provide separate support and fixings, but an alternative detail needs approval rather than assumption.
Can I screw directly through a composite board?
Some details allow approved face fixing. Follow the specified screw type, hole preparation and position; do not substitute face screws for clips without checking.
Where can I get help before installation?
Contact the NeoTimber® team for product guidance, or use our Find an Installer service if you need professional fitting support.
Resolve the Details Before You Start Fitting Boards
A reliable installation begins with a clear layout and the right instructions. Work through these checks, confirm uncertain details and inspect the frame before covering it. If you are still selecting a finish, request free composite decking samples while you develop the specification.