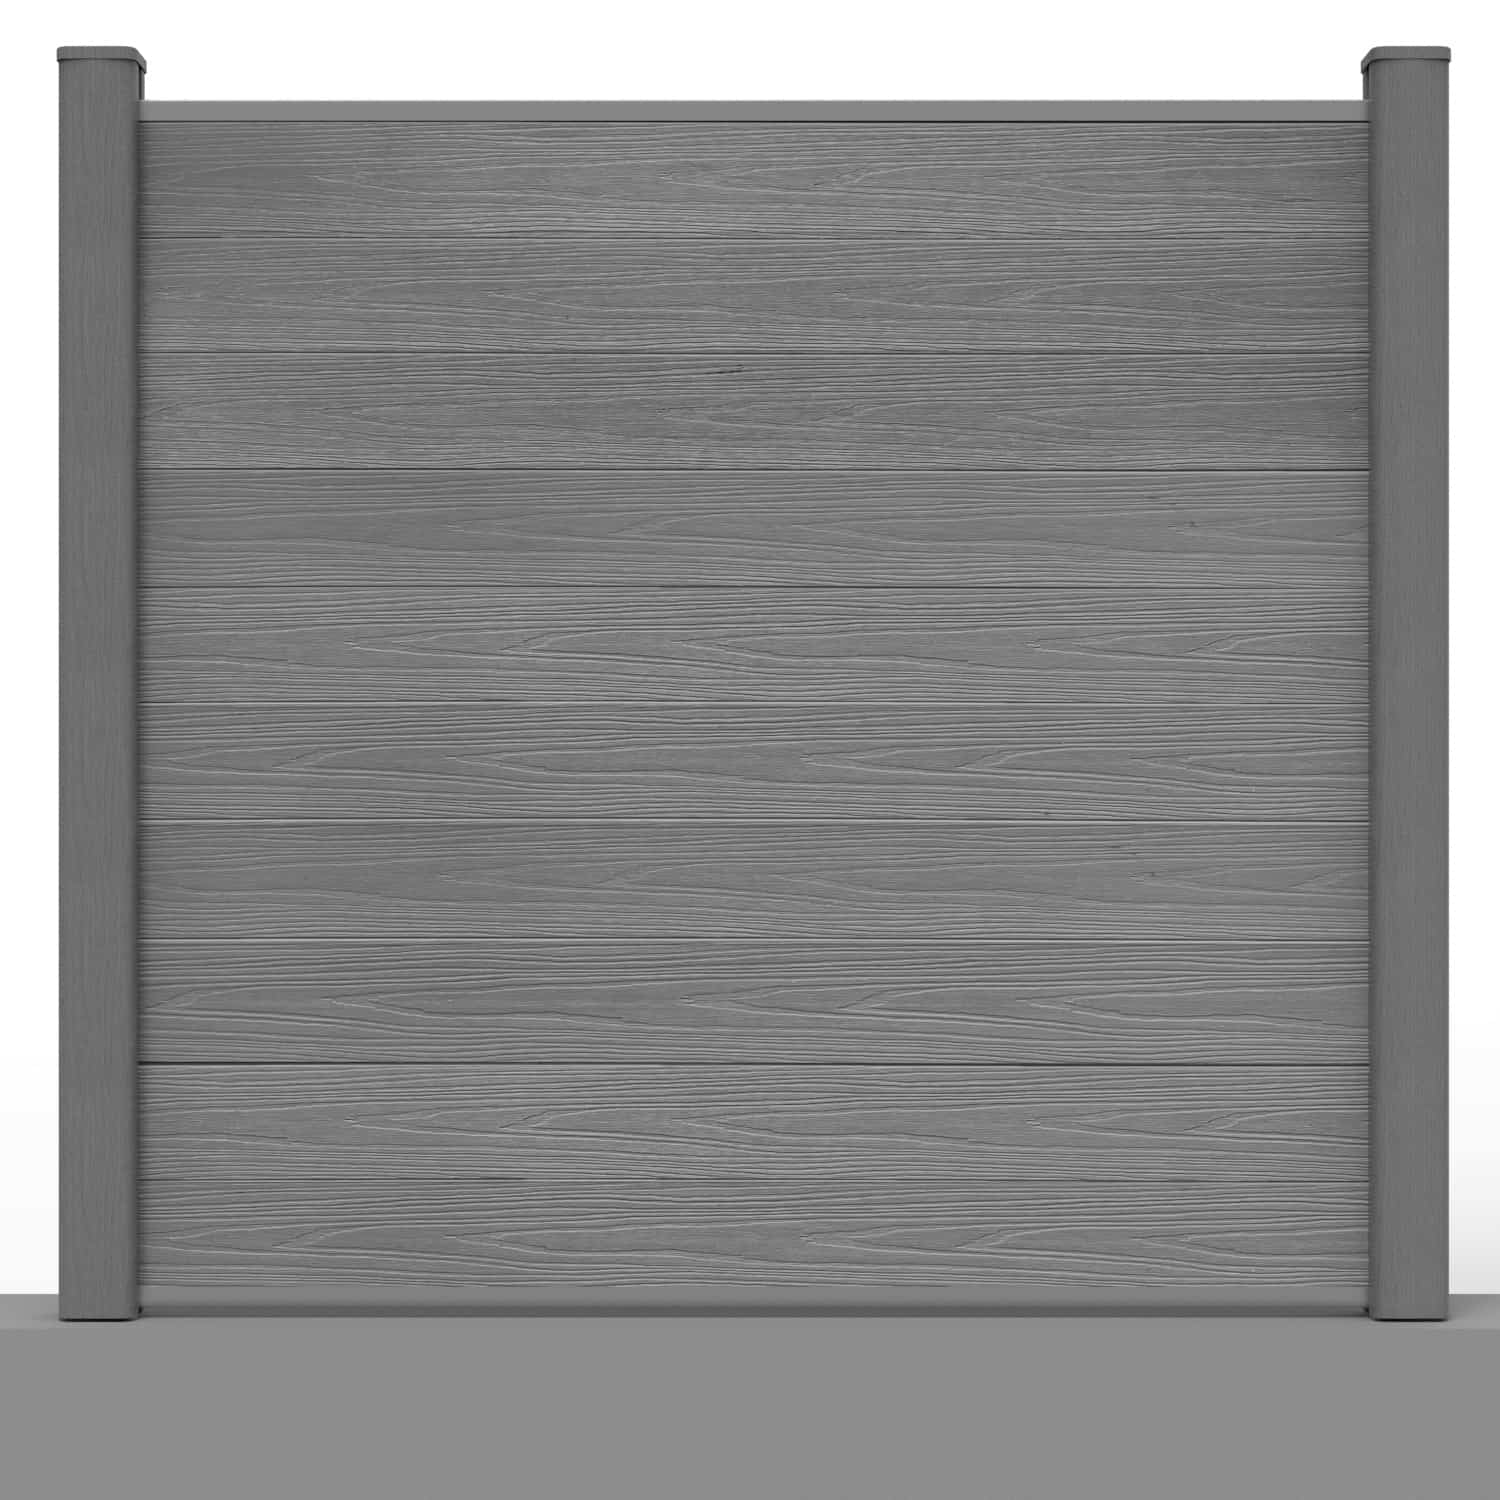
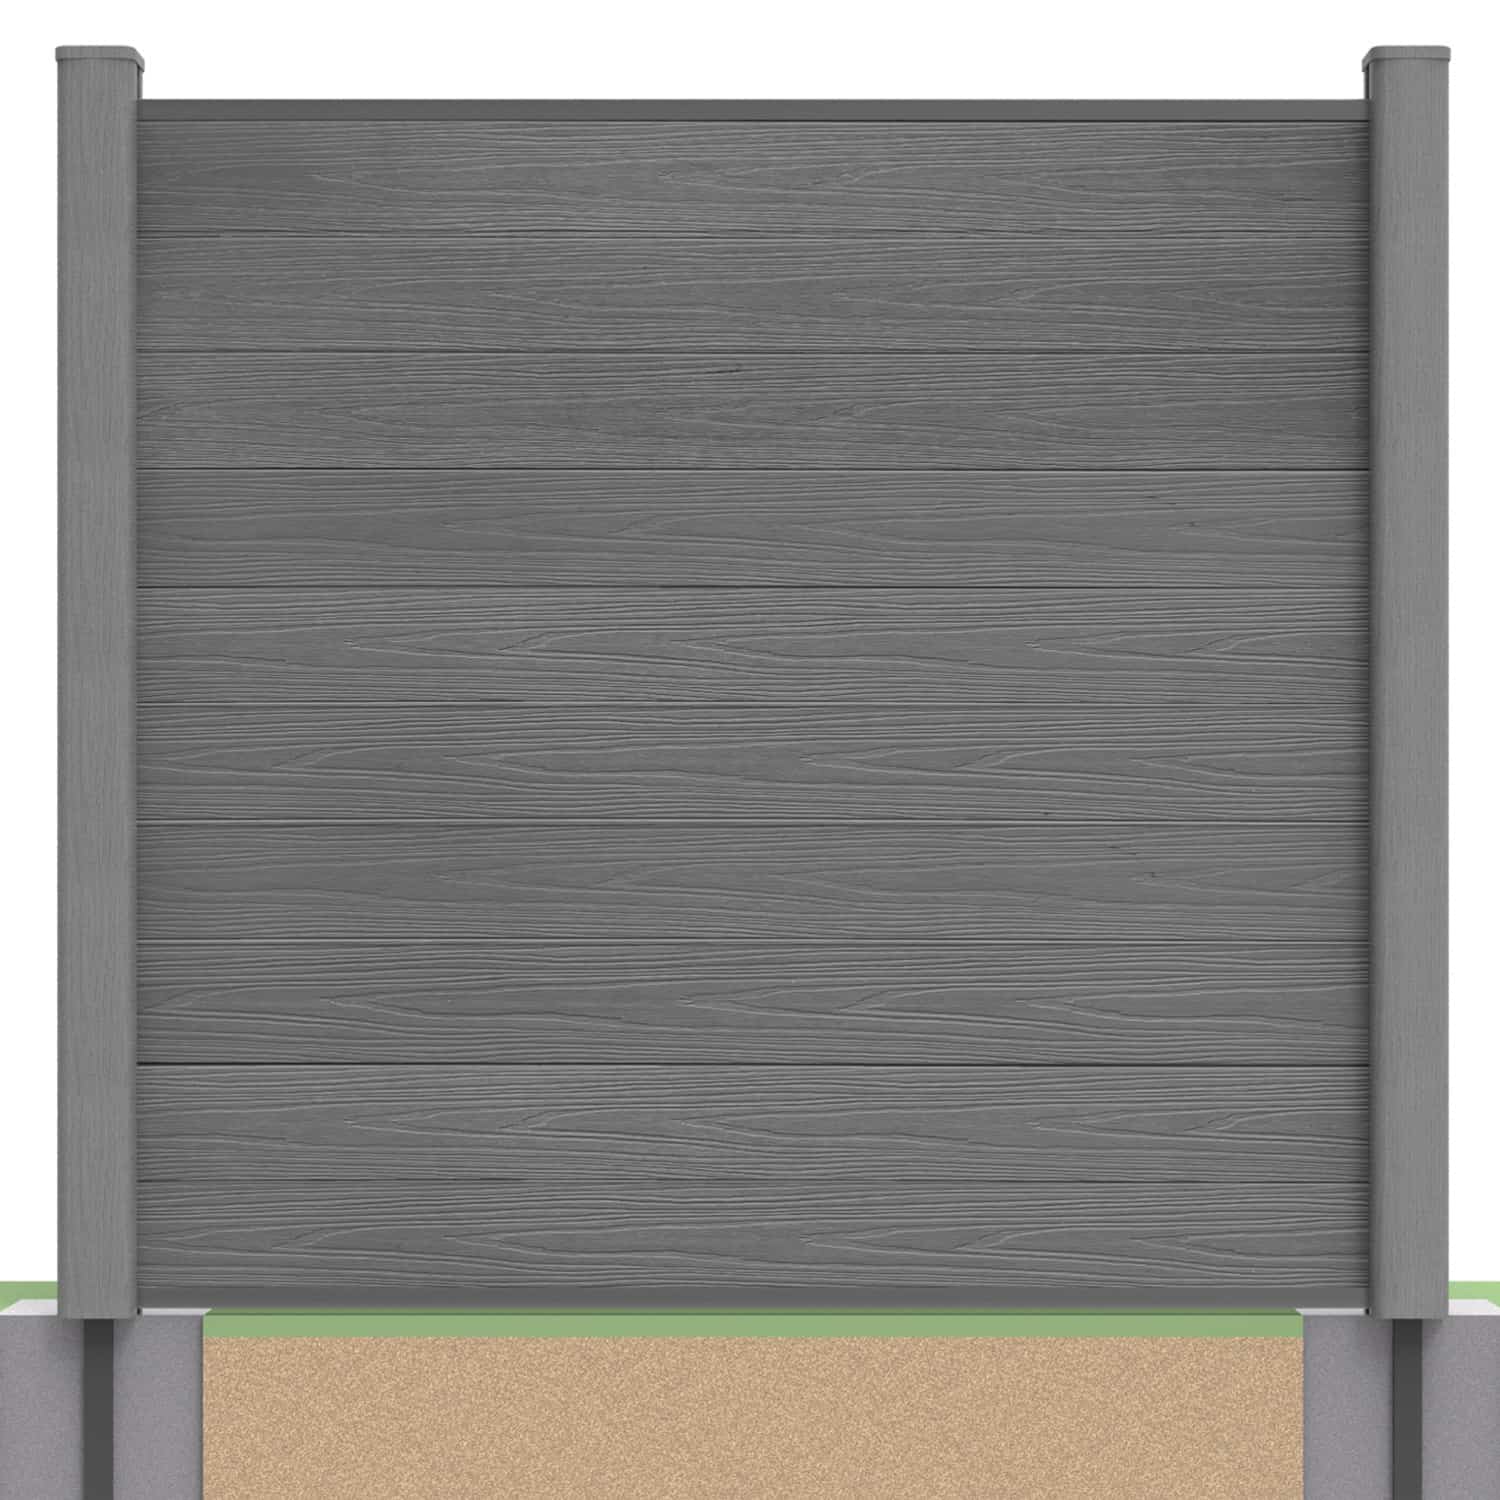
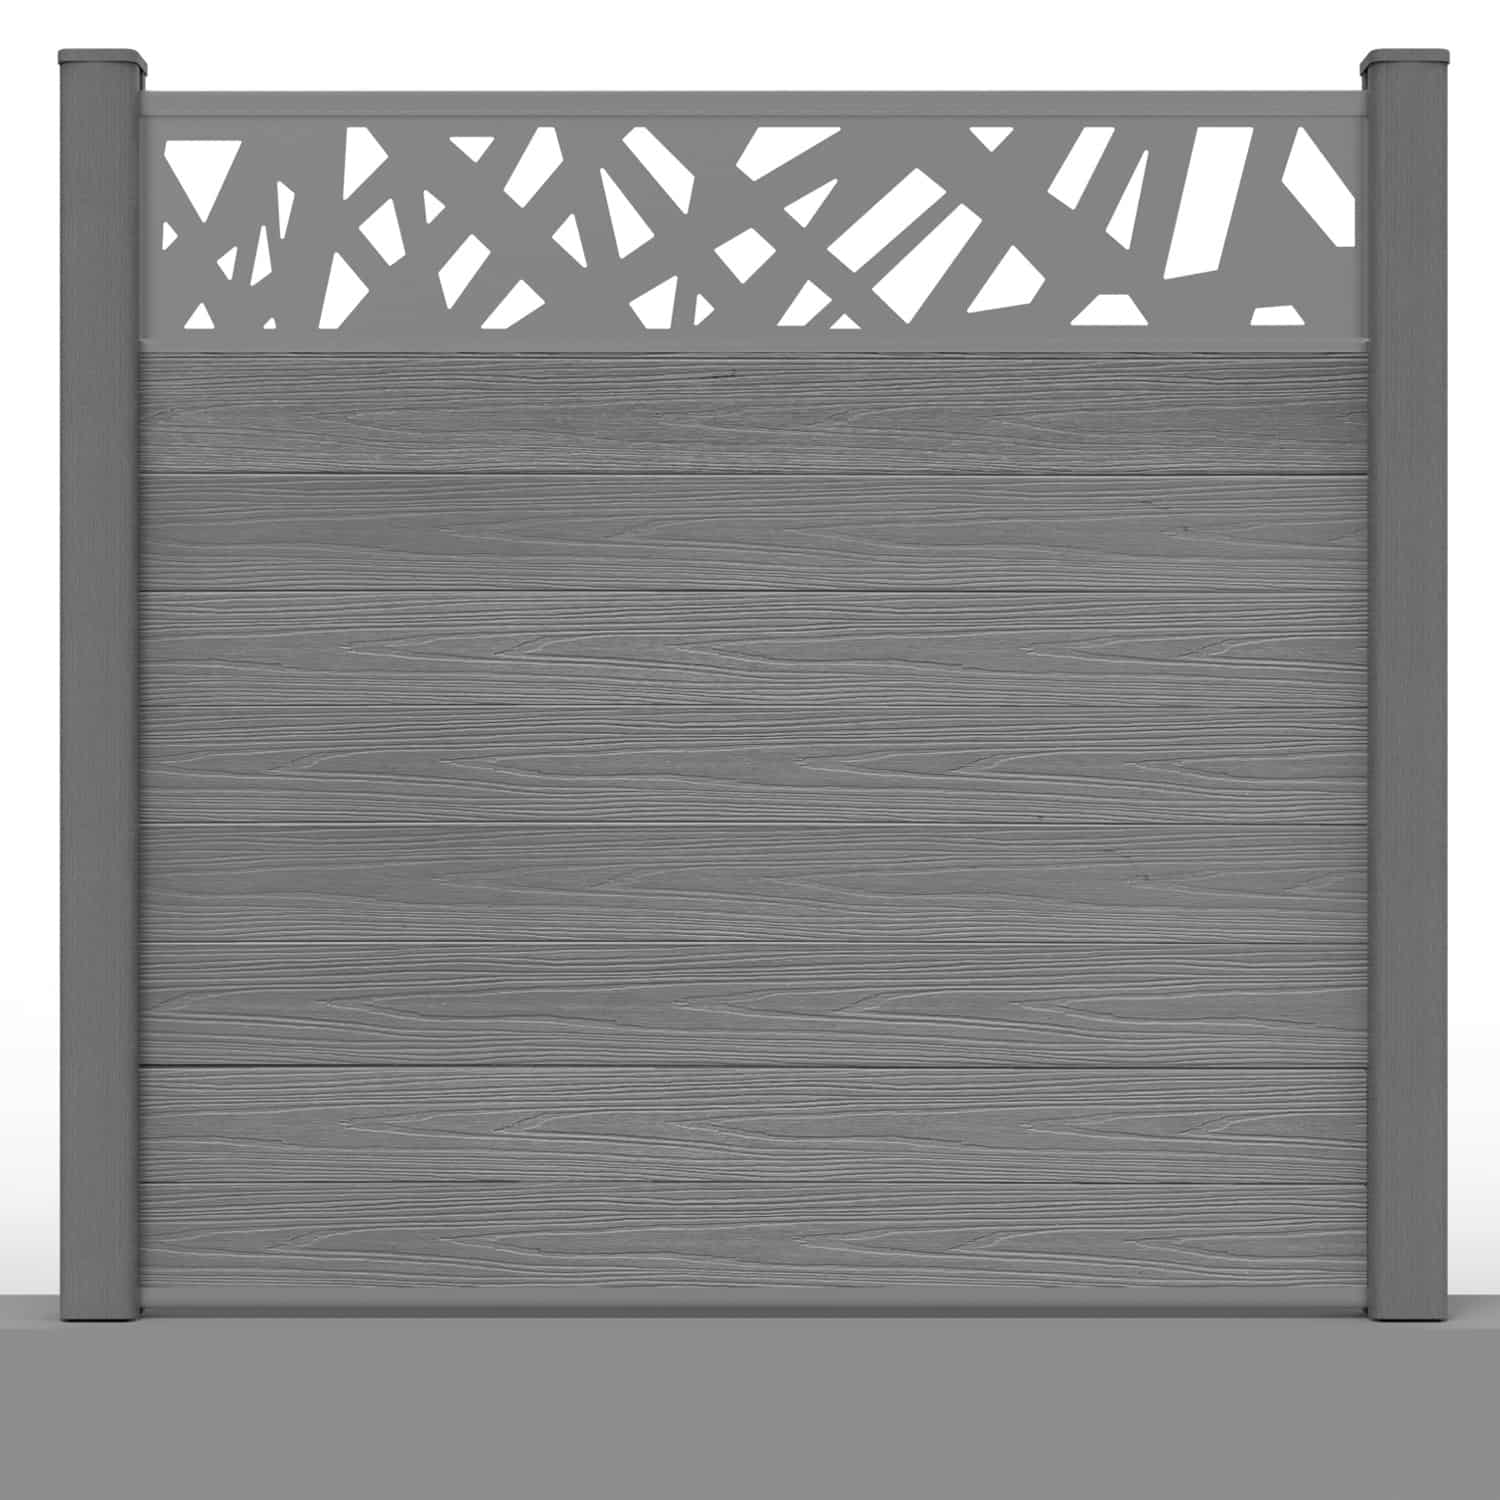
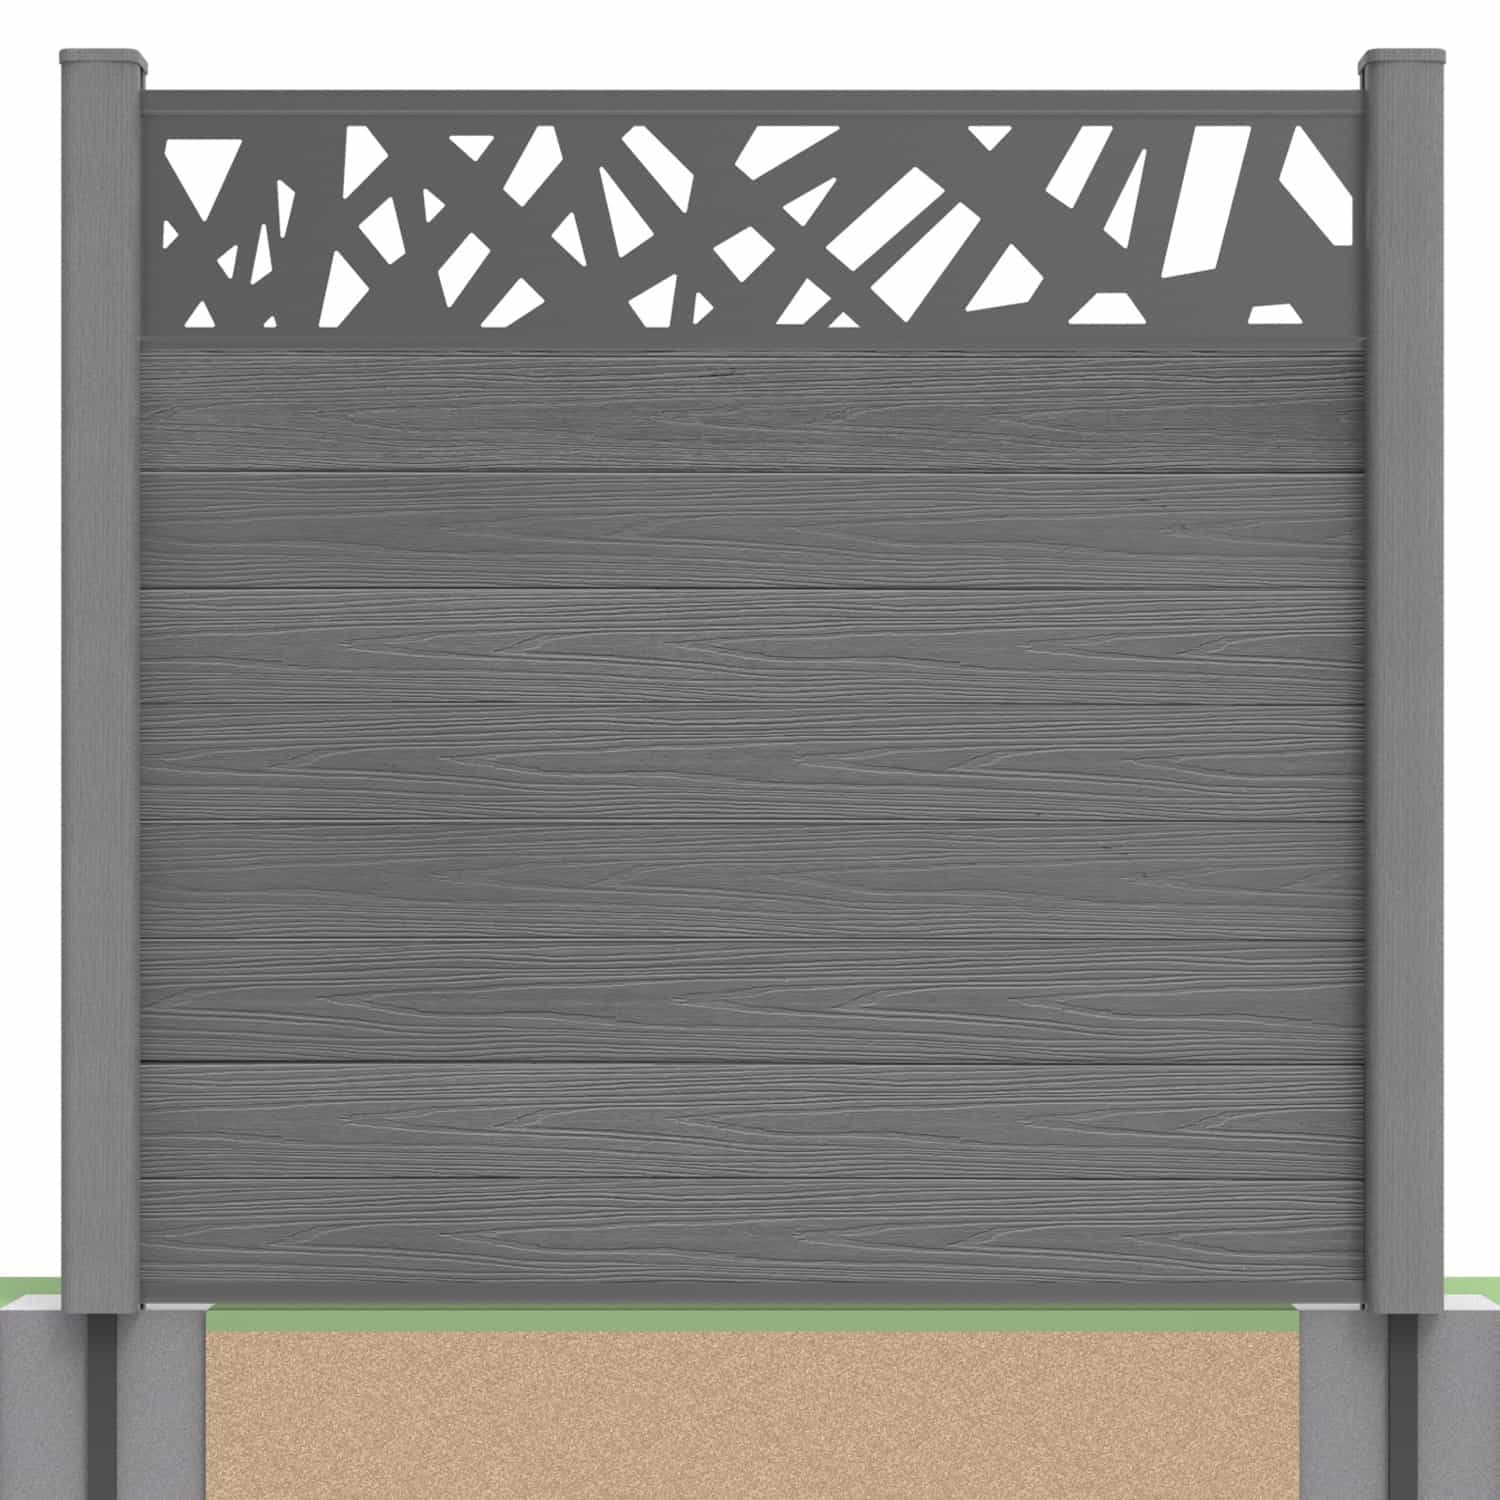
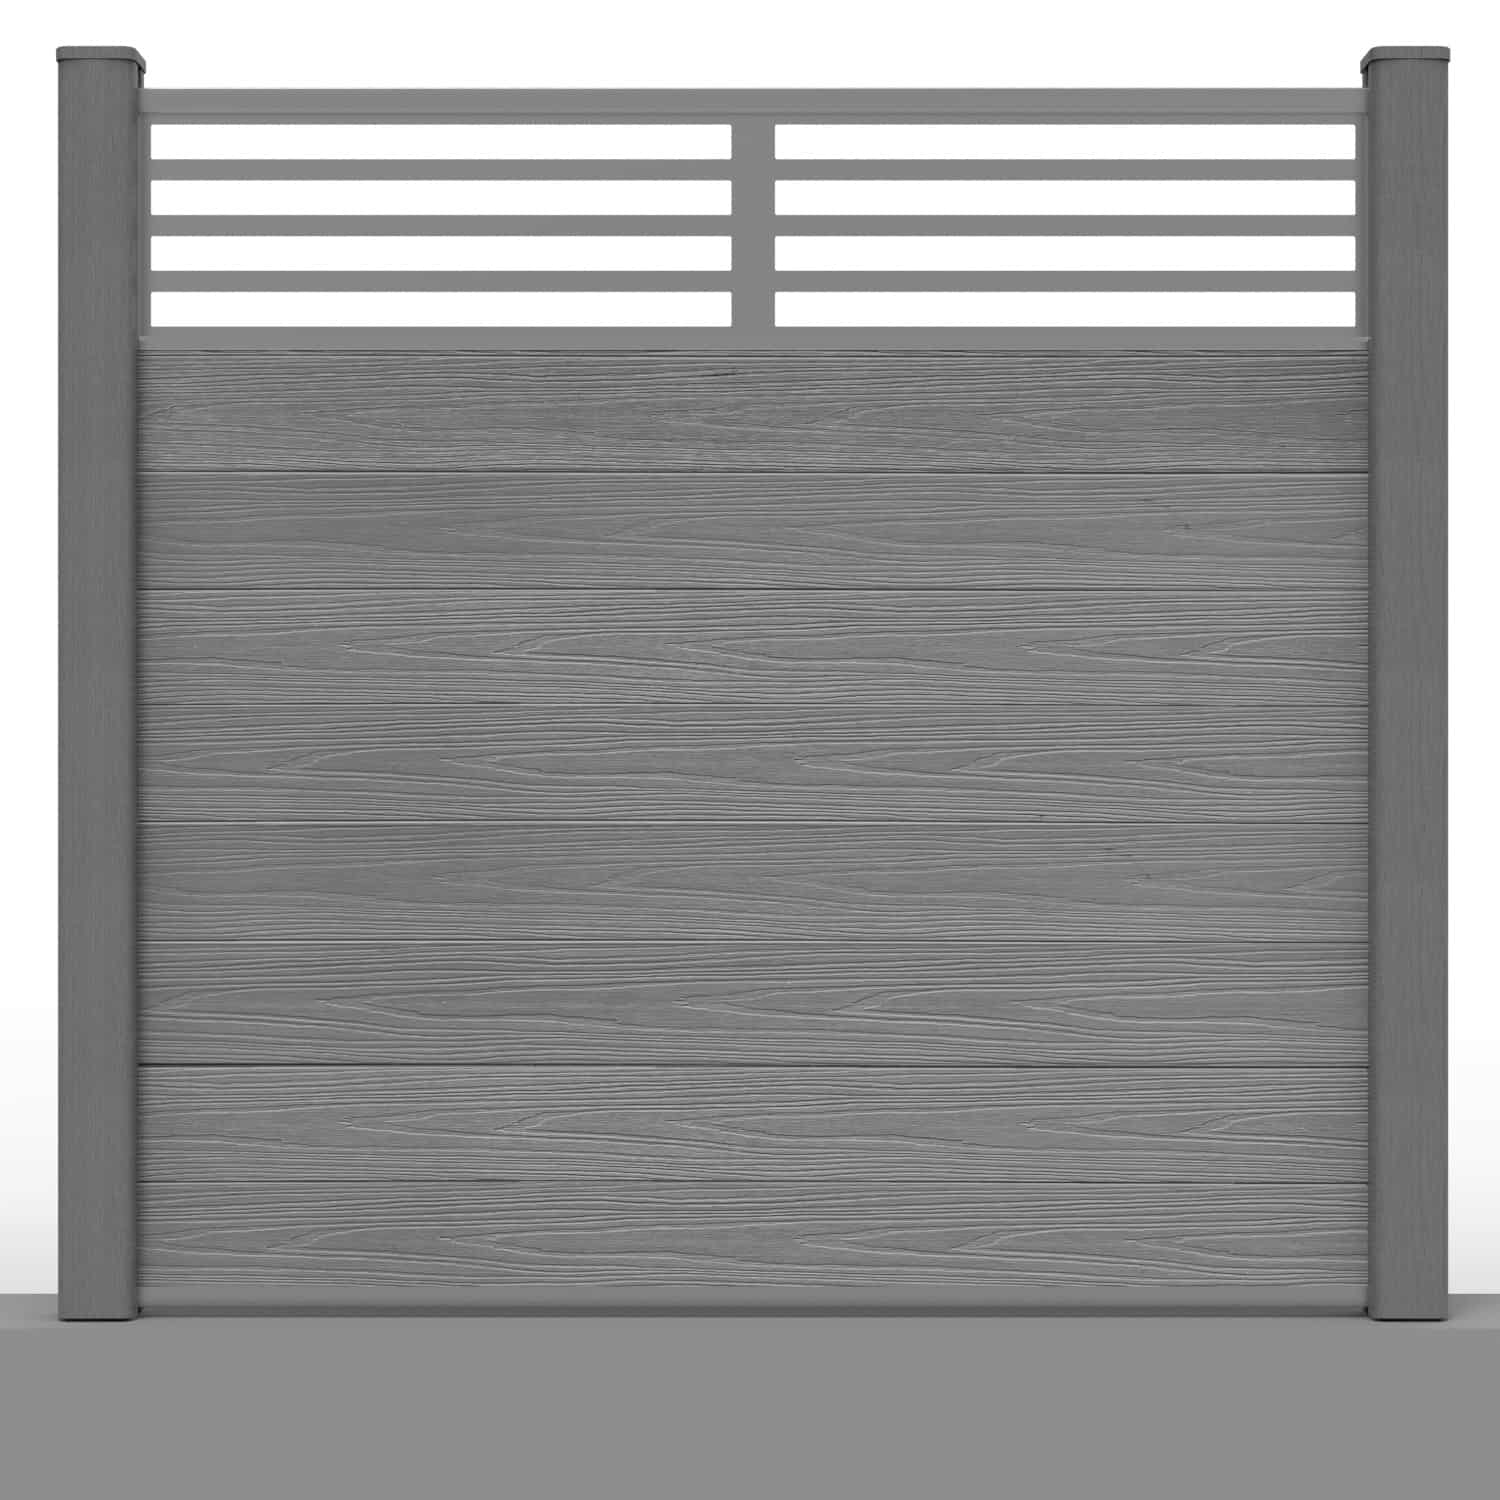
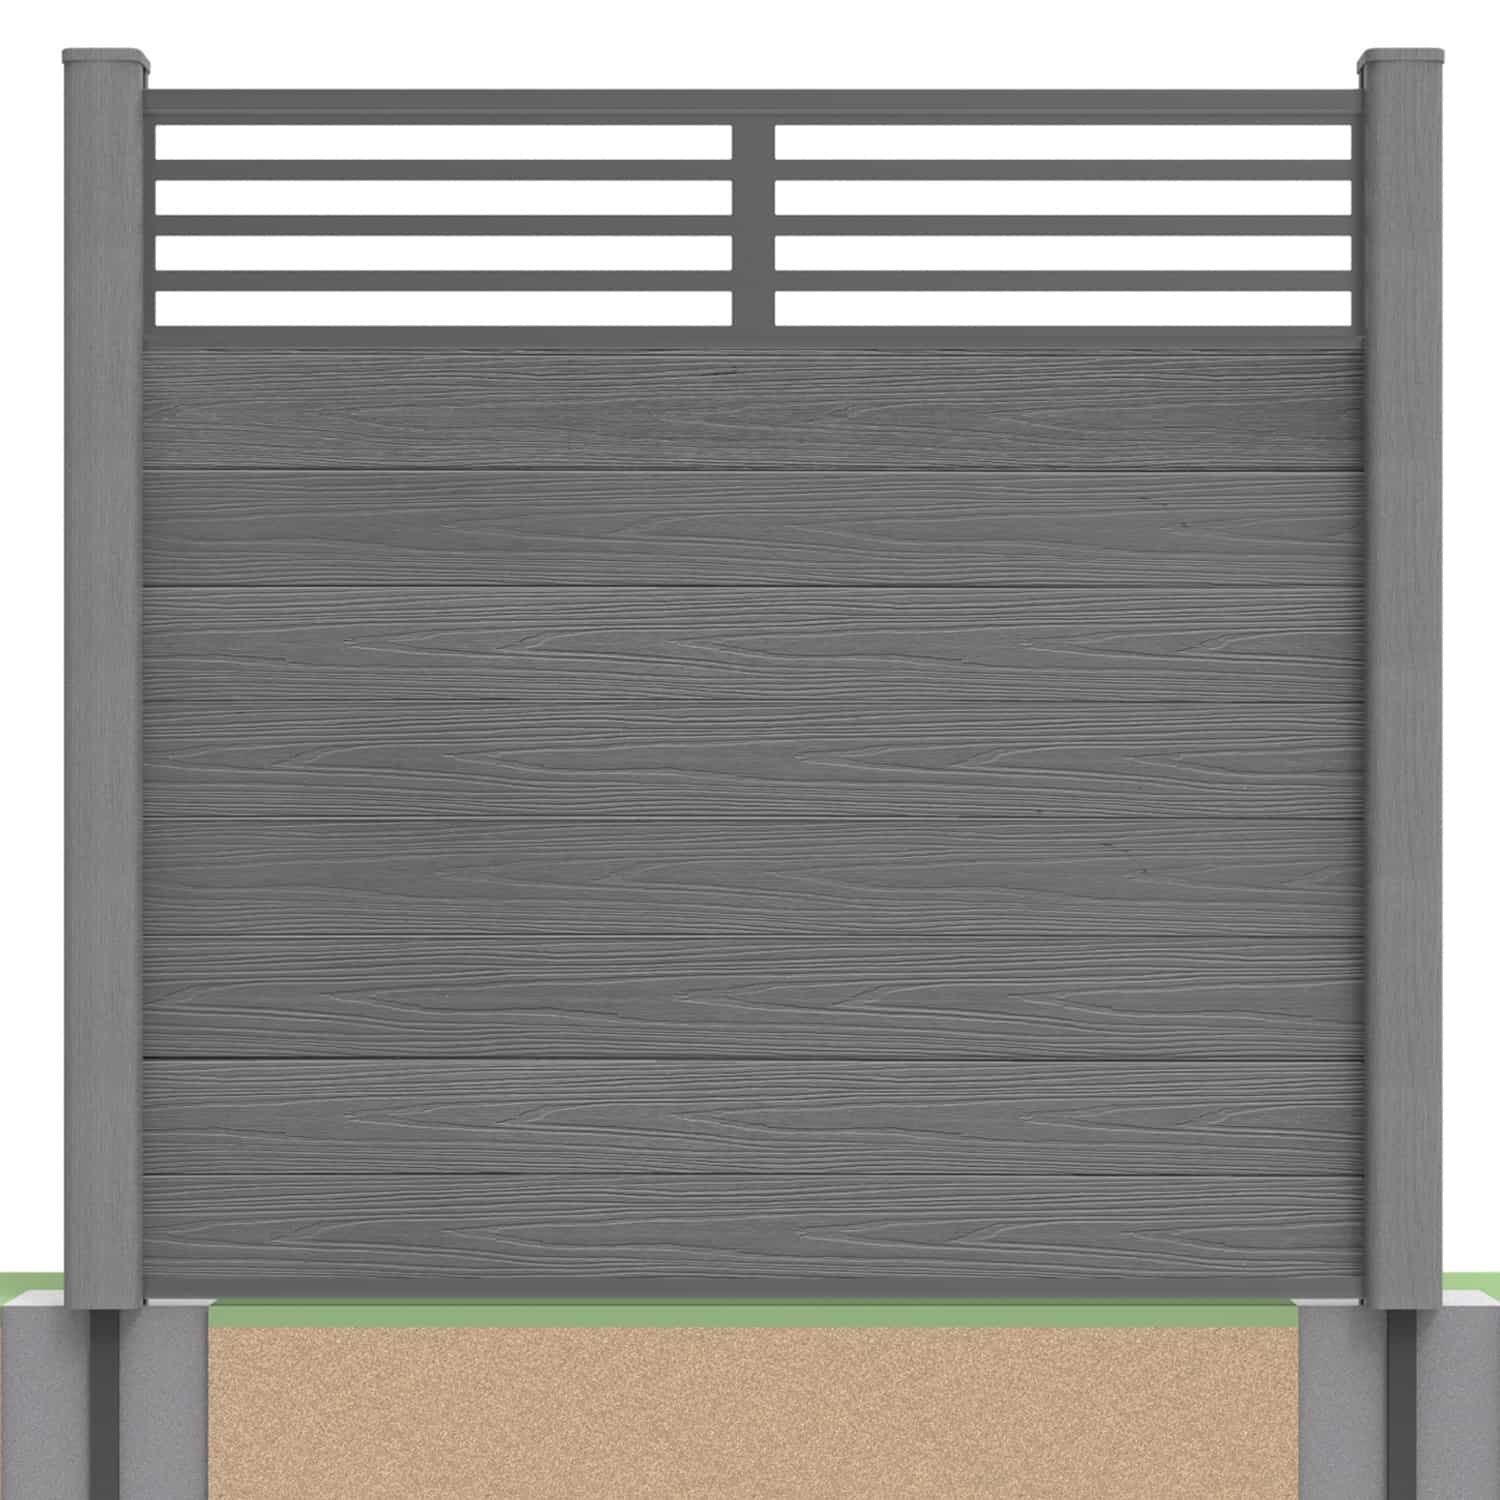
How to Plan and Fit Your NeoTimber® Garden Gate
Installing composite gates involves more than hanging the gate leaf. Suitable foundations, accurate post spacing and correctly fitted hardware all contribute to an entrance that opens freely and closes properly. This guide takes you through the main stages of fitting NeoTimber’s aluminium-framed composite gate, supported by the original installation video and illustrations.
A gate can complete a matching composite fencing system or provide a separate garden entrance, provided the supporting arrangement is suitable. Explore our fencing resources for wider project advice and read the current gate installation instructions alongside this overview.
In this guide: Plan the opening · Watch the video · Install the posts · Hang the gate · Fit the lock · Final checks · FAQs
Before Installation: Plan the Gate Opening and Swing
Choose the gate position around everyday access. Consider the route from the garden to the street, the space needed for bins or equipment and any nearby steps or planting. Check the entire swing path, including changes in ground level that could obstruct the bottom of the gate.
Decide which side will carry the hinges and where the handle and lock should sit before marking or cutting anything. Confirm the selected gate’s handing arrangement and the hardware instructions; the position of each component must work with the intended opening direction.
Measure the leaf, posts and clearances separately
The gate leaf width, the distance between posts, the post centres and the clear passage width are different measurements. Do not use the leaf width alone to set out the opening. Allow for the actual posts, hinges, latch arrangement and operating gaps shown in the installation drawing.
Dry-position the components and verify the complete assembly dimensions before fixing the supports. The spacing in an older illustration should not be applied automatically to every gate version.
Check the kit and prepare your tools
Compare the delivered contents with your order and the selected product specification. Identify the gate leaf, aluminium posts, compatible supports, hinges, handle, lock, keep, caps and fixings. Review the composite gate buying guide if you are still choosing your entrance.
- Prepare a tape measure, spirit level, marking tools and suitable temporary packing.
- Use drilling, cutting and fixing equipment appropriate to the specified materials and hardware.
- Arrange adequate help to support the gate while fitting and adjusting it.
- Wear appropriate eye, hearing and dust protection for the work, with suitable handling protection.
Watch the Composite Gate Installation Video
The video shows how the posts, hinges and locking components relate to the gate frame. Confirm all dimensions and fitting details against the current instructions supplied for your gate.

1. Position and Secure the Gate Posts
The illustrated method uses supports anchored to a suitable solid base, with aluminium gate posts fitted over them. Establish that the foundation and anchors are appropriate for the gate’s weight and operating loads before drilling. Ordinary fence-panel posts and foundations are not automatically suitable for a hinged gate.
Set out the supports using the verified assembly dimensions. Check that the base plates sit correctly and that both post positions allow the gate to remain upright with the specified operating clearances.
Mark the fixing holes and install the approved anchors in accordance with their manufacturer’s instructions. Drill diameter, hole depth, cleaning, embedment, edge distances and tightening requirements depend on the exact anchor and substrate. Do not combine expansion anchors with separate wall plugs unless that particular system specifies it.
Fit the aluminium posts over the supports as directed, checking that they are upright in both directions. Confirm which post carries the hinges and which receives the gate keep before making the hardware connections.


2. Fit the Hinges and Hang the Gate
Use the hinge quantity, positions and fixings specified for the gate. The illustrated assembly uses three hinges, but their placement should follow the supplied drawing rather than an approximate spacing chosen on site.
Support the gate leaf on suitable temporary packing at the required height. Attach it to the hinges using the specified method while keeping its weight supported. Do not leave the leaf hanging from a partly fixed hinge during assembly.
Check the gaps around the frame and open the gate slowly through its intended travel. It should clear the ground and posts without rubbing. Make permitted adjustments at this stage; do not pull misaligned posts into position by tightening the hinges against the frame.

3. Mark the Handle, Lock and Gate Keep Positions
With the gate aligned, establish the hardware positions using the supplied template or dimensioned drawing. The lock and keep must meet correctly when the gate closes, while the handle needs adequate space to operate.
The illustrated installation requires openings to be machined in the aluminium frame and receiving post. Check whether your supplied version is already prepared before cutting. Do not copy slot dimensions from an older illustration without confirming that they match the actual lock and keep.
Mark and check both sides of each proposed opening. Where cutting or machining is required, use appropriate equipment and remove sharp edges without damaging the finish. If you are unfamiliar with this work, have a competent installer complete it.

4. Secure the Lock, Handle and Strike Plate
Fit the lock body, handle and keep in the order specified for the hardware. Secure the strike plate to the receiving post using the approved fixings and check that the latch and locking bolt engage without needing to lift, twist or slam the gate.
Test the handle from both sides and operate the lock several times with the gate open before checking it in the closed position. If the mechanism binds, investigate the frame alignment and keep position rather than forcing the key or enlarging openings without guidance.

5. Complete the Final Operating Checks
Checks before putting your garden gate into use:
| Check | What to confirm |
|---|---|
| Posts and foundations | The specified supports and fixings are secure, with posts upright. |
| Hinges | All specified fixings are fitted and the gate is properly supported. |
| Clearances | The leaf clears the ground and posts throughout its intended swing. |
| Latch and lock | Components engage smoothly without lifting or forcing the gate. |
| Finishing | Caps are fitted, sharp edges removed and installation debris cleared. |
Use only compatible stops or restraints where specified to prevent the gate travelling beyond its intended range. Do not let wind repeatedly slam the leaf against the hinges or frame. After installation, inspect the hardware periodically and follow the recommended care instructions.
Frequently Asked Questions
Can I install a composite gate myself?
A capable DIY installer may be able to complete the assembly with suitable equipment and help. Foundation assessment, anchoring and machining the aluminium frame may require a competent installer, particularly where the existing structure is uncertain.
Can the gate hang from an ordinary fence post?
Only if the post, connections and foundation have been specified for the gate’s loads. A support designed for a fixed fence panel should not be assumed suitable for a gate.
What spacing should I leave between the gate posts?
Use the current assembly drawing for your selected gate and hardware. Distinguish post centres from the clear opening and allow for the specified operating gaps.
Can the gate open to the left or right?
Confirm the handing options for the selected gate before installation. Decide the hinge side and opening direction before locating the lock, keep or any machined openings.
Do I need to cut holes for the lock and handle?
The illustrated method includes machining the aluminium frame and post. Check your delivered gate and hardware instructions first, because preparation requirements depend on the version supplied.
What should I do if the gate catches when closing?
Check post alignment, hinge adjustment, ground clearance and the keep position. Correct the cause using the permitted adjustments rather than forcing the gate or using the latch to pull it into alignment.
Finish Your Entrance With a Correctly Fitted Gate
Careful setting out and hardware alignment make installing composite gates easier to complete successfully. Review the NeoTimber® installation resources, coordinate your entrance with the composite fencing range and contact NeoTimber® if you need help confirming components before fitting.