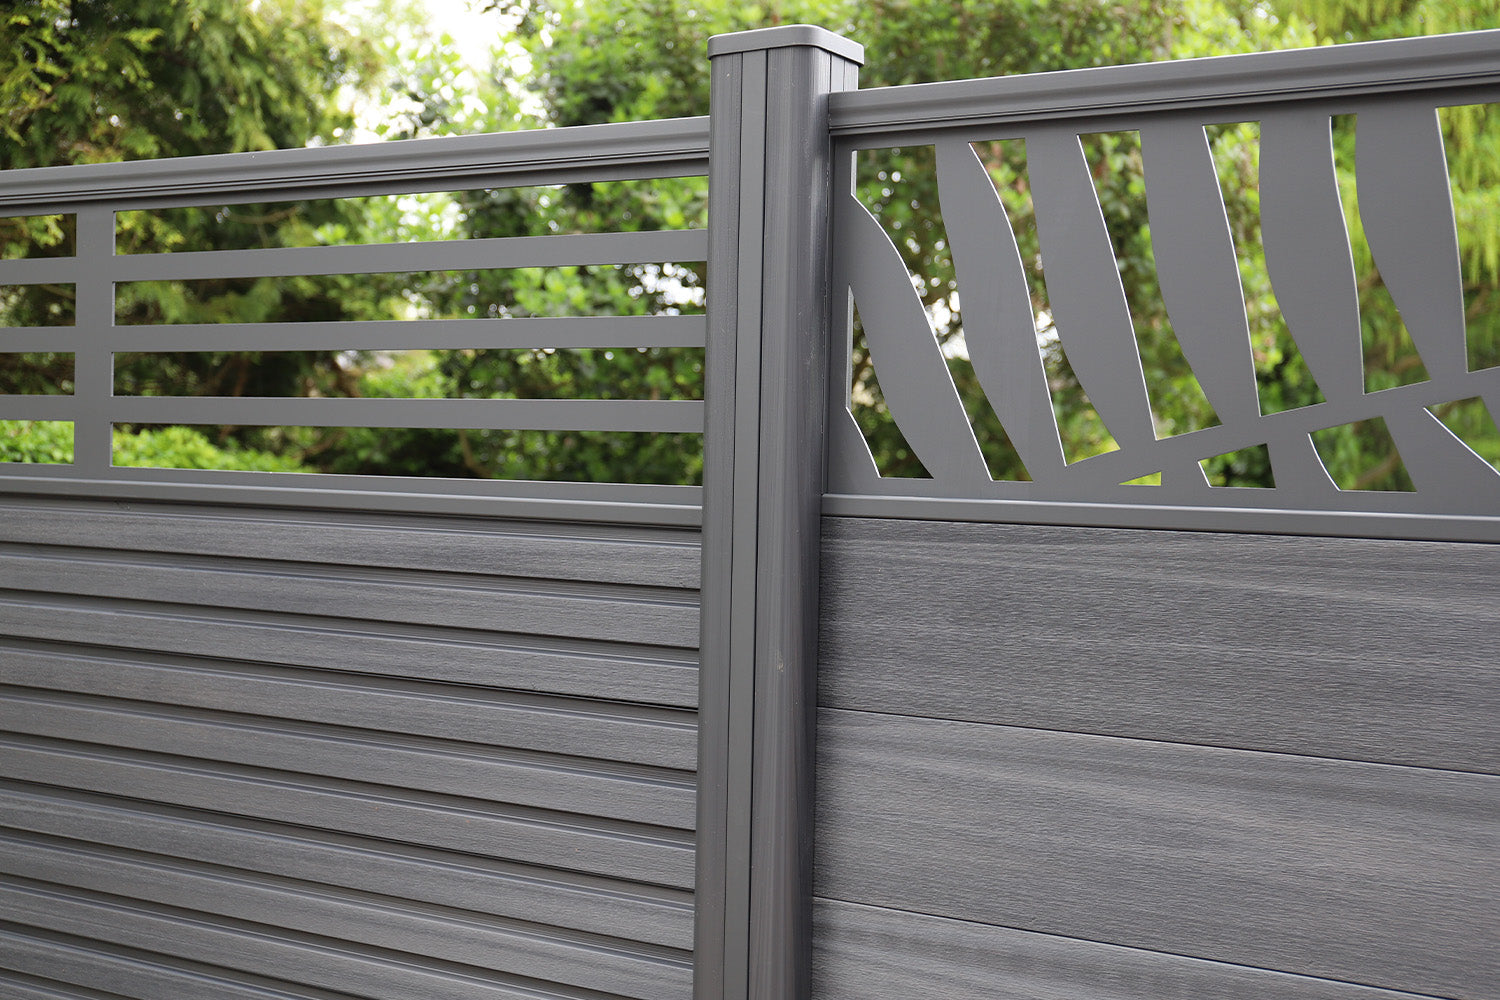


How To Install Composite Fence Panels & Build A Composite Fence
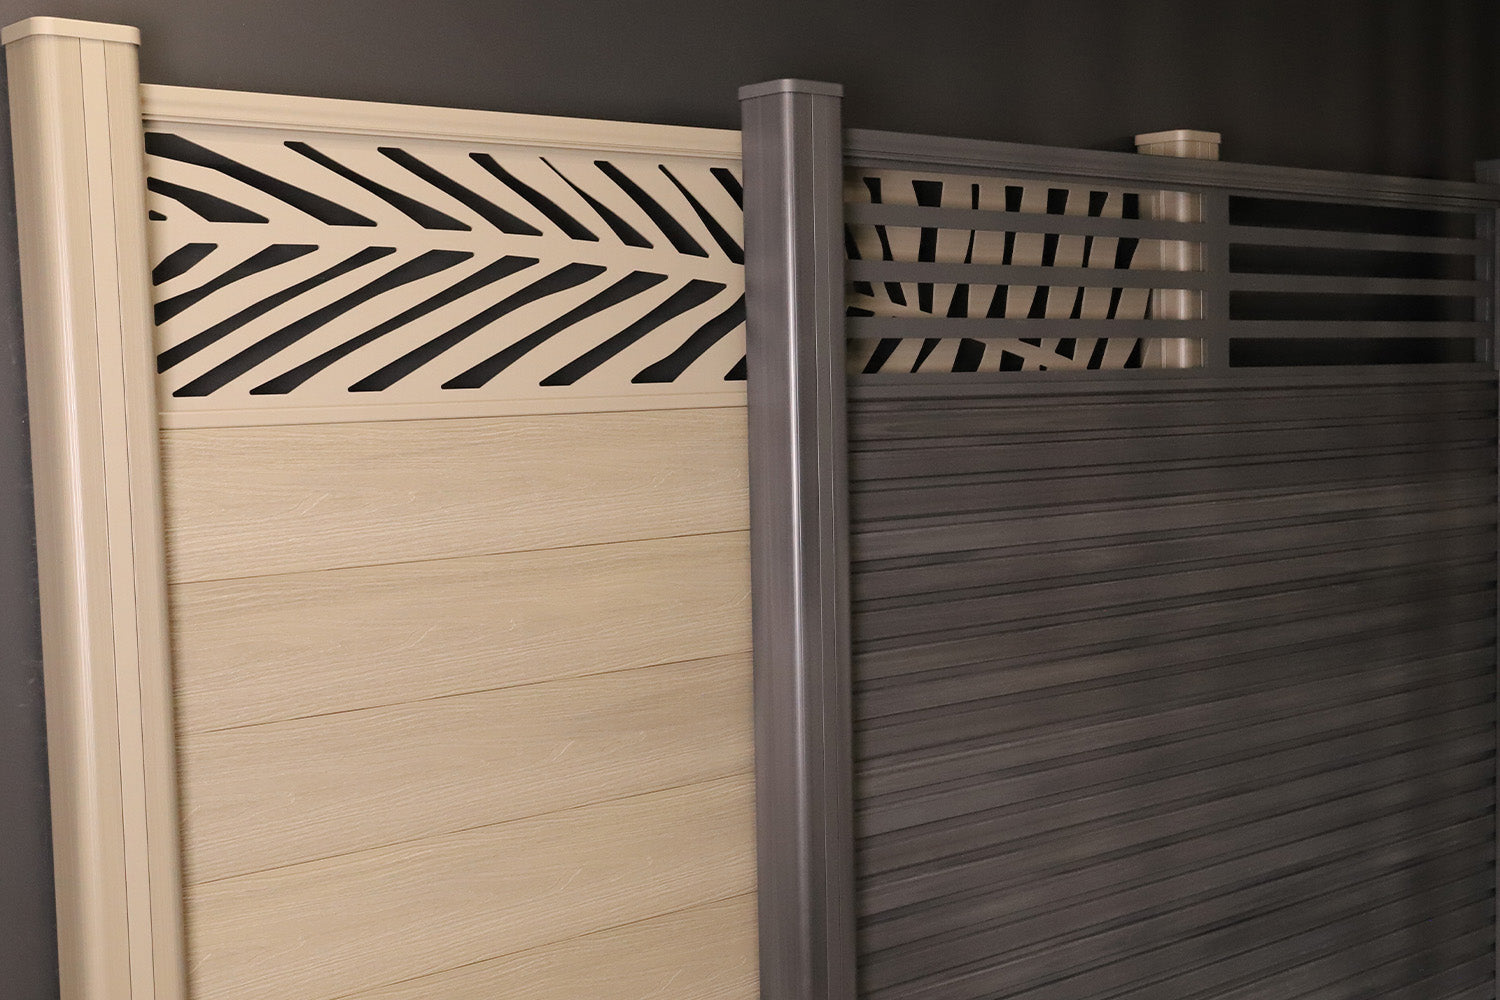
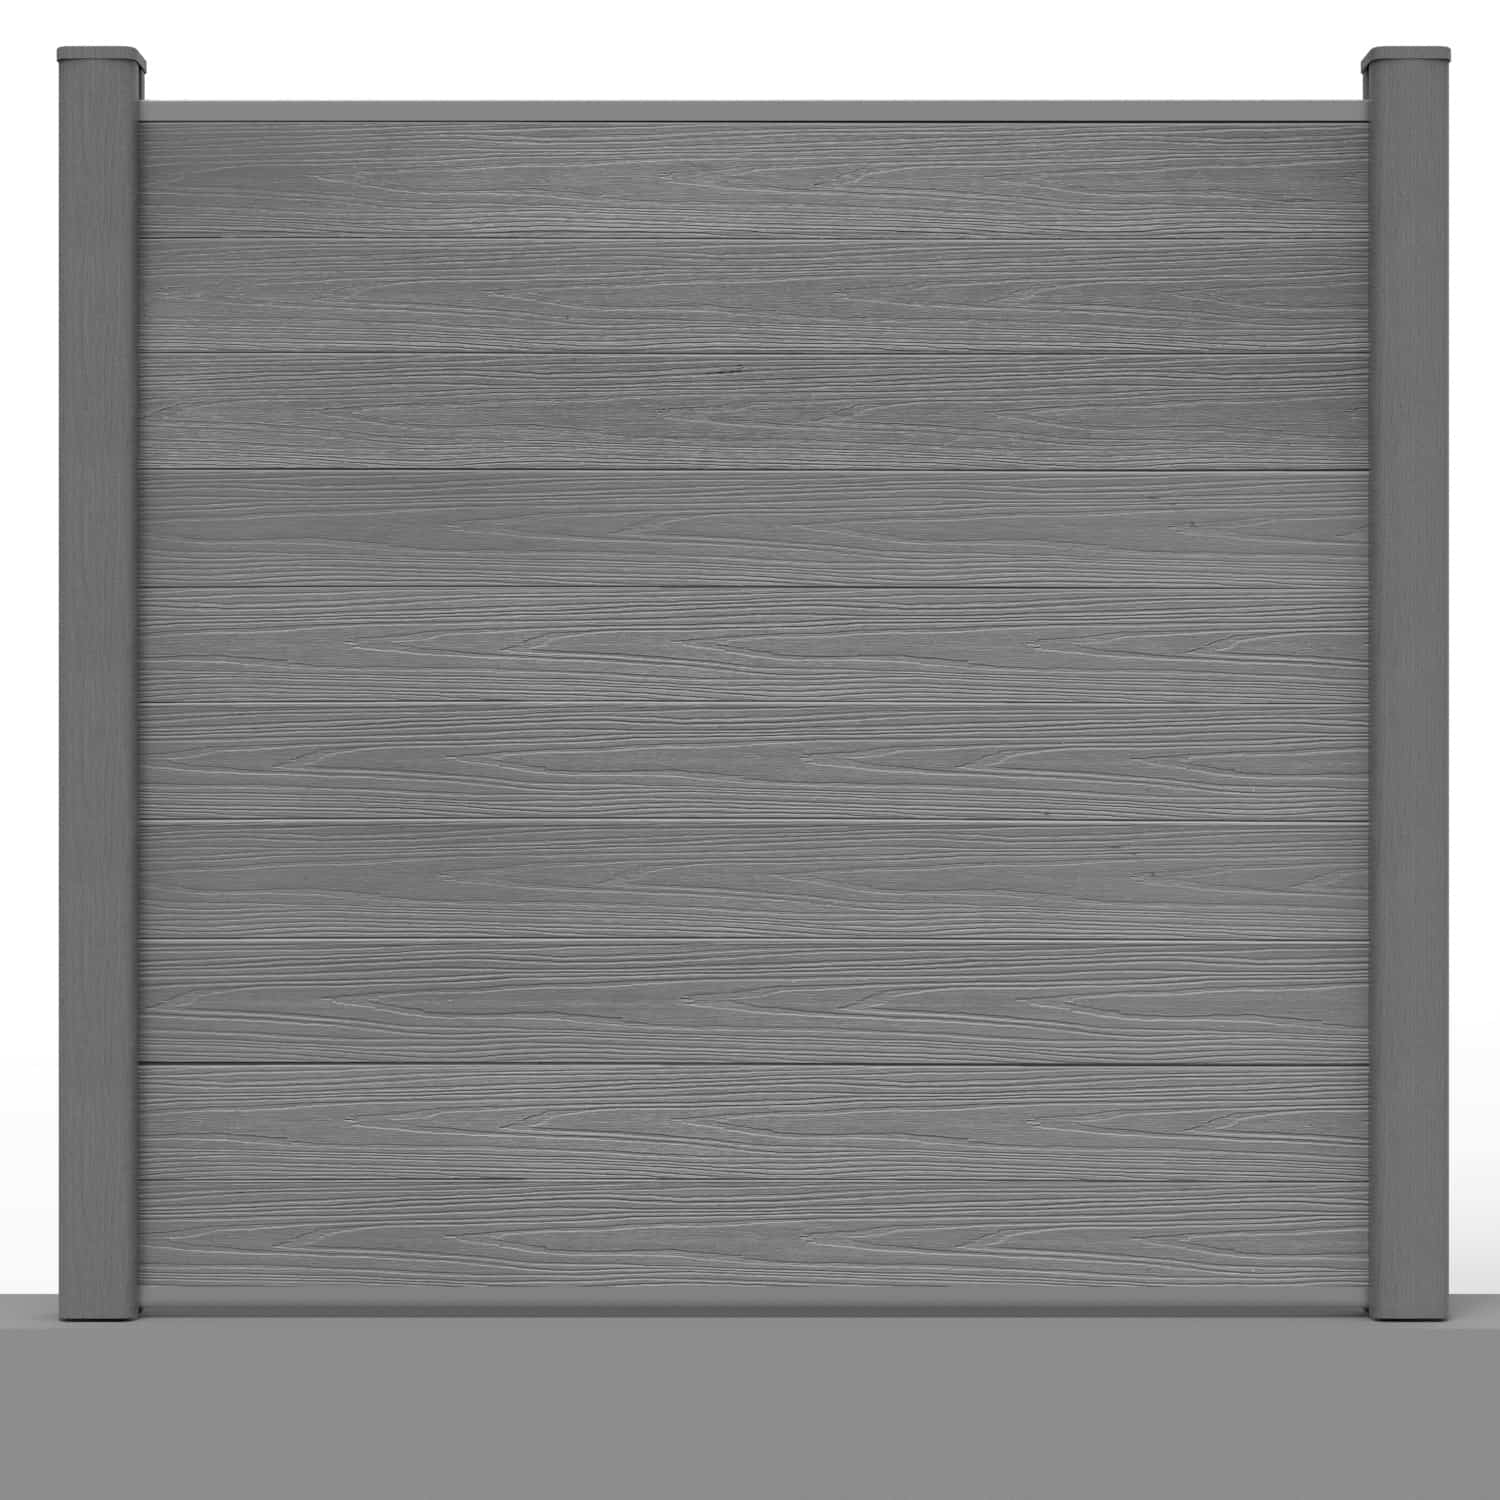
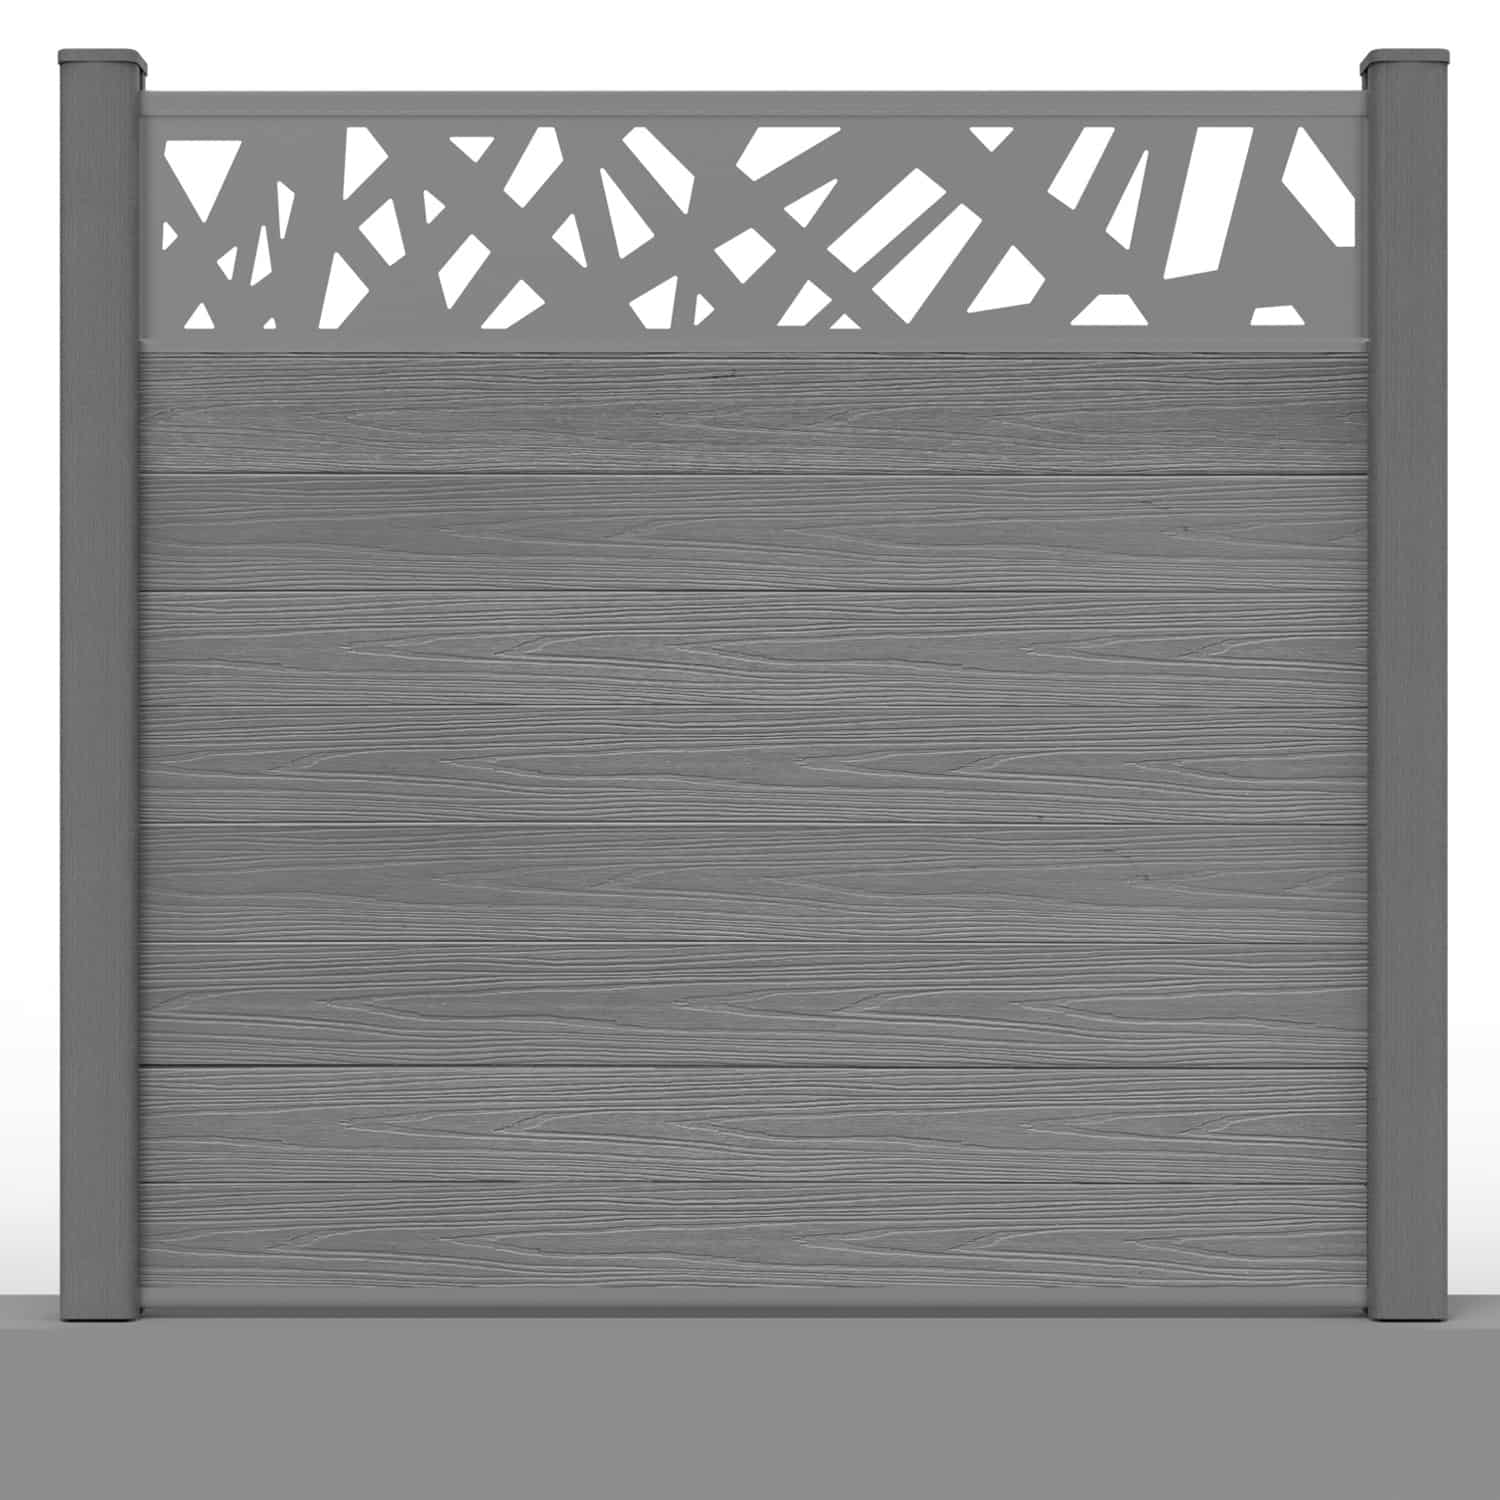
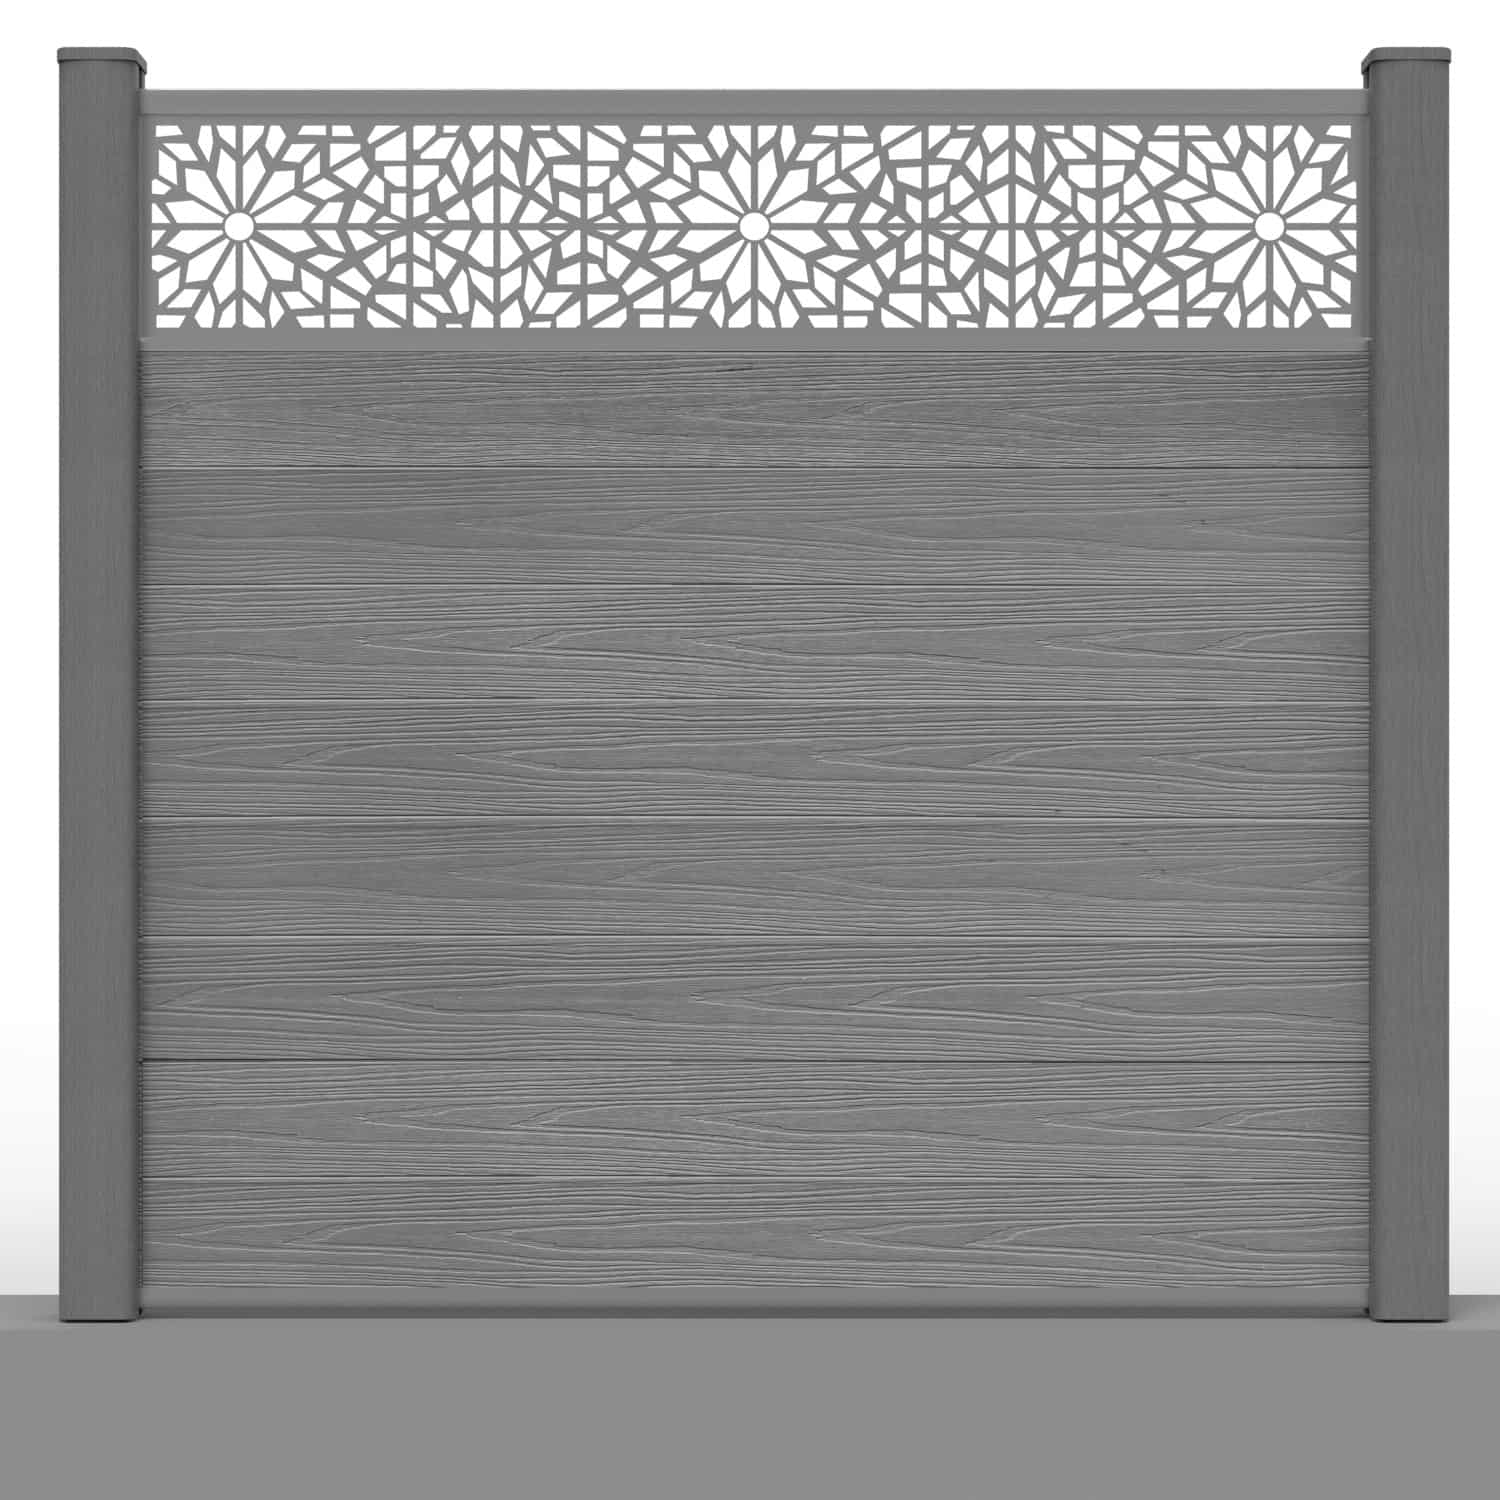
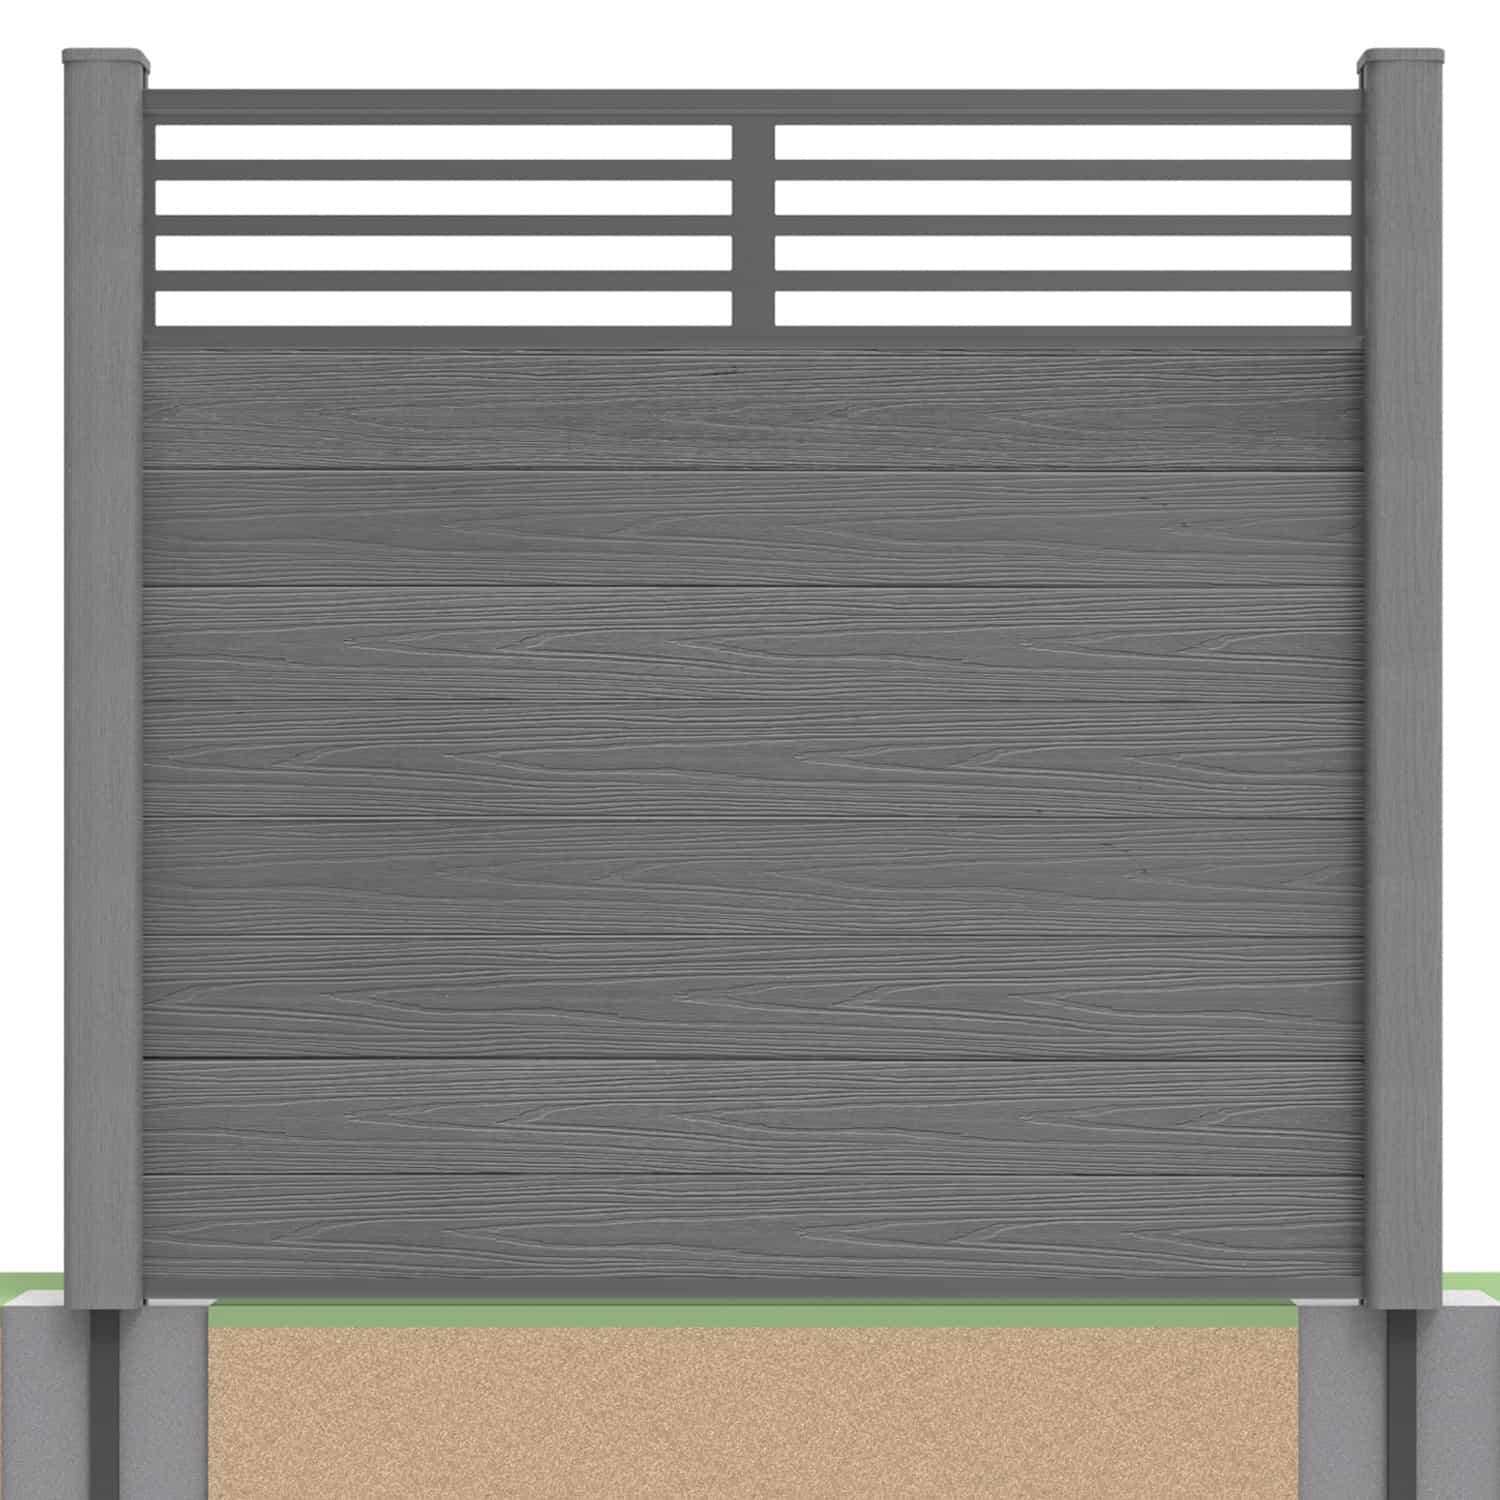
In order to build a composite fence panel, NeoTimber's standard fencing is easily constructed, by stacking our individual tongue-and-groove fencing boards on top of one another. Unlike many other fencing alternatives, NeoTimber's composite fence panels come in component form, making it easier for you to fit your fencing around the parameters of your space. No matter the design or post option you choose for your fencing, our installation guidance remains largely the same for a completed panel. On this page, we outline the steps to building a composite fence panel in detail.
Install The Base Capping Rail Between The Posts
Begin by securing the L-brackets into each end of the base capping rail with a hammer. Once secured, position the base rail between your two composite fence posts. Secure at either end by drilling the 4mm × 25mm self-tapping screws through the L-bracket and post.

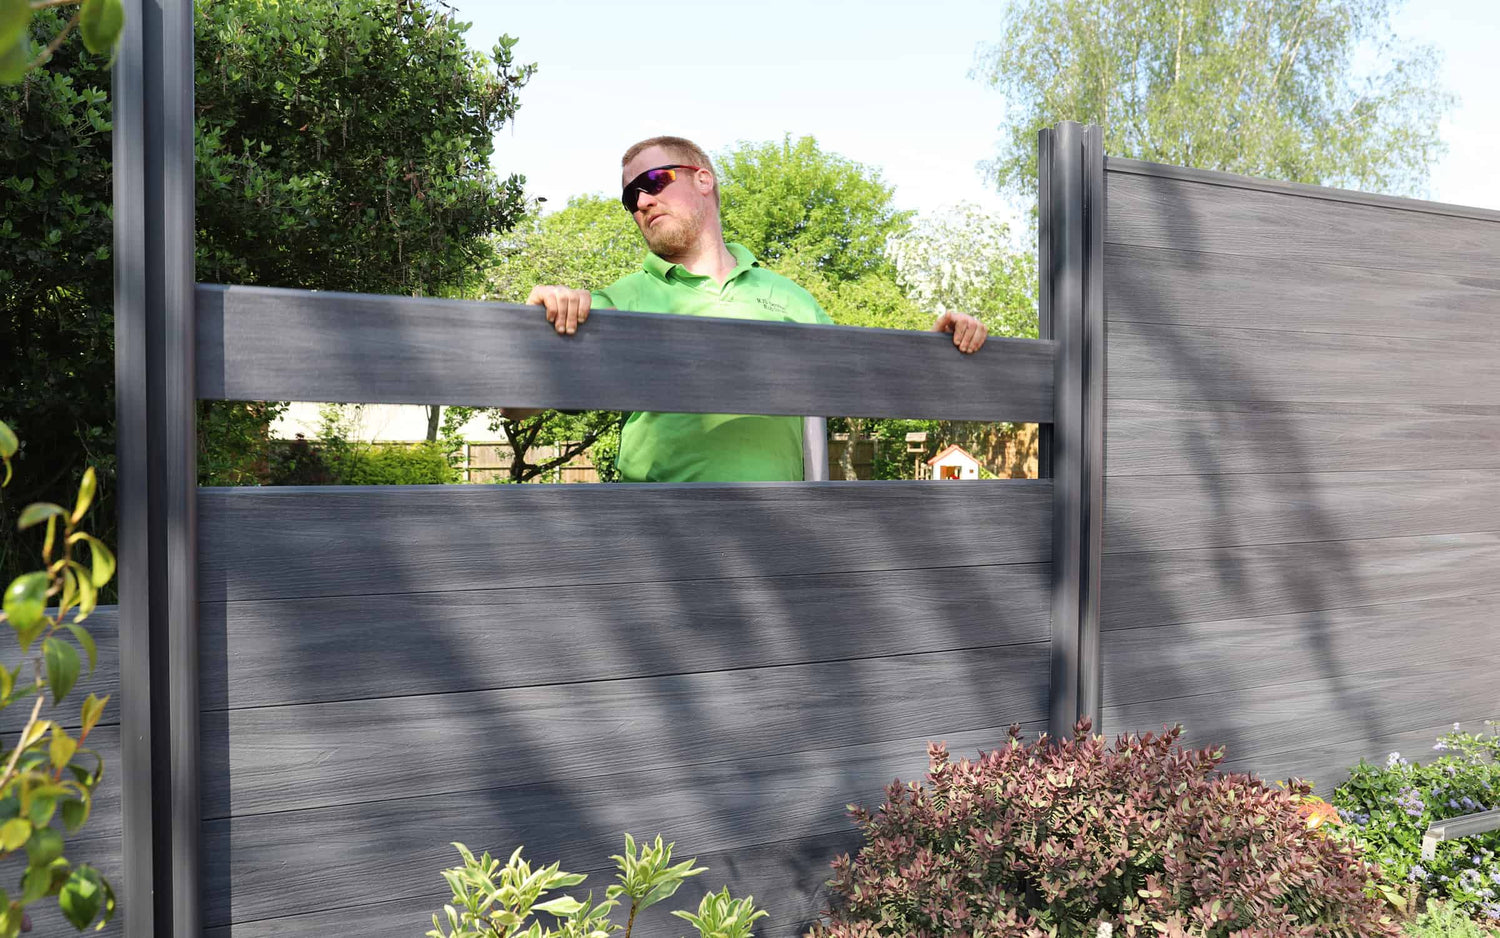
Insert Fence Boards To Build The Panel
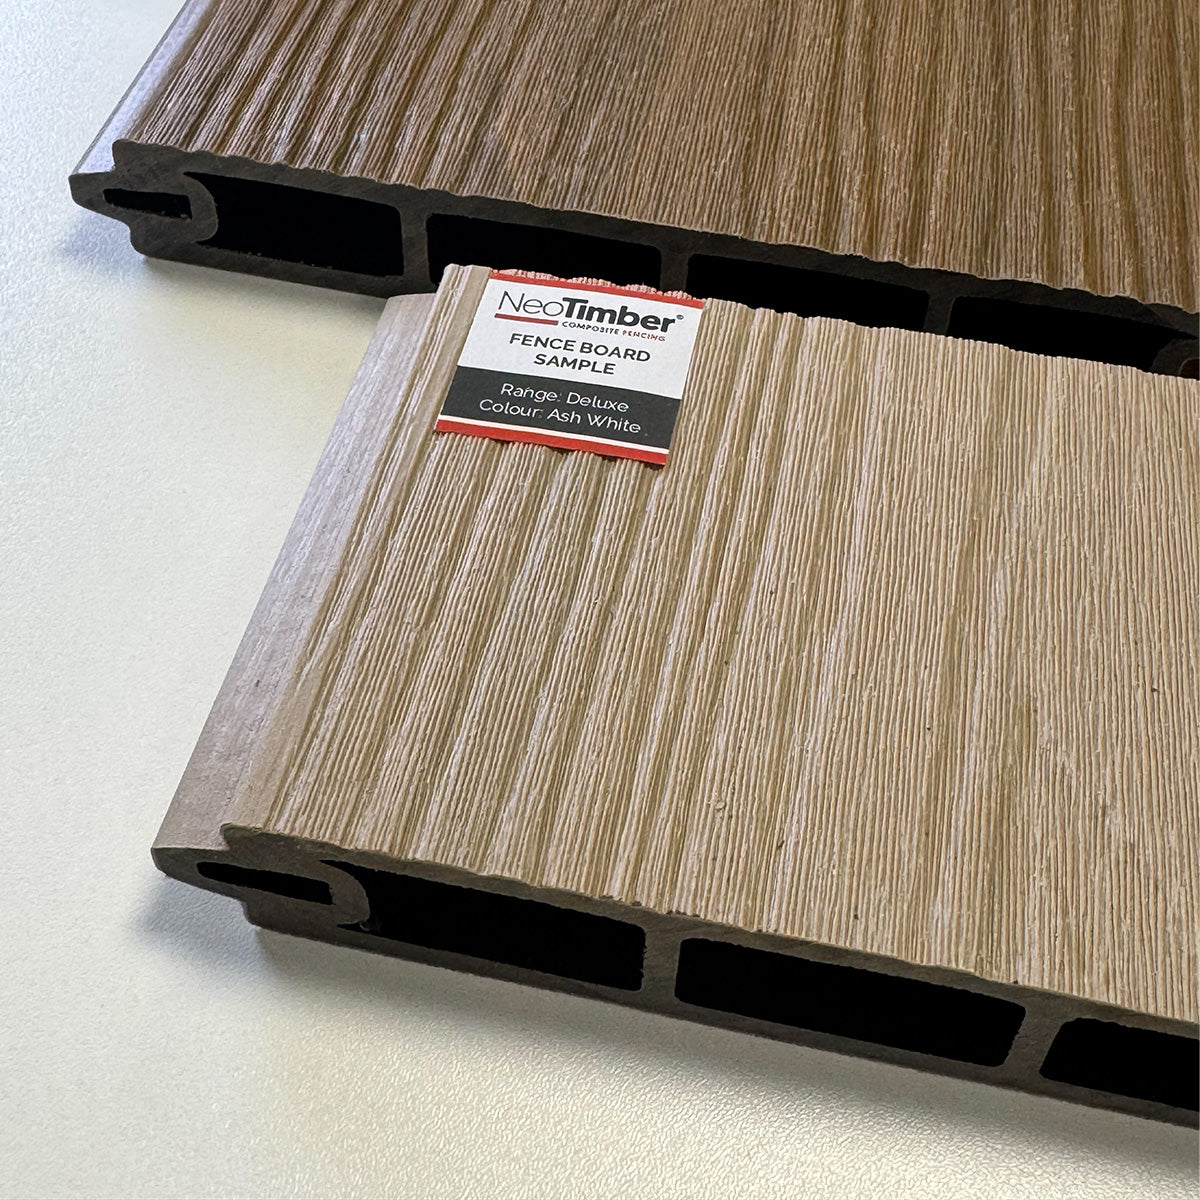
Begin by slotting the fence boards between your posts. The tongue-and-groove design allows for the boards to be easily stacked on top of one another. When you install standard composite fence panels, ensure that the open groove of each fence board is installed facing towards the ground. It’s also important to leave a 4mm gap between the end of the fence board and the inside of the post to allow for natural expansion when you install standard composite fence panels.
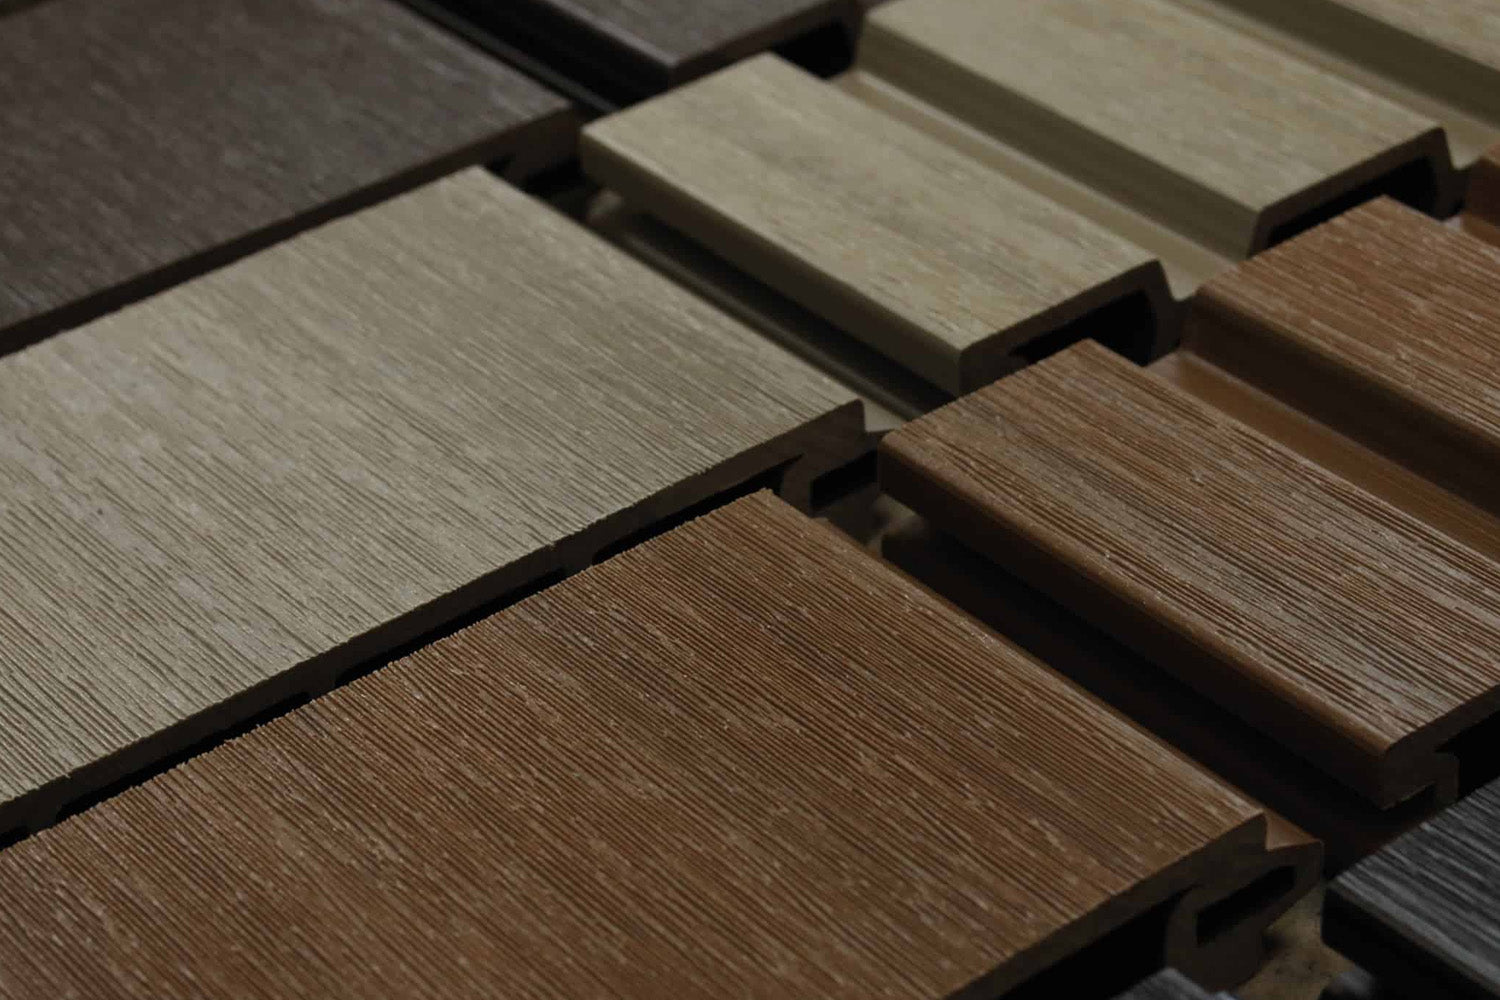
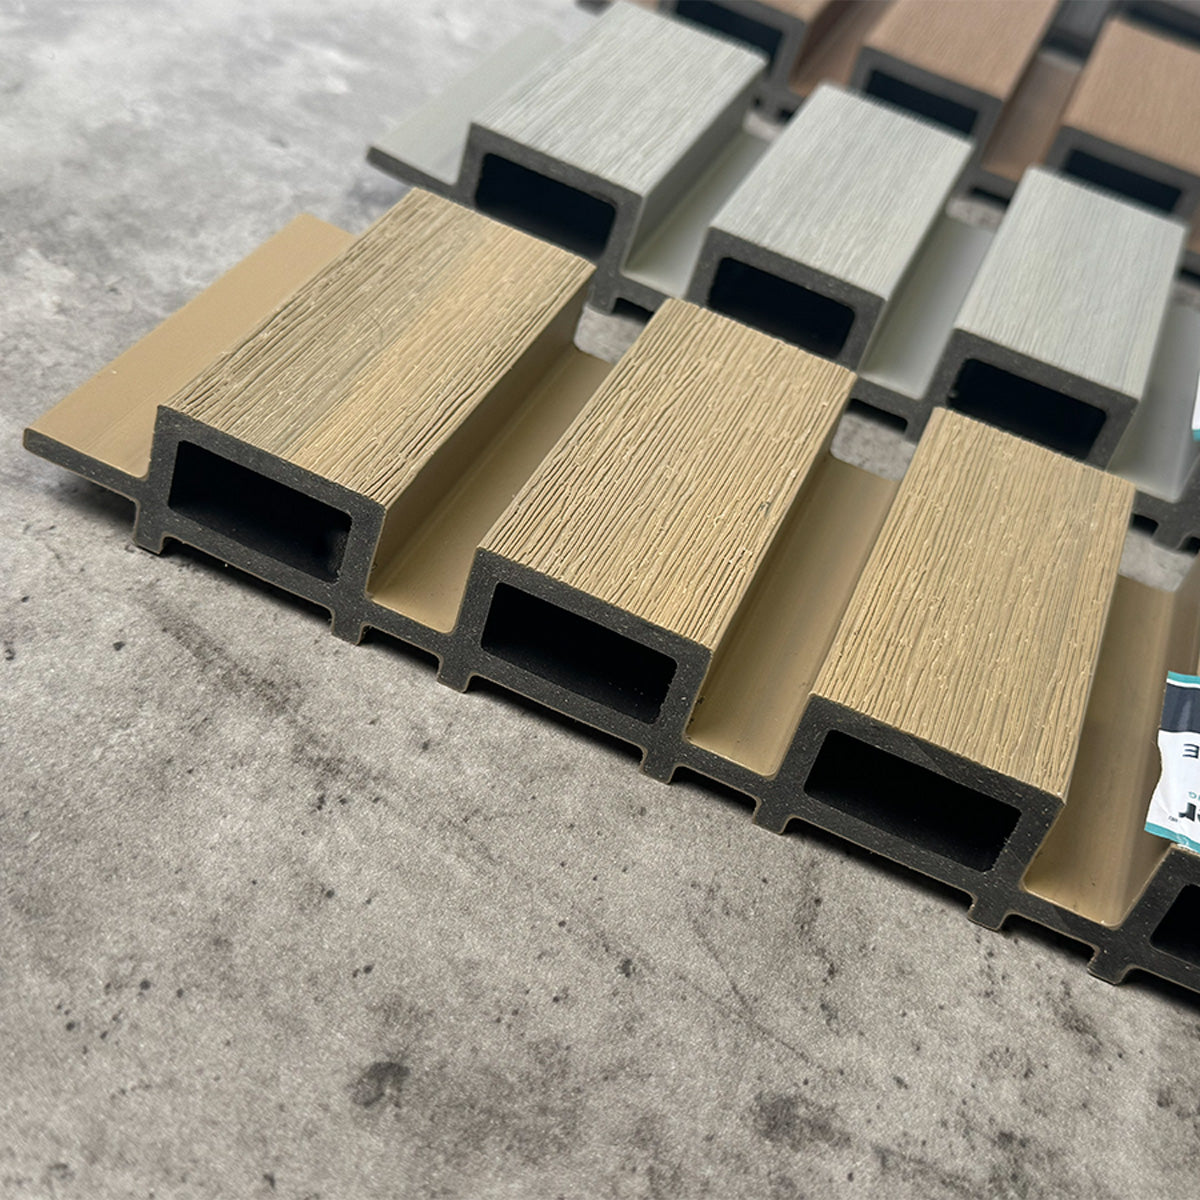
Should you be installing NeoTimber's Deluxe fence boards, care must be taken to ensure that the finish of the boards is considered when building your panels. There is a distinct woodgrain on one side of the fence board and a brushed finish on the flip side. NeoTimber recommends installing them in a uniform fashion with each finish orientated in the same direction.
Depending on the length of your fence panel, there may be a need to cut the boards to fit. This can be done using cutting equipment that is typically used for timber.

Secure The Fence Boards Using The Top Capping Rail
Install the top capping rail in a similar fashion to how the base capping rail was installed. Secure the L-fixing with a padded foam insert into the capping rail before placing the rail on top of the final fence board. The padded foam insert of the L-bracket should sit on top of the final fence board. Secure at either end by drilling the 4mm × 25mm self-tapping screws through the bracket and the post.

Install The Composite Post Inserts
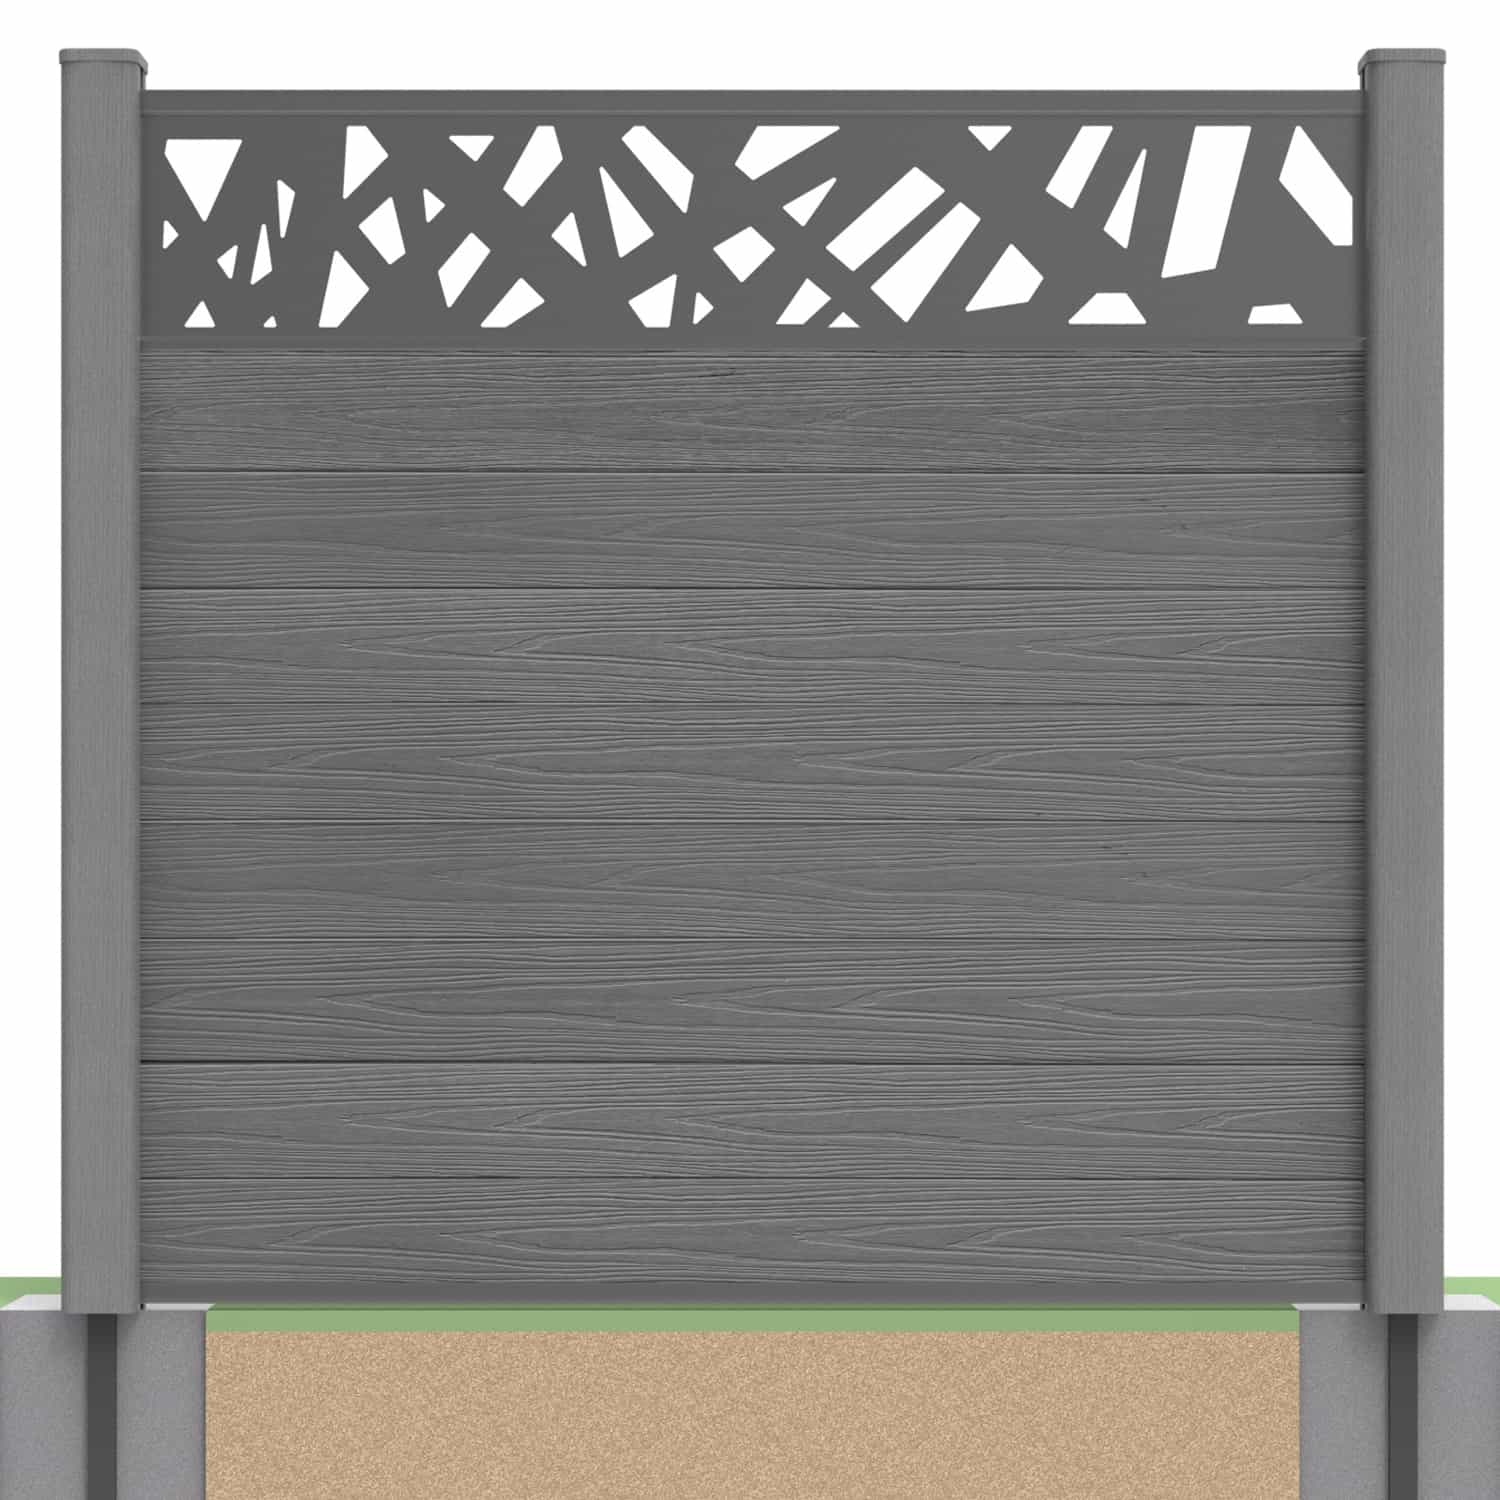
Should you be installing your panel using NeoTimber's composite post set for soft or hard ground, composite post inserts and post caps will complete your panel installation.
Composite fence post inserts can be inserted into the grooved channel of the posts. Smaller blanking strips are also provided to slot between the top capping rail and the top of the post in order to cover the L-bracket. These can be slid into place down the grooved profile of the post.

Fix The Post Cap
Fence post caps can be installed once the composite post inserts are fitted securely. Simply sit the post cap over the composite post and secure using the colour-coded screw.

Master How To Install Composite Fence Panels And Build A Composite Fence With NeoTimber®
Ready to transform your garden with high-quality fencing? Our step-by-step guide on how to install composite fence panels makes building a composite fence simple and straightforward. Whether you’re a DIY enthusiast or a professional, NeoTimber® provides clear instructions and tips for building a composite fence that is strong, stylish, and long-lasting. Follow our expert advice to achieve a flawless installation every time, creating a durable boundary that enhances your outdoor space.