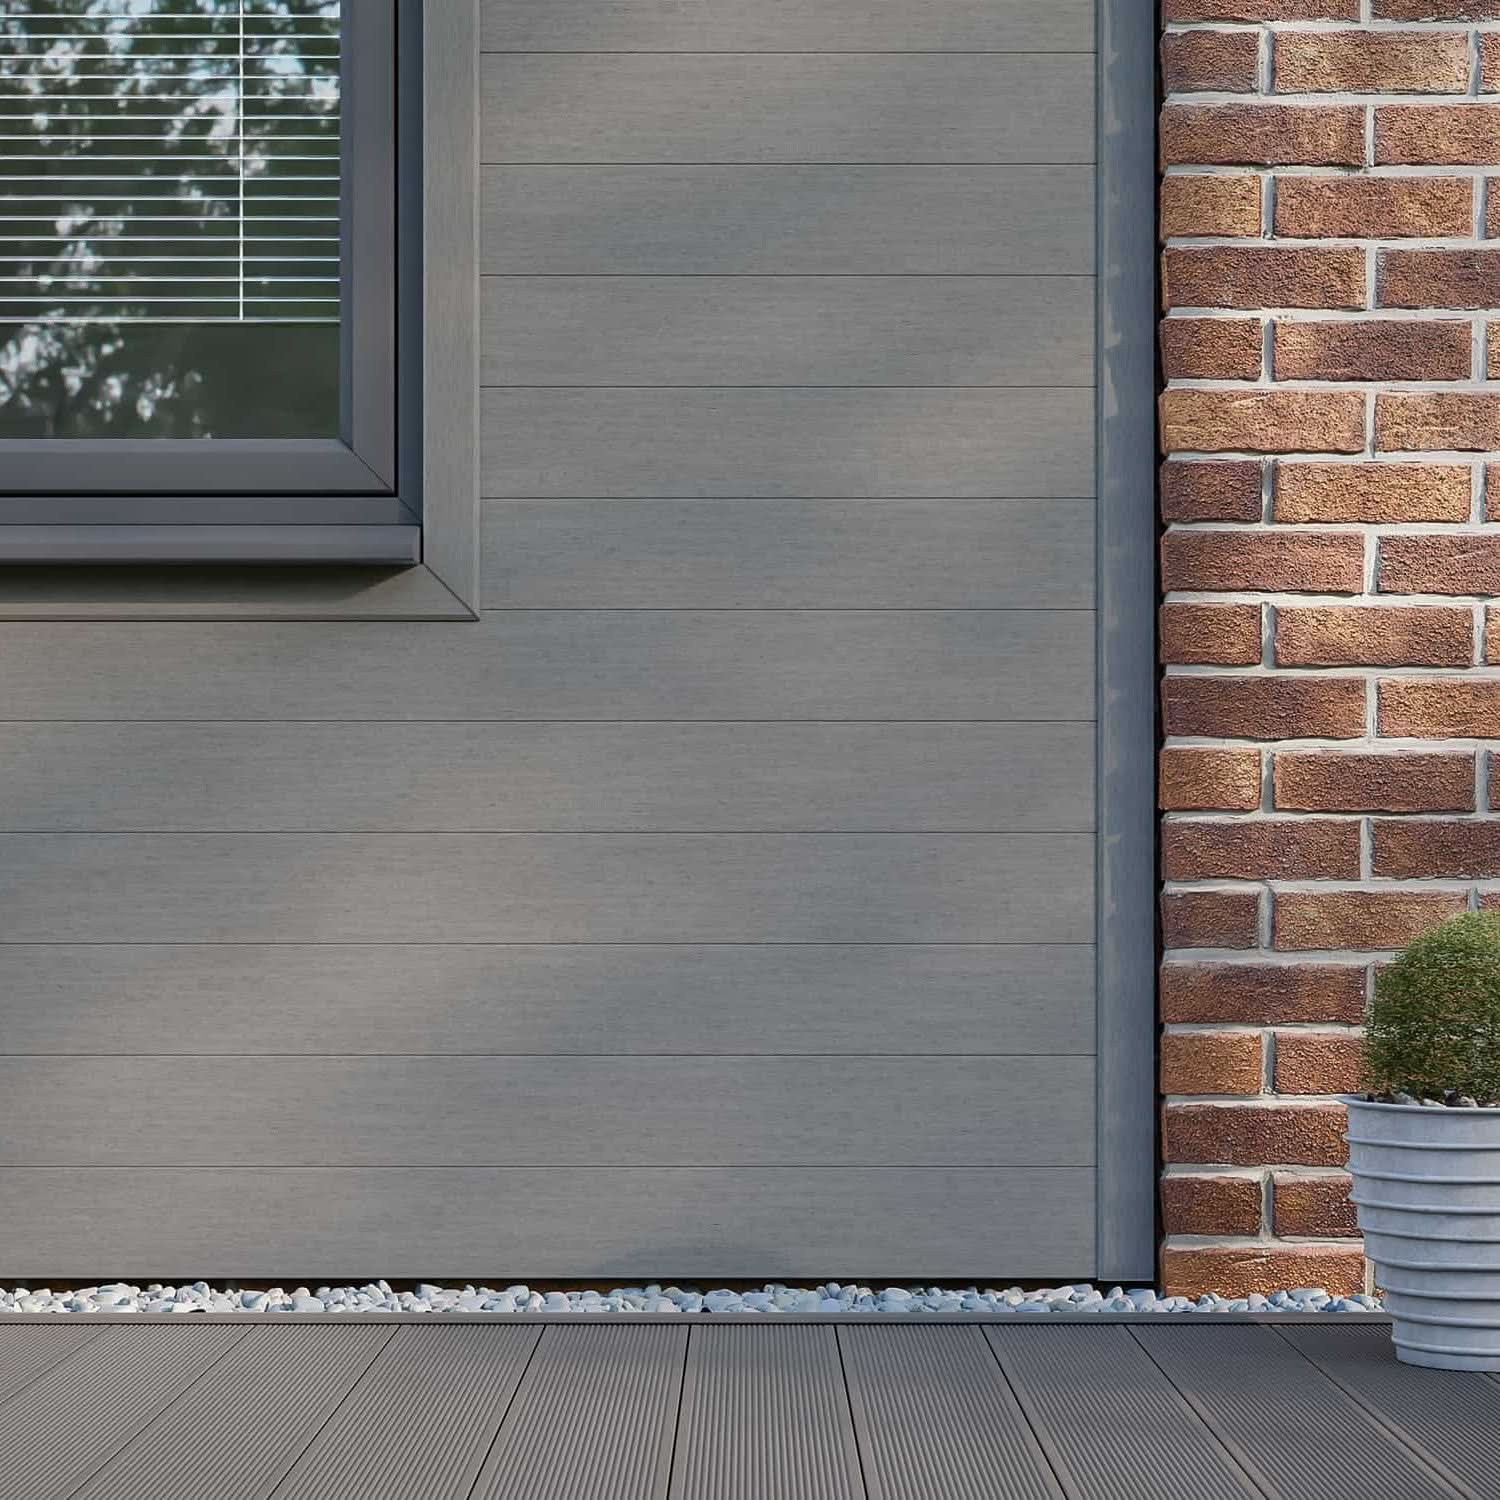
Choose the Right Trims, Fixings and Framework for Your Cladding
Composite cladding accessories are the trims, fixings and supporting components that help turn individual boards into a properly finished exterior. Your project may need subframe joists, starter clips, board screws, corner trims, end trims and colour-matched trim screws. The right combination depends on your cladding range, board layout and the details around your walls, windows and doors.
Choosing these components alongside your boards makes it easier to plan a consistent finish and a realistic budget. It also helps you avoid discovering a missing trim or an incompatible fixing halfway through installation. This guide explains what the main accessories do, how to select them and what to check before placing your order.
Explore the NeoTimber® composite cladding accessories collection as you build your project list.
Which Composite Cladding Accessories Do You Need?
Start with the wall as a complete installation. Boards provide the visible surface, but the framework, fixings and edge details each have a separate job. Not every project needs every accessory, and a trim intended for one board profile should not automatically be used with another.
| Accessory | Main purpose | Planning check |
|---|---|---|
| Subframe joists or suitable battens | Provide the supporting framework behind the boards | Wall condition, support layout and required cavity detail |
| Starter clips | Secure the first row of boards | Starting positions and the fixing pattern in the installation guide |
| Cladding board screws | Fix boards to the supporting framework | Specified screw type, support spacing and board arrangement |
| Corner trims | Finish junctions where clad surfaces meet | Corner type, board profile, colour and lengths needed |
| End trims | Finish exposed board ends and suitable opening details | Compatibility with the chosen cladding range |
| Skirting or fascia trims | Complete relevant perimeter details | Whether the selected system requires them at that location |
| Colour-matched trim screws | Secure compatible trims with a coordinated finish | Trim specification, screw colour and quantity |
The phrase “composite cladding accessories” describes components used with composite boards; it does not mean every component is made from composite material. Fixings may be stainless steel, while some finishing profiles are aluminium.
Start With the Cladding Subframe
A neat façade starts behind the boards. The supporting framework needs to suit the wall and the chosen installation method so that the finished surface can follow a consistent plane. Uneven or incorrectly positioned supports can make it harder to achieve straight board lines and tidy junctions.
The NeoTimber® composite cladding joist is an option for the cladding subframe and helps create a ventilated cavity behind the boards. Its suitability, support requirements and attachment to the building should be checked against the installation guidance and the project specification.
Plan the framework around openings, corners and board ends as well as uninterrupted wall areas. The board direction also affects the supporting arrangement. Do not assume that changing from horizontal to vertical cladding only changes the appearance: the support and ventilation details need to be considered together.
Before ordering, agree how the framework will be attached to the existing wall. The board screws used to secure cladding are a separate consideration from the anchors or fixings needed to connect the subframe to the building.
Understand Starter Clips, Board Screws and Trim Screws
Cladding fixings can look like a small part of the order, but selecting them correctly is essential. Starter clips, board screws and trim screws perform different roles and should be listed separately.
Starter clips establish the first row
The NeoTimber® starter clip fixing set secures the first row of boards to the supporting joists. Setting out this first row carefully helps establish the alignment of the boards above it.
Calculate the clips required from the installation layout rather than assuming that one pack suits every project. Separate wall sections and changes in the starting level may affect the total.
Board screws secure the cladding to its supports
NeoTimber® composite cladding screws are stainless steel Torx fixings used through the board’s grooved fixing channel into the supporting joist. This arrangement helps keep the principal fixings discreet within the installed board profile.

Follow the specified pre-drilling and fixing method. Fixing position and allowance for movement matter just as much as the appearance of the finished surface; over tightening or improvising with a different screw can undermine the intended installation detail.
Colour-matched screws finish compatible trims
NeoTimber® coloured composite cladding trim screws are intended for compatible corner and skirting trims. Their coloured heads help the visible fixings blend with the surrounding finish.
Keep these separate from your board screw allowance. A matching colour does not, by itself, make a screw suitable for every fixing position. Check the product instructions for the trim you are installing.
Choose Cladding Trims for Corners, Ends and Openings
Edges deserve attention early in the design. A large, simple wall may need relatively few finishing profiles, while a smaller wall with several windows and returns can require more cutting and a greater variety of trims.
Corner trims define the building’s outline
Corner trims finish the junction between clad surfaces and can give an extension or garden room a more deliberate outline. Identify each corner on your drawing and check the appropriate detail for its shape and position. Internal and external junctions should not be treated as interchangeable.
End trims finish exposed board edges
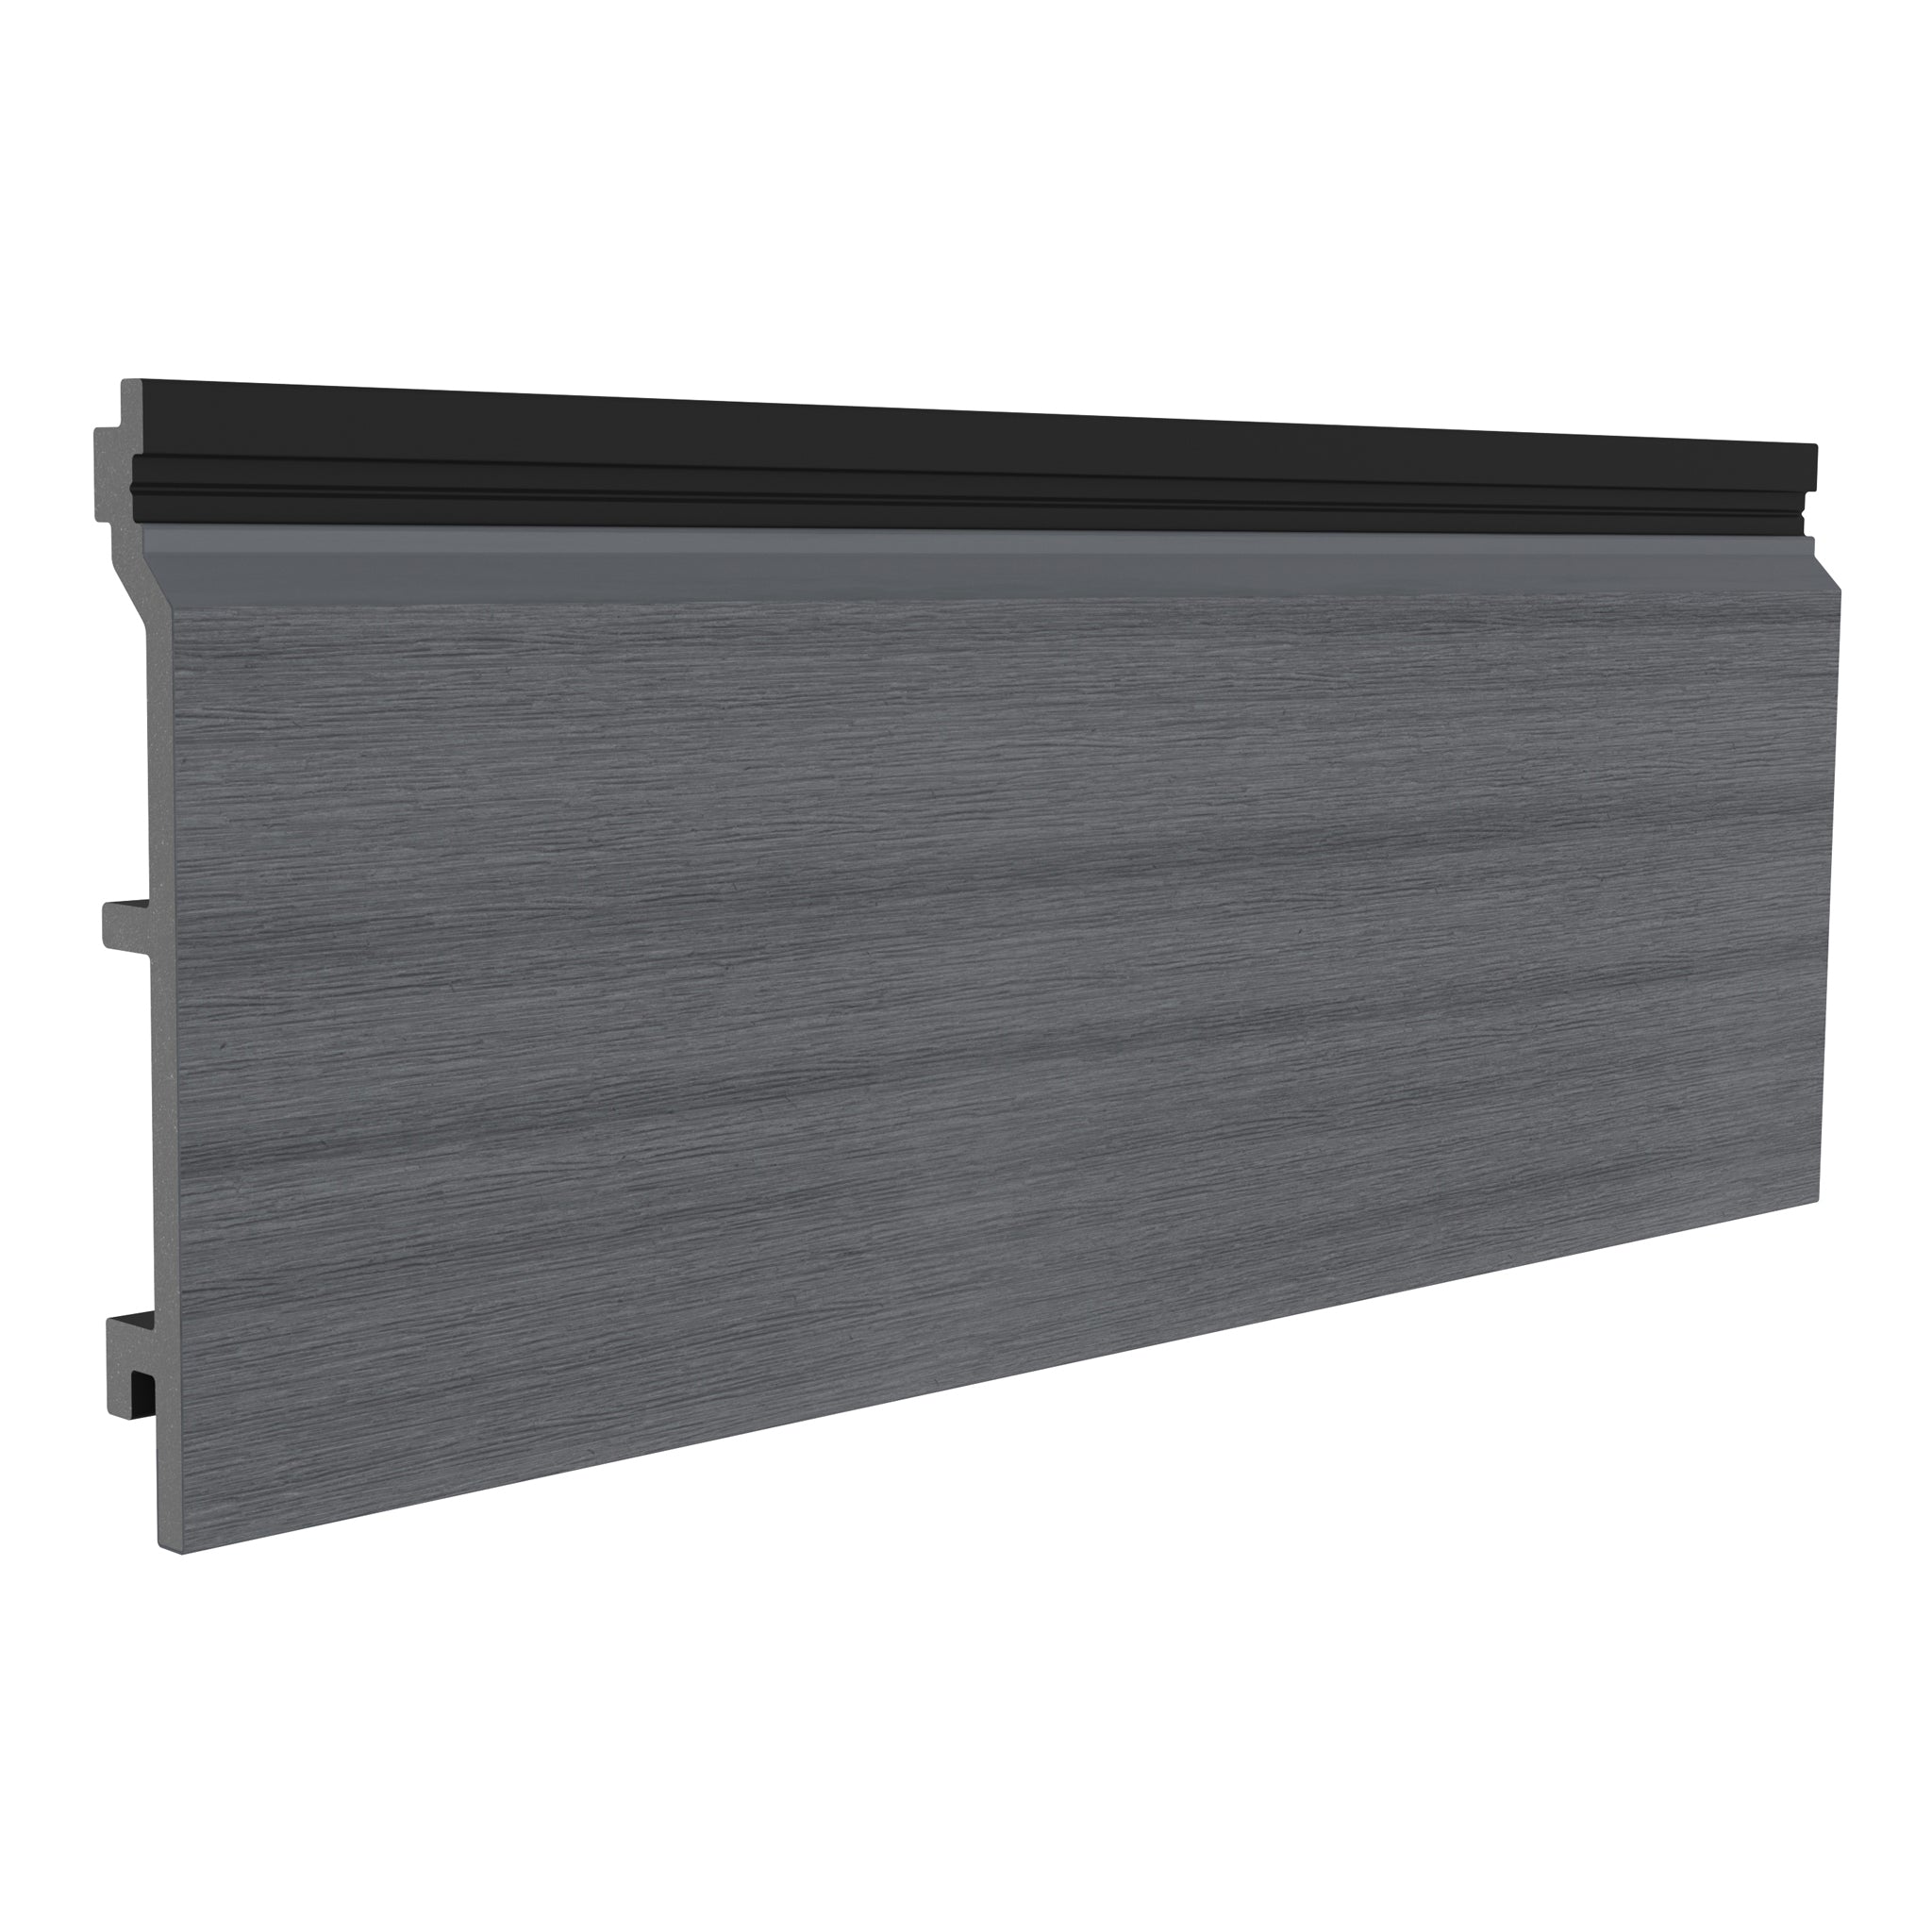
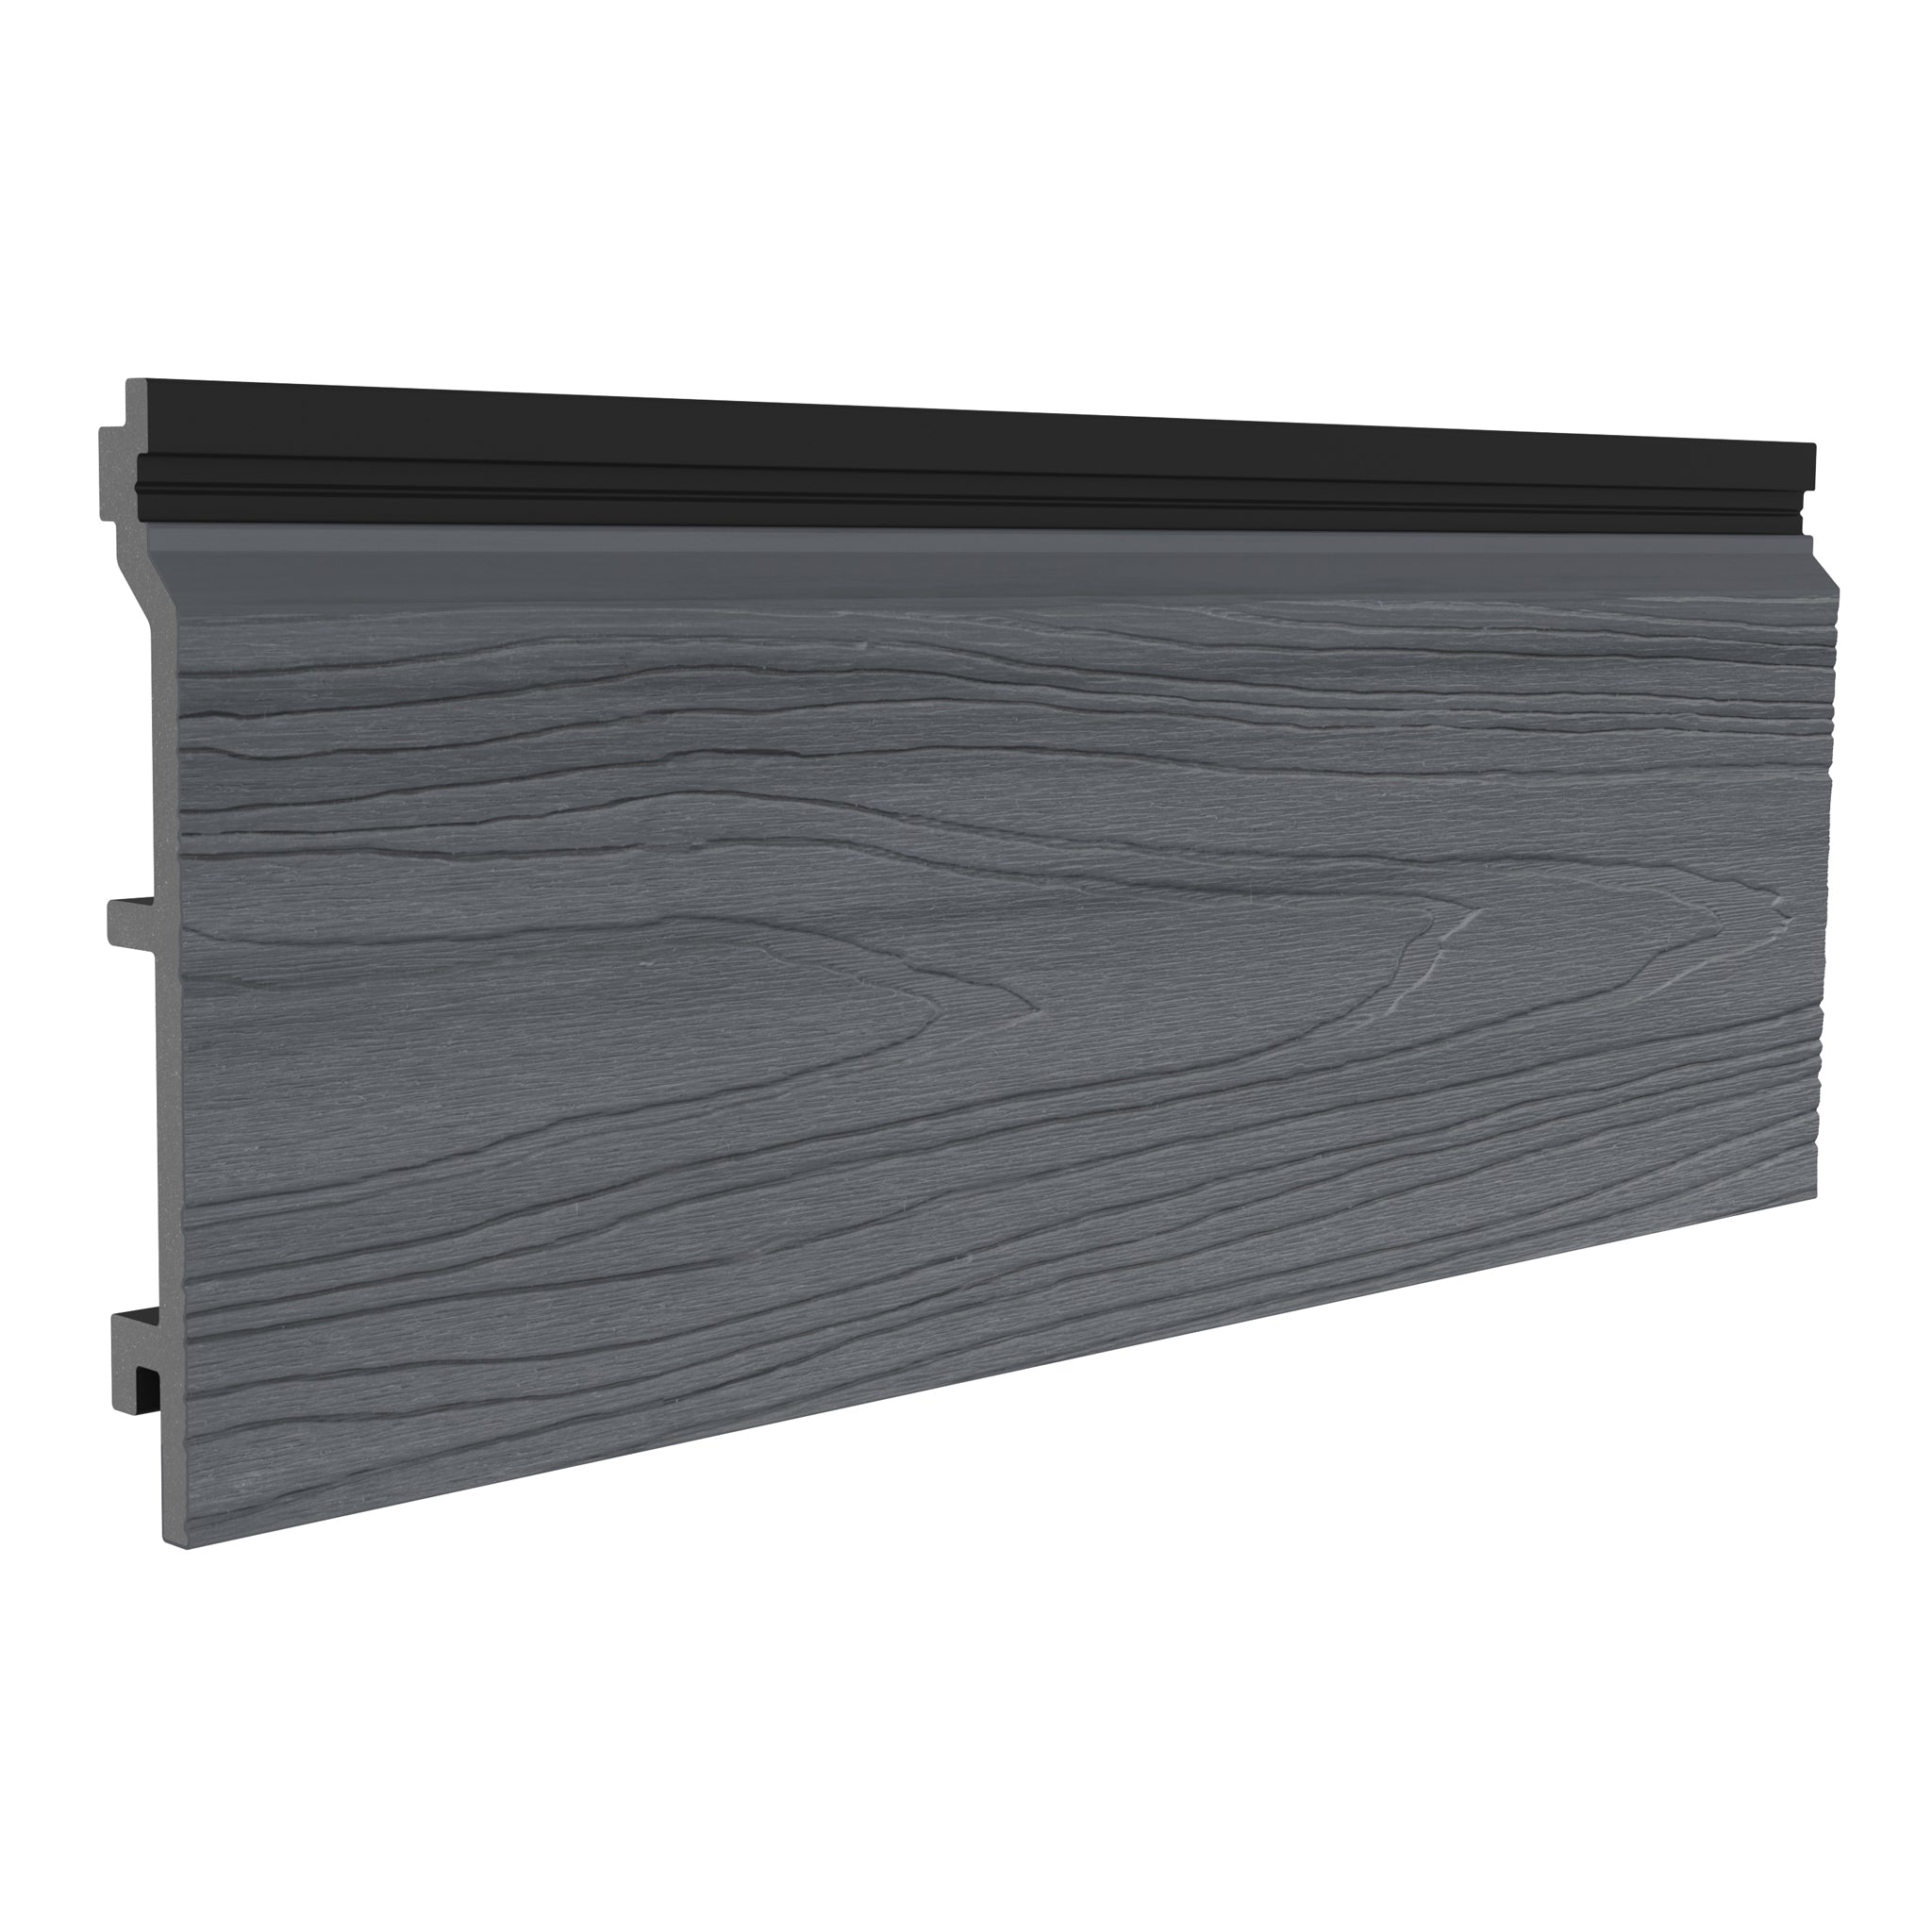
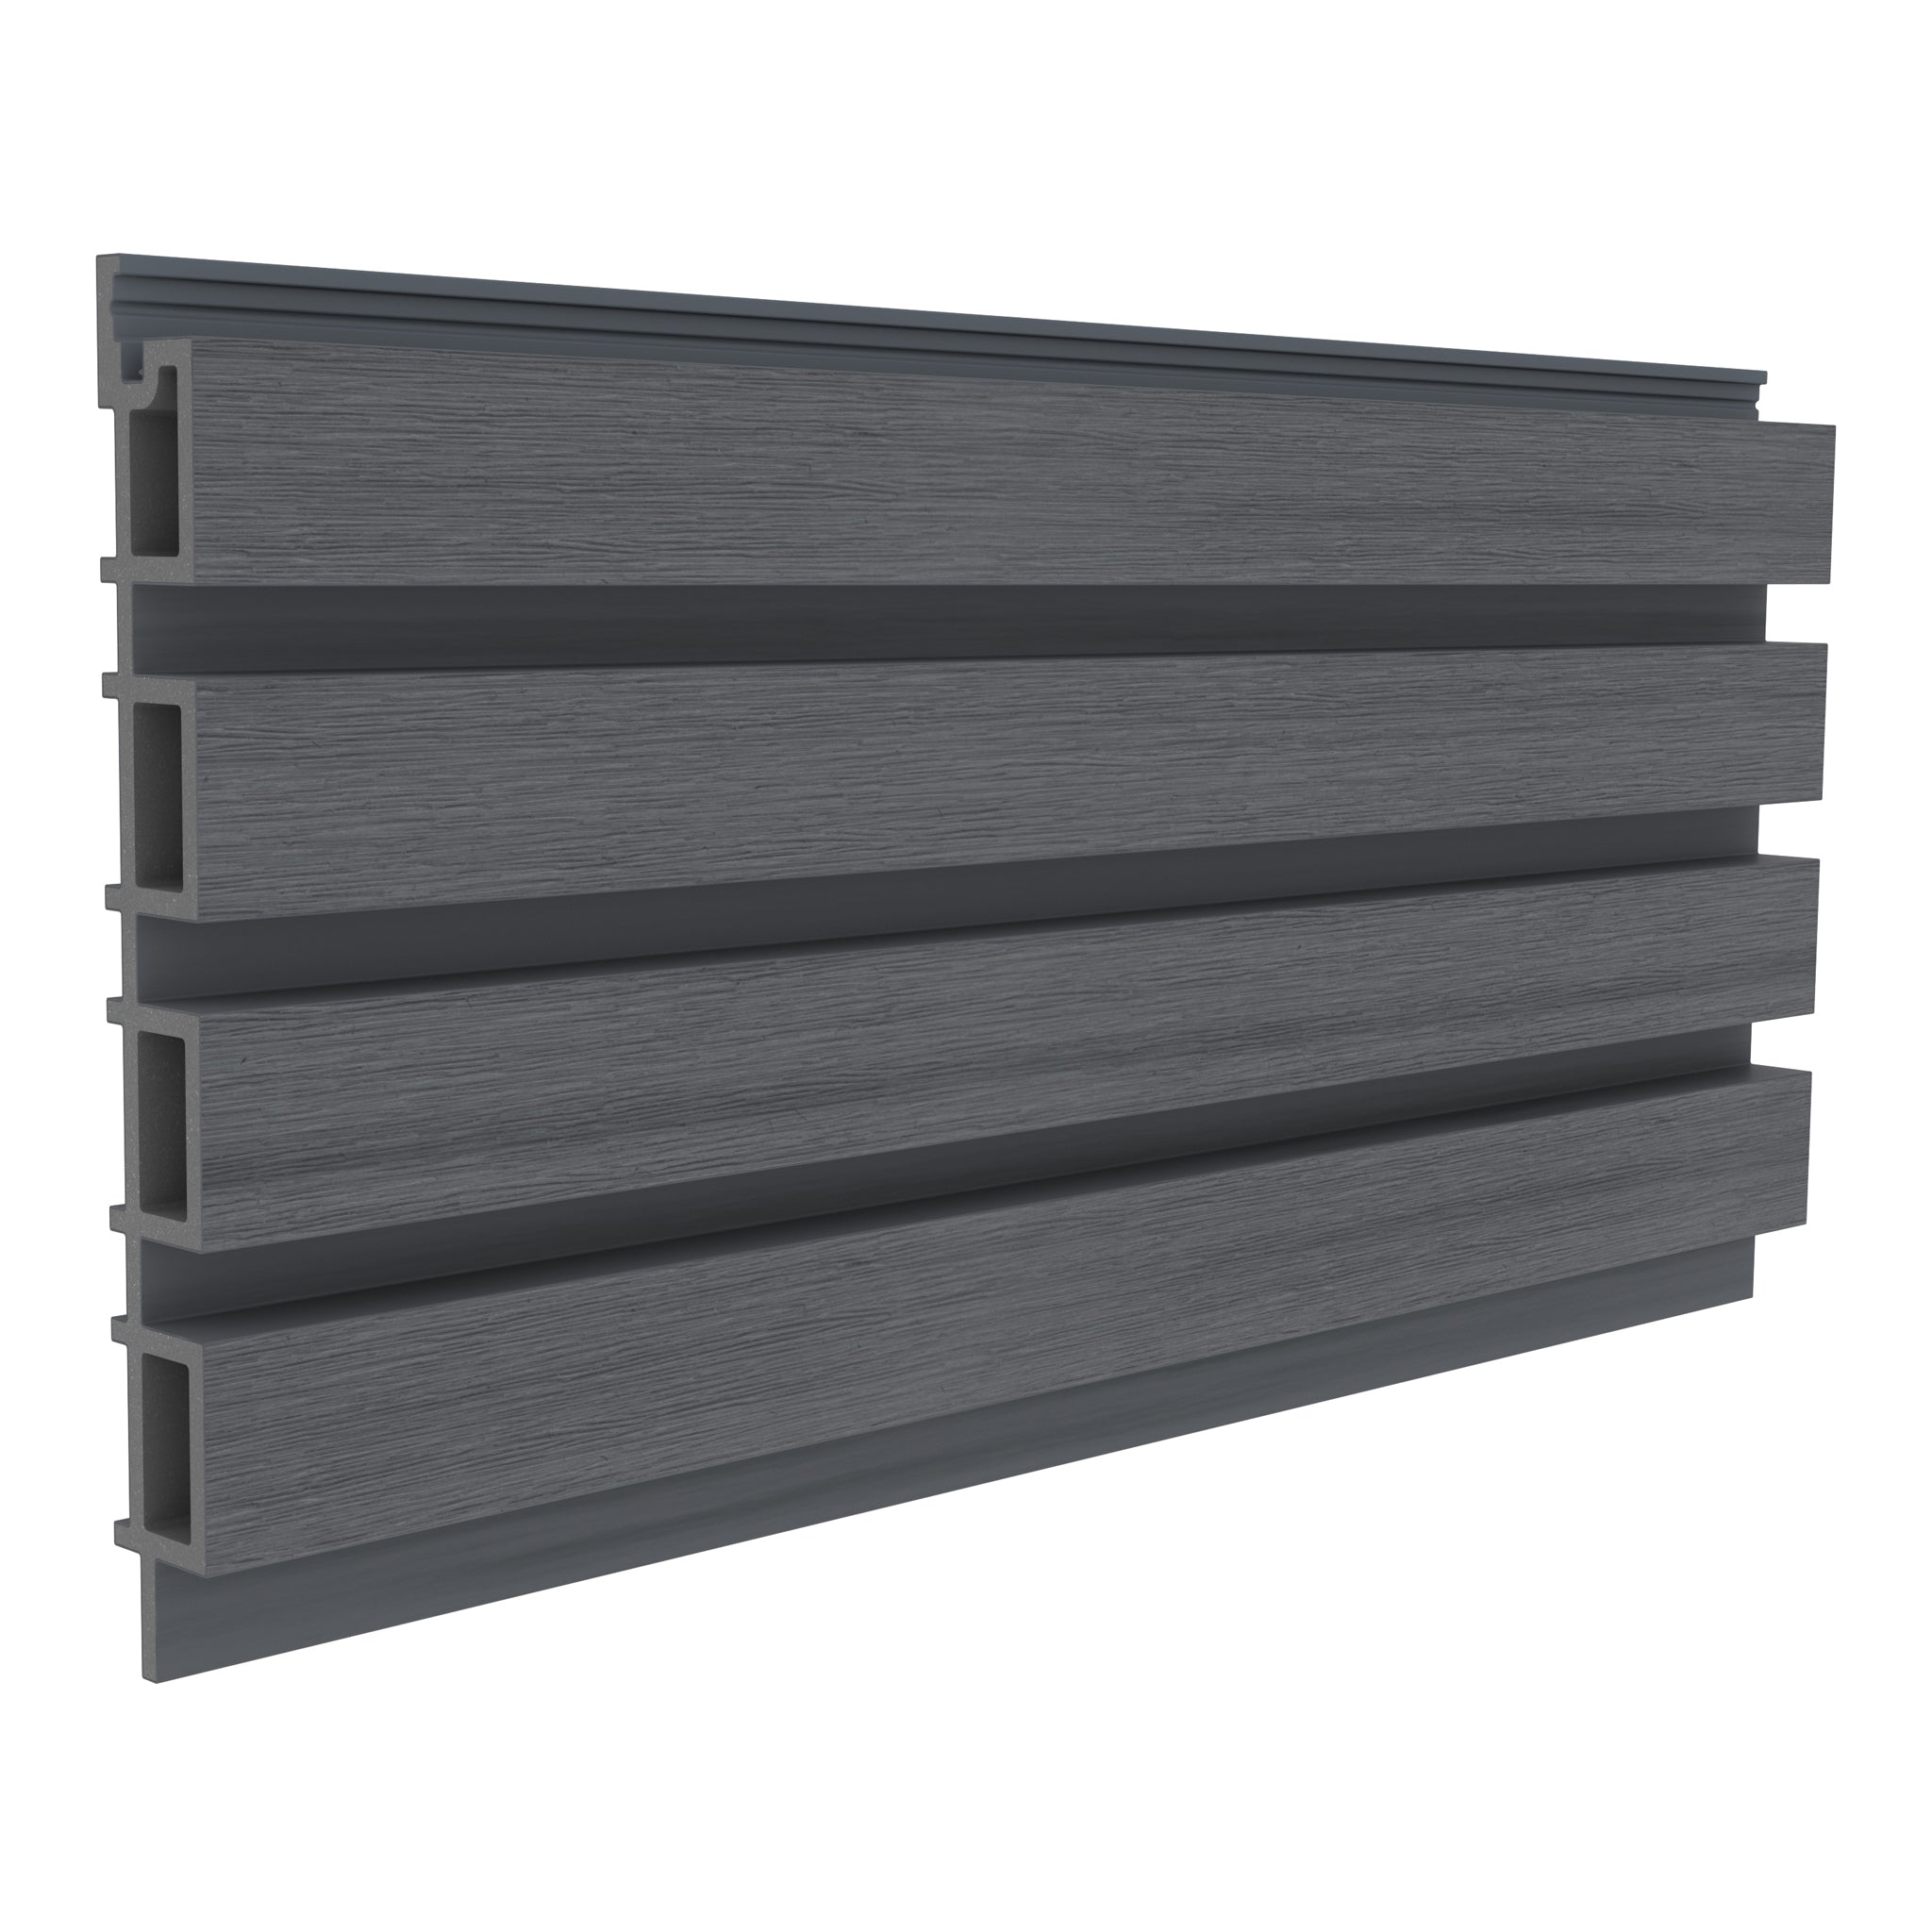
End trims can help create a tidy termination at selected doors, windows and recesses. For example, the NeoTimber® Classic and Deluxe end trim is a powder-coated aluminium profile designed for those two cladding ranges. Confirm a suitable profile separately if you are choosing Slatted boards.
Review how the trim meets window frames, sills and adjoining materials. A visually neat edge still needs the correct surrounding weathering detail; decorative trims alone should not be treated as a complete waterproofing solution.
Perimeter trims complete the design
Where specified, skirting or fascia trims can finish perimeter areas. Choose them according to the detail required by your cladding system, rather than using a single profile to cover every exposed edge. Our guide to composite cladding edging provides further inspiration for planning these finishing touches.

How to Calculate Your Accessory Order
Wall area is useful for estimating boards, but it is not enough to calculate every accessory. Trim quantities depend on linear measurements, while fixing quantities depend on the support layout and installation method.
- Draw each wall elevation. Mark its dimensions, openings, corners, board direction and changes in level.
- Label the finishing details. Identify the appropriate trim for every exposed edge and junction.
- Measure each trim run. Group measurements by profile and colour, then plan how those runs can be cut from the available lengths.
- Set out the framework. Use the installation guidance to identify support positions and additional support around relevant details.
- Calculate each fixing type separately. Include starter clips, board screws, trim screws and the specified subframe-to-wall fixings.
- Allow for the actual cutting plan. Account for unusable offcuts and awkward details before rounding up to full lengths or packs.
For example, two walls with the same surface area may need very different accessory orders if one includes a doorway and two windows. Treat a board-area estimate as a starting point, then check the detail schedule with your installer.
The NeoTimber® cladding calculator can help you begin planning. Keep your measured drawings alongside the estimate so that corners, openings and individual finishing requirements are considered before purchase.
Avoid These Common Accessory Planning Mistakes
- Choosing trims after buying the boards. Check compatible profiles and colours while selecting the cladding range.
- Ordering every component by square metre. Separate board area, trim lengths and fixing quantities.
- Confusing trim screws with board screws. Match each fixing to its stated purpose.
- Assuming every trim fits every range. Confirm compatibility with the exact board profile.
- Covering every gap for appearance. Preserve the ventilation, drainage and movement allowances required by the installation detail.
- Leaving installation order to chance. Some profiles need to be positioned before the adjoining boards; check the sequence before fixing begins.
Read the NeoTimber® composite cladding installation guidance before work starts. Use it to confirm support spacing, clearances, fixing methods and finishing details for your selected range.
Caring for Cladding Boards and Accessories
A low-maintenance exterior still benefits from routine attention. Follow the relevant cleaning instructions for your boards and trim materials, remove accumulated dirt and keep required ventilation openings clear of debris.
Occasionally check visible junctions and fixings, particularly around corners and openings. If a trim becomes loose or damaged, identify the cause and the correct replacement component rather than simply adding an unsuitable fixing. Accessories help complete the installation, but they do not prevent all weathering or remove the need for periodic inspection.
Composite Cladding Accessories: Frequently Asked Questions
Can I use generic screws for composite cladding?
Use the fixing specification recommended for your chosen system. Screw material, dimensions and head design affect suitability, so an apparently similar screw should not be assumed to be an equivalent replacement.
Do all composite cladding ranges use the same trims?
No. Trim compatibility depends on the board profile and the intended junction. Check the relevant product listing and installation detail before ordering, especially when comparing Classic, Deluxe and Slatted boards.
Are composite cladding accessories included with the boards?
Check exactly what your selected product or bundle includes. Build a separate accessory checklist so that starter clips, screws, framework and finishing profiles are accounted for, whether supplied together or purchased individually.
Do cladding trims make the wall waterproof?
Trims finish edges and junctions, but they do not replace the wall’s specified weather protection, drainage or ventilation details. Review the complete wall assembly with your installer when planning the project.
Should I order accessories at the same time as the boards?
Planning them together helps confirm compatibility, colours and the full material cost before installation. Finalise measurements and the installation details first, then check the complete order against your project list.
Plan Your NeoTimber® Cladding Finish
The most convincing cladding projects are considered at every junction: where the first board starts, where two walls meet and where the cladding ends beside a window. Choosing the right accessories gives those details the attention they deserve.
Browse our composite cladding boards and accessories, order NeoTimber® cladding samples to compare board finishes, or contact the NeoTimber® team with your wall measurements and chosen range for help identifying suitable components.