


Install Your Composite Louvre Battens From the First Clip to the Final Run
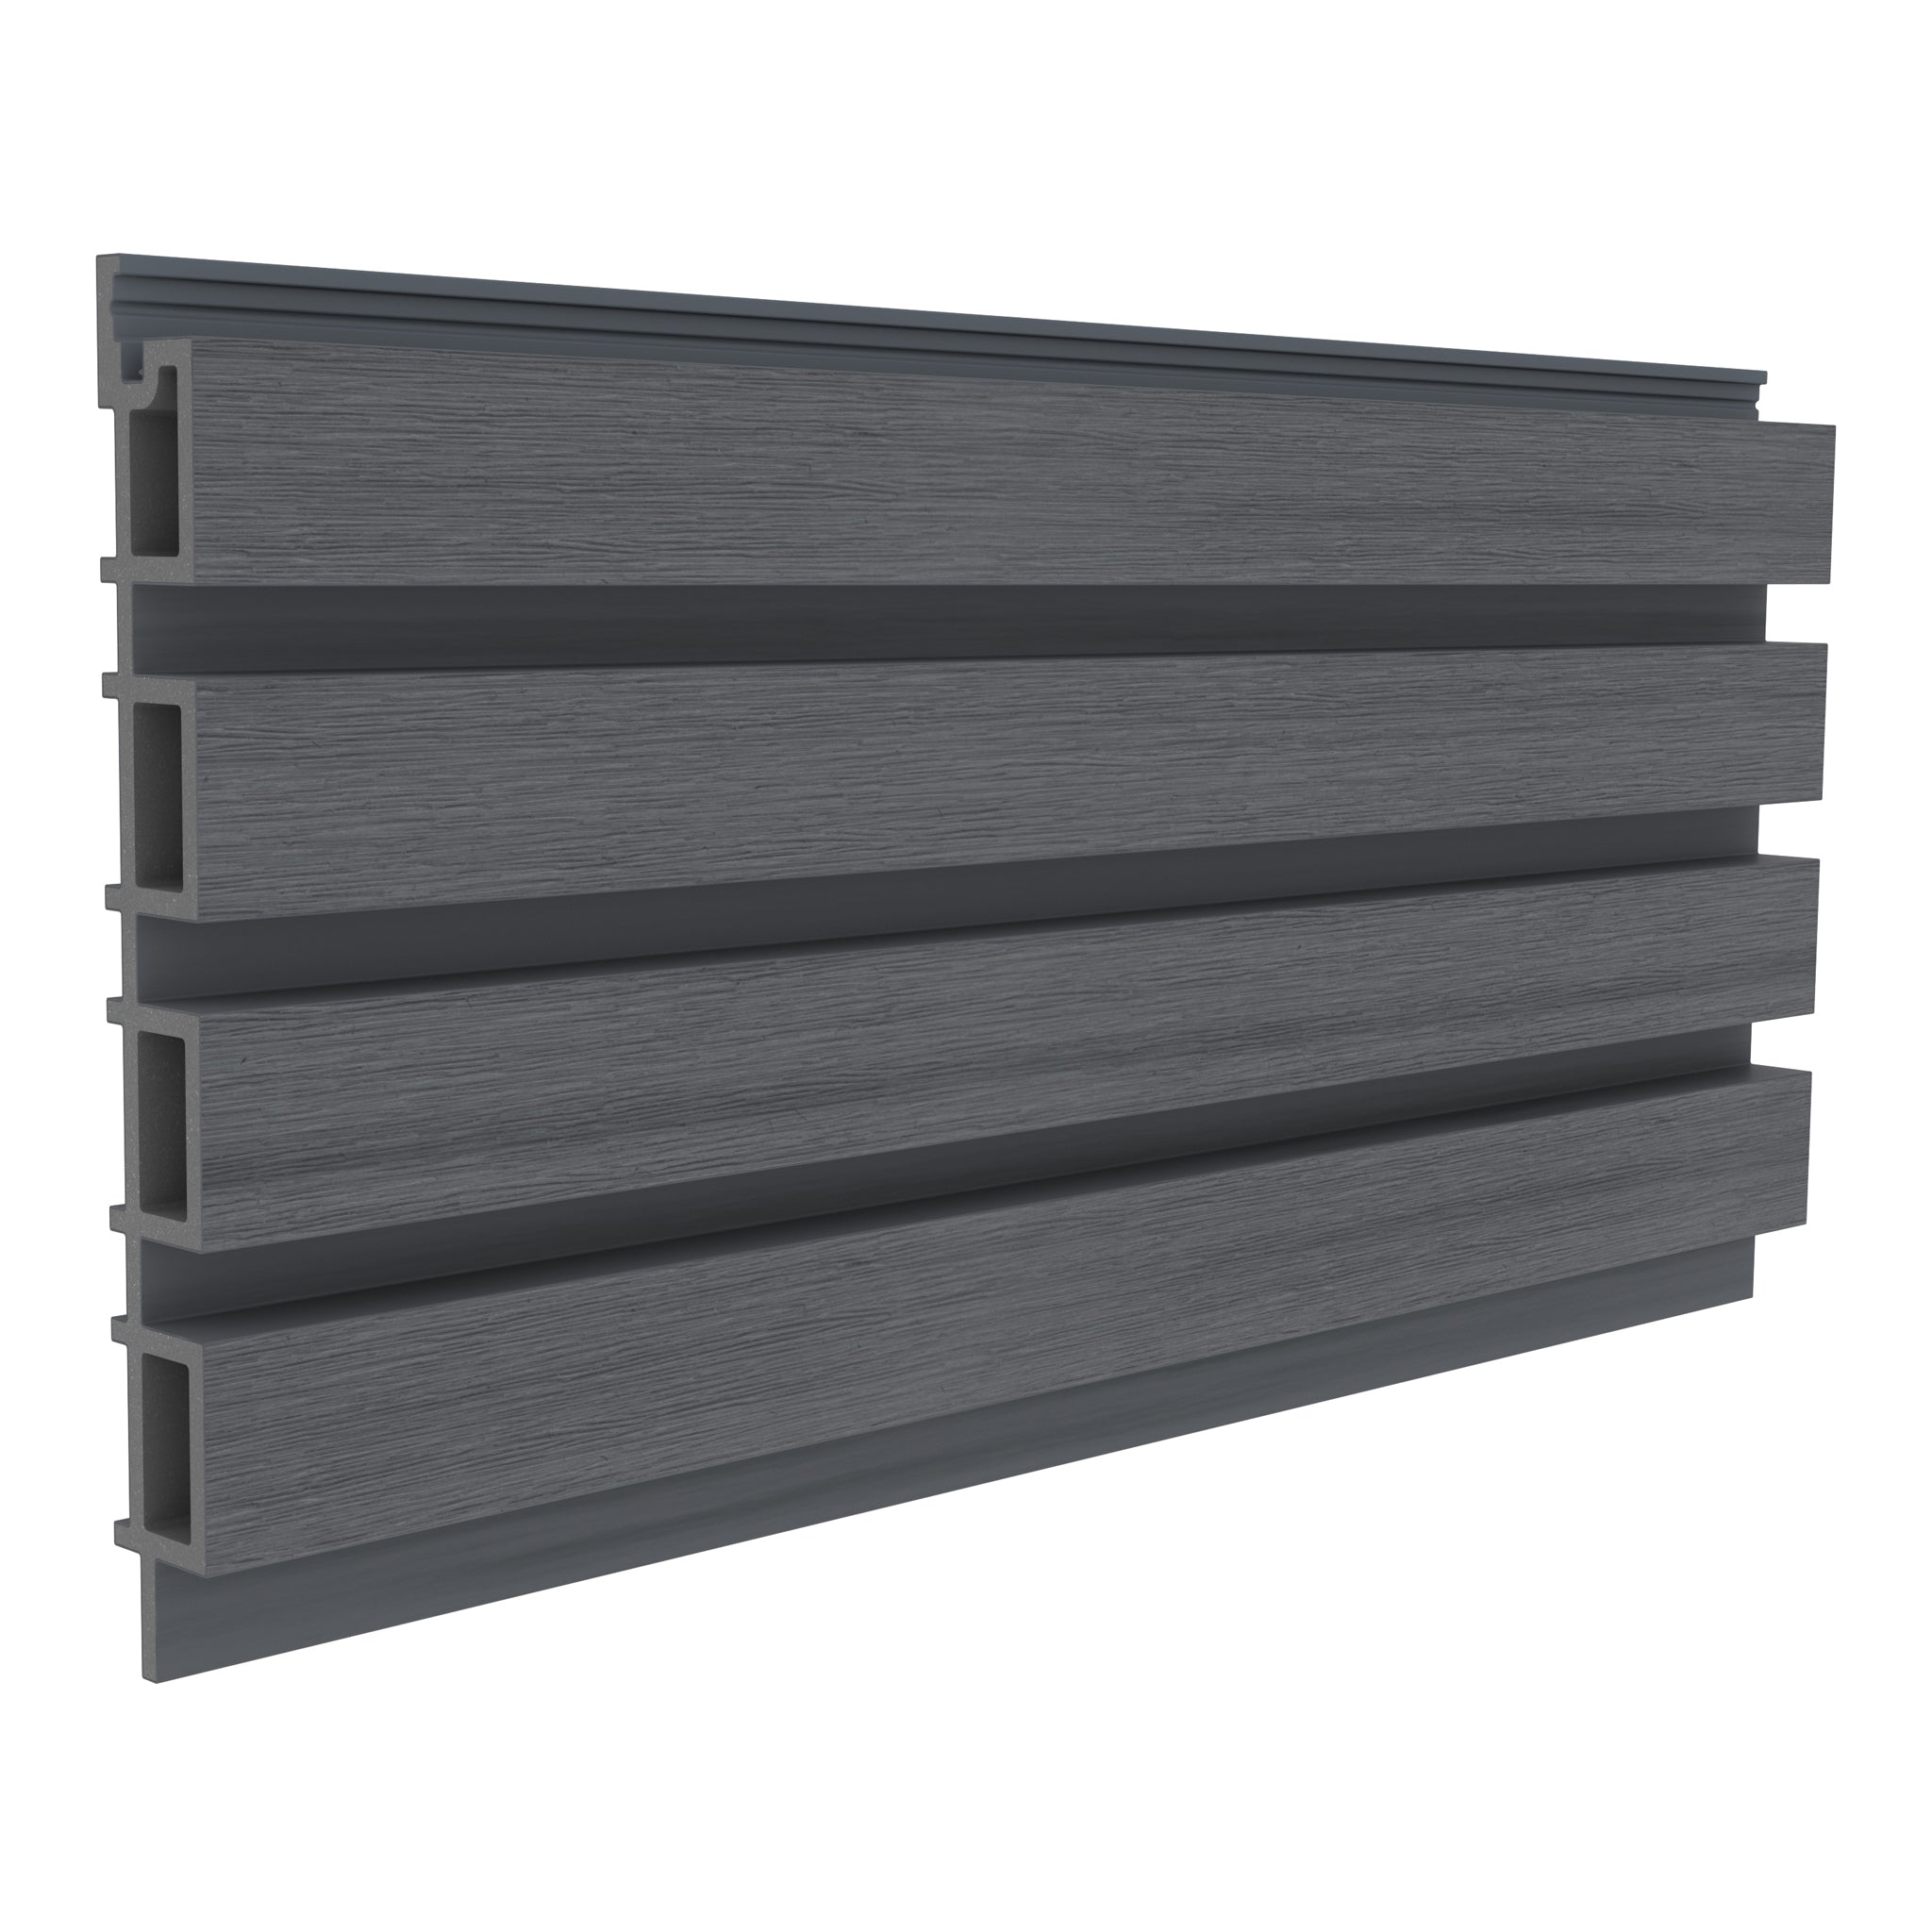
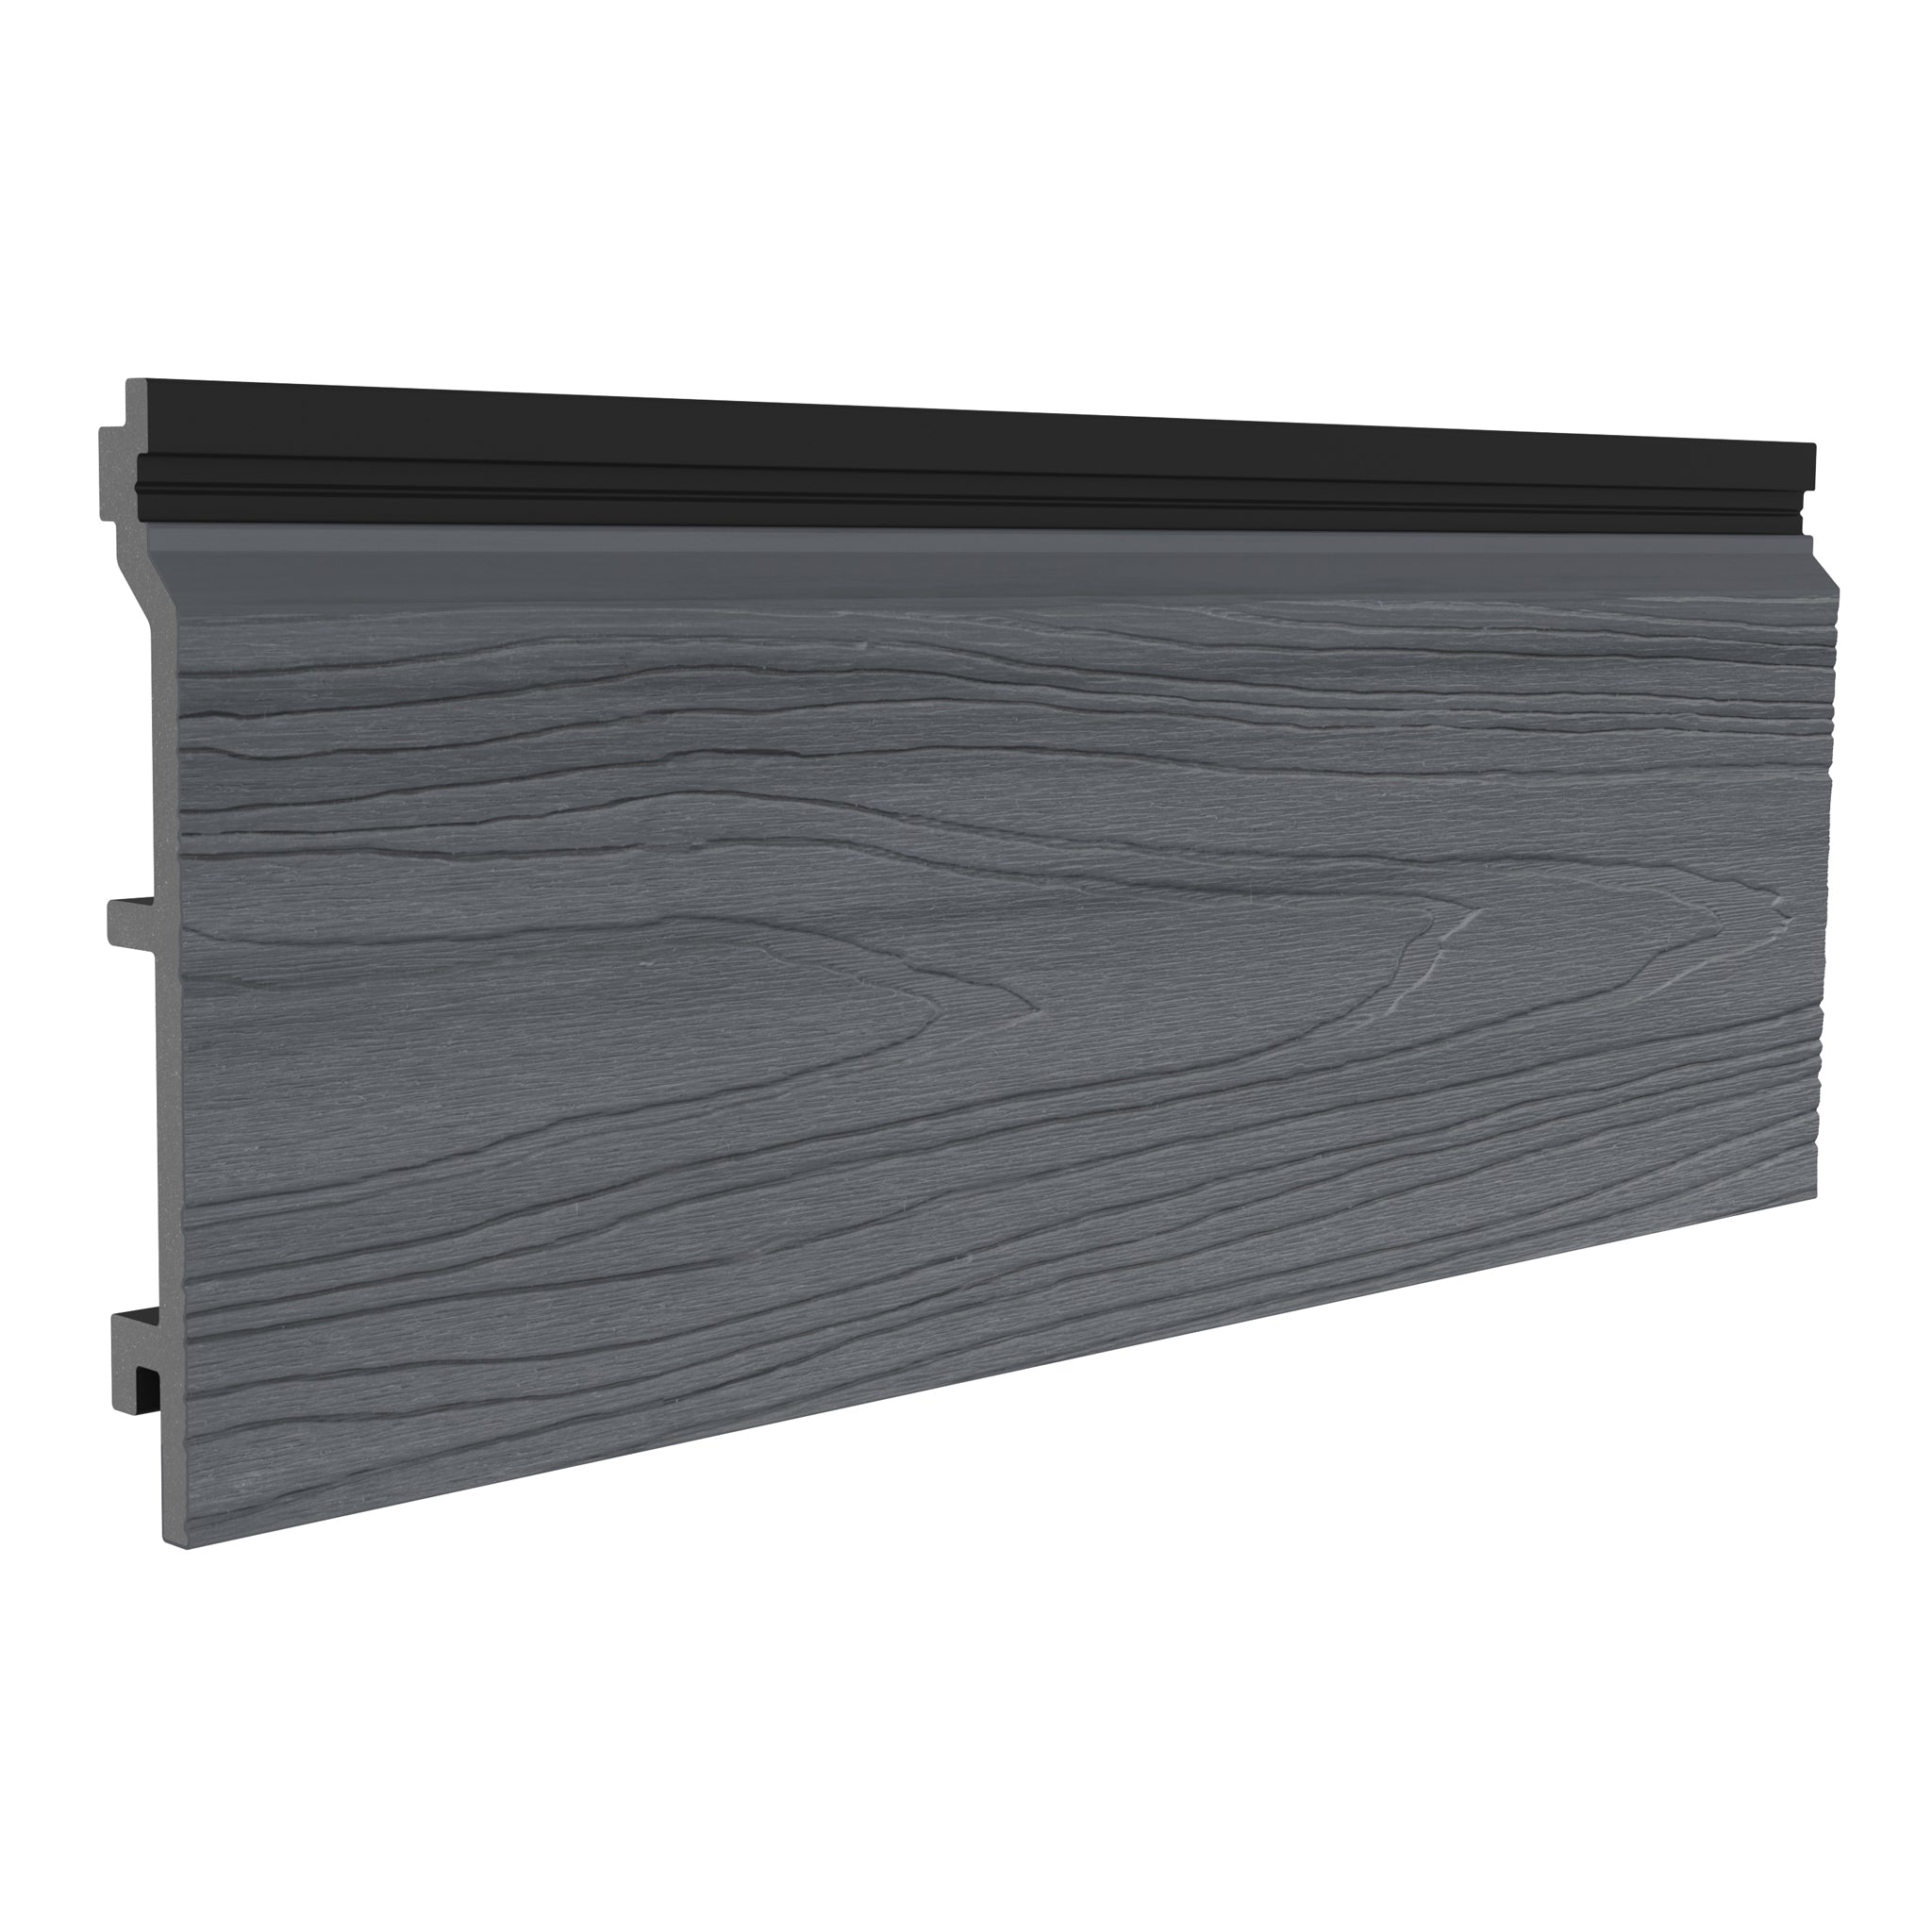
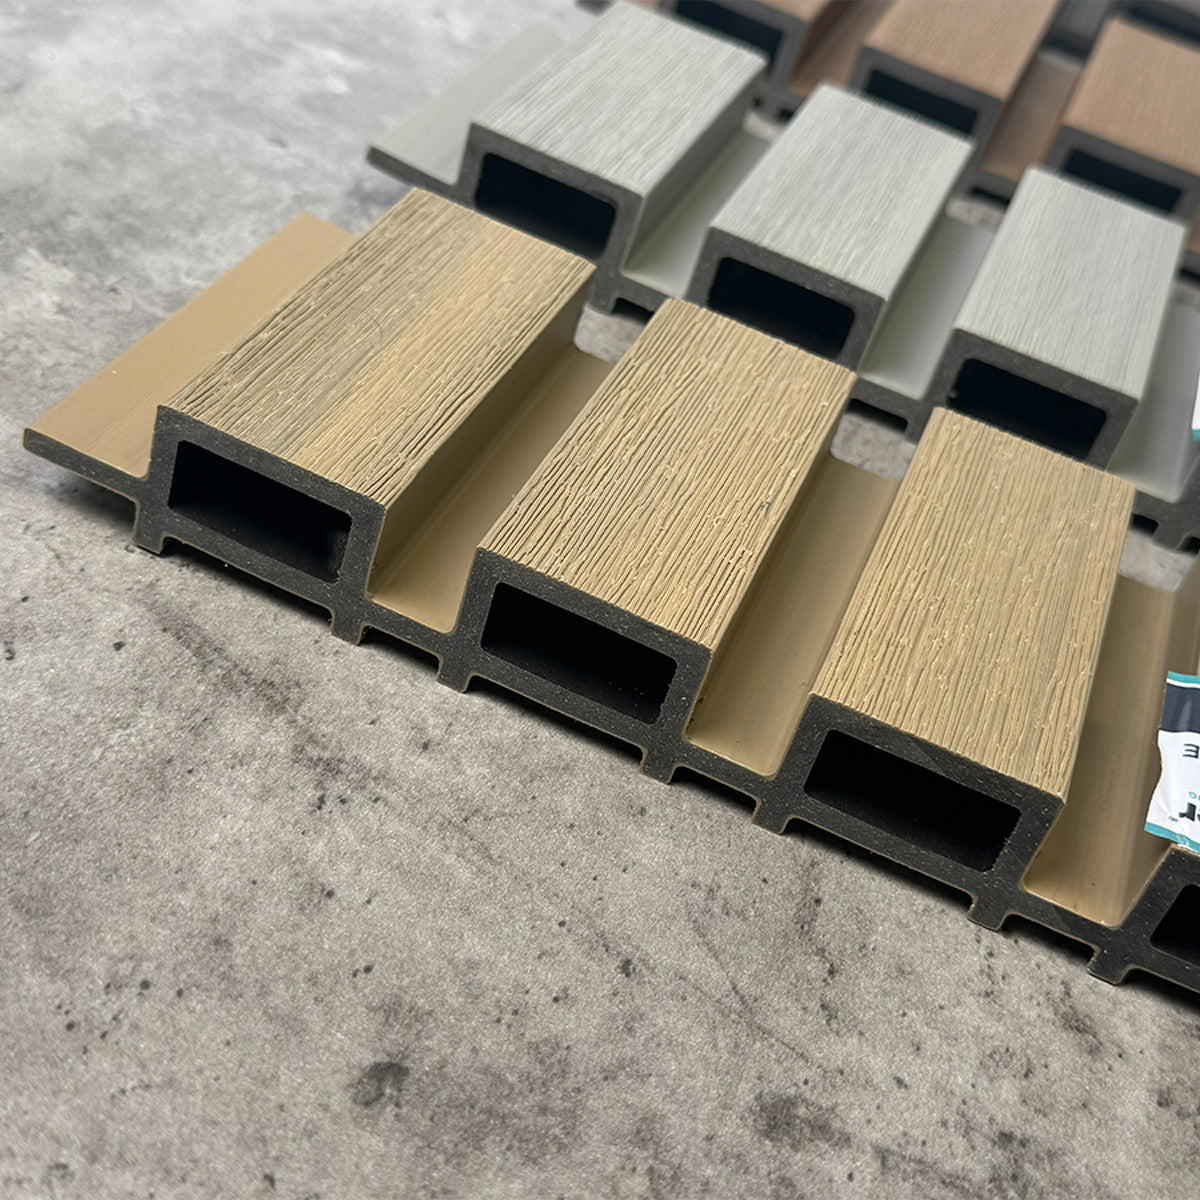
Once your supporting framework is prepared and your concealed fixing clips are correctly positioned, you can begin installing your NeoTimber® composite louvre battens. Designed for both cladding and fencing applications, the system uses concealed fixing clips and colour-matched screws to secure each batten to the supporting framework, creating a neat and consistent finish without visible fixings across the main batten face.
Whether you're installing composite louvre cladding or fencing, the installation process follows the same basic fixing method. This guide covers how to attach your battens, position the fixing screws and maintain consistent spacing throughout your installation, including the differences between vertical and horizontal batten runs.
Before You Begin Installing Composite Louvre Battens
Before fitting your first batten, check that your supporting framework is securely in place and that all concealed fixing clips are correctly positioned. Confirm that the clips are level, properly aligned and spaced at the recommended intervals along each framing member.
Make sure you have selected the correct fixing clips for your batten profile. NeoTimber® 50mm and 100mm composite louvre battens use the standard concealed fixing clip, while the wider 150mm profile requires the larger clip.
It is also important to pre-drill all batten fixing points before installation. Do not drive screws directly into the composite material without pre-drilling. Have your colour-matched stainless steel screws, drill and appropriate PPE ready before starting.
Understanding The Concealed Louvre Batten Fixing System
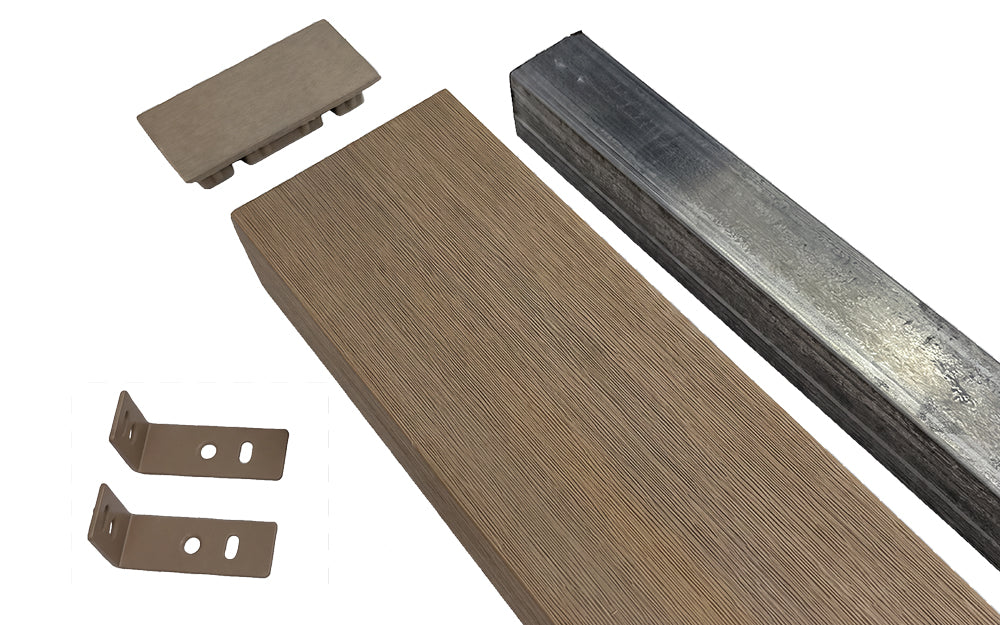
NeoTimber® composite louvre battens are secured using a concealed fixing clip with two sets of fixing holes, each serving a different purpose.
- Round fixing holes: Used to secure the concealed clip to the face of the supporting framework, such as a wall batten, fence rail or structural member.
- Slotted fixing holes: Used to secure the composite batten to the clip. The slots allow slight movement as the composite material expands and contracts with temperature changes.
NeoTimber® concealed fixing clips are secured using colour-matched stainless steel self-drilling screws measuring 3mm x 35mm, with a T15 head. The same concealed fixing system is used for both vertical and horizontal batten installations, although the clip orientation differs for vertical runs.
Step 1: Position And Secure Your Concealed Fixing Clips
Begin by marking the fixing positions along your supporting framework, identifying where each concealed clip will be attached. This may include wall battens, fence rails or other structural members forming part of your framework.
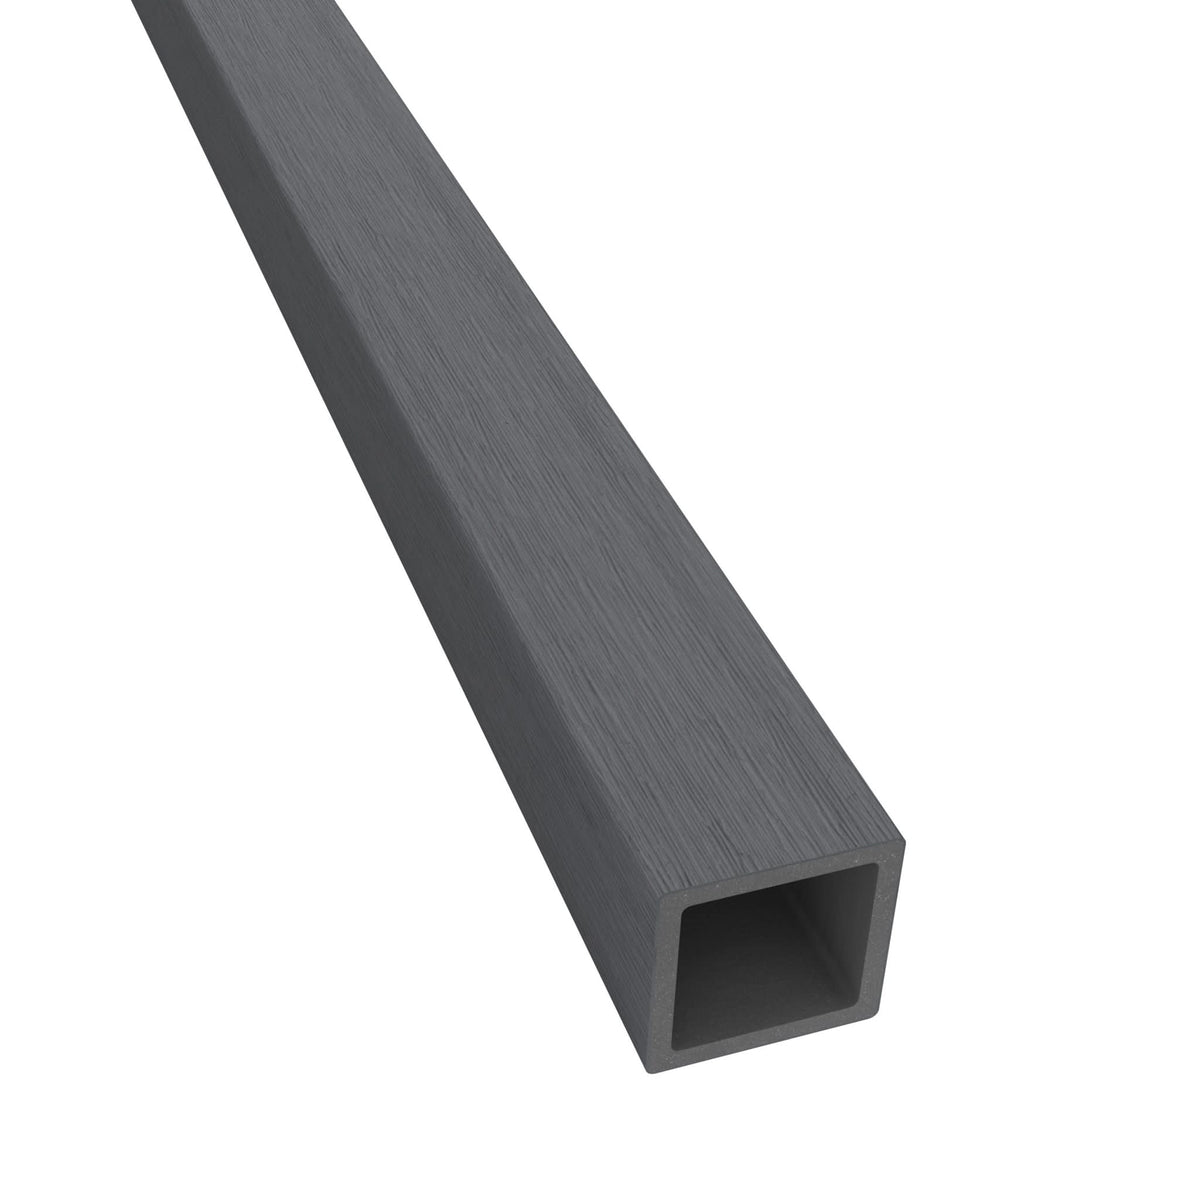
Using the round fixing holes in each NeoTimber® concealed clip, secure the clips to the face of the relevant framing members with the supplied colour-matched screws. Position clips at approximately 400–600mm centres along the batten run.
Before proceeding, check that all clips are level, correctly aligned and securely fixed to the supporting framework. This will ensure your battens can be positioned accurately during the next stage of installation.

Step 2: Position And Secure Your Composite Louvre Batten
Begin at your planned starting point, working across the supporting framework and following the installation layout established during preparation. Offer the first composite louvre batten up to the framework, aligning it with the installed concealed fixing clips. Check that the batten is sitting straight and that the pre-drilled fixing points align with the slotted holes in each clip.
Once correctly positioned, secure the batten using the supplied colour-matched stainless steel screws. Drive a screw through the slotted fixing hole in each clip and into the pre-drilled batten fixing point, ensuring each screw is correctly seated.
The slotted holes allow the composite batten to move slightly as temperatures change, accommodating natural expansion and contraction without placing unnecessary stress on the installation.

Step 3: Continue Installing Subsequent Louvre Battens
Once your first composite louvre batten is securely installed, continue fitting the remaining battens across your supporting framework.
Position each subsequent batten in line with your planned layout, maintaining a consistent gap between profiles. Secure each batten using the same concealed clip and colour-matched screw fixing method, ensuring every fixing point is correctly aligned with its corresponding clip.
Work progressively across the installation, checking the spacing and alignment of your battens every few rows. Taking time to check each section as you go will help prevent spacing inconsistencies from carrying through the remainder of the installation.
Maintain the recommended clip spacing of approximately 400–600mm along each batten run. This spacing should be coordinated with the supporting framework and the requirements of your chosen batten profile.

Step 4: Installing Vertical Composite Louvre Battens
When installing NeoTimber® composite louvre battens vertically, the concealed fixing clips require a slightly different orientation to accommodate the direction of the batten.
Rotate each concealed fixing clip 90 degrees on the supporting framework so that the slotted fixing hole aligns horizontally. This positioning allows the vertical batten to expand and contract along its length without restriction.
Once the clips have been correctly rotated, the remaining installation process is the same as for horizontal batten runs. Position the batten against the clips, align the pre-drilled fixing points and secure using the supplied colour-matched screws.
Continue fitting the remaining vertical battens, regularly checking that each profile is straight, evenly spaced and aligned with the surrounding installation.
Step 5: Check Batten Alignment And Spacing
As you progress with your composite louvre batten installation, regularly check the overall appearance and positioning of the battens. Consistent spacing and alignment are essential for achieving a clean, uniform finish across both cladding and fencing applications.
Pay particular attention to the following:
- Alignment: Check that each batten is straight and correctly positioned against the supporting framework.
- Spacing: Maintain consistent gaps between adjacent battens throughout the installation.
- Fixings: Check that all concealed clips are securely attached and that screws are correctly seated in the slotted fixing holes.
- Movement: Ensure the slotted fixing arrangement has not been obstructed or compromised during installation.
Continue working row by row until the full batten run is complete. Making regular checks throughout the process will help maintain a consistent appearance and reduce the need for adjustments once the installation is finished.
Final Checks After Louvre Batten Installation
Once all composite louvre battens have been installed, carry out a final inspection of the completed run. Check that each batten is securely fixed, the concealed clips are correctly positioned and the spacing remains consistent across the installation.
Inspect the overall alignment from different viewing angles, looking for any uneven gaps, misaligned profiles or loose fixings that may need attention before moving on to the finishing stage.
With the main batten installation complete, you can move on to the final details, including closing exposed hollow profile ends with colour-matched composite end caps and considering optional galvanised steel insert reinforcement where additional support is required.
Composite Louvre Batten Installation: Frequently Asked Questions
Can NeoTimber® composite louvre battens be installed vertically and horizontally?
Yes. NeoTimber® composite louvre battens can be installed in either direction using the same concealed fixing system. For vertical installations, rotate the fixing clips 90 degrees so that the slotted fixing hole aligns horizontally, allowing the batten to expand and contract along its length.
How far apart should composite louvre batten fixing clips be positioned?
NeoTimber® concealed fixing clips should be positioned approximately 400–600mm apart along the batten run. Ensure the supporting framework is suitable for the chosen spacing and application.
Do composite louvre battens need to be pre-drilled?
Yes. All batten fixing points must be pre-drilled before screws are installed. Do not drive screws directly into the composite material without pre-drilling.
Which concealed fixing clip should I use for my louvre battens?
The 50mm and 100mm composite louvre batten profiles use the standard concealed fixing clip, while the wider 150mm profile requires the larger concealed fixing clip.
Why do concealed fixing clips have slotted holes?
The slotted holes allow the composite battens to move slightly as they expand and contract with temperature changes. This helps accommodate natural material movement while keeping the battens securely fixed to the supporting framework.
Move On To The Final Stage Of Your Composite Louvre Installation
With your NeoTimber® composite louvre battens securely installed, the main fitting stage of your project is complete. Before considering the installation finished, the exposed hollow profile ends will need to be closed using colour-matched end caps, with optional galvanised steel inserts available where additional rigidity and greater support spans are required.
Continue to Stage 4: Finishing & Reinforcement for guidance on installing composite end caps and fitting optional galvanised steel inserts to complete your louvre batten installation.