


Finish Your Composite Louvre Batten Installation With The Right Details
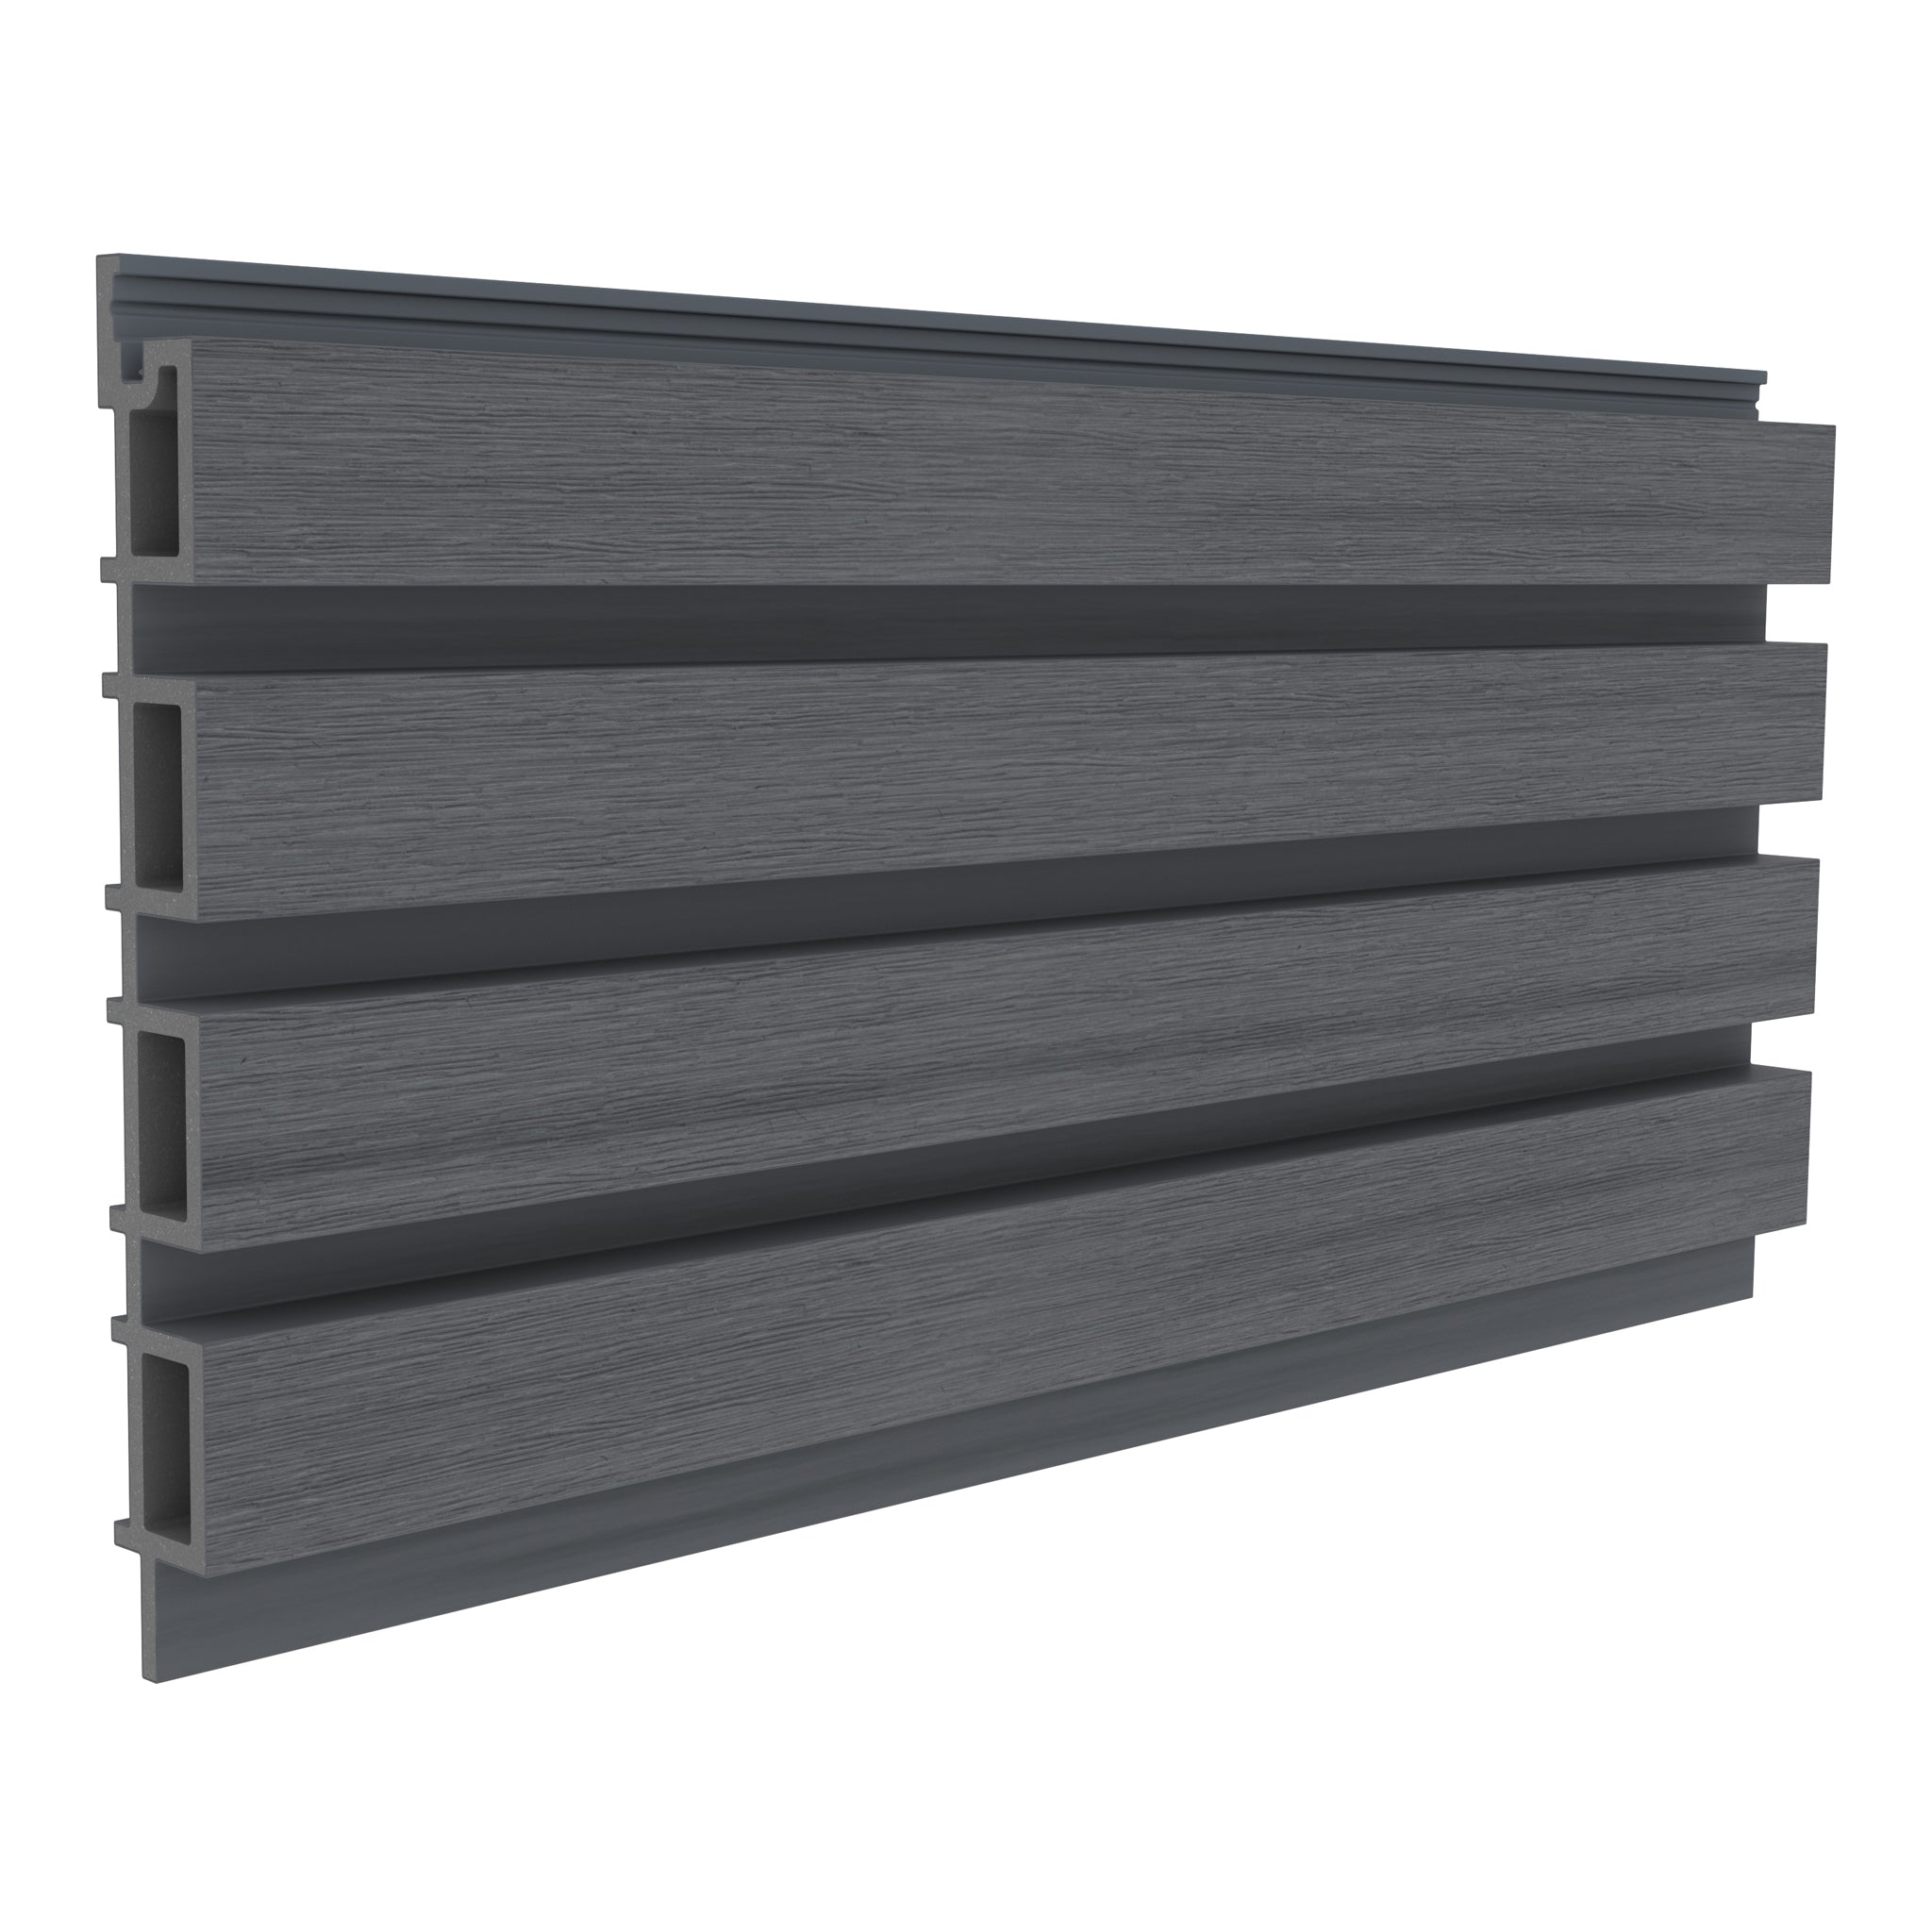
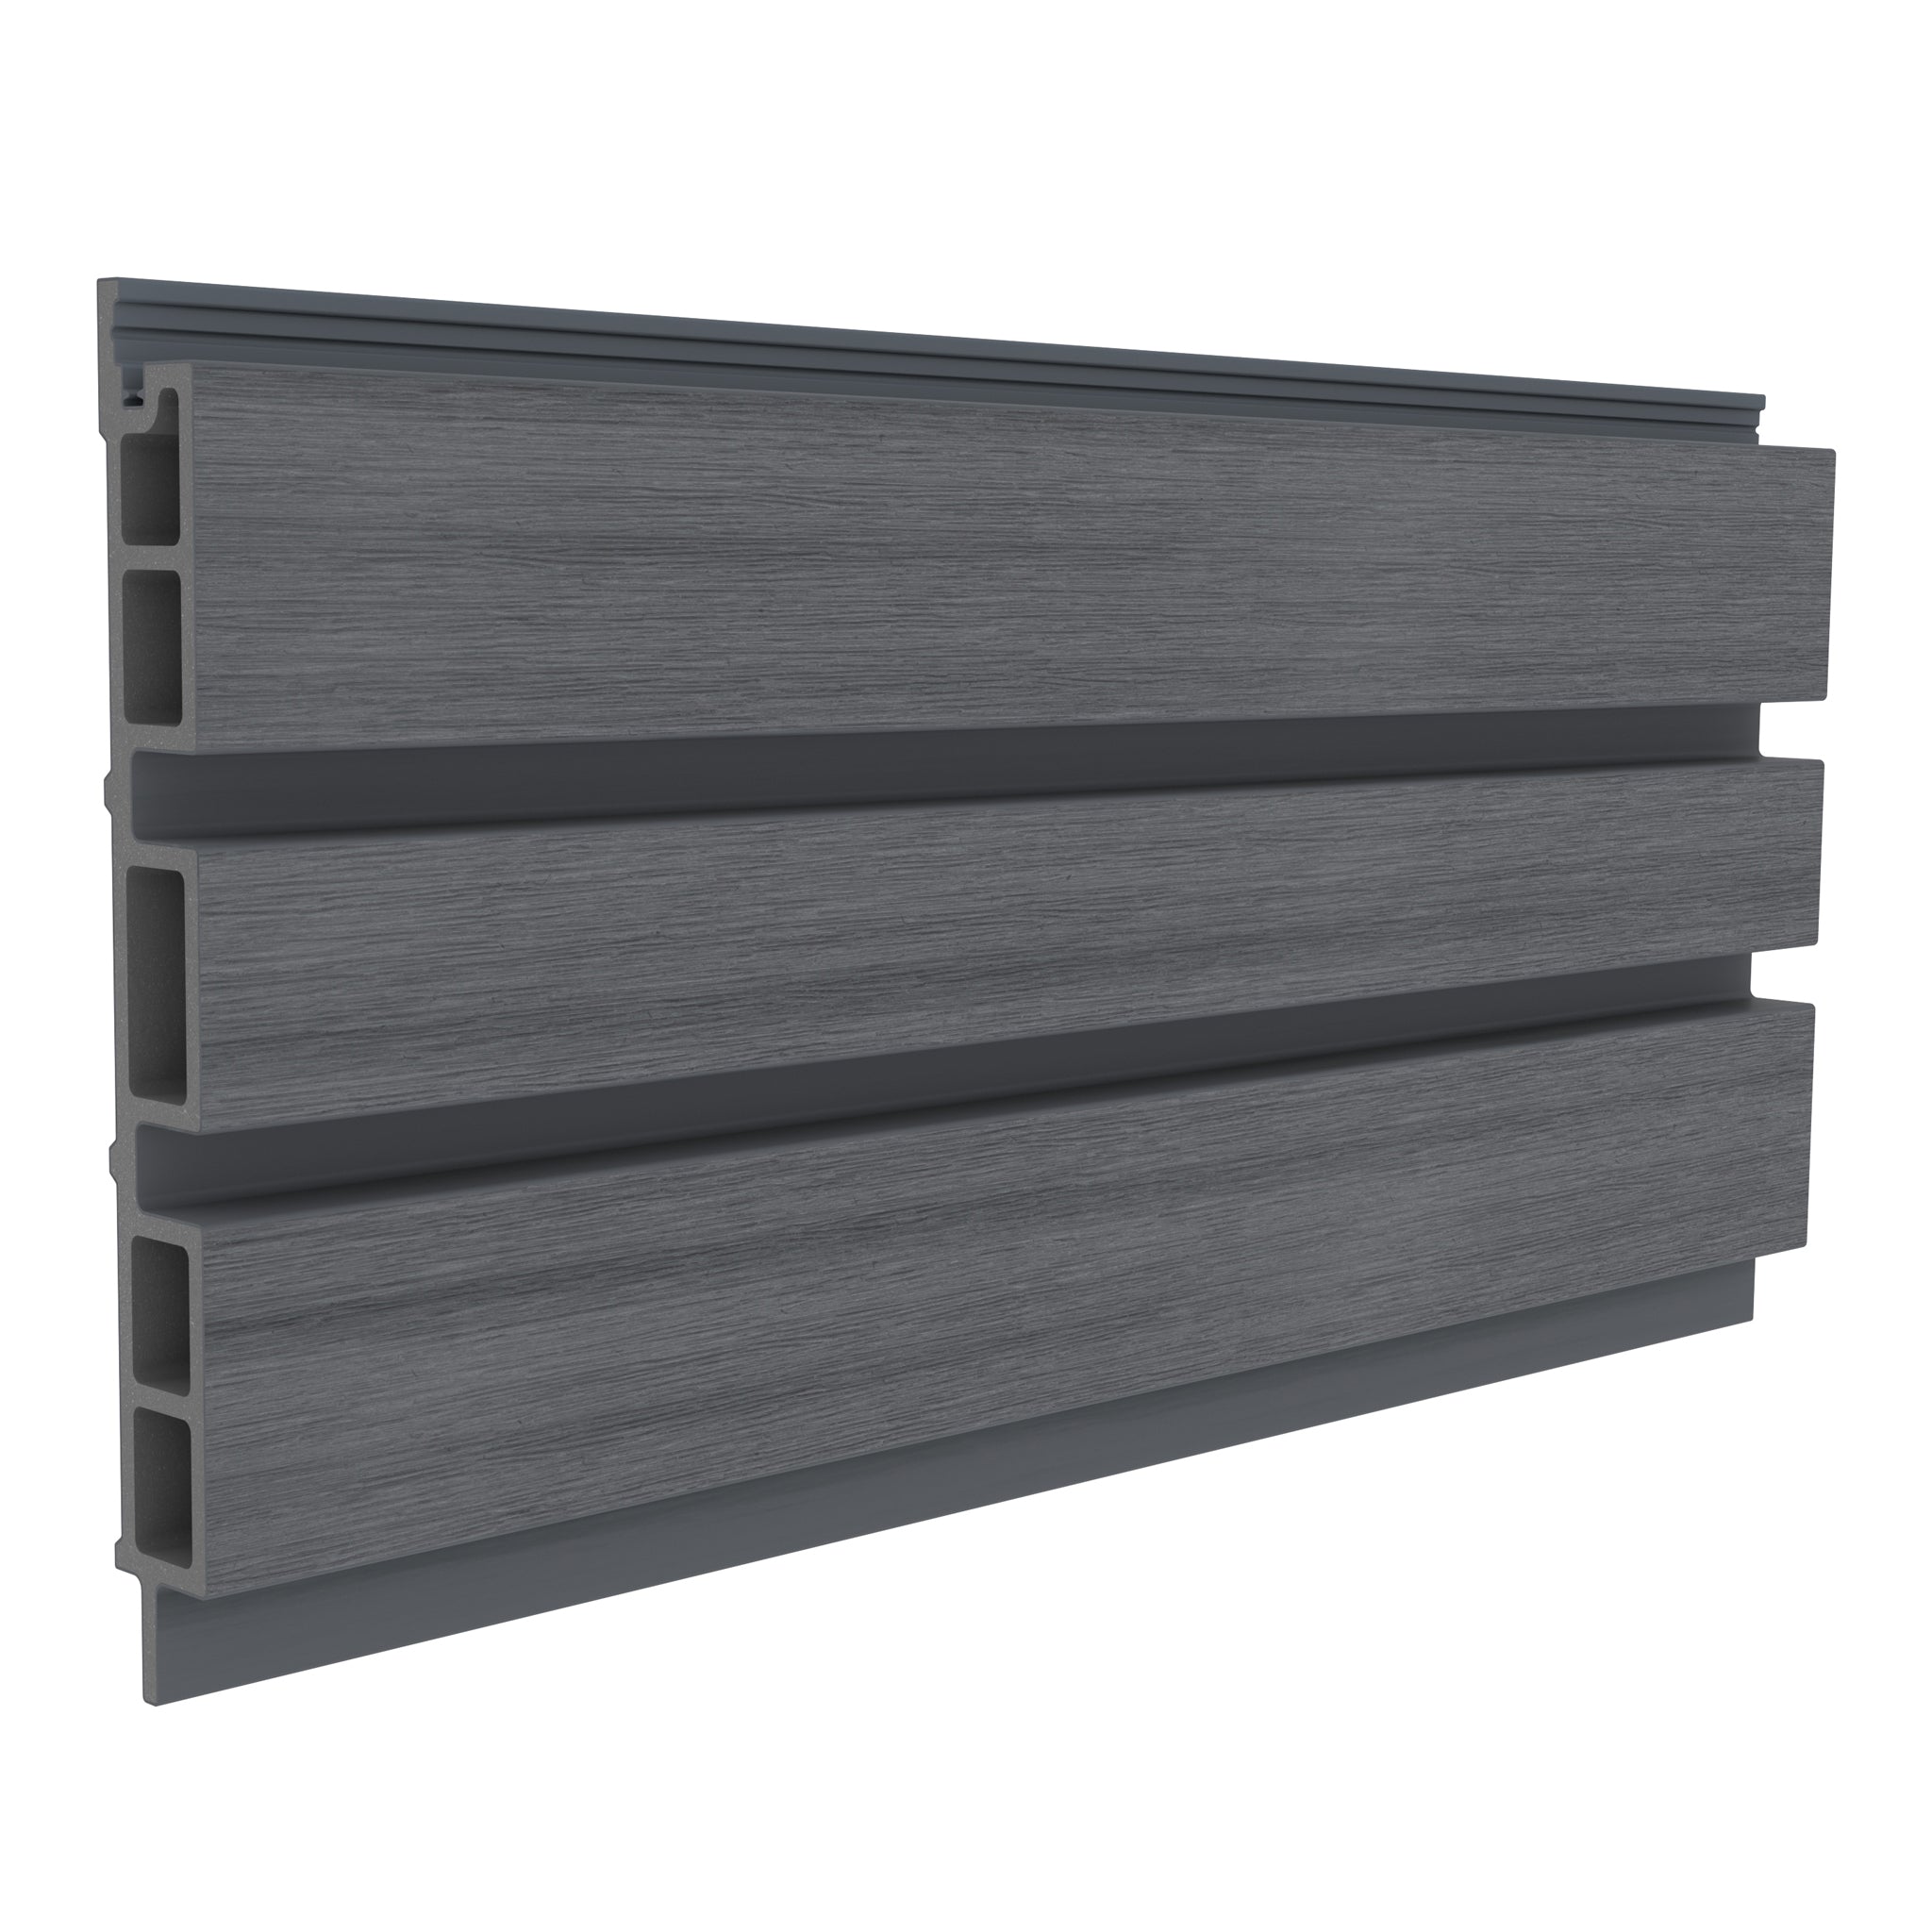
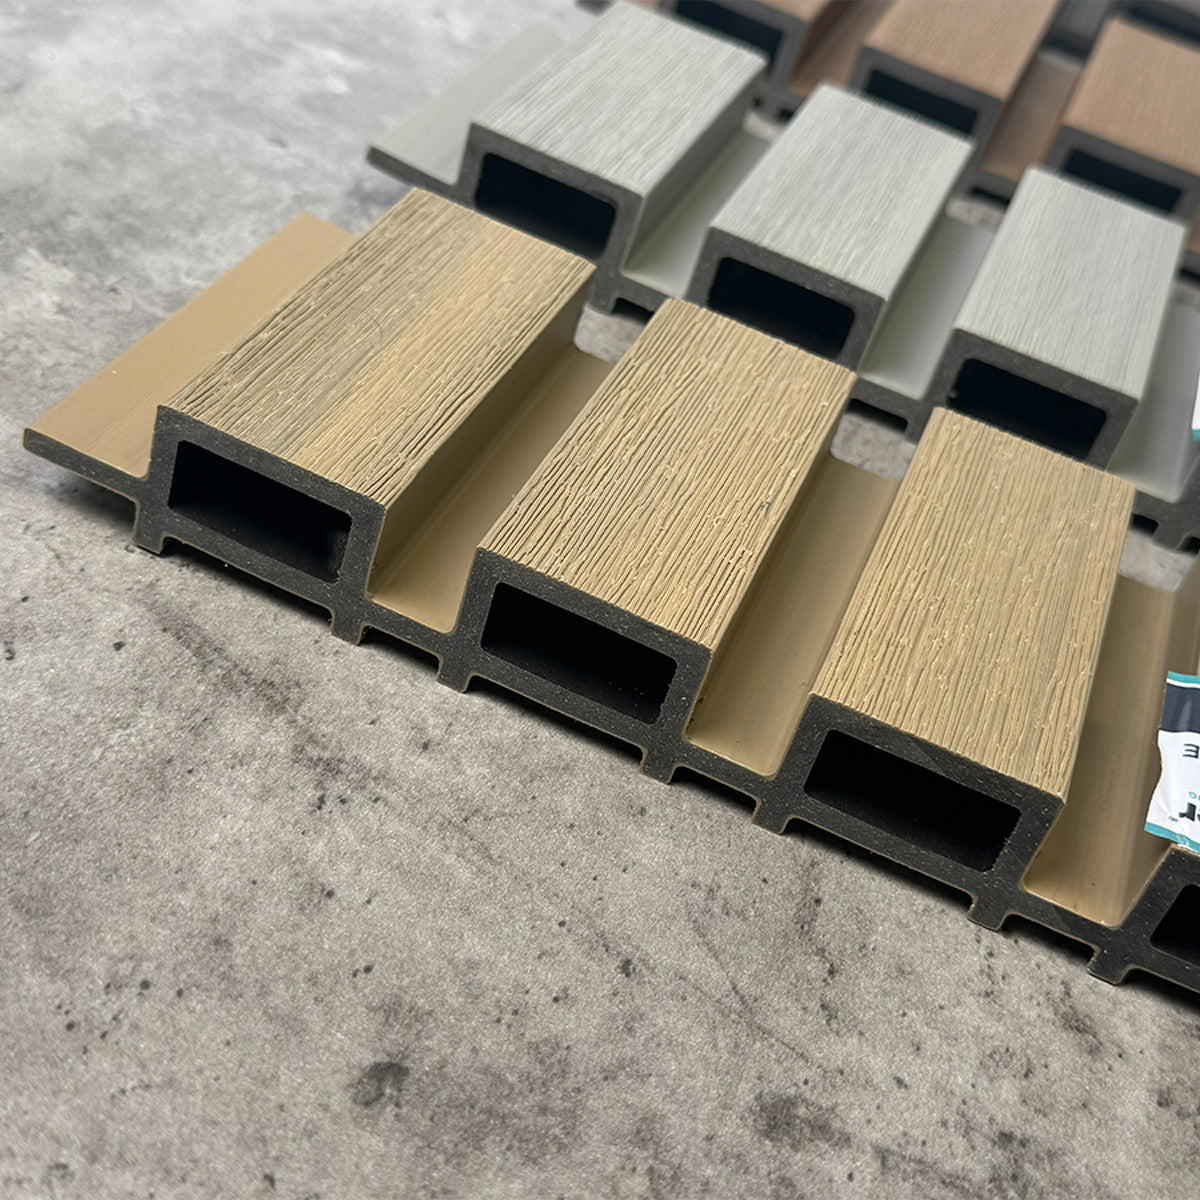
With your NeoTimber® composite louvre battens securely installed, the final stage is to complete the exposed ends and check whether additional reinforcement is required. Each hollow batten profile has an open chamber at its cut ends, which should be closed using colour-matched composite end caps and silicone adhesive.
Where your project requires additional rigidity or a greater support span, galvanised steel inserts can also be fitted inside the hollow batten profiles. This guide explains how to finish exposed batten ends, position optional steel inserts and complete the final checks for your composite louvre cladding or fencing installation.
Before You Begin Finishing Your Louvre Battens
Before fitting the end caps, check that all composite louvre battens are securely fixed to the supporting framework and that the installation is complete. Inspect the exposed ends of each profile, confirming that they are clean and ready to receive the end caps.
If galvanised steel inserts are being used, confirm that they have been cut to the correct length before closing the batten ends. Each insert must finish 20mm short of the composite batten at both ends, leaving sufficient space for the end caps to seat correctly inside the profile.
Understanding Optional Galvanised Steel Insert Reinforcement
NeoTimber® composite louvre battens can be installed without steel inserts where the required support span is within the recommended 600mm maximum. However, for applications requiring additional rigidity, such as taller screens, exposed fencing or wider batten spacings, galvanised steel inserts can be fitted inside the hollow composite profile.
The galvanised steel insert sits inside the batten chamber and increases the maximum recommended support span from 600mm to 1,200mm. It does not change the concealed clip fixing method, so the same clips and screws are used whether or not reinforcement is fitted.
NeoTimber® galvanised steel inserts have the following specifications:
- Dimensions: 38mm x 38mm x 3600mm
- Material: Galvanised steel
- Wall thickness: 0.8mm
- Weight: 3.2kg per 3.6m length
- Recommended quantity: One insert per batten length where additional rigidity is needed
Step 1: Fit The Galvanised Steel Inserts (Where Required)
If your installation requires additional reinforcement, slide the galvanised steel insert inside the hollow chamber of each composite louvre batten before completing the end caps. The insert should sit within the profile without changing the existing concealed clip fixing arrangement.
One galvanised steel insert per batten length is recommended where additional structural rigidity is needed. Check that the insert is positioned correctly inside the profile and that it does not obstruct the fixing points or prevent the batten from being secured to the concealed clips.
Before finishing the ends, measure and cut the steel insert so that it is 20mm shorter than the composite batten at both ends. This clearance is essential to allow the colour-matched end caps to seat correctly inside the hollow profile.

Step 2: Prepare The Exposed Batten Ends
Once any required steel inserts are in place, inspect the exposed ends of your composite louvre battens. The hollow profile creates an open chamber at each cut end, which should be closed using a matching NeoTimber® composite end cap.
Check that each batten end is ready to receive its cap and that any fitted steel insert finishes 20mm short of the profile end. The insert must not project to the full length of the composite batten, as this will prevent the end cap from seating correctly.

Step 3: Secure The Colour-Matched Composite End Caps
NeoTimber® composite louvre batten end caps are designed to close the exposed hollow chambers at the ends of each profile. Select the appropriate colour-matched cap for your installed batten finish.
Apply silicone adhesive to the end cap and carefully position it inside the open end of the composite batten. Push the cap into place so that it seats correctly within the profile, closing the exposed chamber.
Repeat this process for each exposed batten end, checking that all end caps are securely seated and provide a consistent finish across the installation.

Final Checks After Completing Your Louvre Batten Installation
Once all end caps have been fitted, carry out a final inspection of your composite louvre cladding or fencing installation. Check that:
- All composite louvre battens are securely fixed to the supporting framework.
- Exposed hollow batten ends are closed with colour-matched composite end caps.
- End caps are securely seated using silicone adhesive.
- Where galvanised steel inserts are fitted, each insert finishes 20mm short of both batten ends.
- The selected support span is appropriate for the installation, taking account of whether steel reinforcement has been used.
Remember that the supporting framework is installer-supplied and remains the installer's responsibility. The recommended batten support spans do not replace the need to ensure the framework is suitable for the application and project specification.
Composite Louvre Batten Finishing: Frequently Asked Questions
Do composite louvre battens need end caps?
Yes. NeoTimber® composite louvre battens have hollow profiles, leaving an open chamber at each cut end. Colour-matched composite end caps should be secured using silicone adhesive to close these exposed ends.
Are galvanised steel inserts required for every installation?
No. Steel inserts are optional and are recommended where additional rigidity is needed, such as for taller screens, exposed fencing or wider batten spacings. Without an insert, the maximum recommended support span is 600mm.
How much support span do galvanised steel inserts provide?
Fitting a galvanised steel insert increases the maximum recommended batten support span from 600mm to 1,200mm. The same concealed clip and screw fixing method applies whether or not an insert is fitted.
How much shorter should the steel insert be than the composite batten?
The galvanised steel insert must be cut 20mm shorter than the composite batten at each end. This leaves room for the end cap to seat correctly inside the hollow profile. Do not allow the insert to project to the full batten length.
Does fitting a steel insert change the concealed fixing method?
No. The steel insert sits inside the hollow composite profile and does not change the concealed clip fixing method. The same clip and screw process is used for battens with or without reinforcement.
Complete Your Composite Louvre Batten Installation
With the exposed ends closed and any required reinforcement fitted, your NeoTimber® composite louvre batten installation is ready for its final inspection. Check all fixings, end caps and support arrangements before considering the project complete.
For further guidance, revisit our earlier installation stages covering pre-installation planning, supporting framework and fixings and composite louvre batten installation. Together, these guides cover the key stages of preparing, fitting and finishing your composite louvre cladding or fencing project.