


Preparing Your Supporting Framework And Fixings For Louvre Battens
Before installing NeoTimber® composite louvre battens, a suitable supporting framework must be in place to provide a secure and stable fixing surface. Whether you're installing composite louvre cladding or creating a louvre fence, getting the framework and fixing positions right is essential for a consistent and reliable finish.
NeoTimber® composite louvre battens use a concealed fixing clip system, allowing battens to be secured to the supporting structure without visible fixings across the finished surface. This guide covers the supporting framework requirements, concealed clip selection, fixing positions and recommended spacing to help prepare your installation.
Work through the guidance below before moving on to the next stage of your NeoTimber® composite louvre batten installation guide.
Understanding The Supporting Framework
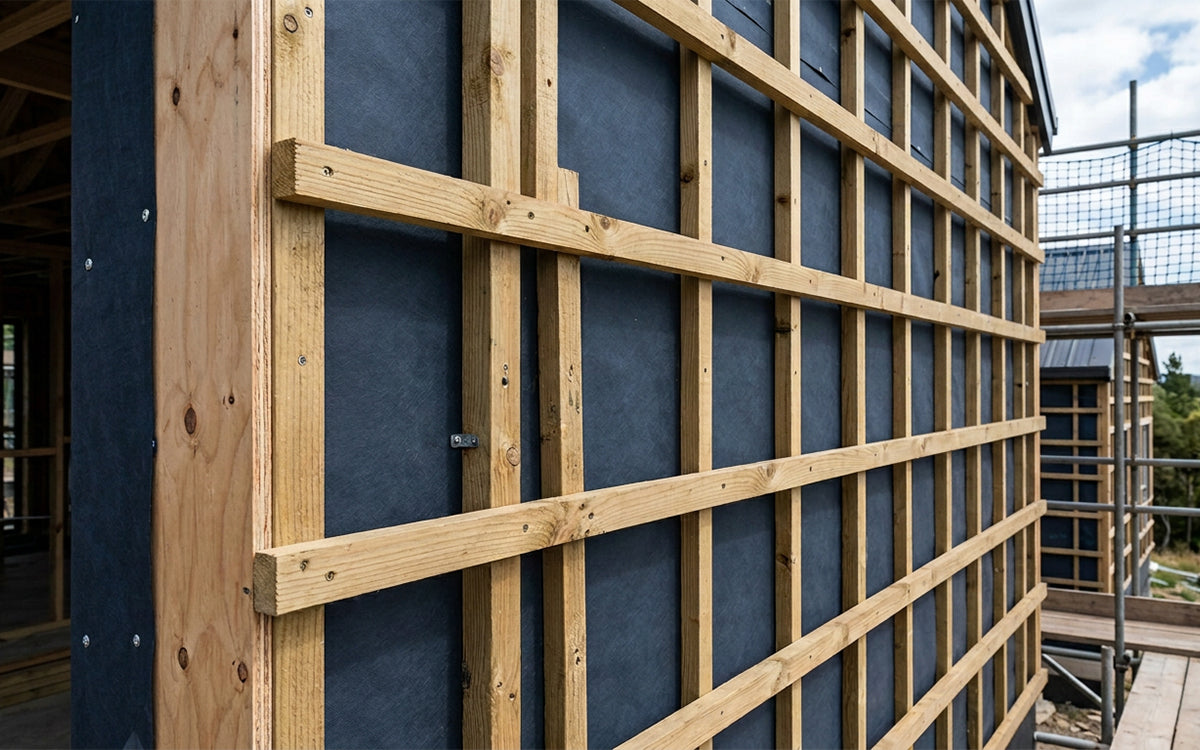
The supporting framework provides the structural base onto which your NeoTimber® composite louvre battens are fixed. It must be suitable for the intended application and provide sufficient support across the full installation area.
NeoTimber® supplies the composite louvre battens, concealed fixing clips, colour-matched screws, end caps and optional galvanised steel inserts. However, the supporting framework itself is not supplied and remains the installer's responsibility.
Depending on your project, the supporting framework may consist of:
- Timber battens or framing.
- Aluminium support sections.
- Steel framing.
- Fence posts and horizontal rails.
The concealed fixing system works across these different framework materials, with clips secured directly to the face of the relevant structural members.
Ensure your supporting framework is appropriately specified, securely installed and suitable for the intended application before fitting any fixing clips.
Understanding The Louvre Batten Support Requirements
Before positioning your framework, consider the support requirements of your selected composite louvre batten profile.
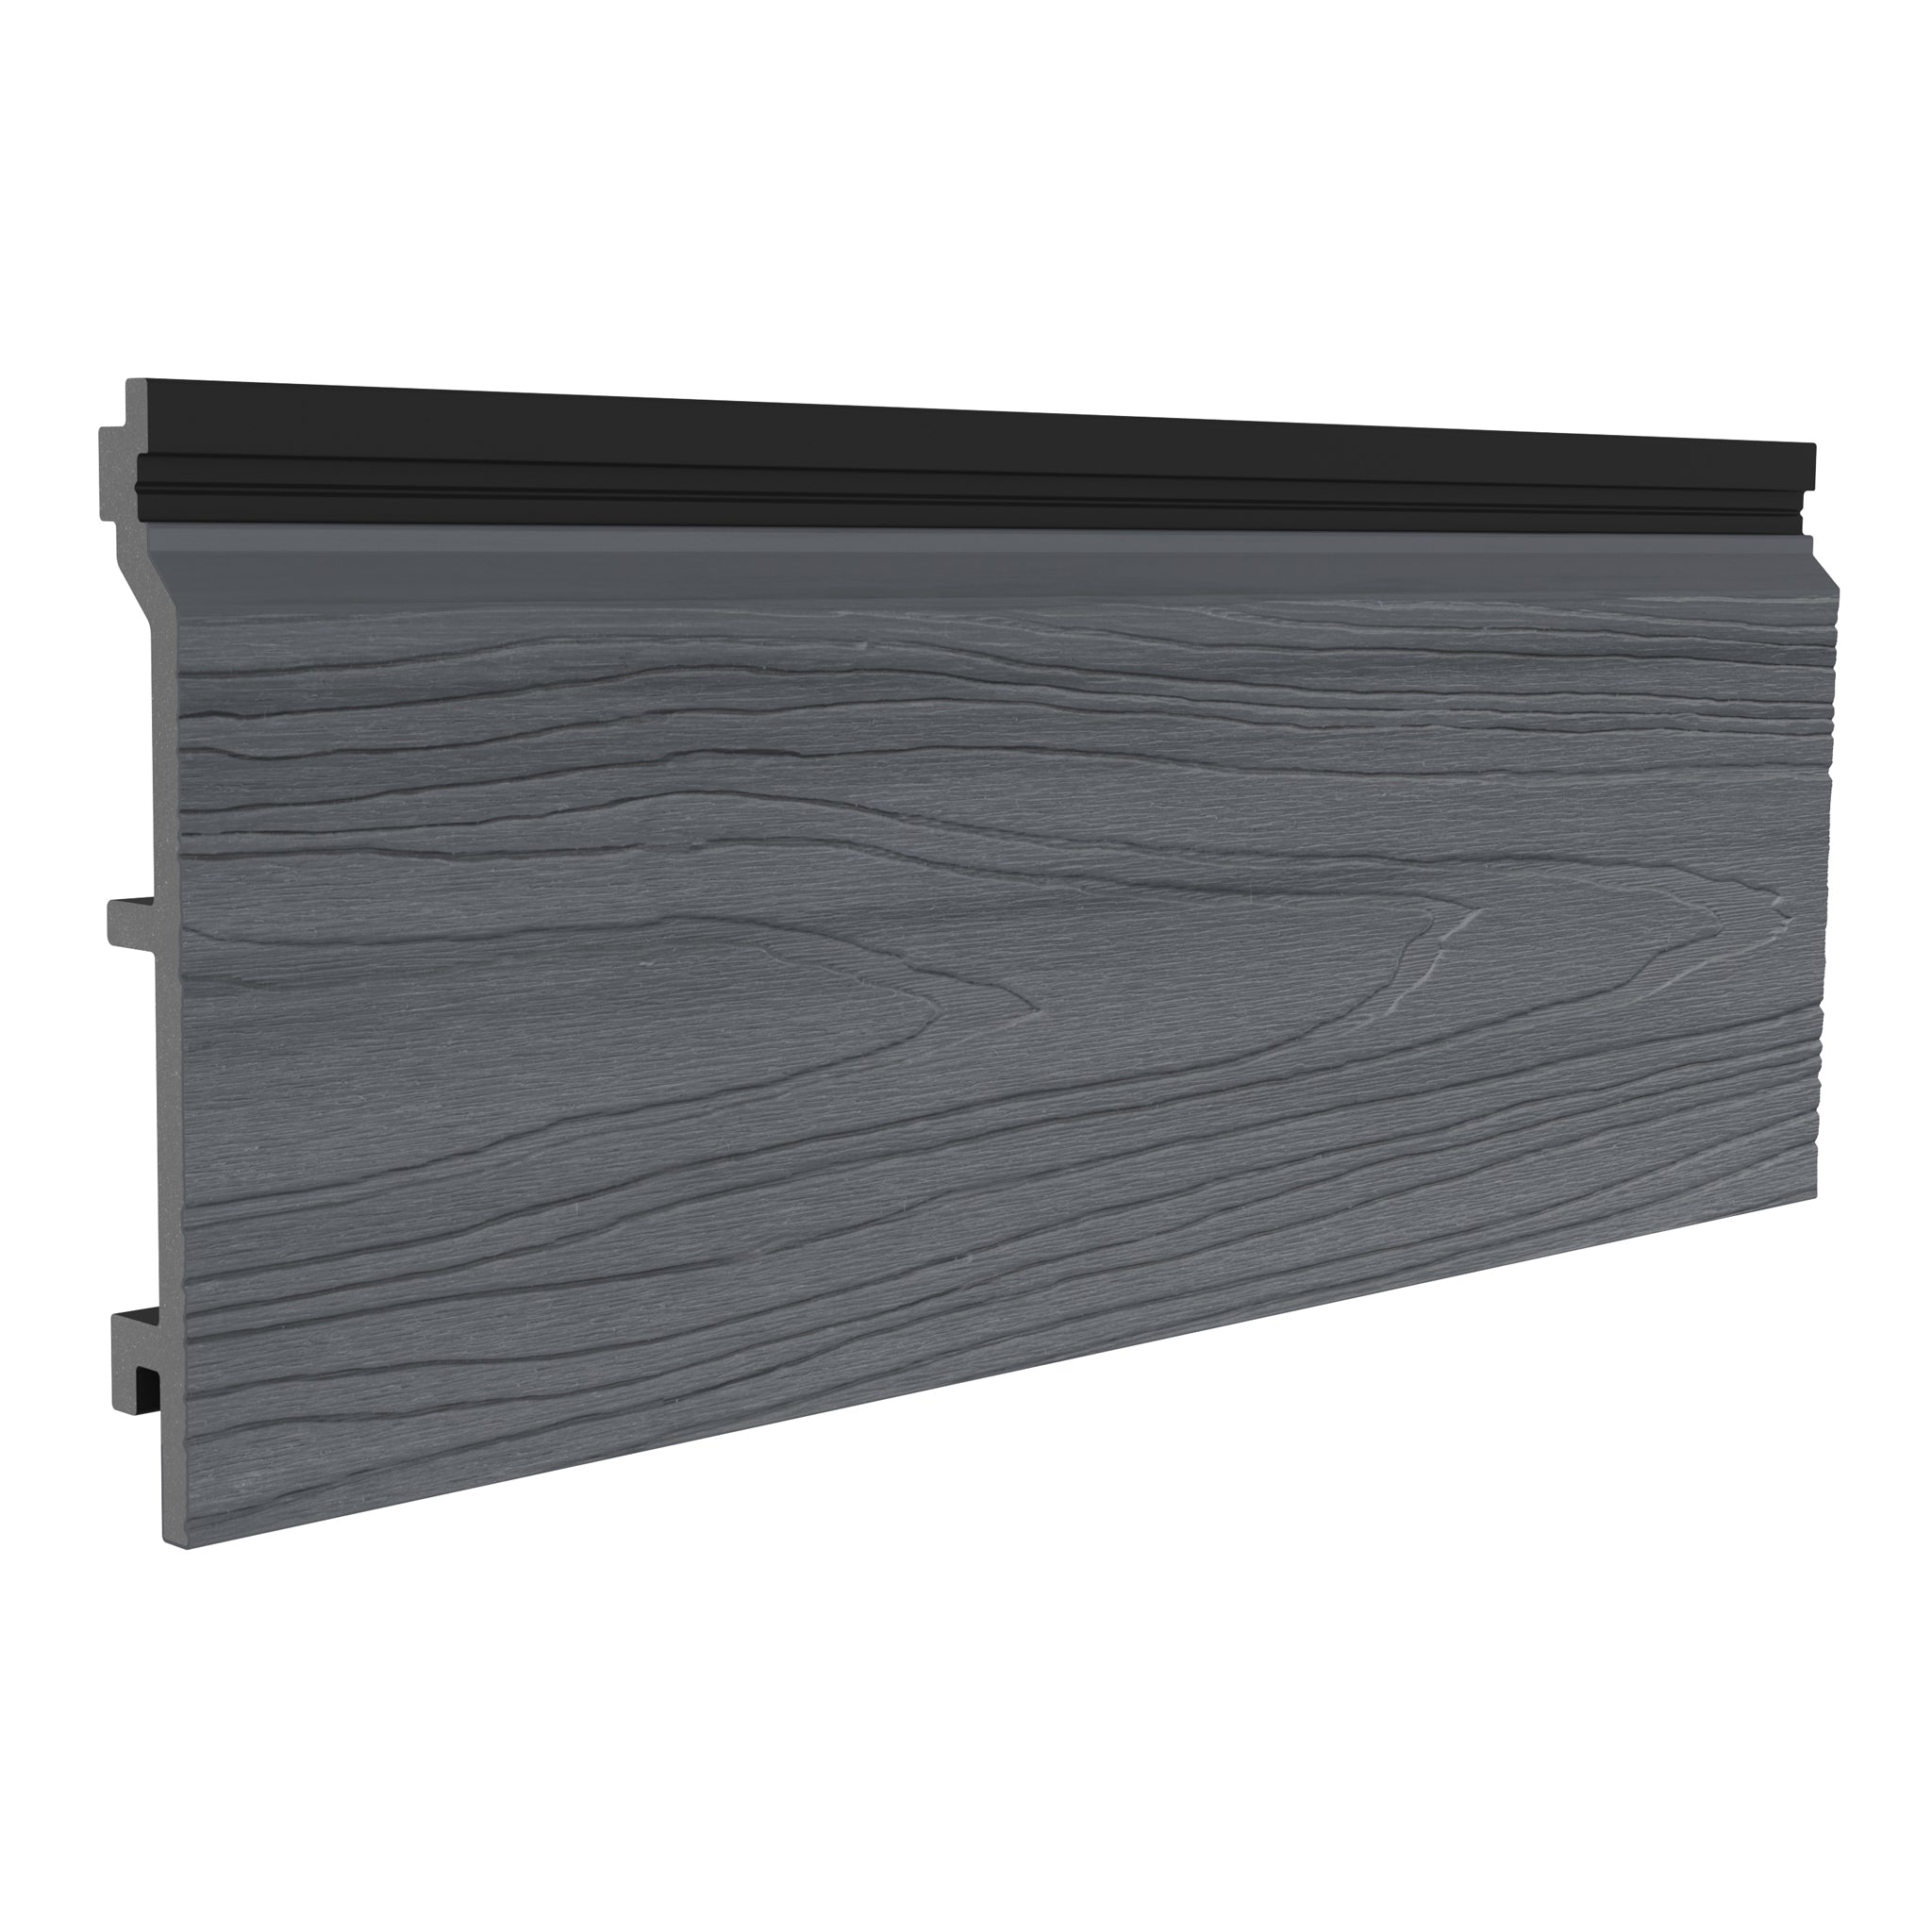
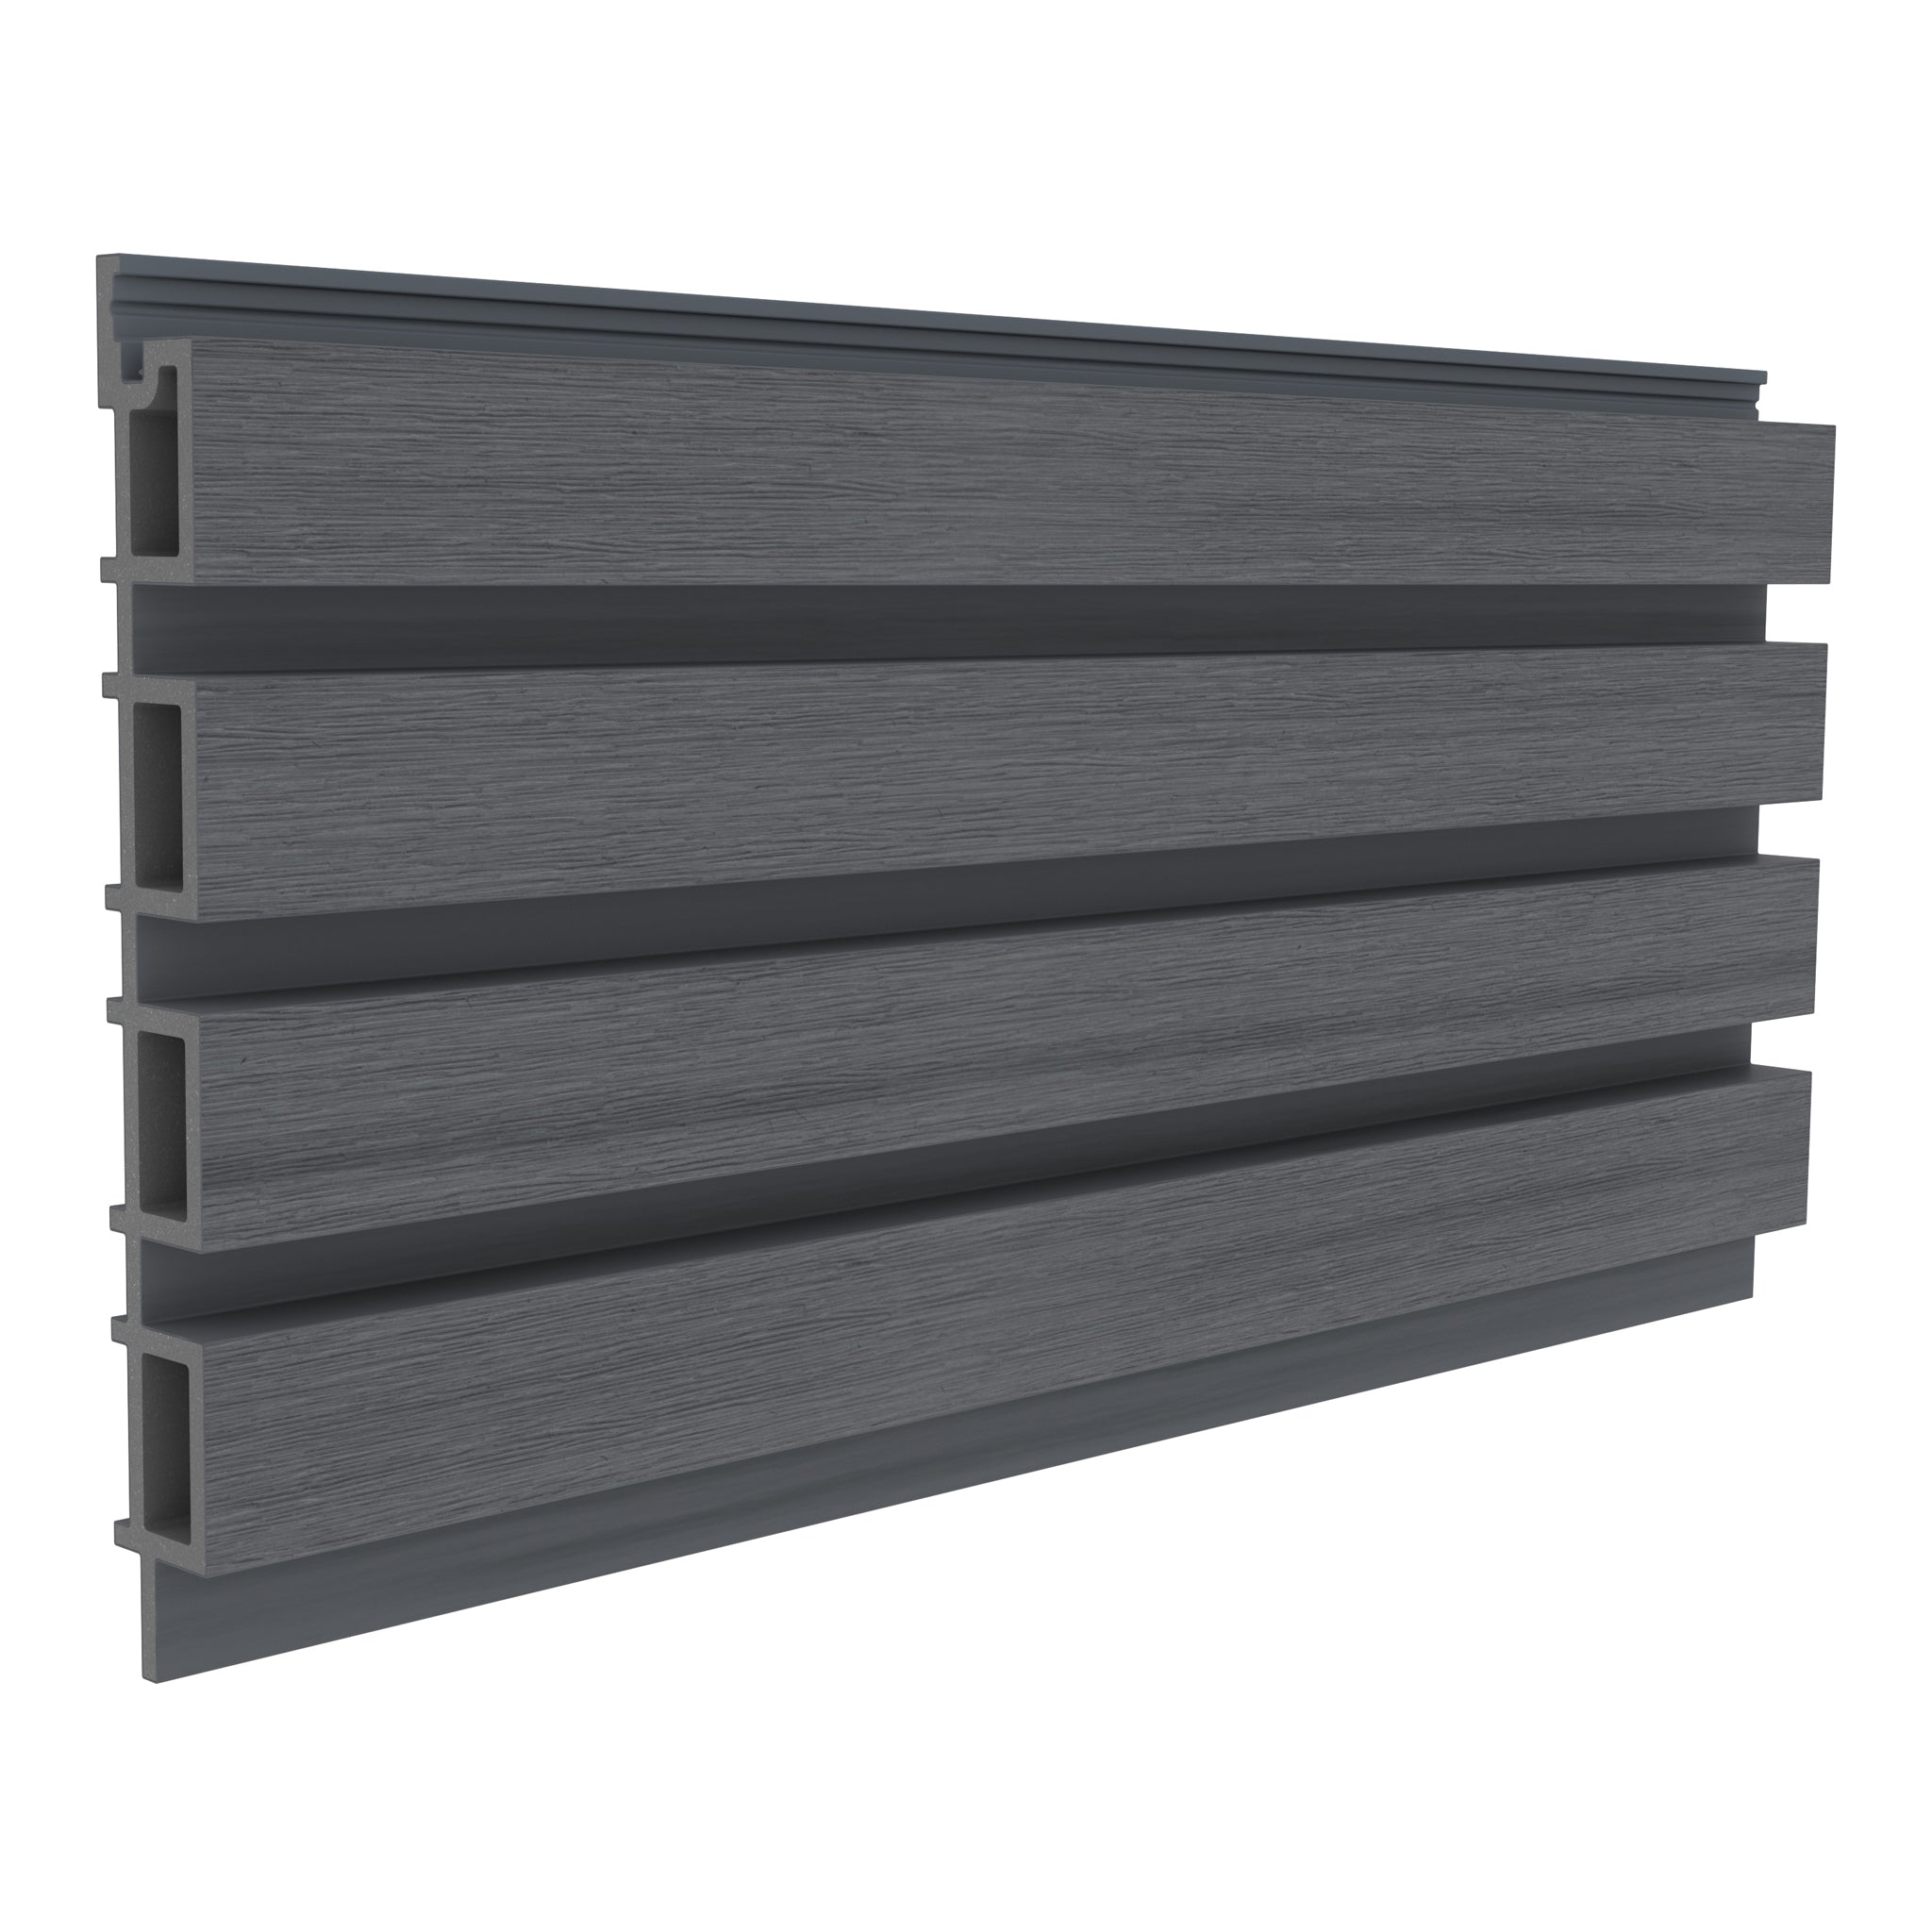
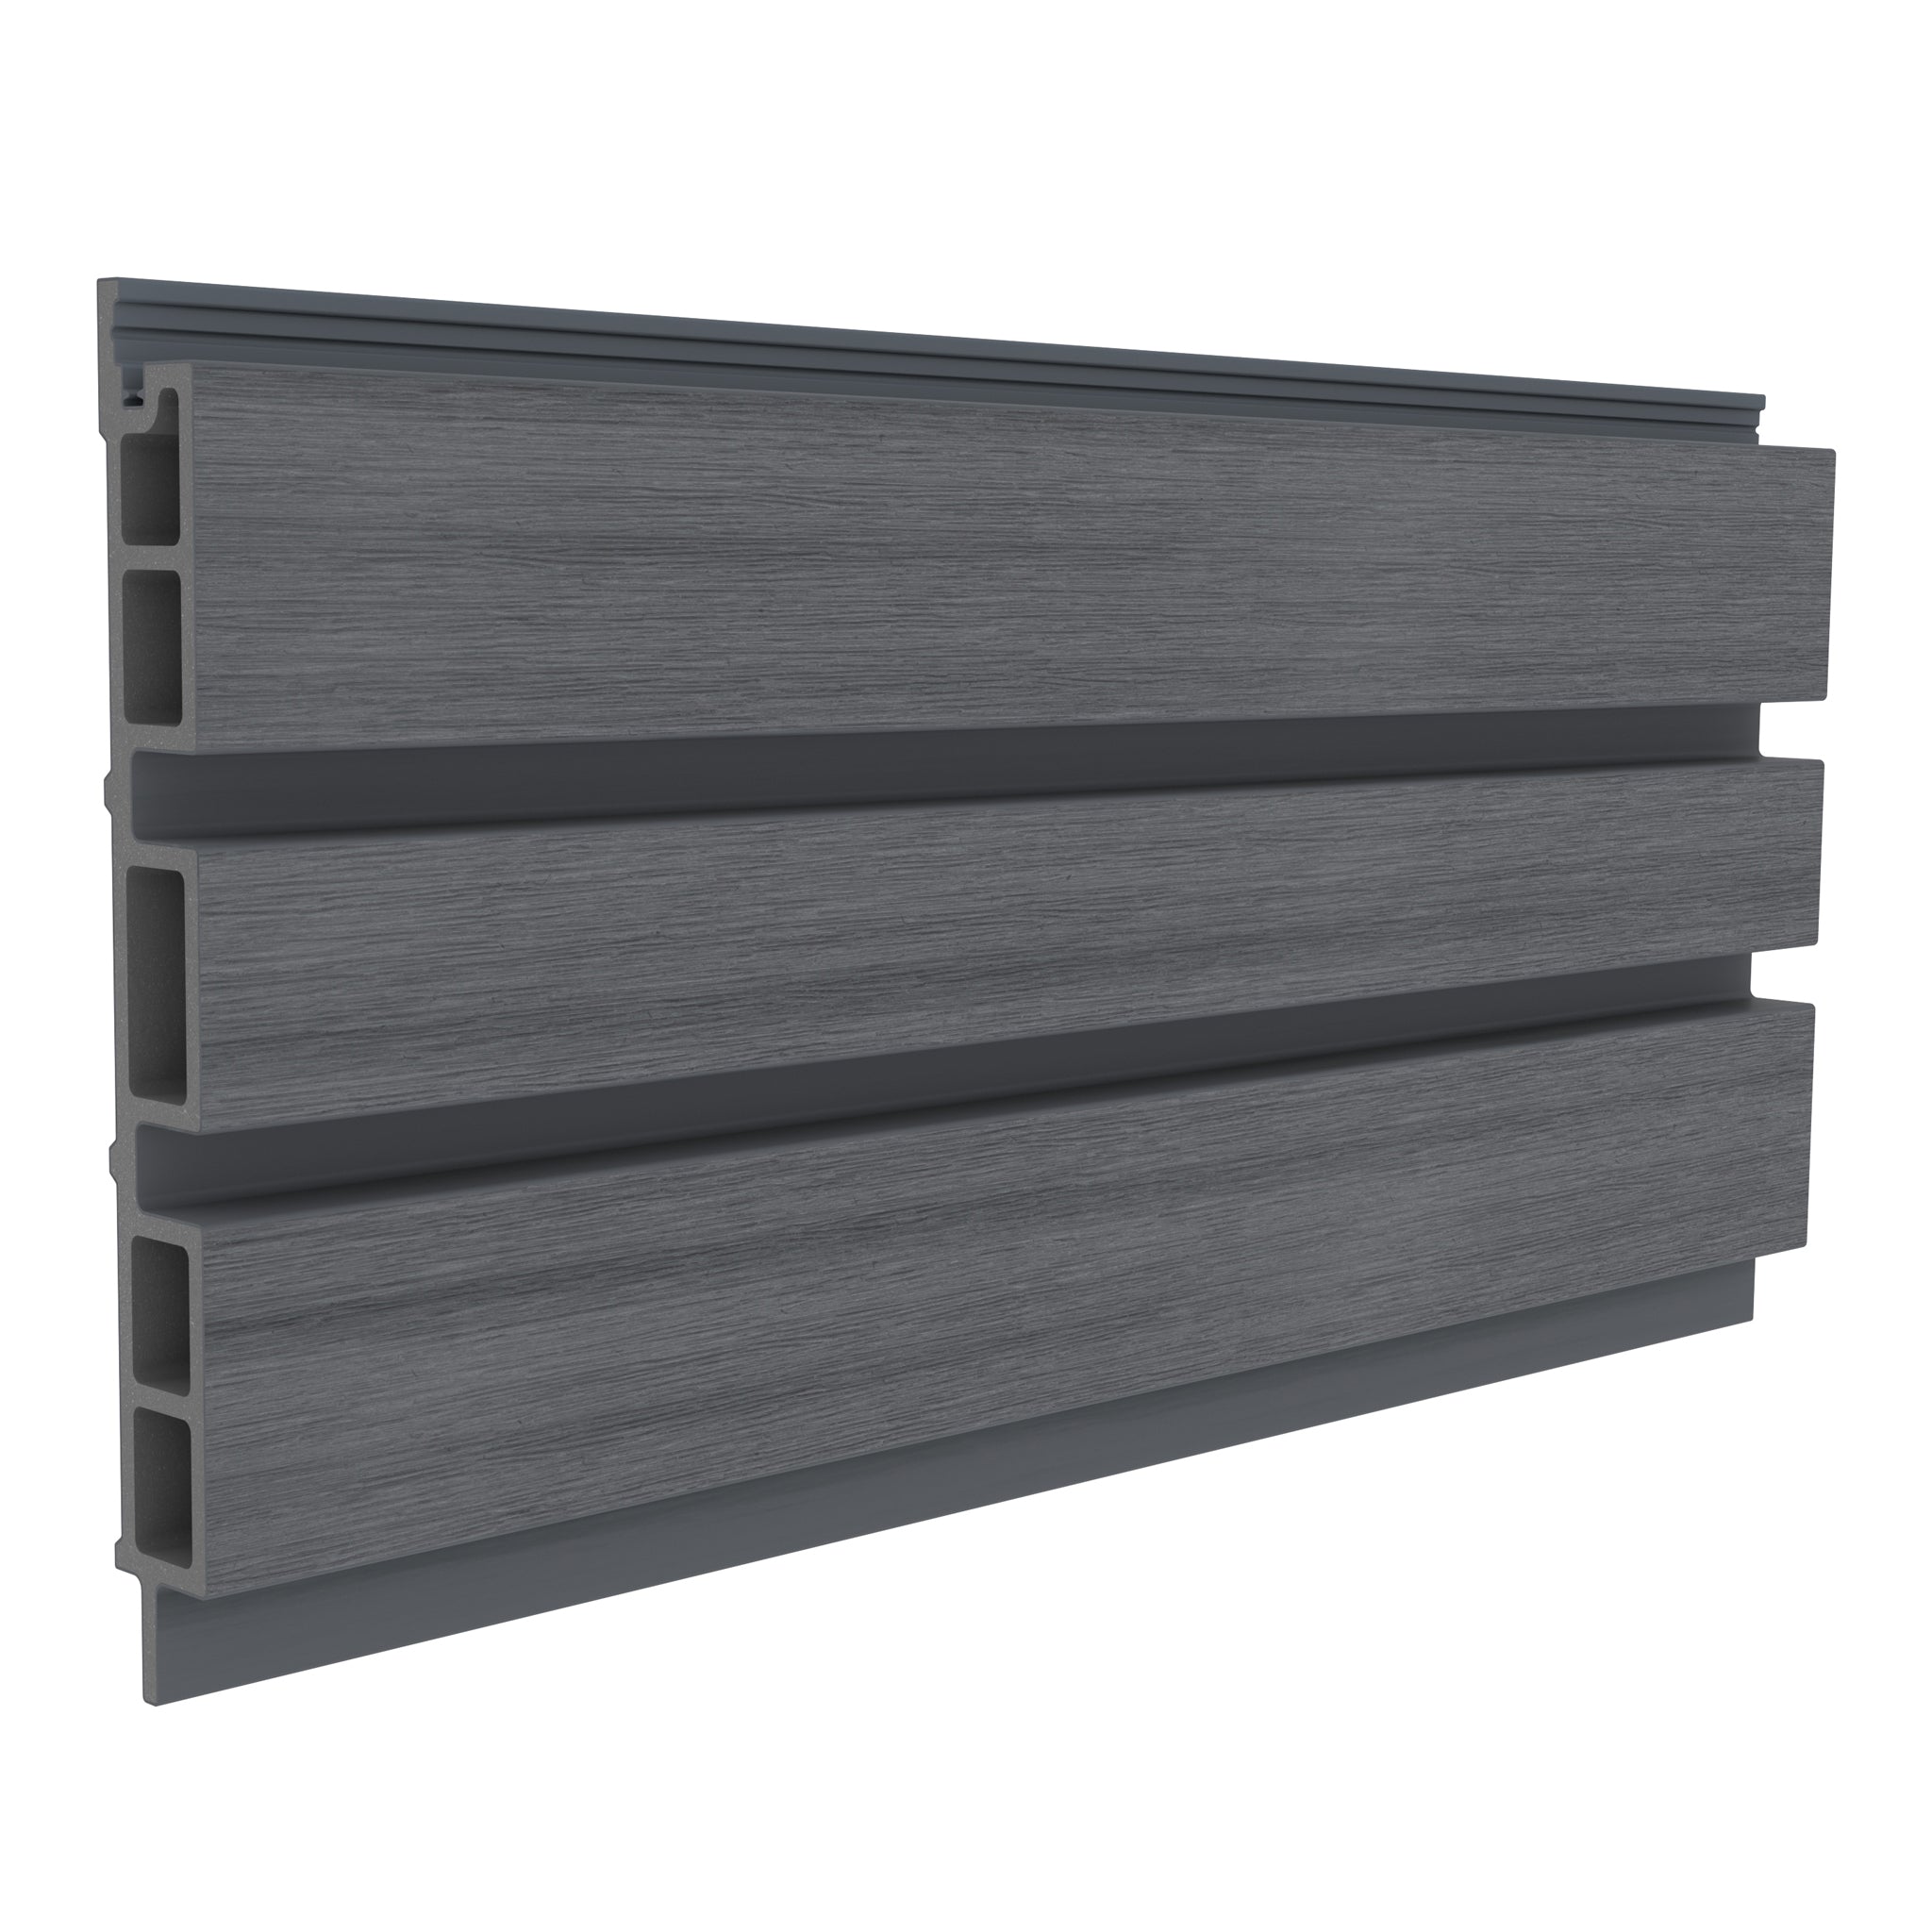
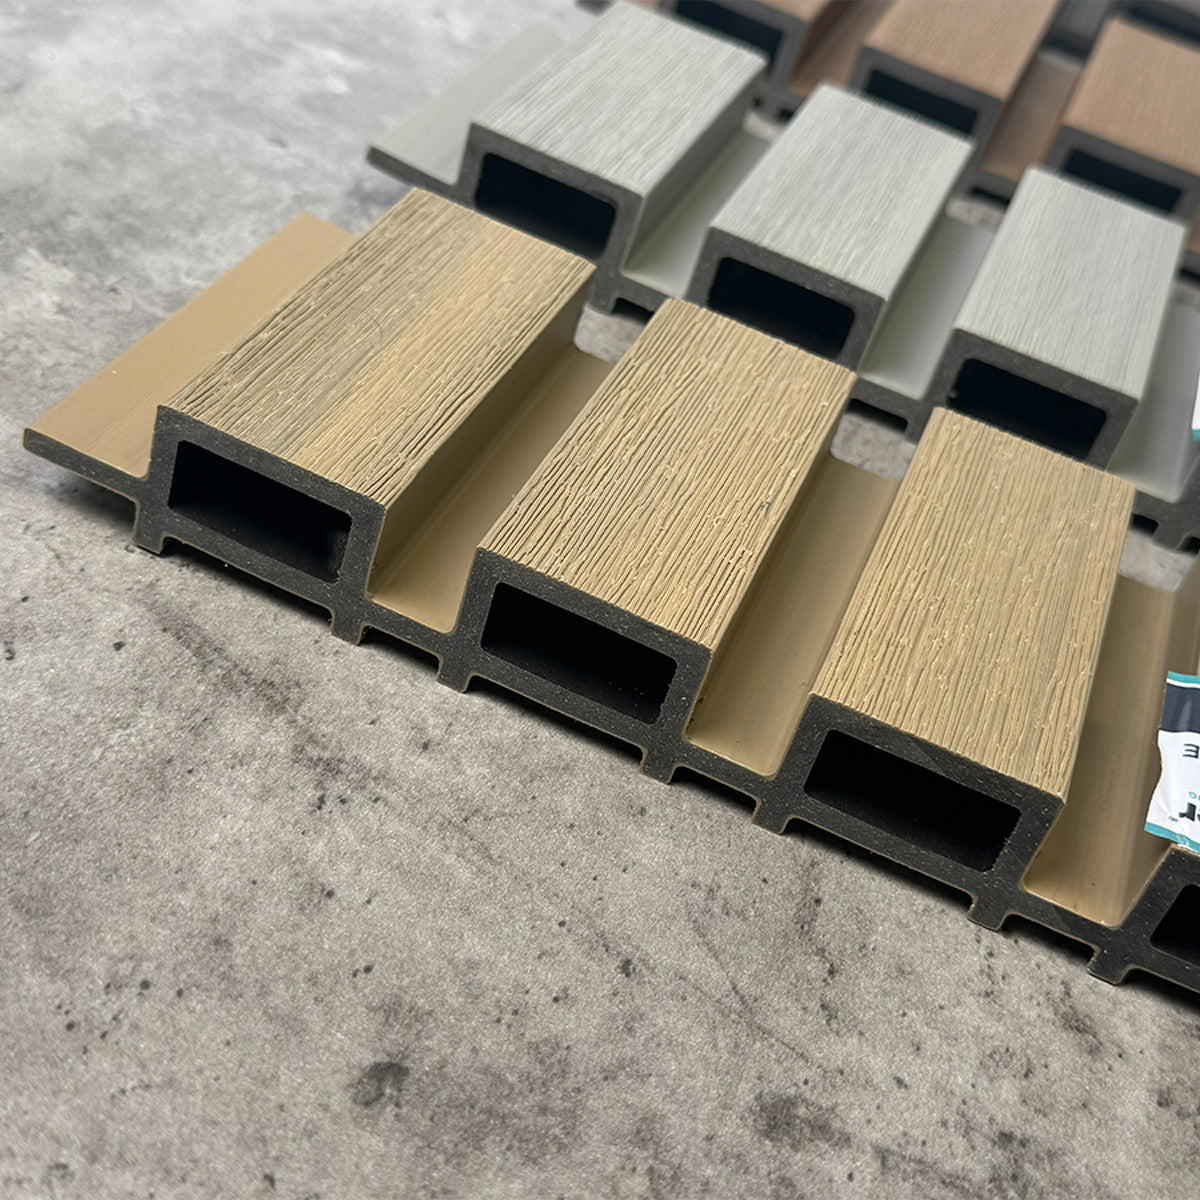
NeoTimber® composite louvre battens are available in three profile sizes, each with a recommended maximum support span of 600mm without additional steel reinforcement.
| Batten Profile | Maximum Support Span Without Steel Insert |
|---|---|
| 50mm x 50mm | 600mm |
| 100mm x 50mm | 600mm |
| 150mm x 50mm | 600mm |
The supporting framework should be positioned to ensure the battens are adequately supported across their length, without exceeding the recommended maximum support span.
For applications requiring greater rigidity or wider support spacing, optional galvanised steel inserts are available. These are covered in more detail in Stage 4 of this installation guide.


Selecting The Correct Concealed Fixing Clips
NeoTimber® composite louvre battens are secured using a purpose-designed concealed fixing clip. The clip is fixed directly to the supporting framework before the composite batten is attached.
There are two concealed fixing clip sizes available, depending on your chosen batten profile:
- Standard fixing clip: Suitable for 50mm and 100mm composite louvre battens.
- Large fixing clip: Required for 150mm composite louvre battens.
Both clip sizes use the same concealed fixing principle and are suitable for vertical and horizontal batten installations.
Ensure you select the correct clip size for your chosen batten profile before beginning your installation.
Understanding The Concealed Fixing Clip
Each NeoTimber® concealed fixing clip features two pairs of fixing holes, each serving a different purpose.
Round Fixing Holes
The round holes are used to secure the concealed fixing clip directly to the supporting framework. These allow the clip to be firmly attached to the face of the relevant timber, aluminium or steel framing member.
Slotted Fixing Holes
The slotted holes are used to secure the composite batten to the fixing clip. Their design allows the batten to move slightly as it expands and contracts with temperature changes, helping prevent unnecessary stress on the material.
Understanding the difference between these two fixing positions is important when preparing your framework and planning your installation.

Recommended Fixing Positions And Spacing
Once your supporting framework and fixing clips have been selected, the next step is to plan your fixing positions.
NeoTimber® recommends positioning concealed fixing clips at approximately 400–600mm centres along the batten run.
This spacing provides regular fixing points along the length of each batten while allowing for the movement associated with temperature changes.
When planning your fixing positions, consider the following:
- Clip spacing: Position concealed fixing clips approximately 400–600mm apart along the batten run.
- Framework alignment: Ensure supporting members are positioned to provide adequate fixing points for every clip.
- Support spans: Keep the distance between batten support points within the recommended maximum 600mm span without steel reinforcement.
- Fixing orientation: Consider whether your battens will run horizontally or vertically when planning clip positioning.
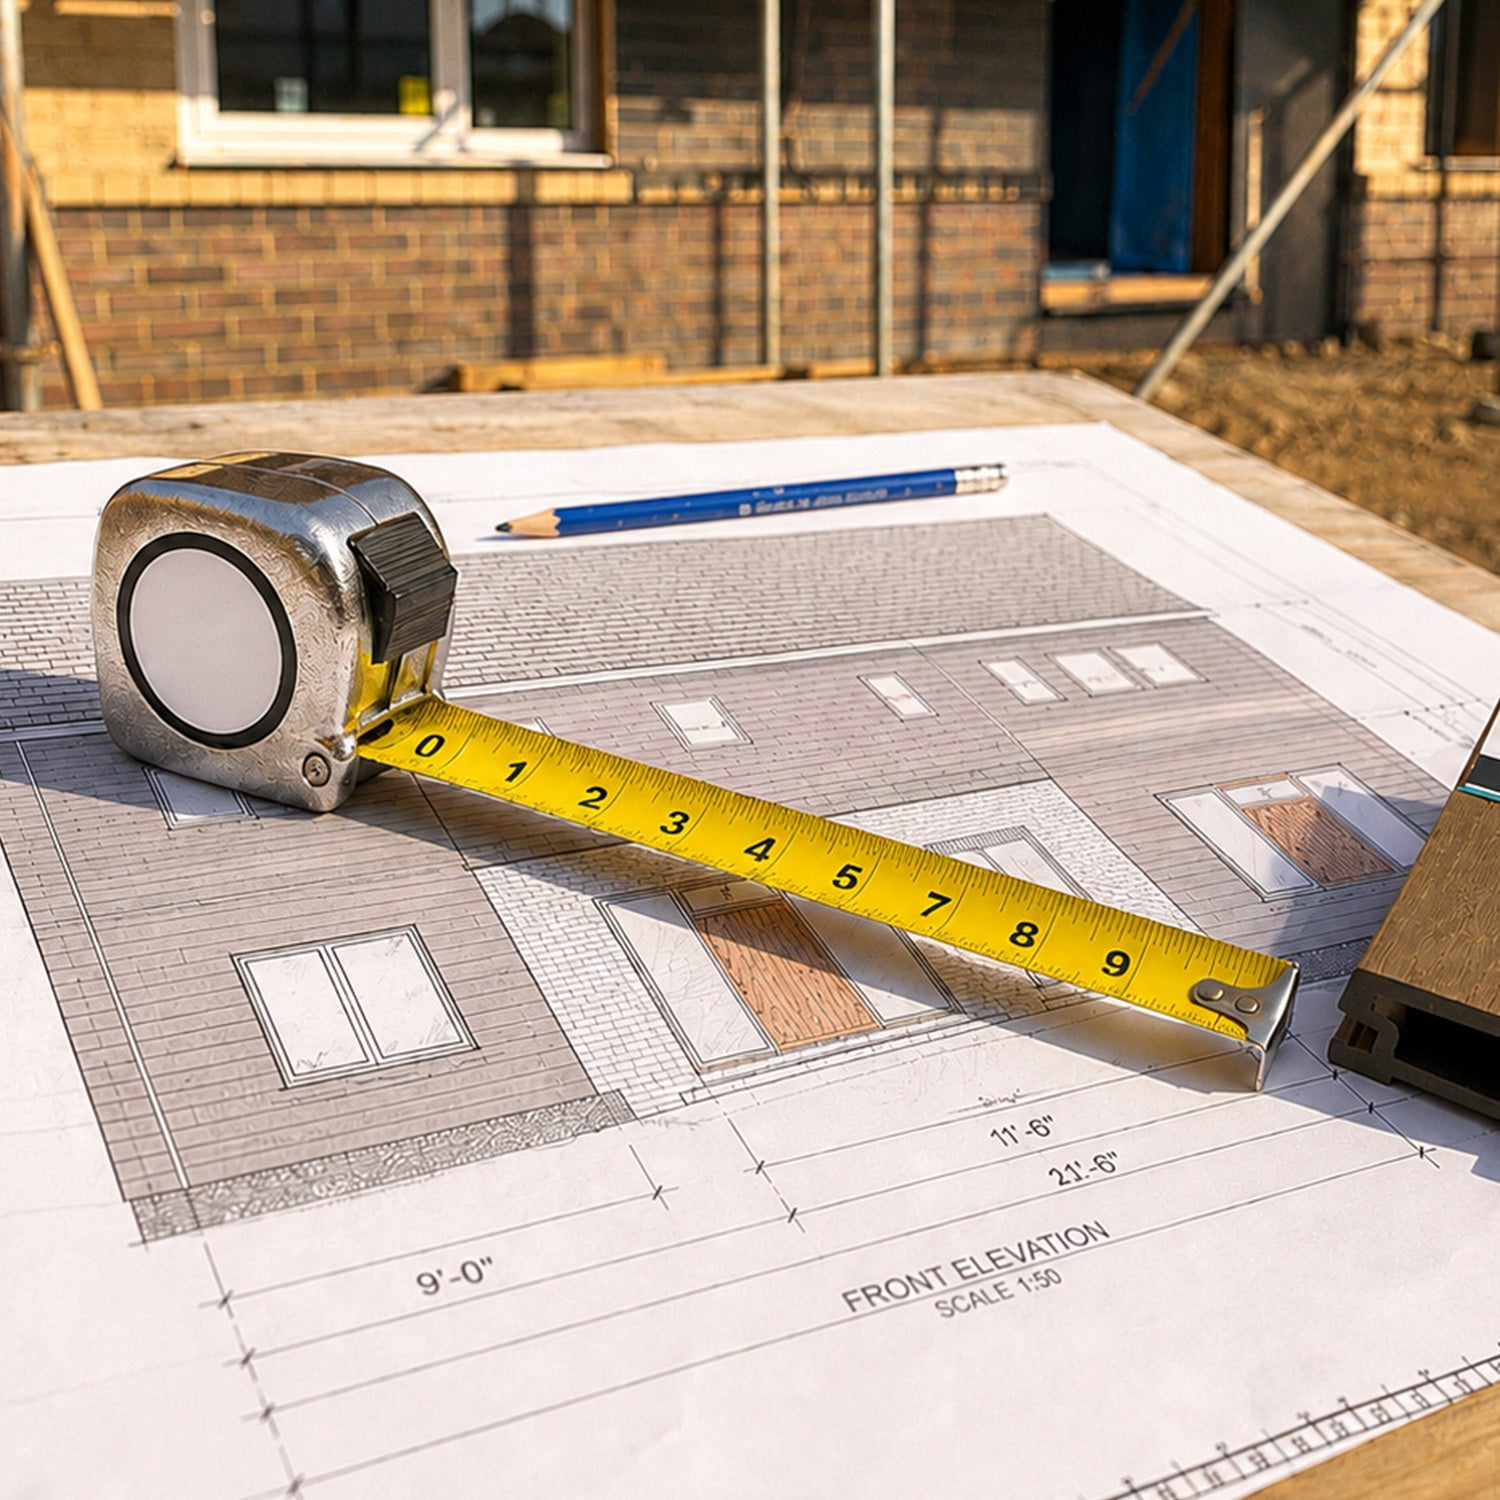
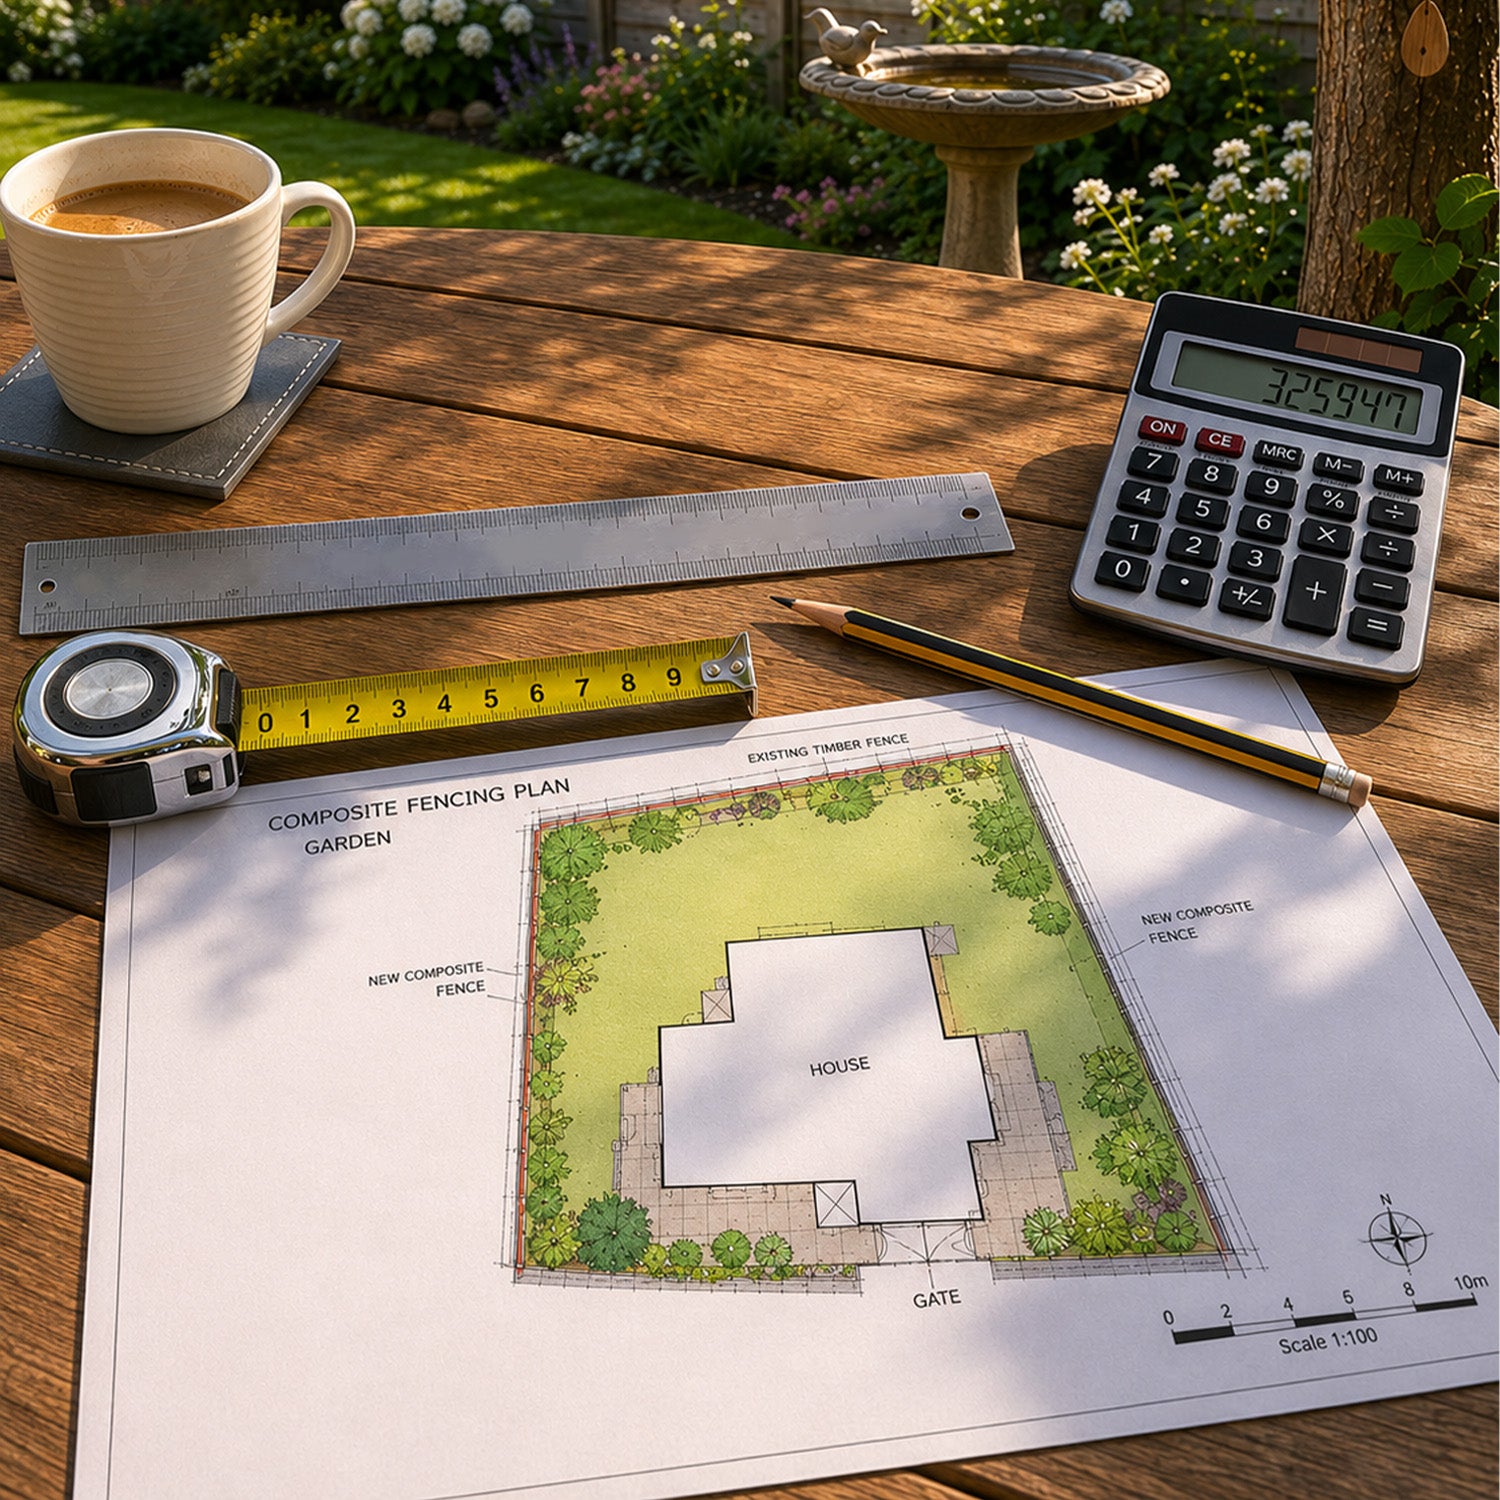
Measure and mark your fixing positions carefully before attaching any clips. Consistent positioning will help maintain even batten alignment and spacing throughout the finished installation.
Preparing Your Fixings
NeoTimber® concealed fixing clips are supplied with colour-matched stainless steel self-drilling screws.
The recommended fixing screw specification is:
- Screw size: 3mm x 35mm.
- Head type: T15.
- Material: Stainless steel.
- Finish: Colour-matched.
These screws are used to secure the concealed fixing clips to the supporting framework and subsequently attach the composite battens through the slotted fixing holes.
Important: Pre-drill all composite batten fixing points before driving screws into the material. Do not drive screws directly into the battens without pre-drilling.
Prepare your fixing equipment and ensure you have the correct screws and tools available before progressing.
Planning For Horizontal And Vertical Installations
NeoTimber® composite louvre battens can be installed in either horizontal or vertical configurations using the same concealed fixing system.
However, the orientation of the fixing clips needs to be considered when preparing your framework.
For horizontal installations, the clips are positioned to accommodate the horizontal batten run.
For vertical installations, the concealed fixing clips need to be rotated 90 degrees on the supporting framework. This ensures the slotted fixing hole is positioned horizontally, allowing the batten to expand and contract along its length without restriction.
Consider your chosen installation direction before marking and preparing the fixing positions.

Final Checks Before Installing Your Fixing Clips
Before moving on to the batten installation stage, take time to check that your supporting framework and fixing components are correctly prepared.
Use the following checklist:
- Confirm your selected batten profile and corresponding fixing clip size.
- Ensure the supporting framework is securely installed and suitable for clip fixing.
- Check that the framework provides adequate support within the recommended maximum 600mm span.
- Confirm concealed fixing clips are spaced approximately 400–600mm apart along the batten run.
- Plan the correct fixing orientation for horizontal or vertical installations.
- Ensure the correct colour-matched stainless steel screws are available.
- Pre-drill all batten fixing points before installation.
- Check that all fixing positions are marked accurately and consistently.
Taking the time to prepare these details will help ensure a straightforward installation and a consistent finish across your composite louvre batten project.
Common Supporting Framework And Fixing Mistakes To Avoid
When preparing your installation, there are several common mistakes worth avoiding:
- Incorrect clip selection: Using the standard fixing clip for a 150mm batten instead of the larger clip.
- Exceeding support spans: Positioning framework members further apart than the recommended 600mm maximum without suitable reinforcement.
- Inconsistent clip spacing: Failing to maintain the recommended 400–600mm spacing along the batten run.
- Incorrect clip orientation: Not accounting for the required 90-degree rotation when preparing vertical installations.
- Skipping pre-drilling: Driving screws directly into composite battens without preparing the fixing points.
- Insufficient framework preparation: Attempting to install clips before confirming the supporting structure is suitable and correctly positioned.
Checking these details before installation can help avoid unnecessary adjustments once the battens are being fitted.
Supporting Framework And Fixings: Frequently Asked Questions
What material can I use for the supporting framework?
The supporting framework can be constructed from timber, aluminium or steel, depending on your project and specification. NeoTimber® does not supply the framework, which remains the installer's responsibility.
How far apart should NeoTimber® louvre fixing clips be positioned?
NeoTimber® recommends spacing concealed fixing clips approximately 400–600mm apart along the batten run.
What is the maximum support span for composite louvre battens?
All three NeoTimber® composite louvre batten profiles have a maximum recommended support span of 600mm without a galvanised steel insert.
Which concealed fixing clip should I use?
The standard concealed fixing clip is suitable for 50mm and 100mm batten profiles. The larger fixing clip is required for 150mm profiles.
Can I use the same fixing clips for horizontal and vertical installations?
Yes. The same concealed fixing system is used for both installation directions. However, for vertical batten runs, the fixing clip must be rotated 90 degrees so the slotted fixing hole is positioned horizontally.
Do I need to pre-drill composite louvre battens?
Yes. All batten fixing points must be pre-drilled before driving screws into the composite material.
Move On To Installing Your Composite Louvre Battens
With your supporting framework prepared, fixing positions marked and the correct concealed clips selected, you're ready to move on to the next stage of your project.
Continue to Stage 3: Installing Your Louvre Battens, where we'll cover the concealed clip fixing process, attaching your composite battens, maintaining consistent spacing and achieving accurate alignment across horizontal and vertical installations.
Explore the NeoTimber® composite louvre batten range or contact the NeoTimber® team if you require further guidance before starting your installation.