


Create a Coordinated Exterior With Grey Composite Boards
Grey cladding can bring a calm, contemporary finish to an exterior. It works as a starting point for a restrained colour scheme or as a backdrop for planting, contrasting brickwork and a distinctive entrance. The result depends on the shade, surface texture and how much of the building you choose to clad.
If you are exploring grey composite cladding for a house, garden room or feature elevation, start with the materials already present. This guide explains how to compare finishes, build a coherent palette and plan the practical details of your project.
Why Choose Grey Cladding?
Grey offers flexibility without requiring every exterior feature to match. You can use it alongside lighter render for contrast, with dark frames for a layered scheme or beside warmer materials to balance the overall appearance. Different combinations create different effects, so a sample comparison is more useful than assuming grey works equally well with every colour.
Cladding can refresh a property's appearance, but a particular colour does not guarantee an increase in market value. Choose a finish that suits the building and your preferences, then assess its suitability and care requirements alongside the design.
Grey Cladding Colour Combinations
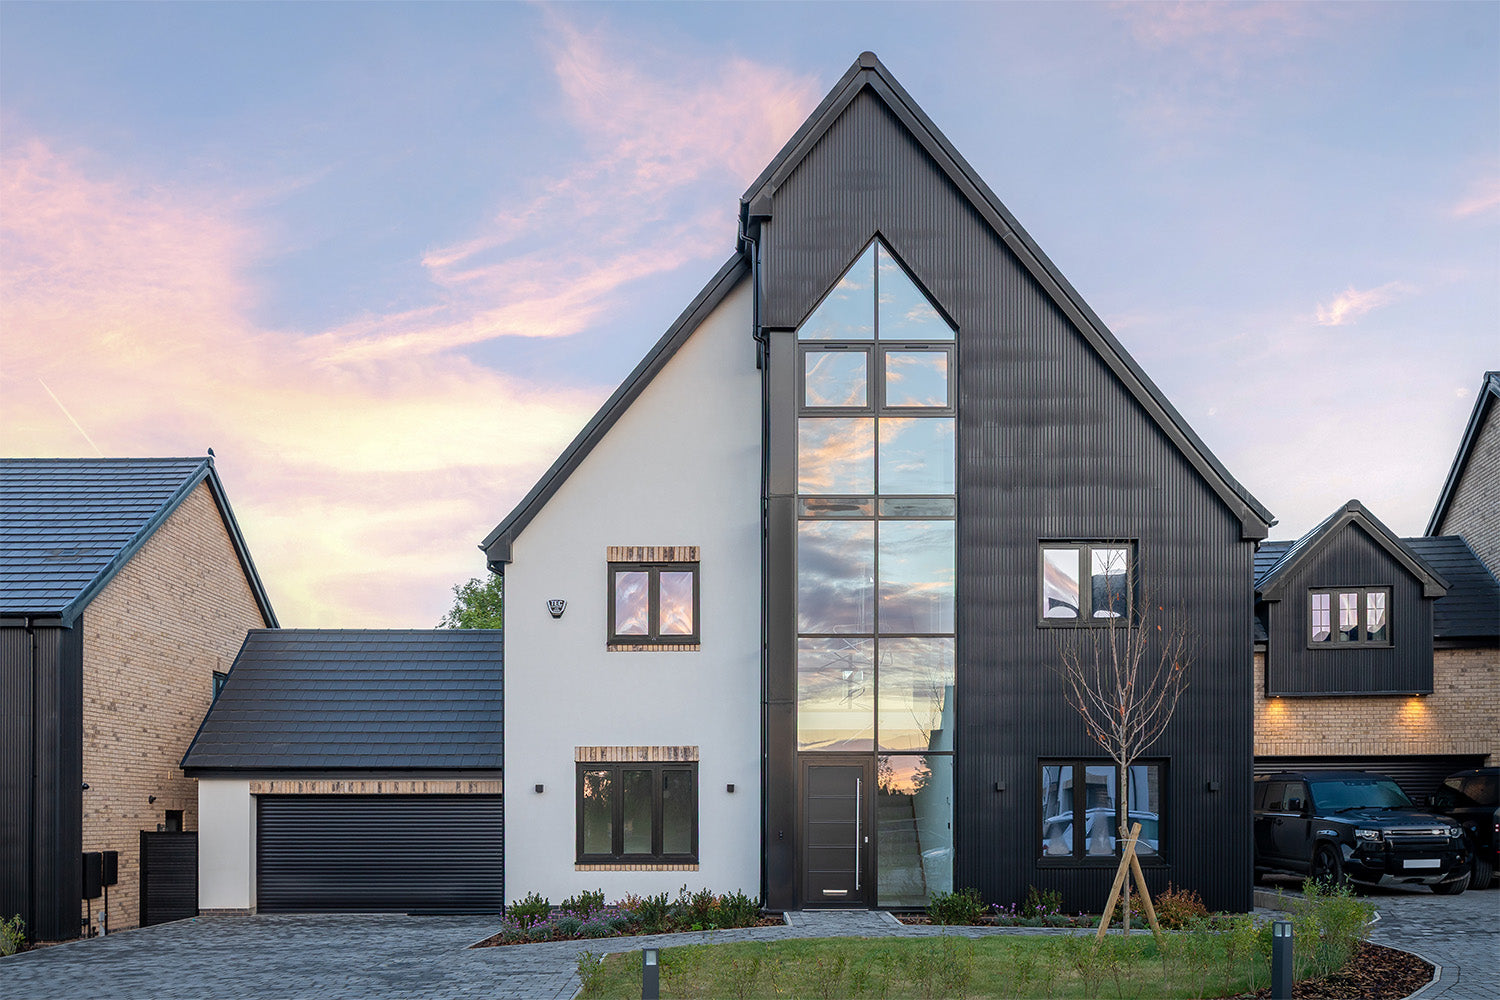
Grey and Pale Render
Pale render beside grey boards can create a clear distinction between surfaces. Use cladding to define an entrance or a selected section of an elevation, rather than introducing several competing finishes. Plan the transition so the junction looks deliberate and is detailed appropriately.
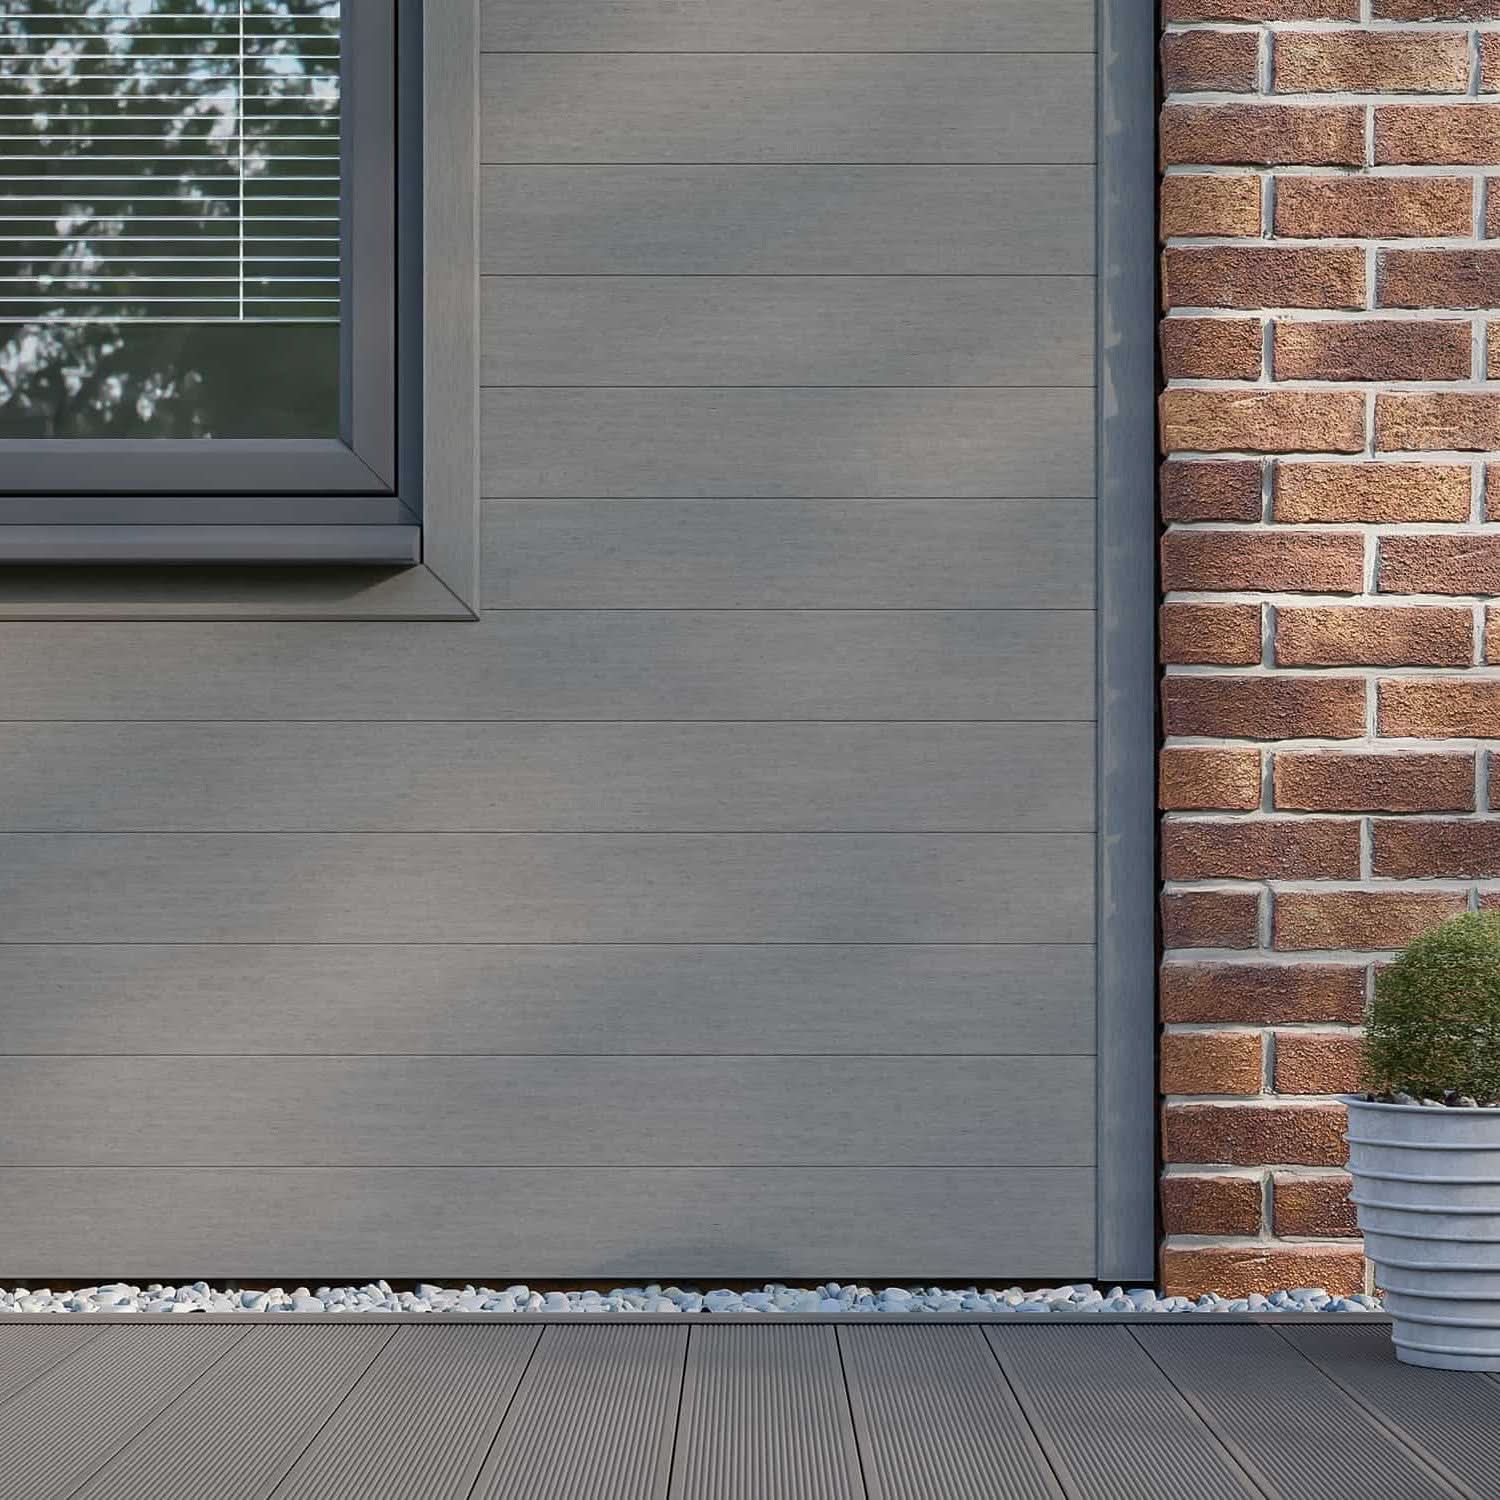
Grey and Brickwork
Compare grey samples directly against your brickwork. Red, buff and darker bricks can bring out different aspects of a grey finish. Mortar also influences the overall palette, so step back and assess the whole wall rather than comparing the board with one brick.
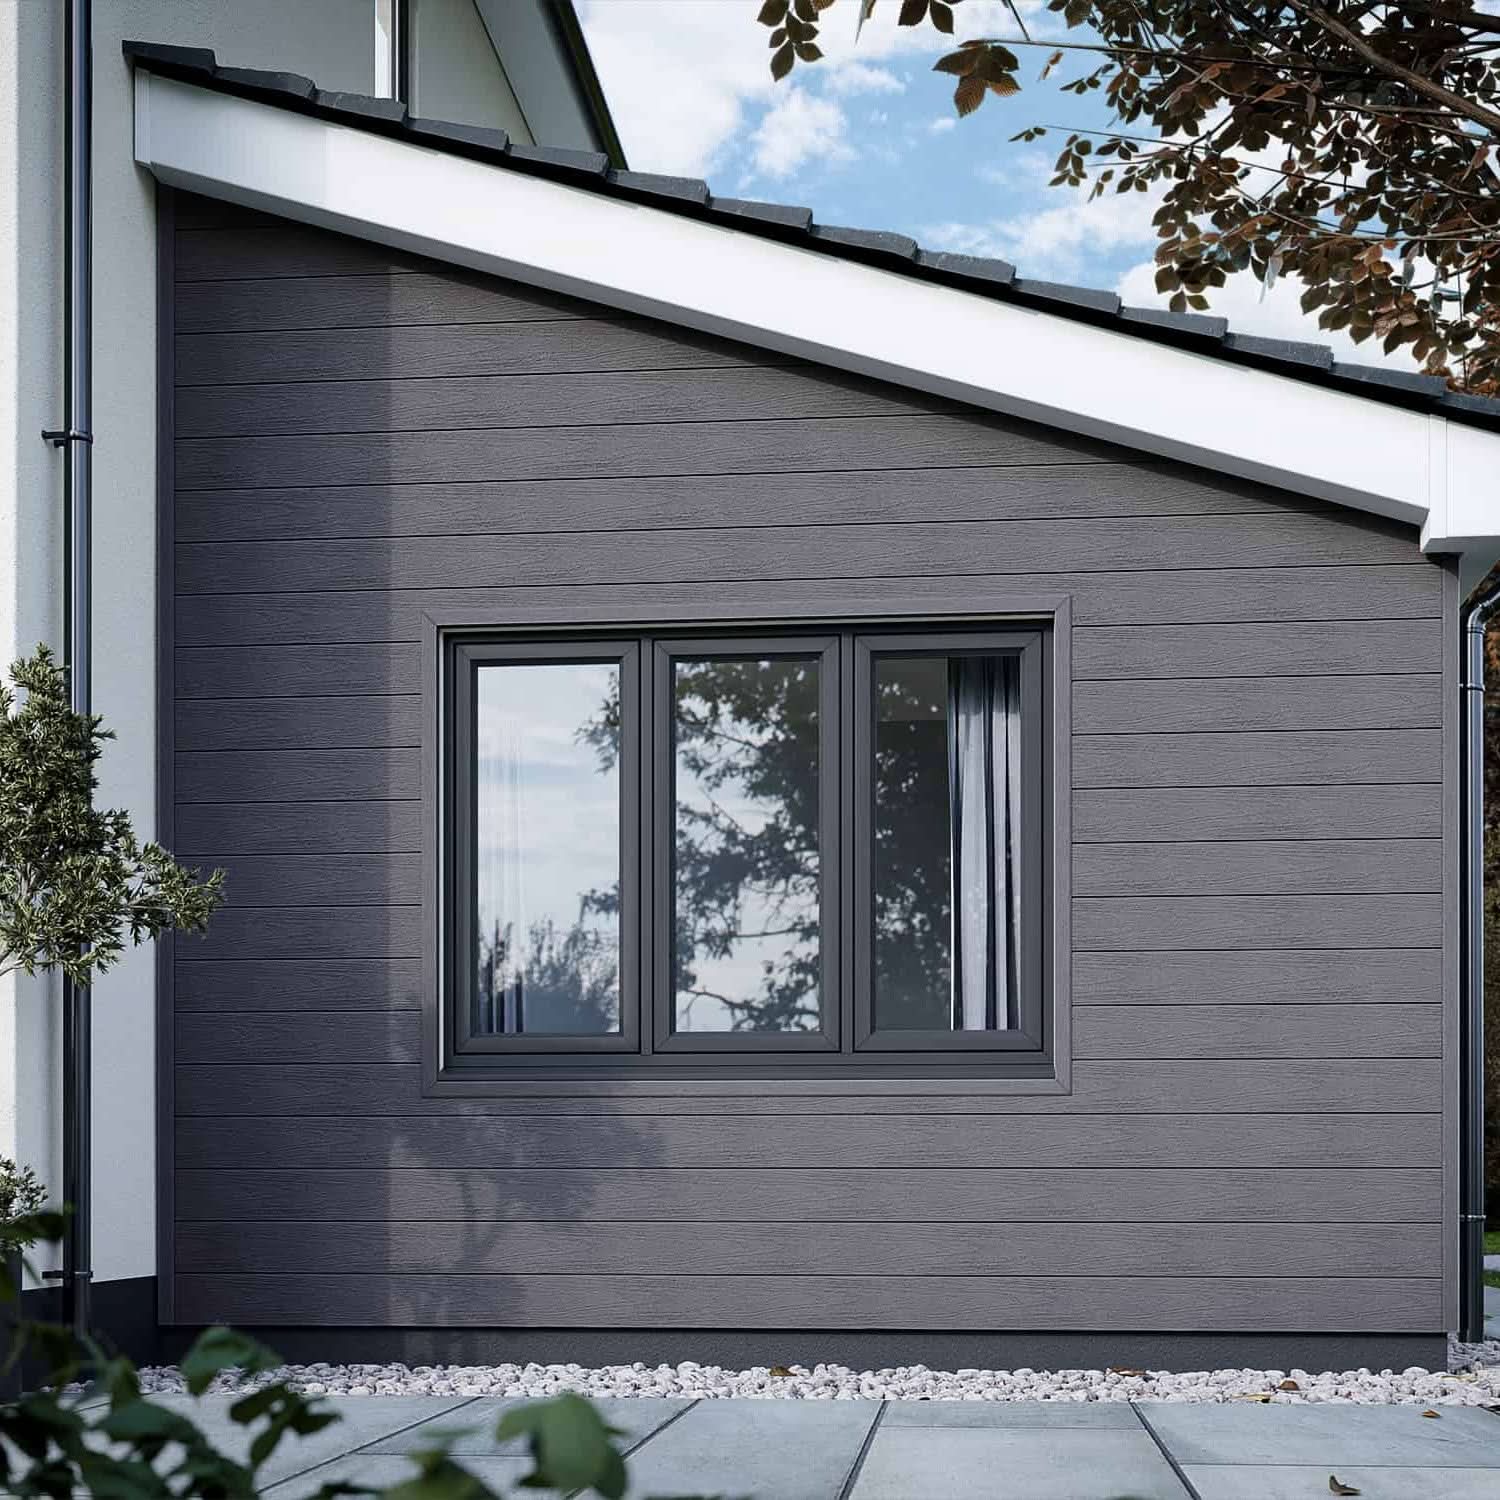
Grey and Dark Window Frames
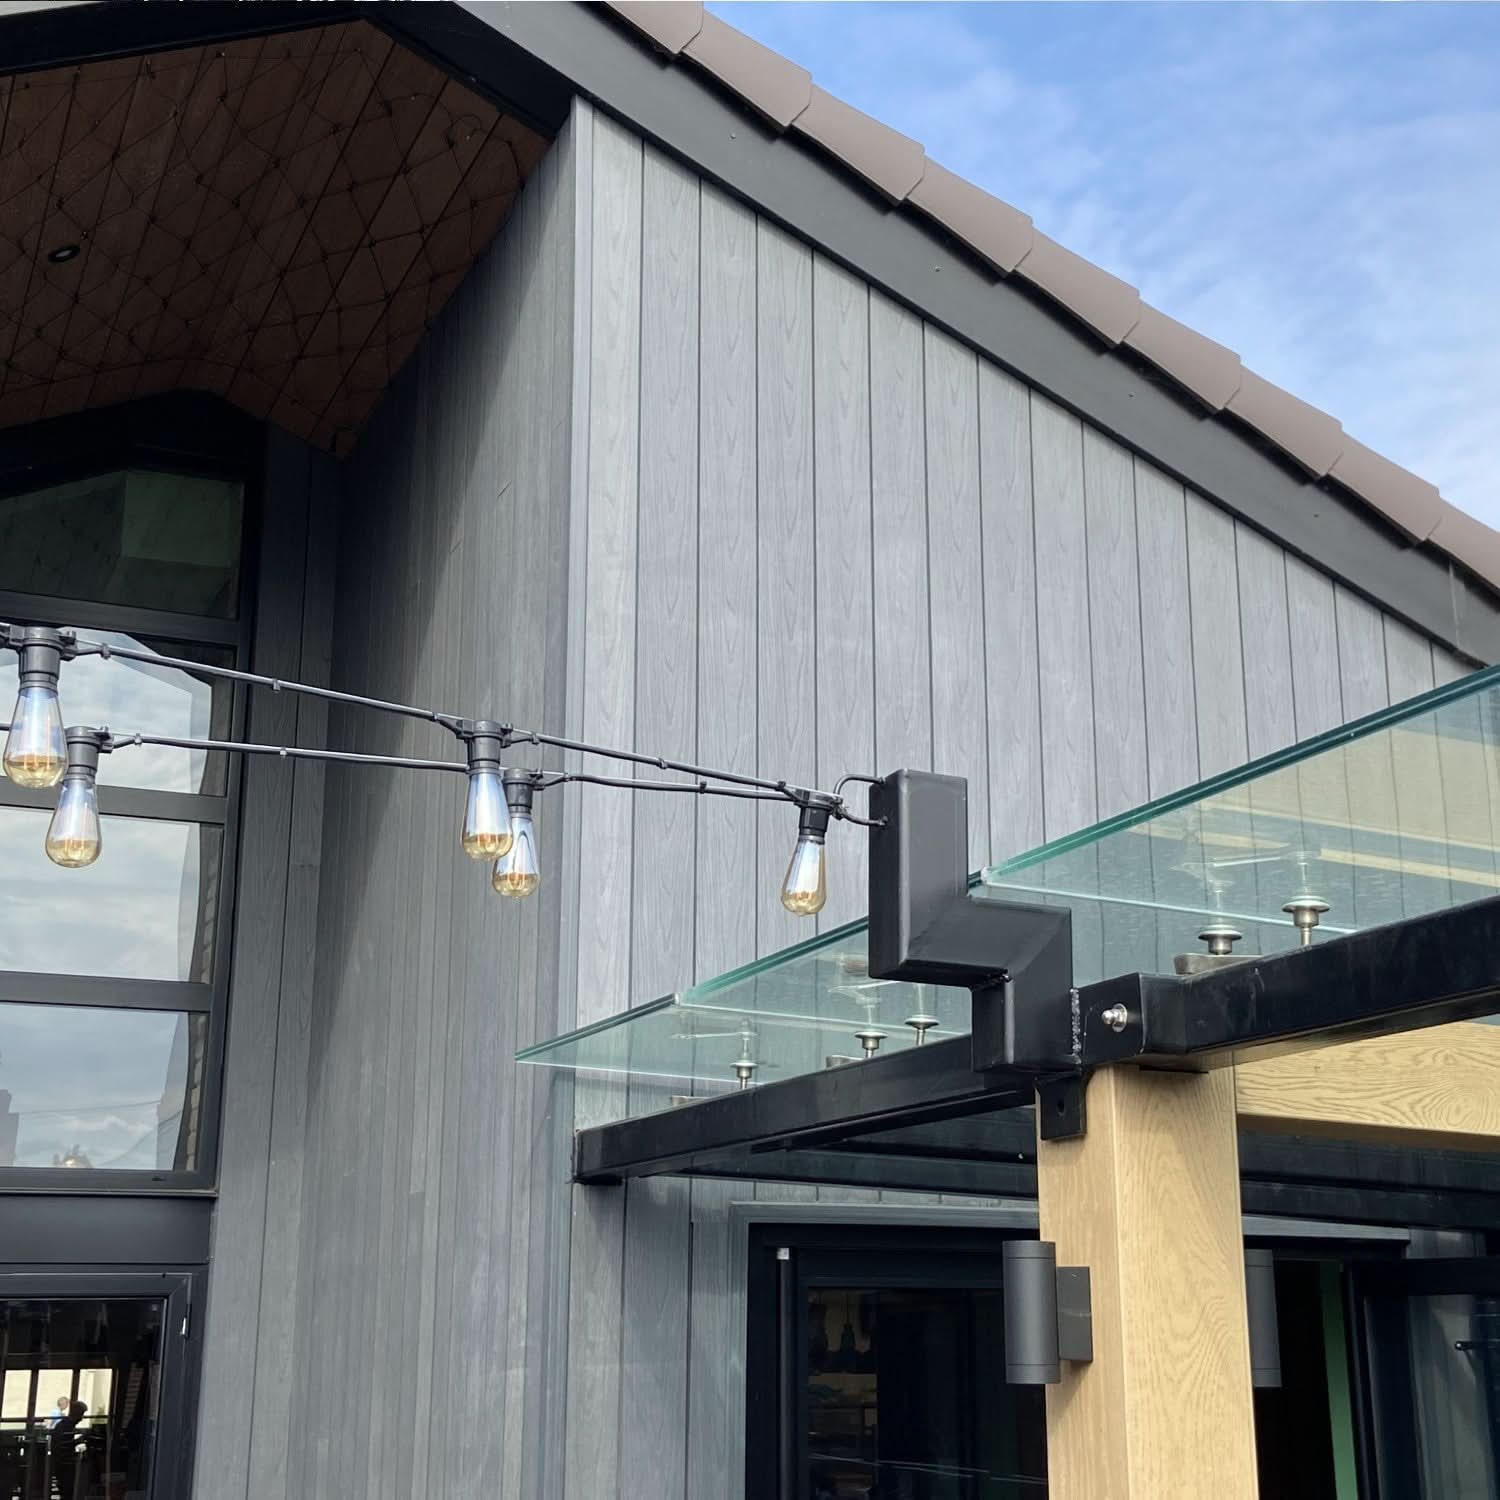
Grey cladding can sit alongside anthracite or black window frames, but these finishes should not be assumed to match exactly. A difference in texture or tone can create a considered contrast. View samples beside the frames and decide whether you want that distinction or a closer colour relationship.
Grey and Garden Materials
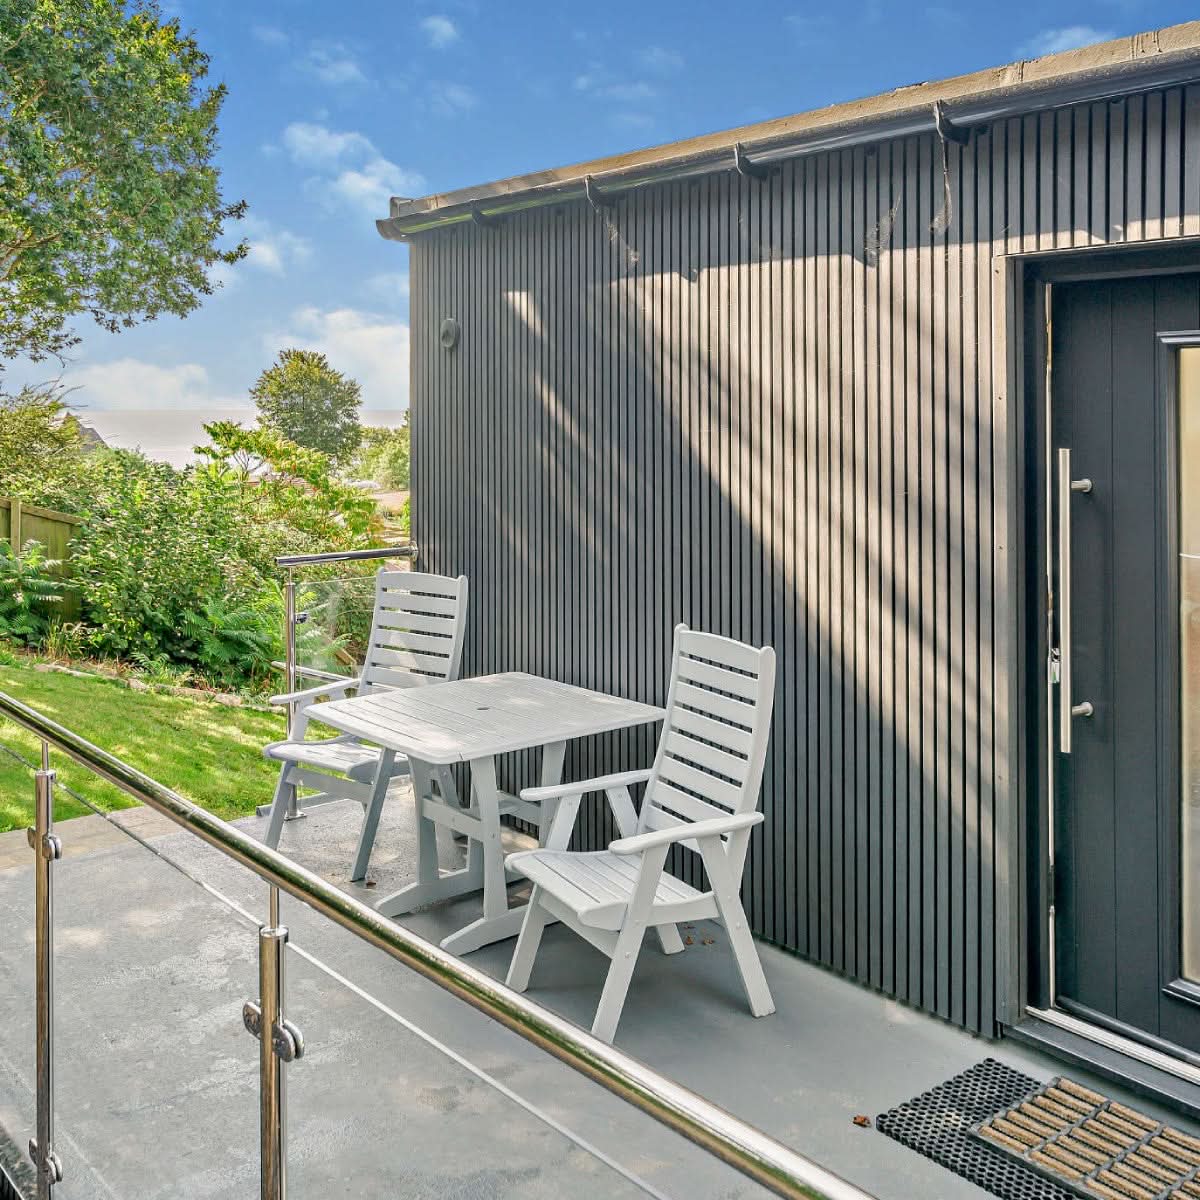
Consider paving, decking, fencing and planting when choosing a garden room finish. Grey can provide a quiet backdrop to greenery, while warm furniture or timber details can add contrast. If coordinating products from different ranges, compare actual samples rather than relying on identical colour names.

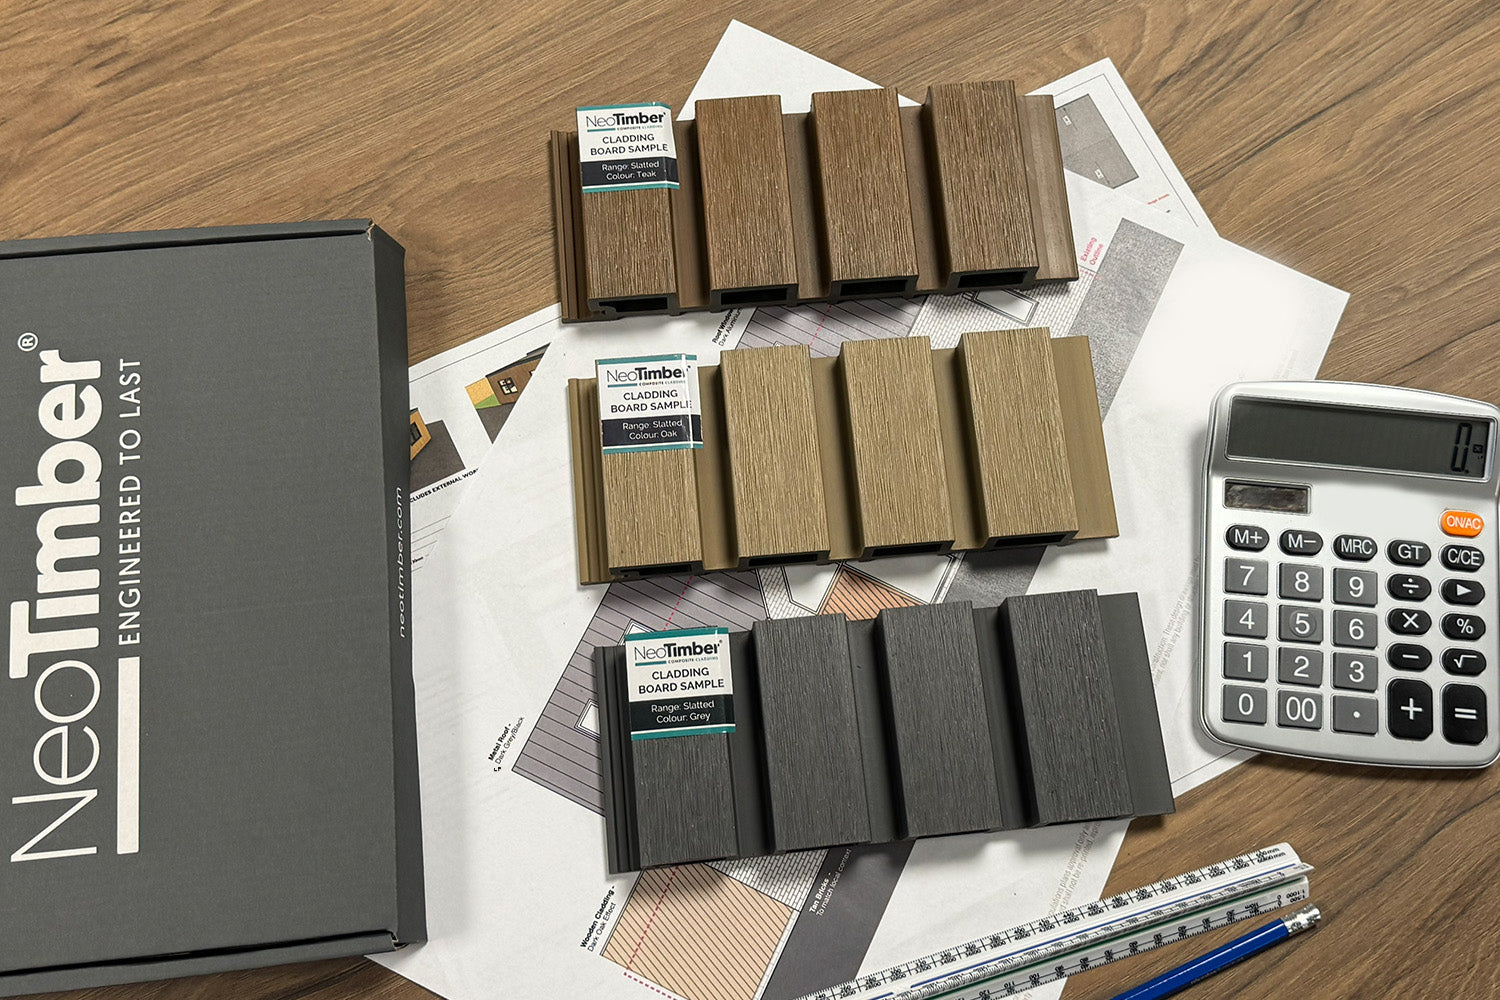
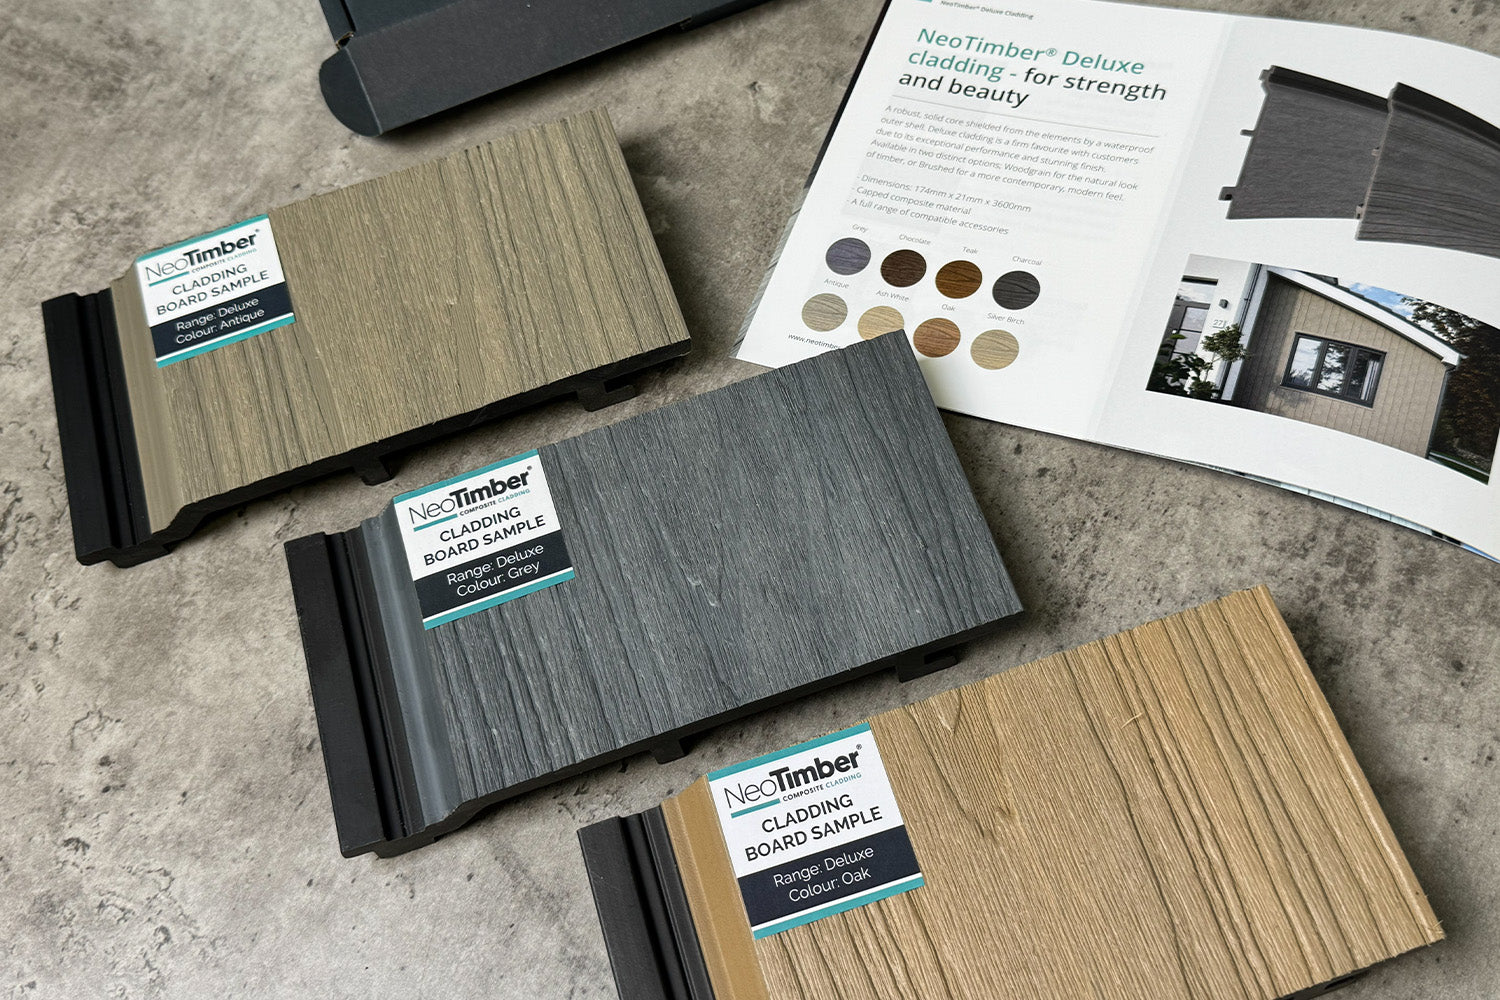
Compare NeoTimber’s Grey Cladding Finishes
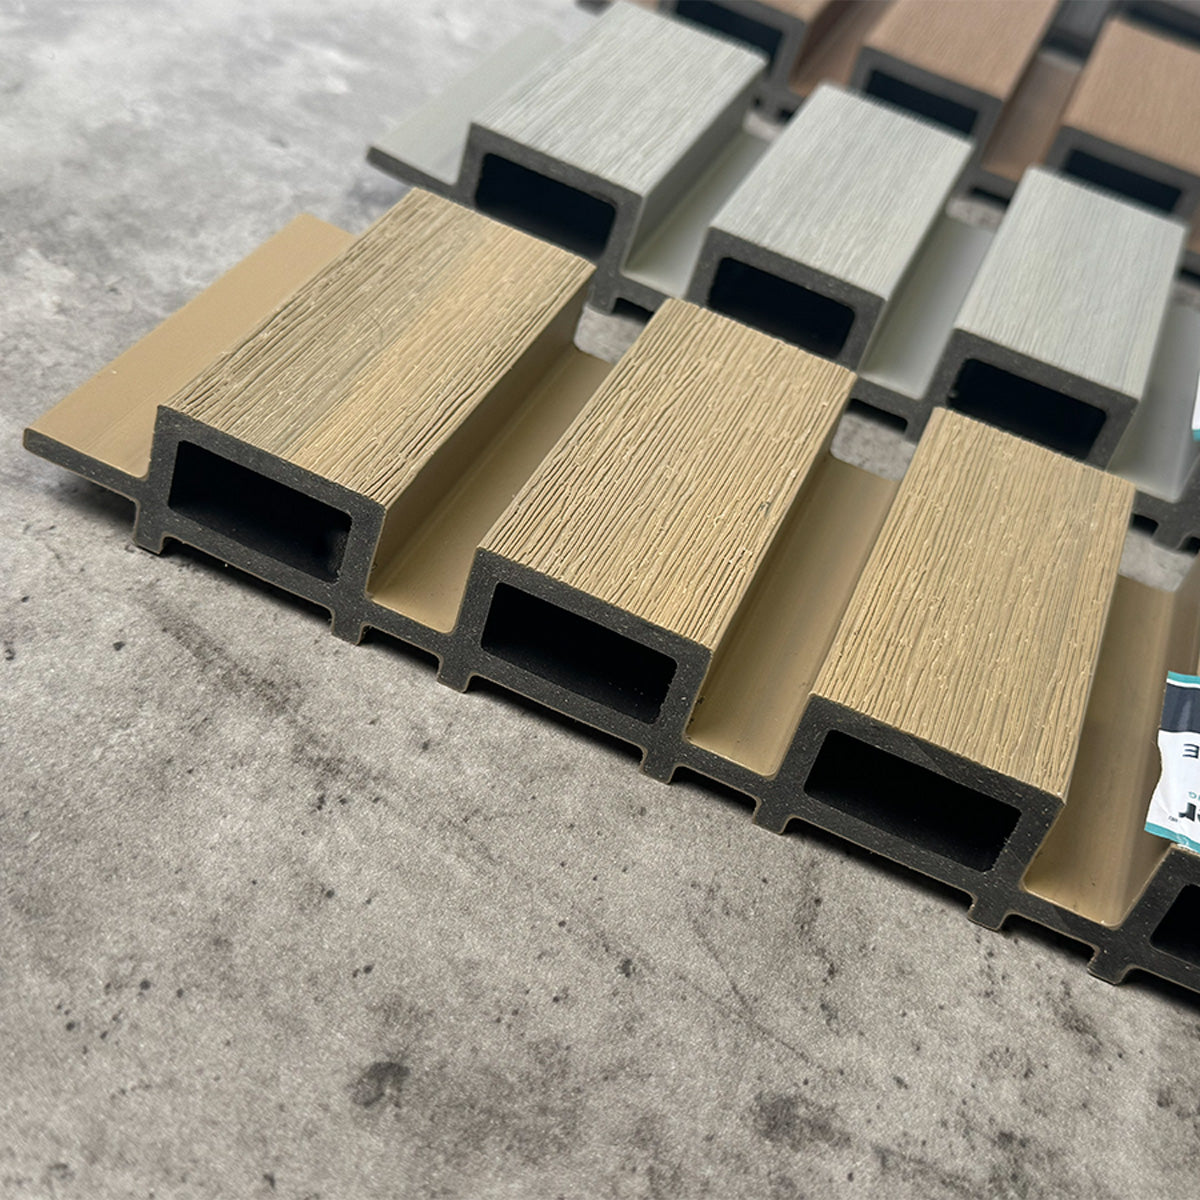
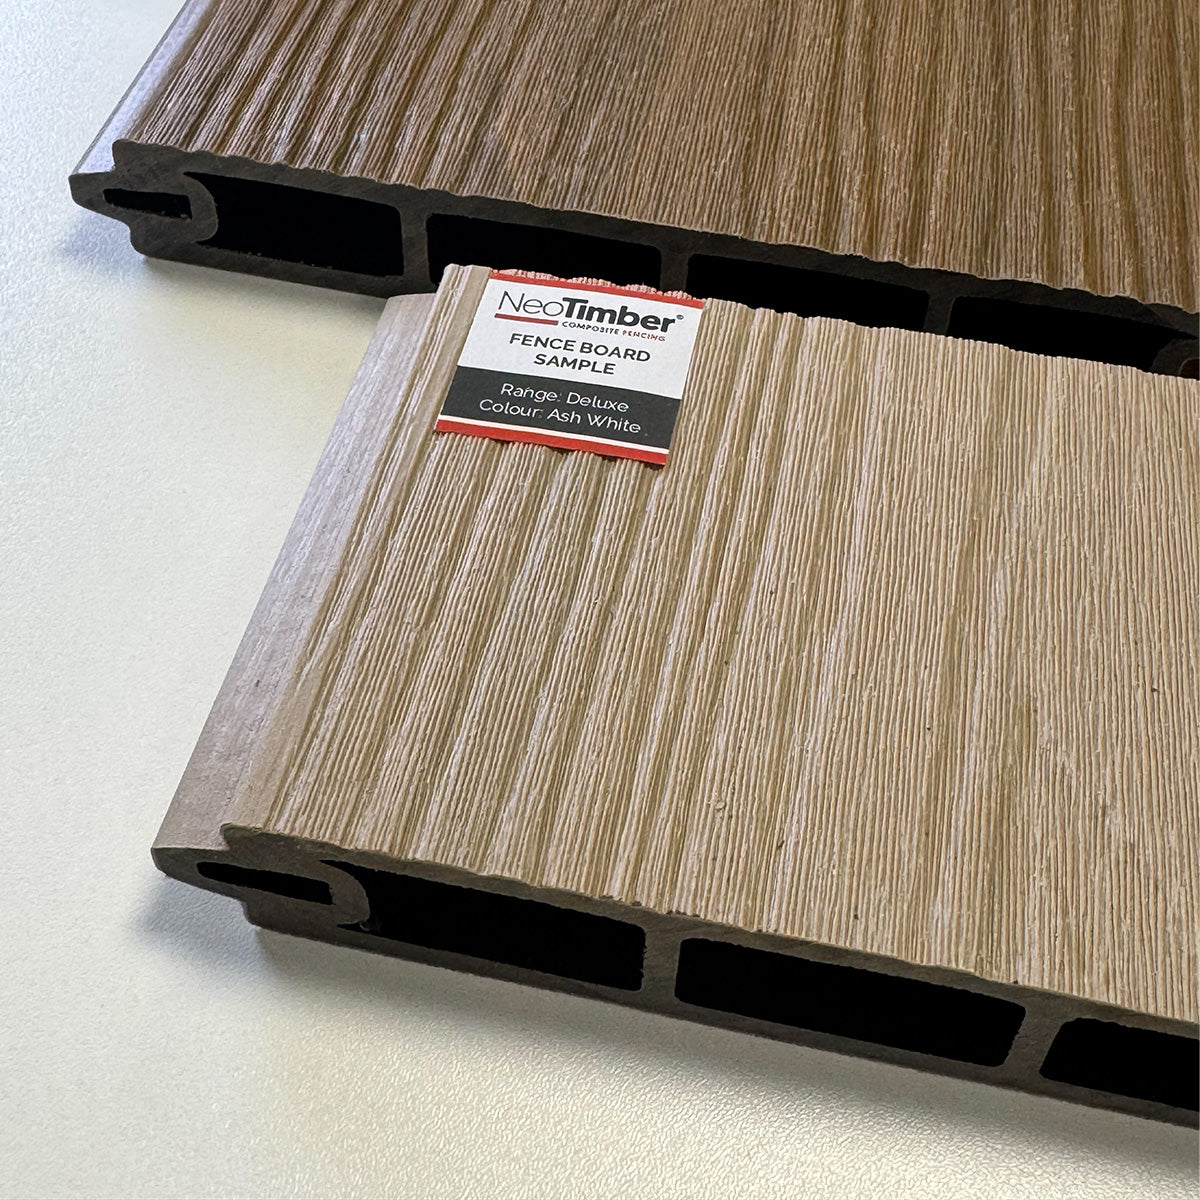
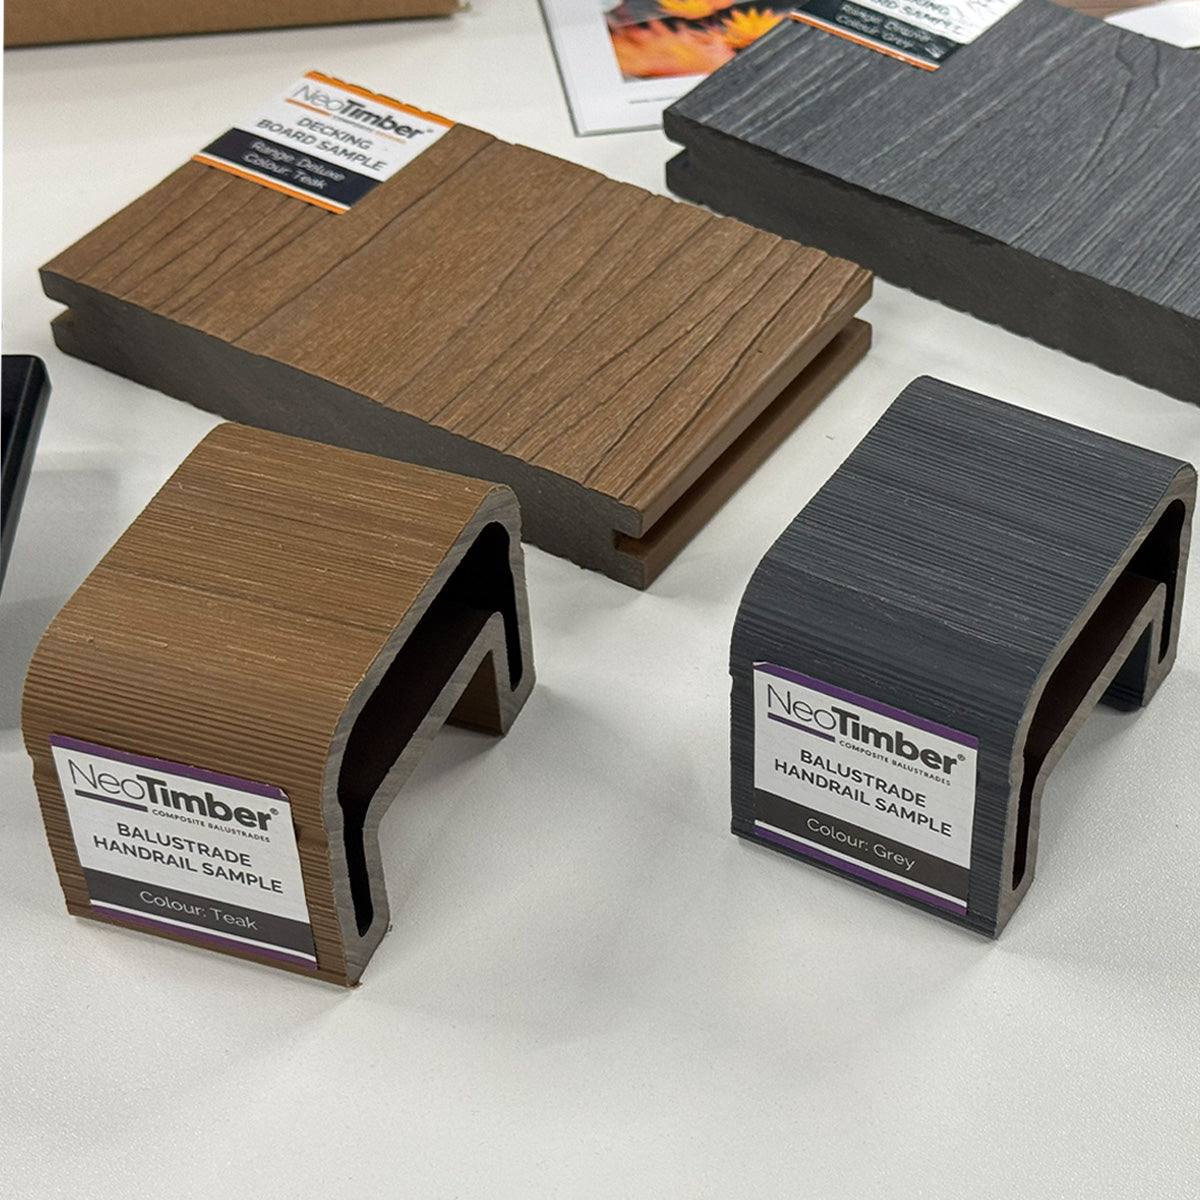
Texture and board profile influence the appearance as much as colour. NeoTimber’s composite cladding collection includes different finishes to compare. Check the current product listing for availability and the specification of your chosen option.
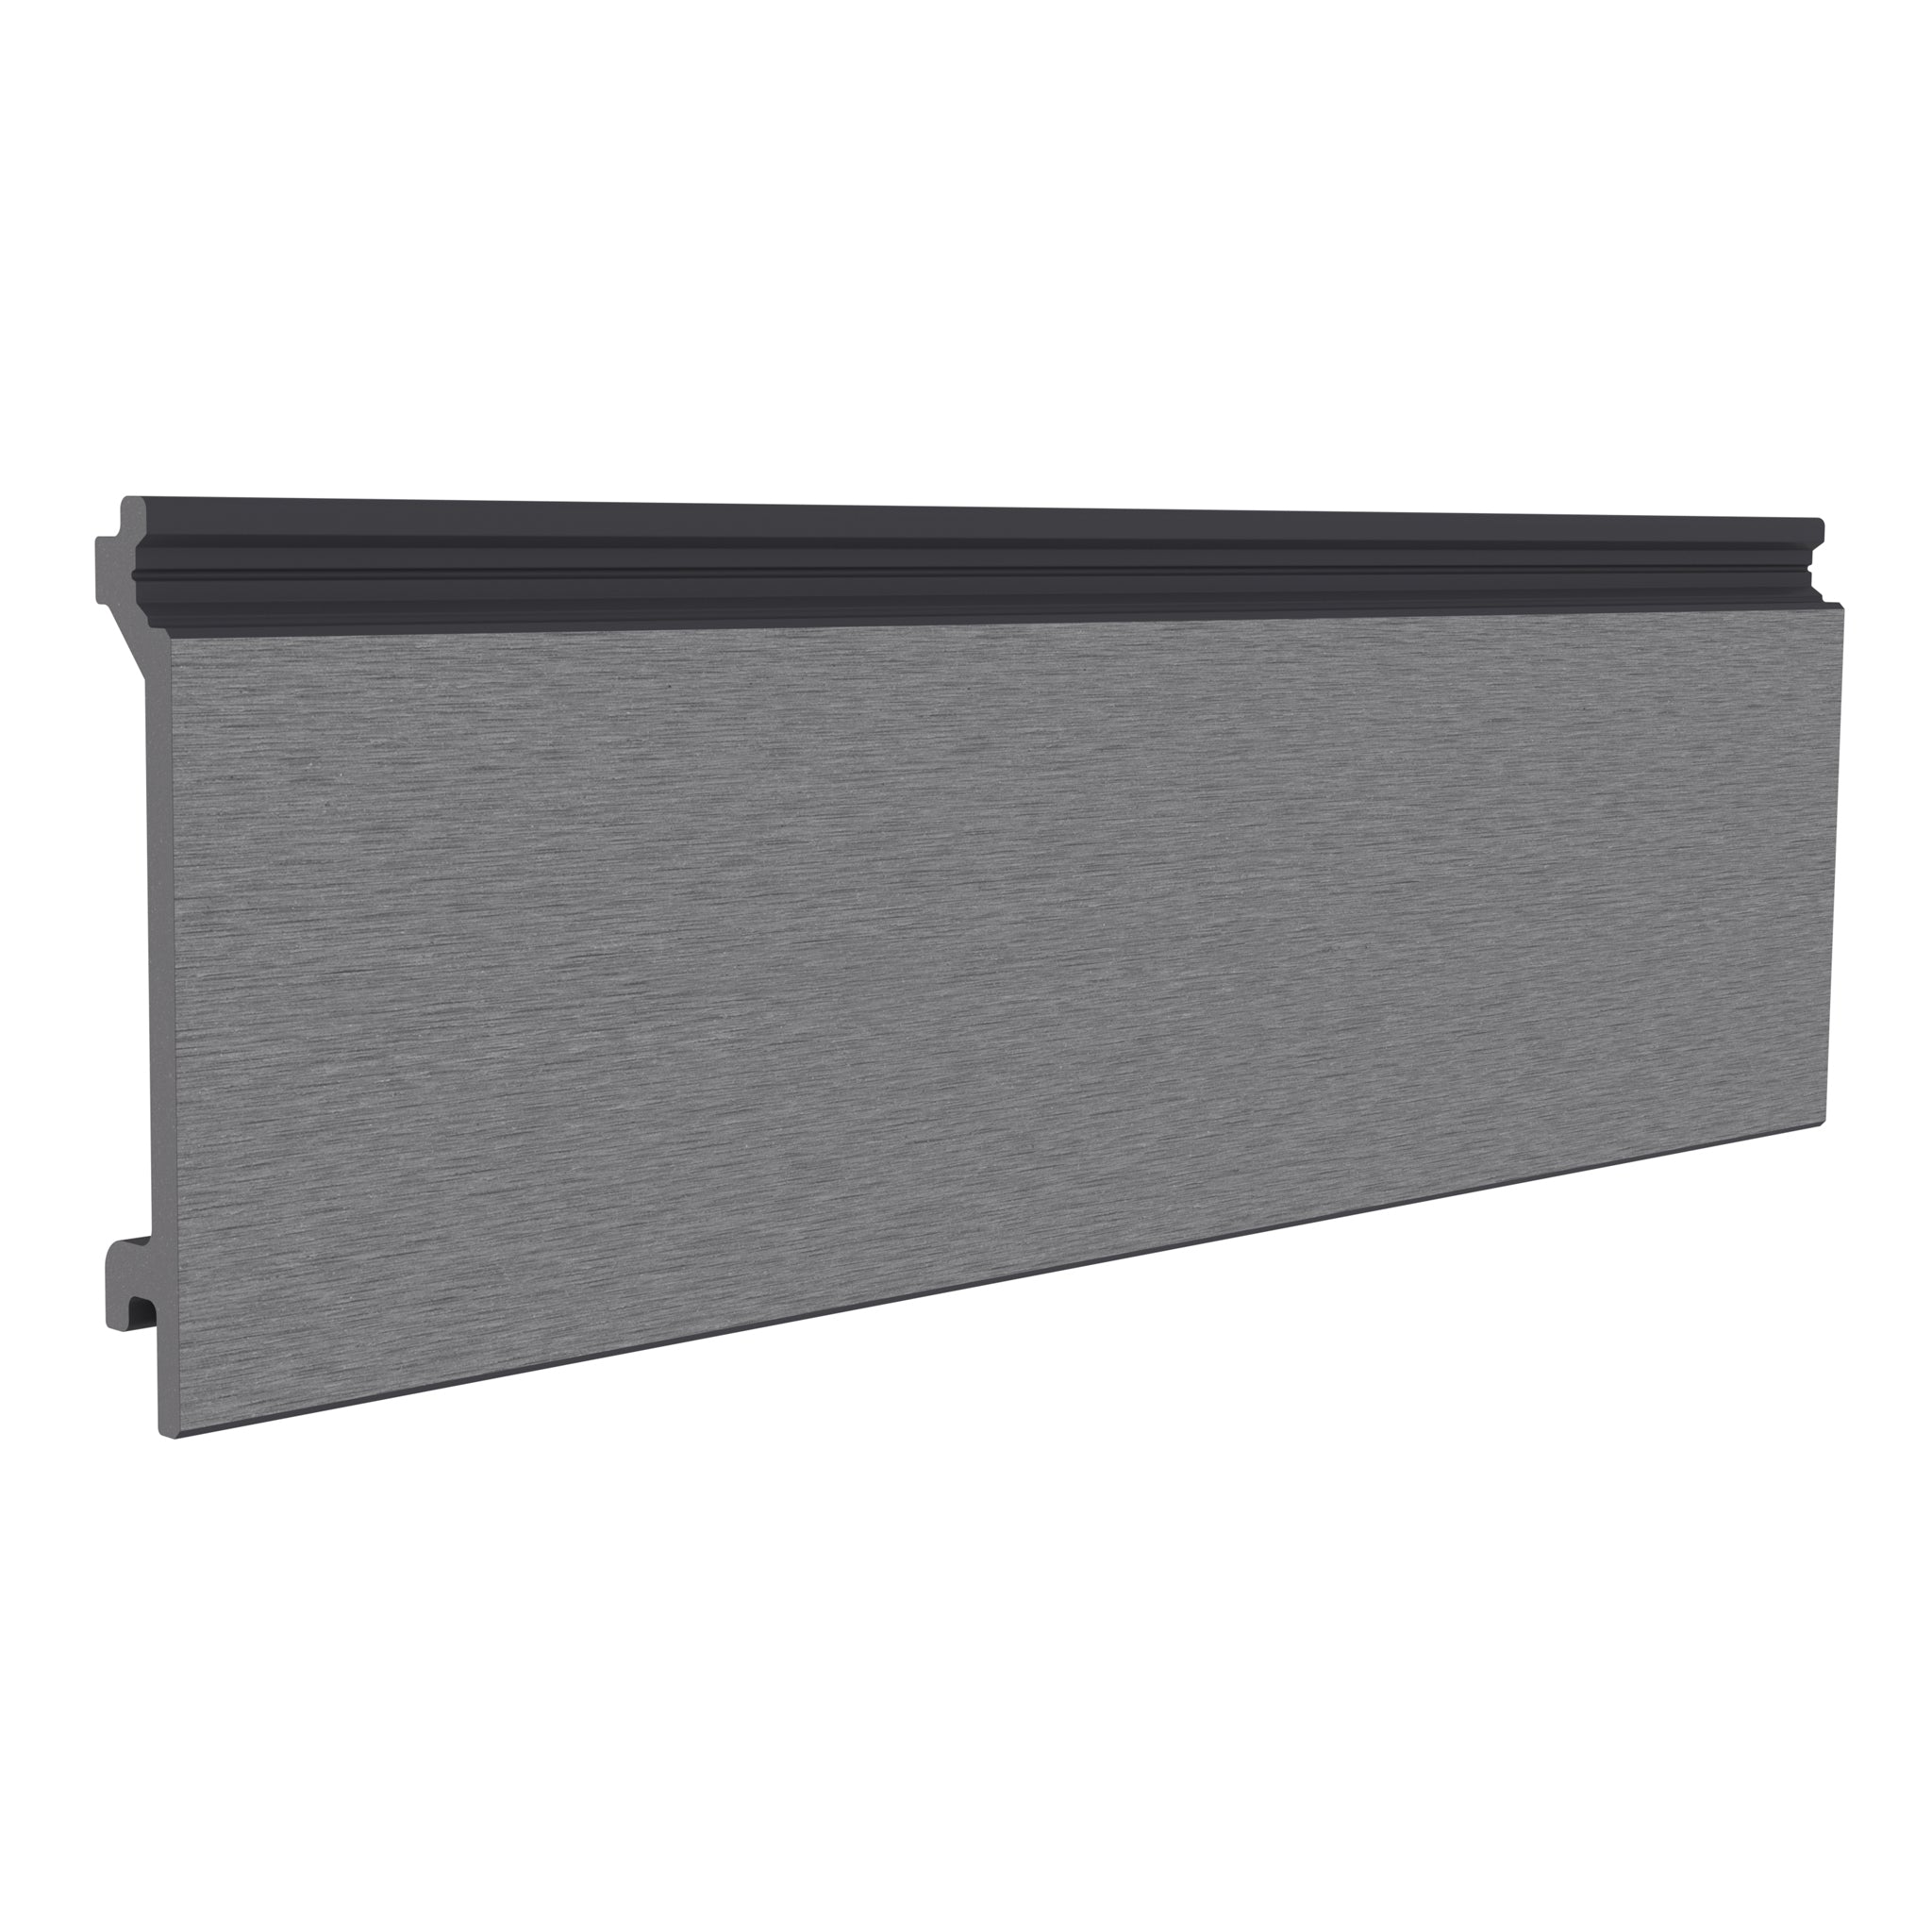
Classic Grey Cladding: A Subtle Sanded Texture
The Classic range uses an uncapped wood-polymer construction with a sanded surface. It is an option to explore where a restrained texture suits the design. Read the weathering information before choosing, so you understand how its appearance may develop outdoors.

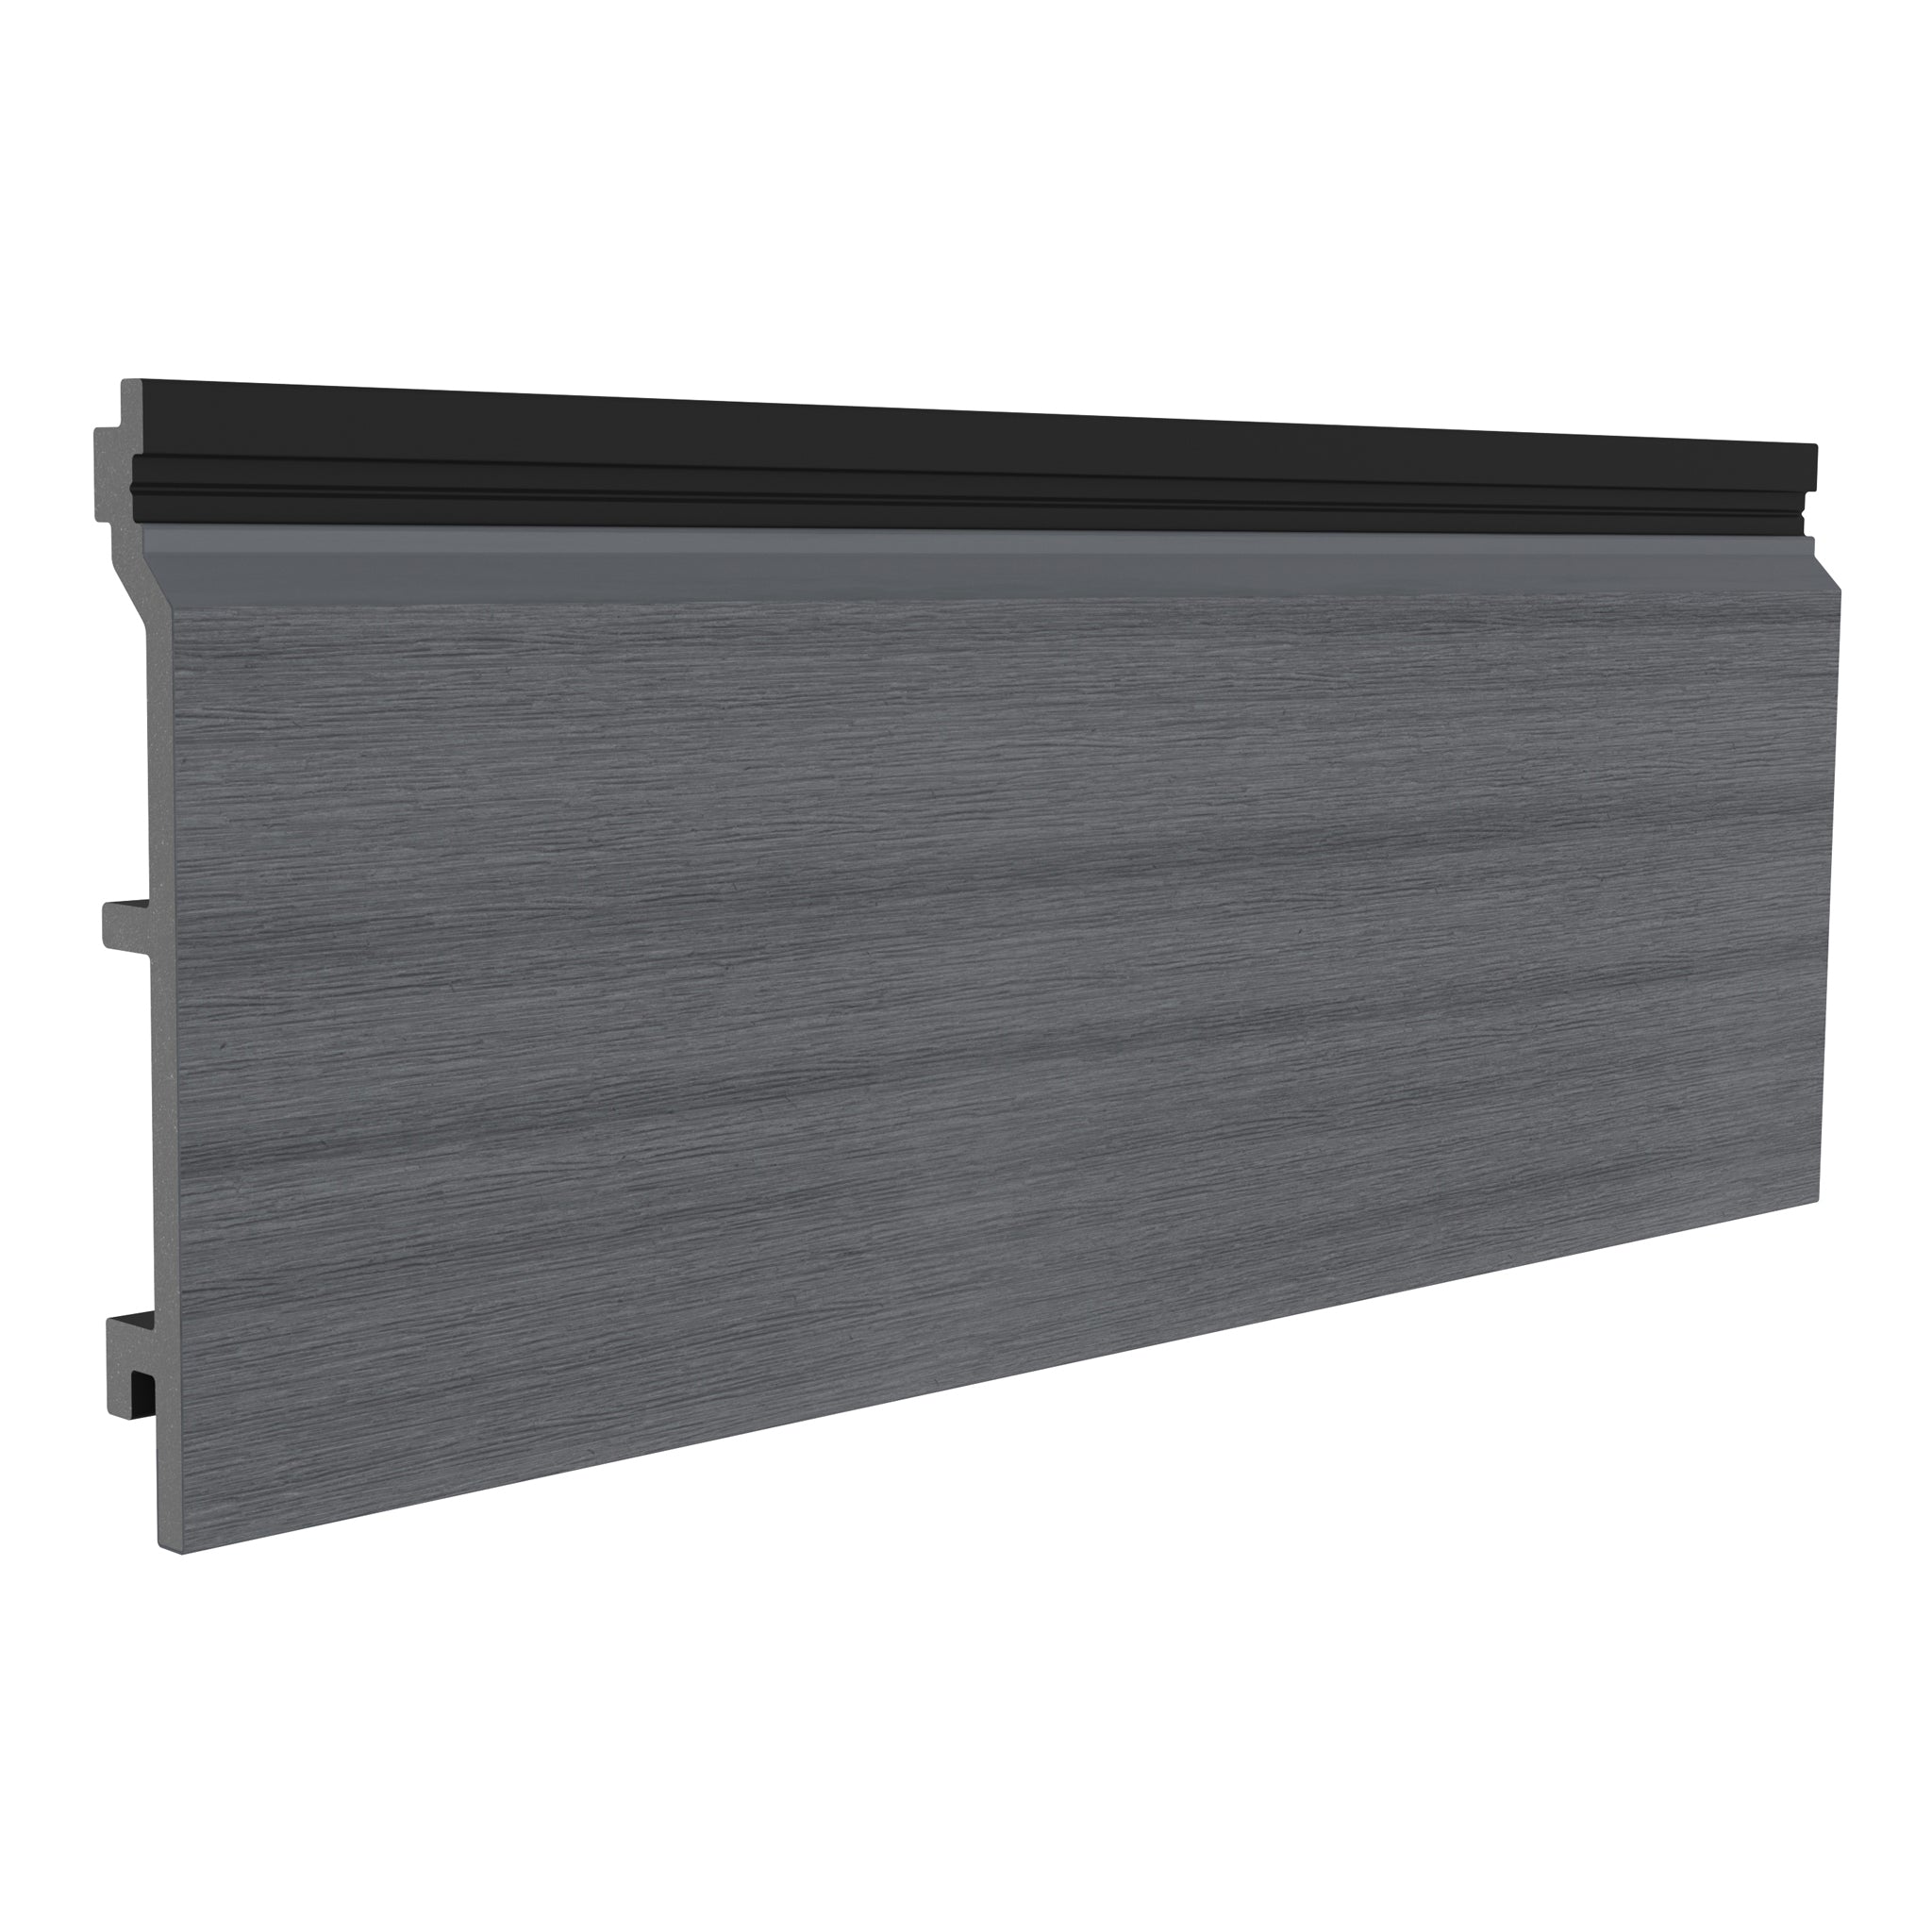
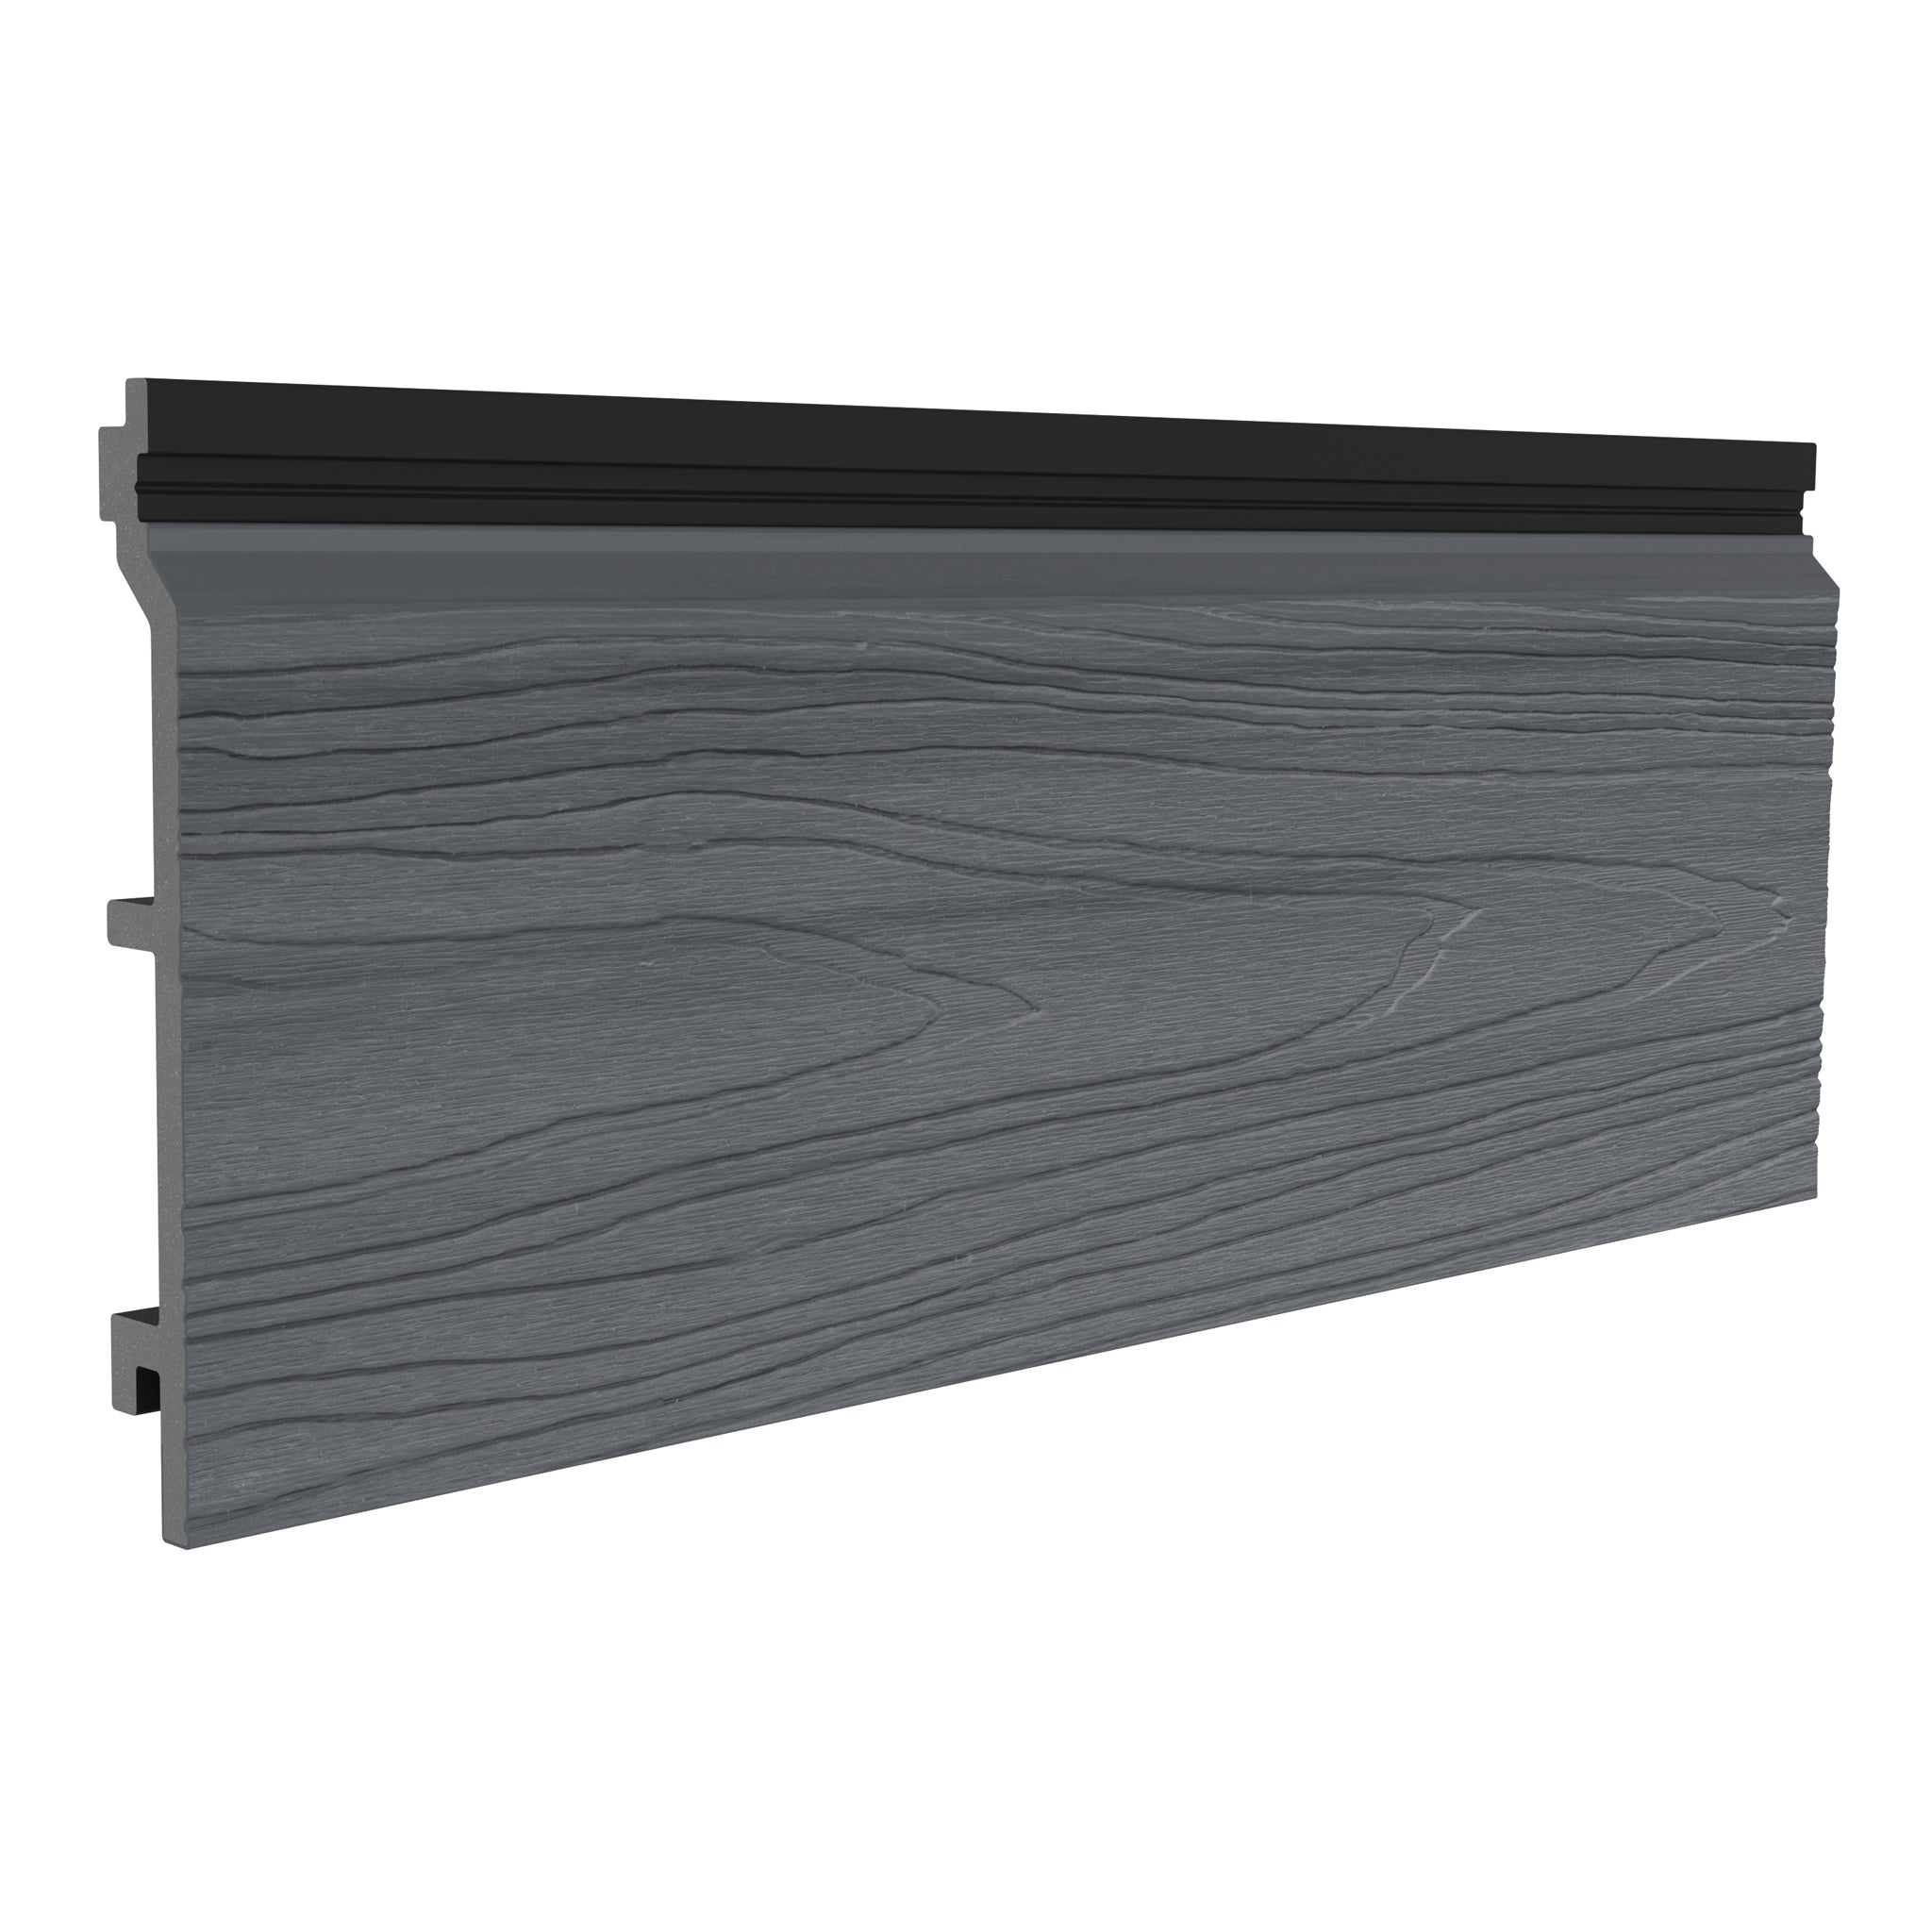
Deluxe Grey Cladding: A Defined Woodgrain Finish
Deluxe Woodgrain cladding has an embossed timber-inspired grain and capped construction designed to improve fade and stain resistance. Compare its surface in daylight if you want texture to be a prominent part of the wall design.

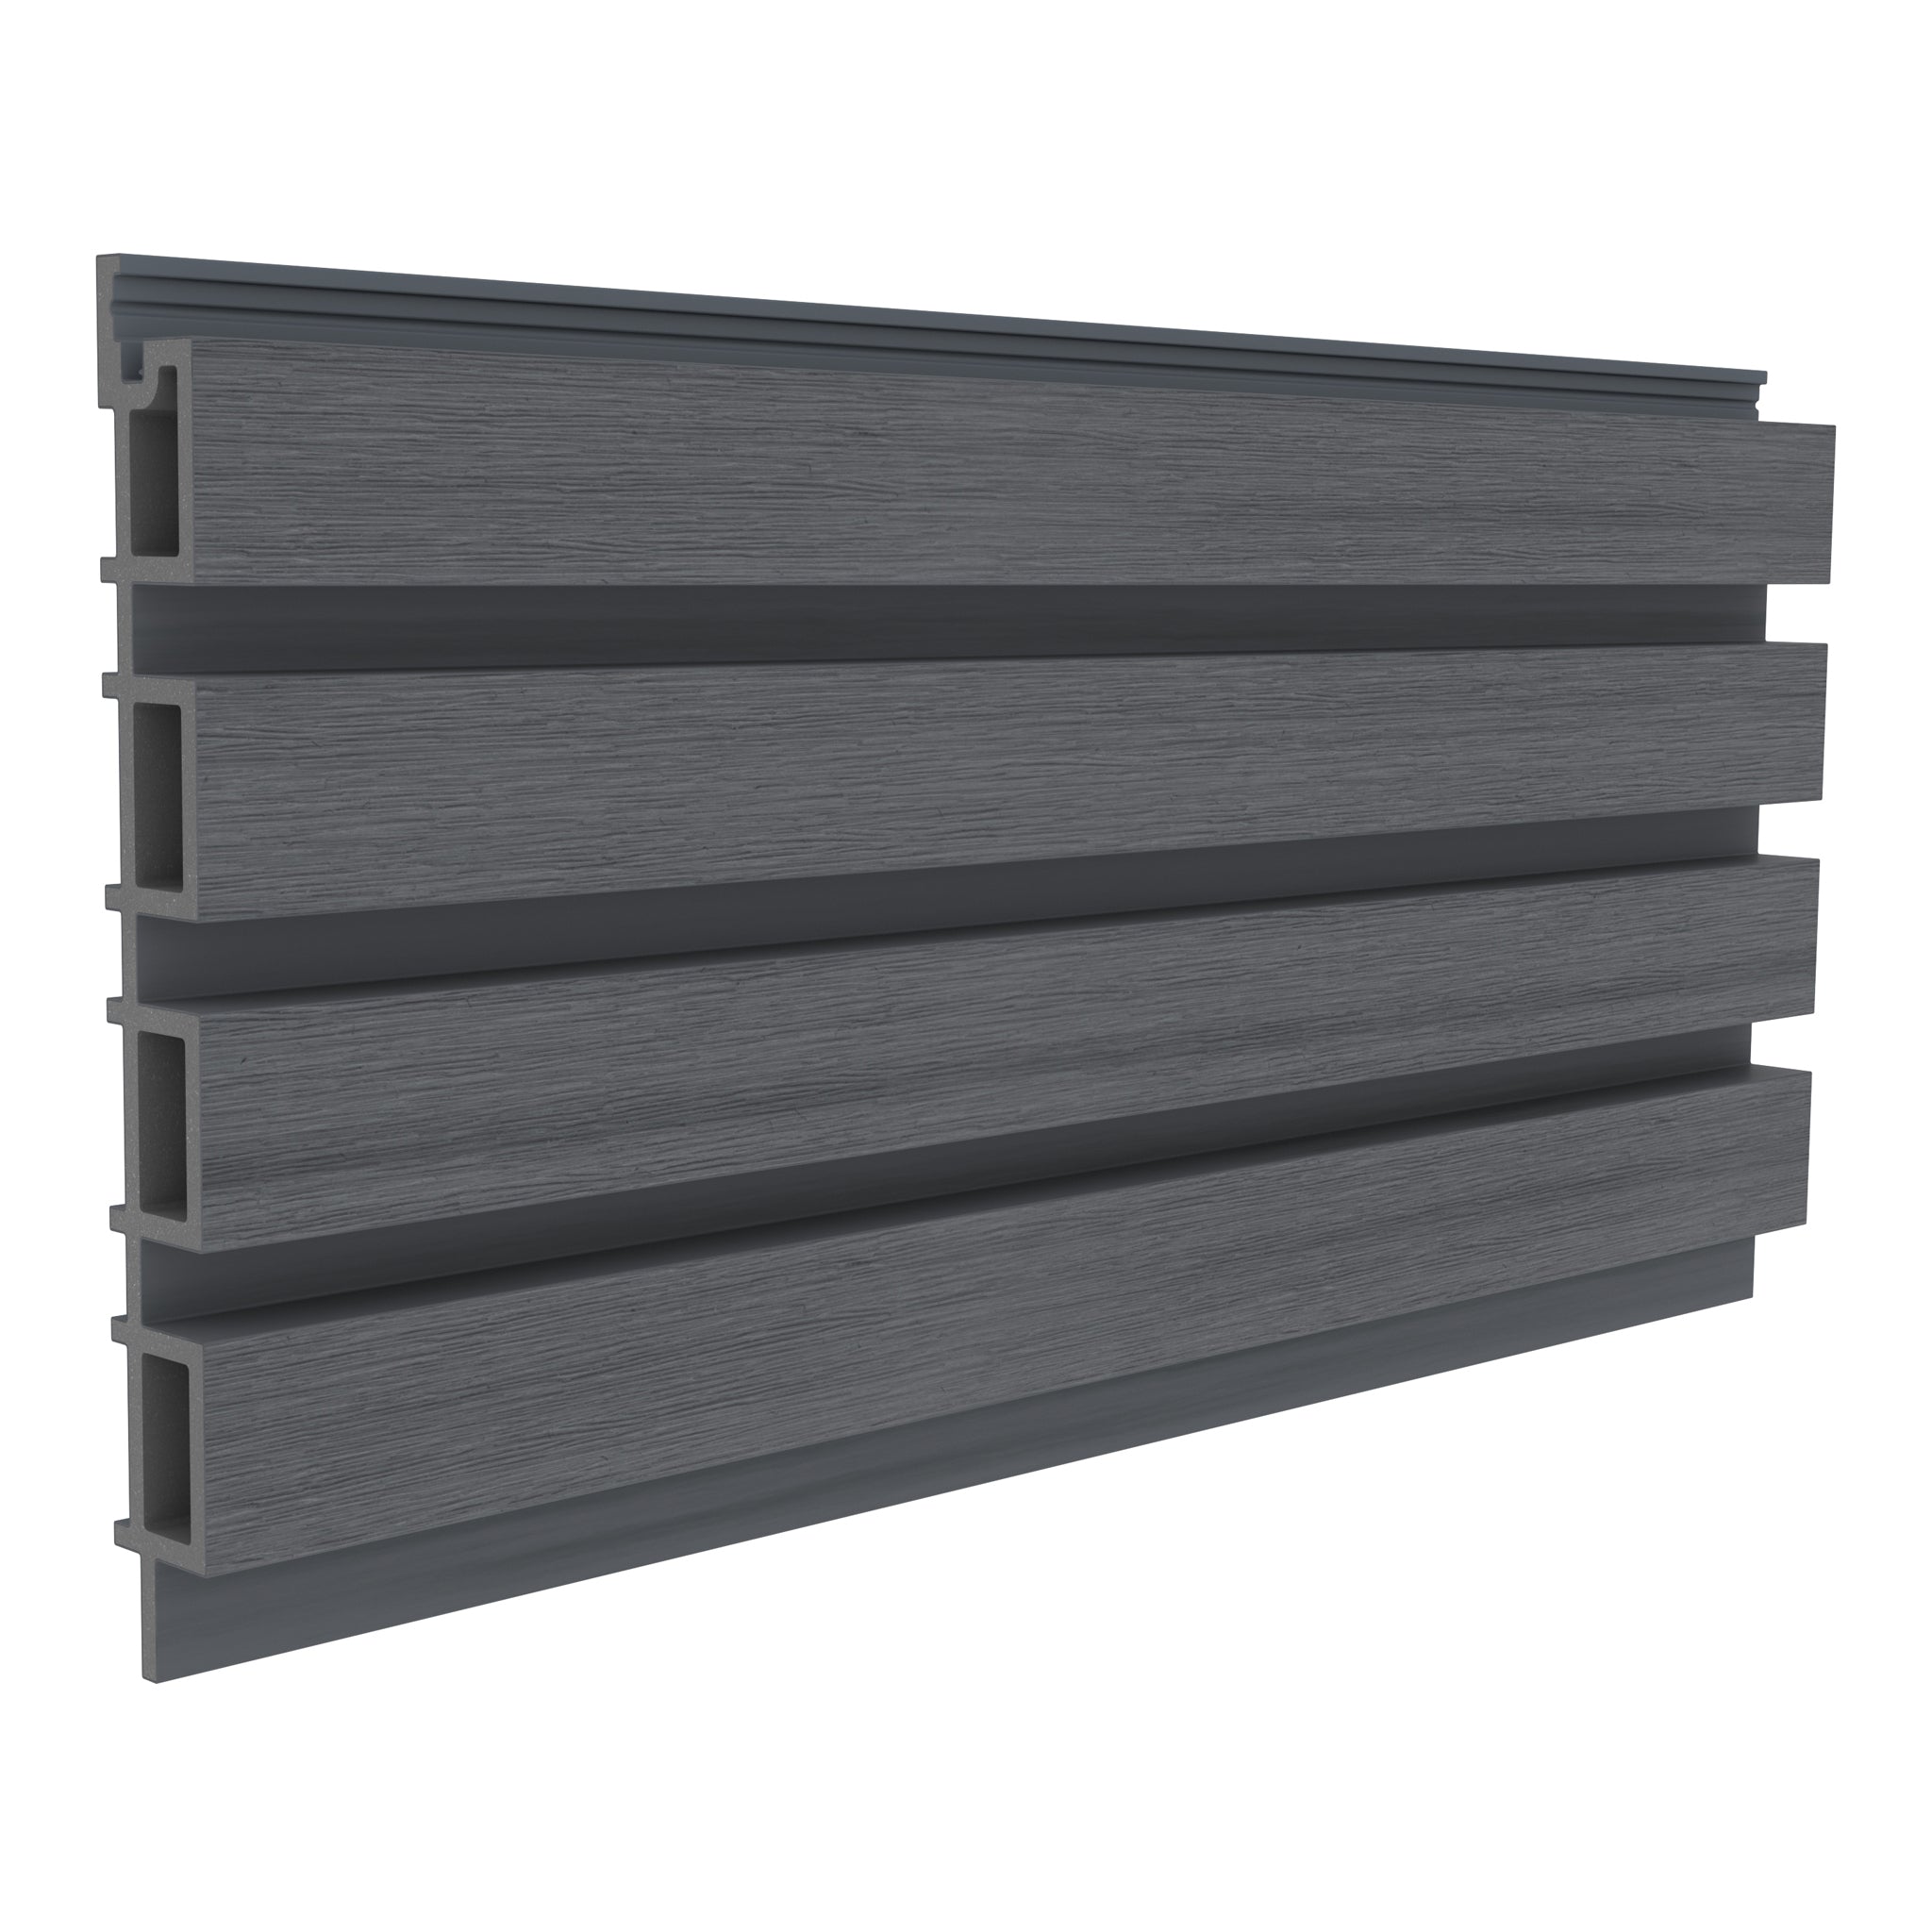
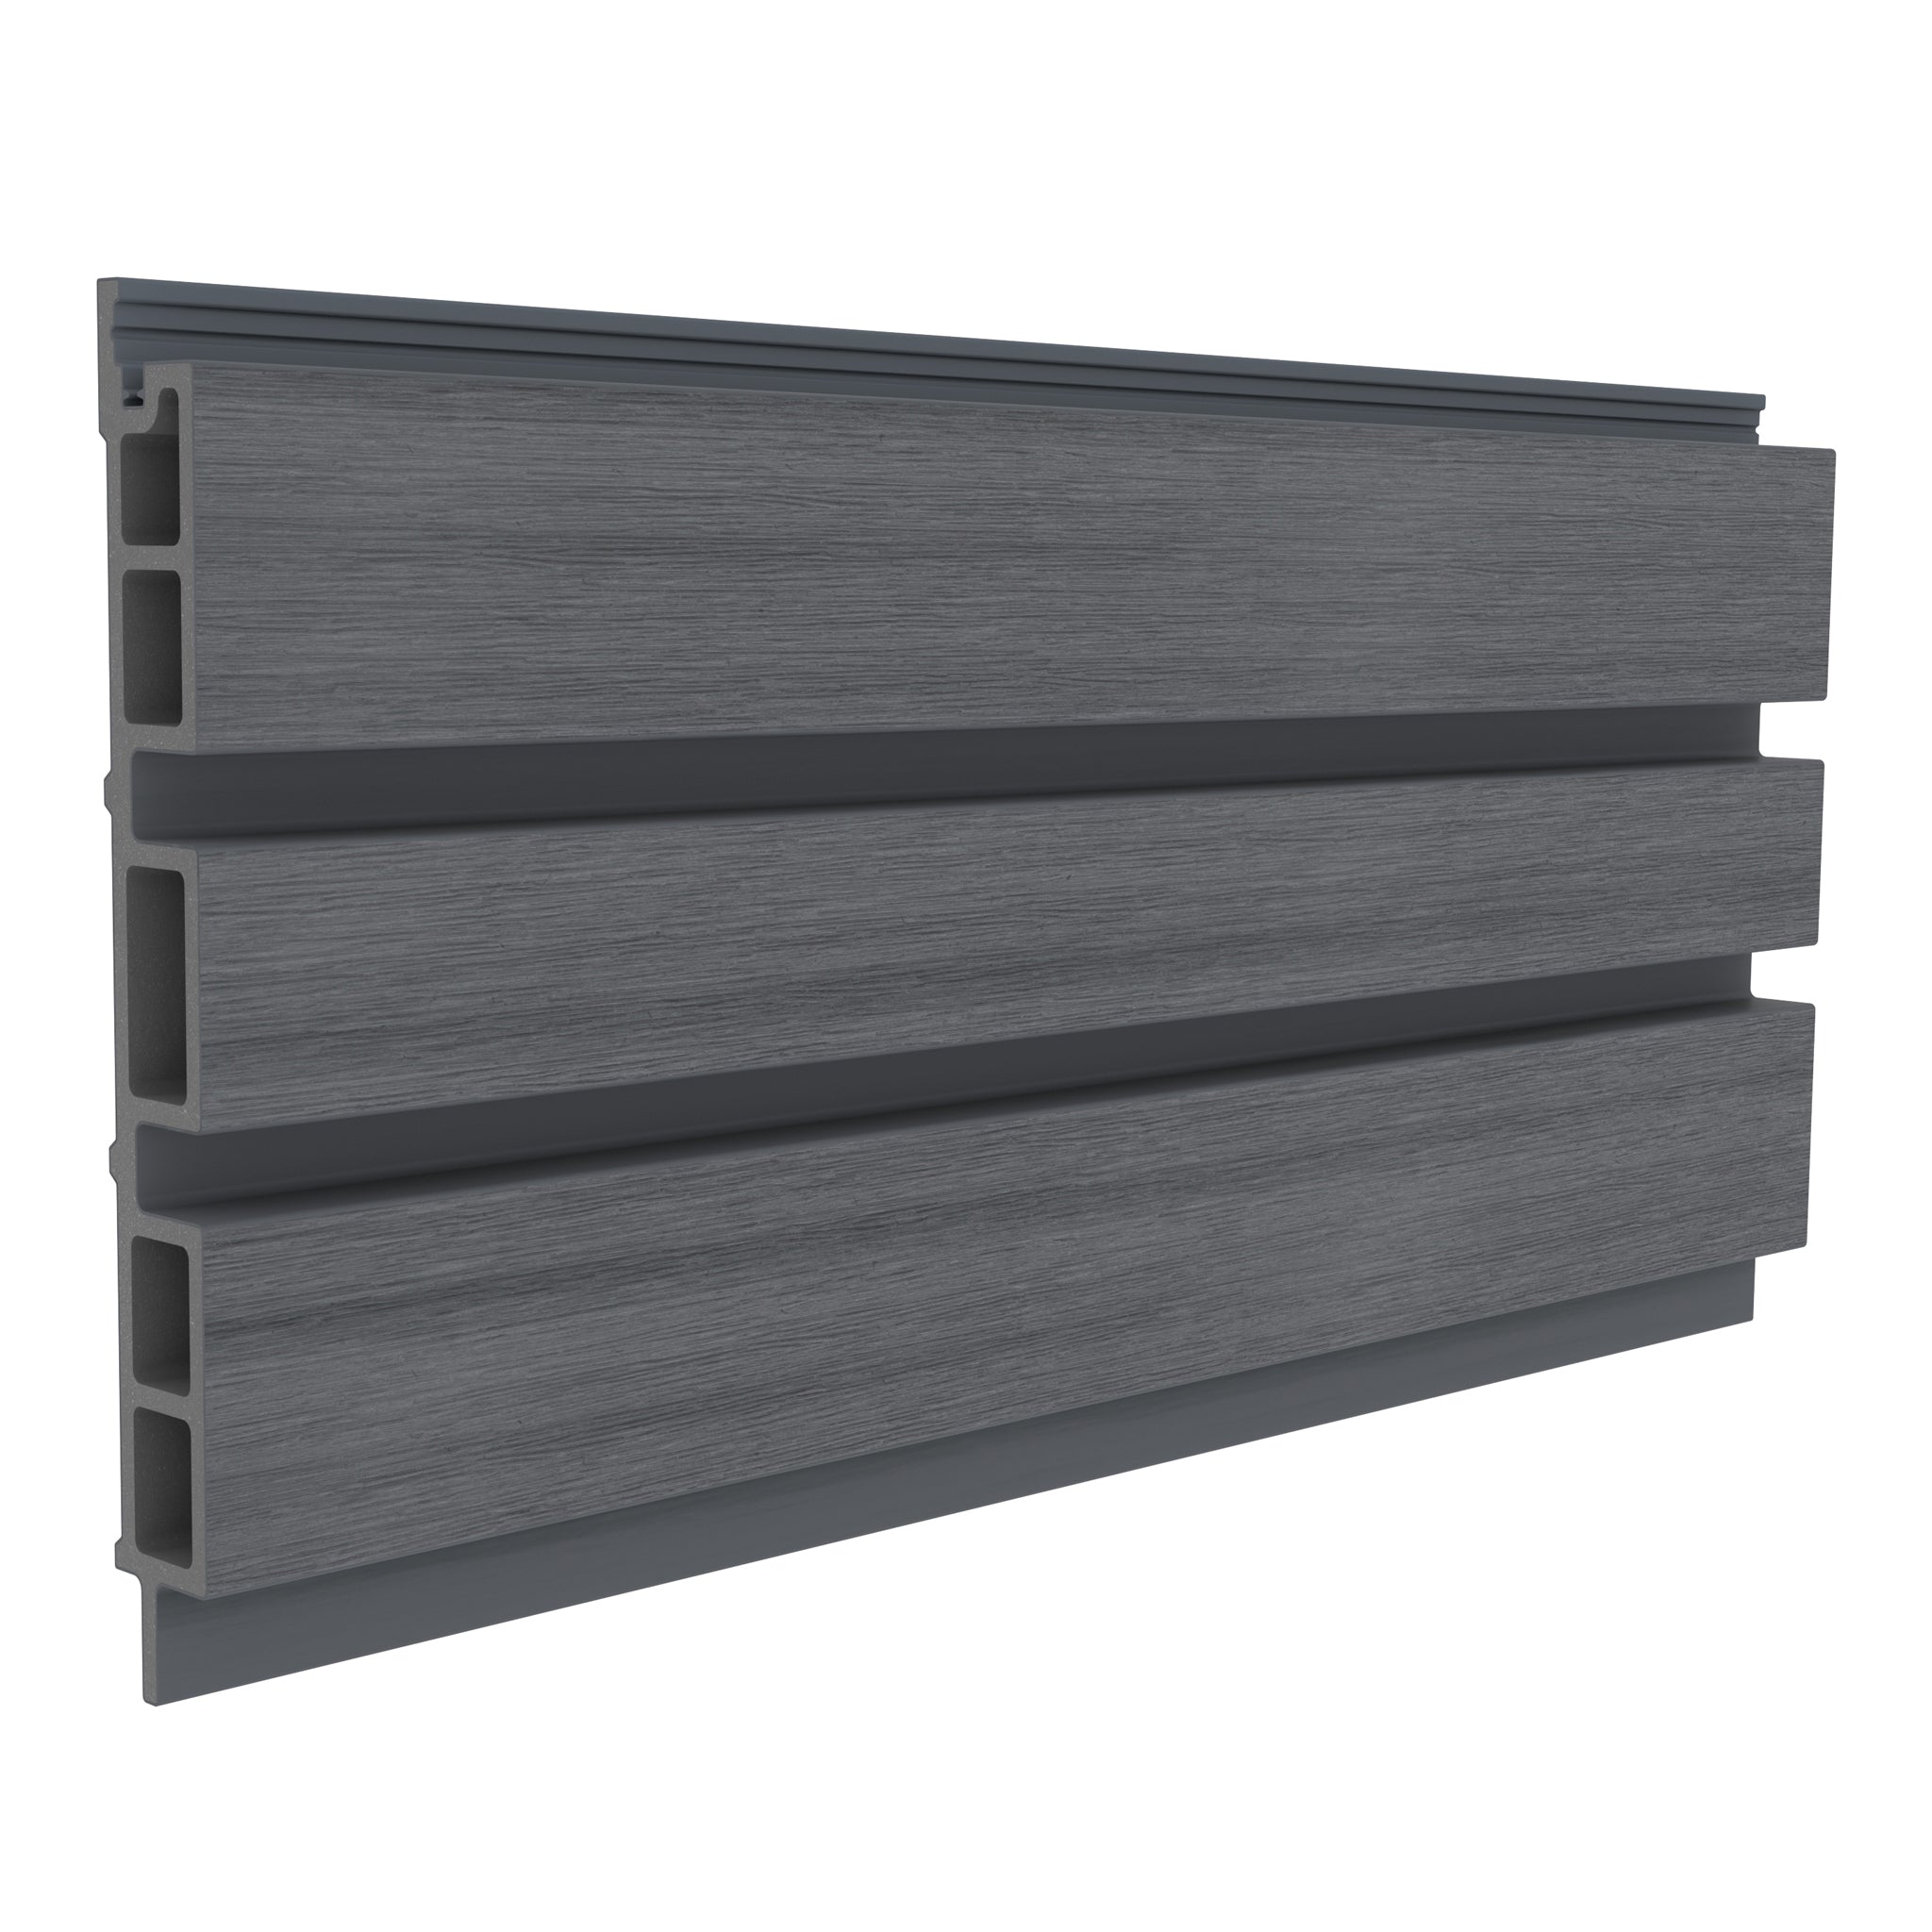
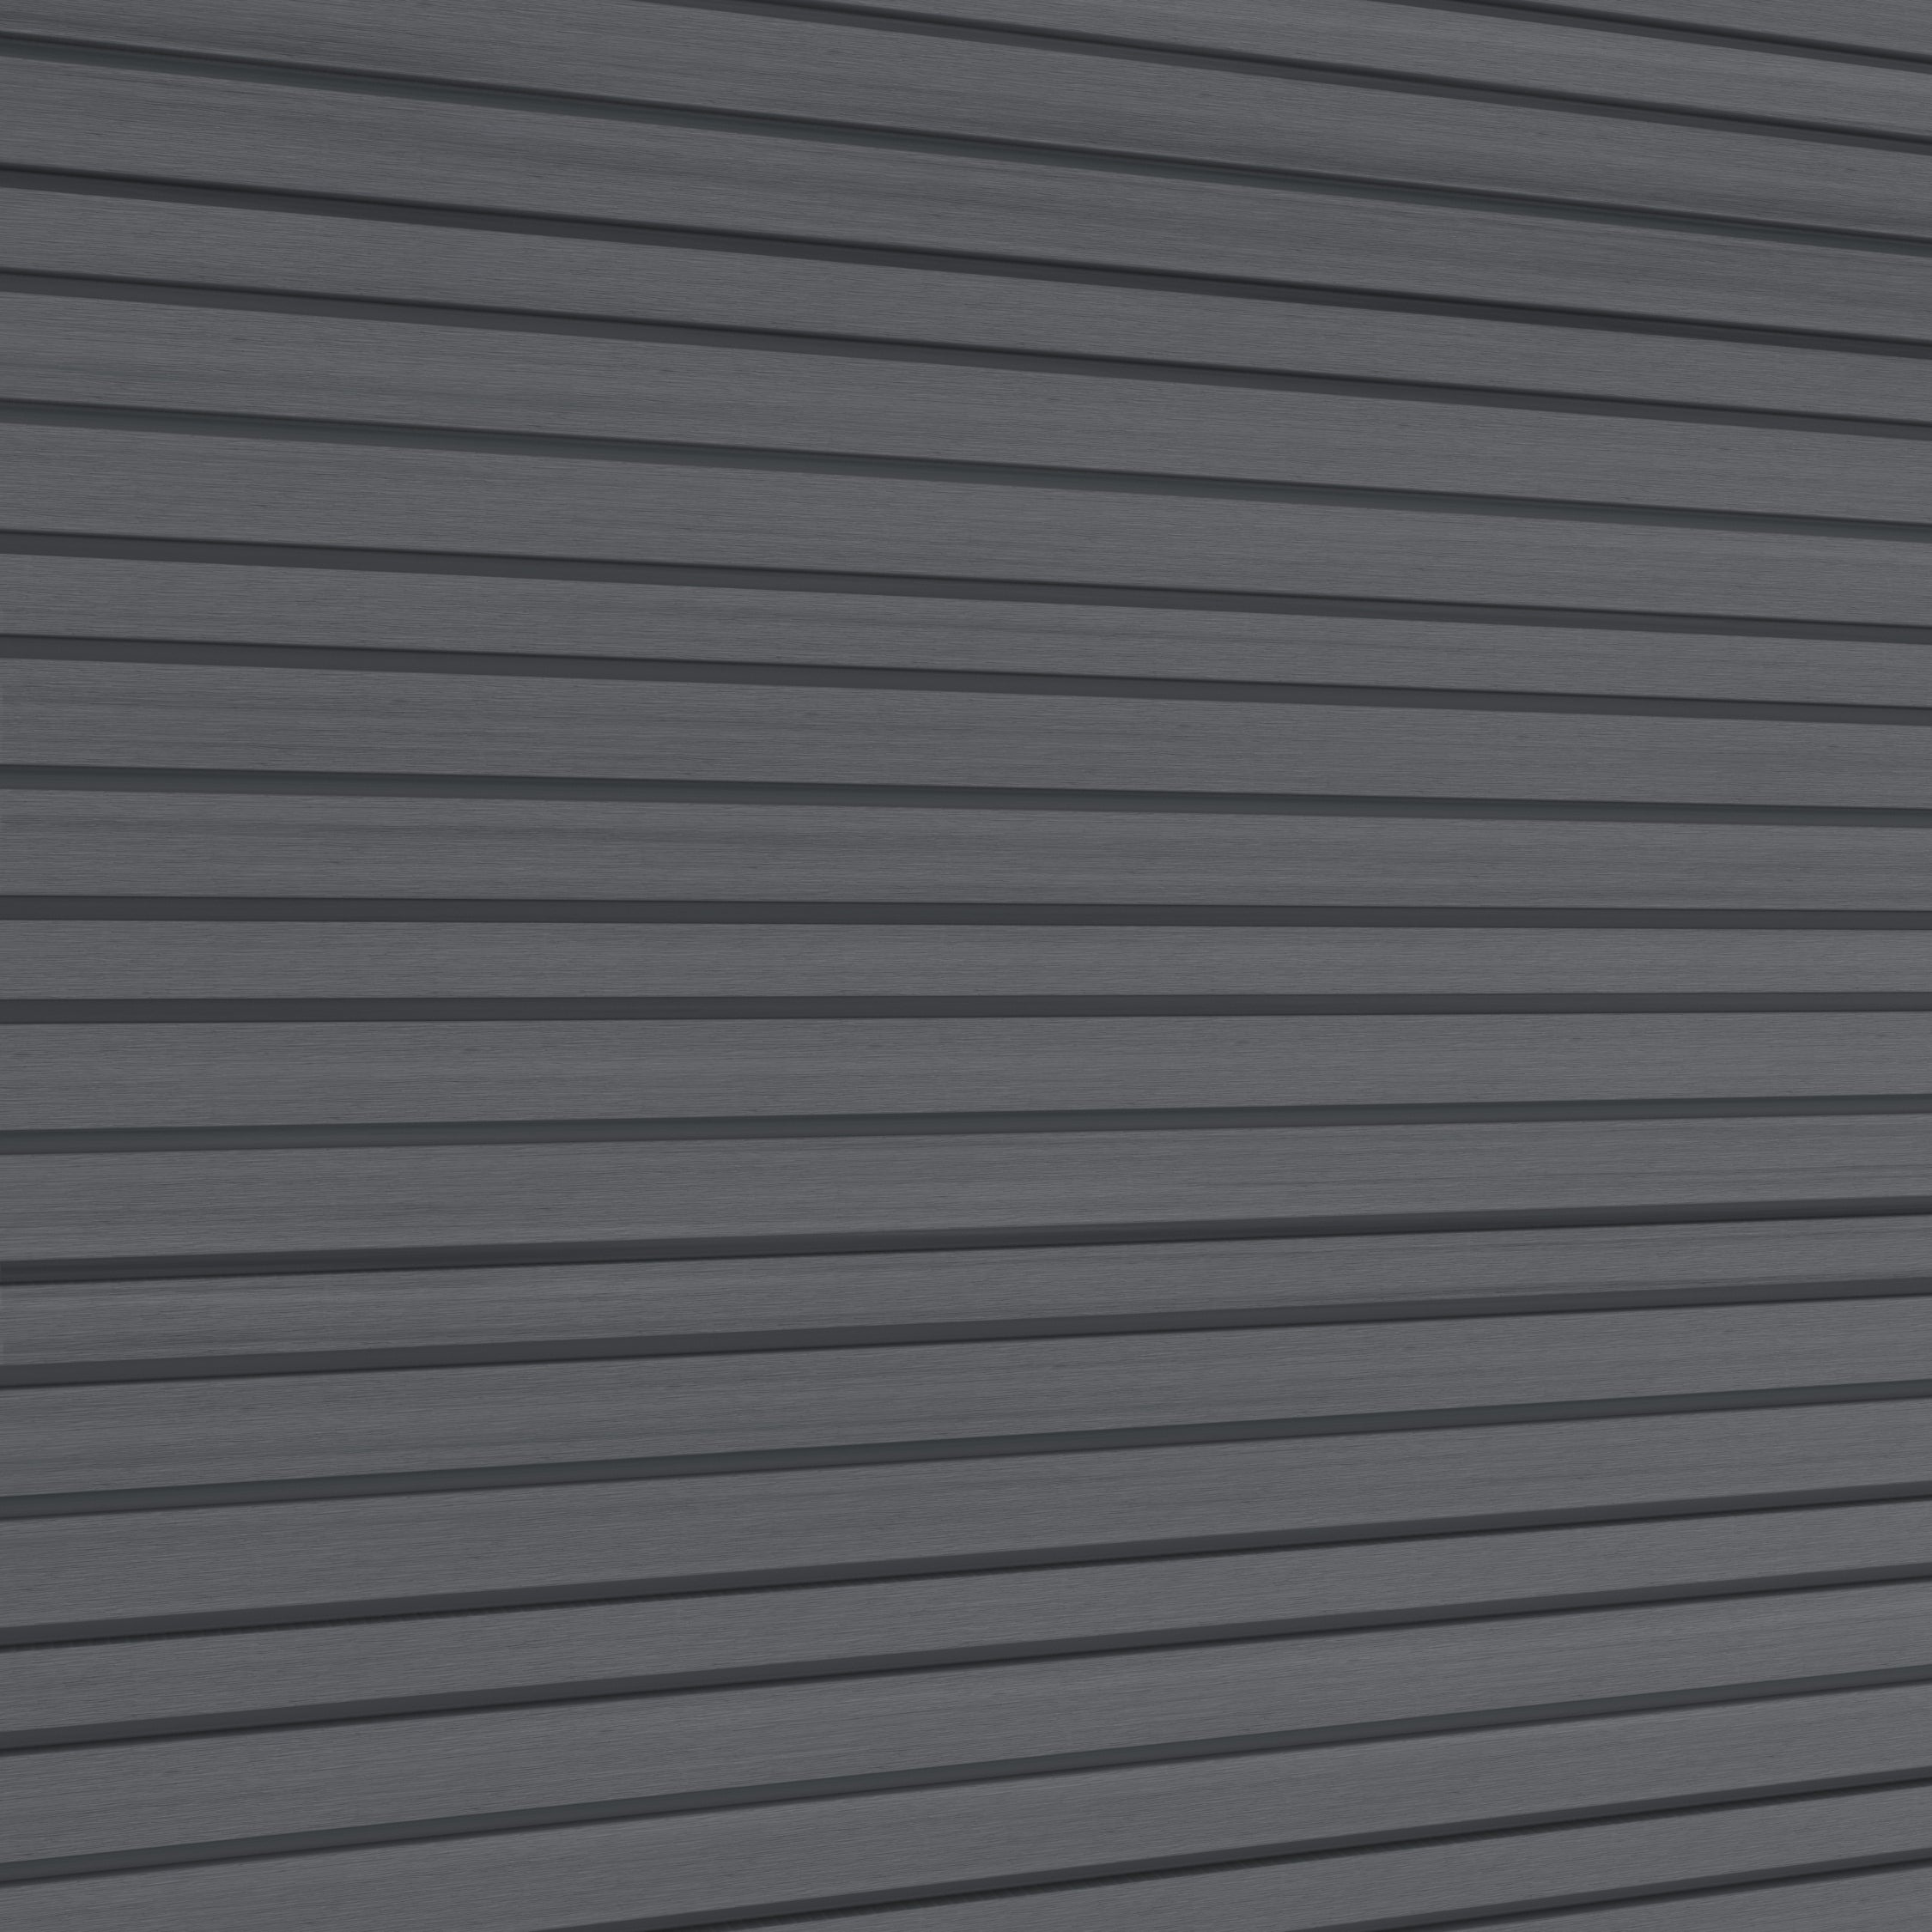
Slatted Grey Cladding: A Linear Profile
The Slatted range creates a batten-inspired appearance. Its repeated lines offer a different visual rhythm from a broad boarded finish. Consider how that profile relates to windows, corners and the size of the clad area.

Where Could Grey Cladding Work?
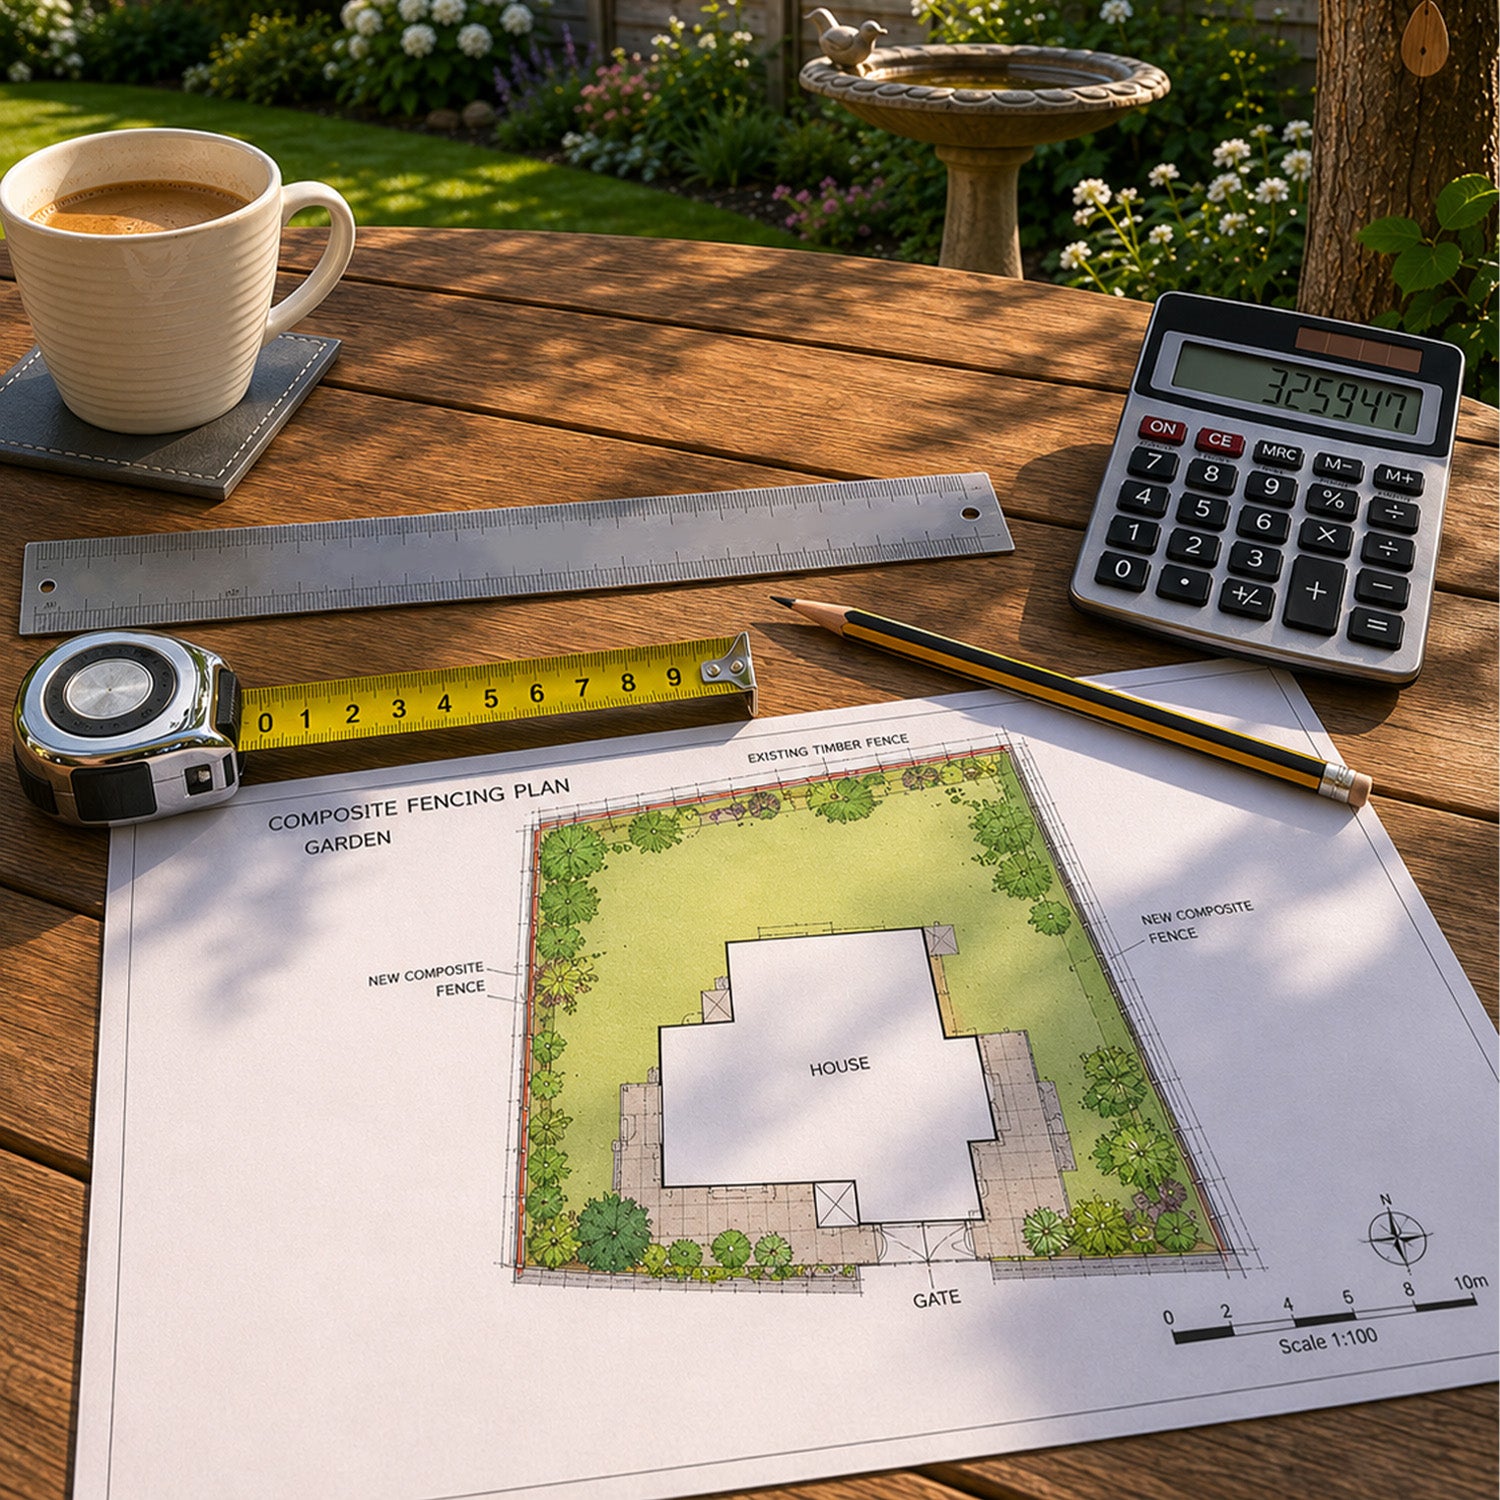
A selected feature area can introduce texture without changing the whole exterior. Consider an entrance, a garden-facing wall or a garden room whose finish relates to the main house. For larger elevations, sketch the proposed layout so you can assess the balance between cladding, glazing and existing materials.
Board direction also affects the design. Horizontal lines draw attention across a wall, while vertical lines draw the eye upwards. Use only orientations supported by the selected product's installation guidance. Explore the cladding gallery and design ideas guide to compare completed schemes.
How to Choose the Right Grey Shade
- Compare physical samples: position them beside brickwork, render and window frames.
- Check different light: view the finish in daylight and shade.
- Consider texture: grain and profile can change how light falls across the surface.
- Review the whole elevation: think about how the finish will repeat over a larger area.
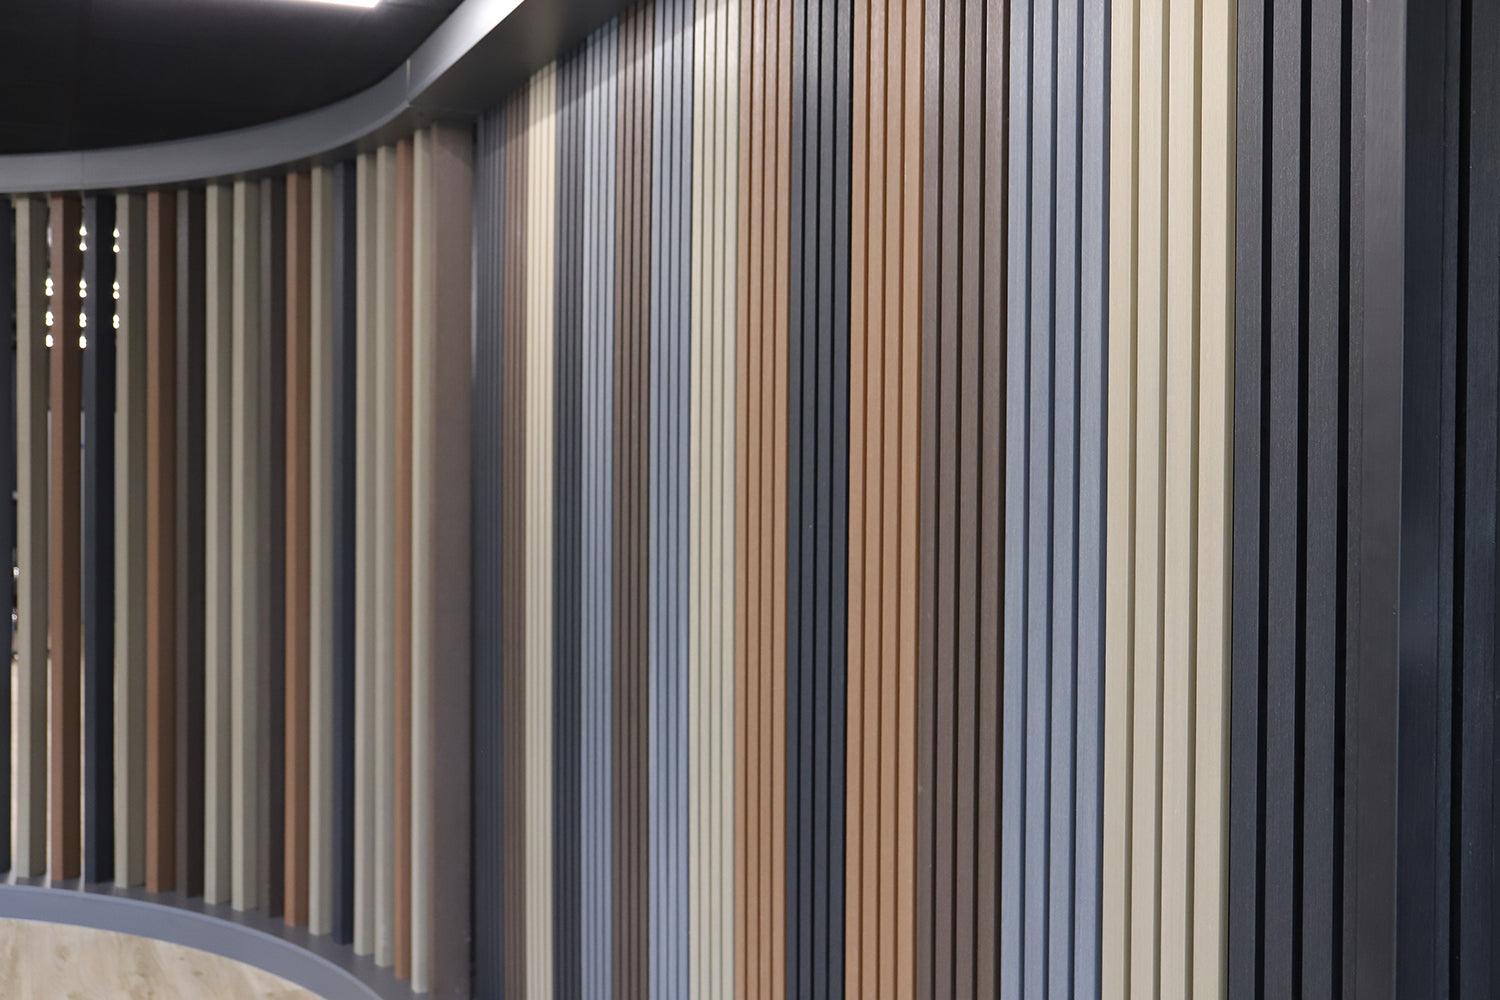
The cladding colour guide can help you compare grey with warmer or darker alternatives. Choose the combination that suits the property rather than following a trend alone.
Maintenance and Installation Considerations
NeoTimber® composite cladding does not require routine painting or staining to maintain its intended finish. Cleaning remains necessary, and grey should not be described as hiding every mark. Dirt and deposits may still be visible depending on the surface and setting.
Follow the maintenance guide before choosing cleaners or using pressure-washing equipment. Cleaning frequency will depend on local exposure, including nearby traffic, vegetation and airborne dirt.
For installation, the boards need appropriate supports, movement allowances and moisture-management details. Follow the installation resources and confirm suitability with your installer or designer, including applicable building requirements and fire performance.
Grey Cladding as an Architectural Choice, Not Just a Colour
The most useful way to approach grey cladding is to treat it as part of the building’s composition. Colour sets the tone, but the area covered, the depth of the profile and the relationship with openings determine how the exterior reads. The same grey board can appear quiet on a small entrance feature and dominant across an entire elevation.
Before selecting a product, decide what the cladding should achieve. Do you want to connect an extension with the original house, give a garden room its own identity or introduce texture to a plain facade? A clear purpose makes it easier to assess every later choice, from board direction to trim colour.
This is where a considered scheme gains its strength. Rather than adding grey to every available surface, use it where it supports the design. The aim is a building whose materials relate to one another, with the cladding contributing to that relationship.
Understanding the Different Characters of Grey Cladding
Grey is a family of colours rather than one fixed shade. It can feel softer or sharper, warmer or cooler, depending on the finish and the materials around it. A board that looks neutral on its own may appear quite different beside cream render, orange-red brick or blue-grey paving.
Look for Undertones in the Actual Sample
Place your grey cladding sample against a plain light background, then beside the exterior materials you intend to retain. This comparison can reveal a colour relationship that is hard to spot from a product photograph. Decide whether the combination feels balanced rather than trying to classify the shade from its name.
Undertones matter most when several grey surfaces sit close together. Window frames, roof tiles, paving and cladding can all belong to a grey palette yet still create an awkward combination. They do not need to match exactly, but the difference should feel intentional.
Contrast Can Be More Useful Than an Approximate Match
Trying to match a cladding board closely to a window frame can draw attention to small differences in colour or sheen. A clearer contrast may be easier to work with. For example, a mid-grey board beside a dark frame can allow both surfaces to retain their own identity.
Compare that arrangement with a closer tonal scheme before choosing. Neither is universally better: a softer relationship may suit one property, while a more defined contrast may suit another. The decision should follow the character of the building.
How Light Changes the Appearance of Grey Cladding
Light is part of the colour decision. A sheltered elevation, an open garden and a wall receiving direct sunlight provide different conditions for the same material. Surface texture can amplify the difference by creating highlights and shadow.
Take samples to the proposed location rather than viewing them only indoors. Check them at more than one time of day if possible, and consider the light in which you will most often see the building. A garden room viewed from the house in the evening may have different priorities from an entrance seen at close range throughout the day.
Assess Lighting Together With the Board Profile
If exterior lighting forms part of the project, think about its position alongside the cladding layout. Light directed along a textured surface can emphasise relief and shadows; more even illumination can make the colour feel more uniform. Test the intended effect where practical before settling on positions.
Plan lighting fixings, wiring and penetrations with the installer. Adding them after the wall is finished can complicate the details and disrupt the intended composition. Good lighting should support the exterior rather than compensate for a layout that has not been resolved.
Grey Cladding and the Scale of Your Project
A Small Feature Needs Precise Boundaries
On a small feature, the edges are especially noticeable. An entrance surround or a strip of cladding beside glazing can look deliberate when its boundaries align with the building’s existing geometry. Consider where the feature starts, where it stops and whether those positions relate to an opening or another material.
A narrow area can also produce awkward cuts. Sketch the board courses and edge positions before ordering so you can see whether the proposed profile works comfortably within the available space.
A Large Elevation Needs a Whole-Wall View
Across a broad surface, repetition becomes an important part of the design. Grain, slats and joints that look subtle on a sample can become more prominent when repeated. Review installation photographs and a drawing of your own elevation to judge that effect.
Look at the wall from the distance at which it will normally be seen. A texture appreciated close up may become a quieter surface from the road, while a strong joint pattern may remain noticeable. Both views deserve attention.
Part-Cladding Needs a Resolved Transition
Combining grey cladding with render or brickwork can give the facade depth and variation. The junction needs to work visually and technically, however. Do not choose the dividing line solely because it produces a convenient quantity of boards.
Ask how the transition will be finished, how water will be managed and how the detail relates to windows, doors and other edges. Resolve those questions while the design is still flexible.
Designing a Garden Around Grey Cladding
A garden-facing wall is seen with more than the building around it. Planting, furniture, paving and fences form the foreground, while changes in foliage alter the scene over time. Grey cladding can provide a stable visual element within that changing setting.
To avoid an overly uniform scheme, consider differences in texture as well as colour. A manufactured board beside softer planting, stone paving or timber furniture can create variety without requiring a large palette. The balance depends on the proportions of each material.
Give the Garden Room a Clear Relationship With the House
A garden room does not have to repeat every finish on the main property. One shared element, such as a colour relationship with the window frames, can help connect them. Alternatively, a distinct finish can identify the garden building as its own space.
Choose which approach you want before selecting the boards. View the garden room position from the main house and the main house from the garden: the cladding should work within both views.
Account for Practical Use Around the Wall
Furniture, planters and stored equipment should be positioned with the installation’s clearances and access needs in mind. Allow space for cleaning and inspection, and preserve the required drainage and ventilation routes.
Designing for everyday use is part of making the exterior look good over time. A finish that is difficult to reach or regularly obstructed can be harder to care for, regardless of its colour.
Grey Cladding: Colour Choice and Material Choice Are Separate Decisions
A photograph can show a grey exterior without revealing whether the covering is timber, composite, metal or another material. The colour may inspire your scheme, but it does not establish the product’s performance. Always identify the material and the specification before making a comparison.
When choosing grey composite cladding, assess the board construction, surface, intended application and fitting method together. If comparing it with coated timber, include the care needed to preserve the timber appearance you want. If considering another manufactured product, use its own documentation rather than transferring assumptions from composite.
This separation makes the decision clearer: first establish the visual brief, then select a suitable material capable of delivering it within the project’s practical requirements.
Plan for the Appearance You Want in Years to Come
Grey cladding is an outdoor finish, so the purchase decision should include its expected weathering behaviour. Ask what changes are normal for the selected board and what care is recommended. A sample shows the supplied finish; it is not a complete forecast of every future exposure condition.
It is also helpful to distinguish dirt from weathering. Deposits may be removable through the recommended cleaning method, while a change in the material’s colour may need to be assessed differently. Follow the manufacturer’s advice rather than treating every visible change with a stronger cleaner.
Keep the product details and care information with your project records. If you later need advice, knowing the range, finish and installation date provides a better starting point than describing the wall simply as grey cladding.
A Practical Brief for Your Grey Cladding Project
Before requesting an installation quotation, bring the design and practical requirements together. A short brief helps the installer understand what you are trying to achieve and makes different proposals easier to compare.
- Purpose: explain whether the cladding is a feature, a garden room finish or a broader exterior refurbishment.
- Visual direction: identify the preferred shade, texture, profile and board orientation.
- Existing materials: record the windows, brickwork, render and landscaping that the finish must complement.
- Layout: show the clad boundaries, openings and intended joint arrangement.
- Practical details: include access, lighting, services and the supporting wall condition.
- Specification: ask for the selected products, supports, fixings, trims and relevant installation details to be identified.
Compare quotations on that complete basis. A lower board price does not necessarily mean a lower installed cost, and a visually appealing proposal still needs suitable technical detailing.
Common Grey Cladding Design Mistakes to Avoid
Choosing From a Screen Alone
Photography, display settings and lighting can change the apparent colour. Use images to narrow the options, then make the final comparison with physical samples in the intended setting.
Ignoring Texture When Comparing Shades
Two grey surfaces may look different because of grain, profile or sheen even when their colours are similar. Compare the complete finish rather than isolating the colour name.
Matching Every Exterior Element
A coordinated scheme can include contrast. Allow the main surfaces to have distinct roles instead of requiring the roof, frames, boards, paving and furniture to appear identical.
Leaving Joints and Trims Until the End
Edge details and joint positions are part of the visual result. Plan them before ordering so they can be coordinated with the board layout and the installation requirements.
Assuming Grey Means Maintenance-Free
Colour does not remove dirt or eliminate cleaning. Choose a product with care requirements you can manage, and keep access to the finished wall practical.
Grey Cladding FAQs
Does Grey Cladding Match Anthracite Windows?
It can complement them, but an exact match should not be assumed. Compare a cladding sample directly with the frame to judge the relationship between colours and surfaces.
Will Grey Composite Cladding Fade?
Colour behaviour depends on the range and exposure. Capped boards are designed to improve fade resistance, but that does not mean every outdoor finish remains completely unchanged. Read the product's weathering information.
Does Grey Composite Cladding Need Painting?
NeoTimber® composite cladding is supplied with its intended finish and does not need routine painting or staining. Follow the relevant care instructions.
Should Grey Cladding Be Lighter or Darker Than the Windows?
Either approach can work. Compare a clear contrast with a closer tonal relationship using samples beside the actual frames. Choose the combination that supports the whole elevation.
Can Grey Cladding Work on a Traditional Property?
A carefully selected shade and profile can be considered alongside traditional materials. Assess the building’s character, resolve the junctions and check any applicable restrictions before committing to a change.
How Much of the Exterior Should I Clad?
Start with the purpose of the design. A feature area may be enough to add texture, while a larger covering will have a stronger effect. Sketch both options and compare their relationship with openings and retained materials.
Find Your Preferred Grey Finish
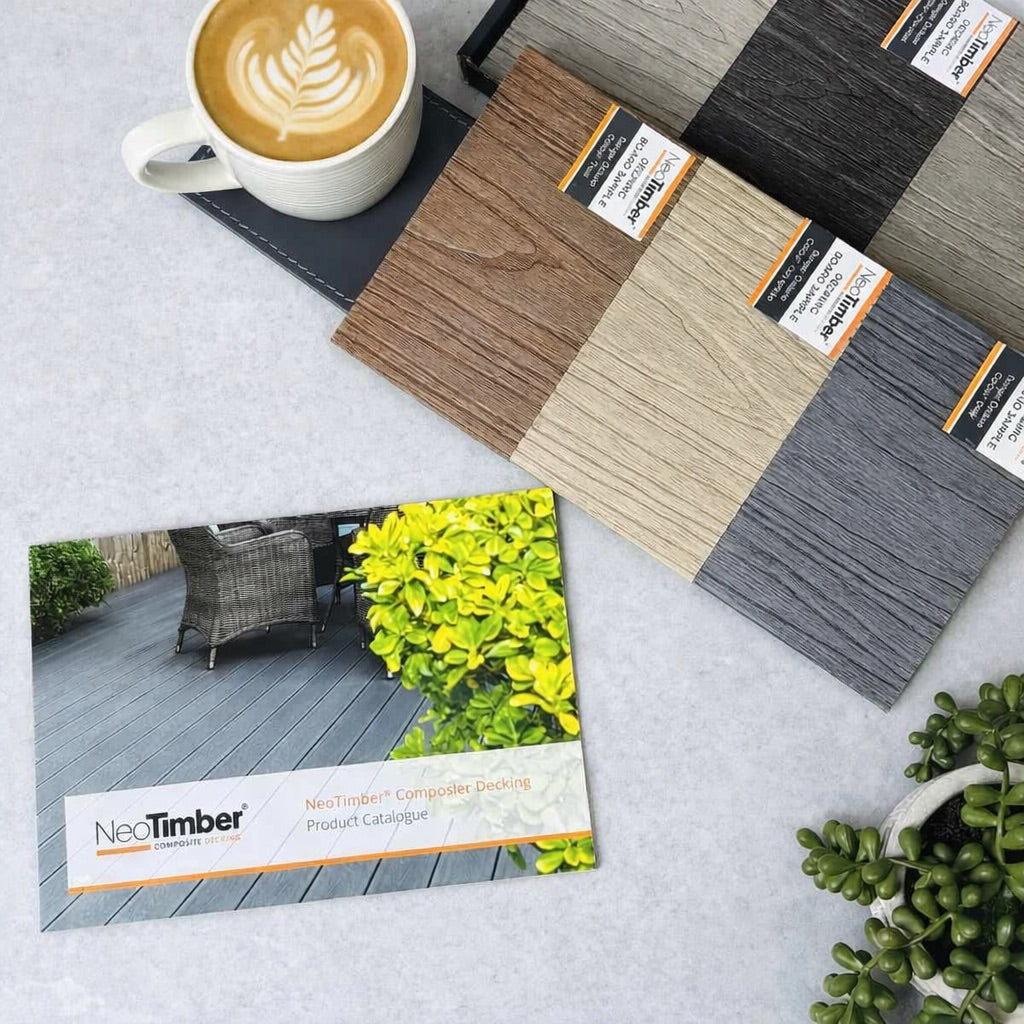
Order free NeoTimber® cladding samples to compare grey finishes in your own setting. Once you have chosen a colour and texture, browse the collection to plan the boards and accessories for your exterior.