


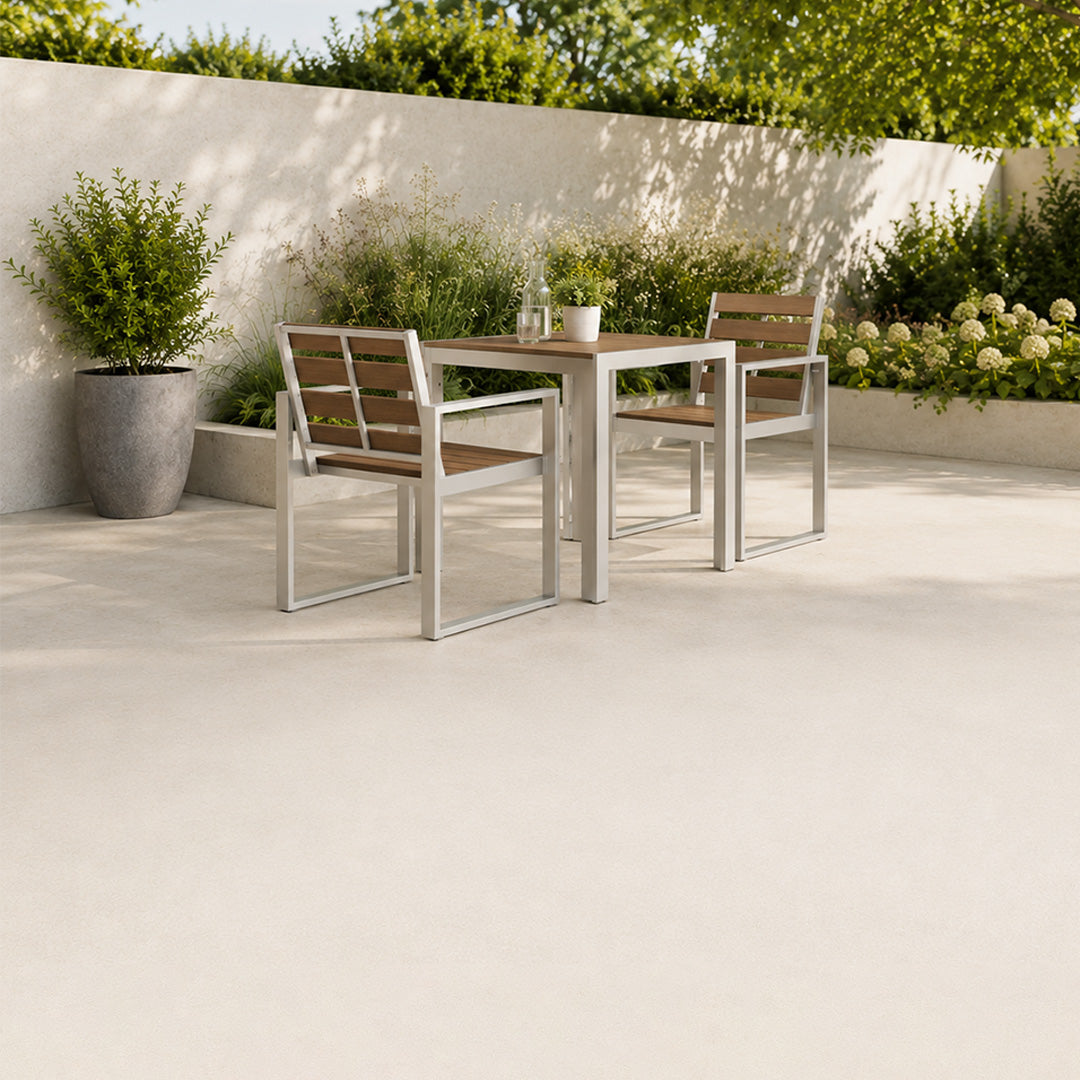

Refresh Your Patio with Interlocking Composite Deck Tiles
Click together decking offers a practical way to refresh a suitable existing hard surface using modular tiles. Instead of fitting long boards to a new frame, you connect tiles through their integrated bases to create a coordinated surface.
You may also see the term clip together decking. When used to describe interlocking tiles, it refers to the same general approach. The important distinction is between tiles that connect to one another and full-length deck boards secured to joists with separate clips.
This guide explains how the tile system works, what to check before buying and how to plan a neat finish with NeoTimber® composite deck tiles.

What Is Click Together Decking?
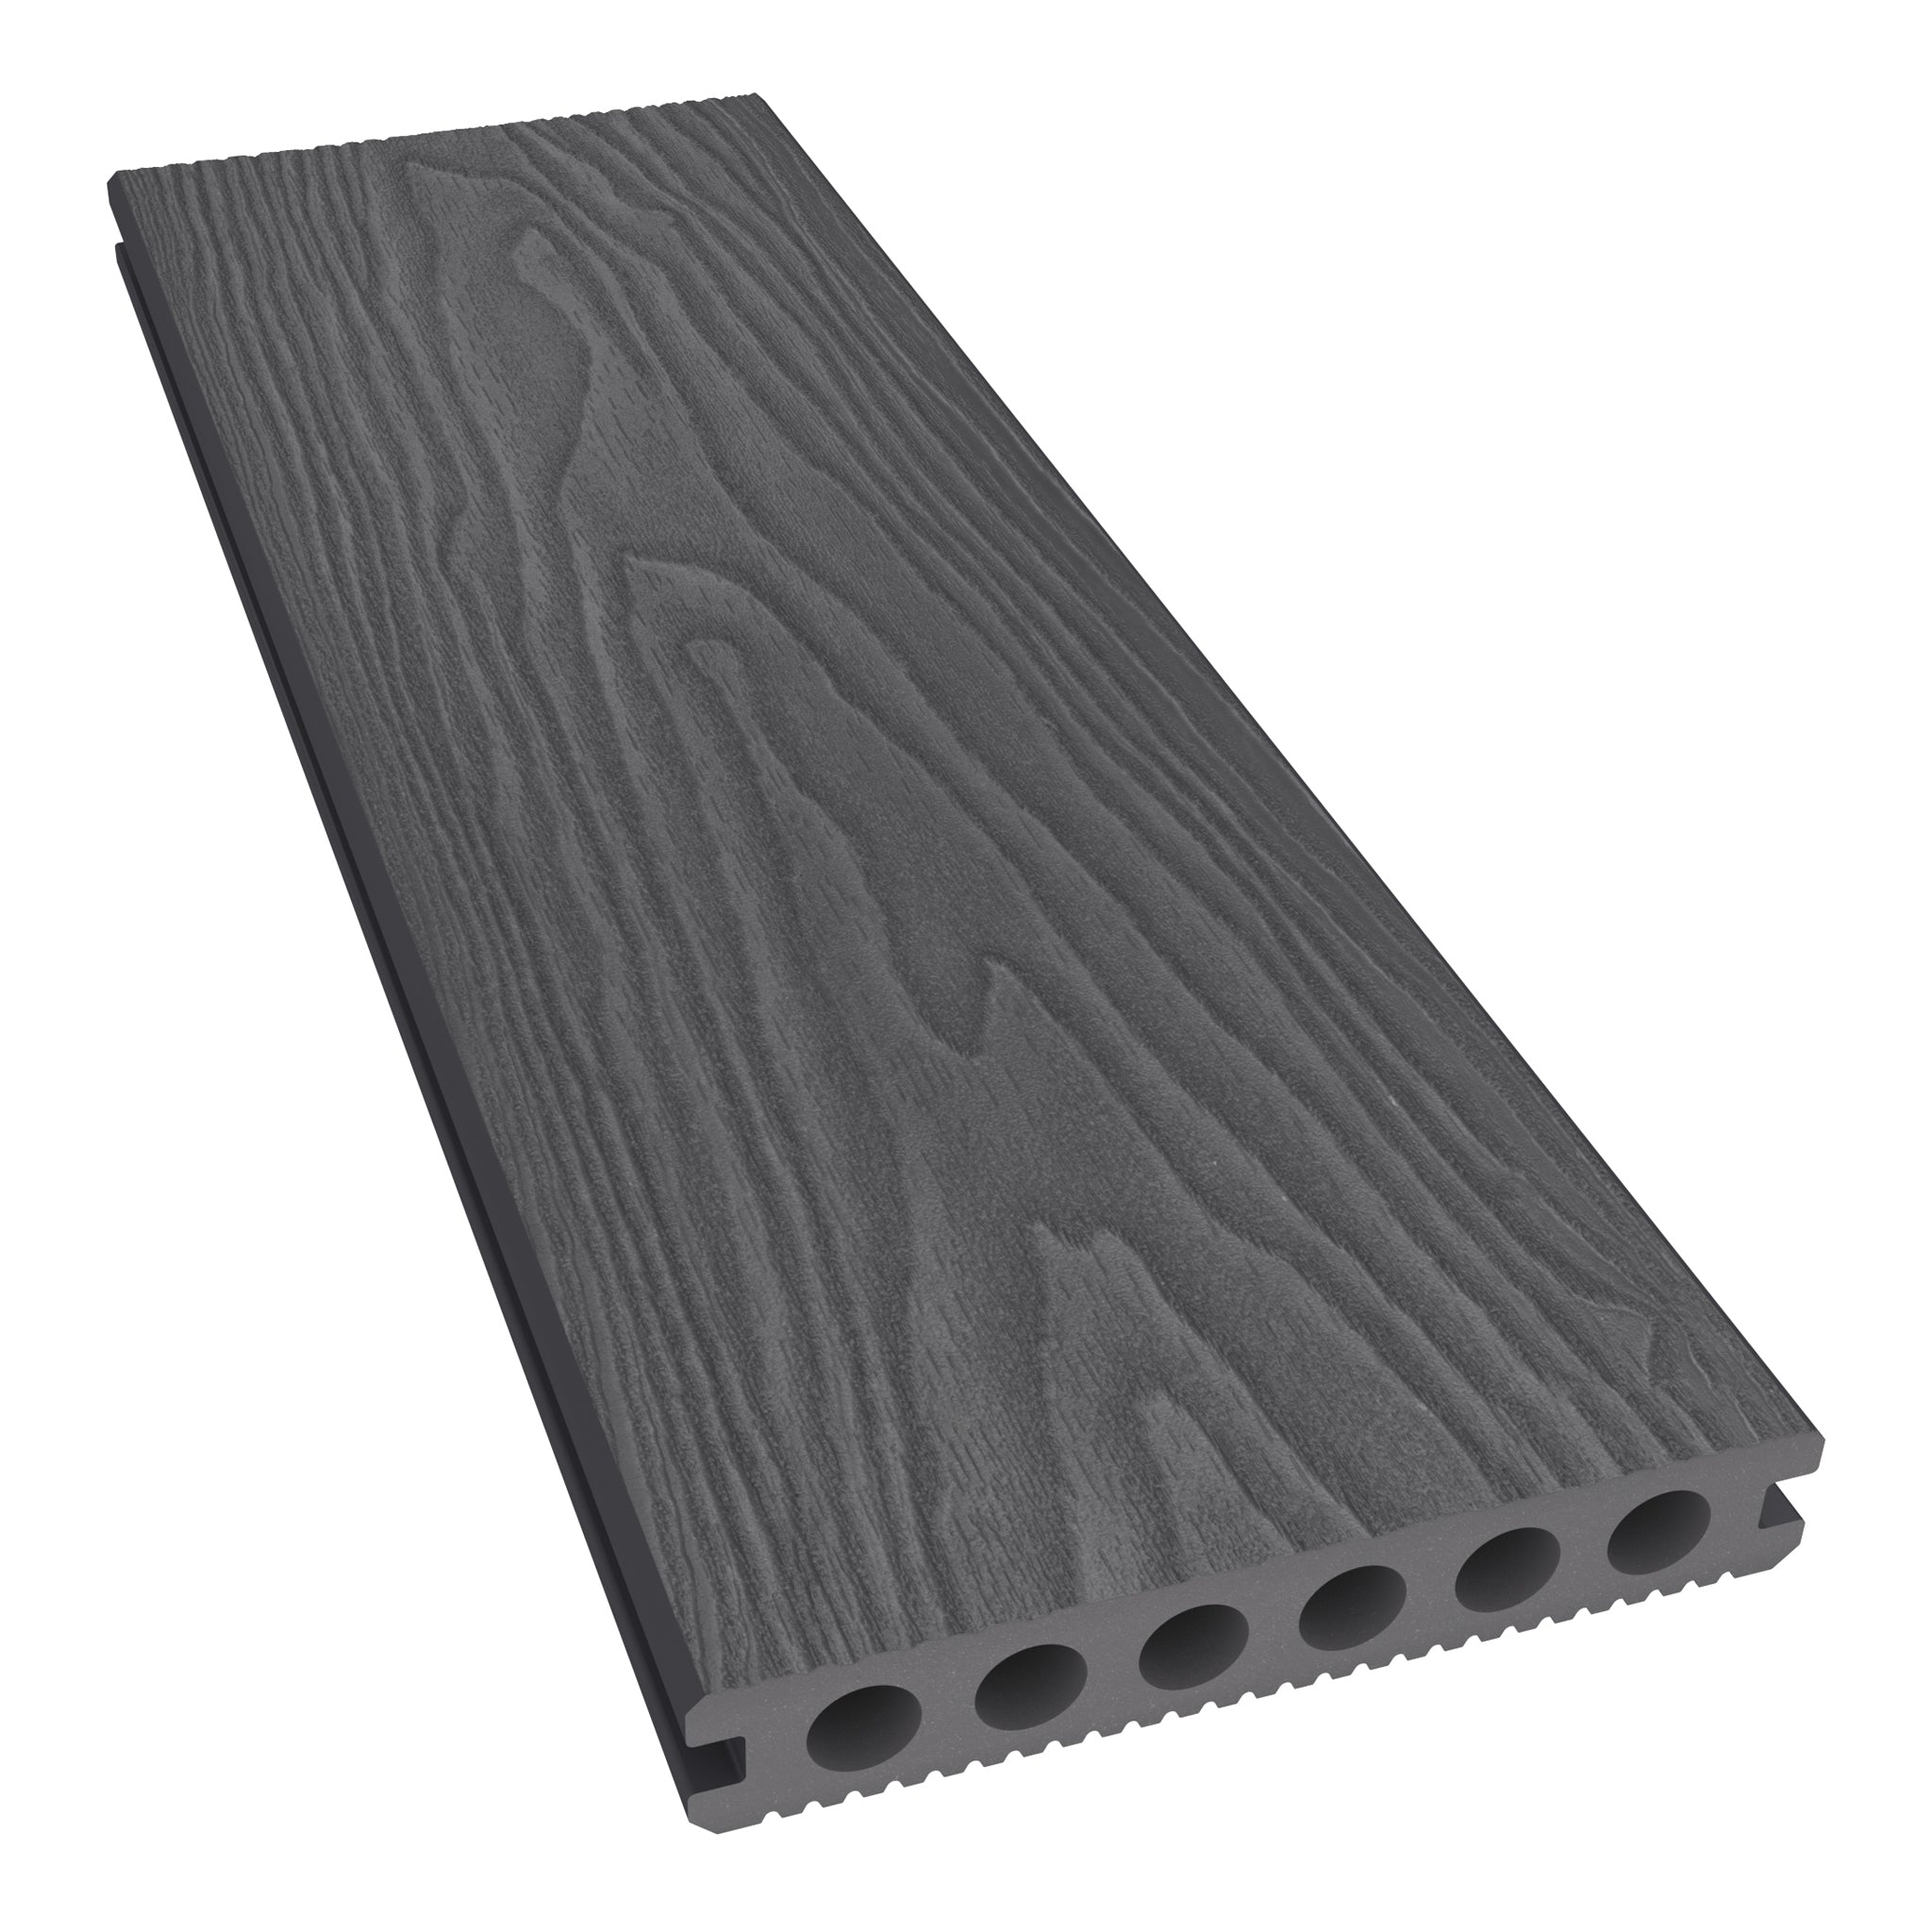
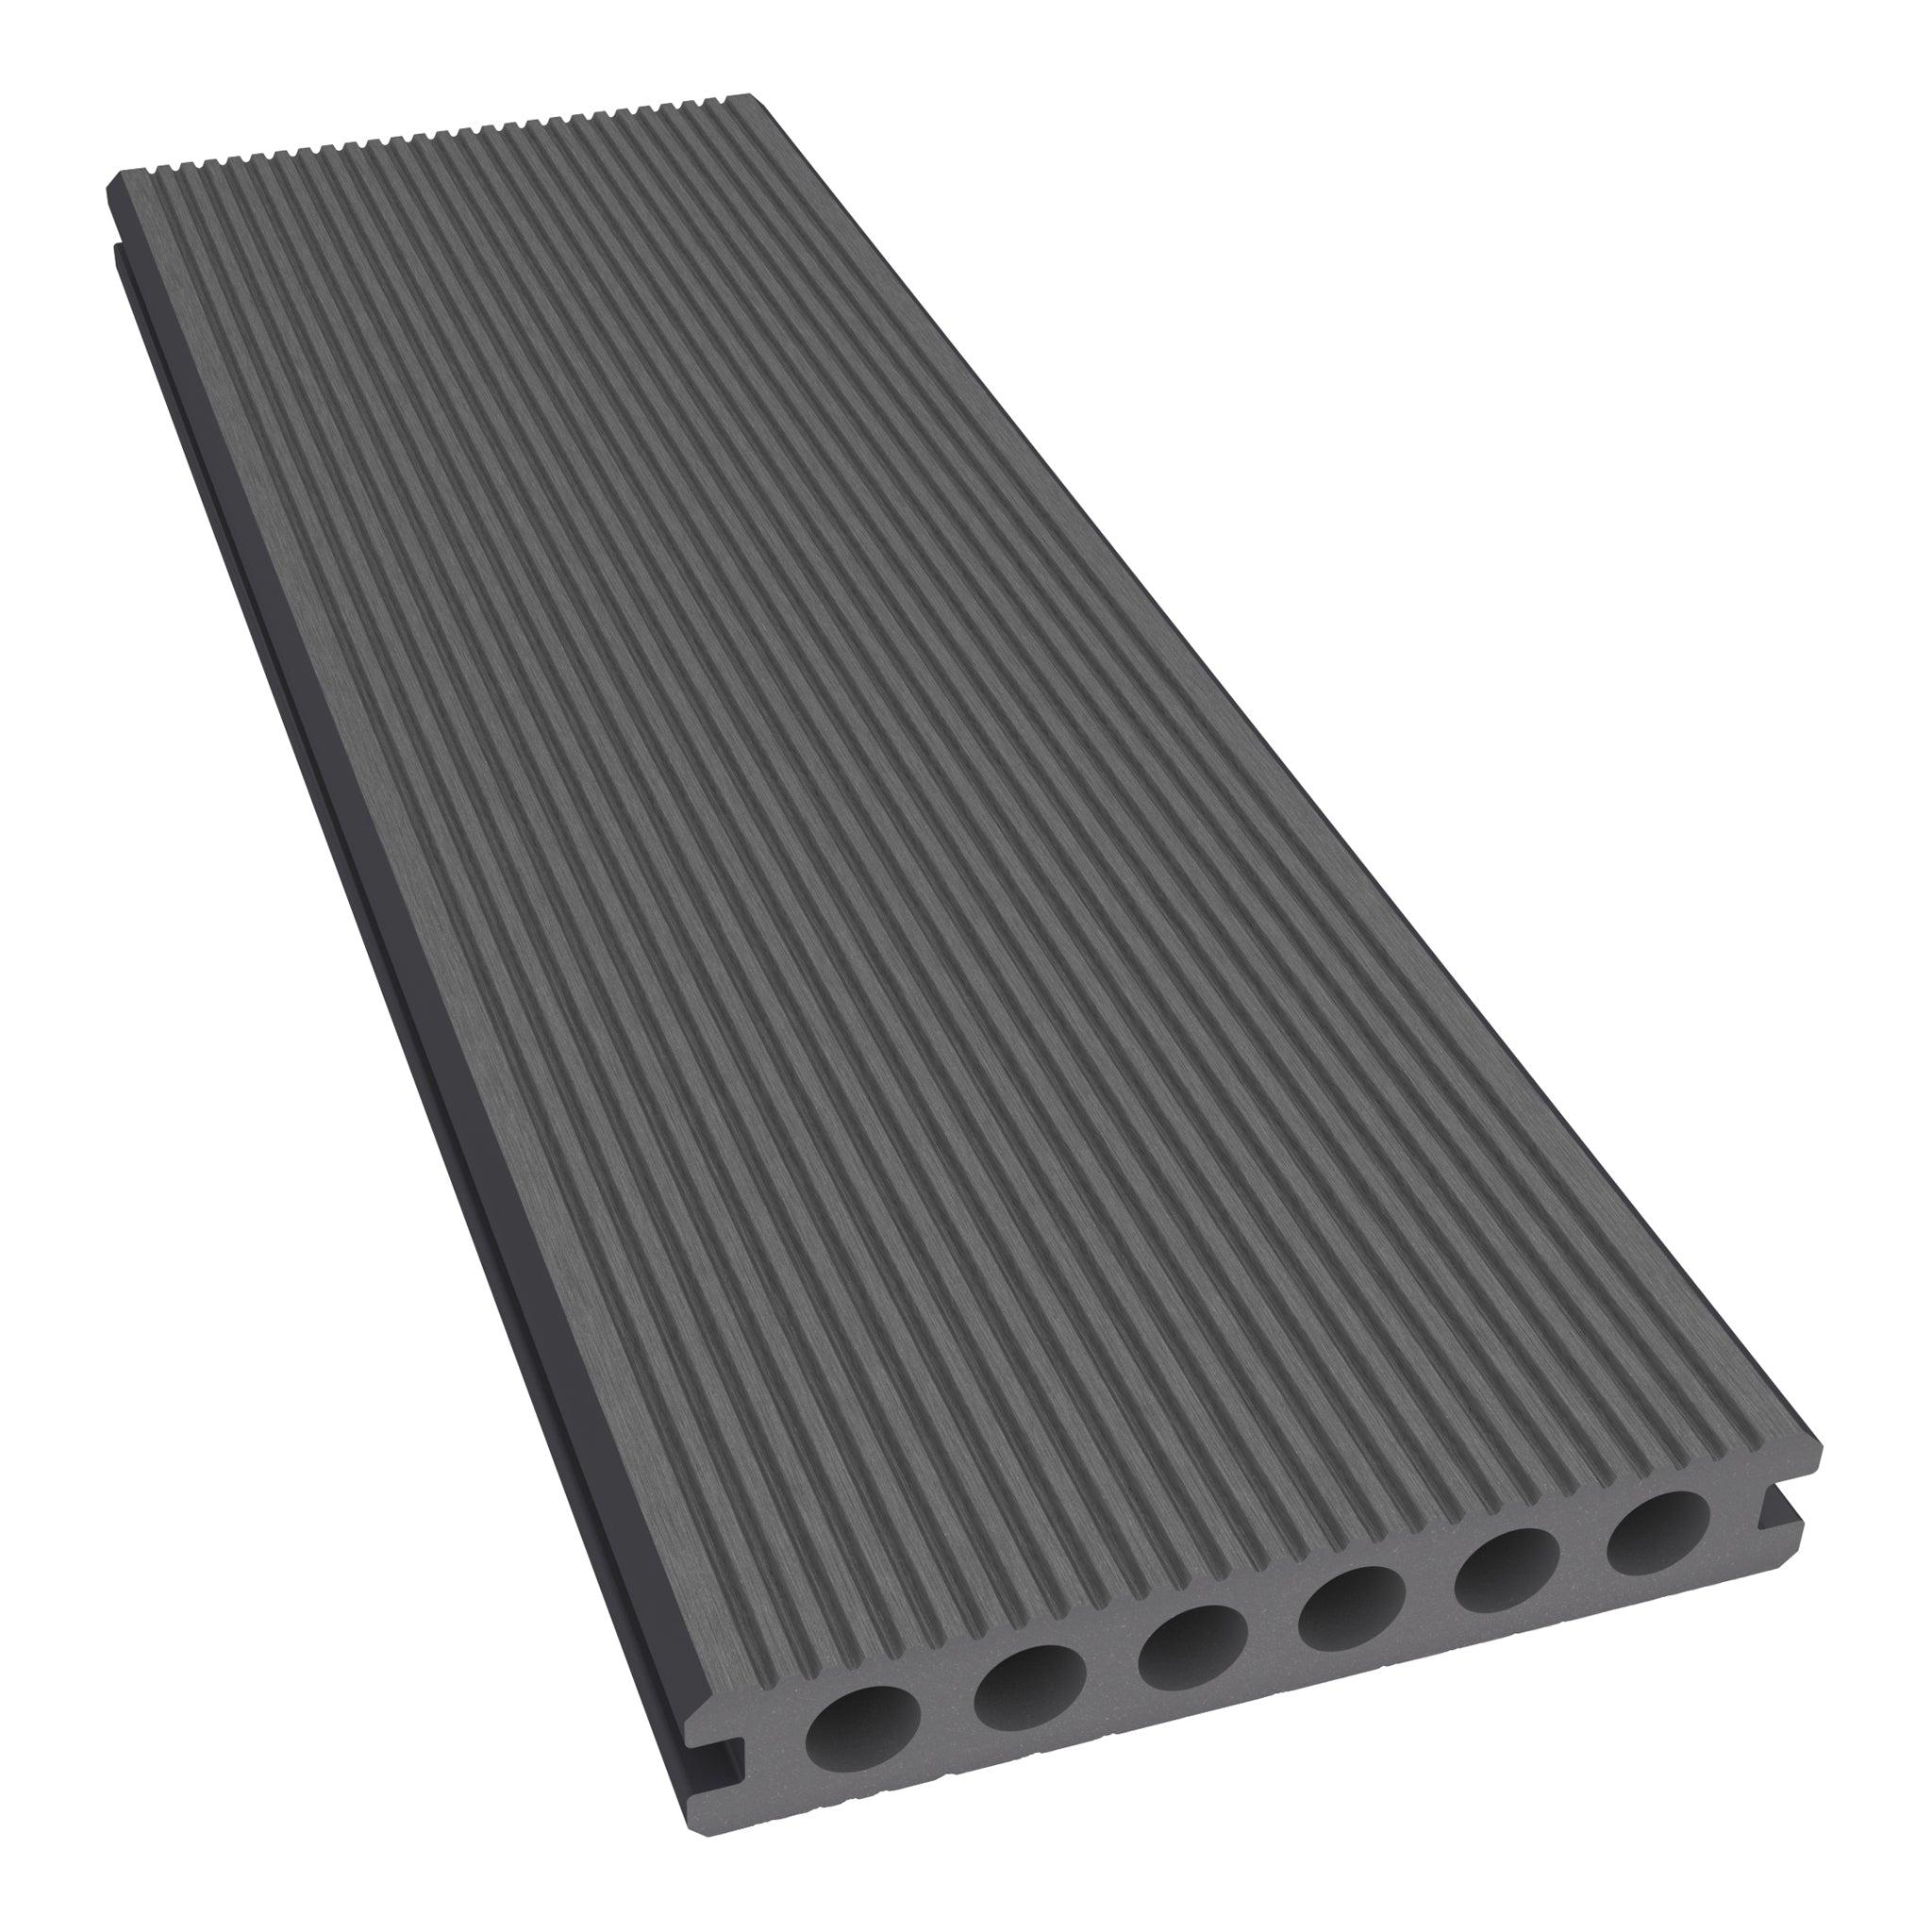
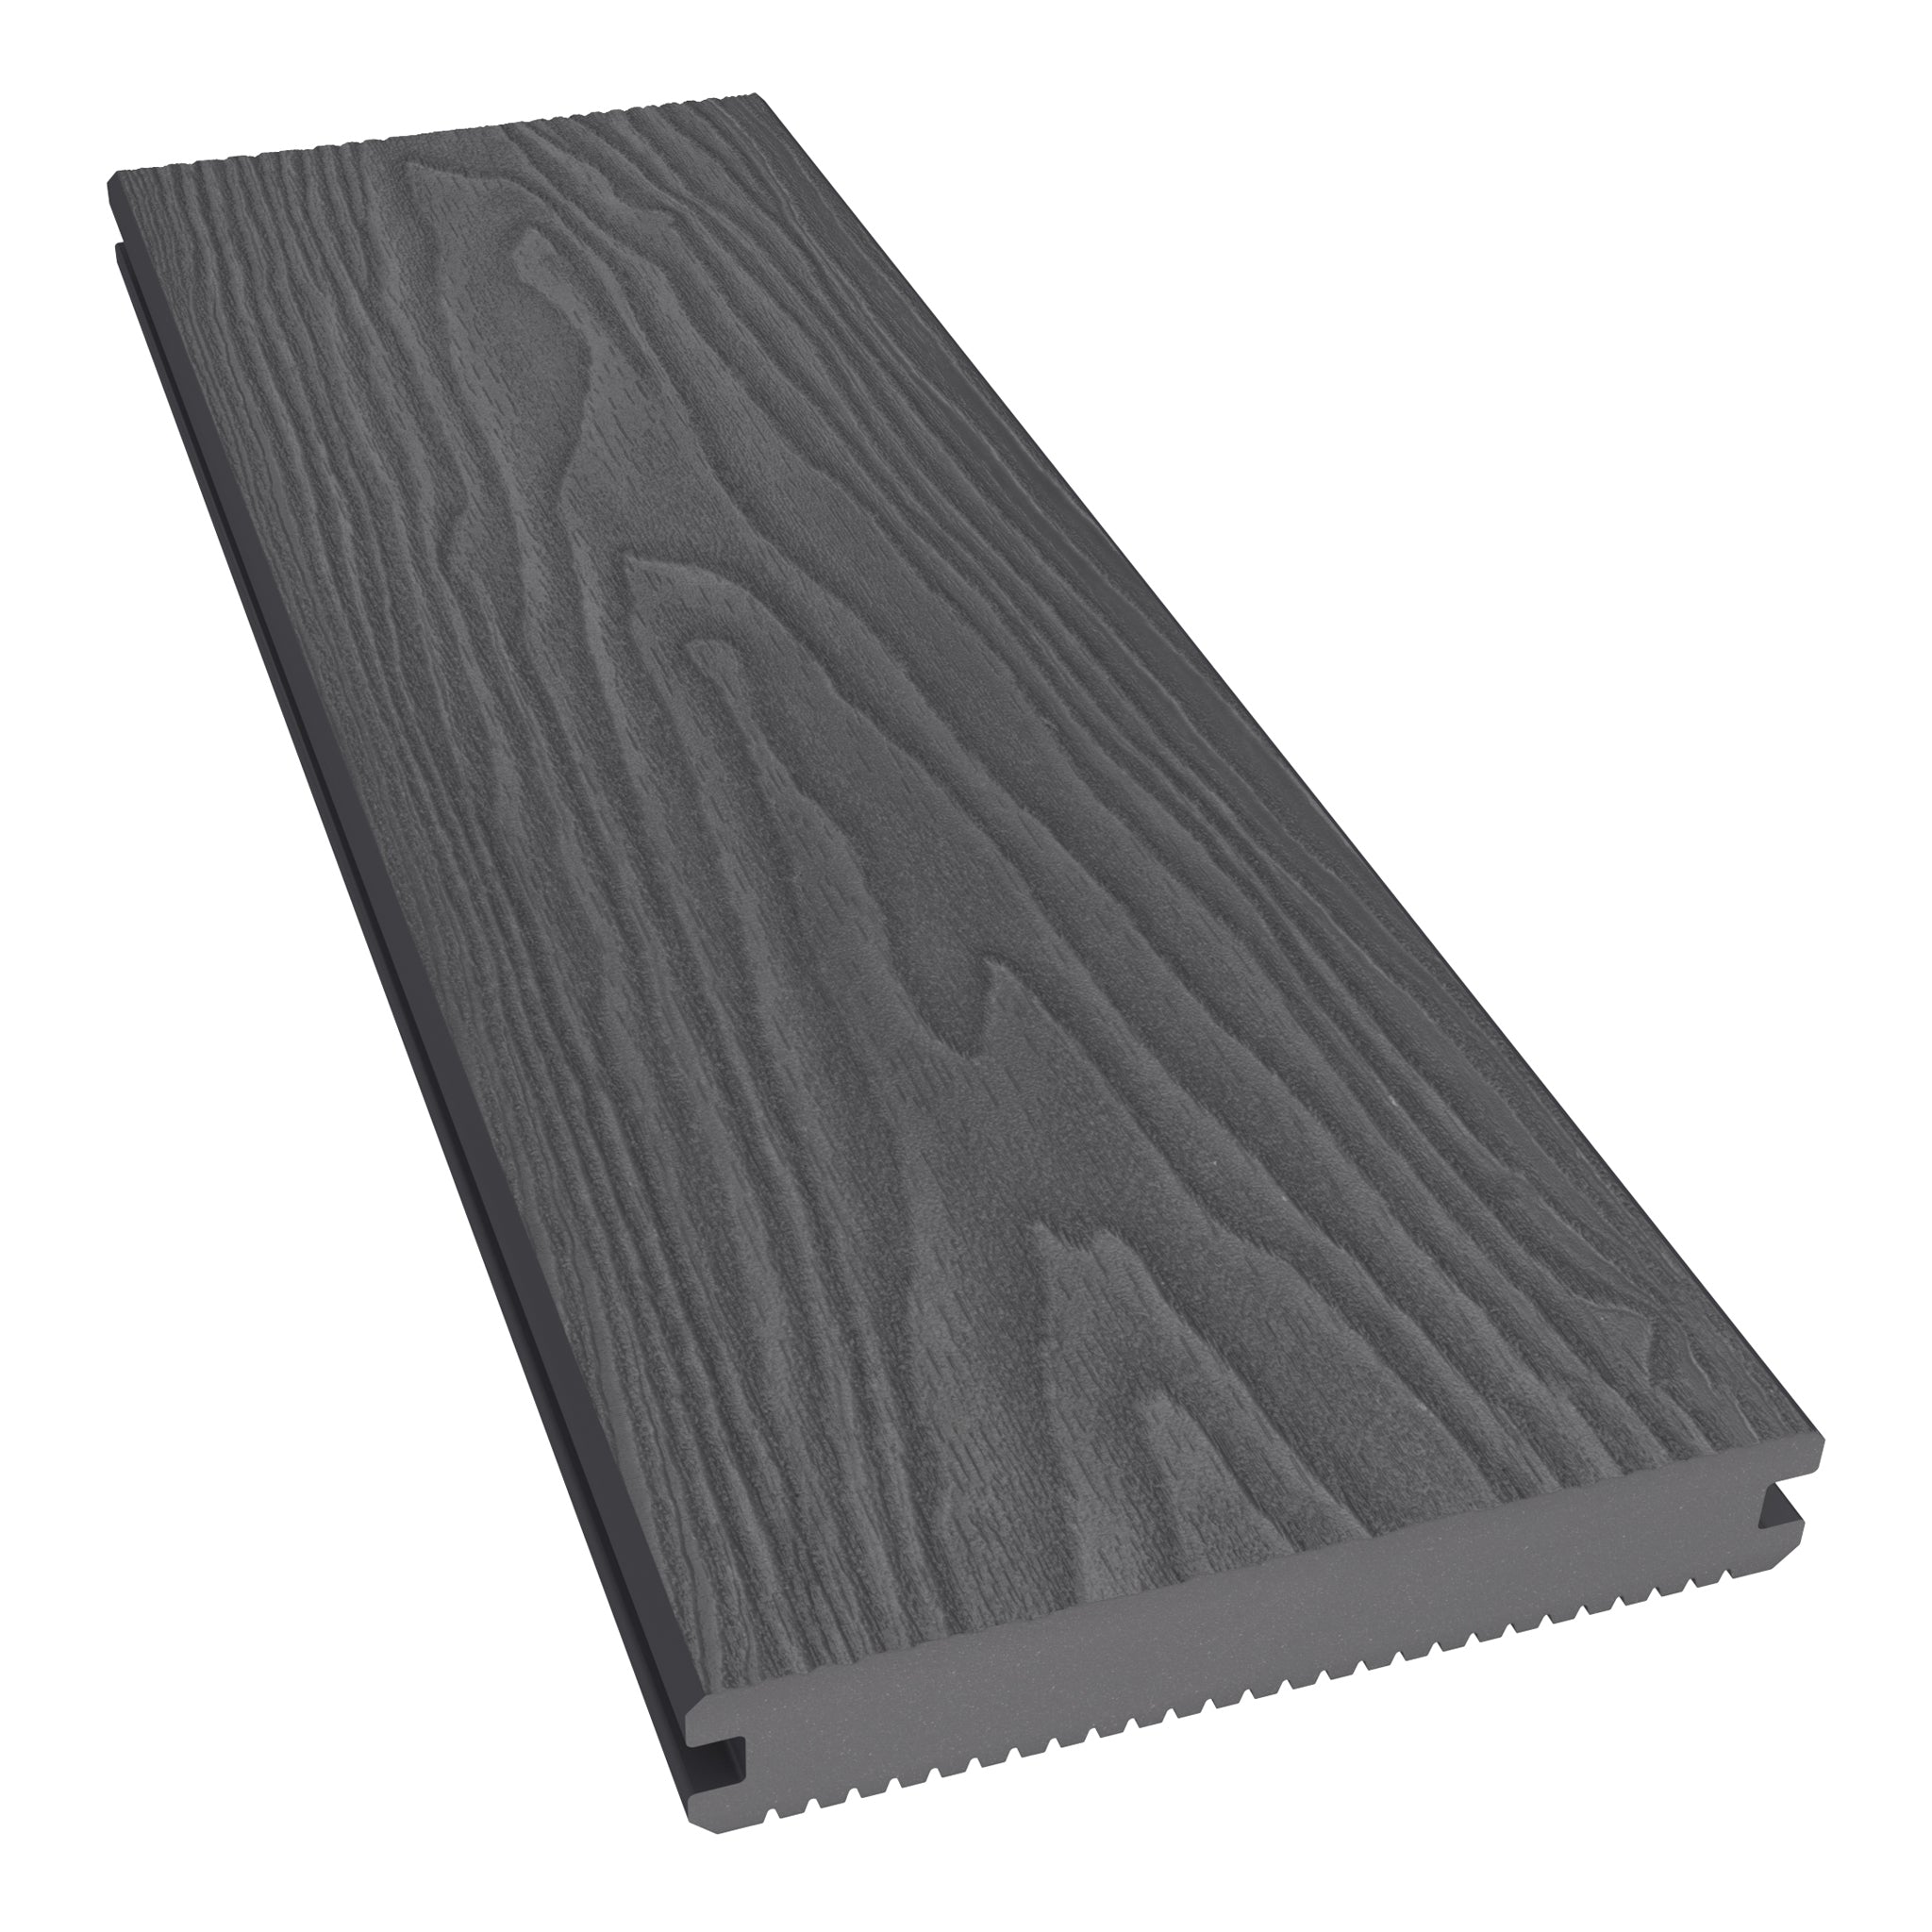
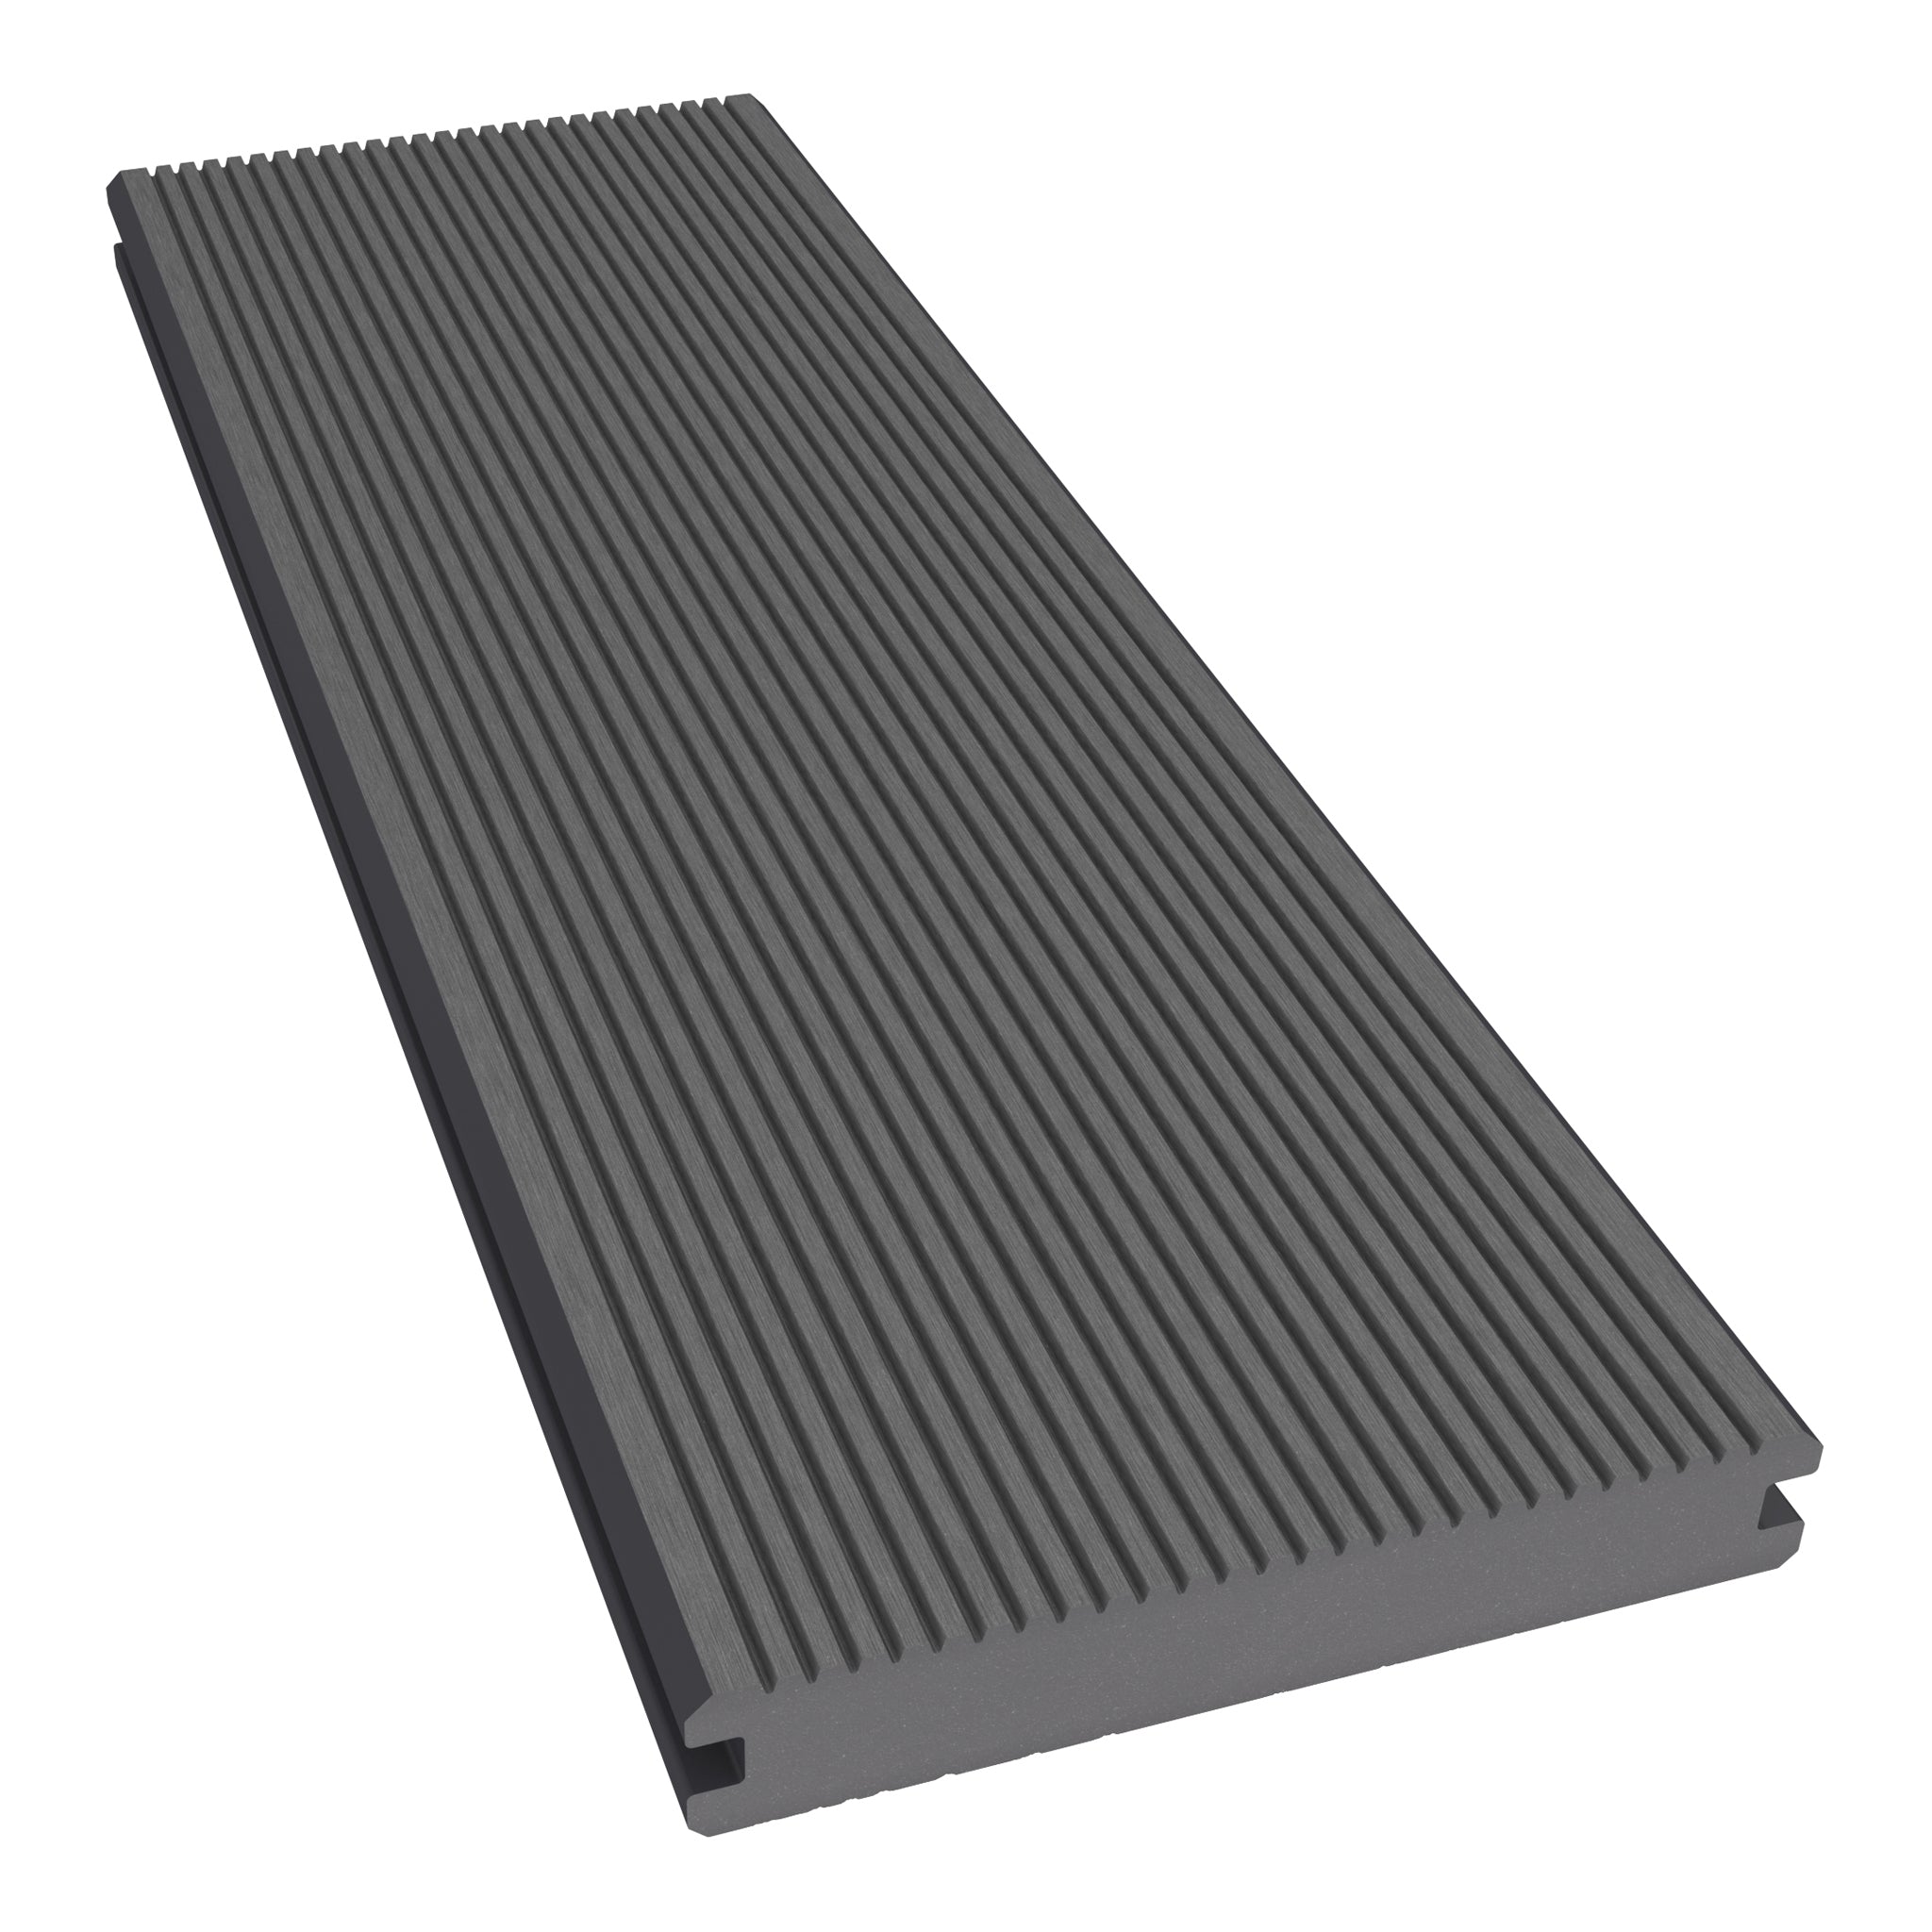
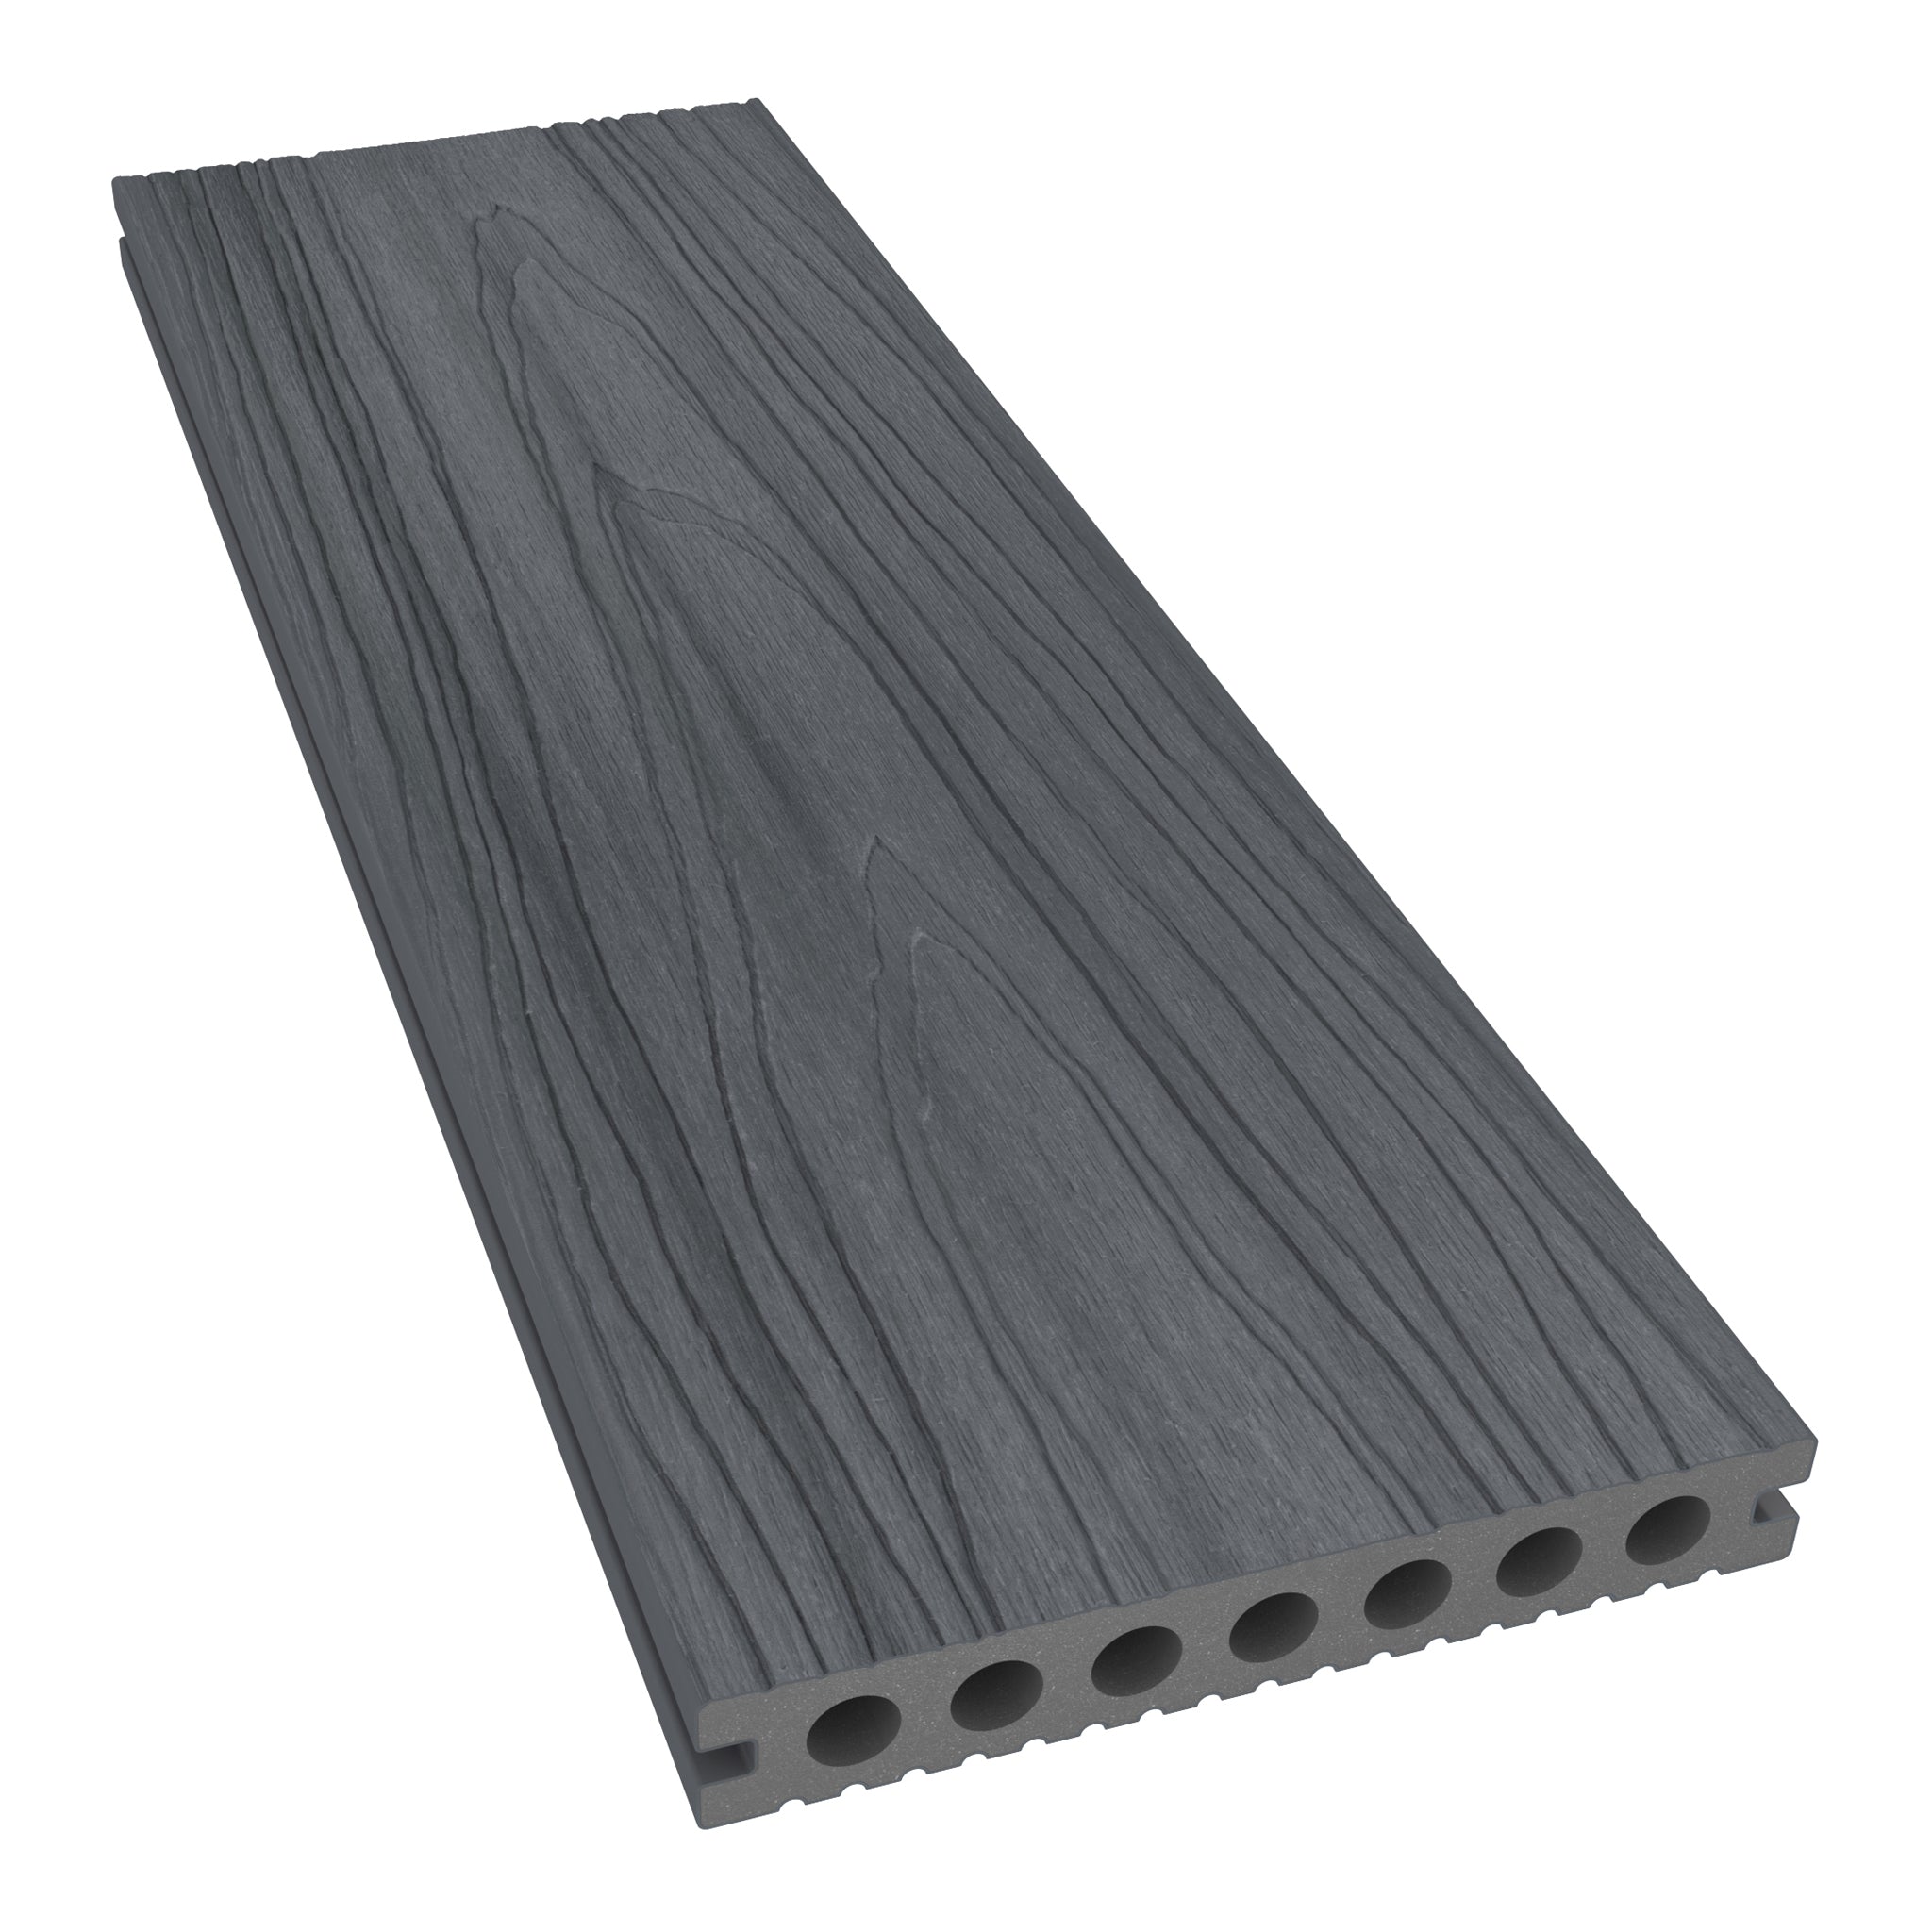
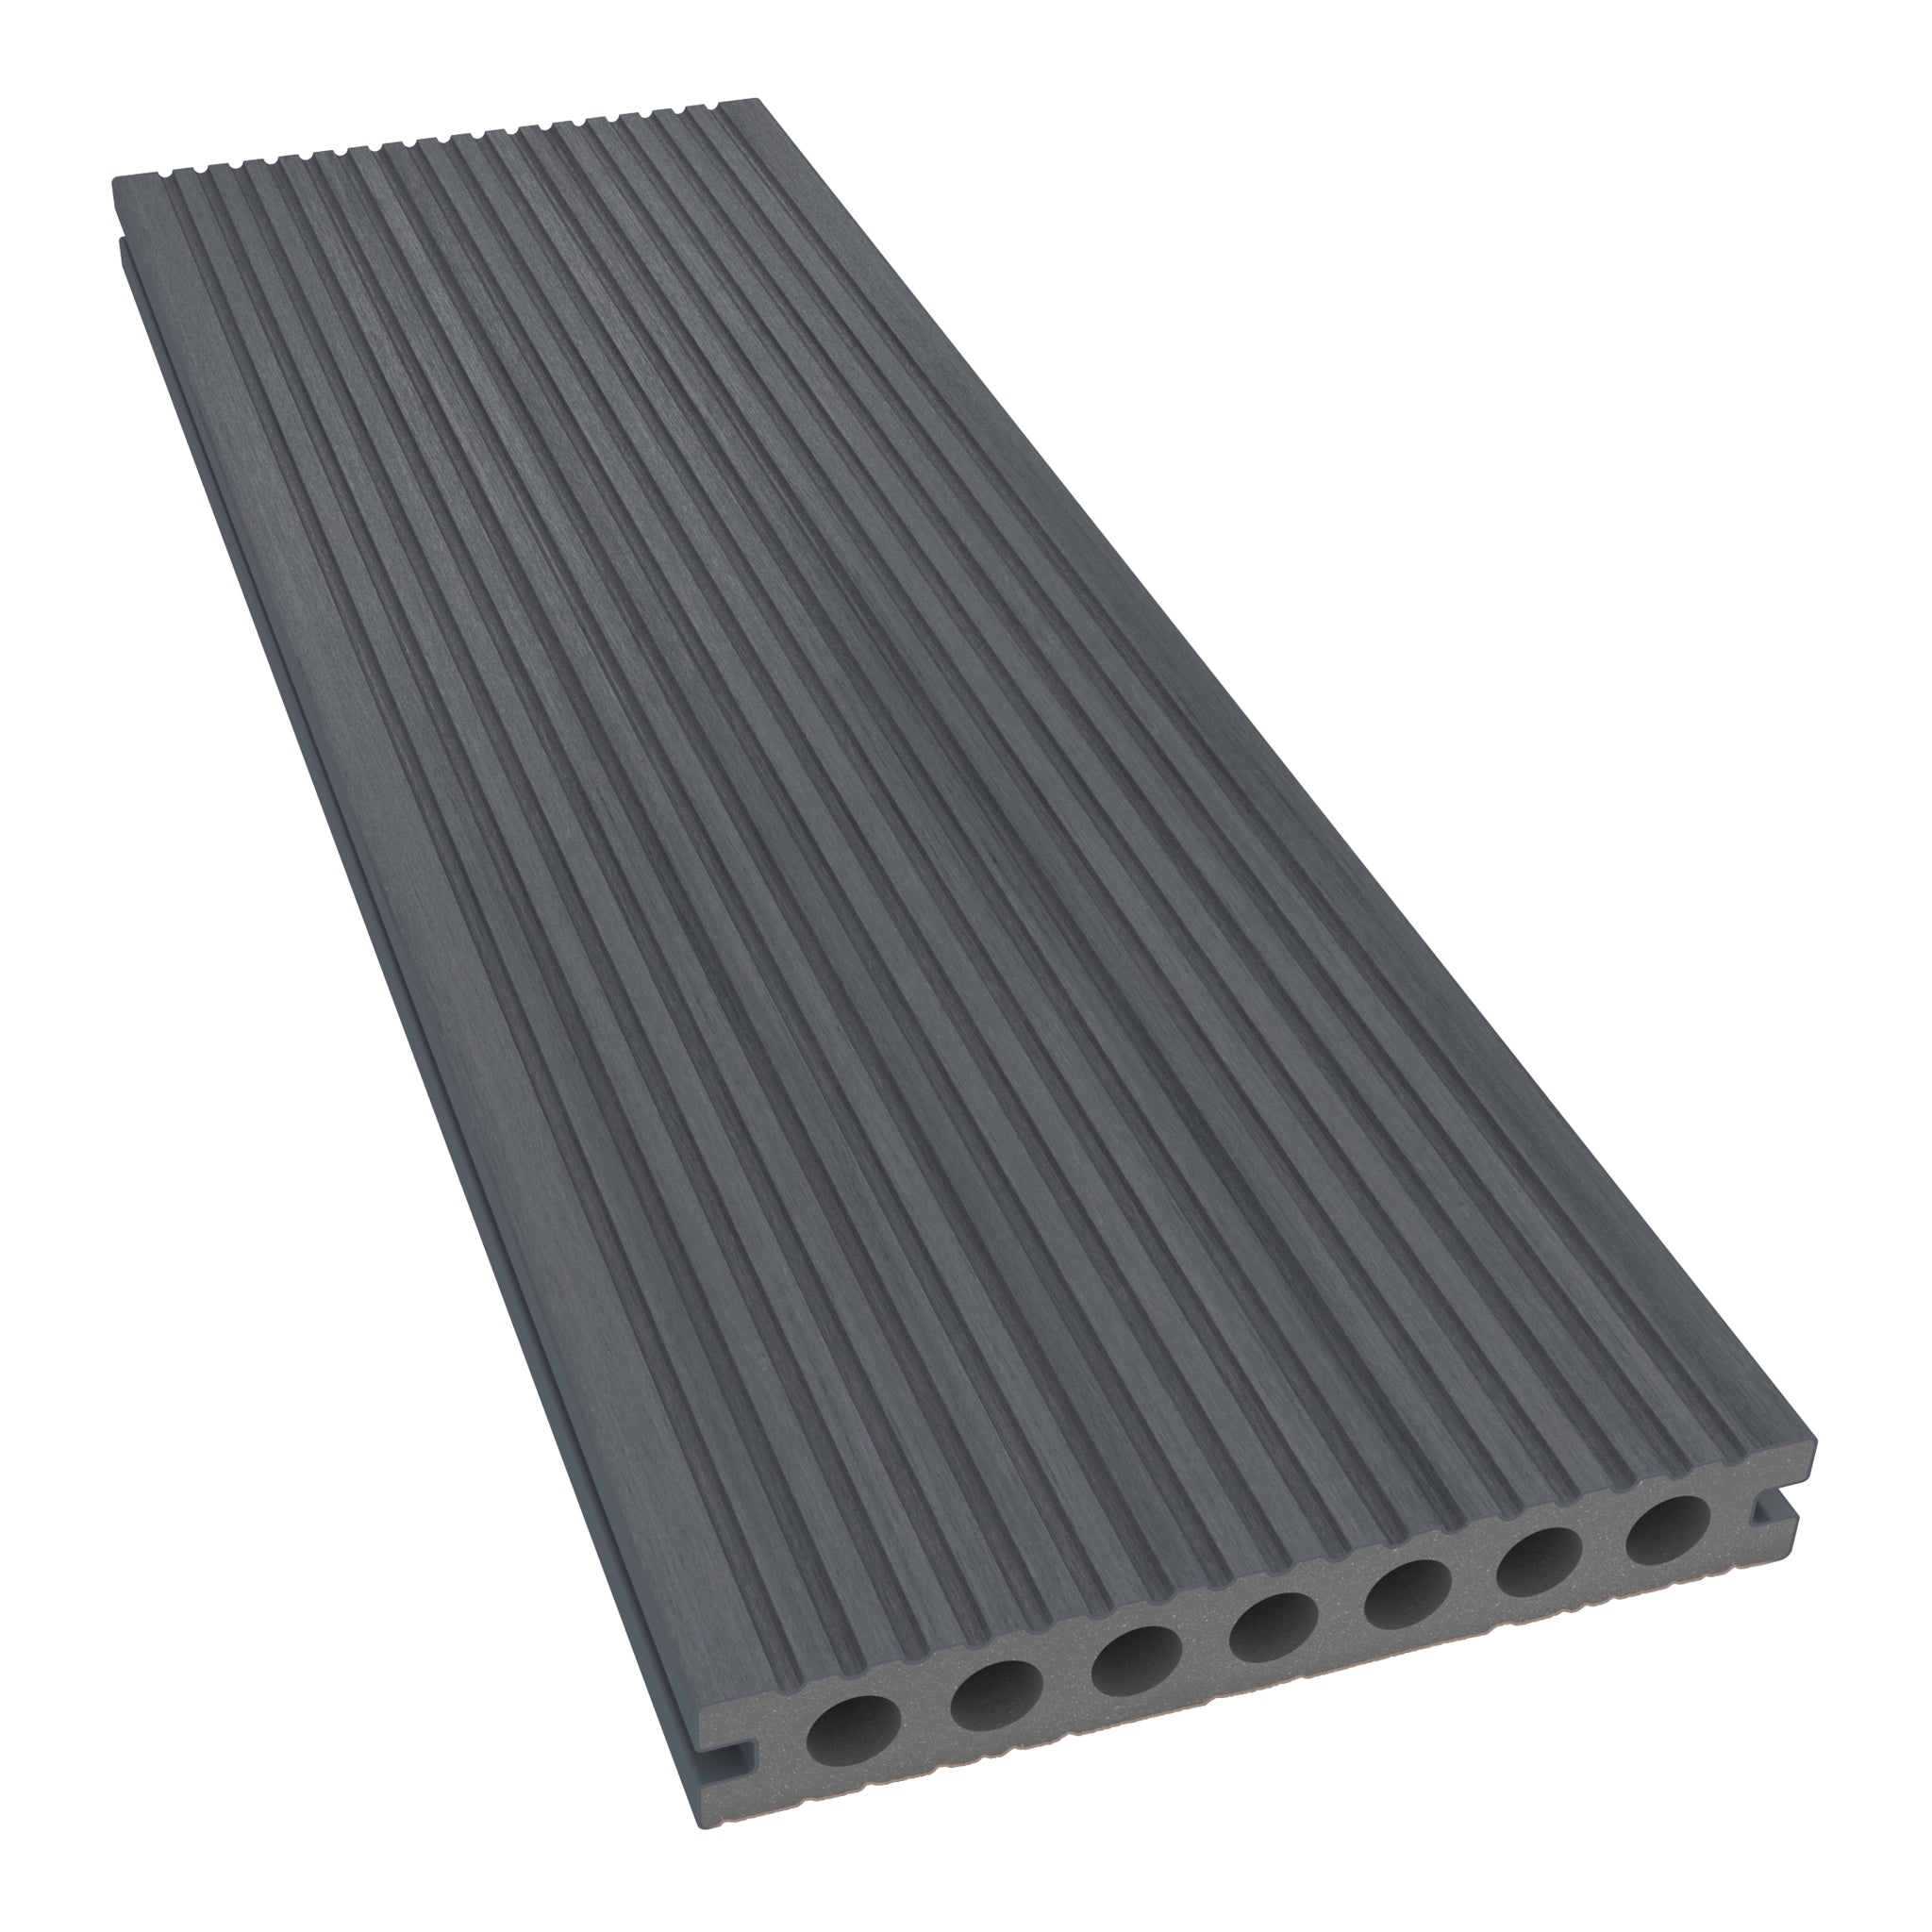
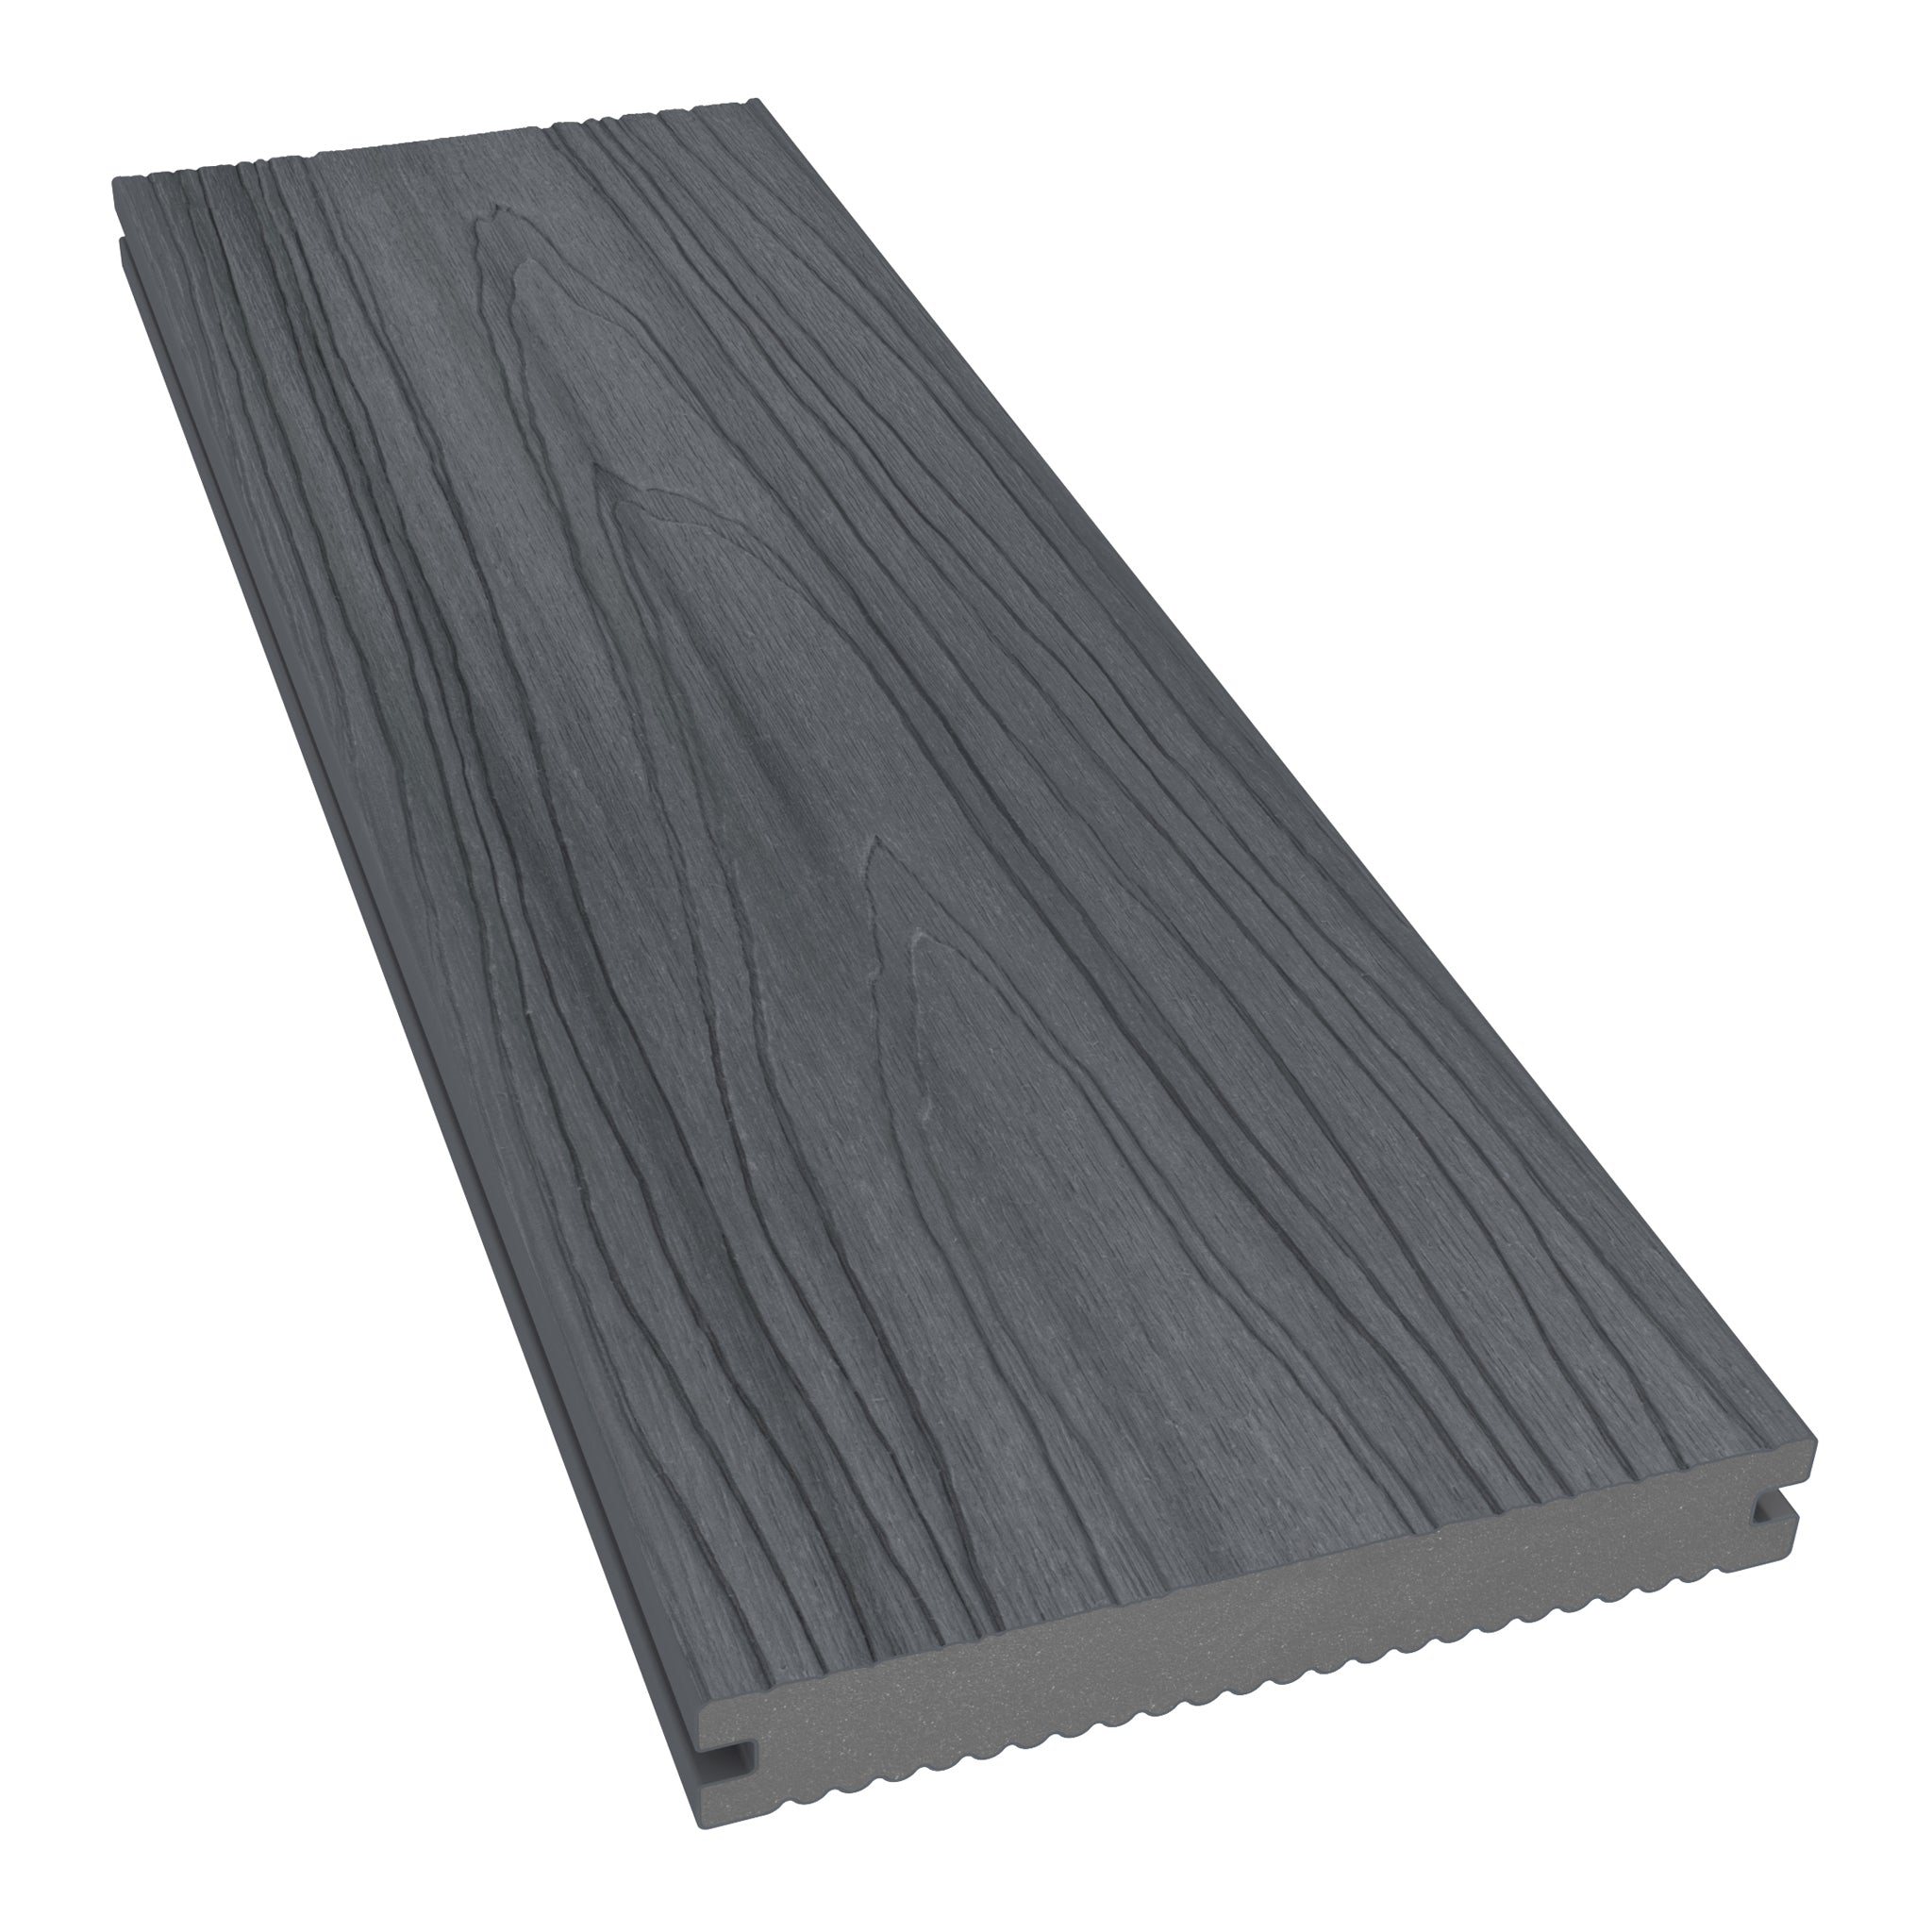
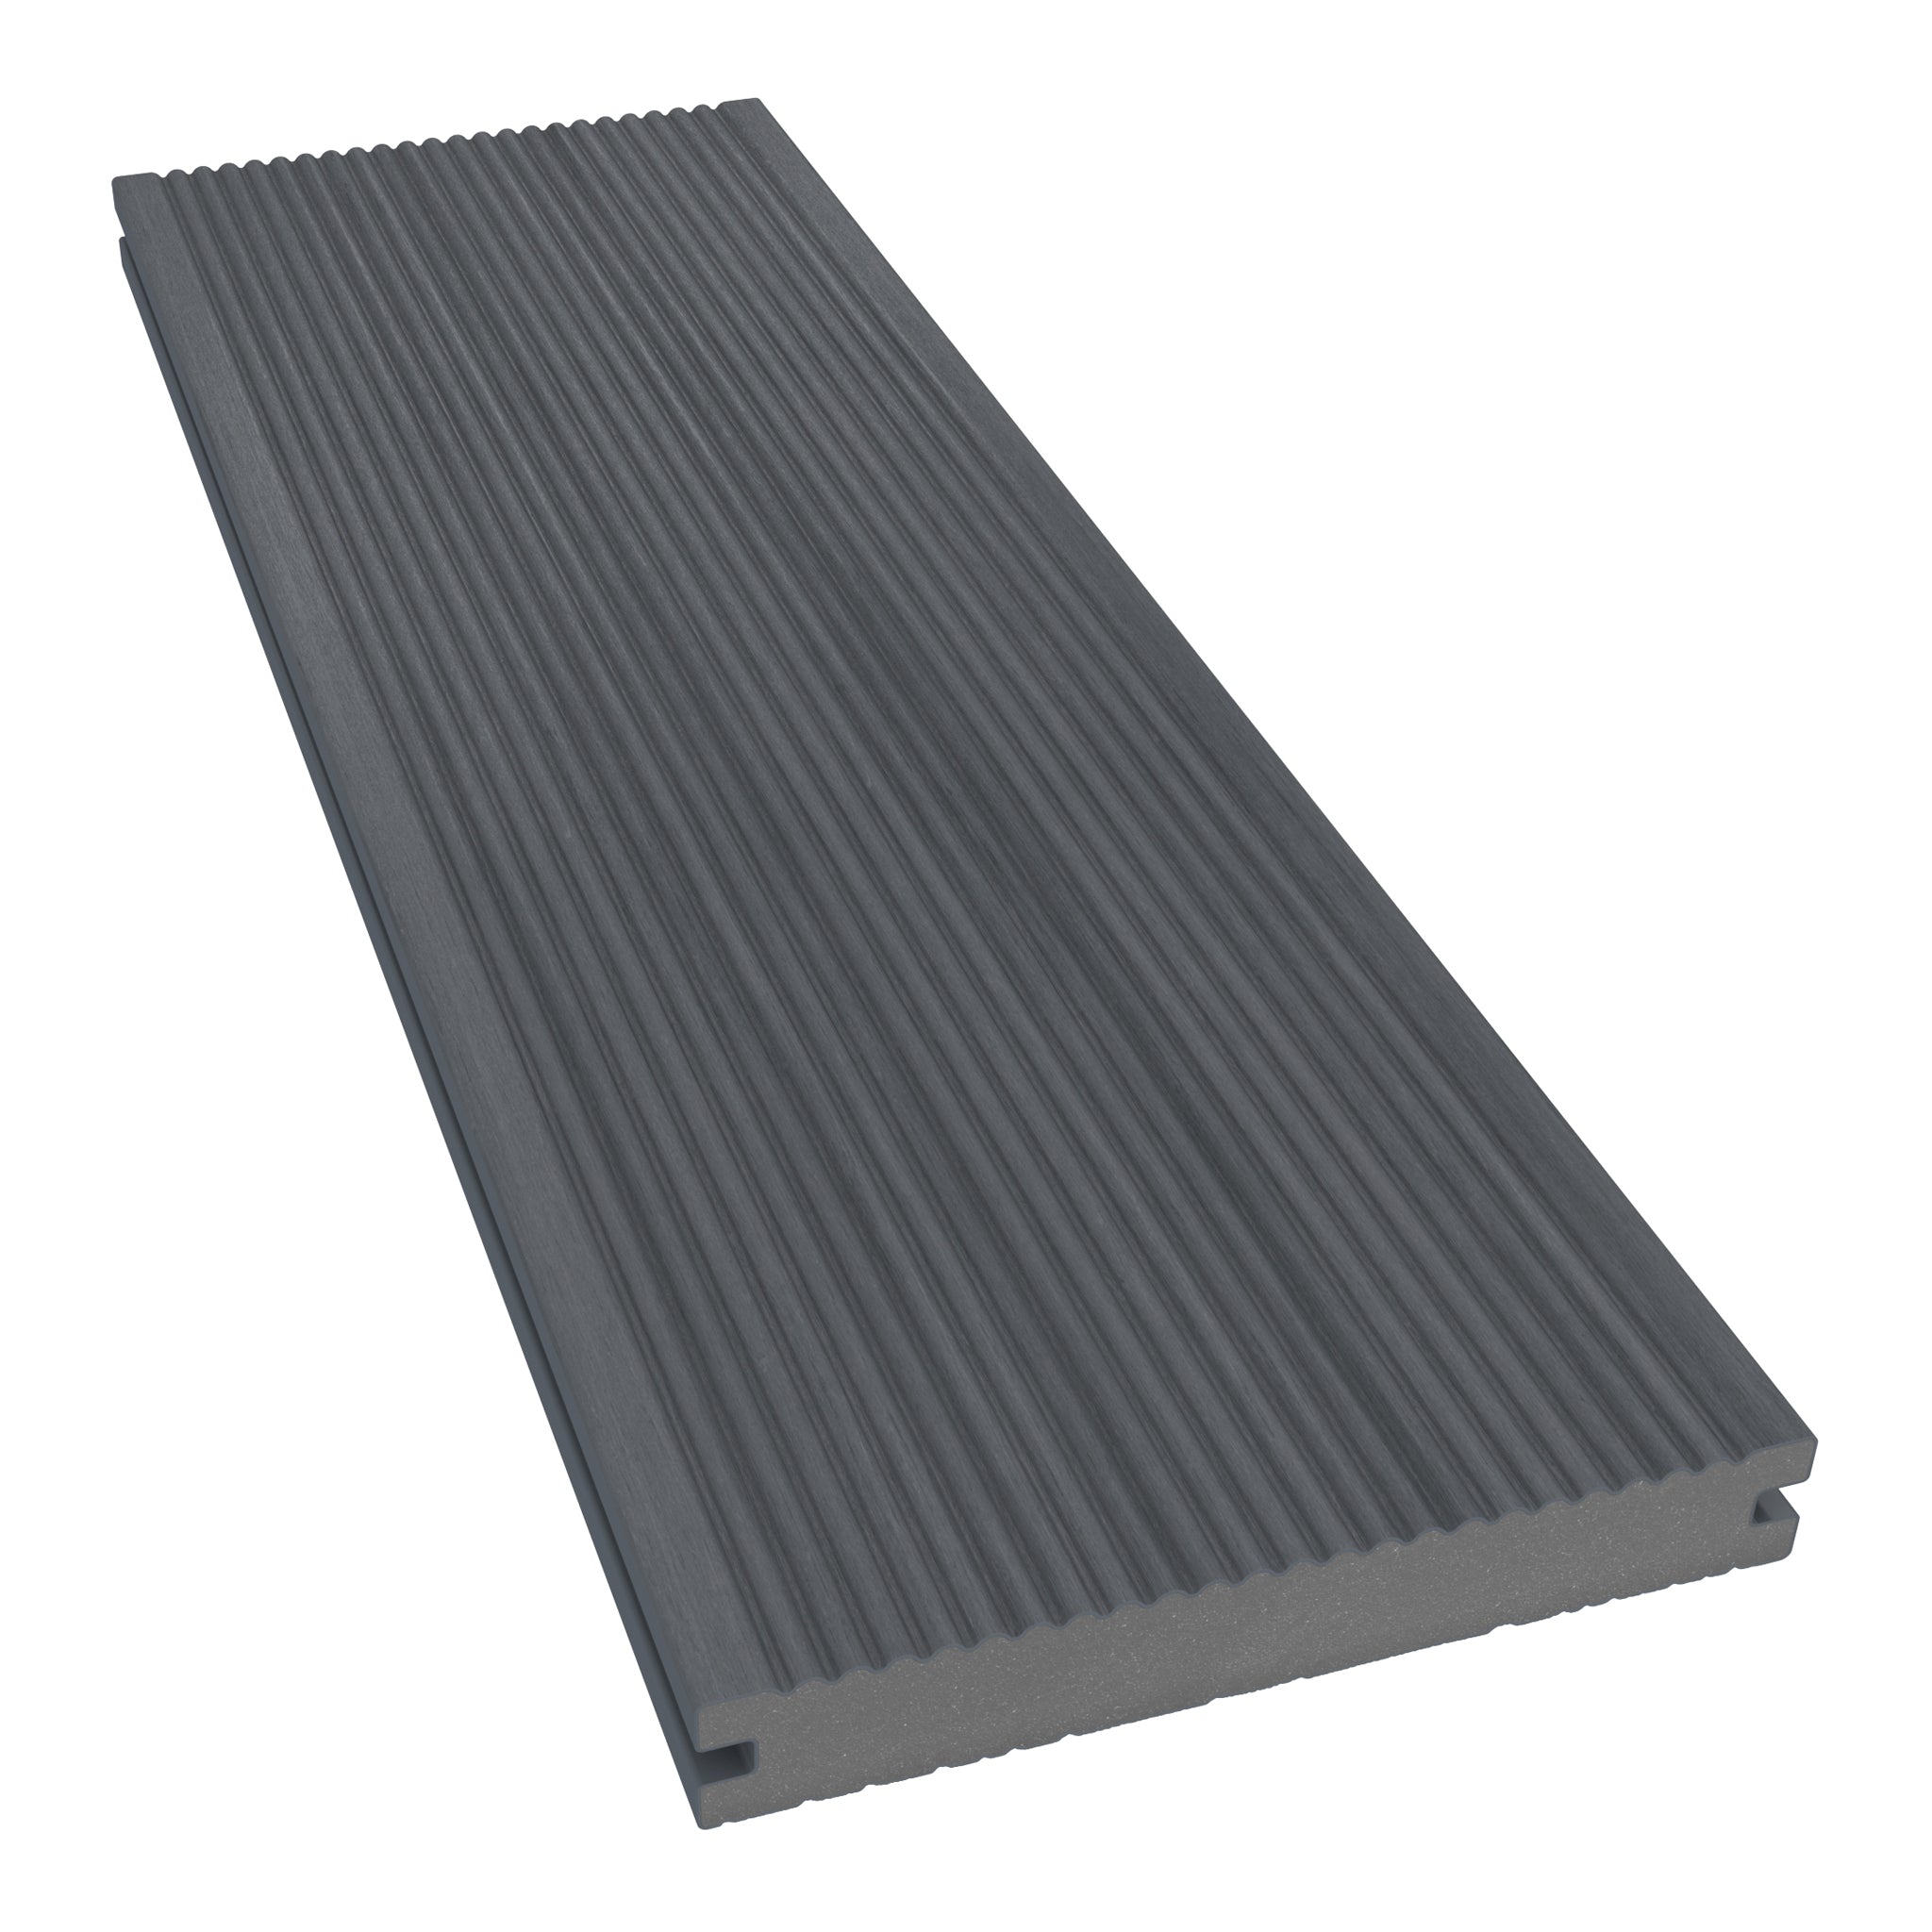
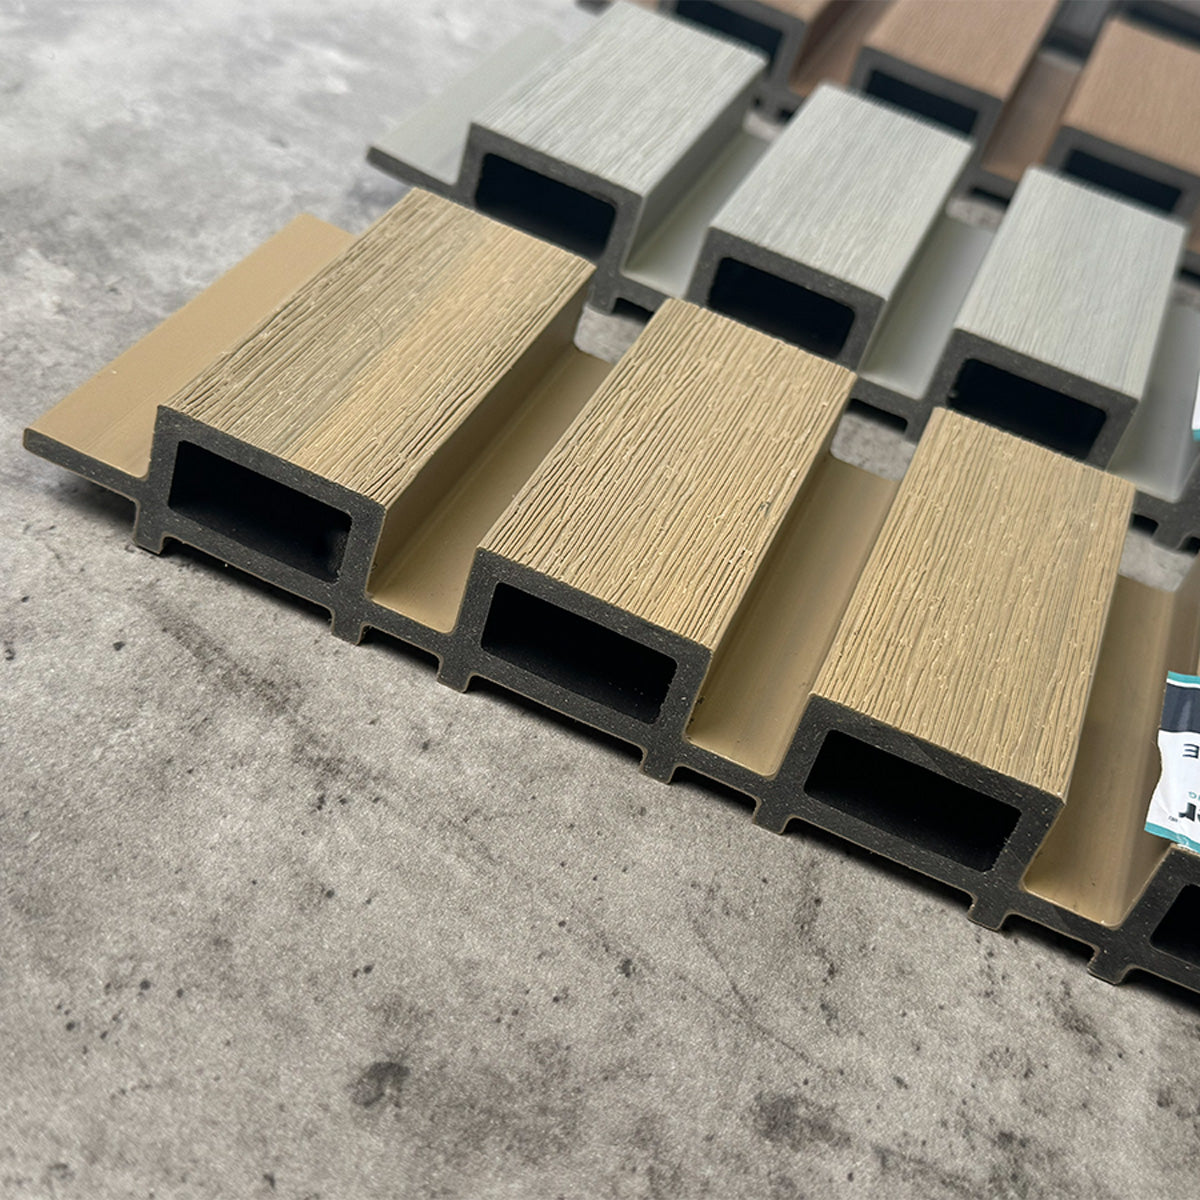
NeoTimber® deck tiles combine capped composite surface sections with a rigid polyethylene base. Connectors around the base join neighbouring tiles, forming a modular layout over a suitable supporting surface.
The appeal is a simpler surface installation. On an appropriate existing base, tiles can give a seating area or patio a different appearance without the same construction process as a conventional framed deck.
However, the tiles rely on what is underneath them. Their interlocking connection keeps the layout together; it does not turn the tile assembly into a structural platform capable of bridging unsupported areas.
Click Together Tiles or Clip-Fixed Deck Boards?
The phrase “clip together decking” can cause confusion because conventional composite boards may also use clips. Check which type of product you are comparing.
| Detail | Interlocking deck tiles | Deck boards fixed to joists |
|---|---|---|
| Connection | Integrated bases connect neighbouring tiles. | Specified clips or screws secure boards to supports. |
| Support | A suitable continuous hard surface supports the tiles. | A designed subframe supports the boards. |
| Layout | A modular grid with tile-specific edge details. | Board runs, end joints and a range of perimeter details. |
| Planning priority | Base condition, drainage, thresholds and connector orientation. | Frame design, board layout, fixings and finishing components. |
Choose the system that fits the site. An existing paved area and a proposed raised deck begin with different requirements, even if the preferred surface colour is the same.
Why Choose Clip Together Decking Tiles?
A Manageable Modular Format
Individual tiles let you work across the area in small sections. Before committing to the whole layout, arrange a few pieces to see how the pattern meets the surrounding walls, furniture and edges.
Connections Built into the Base
The tile-to-tile connection is made by hand, without separate screws or adhesive for that joint. This keeps the fitting process straightforward, although preparation and any permitted cutting remain separate tasks.
A Choice of Finishes
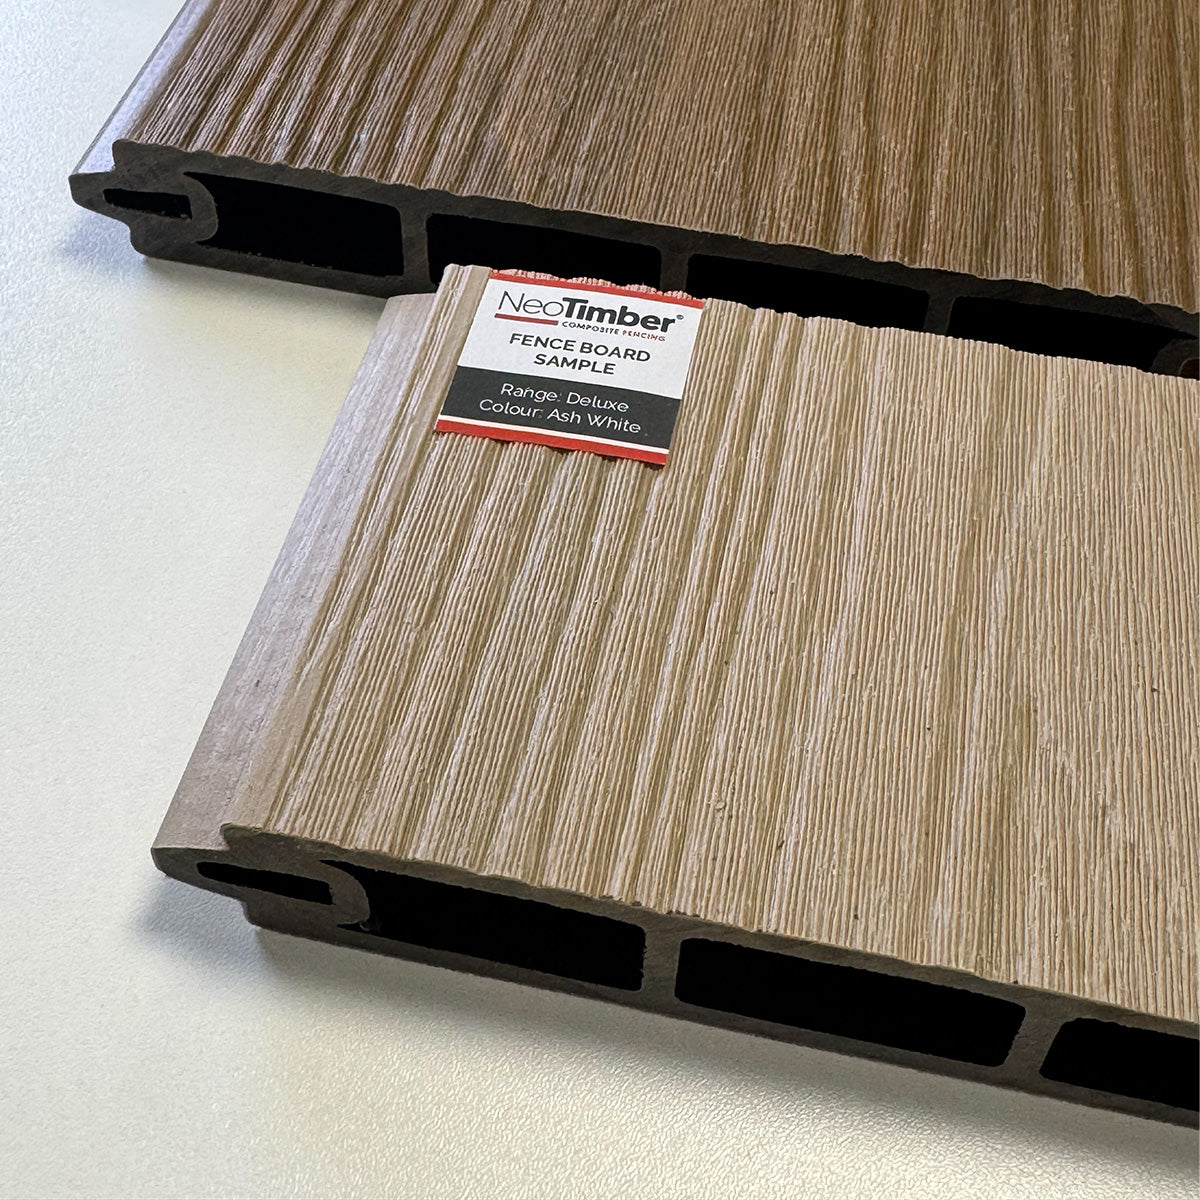
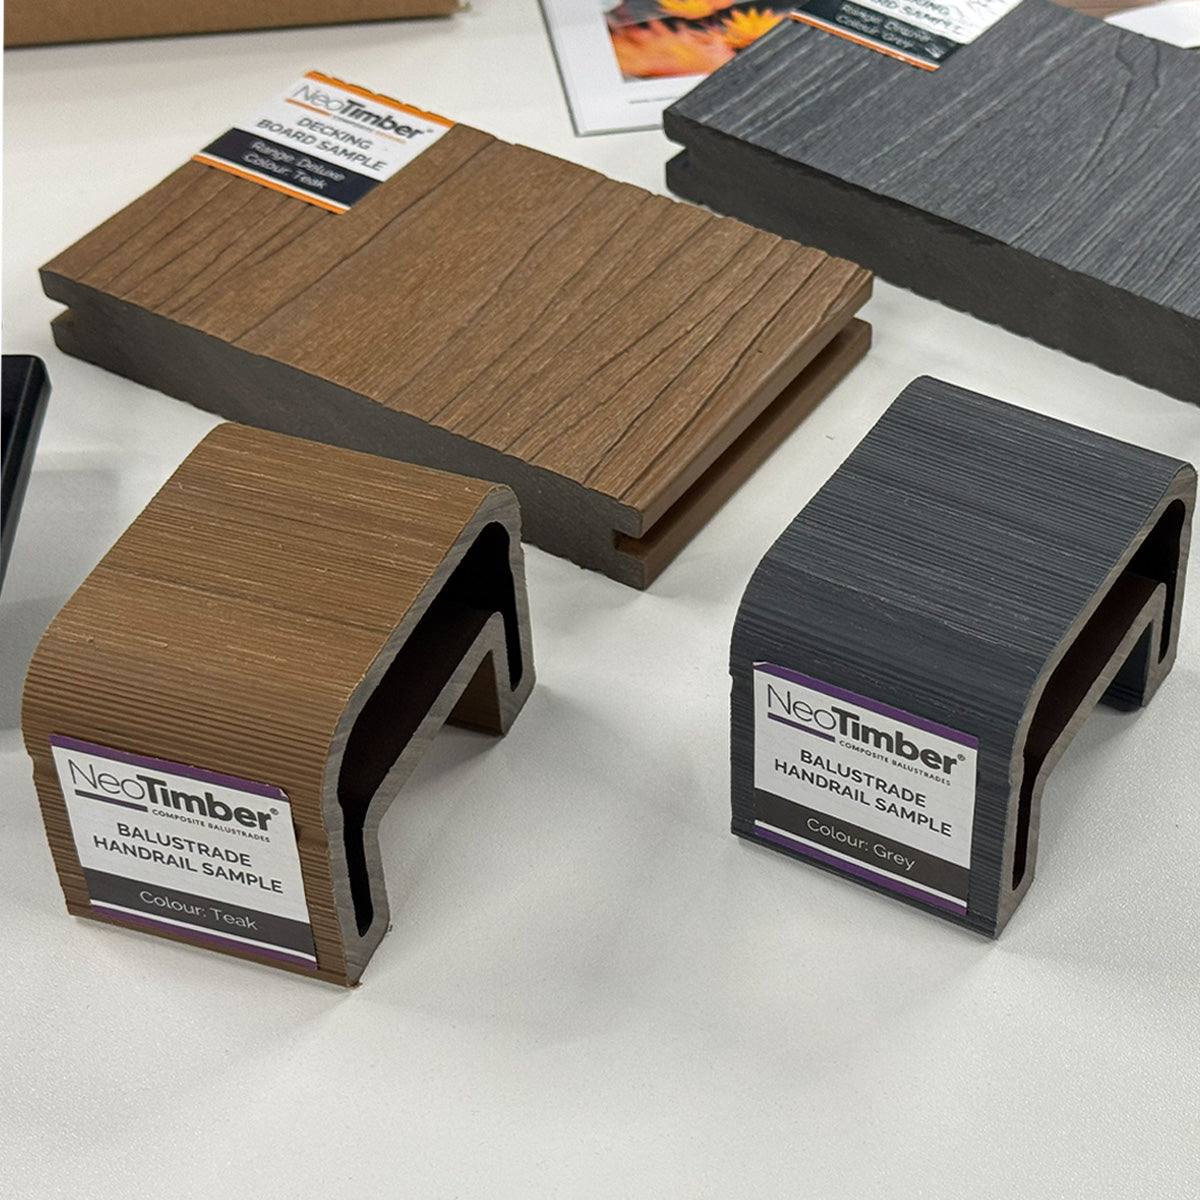
The Deluxe composite deck tile range offers woodgrain styling and several colours. Compare the actual finish with your paving, window frames and garden furniture rather than relying on a screen alone.
Individual Tiles Can Be Repositioned
The modular format allows tiles to be lifted or replaced where required. Follow the supplier’s handling advice to protect the connectors, and check the condition of any pieces before reusing them.

Check the Base Before You Order
Begin by inspecting the existing surface. Rocking paving, damaged decking or areas that hold standing water need attention before they are covered. A new finish should not conceal a problem that will affect the stability of the installation.
The NeoTimber® tile installation guide calls for a clean, flat, solid supporting surface and excludes direct installation on soil, grass, gravel or uneven ground. Use that tile-specific guidance when assessing your site.
For an old timber deck, inspect the supporting construction as well as the visible boards. Covering a deteriorating deck does not restore its load capacity. For an existing concrete or paved area, review its condition and drainage before planning the tile grid.
Check the finished height at doors and steps. Even a relatively shallow surface layer changes the transition between areas, and the door must still open freely once tiles and edge components are installed.
Plan the Layout, Gaps and Edges Together
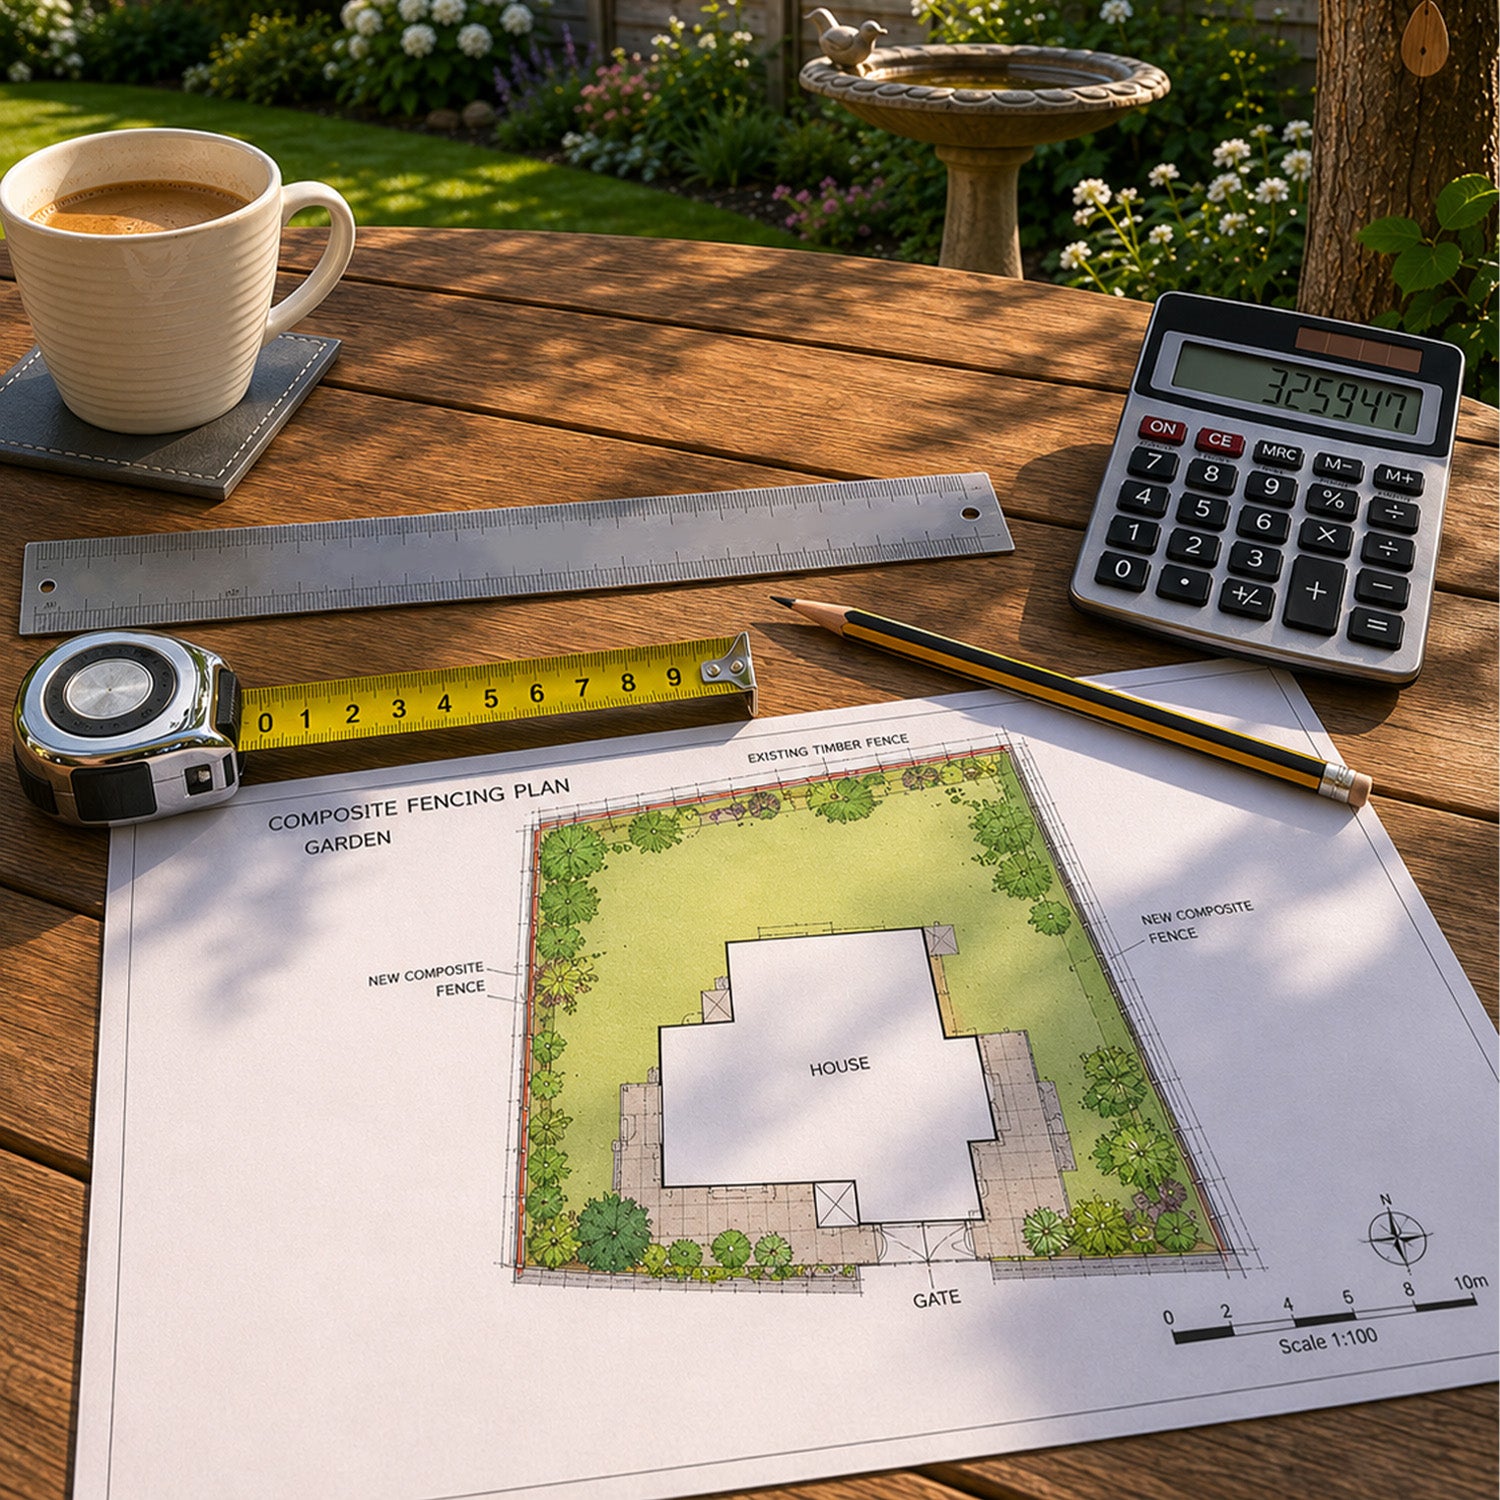
Measure the usable area and sketch the tile arrangement before ordering. Think about where full tiles will sit, how the surface meets fixed objects and which edges remain exposed. A small shift in the starting position can change the appearance of the perimeter.
Click together does not mean gap-free. The NeoTimber® fitting guide specifies a minimum 10 mm expansion gap beside walls, posts, railings and other fixed structures. Preserve the required movement space rather than forcing the tiles tightly into an enclosure.
Check the connector orientation before choosing a pattern. Tiles and edge components need to join in the intended way; rotating a piece for its appearance must also work with the connection system.
Straight and corner edge ramps are available in the deck tile collection. Plan these alongside the tiles so the transition to adjacent surfaces is considered from the start.
How to Approach Installation
Read the full tile instructions before beginning. The basic process is to position the first tile, align the mating connectors and press them together gently, then continue across the prepared area.
If a connection does not engage, check the alignment and the surface beneath it rather than striking it or forcing it into place. Pause to resolve any rocking or inconsistent support before extending the layout.
For a straightforward arrangement of whole tiles, the connection process requires no specialist tools. You will still need to measure and check the site. Where an edge needs cutting or another adjustment, confirm the approved method and suitable equipment with the supplier.
Inspect the completed surface and its perimeter before putting furniture back. Check for uneven transitions, incomplete connections and obstructed drainage access.

Where Might Interlocking Deck Tiles Work?
A sound patio or courtyard can be a useful starting point for a tile project. The modular surface may help define a dining corner or refresh a smaller seating area, while retaining the underlying hard surface as its support.
Balconies and roof terraces require additional project checks. The building’s requirements, loading, drainage, waterproofing and fire specification must be assessed before choosing the finish. A tile’s ease of connection does not establish suitability for every building.
For rented spaces, confirm permission and any restrictions before making changes. Removability can be useful, but it does not mean every installation is automatically appropriate or leaves every underlying surface unaffected.
If your project needs a raised platform or a new supporting structure, compare conventional composite decking boards and a suitable frame design instead.
Cleaning, Care and Long-Term Expectations
Capped composite tiles offer a finish designed to resist fading and staining, but they are not immune to weathering, dirt or damage. Plan for regular attention rather than treating low maintenance as no maintenance.
Keep the walking surface and drainage routes clear of leaves and debris. Clean using the product’s care guidance and check connections periodically. Surface texture alone should not be treated as a guarantee against slipping in wet or dirty conditions.
Before buying, read the applicable NeoTimber® warranty terms for the tiles and intended use. Check the conditions and exclusions rather than assuming the warranty covers the supporting base, installation work or every change in appearance.
Click Together Decking FAQs
Is Click Together Decking the Same as Clip Together Decking?
Both phrases can describe interlocking deck tiles. However, “clip” may also refer to the separate fixings used for deck boards on joists. Check the product format before comparing systems.
Do the Tiles Need a Traditional Decking Subframe?
They are designed to sit on a suitable hard surface. They do not provide a substitute for a structural frame where the project requires an elevated or spanning deck.
Can I Put Them Straight onto a Lawn?
No. Follow the tile-specific base requirements rather than laying them on soft ground. Prepare an appropriate supporting surface before installation.
Will I Need a Rubber Mallet?
The specified connection method uses gentle hand pressure. Do not assume a mallet is necessary or appropriate; check alignment if the connectors resist joining.
Can I Use the Tiles Indoors?
Confirm suitability for the particular room and supporting surface with NeoTimber® before specifying them. Outdoor product descriptions do not establish compatibility with every interior floor or use.
Are the Tiles Easy to Clean?
They are intended for low-maintenance care, but debris can still collect on and beneath the surface. Follow the care instructions and retain access to drainage points.
Start with the Surface, Then Choose Your Tiles
A successful click together decking project combines a suitable base, a considered layout and correctly connected components. Resolve those details first, then choose the colour and edge finish that suit your space.
Explore NeoTimber® composite deck tiles, read the tile installation guide, or contact the team with your project questions.