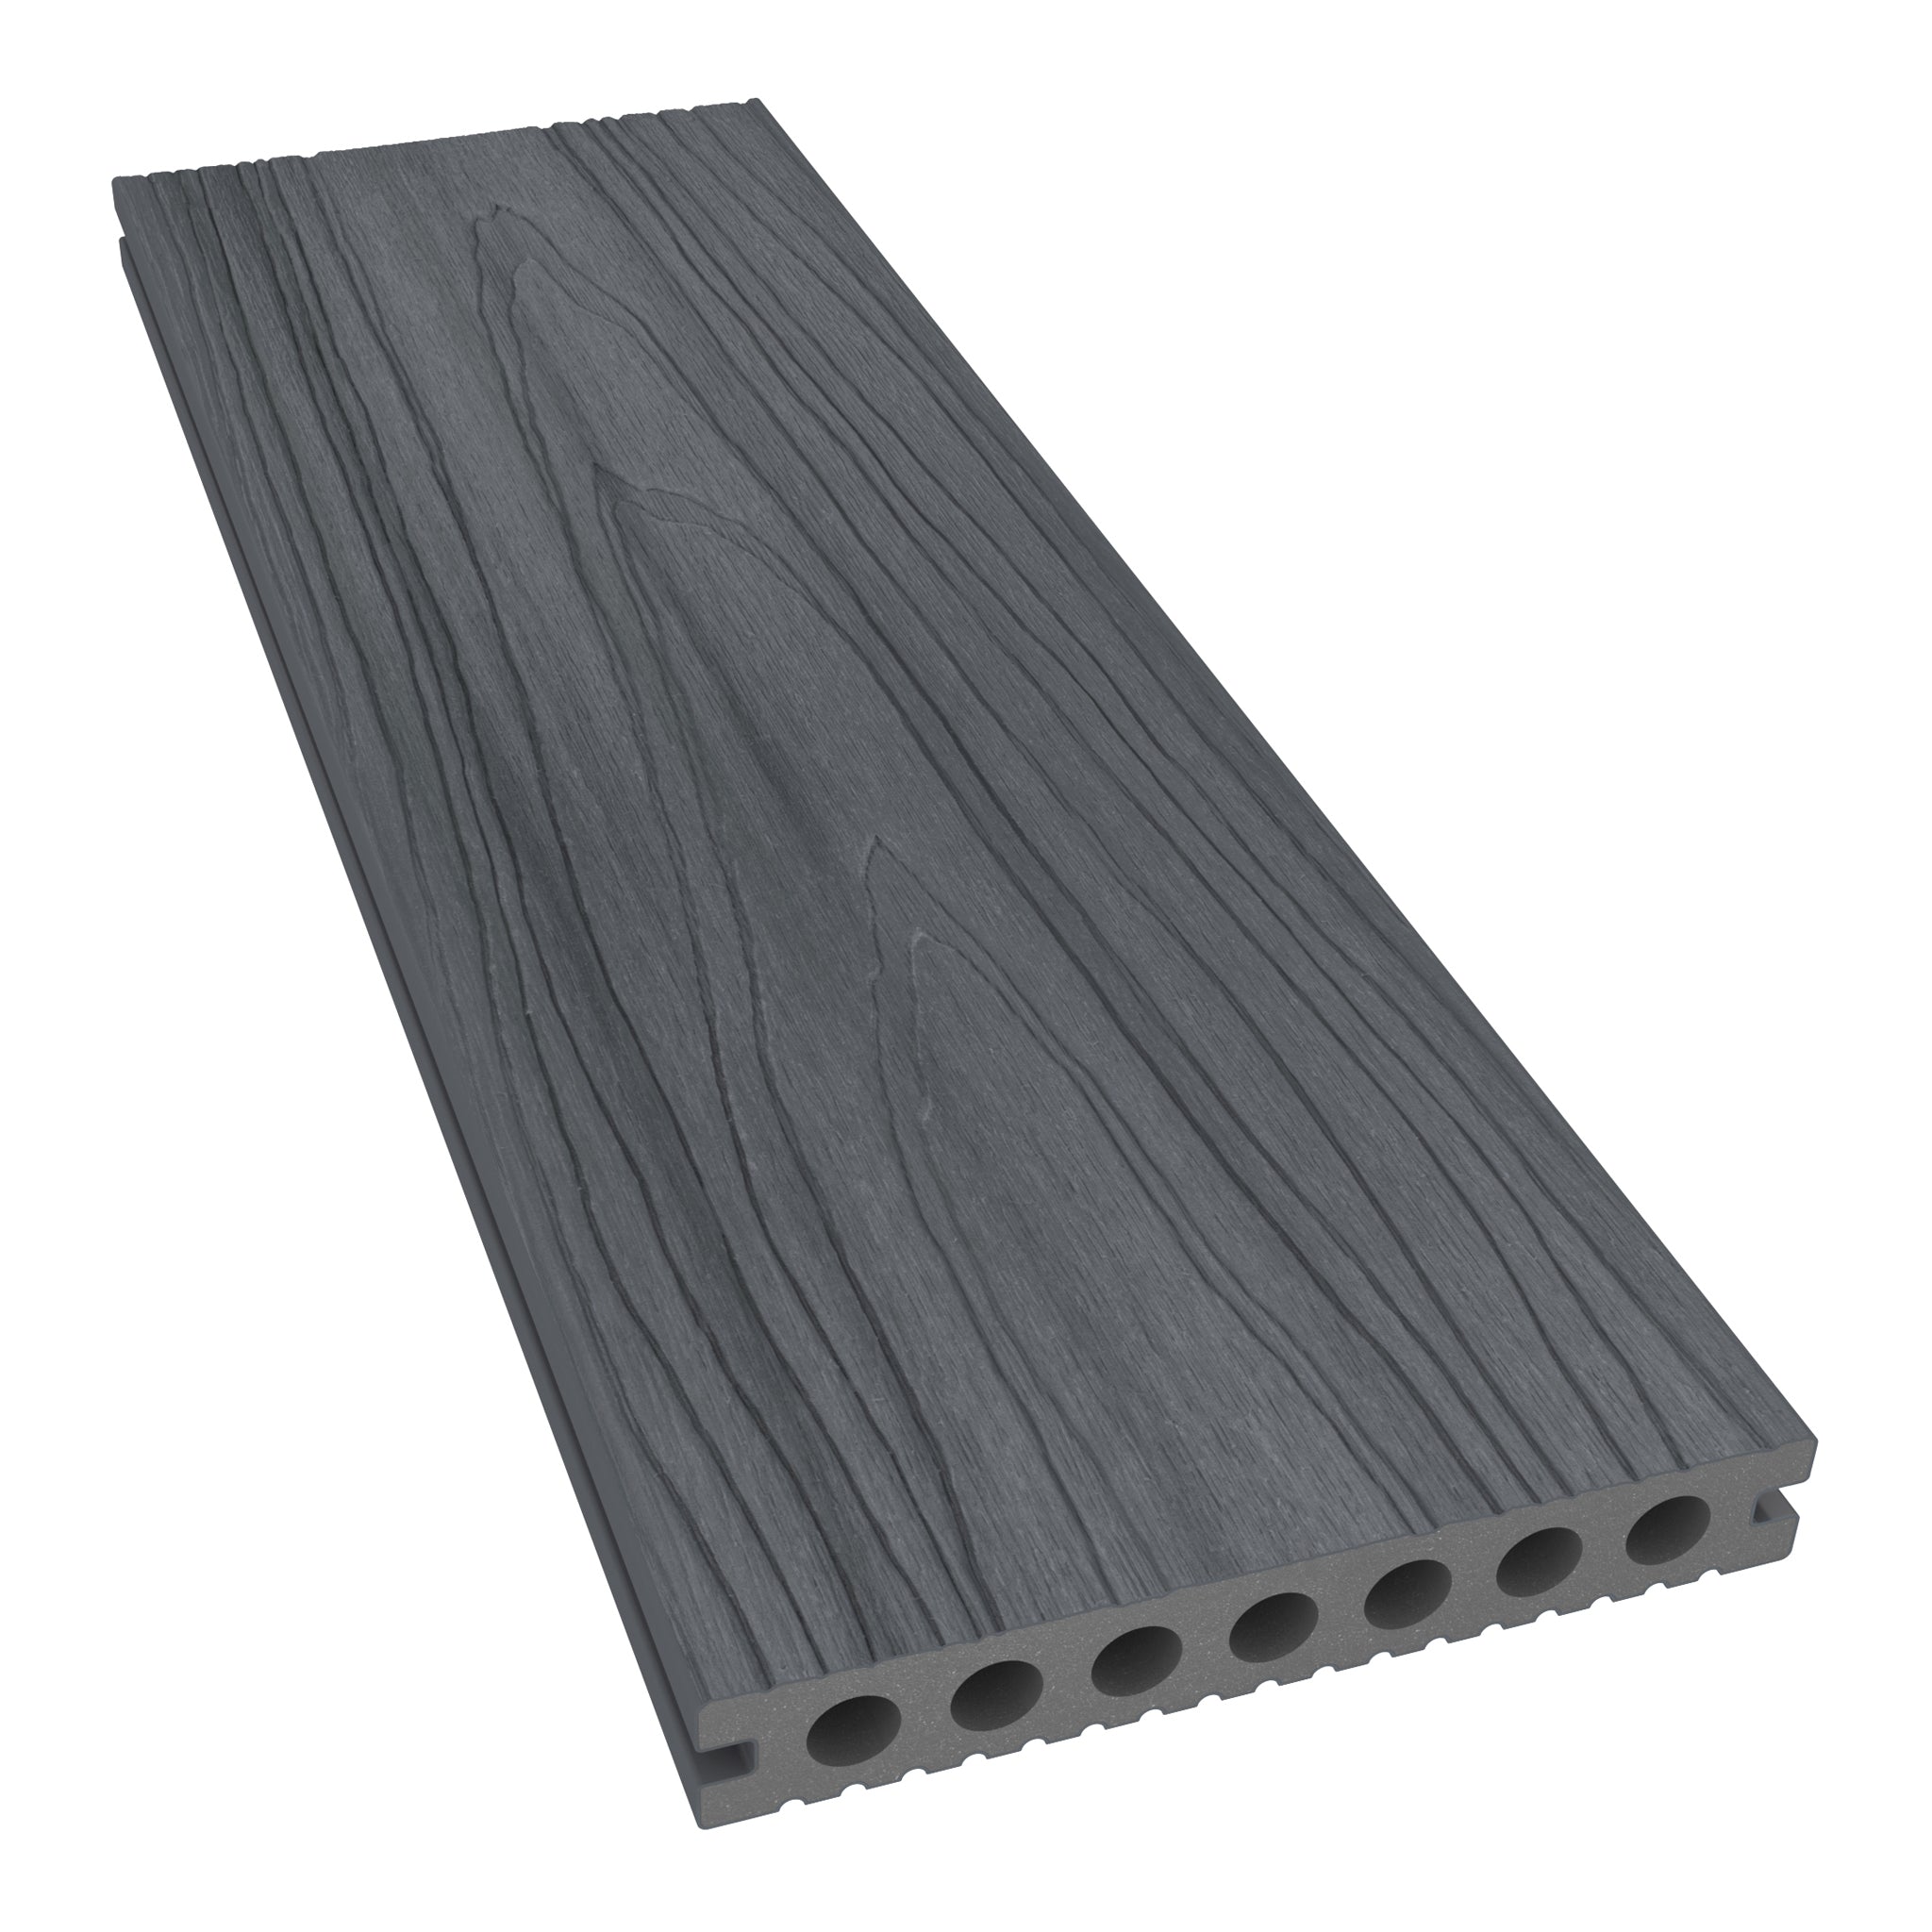
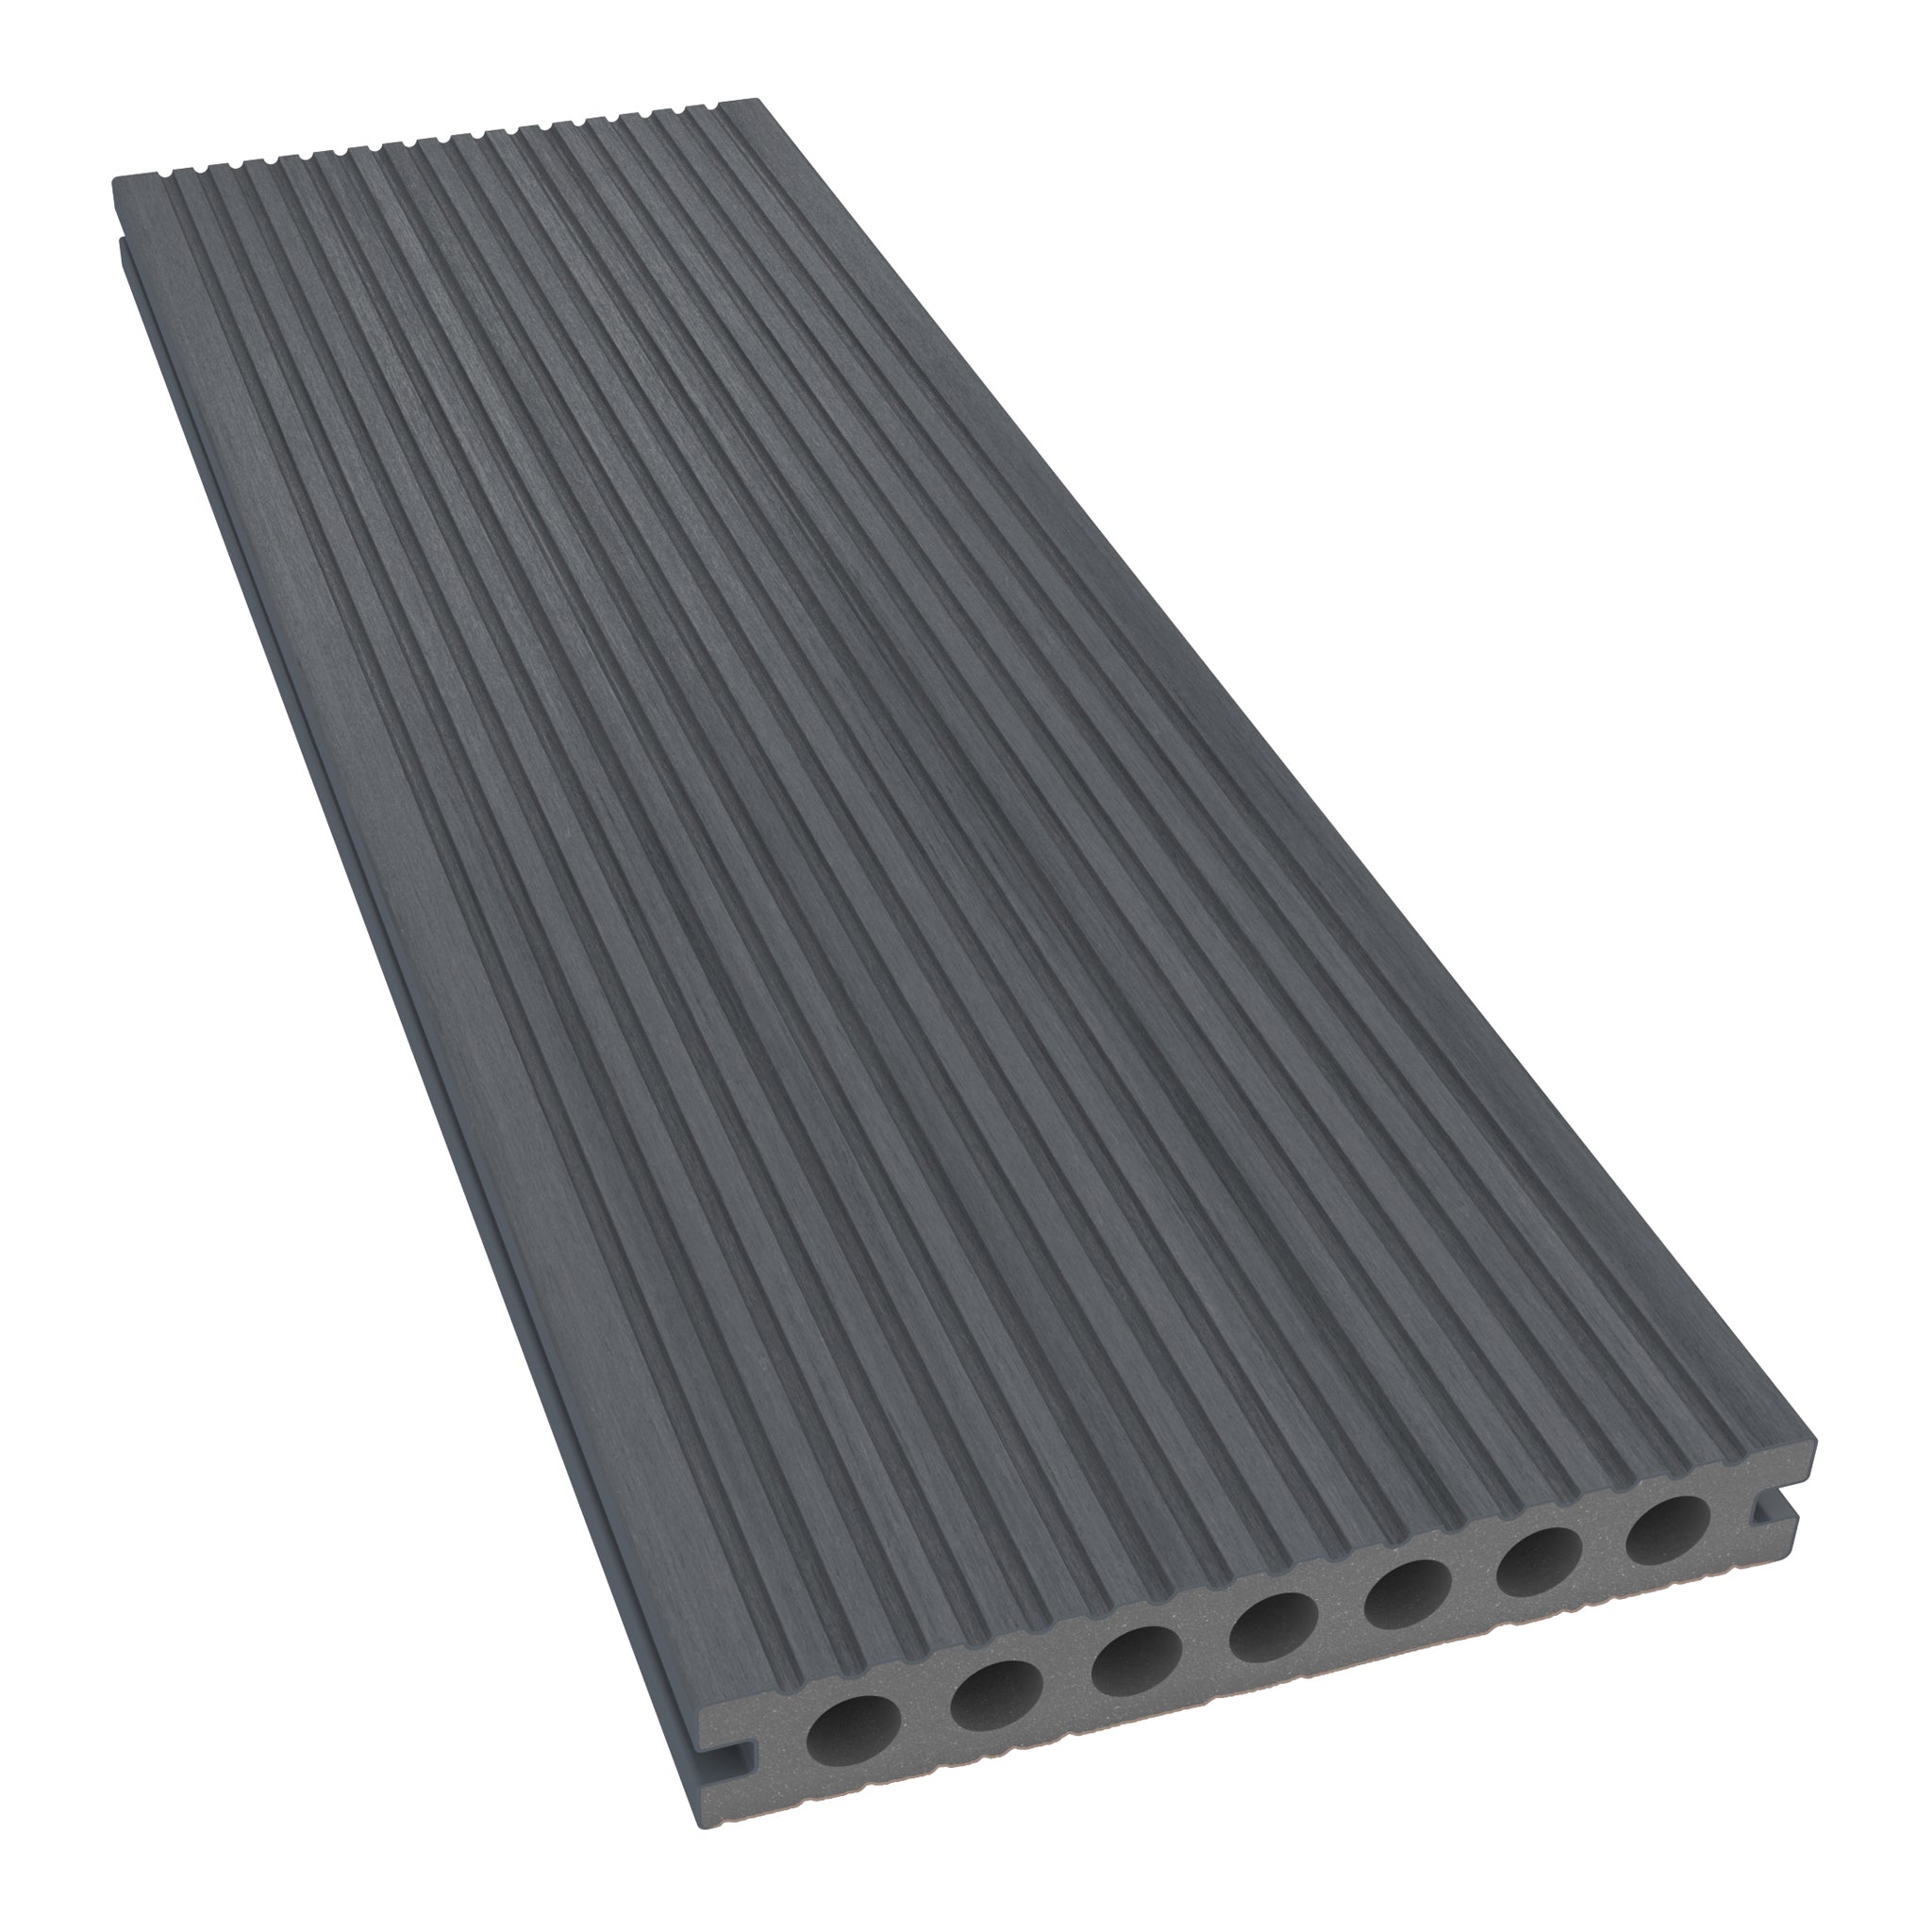
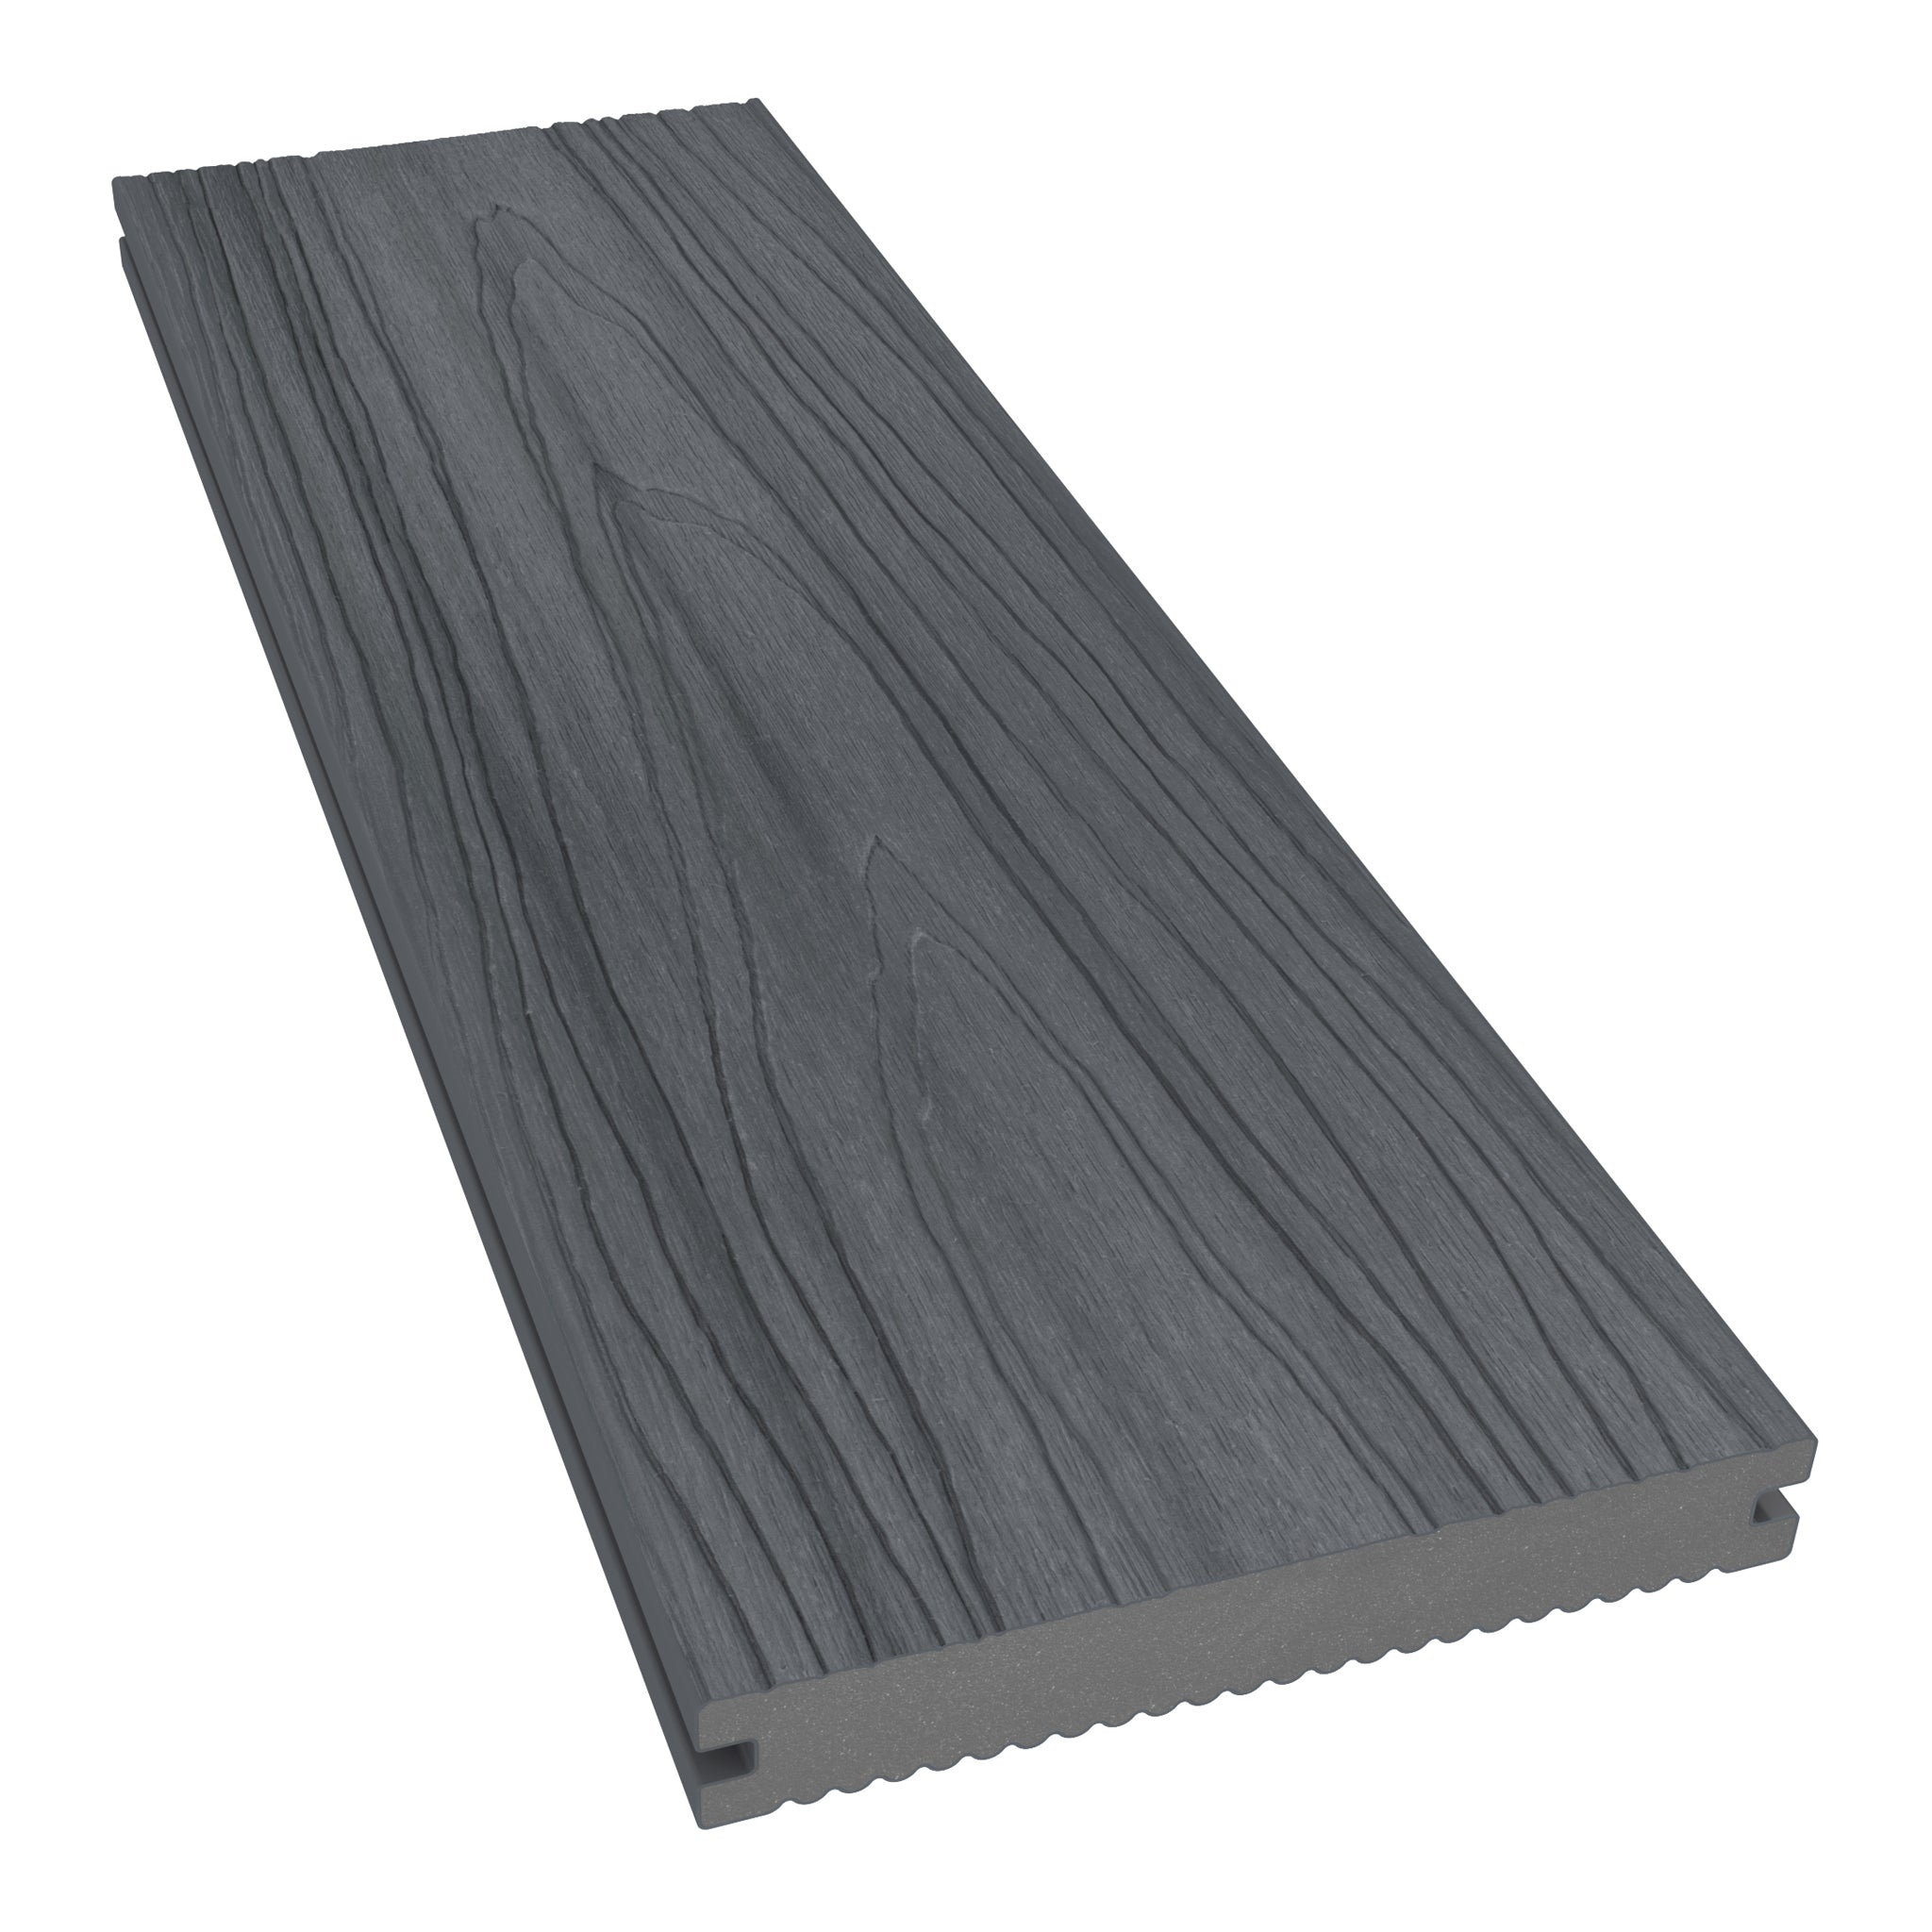
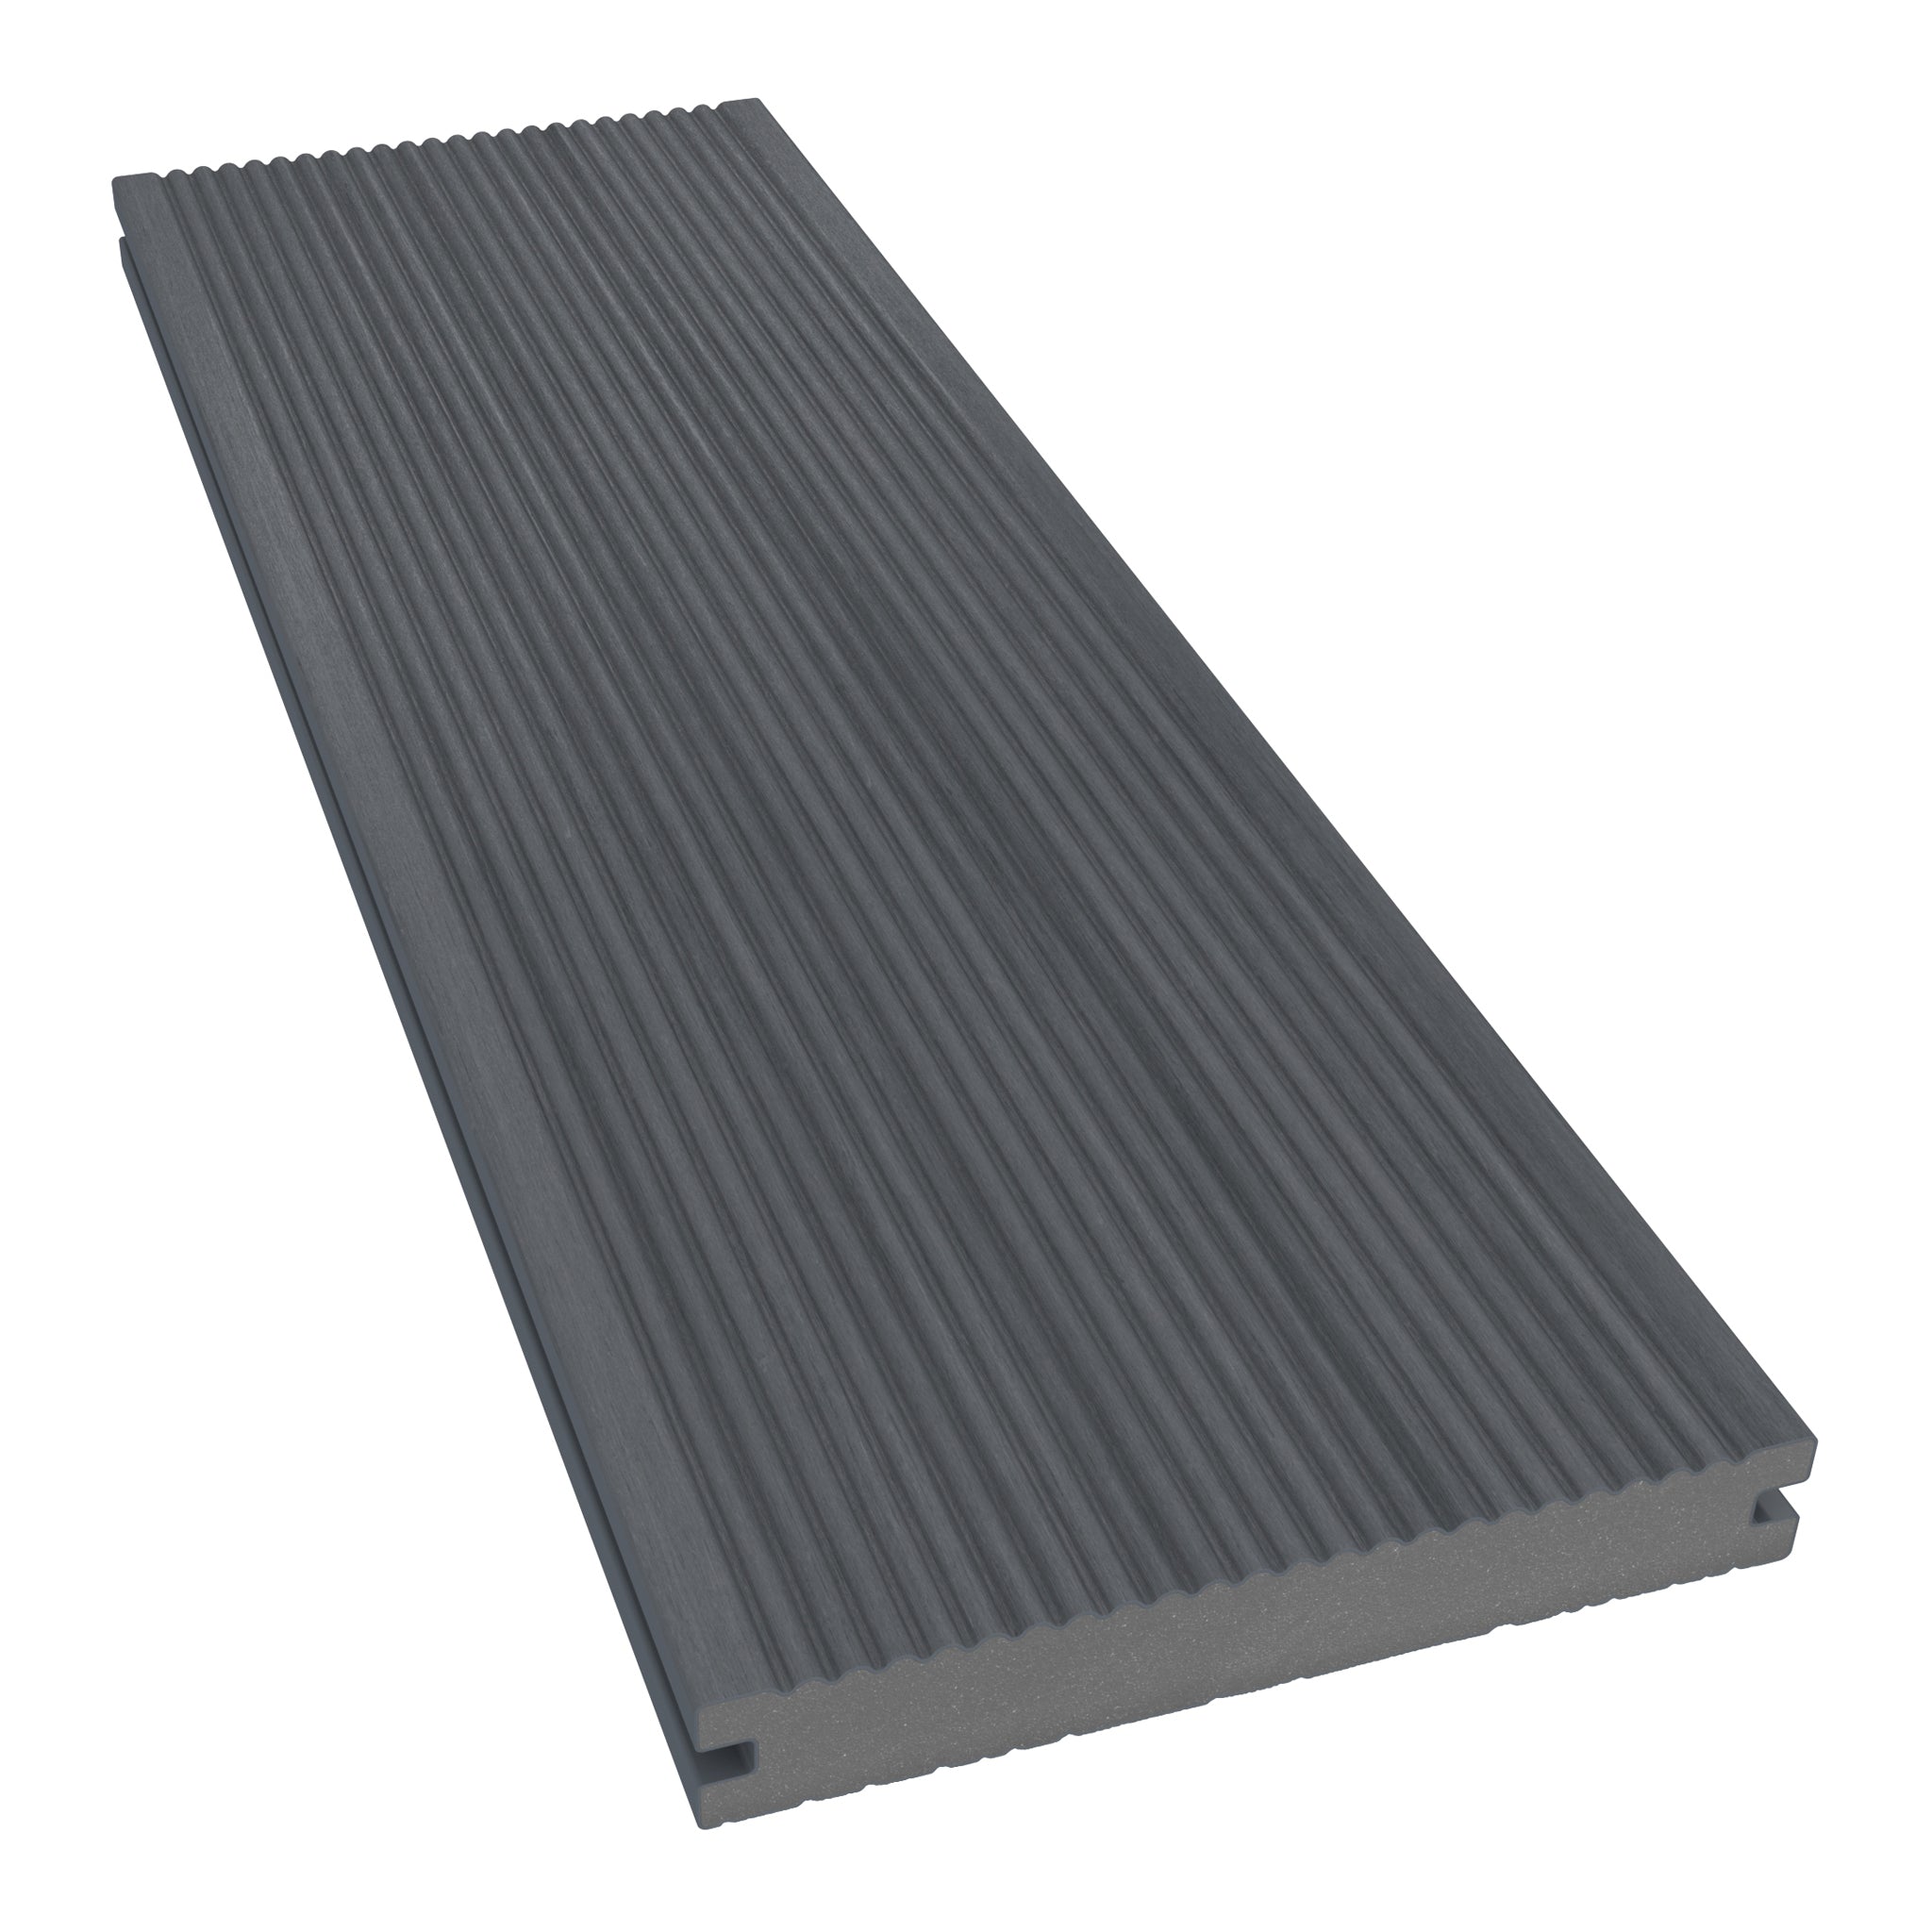
How to Make Clean, Accurate Cuts in Composite Deck Boards
Cutting composite decking is a manageable part of installation when you choose suitable tools, support the boards correctly and plan the cuts before starting. The aim is more than a neat edge: each board also needs to fit the layout with the required support and movement allowances.
NeoTimber® boards can be worked with suitable woodworking equipment, including a mitre saw, circular saw and jigsaw. The right choice depends on whether you are shortening a board, cutting along its length or shaping it around an obstacle.
This guide explains how to approach the job and avoid common mistakes. Explore our decking guide for an overview, or compare the composite decking range before planning your layout.
Watch the NeoTimber® Cutting Composite Decking Video
Our video introduces three useful cutting tools and the types of work they can help with. Use it alongside the current composite decking installation guidance and your tool manufacturer’s instructions.
Which Saw Should You Use for Cutting Composite Decking?
| Tool | Typical use | What to consider |
|---|---|---|
| Mitre saw | Crosscuts and angled cuts across a board | Cutting capacity, secure support and repeatable measurement |
| Circular saw | Straight cuts, including suitable lengthwise cuts | Blade depth, guidance and workpiece support |
| Jigsaw | Notches, curves and cuts around obstacles | Blade suitability, access and control of the cut line |
Mitre Saw: Controlled Crosscuts and Angles
A mitre saw is useful for trimming boards to length and preparing angled ends. Check that the saw can accommodate the width and depth of the board at the required angle.
Support long boards so that their weight does not pull the workpiece away from the cutting position. When preparing repeated lengths, confirm the first cut against the layout before cutting the rest.
Circular Saw: Straight Cuts on Site
A circular saw offers flexibility where boards need to be cut away from a fixed cutting station. A compatible guide can help maintain a straight line.
Arrange supports so the cut can be completed without the board shifting or the blade becoming trapped. Check the cutting area underneath and follow the saw’s instructions for setting depth and controlling the tool.
Jigsaw: Shaping Around Details
A jigsaw can help with notches and shaped cuts where a straight crosscut is insufficient. Mark the detail clearly and allow room for the required movement gap around posts or fixed features.
Check the remaining board section after a notch: a neat cut does not make a narrow or unsupported section suitable for use. Refer unusual details to the supplier before fitting.
Choosing a Suitable Blade
Use a sharp blade compatible with the saw, the material and the intended cut. Blade diameter, speed rating and cutting capacity must match the tool’s requirements.
NeoTimber’s pre-installation information recommends carbide-tipped blades for jigsaws and 40–50-tooth carbide-tipped blades for circular or mitre saws. Confirm suitability for your particular blade diameter and equipment rather than treating tooth count alone as a complete specification.
Test on an offcut before cutting visible components. Check for chipping, tearing or excessive heat, and resolve the cause before continuing. A finer blade is not automatically the best choice for every tool or board.

How to Prepare for Accurate Cuts
Plan the Layout and Movement Allowances
Work out the board direction, joints and finishing detail before marking cuts. Required end gaps and perimeter clearances form part of the finished dimensions; cutting boards to fit tightly between fixed objects can restrict movement.
Follow the current product instructions for storage and preparation before installation. Do not assume that a measurement taken at one junction applies to every board along a wall or irregular edge.
Mark the Cut and Account for Blade Width
Use a square or suitable marking guide to establish the line. Mark which side is waste and account for the material removed by the blade, known as the kerf.
For an exposed corner or border, check the actual angle on site. Small deviations can become conspicuous where several boards meet.
Support and Secure the Board
Keep the workpiece stable using supports and clamping methods suitable for the tool and board profile. Protect the finished face from grit and avoid dragging boards across one another.
Arrange the offcut so it cannot unexpectedly drop, move into the blade or interfere with the tool. Keep hands clear of the cutting path and use the guards as intended.
A Practical Cutting Sequence
- Confirm the detail: check the board length, angle, support and movement requirements.
- Select the tool and blade: match both to the cut and product.
- Set up the work area: secure the board and organise suitable dust control.
- Measure and mark: identify the waste side and allow for the blade kerf.
- Make a test cut: assess the finish on an offcut before proceeding.
- Cut with control: let the tool work at an appropriate feed rate without forcing it.
- Check the fit: verify the finished position and clearances before fixing.
Disconnect or isolate the tool as instructed before changing blades or making adjustments. Use the eye, hearing and respiratory protection required for the equipment and material, alongside appropriate dust extraction. Follow the tool manufacturer’s guidance on clothing and gloves around moving machinery.
Common Mistakes to Avoid
- Cutting everything from one measurement: walls and borders may not be perfectly straight.
- Ignoring expansion clearances: an accurate cut must still leave the specified space for movement.
- Forcing a worn blade: check blade condition and suitability if the finish deteriorates.
- Leaving weak sections: notches and narrow strips need appropriate support and fixing details.
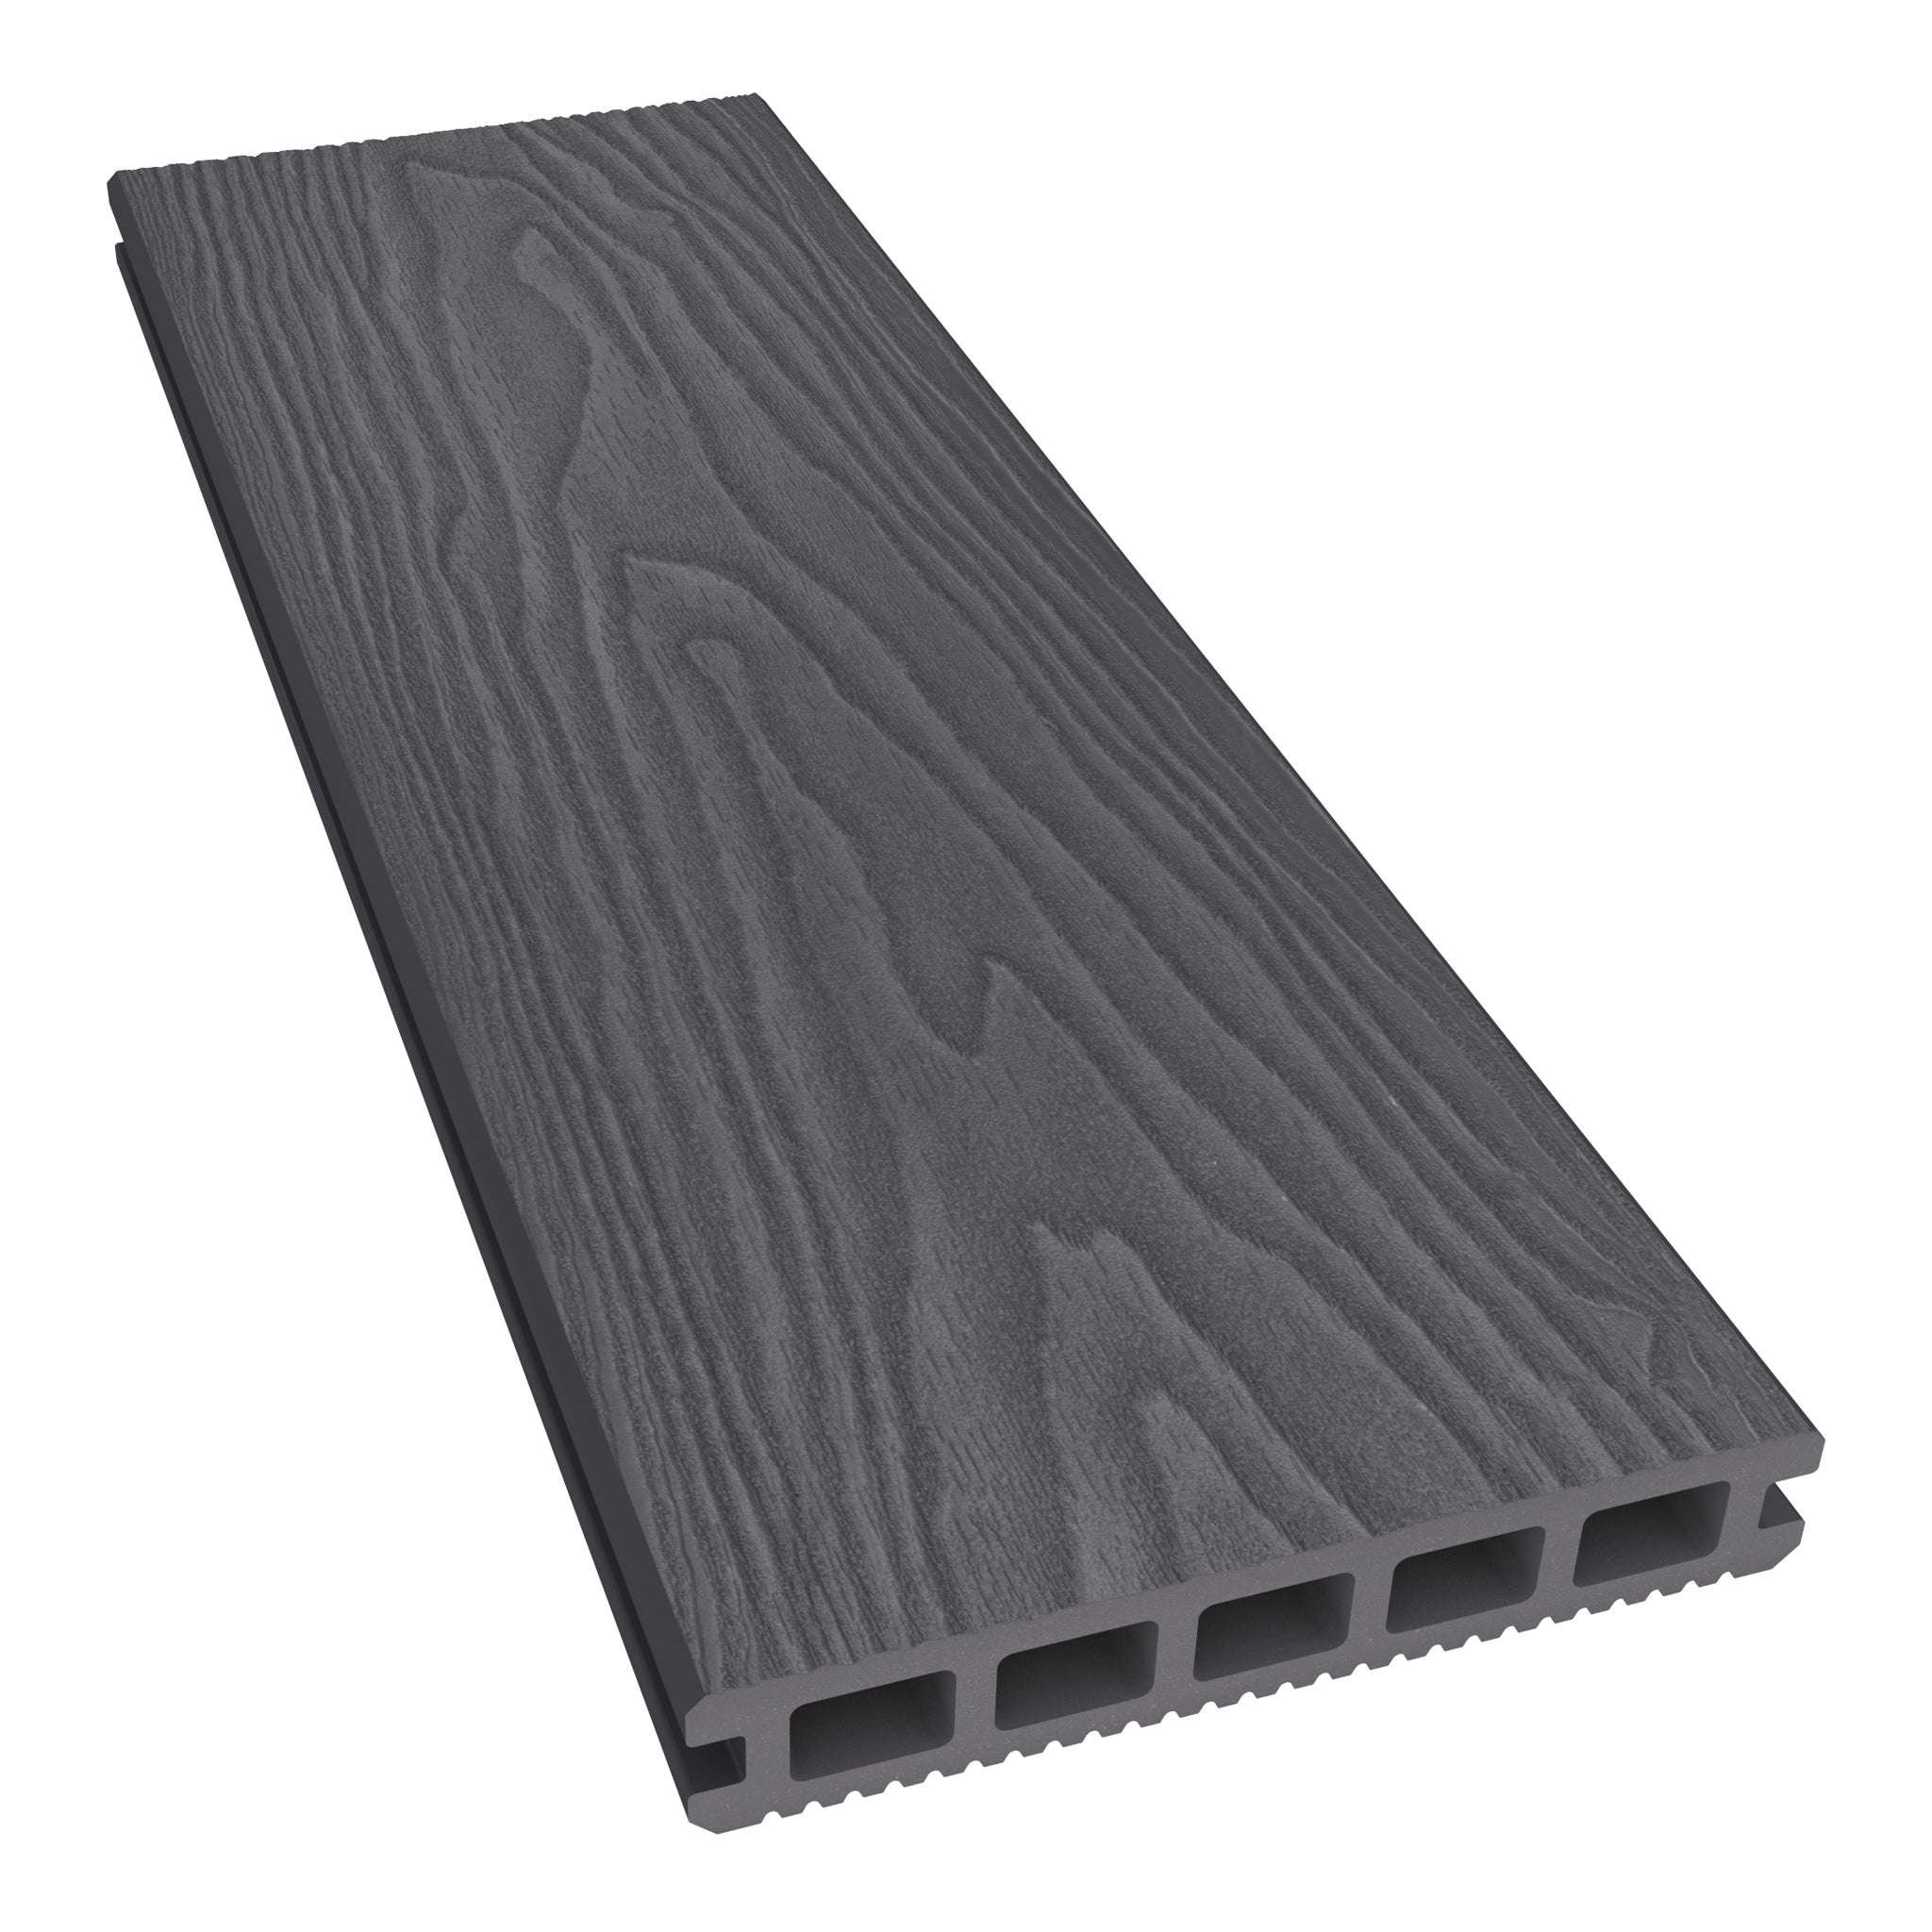
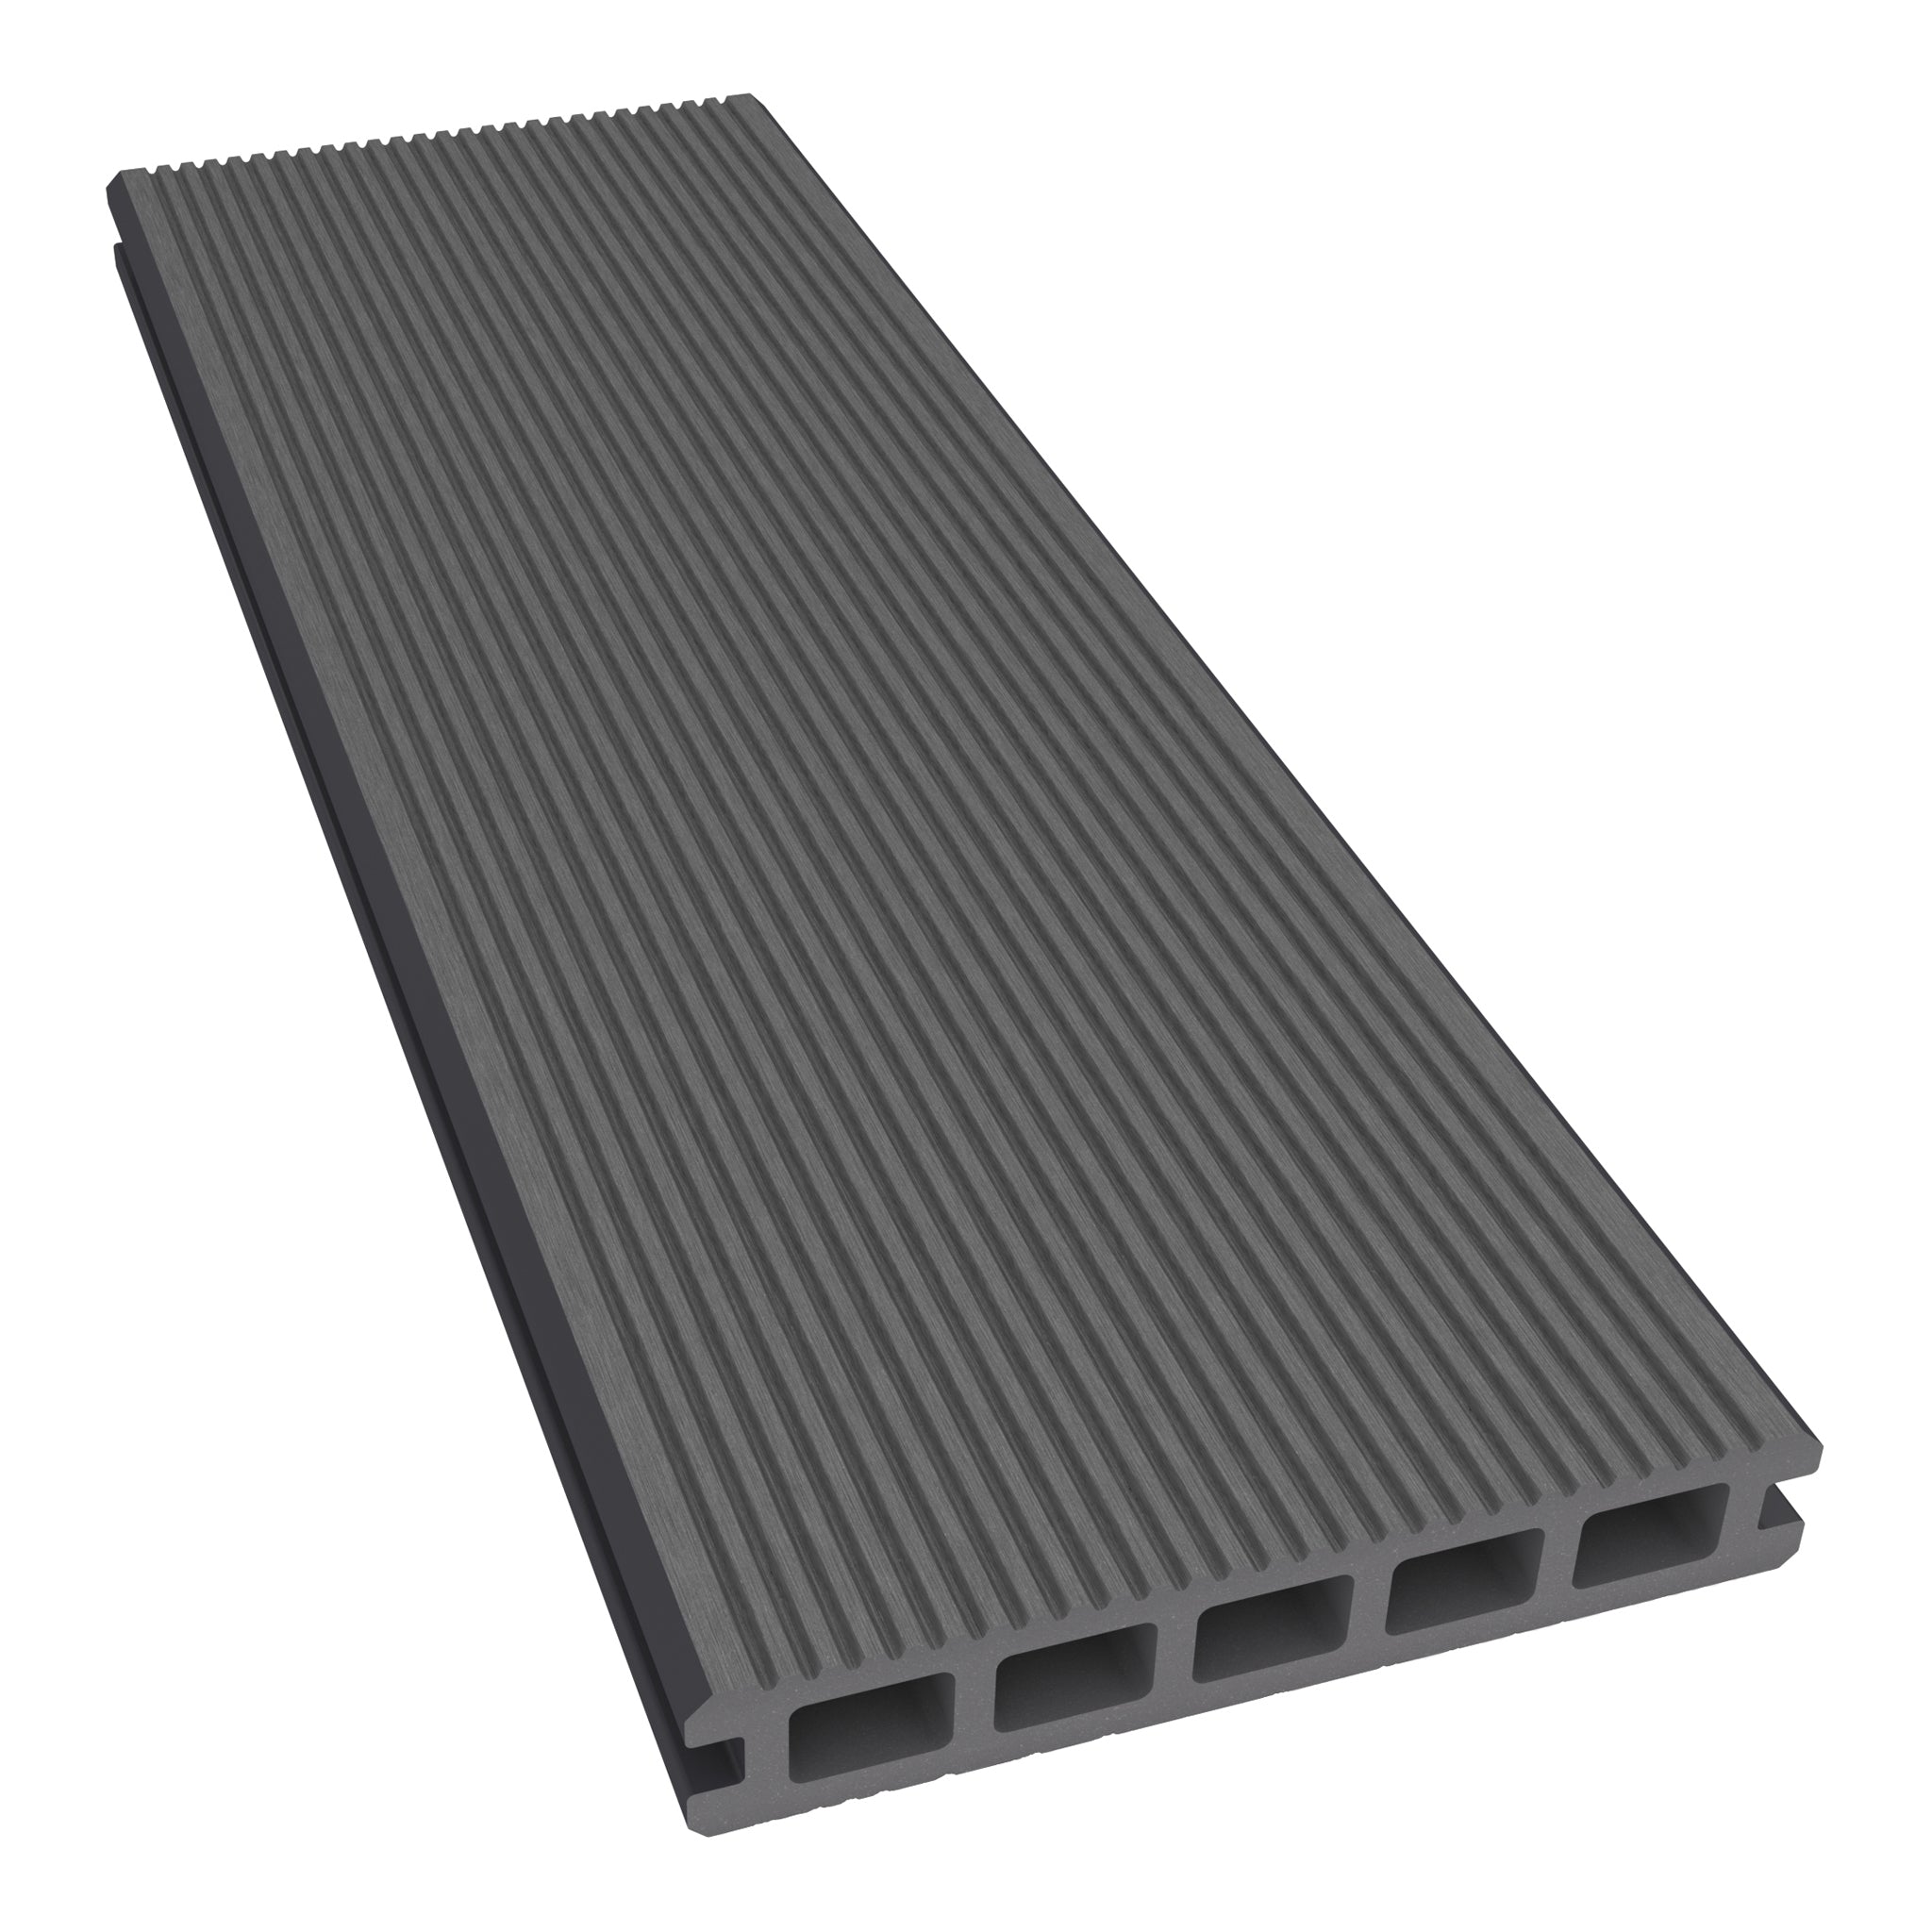
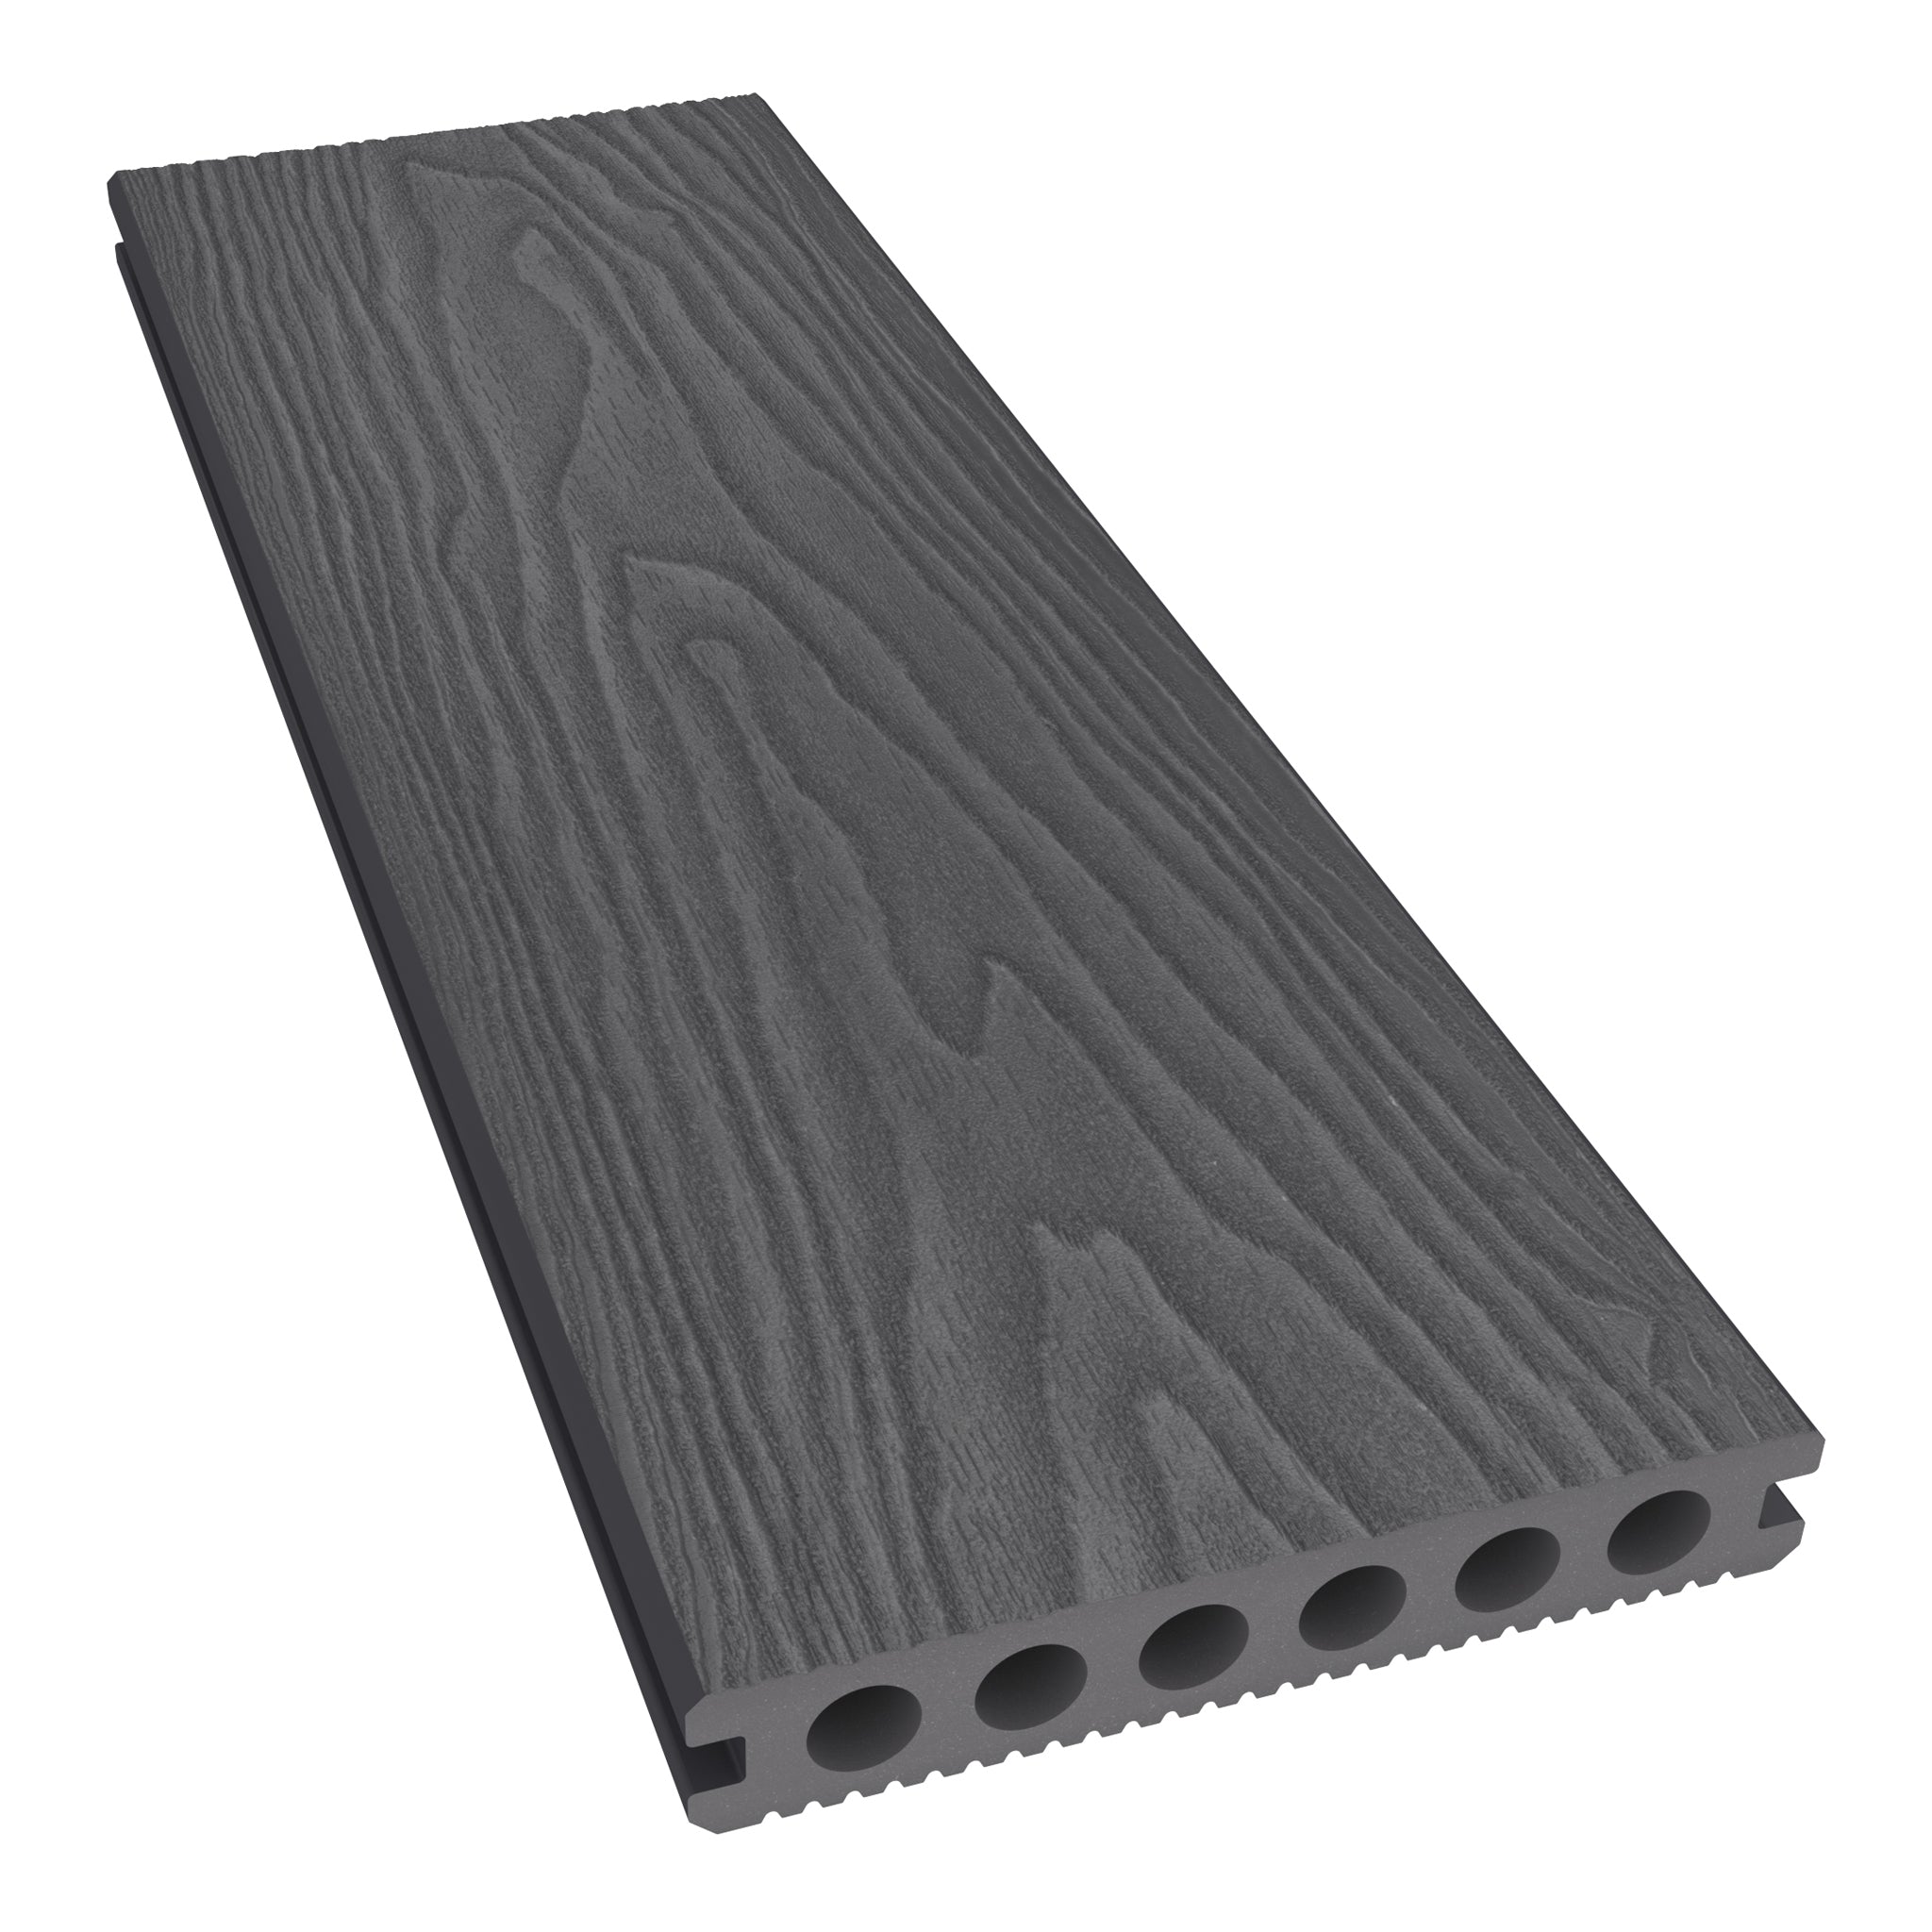
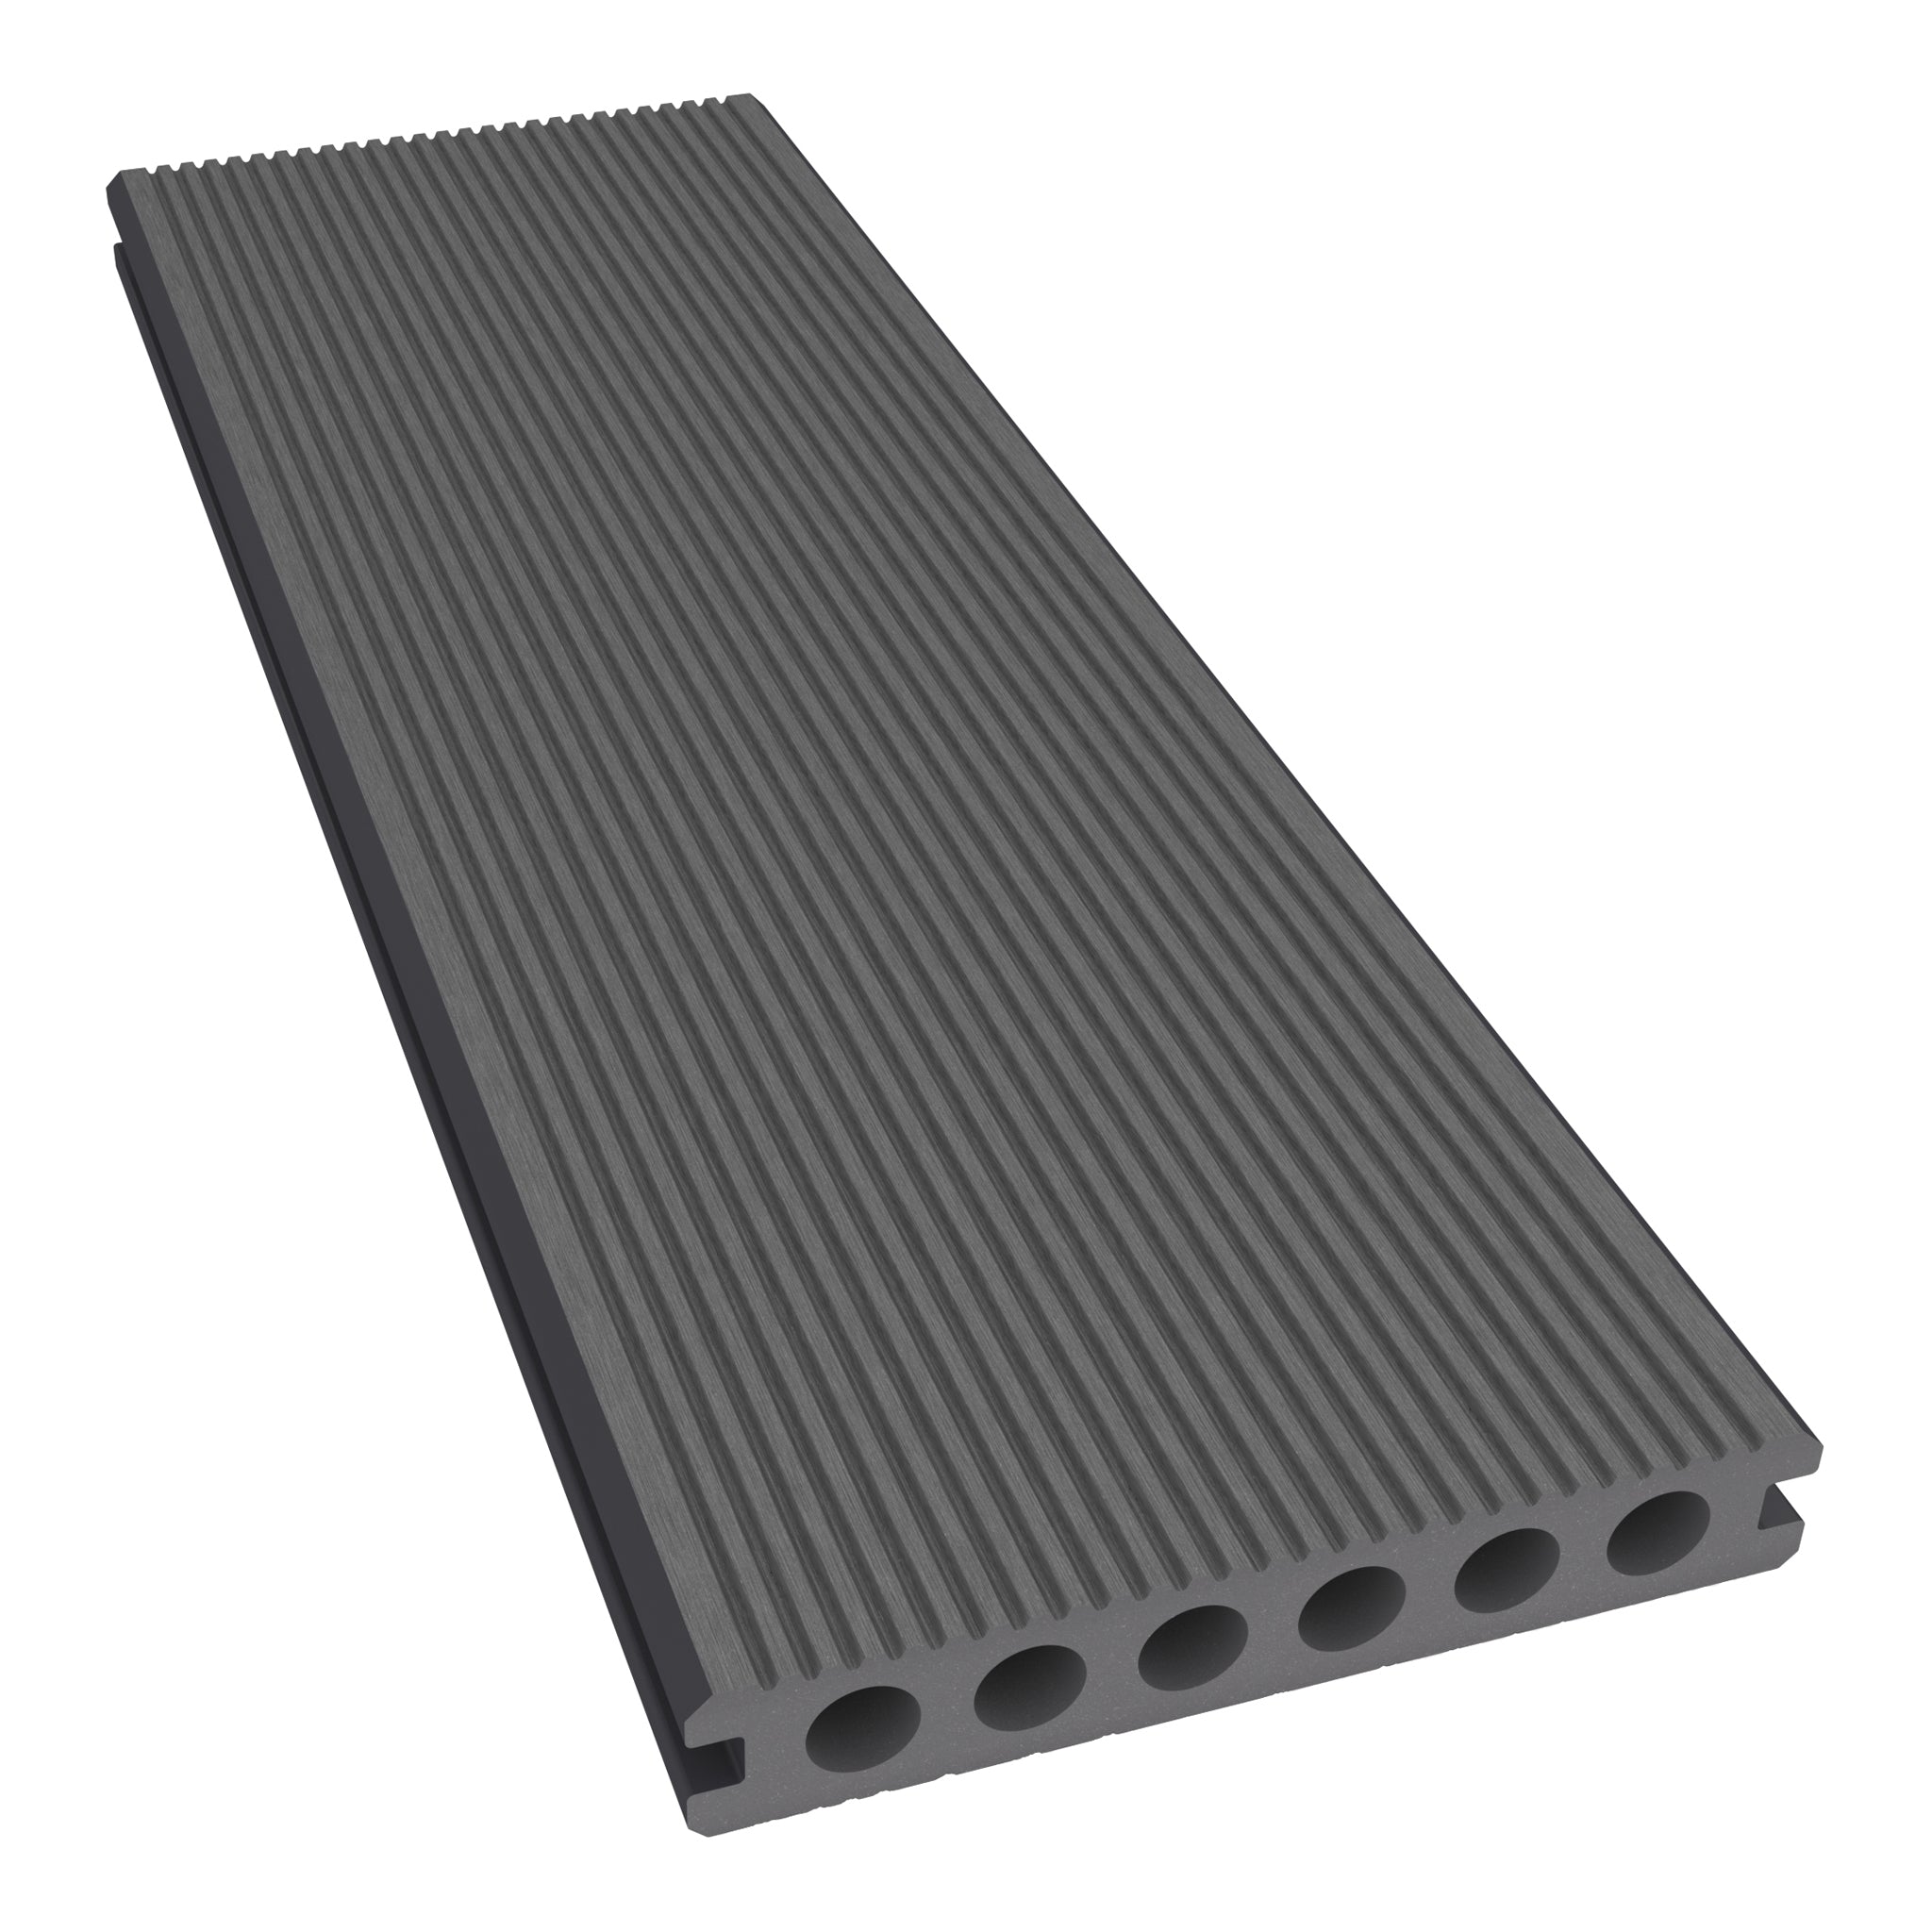
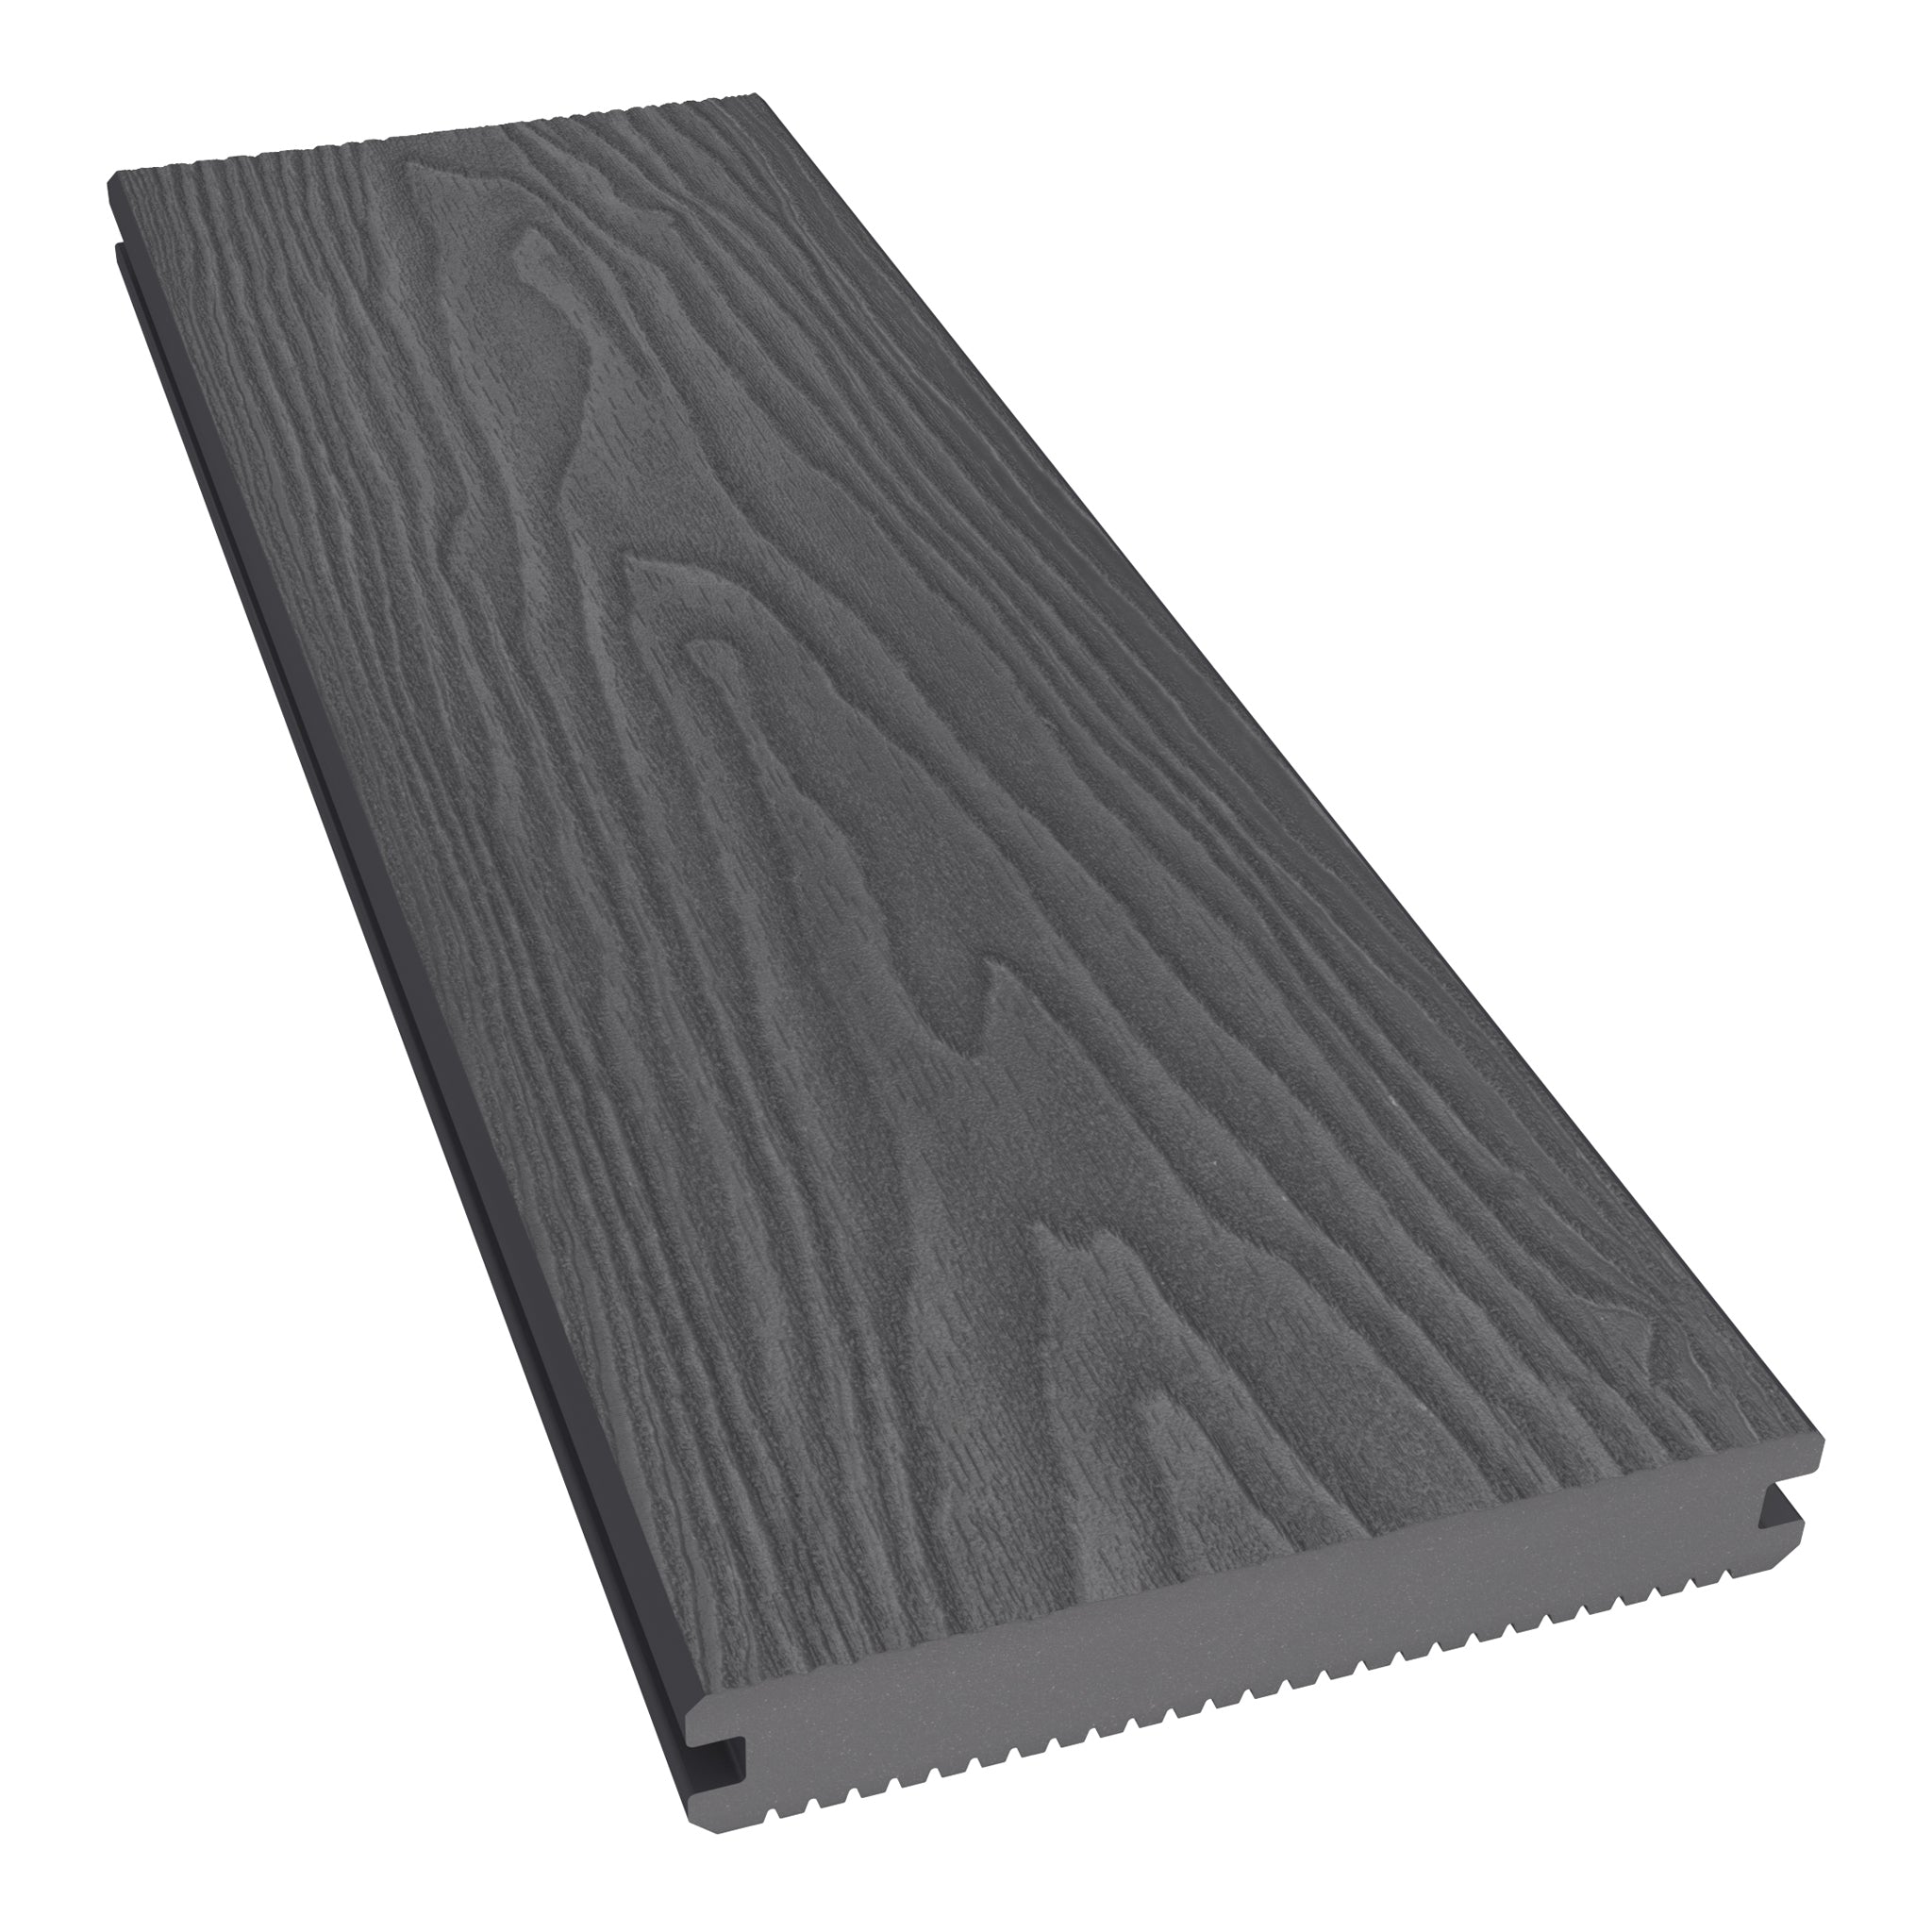
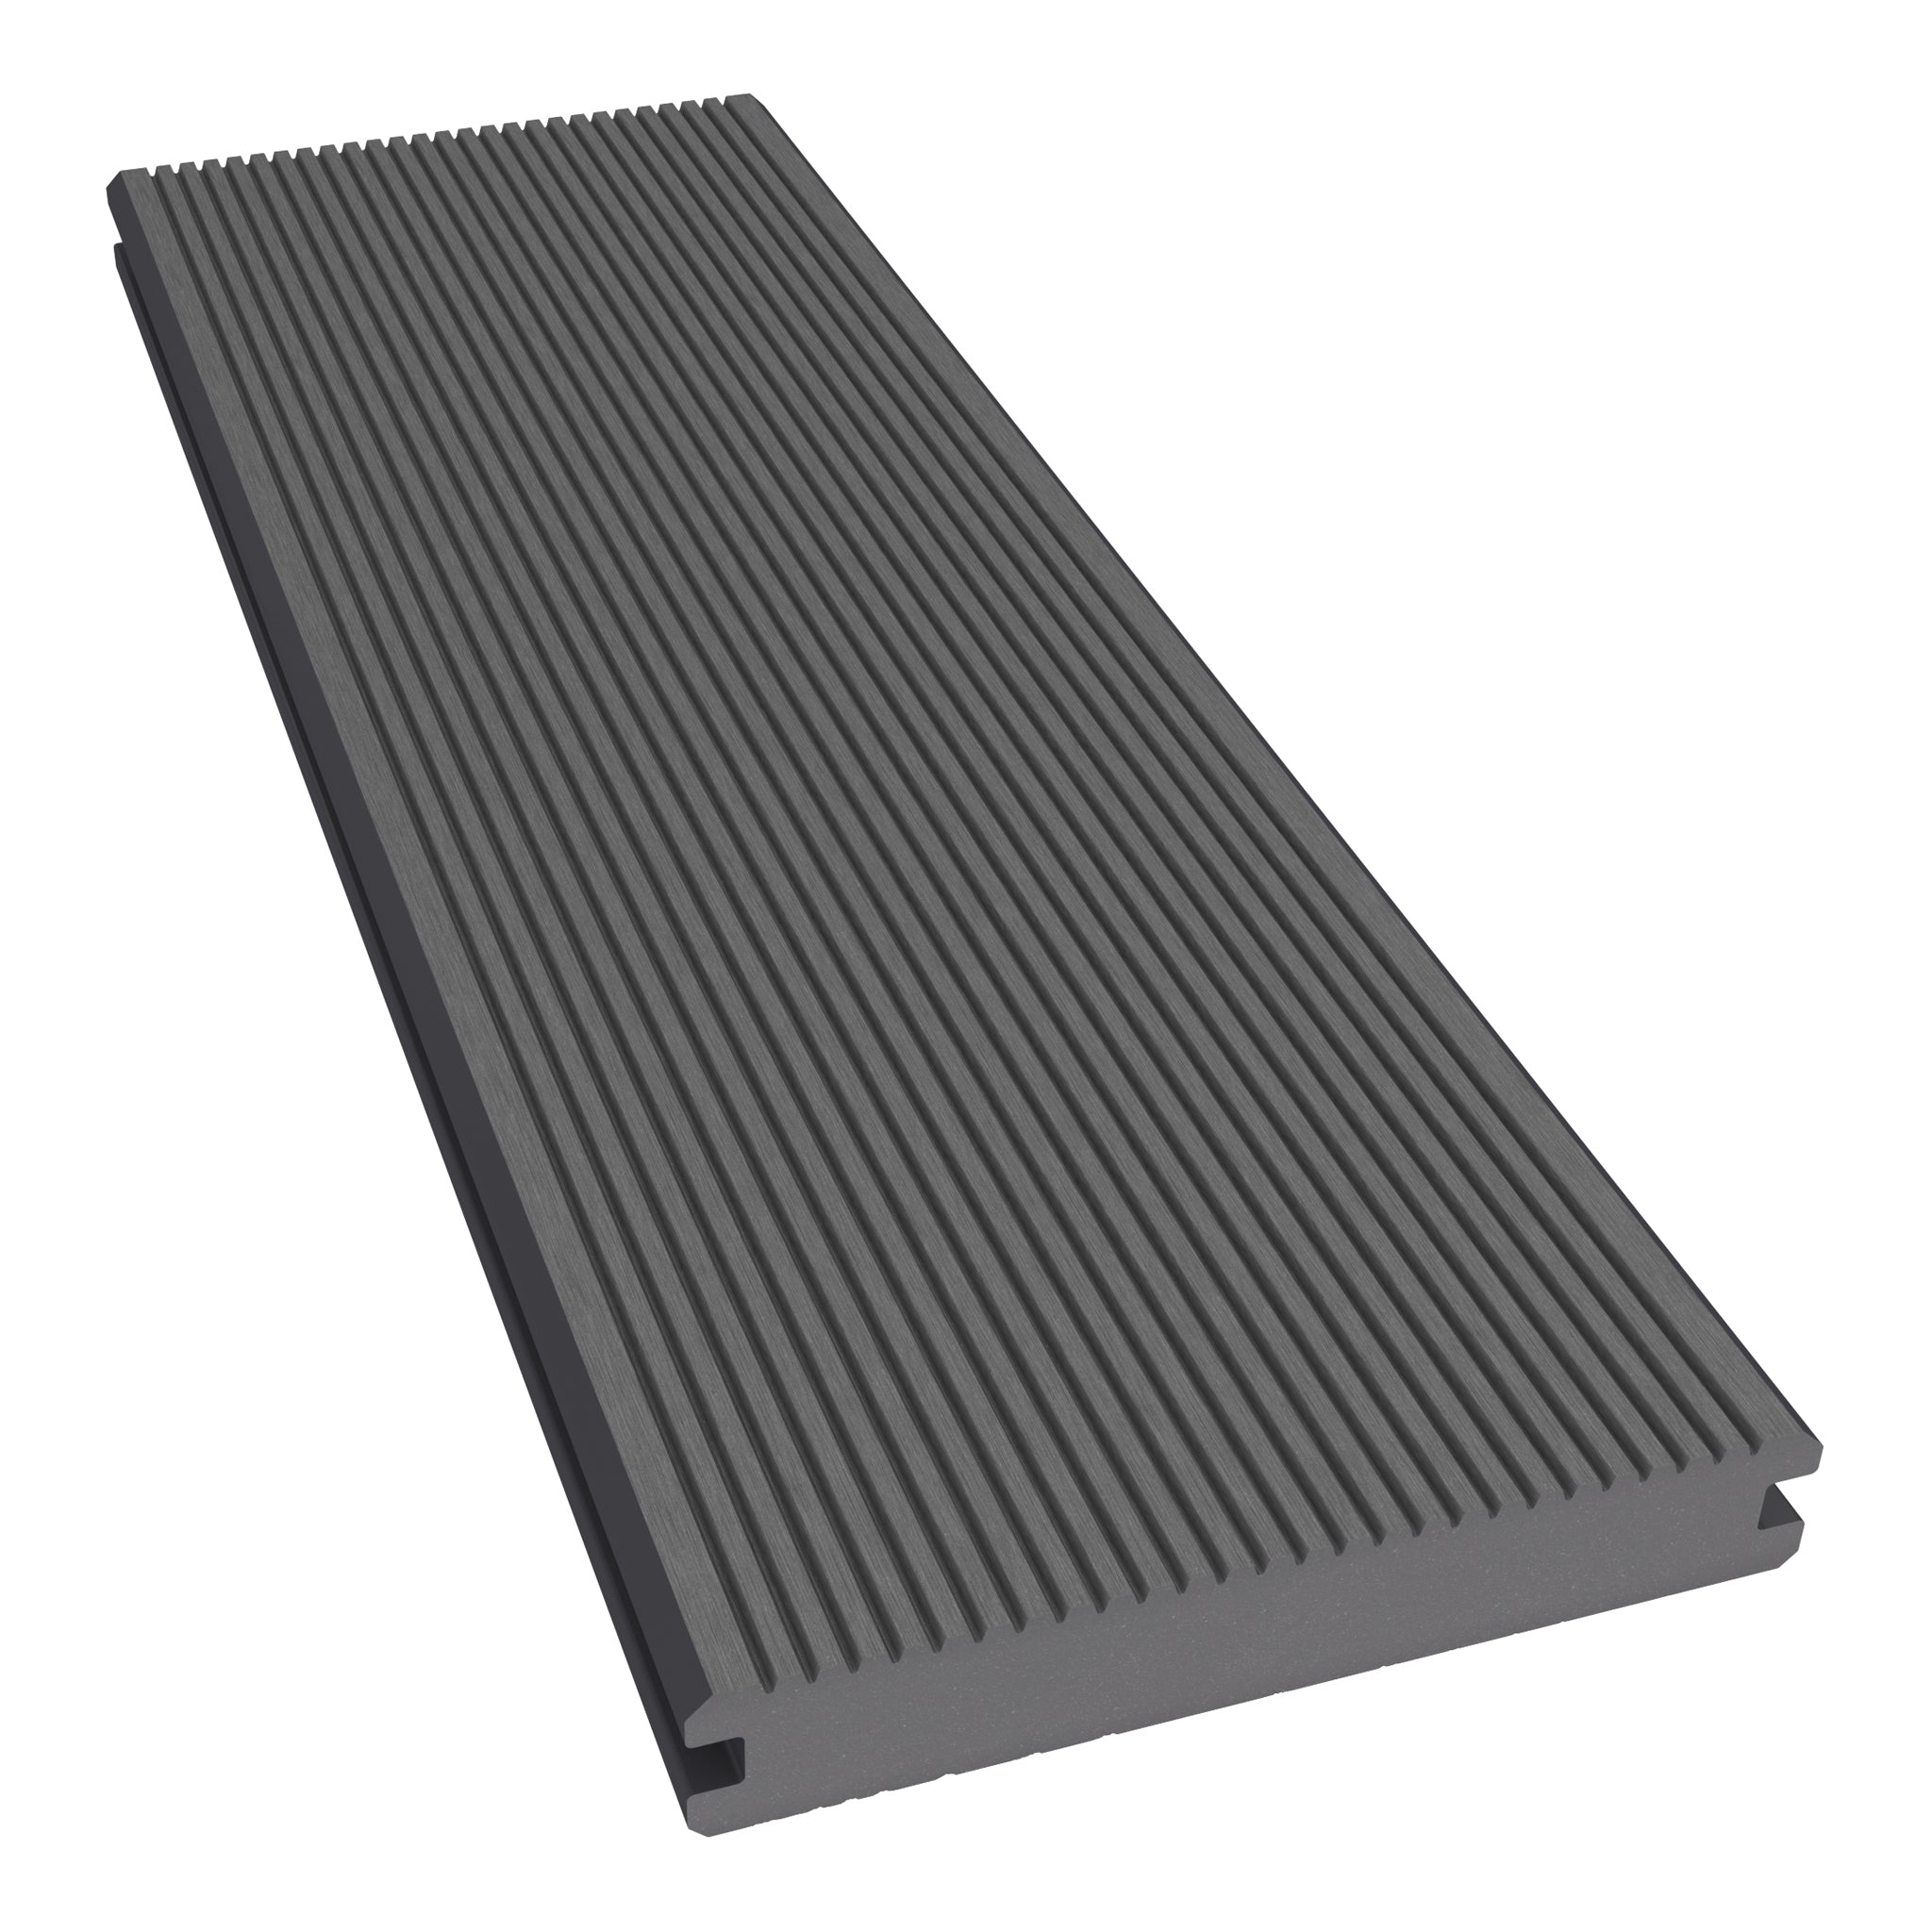
- Assuming every cut preserves a fixing groove: lengthwise cuts can remove the original edge profile.
- Trying to hide errors with trims: finishing pieces do not replace correct board support.
Finishing Cut Edges and Planning Offcuts
Decide how board ends and perimeter edges will be presented before cutting the main runs. Explore our decking edging options and follow the chosen component’s fixing instructions.
Do not automatically sand, coat or seal cut surfaces. Follow the requirements for the exact capped or uncapped product, particularly where treatment could alter the finish.
Keep usable offcuts organised and remove cutting debris from the deck surface. Compare the cutting list against available board lengths to reduce avoidable waste without compromising the layout or support requirements.
Cutting Composite Decking FAQs
Can composite decking be cut with woodworking tools?
Yes, suitable woodworking tools can be used. Check blade compatibility and the board’s installation guidance before starting.
Can I cut a composite board along its length?
Where the product and detail permit it, a suitable saw can make a lengthwise cut. Check how removing an edge affects the groove, fixing method and remaining profile.
Can I use a jigsaw for every cut?
A jigsaw is useful for shaped details, but a mitre saw or guided circular saw may be more appropriate for repeated straight cuts. Choose the tool around the task and your ability to control it.
How can I reduce chipping?
Use a suitable sharp blade, support the board securely and test the setup on an offcut. Follow tool-specific advice on cutting direction and workpiece orientation.
Plan the Cut Before Picking Up the Saw
Clean cuts start with accurate measurements, a stable workpiece and a suitable blade. Combine those basics with the correct movement gaps and support details to produce boards that fit the design as intended.
Browse our composite decking, review the installation resources or contact NeoTimber® to clarify a cutting or finishing detail before work begins.