Plan Your Own Composite Deck From the Base to the Final Edge
DIY decking gives you control over the layout, timing and finish of an outdoor project. A successful installation starts before the first cut, with a measured plan, a suitable supporting structure and clear instructions for the exact products you choose.
For a straightforward garden layout, a competent DIYer may be able to complete the work. More demanding structures, uncertain ground conditions or elevated locations can require specialist design or installation support. Use this guide to organise the stages and identify what to resolve before ordering.

1. Define What Your Do It Yourself Deck Needs to Do
Start with its purpose: dining, relaxing or connecting the house with the garden. Draw the furniture and routes between doors, steps and planting before deciding the deck’s outline.
Record dimensions, changes in ground level and fixed obstacles such as drains. Consider the finished height alongside thresholds and drainage rather than choosing it solely for visual continuity with the house.
A simple rectangle can reduce cutting and make setting out easier. Borders and diagonal patterns can add detail, but they also affect supports, fixings and material quantities.
2. Choose DIY Decking Boards for the Actual Project
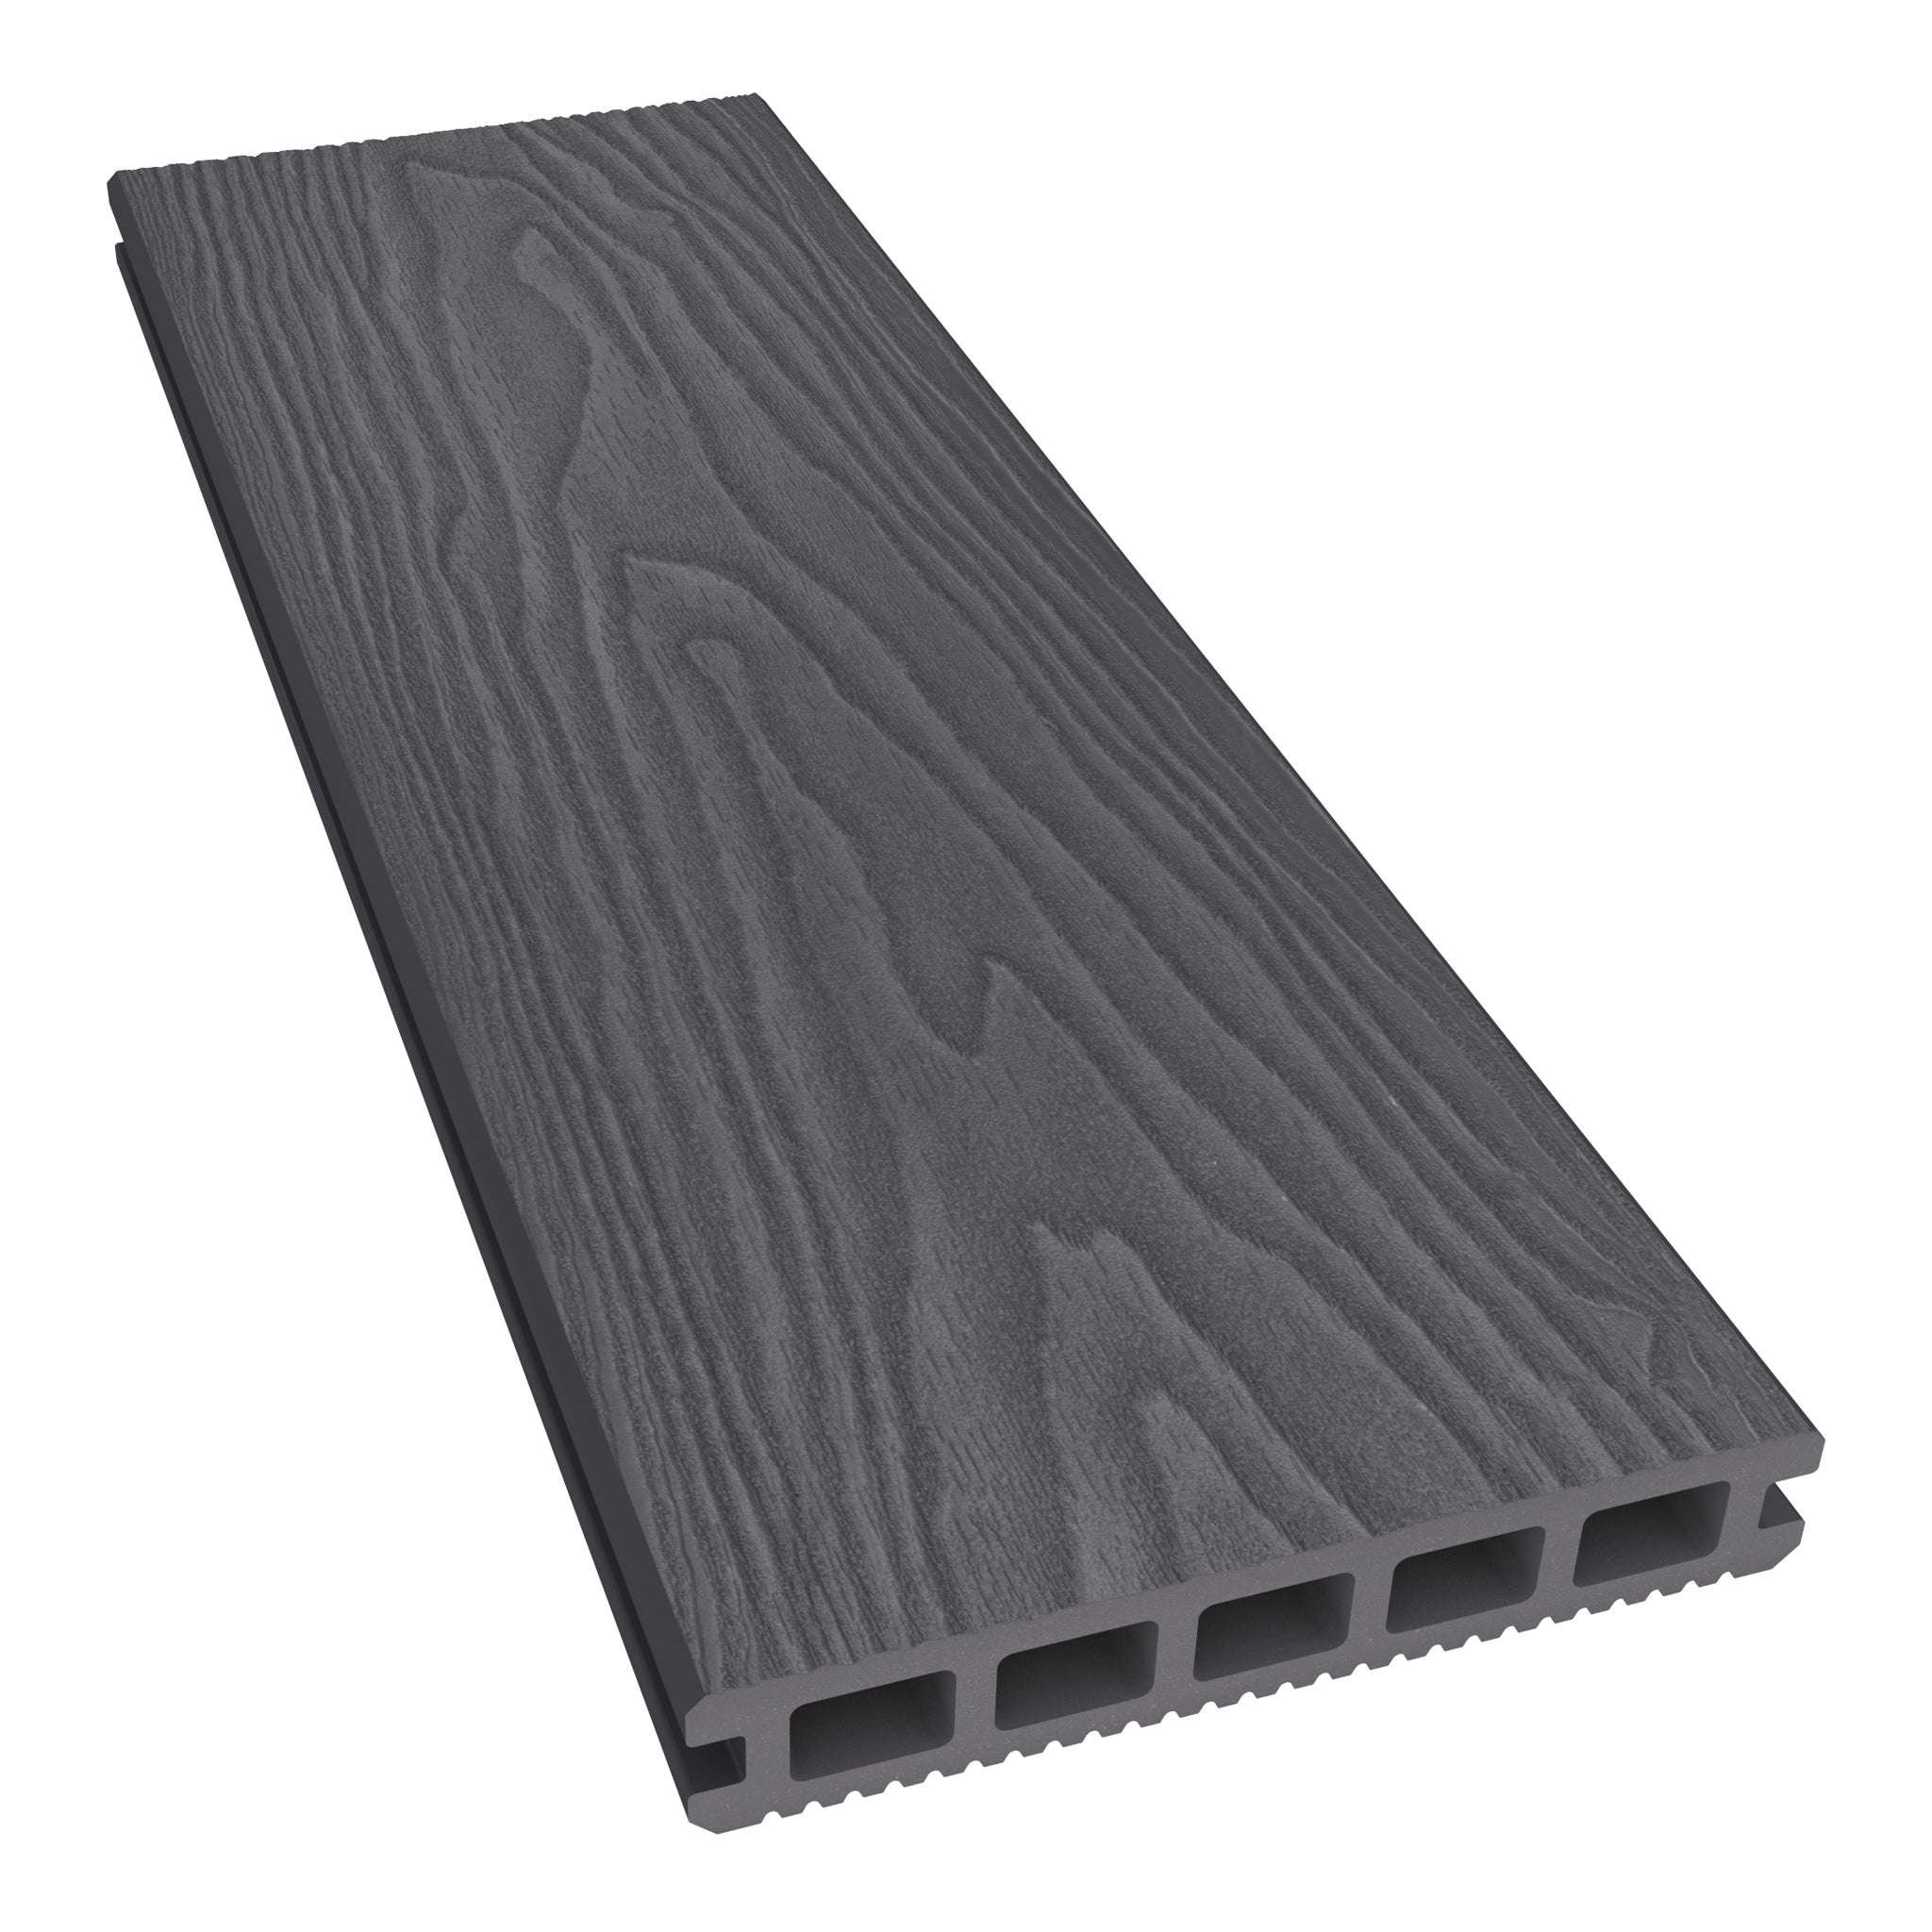
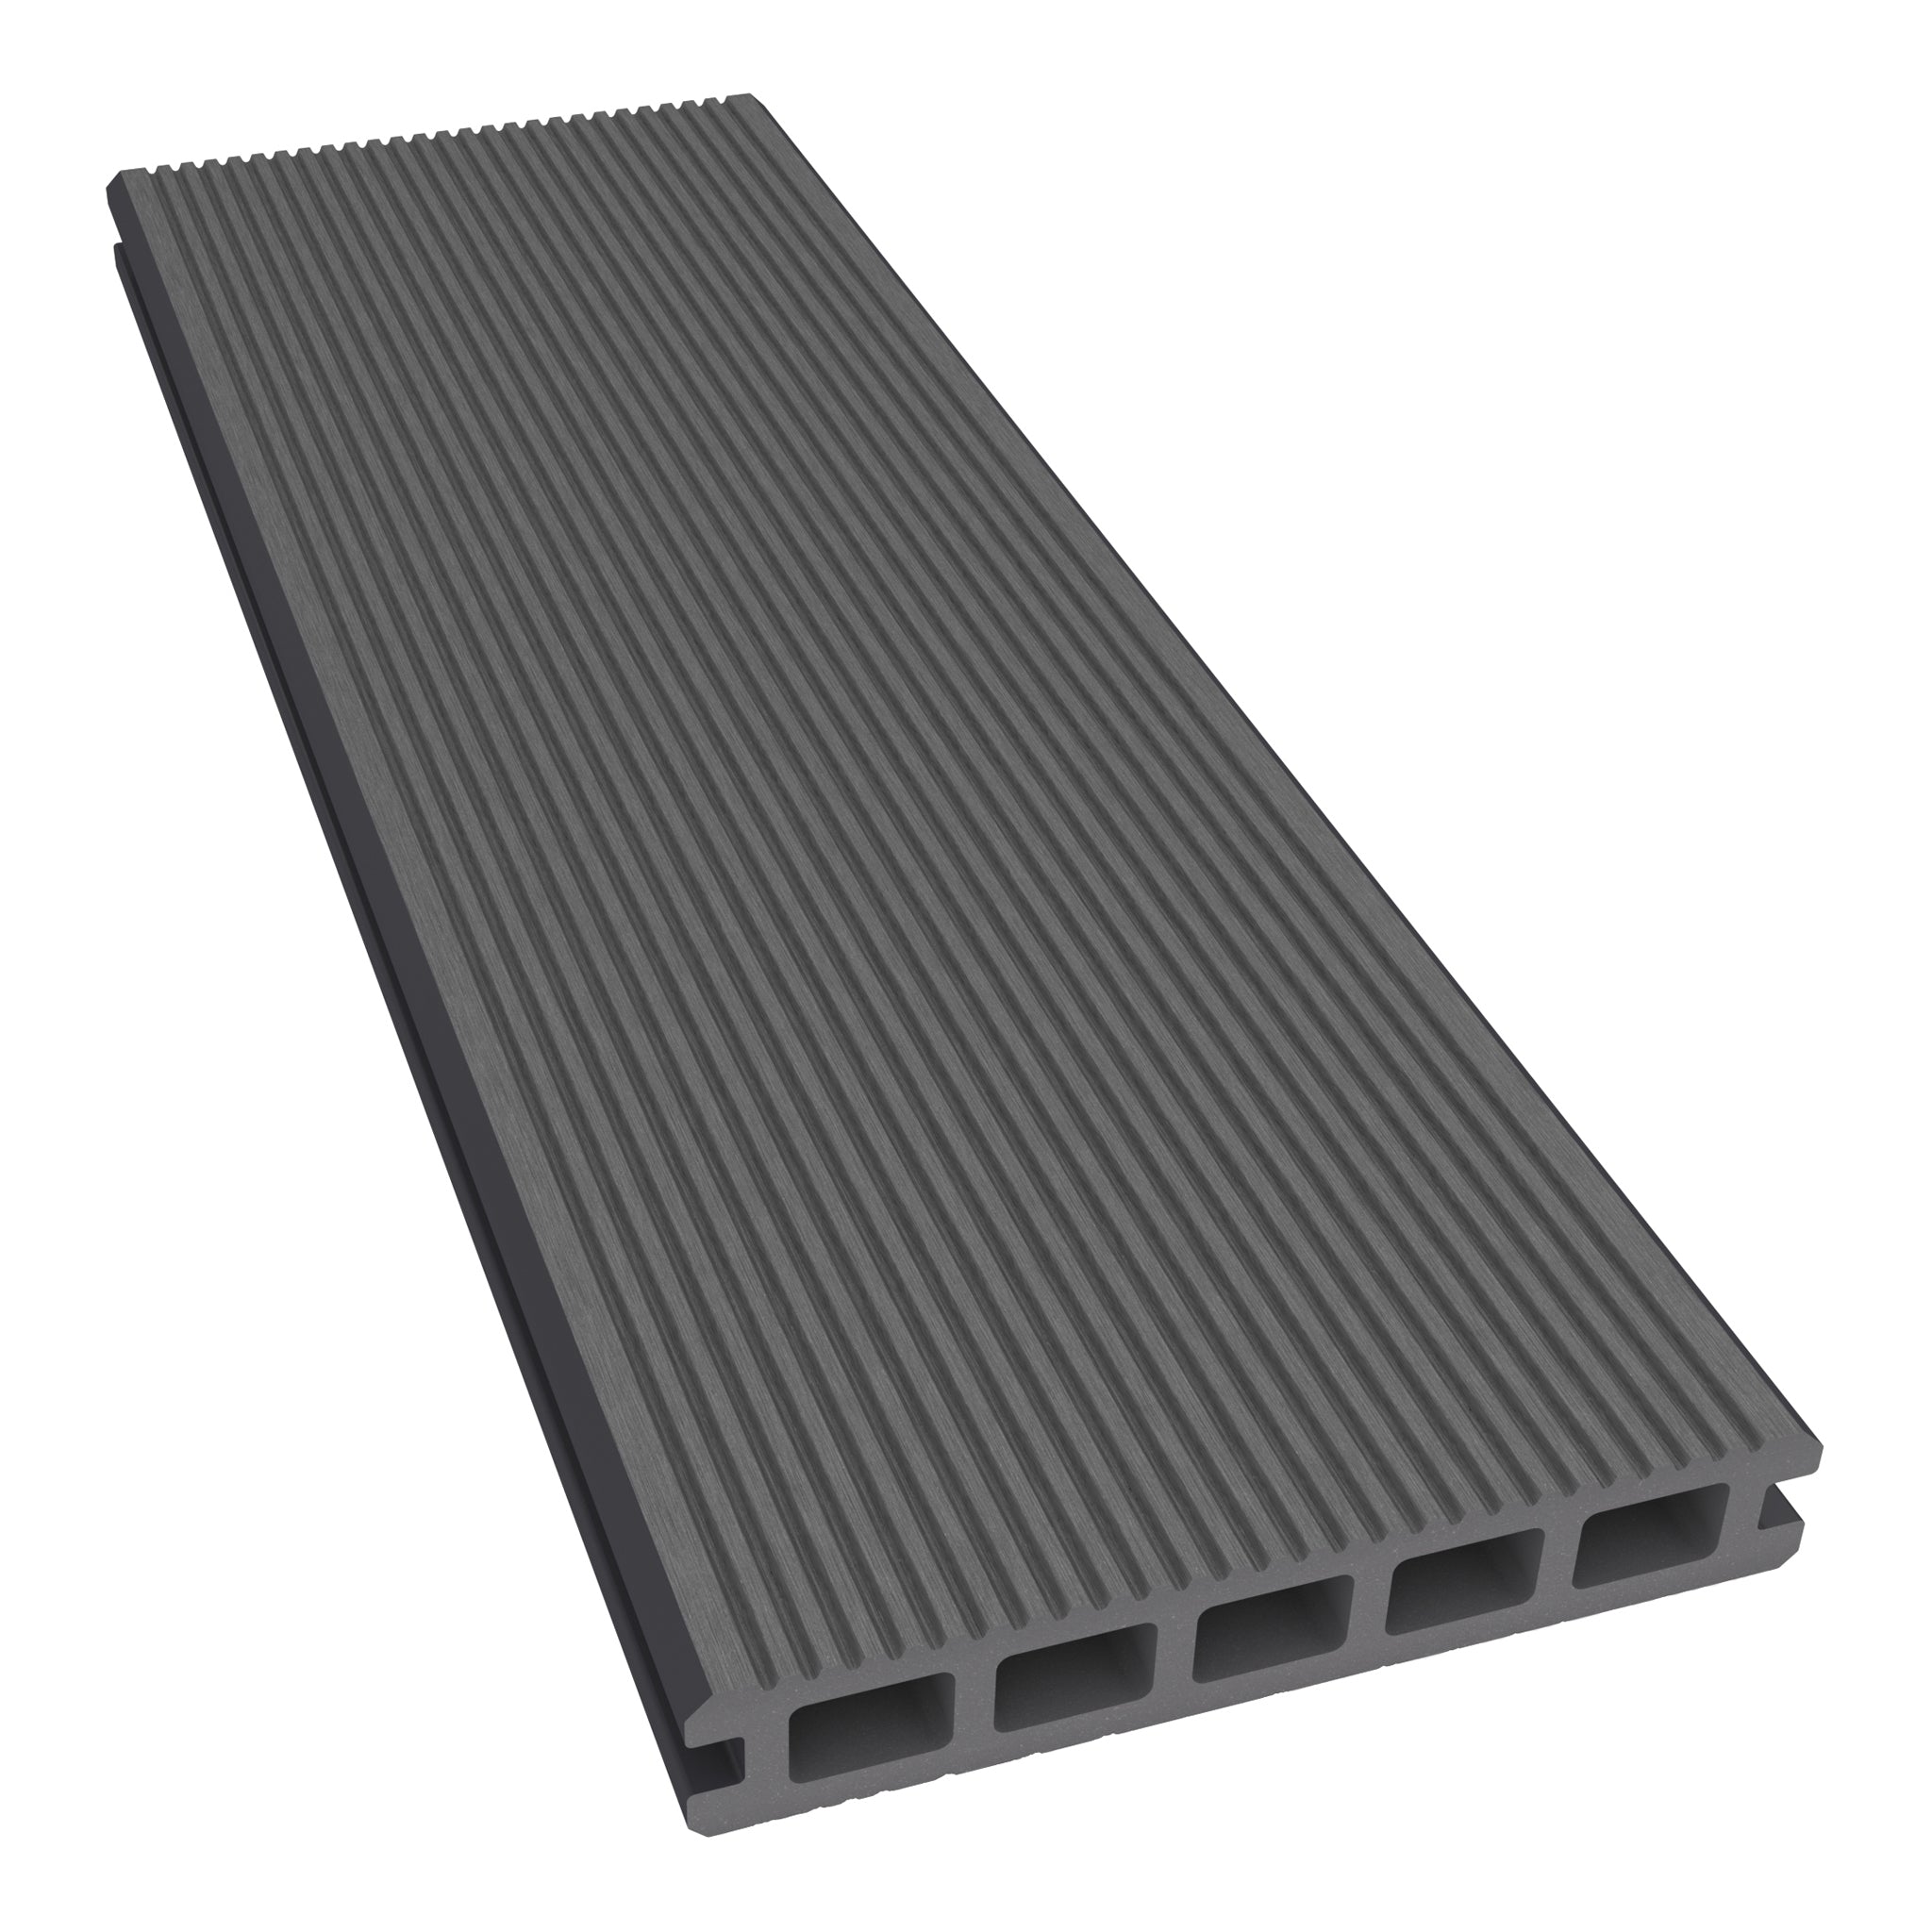
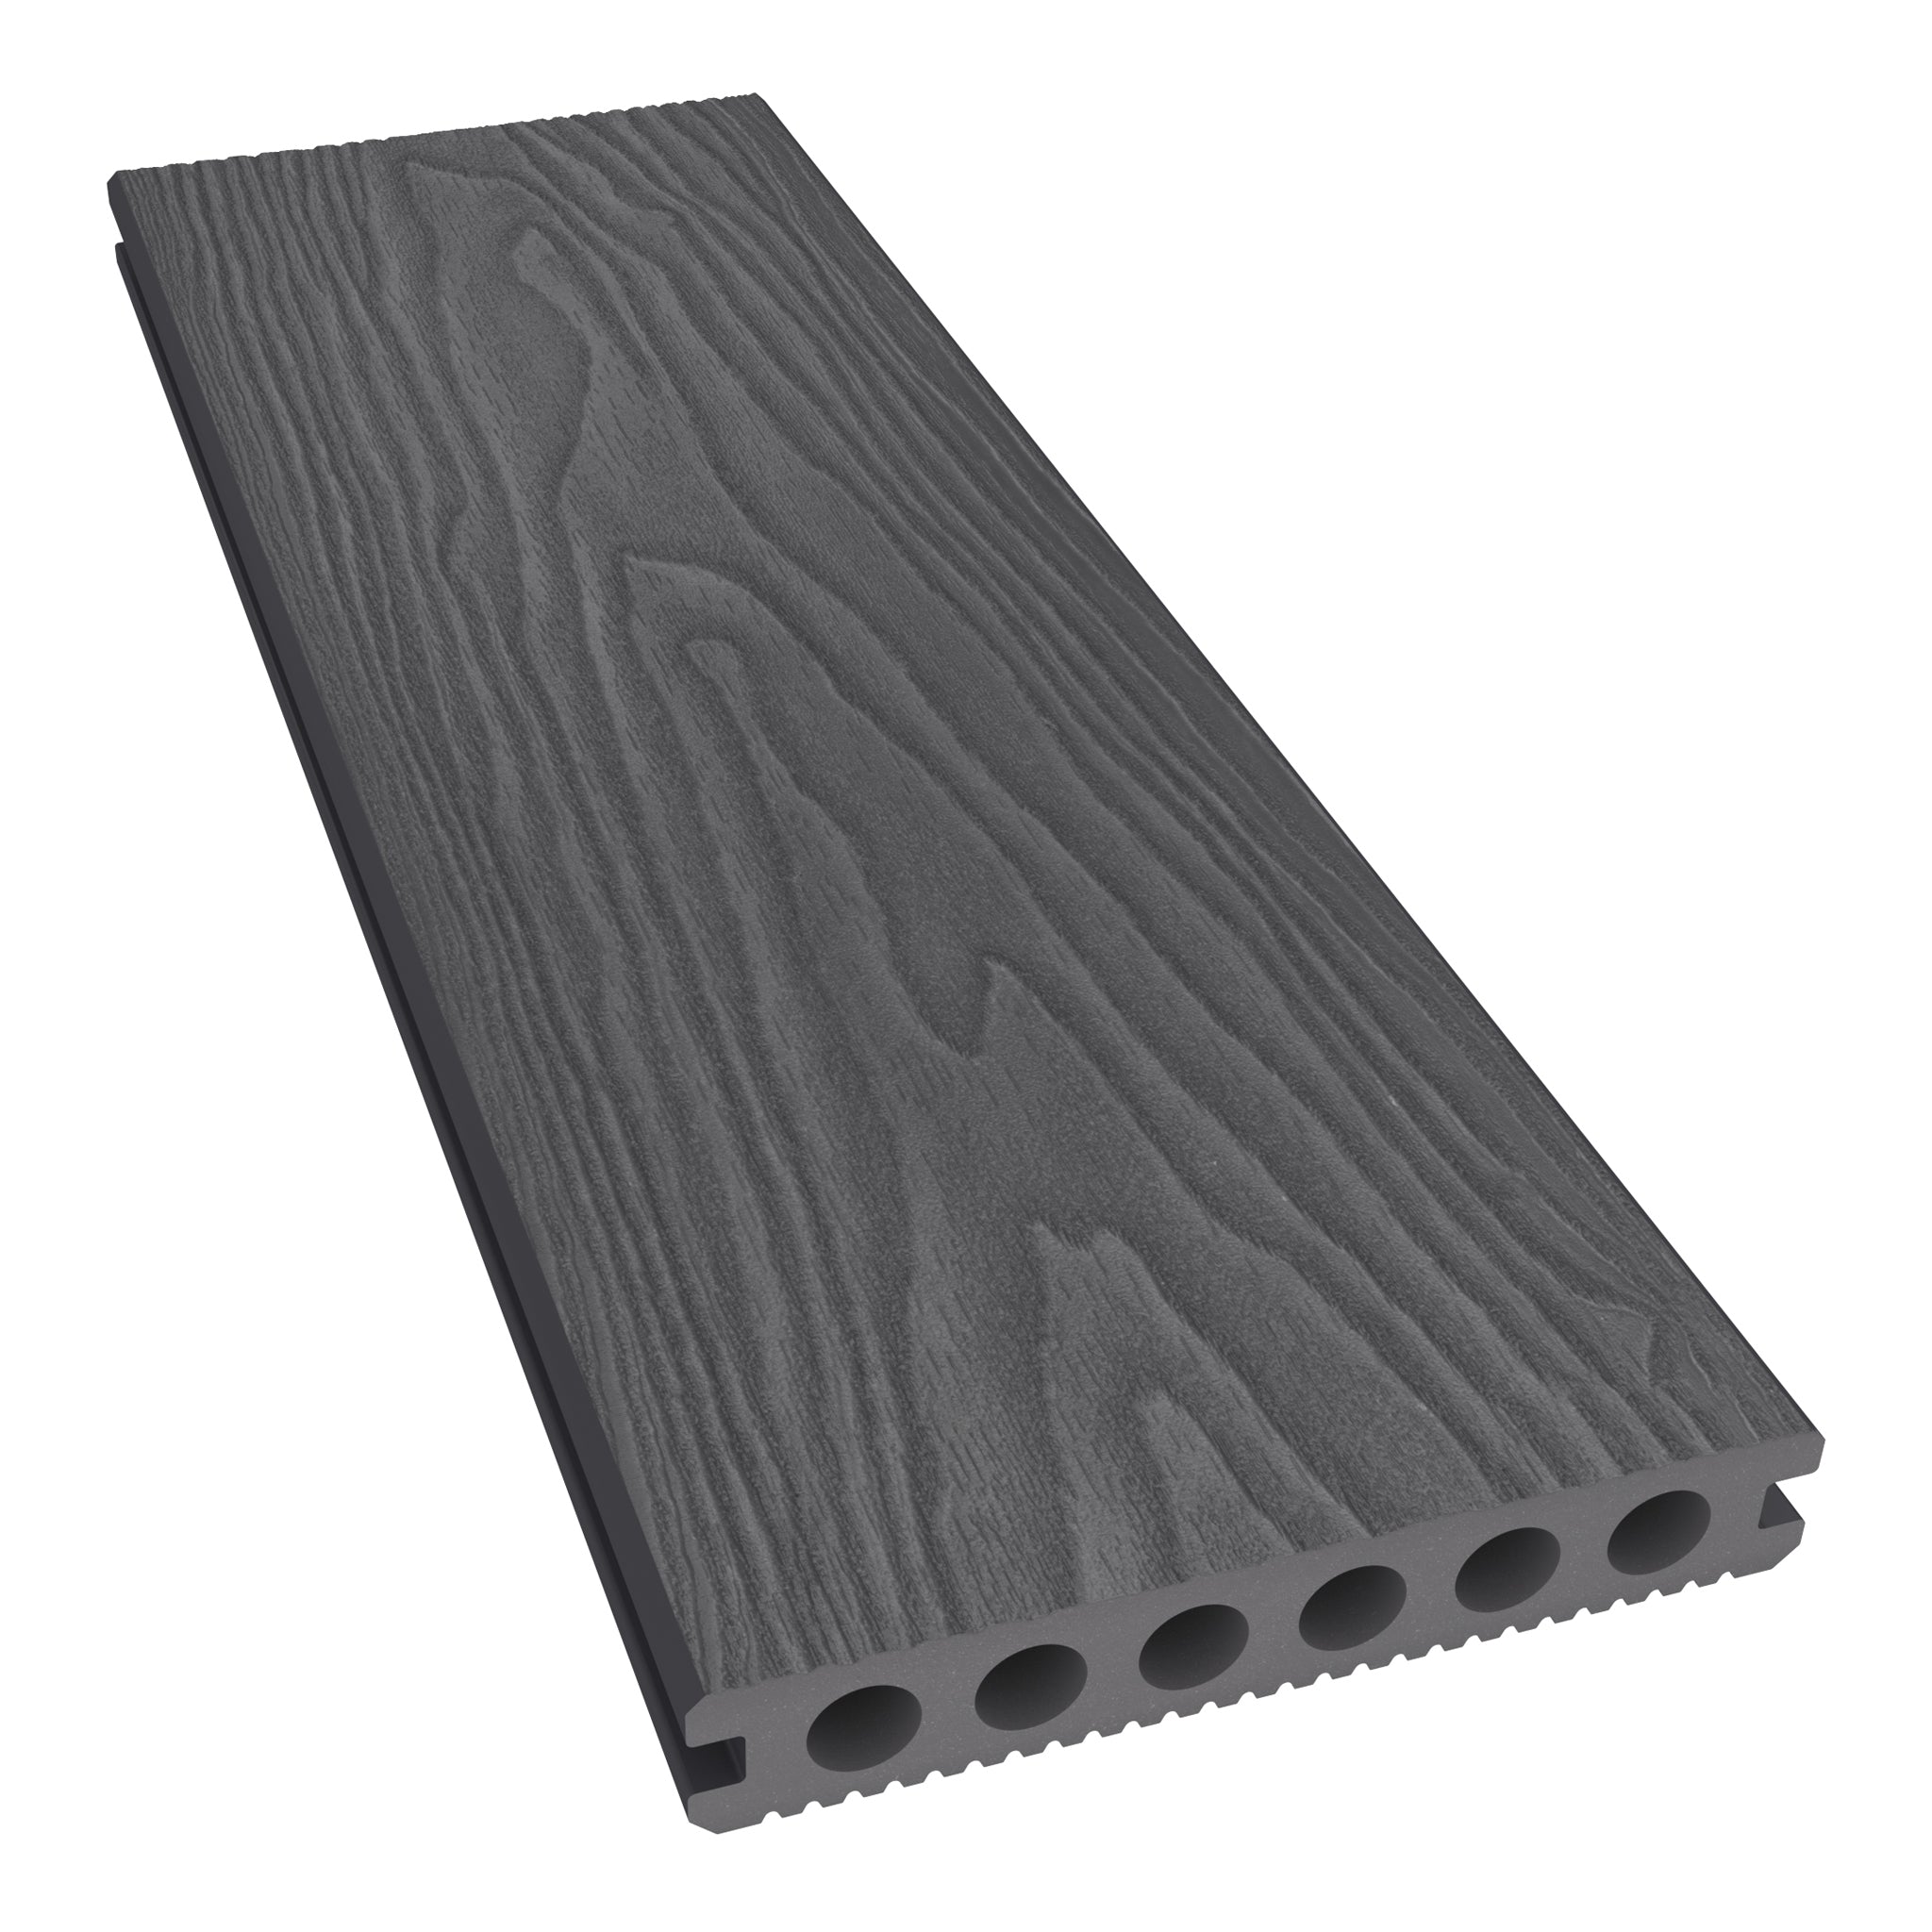
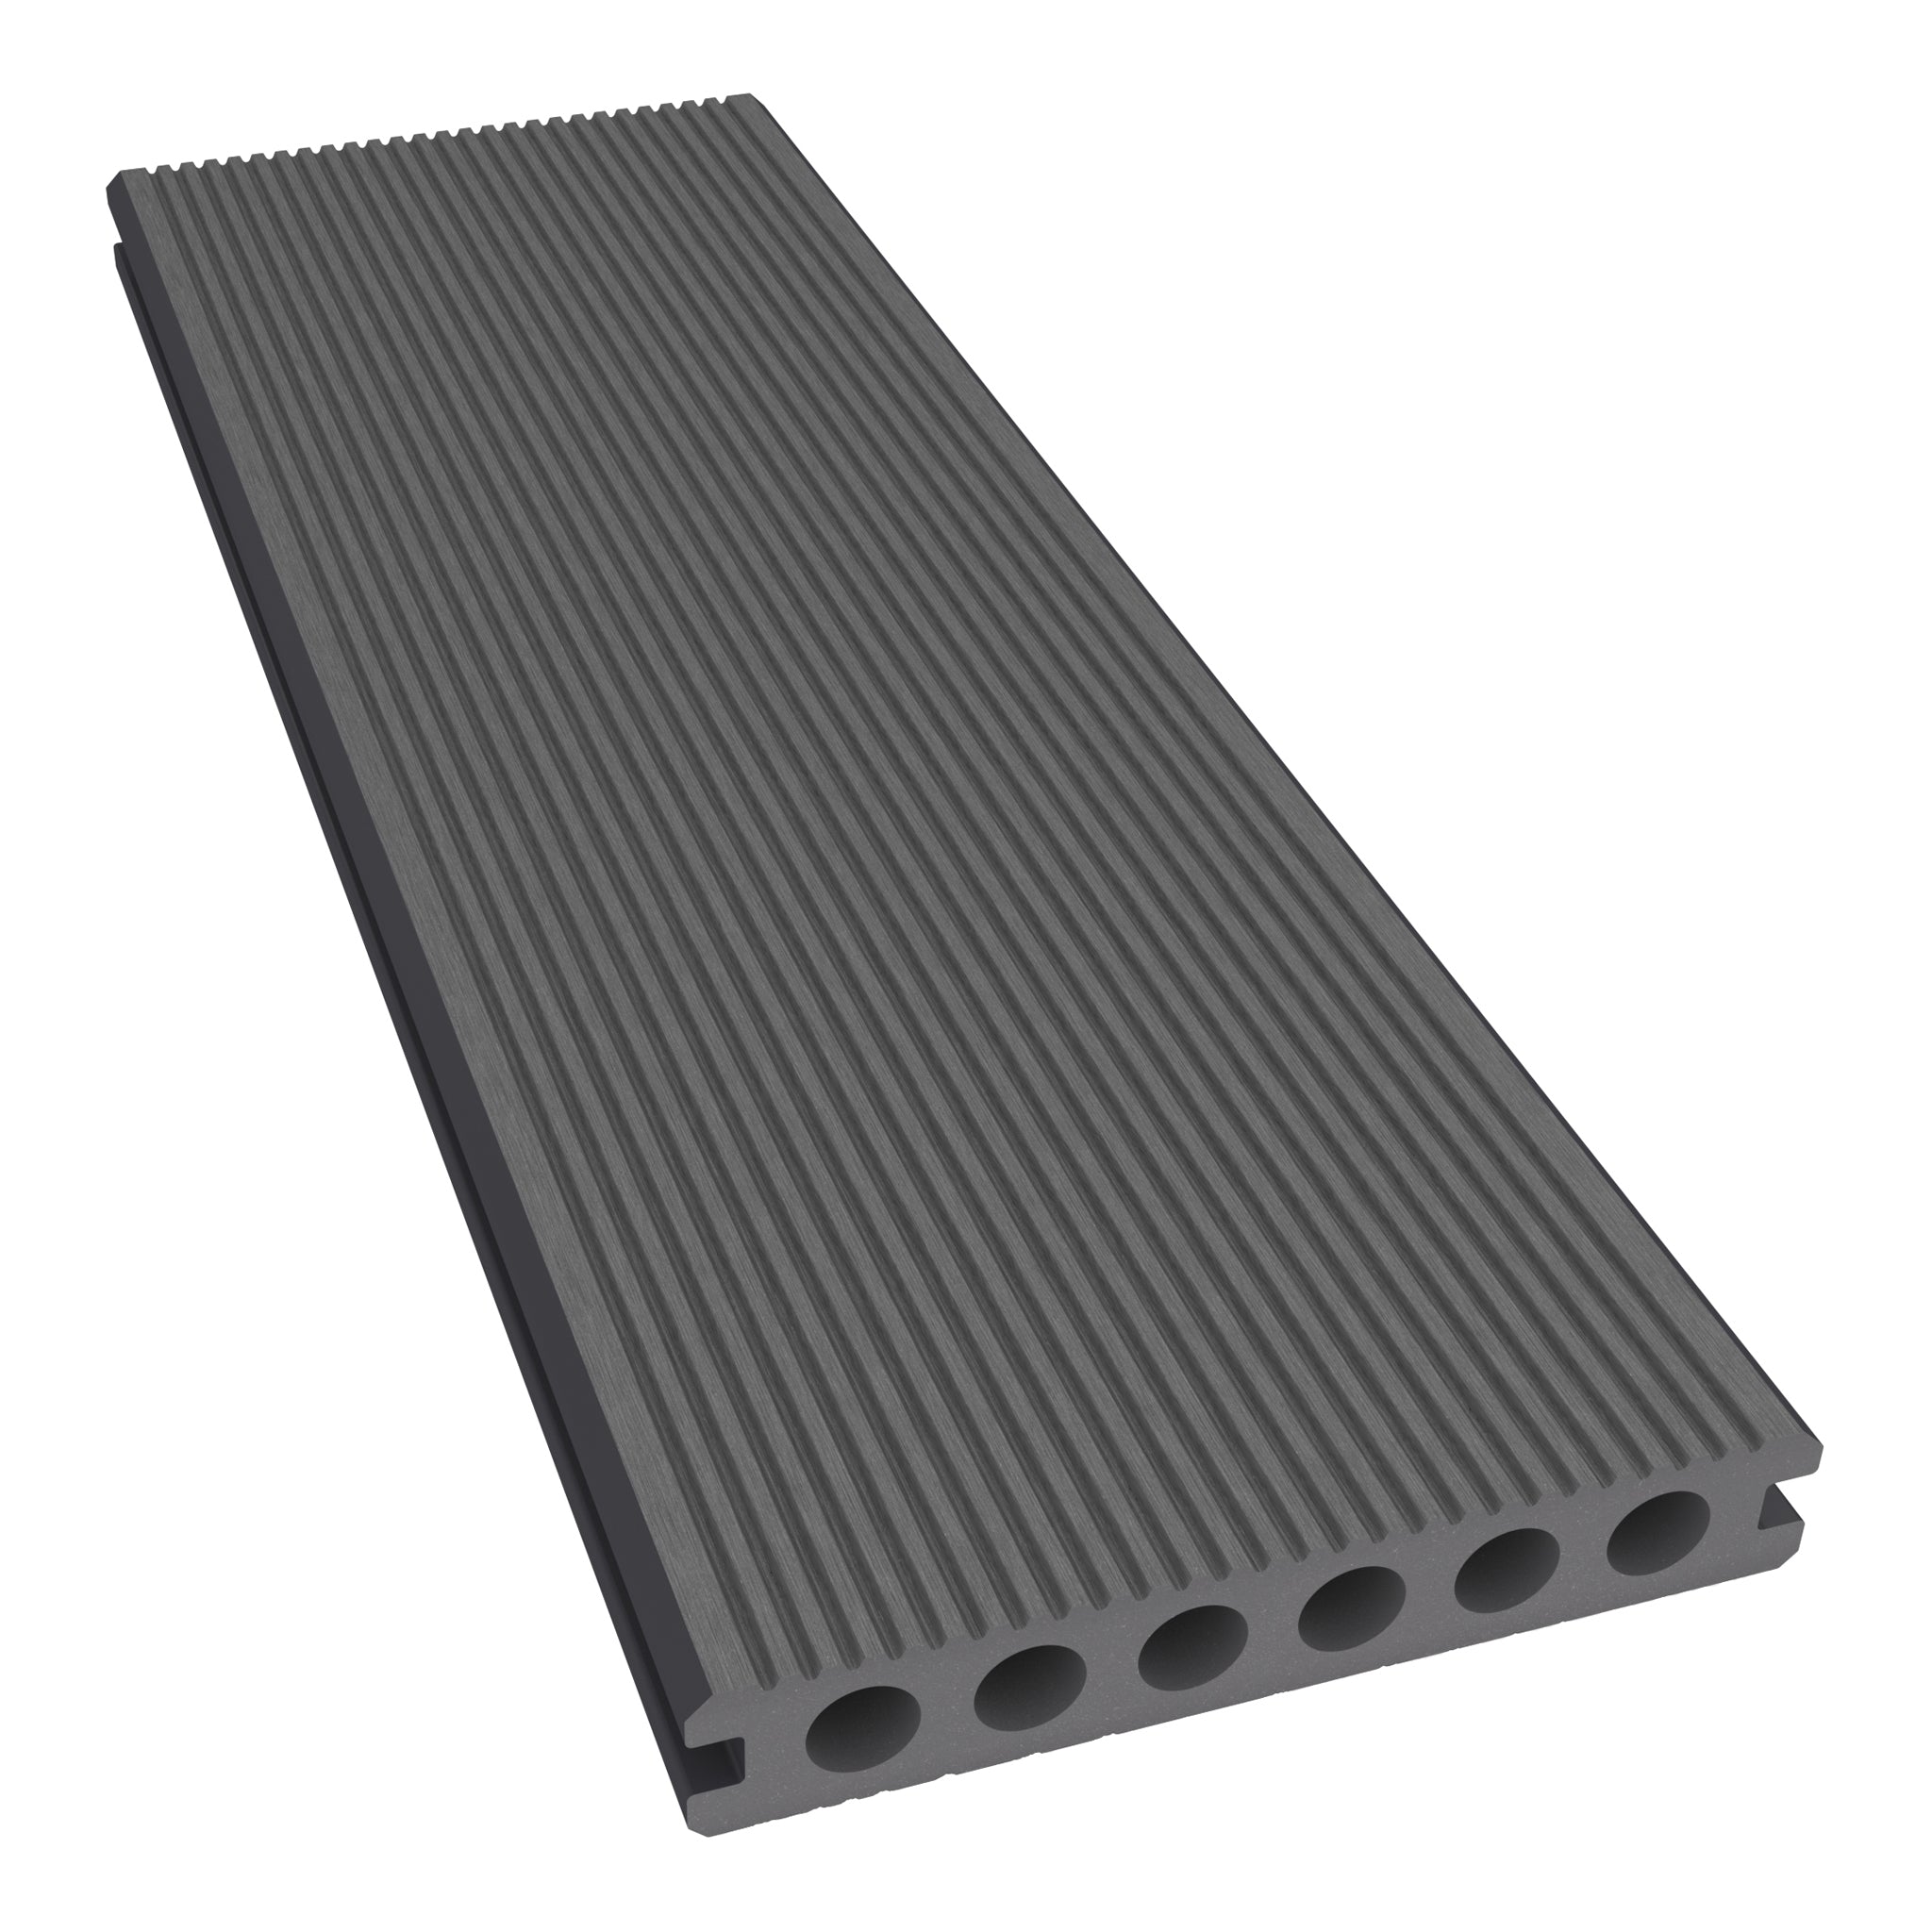
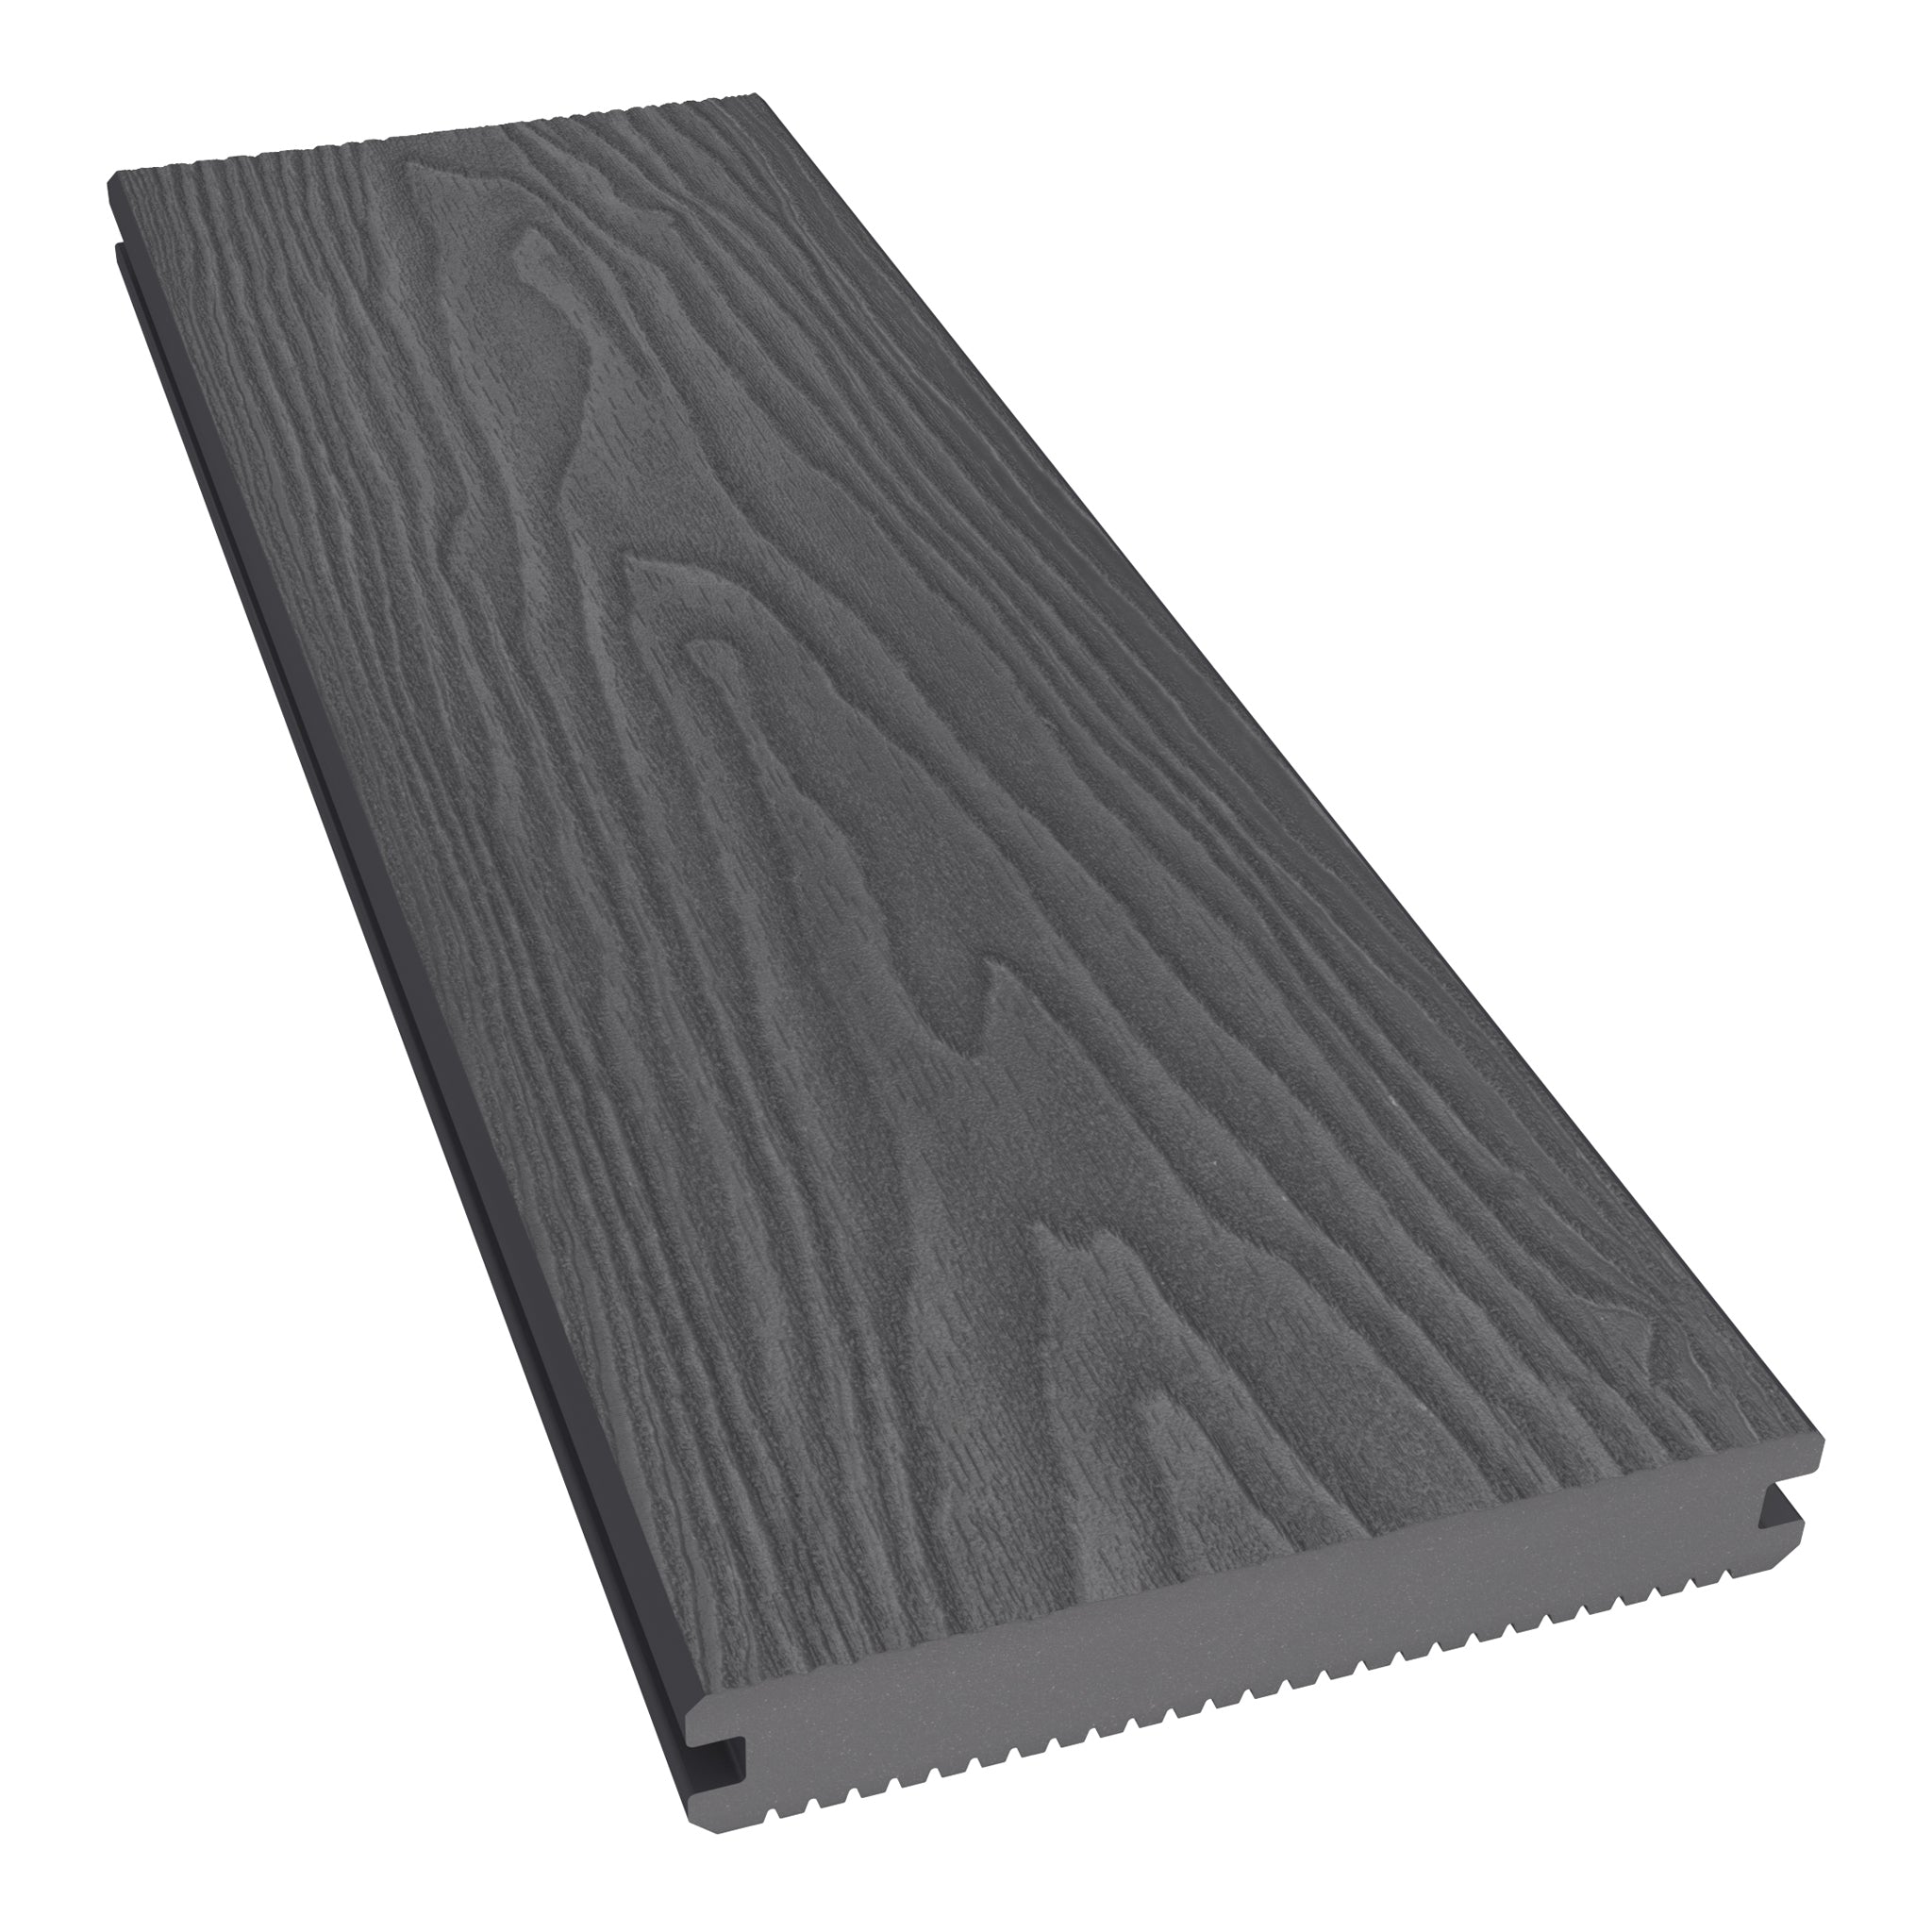
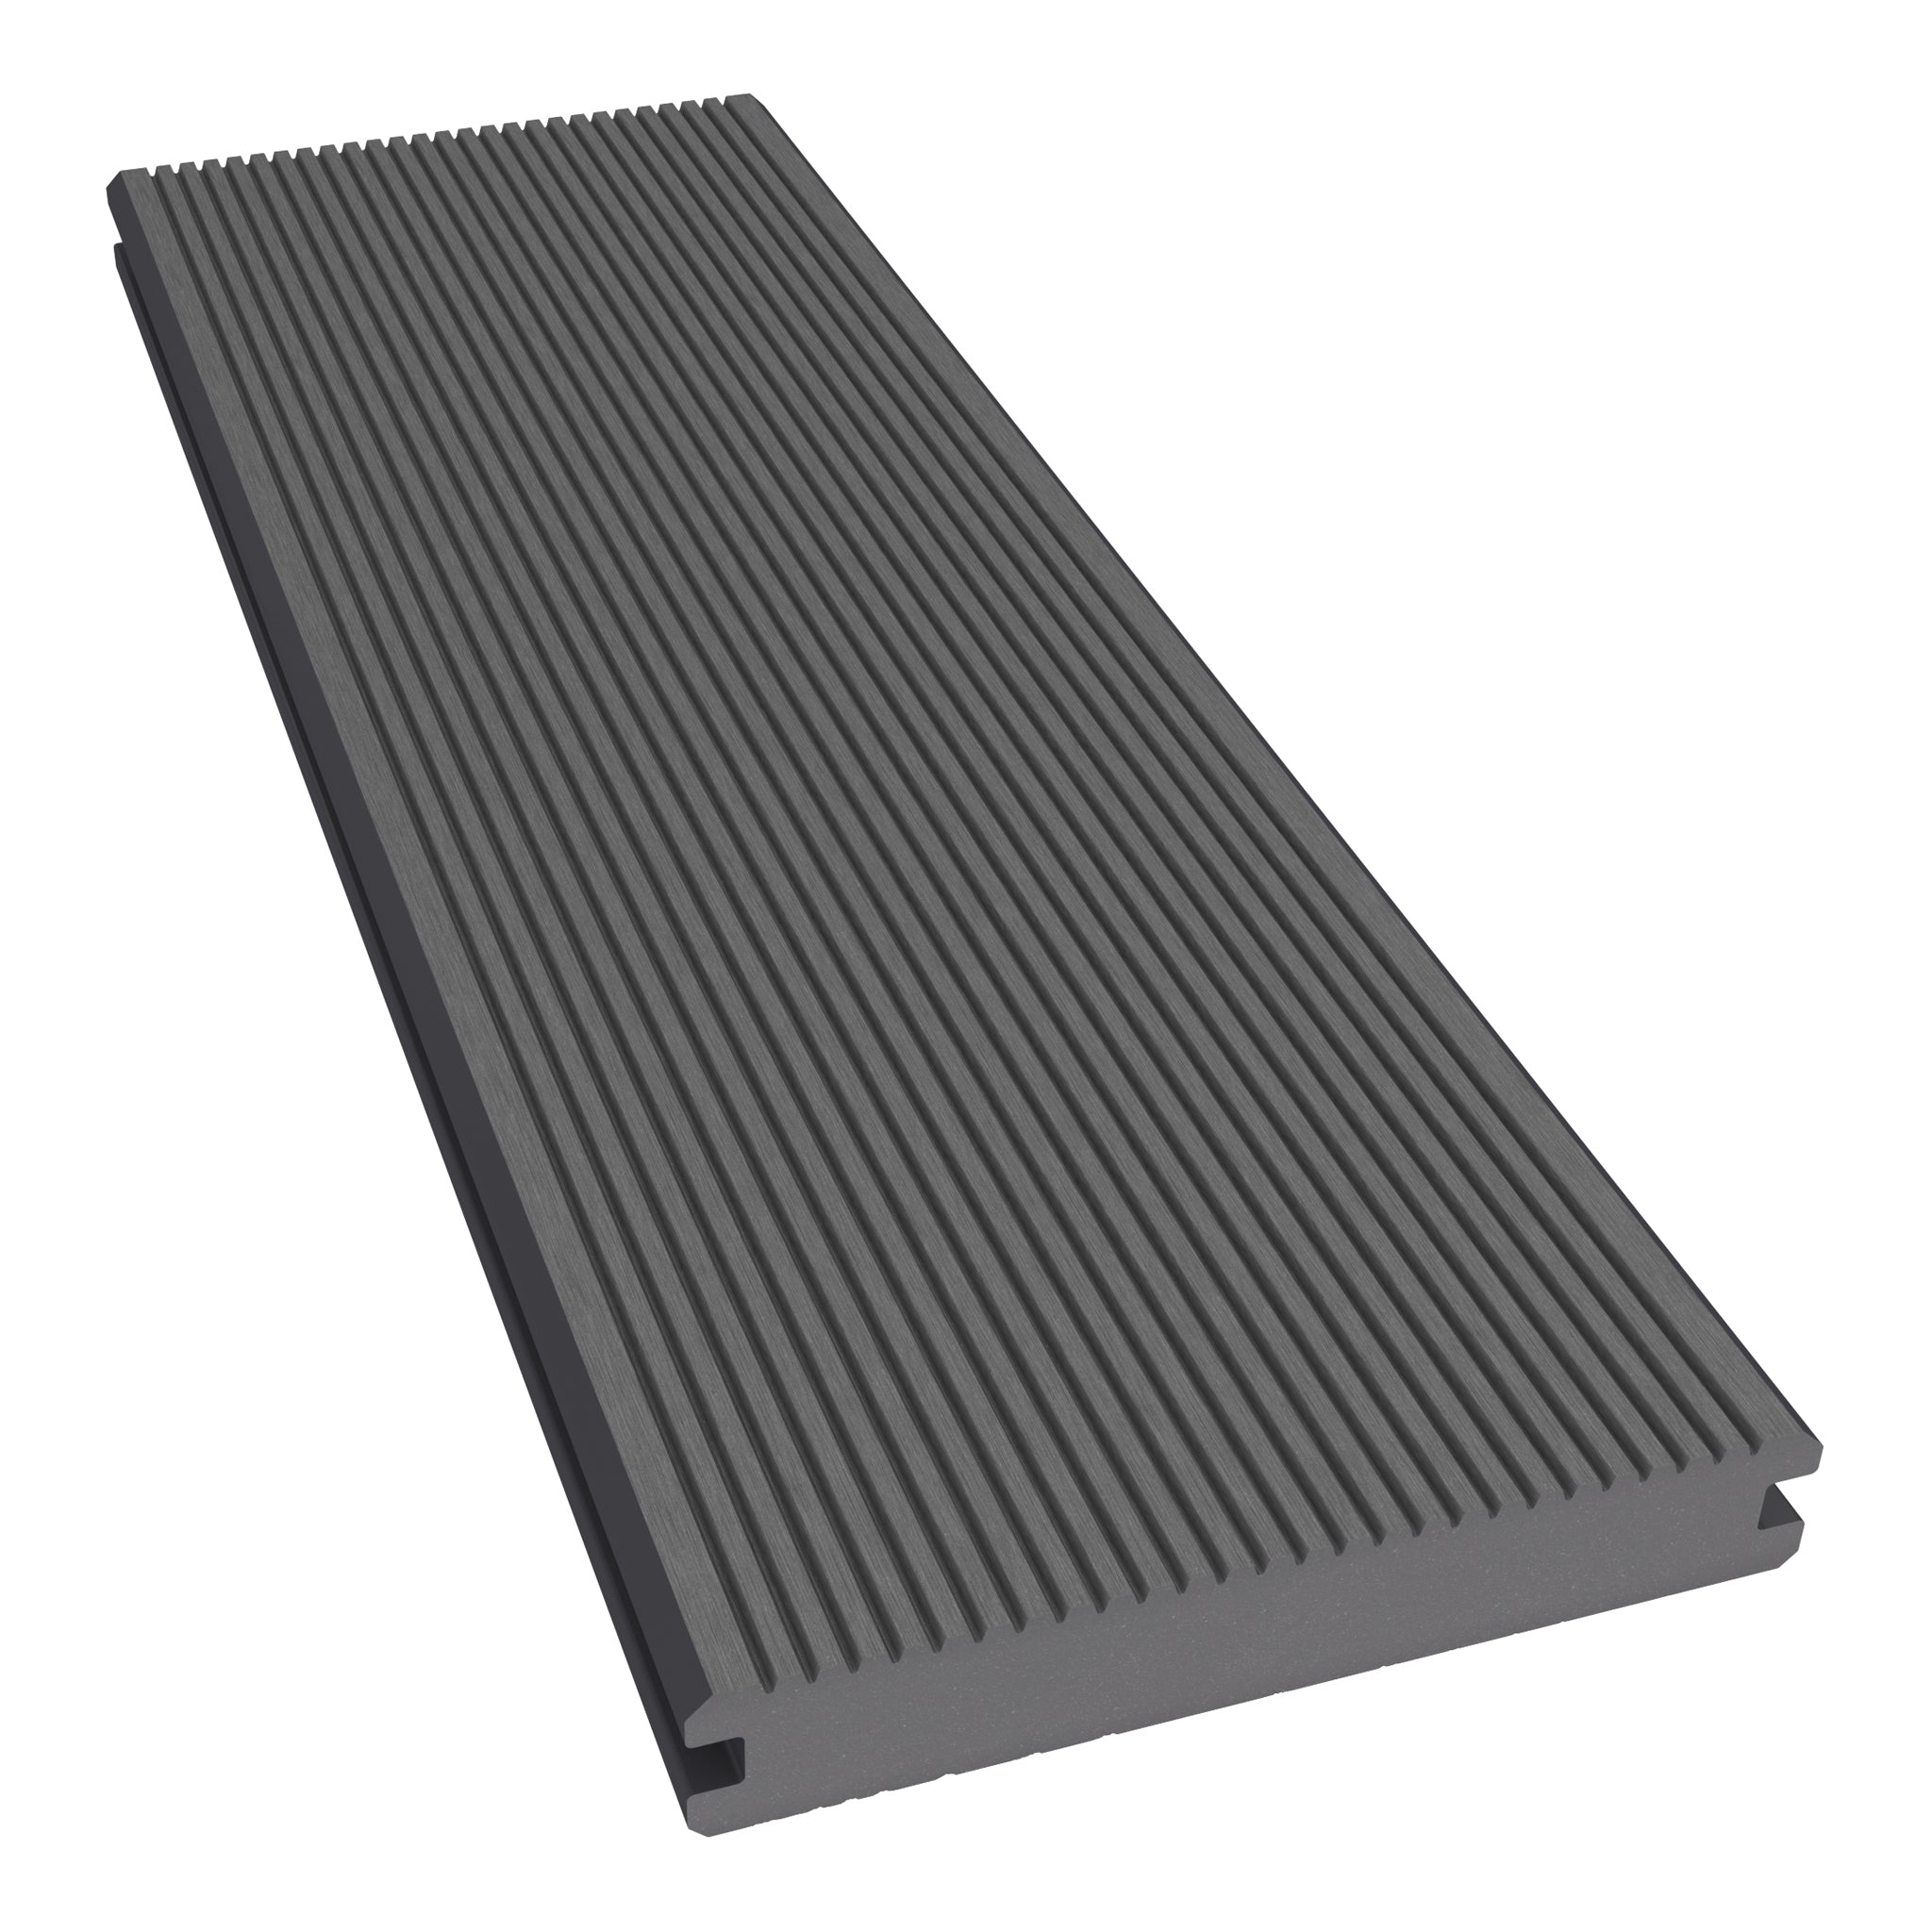
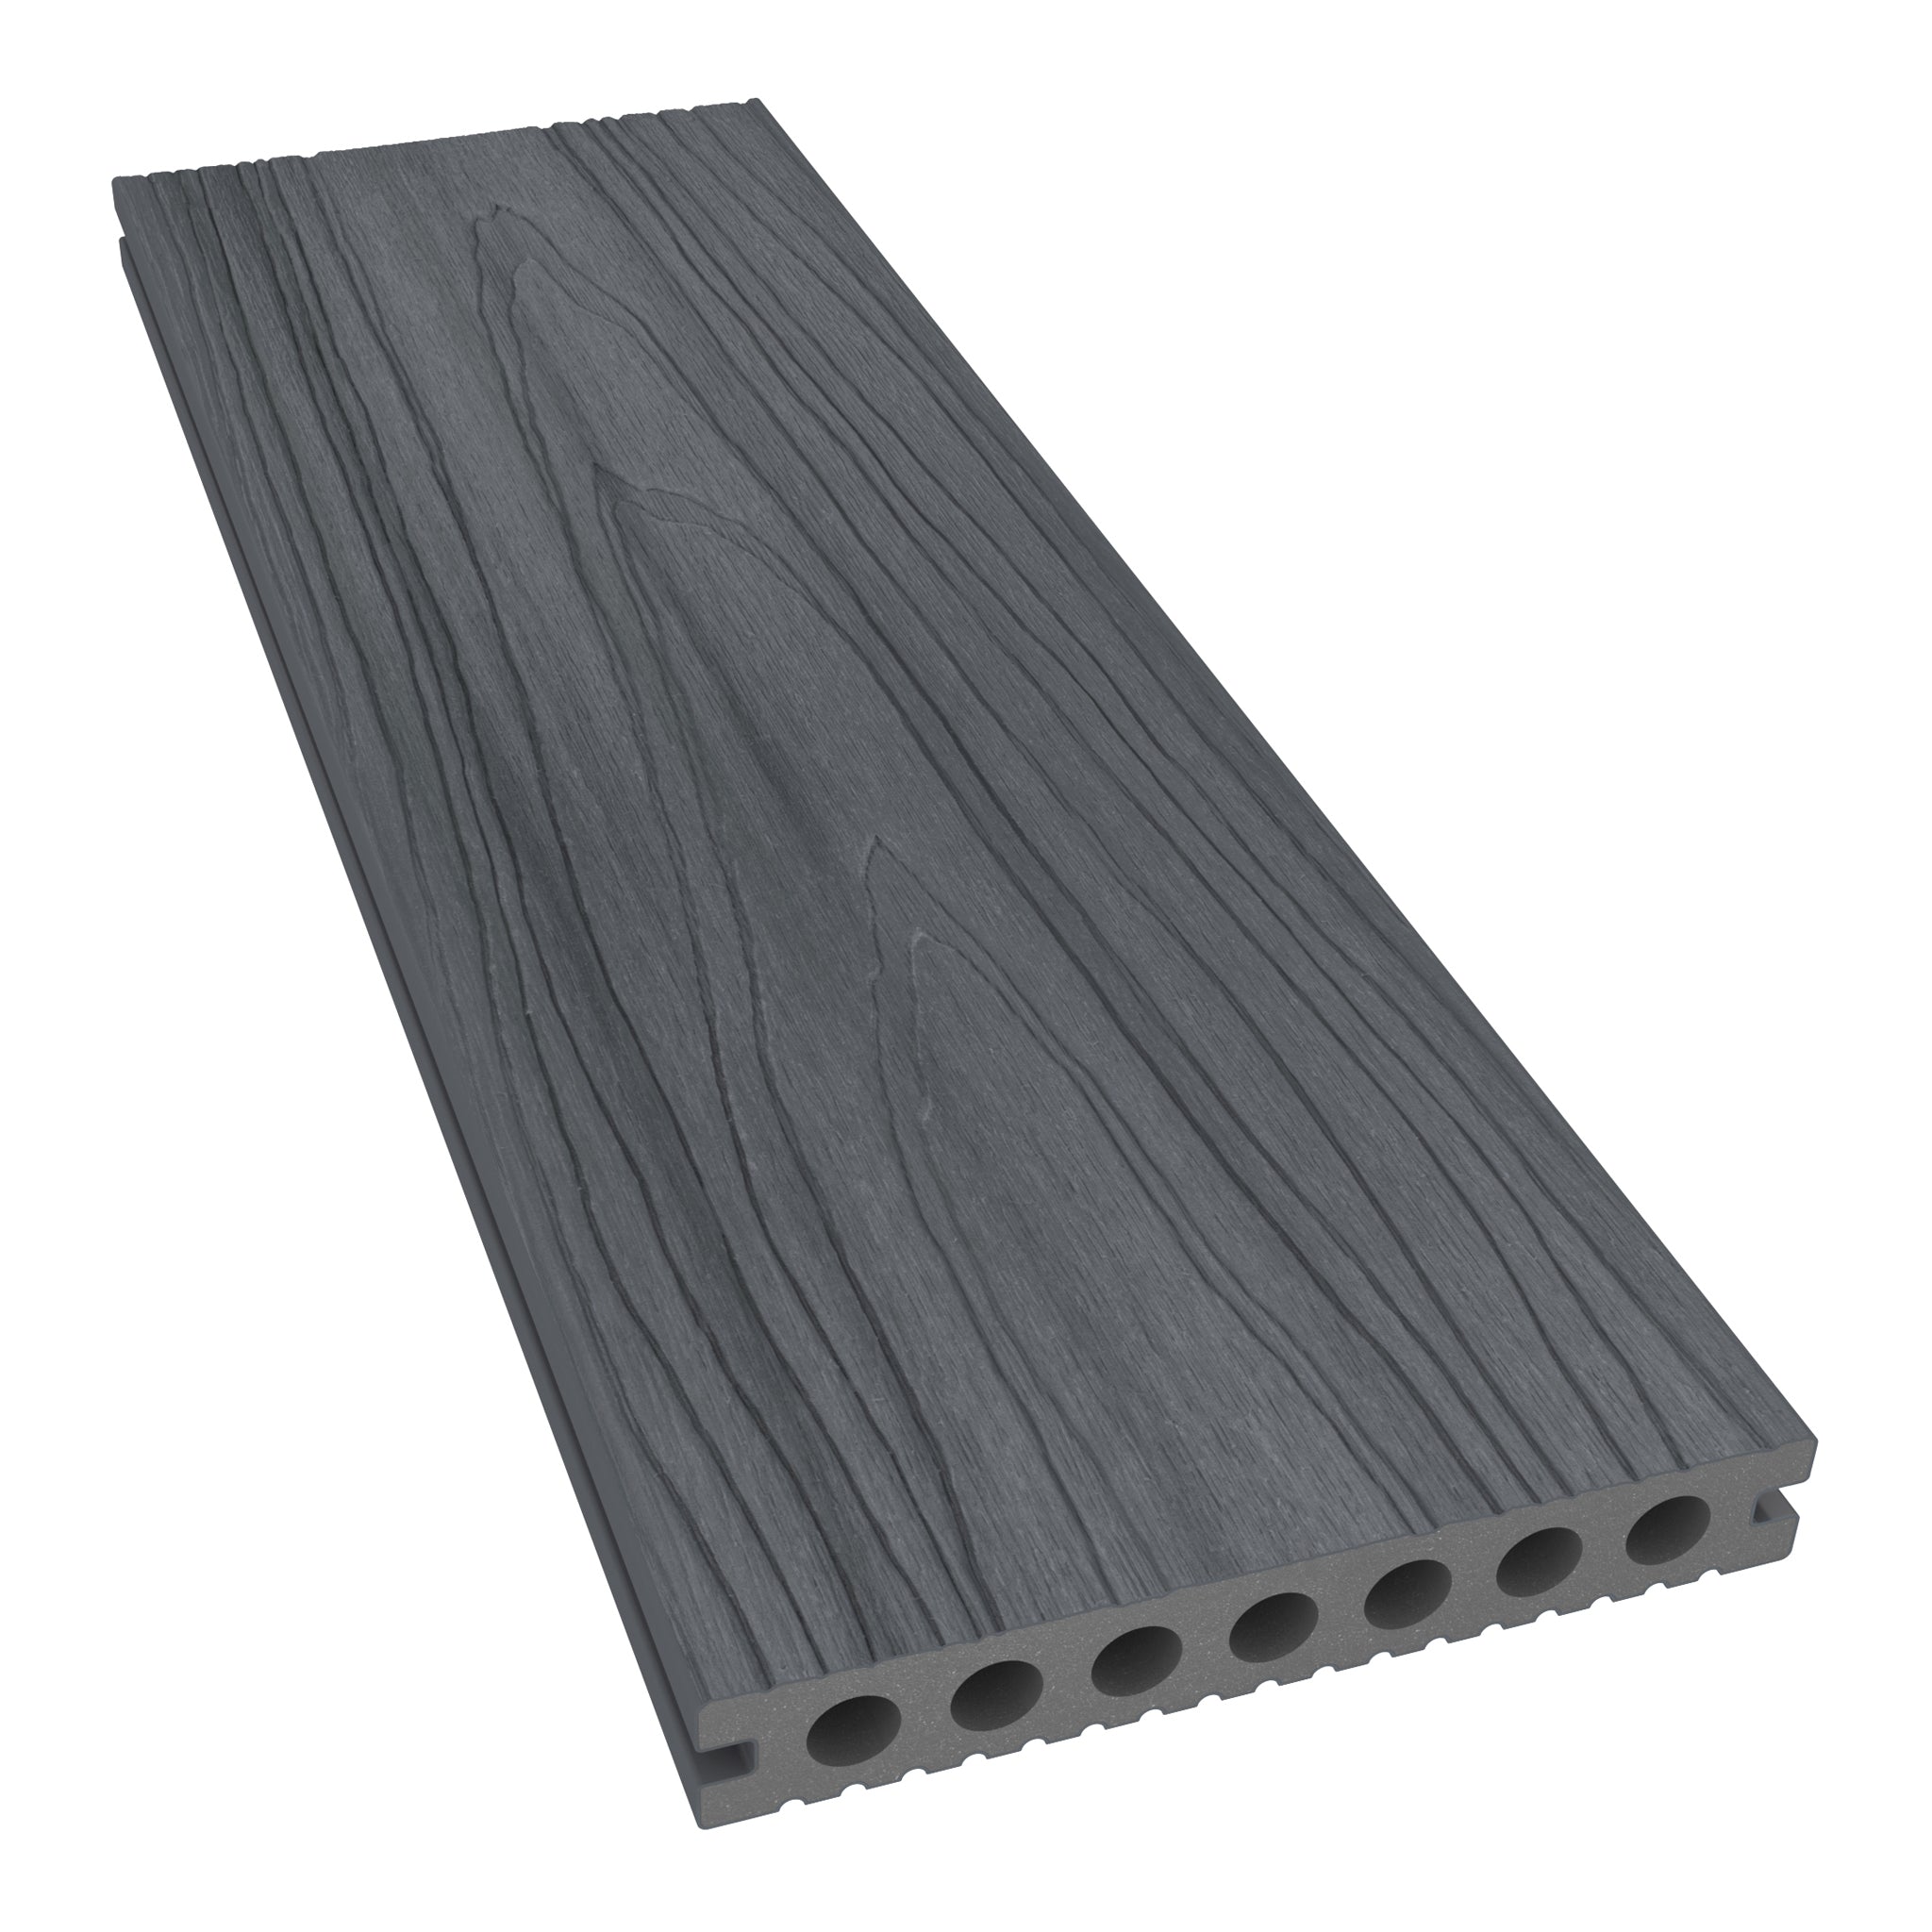
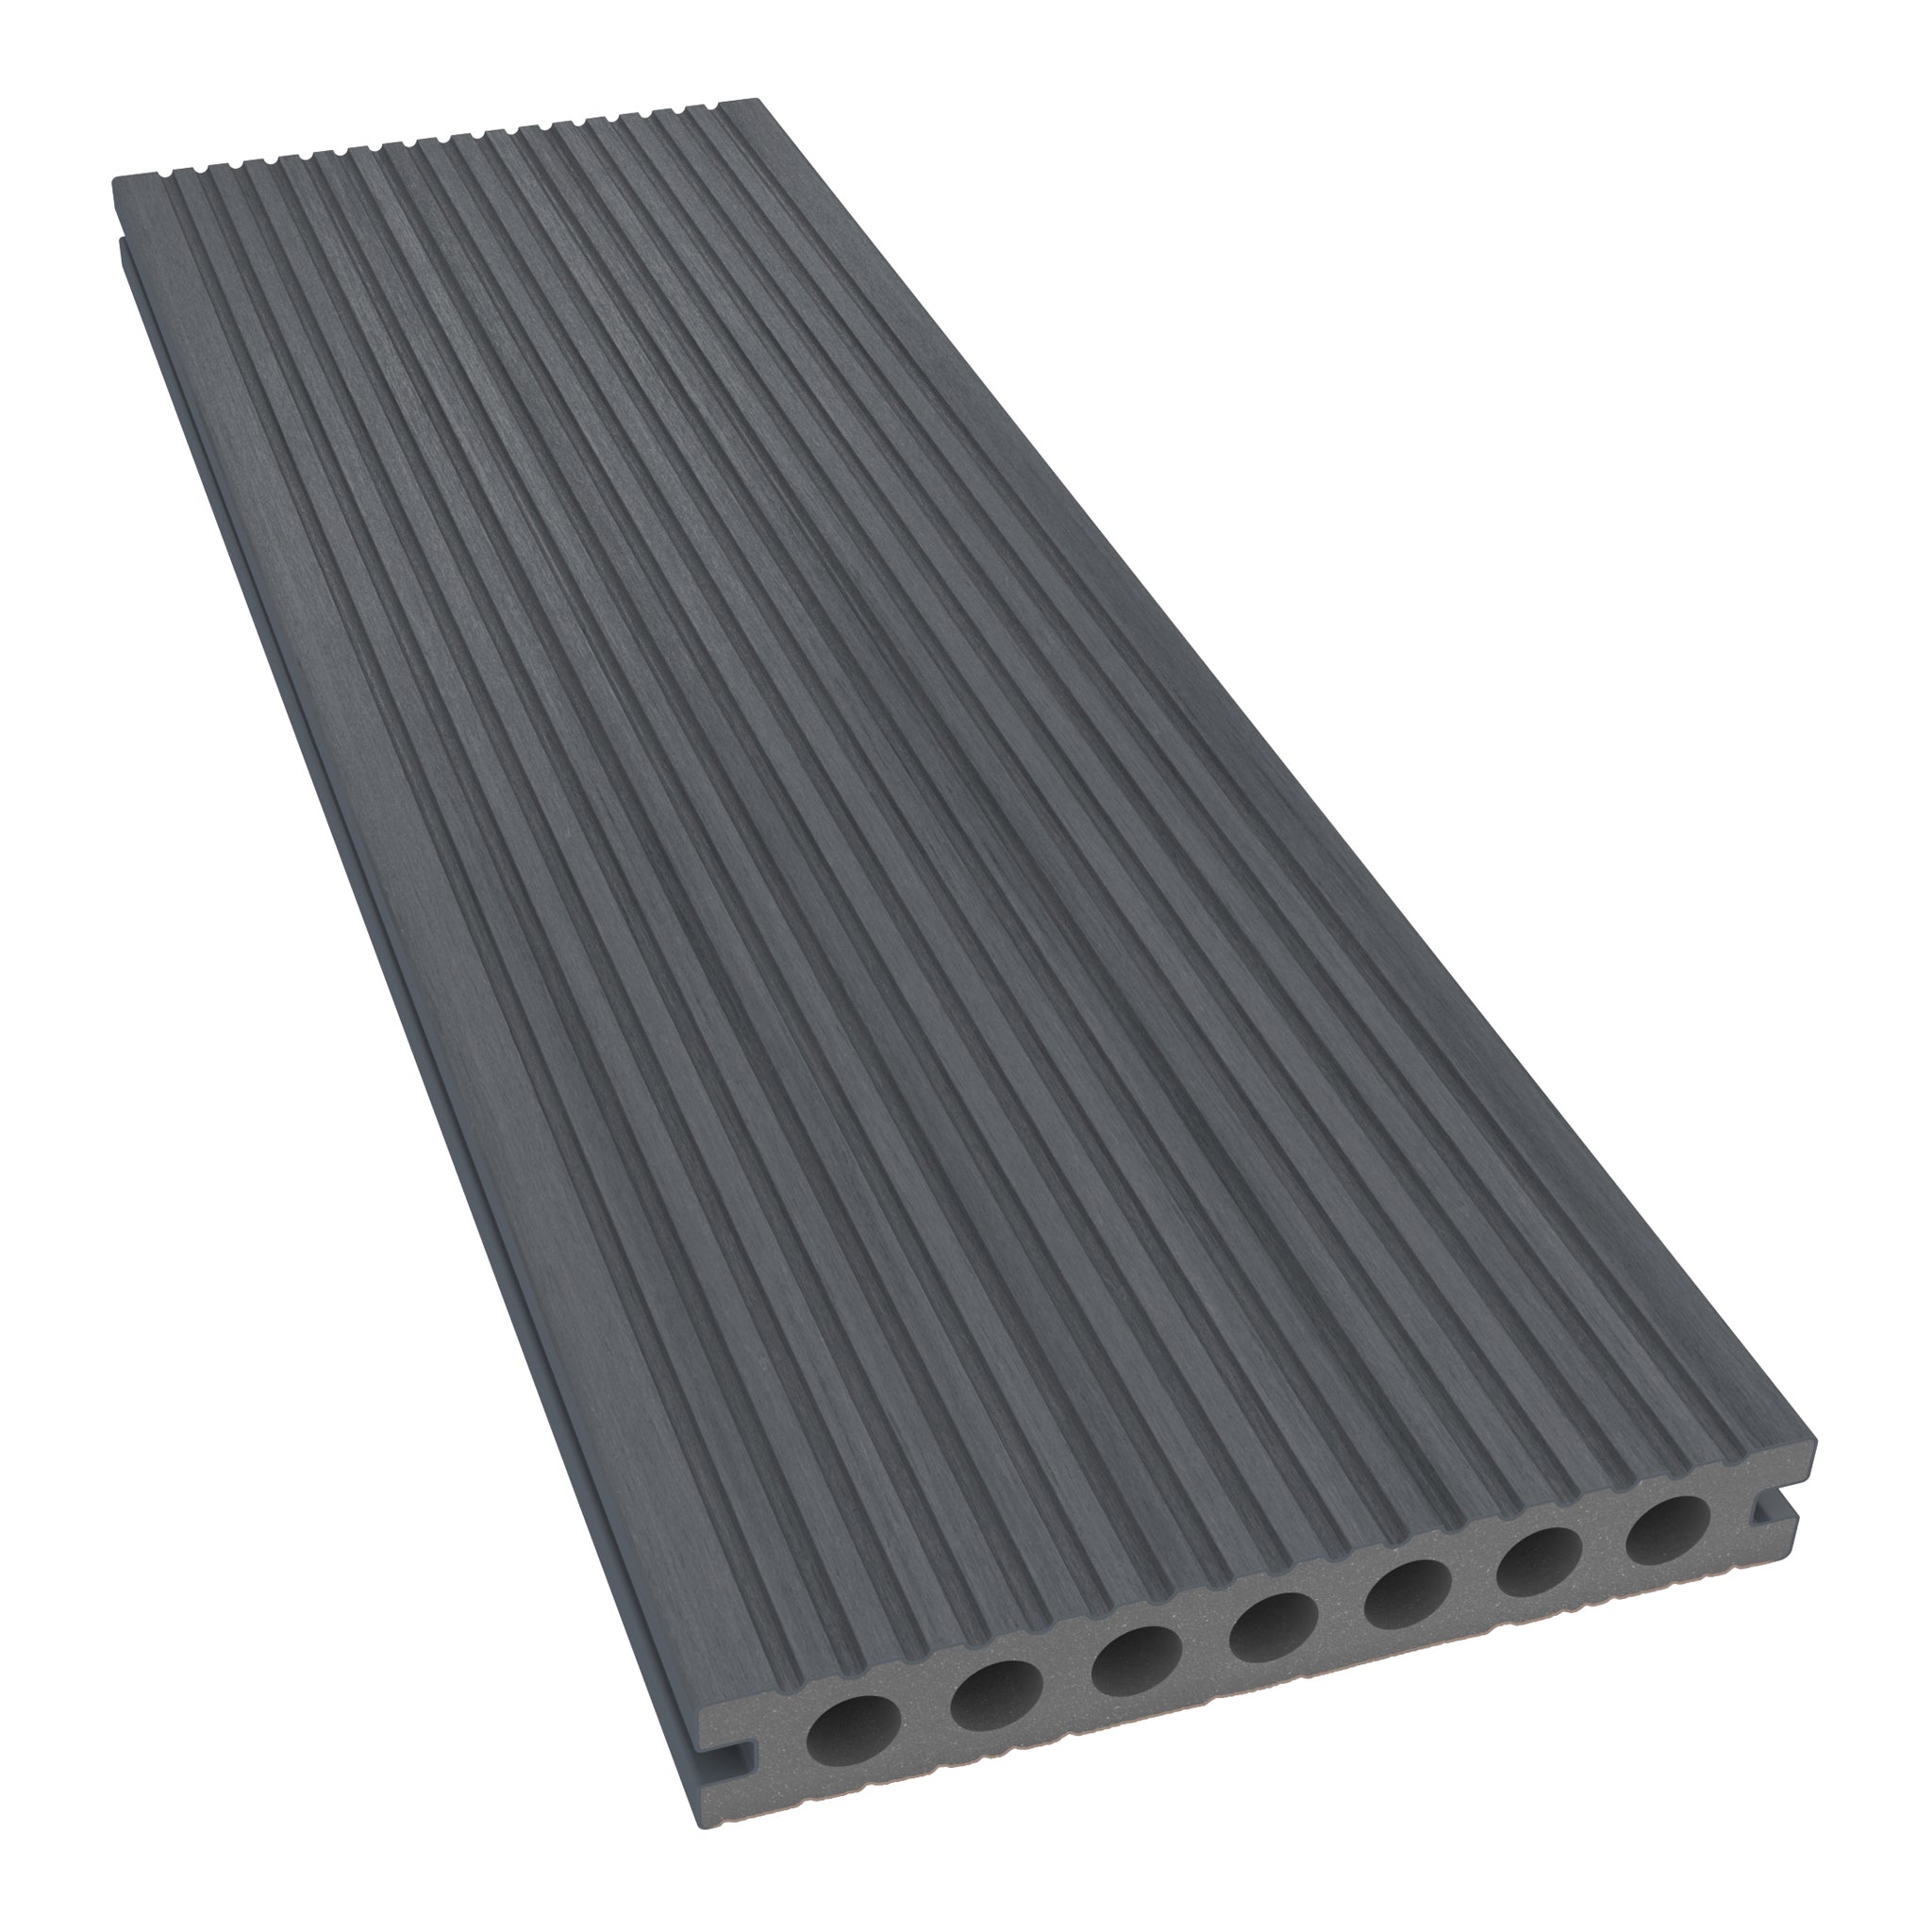
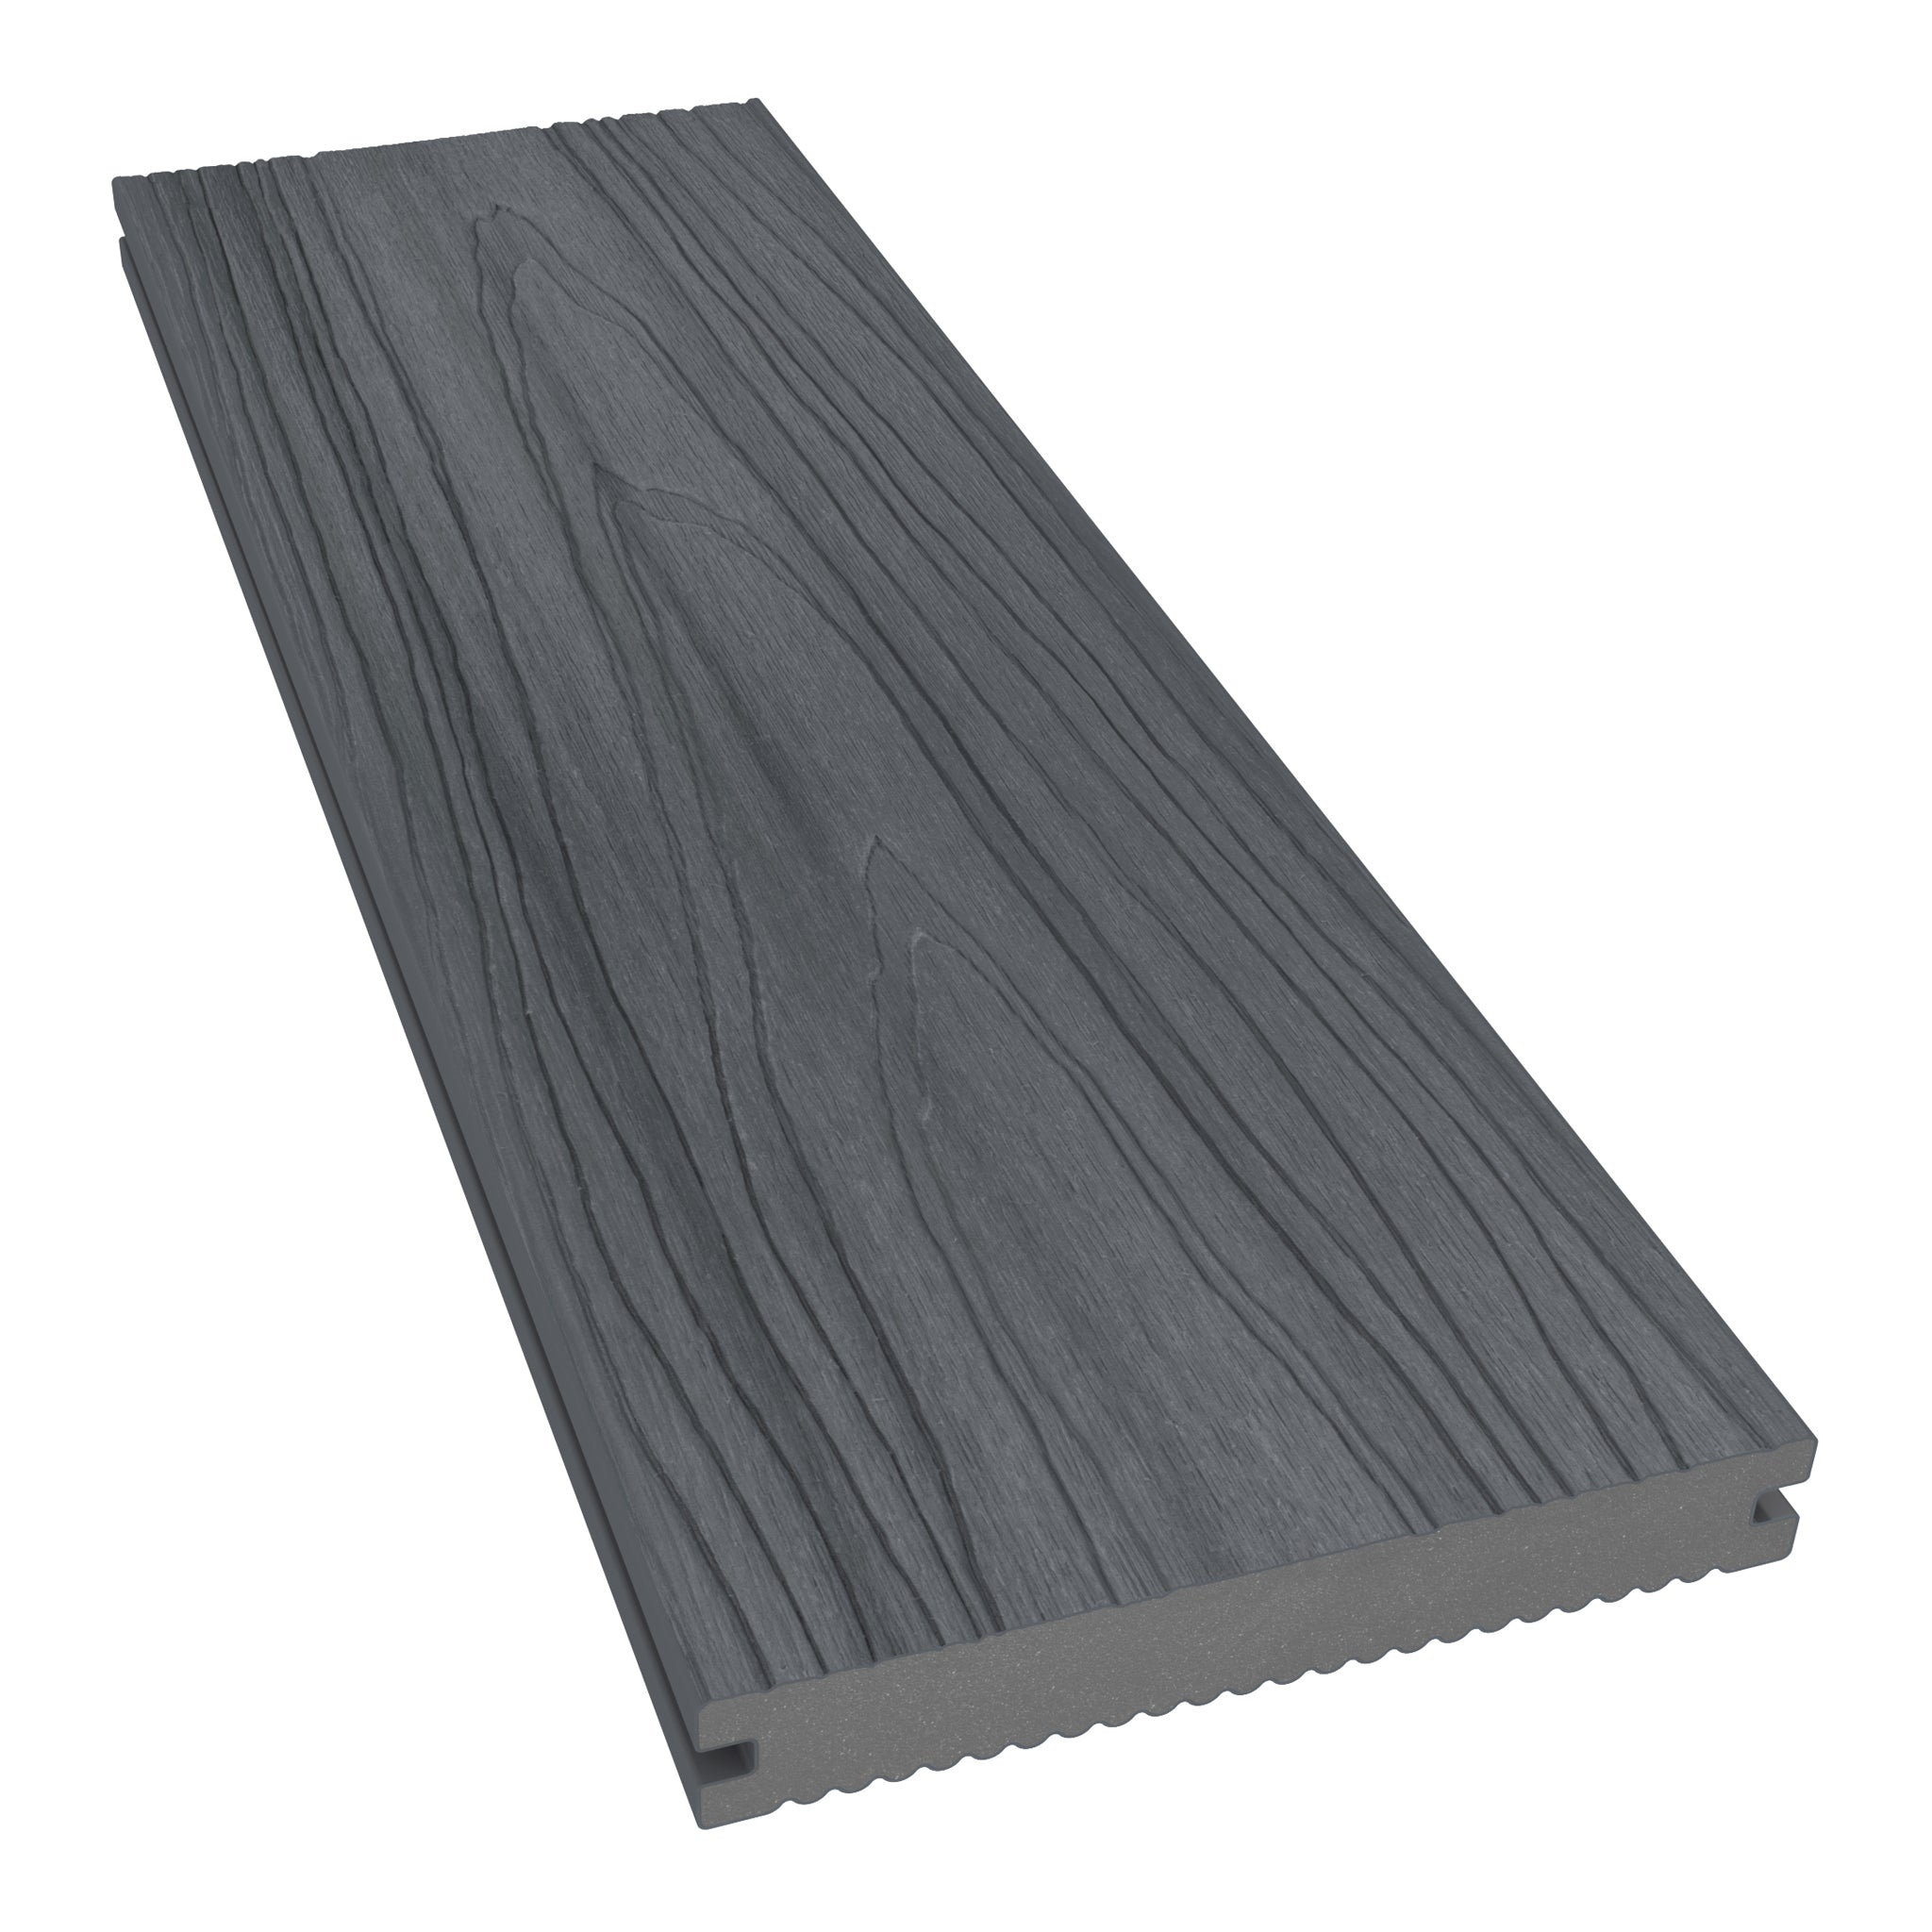
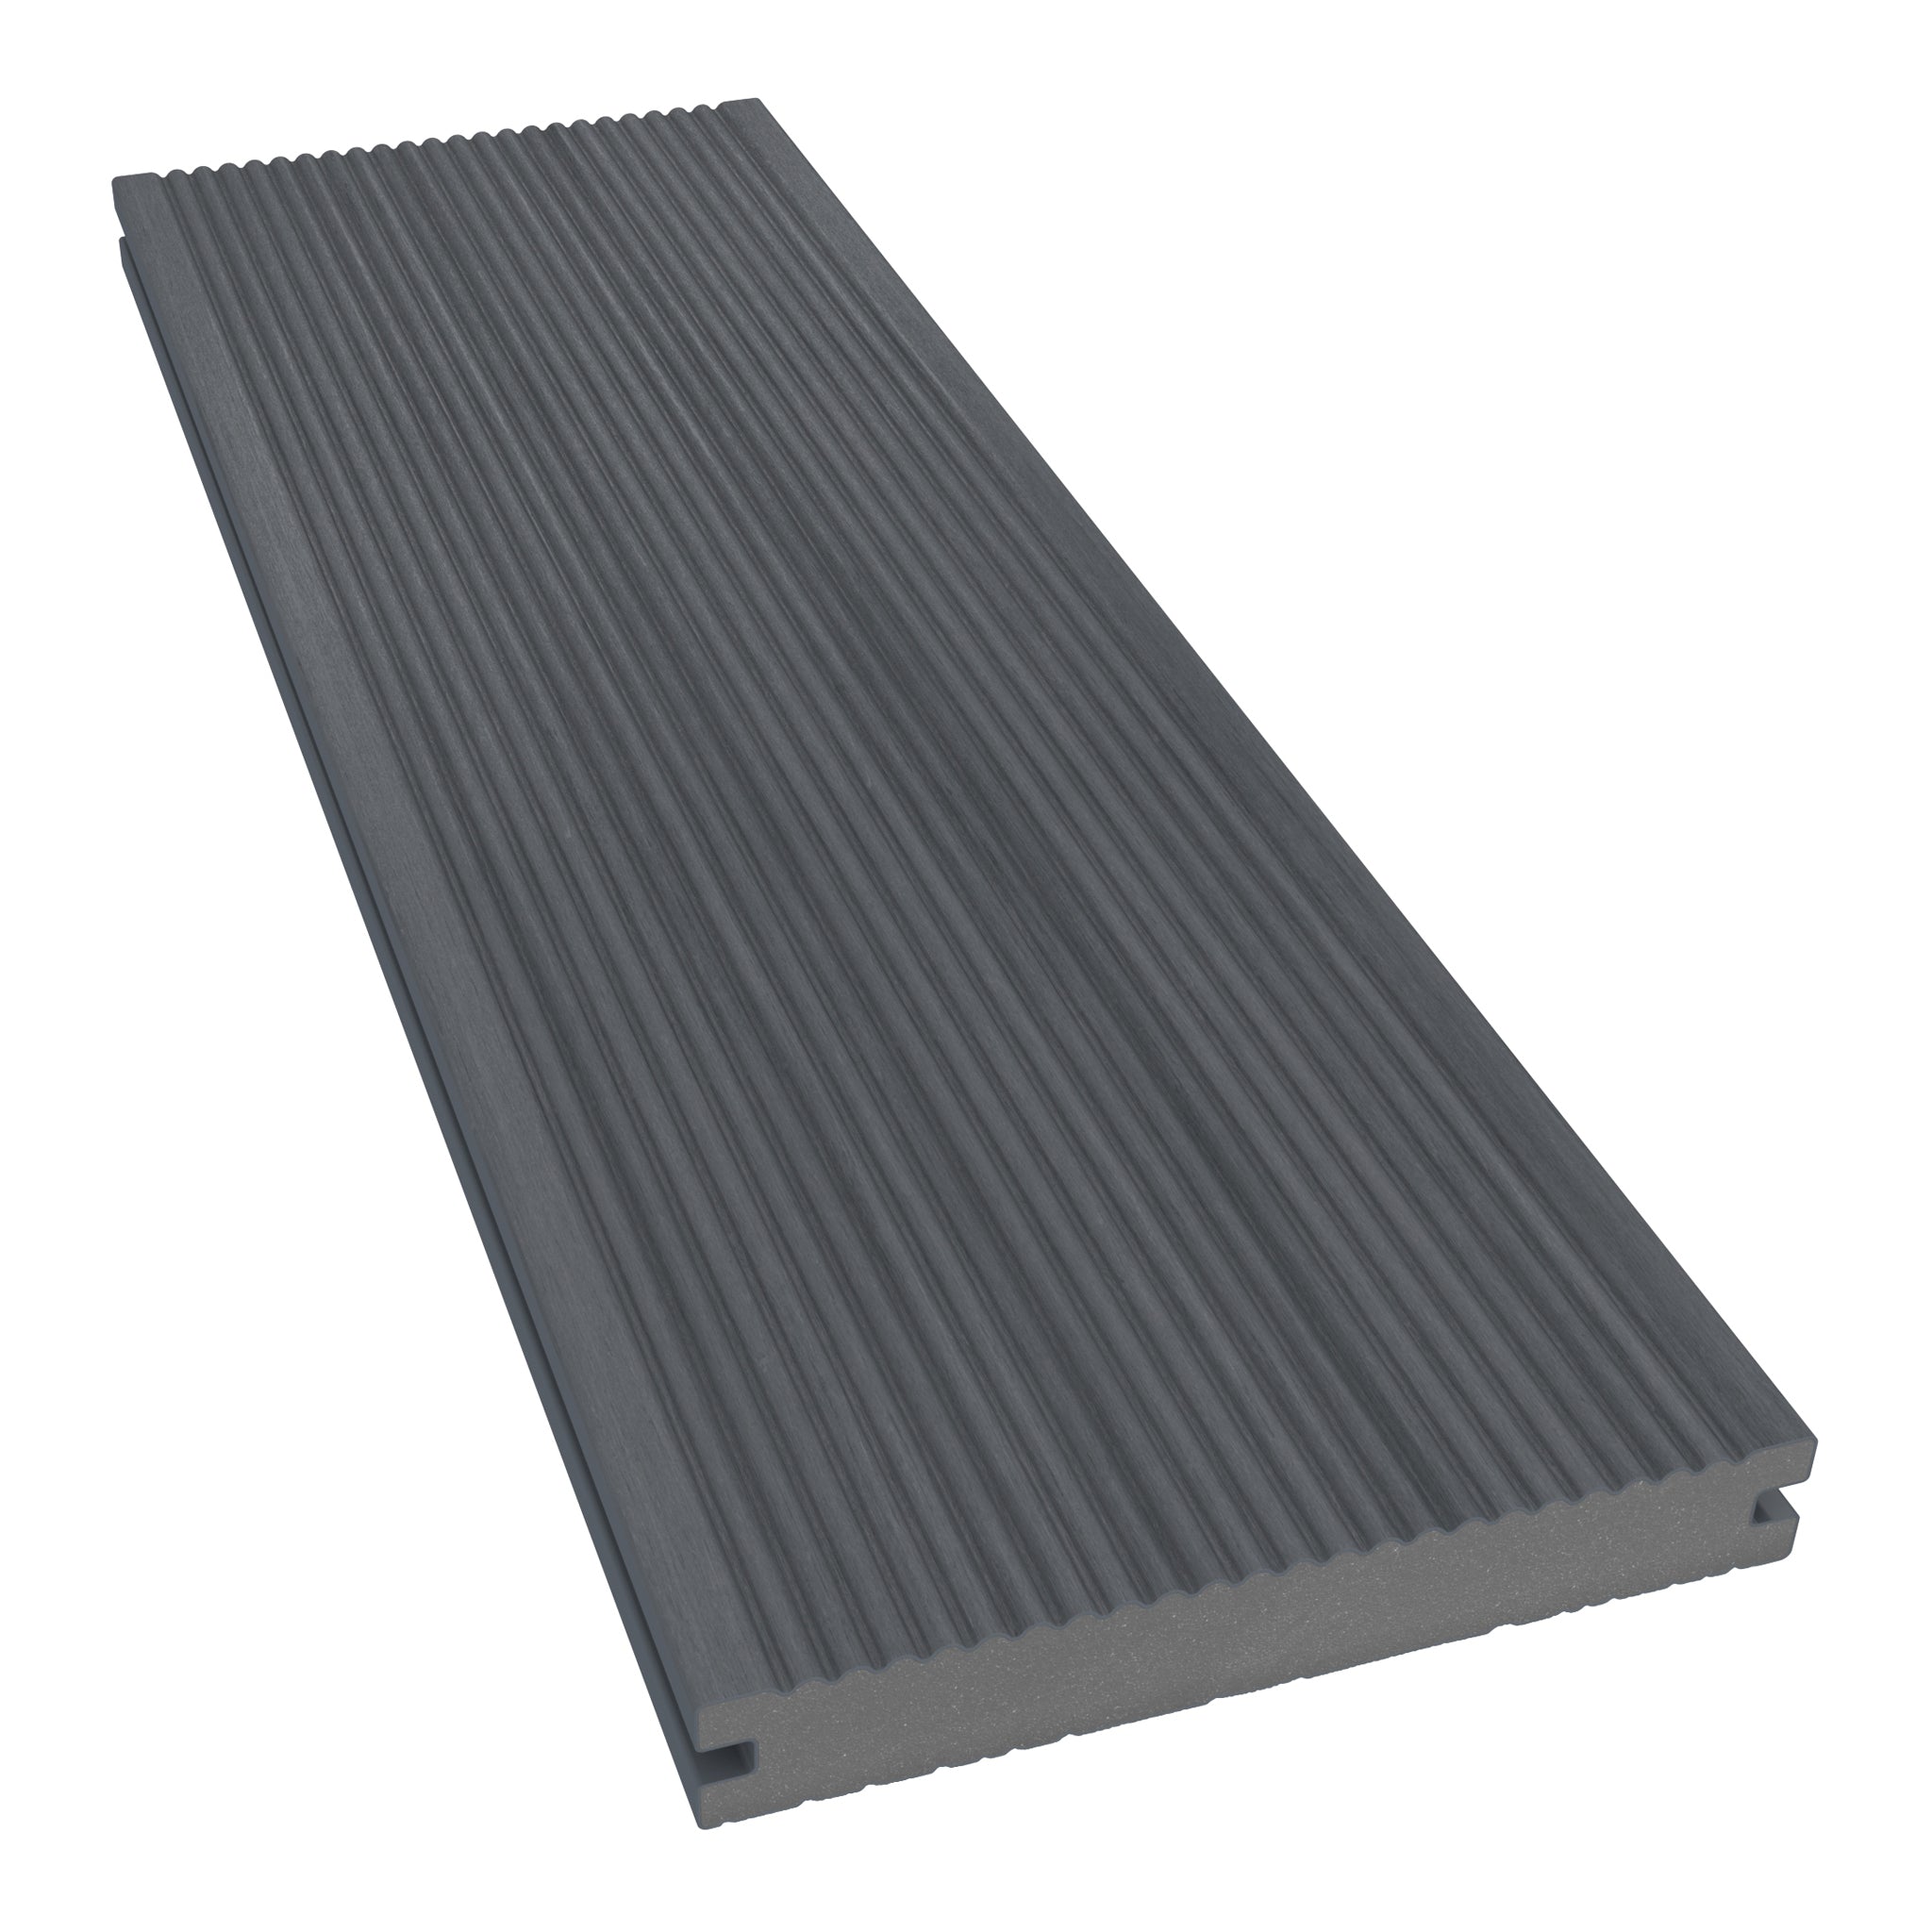
Compare the exact board profile, dimensions, surface finish and installation requirements. Hollow and solid describe the core, while capped describes the outer surface; a board can be both hollow and capped.
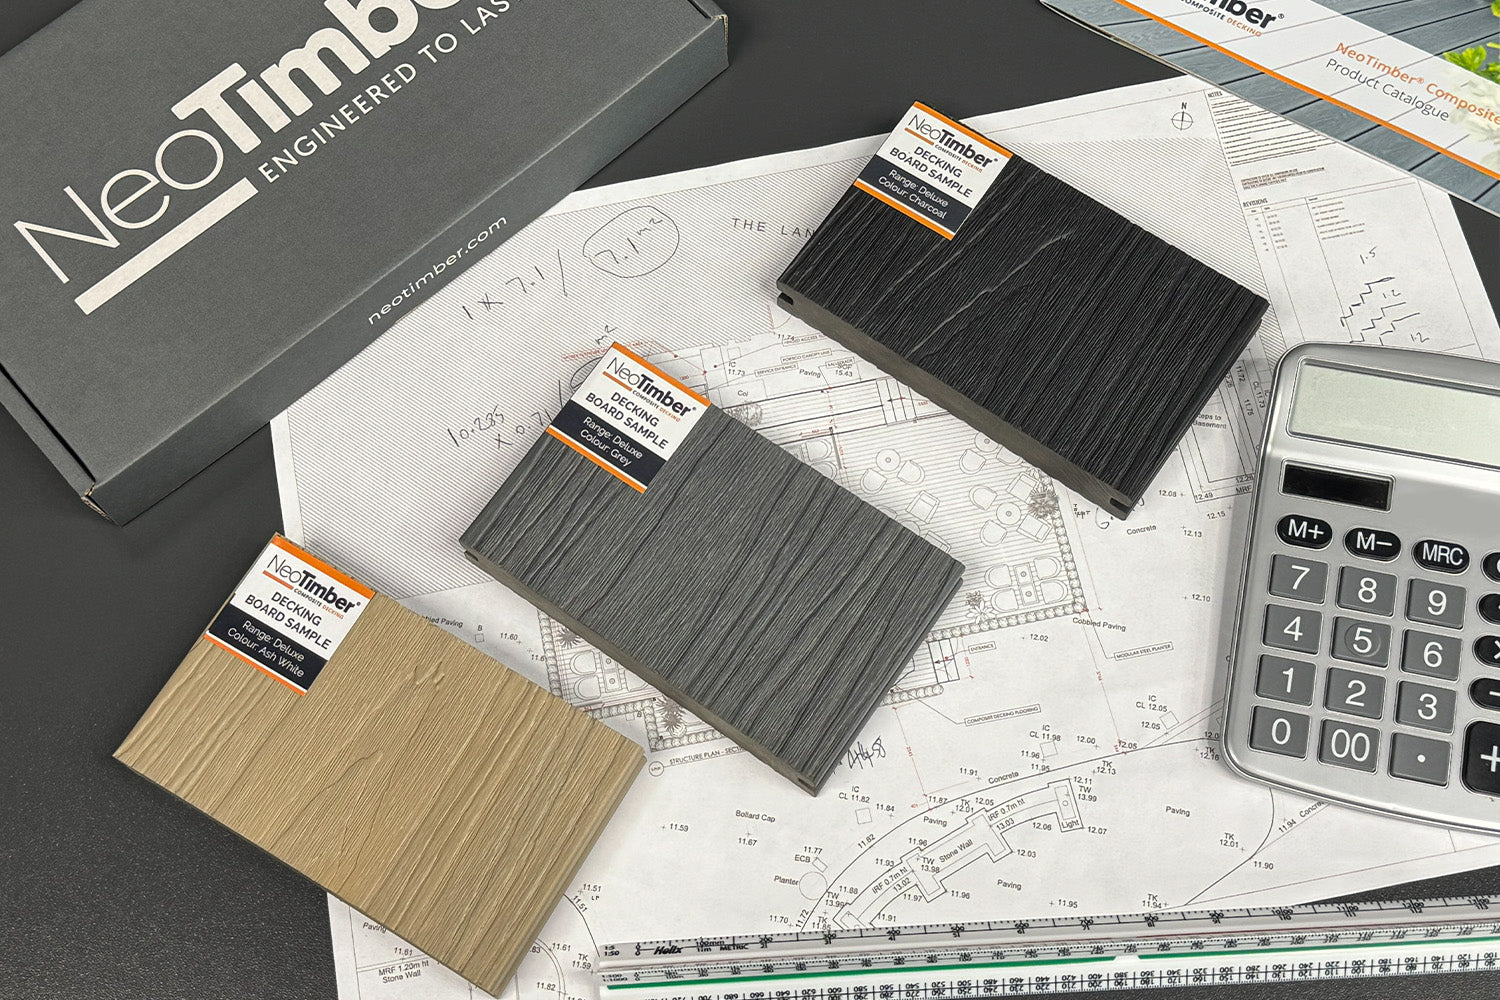
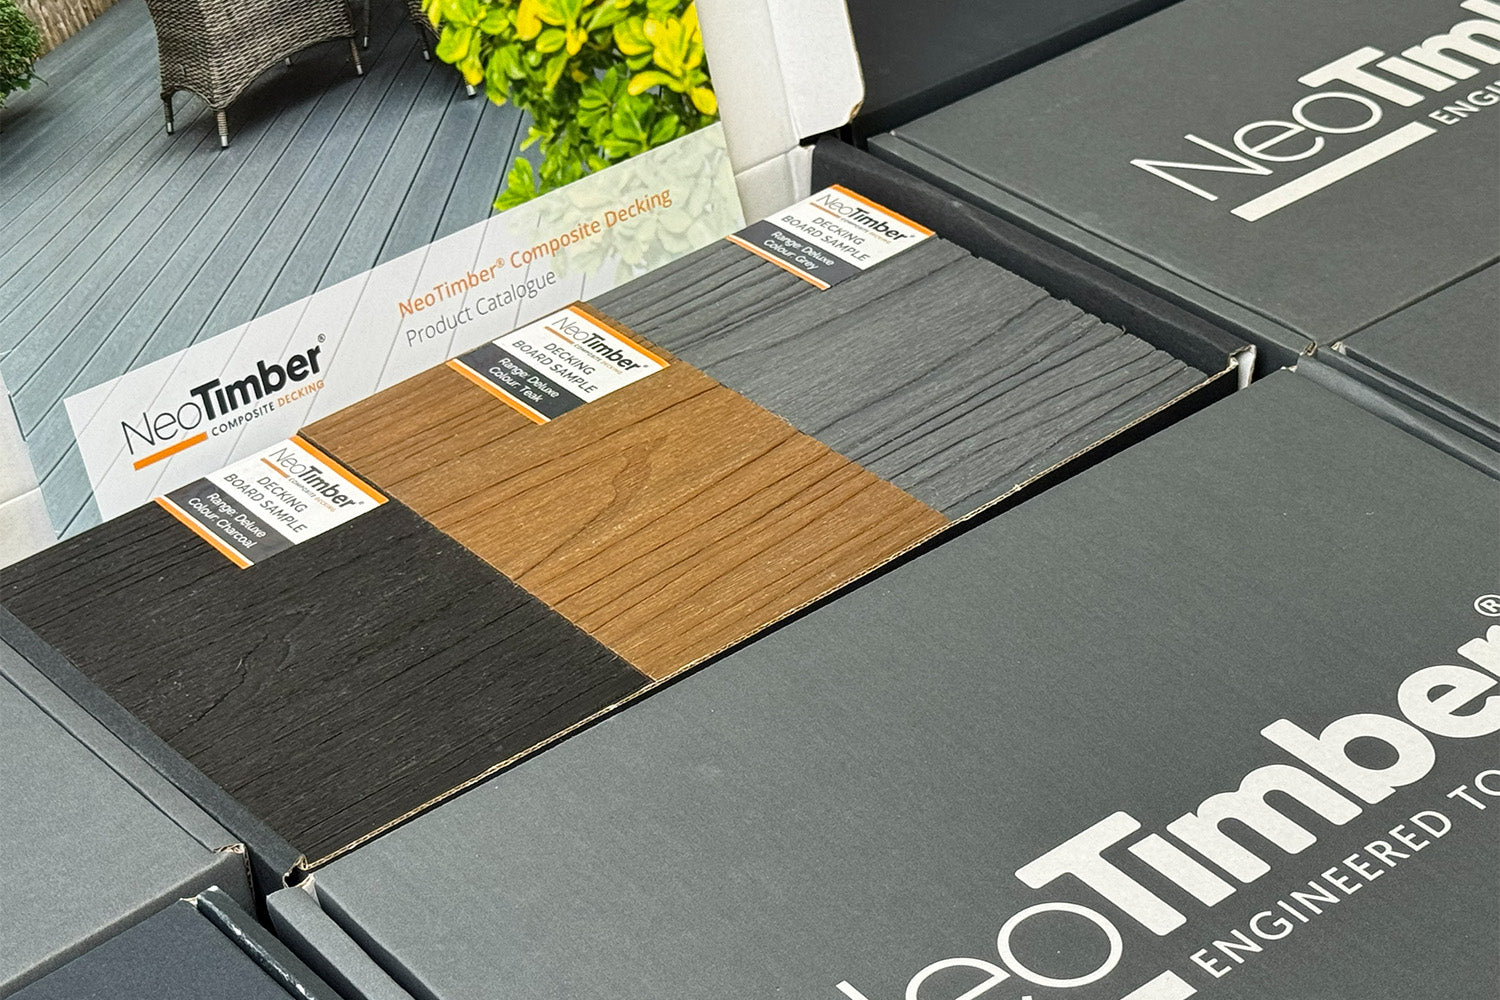
Colour matters too. View samples outdoors against the paving, frames and furniture you plan to retain. Consider any expected weathering described in the product information.
Browse the composite decking collection and request samples before finalising your choice.
3. Match the Subframe to the Site
DIY composite decking needs a compatible framework. The board surface cannot compensate for an unsuitable base or insufficient support.
Questions to resolve before building the supporting frame:
| Site arrangement | What to confirm |
|---|---|
| Existing concrete or patio | Condition, drainage, finished height and suitability for the chosen system |
| Low-level WPC joists | Continuous support on a suitable solid base; not unsupported spanning |
| Raised post-and-joist frame | Foundations, permitted spans, loads and structural connections |
| Existing timber frame | Condition, treatment, spacing and compatibility before reuse |
| Roof or balcony | Building-specific structure, waterproofing, drainage, fire and guarding requirements |
Compare the decking subframe options. Different joist materials have different support requirements, so do not assume one can replace another without changing the design.
4. Prepare a Complete Materials List
Include the framework and accessories as well as the main boards. Steps, borders and exposed edges often need additional support and finishing components.
- Main boards and a cutting allowance appropriate to the layout.
- Joists, supports, foundations and compatible structural fixings.
- Starter clips and board fixings for the selected system.
- Edge boards, fascia or trims where required.
- Any steps, lighting or separately designed guarding.
- Delivery, ground preparation and disposal of old materials.
The decking calculator can support initial planning. Check quantities against your measured layout and round to whole product lengths or packs as appropriate.
5. Read the Instructions Before Preparing Tools
Download the current installation guidance for your chosen system. Review handling, storage, acclimatisation, cutting and fixing requirements before beginning.
A tape measure, square, level, suitable saw and drill may form part of the toolkit, but blade, bit and fixing choices depend on the material. Follow tool instructions and use appropriate protective equipment.
Our installation videos can help explain the sequence. Use them alongside the written requirements rather than substituting a remembered video detail for the exact product instructions.

6. Check the Frame Before Covering It
Confirm alignment, support spacing and fixing positions while the framework is still visible. Plan extra support at board joins, borders and changes in direction as required by the selected system.
Keep movement allowances and drainage routes clear. Recheck the relationship with doors, steps and any obstacles before committing to the first row of boards.
Heavy planters, hot tubs and pergolas need suitable structural arrangements. Deck boards alone are not a load-bearing base or anchorage for every garden feature.
7. Fit the Boards and Finish the Edges
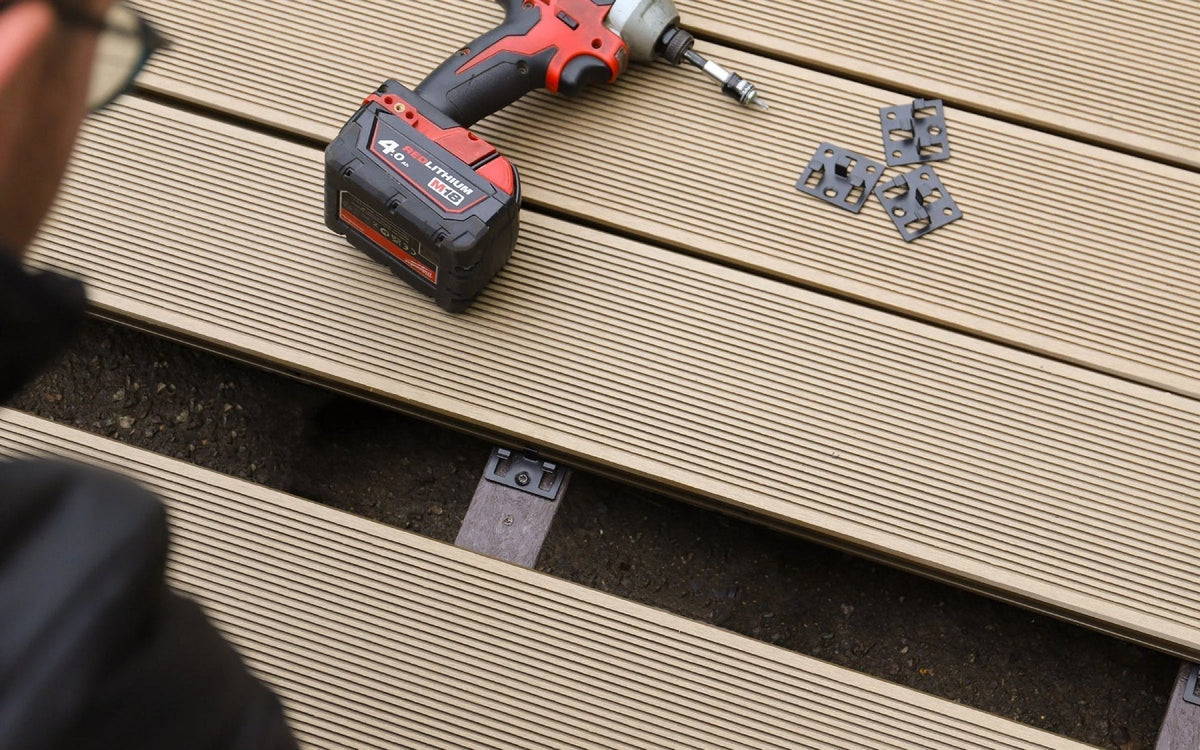
Compatible hidden clips can help achieve a consistent surface appearance. Use the specified fixing sequence and spacing, including temperature-related end gaps where required.
A picture-frame border or neatly finished fascia can complete the design. Plan these details before laying the main surface so the supporting arrangement is ready.
Explore the picture-framing guide for layout ideas. Trim is a finish, not a substitute for support beneath an edge or step.
Where to Find Help for DIY Garden Decking
Use the pre-installation information to prepare, and contact the NeoTimber® team for product questions.
If part of the project exceeds your experience, you can seek help for that stage or enquire through the installer finder. Product advice does not replace structural design where the installation needs it.

Care for Your Completed DIY Composite Deck
Composite can reduce repeated sanding, staining and painting compared with timber. Cleaning and inspection still remain necessary after installation.
Keep gaps and drainage routes clear, attend to spills promptly and check the frame and fixings periodically. Follow the maintenance guide and retain the relevant warranty documents.
Frequently Asked Questions
Is DIY composite decking suitable for a first project?
A straightforward layout may be manageable for a competent DIYer who can follow the instructions. Assess the base, tools and structural requirements before deciding.
Can I build over an existing patio?
Possibly, if its condition, support and drainage are suitable for the proposed system. Boards should not simply be laid onto the paving without the required framework.
Can composite joists span between pedestals?
NeoTimber® WPC joists require continuous support. Use a different, appropriately specified joist where spanning is needed.
Will doing it myself always cost less?
It may reduce labour expenditure, but include tools, delivery, preparation, waste and any specialist work when comparing budgets.
Do I need to treat the boards after fitting?
Follow the selected product’s care instructions. Do not apply timber coatings to composite boards unless specifically approved.
Does DIY installation remove warranty requirements?
No. Review the applicable terms and follow the installation and care conditions for the exact products.
Start With a Measured Plan
A well-prepared DIY decking project brings the layout, supports and finish together before work begins. Visit our decking resources to compare materials and organise the next stage of your garden plan.