



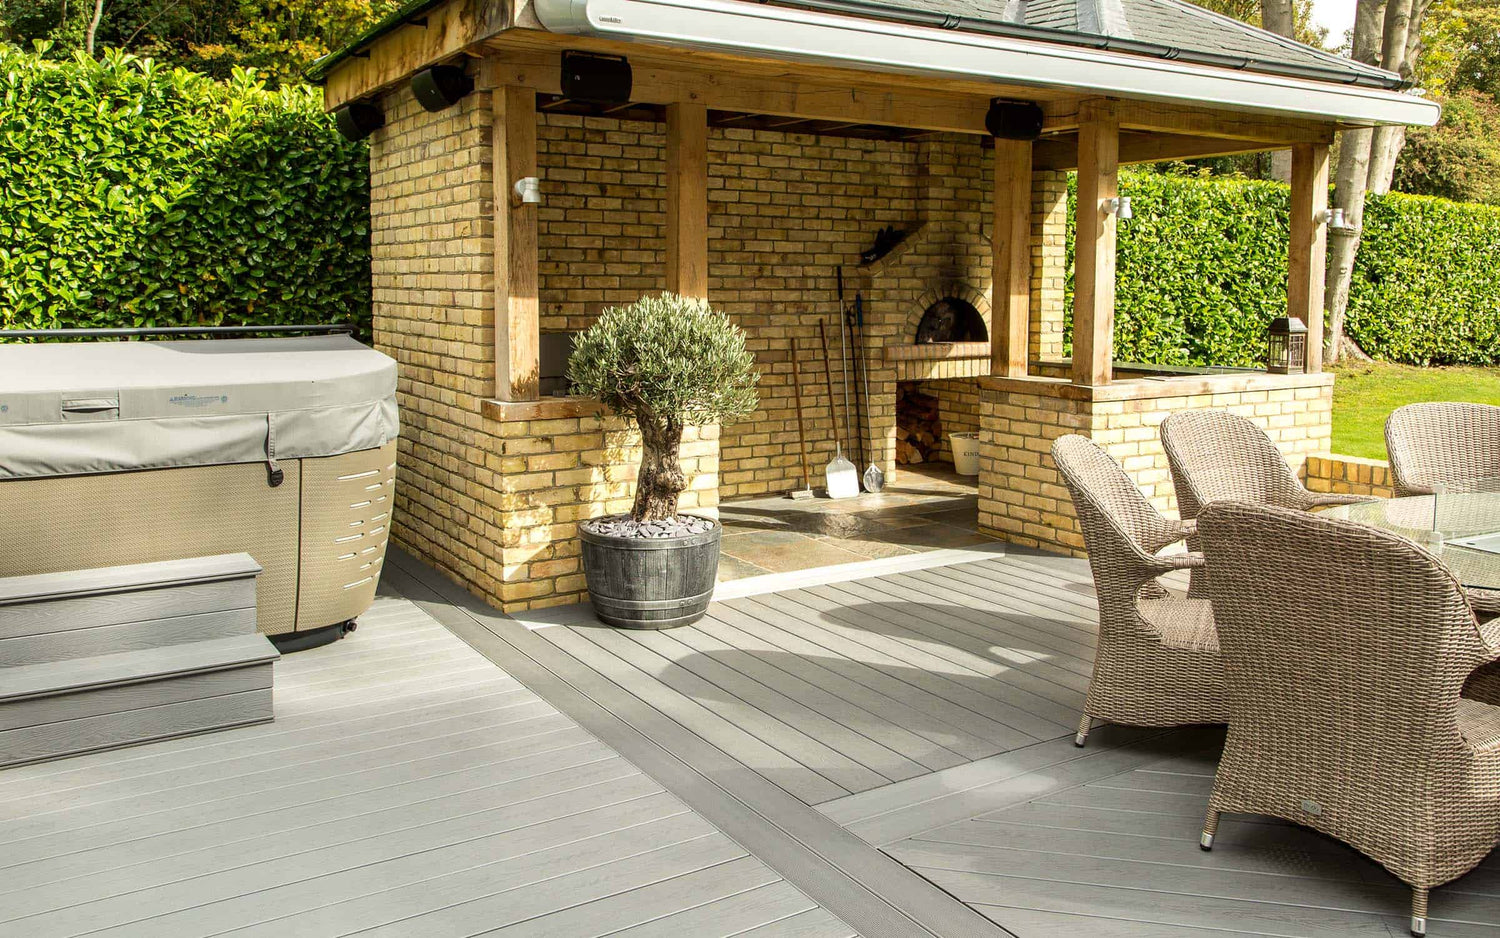
Prepare a Timber Frame That Properly Supports Your Composite Boards
Installing composite decking on a wooden subframe can be a practical option when the timber, supports and connections are suitable for the project. The key is to design the frame around the chosen boards and site, rather than assume that any existing timber structure will do.
There is no single lifespan that applies to every timber subframe. Treatment, exposure, detailing, installation and maintenance all matter. Likewise, a long warranty on the boards does not establish how long the supporting frame will last.
This guide explains eight checks to make before covering the joists. Explore our general decking guidance and composite decking collection, then use the current installation instructions for your selected board.
Jump to: Timber selection · Existing frames · Spacing · Cut ends · Drainage · Joist tape · Fixings · Inspection · FAQs
1. Choose Timber for Its Structural Role and Exposure
Specify timber suitable for an exterior decking substructure, with the required strength grade, section size and preservative treatment for its intended exposure. “Pressure-treated” is useful information, but it does not by itself confirm that a component suits every location.
Tell the timber supplier how the joists and posts will be used, including whether components will contact the ground. Confirm the appropriate treatment and detailing rather than choosing only by price or colour.
The Timber Decking and Cladding Association provides timber design and installation resources. Use timber guidance alongside the composite board instructions; timber deck-board spacing is not a substitute for your composite product’s requirements.
2. Assess an Existing Frame Before Reusing It
A frame that carried an old timber deck may not suit replacement composite boards. Look beyond the visible top faces: assess foundations, posts, connections, joist condition and any areas that remain damp.
Check for decay, damaged sections, movement and corroded or loose connections. Confirm whether the frame can provide the support layout and loads required for the new surface. Where its adequacy is uncertain, obtain competent assessment before fitting boards.
Do not tape over deterioration or assume extra joists solve every problem. Reuse should follow an assessment of the complete structure, not simply a judgement that it looks reasonably straight.
3. Set Joist Centres and Support Spans Separately
Two different distances need checking. The spacing between adjacent joists supports the deck boards. The distance between supports along a joist determines what that timber component must span.
Use the selected board’s instructions for joist centres, accounting for orientation, profile and intended use. A diagonal layout or heavier-use setting may need a different arrangement from a straightforward residential deck.
Then establish suitable joist sizes, spans and connections for the structure. Do not assume that meeting the board’s spacing requirement automatically makes the frame adequate.
Plan board-end joints and picture-frame borders before construction. Each end needs its specified support and fixing positions, commonly requiring double joists or an approved alternative detail. Heavy planters and hot tubs require assessment of the complete load path.
4. Protect Cut Ends as the Timber Supplier Directs
Cutting and drilling treated timber can expose areas that require additional protection. Follow the supplier’s requirements for cut-end preservative and compatible treatment, including preparation and application conditions.
Apply required protection before the relevant surfaces become inaccessible. Ordinary decorative paint is not automatically an appropriate substitute. Equally, site-applied preservative should not be assumed to recreate every aspect of factory treatment.
Good detailing still matters: avoid arrangements that unnecessarily trap water at joints, and use suitable connectors and fixings for the treated timber.
5. Plan Drainage and Ventilation Together
Water must be able to leave the deck and the area beneath it. Assess the base, outlets and nearby building details before setting finished levels. Board gaps alone will not drain a base that holds standing water.
Where the selected system requires a 1:100 fall, that equals 10mm per metre, or 1%. Confirm the applicable fall and direction for your project instead of applying this figure automatically to every installation.
Maintain the specified ventilation and clearances beneath the boards and around the perimeter. Keep trims from blocking airflow or drainage. Protect the building’s damp-proofing and threshold details rather than raising the deck to a convenient height without checking them.
6. Use Joist Tape as Additional Protection
Decking joist tape is designed to protect the top surface of suitable joists. It can help reduce exposure at the board-to-joist interface when installed according to its instructions.
Apply it to a suitable prepared surface, following the requirements for adhesion, coverage, overlaps and conditions. Choose a width that suits the detail rather than assuming the same strip works for every joist or junction.
Tape does not make the whole frame waterproof, repair decay or remove the need for cut-end treatment. It also cannot correct inadequate drainage, unsuitable ground contact or a structural defect. Treat it as one part of the protection strategy.
7. Fit the Boards With Compatible Clips and Screws
Use the approved fixing system for your selected board and timber frame. NeoTimber’s fixing clips provide hidden-fixing options for compatible profiles, but the correct screw and fitting method still matter.
Our 3mm metal FastClips and 6mm plastic FastClips refer to side spacing. They do not set the board-end gap or determine drainage beneath the structure.
Follow the relevant instructions for tightening, support intersections, movement gaps and finishing-board details. Do not rely on a clip’s openings to compensate for poor water management. Our board and edging installation guide explains the fitting sequence.
8. Keep the Frame Accessible for Checks
Photograph concealed construction before fitting the surface and retain product information. Plan access to drains, service points and components likely to need inspection or replacement.
Remove accumulated leaves and debris, including material trapped between boards. Avoid damaging boards, tape or underlying components while clearing gaps. Inspect visible supports and connections periodically and investigate movement or persistent damp conditions.
For ongoing surface care, follow our maintenance guidance. Restrict use where a defect creates a hazard and arrange assessment rather than concealing the symptom.
Before You Cover the Wooden Subframe
Final checks for the timber structure:
| Check | Confirm before board installation |
|---|---|
| Timber | Suitable grade, dimensions, treatment and condition. |
| Supports and connections | Appropriate for the site and intended loading. |
| Board support | Correct joist centres, joint supports and border details. |
| Moisture management | Required cut-end protection, appropriate tape, drainage and ventilation. |
| Fixings and gaps | Compatible system and movement allowances for the selected boards. |
| Access | Clear routes to inspect drains and maintain relevant components. |
Would Another Frame Material Suit the Project?
Timber is one option rather than an automatic mistake. Recycled plastic, composite or metal components may suit other circumstances, but each has its own structural role and installation requirements. They are not interchangeable substitutes based on moisture resistance alone.
Read our frame and subframe guide to compare approaches. Check the applicable board warranty separately: it does not establish the lifespan or coverage of the supporting timber structure.
Wooden Subframe Installation FAQs
Can composite decking be installed on timber joists?
Yes, where the frame is suitable and the boards are fitted according to their requirements. Confirm the timber specification, support arrangement and compatible fixings.
How long will a wooden subframe last?
There is no universal period. Timber choice, treatment, exposure, construction and care all affect performance. Do not infer its life from the board warranty.
Can I reuse an old frame?
Only after assessing its condition and suitability for the new board system and loads. Existing spacing may need revision, and deterioration may require replacement.
Does joist tape replace cut-end preservative?
No. Follow the timber supplier’s treatment requirements and the tape instructions separately.
What spacing should I use?
Use the selected board’s instructions for joist centres and an appropriate structural design for timber support spans. These are different measurements.
Who can help with my specification?
Contact our team about board requirements, or find an installer to discuss the project and any specialist design needs.
Get the Timber Details Right Before Fitting the Surface
Installing composite decking on a wooden subframe works best when material selection, protection, support and drainage are resolved together. Check each detail before covering it, then follow the board-specific fitting instructions. That preparation provides a sounder basis for the project than a generic lifespan claim or a single protective product.