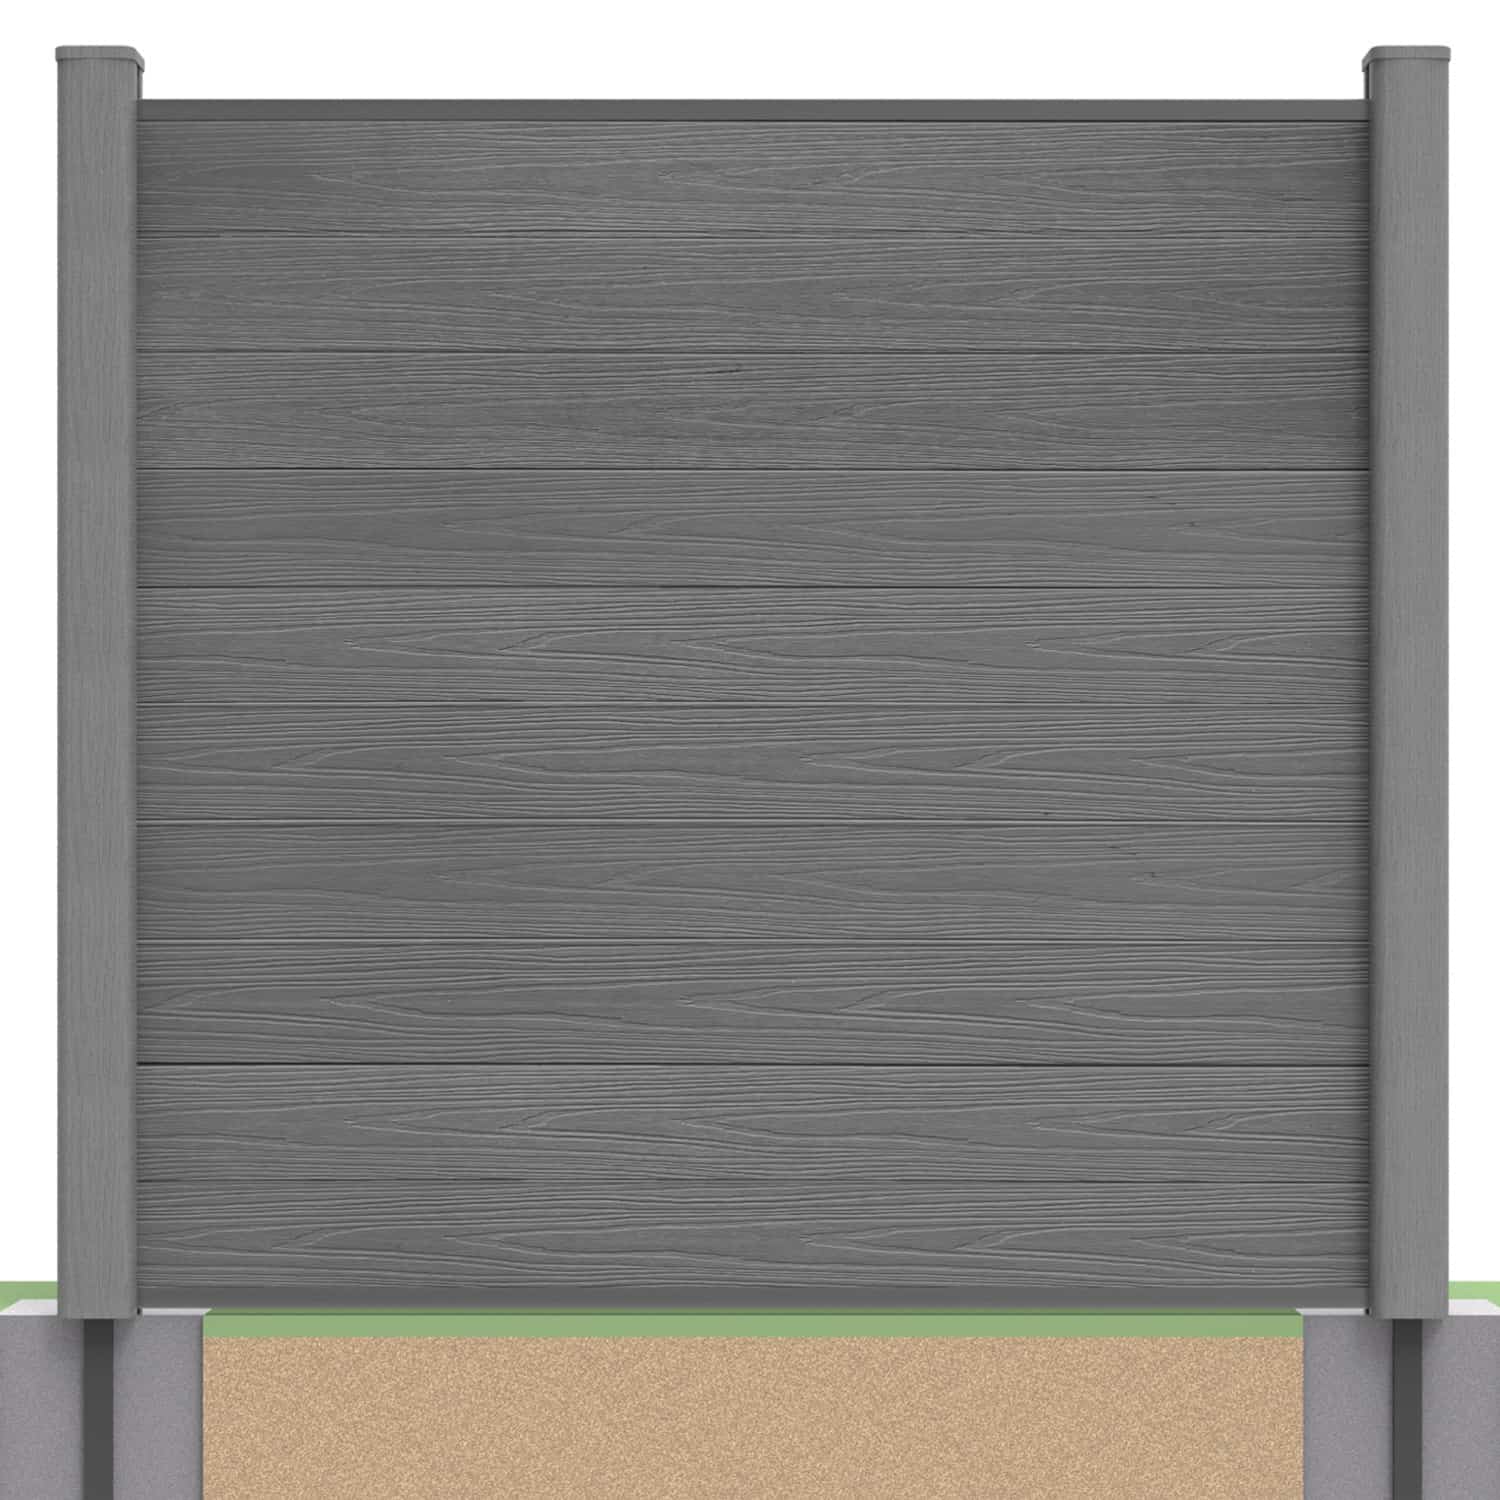
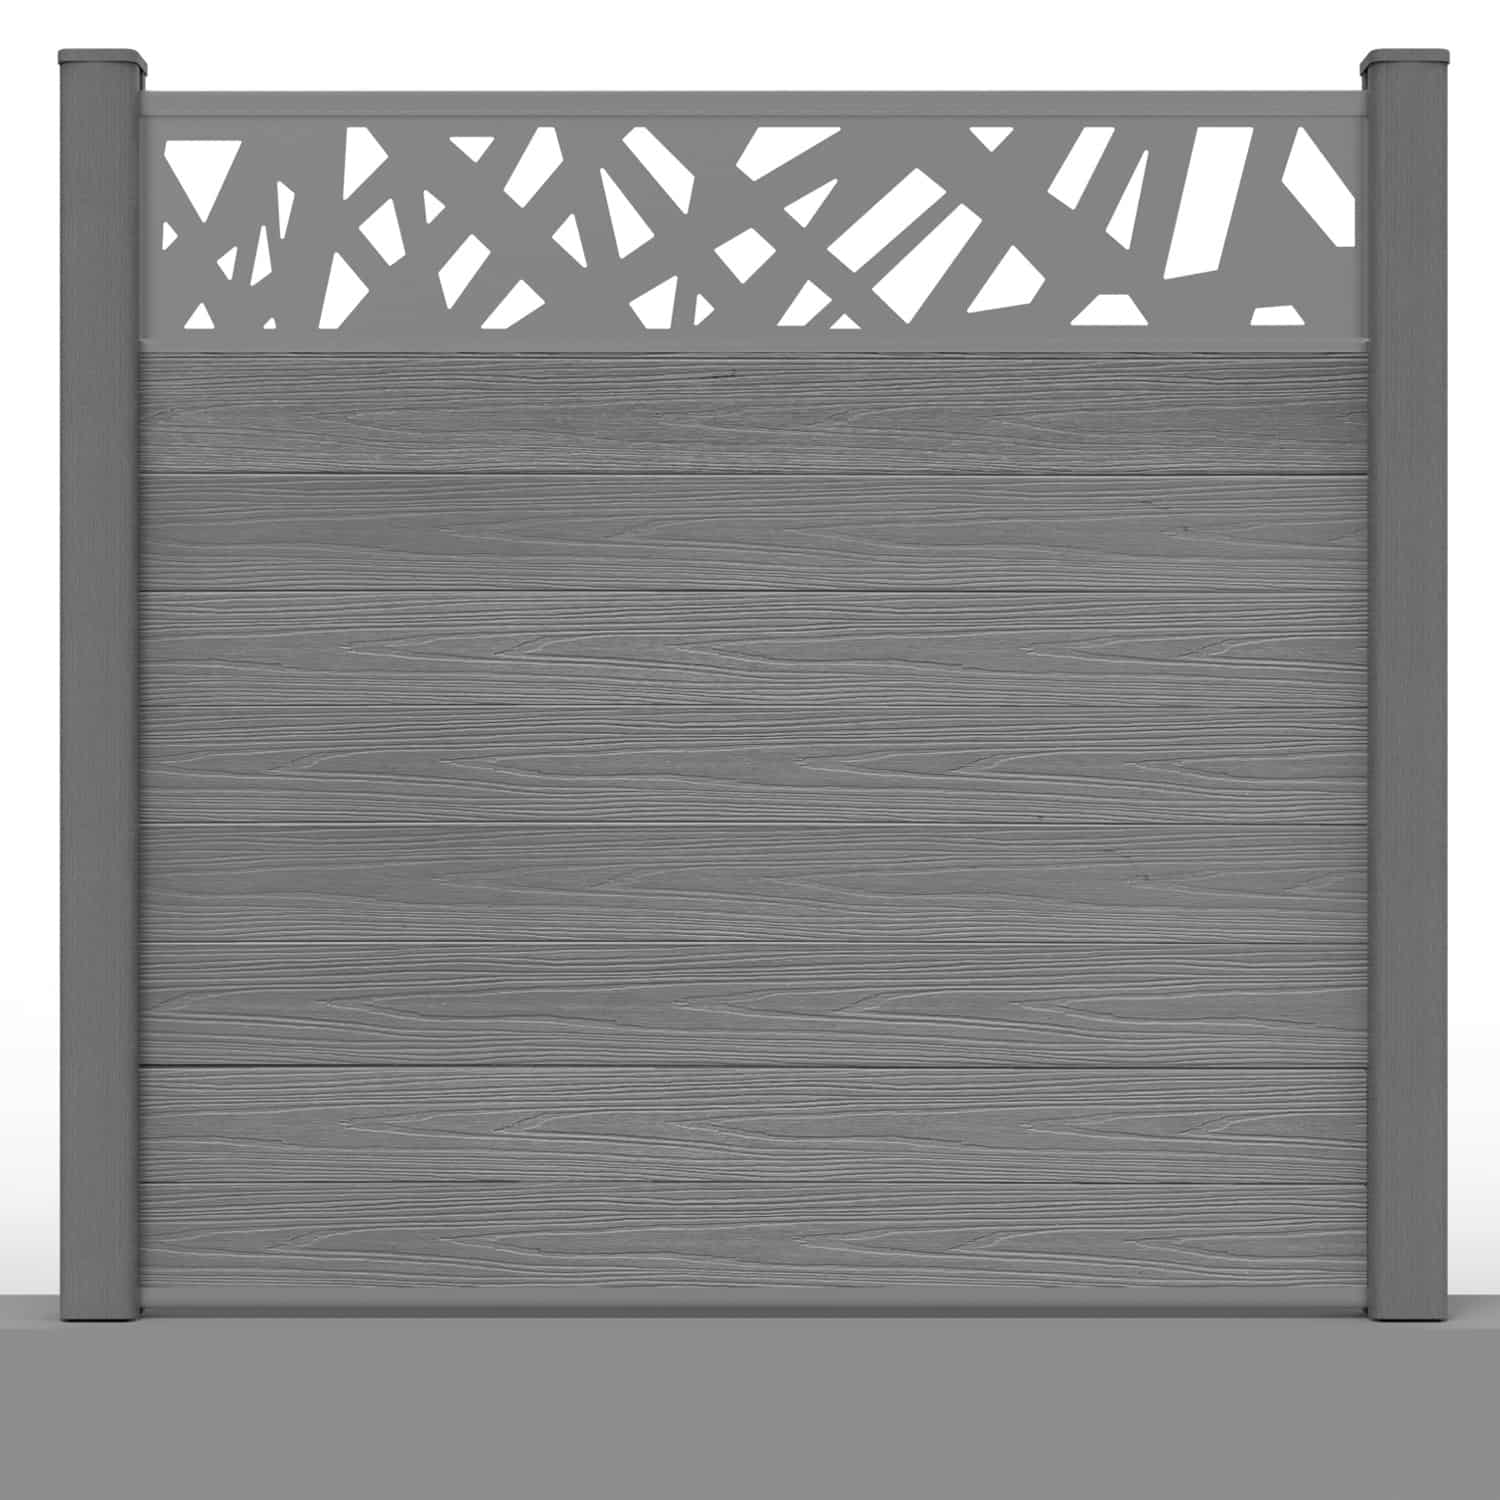
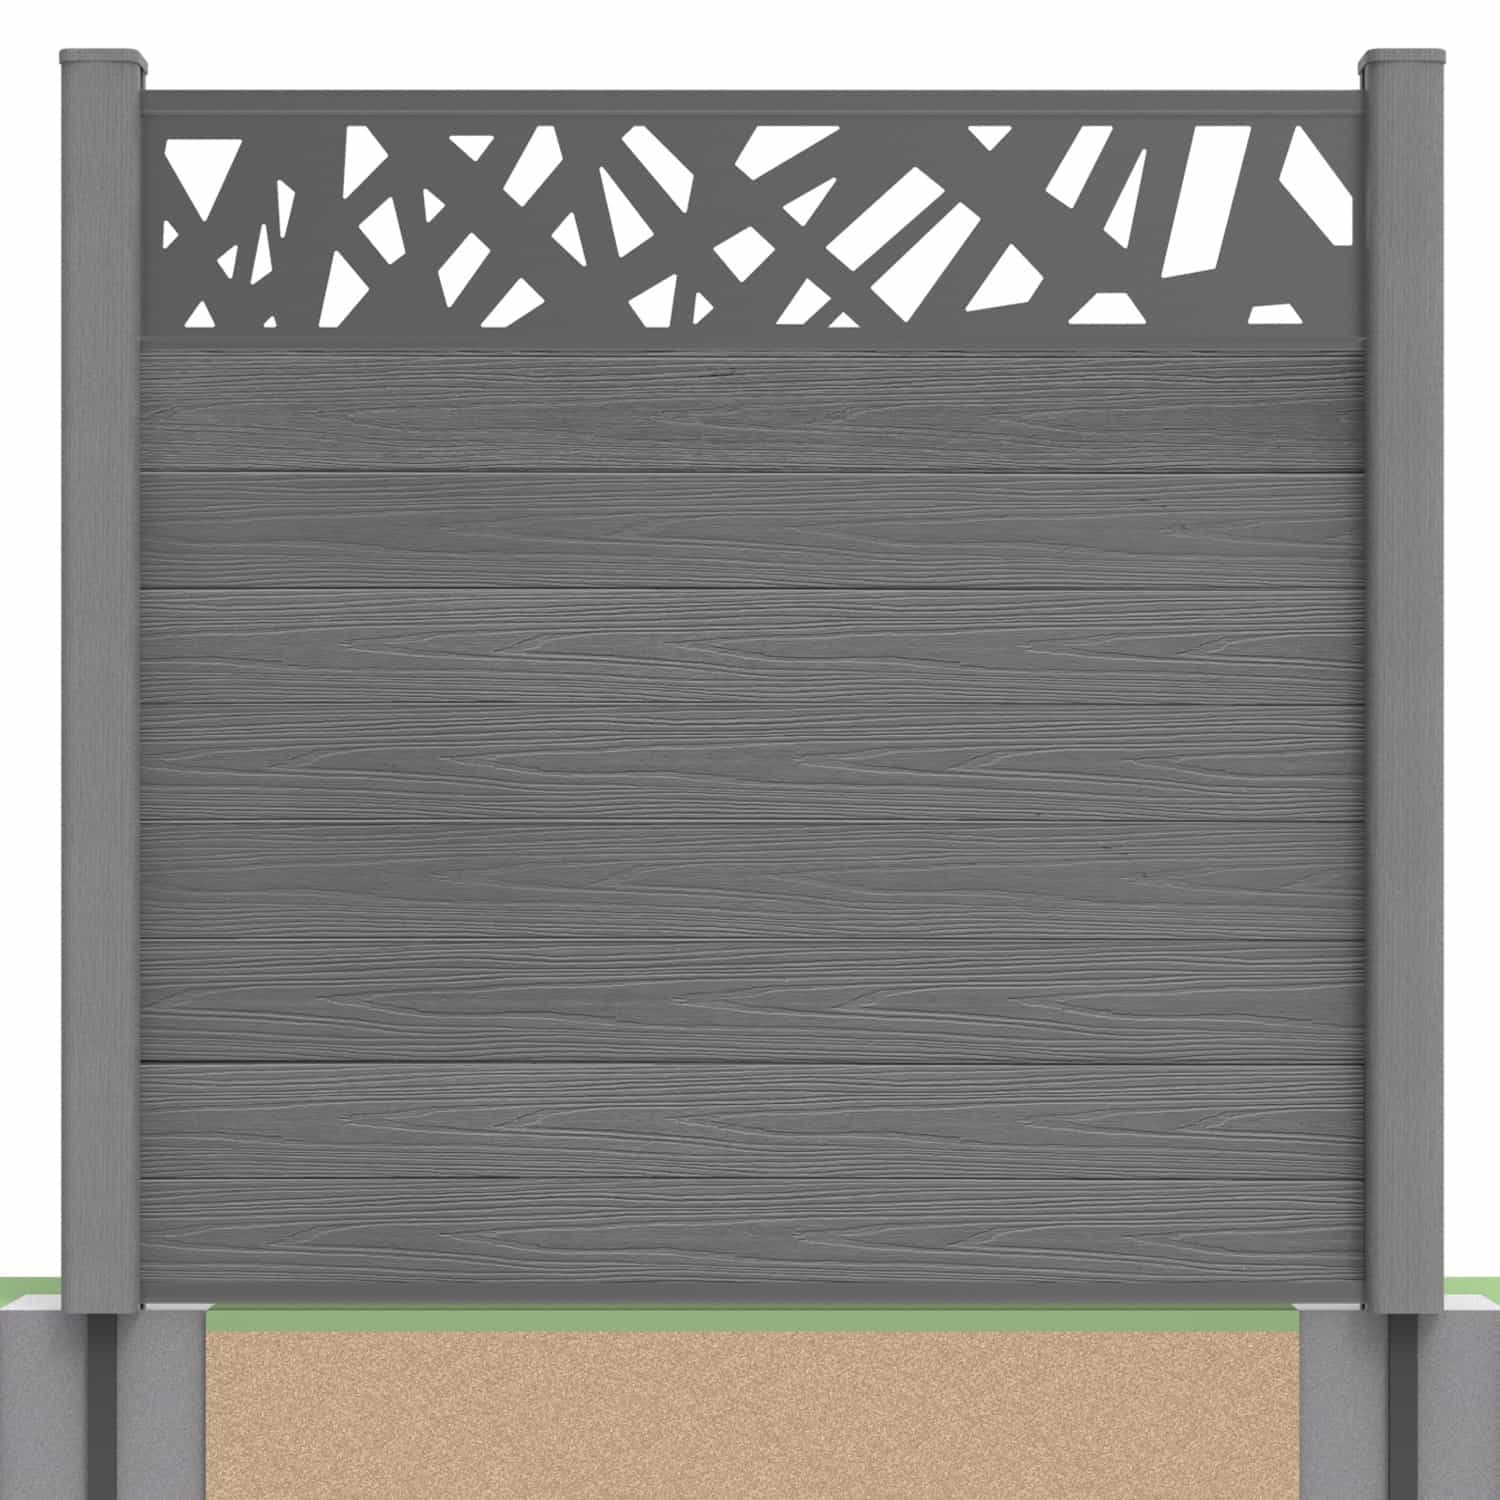
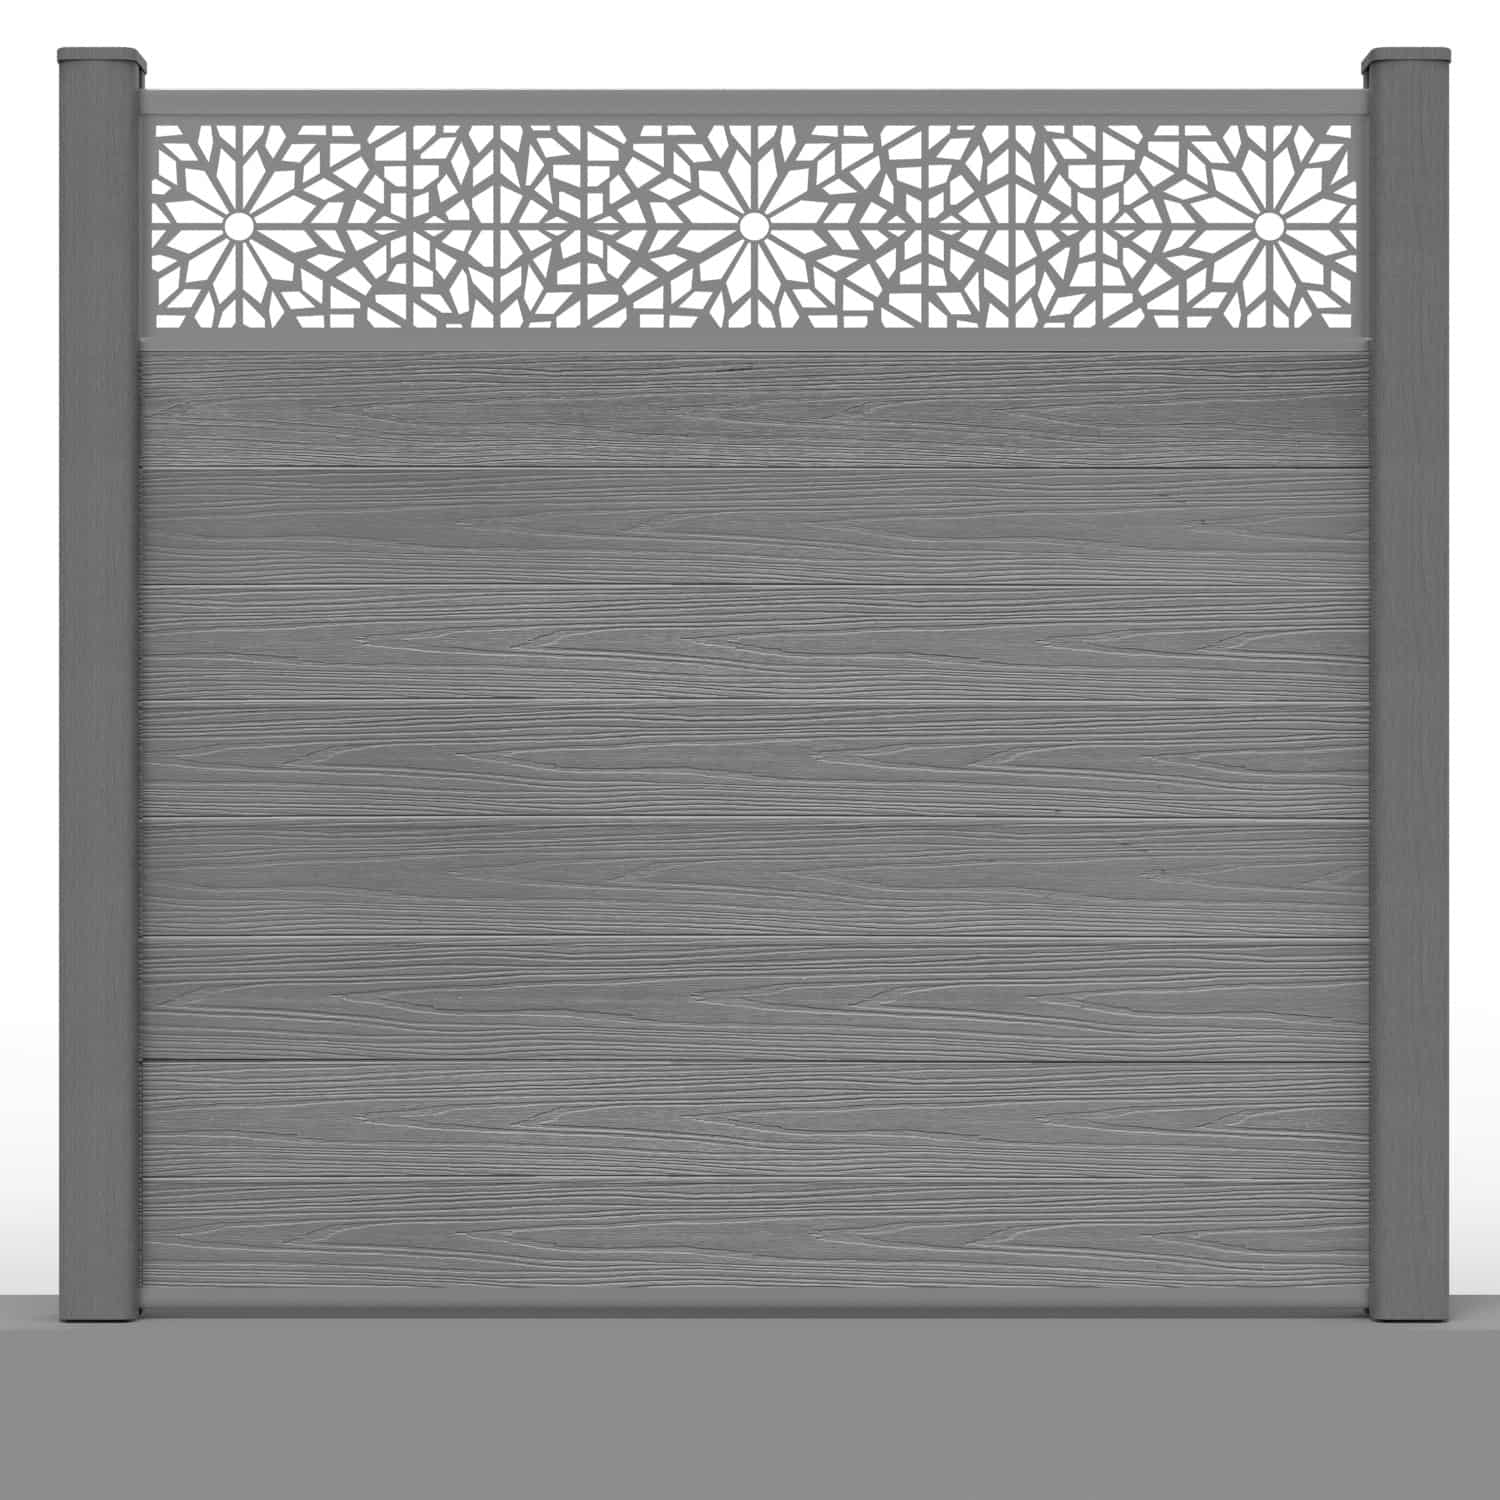
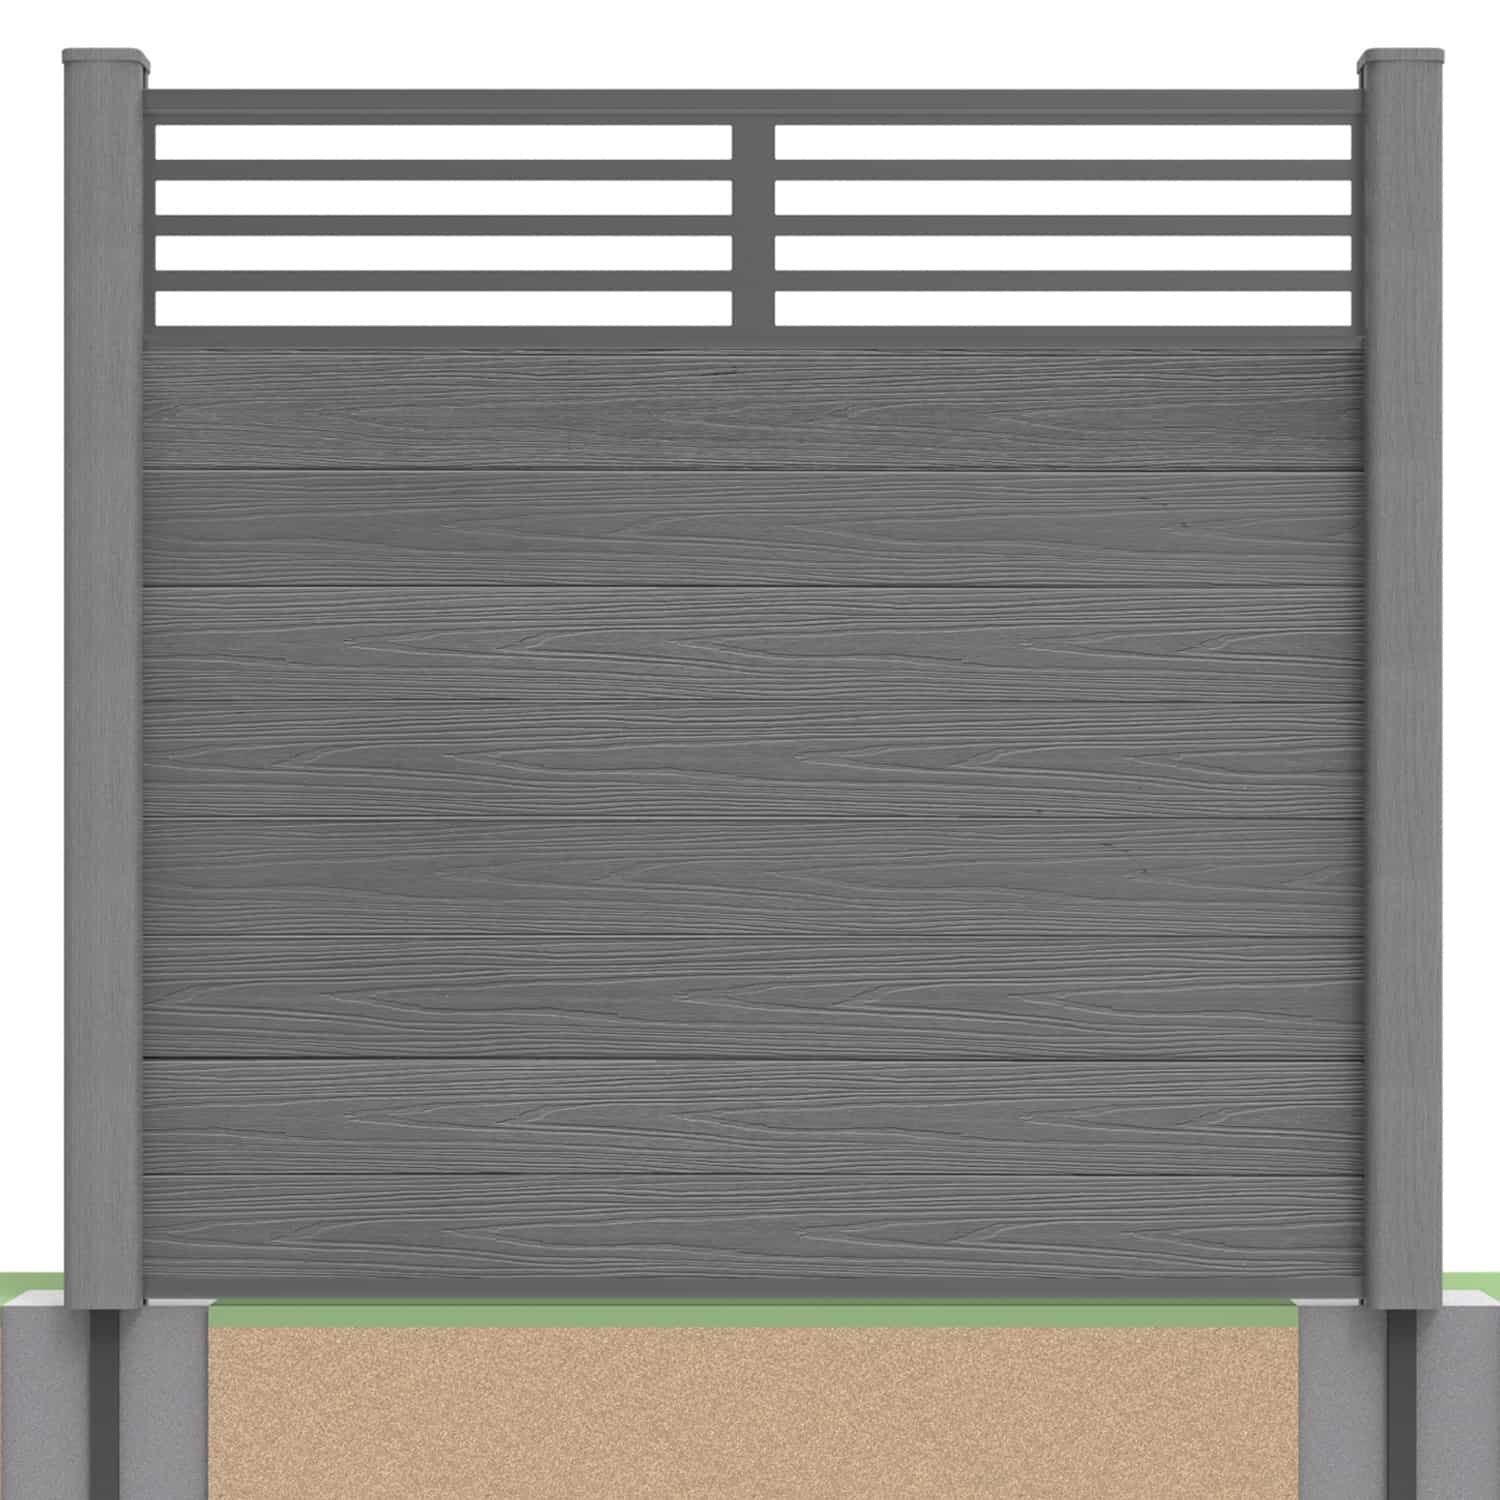
Refresh Suitable Concrete Posts With a Compatible Composite Fence System
You can attach composite fencing to concrete fence posts using compatible aluminium inserts where the existing posts, foundations and dimensions suit the proposed system. This can allow a boundary refresh without replacing every component.
The first task is assessment, not drilling. A post insert provides a channel for the fencing arrangement; it does not repair damaged concrete, strengthen an inadequate footing or make every existing post suitable for a new fence height.
This guide explains the installation sequence using NeoTimber® concrete fence post inserts. Explore our general fencing guidance and composite fencing collection alongside the current installation instructions.
Jump to: Post assessment · Dimensions · Video · Inserts · Rails and boards · Checks · FAQs
1. Check Whether the Existing Posts Can Stay
Inspect the concrete posts and their supports before deciding to reuse them. Look for cracks, spalling, exposed reinforcement, leaning or movement. Have uncertain or damaged posts assessed by someone competent rather than hiding defects behind a new insert.
Confirm the intended fence height, exposure and panel arrangement. A post that supported a previous fence is not automatically suitable for a changed design or loading. Ground movement and foundation condition also matter.
Plan removal of the old infill safely and keep the boundary stable during work. Avoid forcing out panels or striking concrete in ways that could damage the retained structure.
2. Measure the Openings and Check Component Compatibility
NeoTimber’s concrete-post insert is a powder-coated aluminium channel listed at 46 × 36 × 1,800mm. Compare its profile with the actual post channel rather than relying on the description “standard concrete post”.
Measure each opening at relevant heights and check the posts’ alignment. Confirm the selected boards, rails, brackets and any decorative screen fit the proposed configuration. Variations between bays can affect cutting and installation.
- Check channel dimensions and the available insert height.
- Measure the clear width between the proposed insert positions.
- Allow the movement clearances required by the system.
- Confirm bottom-rail support and the top finishing detail.
- Check whether existing gravel boards or level changes affect the layout.
Do not assume reducing a board’s length resolves every mismatch. Cutting limits and support requirements still apply. Confirm unclear dimensions with NeoTimber® before ordering.
Watch the Concrete Post Retrofit Video
The video illustrates the sequence. Check its details against the latest written instructions for your components and post condition, and resolve any conflict before proceeding.
3. Position and Secure the Aluminium Inserts
Offer the insert into the exposed concrete-post channel and check its alignment and height. If cutting is permitted and required, use suitable aluminium-cutting equipment and the specified method. Remove sharp burrs and follow the tool instructions with appropriate protective equipment.
Mark fixing positions using the current installation detail. Confirm the anchoring system for both the aluminium and the actual concrete post. Screw length alone does not establish suitability.
The source article refers both to masonry screws and to screws with plugs. These are different fixing approaches: do not combine them by assumption. Use the approved screw or anchor with its specified drill diameter, embedment, edge distances and tightening method.
Concrete posts may contain reinforcement and can be vulnerable near their edges. Do not drill blindly into steel, enlarge damaged holes or continue if cracking develops. Seek advice if a suitable fixing position cannot be achieved.

4. Fit the Bottom Rail and Required Supports
Fit the bottom capping rail and brackets using the specified sequence and support positions. Check the rail alignment against the intended panel layout before inserting boards.
Do not rely on the appearance of a level rail as proof of structural adequacy. Its support and connections need to match the system. Avoid assuming that an L-bracket arrangement makes every fence suitable for high winds.
Keep required clearances and drainage details open. Resolve any gravel-board interface or ground variation before progressing, rather than wedging components into place.
5. Install the Composite Boards and Top Finish
Fit compatible boards into the channels according to the product instructions. Cut only as permitted, retain the required engagement and movement allowance, and check seating and alignment as the panel is assembled.
Add any screen and top rail using their own approved details. Do not force boards tightly into an opening or substitute accessories from another system without confirmation.
Our panel installation guide covers the wider assembly sequence. Use it alongside the retrofit detail for concrete posts, rather than applying instructions for a new post system unchanged.

6. Inspect the Completed Retrofit
Checks before considering the fencing complete:
| Area | What to confirm |
|---|---|
| Existing posts | Suitable condition and support, without new damage or unexpected movement. |
| Inserts | Correct alignment, secure anchoring and no harmful distortion. |
| Rails and brackets | Required support and compatible connections. |
| Boards and screens | Proper engagement and specified movement clearances. |
| Finish | Secure top details, clear drainage and removal of sharp debris. |
Retain product records and photographs of the installation. Review the applicable warranty terms and confirm the responsibilities for retained posts and installation workmanship.
When Replacement Posts May Be the Better Option
Retrofit is worth considering only where the existing structure suits the new system. Damaged posts, unsuitable spacing or uncertain foundations may make replacement or redesign more appropriate.
Compare the full cost of each approach, including removal, groundwork and labour. Keeping an inadequate component can create later disruption rather than a useful saving. Contact our team with photographs and measurements if compatibility is unclear.
Concrete Post Retrofit FAQs
Will the insert fit every concrete fence post?
No universal fit should be assumed. Check the current insert profile against your post channel and confirm all component dimensions.
Can I attach boards directly to concrete without inserts?
Use the specified system rather than improvising a direct fixing. The insert provides the compatible channel arrangement for this method.
Which screws and plugs should I use?
Confirm one suitable anchoring system for the concrete and insert. A masonry screw and a screw-with-plug system have different requirements.
Can I drill through reinforcement?
Do not assume this is acceptable. Stop and obtain advice where reinforcement or post condition prevents the specified fixing detail.
Can the boards be cut to fit?
Where permitted by the selected product’s instructions. Maintain required engagement, support and movement clearances.
Where can I get fitting assistance?
Use our Find an Installer service or contact the NeoTimber® team for product guidance.
Confirm Compatibility Before You Start Drilling
A successful retrofit begins with sound posts and an agreed fixing detail. Measure the boundary, check the components and follow the current instructions to attach composite fencing to concrete fence posts as part of a suitable complete system.