Choose the Right Installation Route for Your NeoTimber® Fence
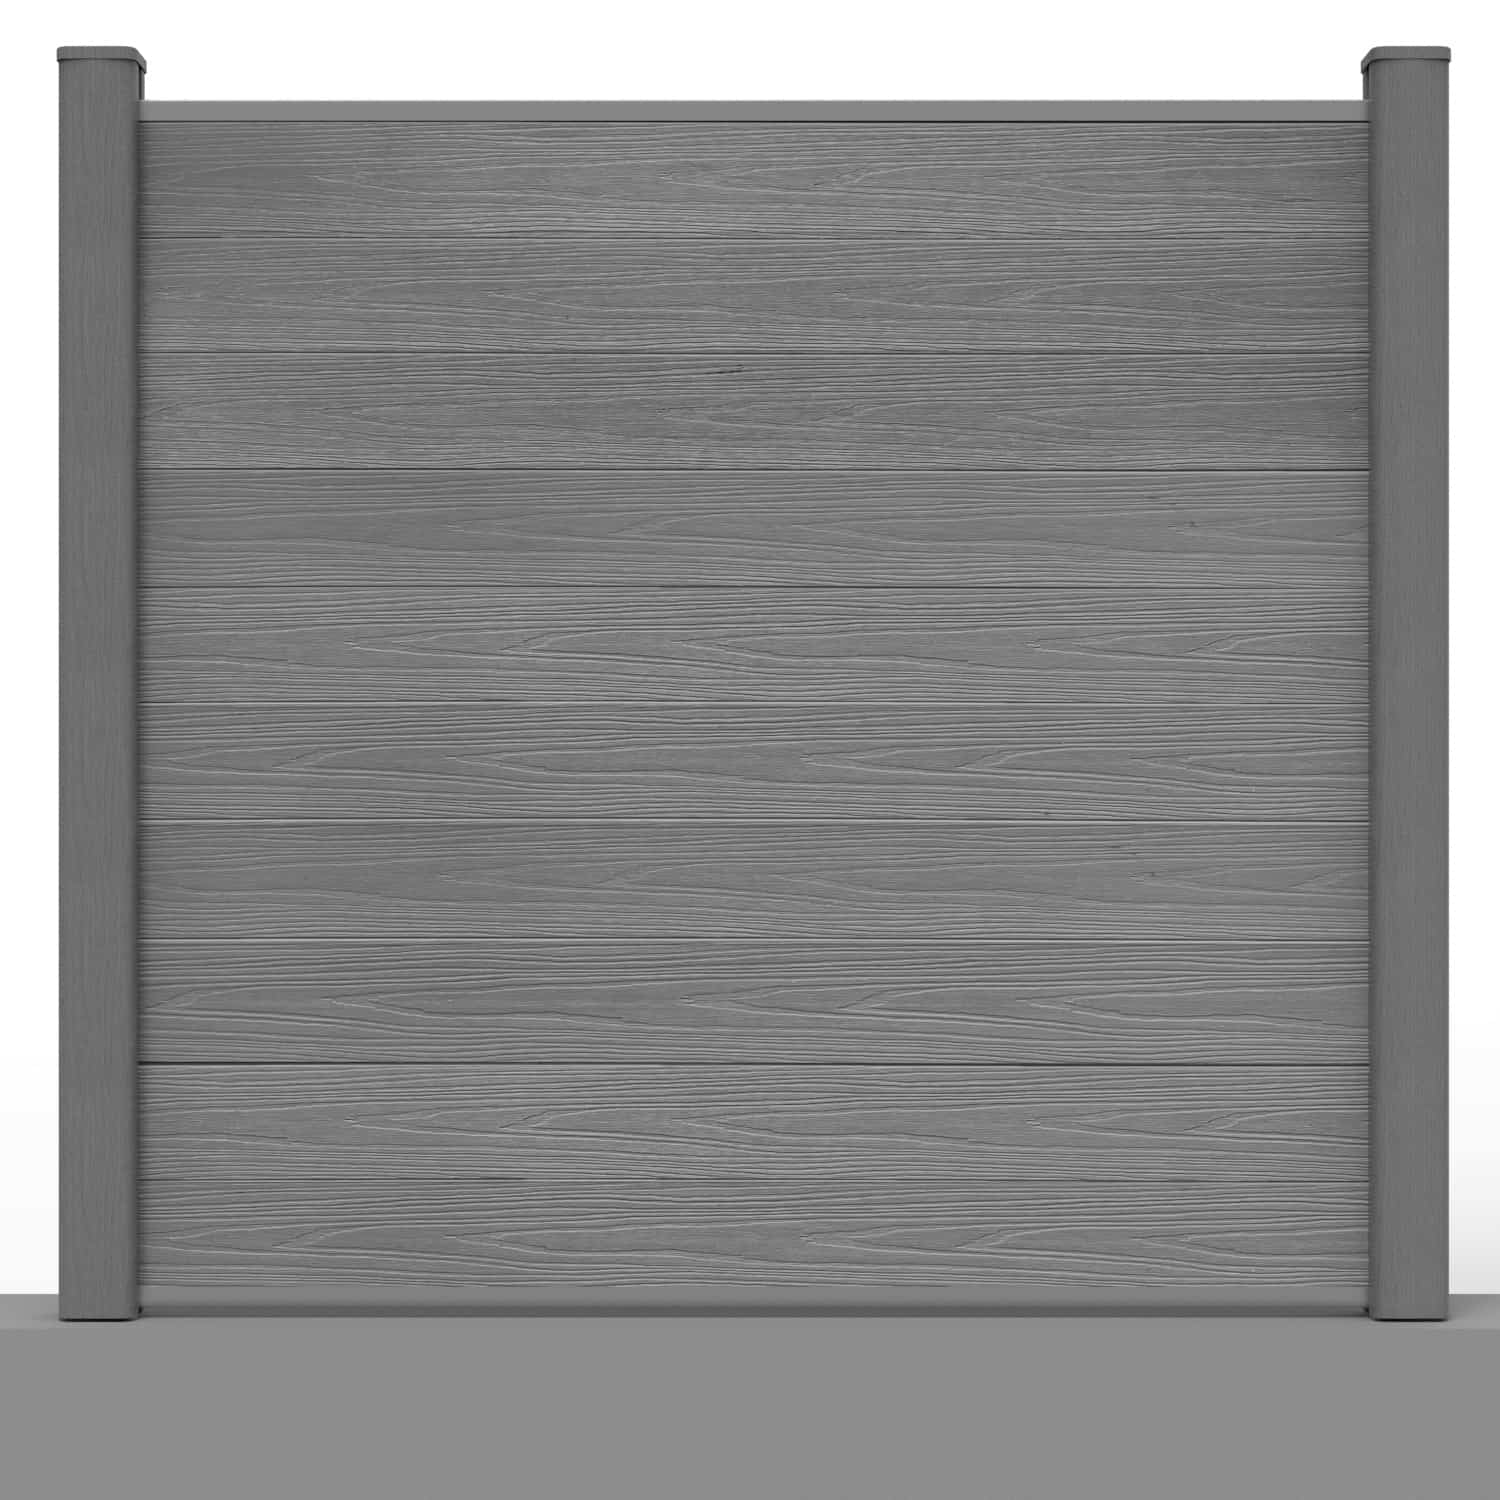
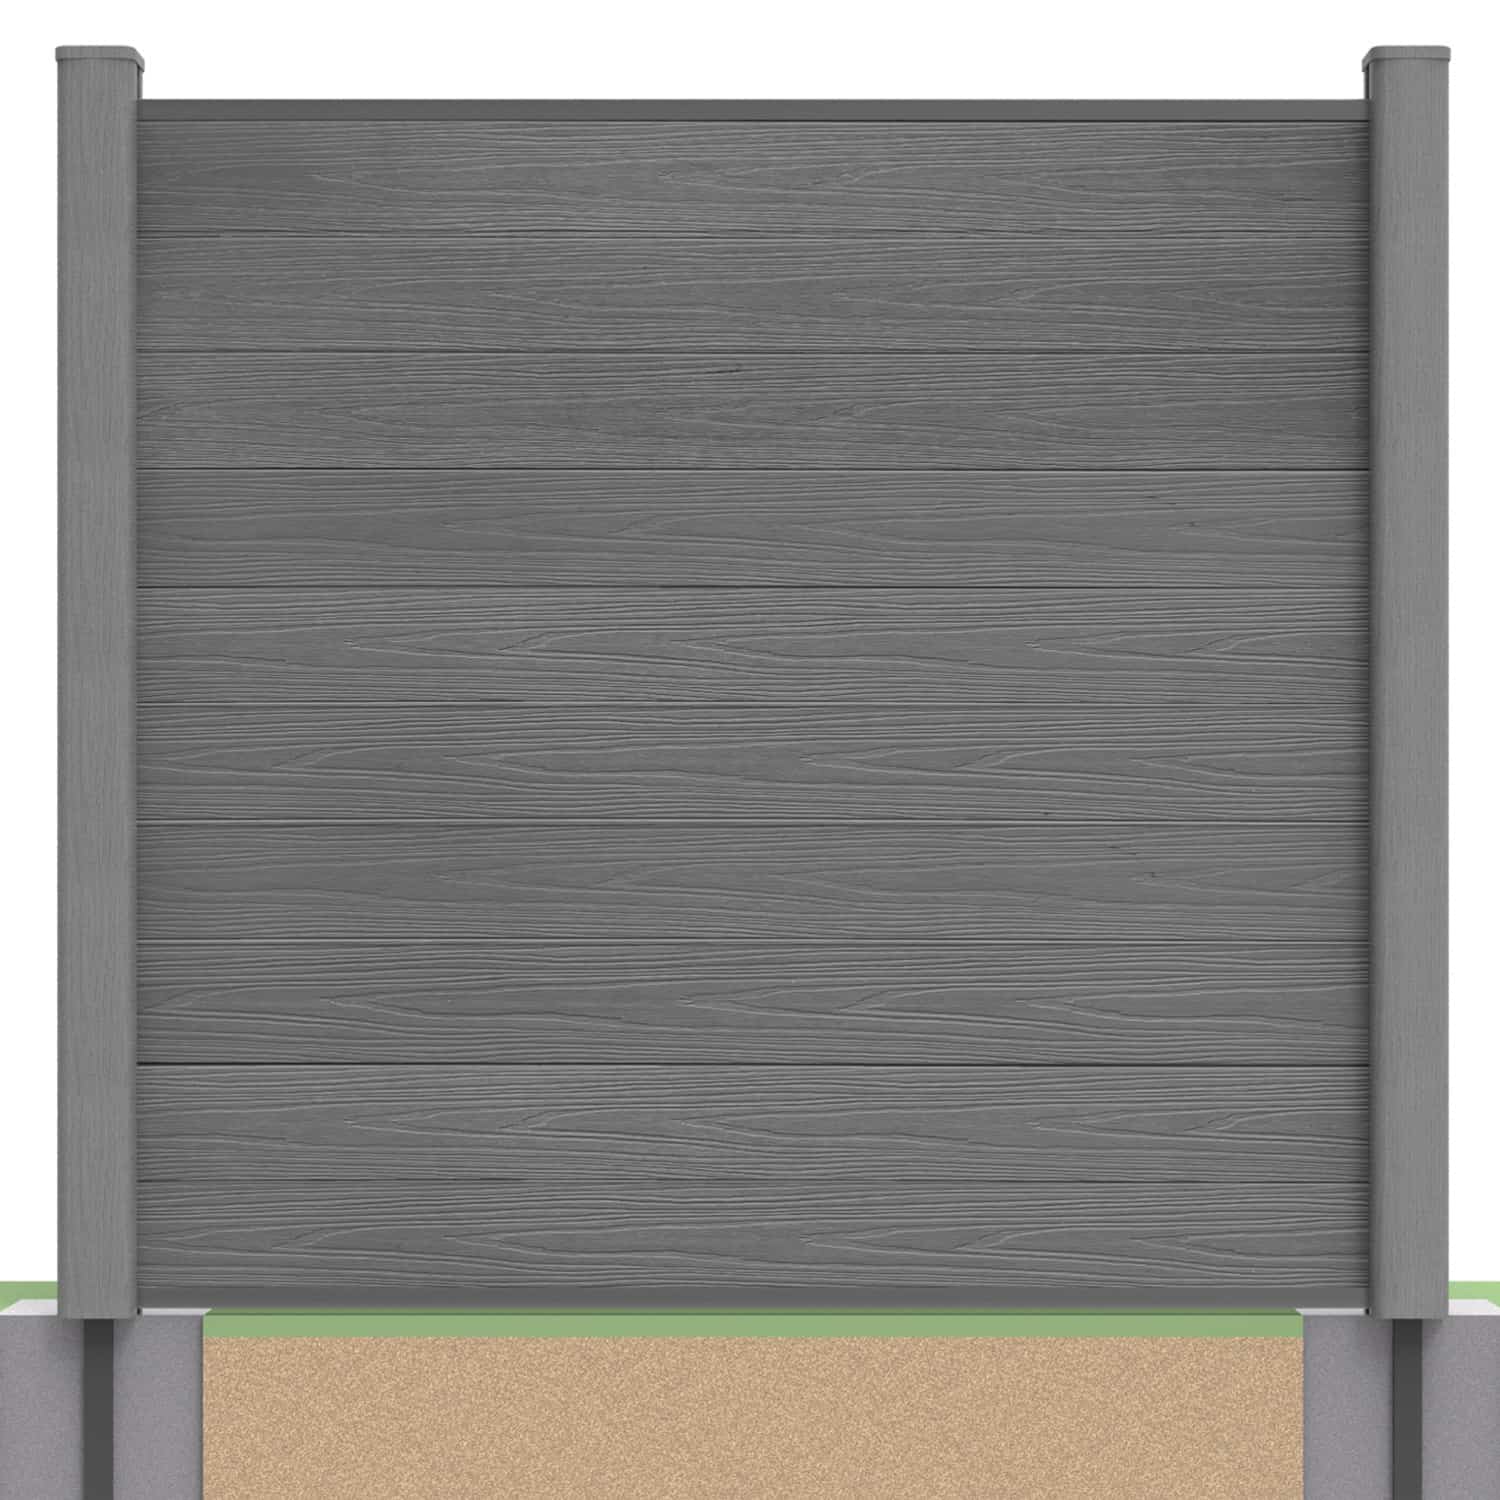
Installing composite fence panels starts with choosing your panel design and a suitable post system. NeoTimber® offers two main assembly options: a standard panel built from interlocking boards, or a panel combining boards with a decorative screen. Both use compatible posts and capping rails, while the screen option adds its own retaining components.
This overview explains the differences, the checks to make before assembly and which detailed guide to follow. Explore our fencing resources for wider planning advice, or browse the composite fencing range to compare styles.
In this guide: Compare panel options · Before installation · Standard panels · Panels with screens · Post compatibility · FAQs
Two Ways to Assemble Your Fence Panels
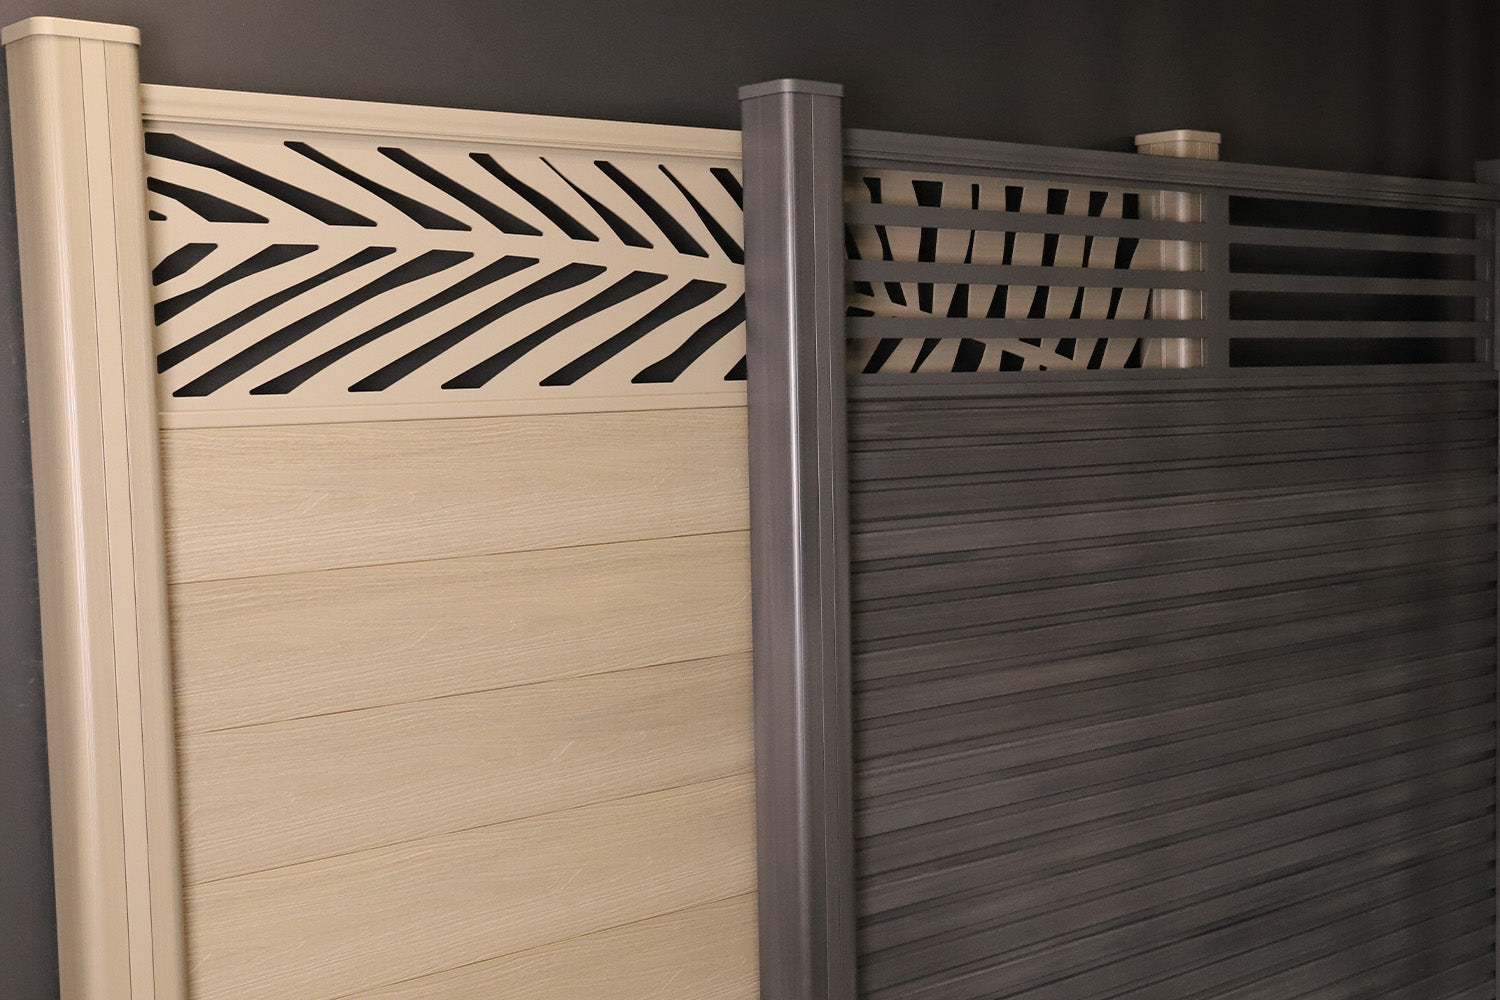
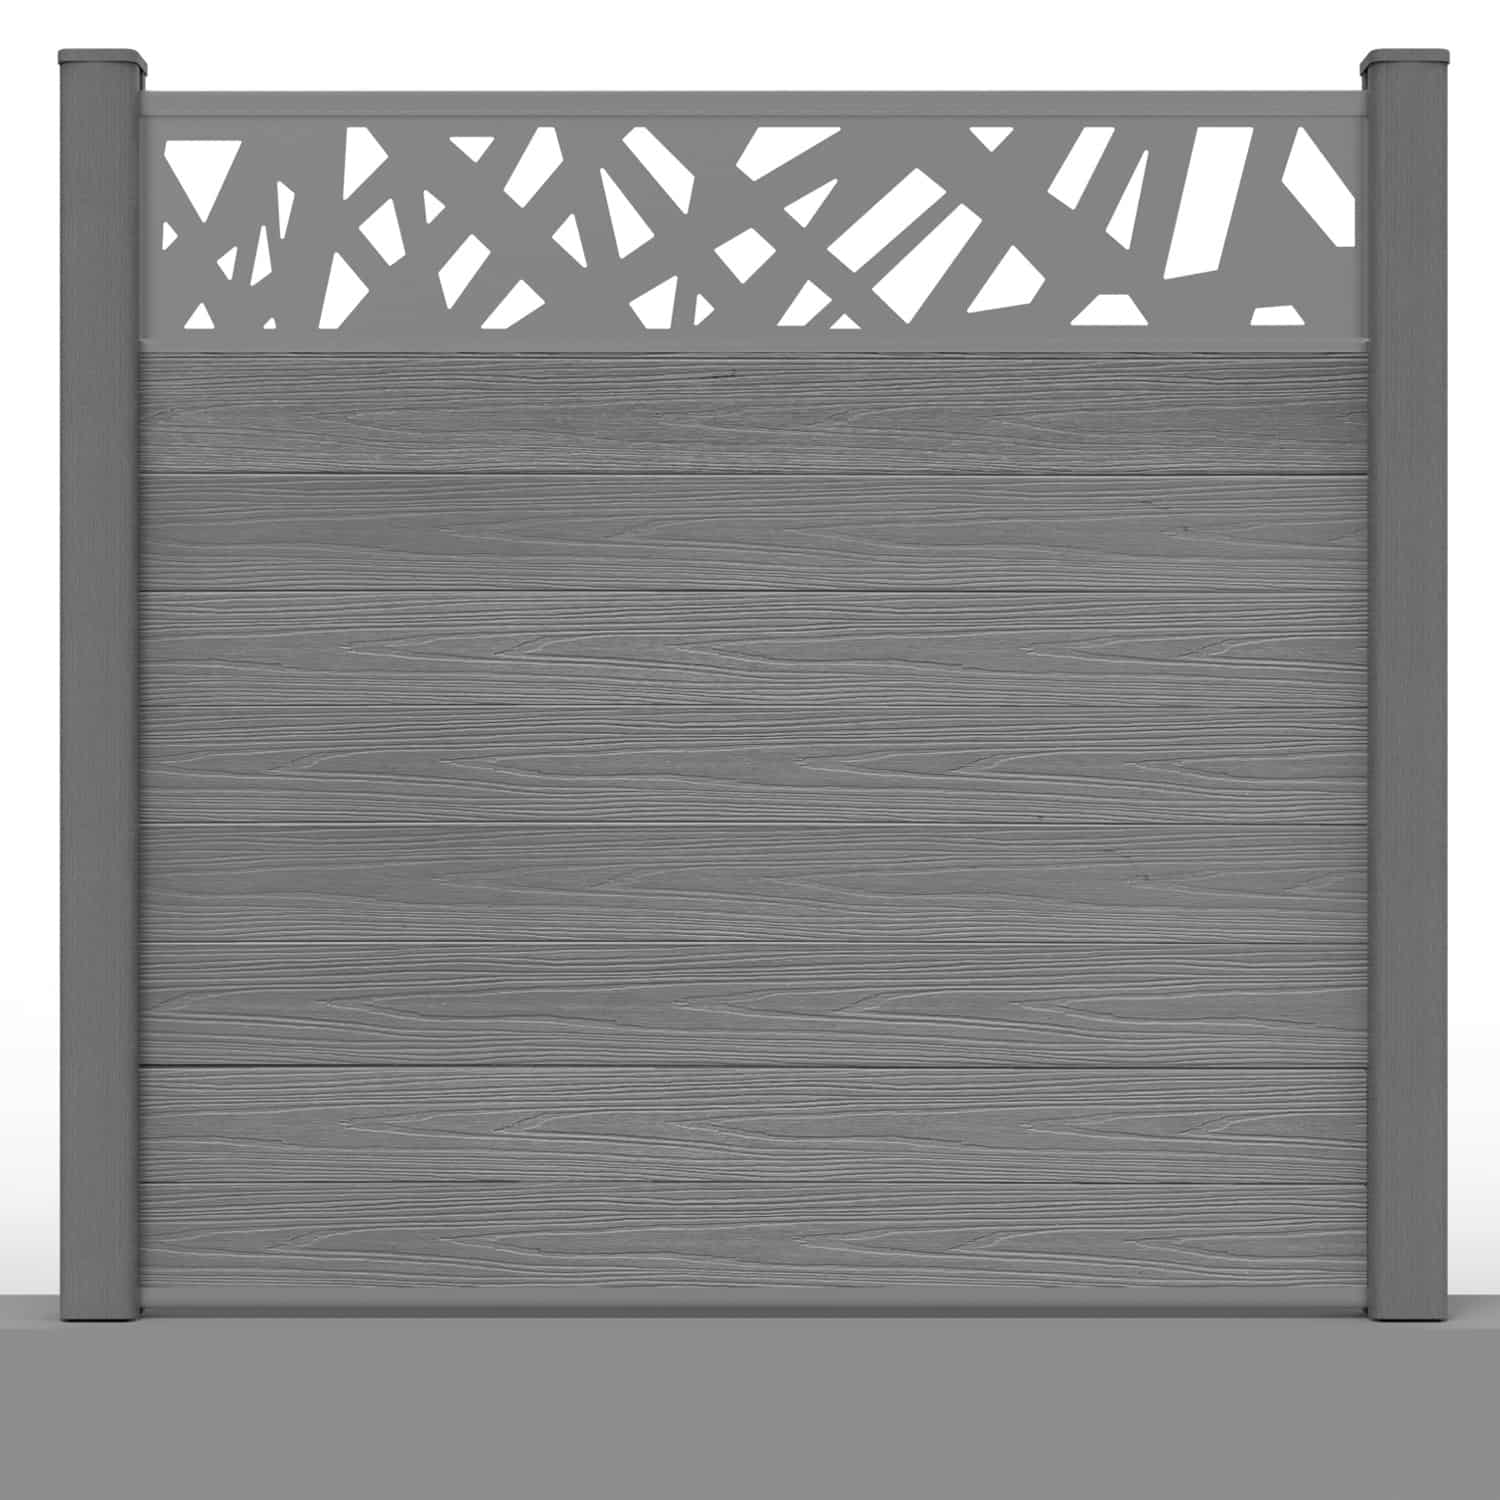
The main difference is how you finish the upper part of the panel. A standard design continues with composite boards to the specified height. A screened design uses a compatible decorative insert above a shorter board section.
Standard panels compared with decorative screen panels:
| Consideration | Standard panel | Panel with a screen |
|---|---|---|
| Appearance | A consistent run of composite boards. | Composite boards with a decorative feature above. |
| Assembly | Bottom rail, interlocking boards and top rail. | Board section plus the screen and its specified retaining rails. |
| Privacy | Board coverage across the assembled panel. | Cut-outs allow views through the screened section. |
| Components | Compatible posts or inserts, boards and capping rails. | Compatible panel components plus the selected screen kit. |
| Best guide to follow | The standard board installation guide. | The screen installation guide for the chosen configuration. |
Choose the finish around the way you use your garden. A decorative top can break up a long boundary visually, while a board-only design provides more visual screening at the same overall height. Neither arrangement should be assumed to provide acoustic performance or protection against a fall.
What to Check Before Installing Composite Fence Panels
Complete the post installation before starting the panel assembly. Posts must be correctly supported, aligned and spaced for the selected components. Where supports are concreted into place, wait until the concrete has gained the strength required for the next stage.
- Confirm the layout: identify end posts, corners, shorter bays and any changes in level.
- Check the actual bay: dry-fit the rail and post components before committing to the final spacing.
- Match the components: use boards, rails, inserts and screen fittings approved for the selected configuration.
- Allow for movement: follow the specified expansion clearances rather than forcing a tight fit.
- Prepare the equipment: use suitable tools and protective equipment, and plan help for handling long components.
- Check the finish: decide which face of the boards will be visible and keep that orientation consistent.
Keep the current composite fencing installation guide available throughout the work. Panel height, post arrangement and site conditions can affect the details, so avoid applying one measurement or fixing method to every installation.
Option 1: Install Standard Composite Fence Panels
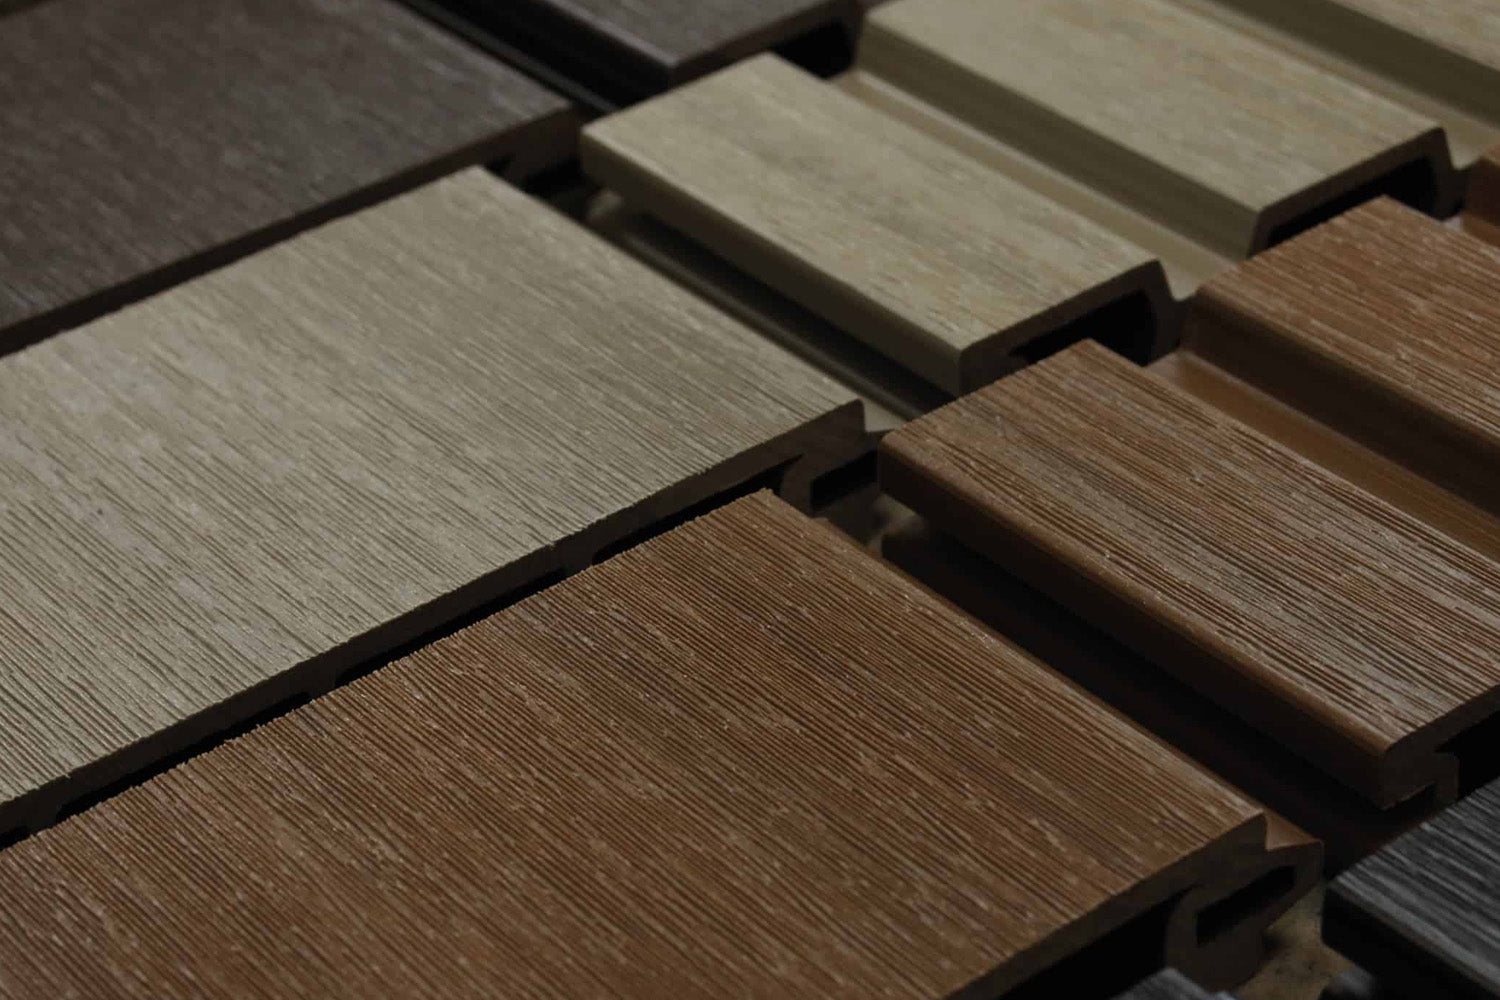
A standard NeoTimber® panel is assembled from individual composite fence boards. The tongue-and-groove edges connect the boards vertically as they are stacked between the prepared post channels or compatible inserts. You assemble the board section within the bay rather than sliding an entire finished panel into position.
- Fit the bottom rail: position and secure it as directed for the chosen post system.
- Add the boards: insert them in sequence, engaging the tongue-and-groove edges and maintaining the required end clearances.
- Check alignment: confirm that the boards sit correctly without forcing them into the bay.
- Finish with the top rail: secure the specified components and complete the post finishing details.
The fence board capping rails finish the top and bottom of the board section and form part of the installation system. Do not omit them or substitute unspecified fixings. For the full fitting sequence, follow our step-by-step standard panel installation guide.

Option 2: Fit Composite Fence Panels With Decorative Screens
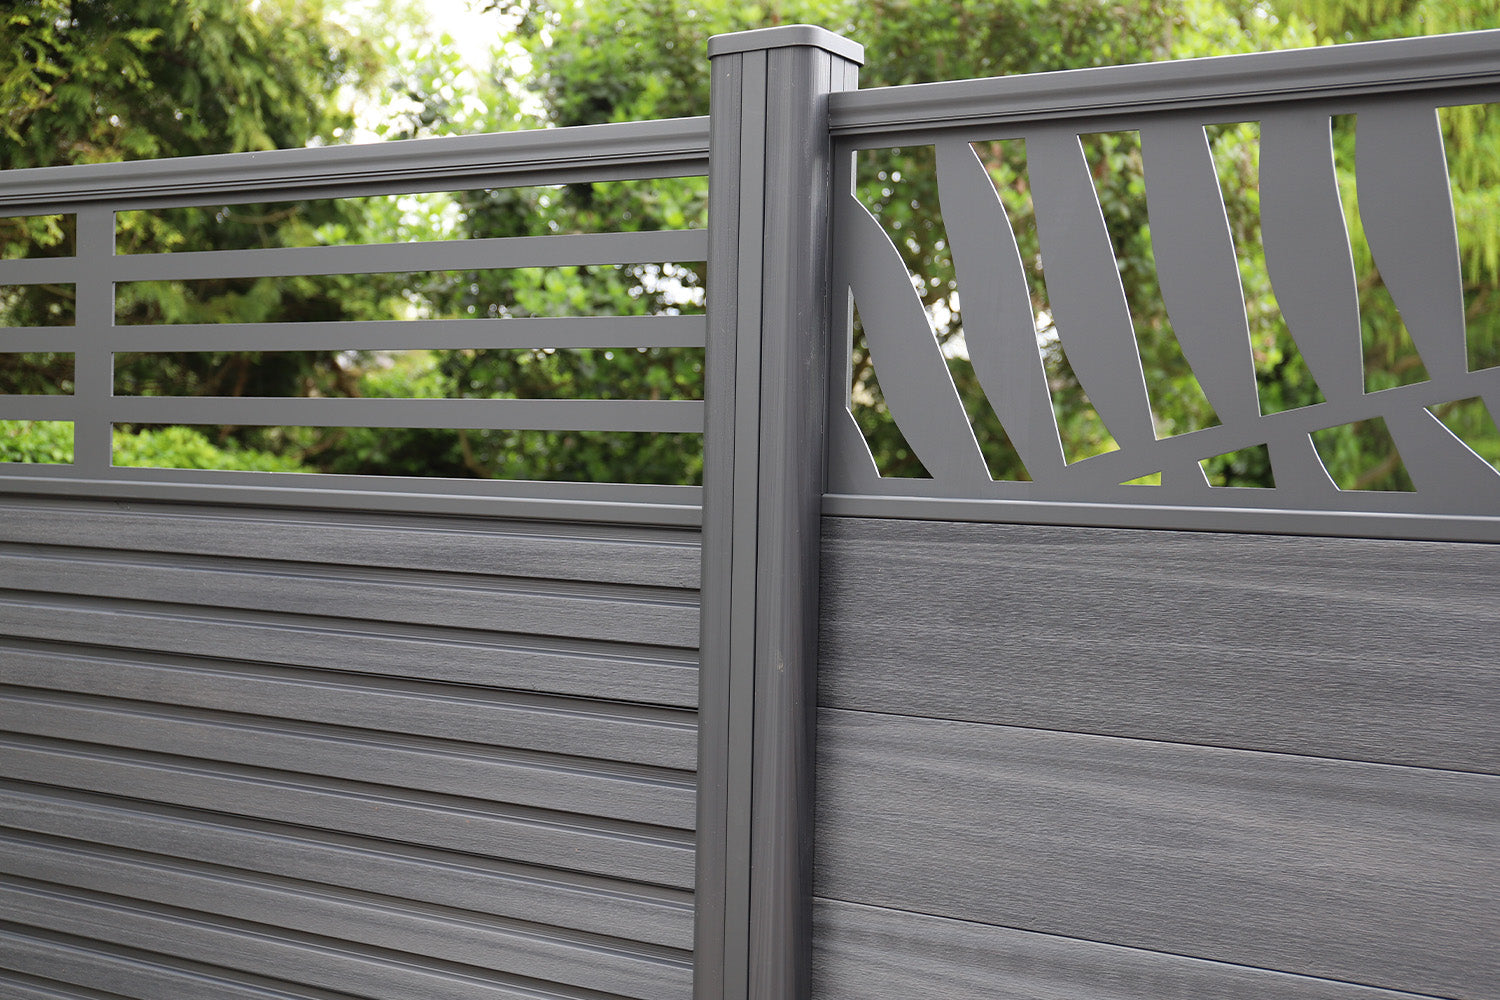
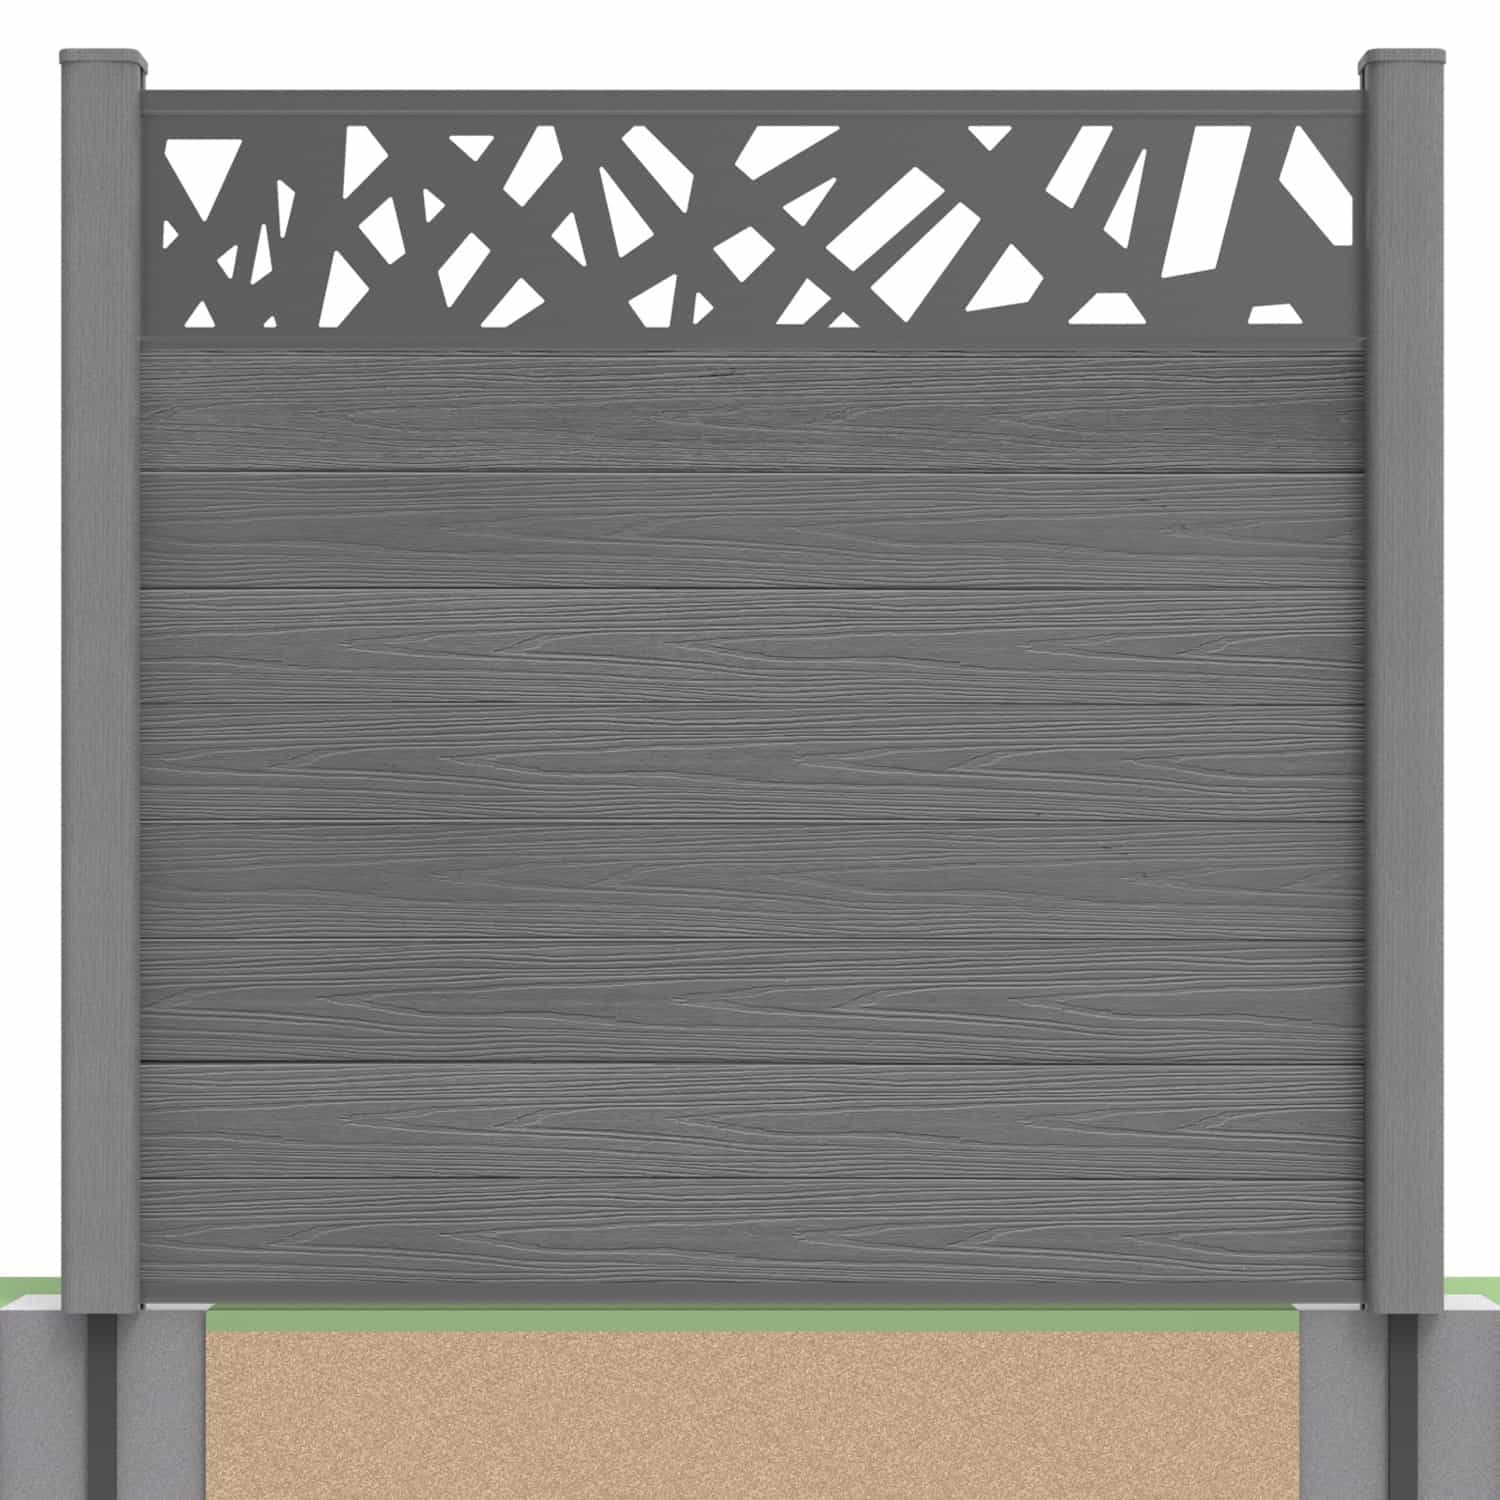
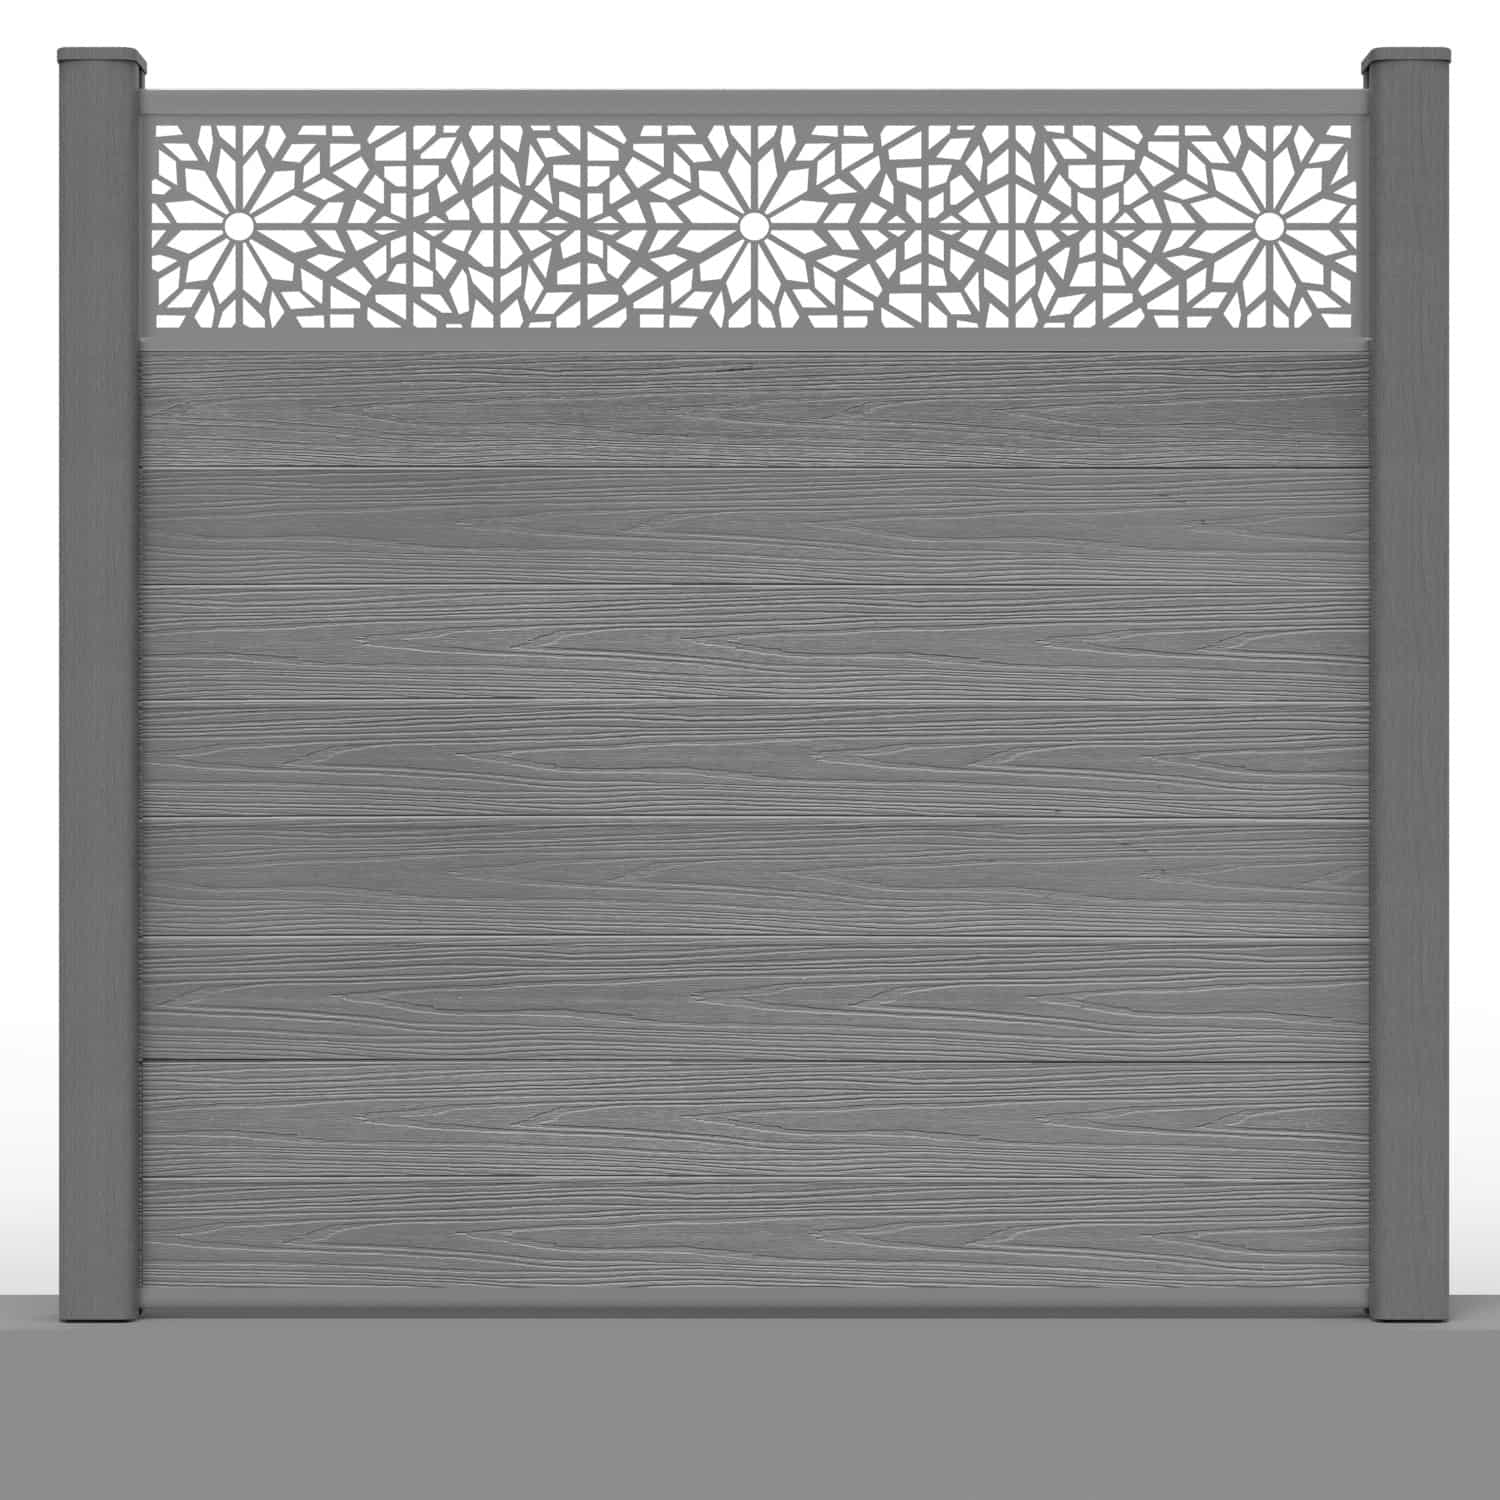
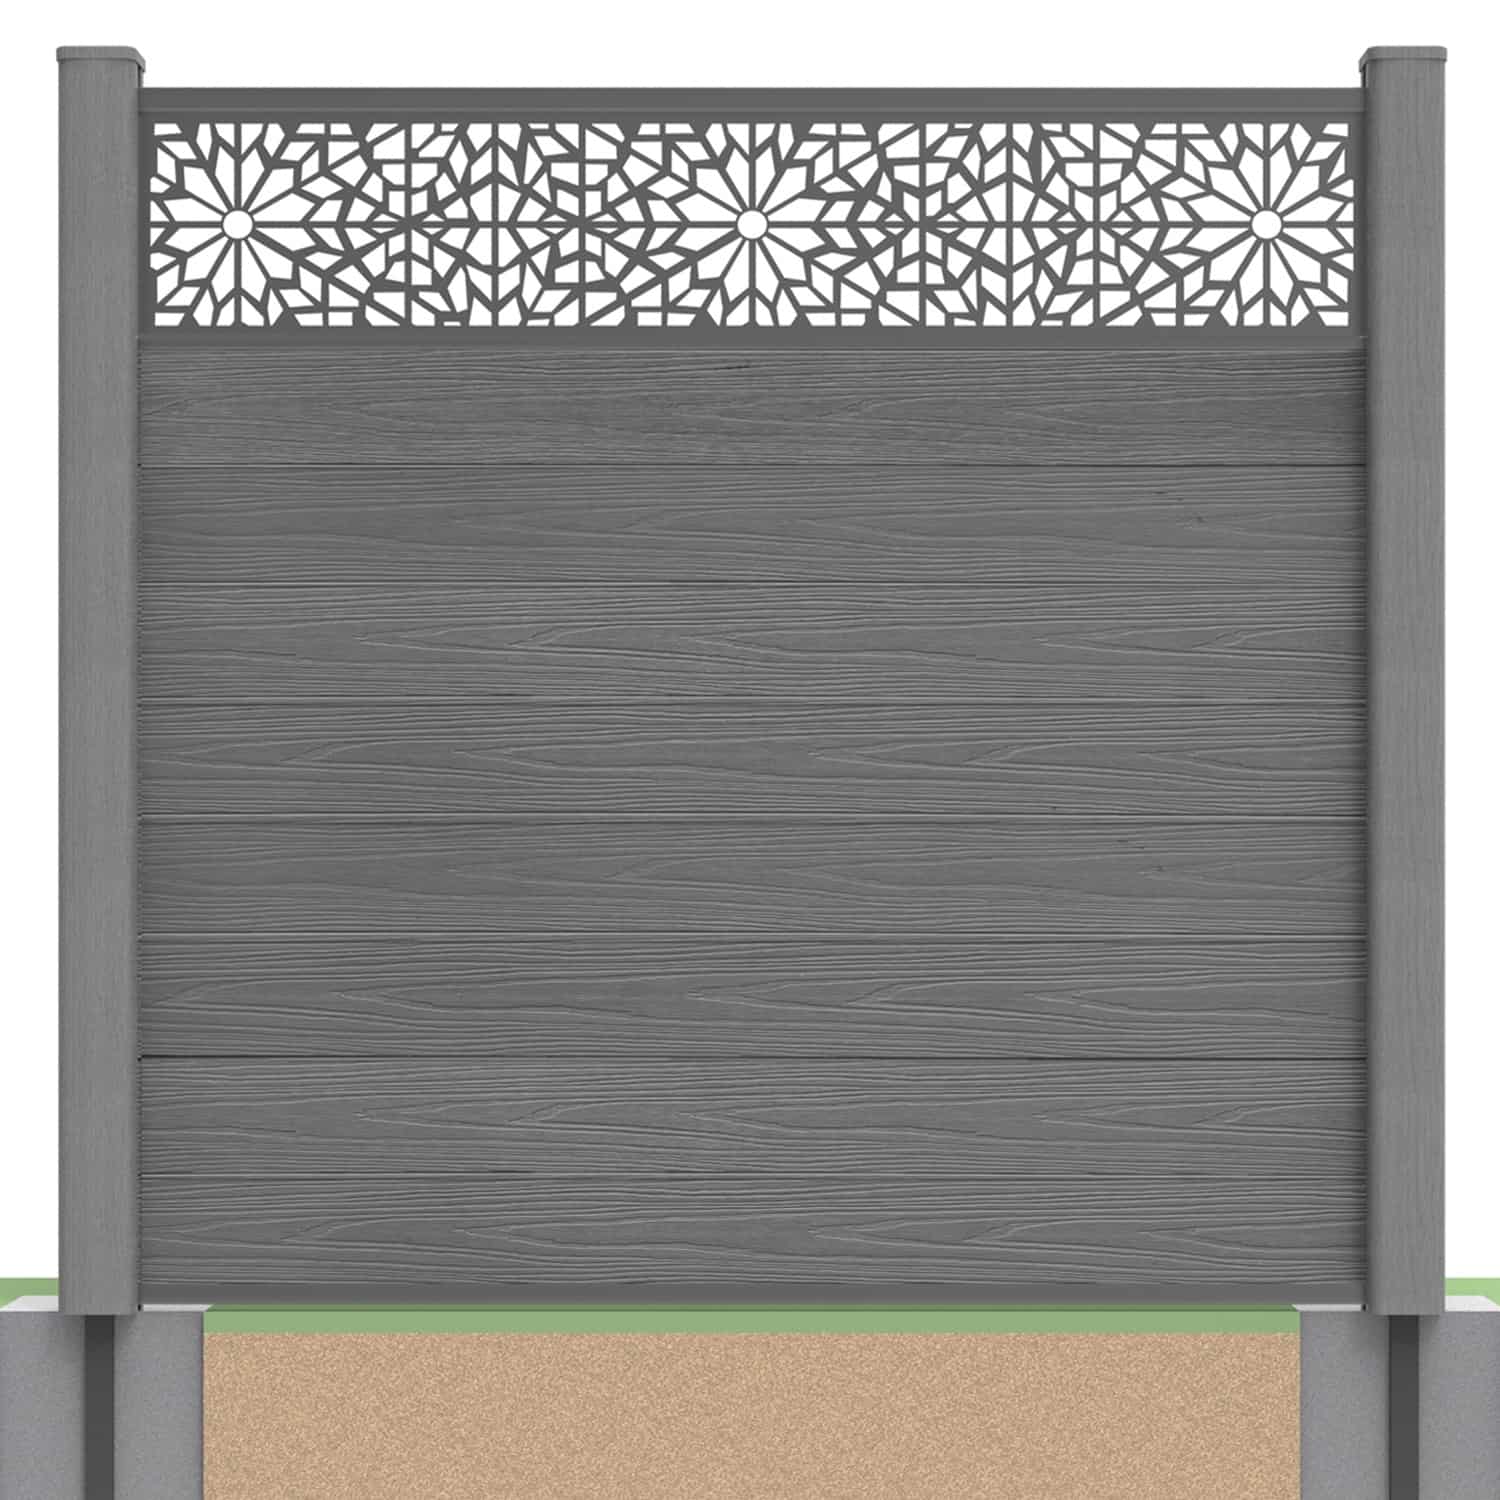
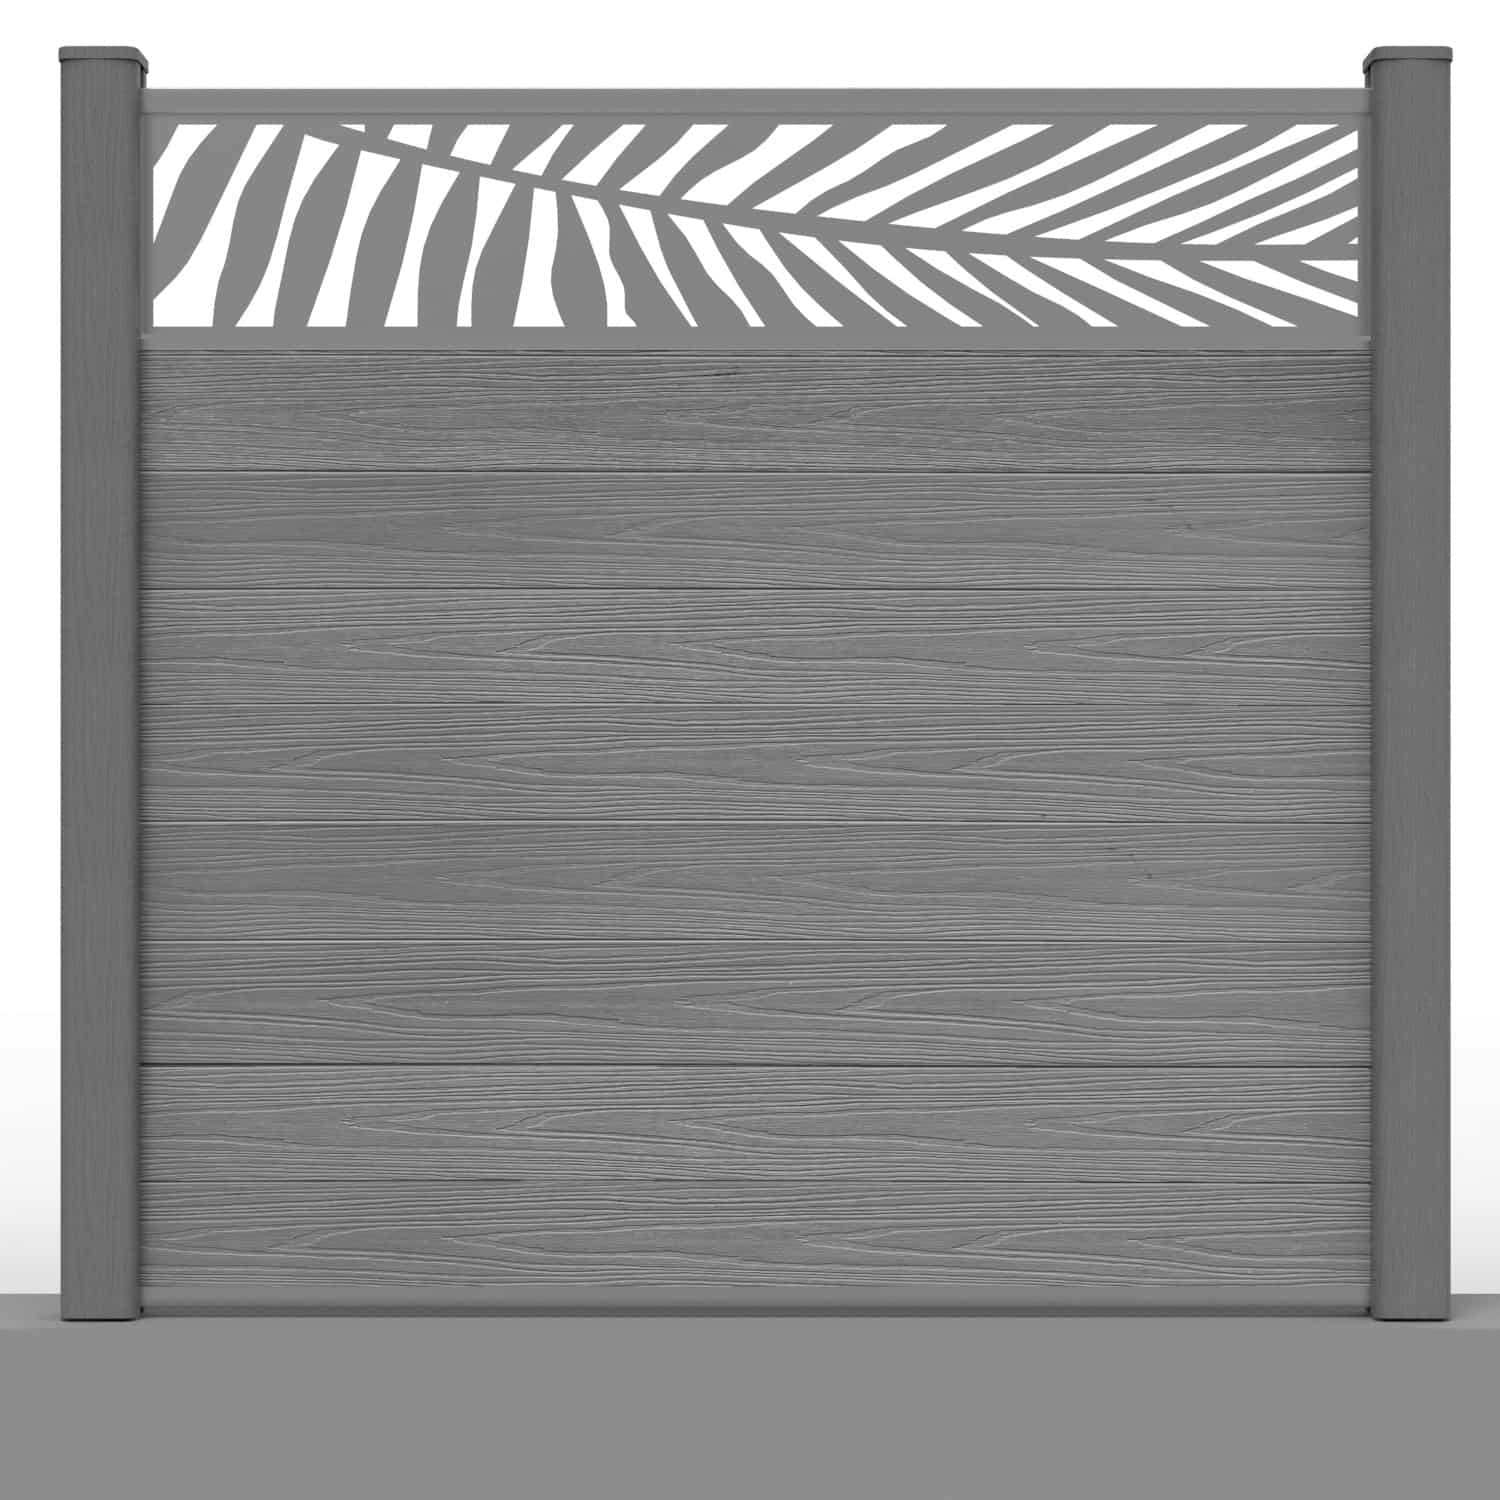
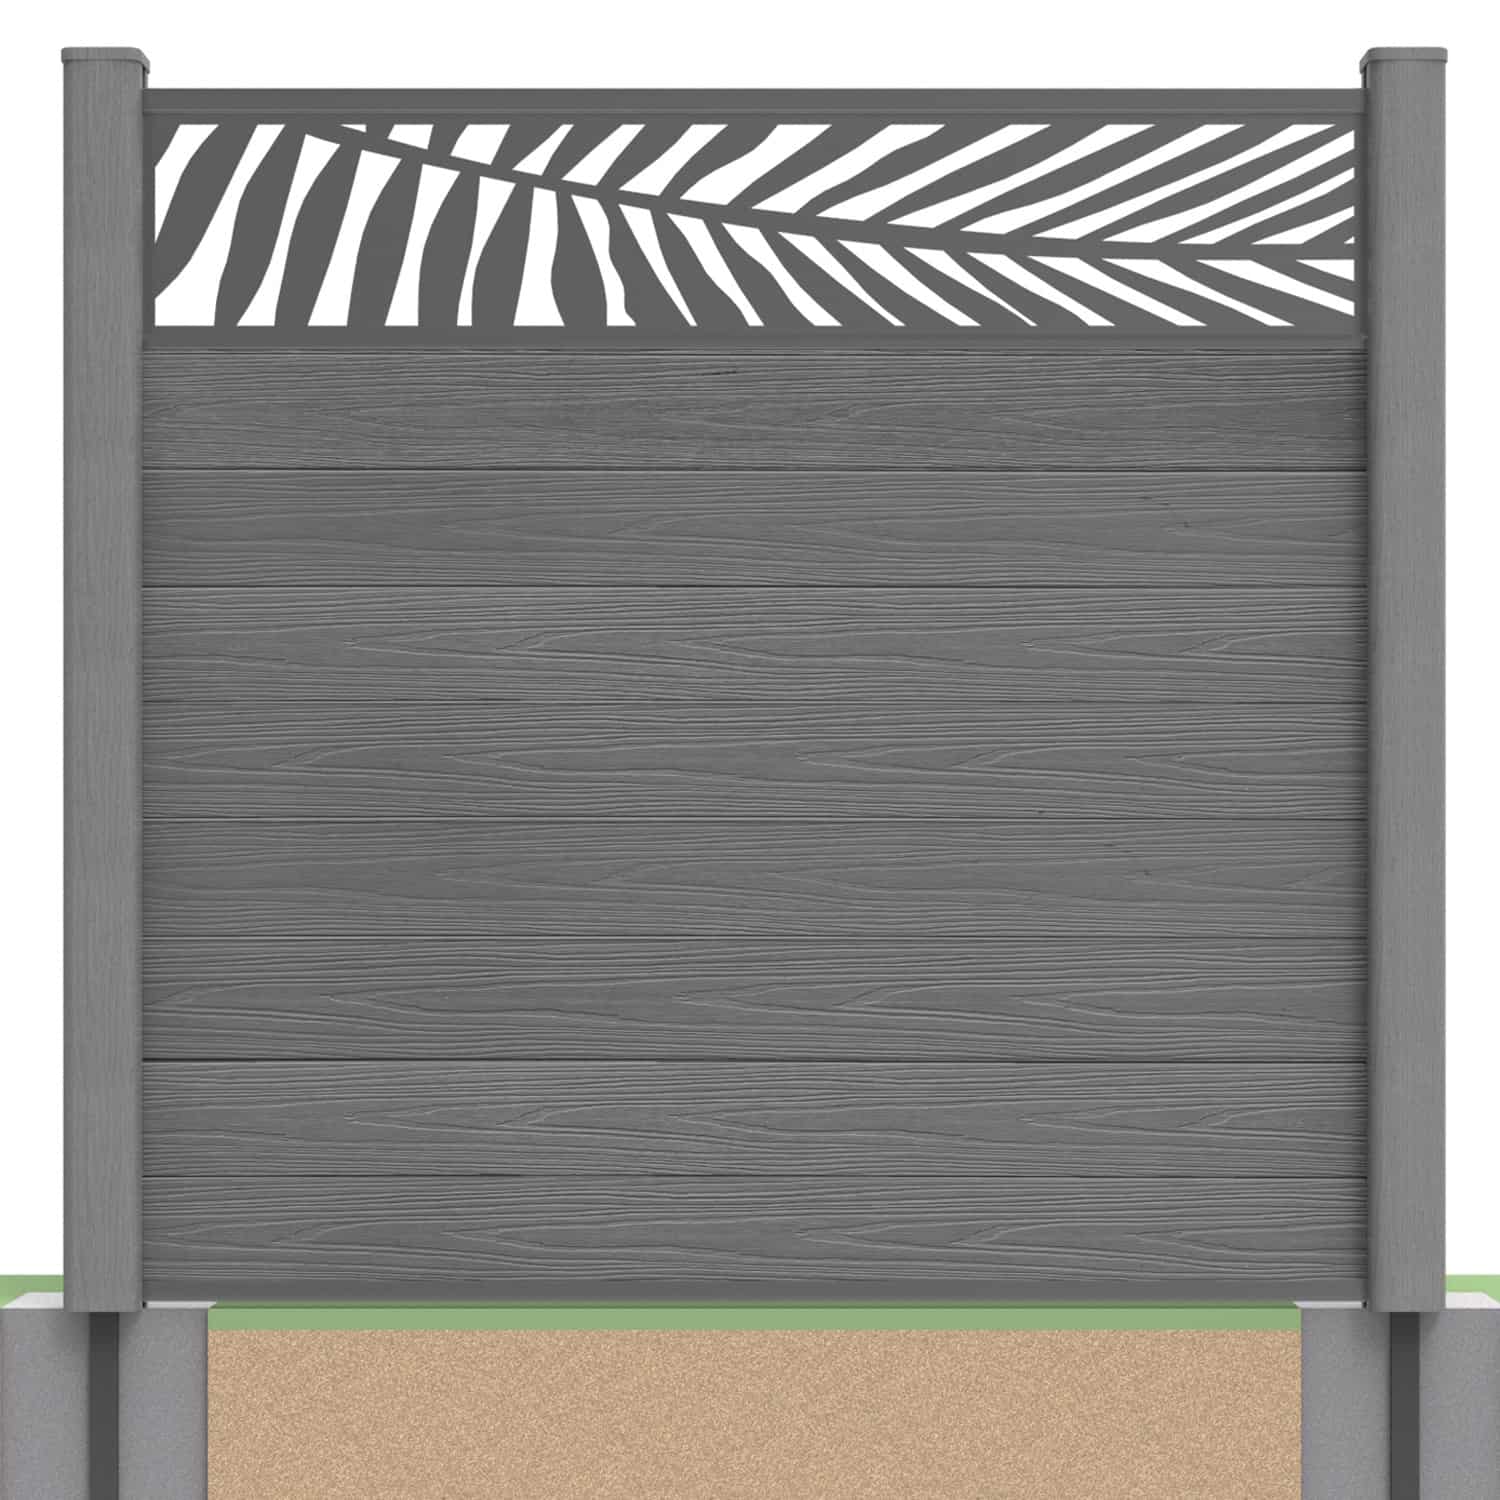
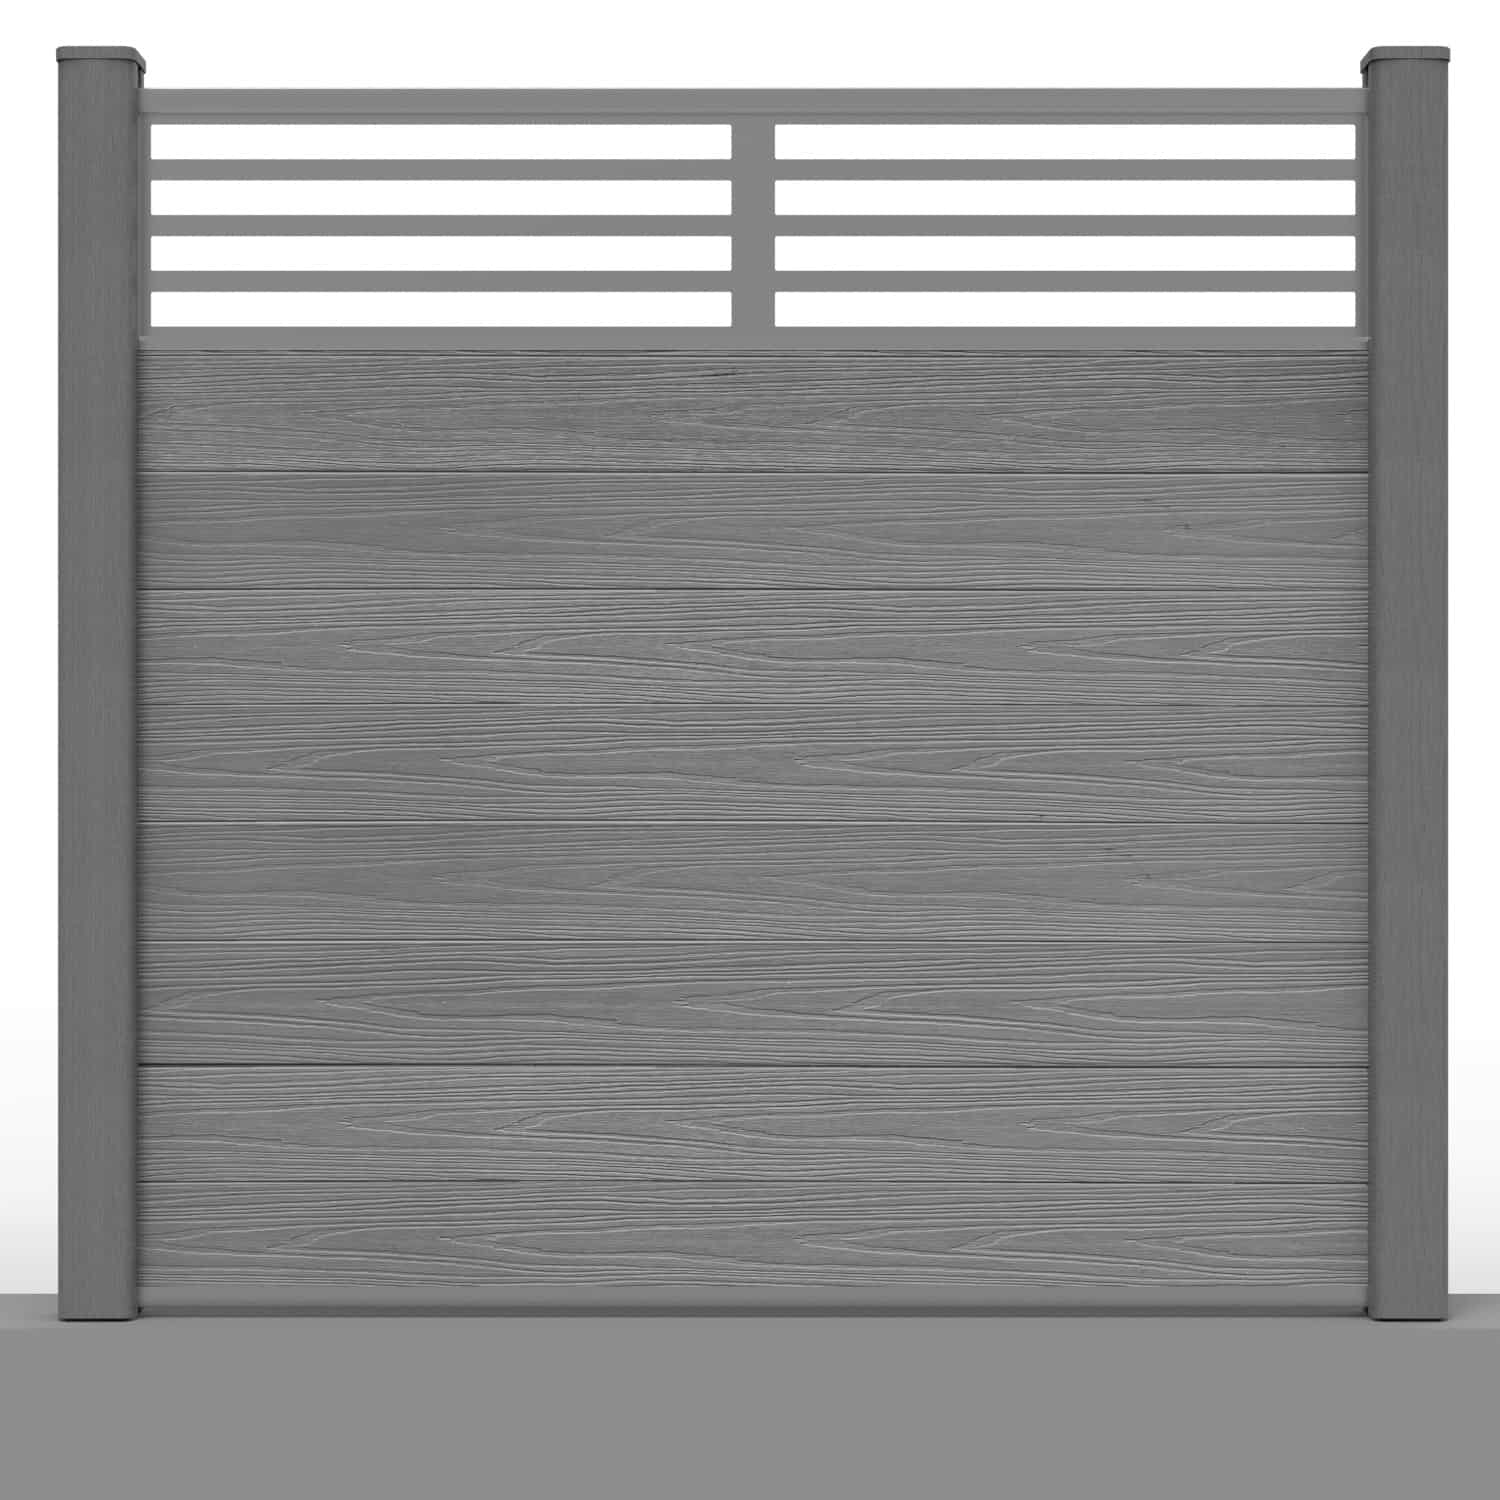
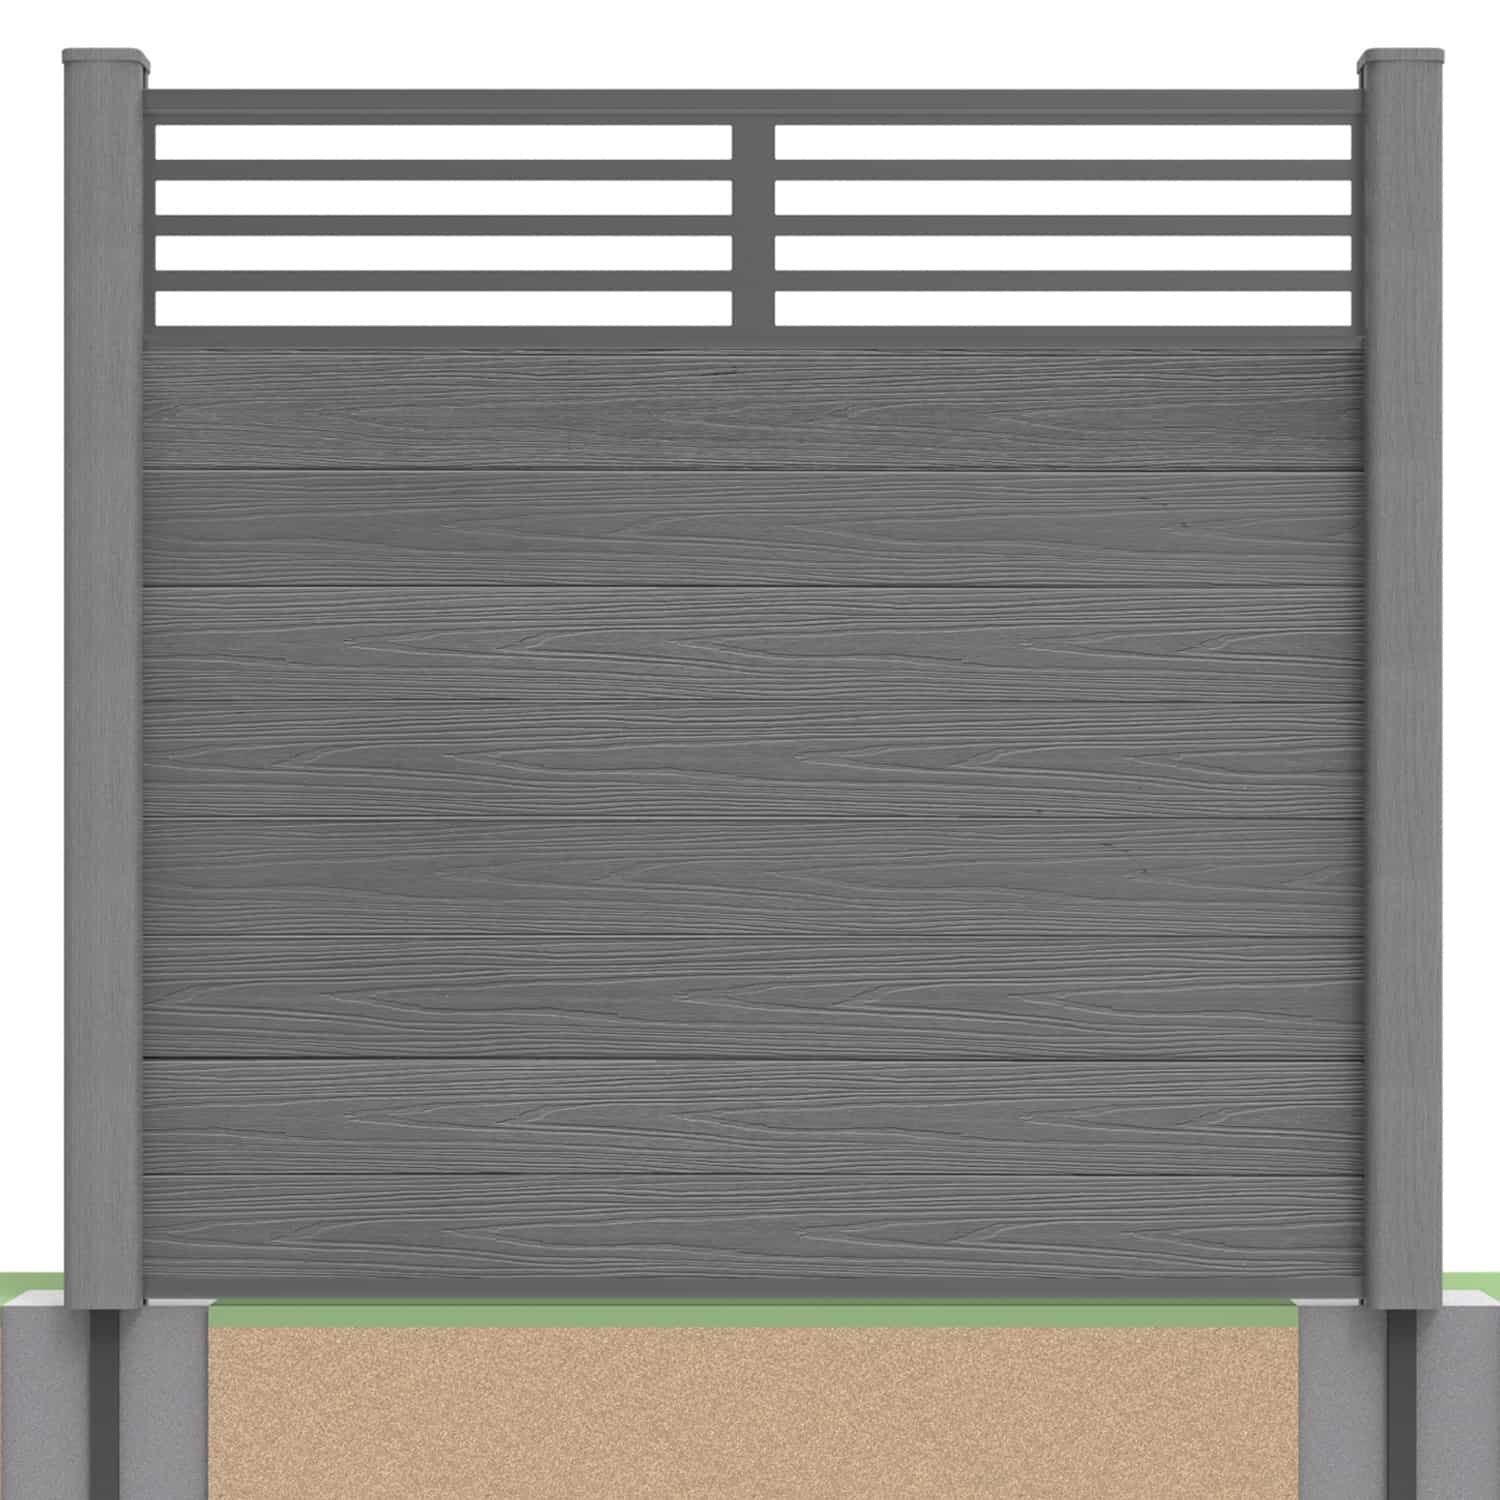
A screened panel combines a lower section of composite boards with a decorative aluminium insert. NeoTimber’s decorative fence screens offer a different material and finish from the composite boards beneath them; they are not additional composite slats.
In the illustrated screen arrangement, the insert replaces the final two boards and is retained by four aluminium rails. Confirm this detail against the selected screen kit and current instructions before calculating board quantities. Screen dimensions and compatible fittings determine how the completed panel is assembled.
- Assemble the lower board section: fit the base rail and the specified number of boards.
- Fit the screen retaining components: follow the illustrated order and orientation.
- Position the screen: seat it correctly within the retaining rails without forcing or distorting it.
- Complete the upper fittings: secure the assembly and check that all components are correctly seated.
Decorative cut-outs create a more open appearance, but also reduce visual coverage at the top of the fence. Consider sightlines from neighbouring windows and seating areas when choosing the pattern. Do not assume a screen can support climbing plants, attached furniture or other loads without approval.
Use our guide to installing panels with decorative screens for the detailed fitting sequence.

Can You Use Composite, Concrete or Timber Posts?
The board-and-rail assembly follows a similar overall sequence across compatible post systems, but the post preparation and connections differ. Choose the relevant method before starting:
- New composite posts: use the specified steel supports and foundations for hard-ground installation or soft-ground installation.
- Existing concrete posts: check their condition, channel dimensions and bay spacing, then follow the concrete post insert installation guide.
- Existing timber posts: assess the posts and foundations before using the compatible inserts. Follow the timber post fixing guide for the connection details.
Retrofit inserts do not repair rotten timber, cracked concrete or inadequate foundations. An existing post system must be suitable for the new fence and its loads before it is reused.
Final Checks Before You Finish
Inspect the full run for consistent board orientation, correctly seated rails, secure specified fixings and the required movement clearances. Check that posts remain upright and that there are no damaged components or unfinished sharp edges.
Remove installation debris and clean any marks using the recommended care method. Keep the installation instructions and order details for future reference. A modular system can make individual component replacement possible, but access and disassembly depend on the particular installation.
Frequently Asked Questions
What is the first step when installing composite fence panels?
Choose the panel configuration and establish a suitable post system. Confirm foundations, post alignment and bay spacing before fitting the bottom rail or boards.
Do the boards need capping rails?
Yes. The NeoTimber® assembly described here includes rails at the top and bottom of the board section. Use the specified compatible components and fixing method.
Can I add a decorative screen to any panel?
Check compatibility first. The screen must match the panel dimensions and retaining system. Do not assume that an existing completed fence can accept a screen without component changes or disassembly.
Does a decorative screen provide the same privacy as boards?
No. Openings in the design allow views through the screen. Choose the pattern and position around the level of privacy you need.
Can I reuse my existing posts?
Potentially, if their condition, foundations, spacing and dimensions are suitable. Compatible inserts provide the board connection; they do not make an unsuitable post structurally sound.
Is this a suitable DIY project?
A capable DIY installer may be able to assemble the panels with appropriate tools and help. Foundation work, uncertain existing posts and exposed sites may require advice from a competent installer before assembly begins.
Choose Your Panel Design and Follow the Matching Guide
Deciding between a standard board finish and a decorative screen makes it easier to plan the right components. Compare the NeoTimber® composite fencing range, review the installation resources and contact NeoTimber® if you need help checking compatibility before ordering.