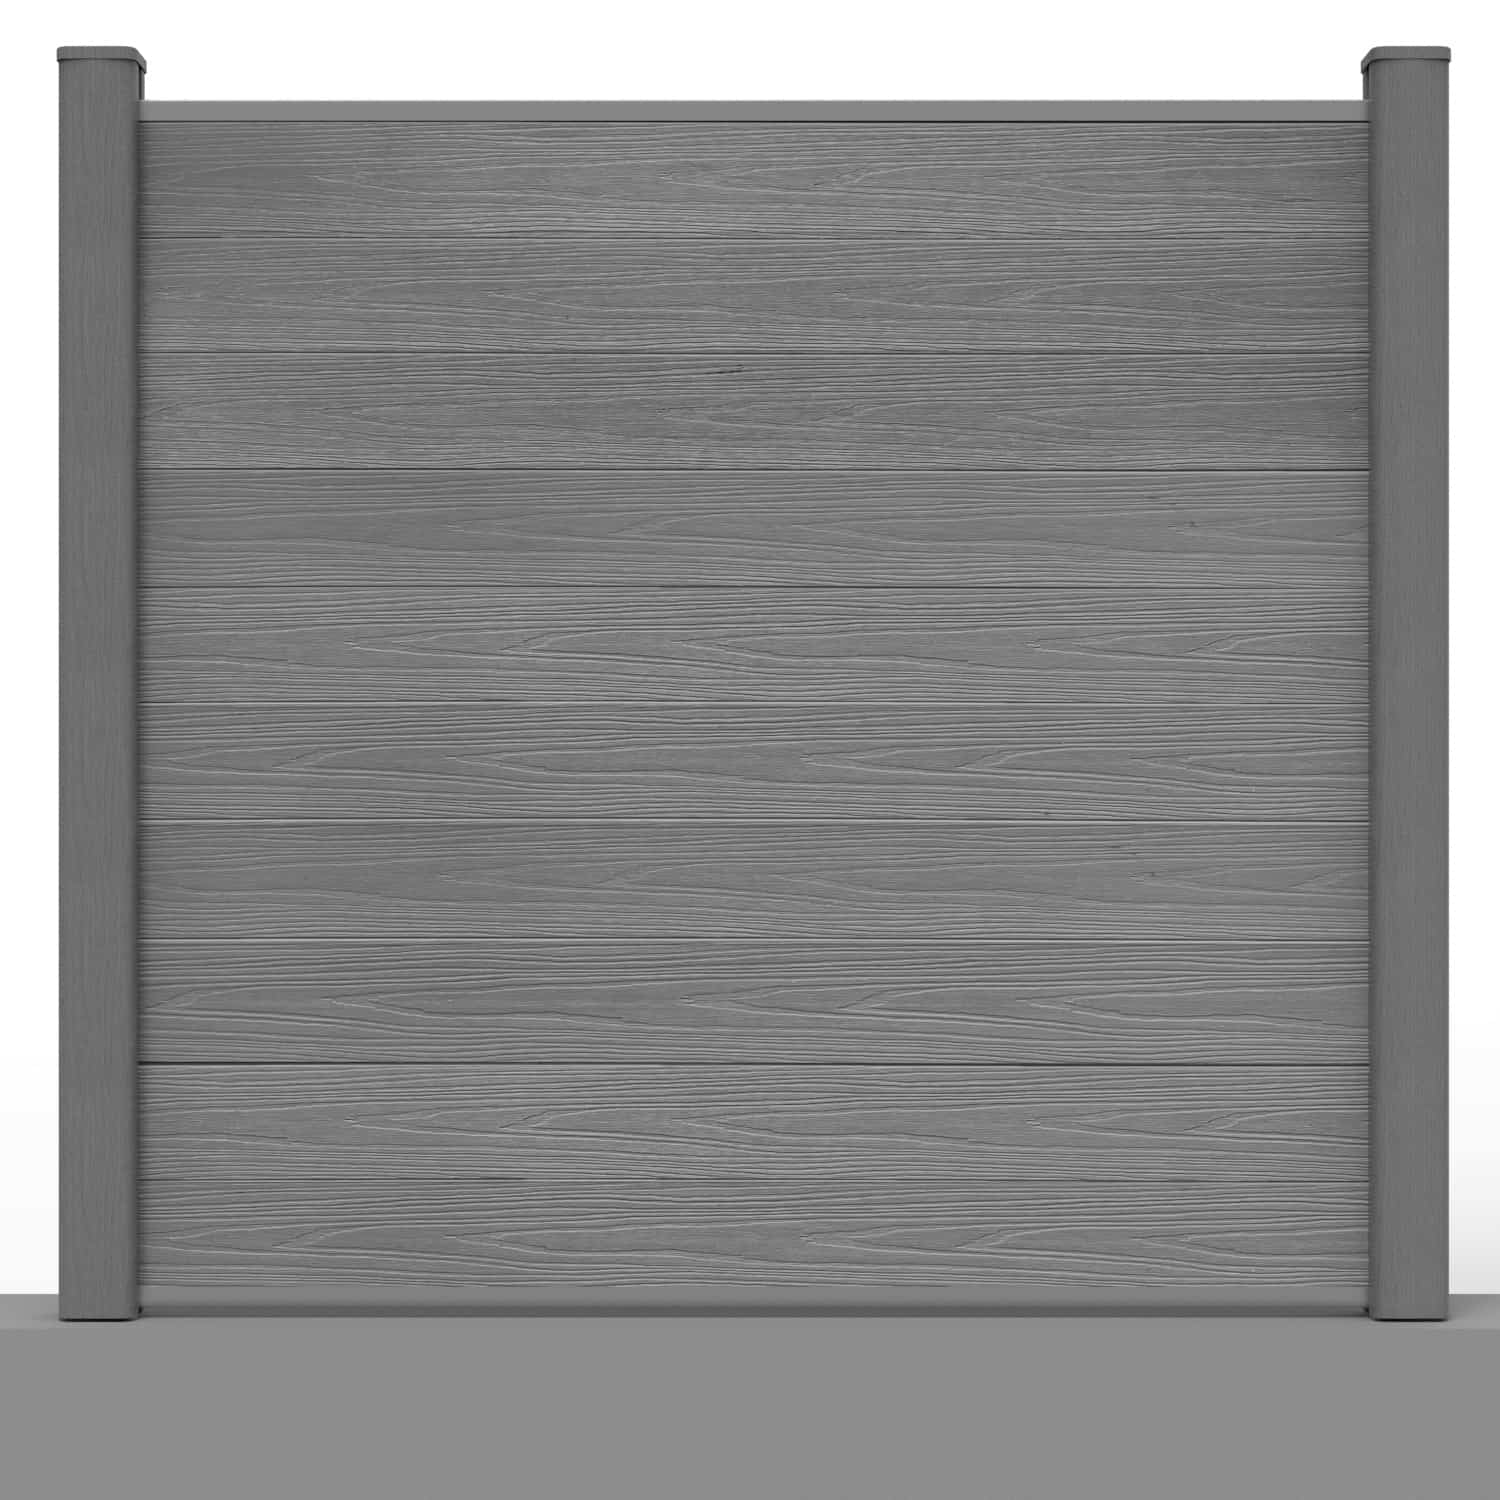
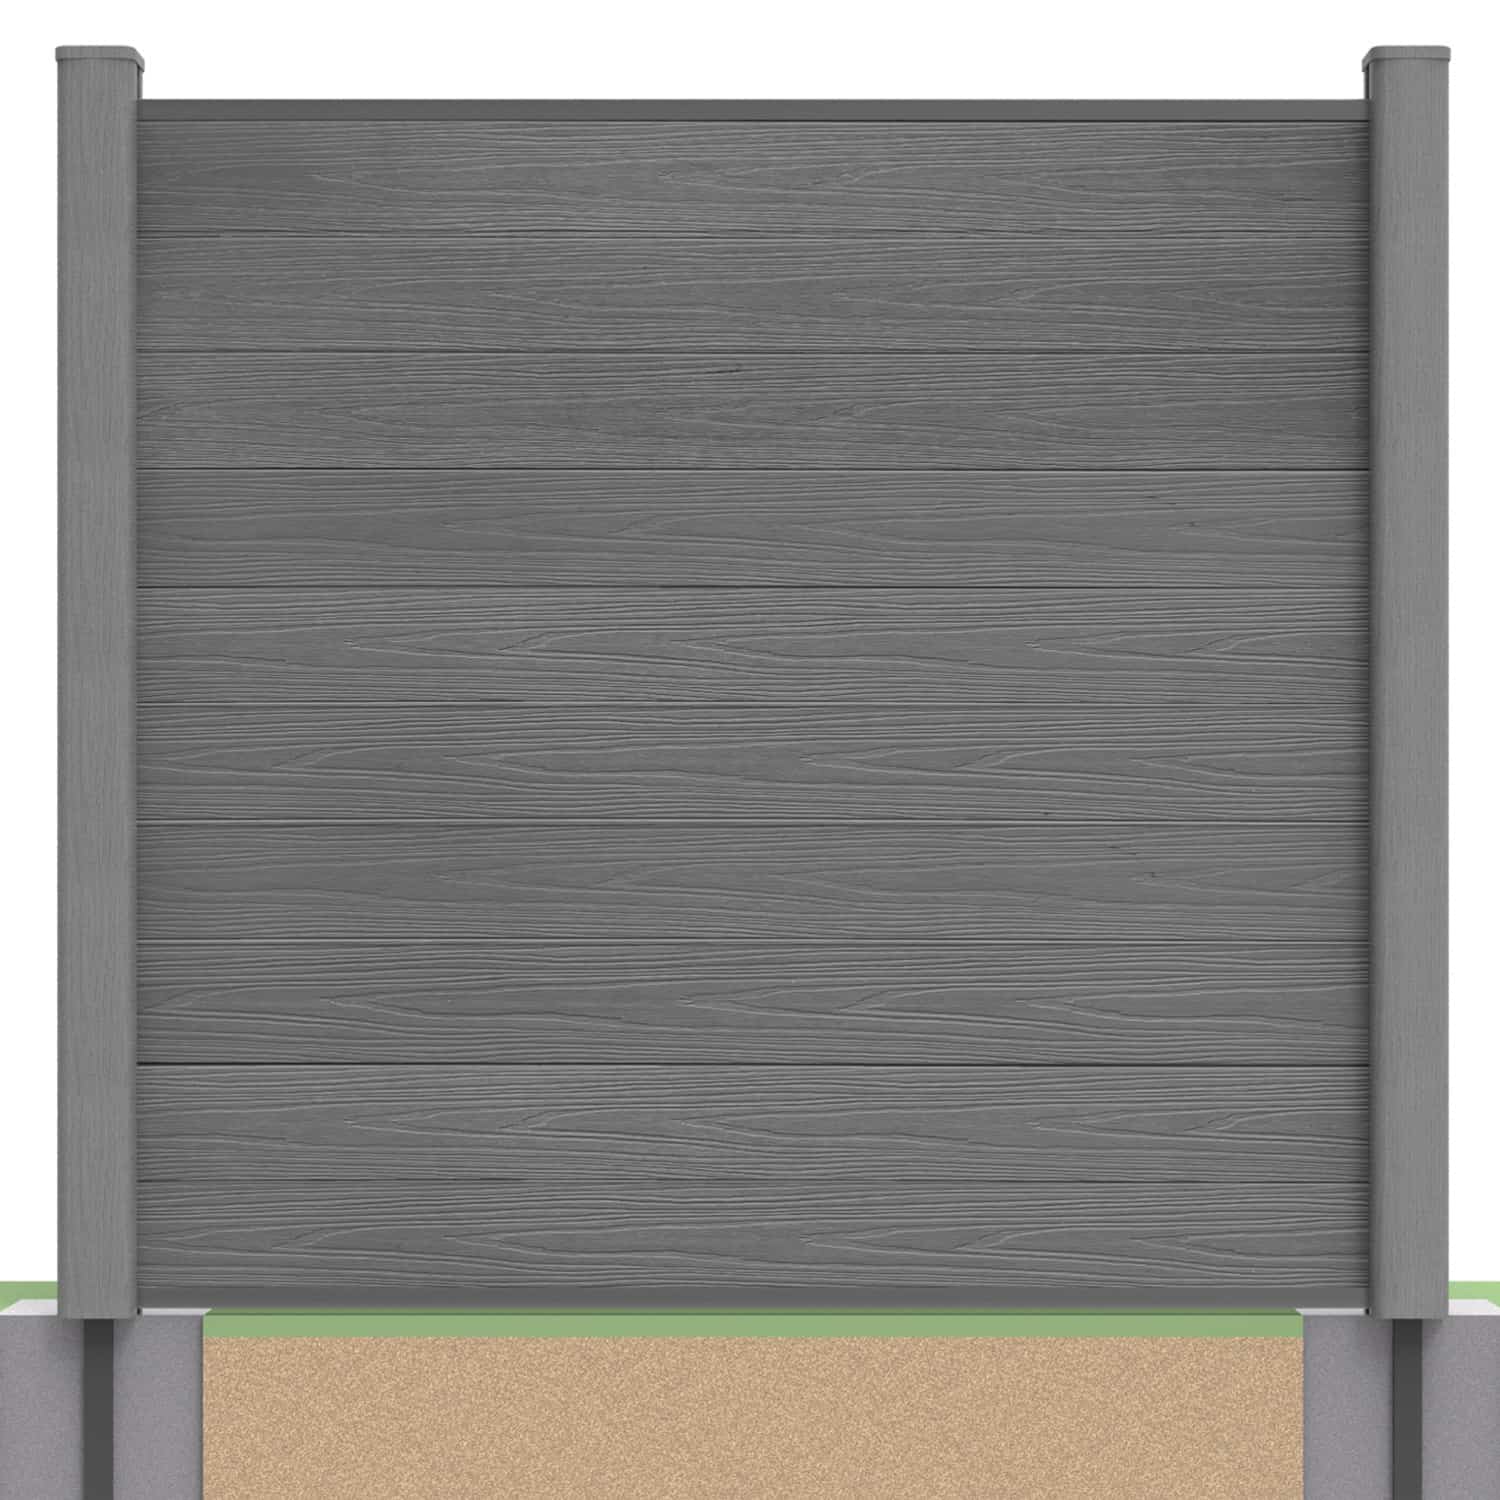
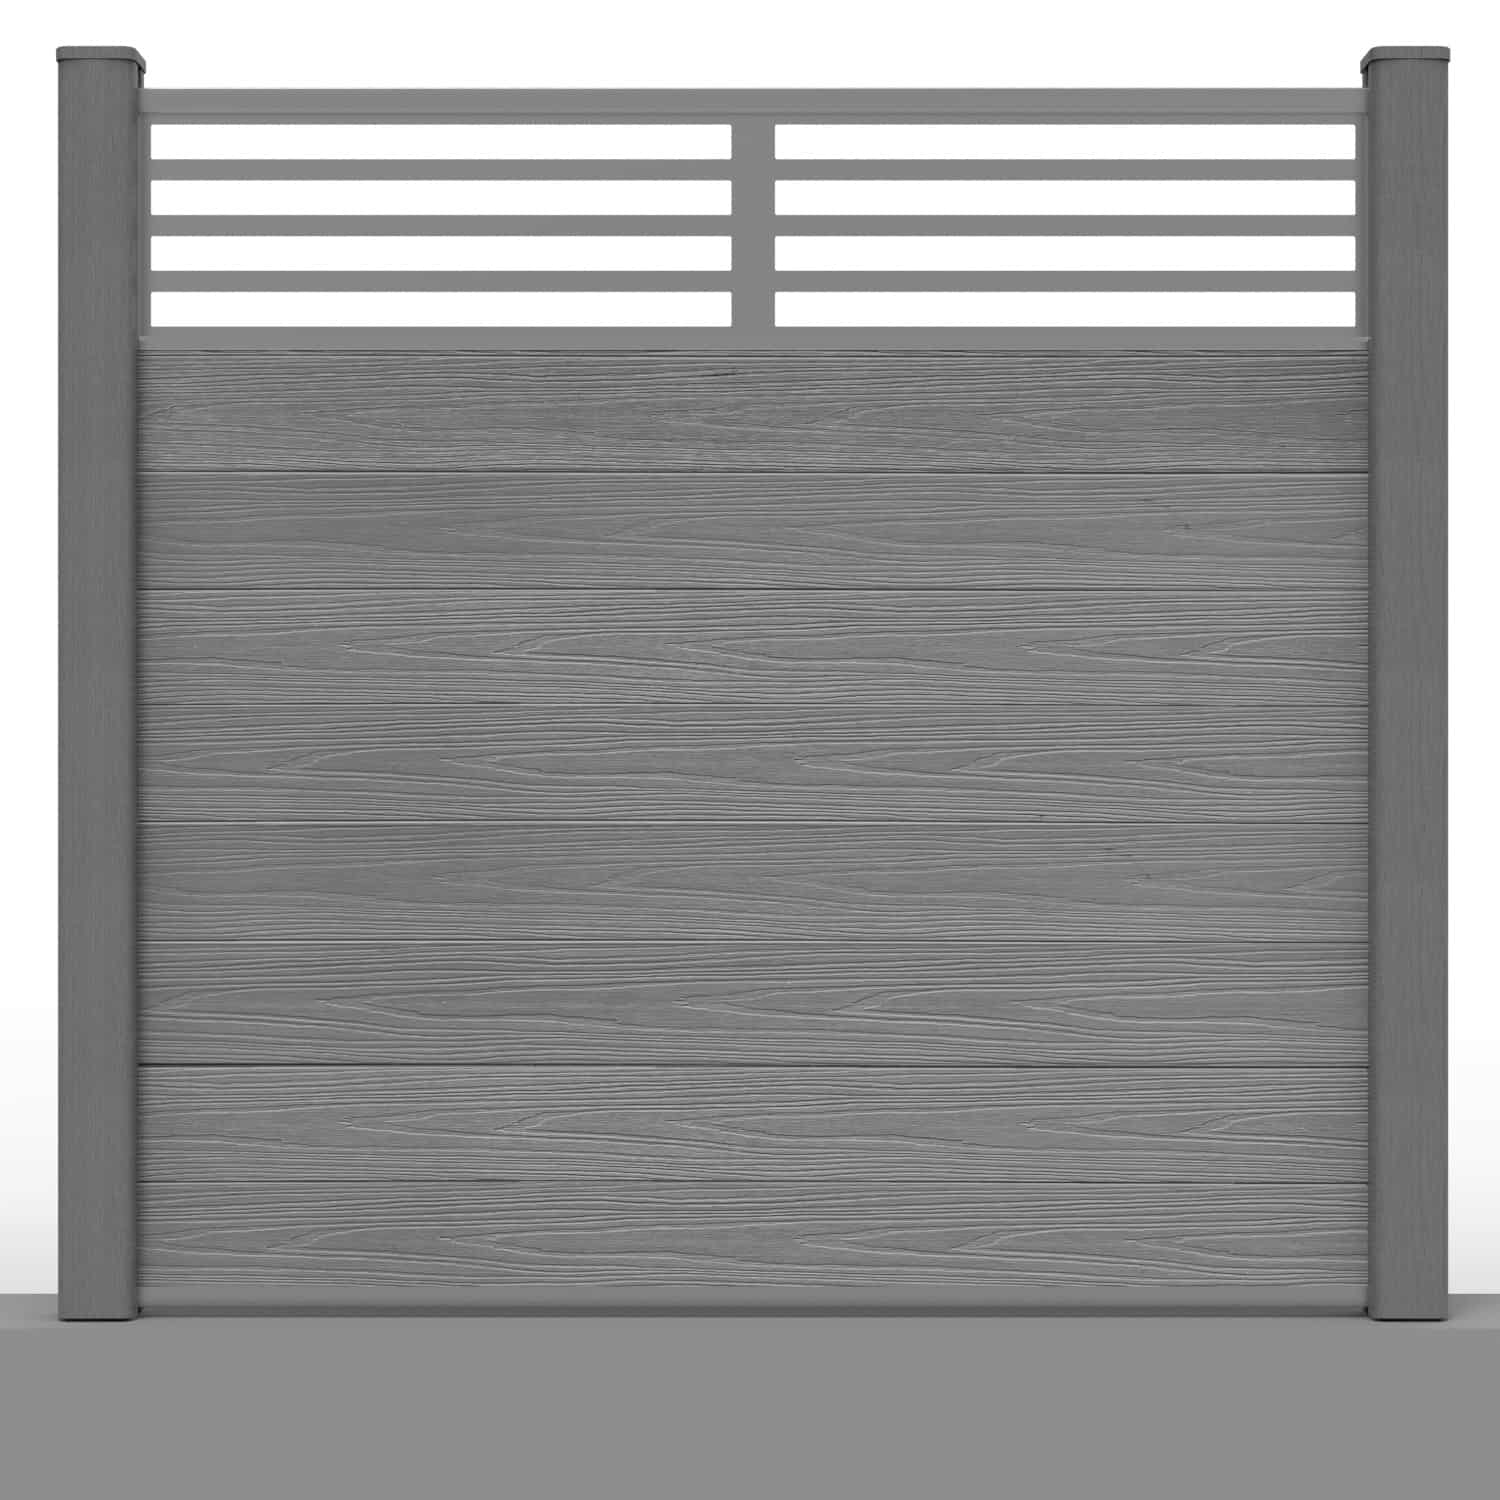
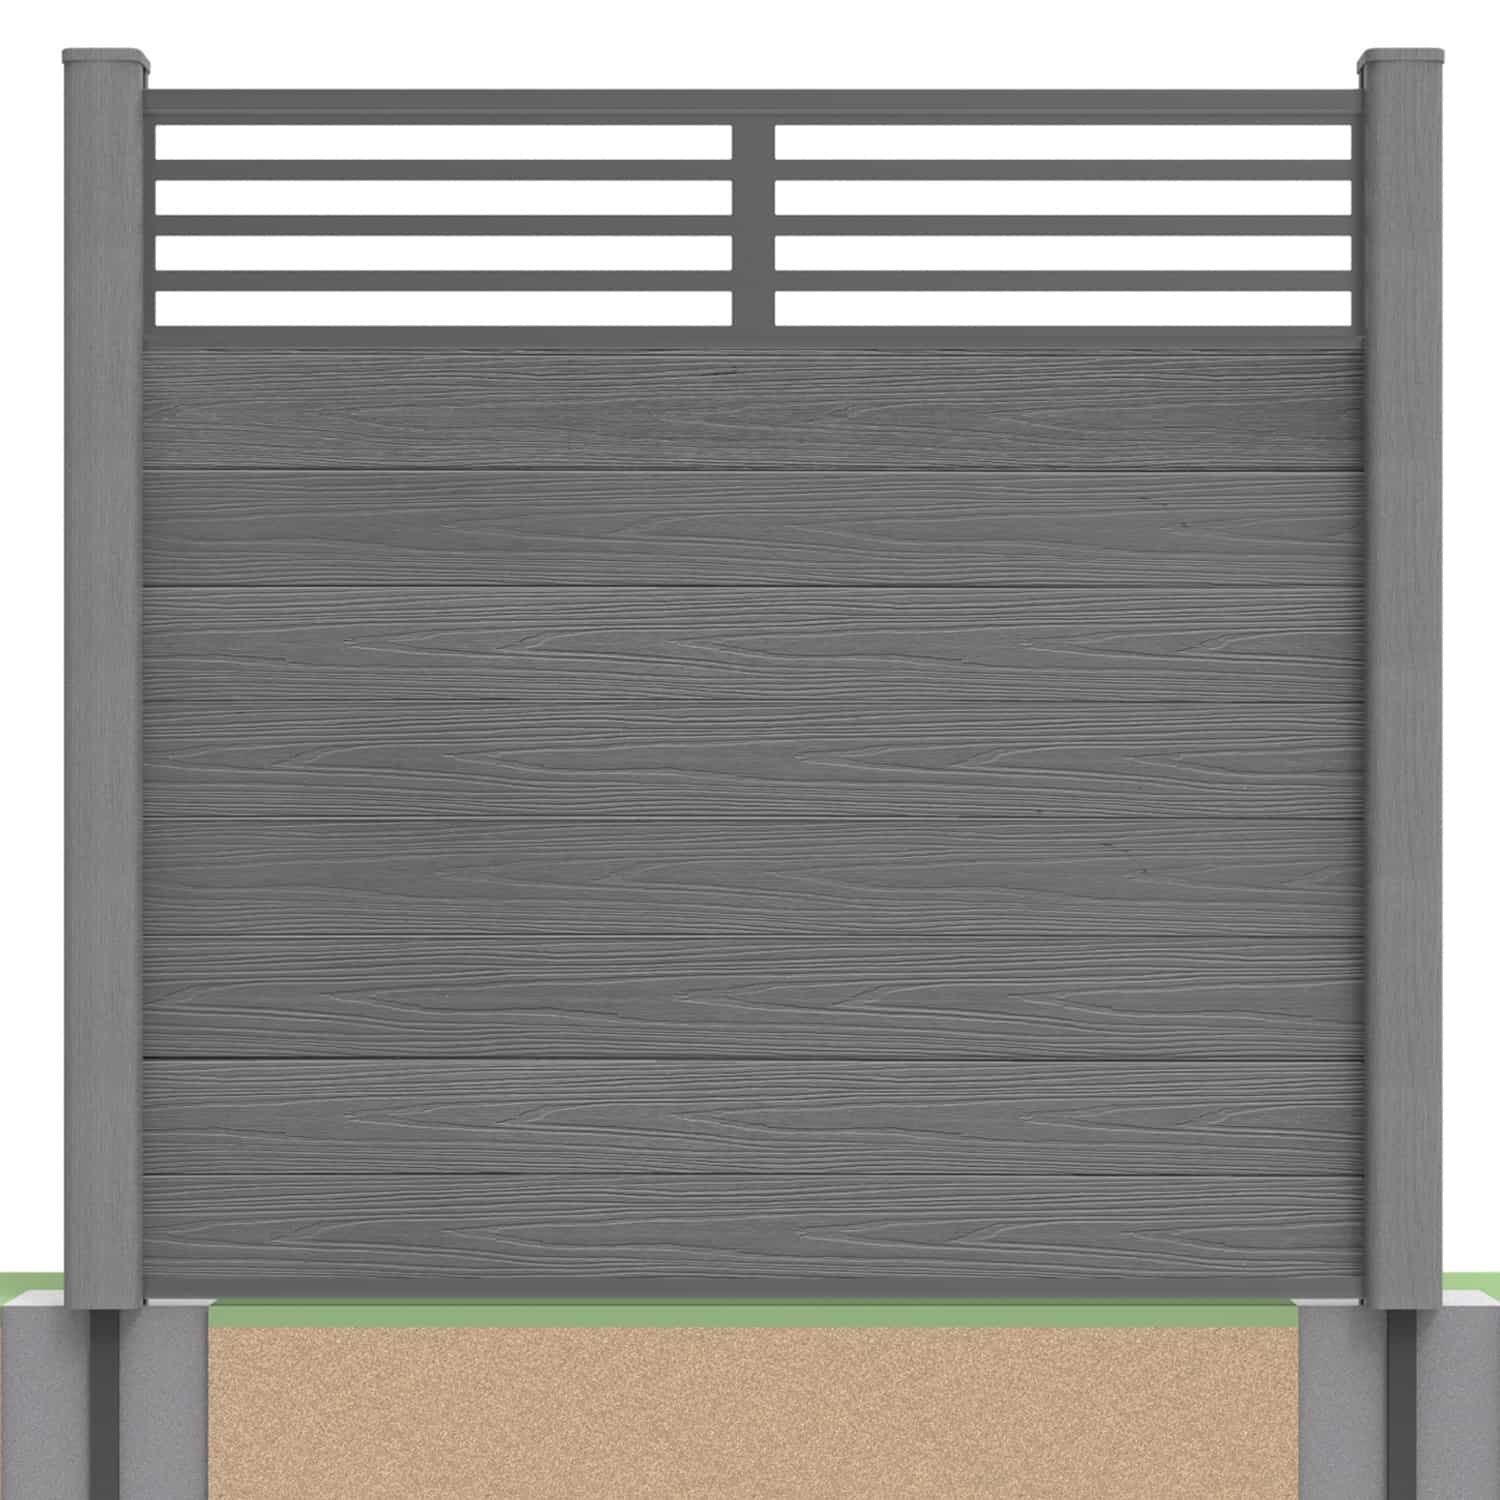
Update Suitable Timber Posts With a Composite Panel System
You can fix composite fencing to wooden fence posts where the supports are suitable and compatible with the selected system. NeoTimber’s aluminium inserts provide channels for the boards, allowing a panel to be assembled between assessed existing or appropriately specified new timber posts.
This is a retrofit connection, not a repair for damaged timber. Before ordering, check post condition, foundations, spacing and the required assembly dimensions. A sound-looking surface alone does not establish that the supports can carry the proposed fence.
Explore our fencing guide for an introduction, or browse the composite fencing collection to compare boards and components.
Follow the planning sequence: Assess the posts · Watch the video · Measure the opening · Fit inserts · Assemble the panel · FAQs
1. Assess the Timber Posts and Foundations
Inspect the full support arrangement before removing panels or buying replacements. Pay particular attention to deterioration around ground level and movement at the base.
| Check | What to establish |
|---|---|
| Timber condition | No unresolved decay, splitting or damaged fixing zones |
| Foundations | Suitable support for the proposed height and exposure |
| Alignment | Posts positioned appropriately for the board and rail assembly |
| Dimensions | Compatible post faces, openings and clearances |
| Layout | Corners, level changes, ends and gates resolved |
Have uncertain supports assessed by an installer. Aluminium inserts do not restore decayed posts or compensate for inadequate foundations. If replacement is necessary, resolve that work before planning the new panel assembly.
Watch the Timber-Post Installation Video
The video introduces how the inserts, rails and boards fit together. Use it alongside the current written installation instructions for the selected products, especially when confirming dimensions and fixings.
2. Measure With the Complete Assembly in Mind
Wooden fence post inserts are aluminium profiles fixed to the posts to form compatible board channels. They are not timber pieces and do not slide inside the wood.
Measure each opening separately, including variations at different heights. Establish the required board engagement, rail dimensions and movement allowances from the installation instructions before calculating cut lengths.
- Confirm the exact insert profile and selected length.
- Check the board range and its compatibility with the channels.
- Account for the top and bottom rail arrangement.
- Allow the specified clearances rather than forcing a tight fit.
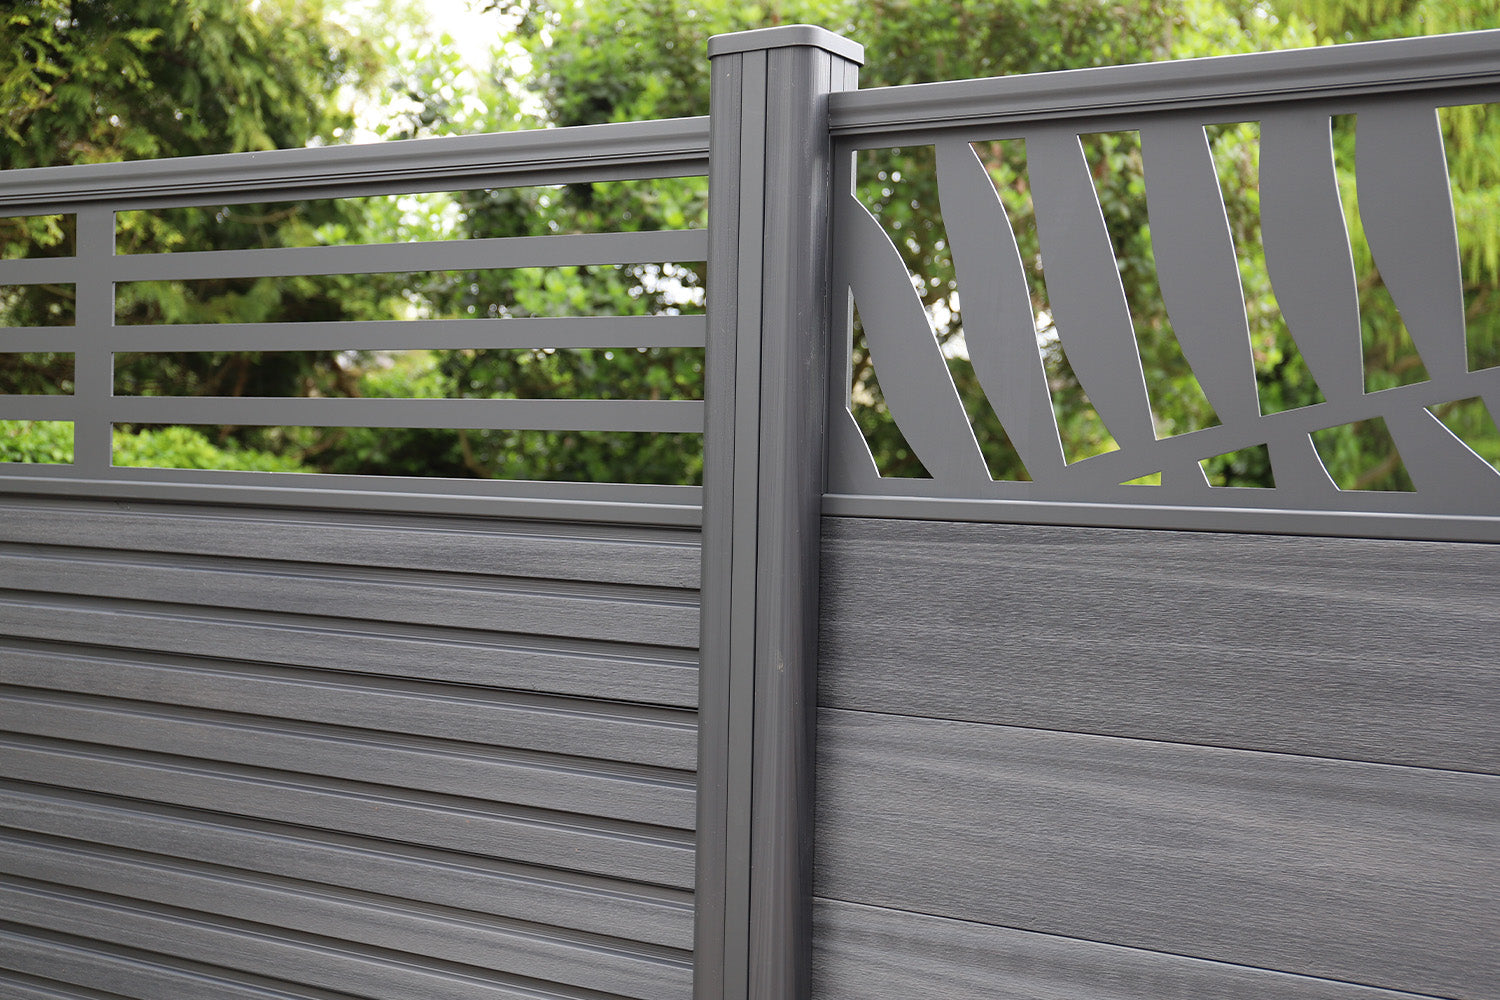
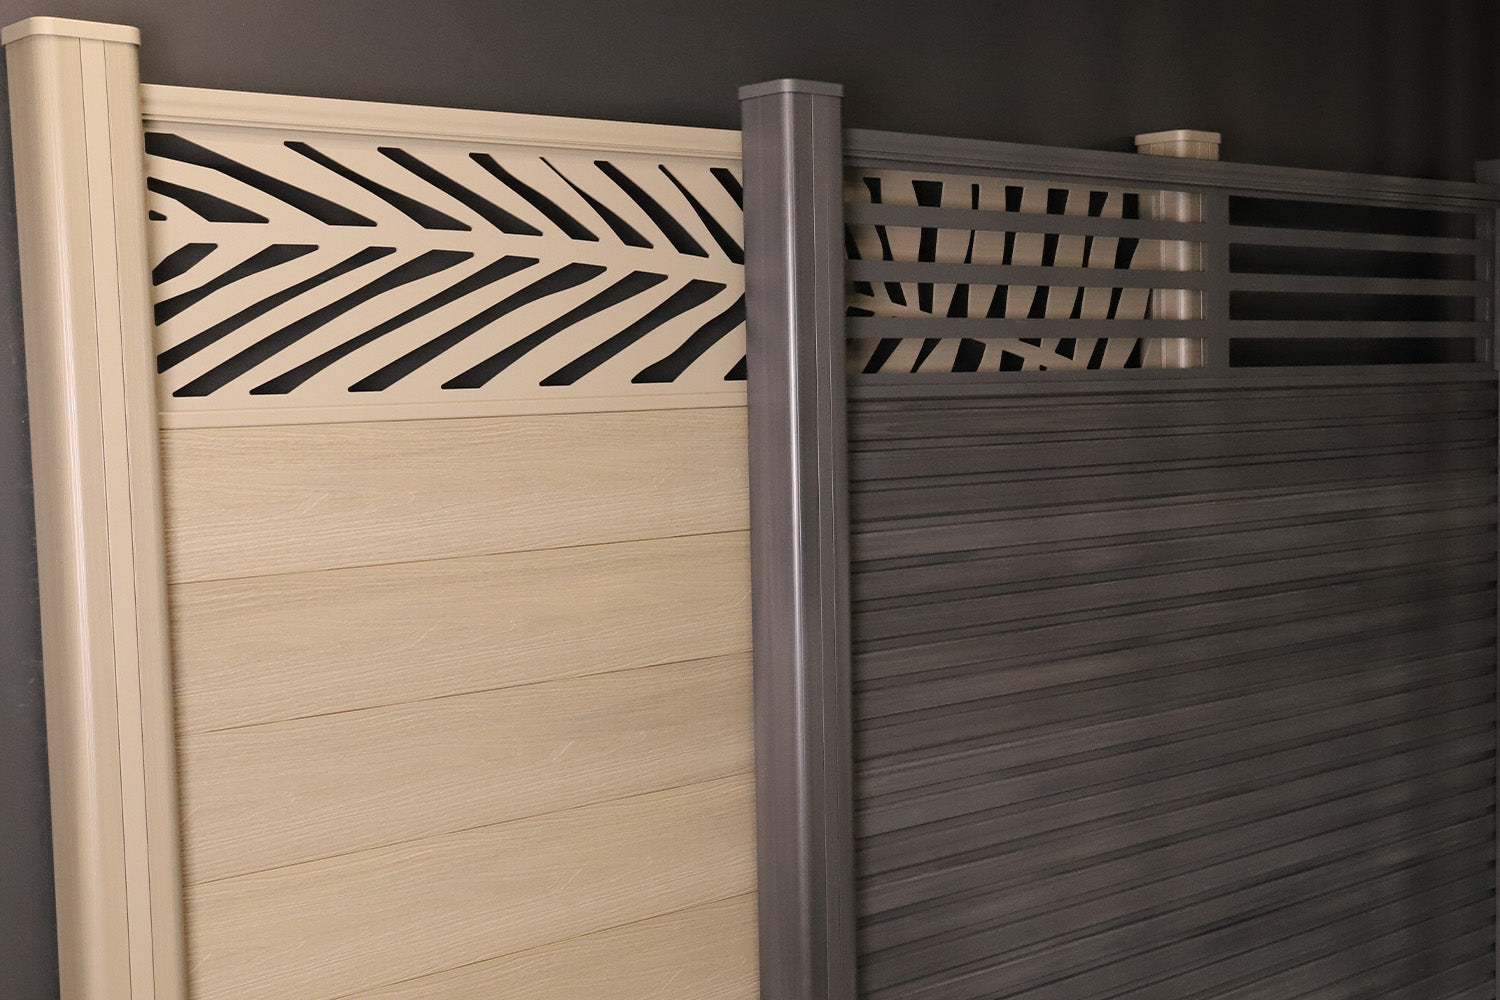
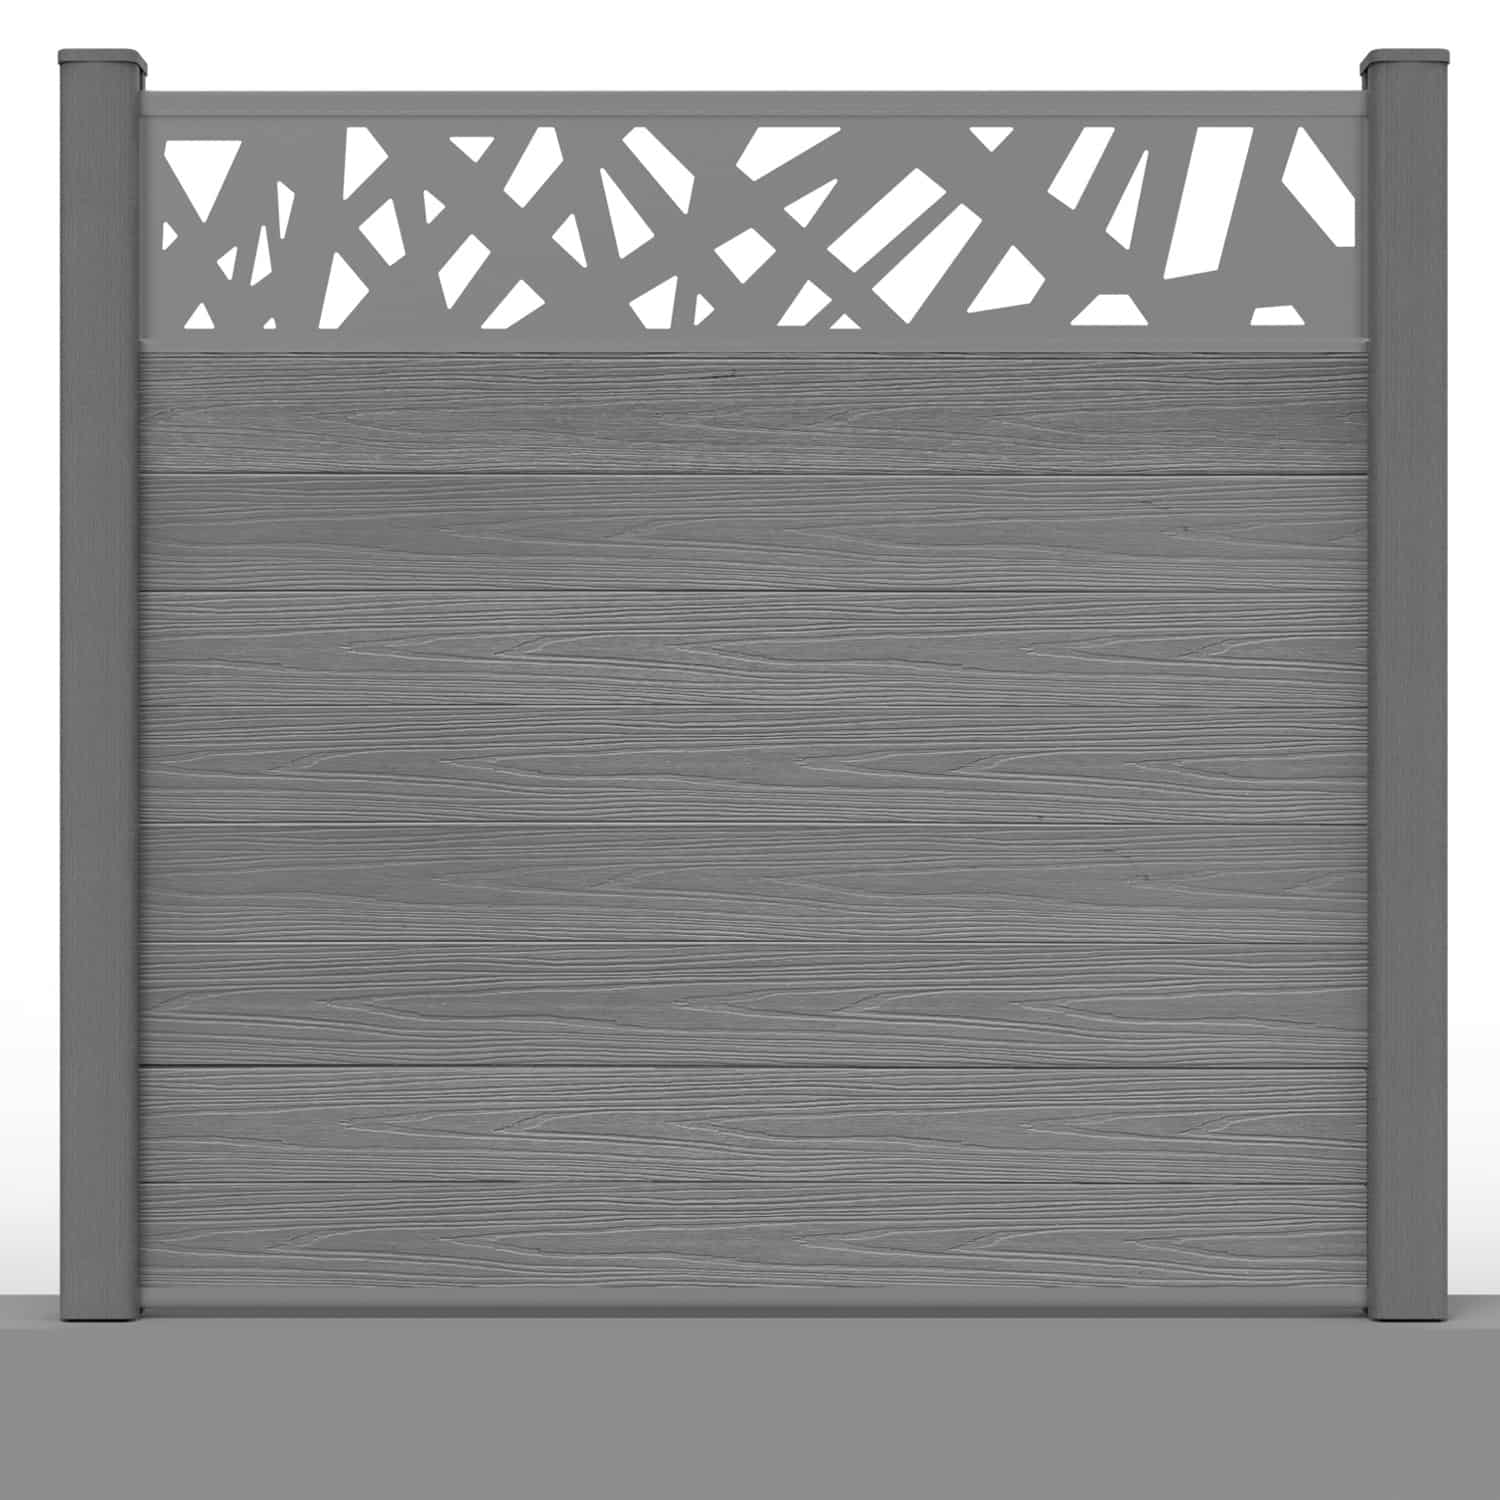
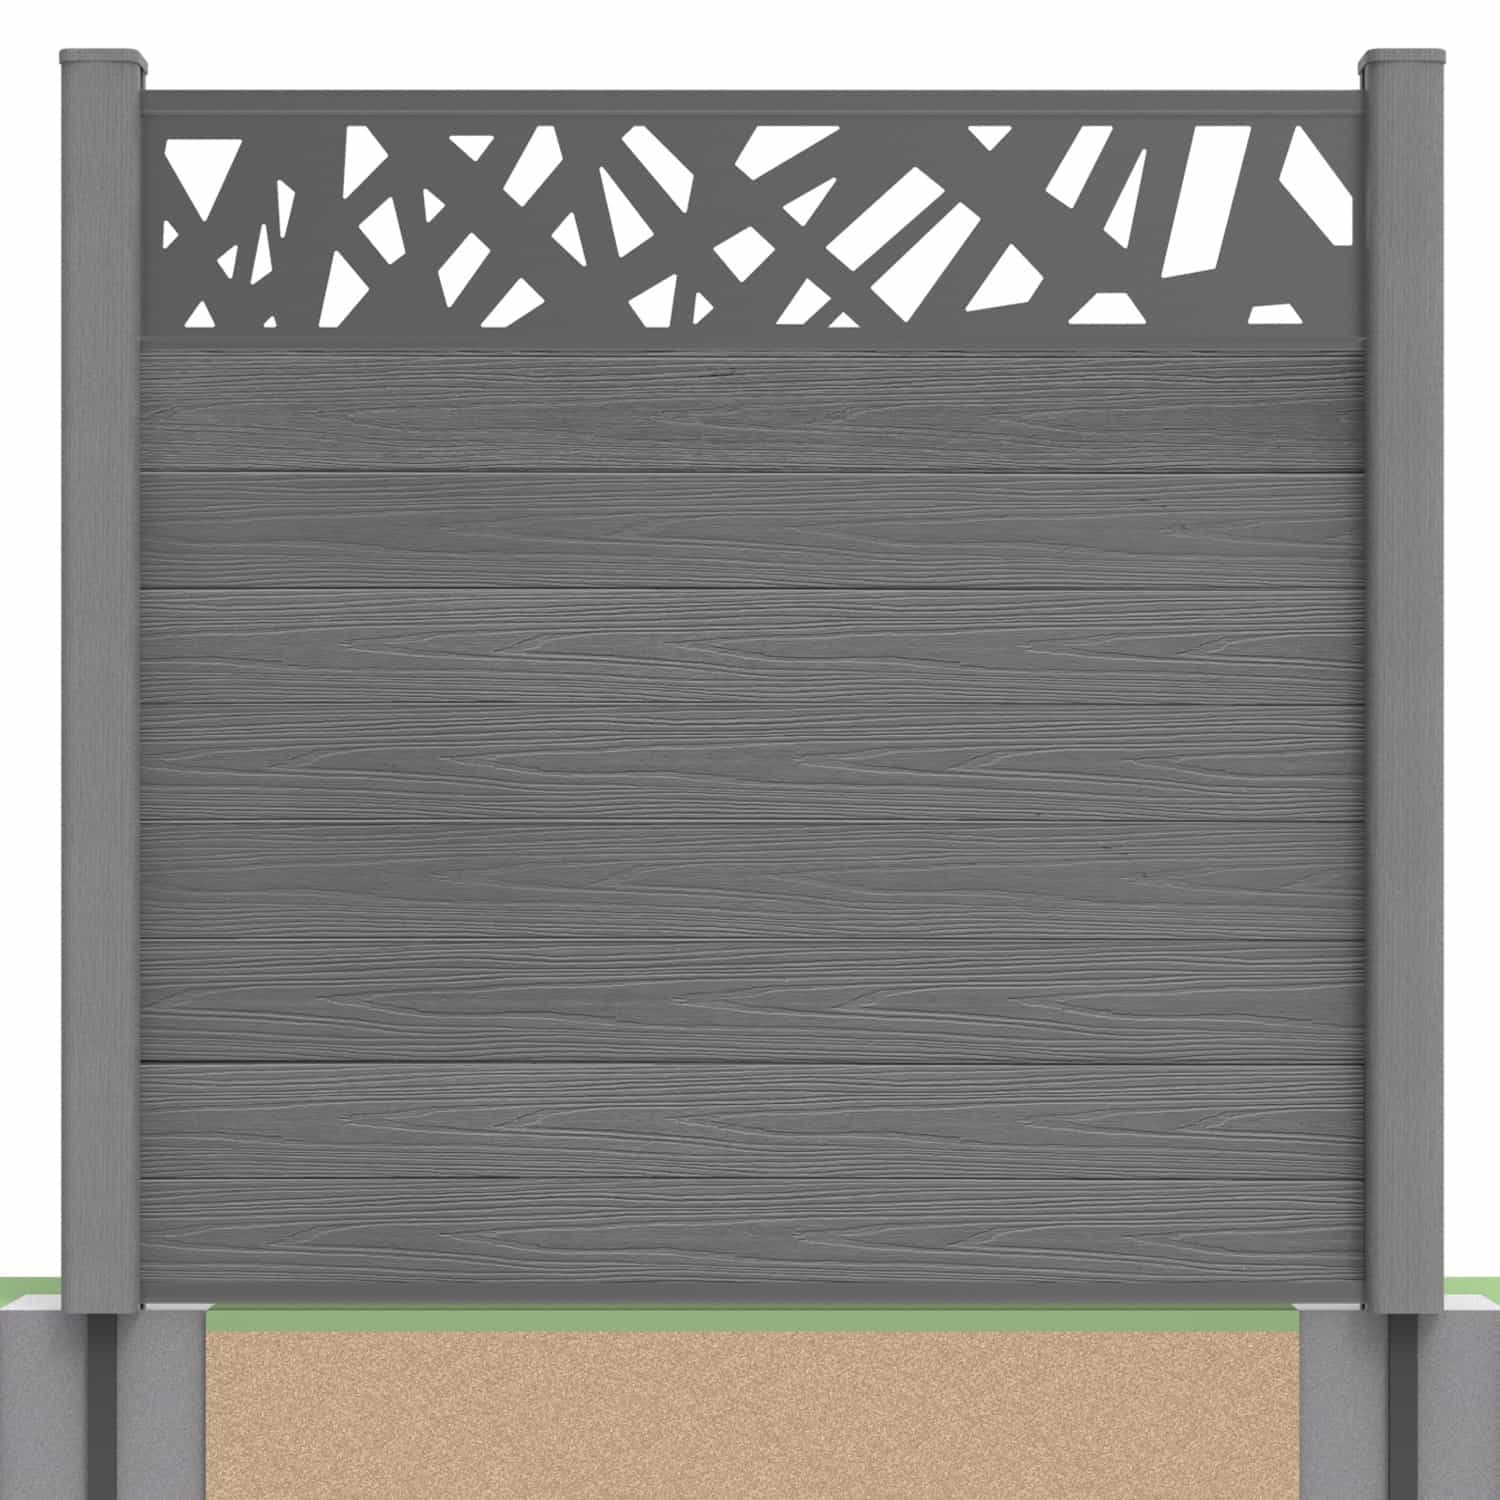
- Confirm any decorative screen configuration separately.
Board length is not automatically the same as the visible gap between posts. If an opening is wider than permitted, seek an approved layout change rather than extending the span.
3. Position and Secure the Aluminium Inserts
Set out the inserts on the suitable timber faces according to the product instructions. Check alignment and the intended panel position before drilling.

Use the specified fixing type, locations and spacing for the current system, with suitable engagement into sound timber. Do not substitute a generic screw size or number of fixings without confirming the requirements for the selected insert and arrangement.
Pre-drill where required by the instructions and avoid splitting the post or distorting the aluminium profile. Check that the channel remains aligned for the boards and rails.
Cutting Inserts or Boards
Where shortening is permitted, use methods suitable for the material. Aluminium inserts and rails require appropriate metal-cutting equipment or blades; do not automatically use the board-cutting setup for them.
For composite boards, follow the cutting guide and current product instructions. Preserve the required channel engagement and movement allowance, and avoid modifying the interlocking profile without approval.
4. Fit the Bottom Rail and Build the Panel
Install the bottom capping rail using the specified bracket and fixing arrangement. It forms part of the panel assembly, so confirm its support, position and connection before adding boards.

Stack the compatible tongue-and-groove boards in the approved orientation and sequence, checking fit as you go. Keep the specified clearances and do not force components into misaligned channels.
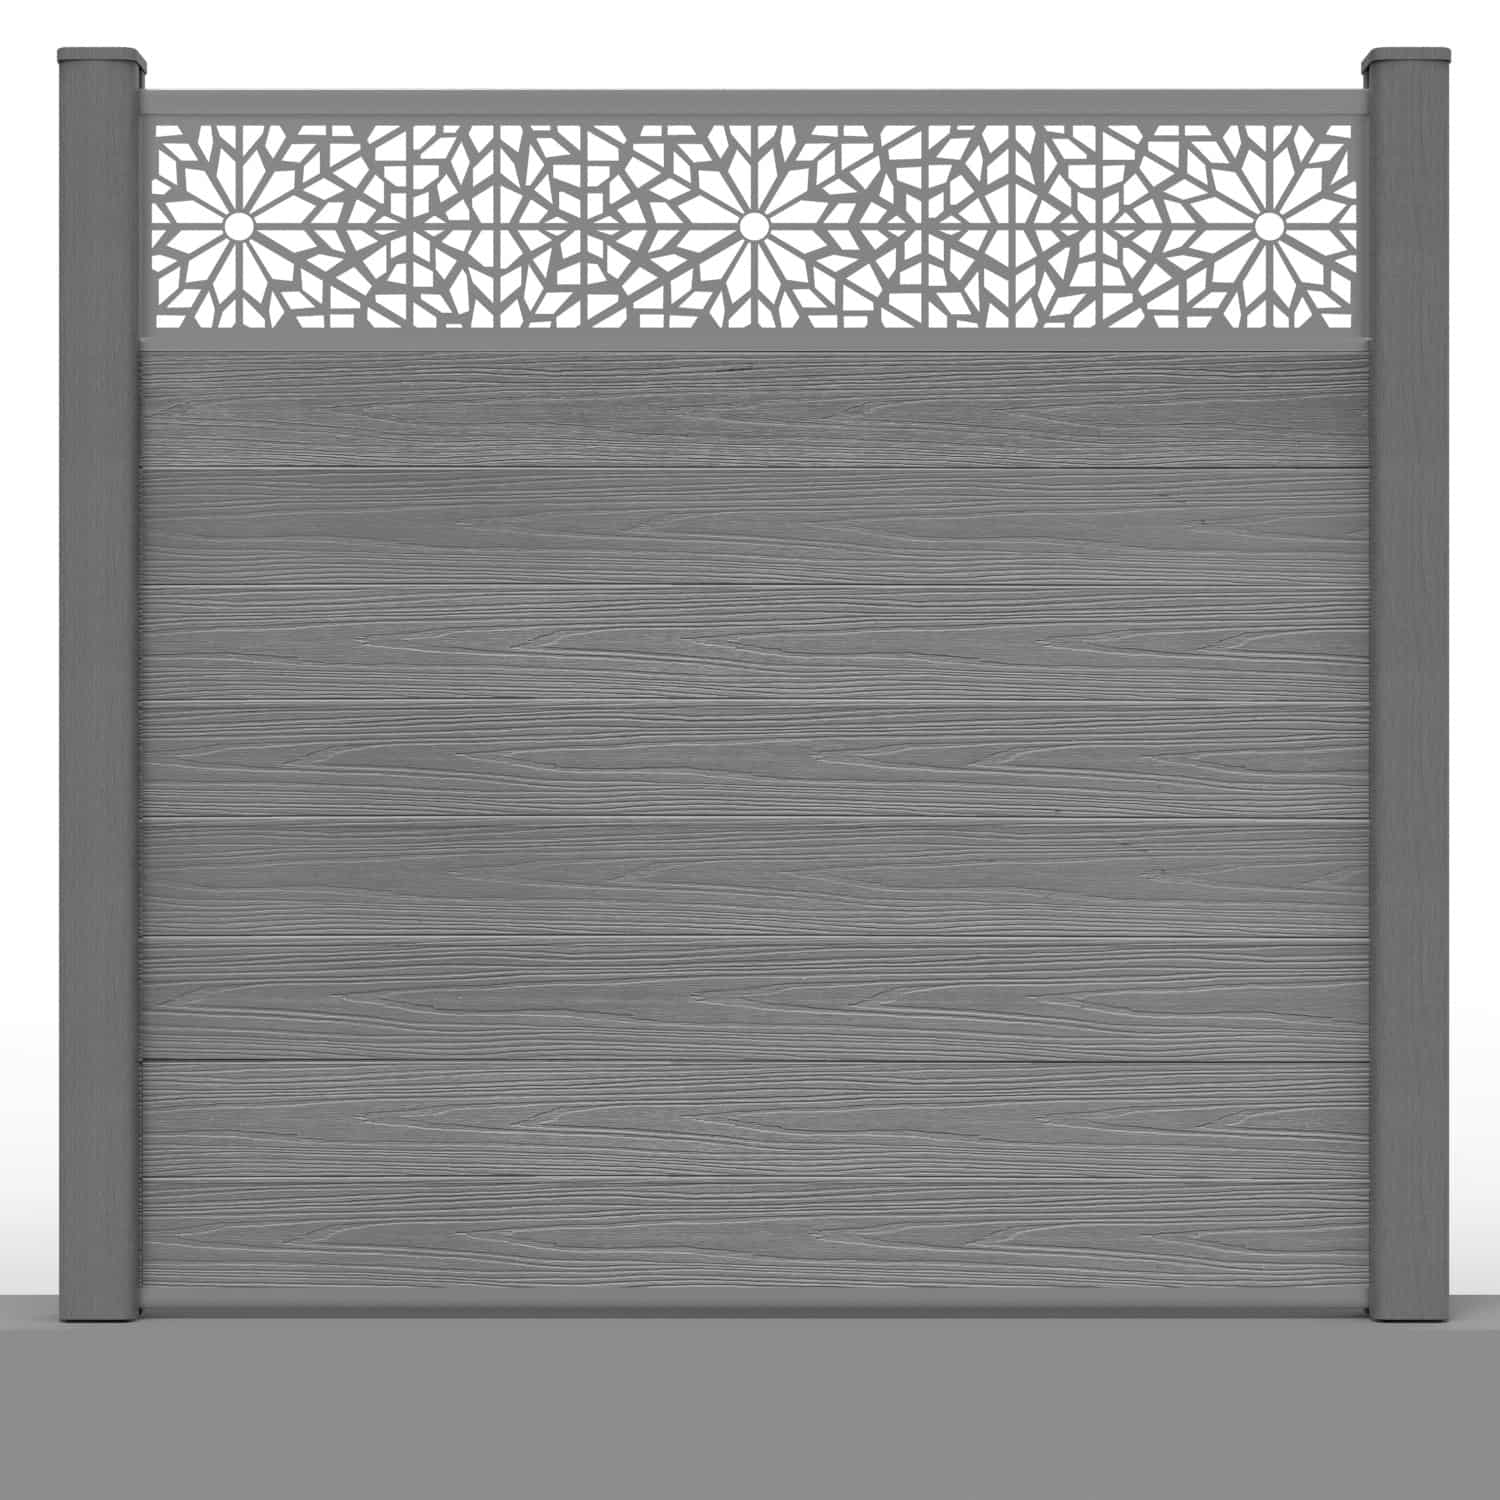
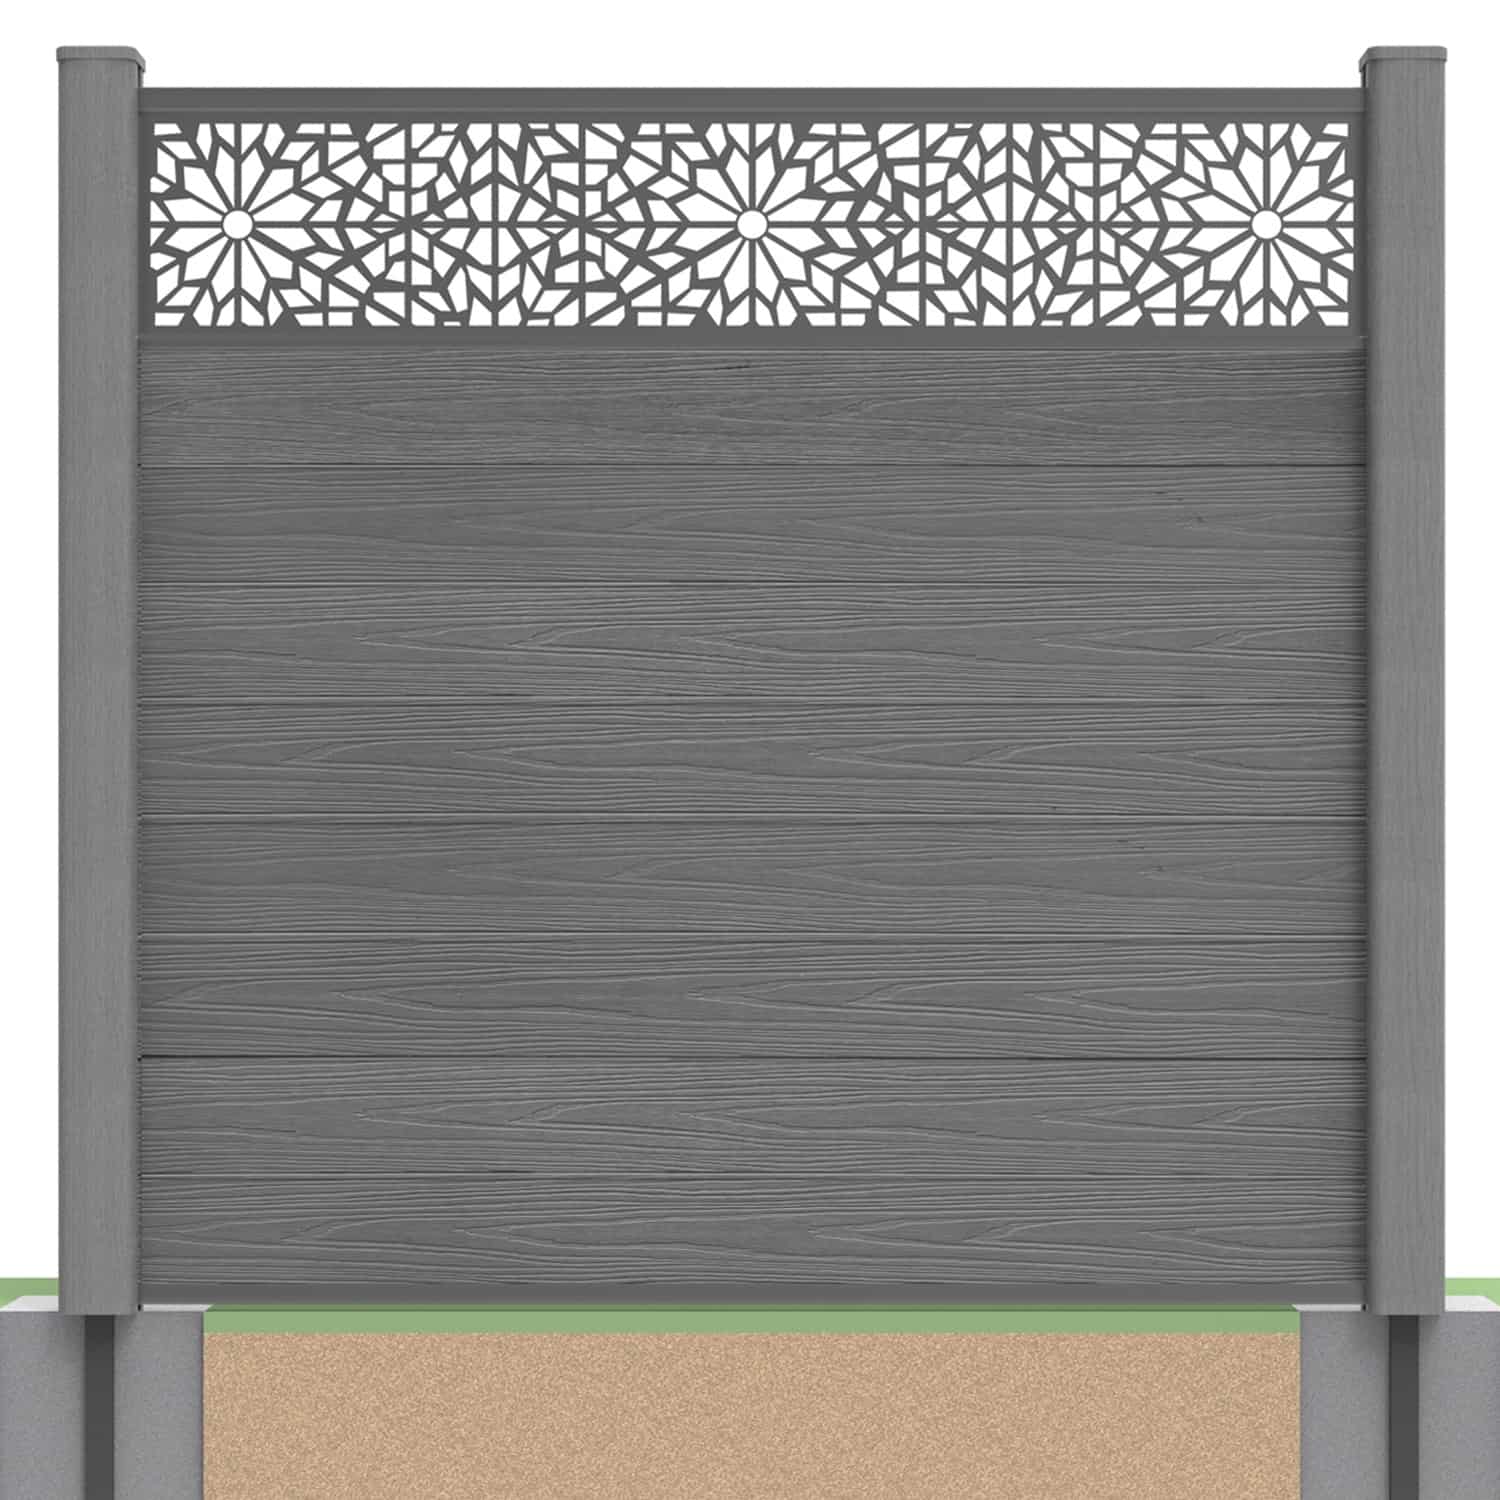
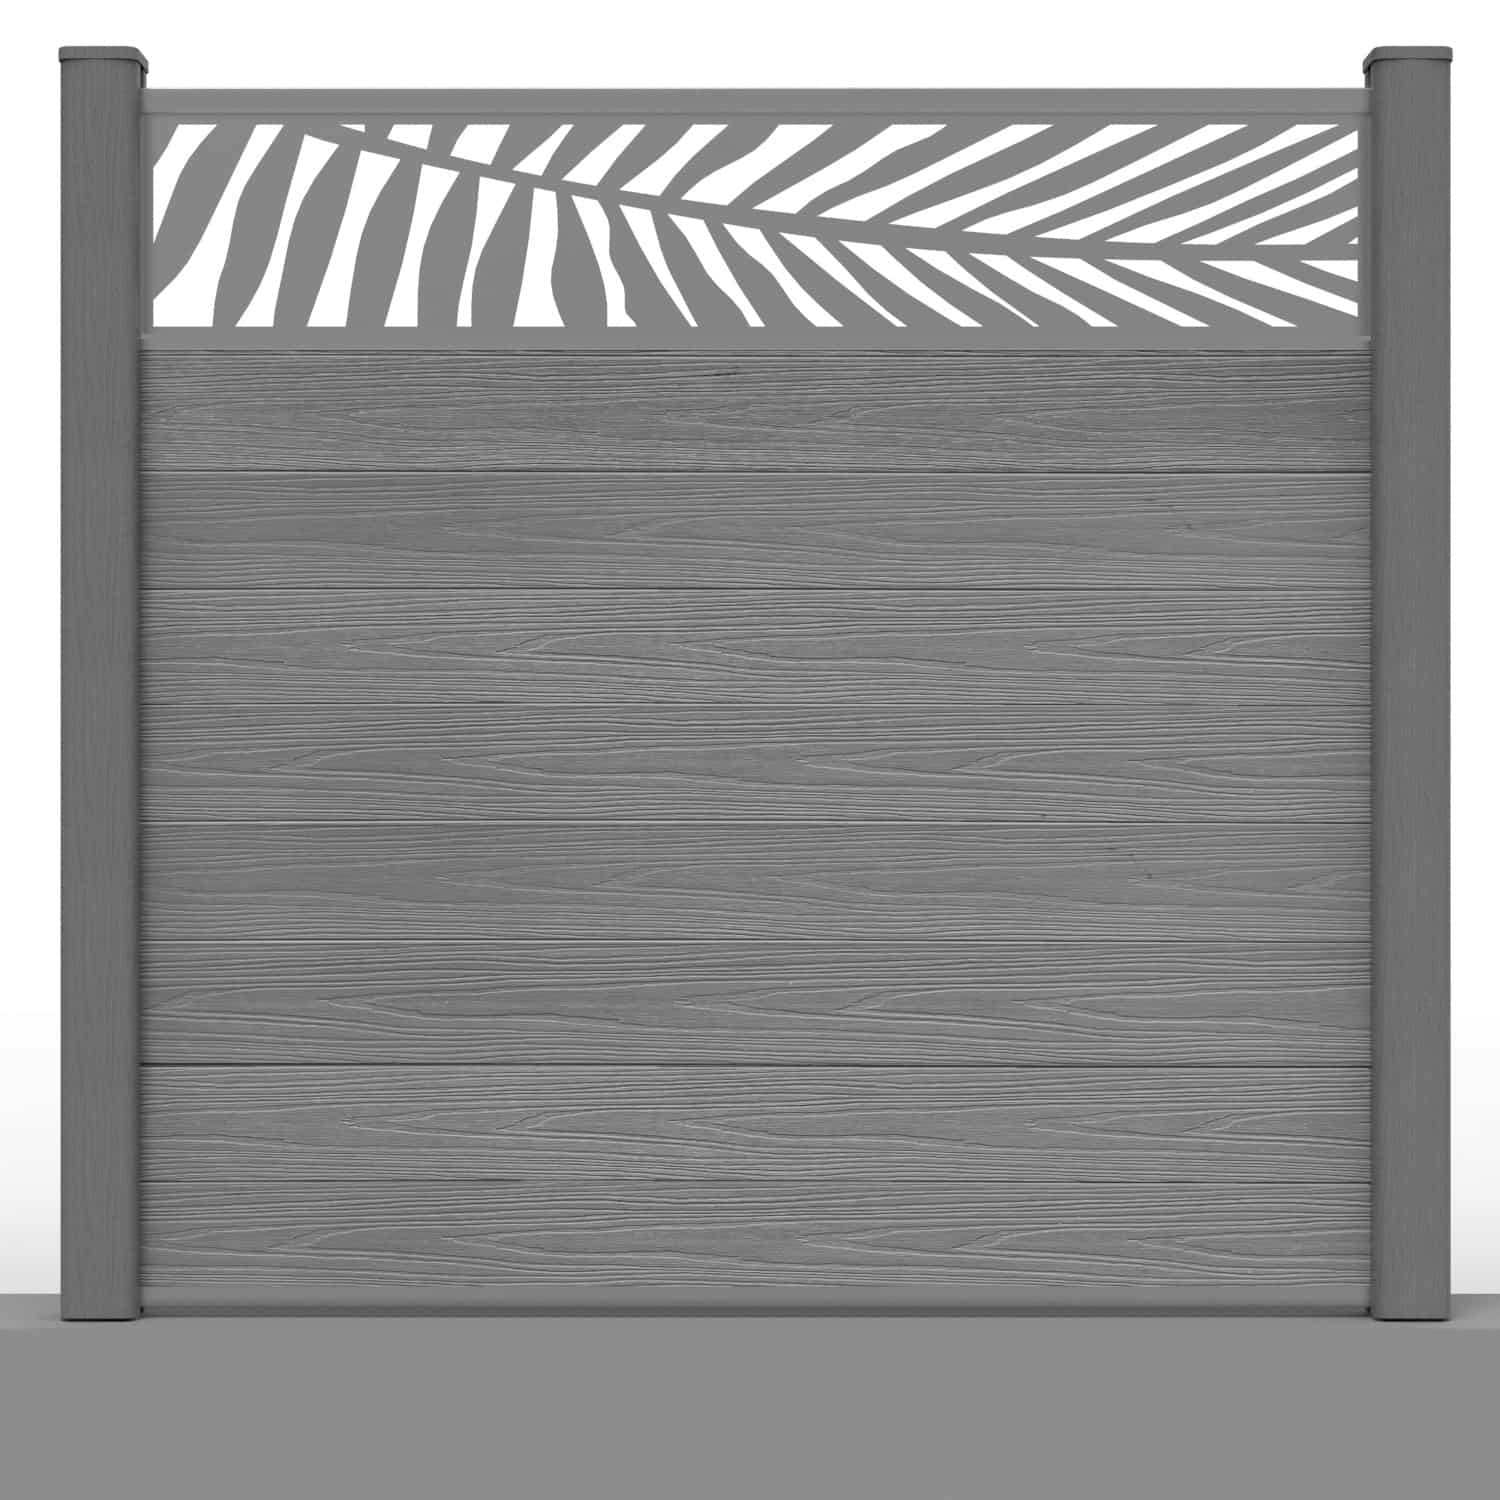
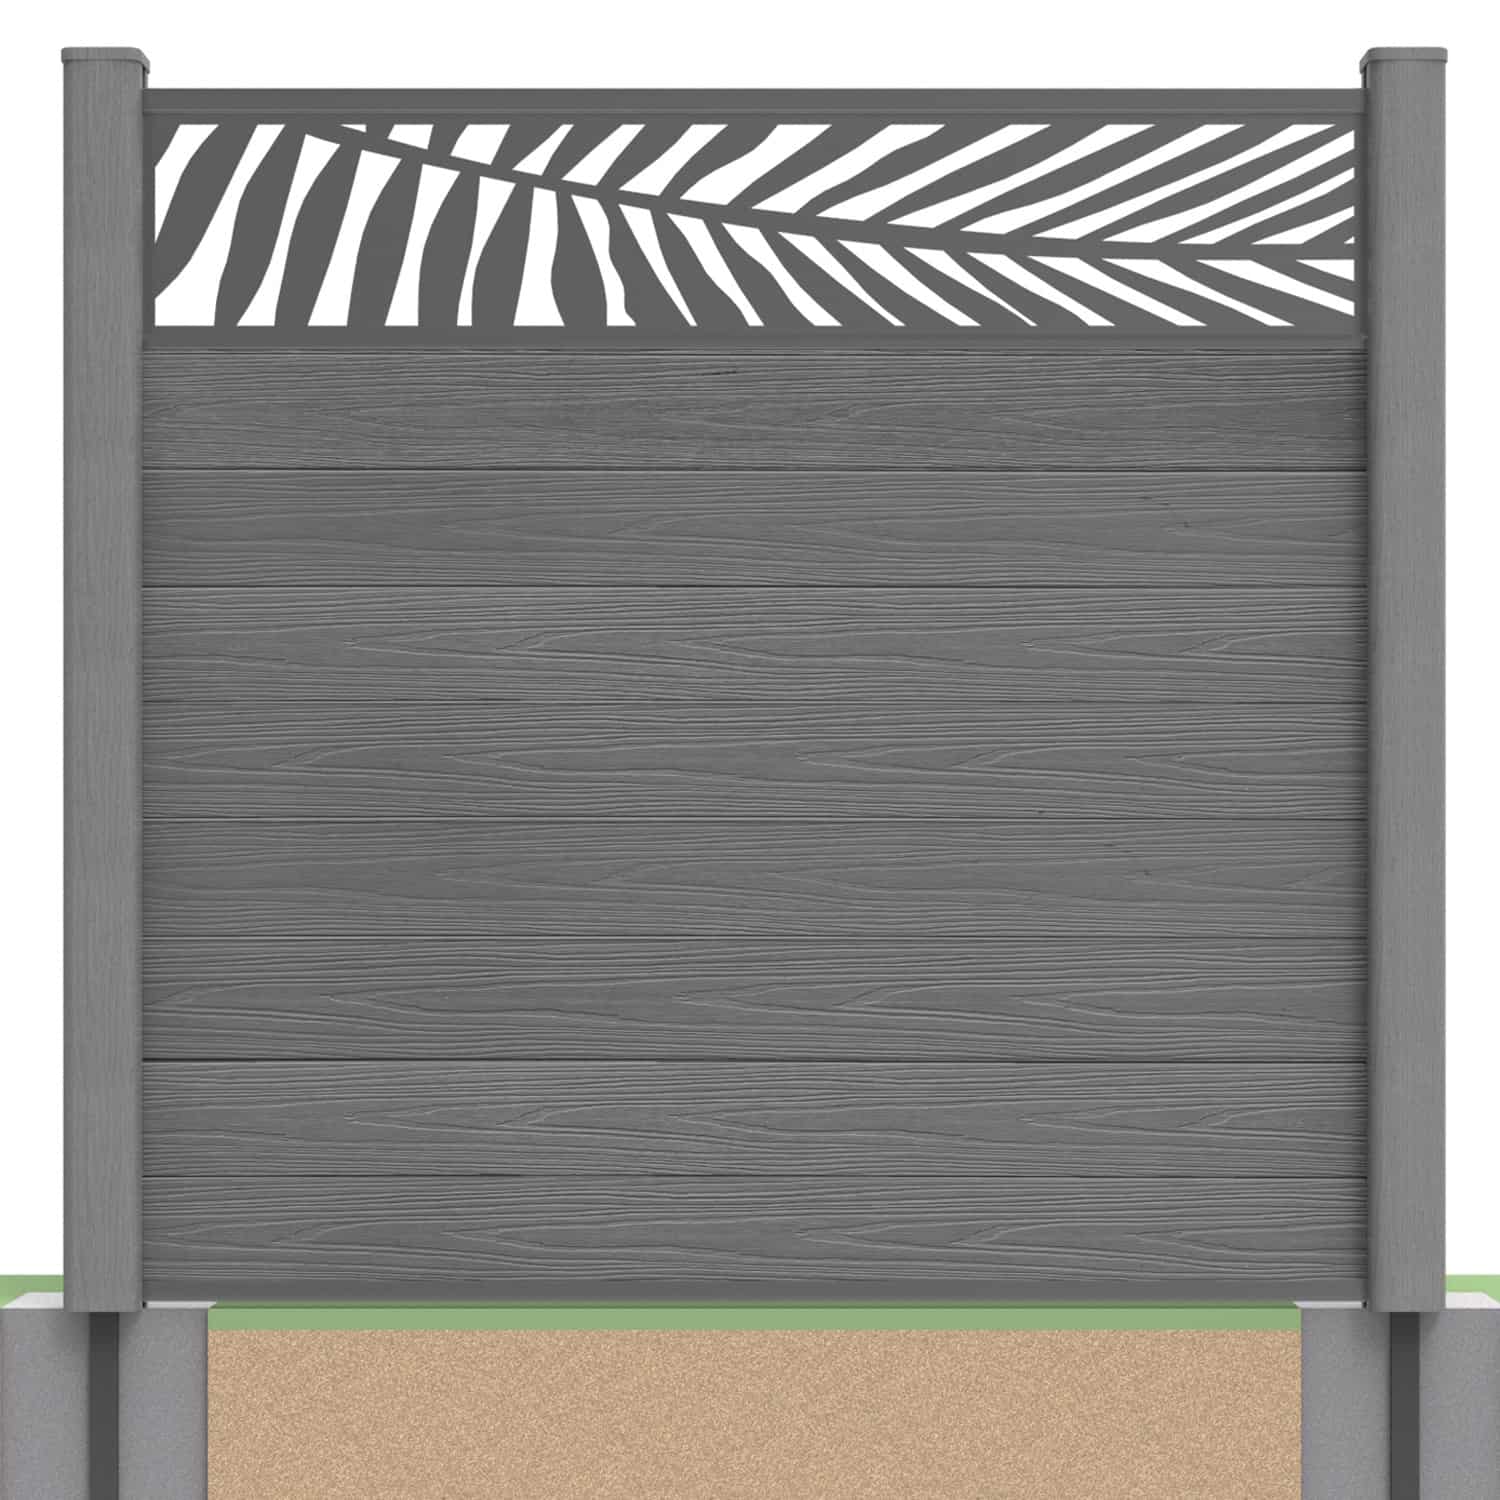
Complete the assembly with the top rail and required fixings. Refer to the panel installation guidance for the exact configuration. A decorative screen changes the upper assembly and needs its own approved detail.
Check the Finished Retrofit
Inspect alignment, board engagement, rail connections and post stability. Resolve unexpected looseness or distortion before considering the work complete. Do not treat the fresh panel finish as proof that the retained supports are sound.
Keep the installation and product records, and follow the care guidance. The composite surface avoids routine painting or staining, but still needs suitable cleaning and inspection.
Read the applicable warranty terms separately. Conditional product cover does not repair unsuitable existing posts or guarantee an unchanged appearance indefinitely.
Timber Post Retrofit FAQs
Can I fix composite fencing to wooden fence posts?
Potentially, where the posts and foundations are suitable and compatible with the selected inserts and panel system. Assess condition and dimensions first.
Do aluminium inserts strengthen rotten posts?
No. They provide board channels, not a repair for decay, splitting or inadequate foundations.
Can I use any screws?
Use the fixing specification in the current instructions for the exact product and arrangement. Confirm uncertain details with the supplier before drilling.
Can the boards be shortened for an existing opening?
Where permitted, follow the cutting instructions and required engagement and clearances. Measure with the actual insert and rail arrangement in mind.
Can I add height by stacking more boards?
Only within the approved specification. Height affects the suitability of the posts, foundations and complete assembly.
Can these timber posts also support a gate?
Do not assume so. Moving gates have different loads and fitting requirements. Follow the selected gate’s specified support arrangement.
Confirm the Supports Before Ordering the Finish
Assess the timber, measure the complete opening and check the required components. Explore NeoTimber® composite fencing products or contact our team with measurements and photographs for help reviewing compatibility.