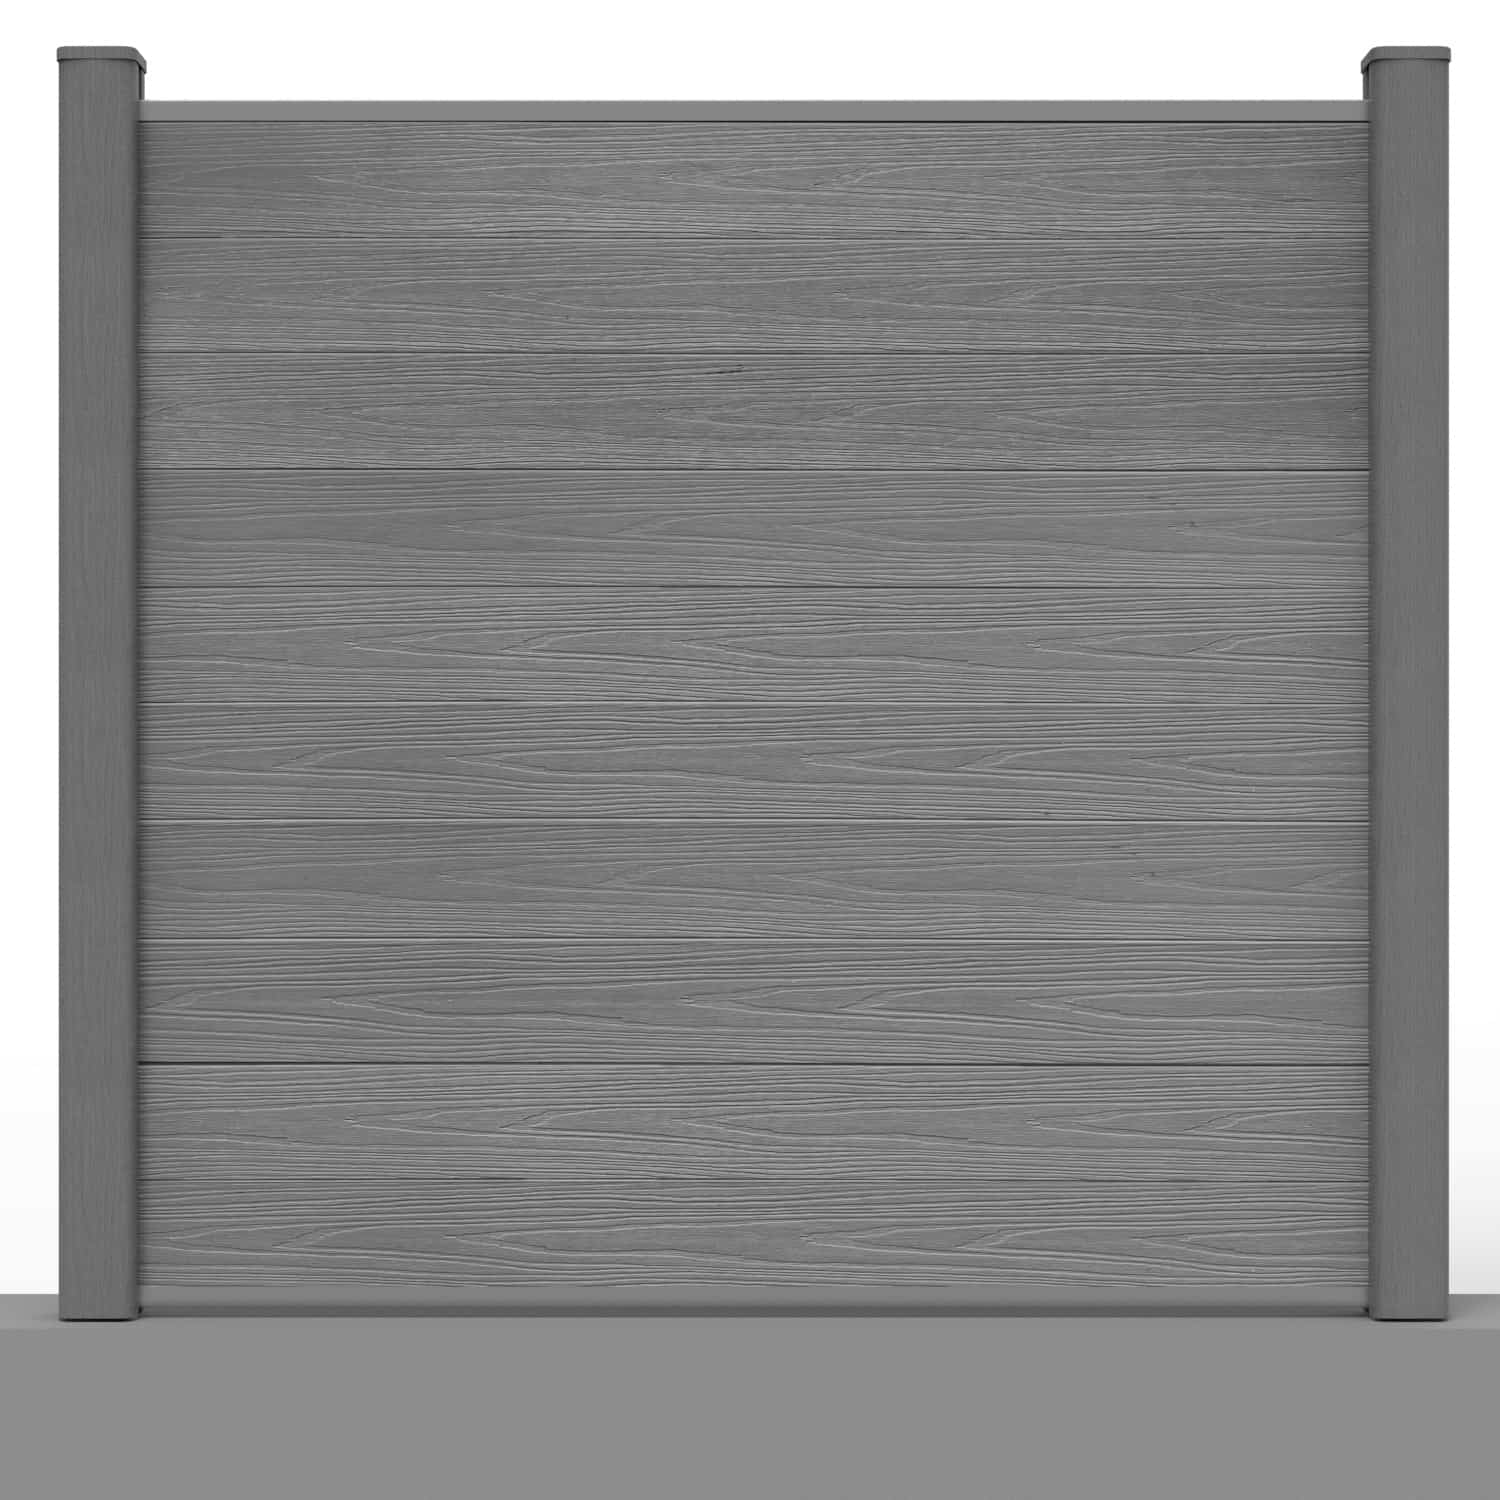
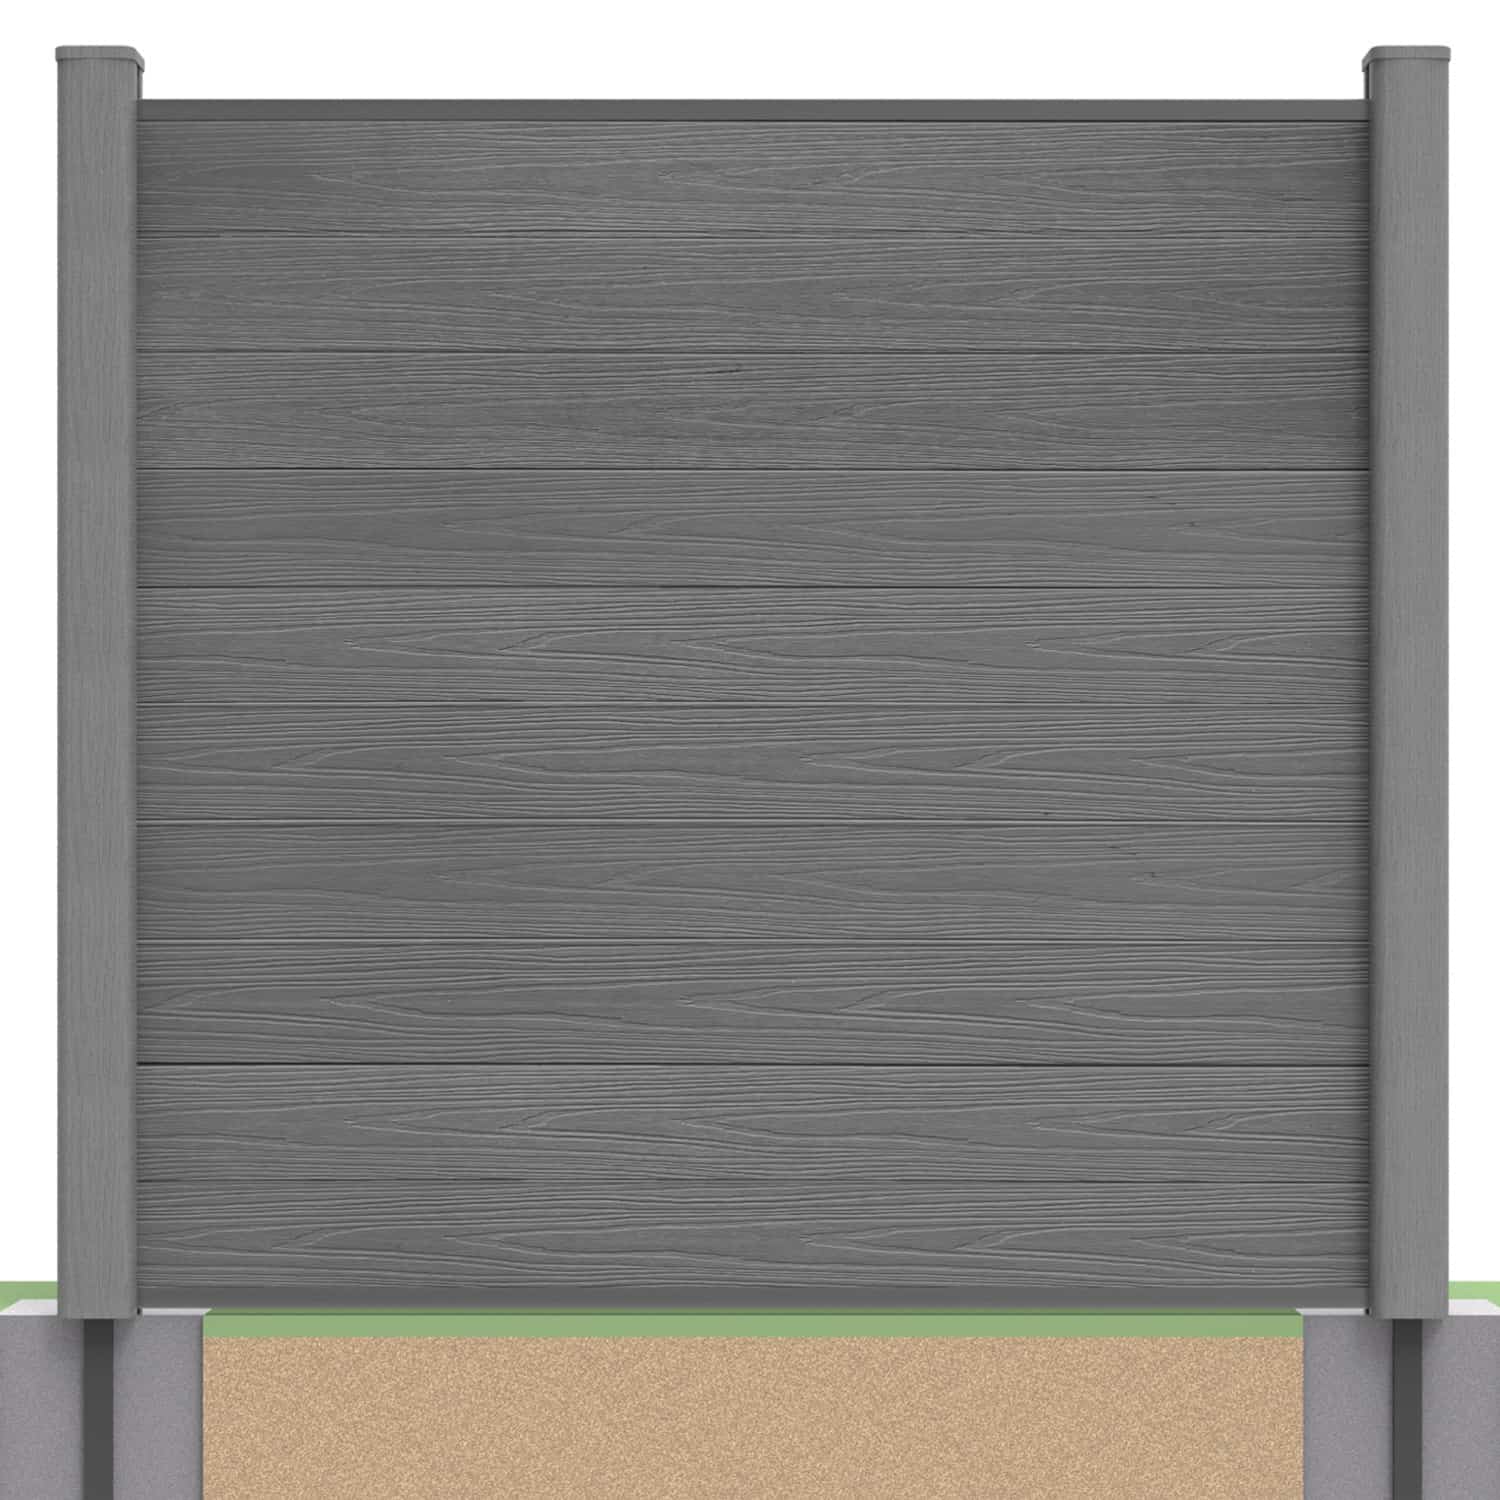
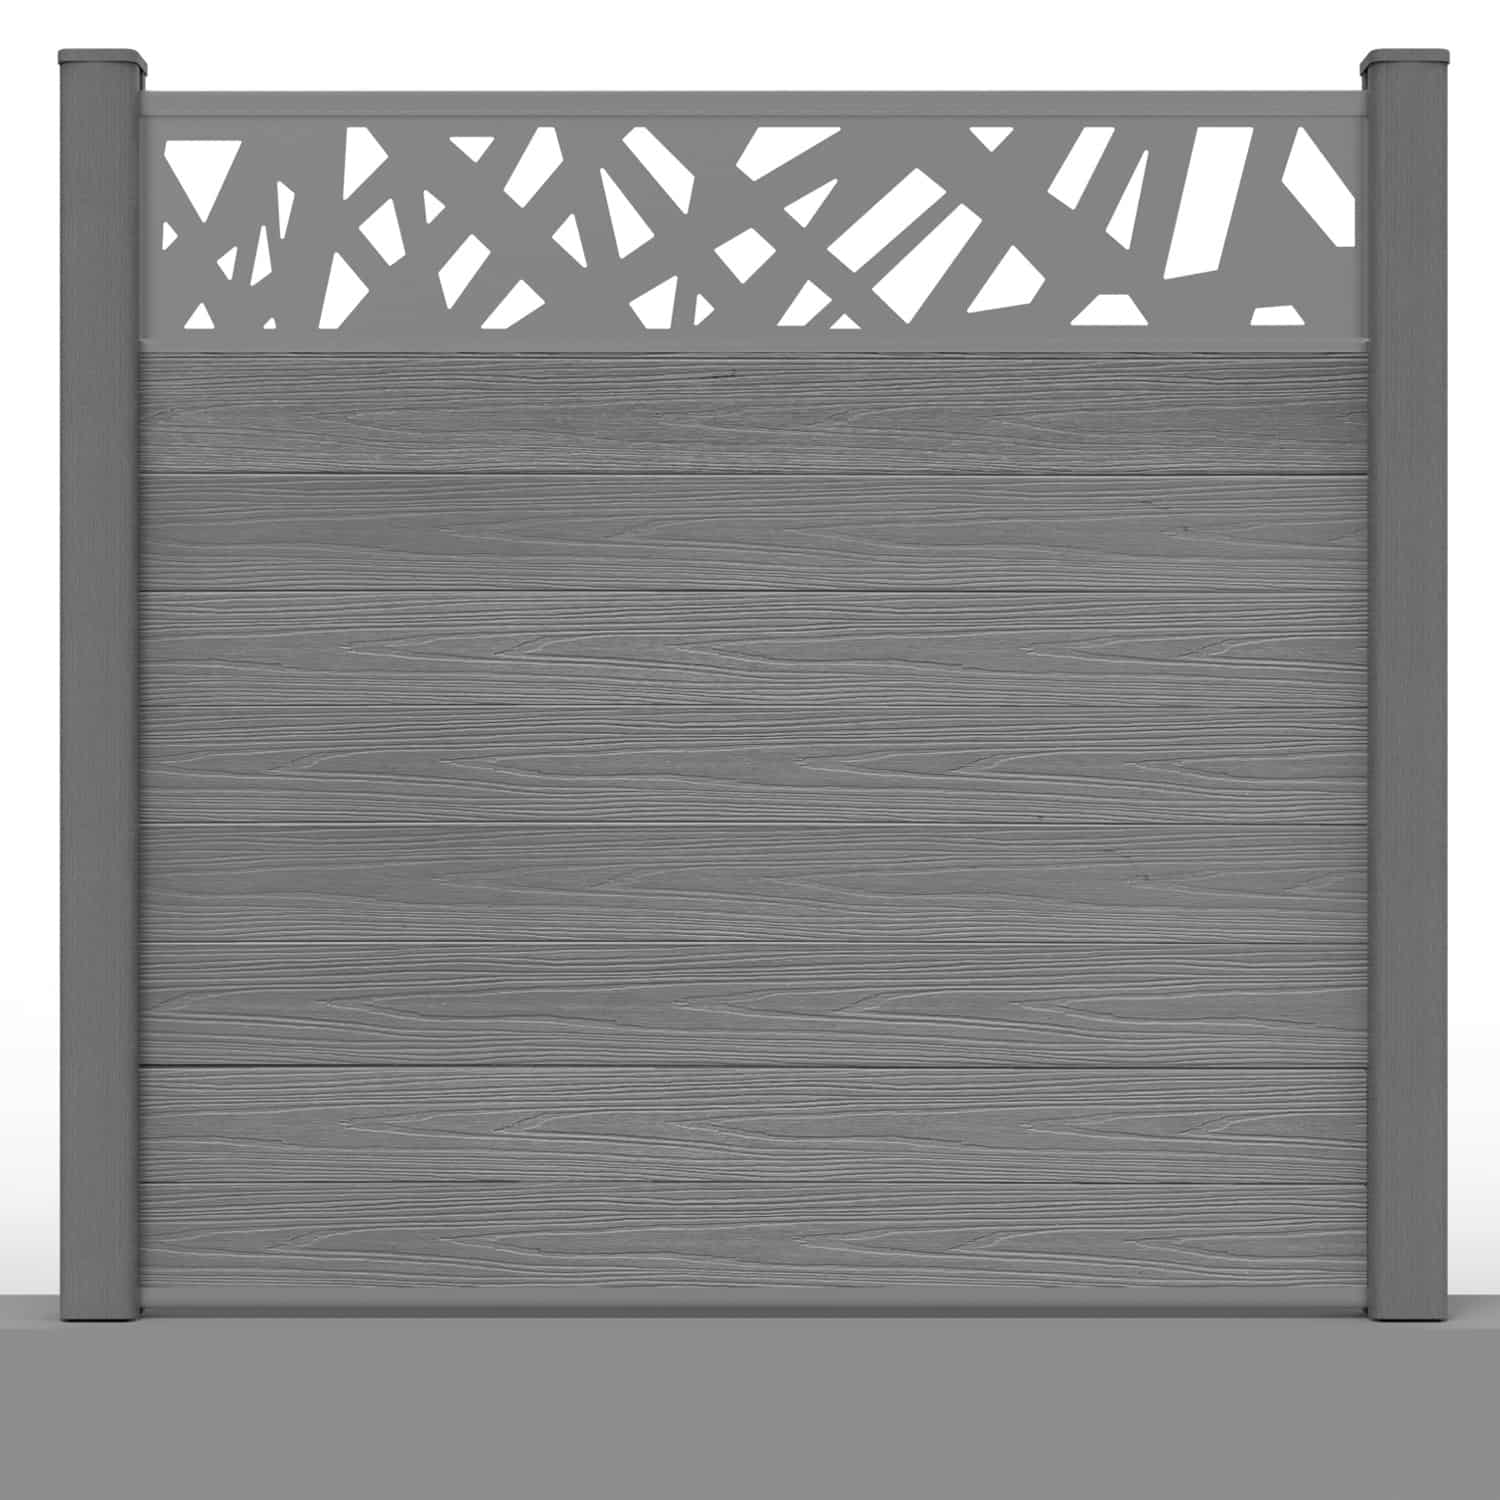
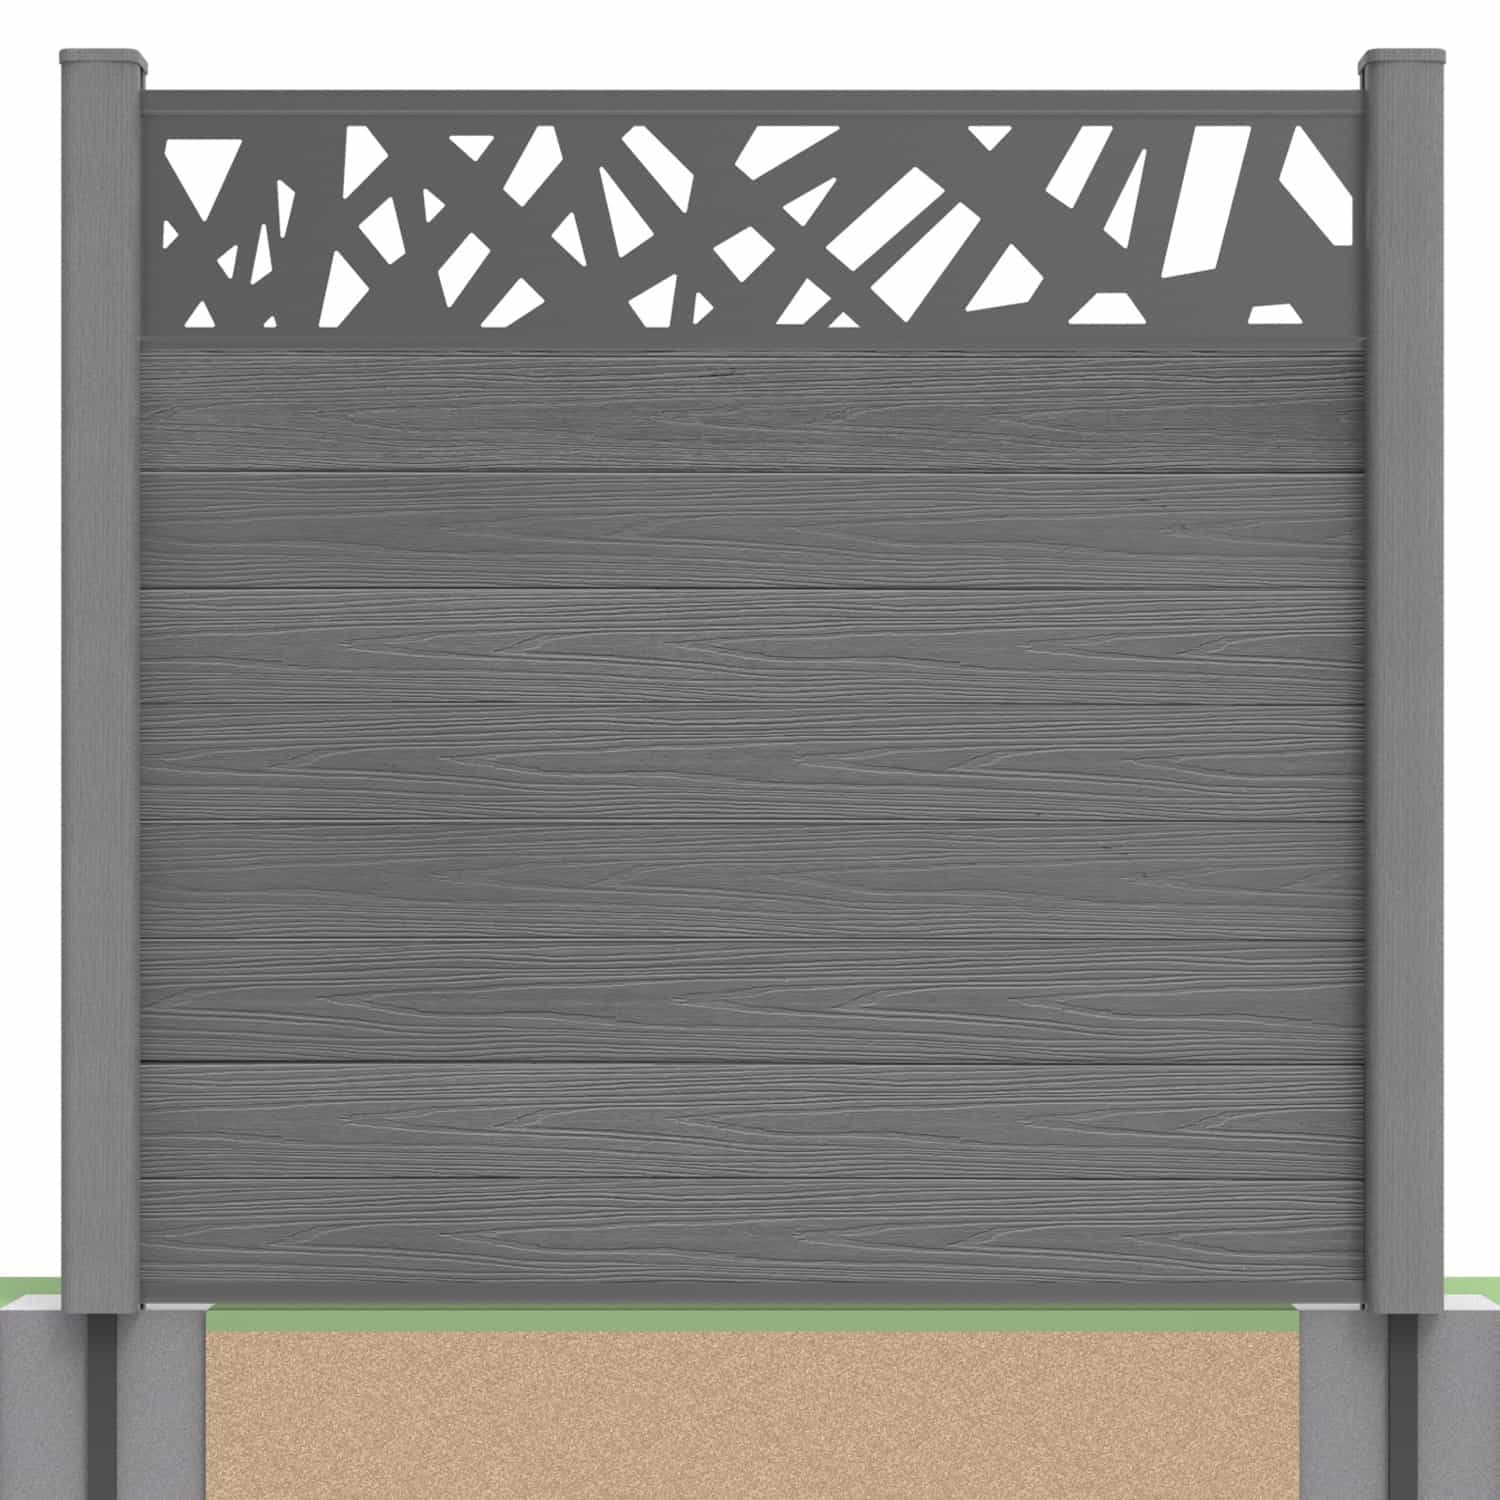
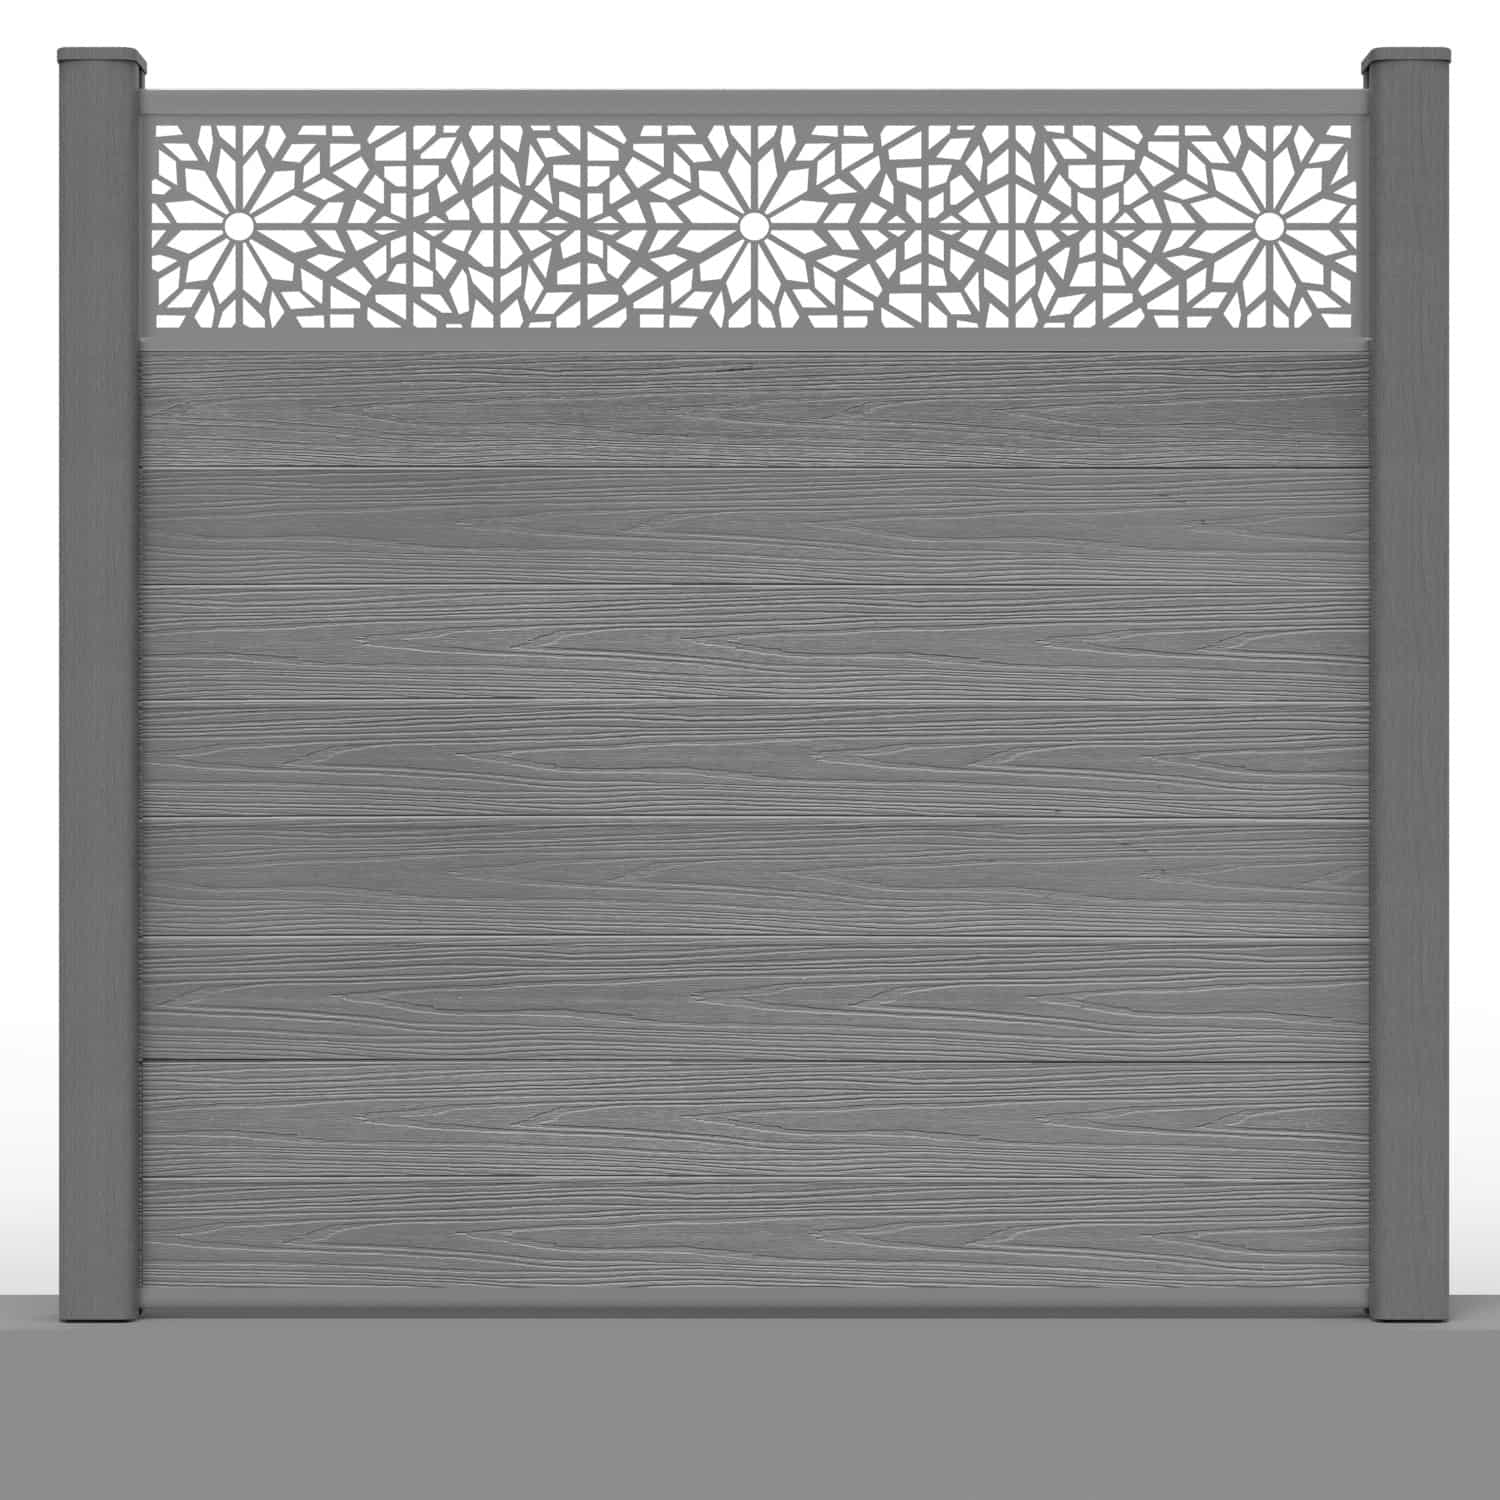
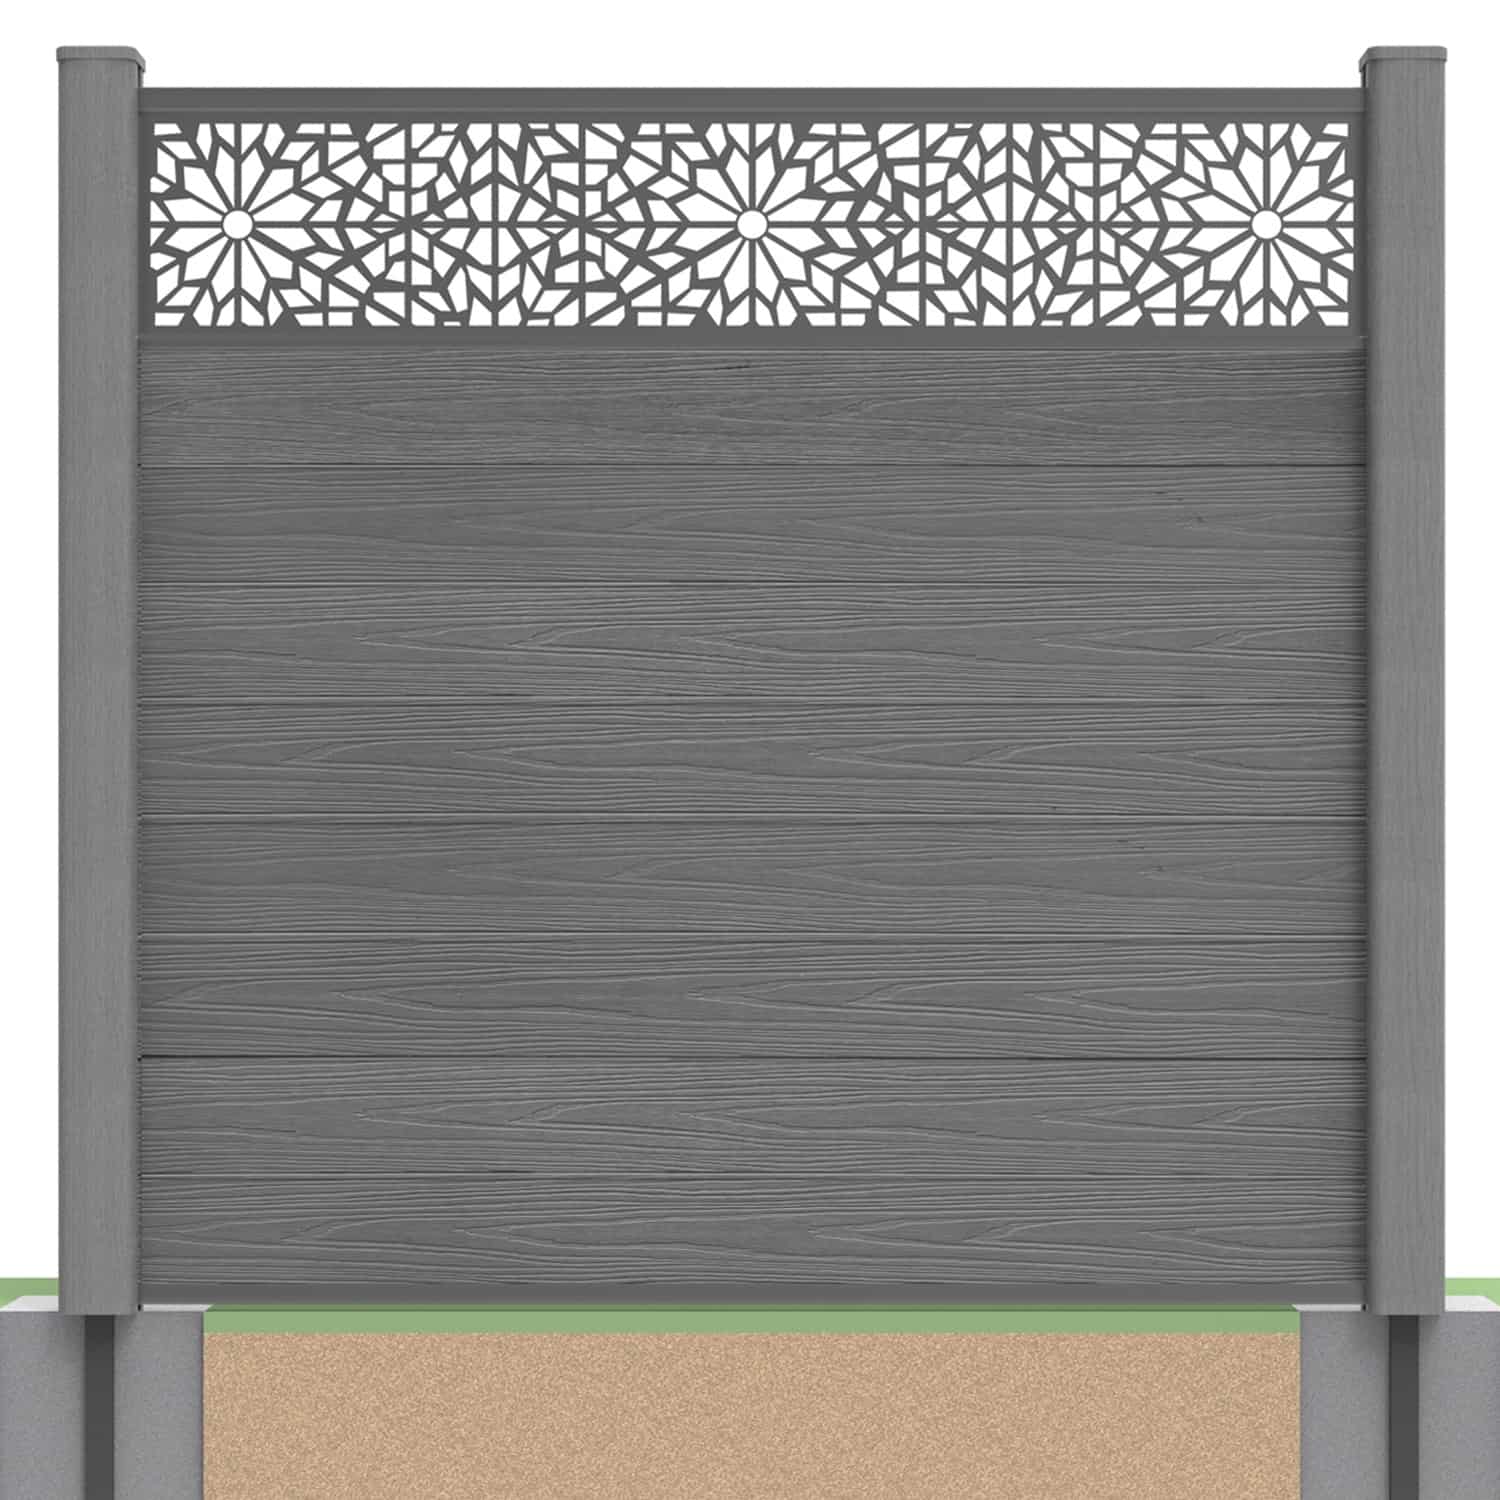
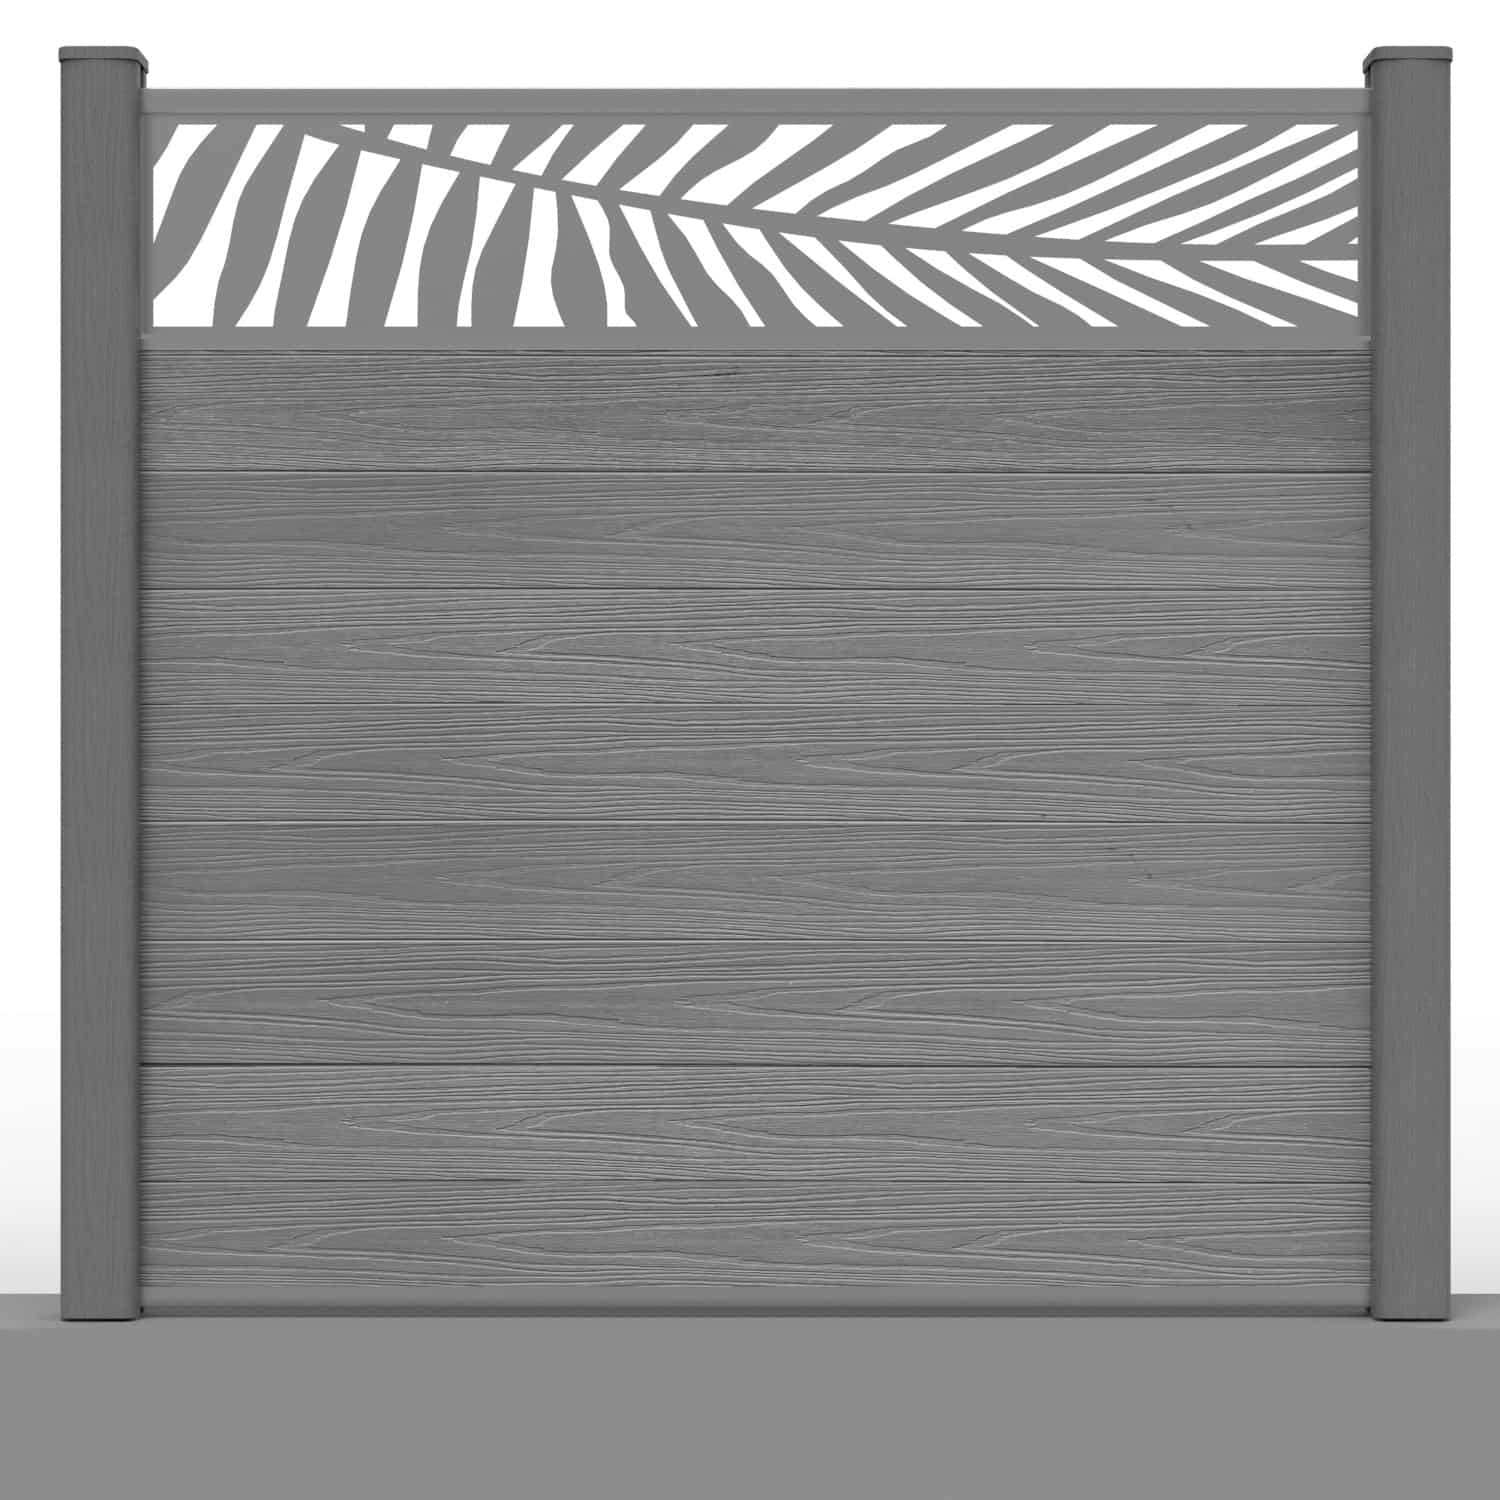
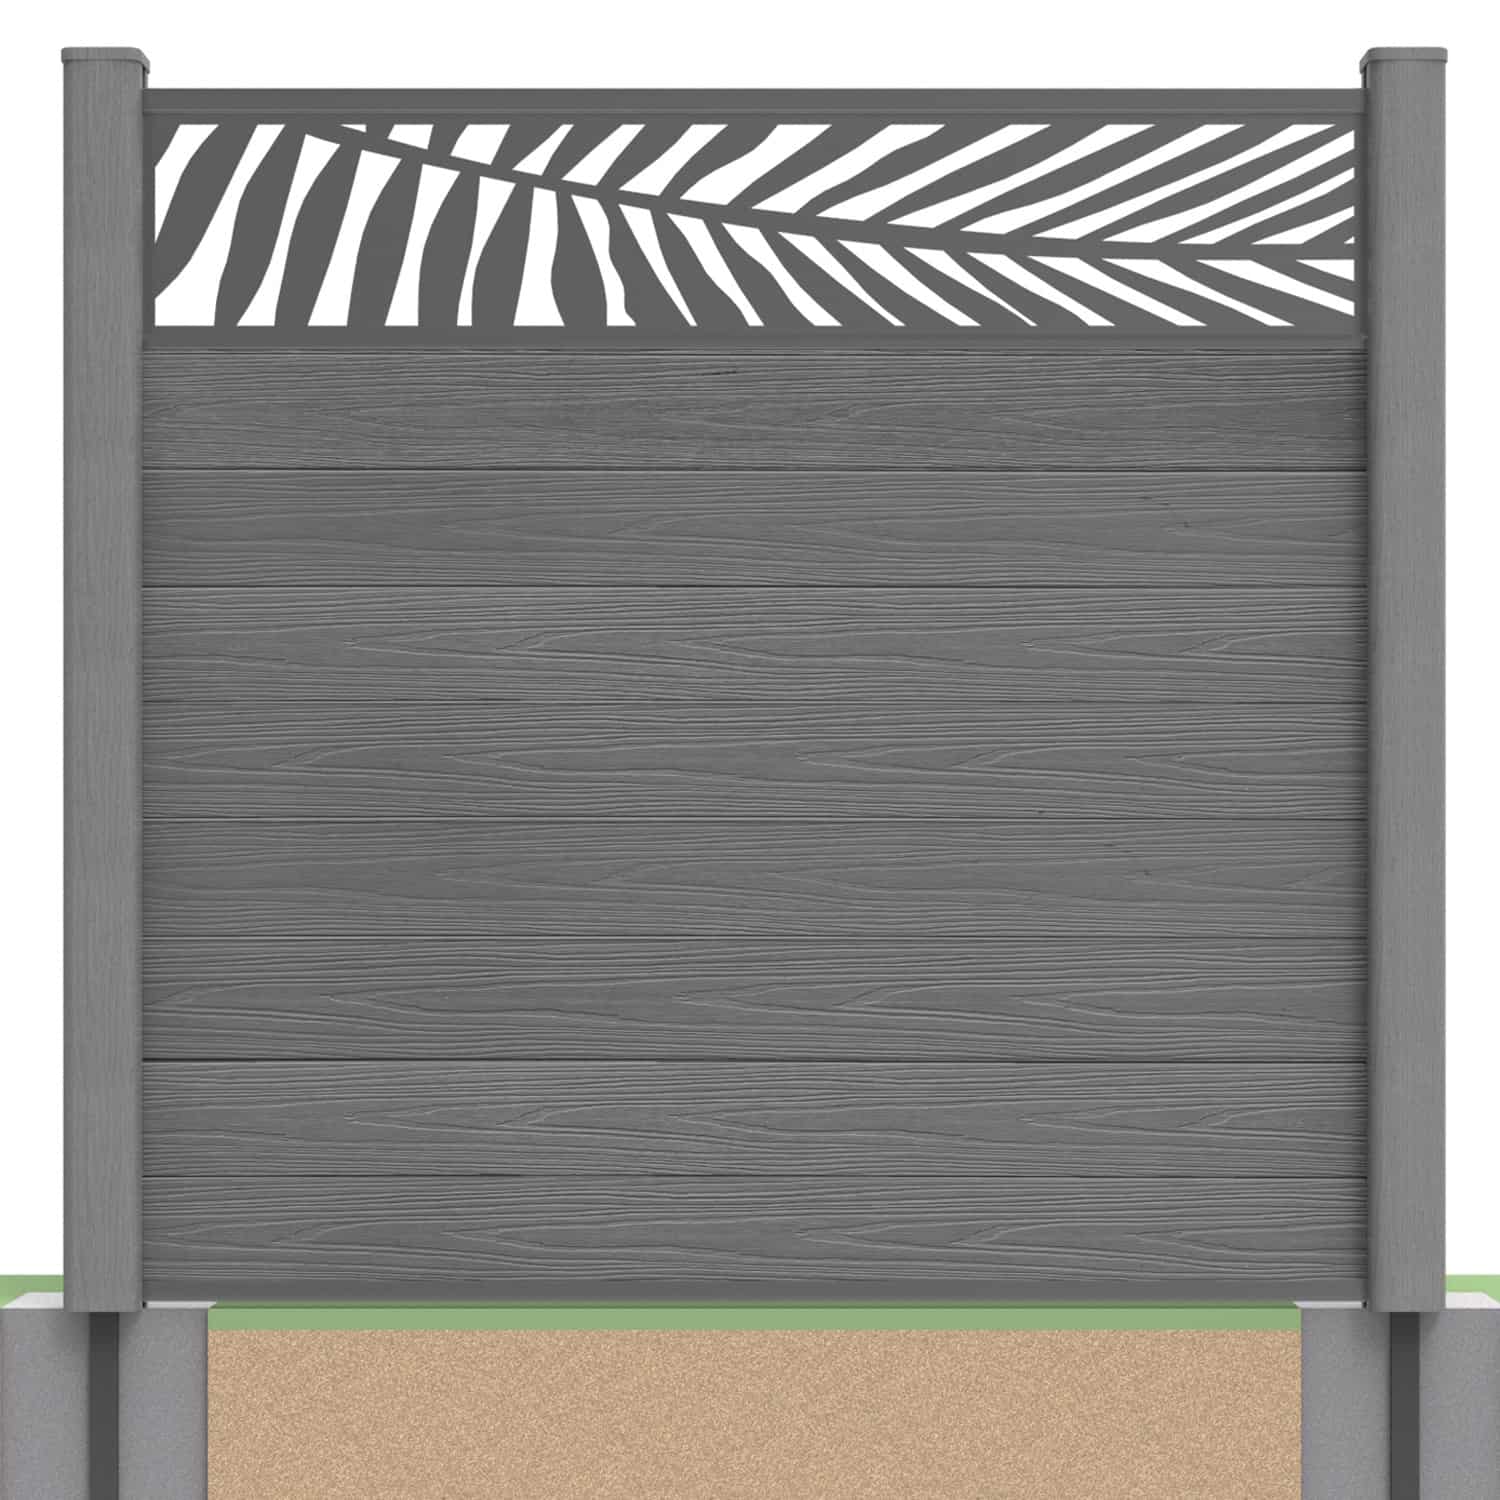
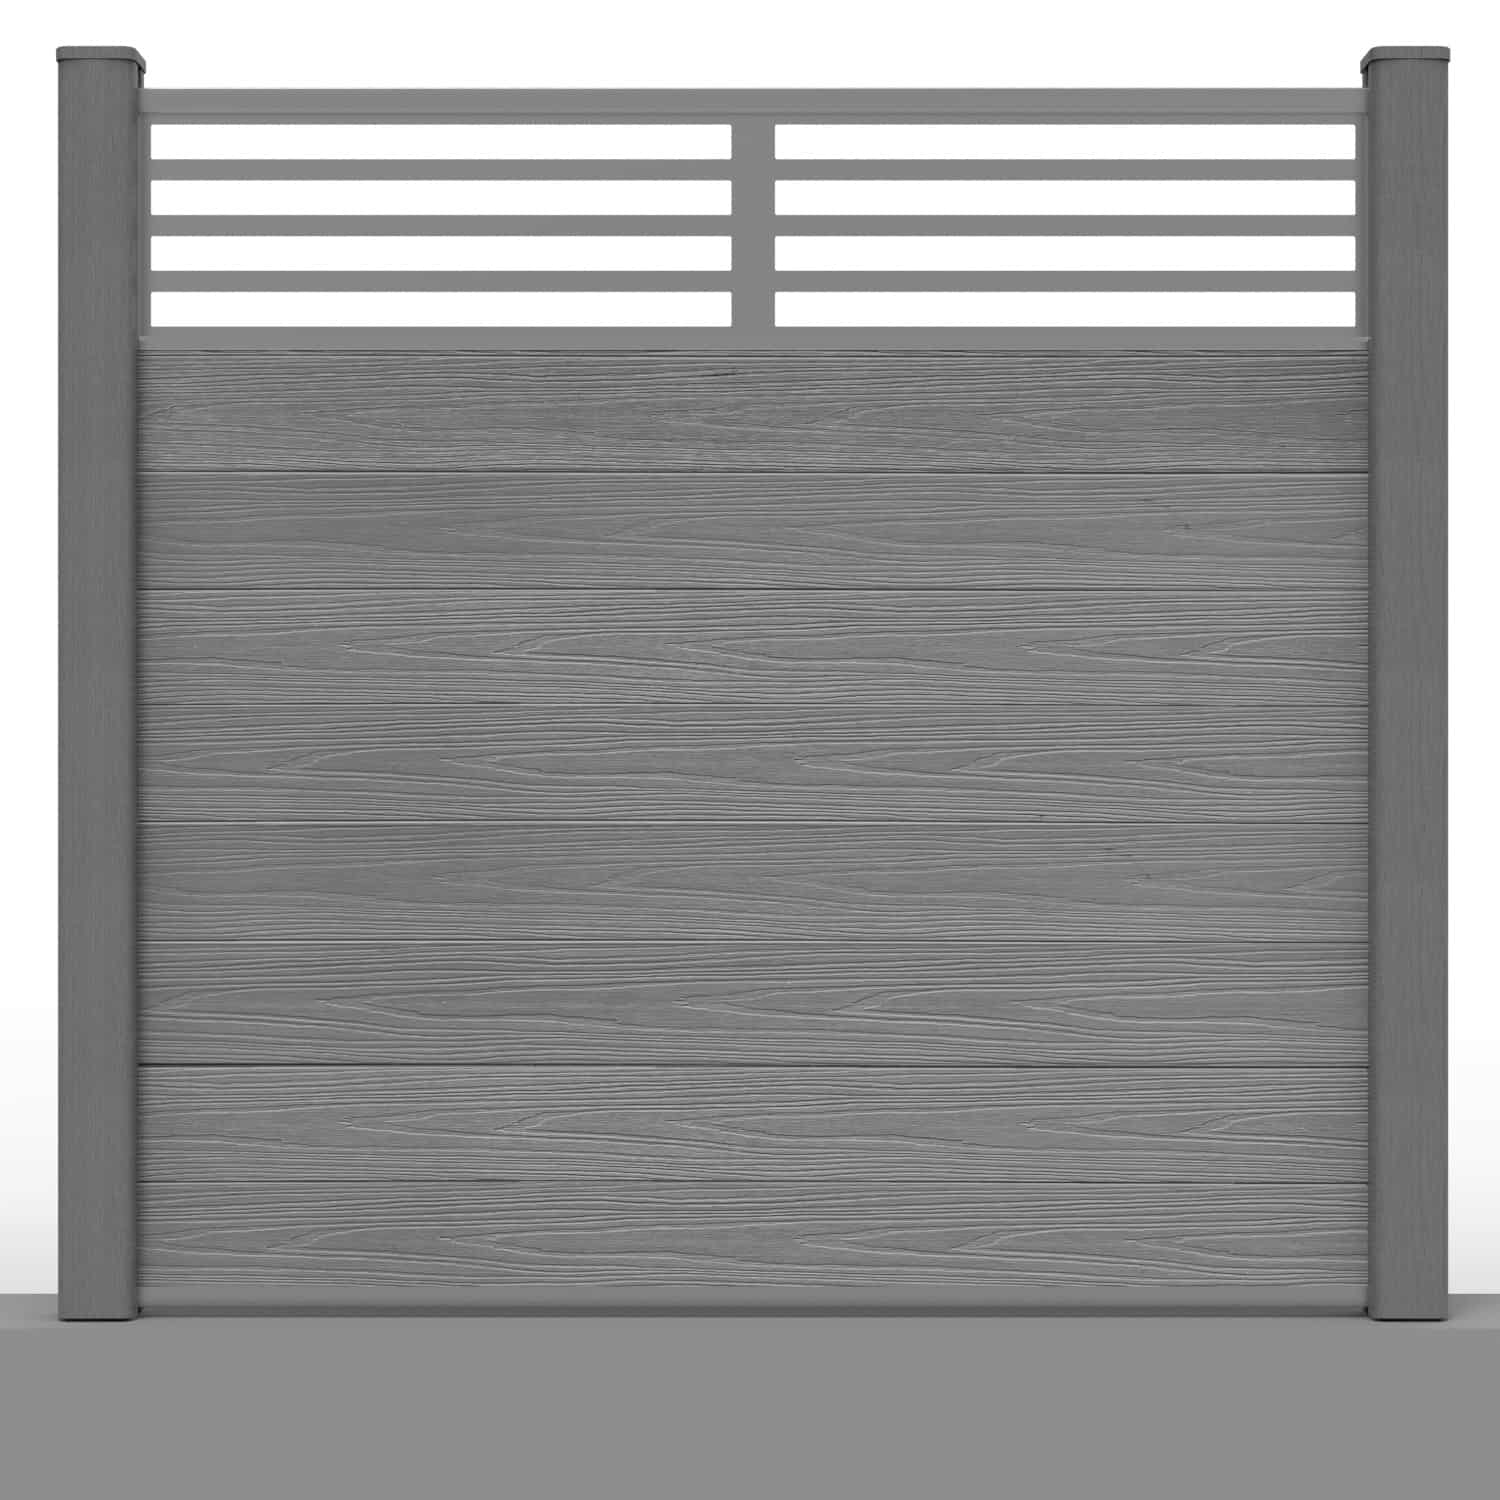
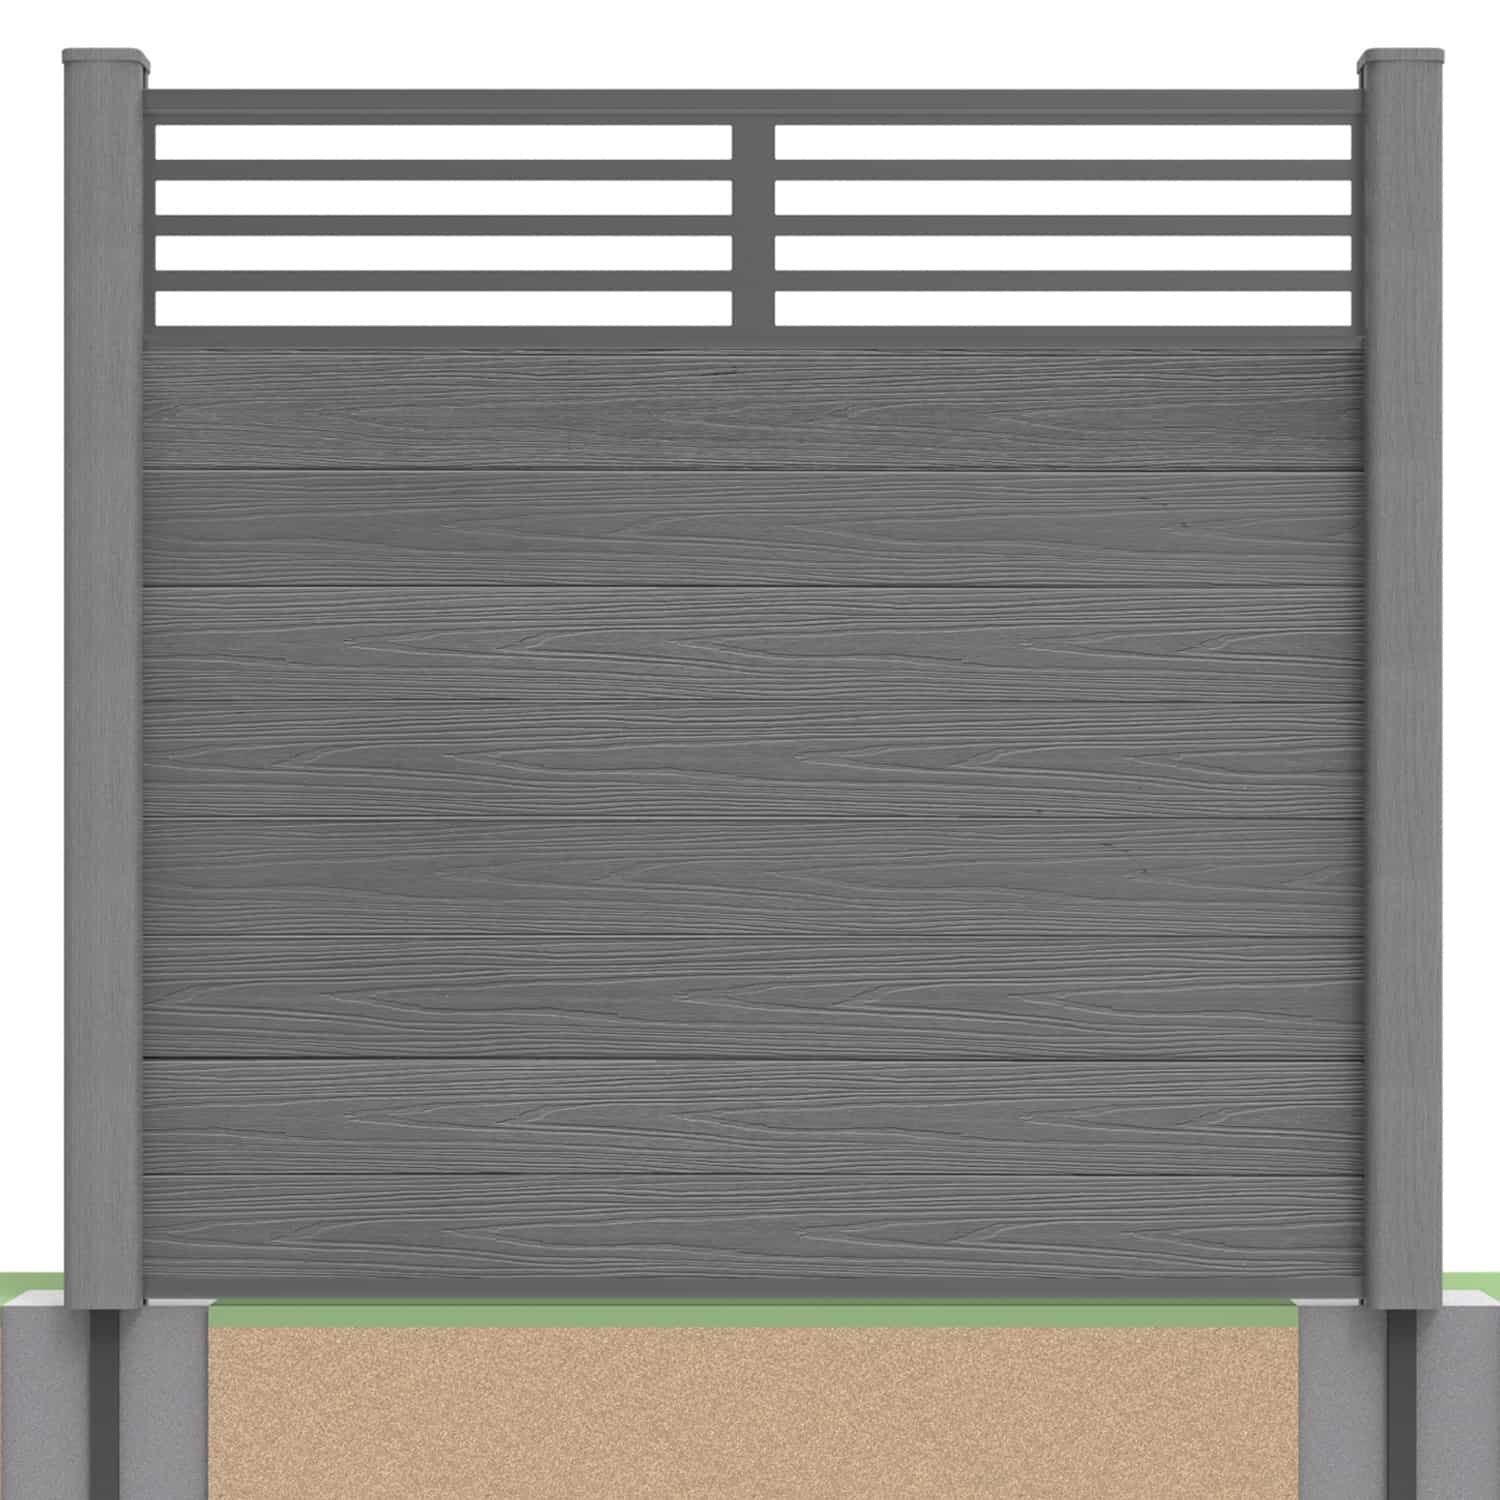
How to Set NeoTimber® Fence Post Supports in Soil
To install composite fence posts into soft ground, NeoTimber’s system uses galvanised steel supports set into concrete foundations. Once the concrete has gained sufficient strength, plastic fixing sleeves and the outer composite posts fit over the exposed supports, ready for the fence boards and rails.
Accurate setting out and suitable foundations make the later assembly easier. This guide explains the main stages, with a video, illustrated steps and answers to common questions. Read it alongside the current composite fencing installation guide and the instructions supplied with your selected components.
Explore our fencing resources for wider planning advice, or compare the composite fencing range before deciding on your fence style and height.
In this guide: Preparation · Installation video · Post spacing and holes · Setting the supports · Sleeves and posts · Final checks · FAQs
Before You Start: Check the Site and Components
Soft-ground installation means establishing foundations in earth rather than bolting a base plate onto existing concrete. Soil conditions vary, so the foundation must suit the ground, fence height and exposure. Loose fill, waterlogged ground, slopes and exposed positions may need a different foundation specification from a sheltered garden with firm soil.
Confirm the fence line, finished height and any changes in level before digging. Identify buried services and check whether excavation could affect drains, nearby structures or significant tree roots. Resolve obstructions before finalising the post positions.
Choose the soft-ground composite fence post set or compatible galvanised steel soft-ground post support for the selected post height. The outer composite post provides the finished appearance and board channels; the steel support and its concrete foundation provide the anchorage. These components have different roles and must be assembled together correctly.
Tools and materials to prepare
- Tape measure, string line, marking tools and a spirit level.
- Suitable digging equipment for the ground conditions.
- The specified steel supports, fixing sleeves, composite posts and caps.
- Concrete or post mix suitable for the foundation arrangement, with mixing equipment and water as instructed.
- Temporary bracing to hold supports in position while the concrete gains strength.
- Suitable footwear, eye protection and gloves, including appropriate protection when handling cement-based materials.
Check all components before starting and keep boards and posts protected from dirt and damage. Plan for sufficient help when moving materials and assembling long panels.
Watch the Soft-Ground Installation Video
The video demonstrates how the steel support, plastic sleeves and composite post fit together. Use the illustrations below to follow the sequence, and confirm dimensions against the instructions for your particular installation.
1. Mark Out the Fence Line and Dig the Post Holes
Start by locating the end and corner posts, then set out the intermediate supports. Measure each bay individually, accounting for shorter panels and any separate gate openings.
For the full-length panel arrangement illustrated in NeoTimber’s installation guidance, the supports are positioned at 1868mm centres. This is a centre-to-centre measurement, rather than the clear gap between posts. Dry-fit a post and bottom capping rail to check the intended bay before committing the supports to concrete.
The illustrated soft-ground method specifies post holes at least 600mm deep and steel-support embedment of at least 600mm. Treat these as minimum details for the illustrated system, rather than proof that every site needs the same foundation. Confirm the required hole width, depth and concrete volume for your ground conditions, post height and loading.
Remove loose material and obstructions from the holes. If you encounter buried services, unstable ground or substantial roots, stop and resolve the issue rather than shifting a support without rechecking the layout.

2. Position the Steel Supports and Set Them in Concrete
Place each soft-ground support in its prepared hole. Check the below-ground embedment and the exposed height needed for the selected post assembly. Use a string line to align the run and a spirit level to check that each support is upright in both directions.
Brace the supports so they cannot move during placement. Mix and place the concrete or post mix according to its manufacturer’s instructions, including the specified water quantity and method. Recheck the support position and spacing as you work.
Do not use the fence boards to hold unsettled supports in line. Allow the concrete to gain the strength required before fitting or loading the remaining assembly. Follow the concrete manufacturer’s guidance for the conditions on site; a short initial setting time is not necessarily the same as readiness to carry the fence.
If a lower fence is planned, confirm any proposed support modification with NeoTimber® first. Do not shorten the embedded section or assume that cutting a support leaves its suitability unchanged.

3. Fit the Plastic Fixing Sleeves
Once the foundations are ready for the next stage, fit the plastic sleeves in the positions shown in the assembly instructions. These act as packers between the steel support and the outer composite post.
Slide the base fixing sleeve down to its specified position, then fit the upper support cap as illustrated. Check that the components are correctly seated and that the support remains upright before adding the post.

4. Place the Composite Post Over the Support
Carefully lower the composite fence post over the support and sleeves. Orient the channels towards the adjoining fence bays and check that the post is upright in both directions. Fit the remaining upper sleeve and finishing components in the sequence specified for the system.
Repeat the checks at each post, keeping the finished heights consistent with the planned layout. If the post does not seat correctly, investigate the sleeve position and component fit rather than forcing it into place.

5. Check the Posts Before Building the Panels
Pre-assembly checks for your fence posts:
| Check | What to confirm |
|---|---|
| Foundations | The concrete has gained sufficient strength for the next installation stage. |
| Support alignment | The supports follow the fence line and remain upright. |
| Bay dimensions | The actual rails and boards fit with the specified movement clearances. |
| Post assembly | Sleeves, channels and caps are correctly positioned. |
| Finished levels | Post heights and panel positions match the planned run. |
With these checks complete, continue with our guide to installing composite fence panels. Follow the specified sequence for the bottom rail, tongue-and-groove boards and top rail, maintaining the required clearances. Gates need their own post and foundation specification because their operating loads differ from those of a fixed panel.
Frequently Asked Questions
Can I install composite fence posts into soft ground without concrete?
The NeoTimber® soft-ground method described here uses steel supports concreted into prepared holes. Do not substitute direct burial or a driven spike unless an alternative arrangement has been specifically approved for the system and site.
How deep should the steel supports go?
The illustrated guidance specifies at least 600mm embedment. Confirm the complete foundation requirements for your selected post height and ground conditions; the minimum embedment alone does not establish foundation suitability.
How far apart should the posts be?
The illustrated full-length arrangement uses supports at 1868mm centres. Check the current instructions and actual components before concreting. Shortened bays, corners and gates need their own setting out.
How long should the concrete set before I fit the fence?
Follow the concrete or post-mix manufacturer’s guidance on when it can be loaded, allowing for weather and site conditions. Do not assume that initial setting means the foundation is ready for the completed fence.
Can this method be used on uneven ground?
It may be suitable where the foundation and fence layout are designed for the slope. Plan any stepped bays and finished heights before excavation, and confirm support requirements rather than reducing embedment to compensate for a level change.
Are soft-ground and hard-ground supports interchangeable?
They use different anchoring arrangements. Soft-ground supports are set into concrete foundations in earth; hard-ground supports bolt to a suitable structural base. Choose the system that matches the installation.
Start Your Fence With Well-Planned Foundations
Suitable foundations, accurate spacing and correctly assembled posts make the panel installation easier to complete. Browse the composite fencing range, review the composite fencing installation guide and contact NeoTimber® if you need help selecting supports for your project.