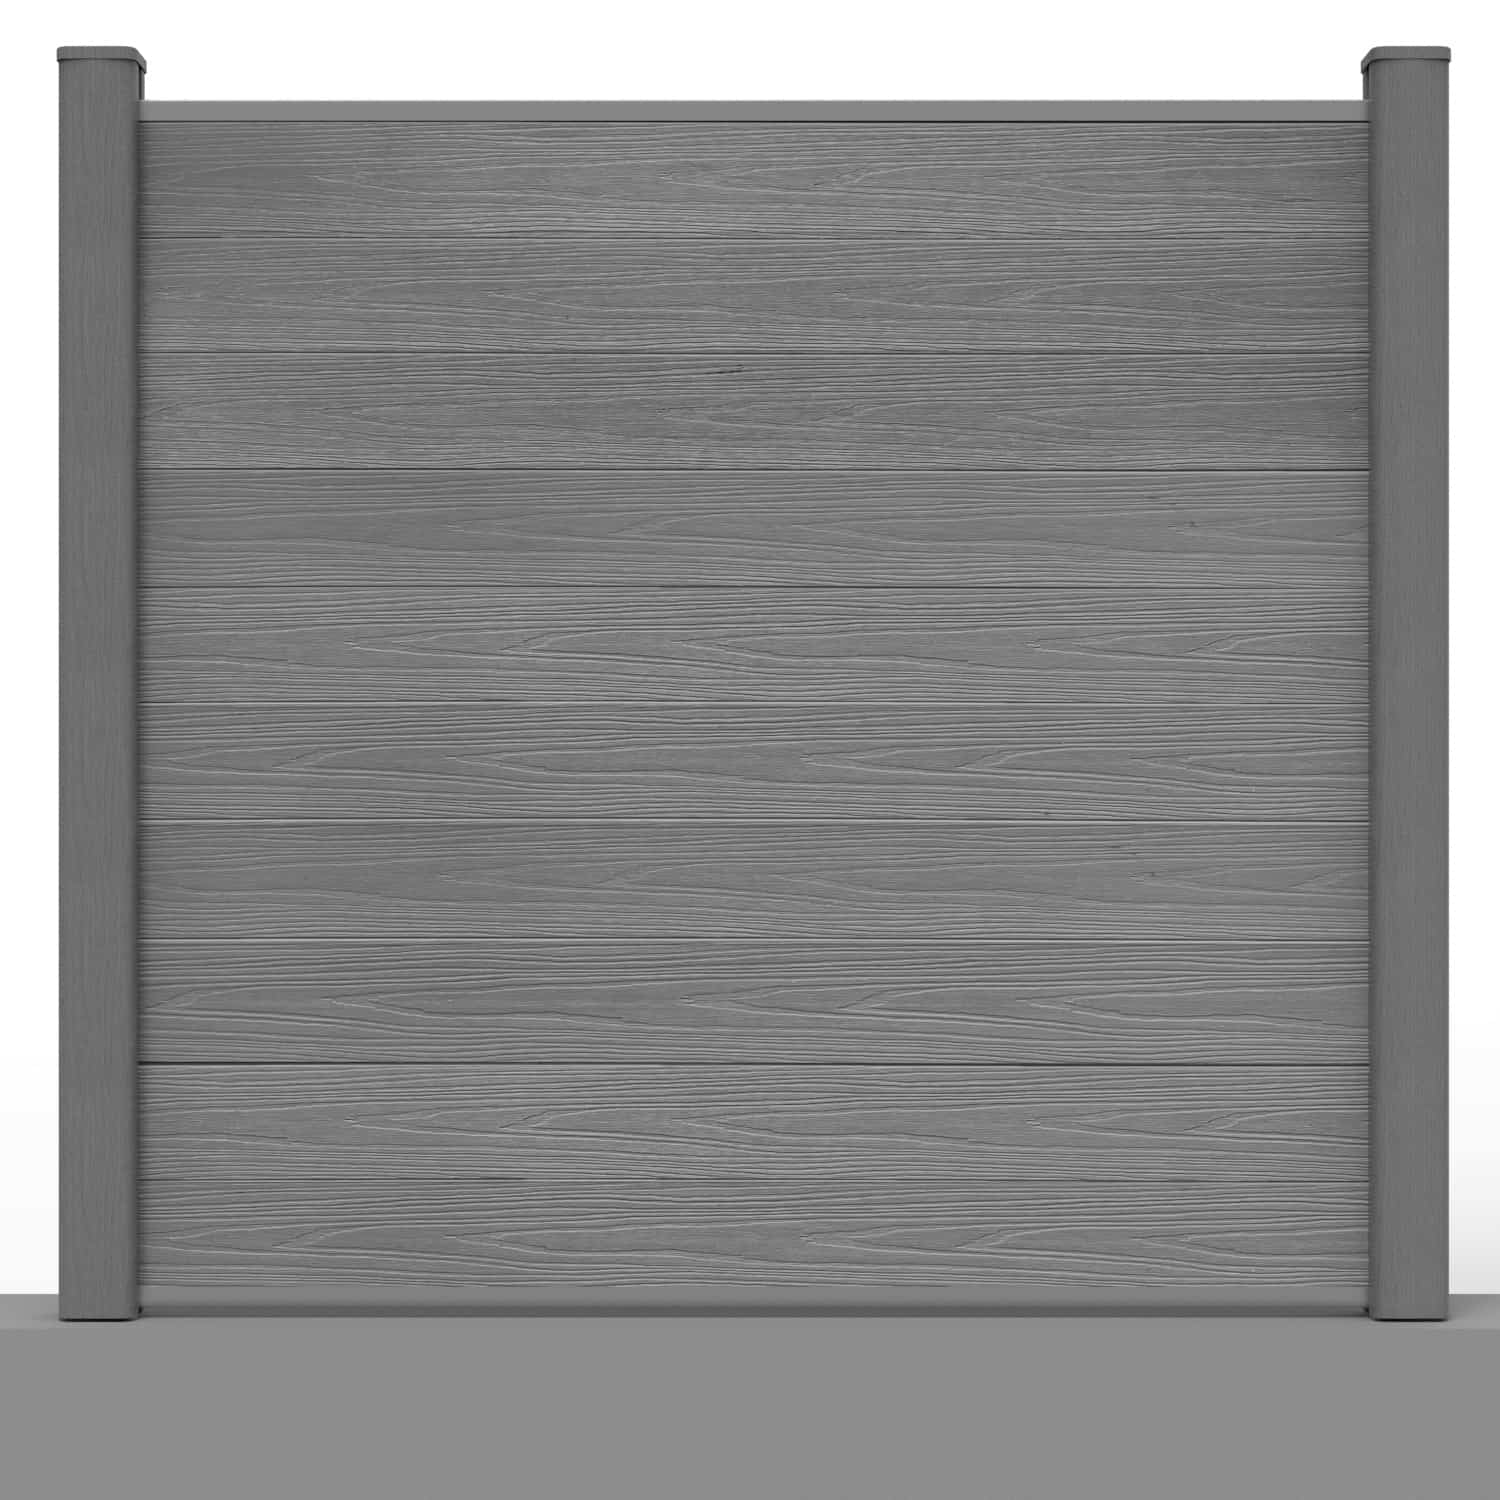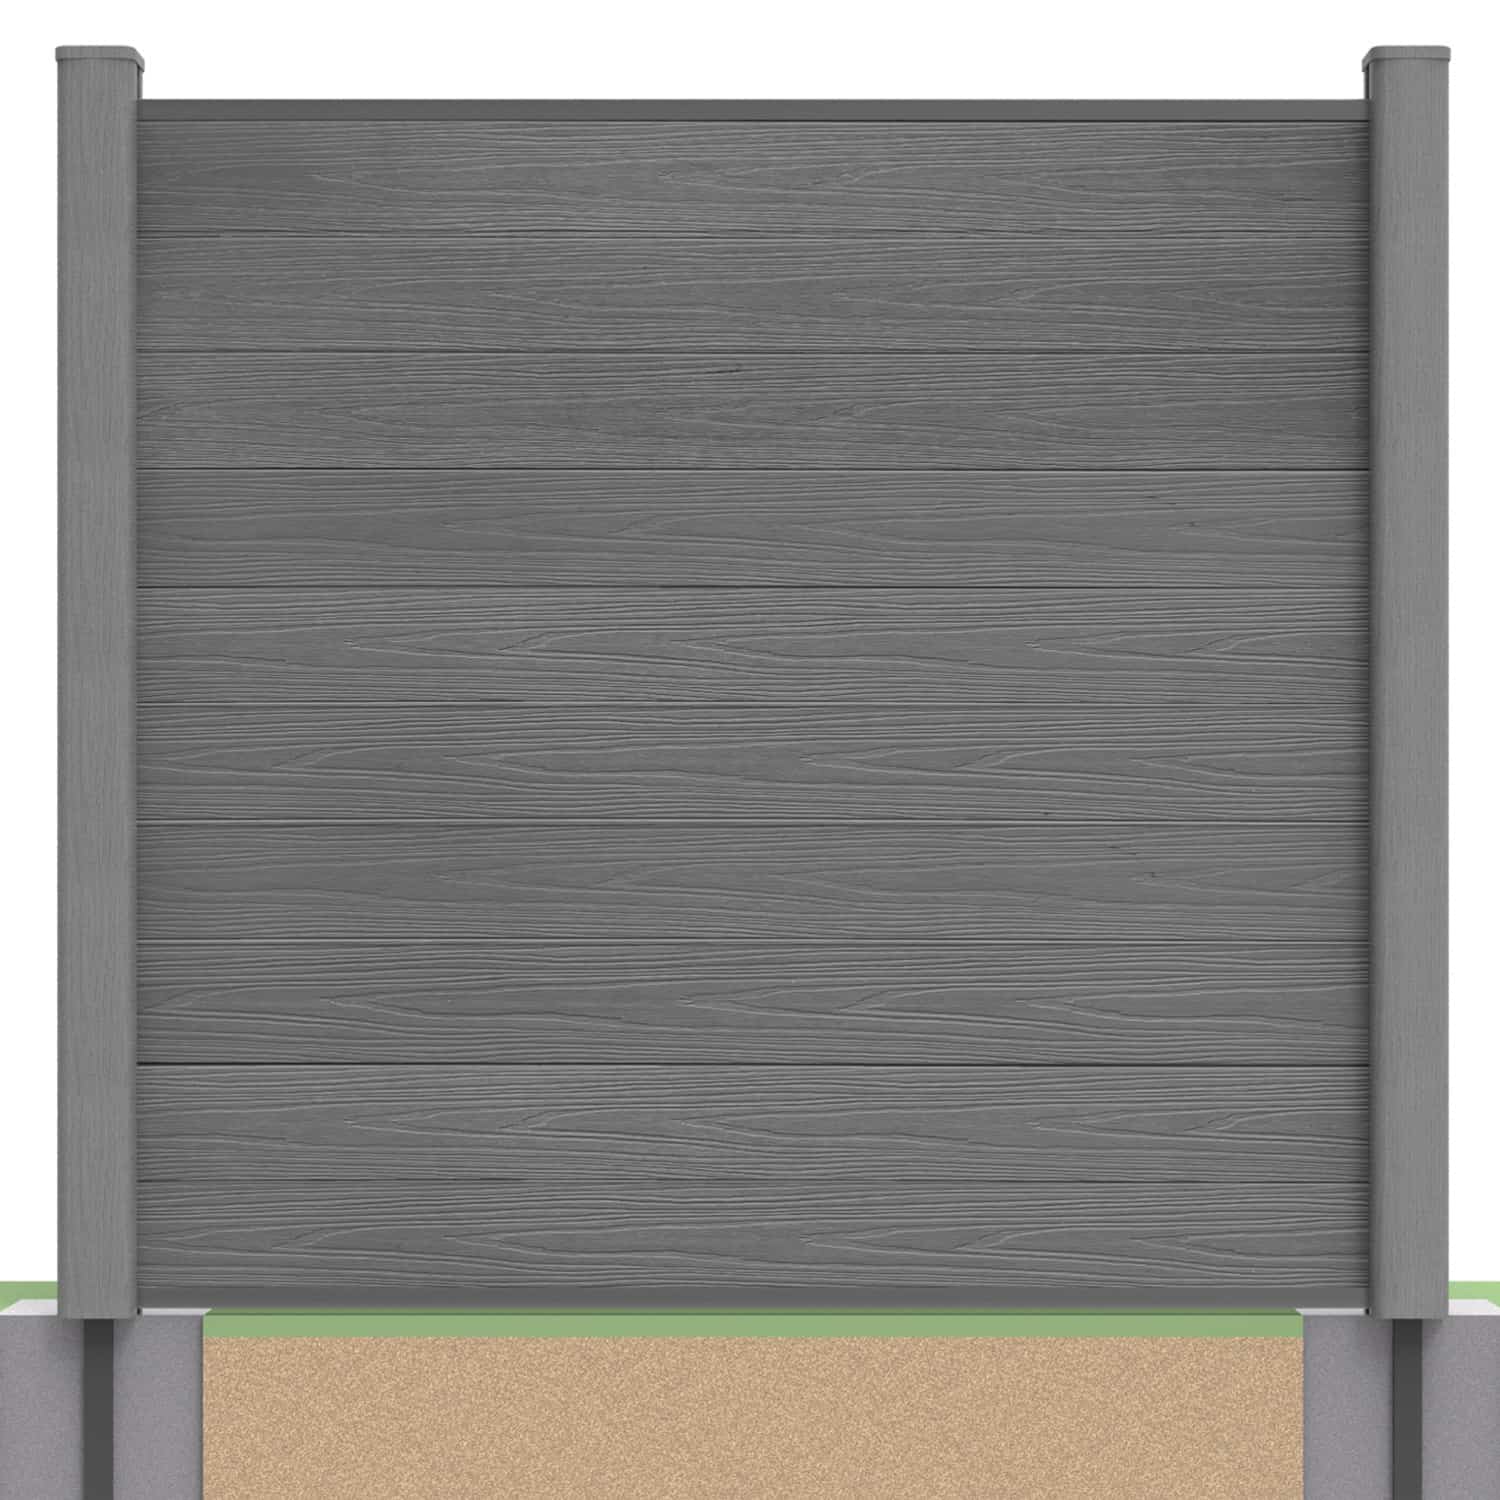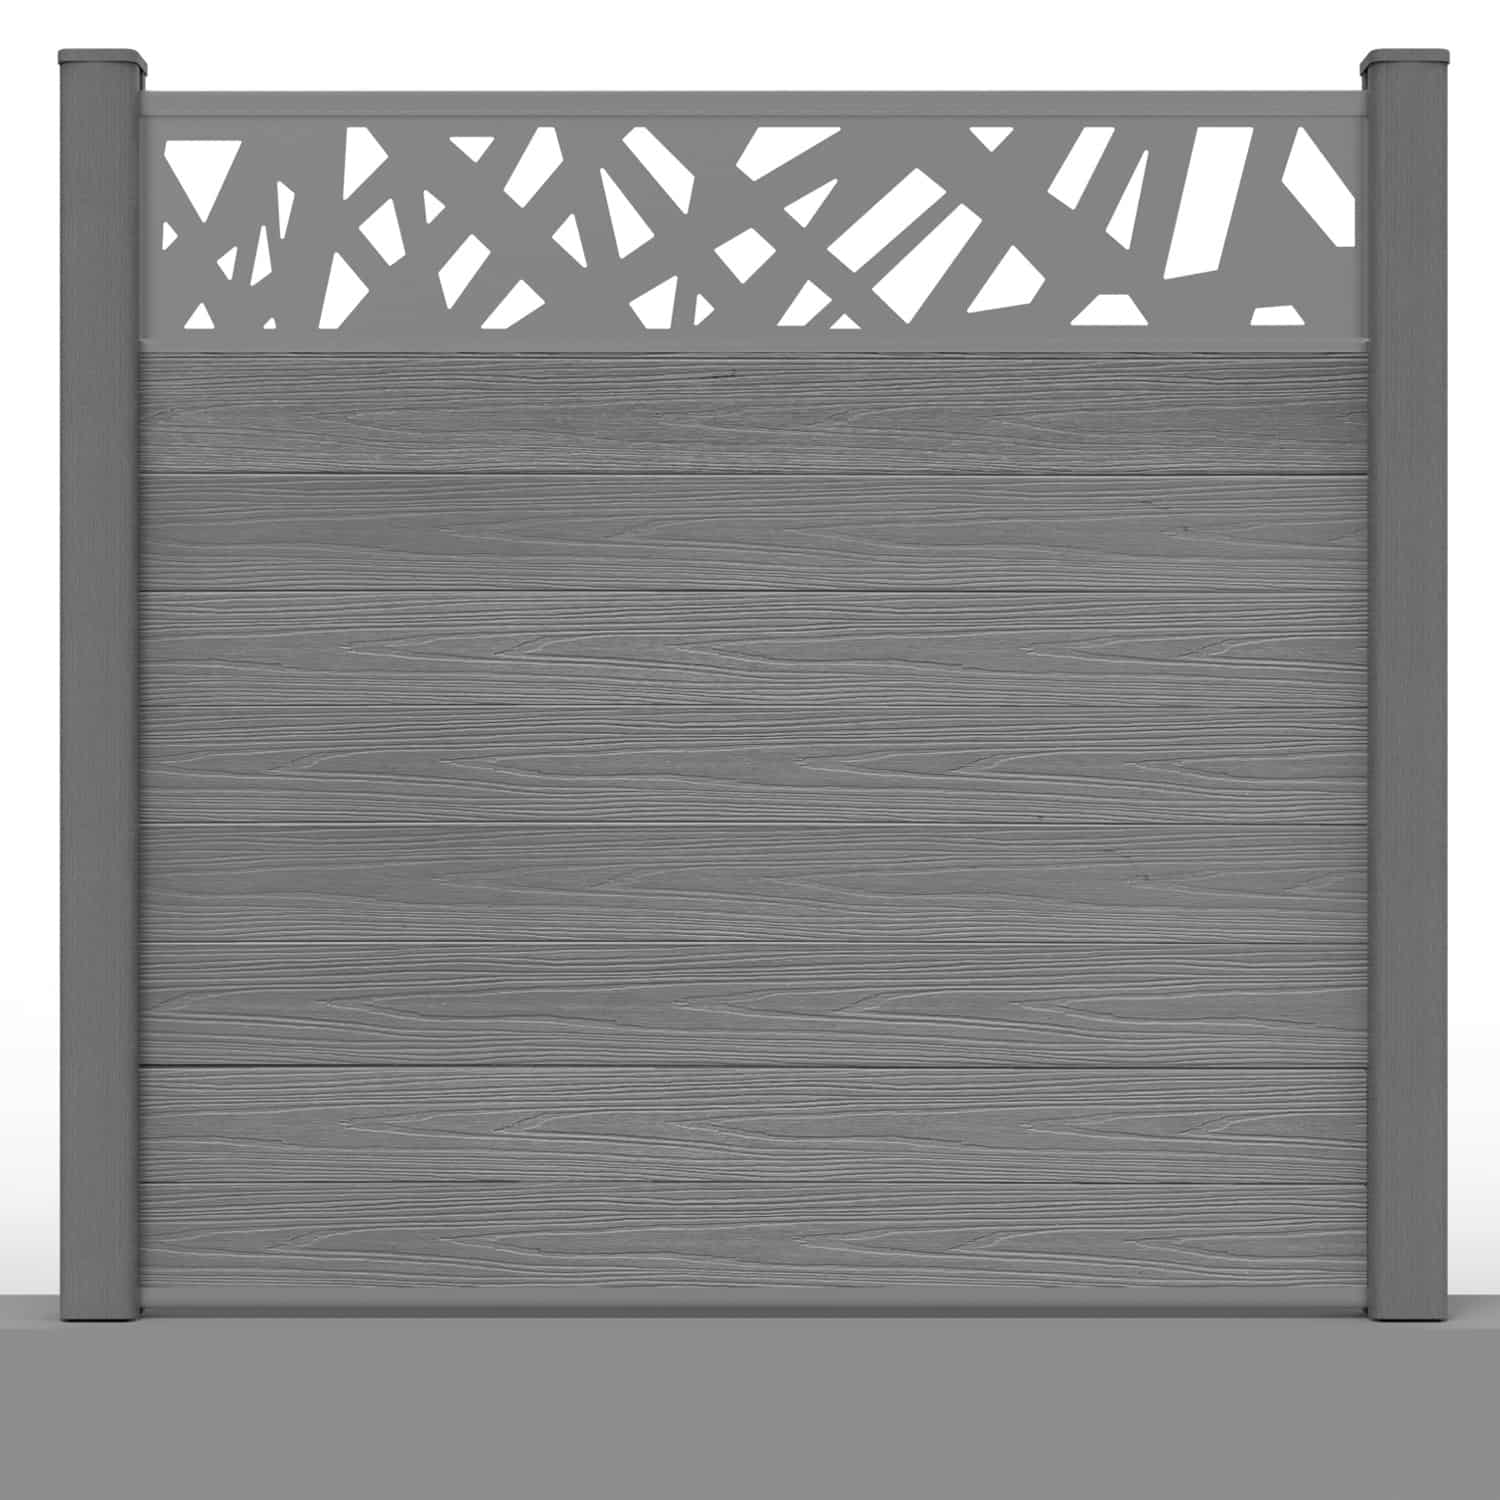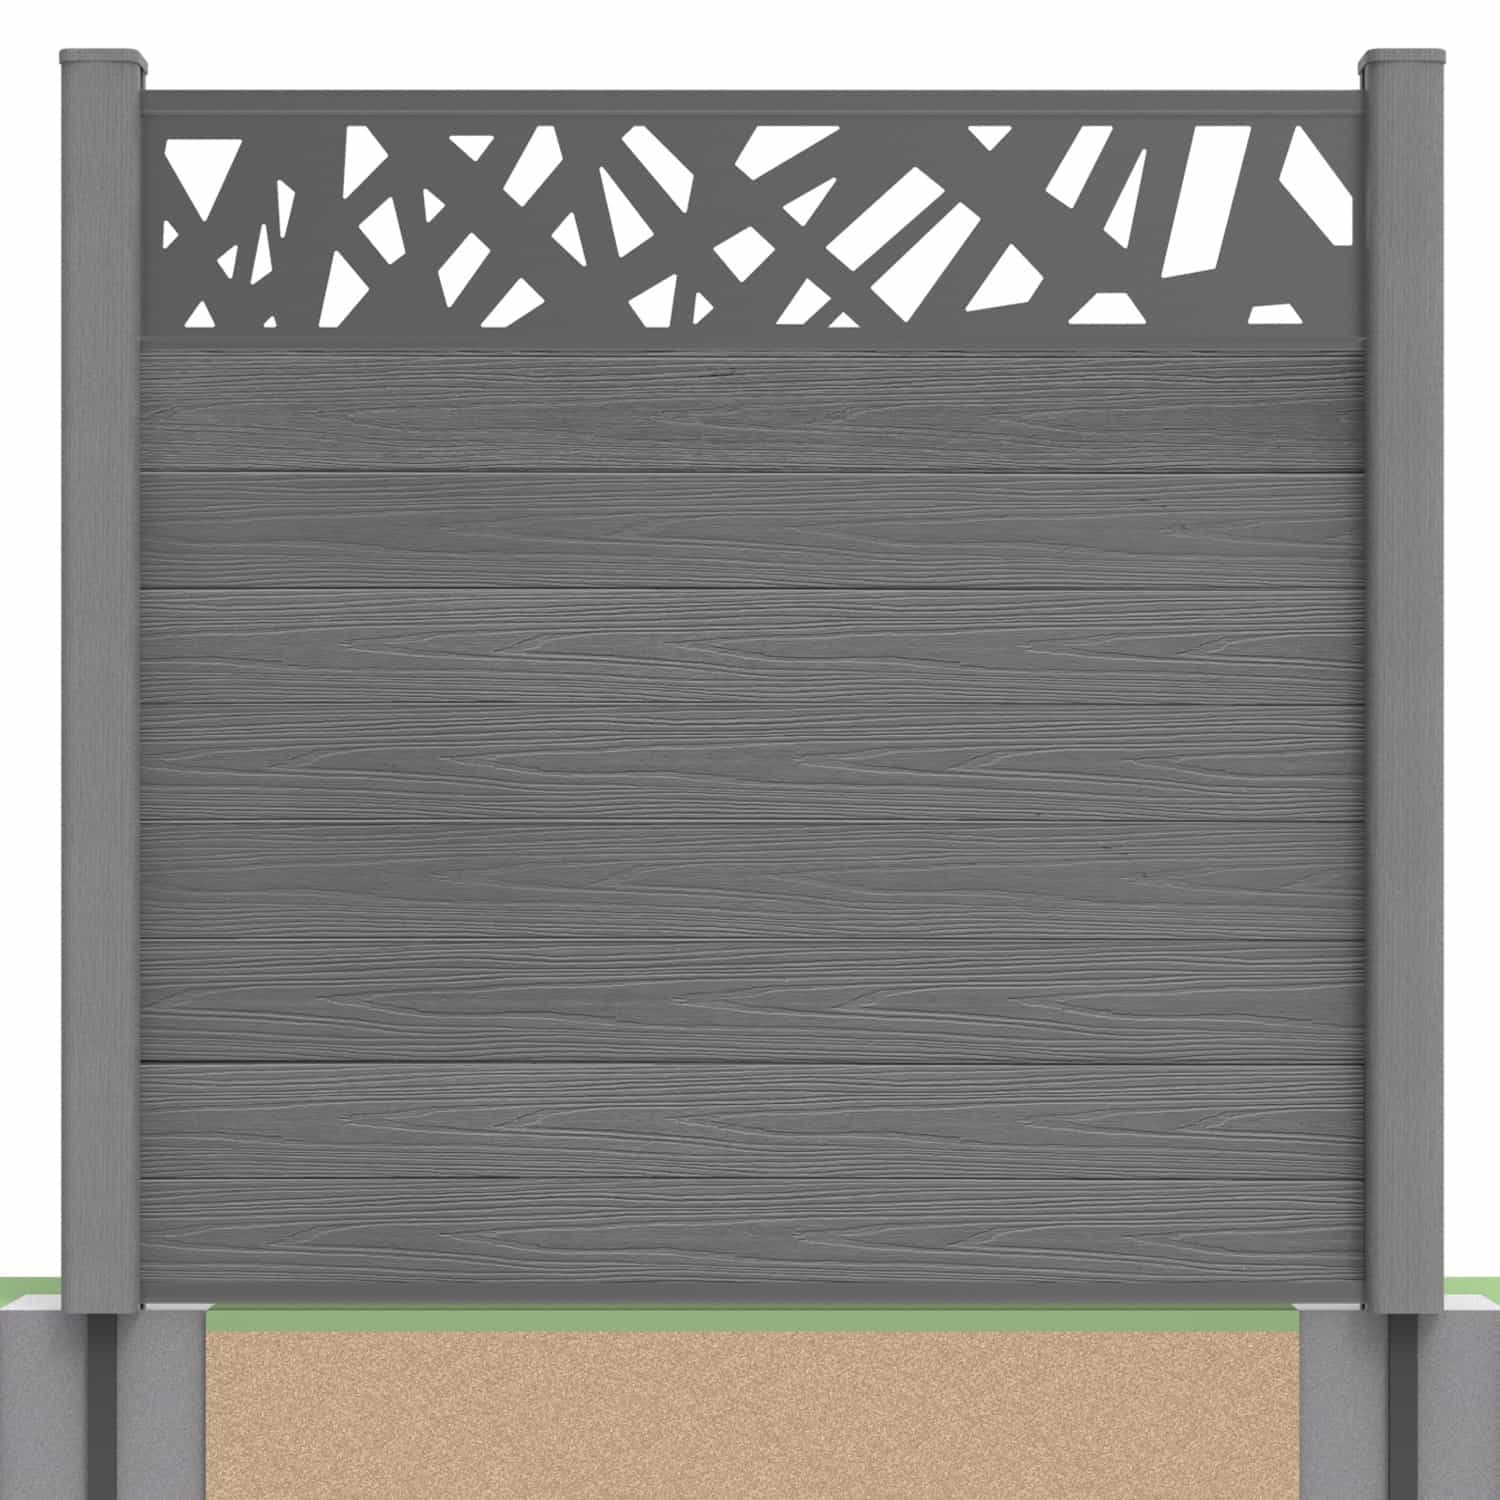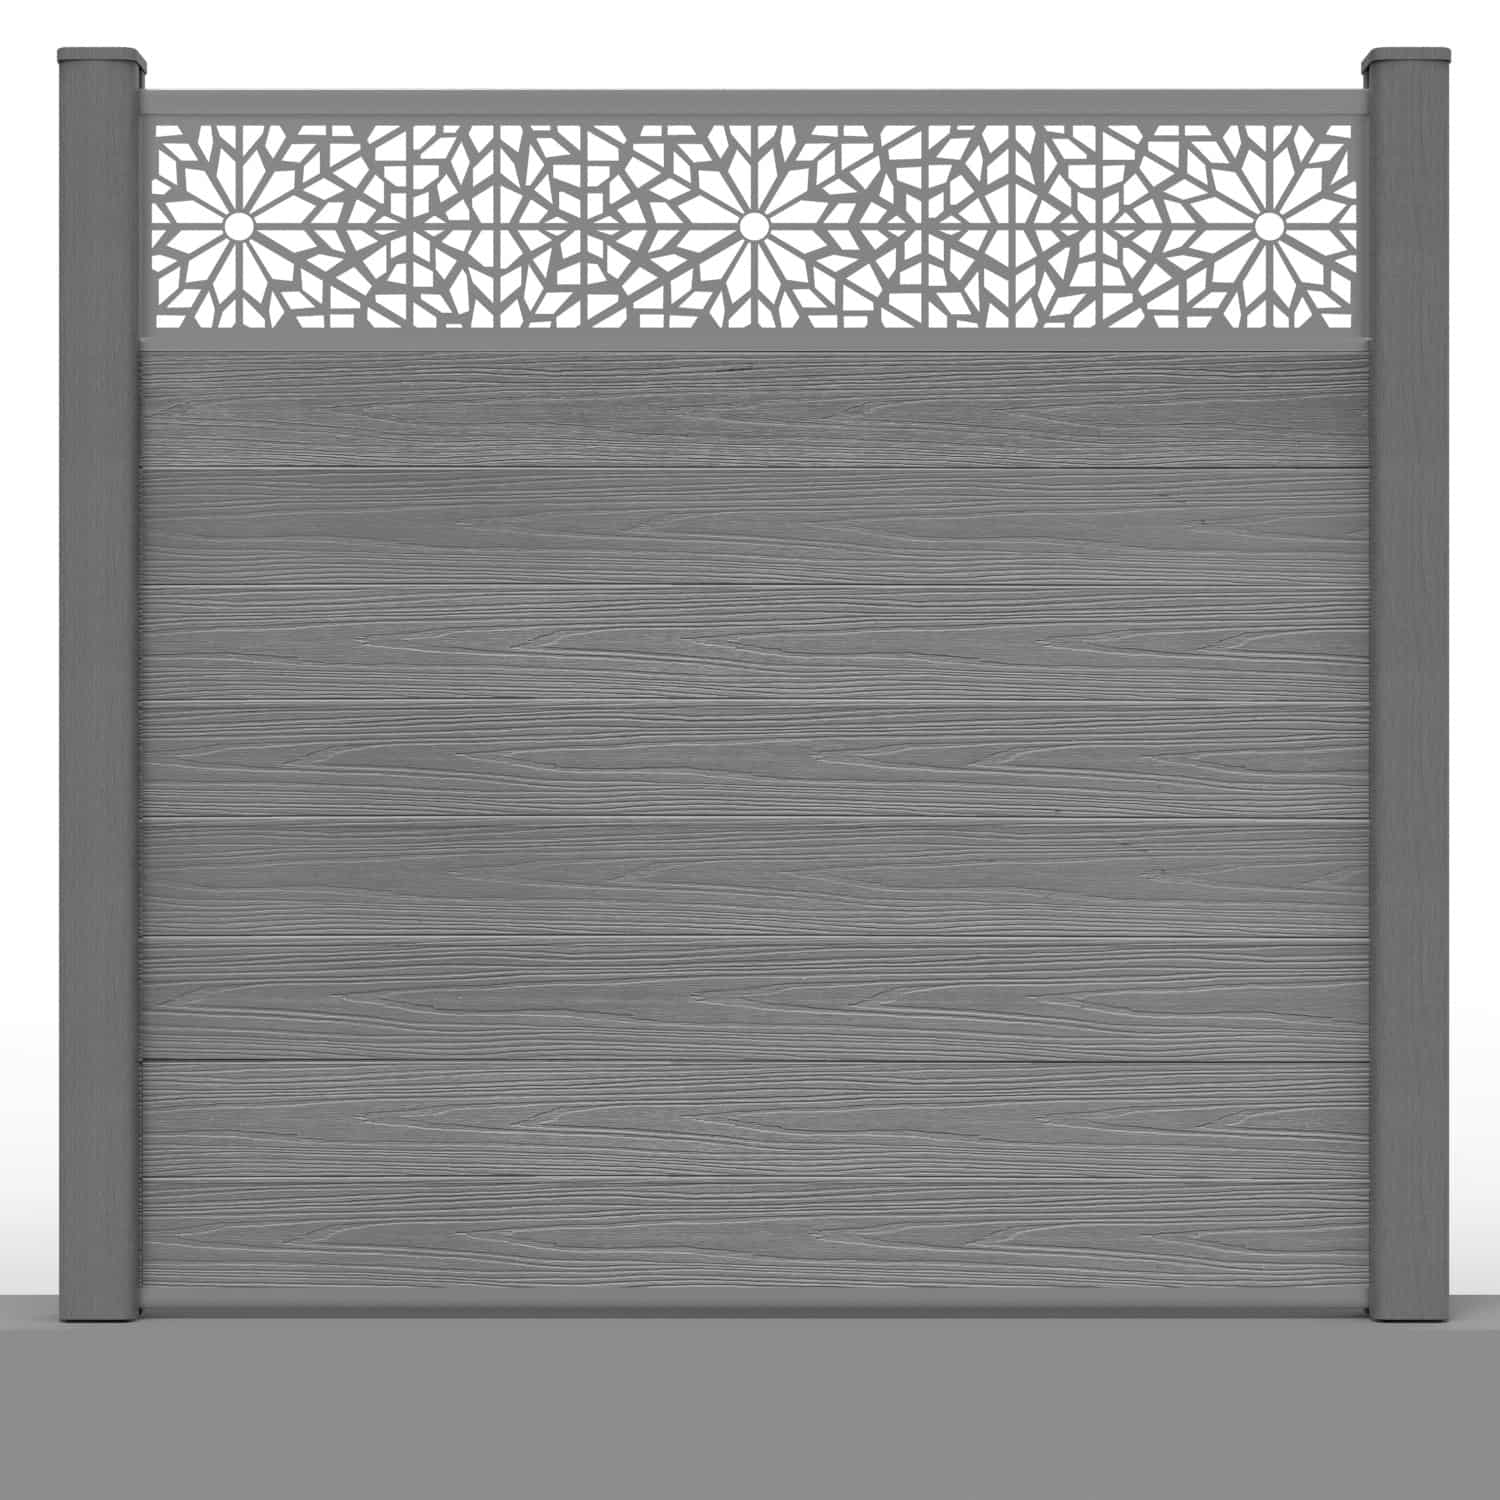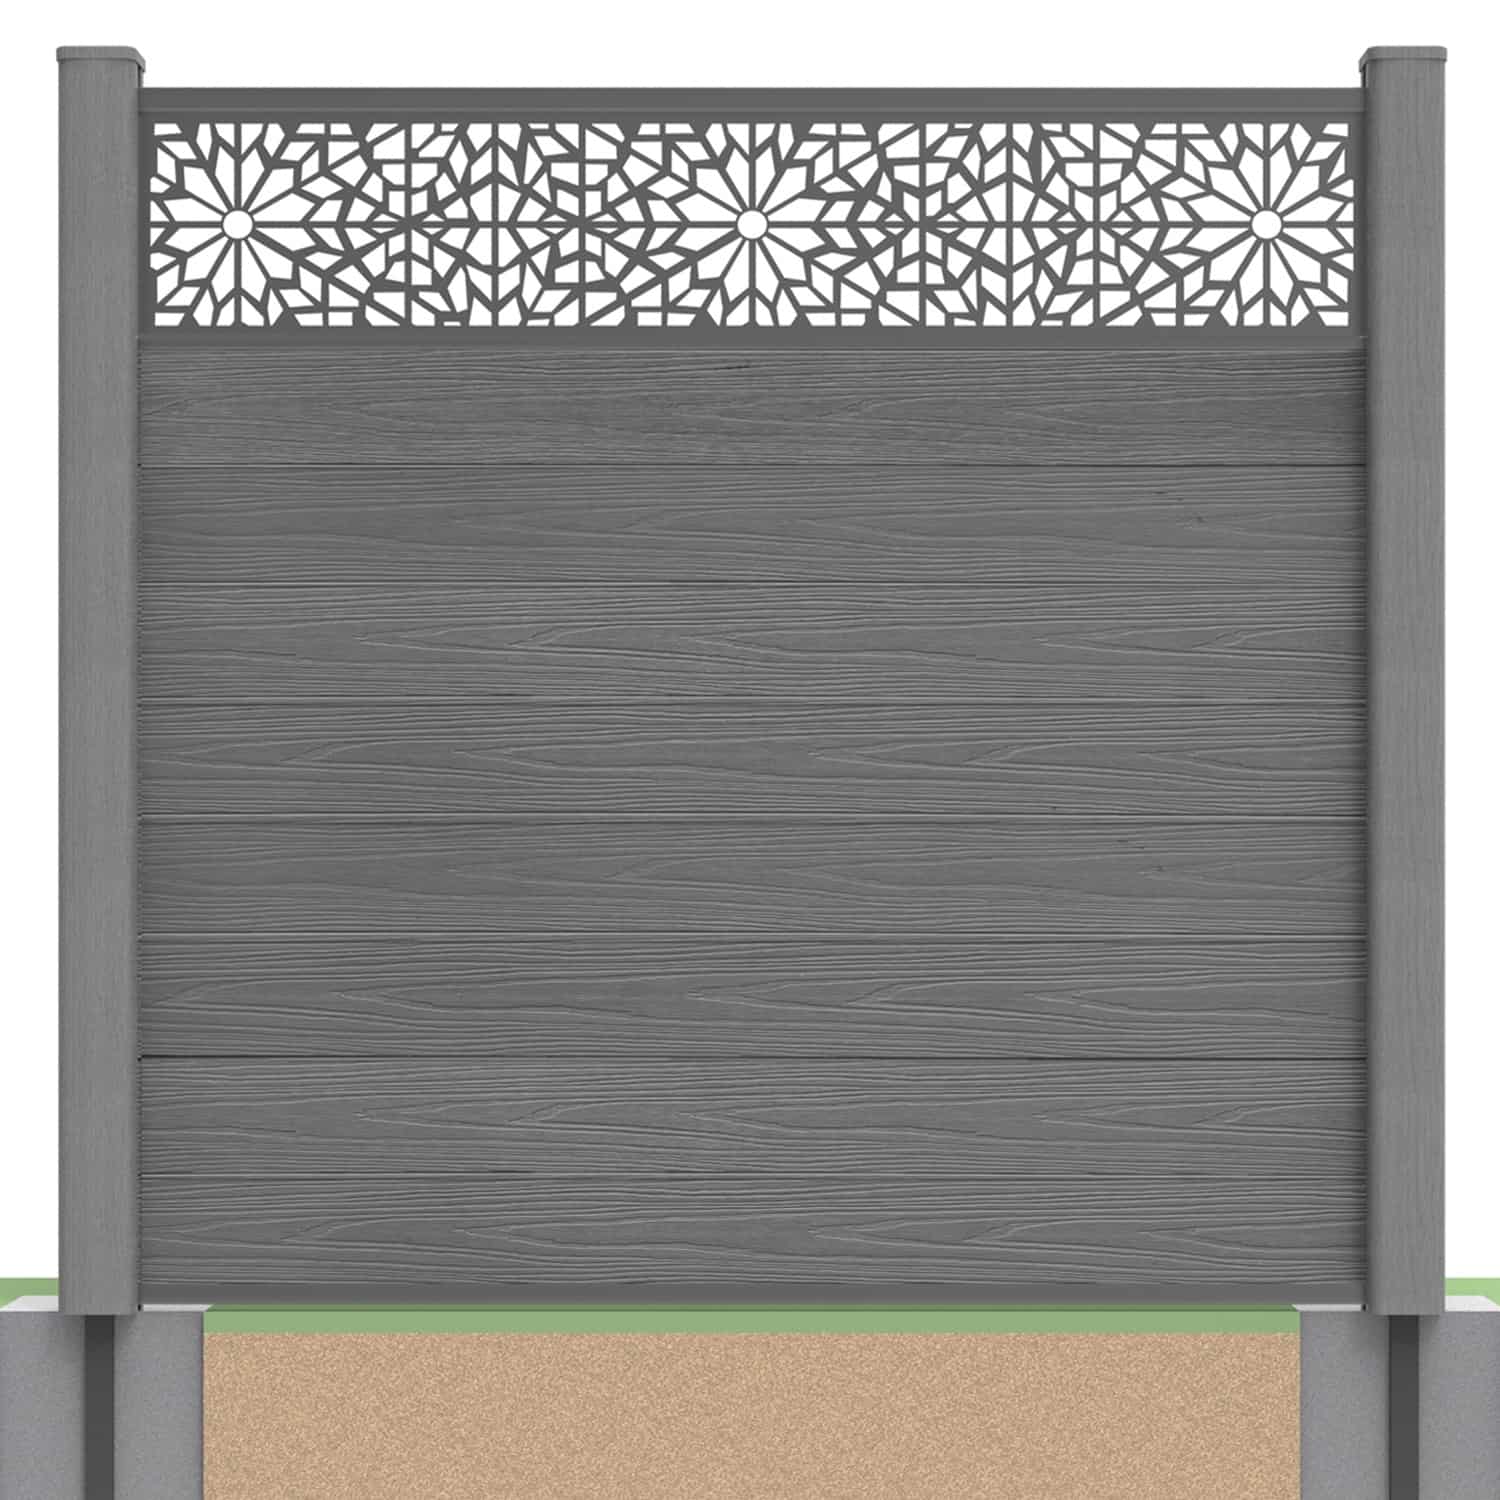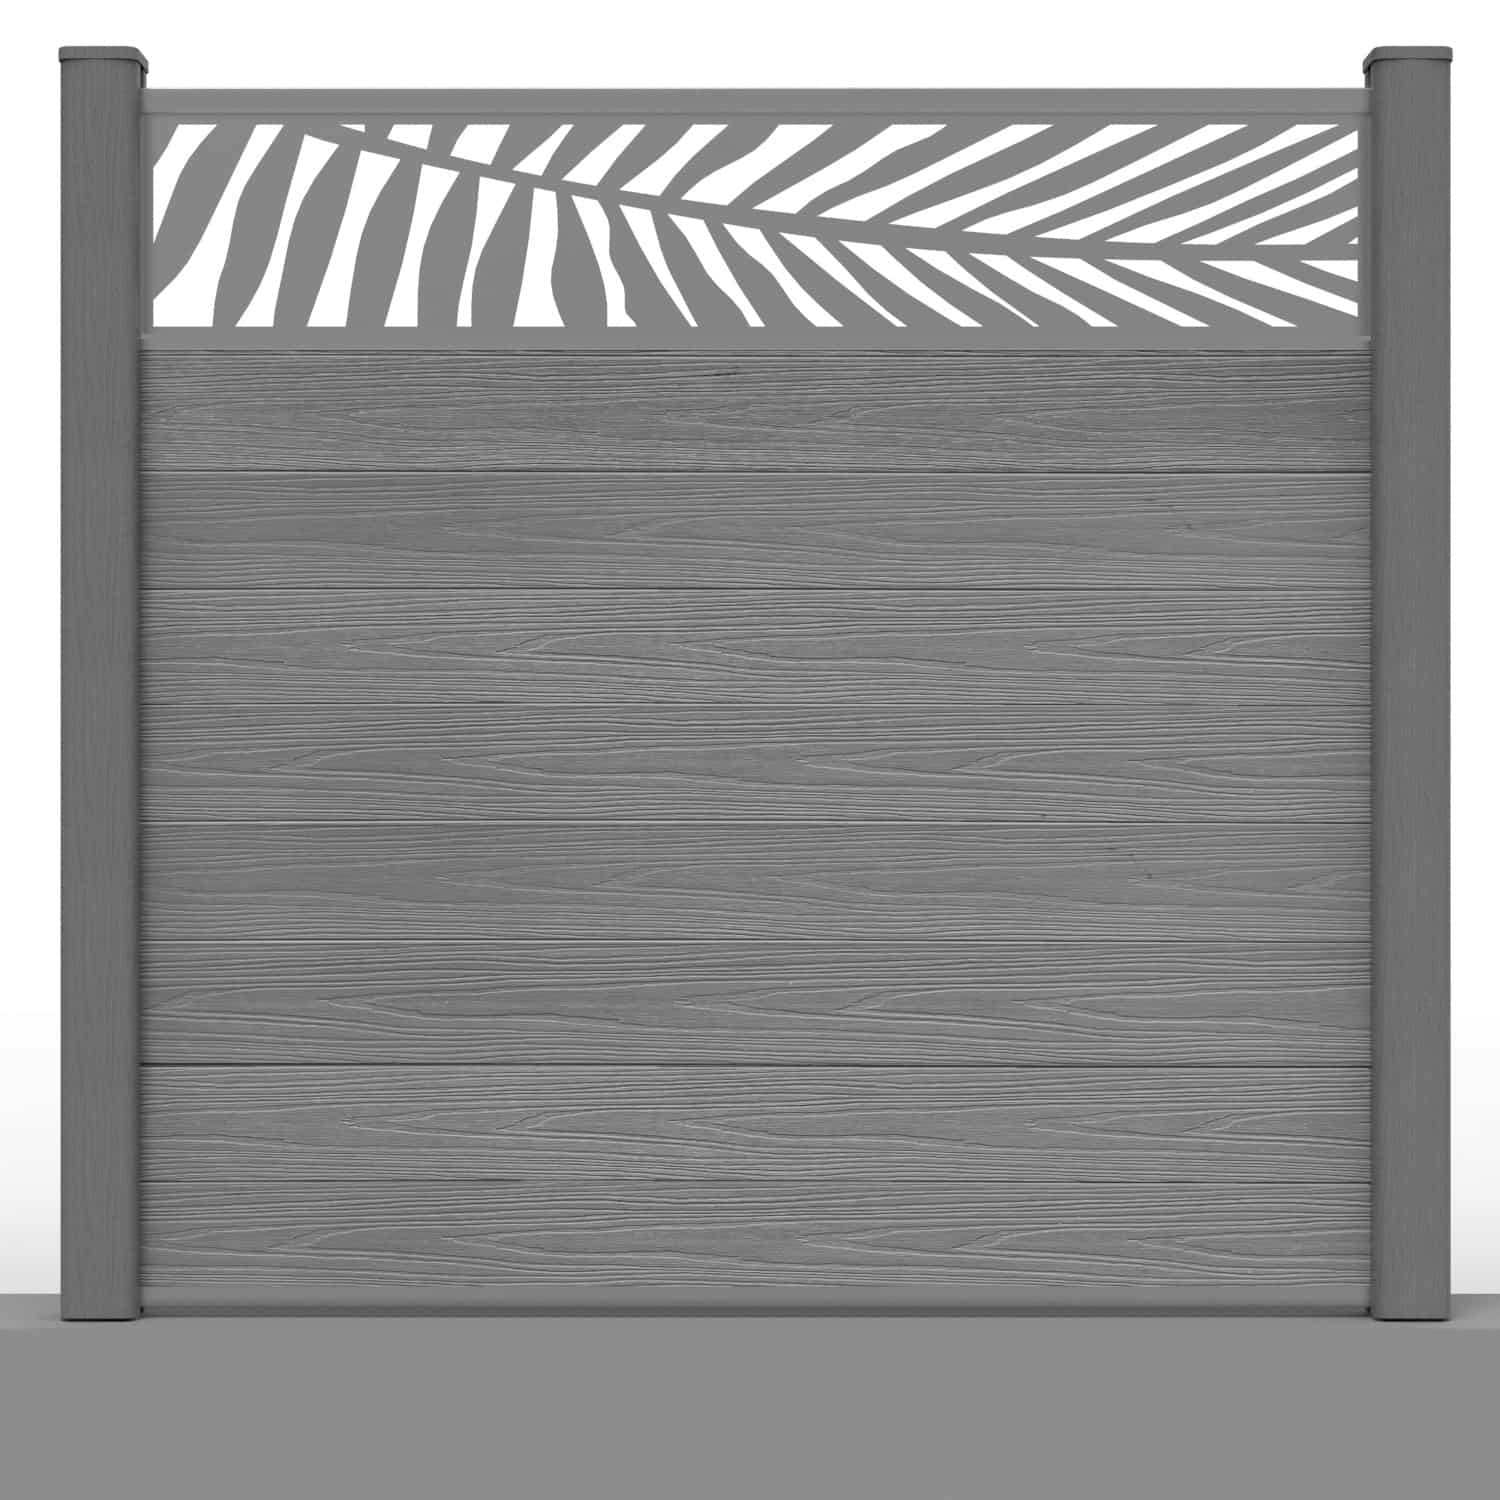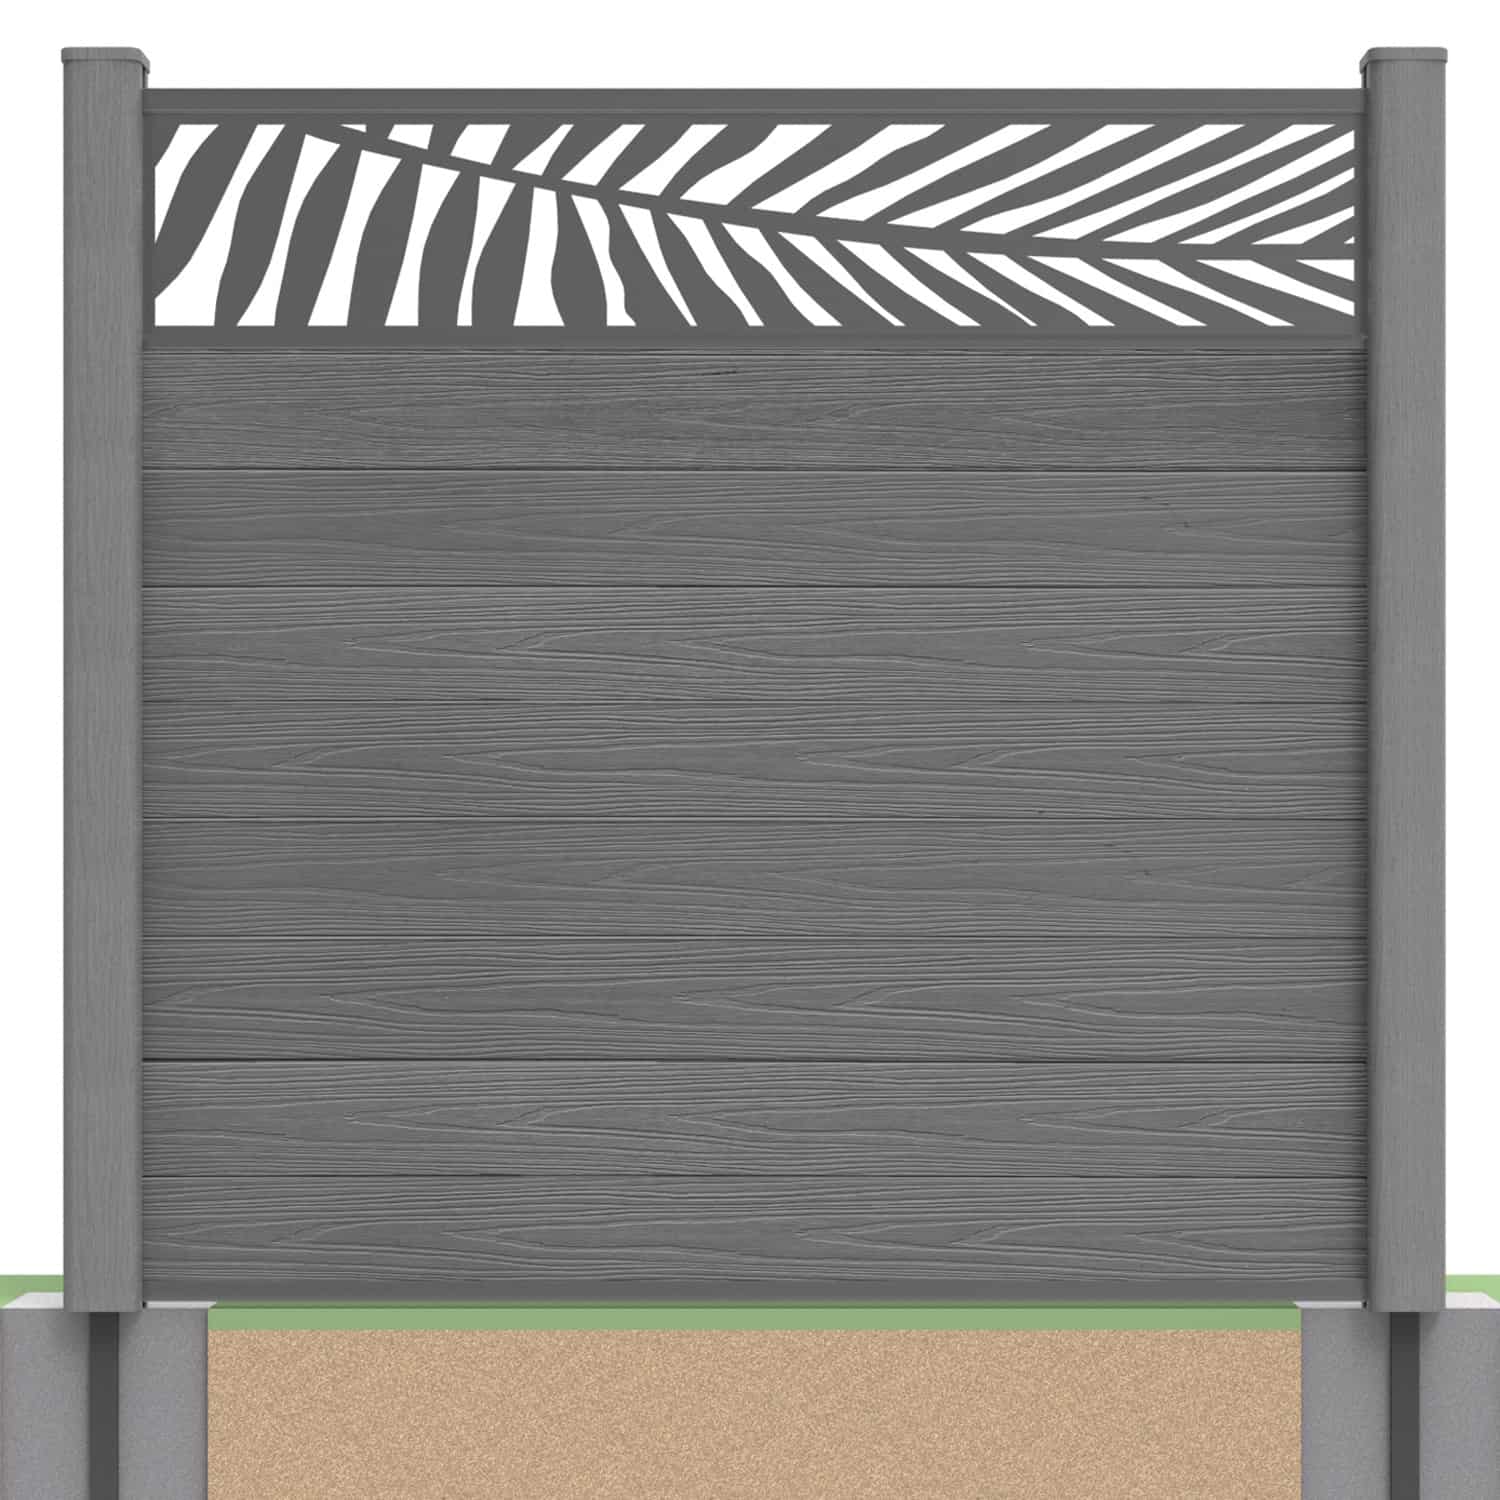
Assemble Your Fence Panel From the Bottom Rail to the Post Caps
Learning how to install composite fence panels starts with understanding the complete system. NeoTimber’s panels are assembled from individual horizontal boards, compatible channels, rails and prepared supports, rather than being lifted into place as one finished unit.
To build a composite fence, establish suitable posts and foundations first. This guide then explains the main panel assembly stages. Use it alongside the current installation instructions for your exact product, configuration and fixings.
Explore our fencing guide for an introduction, or browse NeoTimber® composite fencing to compare the required parts.
Assembly stages: Preparation · Bottom rail · Stack boards · Top rail · Finishing strips · Post caps · Final checks · FAQs
Before Building a Composite Fence Panel
Confirm that the chosen supports suit the height, layout, exposure and ground conditions. Foundations need to reach the required condition before they are loaded with panels.
If you are using existing timber or concrete posts, assess their condition, foundations, spacing and compatibility before fitting inserts. Inserts do not repair damaged supports. Compare the post installation options if the support route is undecided.
- Check the selected board range, panel height and component list.
- Measure the installed opening, including channels and required clearances.
- Confirm the bottom and top rail arrangements.
- Plan any permitted cutting before assembly.
- Gather suitable tools and follow equipment and handling instructions.
Gate and decorative screen configurations need their own details. Do not add height or increase spans beyond the approved specification.
1. Fit the Bottom Capping Rail
Prepare the bottom rail with the specified brackets and fittings, then position it between the prepared posts or channels. Check the alignment and support level against the selected installation detail before fixing.
Use the required fixing type, size and locations for the actual support arrangement. Do not assume a screw detail for composite posts applies unchanged to timber or concrete retrofit assemblies.

Fit brackets using the method in the current instructions. Avoid forcing, reshaping or hammering components as an improvised solution to poor alignment. The bottom rail forms part of the panel assembly, so resolve any mismatch before adding boards.
2. Stack the Fence Boards
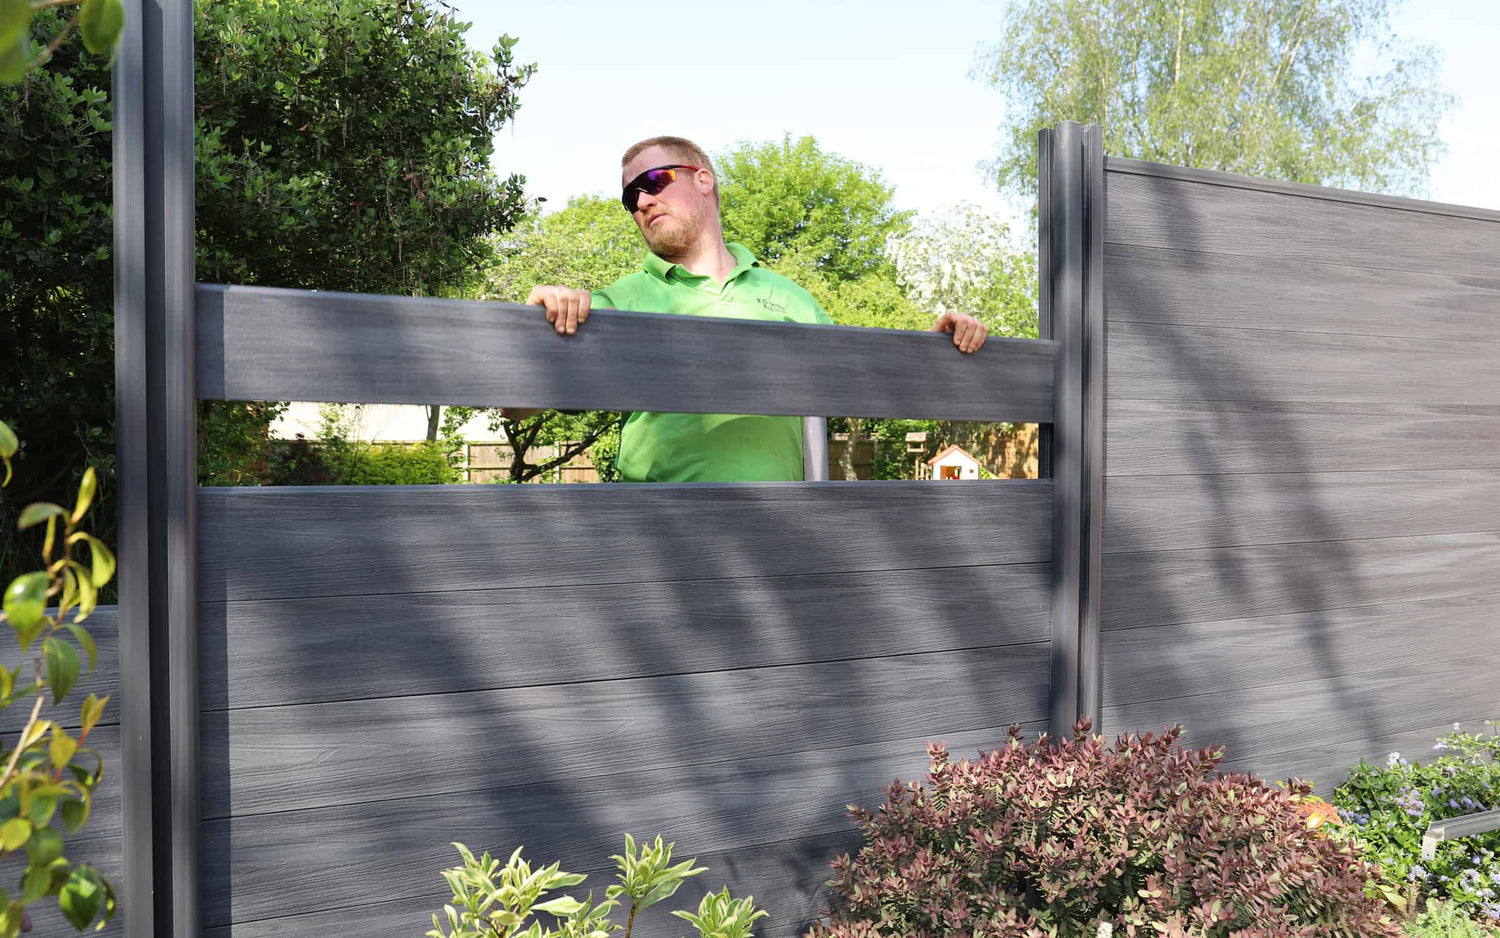
Insert the compatible fence boards into the prepared channels and assemble them using their tongue-and-groove edges. Follow the specified profile orientation rather than judging from the decorative face alone.
Leave the required allowance at the board ends for movement. Check that boards engage correctly in the channels without being forced tightly against the posts. Use the current product instructions for the exact clearance.

Keep the Chosen Face Consistent
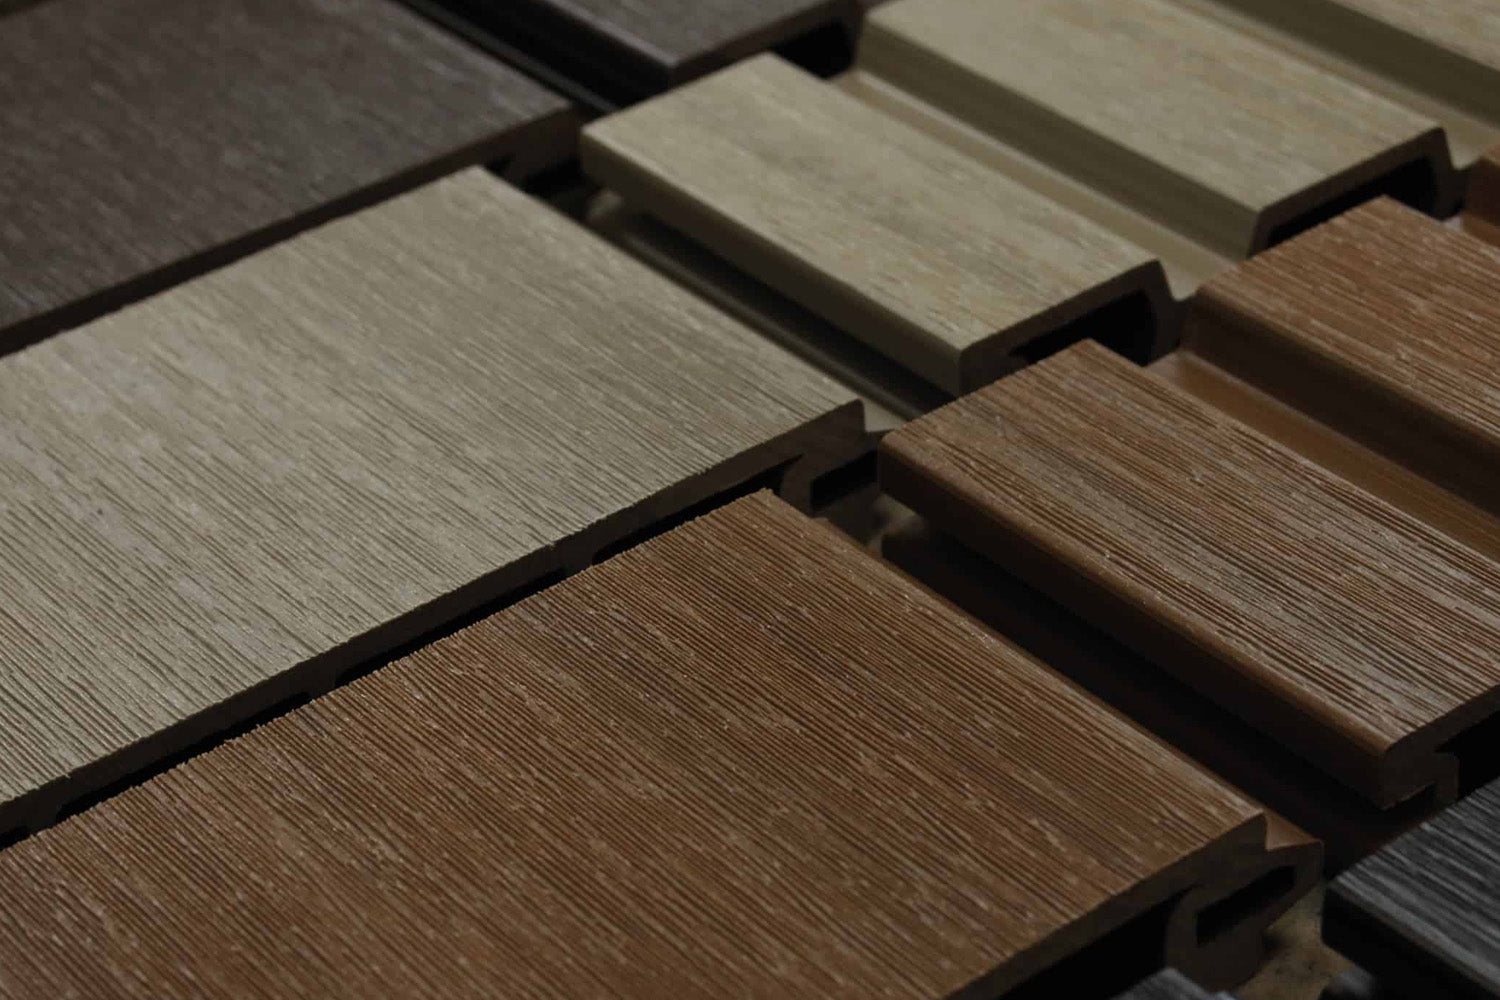
Deluxe boards offer woodgrain and brushed faces. Decide which side you want visible from each viewpoint, then keep the orientation consistent along the run unless a different arrangement has been deliberately planned.
Check Shortened Boards Before Repeating Cuts
Where cutting is permitted, measure for the complete installed assembly, including channel engagement and clearances. Trial-fit the first board before cutting a full set. Use the cutting guide and material-specific instructions for boards and aluminium rails.
3. Secure the Top Capping Rail
Fit the top rail and its specified brackets or pads according to the approved sequence. Check the final board position and clearances before securing the connections.

The top rail should complete the assembly, not be used to force an incorrect number of boards into the available height. If it will not sit correctly, stop and check board engagement, quantities, rail details and the post layout.
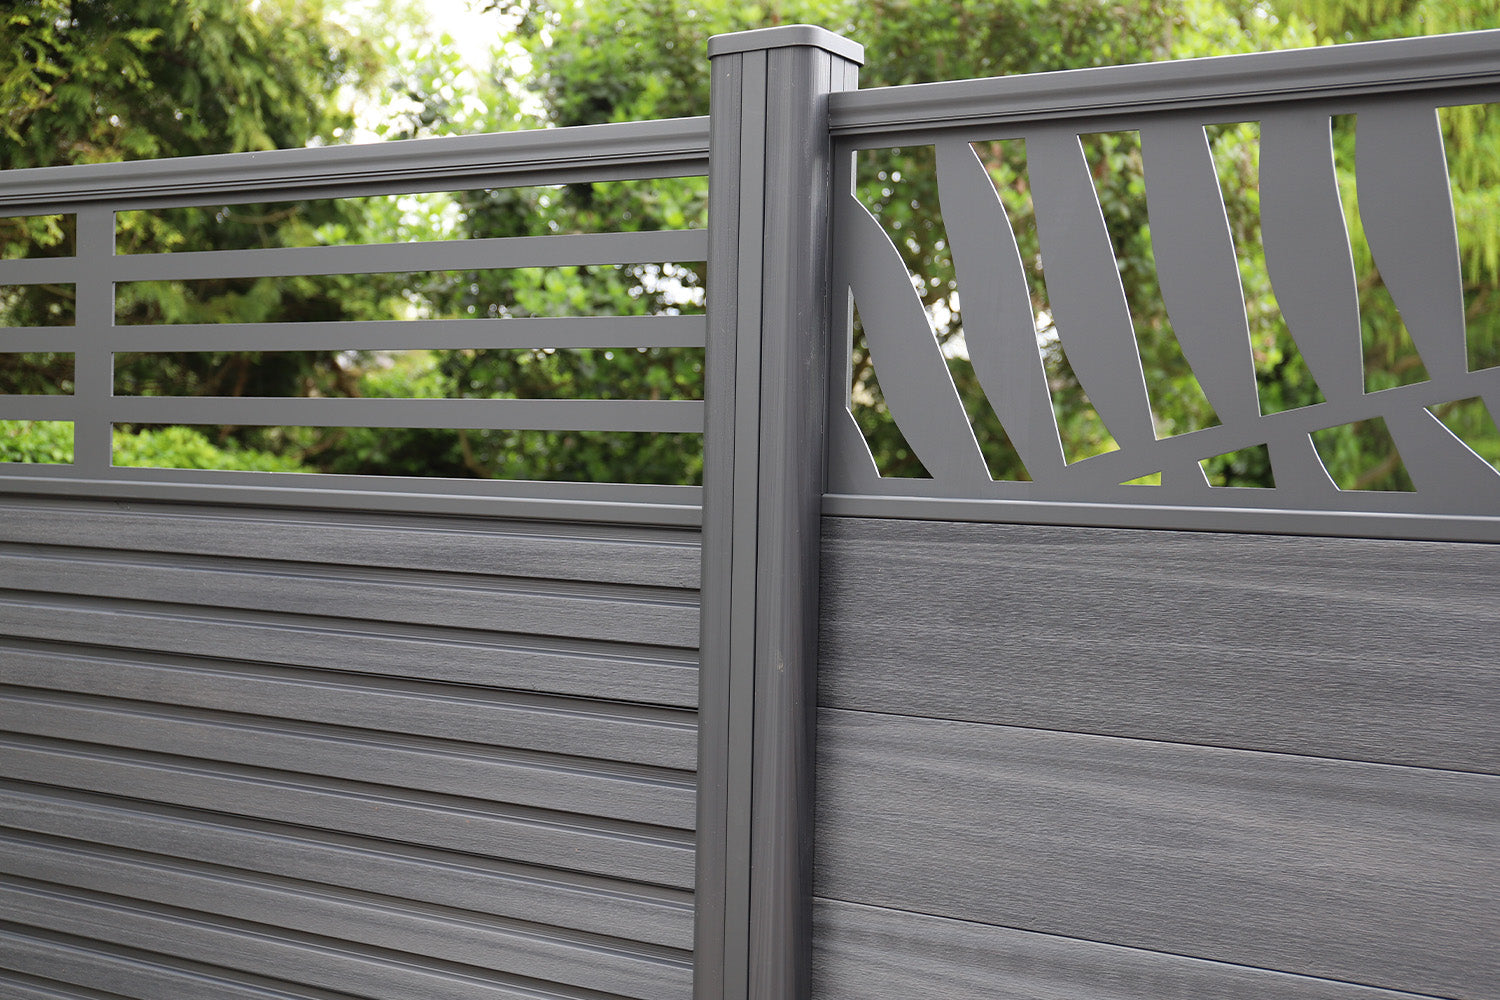
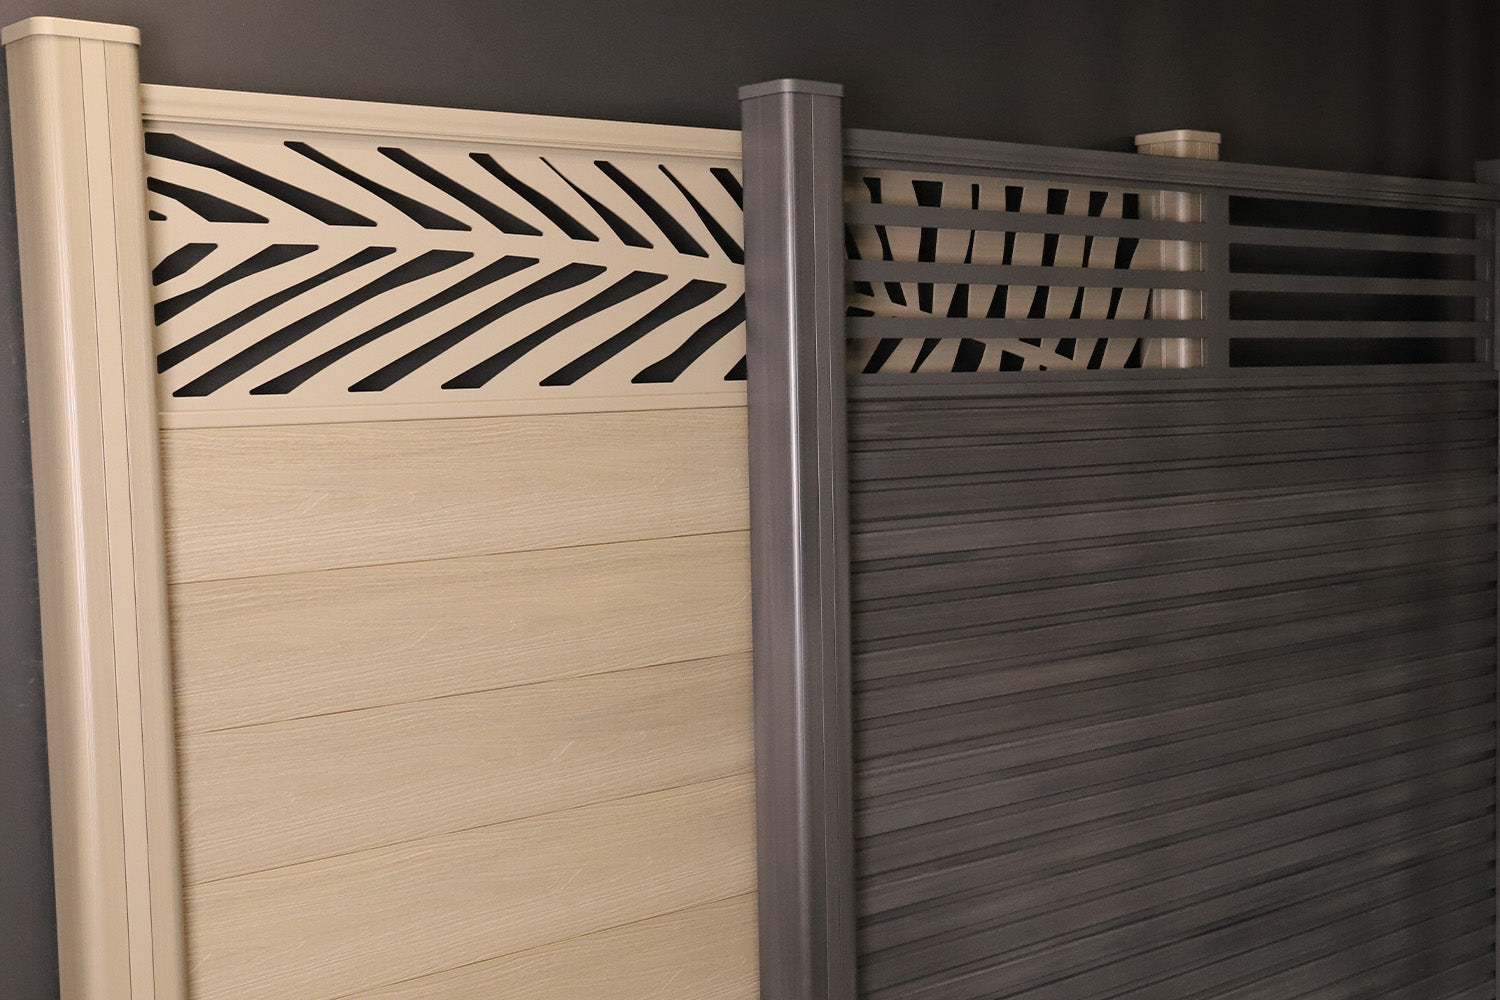
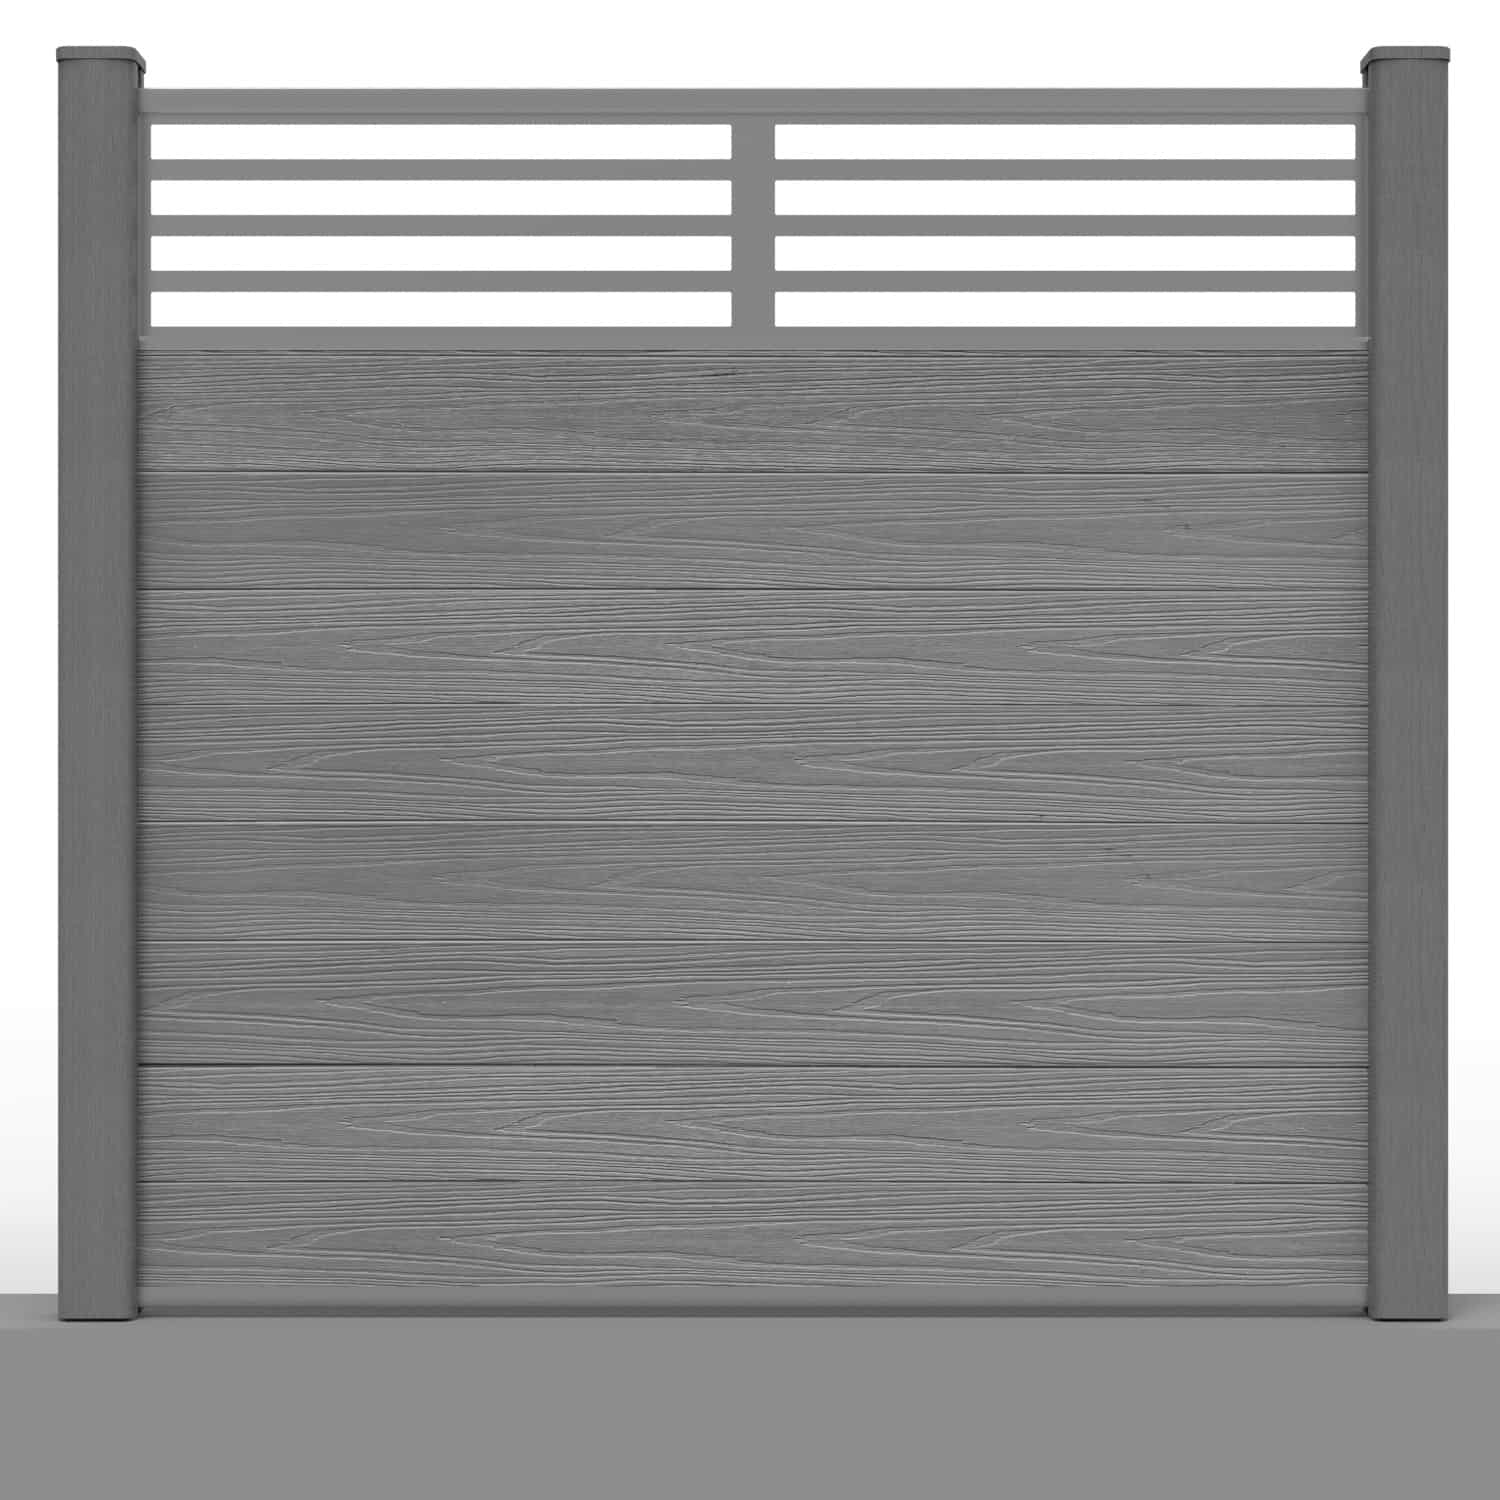
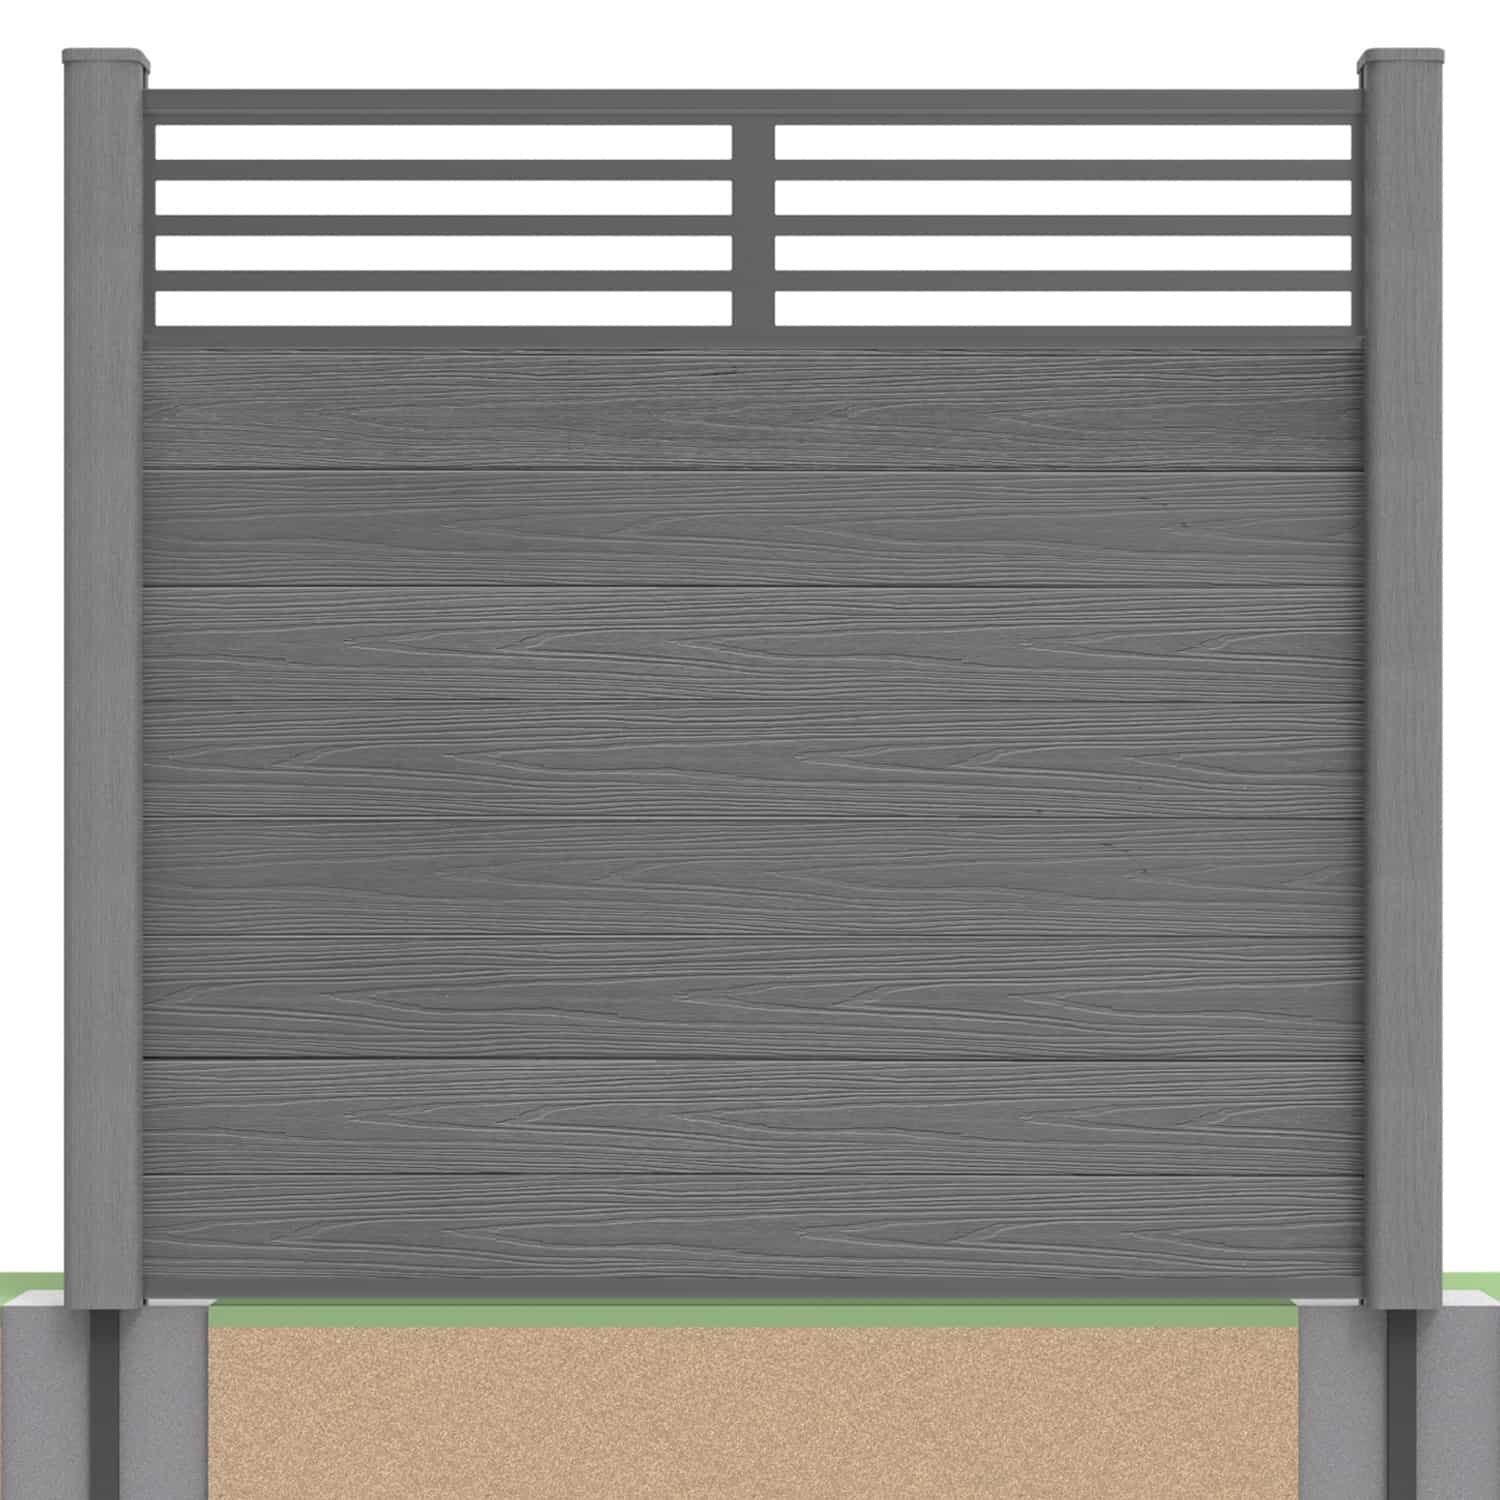
For panels with decorative screens, use the screen installation guide rather than assuming the standard top-board detail is unchanged.
4. Fit the Specified Channel Finishing Pieces
On configurations using NeoTimber® composite posts, fit the specified channel inserts or blanking strips in their designated positions. These pieces finish exposed channel sections and can conceal the relevant bracket details.

Check which profile belongs where and whether shortening is permitted. Channel finishing pieces are not interchangeable with the structural steel support inside a post or with retrofit inserts for other post materials.
Follow the selected configuration’s instructions; retained timber or concrete posts may have a different finishing arrangement.
5. Complete the Post Caps
Fit compatible post caps after the required channel pieces and panel connections are complete. Use the specified fixing method and take care not to damage the finish.

Caps are finishing components, not a way to correct a loose support or misaligned panel. Resolve structural or assembly issues before completing the final details.
Inspect the Finished Panel
| Check | What to confirm |
|---|---|
| Supports | Suitable, stable and correctly positioned |
| Boards | Correct orientation, channel engagement and clearances |
| Rails | Specified brackets and fixings fitted correctly |
| Finishing pieces | Correct profiles and caps in the required positions |
| Whole run | Ends, corners and any gates or screens completed to their details |
Remove debris and inspect for handling damage. Keep the product and installation records alongside the applicable warranty information. Follow the care guidance for cleaning and periodic checks.
For a visual explanation, explore the installation video library. Use the videos with the current written instructions rather than as a substitute for product-specific dimensions.
Panel Installation FAQs
Do I install the posts before assembling the boards?
Yes. Establish the specified supports, foundations and channels before the panel assembly. Check their suitability and readiness for loading.
Can I fit boards tightly between posts?
No. Follow the required engagement and movement clearances for the selected system. Do not force boards into a tight fit.
Can I use one fixing detail for every post type?
Do not assume so. Composite post sets and timber or concrete retrofit arrangements can have different fixing requirements.
What if the top rail does not fit?
Stop and check the board quantity, engagement, clearances and assembly details. Do not force it into position or modify brackets without approval.
Can I change the height by adding boards?
Only within the approved specification. Height affects support and foundation requirements, so it is not simply a cosmetic adjustment.
Can a DIY installer complete the job?
That depends on skills, equipment and site conditions. Review the complete work, including foundations, fixing and handling, and seek professional help where needed.
Confirm the Details Before You Build
Check the supports, component list and current instructions before starting assembly. Explore NeoTimber® composite fencing products or contact our team with measurements and site details for help reviewing the plan.