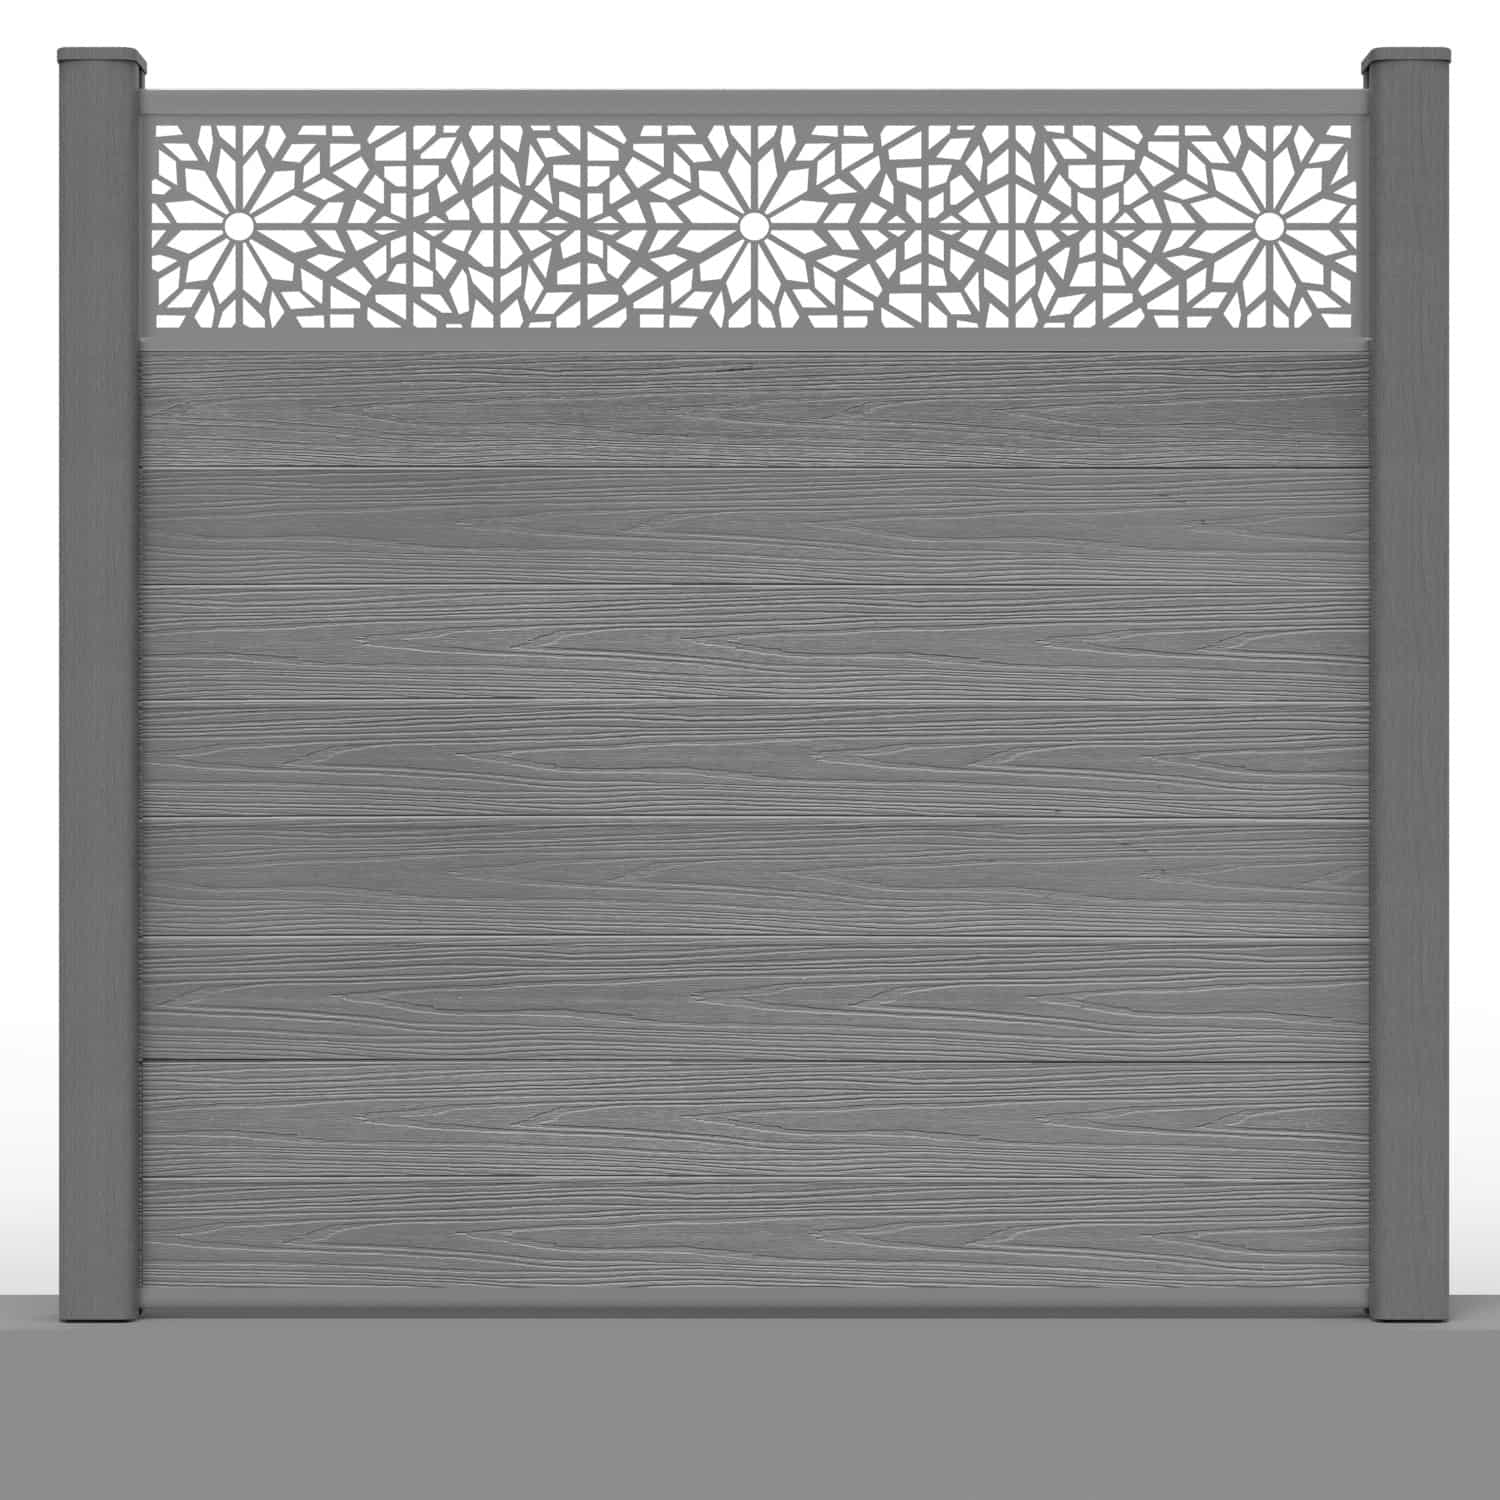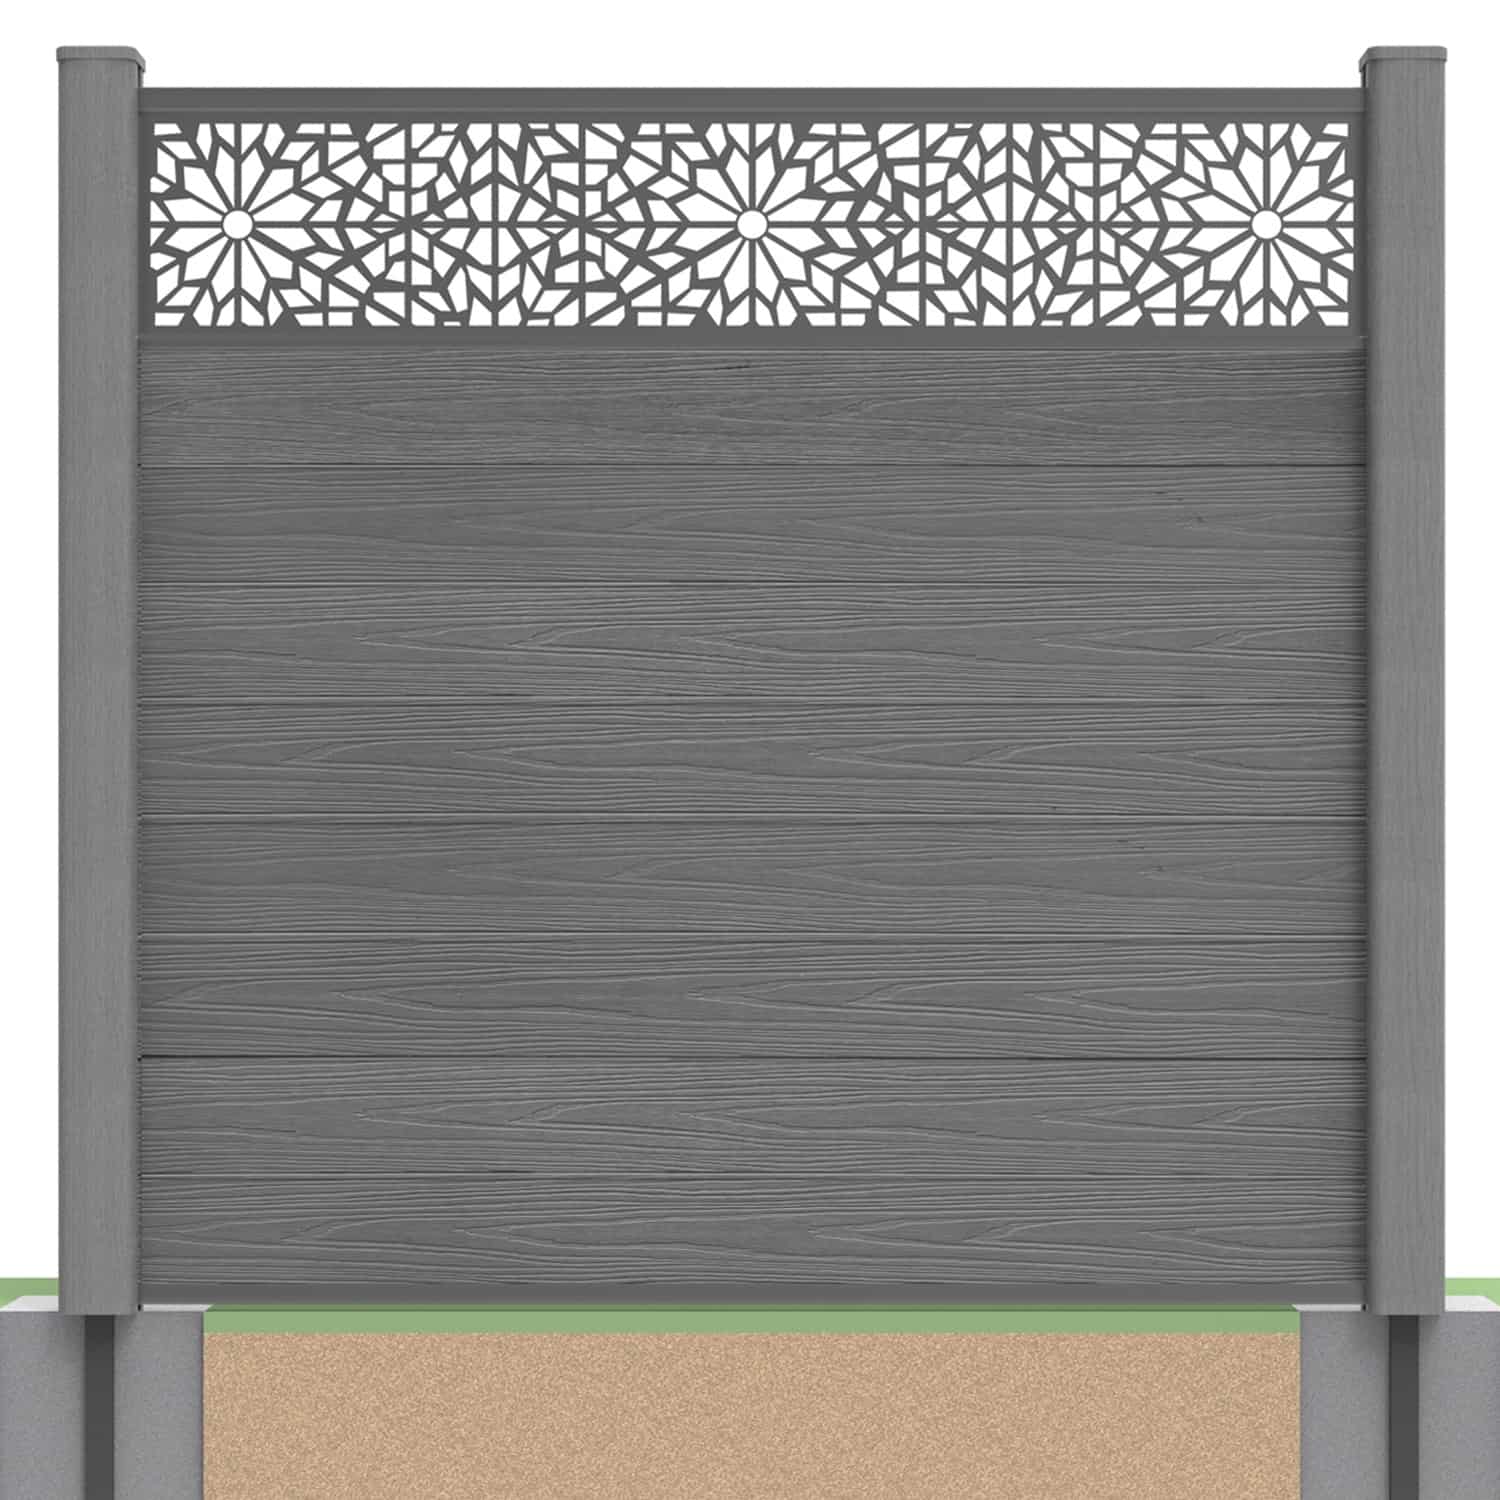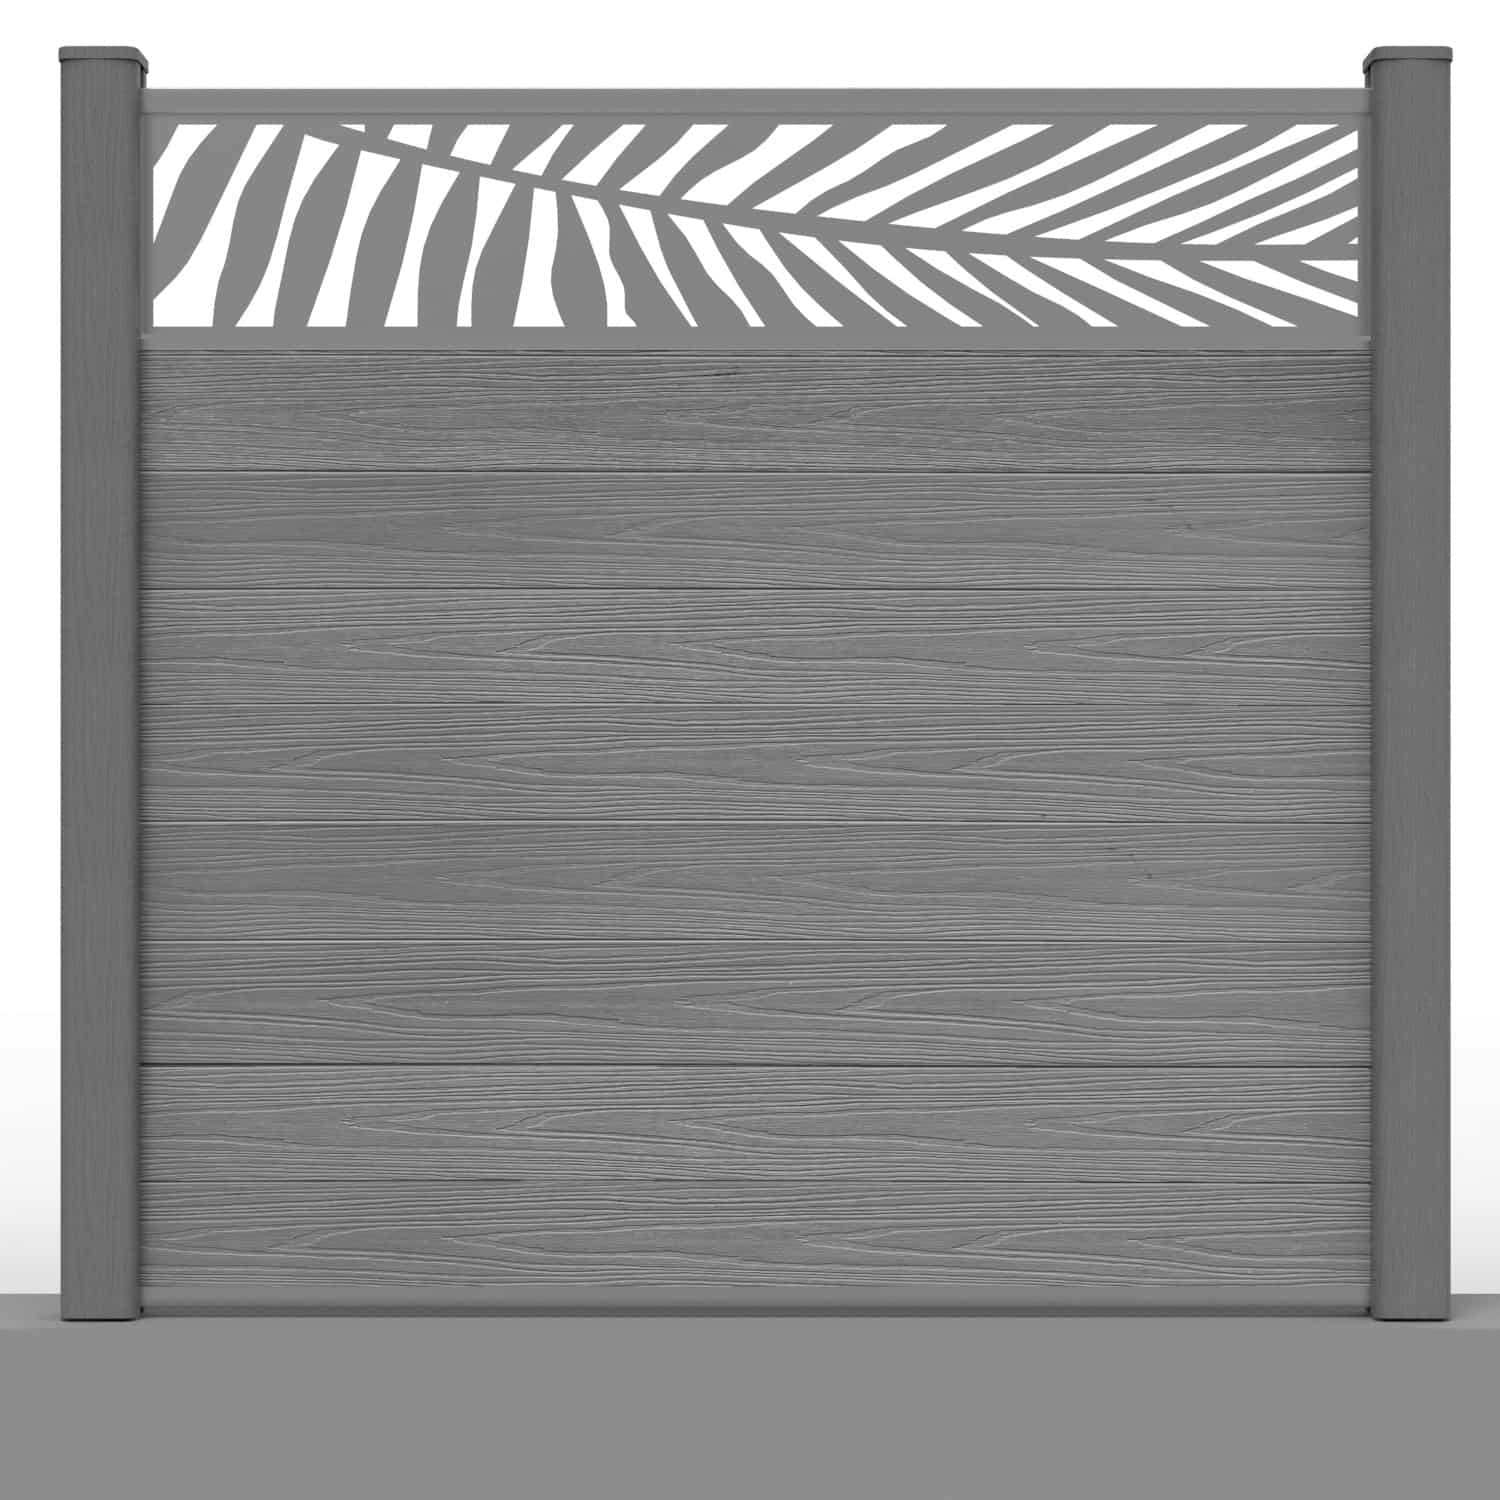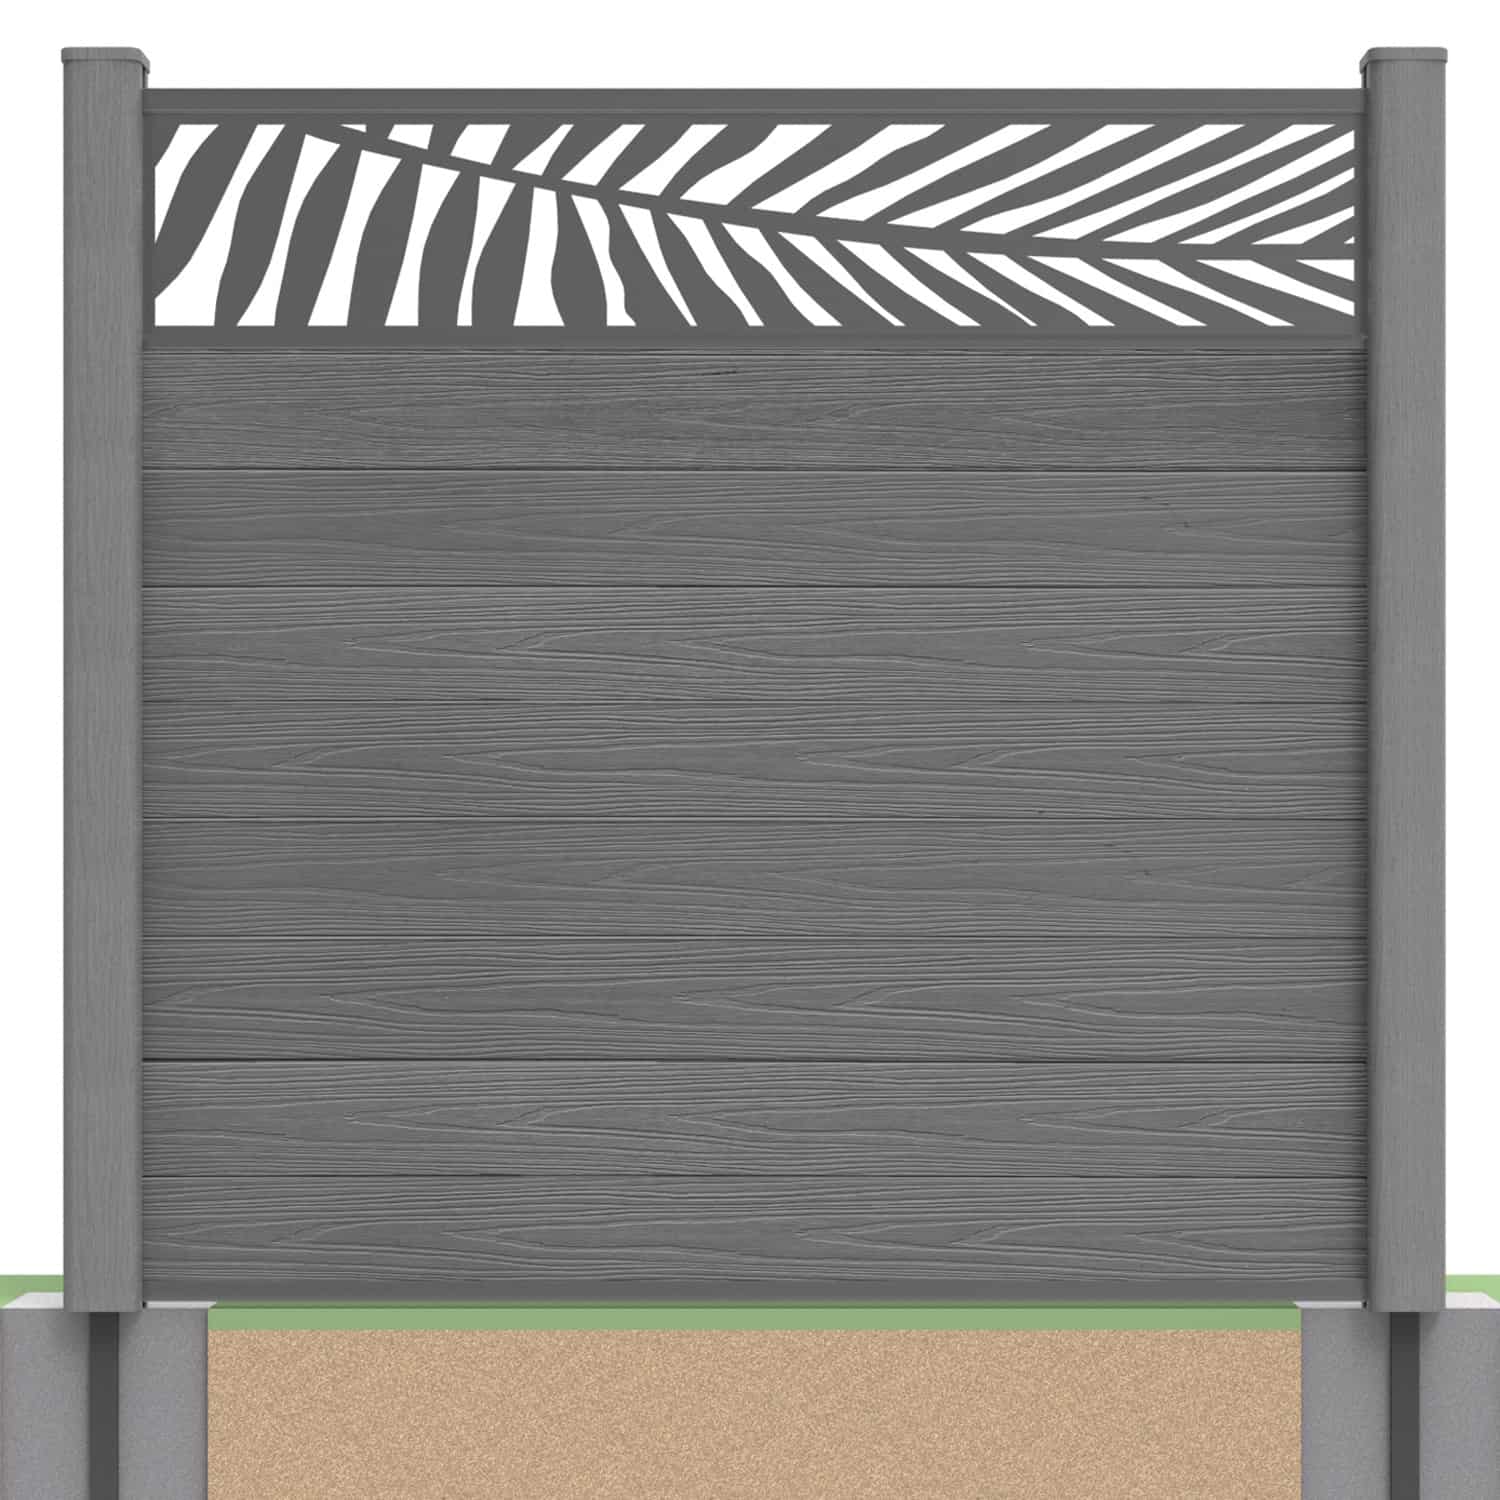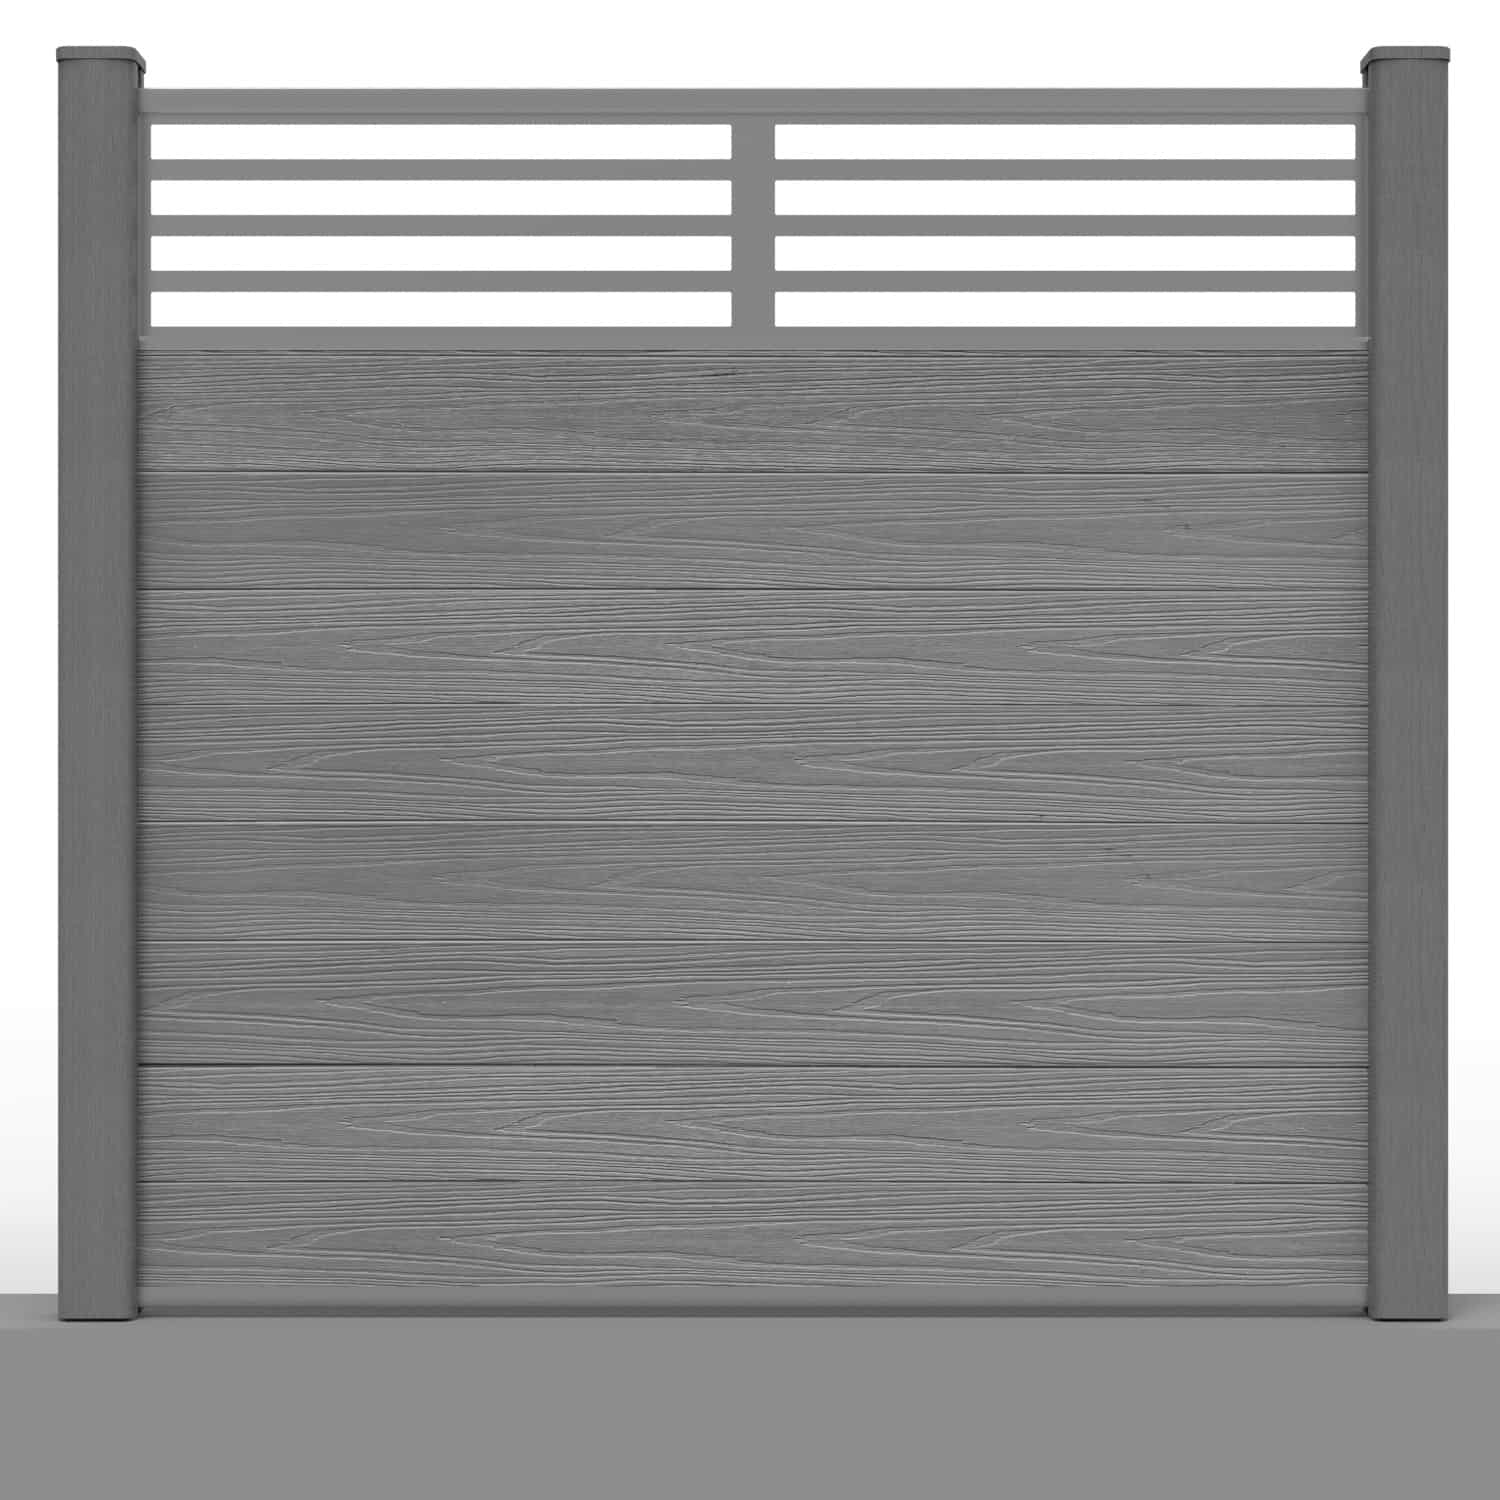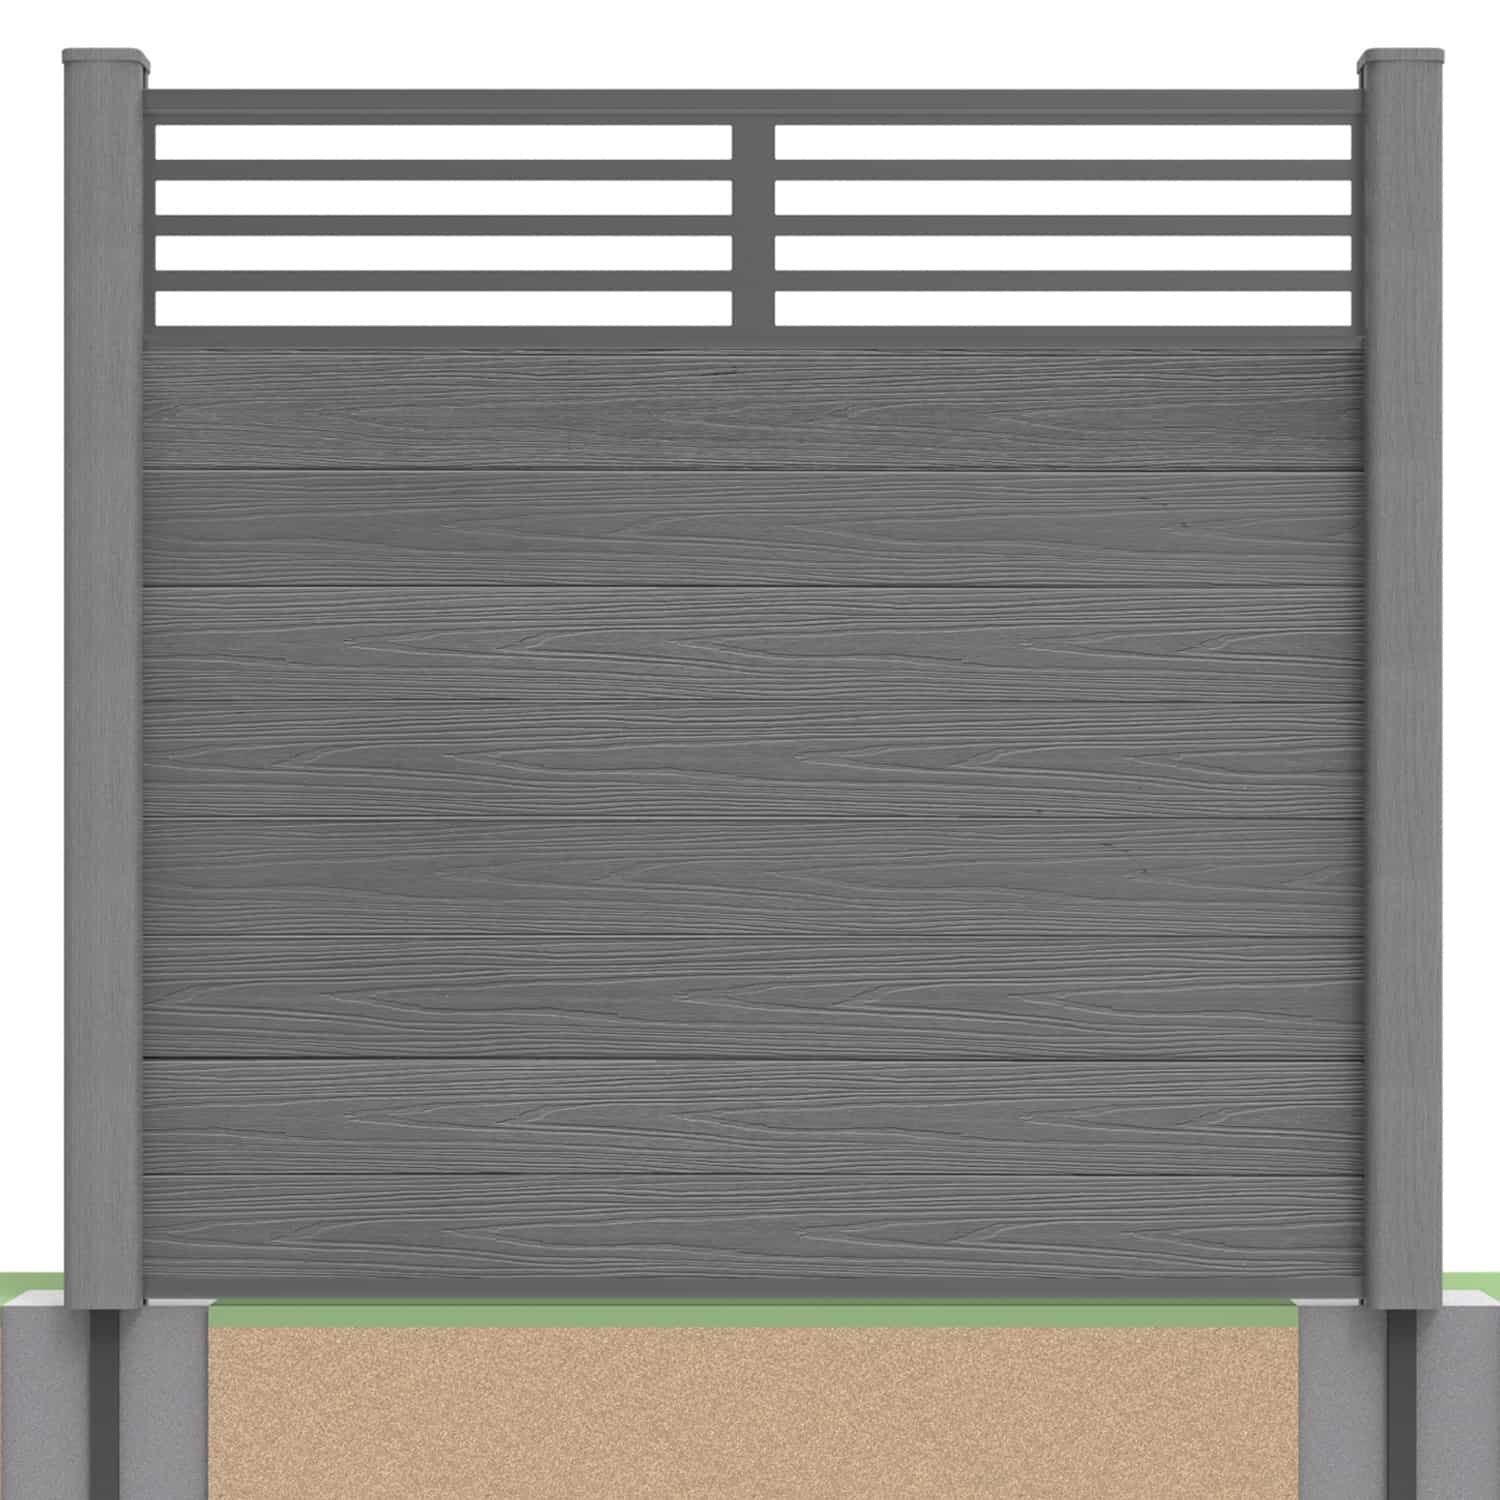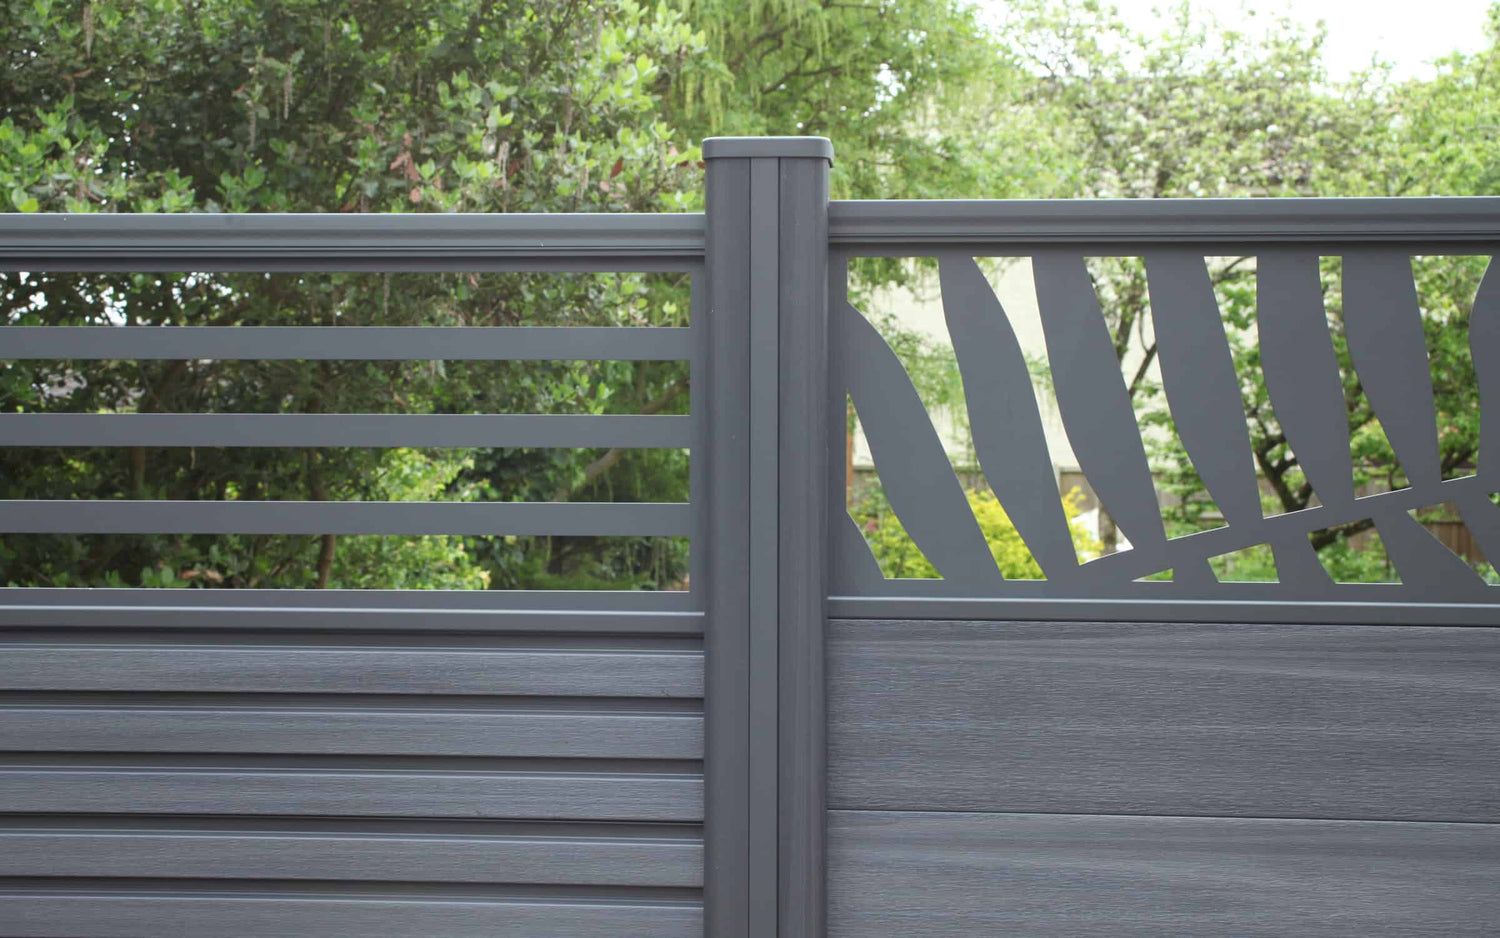
Build a Decorative Screen Section Into Your Fence Panel
To install composite fence panels with screens, assemble the boarded section first, then fit the decorative screen within its compatible aluminium rail arrangement. The finished panel also needs the specified capping rails, connections and post finishing pieces.
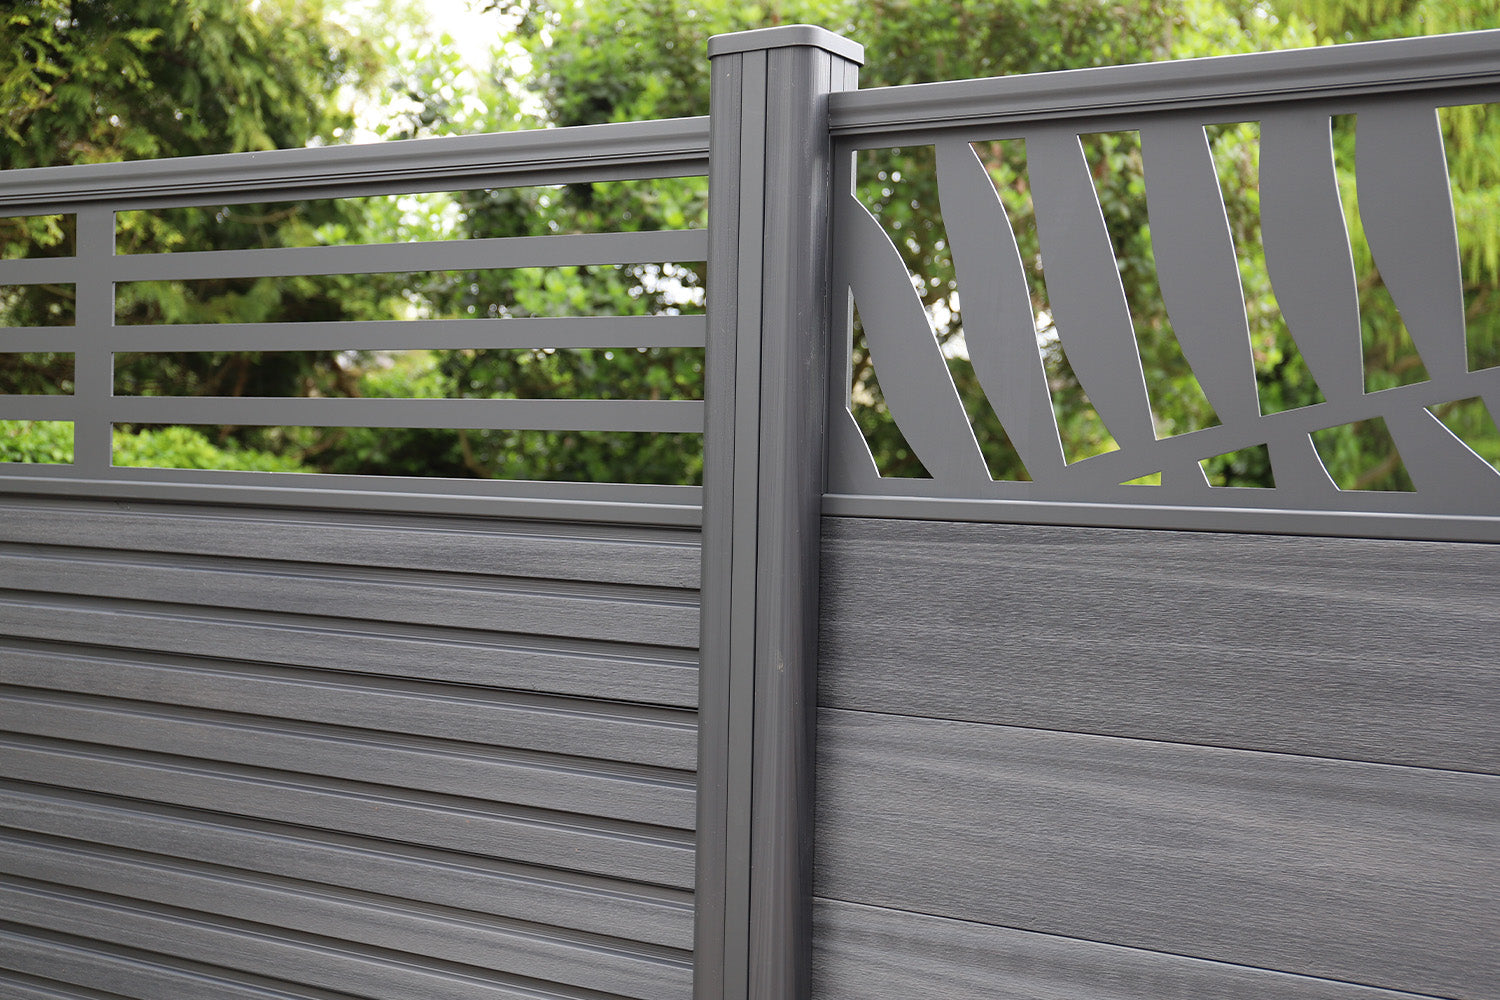
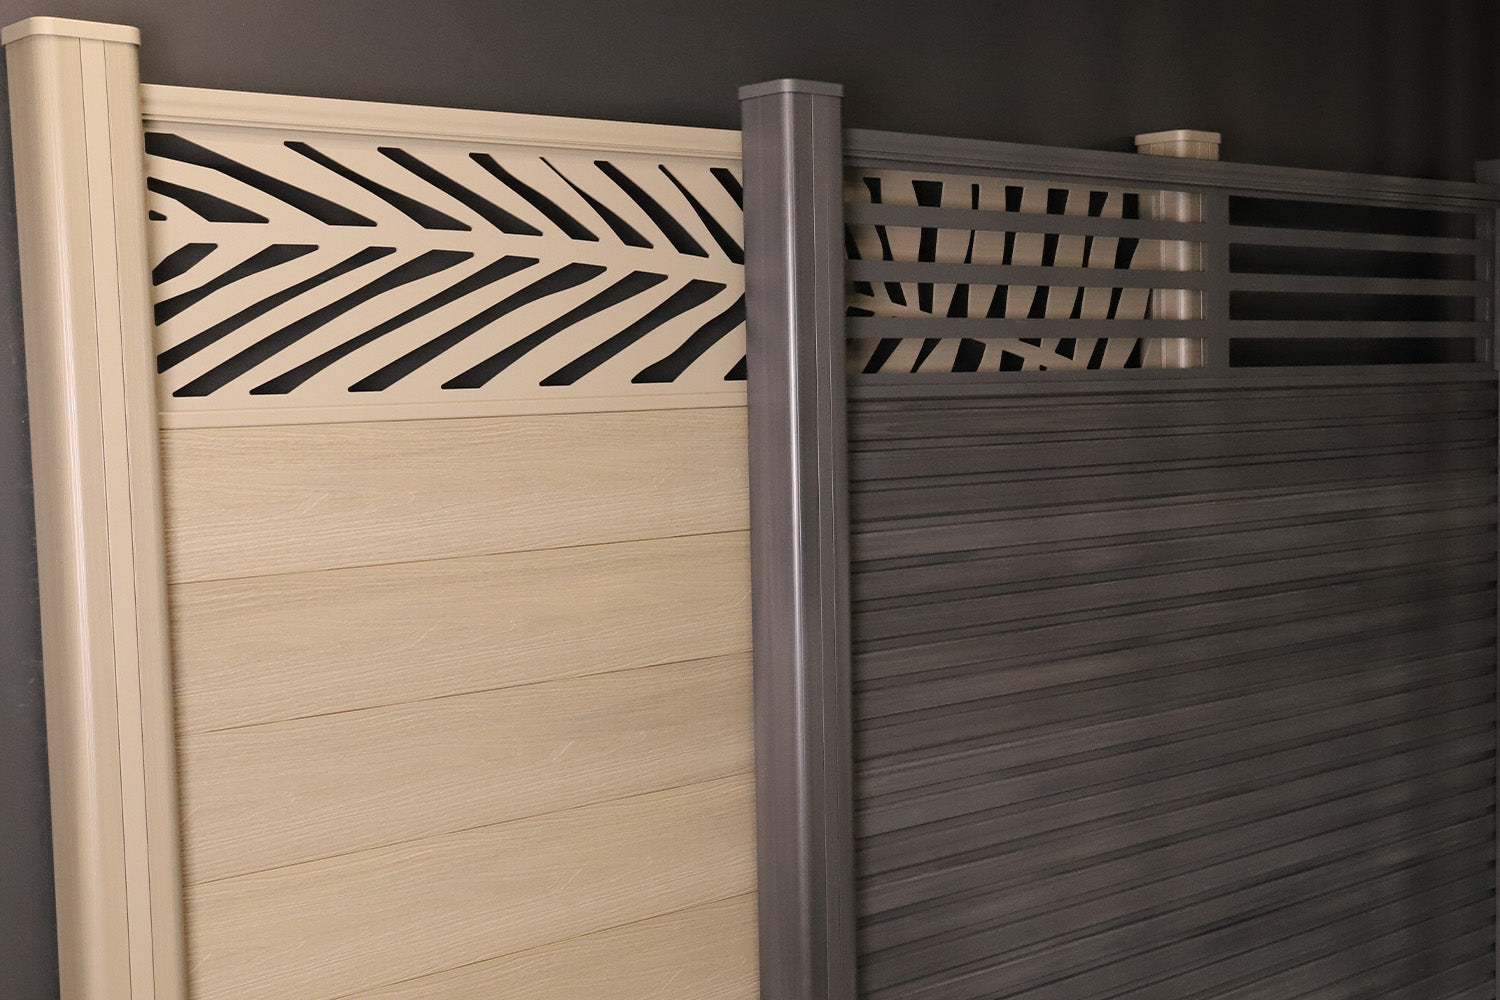
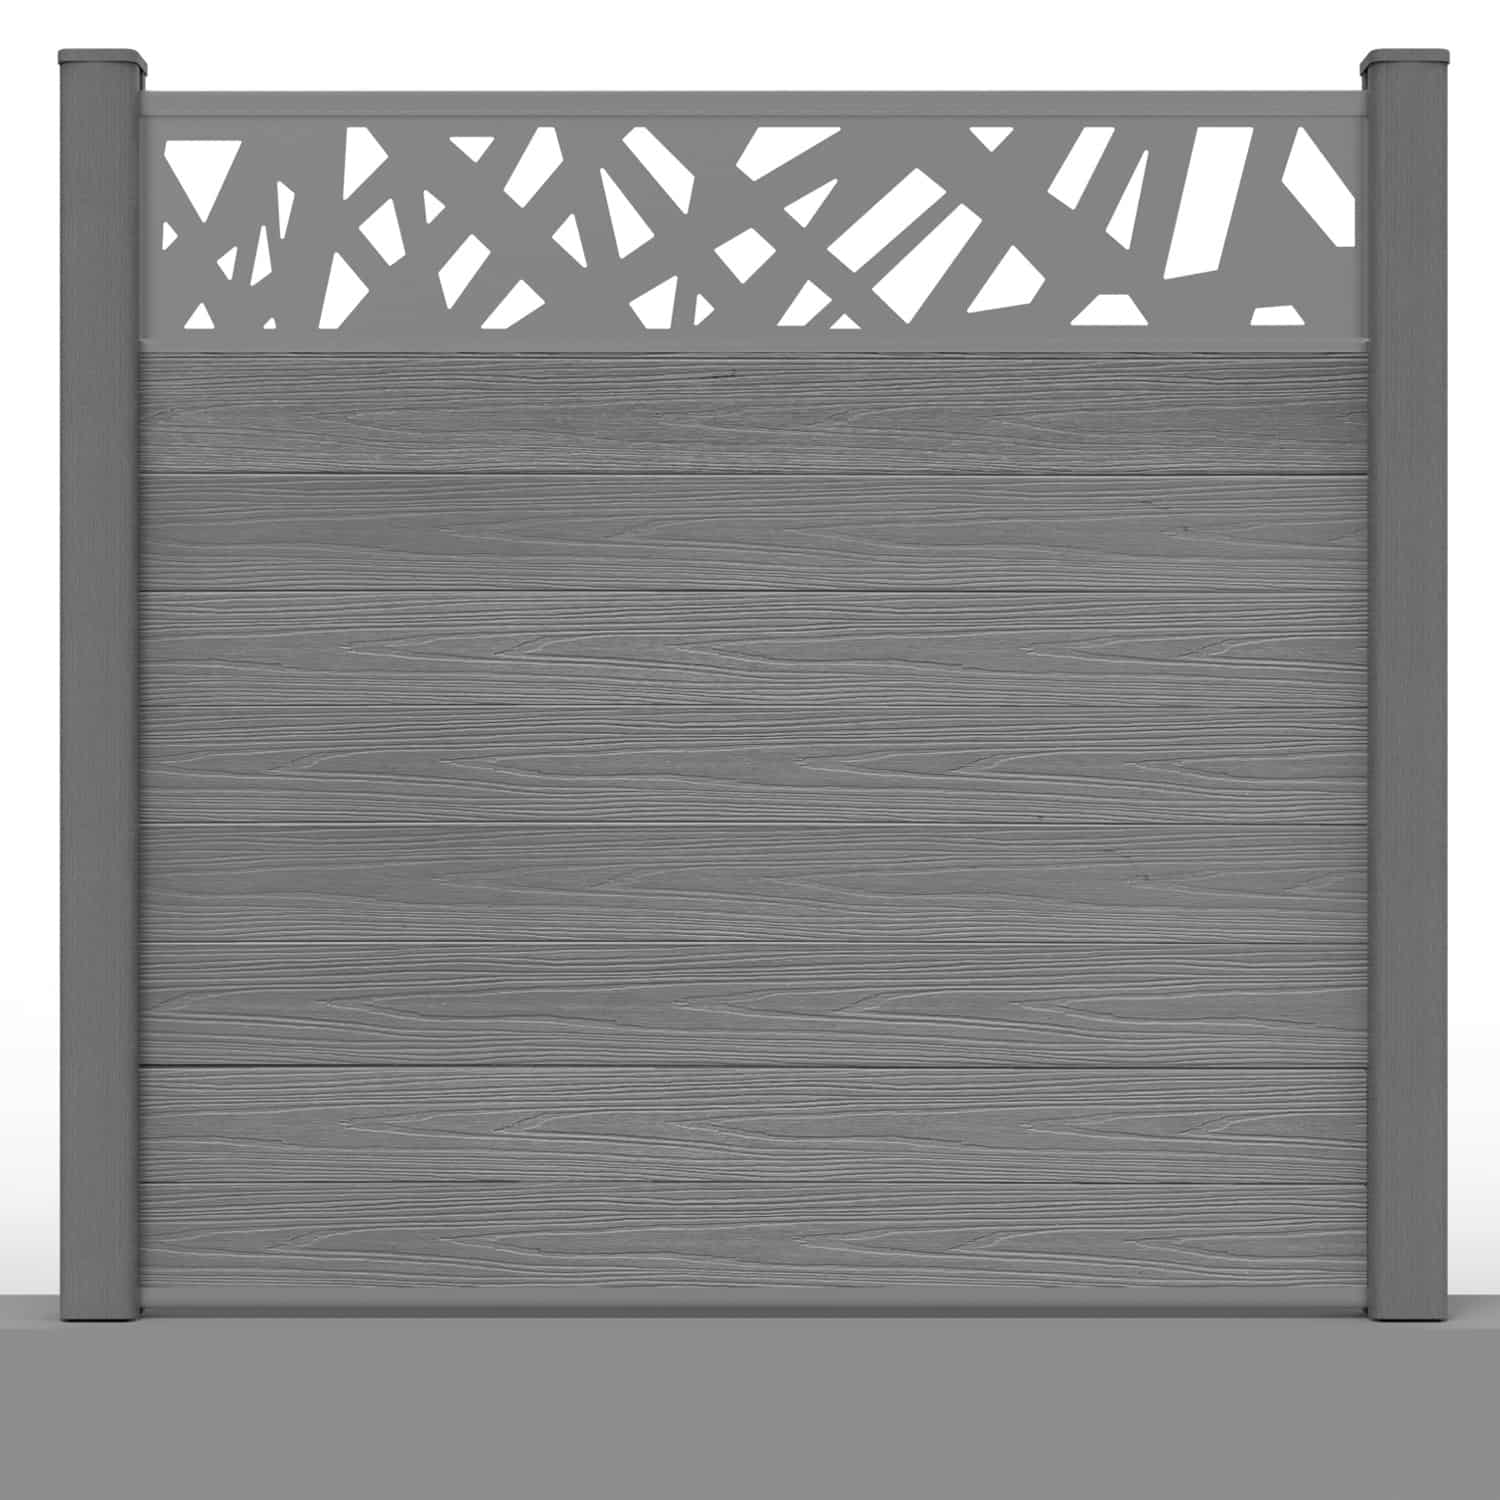
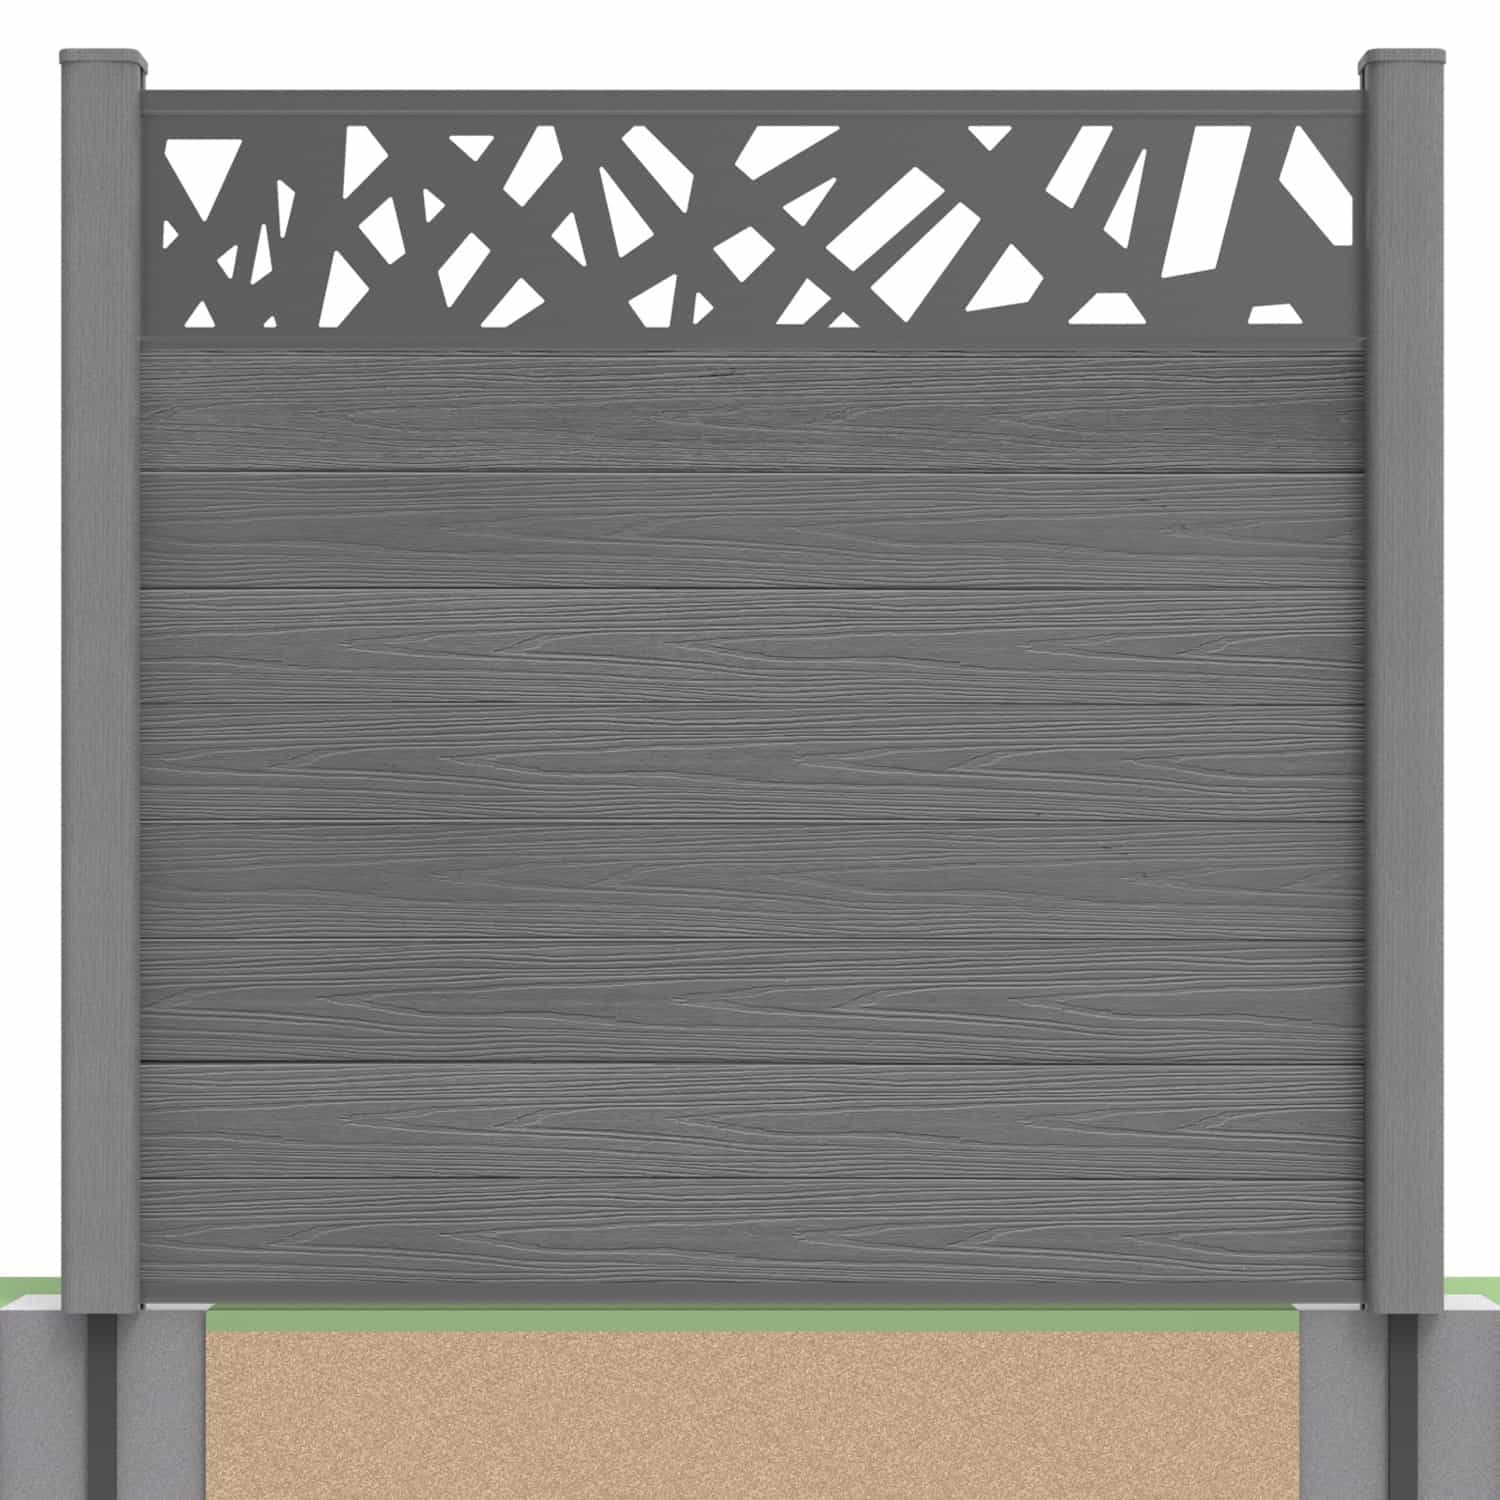
NeoTimber’s decorative screens are powder-coated aluminium. In the standard arrangement described here, the screen replaces the upper two boards rather than acting as an unrestricted extension above a full panel. Confirm the exact configuration for your selected products before starting.
Use this guide alongside the current installation instructions. Explore our fencing guide for an introduction or browse the composite fencing collection for compatible parts.
Assembly stages: Preparation · Video · Bottom rail · Boards · Screen rails · Top capping rail · Finishing · FAQs
Check the Configuration Before Assembly
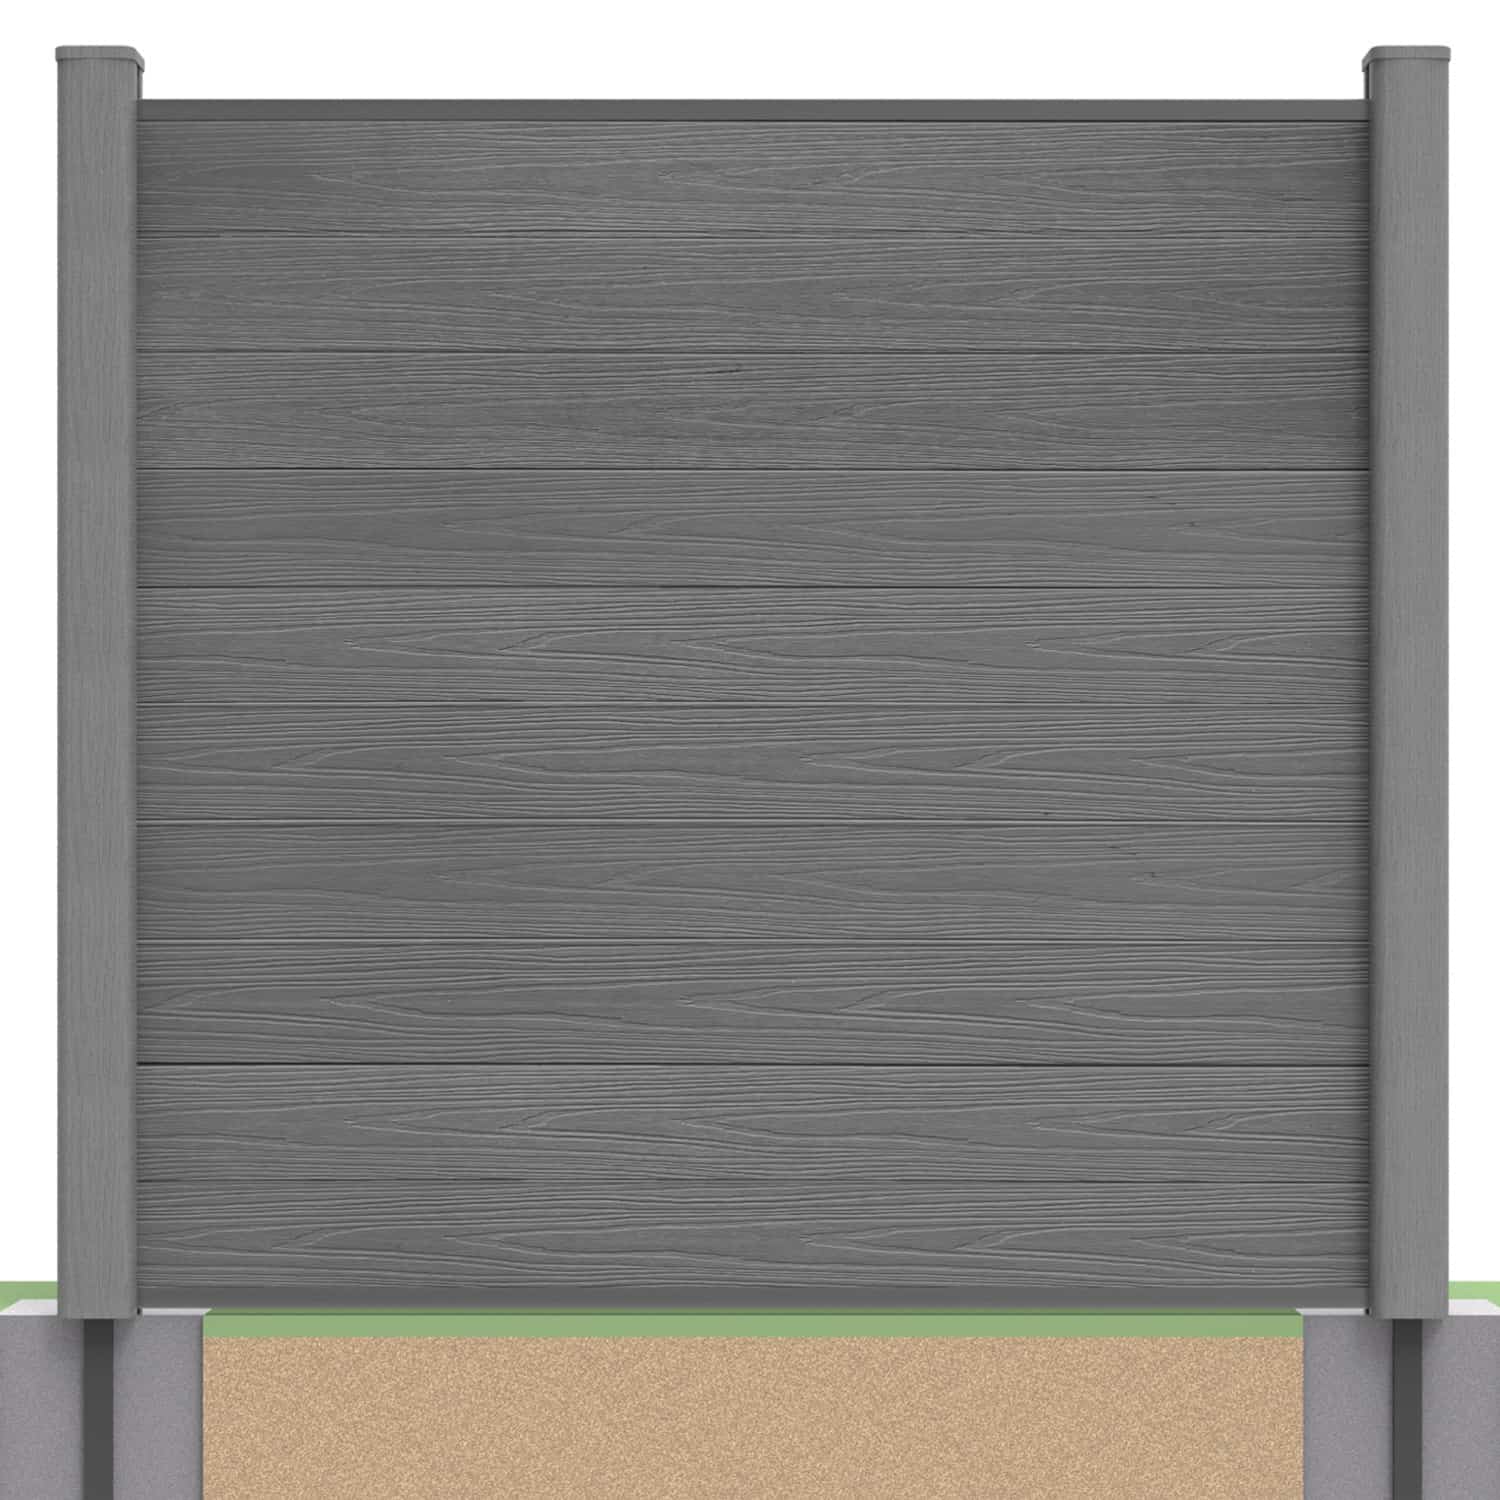
Confirm that the posts, foundations and channels suit the proposed height and site exposure. For a retrofit, assess the condition, dimensions and compatibility of existing supports before altering the panel.
- Check the selected screen, board range and finished panel height.
- Confirm the required board quantity and complete screen rail set.
- Use installed dimensions to set the opening, not board length alone.
- Allow the specified engagement and movement clearances.
- Identify the brackets, pads, fixings and finishing pieces required.
Cut-outs change visibility through the upper section. Check the relevant sightlines rather than assuming the screen retains the same privacy as the solid boards it replaces.
Watch the Screen Installation Video
The video illustrates how the components fit together. Check its details against the current written instructions for your exact configuration before drilling, cutting or fixing.
1. Install the Bottom Capping Rail
Prepare the bottom rail with the specified brackets, then position it between the prepared posts or channels. Check support, position and alignment before fixing at each end.
Use the fixing specification for the actual post arrangement. Do not assume one screw detail suits composite posts and every timber or concrete retrofit. Fit brackets by the approved method rather than forcing them to correct misalignment.

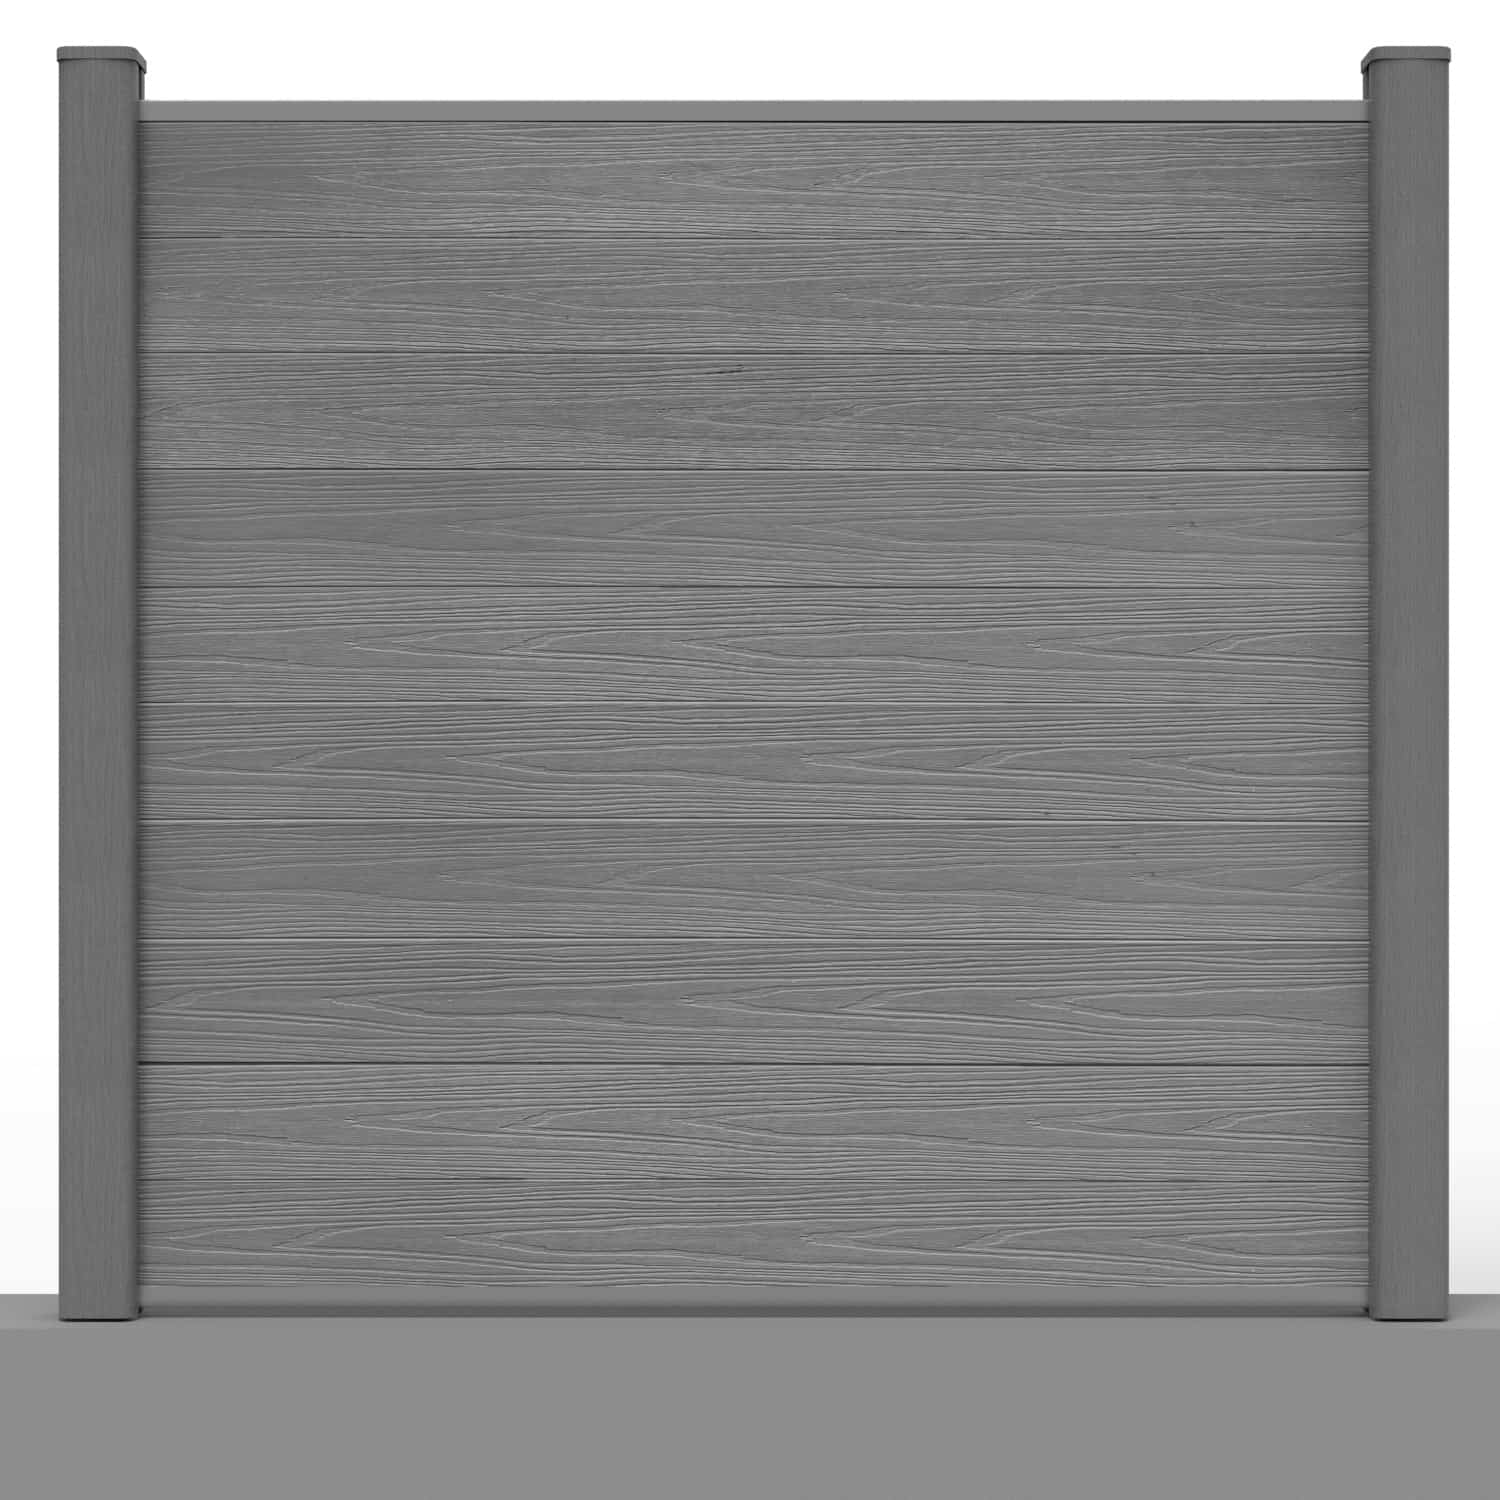
2. Assemble the Boarded Section
Stack the compatible tongue-and-groove boards in the required orientation. Follow the product guidance for the direction of the profile and the clearance at each end.
For Deluxe boards, choose which of the woodgrain or brushed faces will be visible from each side and keep the orientation consistent. Where shortening is permitted, trial-fit a board before repeating the cut across the set.

Stop at the specified board quantity for the screen configuration. Adding a full standard board stack first can leave the screen outside the approved finished height.
3. Fit the Screen Base Rail
Position the screen base rail over the upper edge of the final board using the approved profile engagement. Check that it sits correctly before fitting the side rails.

4. Position the Side Rails and Screen
Fit the screen side rails in their designated positions within the post channels. Keep them aligned so the screen can be inserted without distorting the rails or damaging the coating.

Lower the decorative panel into the compatible rail assembly as instructed. Handle the screen carefully and arrange assistance where needed. Do not enlarge openings, bend edges or modify the panel to force a fit.

5. Complete the Screen’s Top Rail
Position the screen top rail over the panel according to the assembly detail. Check engagement around the screen and confirm that the upper section is seated correctly before adding the main top capping rail.

The screen rails and the fence capping rails are separate components with different roles. Identify each profile before fitting rather than treating them as interchangeable.
6. Secure the Top Capping Rail
Prepare the top capping rail with the specified bracket and padding arrangement, then position it over the completed screen section. Fit the required connections at each end using the current instructions.

If the assembly does not fit, check board quantity, rail orientation, engagement and clearances. Do not force it down, remove required parts or substitute an improvised fixing.
7. Fit Channel Finishing Pieces and Post Caps
Where the selected configuration uses NeoTimber® composite posts, install the designated channel inserts and blanking strips. Fit the correct profiles in the positions shown by the instructions, including above the capping rail where required.

Complete the post caps using the specified fixing method once the panel and channel pieces are correctly fitted. Other support arrangements may have different finishing details.

Inspect the Completed Assembly
| Part | Final check |
|---|---|
| Posts and foundations | Suitable, stable and ready to support the assembly |
| Boards | Correct quantity, orientation and movement clearance |
| Screen and rails | Approved profiles, correct engagement and undamaged finish |
| Capping rails | Specified brackets, padding and fixings fitted |
| Finishing pieces | Correct strips and caps in the required positions |
Keep product and installation records with the applicable warranty information. Follow the care guidance for the composite boards and the instructions for the powder-coated screen.
Do not attach heavy planters, ornaments or substantial climbers unless the system is approved for those loads. A decorative screen should not automatically be used as a structural trellis or fall-protection barrier.
Screen Panel Installation FAQs
Does the screen sit above a full-height panel?
Not in the standard arrangement described here. It replaces the upper board section. Confirm the approved configuration and final height for your products.
Are the screens made from composite?
No. NeoTimber’s decorative screens are powder-coated aluminium, designed to coordinate with the composite boards.
Can I add a screen to an existing fence?
Potentially, where the installation is compatible. Check dimensions, supports, required access and any partial dismantling before proceeding.
Can I use the standard panel instructions alone?
Use the screen-specific details too. Board quantities, rail profiles and the upper assembly differ from a fully boarded panel.
What if the top rail will not sit correctly?
Stop and check the configuration, engagement and clearances. Do not force it or modify fixings without approved guidance.
Will the screen maintain the same privacy?
Cut-outs permit views through the upper section, so assess the actual sightlines compared with the boards it replaces.
Check Every Profile Before You Start
Confirm the configuration and component list, then follow the approved sequence. Explore NeoTimber® composite fencing and screen options or contact our team with your layout and product details for help reviewing compatibility.