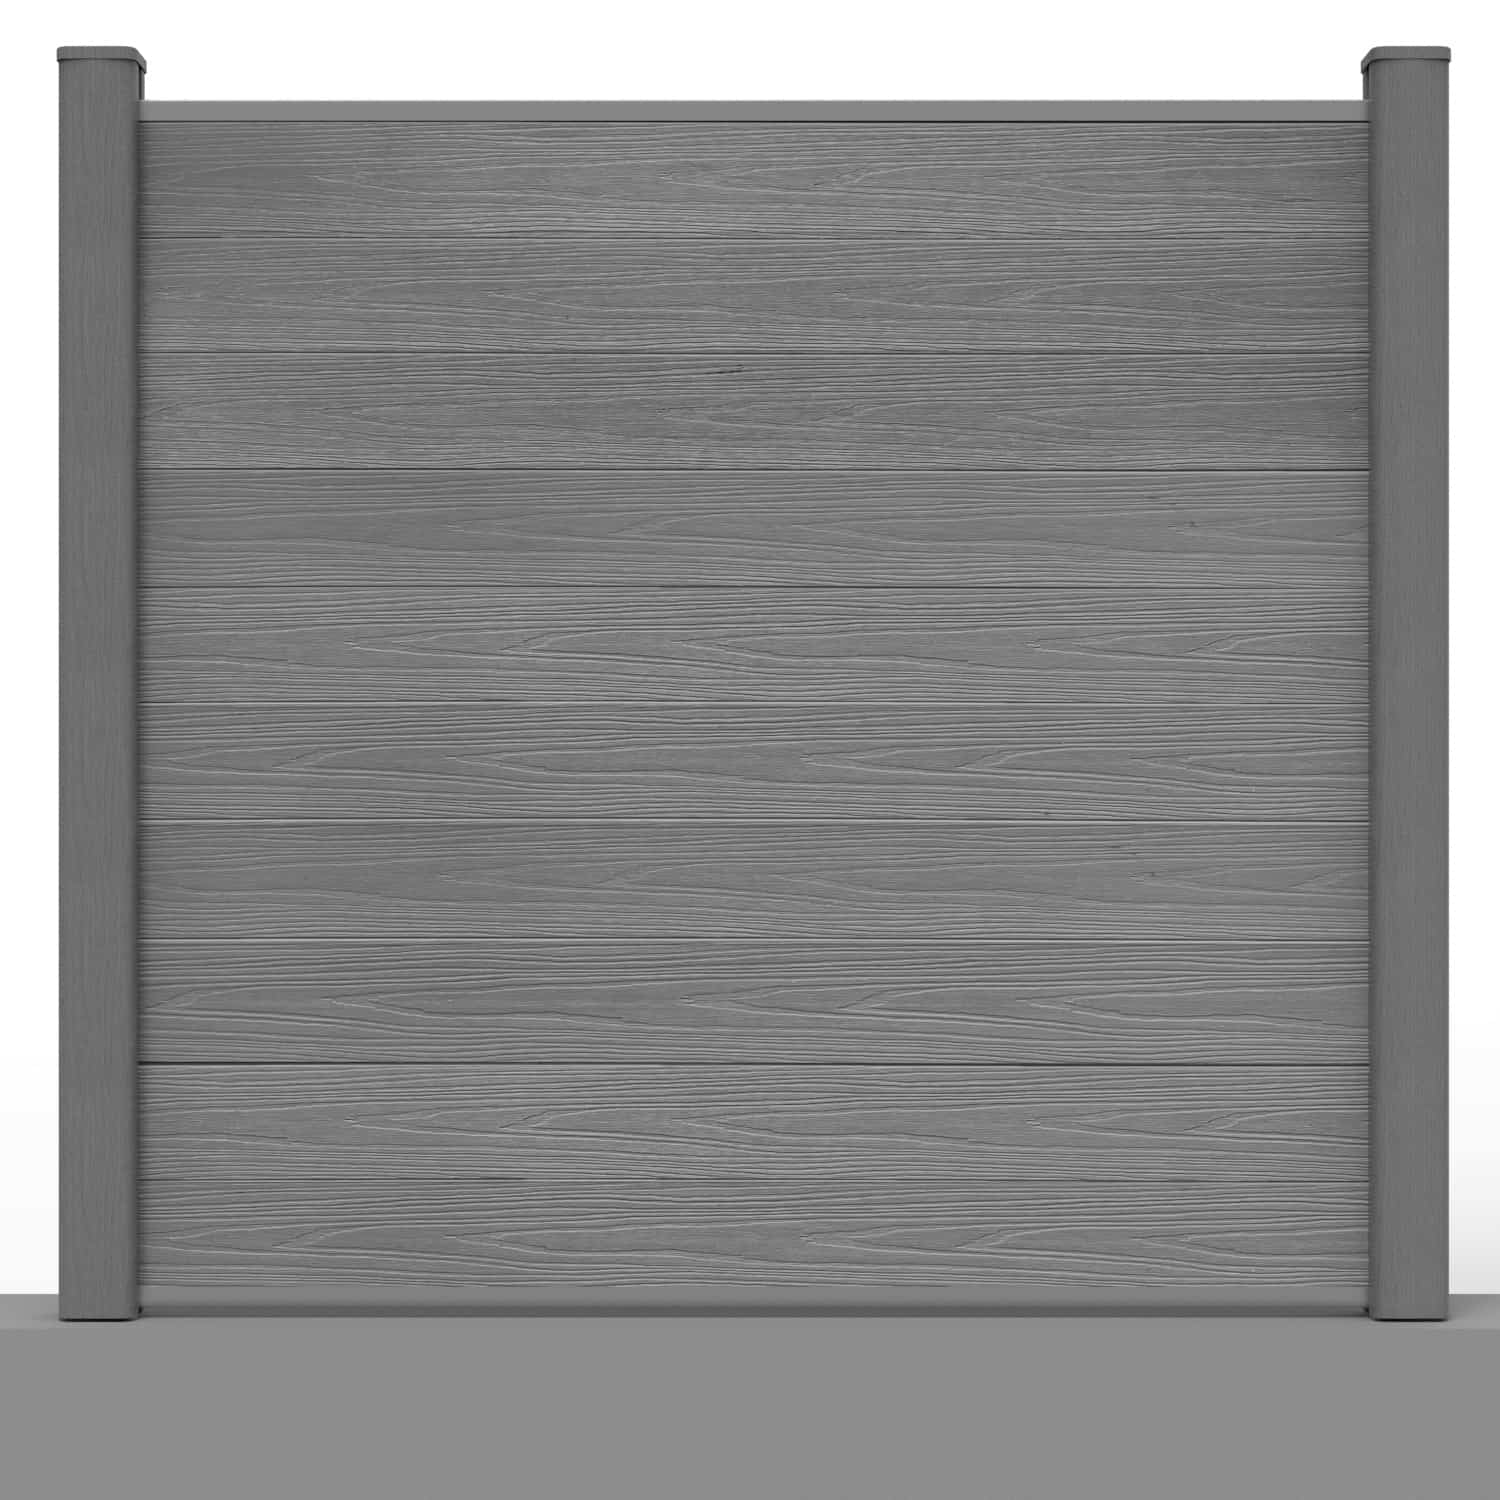
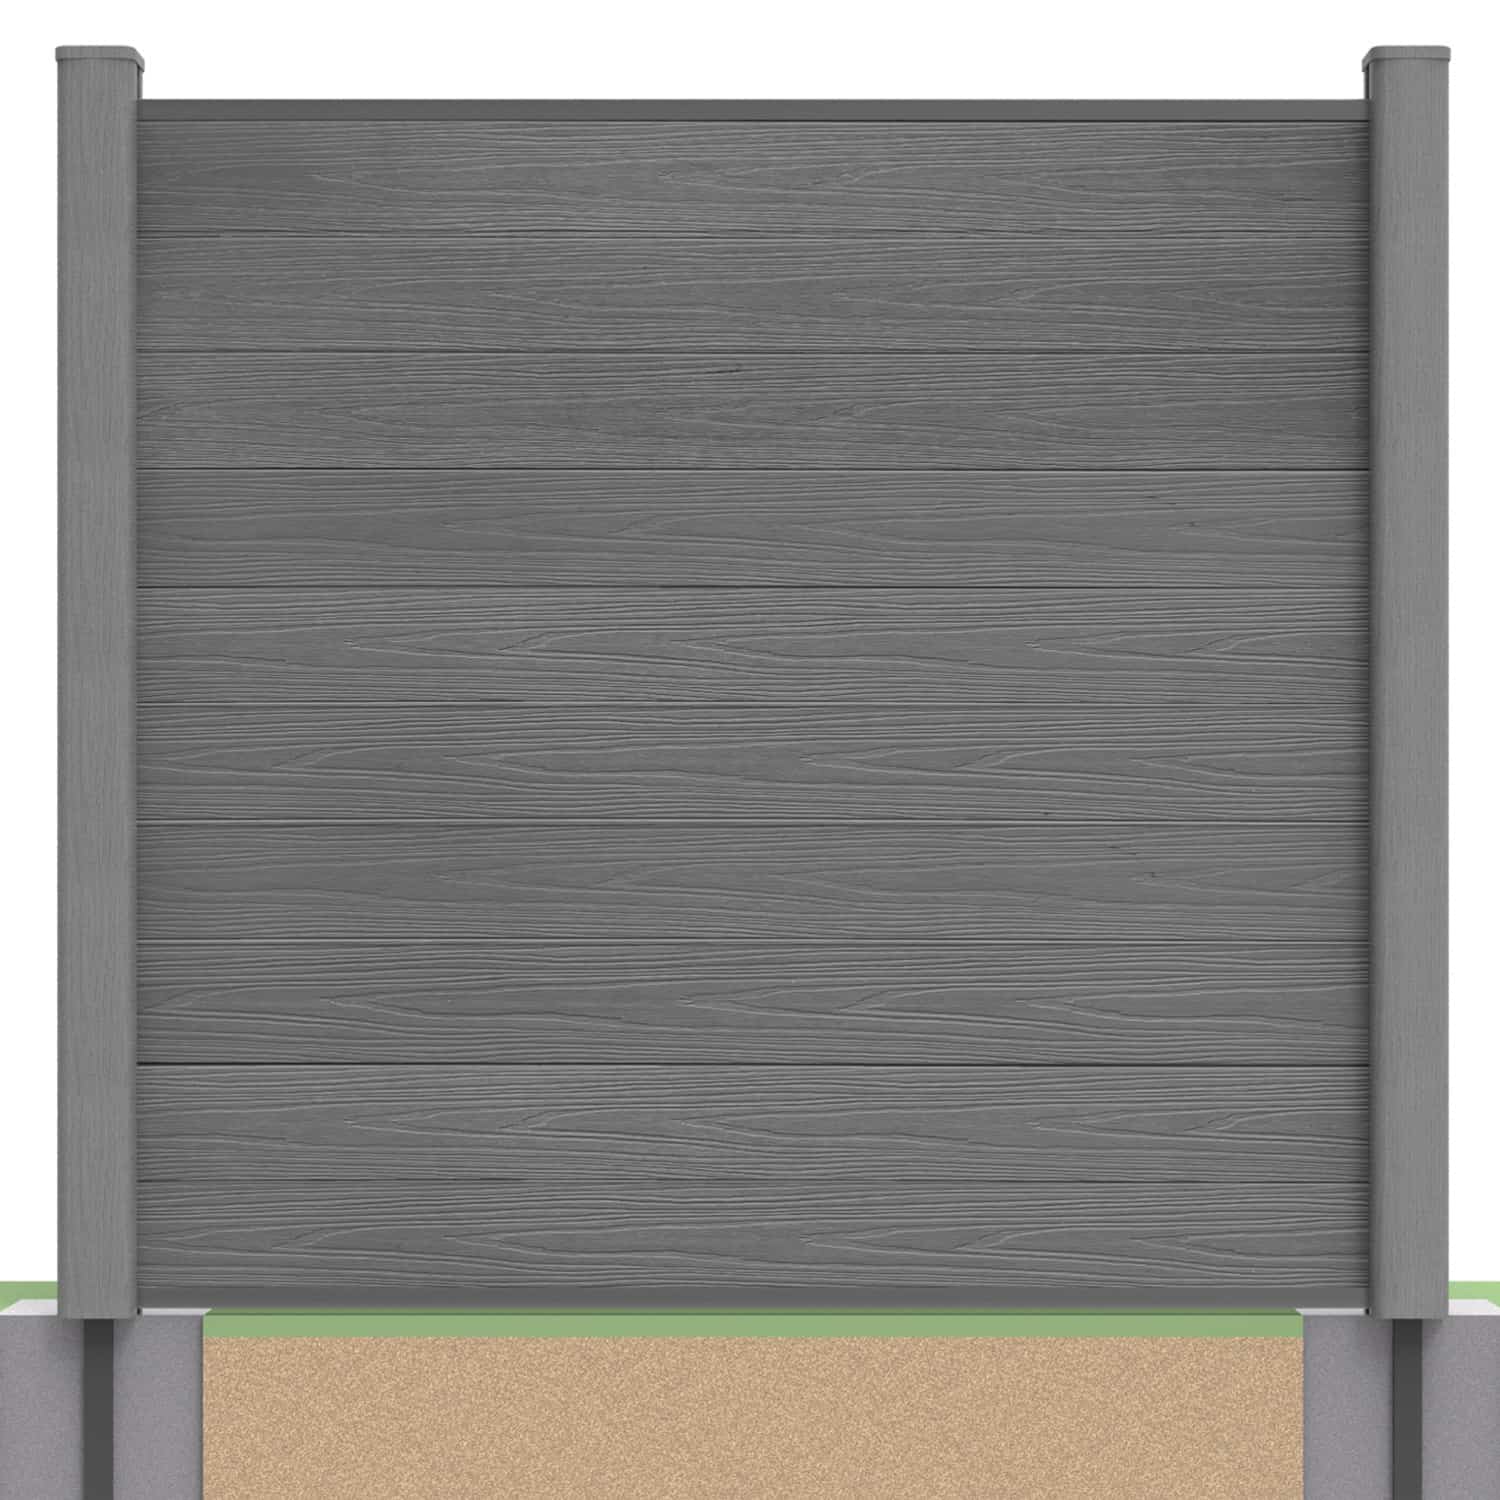
Watch the Installation Guide That Matches Your Fence Project
NeoTimber’s composite fencing how-to installation videos help you understand the assembly process before work begins. The six guides below cover new posts on hard or soft ground, retrofitting suitable existing posts, decorative screens and a matching gate.
Use the videos alongside the current written installation instructions for your selected products. The written details are essential for checking dimensions, supports, fixings and clearances, particularly where a video shows an earlier product configuration.
For an introduction to the system, visit our fencing guide or explore the composite fencing collection.
Choose a video: Hard ground · Soft ground · Timber posts · Concrete posts · Decorative screens · Gates · FAQs
Before You Start Watching
Identify the support method first. New posts need an appropriate base or foundation, while retrofit inserts depend on the suitability of the existing posts. A similar-looking site does not automatically need the same fixings or foundation arrangement.
- Measure the fence runs, proposed height, corners, level changes and gate openings.
- Confirm the selected board range and compatible post or insert configuration.
- Review the instructions before ordering tools, fixings and foundation materials.
- Assess ground conditions, exposure and existing supports where relevant.
- Plan safe access and check for underground services before excavation.
Use the post installation options guide if you are unsure which route applies.
1. Installing Fencing on Hard Ground
This video introduces the assembly using NeoTimber’s hard-ground post supports. It is useful for understanding how the support, composite post profile, board channels and capping rails relate to one another.
Before fixing anything, establish that the supporting base is suitable for the specified anchors. Paving, an unknown slab or compacted ground should not automatically be treated as structural concrete.
Check base condition and dimensions, anchor requirements and post positions against the current instructions. Do not use board length alone to set post centres: channel engagement, post dimensions and clearances affect the assembly.
Read the hard-ground installation guide and compare the hard-ground post set requirements before proceeding.
2. Installing Fencing on Soft Ground
The soft-ground video shows the route using longer supports set into concrete foundations. Watch it to understand the sequence from positioning supports to assembling the post profiles and panels.
Foundation requirements depend on the selected product and site conditions. Follow the specified foundation details and concrete curing requirements before loading the posts with boards. Do not treat this as a drive-in installation or assume that one hole size suits every fence height and soil condition.
See the soft-ground guide alongside the soft-ground post set information.
3. Fitting Boards Between Existing Timber Posts
This guide introduces a retrofit using wooden fence post inserts. The inserts provide compatible channels for the boards; they do not repair the timber or strengthen inadequate foundations.
Assess post condition, alignment, spacing and foundations first, including signs of decay near ground level. Confirm the fixing requirements and permitted cutting before adapting boards to an existing opening.
Read our timber-post retrofit guide for further context. Replace unsuitable supports rather than treating inserts as a repair.
4. Fitting Boards Between Existing Concrete Posts
The concrete-post video demonstrates a retrofit approach using compatible concrete post inserts. It helps show the relationship between the post channels, rails and stacked boards.
Check channel dimensions, clear opening, post condition and foundations before ordering. Use the approved fixing detail for the selected insert and post. Do not improvise drilling positions or drill into reinforcement if the construction is uncertain.
Consult the concrete-post installation guide and seek advice where existing supports are damaged or incompatible.
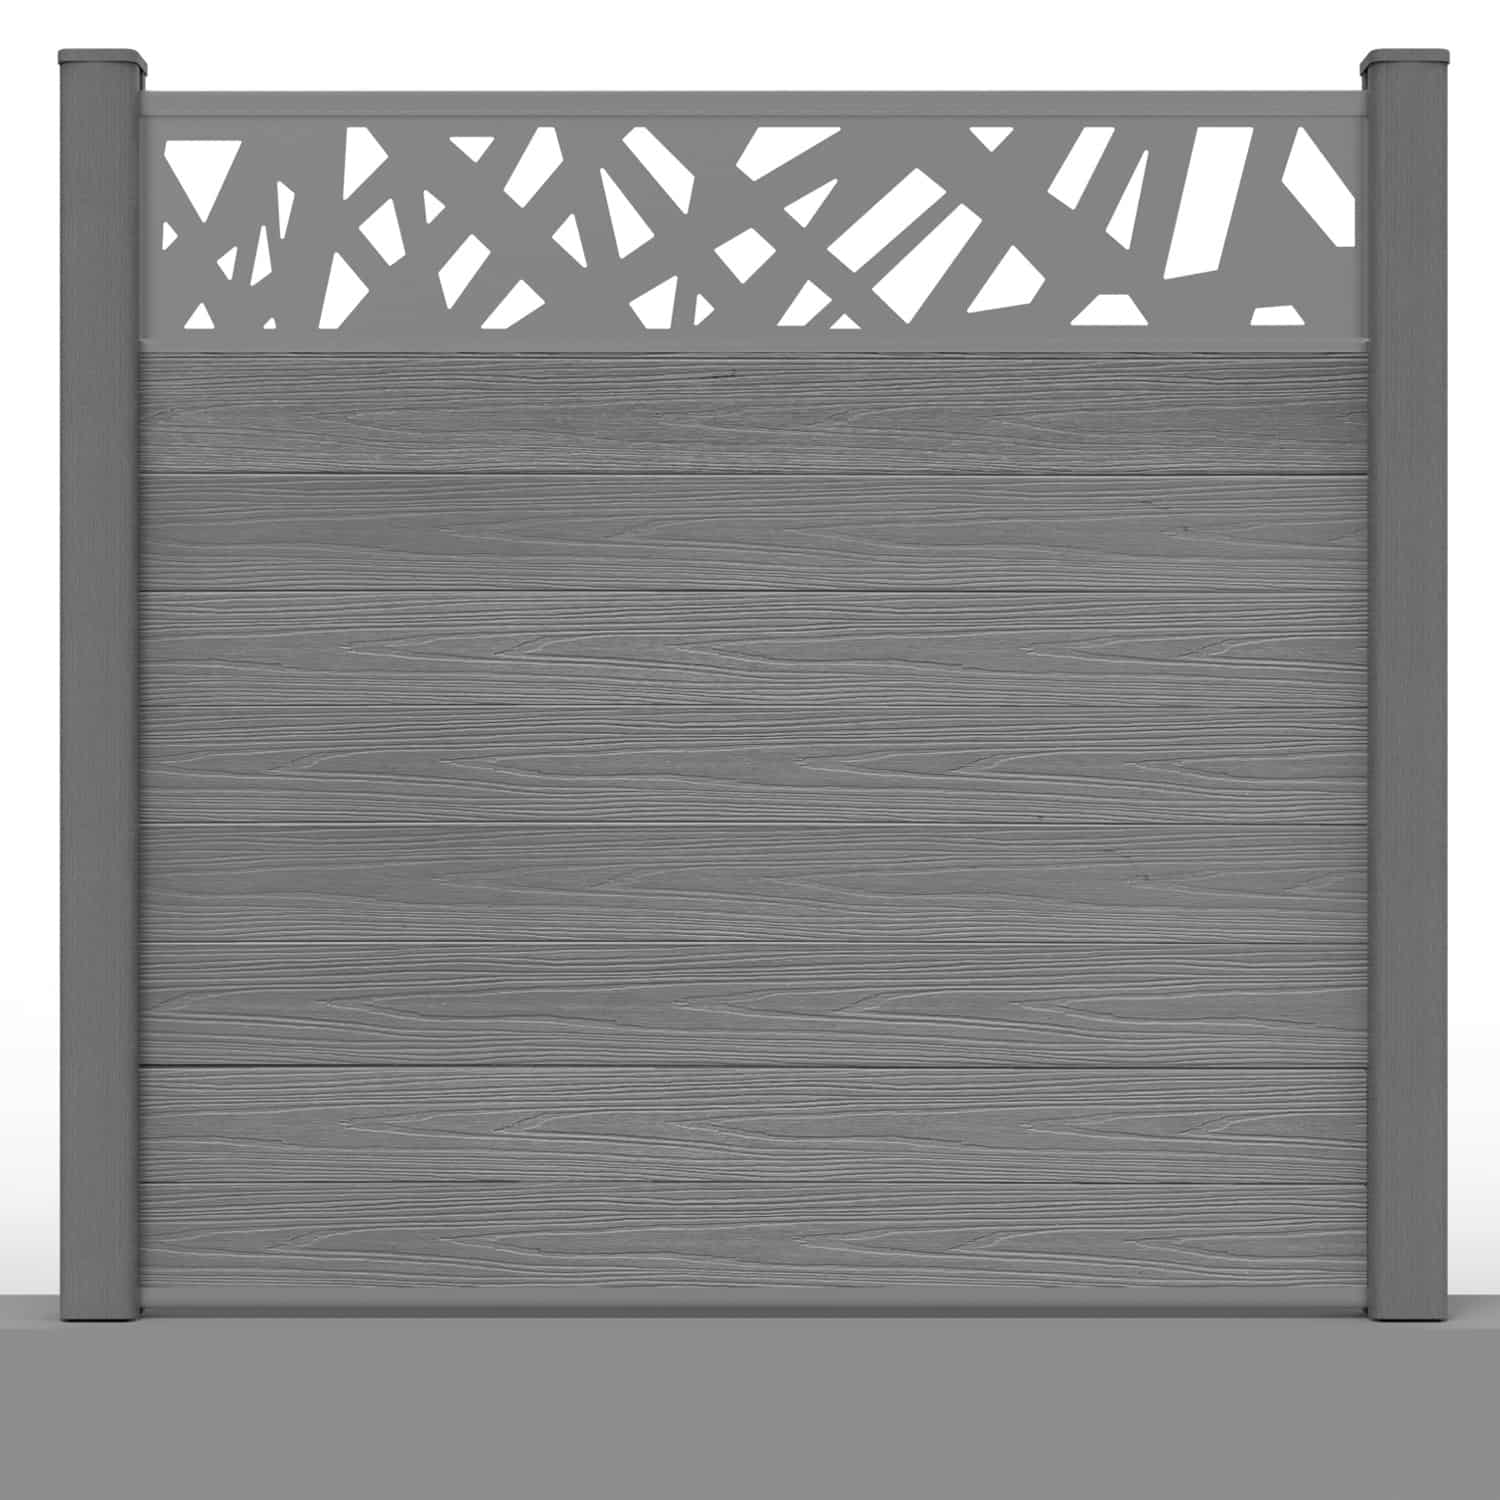
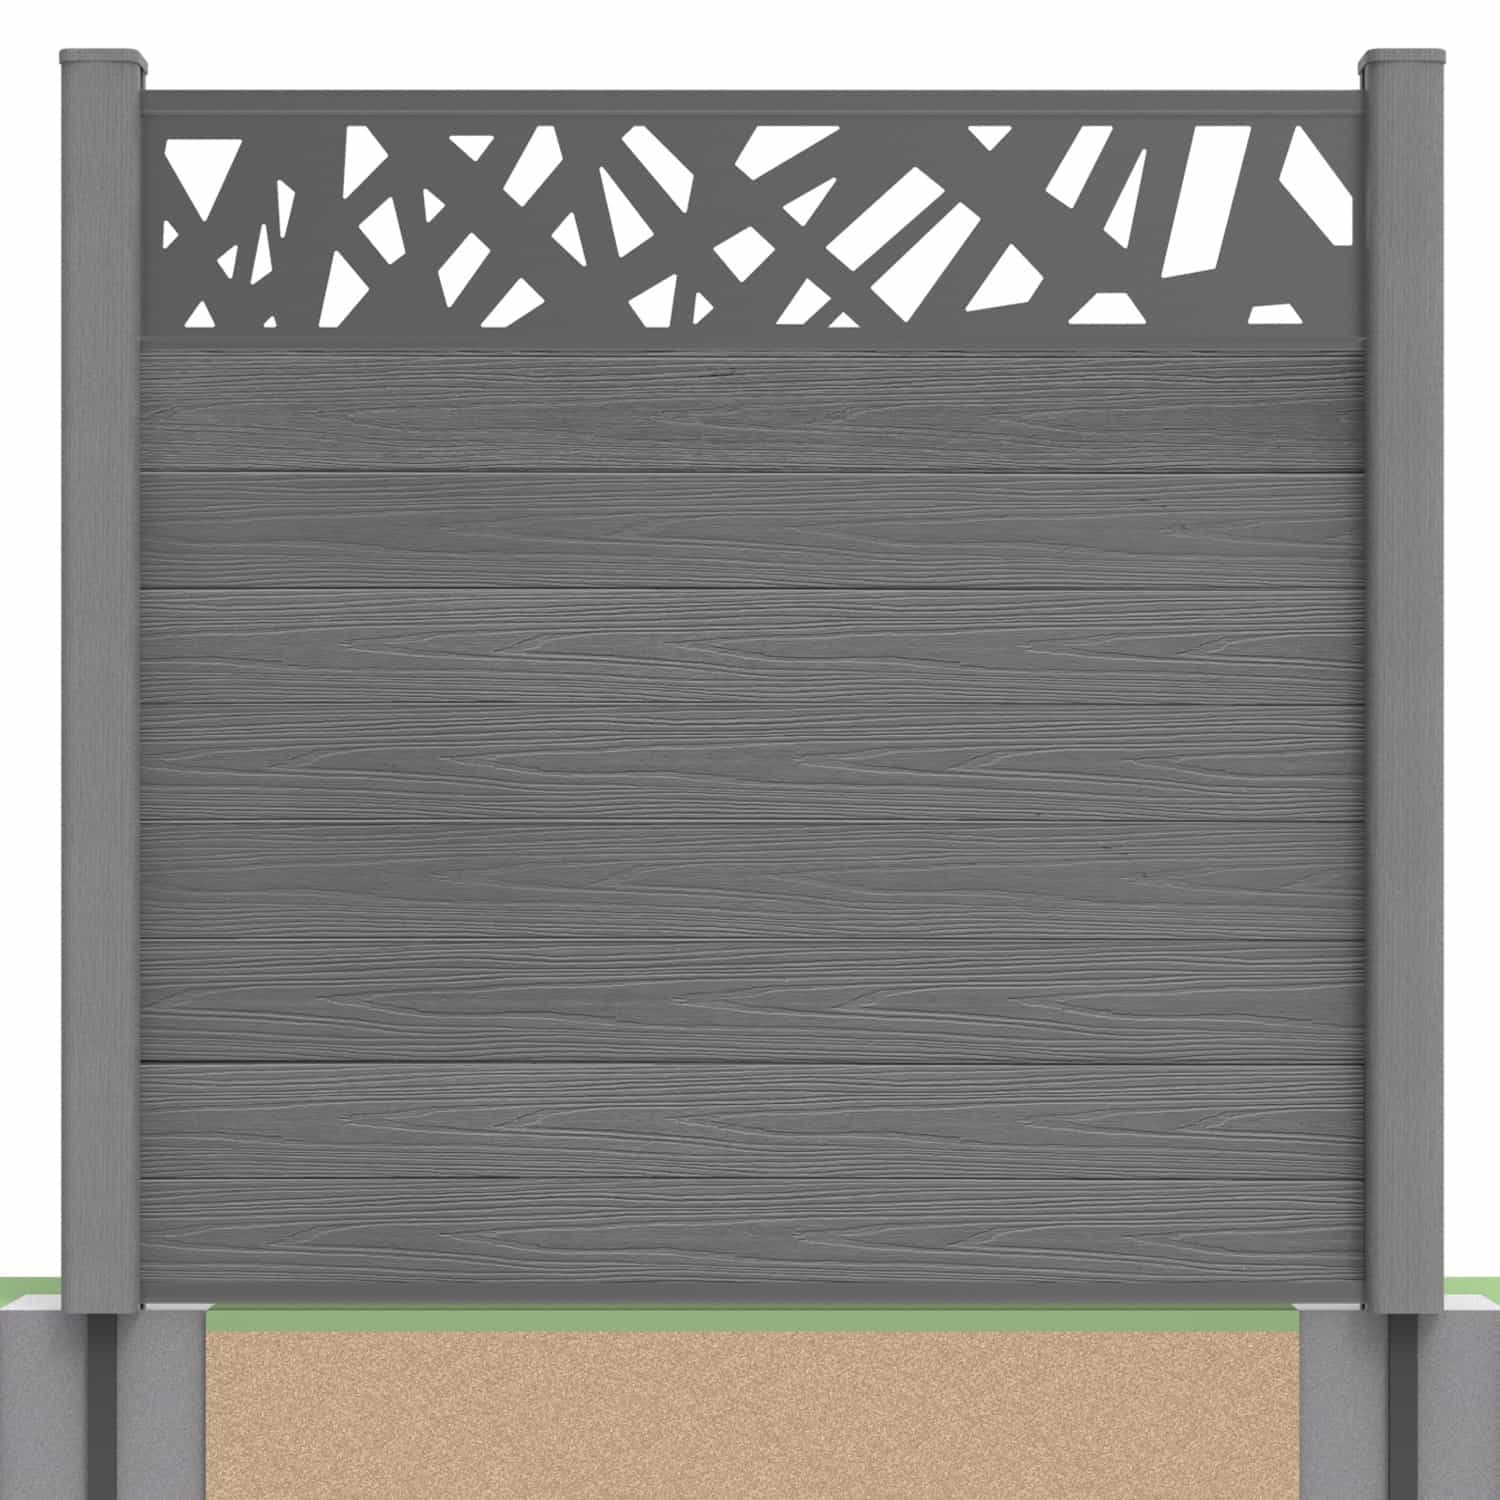
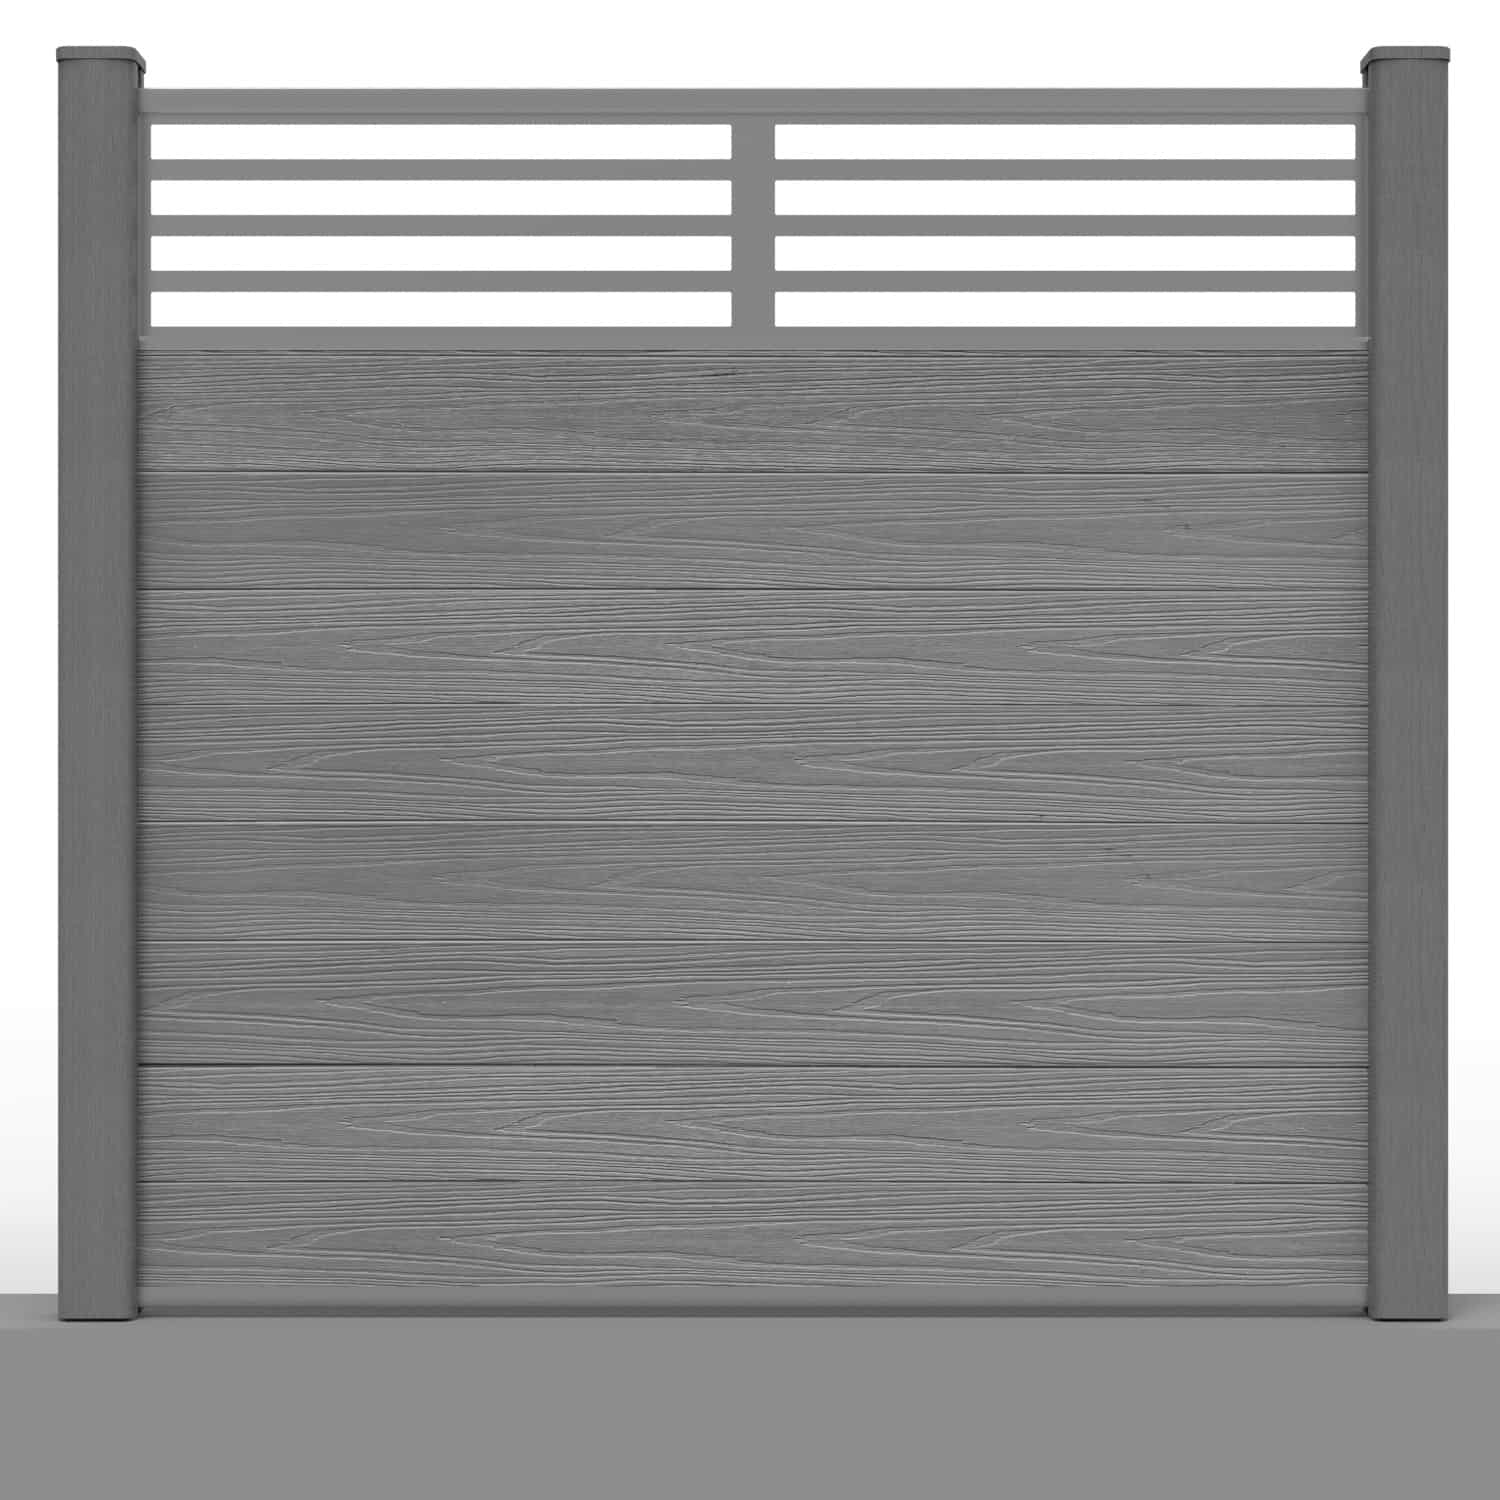
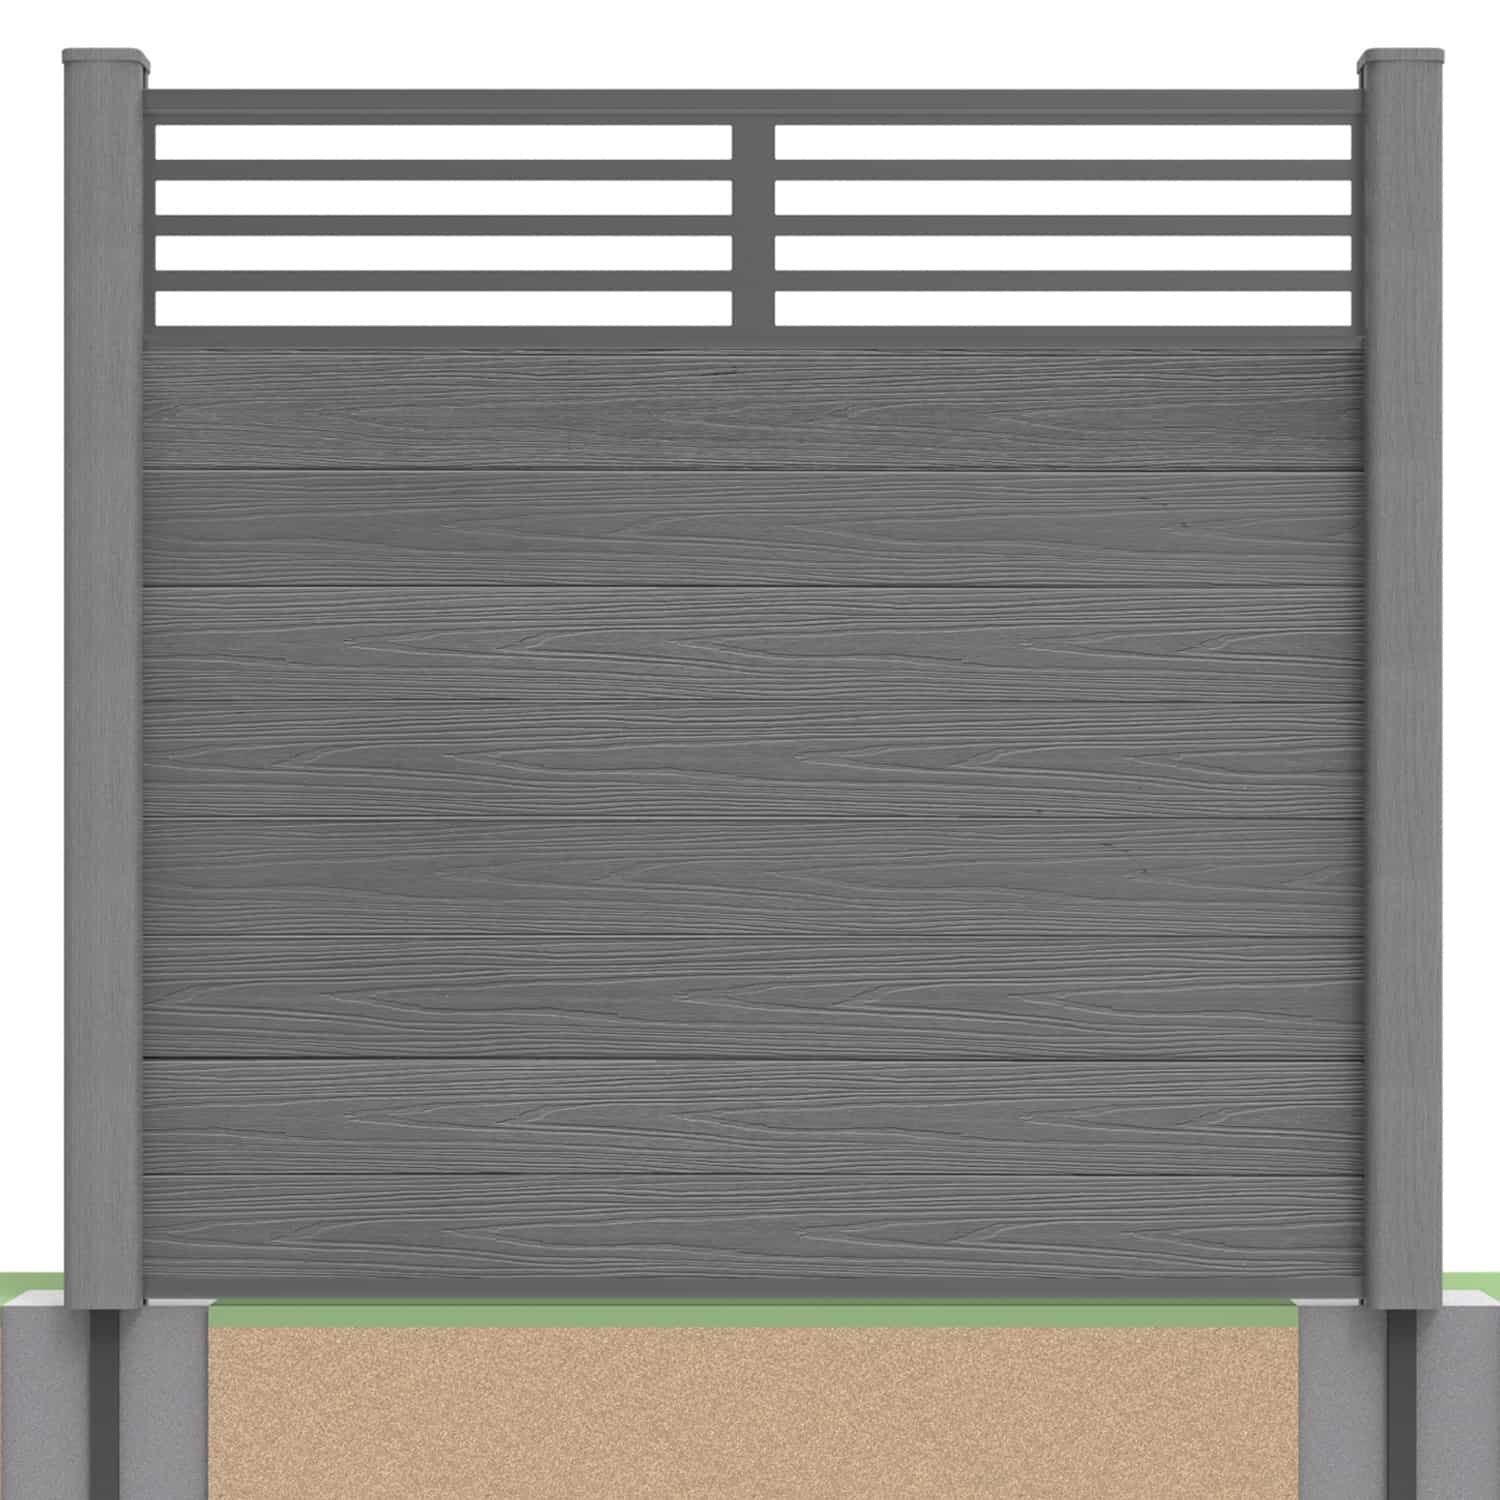
5. Adding a Decorative Screen
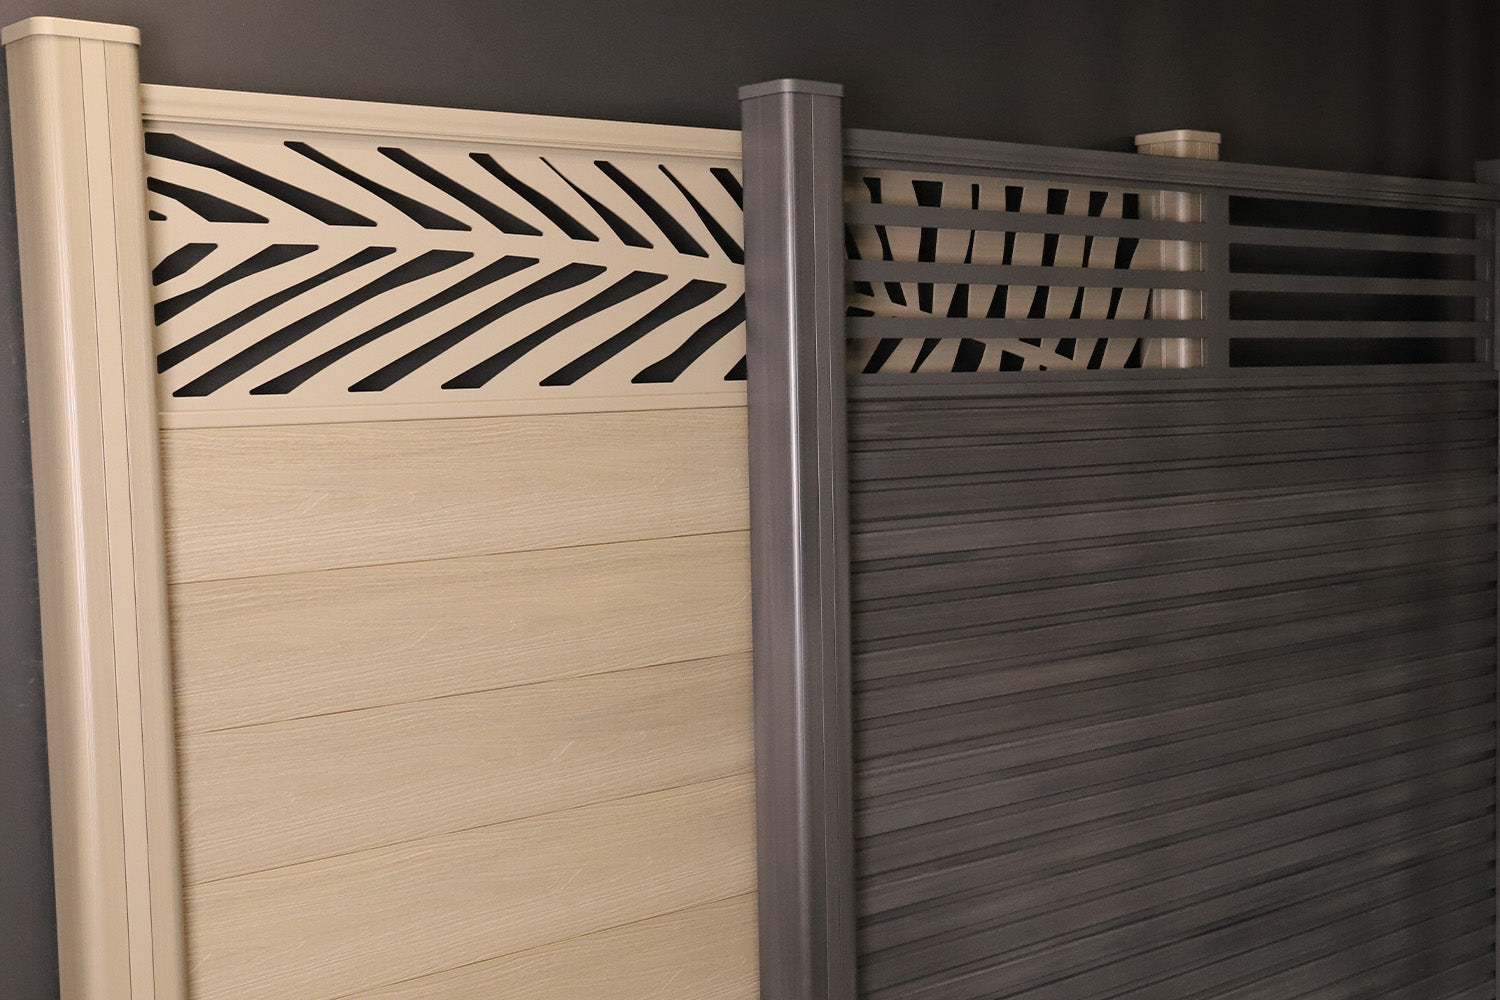
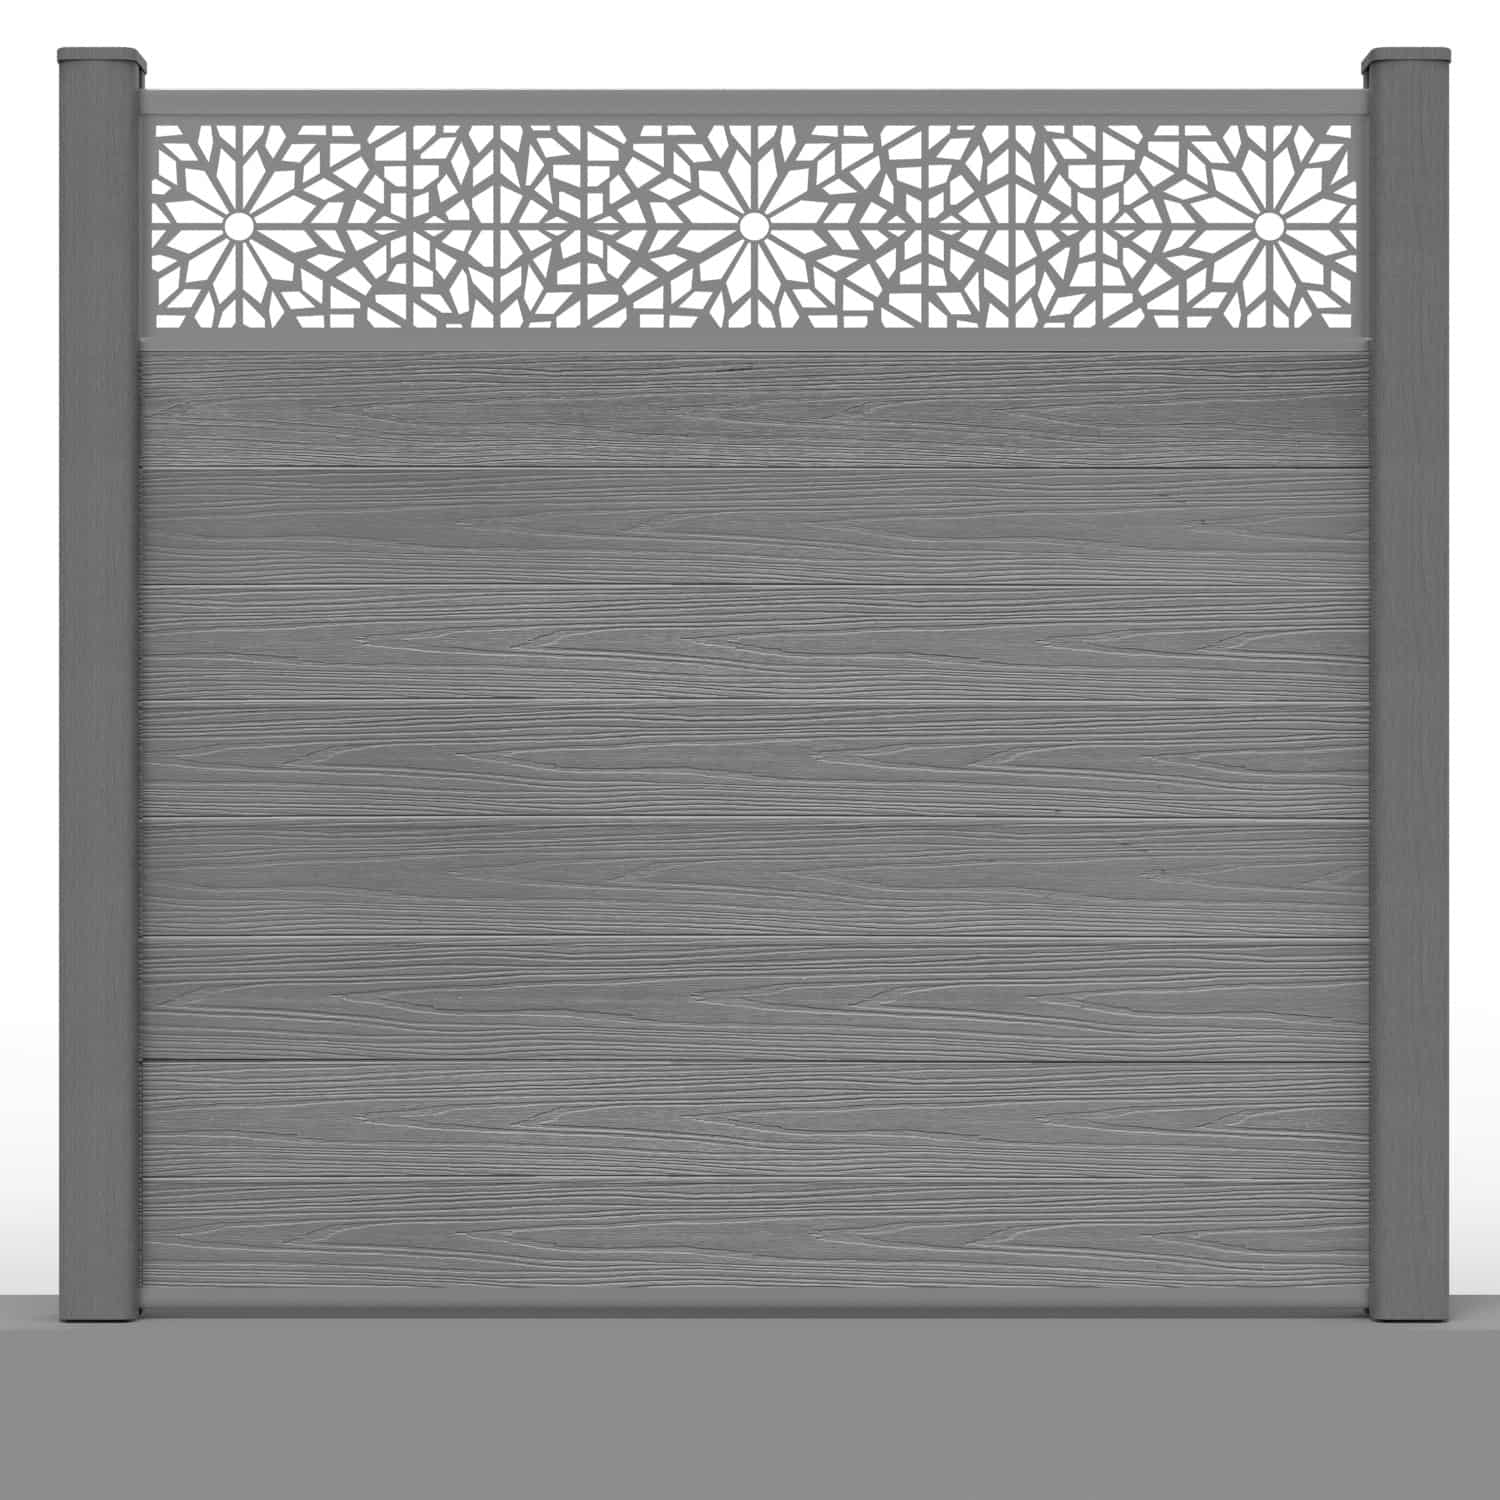
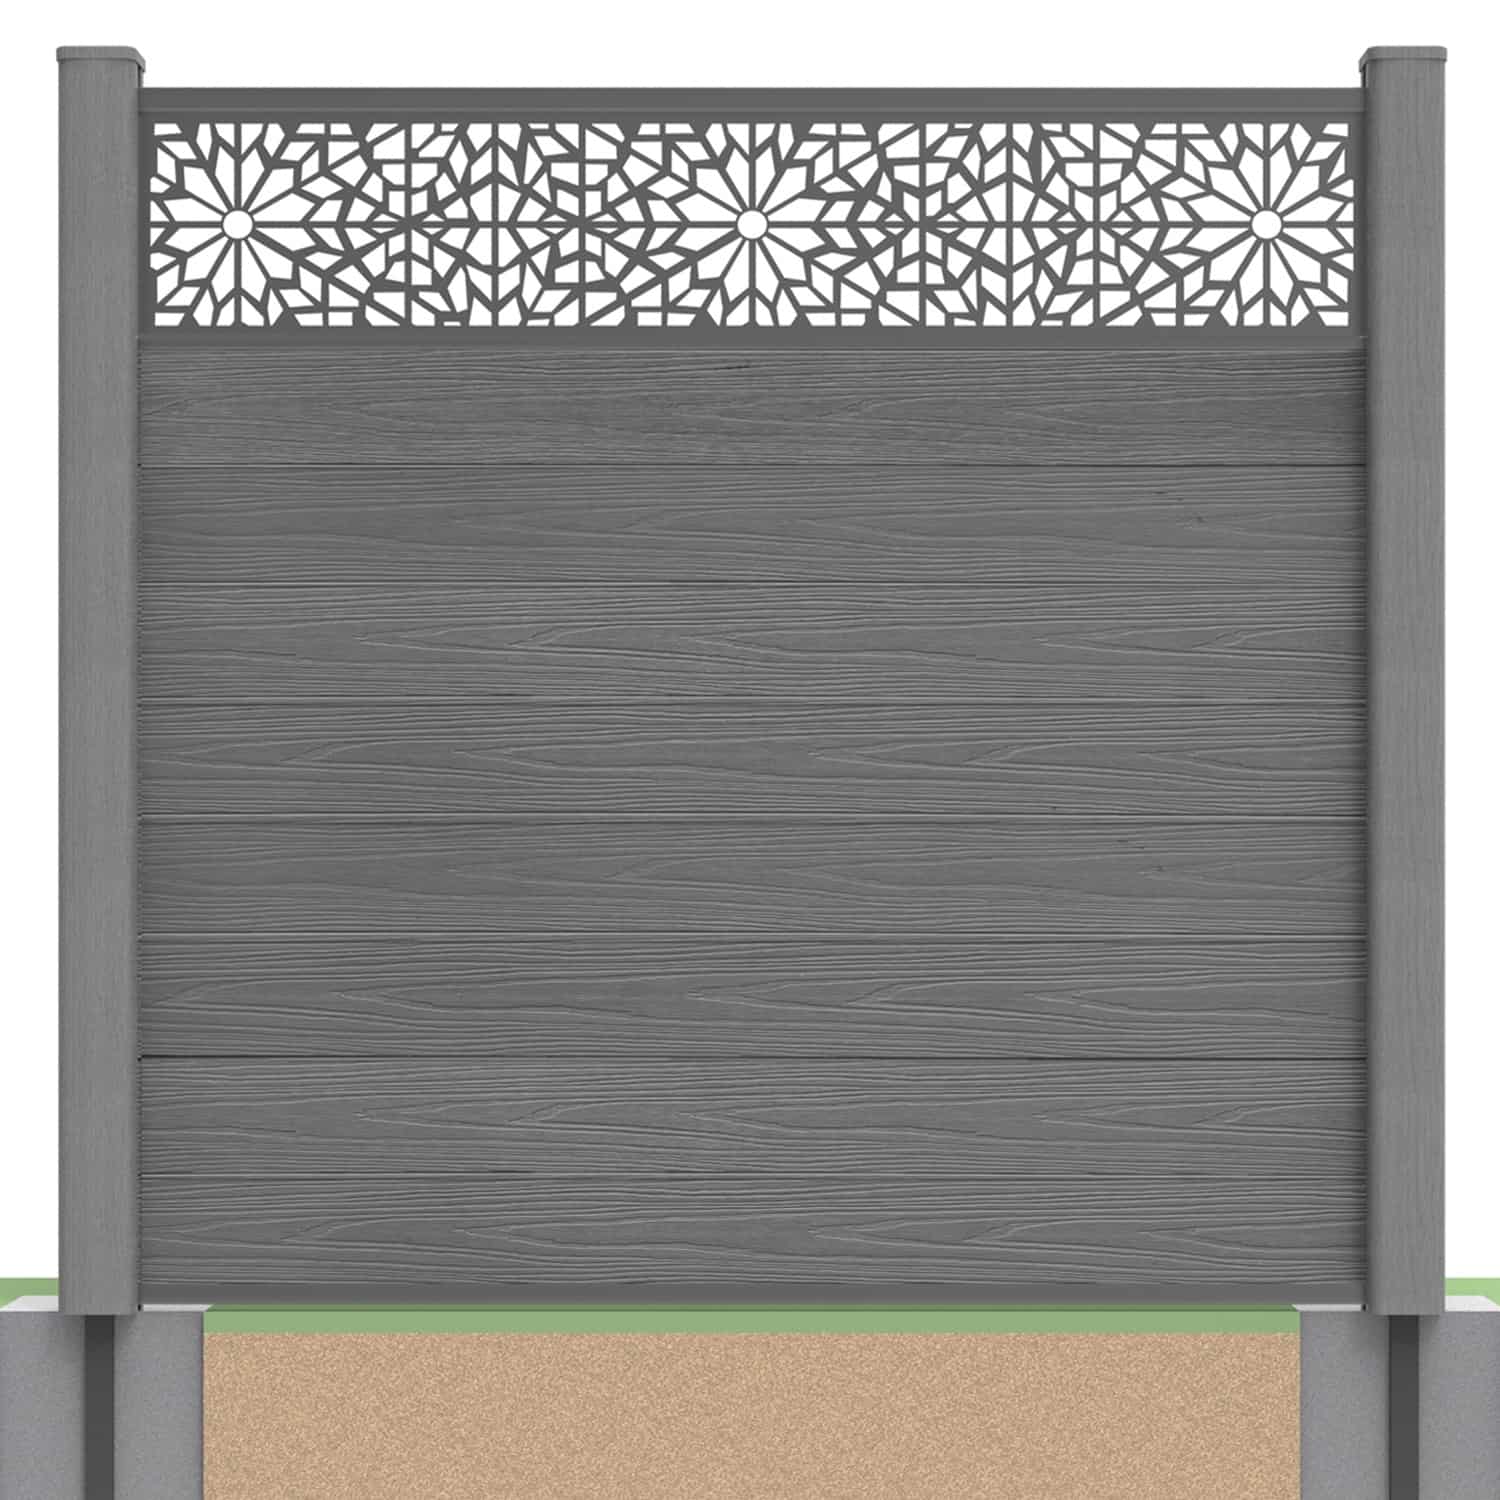
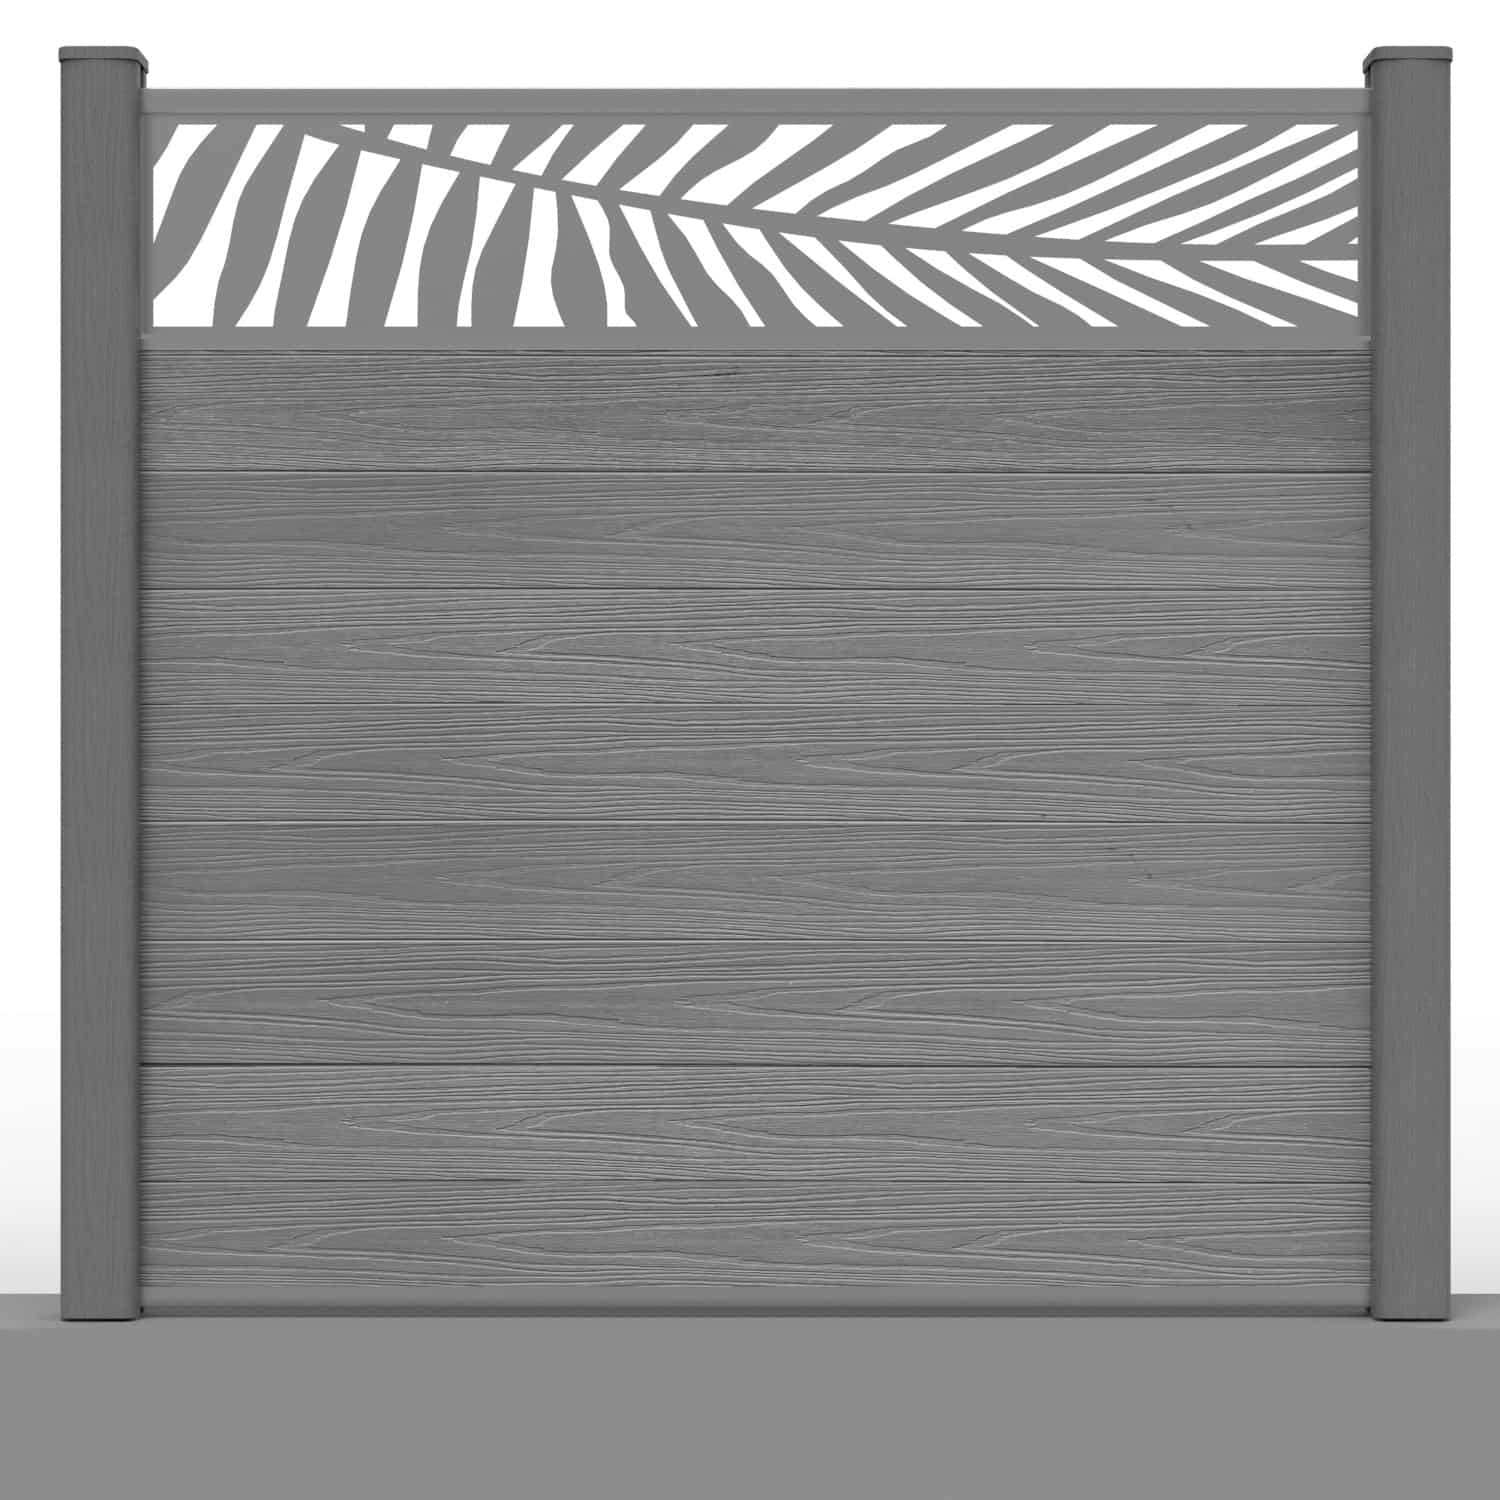
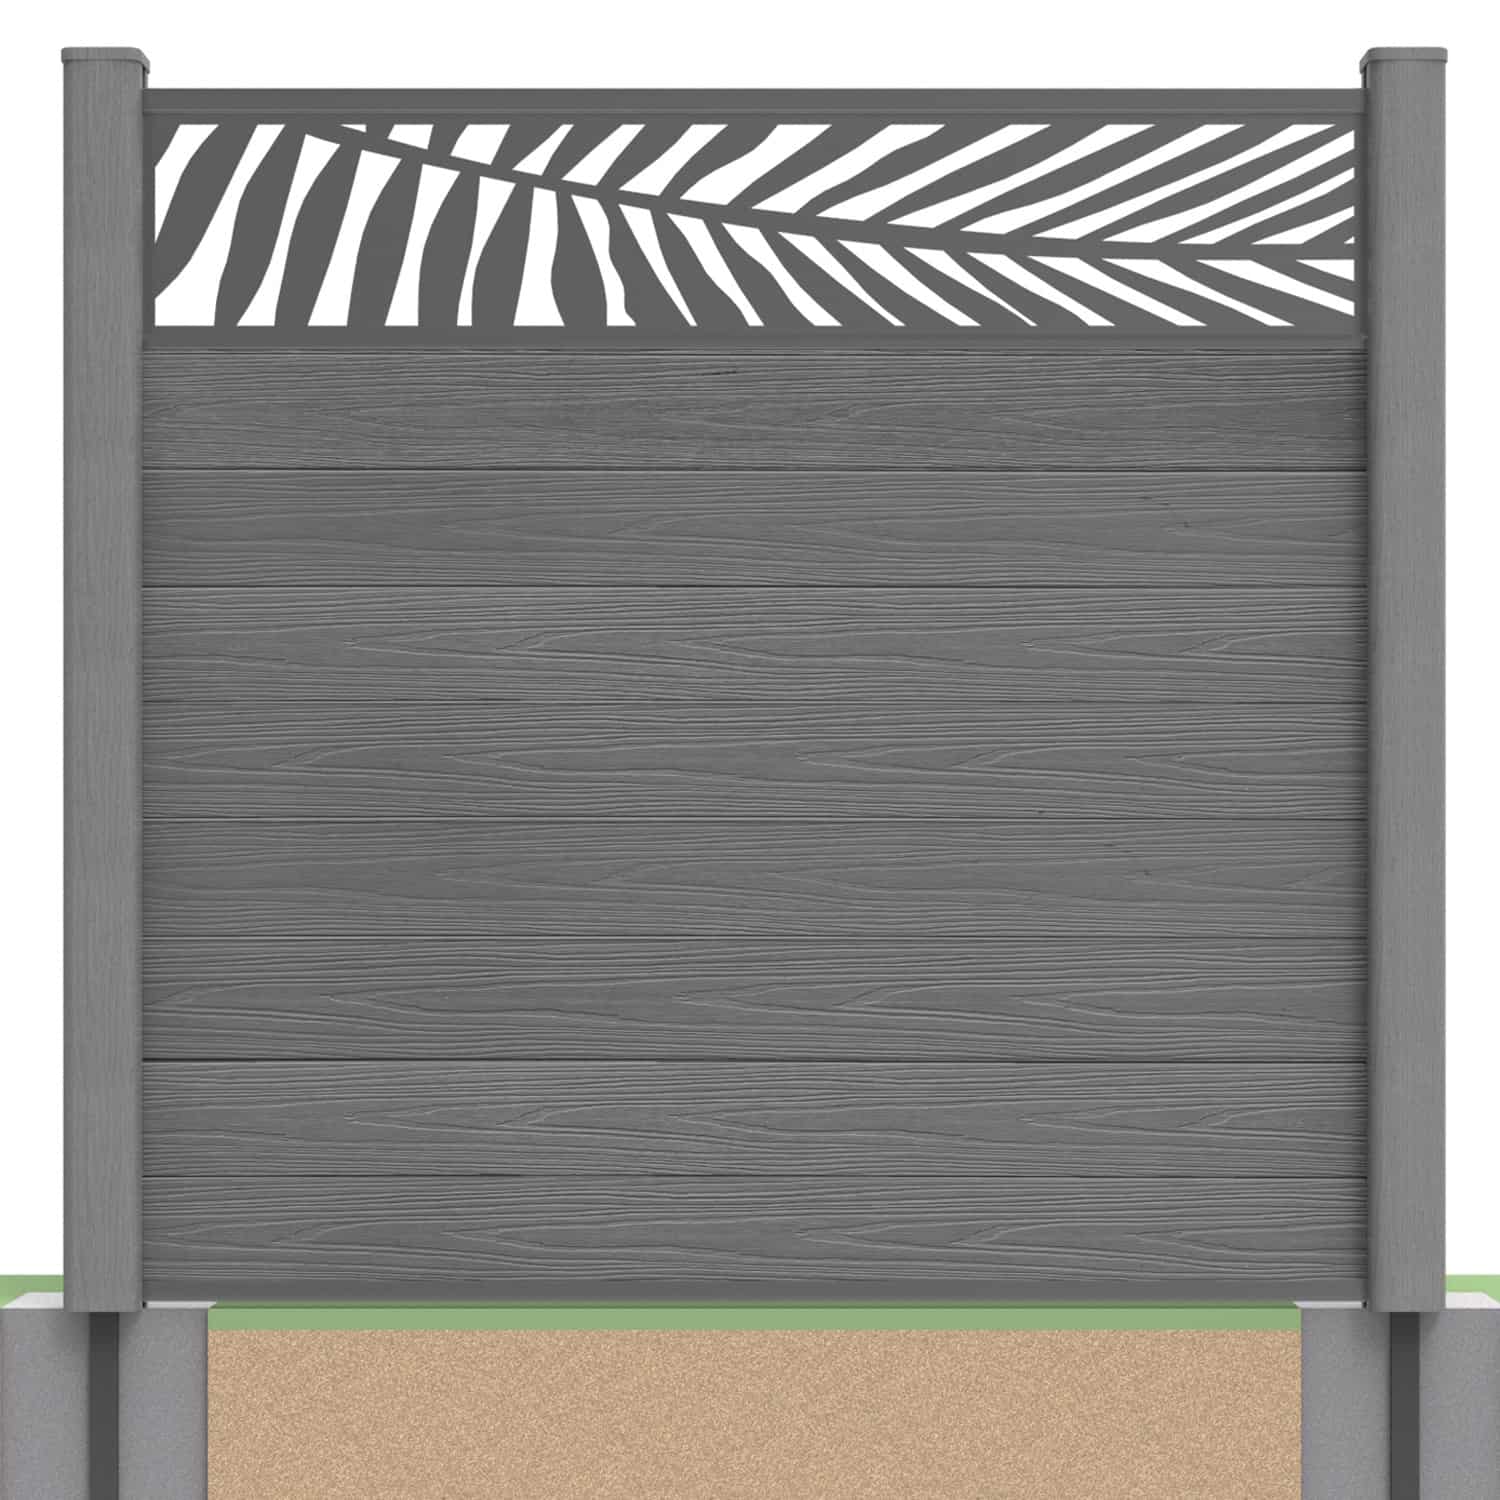
This video shows how a decorative screen fits into a panel arrangement. It is useful when planning a feature section rather than repeating the same board pattern across the whole boundary.
Confirm the exact screen configuration, required number of boards and rail connections for your selected products. Do not assume that every screen replaces the same number of boards or creates the same finished height.
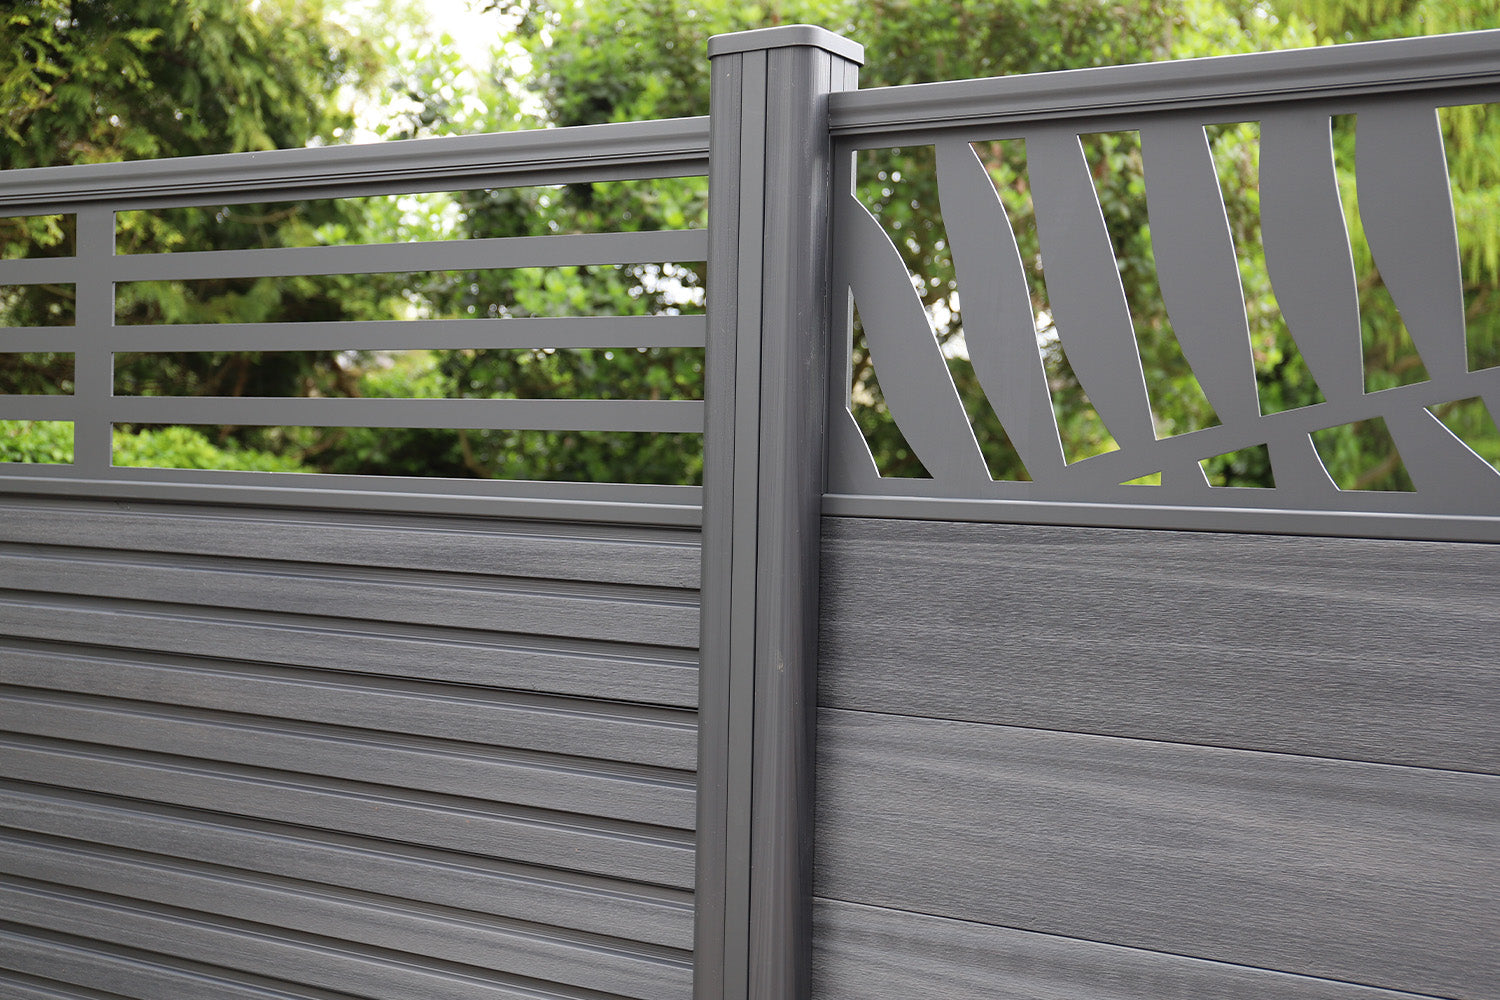
Open cut-outs affect visibility through the panel, so consider privacy as well as appearance. Read the decorative screen installation guide before finalising the layout.
6. Installing a Composite Gate
The gate video introduces how the gate leaf, posts, supports and hardware work together. Plan the entrance early because its opening and swing space affect the adjoining fence layout.
Use current product drawings to establish the required structural opening, clear passage width and fitting allowances. These are different measurements; do not set posts using a generic dimension taken from an earlier example.
Follow the specified hinge, lock and support installation procedure. A moving gate places different demands on its supports from a stationary panel, so ordinary fence posts should not be assumed suitable.
Read the gate installation guide and review the exact product instructions before modifying a frame or fitting hardware.
Turn the Videos Into a Practical Work Plan
Watch the relevant guide once to understand the sequence, then review the written instructions and prepare a component list. Check the base or existing supports before starting assembly, and resolve uncertain dimensions before drilling or cutting.
When installation is complete, inspect alignment, connections and gate operation. Keep the instructions, order details and applicable warranty information with the care guidance for future reference.
Installation Video FAQs
Can I install the fence using only the videos?
Use them alongside the current written instructions. Videos explain the sequence, while the product guidance provides the specifications and details needed for the selected installation.
Which video should I watch first?
Start with the support route that matches your site: hard ground, soft ground, timber posts or concrete posts. Then watch any relevant screen or gate guide.
Are the methods suitable for DIY installation?
That depends on your skills, equipment and site conditions. Foundations, anchors, lifting and cutting require appropriate preparation. Use professional help where needed.
Can I reuse any existing posts?
No. Check condition, foundations, spacing and compatibility first. Inserts provide board channels, not repairs to damaged supports.
Should I copy the dimensions shown in a video?
Confirm them against the current instructions for the exact product. Earlier configurations or example layouts may differ from your selected system.
Where can I get help with a non-standard layout?
Contact NeoTimber® with measurements, photographs, the proposed height and details of the ground or existing supports before ordering or modifying components.
Get Ready for Your Installation
Choose the relevant video, read the current instructions and confirm the complete specification. Explore NeoTimber® composite fencing products or contact our team for help checking the components for your project.