


How Interlocking Composite Fence Boards Create a Neat Garden Boundary
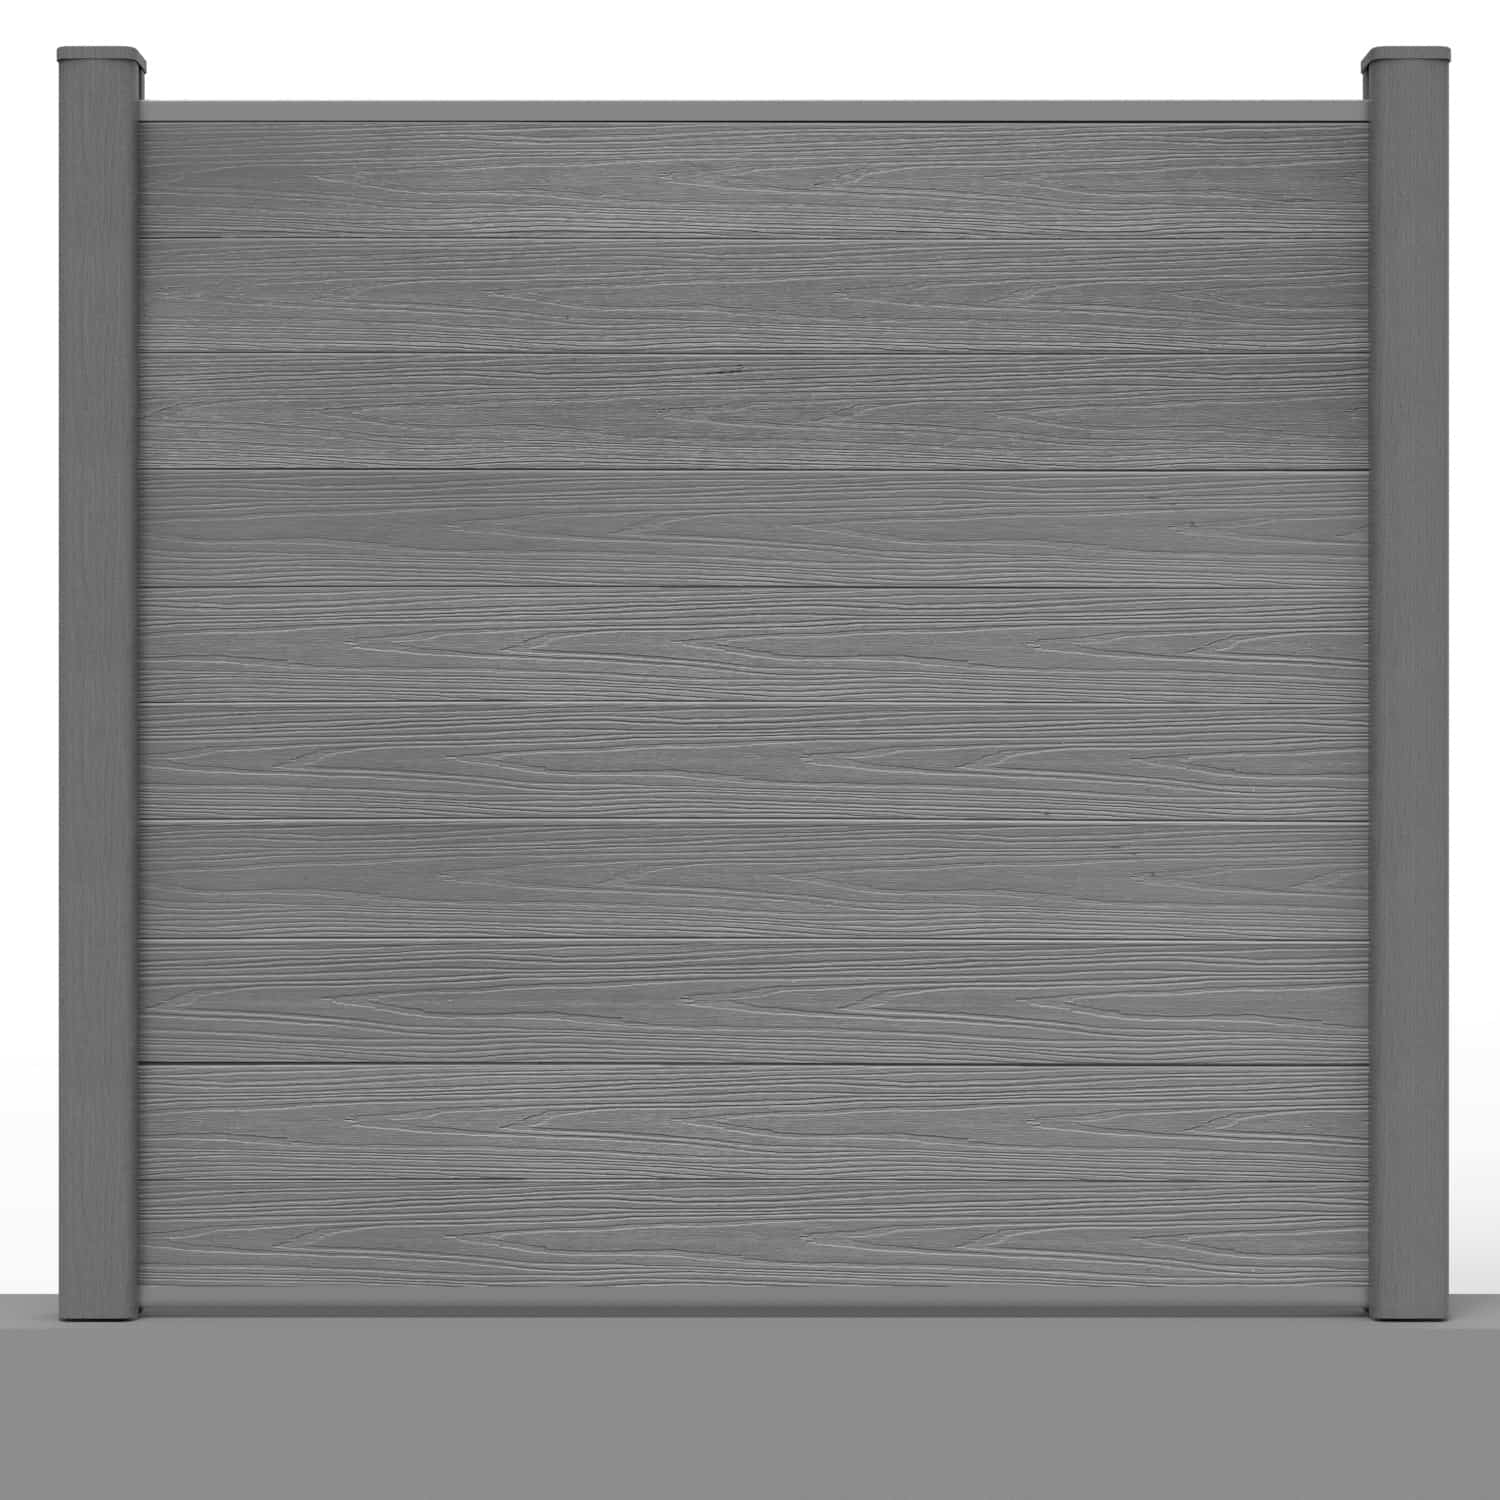
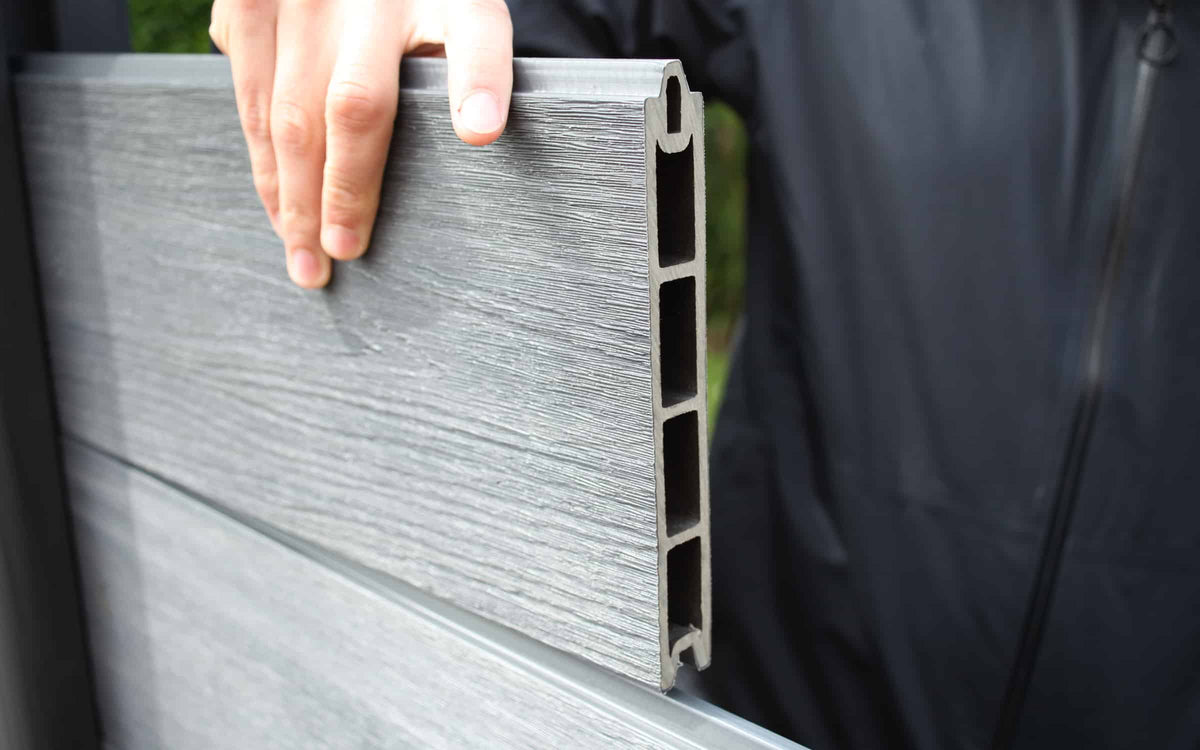
Tongue and groove composite fencing uses individual boards that fit together to build a fence panel between supporting posts. The interlocking edges help align the boards, creating a continuous-looking boundary with a choice of finishes for gardens, patios and shared outdoor spaces.
NeoTimber's system combines this board-by-board approach with compatible posts, inserts and finishing rails. Whether you are planning a new fence or assessing an existing post line, understanding how the components fit together will help you choose the right configuration.
How Does Tongue and Groove Composite Fencing Work?
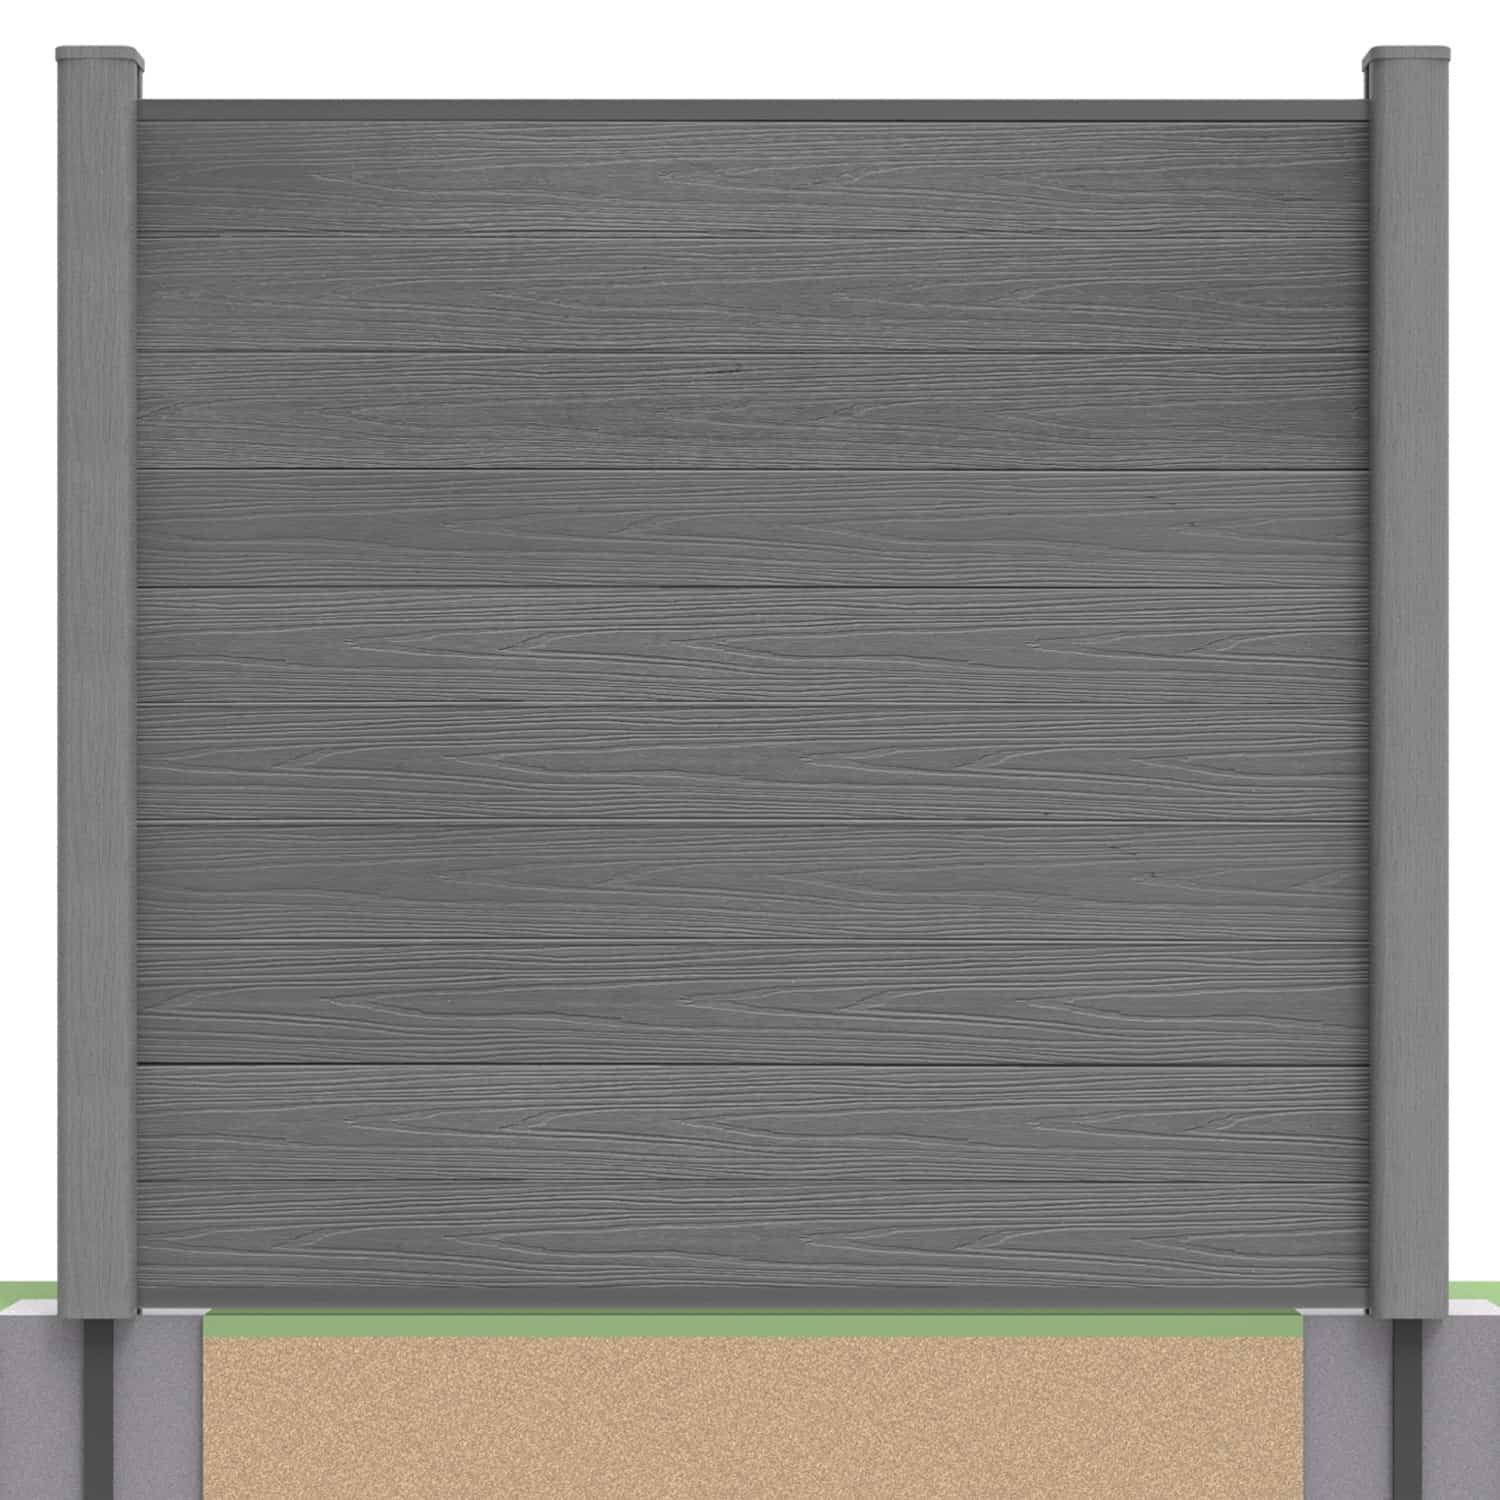
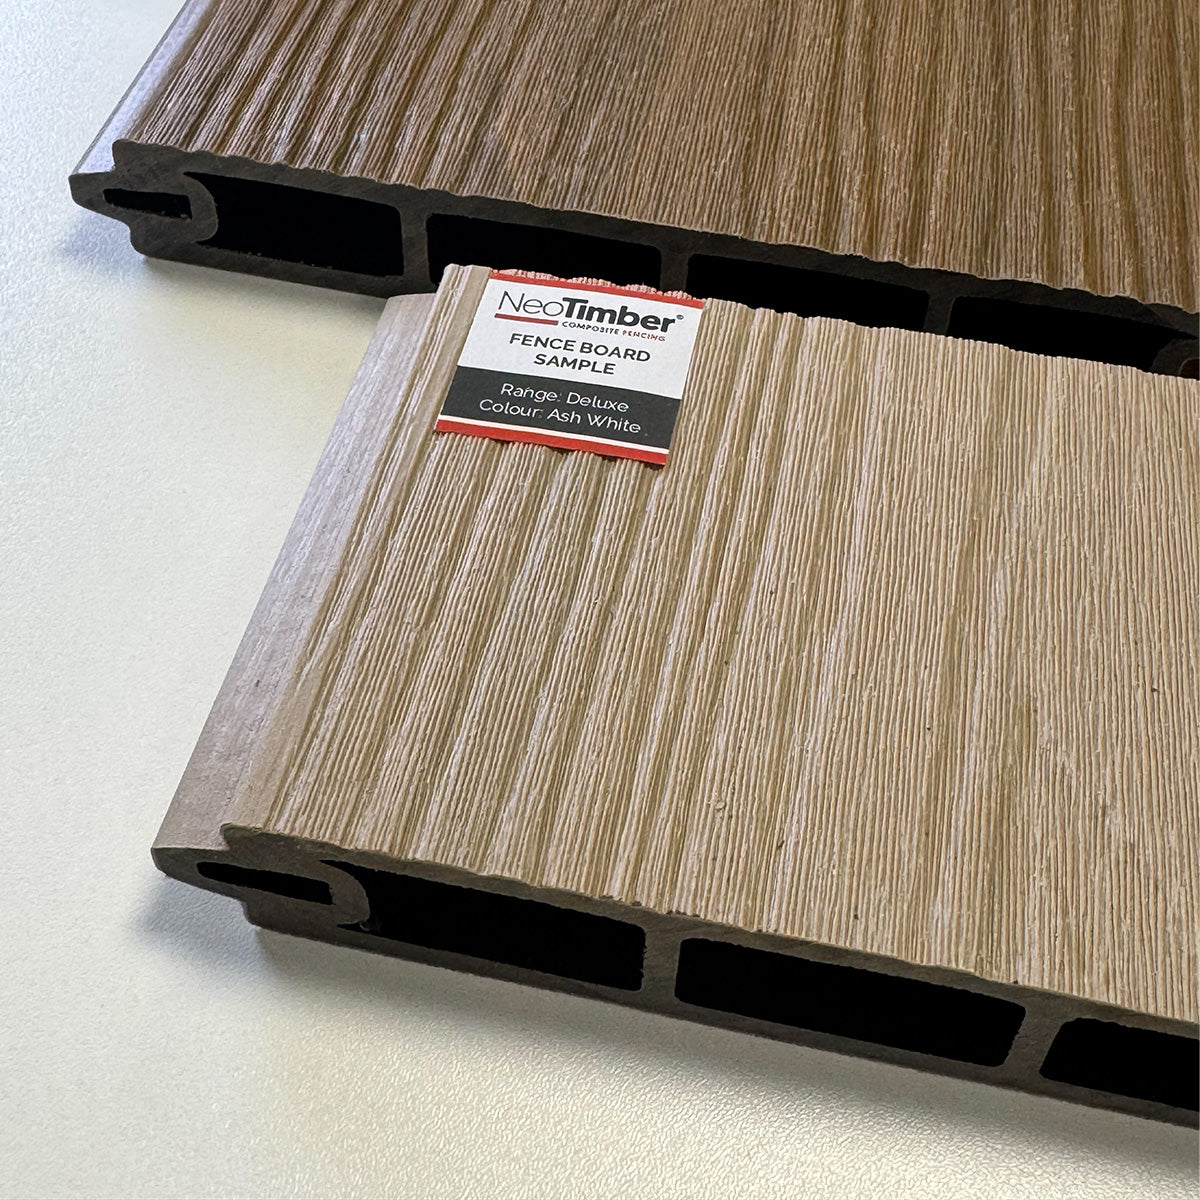
Each board has a projecting edge, or tongue, and a corresponding groove. As the boards stack, the tongue engages with the groove of the adjoining board. The board ends sit within the specified post channels or inserts, while the appropriate rails complete the panel arrangement.
The joint connects neighbouring boards; it does not replace the supporting structure. Correct post spacing, sound foundations and the required fixings remain essential. Composite materials also move with temperature changes, so preserve the clearances specified in the installation instructions rather than forcing boards tightly into place.

Benefits of a Board-by-Board Fencing System
Build the Infill in Manageable Sections
Working with individual boards allows the infill to be assembled progressively between prepared posts. This can be more convenient than manoeuvring a complete preassembled panel into position, particularly where access is restricted.
The modular approach also allows suitable boards to be cut for shorter openings, following the manufacturer's instructions. Measure each opening carefully and account for the required movement allowance before cutting.
Create Privacy with a Consistent Finish
Interlocking boards create a solid-looking screen rather than an intentionally open arrangement of separate battens. This can help define a private seating area or provide a tidy backdrop to planting.
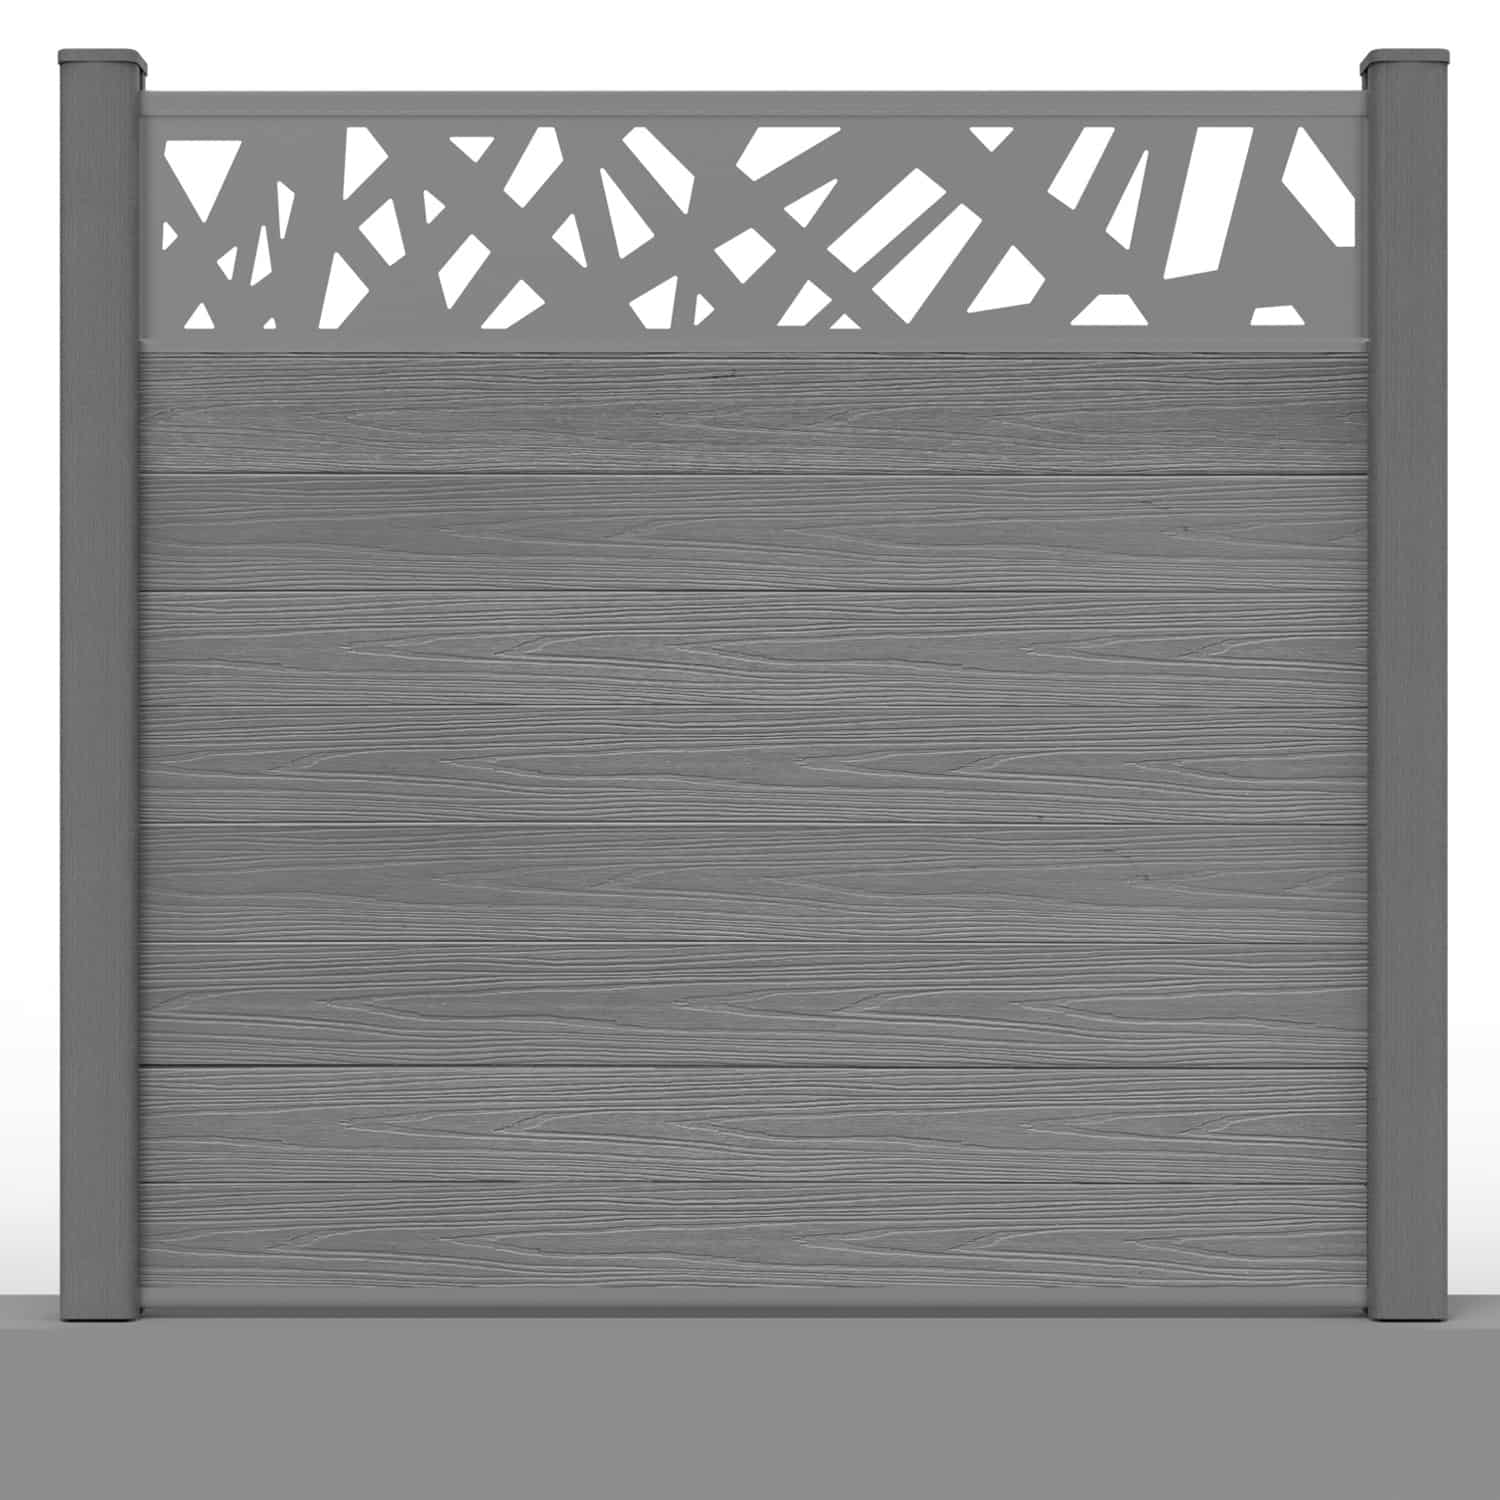
Privacy depends on the complete layout, including its height, position and any decorative openings. The joint profile alone does not provide a security rating or a guarantee against wind damage. Assess exposure and supporting components as part of the whole fence design.
Choose the Surface Style You Prefer
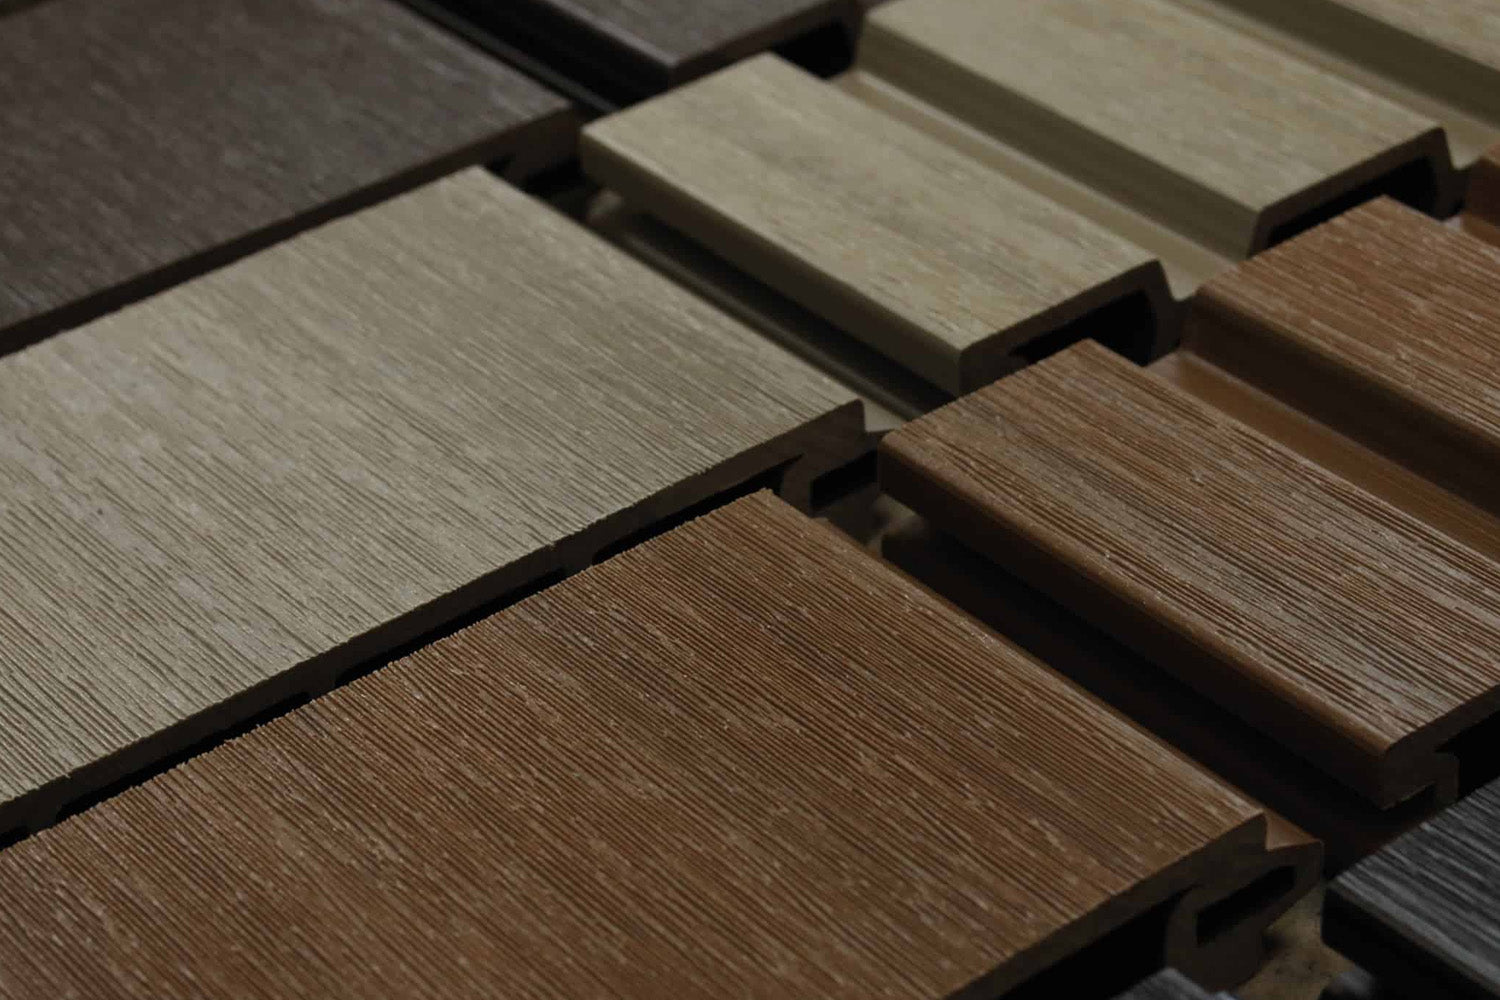
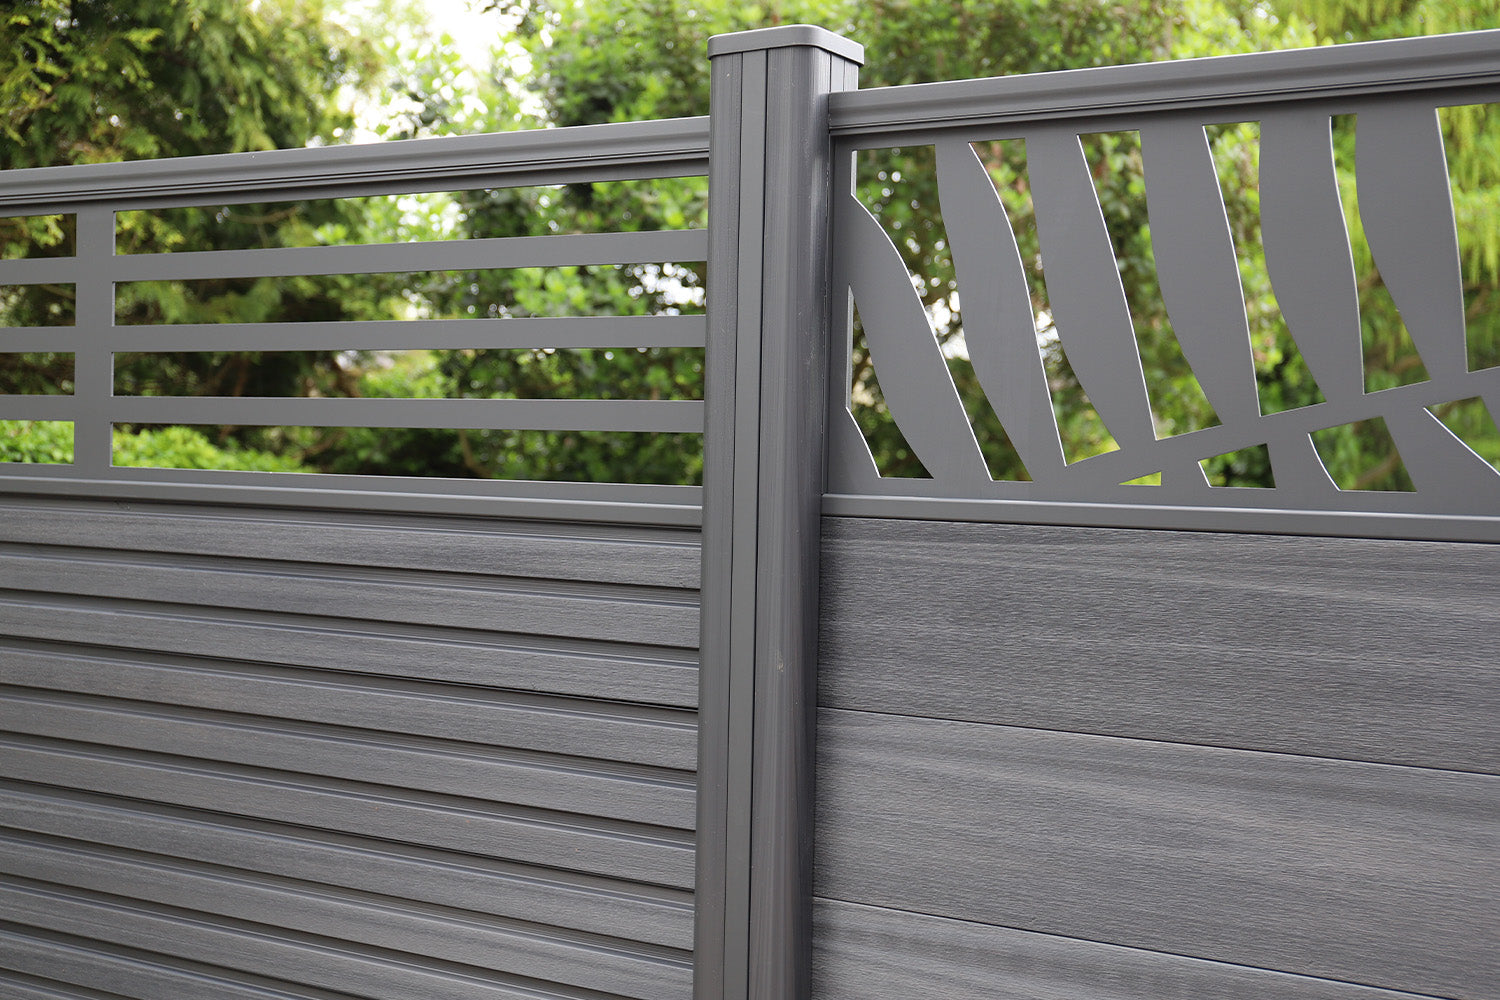
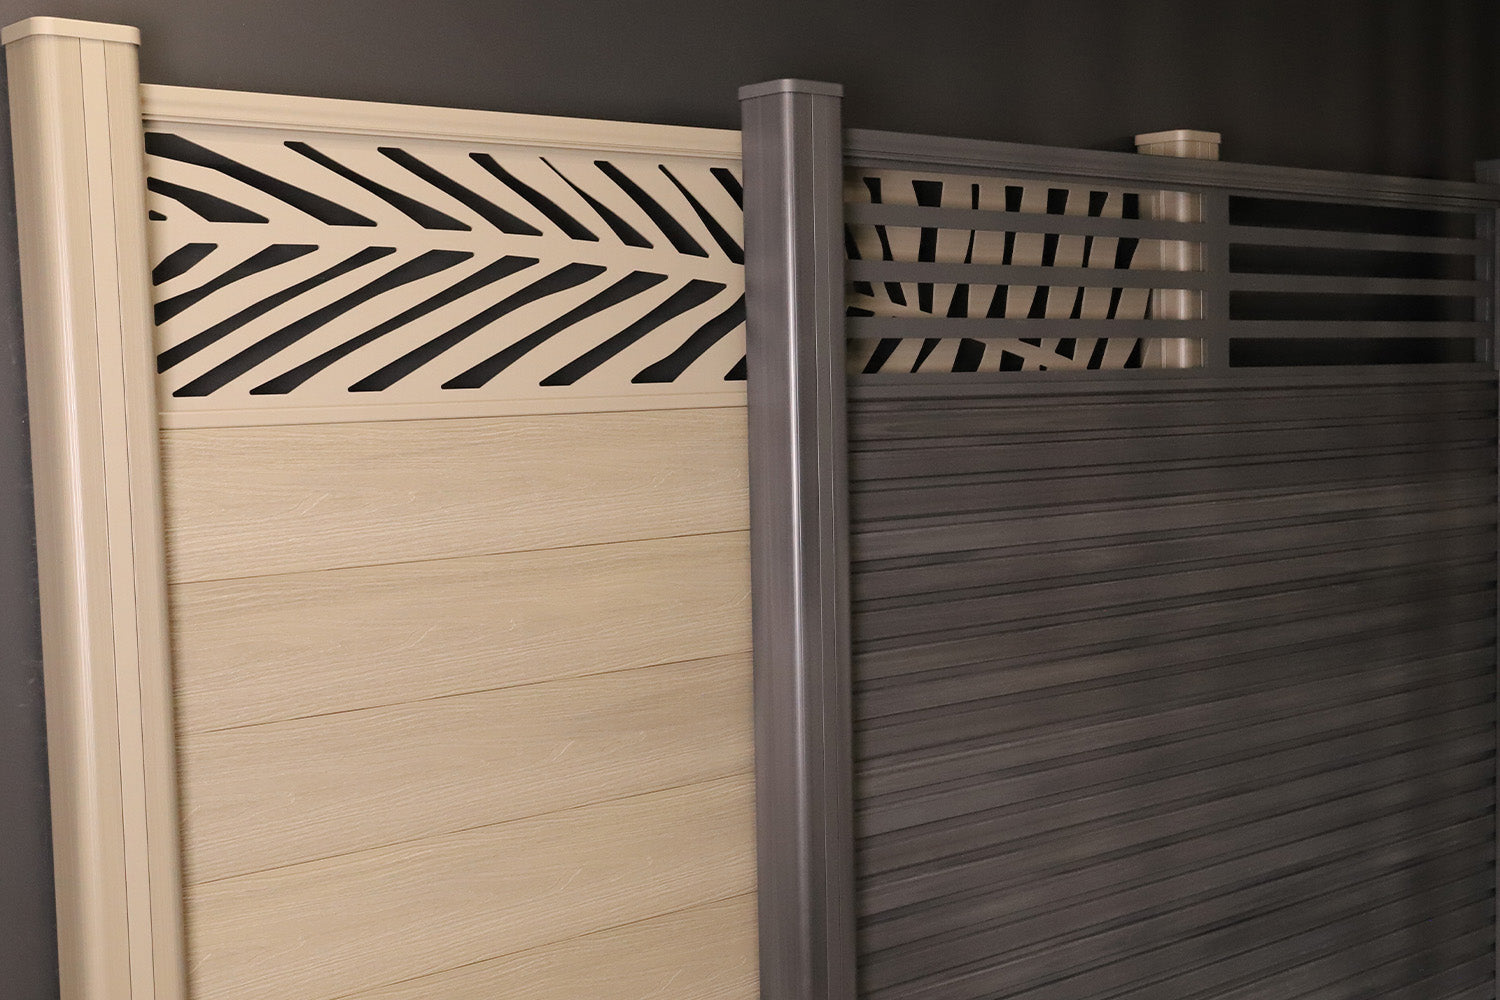
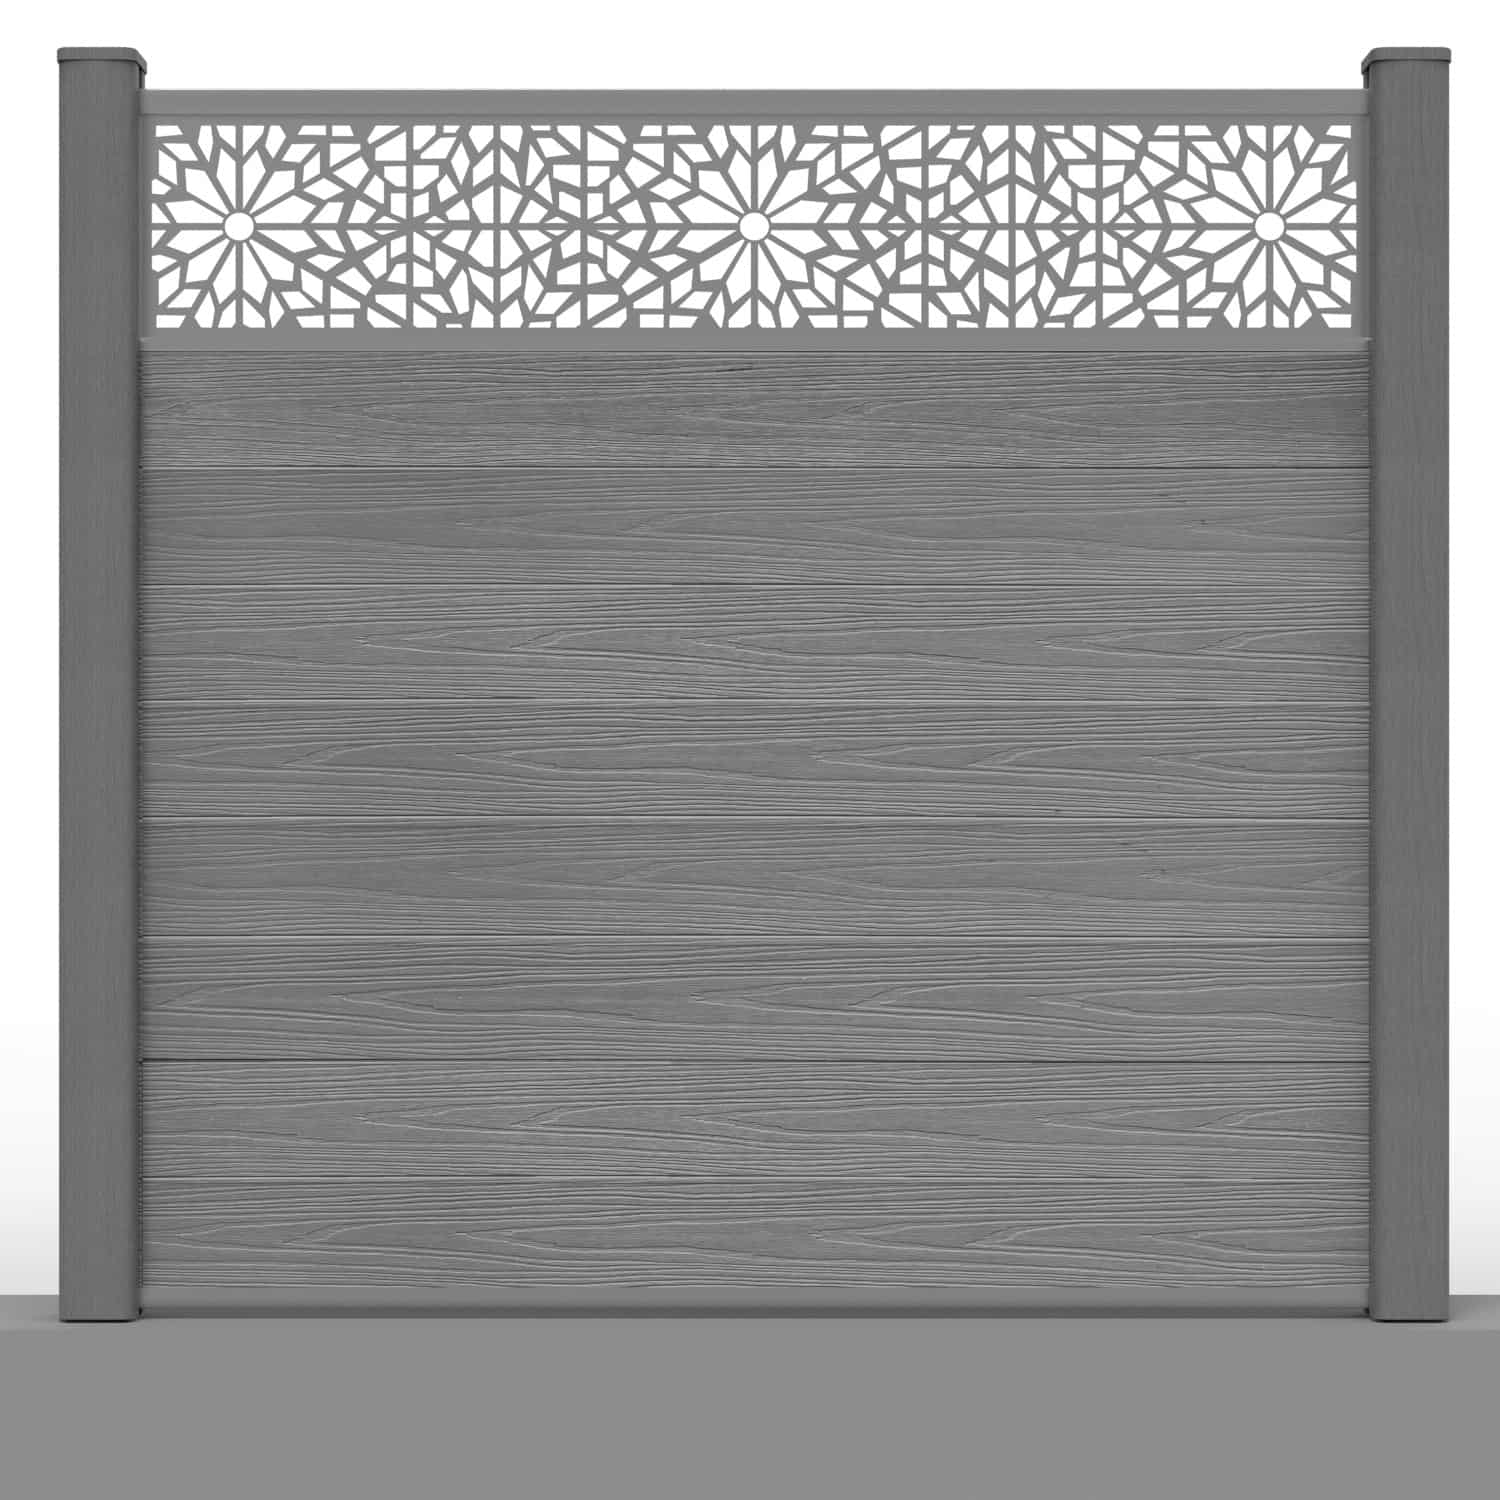
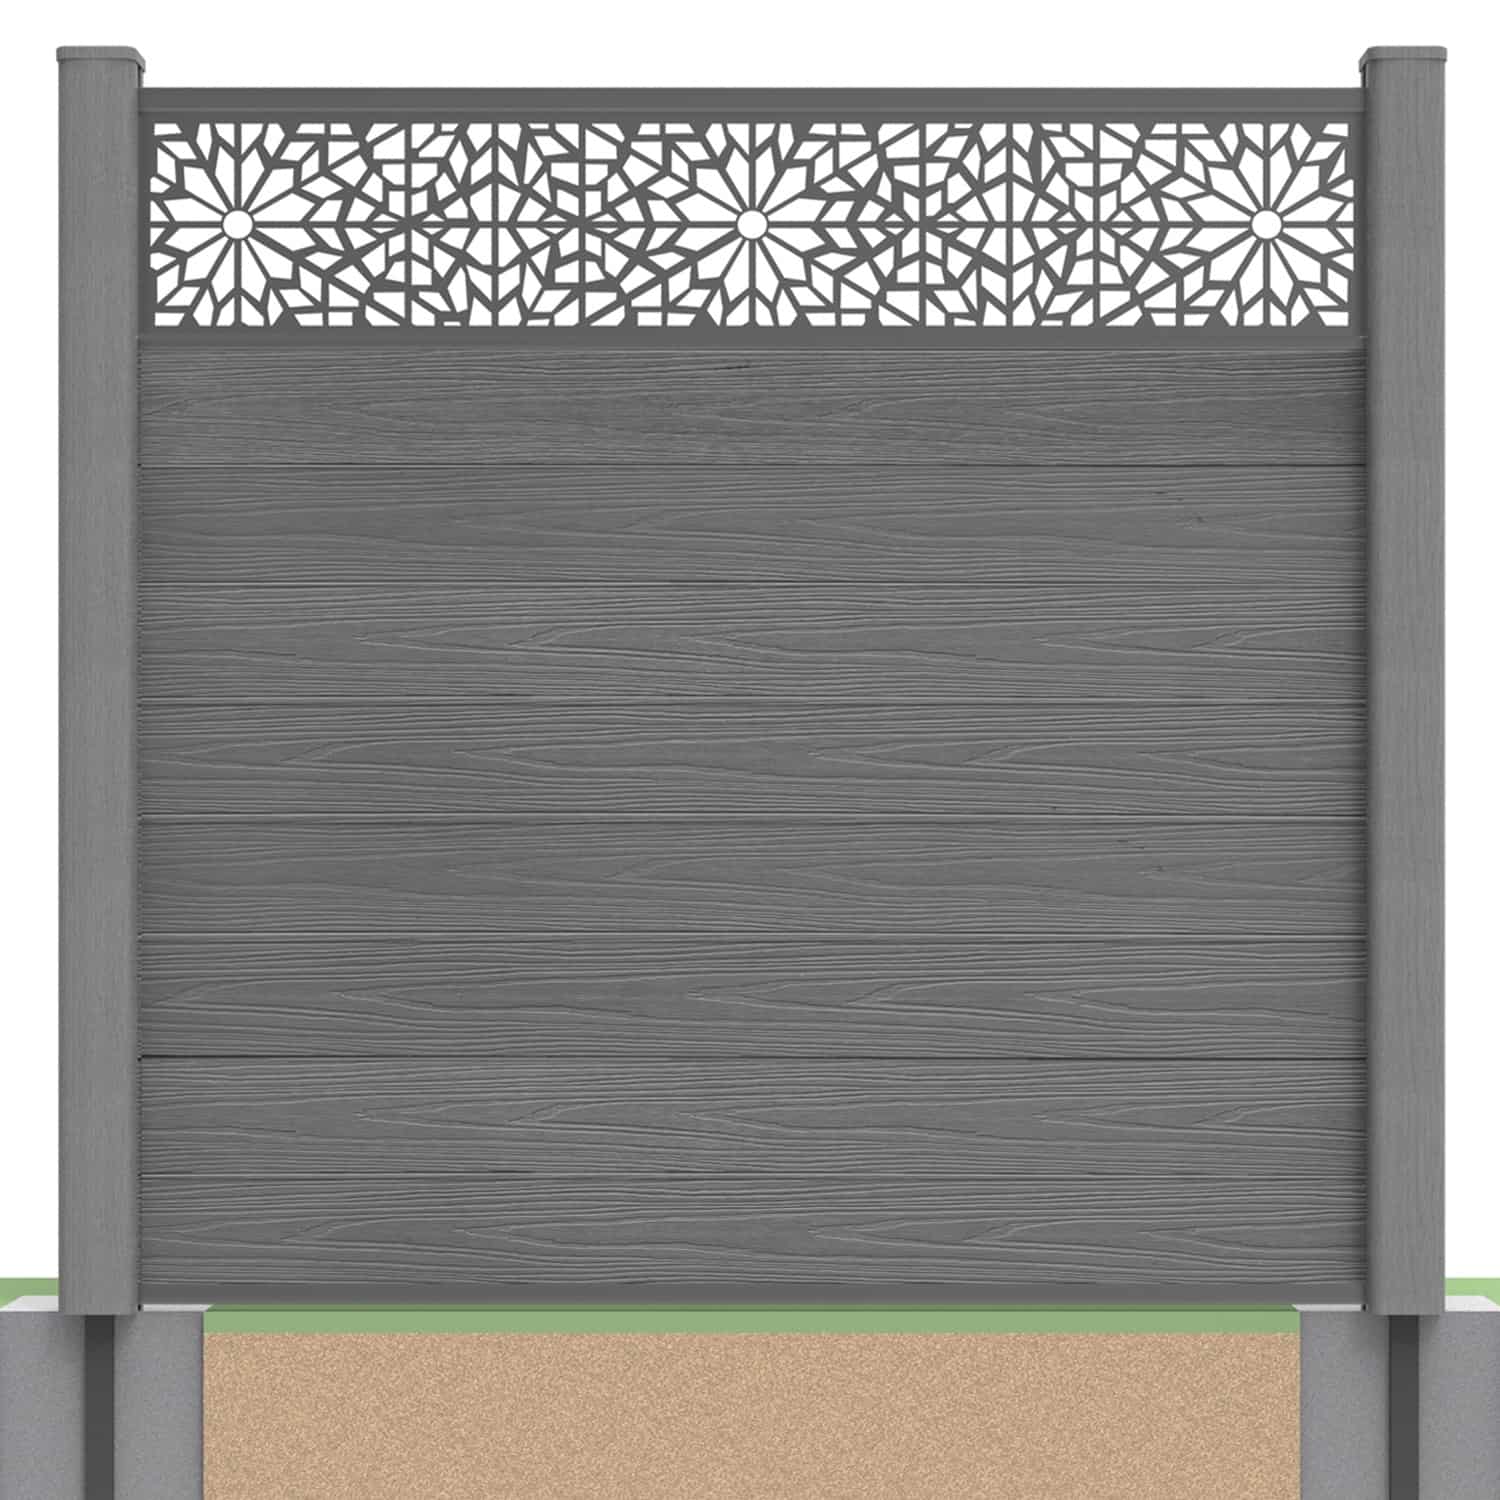
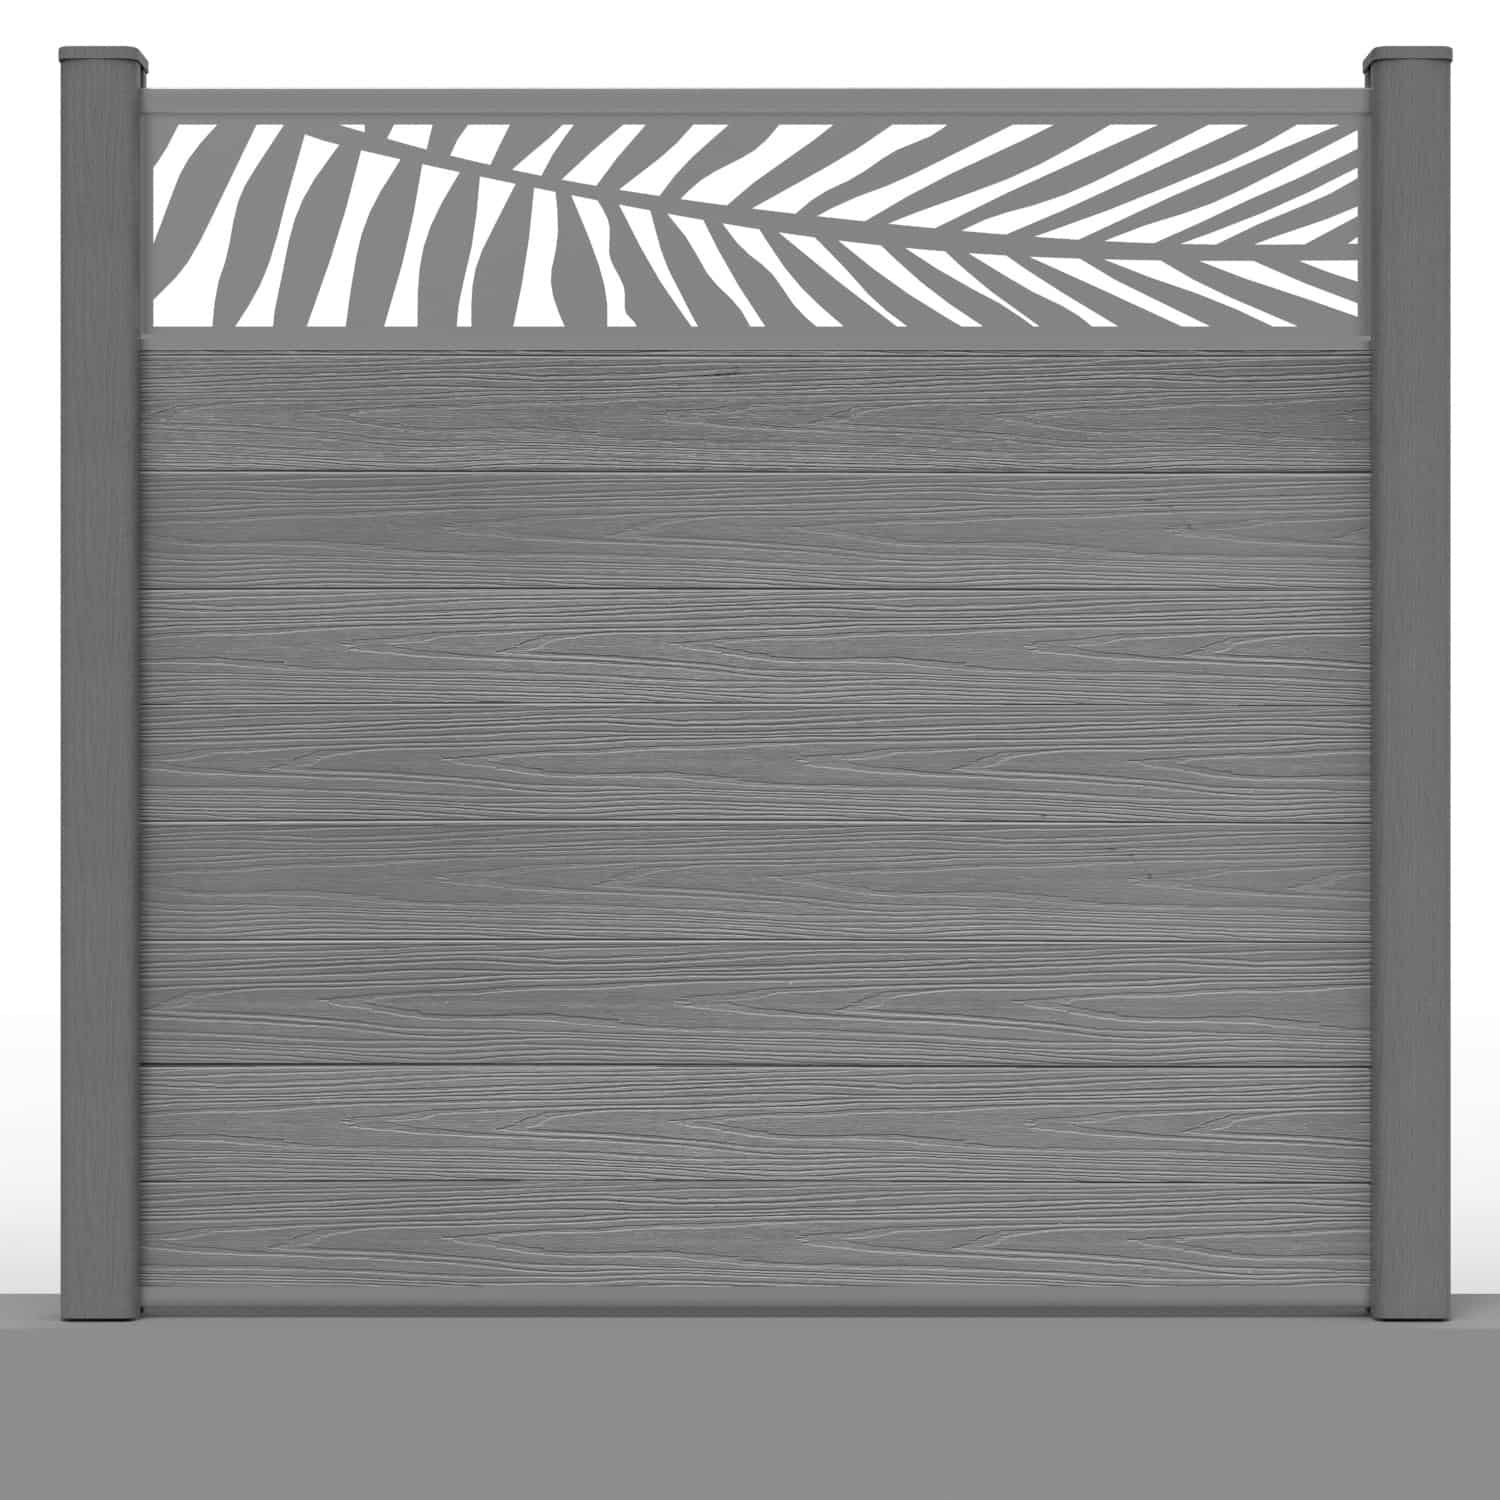
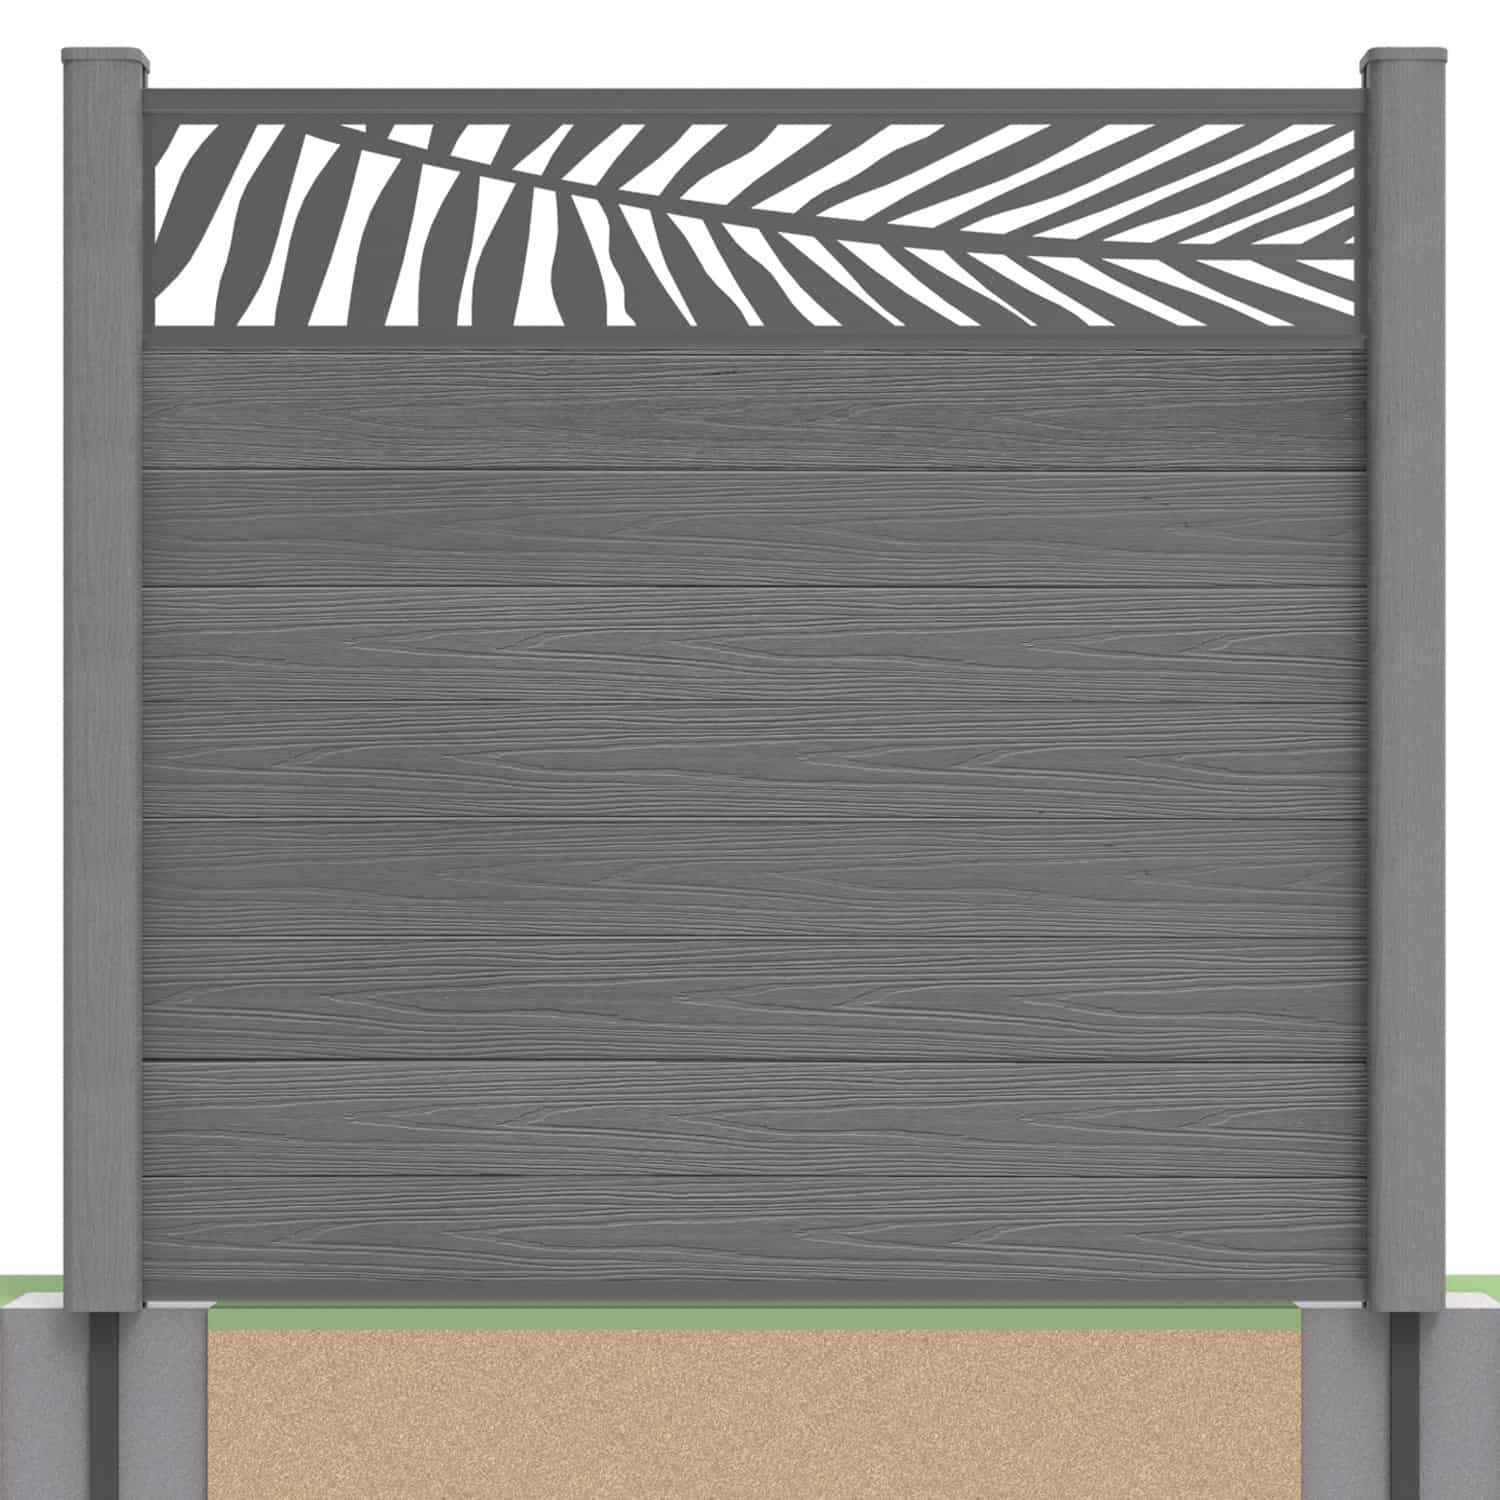
The same general stack-and-build approach can produce different visual effects. NeoTimber's Deluxe boards offer woodgrain and brushed faces, while the Slatted profile creates repeated horizontal lines. Choose the style alongside your paving, planting and surrounding buildings.
Planning the Installation
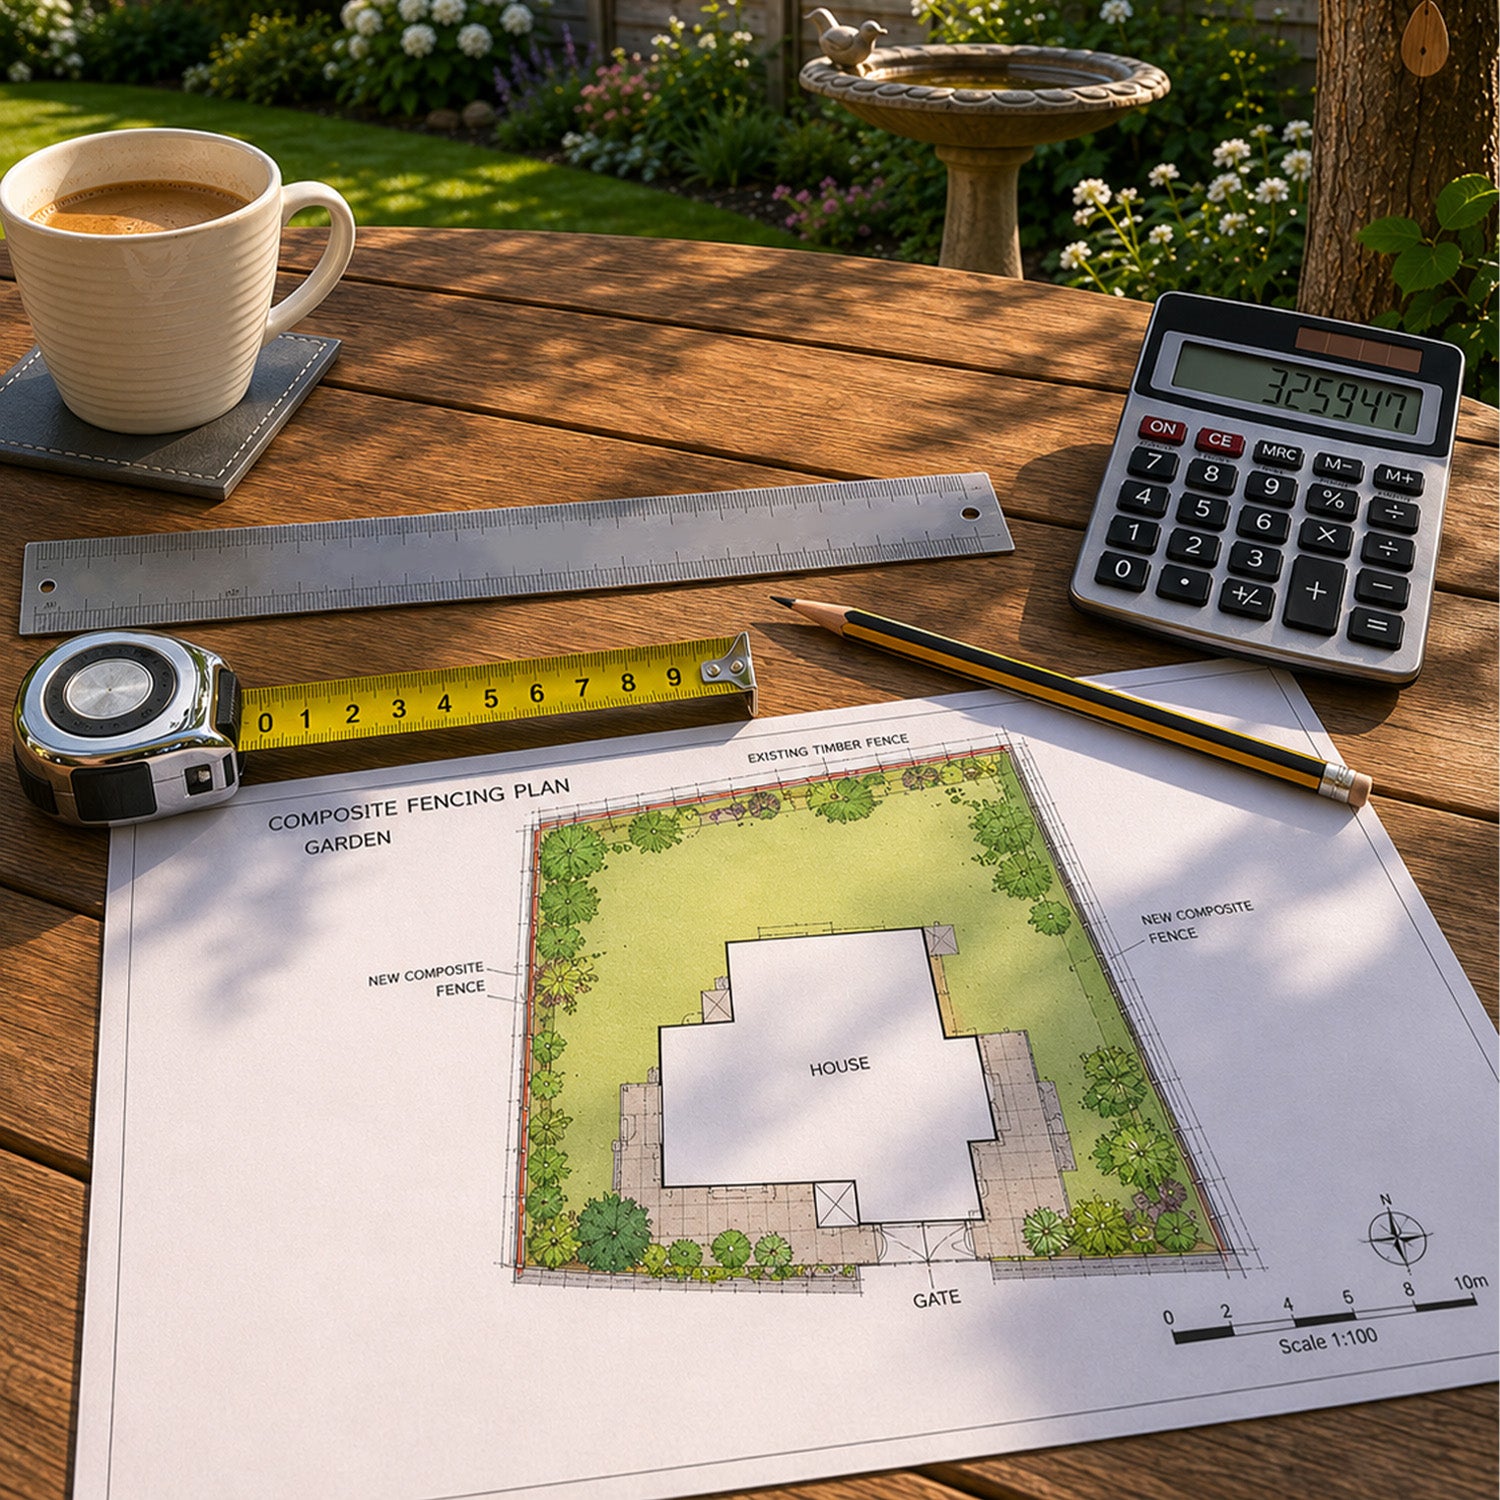
Start with a survey of the fence line. Record the length of each run, the proposed height, gate openings and any changes in level. A modular system gives you options, but slopes and awkward corners still need a planned layout.
- Choose the supporting system. Confirm the posts, foundations or fixing bases required for the site.
- Set out the bays. Follow the specified spacing and check that posts are aligned before fitting boards.
- Prepare the components. Confirm the board quantity, rails and inserts needed for each panel configuration.
- Build the infill. Fit the boards in the instructed sequence, maintaining the required clearances.
- Complete the finish. Fit the specified capping rails and other components, then check the installation against the guide.

This is a planning overview. Use the current fencing installation resources for the chosen system's measurements, fixing details and ground requirements. Ask an experienced installer to assess uncertain foundations, exposed locations or complex changes in level.
Can You Reuse Existing Timber or Concrete Posts?
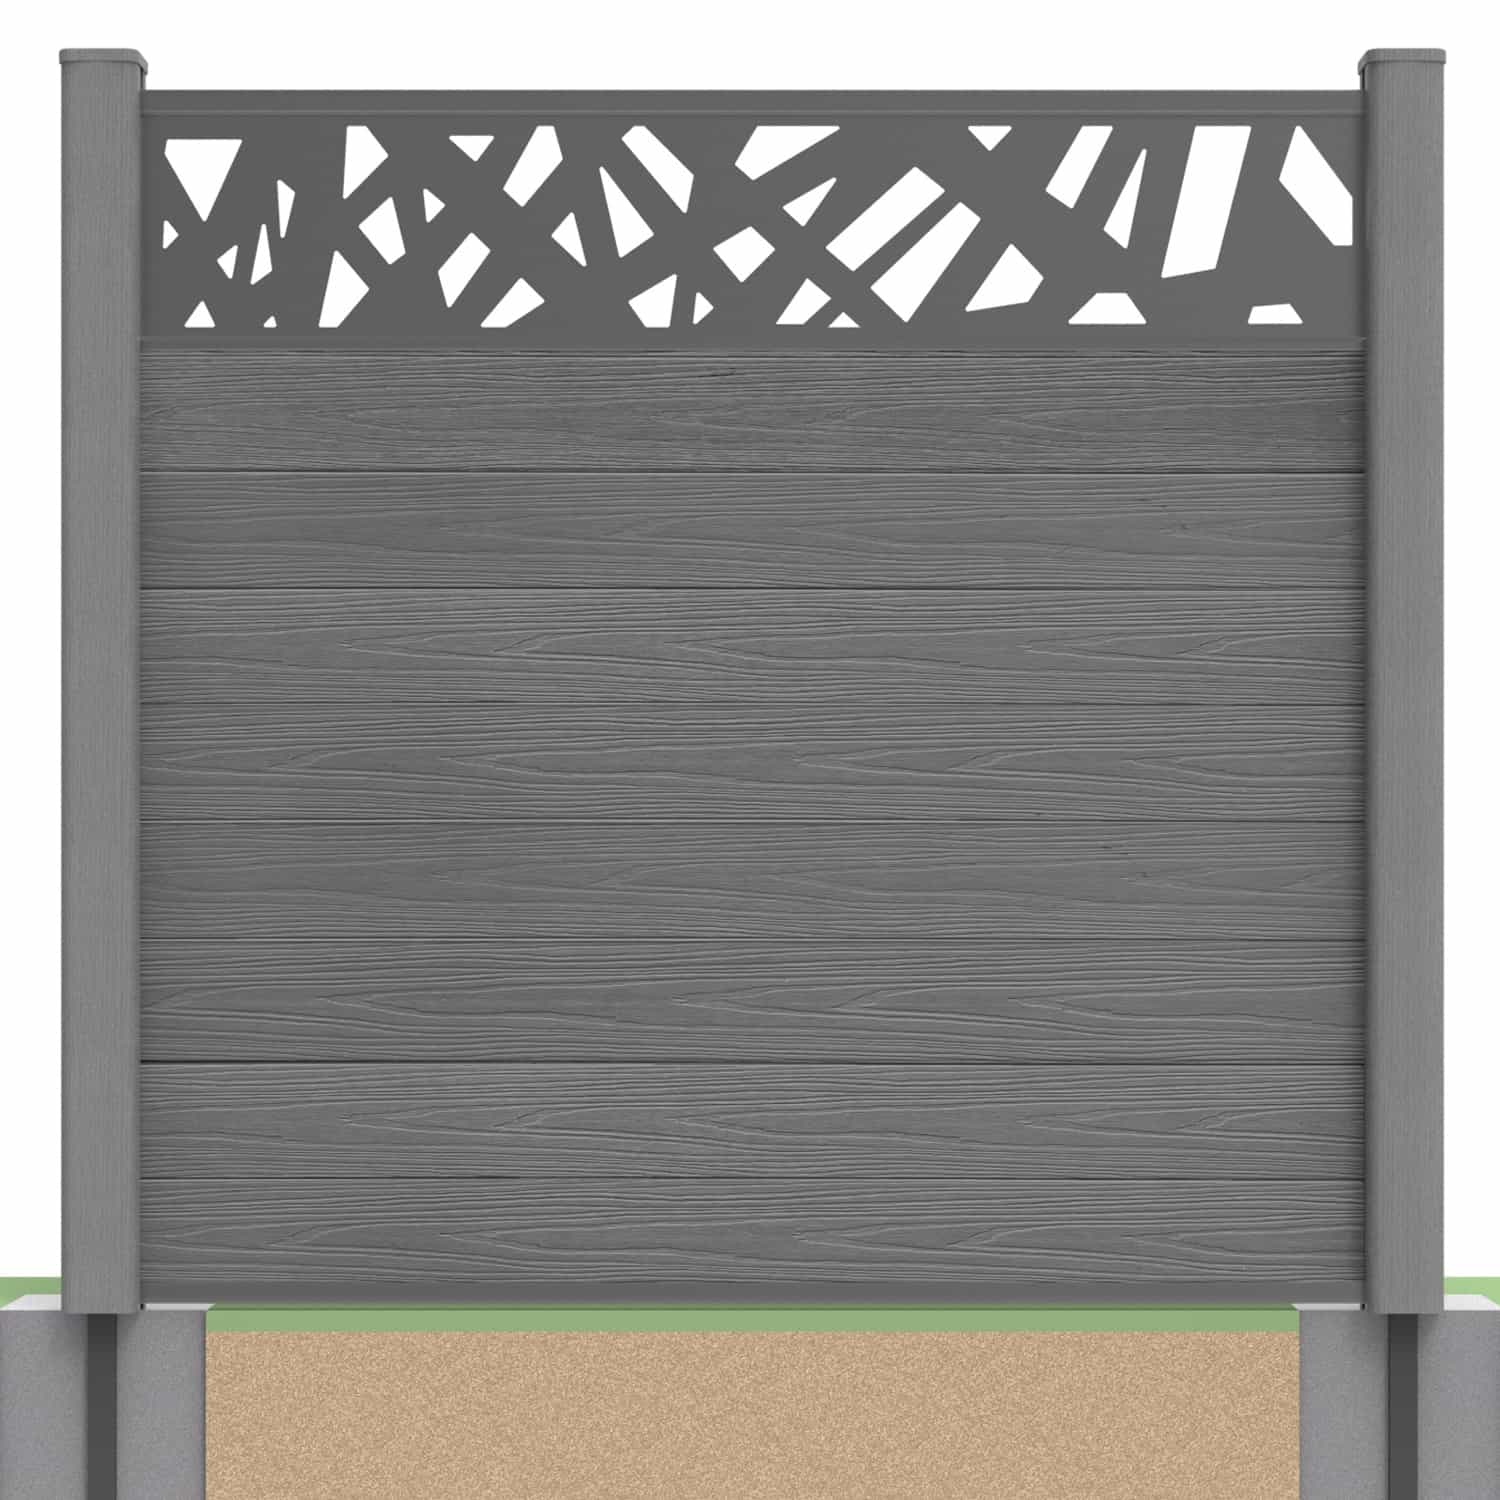
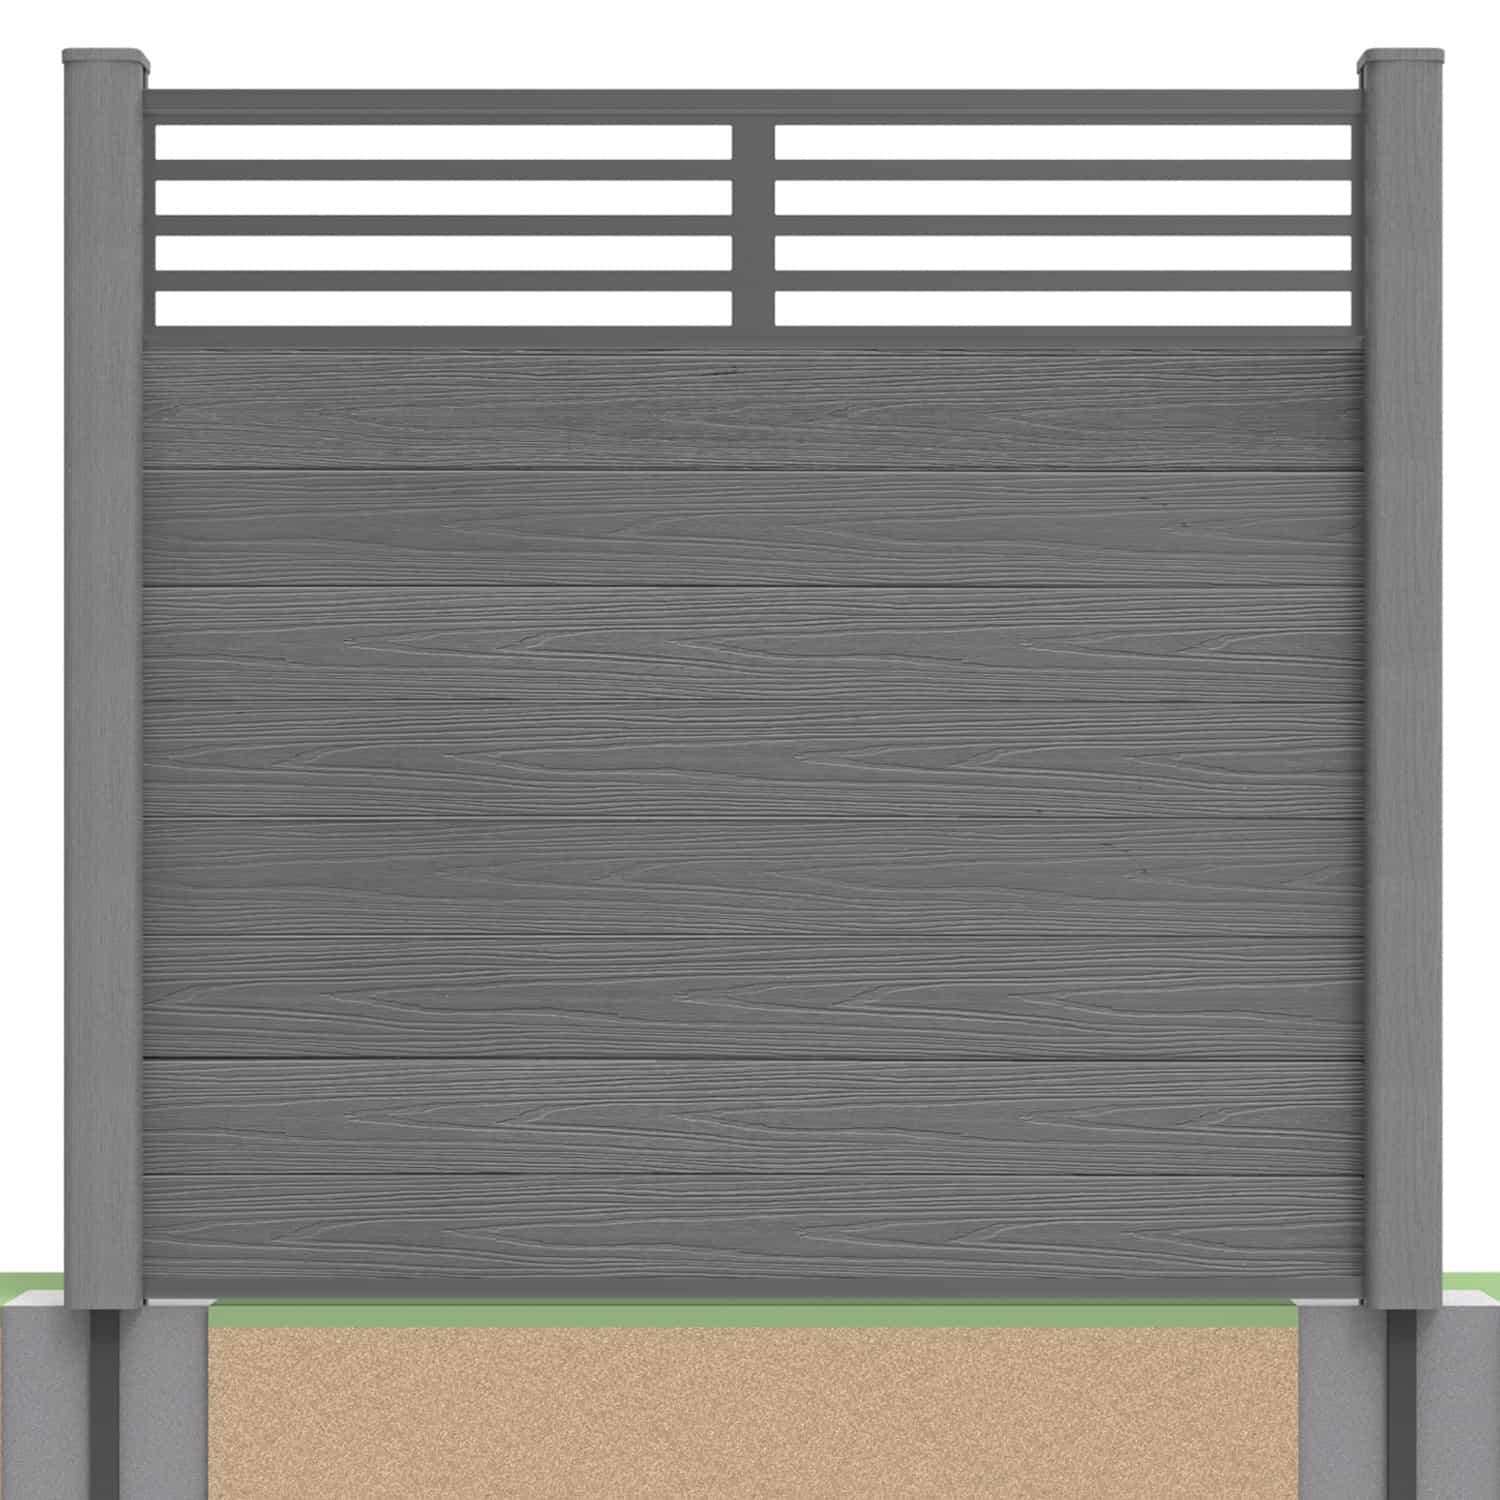
Existing posts may be suitable if they are structurally sound and compatible with the selected configuration. NeoTimber® offers wooden fence post inserts and concrete fence post inserts for appropriate retrofit installations.
Check post condition, alignment, opening width and the available fixing arrangement before ordering. Replacing the infill will not resolve a leaning post or a deteriorating foundation. Confirm the permitted panel height and insert combination for your project rather than assuming every option is interchangeable.
For a new boundary, compare the composite fence post system and its supporting components with the needs of your site.
NeoTimber's Tongue & Groove Composite Fencing Options
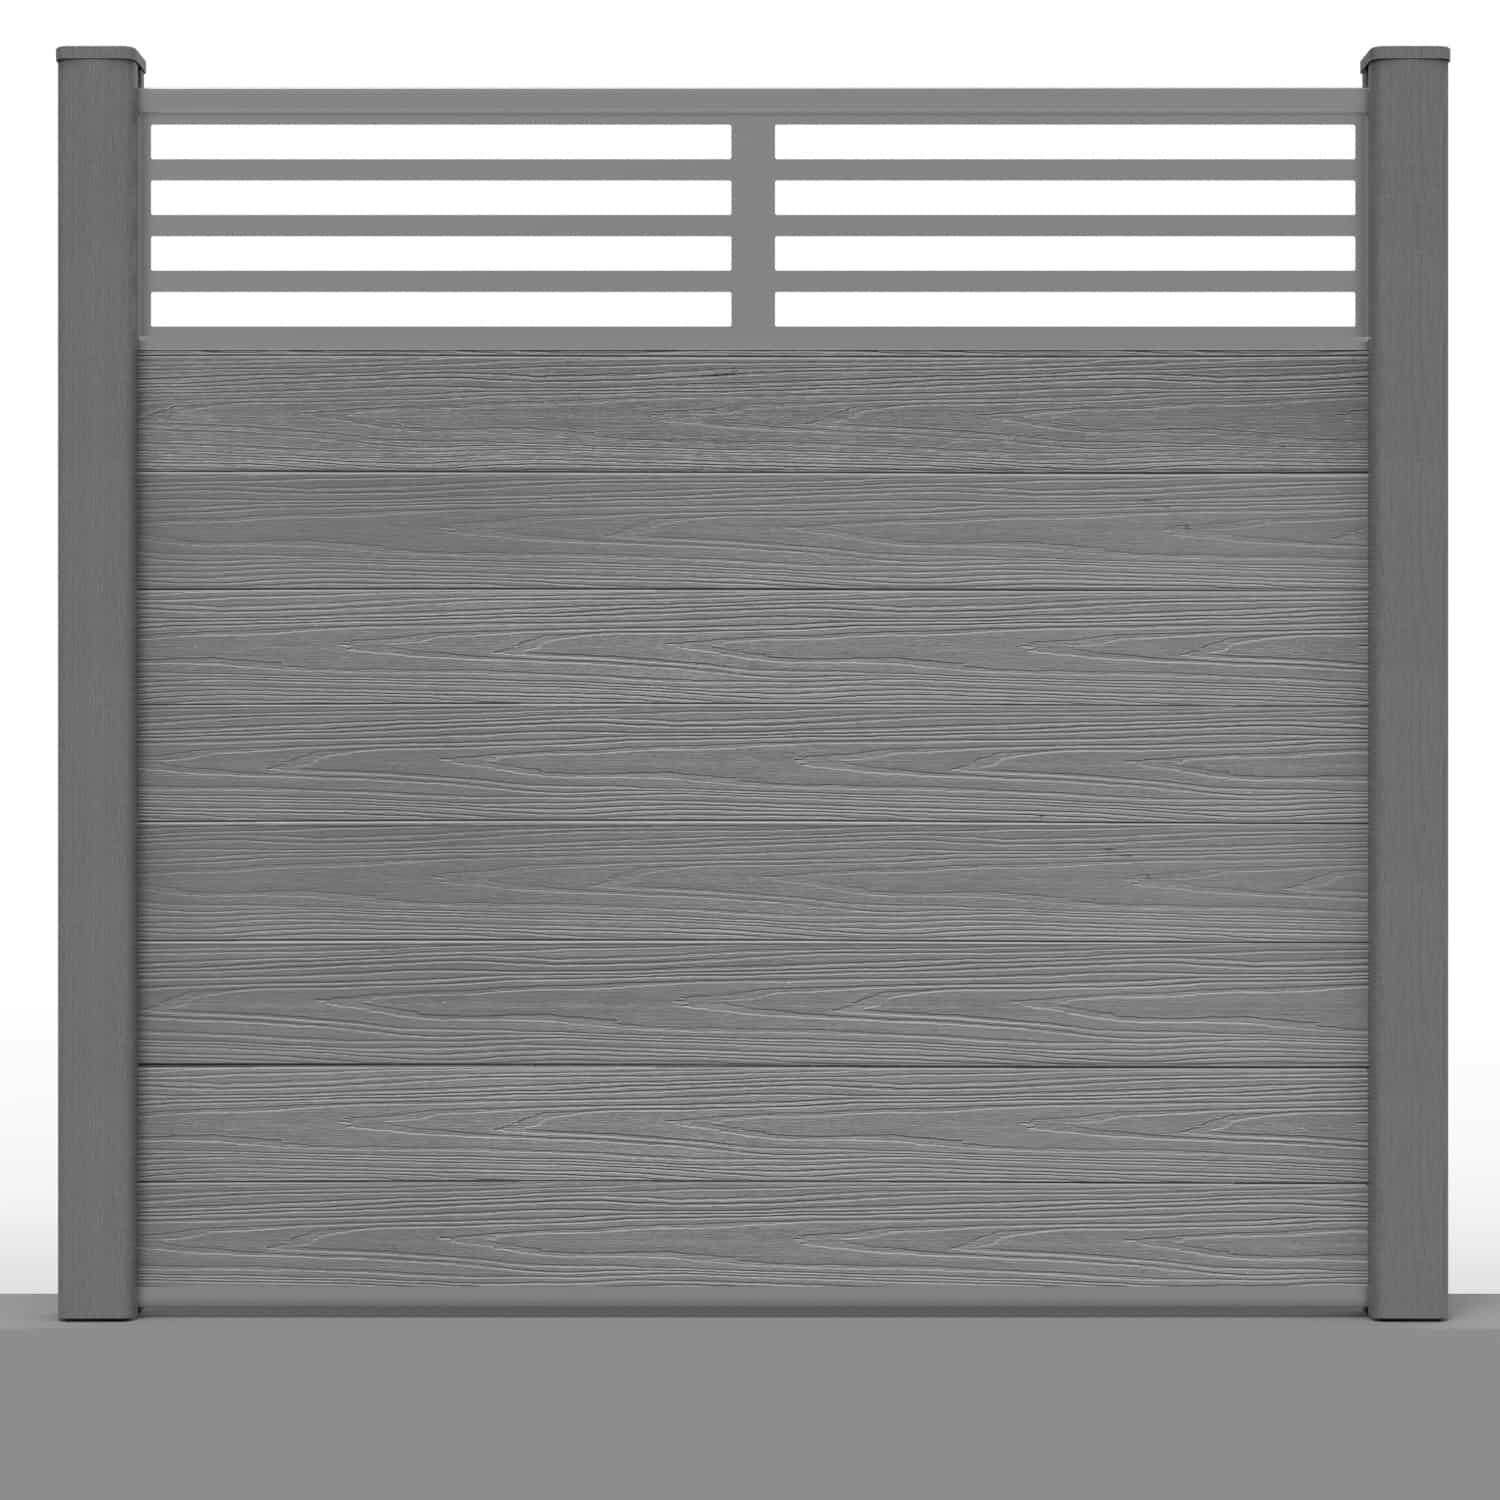
Deluxe Composite Fence Panel Set
The Deluxe Composite Fence Panel Set uses reversible boards with an embossed woodgrain finish on one face and a brushed finish on the other. This gives you a choice of texture within the same board design.

Deluxe is worth considering if you prefer broad board faces and a timber-inspired appearance. Decide which face you want to display before assembly, and check the selected panel set's contents and post option when comparing prices.
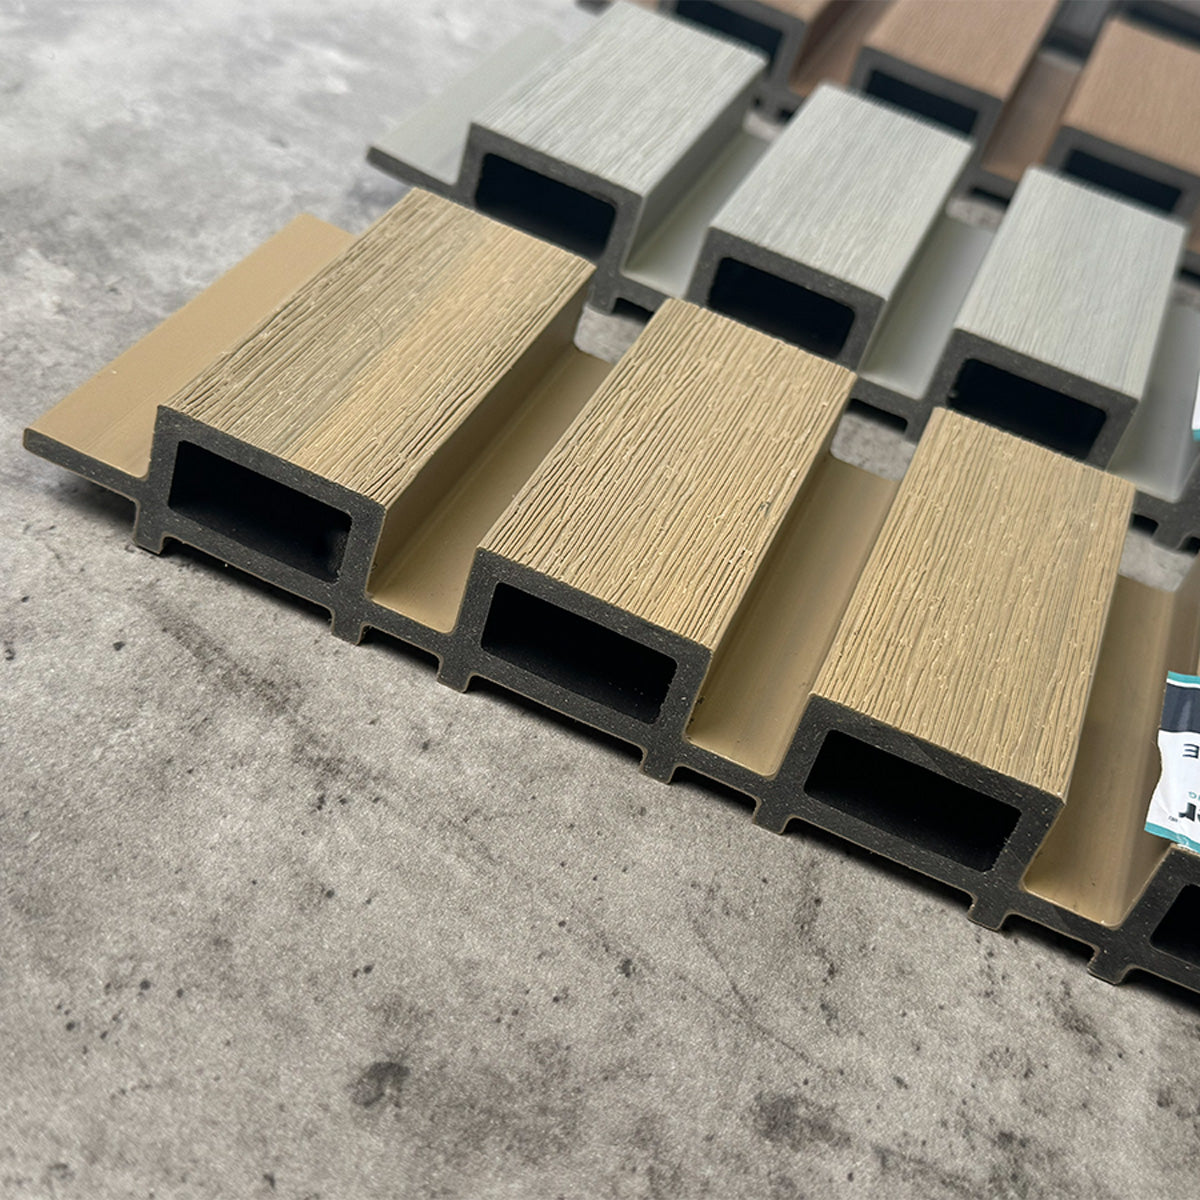
Slatted Composite Fence Panel Set
The Slatted Composite Fence Panel Set creates a batten-style effect with horizontal lines across the panel. The detail is formed within the board profile, avoiding the need to position separate timber battens one by one.

This slatted appearance should not be confused with open gaps through the fence. If airflow or a view through part of the boundary is important, discuss compatible decorative screens as a separate design choice.
Both ranges use capped composite boards designed to resist fading and staining. Refer to the product pages for current prices, dimensions, available configurations and exactly what is included.
Choosing Colours and Coordinating the Finish
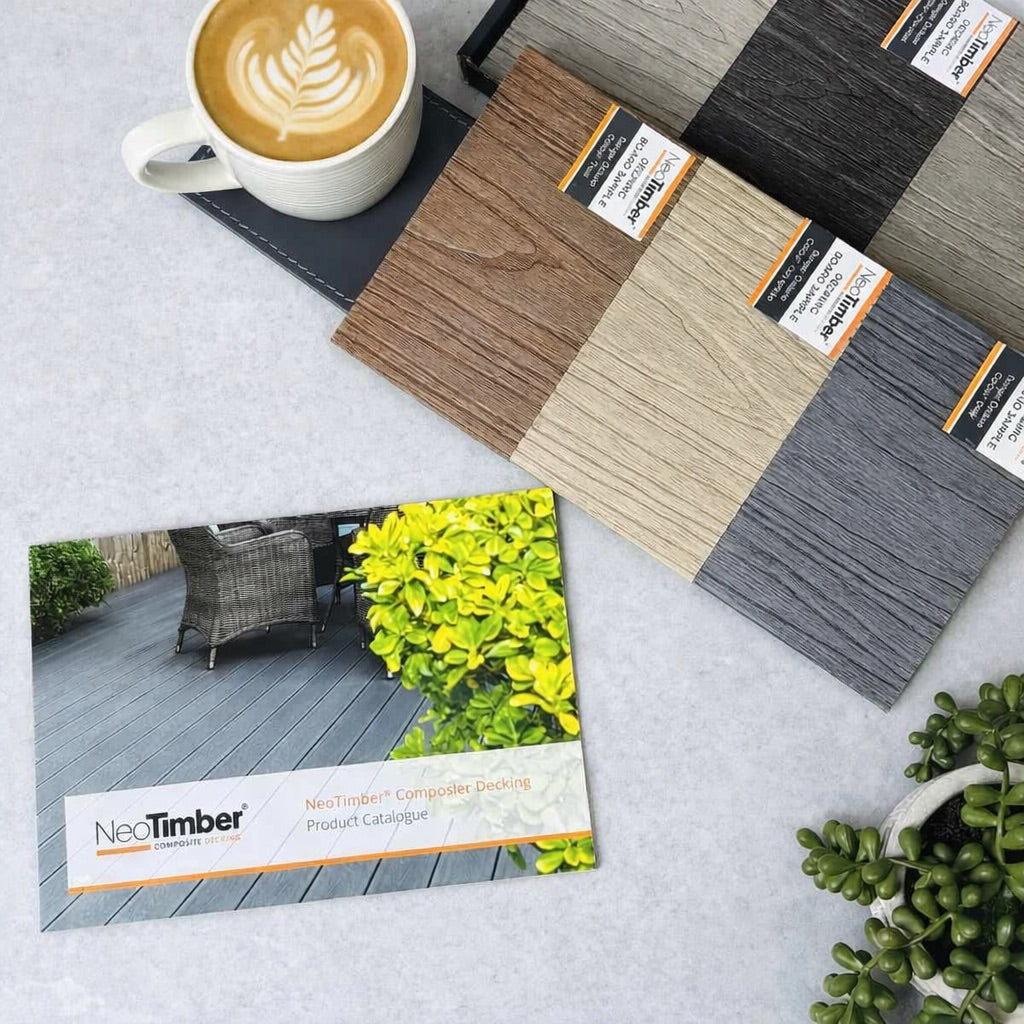
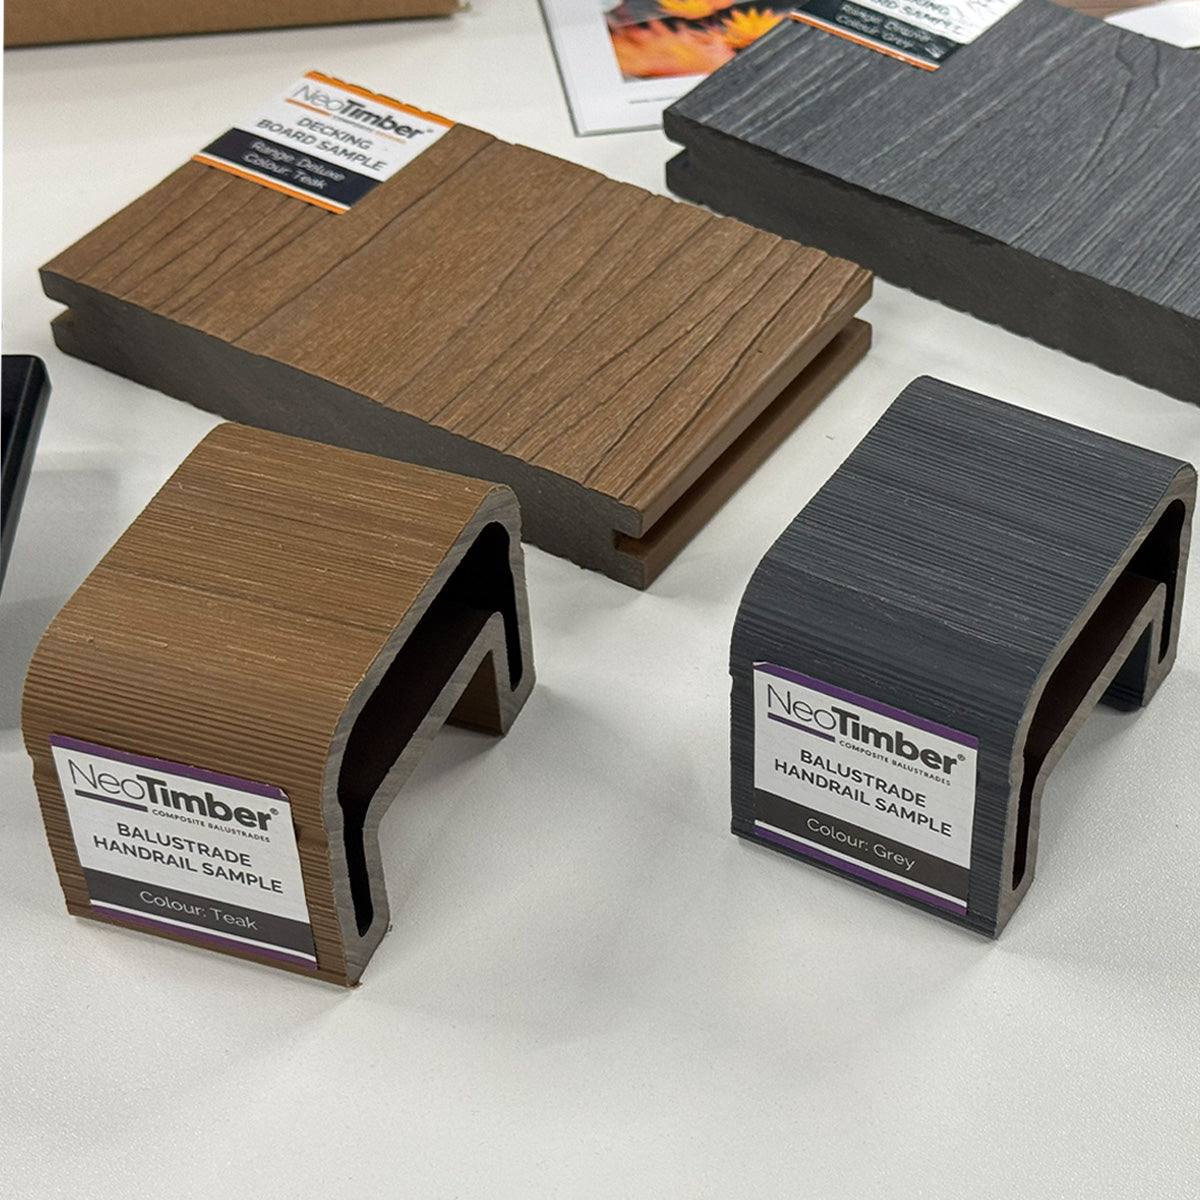
Current board colours include Grey, Teak, Chocolate, Charcoal, Antique, Ash White, Oak and Silver Birch. Check availability for the selected panel and its accessories before finalising your scheme.
Darker tones can provide contrast behind foliage, while lighter shades may work well with pale paving or rendered walls. Compare the finish with nearby decking and cladding, but do not assume identically named colours look exactly the same across different materials.
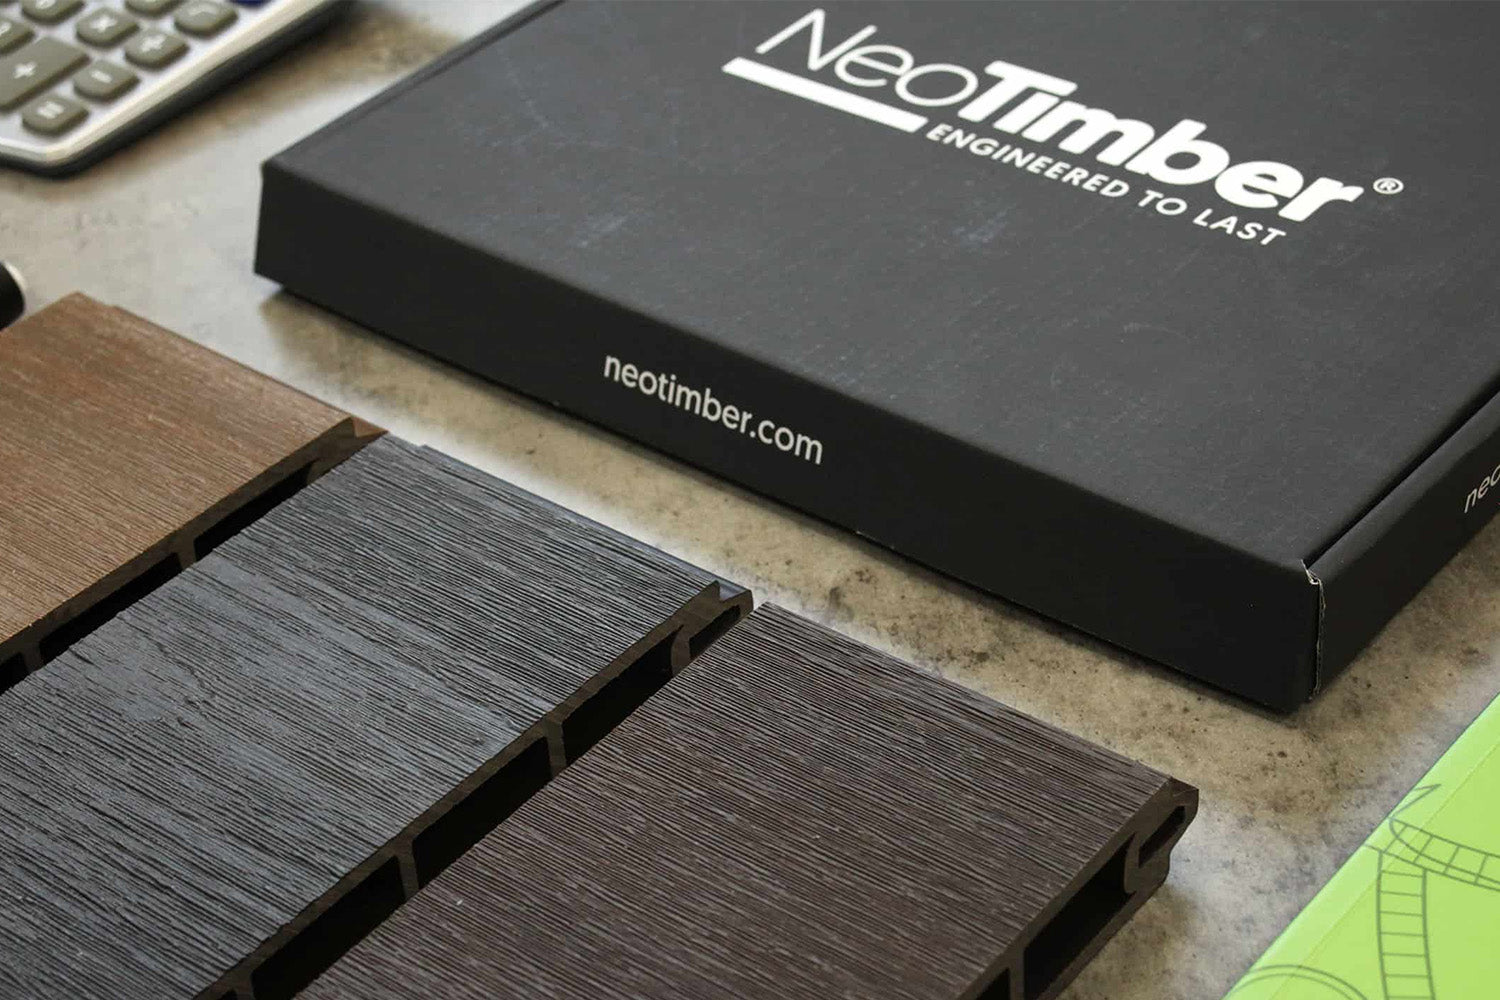
Request fencing samples and view them outdoors in sunlight and shade to assess both texture and colour.
Looking After Your Composite Fence
NeoTimber's capped fencing does not need routine painting, staining or sealing. Occasional cleaning still helps keep the surface presentable: remove loose debris, wash with warm soapy water and a soft cloth or sponge, then rinse.
Follow the composite fencing maintenance guide before using stronger cleaners or a pressure washer. Check fittings and the surrounding ground periodically, especially after severe weather.
Tongue and Groove Composite Fencing FAQs
Does the Joint Remove the Need for Expansion Gaps?
No. Interlocking edges do not remove the need for the clearances specified for the system. Follow the installation instructions for board ends, posts and other components.
Can the Boards Be Cut to Fit a Narrower Opening?
NeoTimber's Deluxe and Slatted boards can be cut for suitable shorter spans. Confirm the correct finished length, cutting method and movement allowance before making the cut.
Is the System Suitable for a Sloping Garden?
A sloping site needs a layout suited to the change in level and the fencing system. Measure the slope and seek installation guidance before selecting panel heights or cutting boards. Do not assume the panels can simply tilt to follow the ground.
Does a Panel Set Include Everything for a Full Fence Run?
Check the contents of the selected set and the requirements of the whole layout. End posts, corners, gates, ground fixings and finishing components may need separate consideration. An itemised specification helps avoid missing parts.
Plan a Fence That Fits Your Garden
Tongue and groove composite fencing combines interlocking boards with a choice of finishes and installation options. Start with the condition of the site and supporting posts, then choose the panel style and components that suit your boundary.
Explore NeoTimber's composite fencing range or contact NeoTimber® for help confirming your project requirements.