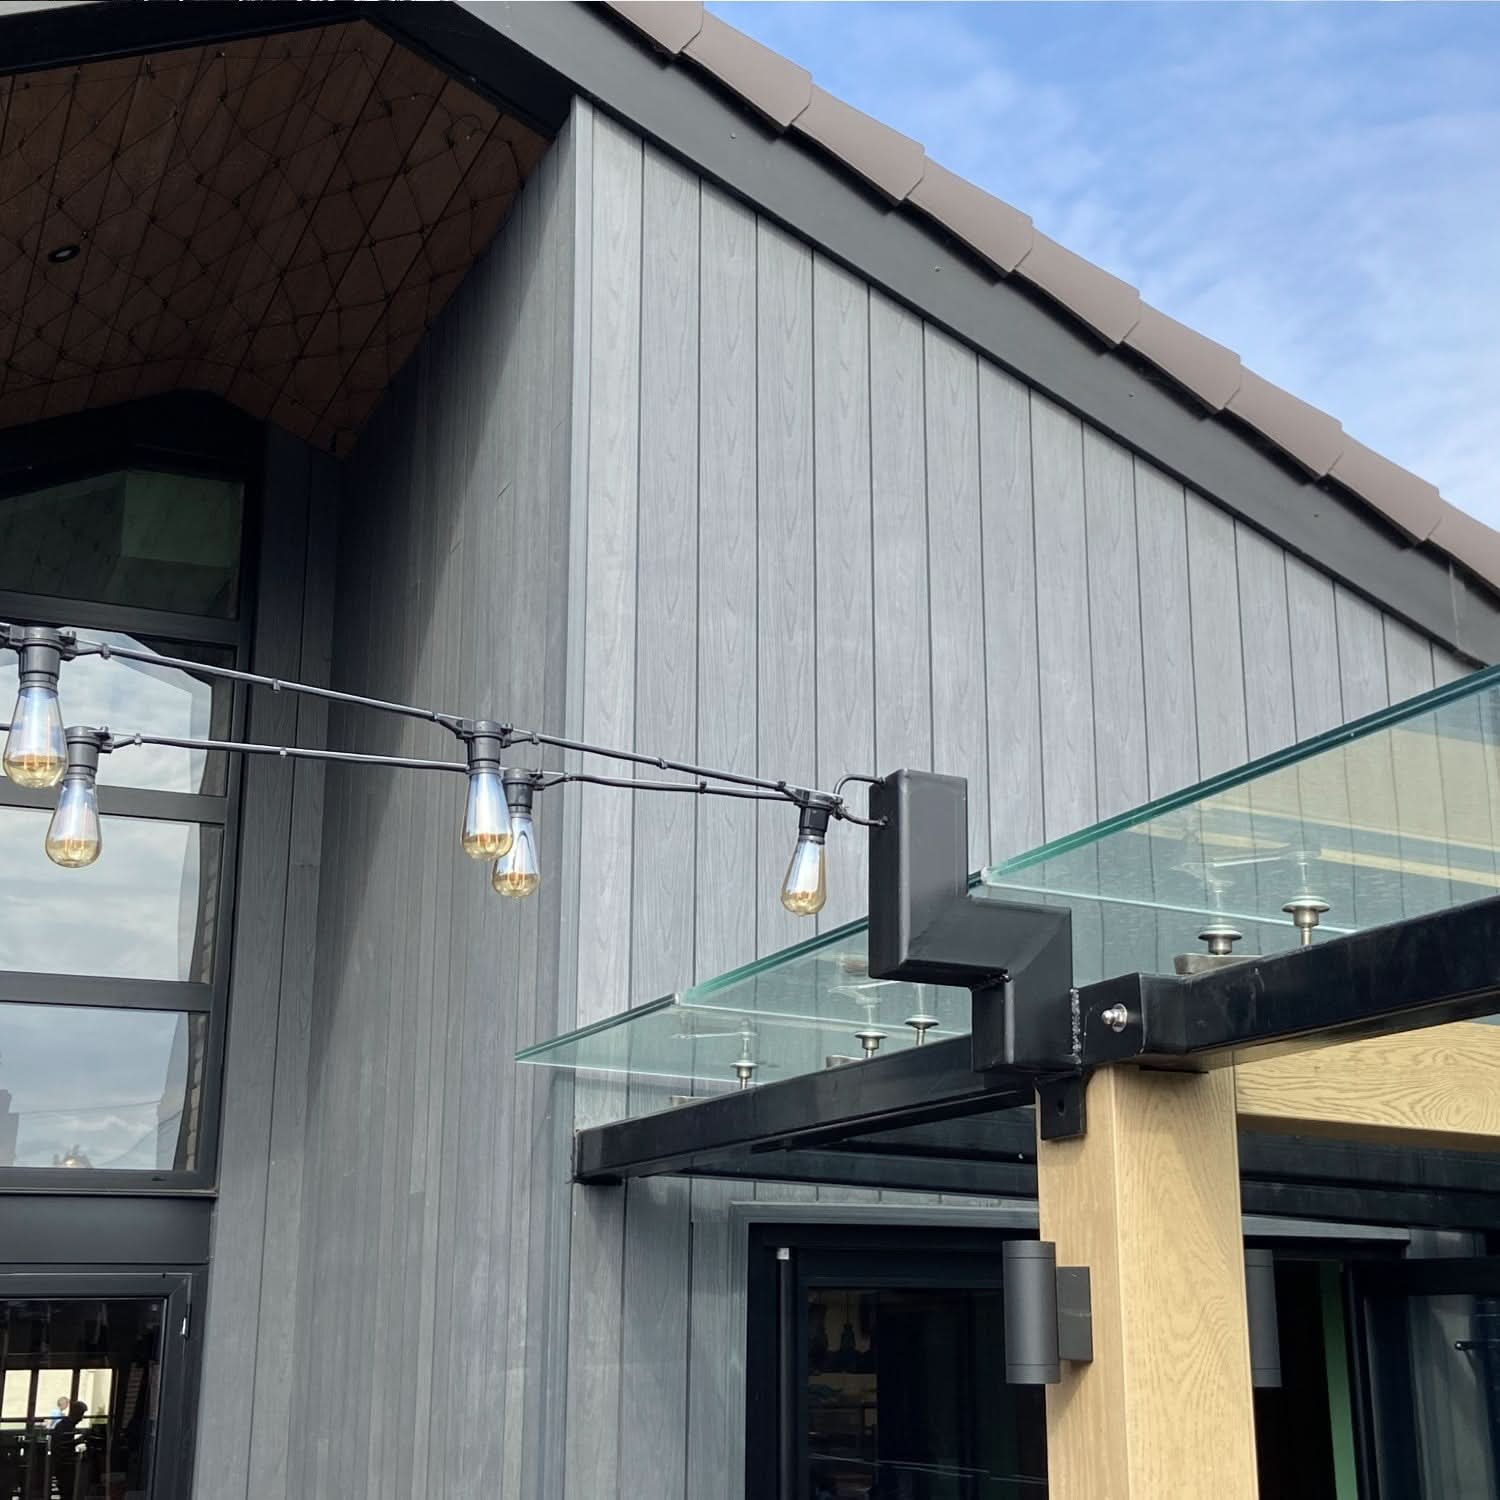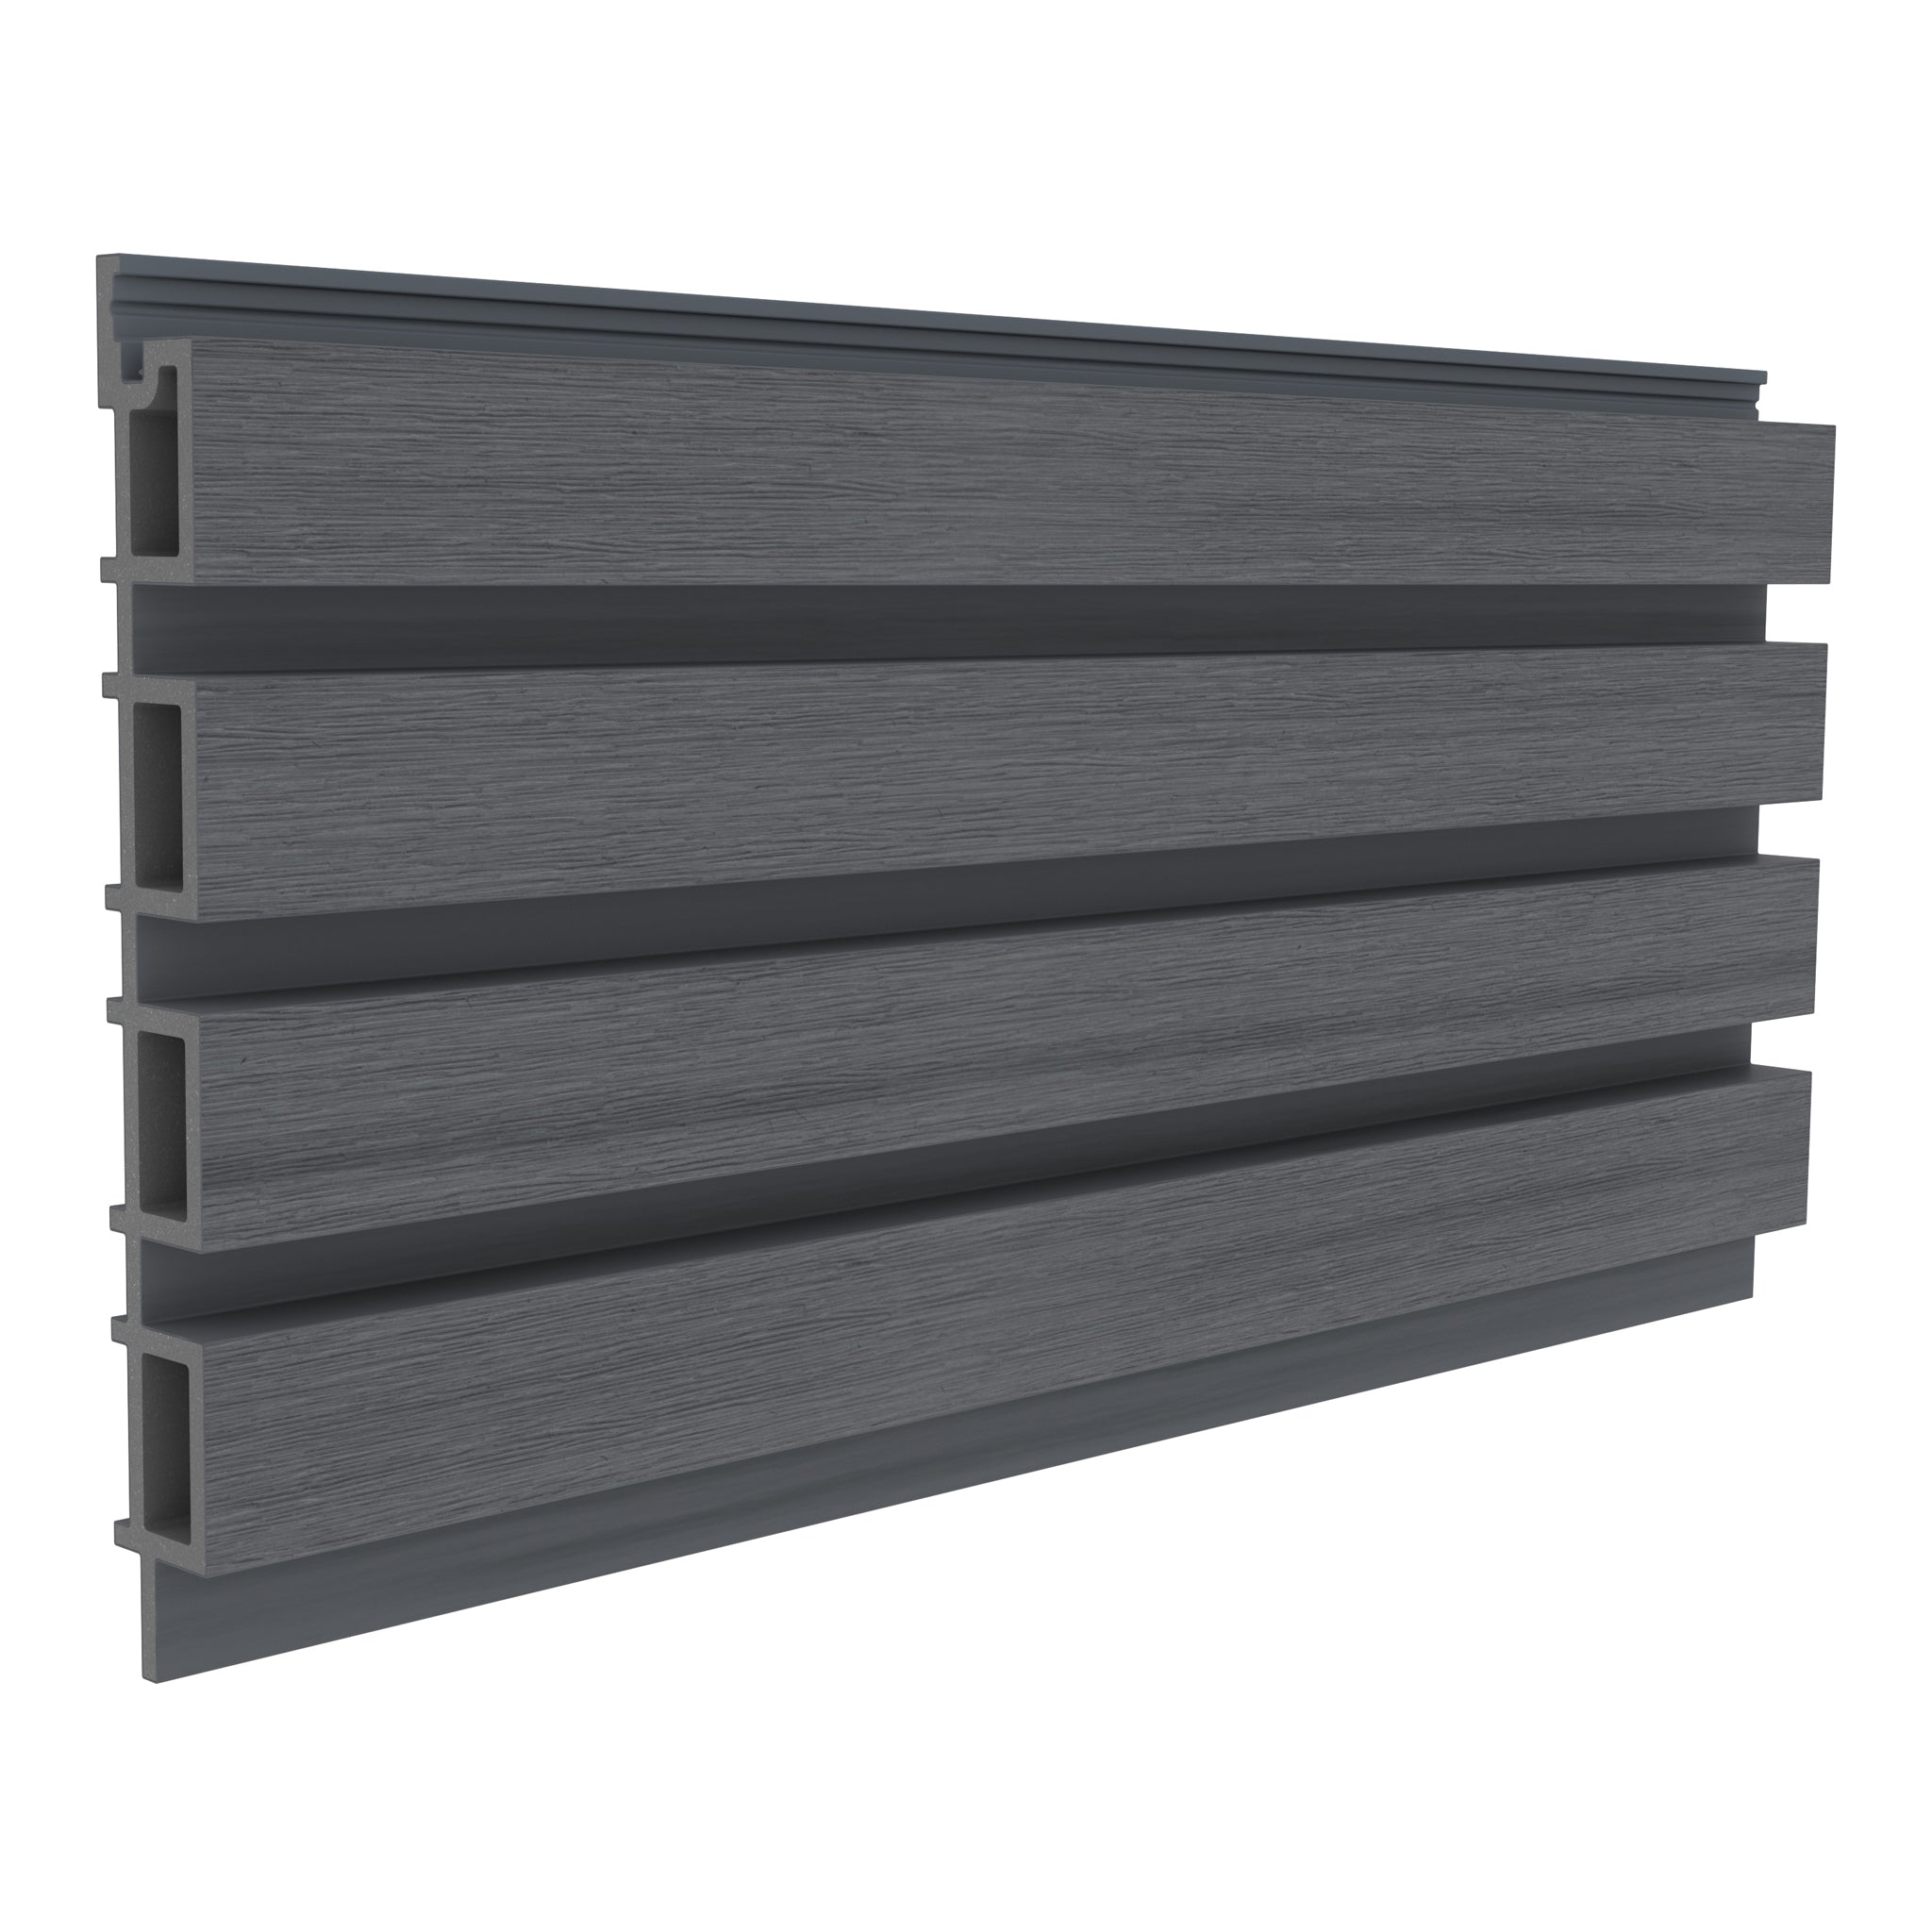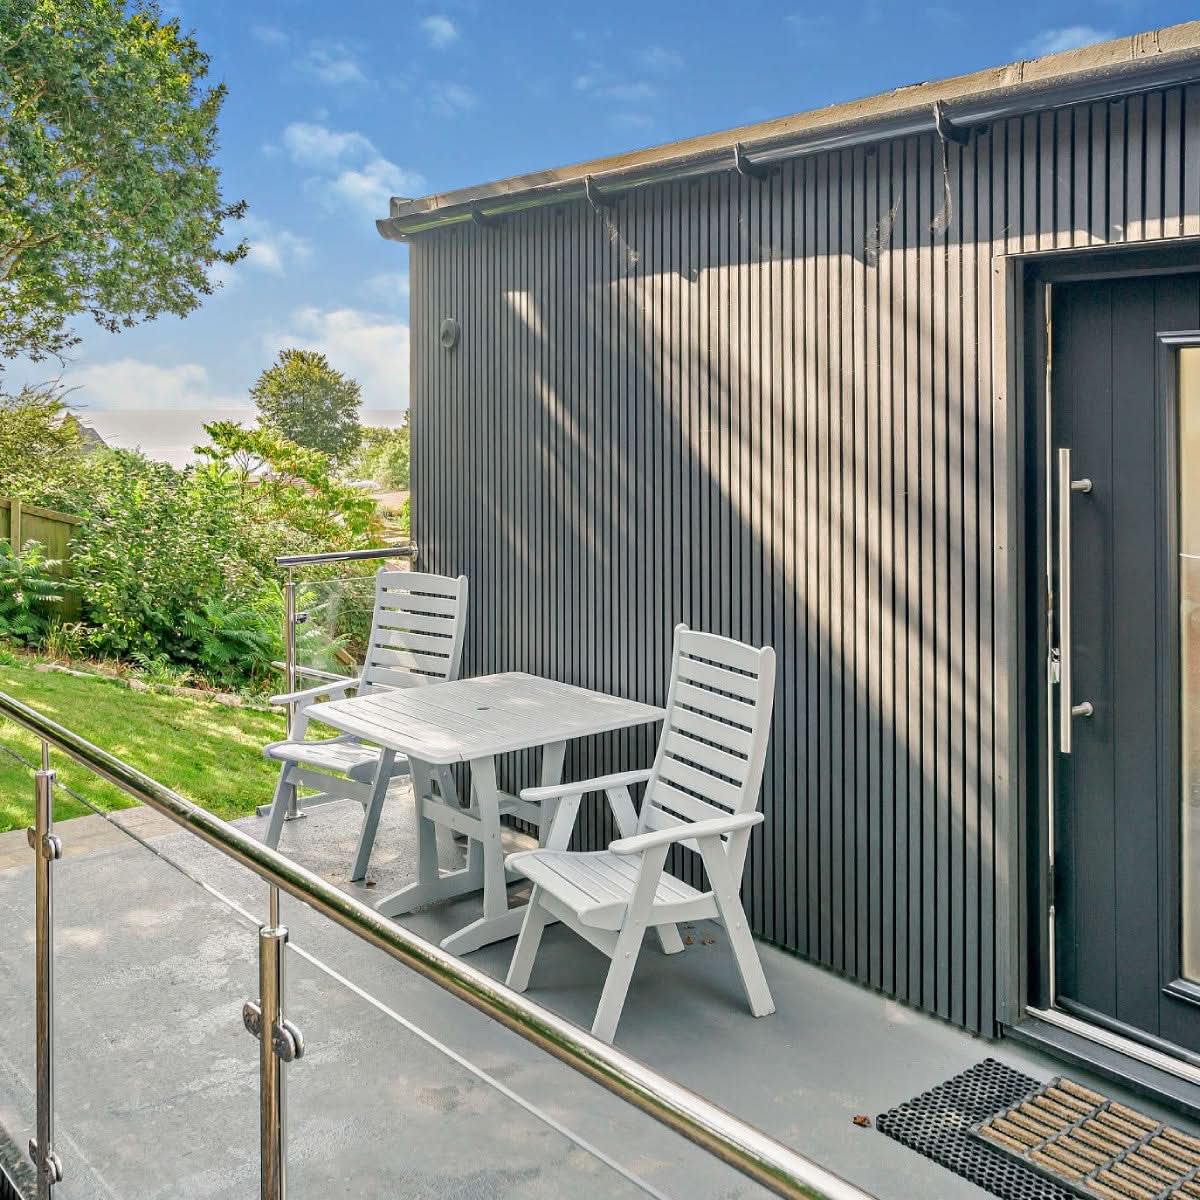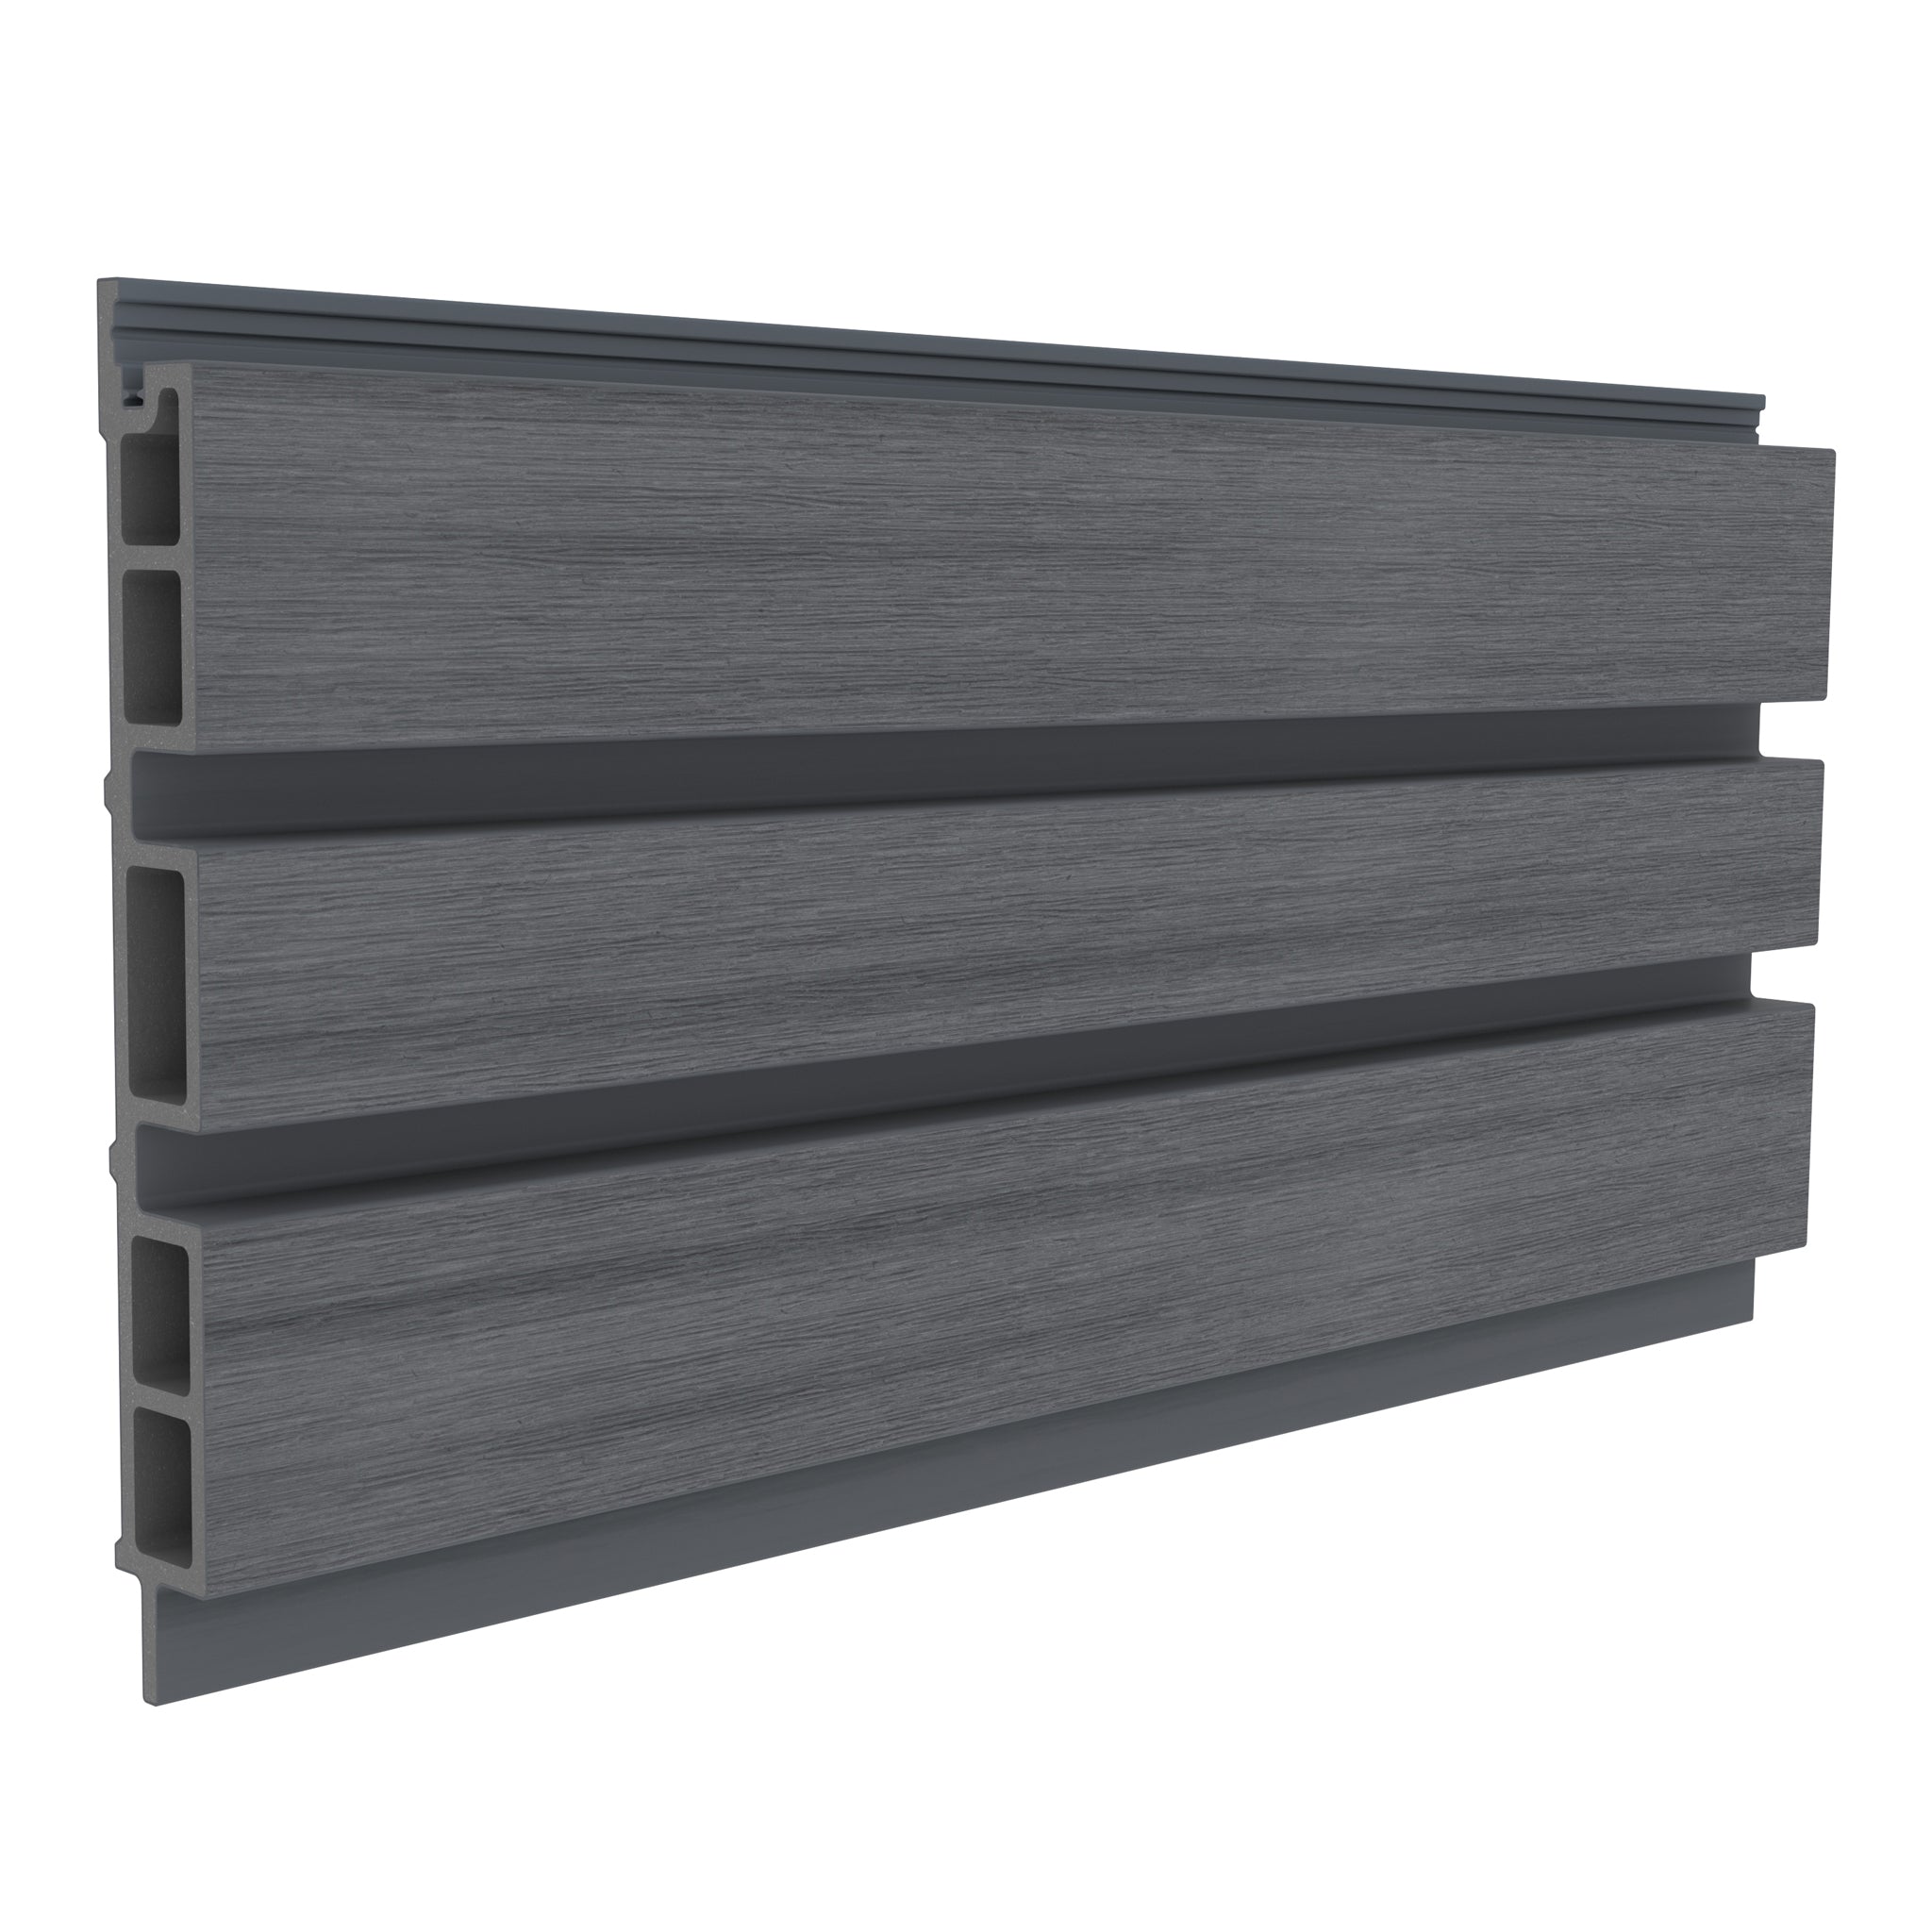

Design Better Cladding Edges, Corners and Openings From the Start
Composite cladding edge trim finishes exposed board ends and junctions, while the wider composite cladding edging range includes corner profiles, skirting trims and fascia boards. Each has a different role. Choosing the right profile means matching the cladding range, the shape of the junction and the coverage required, then following the relevant installation detail.
Those decisions deserve attention before the first board is fixed. The edge of a wall is where cladding meets the rest of the building: a window, a roof, a return, a doorway or a different material. It is also where the quality of the design becomes easiest to see. A large expanse of attractive boards cannot compensate for an awkward corner or an unresolved window surround.
Our view is simple: design the junctions alongside the boards. Treat composite cladding trim as part of the exterior specification from the beginning, and you can make better decisions about appearance, materials, quantities and installation. This guide explains how to do that, from selecting a profile to checking the finished result.
In this guide
Why Composite Cladding Edging Deserves an Early Design Decision
It is tempting to select a board colour, calculate the wall area and leave the finishing pieces until later. That sequence can create avoidable compromises. A window reveal may need a particular profile; a broad exposed edge may need more coverage than a narrow trim provides; a corner may require support in a position that has not been allowed for.
Planning edging early gives the installer a clear destination. Board lines, support positions and trim widths can be considered together. It also makes the quote more useful because the cost of completing the wall is included rather than emerging as a collection of extras.
The design benefit is equally important. Repeated details create consistency. If every window has a considered surround, every corner follows the same approach and the perimeter has a defined finish, the building reads as a complete composition. That consistency matters on a small garden room as much as on a larger renovation.
Begin by marking every point where the cladding stops or changes direction. These locations form the basis of your edging plan. Only then decide which components from the NeoTimber® cladding edging and fascia collection suit each detail.
Composite Cladding Edge Trim, Corner Trim and Skirting: What Is the Difference?
“Composite cladding edging” is a useful umbrella term, but it covers several products. A composite cladding edge trim is not automatically interchangeable with a corner profile or fascia board. Start with the shape and purpose of the junction, then select the profile.
| Profile | Typical purpose | Key selection question |
|---|---|---|
| End or edge trim | Finish a compatible board termination, opening or recess | Does the profile suit the board and the surrounding construction? |
| External corner trim | Finish an outward-facing junction between wall surfaces | Does it provide the intended coverage on both faces? |
| Internal corner trim | Finish an inward-facing junction | Is this the correct profile for the selected range and corner detail? |
| Skirting trim | Provide a relatively narrow finishing strip at a suitable boundary | Is its width sufficient without compromising required clearances? |
| Fascia board | Provide broader coverage over a specified exposed edge or supporting detail | Is the width, support and fixing arrangement appropriate? |
End trims: defining where the boards stop
An end trim can create a controlled transition at a doorway, window or recess. Instead of leaving the eye to follow an exposed cut, it establishes a deliberate boundary between the cladding and the adjoining surface.
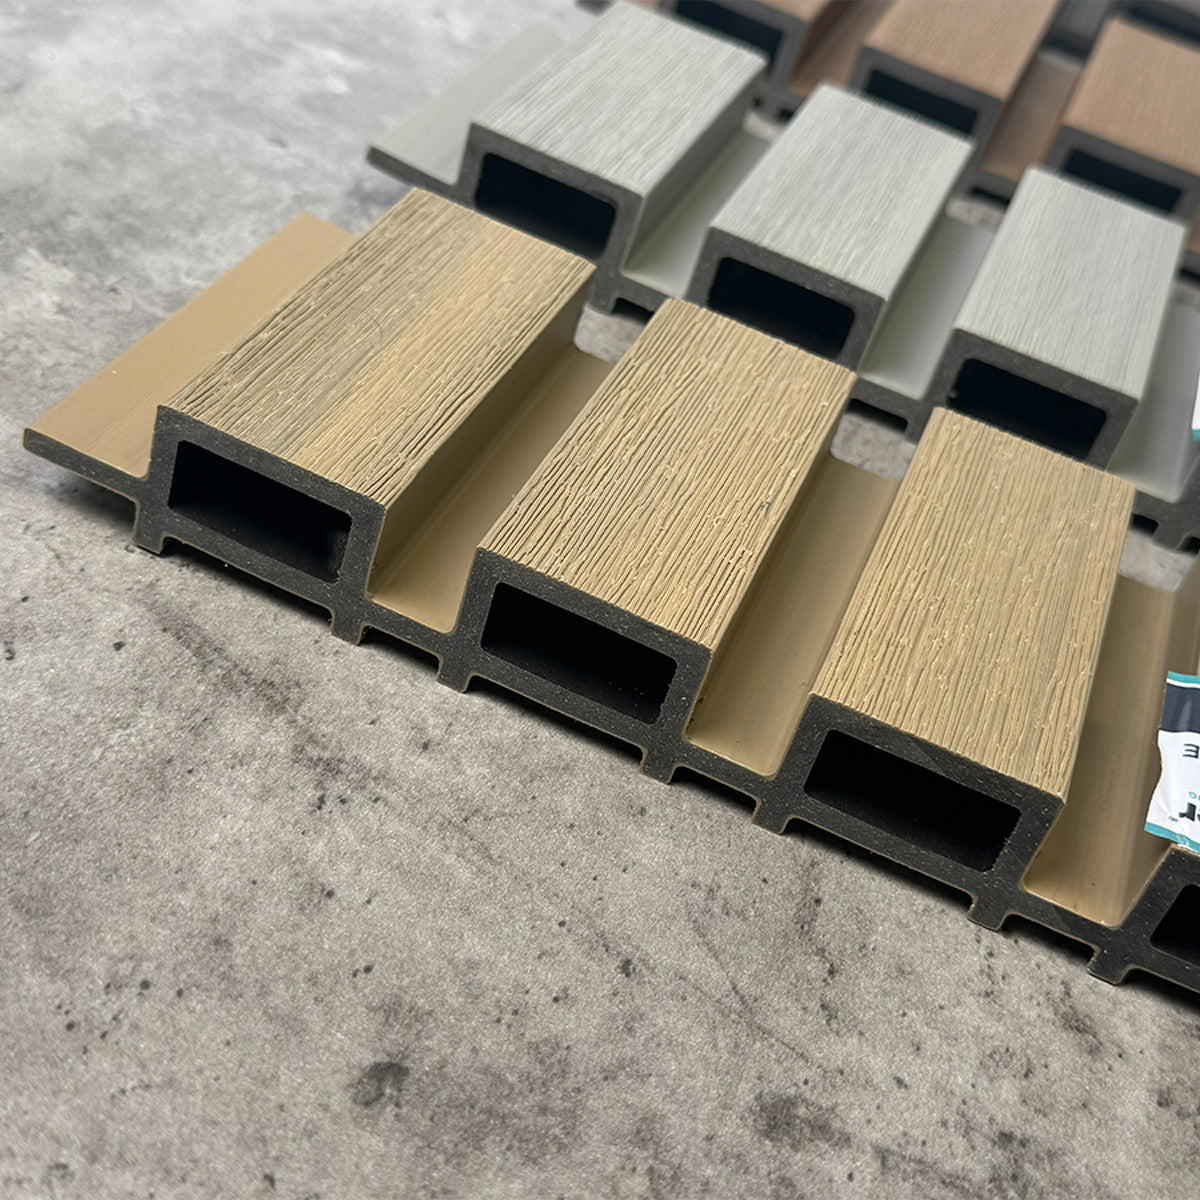
For example, the NeoTimber® Classic and Deluxe end trim is a powder-coated aluminium profile intended for those ranges. It is listed at 60mm × 55mm × 3600mm. This is a useful reminder that a product sold for composite cladding is not necessarily made of composite material.
Look at the profile drawing as well as the overall dimensions. The amount of visible coverage and the space occupied behind the finished face both matter. Confirm compatibility separately when working with a different board profile.
Corner trims: resolving a change of direction
An outside corner catches light and is visible from more than one approach. Decide whether you want it to form a pronounced frame or sit quietly within the overall elevation. The width of the trim on each face can influence that effect.
Inside corners require their own consideration. NeoTimber® lists a Slatted internal corner trim; that does not mean every outside corner component can simply be turned around to serve the same purpose. Use the component and detail specified for the junction.
Skirting trims: narrower perimeter coverage
A skirting profile provides a narrower finishing option where the specified detail calls for it. The Classic skirting trim is one example to consider alongside the Classic board range.
The word “skirting” should not be taken as an instruction to run the trim down to the ground. Its position depends on the cladding system and the surrounding detail. Preserve the clearances and ventilation required by the installation guidance.

When Should You Choose Composite Cladding Fascia Boards?
Composite cladding fascia boards offer broader coverage than a narrow finishing strip. They can be useful where the specified detail needs to conceal more of an exposed edge or supporting framework. Their width also makes them a stronger visual element, so their appearance deserves the same attention as their practical role.
For instance, a broad frame around an opening can make that opening a focal point. The same frame on a small feature panel may feel visually heavy. Choose a width that works with the building’s proportions and the technical detail, rather than selecting the widest board simply to cover uncertainty.
| Fascia board | Listed dimensions | Construction and finish |
|---|---|---|
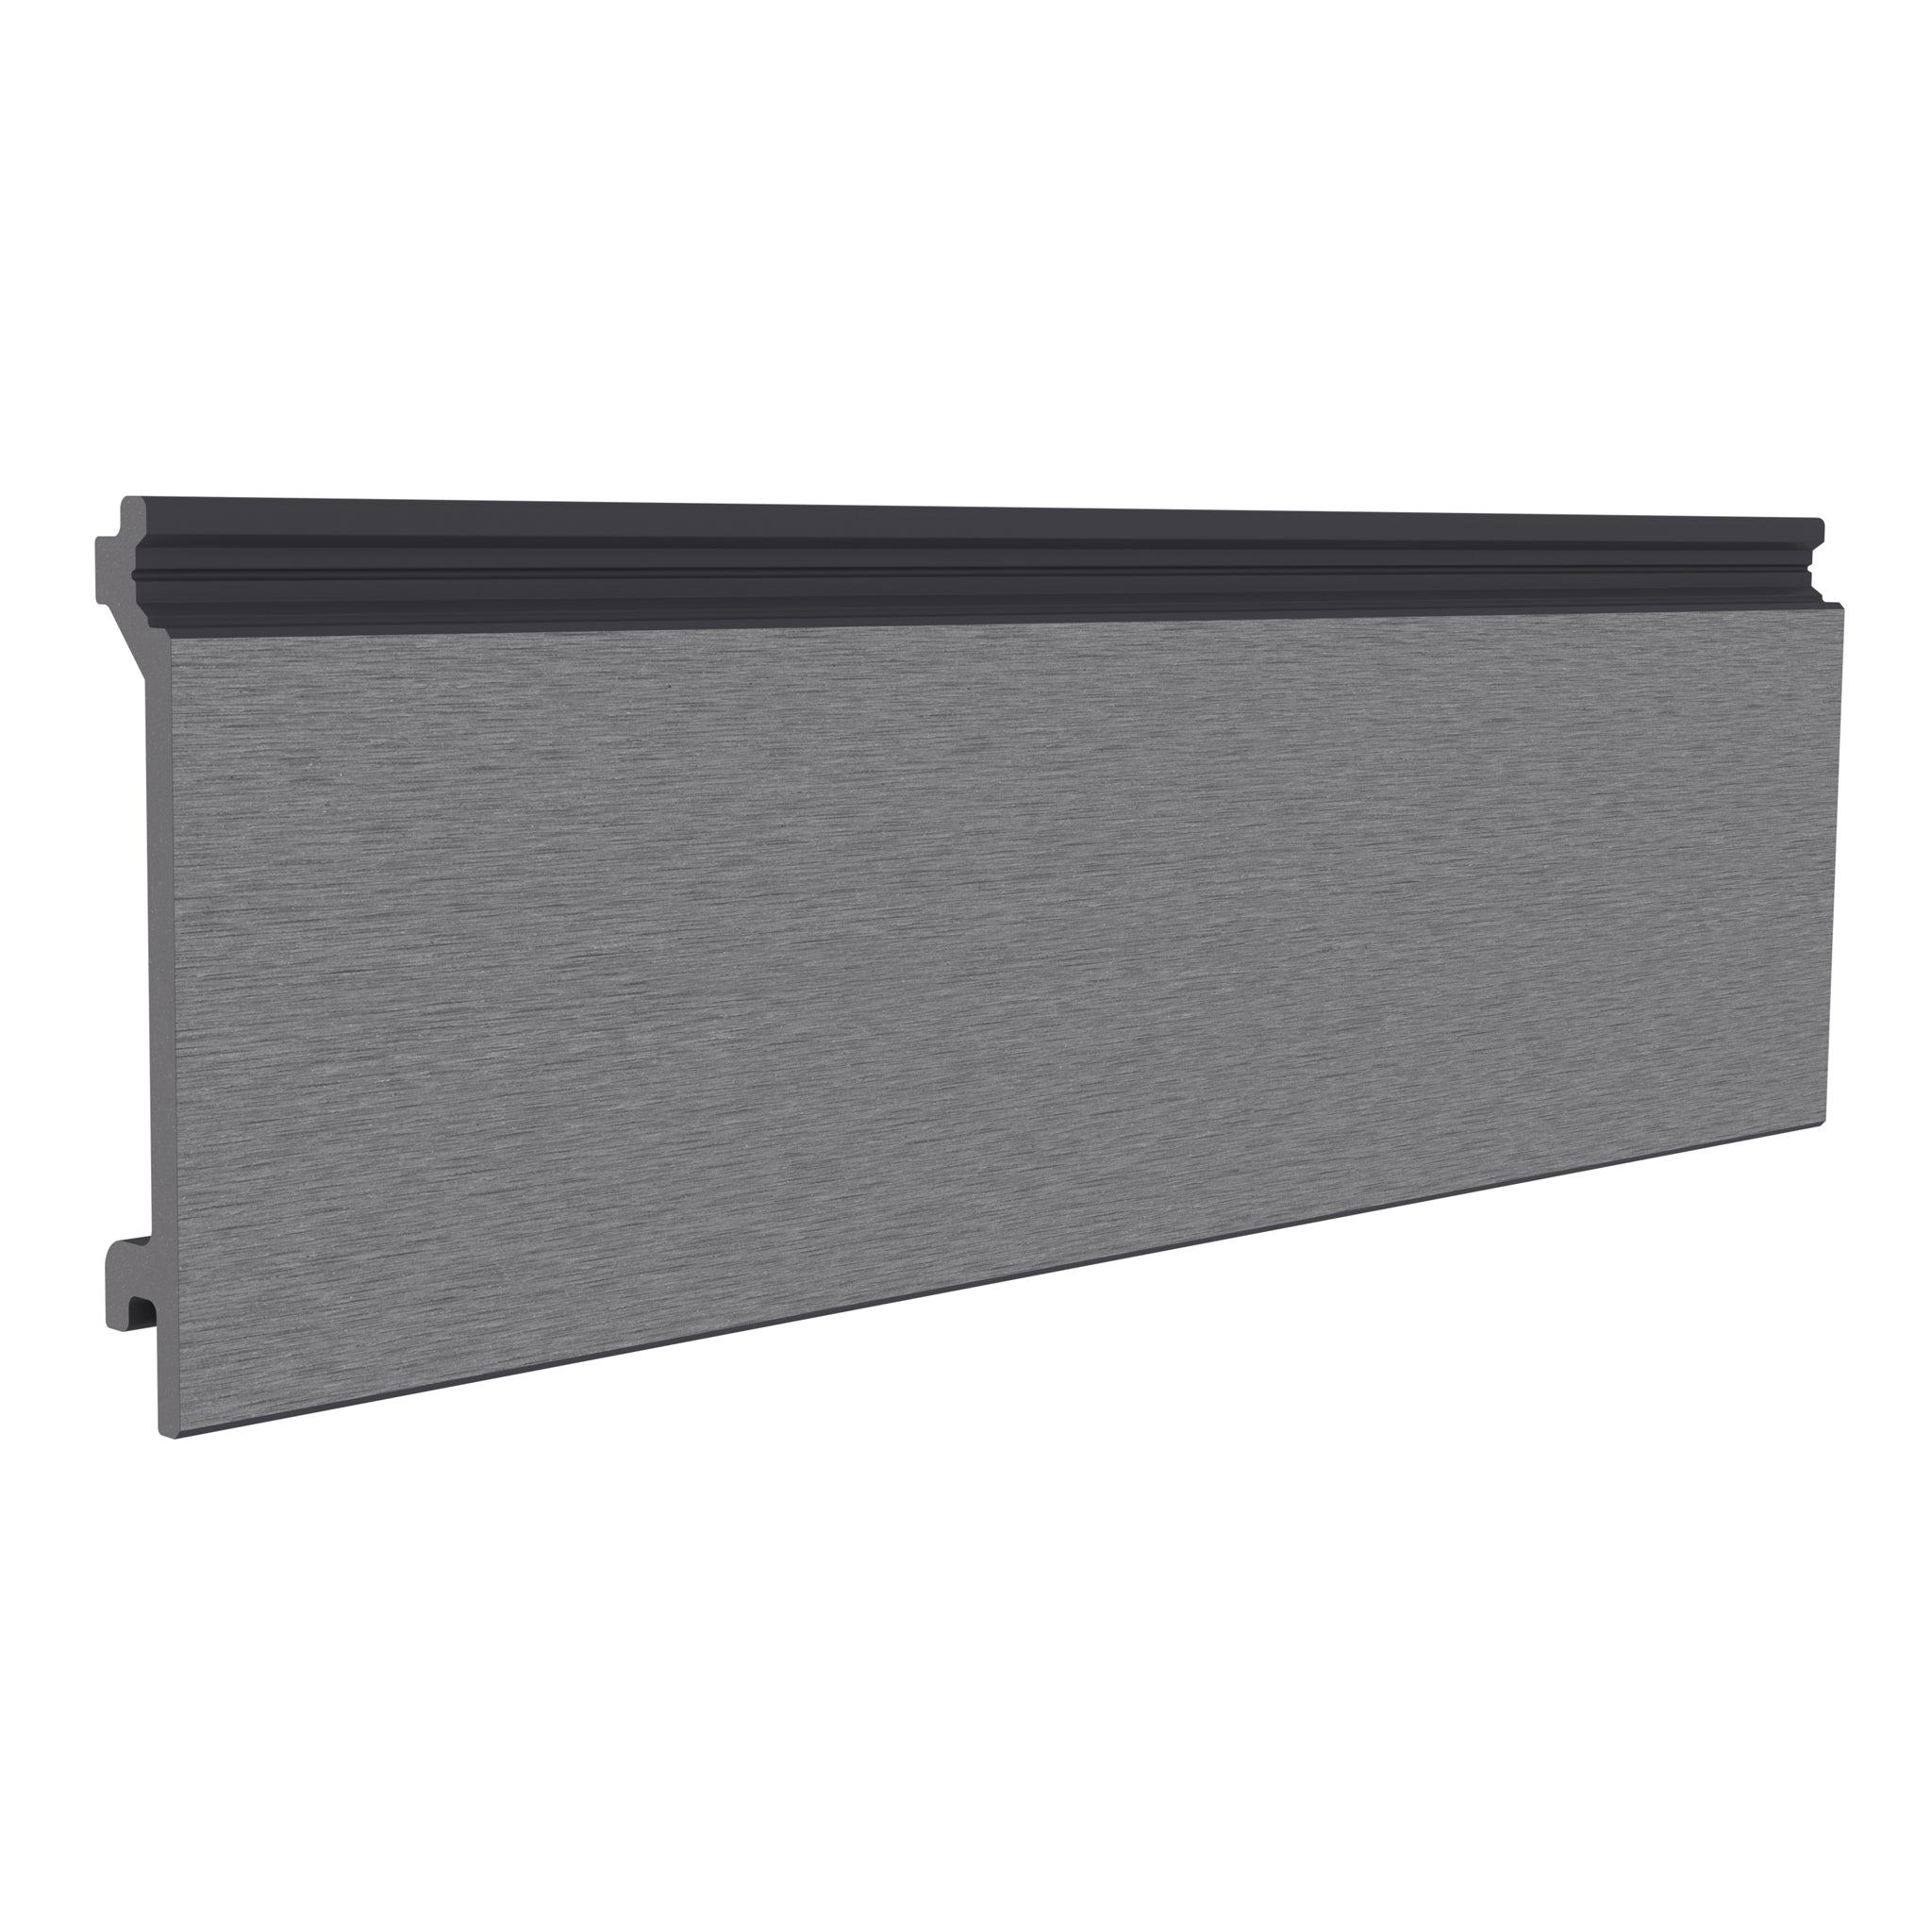
| Classic fascia board | 140mm × 11mm × 3600mm | Uncapped composite; reversible grooved or sanded finish |
| Deluxe and Slatted fascia board | 140mm × 10mm × 3600mm | Capped composite; reversible grooved or woodgrain finish |
Check the current specification before ordering. Similar widths do not make the boards identical: thickness, surface construction and compatibility can differ.
A cladding fascia board is not automatically a roof fascia replacement
The word “fascia” is used in several parts of exterior construction. A finishing board supplied for cladding should not automatically be treated as a structural roofline fascia or a support for gutters. Confirm the intended application and fixing arrangement before using it at a roof edge.
At the top of a clad wall, consider how the wall finish meets the separate roof, soffit or coping detail. The correct solution may involve more than one component. A wide decorative strip alone cannot resolve an incomplete weathering detail.
Plan the Junction Before Choosing the Trim
A useful way to review a proposed detail is to ask three questions: what should it look like, how will it be fixed, and how will the complete wall manage exposure and movement? A successful choice answers all three.
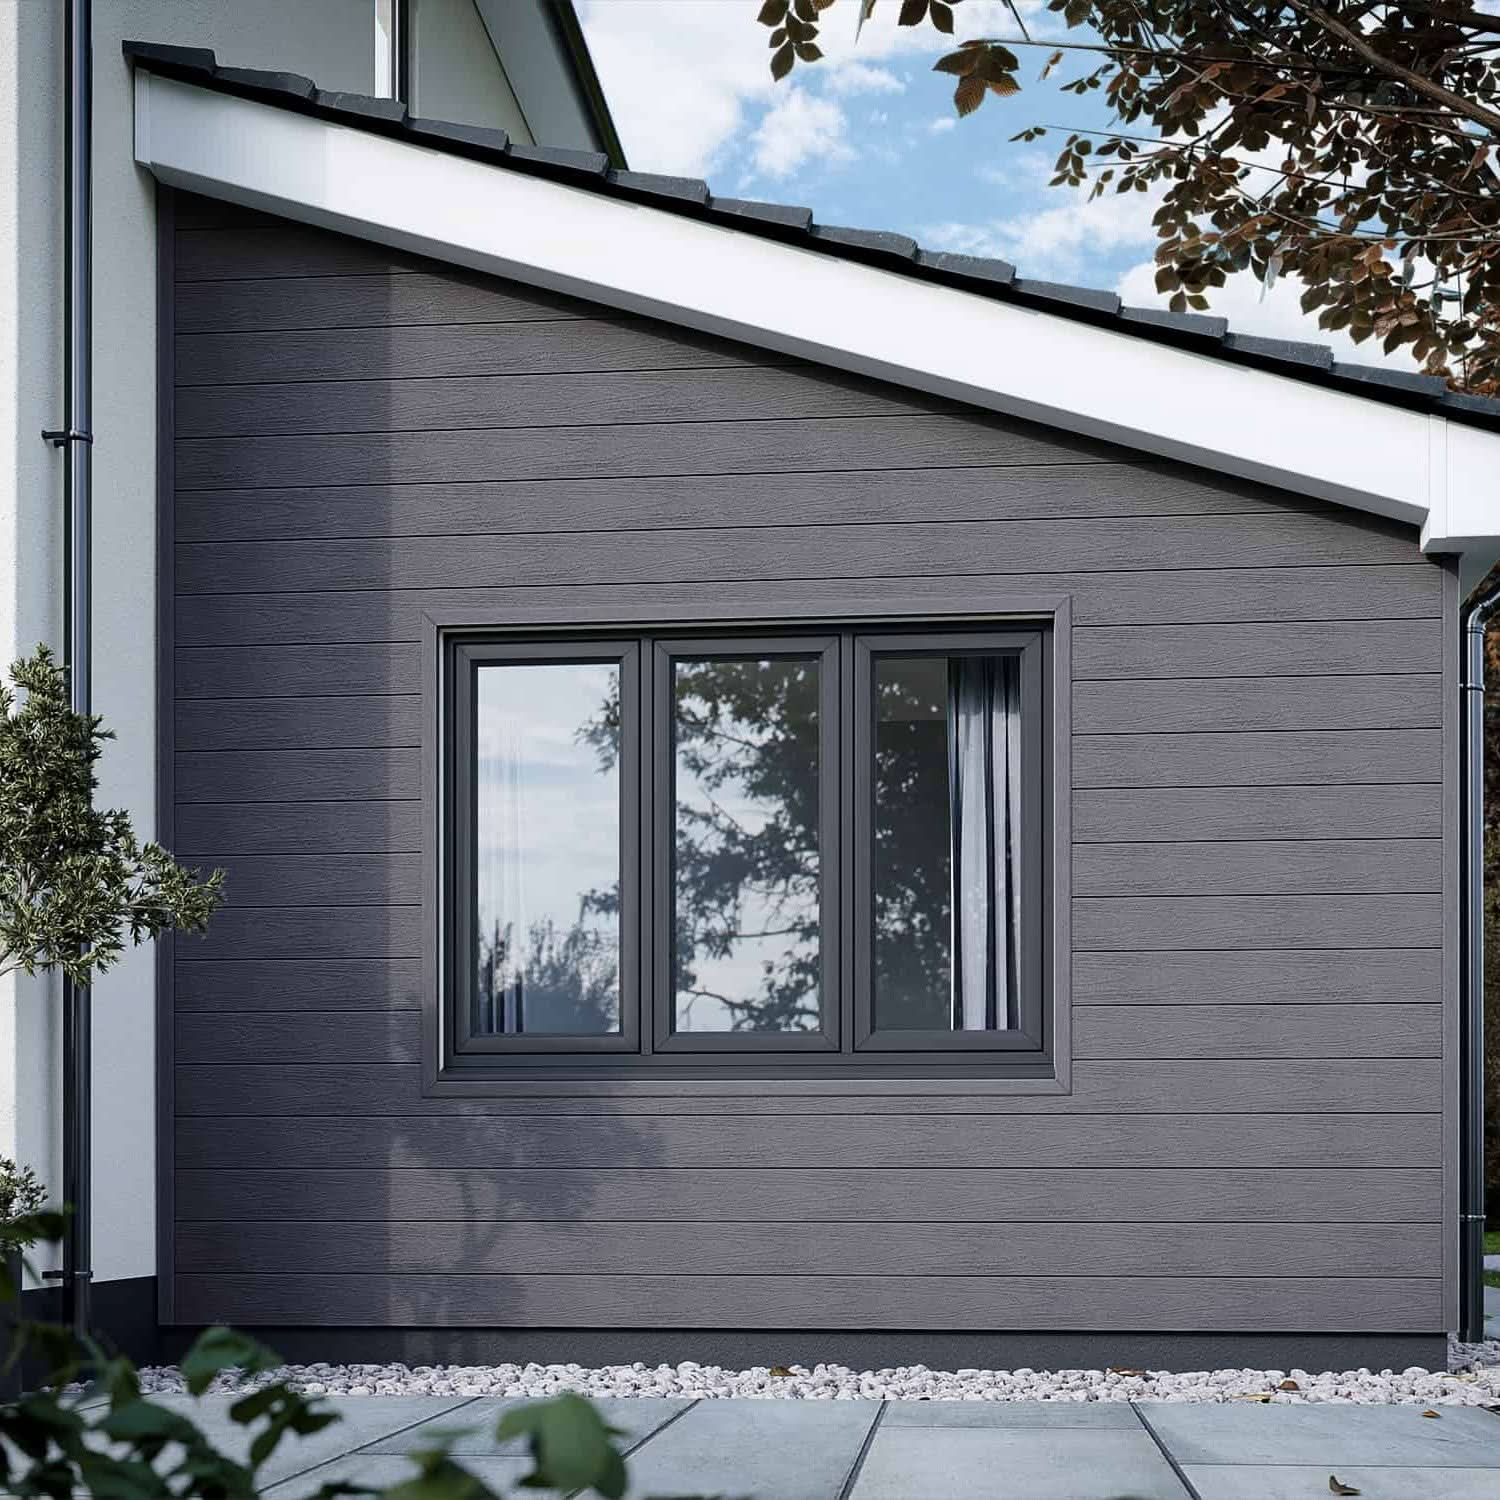
Windows and doors
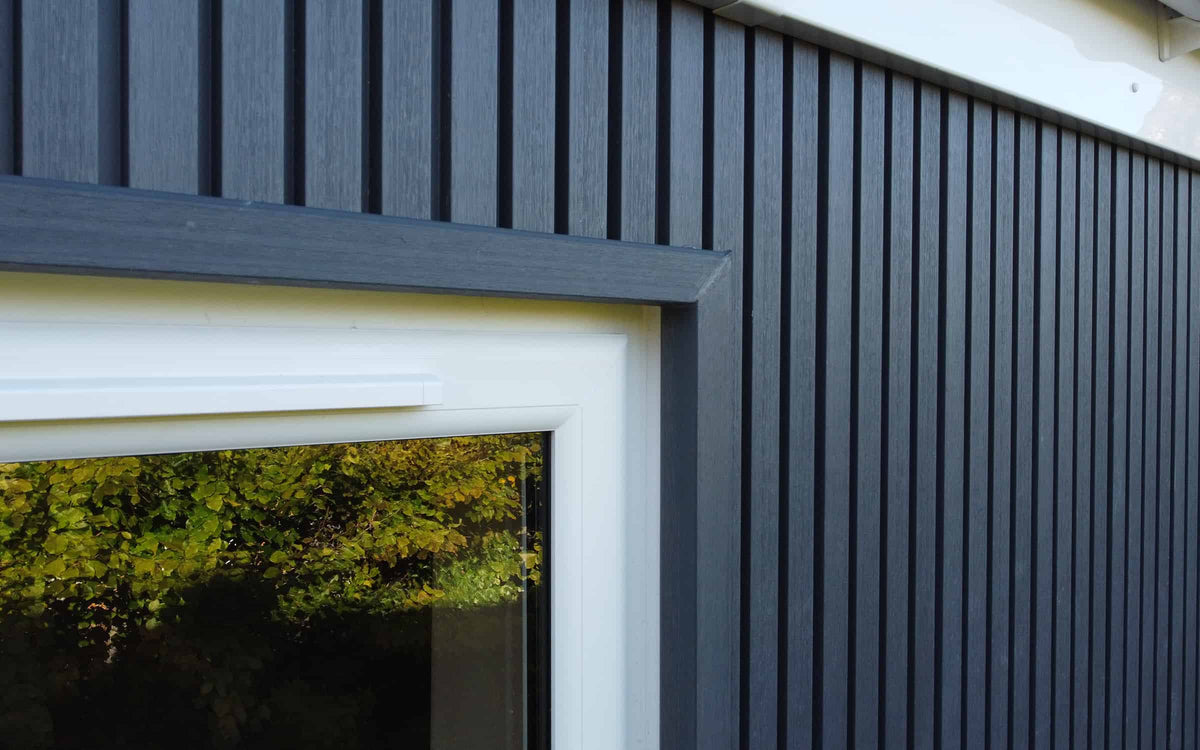
Openings concentrate several decisions in a small area. Board ends, trim faces, window frames, sills and any specified flashings must work together. Draw the head, sides and sill as separate details instead of assuming the same trim treatment will resolve the whole opening.
Check whether a proposed surround would cover a frame feature, obstruct an opening or interfere with drainage. Review how far the finished cladding projects from the existing wall and whether the chosen profile accommodates that depth.
The visible frame can be coordinated while the construction behind it varies. This is particularly relevant on renovations, where two apparently similar windows may sit at different depths.
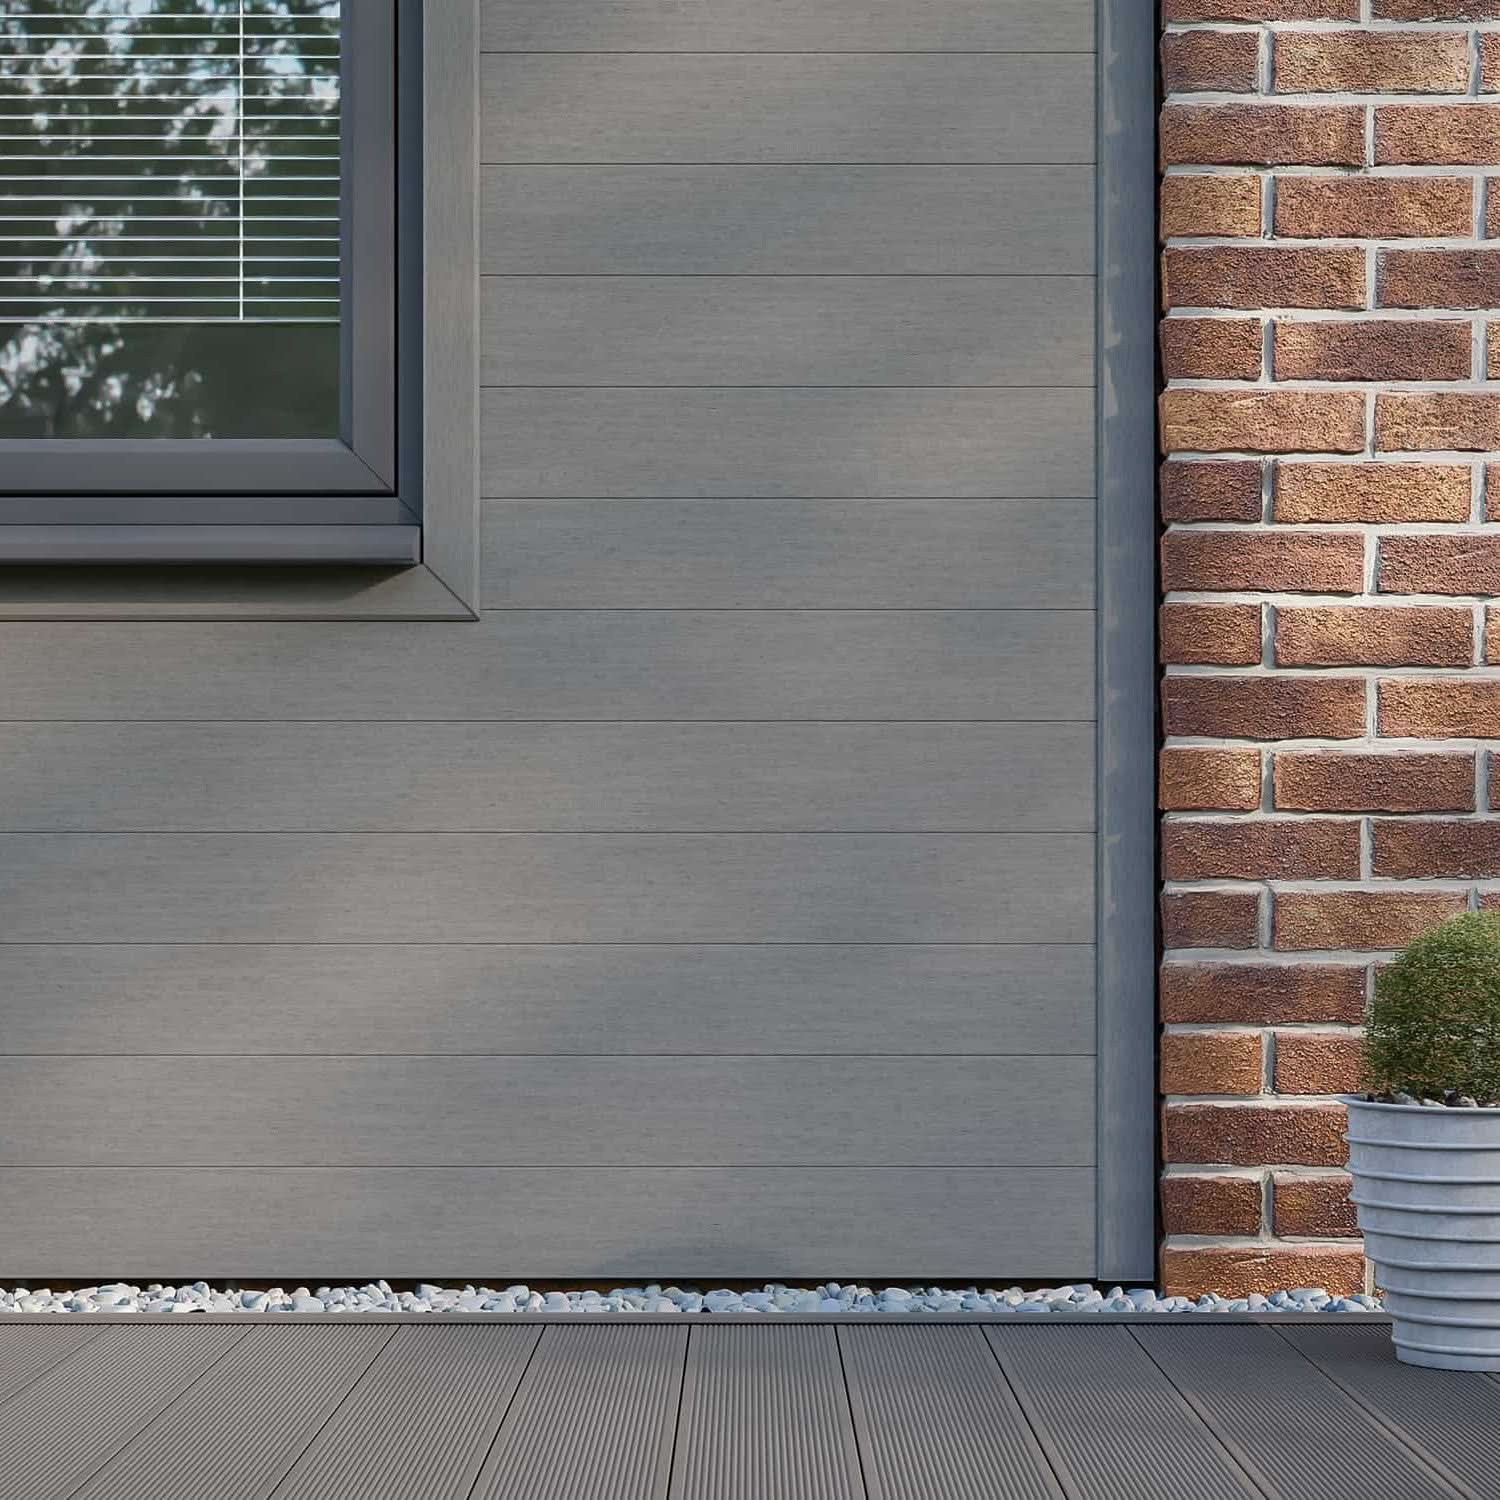
Where cladding meets brickwork or render
A material change is a natural place for a clear finishing line. Decide whether the cladding should appear framed, recessed or visually continuous with the neighbouring surface. Then review how the chosen profile will be supported at that boundary.
Existing masonry and render may not be perfectly straight. Survey the surface before fixing the framework, and agree how irregularities will be addressed. A finishing strip can conceal a specified edge; it should not become the only solution to an underlying alignment problem.
At the base of the wall
The bottom edge is often overlooked in concept images, yet it sits close to paving, planting and splashback. Establish the finished ground level and the required cladding clearance before deciding the trim position.
A visually tidy base should preserve the wall’s intended drainage and ventilation. Avoid adding a continuous cover simply because an open line appears unfinished. Some openings are functional parts of the detail.
At corners and changes in height
Review how horizontal lines arrive at corners and where trim joints fall. On a slatted façade, the relationship between repeating board features and a broad corner profile can be especially noticeable.
At a stepped roofline or a change in wall height, plan the order in which profiles meet. A small drawing or sample assembly can reveal a congested junction before materials are cut.
Use Composite Cladding Trim to Control Proportion and Contrast
Edging can either reinforce the outline of a building or allow the board surface to dominate. Neither approach is automatically better. The strongest result comes from choosing a consistent intention.
Coordinated colours for a quieter finish
A trim close to the board colour can reduce the contrast at the perimeter. This is useful when the aim is a broad, calm surface or when the cladding sits beside a visually busy material such as patterned brickwork.
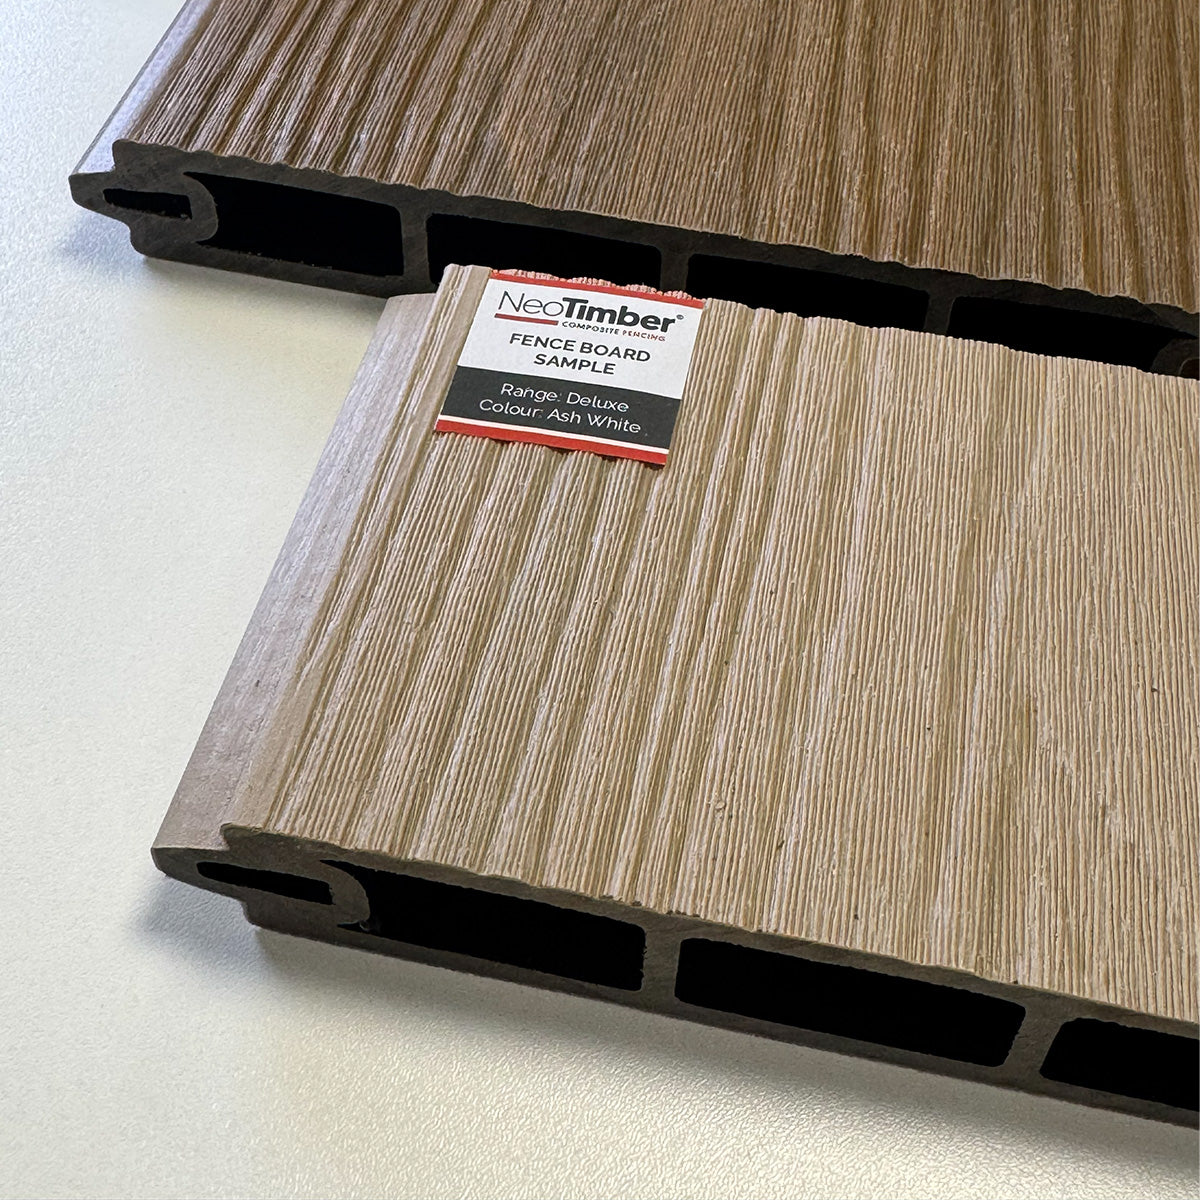
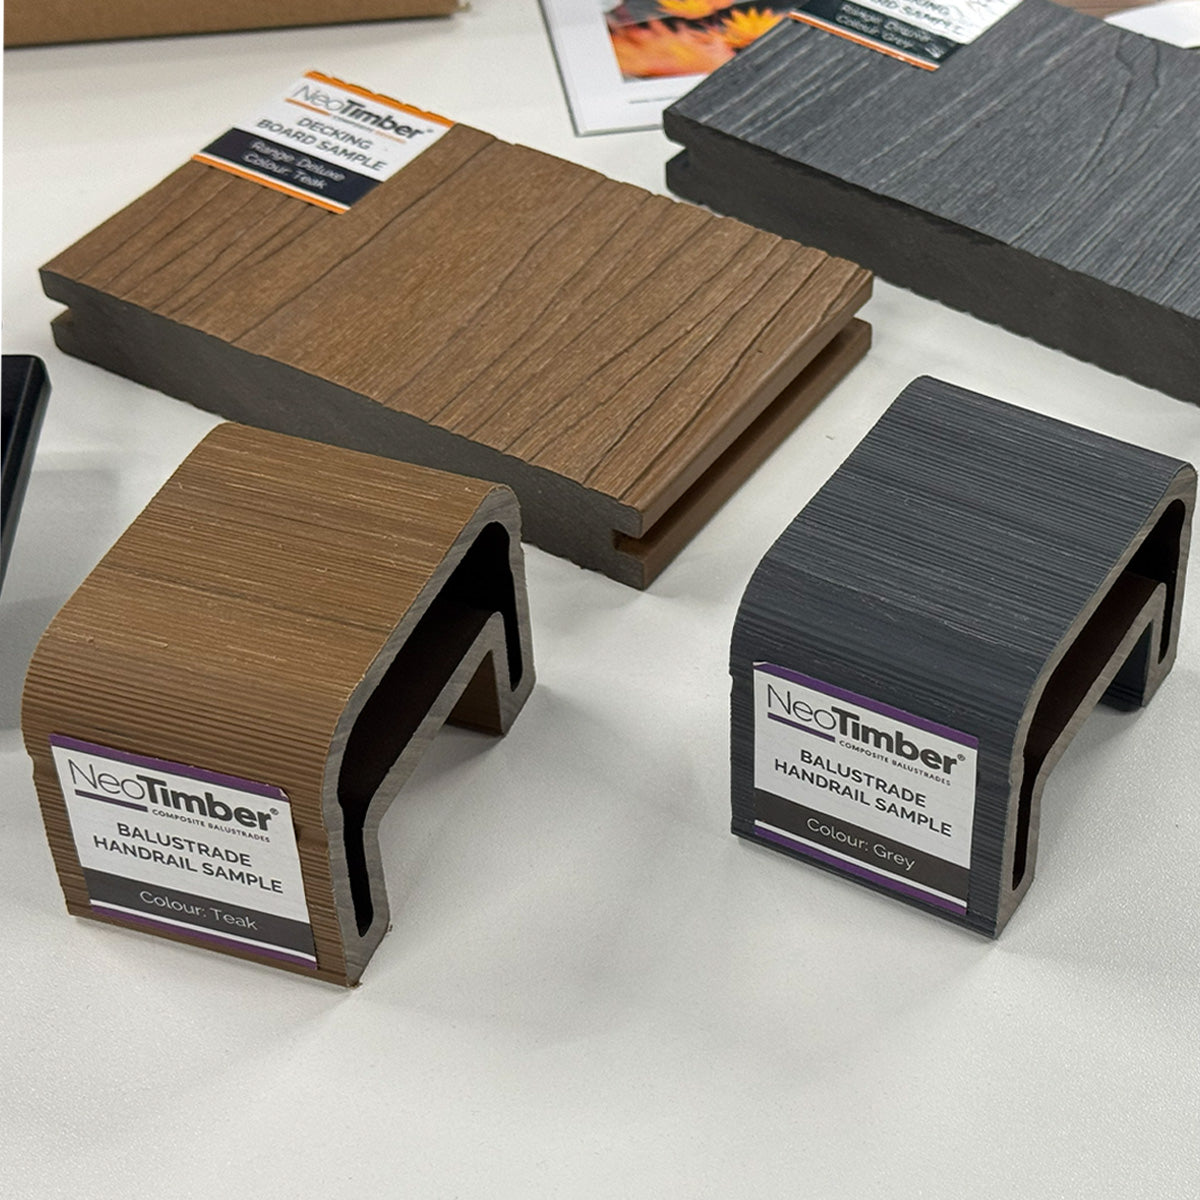
Compare physical samples together. A powder-coated metal profile and a textured composite board may reflect light differently, even when their colour names match. That difference can be subtle and attractive, but it should be seen before the order is finalised.
Contrasting colours for a stronger frame
A contrasting trim can emphasise an entrance, outline a garden room or connect the cladding to dark window frames. Use contrast selectively so that the most important features remain clear.
If every edge is emphasised equally, a small elevation can start to feel fragmented. Consider where the eye should go first and let the other junctions remain less prominent.
Consistent widths and carefully placed joints
Consistency does not require every trim to be the same product. It means related details look related. For example, repeated window surrounds can share a visual width even when their underlying construction requires different solutions.
Long trim runs also need a joint strategy. Agree where joins will be positioned and how they will be formed under the installation guidance. An intentional joint can look more resolved than a late attempt to disguise one.

Match the Edging to the Exact Cladding Range
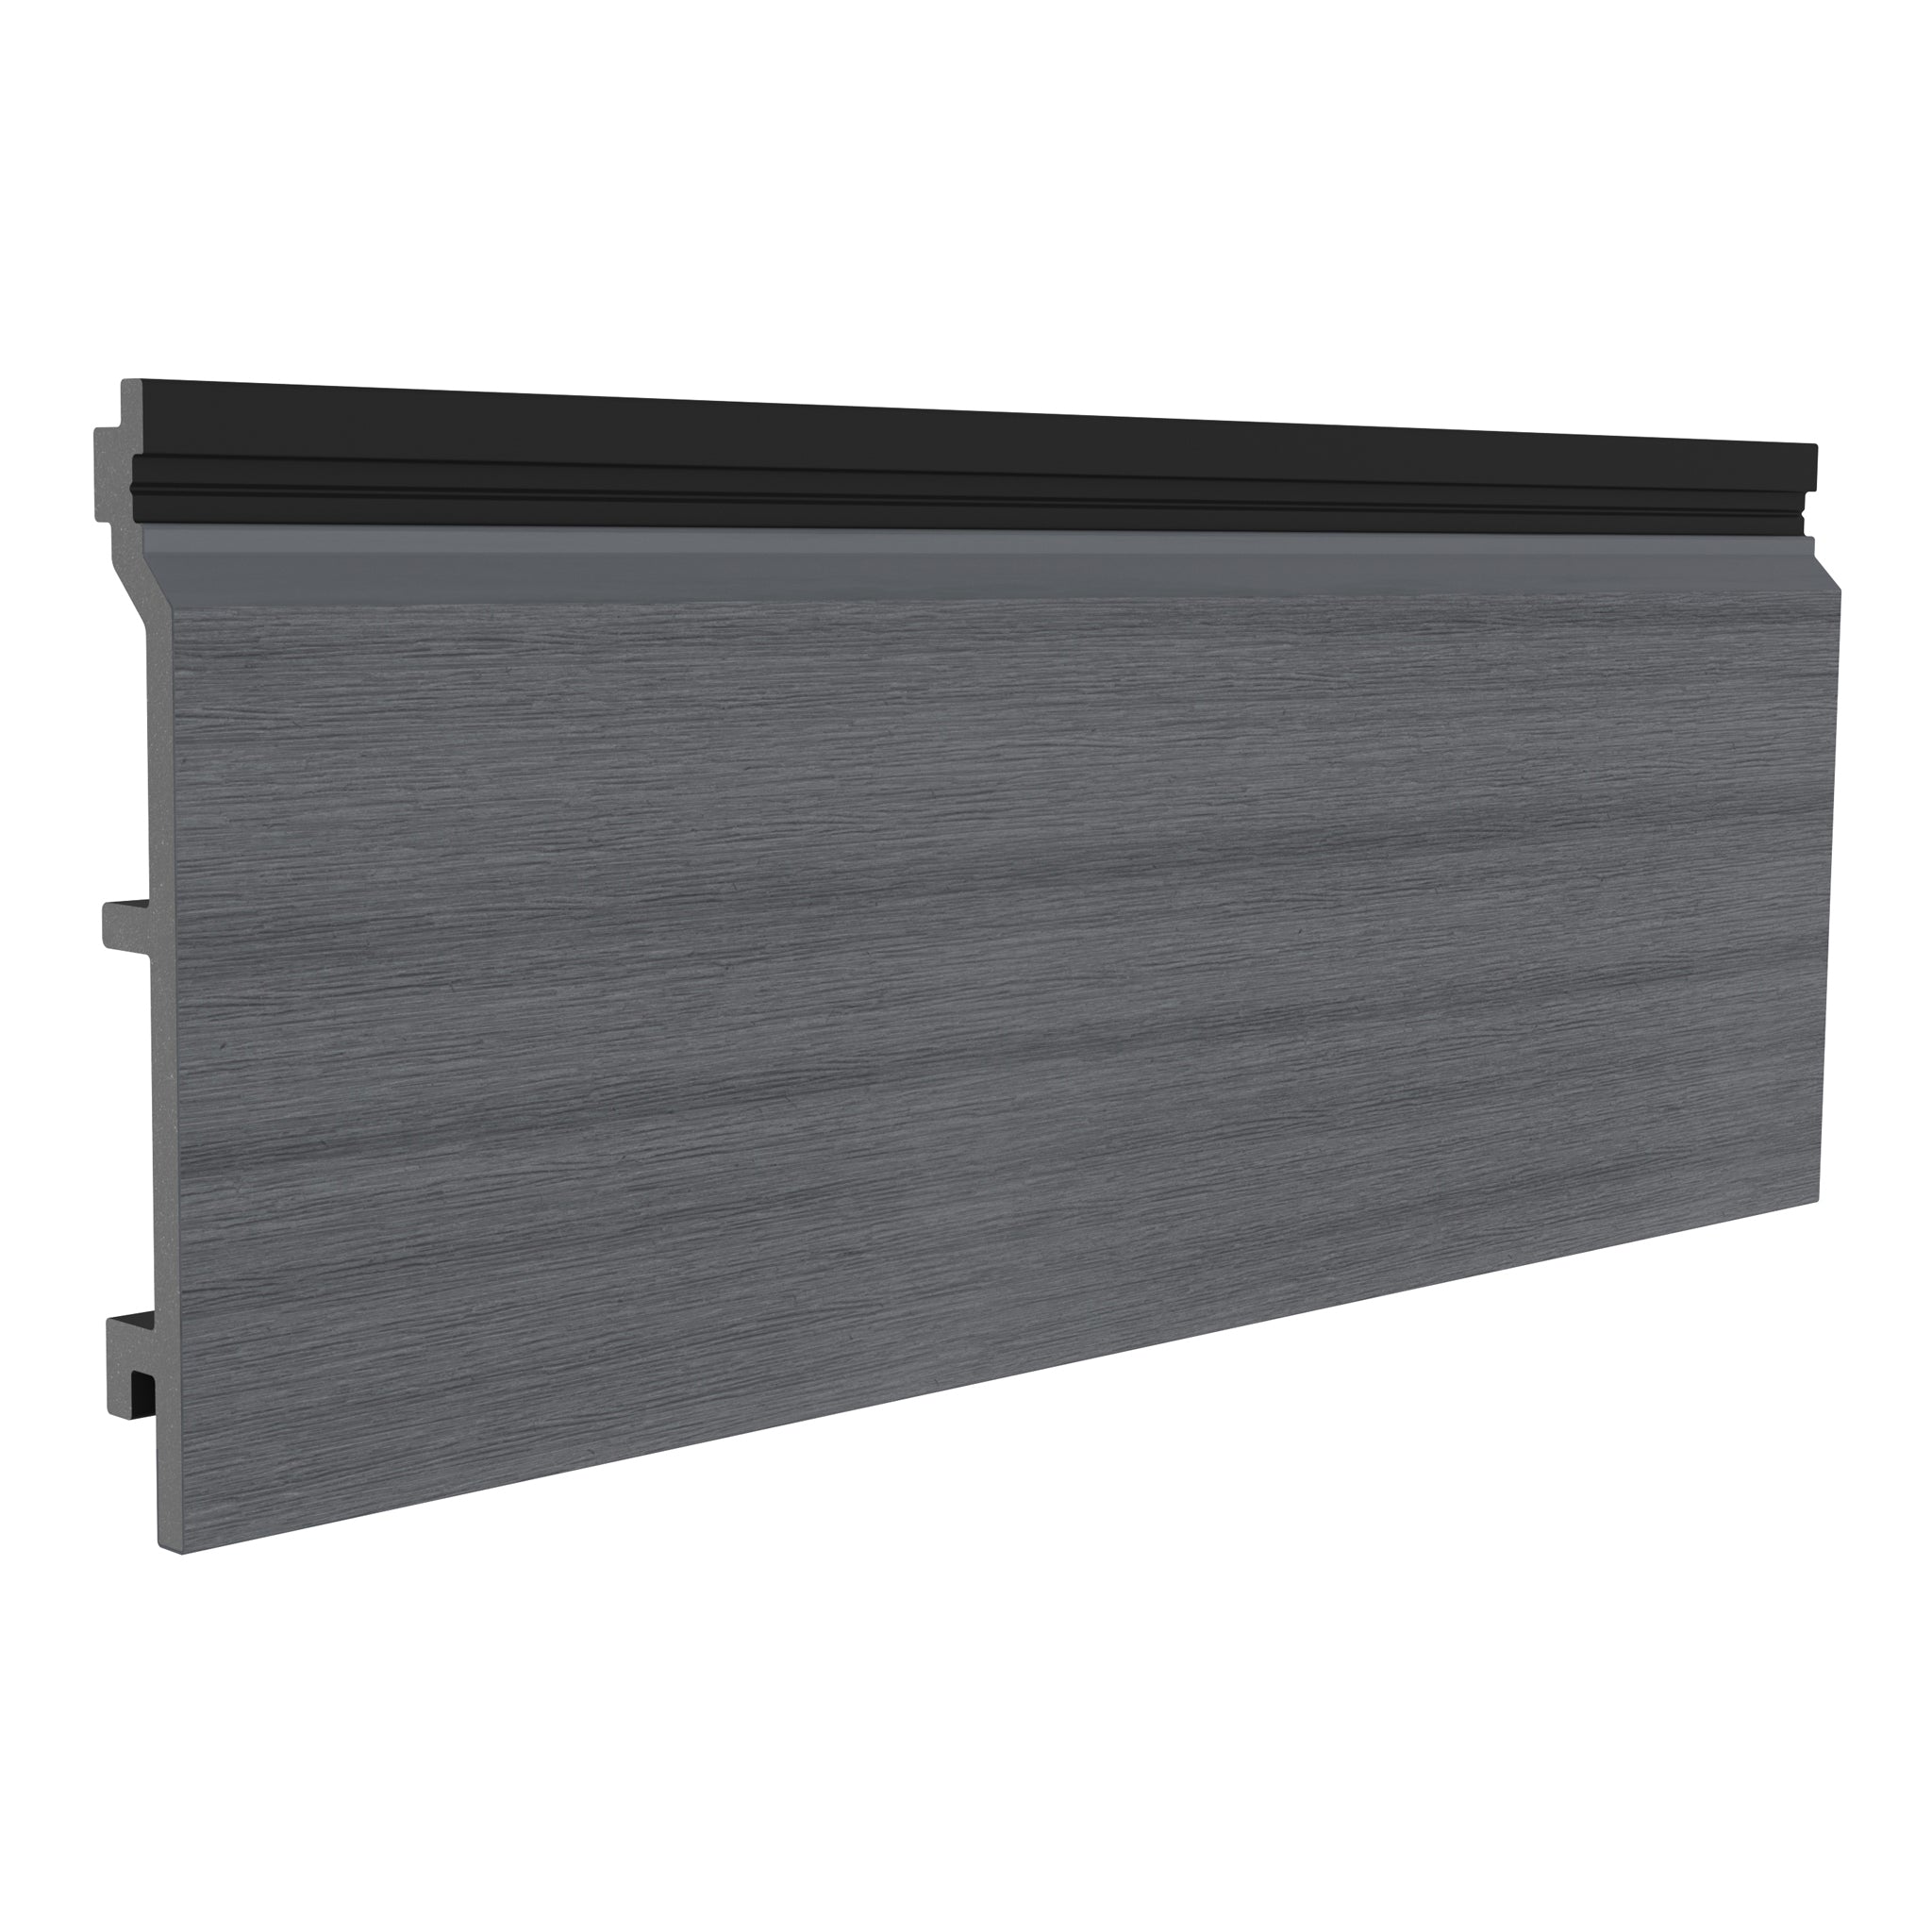
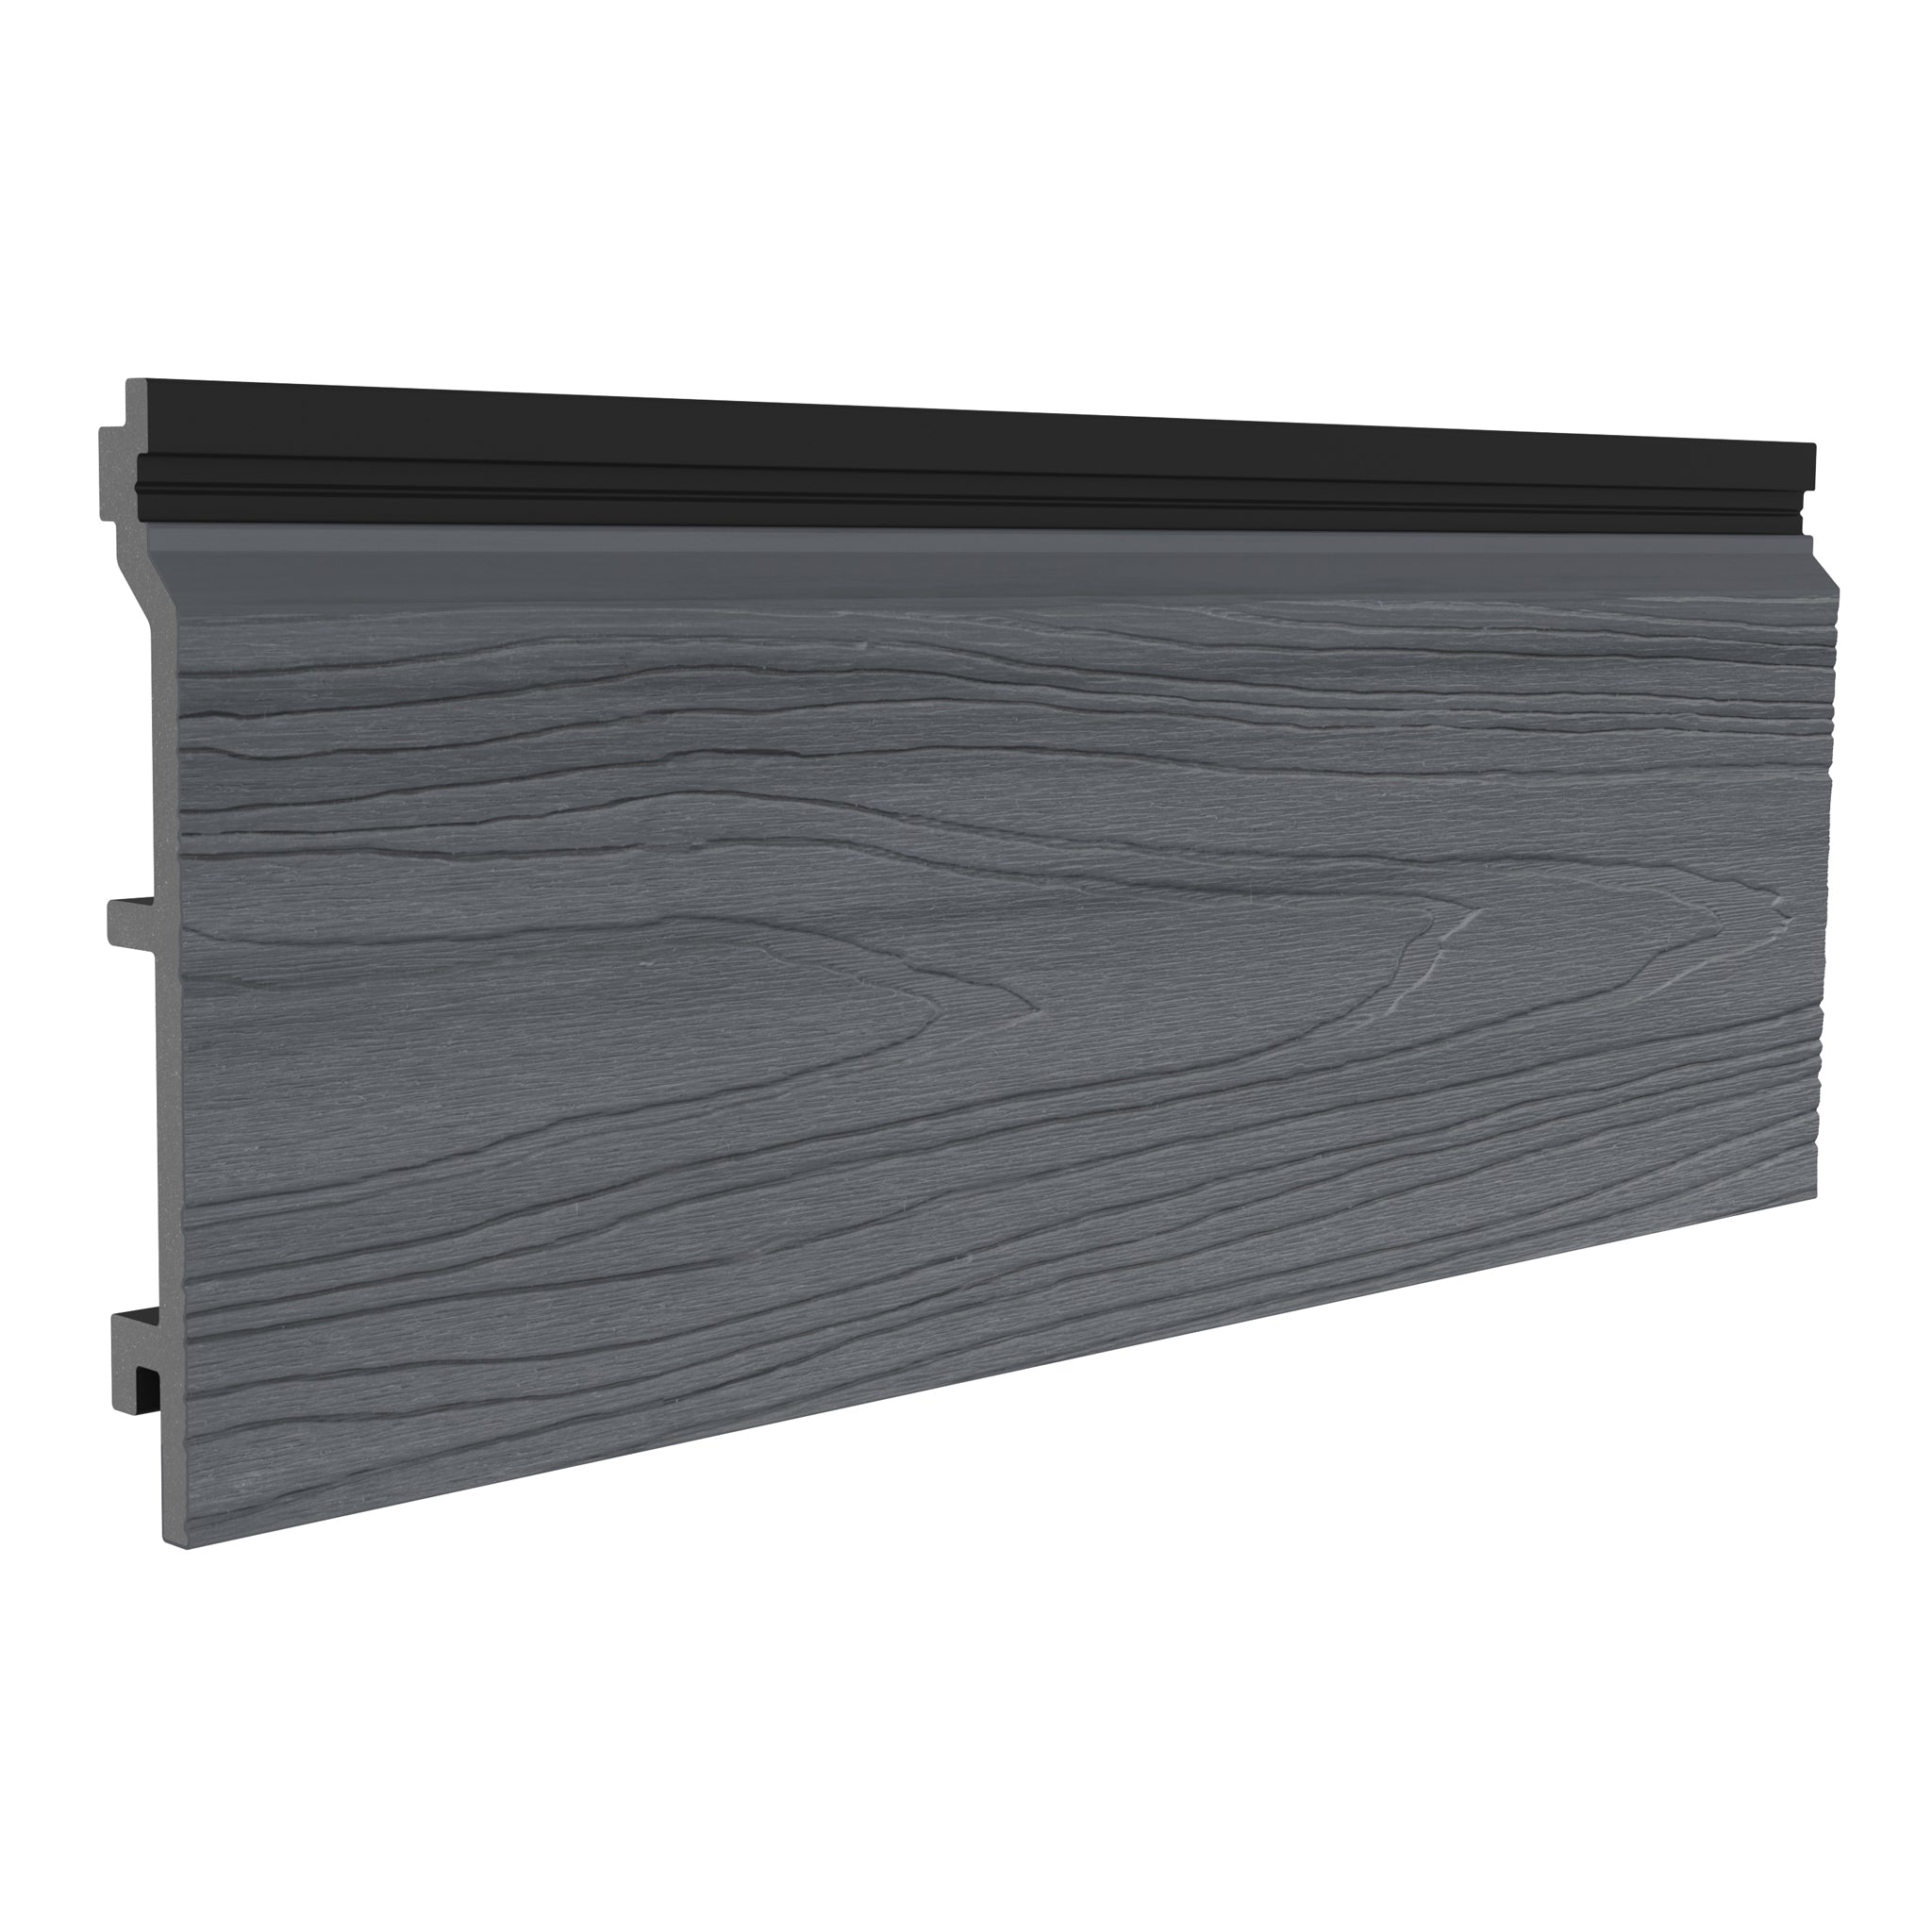
Compatibility is more specific than choosing the same brand or colour. Board depth, profile shape, trim geometry and fixing method all contribute to whether the components work together.
Write down the full board name before selecting accessories. Then identify the corresponding end profiles, corners, skirting or fascia boards for each location. A shared product may be listed for two ranges, while another is range-specific.
For a project mixing finishes, repeat this exercise for each wall area. Do not assume that an accessory suitable for Classic boards will fit a Slatted installation because the colour is available in both.
Our cladding accessories guide provides a broader overview of the supporting components. Keep board screws, trim fixings and subframe-to-wall fixings as separate items in the order: they have different jobs.
How to Measure Composite Cladding Edging
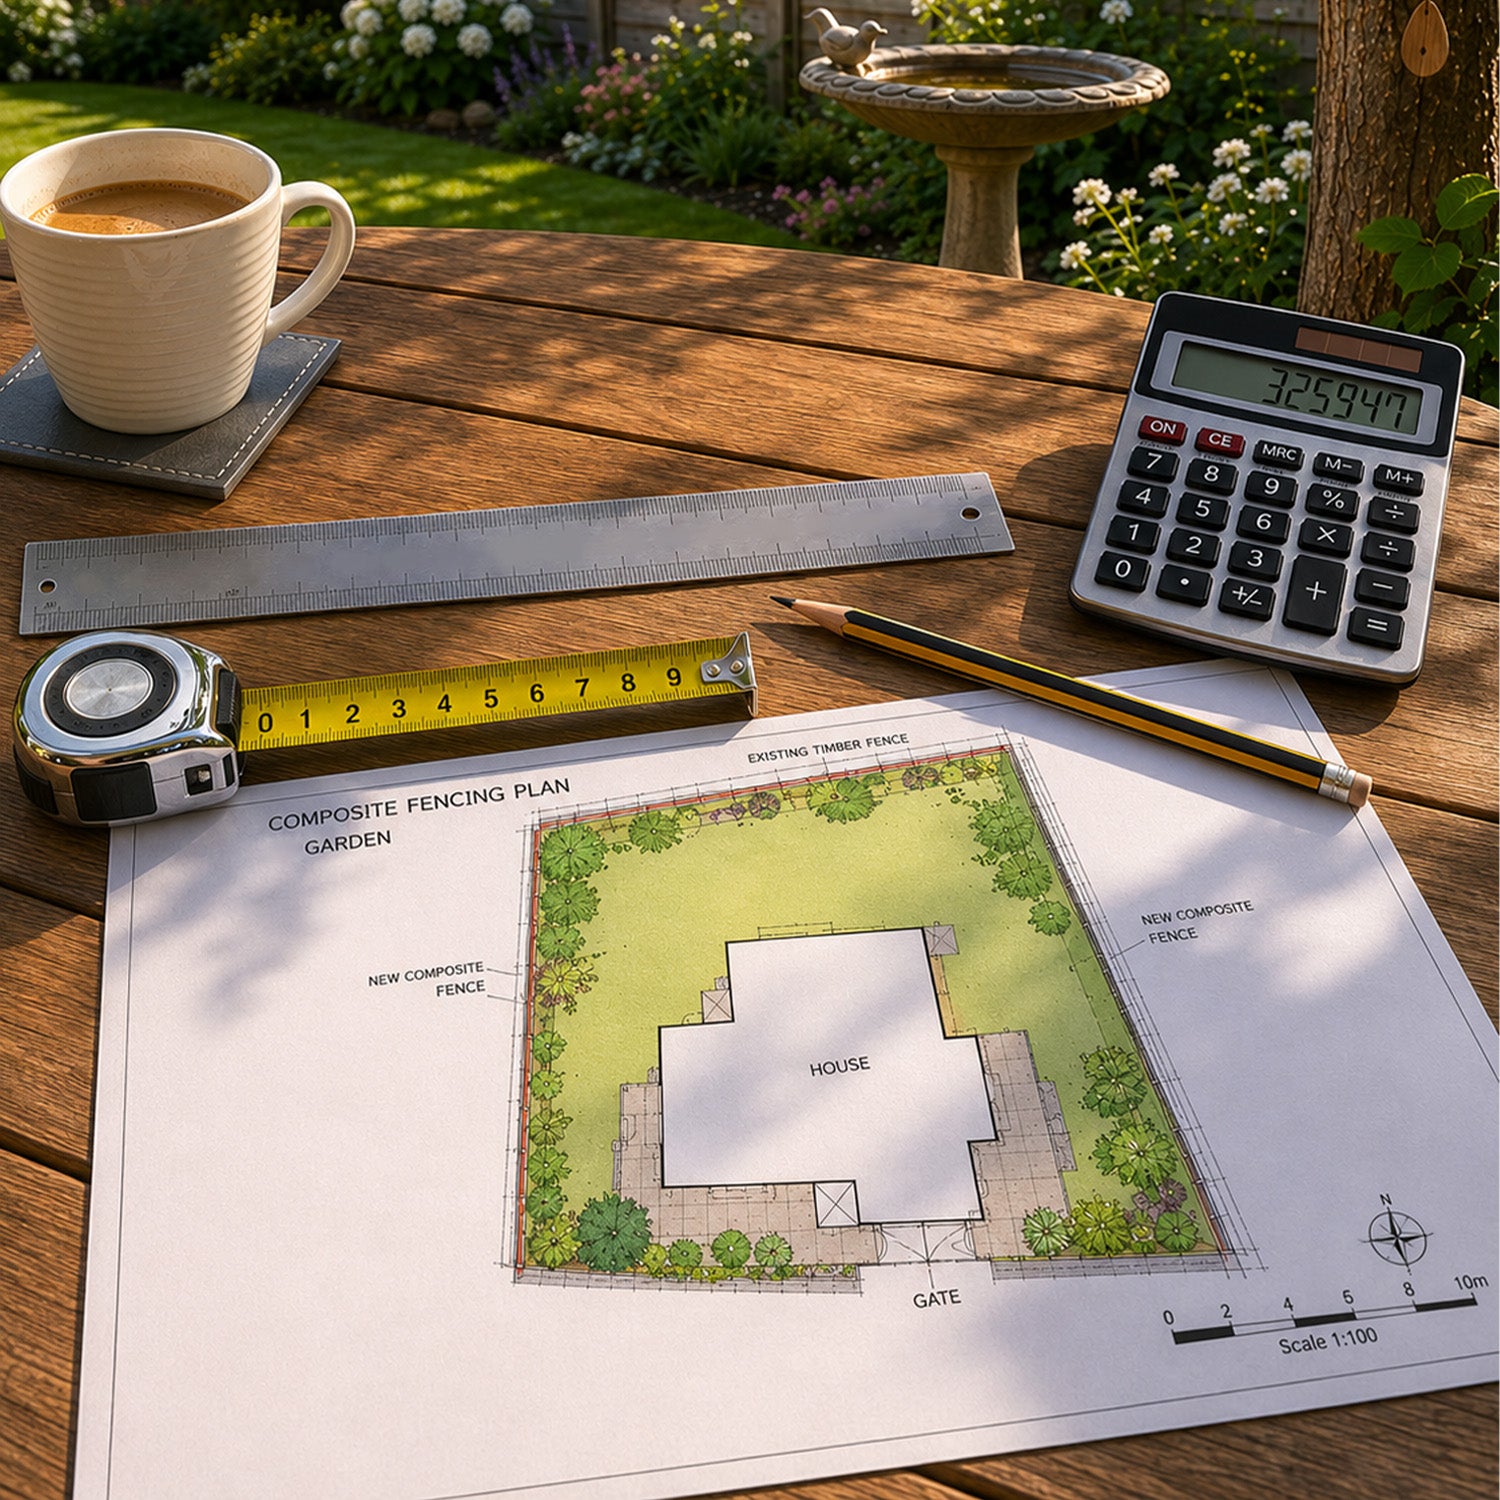
Cladding boards are often estimated from wall area, but edging is driven by the length and complexity of the boundaries. Two walls with the same area can need very different trim orders if one contains several windows and the other is uninterrupted.
- Draw each elevation. Include openings, returns, changes in height and the direction of the boards.
- Give each junction a label. Mark external corners, internal corners, board terminations and relevant perimeter details separately.
- Assign the correct profile. Confirm the cladding range, material, colour and installation detail.
- Record individual cut lengths. Keep each continuous run visible rather than recording only a combined total.
- Map cuts onto stock lengths. Allow for cutting losses, corner treatment and any specified joint requirements.
- Check fixings and spare material. Base these on the detail and cutting plan, then round up to the full lengths or packs required.
The NeoTimber® composite cladding calculator can help begin the estimate. Check its output against your measured trim schedule rather than assuming wall area alone accounts for every finishing component.
A worked example: why total metres can mislead
Imagine an illustrative project requiring four separate 2.4m trim runs, each intended to be made from one continuous piece. The chosen profile is supplied in 3.6m lengths.
The combined requirement is 9.6m. Dividing 9.6 by 3.6 and rounding up suggests three lengths. However, each stock length can provide only one continuous 2.4m piece. You therefore need four stock lengths for those four runs.
The remaining pieces may be useful elsewhere, but only if they match another required cut of the same profile and colour, with sufficient allowance for cutting losses. They cannot be treated as interchangeable spare metres.
This example is not an installation rule. It demonstrates why an individual cutting plan gives a more reliable order than a single total length. Where joins are permitted, their position should be agreed as part of the design rather than introduced solely to make the arithmetic work.
What a useful trim schedule contains
A simple schedule can include a location reference, product name, colour, number of pieces, cut length and fixing detail. Add a note for any unusual corner or opening. This gives the supplier and installer something concrete to review.
Keep a marked-up drawing with the schedule. “Four end trims” is less useful than knowing exactly which four edges those trims are intended to finish.
Budget for the Finished Wall, Not Just the Boards
A board-only comparison can understate the cost of a detailed façade. Openings and corners add trimming, cutting and fitting work even when they reduce the area of cladding needed.
Ask for a quotation that includes boards, framework, edging, fixings, delivery and installation where relevant. If access equipment or removal of an existing finish is required, make those items explicit too. This helps you compare proposals on the same basis.
The cheapest individual trim is not always the least expensive completed detail. An incompatible component or a poorly planned joint can create additional labour and replacement costs. Conversely, a clear design may reduce unnecessary cutting and prevent last-minute purchases.
Look for opportunities to simplify repeated details without compromising performance. Using a consistent family of profiles can make ordering and fitting easier, provided each junction still receives the component it needs.
Plan the Installation Sequence Before Cutting
Composite cladding edging is sometimes described as a final finishing touch, but that does not mean every profile is fitted last. Some details require a component to be positioned before the neighbouring boards. Others rely on support that must be incorporated into the framework.
Read the NeoTimber® installation guidance for the selected range and trim. Confirm the sequence, fixing positions, preparation requirements and movement allowances before work begins.

Check a representative detail first
Before repeating a detail across the building, check one corner or opening with the intended components. Confirm the visible width, colour relationship, fixings and alignment. A small trial can expose a misunderstanding while it is still easy to correct.
Use the approved detail to guide the remaining work. If an unexpected site condition requires a change, resolve the detail before continuing rather than repeating a workaround across several locations.
Preserve required movement and airflow
A neat appearance should not be achieved by forcing boards tightly into every profile or sealing every visible opening. Follow the product-specific movement and ventilation requirements. The trim must accommodate the intended detail rather than defeat it.
Do not use adhesive or sealant as a universal substitute for the specified fixing method. Where a sealant forms part of a designed junction, its type and location should be identified rather than improvised on site.
Use the right cutting and fixing method
Composite and aluminium profiles may need different tools or preparation. Check the guidance for each material, including treatment of cut edges where applicable. Keep the finish protected during handling and installation.
Confirm whether the selected trim needs pre-drilling, how it is supported and which fixings are specified. A screw chosen for board installation is not automatically appropriate for a finishing profile.
Common Edging Mistakes and Better Decisions
- Leaving trims until after the board order: identify the junctions and suitable profiles while choosing the cladding.
- Buying on colour alone: check the range, dimensions and profile drawing as well as the finish.
- Using a wide fascia to hide an unresolved detail: establish the supporting and weathering arrangement first.
- Calculating only total linear metres: record individual runs and prepare a cutting plan.
- Assuming all gaps are defects: distinguish required clearances from installation errors.
- Making every corner a visual feature: choose where contrast and framing will help the overall design.
- Assuming a cladding fascia supports gutters: confirm the separate roofline and load-support requirements.
- Calling a trim waterproofing: assess the complete wall and opening detail.
Review the Finished Edges From More Than One Viewpoint
Look at the completed work from the main approach to the building, from the garden and from close range. Check whether repeated lines are consistent and whether the corners and openings follow the agreed design.
Then review the practical details with the installer. Confirm that the specified fixings are secure, the necessary clearances remain, and the intended drainage or ventilation openings have not been covered. Ask about any departure from the agreed detail before accepting it.
Keep the product names, colour references, drawings and care guidance with the project records. This makes a future repair or matching order easier than trying to identify a profile from a photograph years later.
Care for Composite Trims and Fascia Boards
Low-maintenance materials still benefit from routine cleaning and inspection. Follow the care instructions for the actual trim material; a composite fascia board and a powder-coated aluminium end trim may have different requirements.
Remove debris from relevant openings and avoid allowing planting or accumulated dirt to obscure the base detail. When cleaning, check visible junctions and fixing positions for movement or damage.
If a component loosens, investigate the cause before adding more screws. The issue may involve support, movement or an incorrect fixing rather than a simple shortage of fixings. Replacing like for like is most straightforward when the original product information has been retained.
Composite Cladding Edge Trim: Frequently Asked Questions
Do I need composite cladding edging on every side?
Every termination needs an appropriate detail, but that does not mean the same trim belongs on every side. The perimeter, corners and openings may require different profiles or surrounding construction details. Follow the specification for the chosen system.
What is the difference between an edge trim and a fascia board?
An edge or end trim usually provides a shaped finish to a particular termination. A fascia board is a broader finishing board used where the specified detail needs greater coverage. Select by function and compatibility rather than treating the names as interchangeable.
Are all composite cladding trims made from composite?
No. The term can describe accessories used with composite boards. Some are composite, while others are aluminium. Check the product specification because the material affects cutting, fixing and care.
Can I use one trim across Classic, Deluxe and Slatted boards?
Only where the product is explicitly compatible with those boards and the intended detail. Some profiles serve more than one range; others are range-specific. Verify the exact combination before ordering.
Can composite cladding fascia boards replace roofline fascias?
Do not assume so. A cladding finishing board is not automatically designed to replace a roofline component or carry gutter fixings. Confirm the intended use, support and load requirements separately.
Should trims match or contrast with the boards?
Both approaches can work. Coordinated shades give a quieter perimeter, while contrast draws attention to corners and openings. Compare samples together and use a consistent approach across related details.
How much extra trim should I order?
Base the allowance on the actual cutting plan, awkward details and the need for spare material. A universal percentage can be misleading because a short offcut may be unusable for the next continuous run.
Can I fit all the edging after the boards?
Not necessarily. The sequence depends on the profile and junction. Check the fitting instructions before installing the adjoining boards so that required support and access are available.
Give the Edges the Same Attention as the Main Elevation
The best composite cladding edging decisions bring appearance and construction together. They define the outline of the wall, resolve the change to another material and give the installer a clear, repeatable detail.
Start with the junctions, select compatible profiles and measure individual runs. Then review colour, width and fixing details as part of the complete exterior. This approach gives composite cladding edge trim and fascia boards a clear purpose in the project from the outset.
Explore NeoTimber® composite cladding trims and fascia boards, compare the cladding board ranges, or contact the NeoTimber® team with your chosen boards, measurements and junction details for help identifying suitable components.