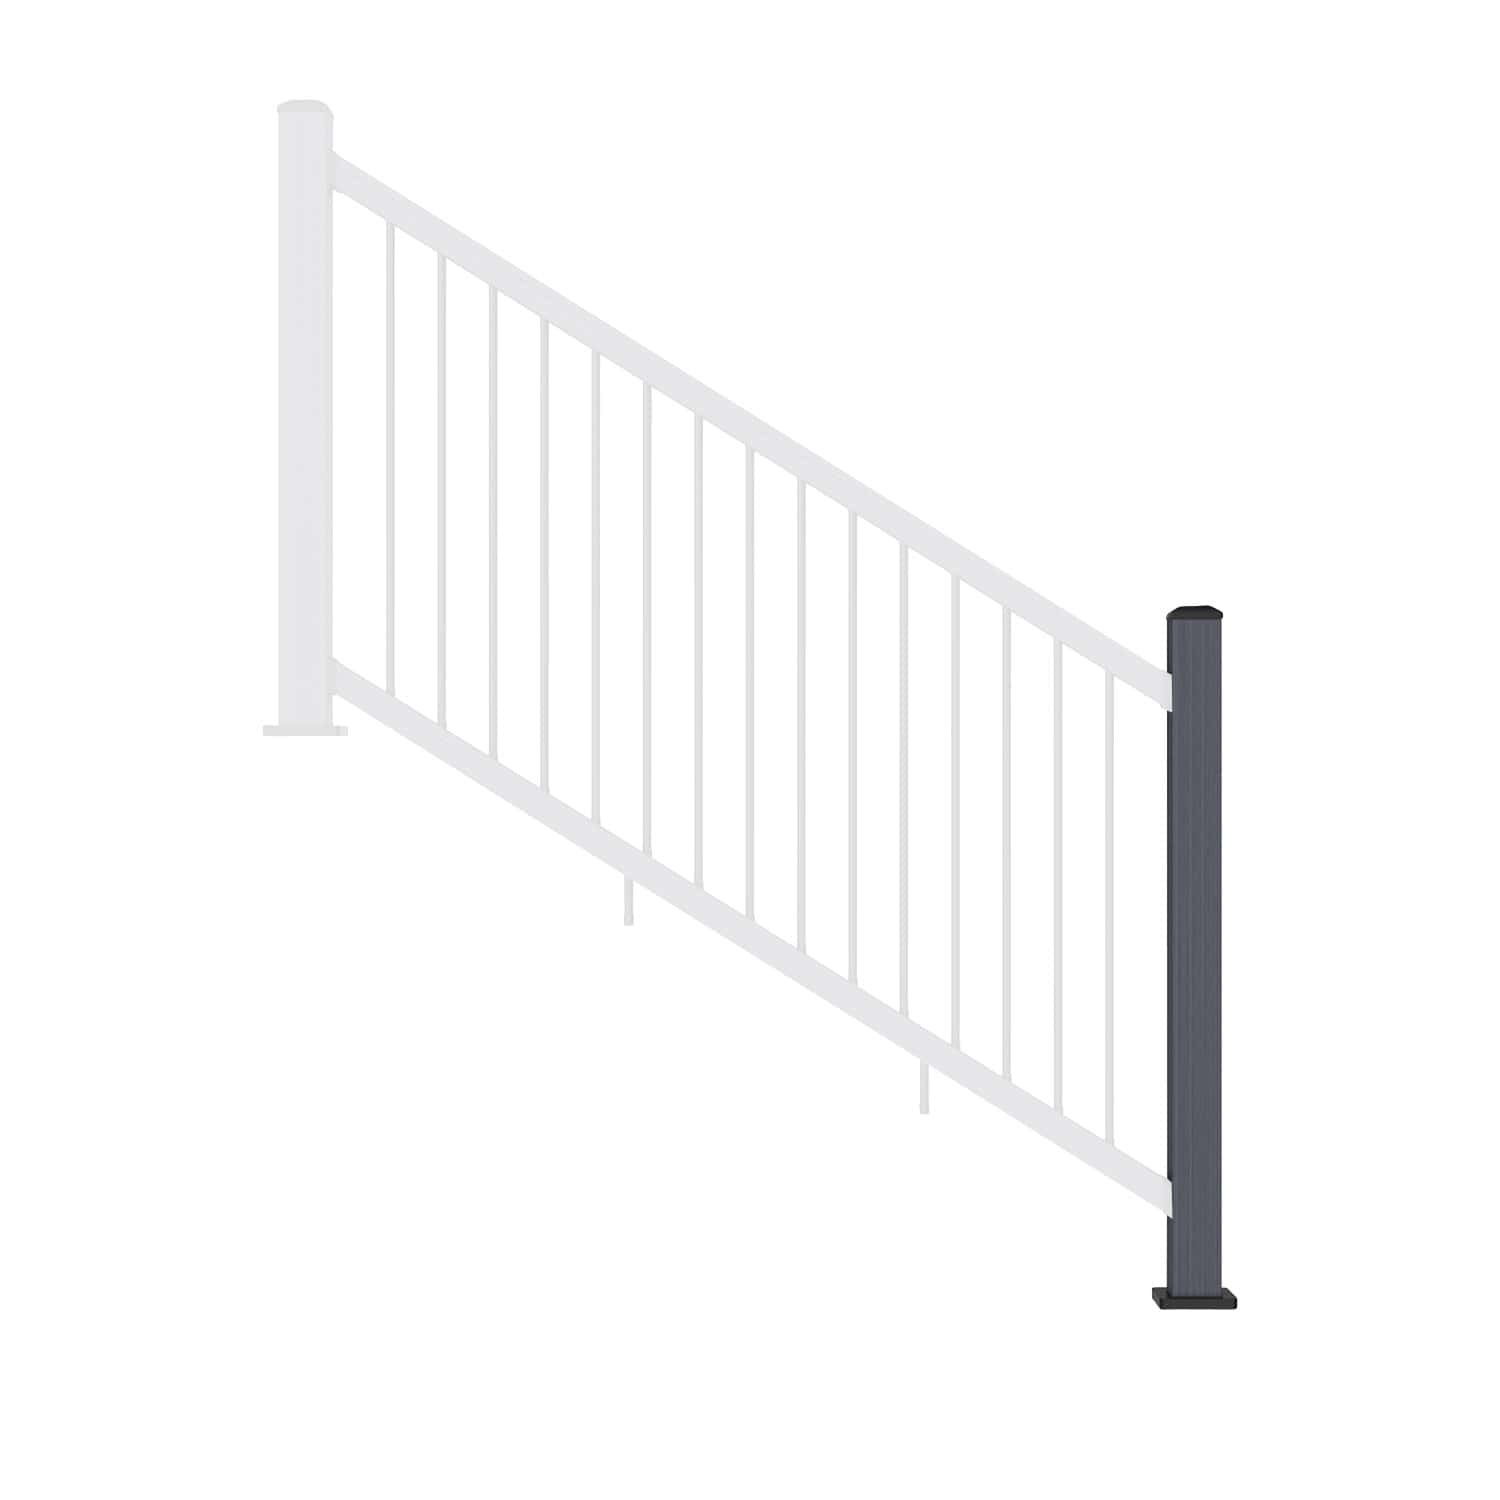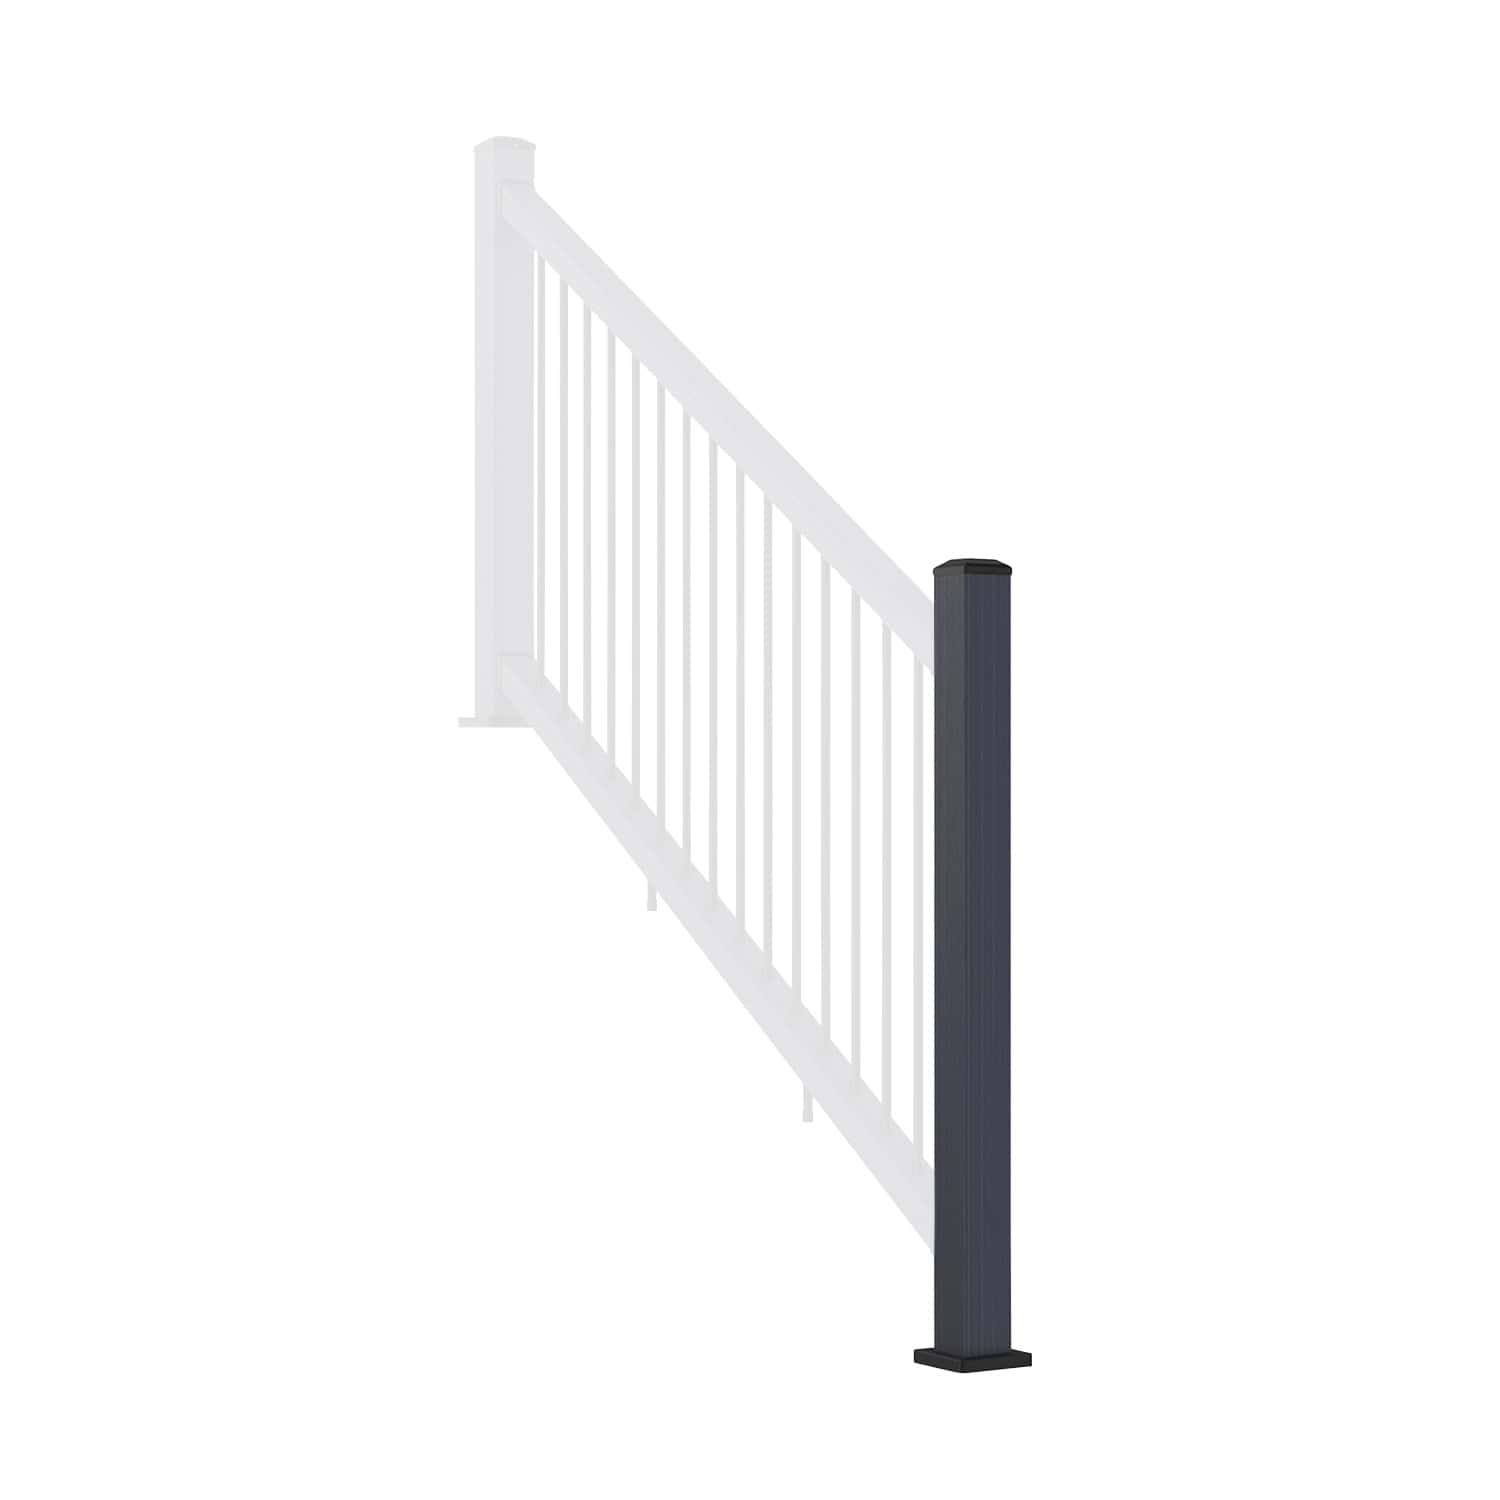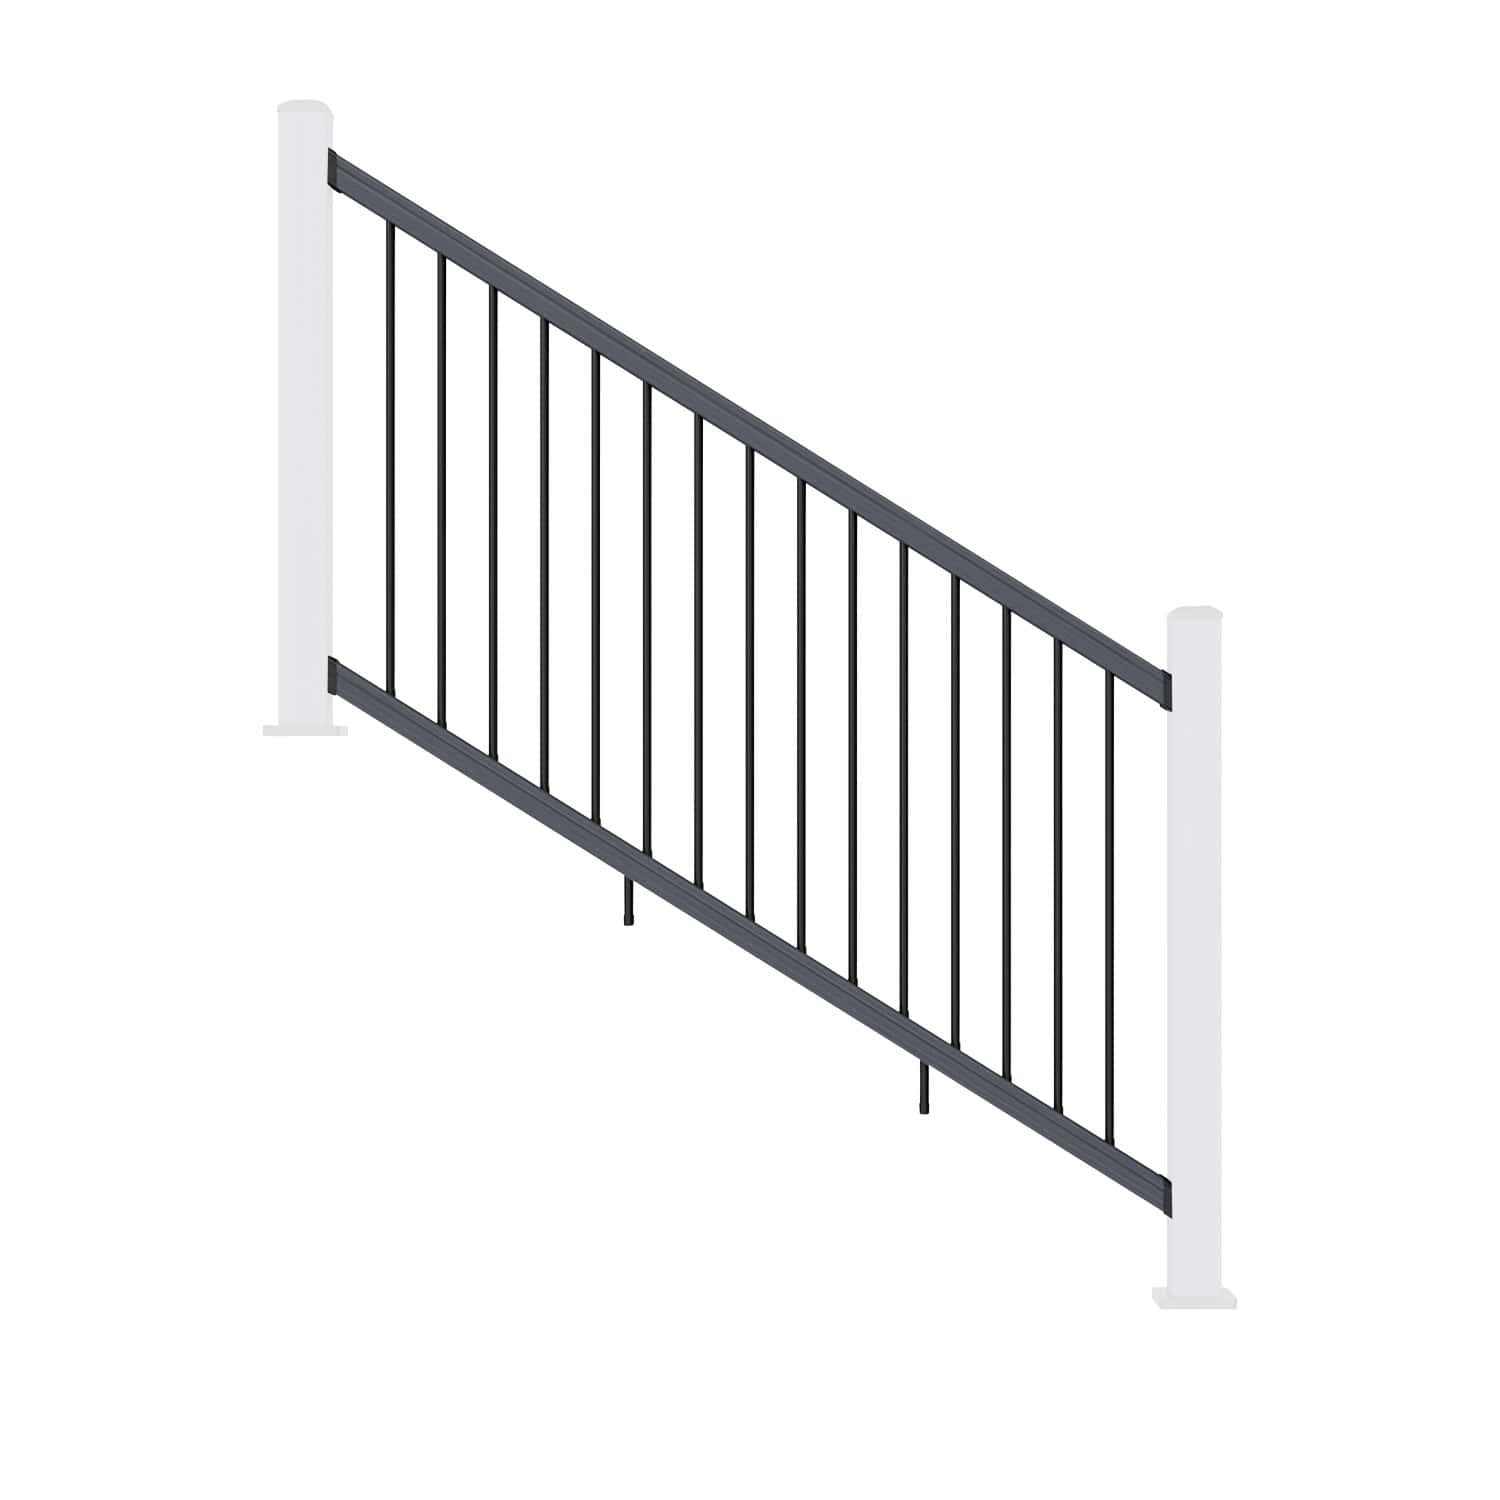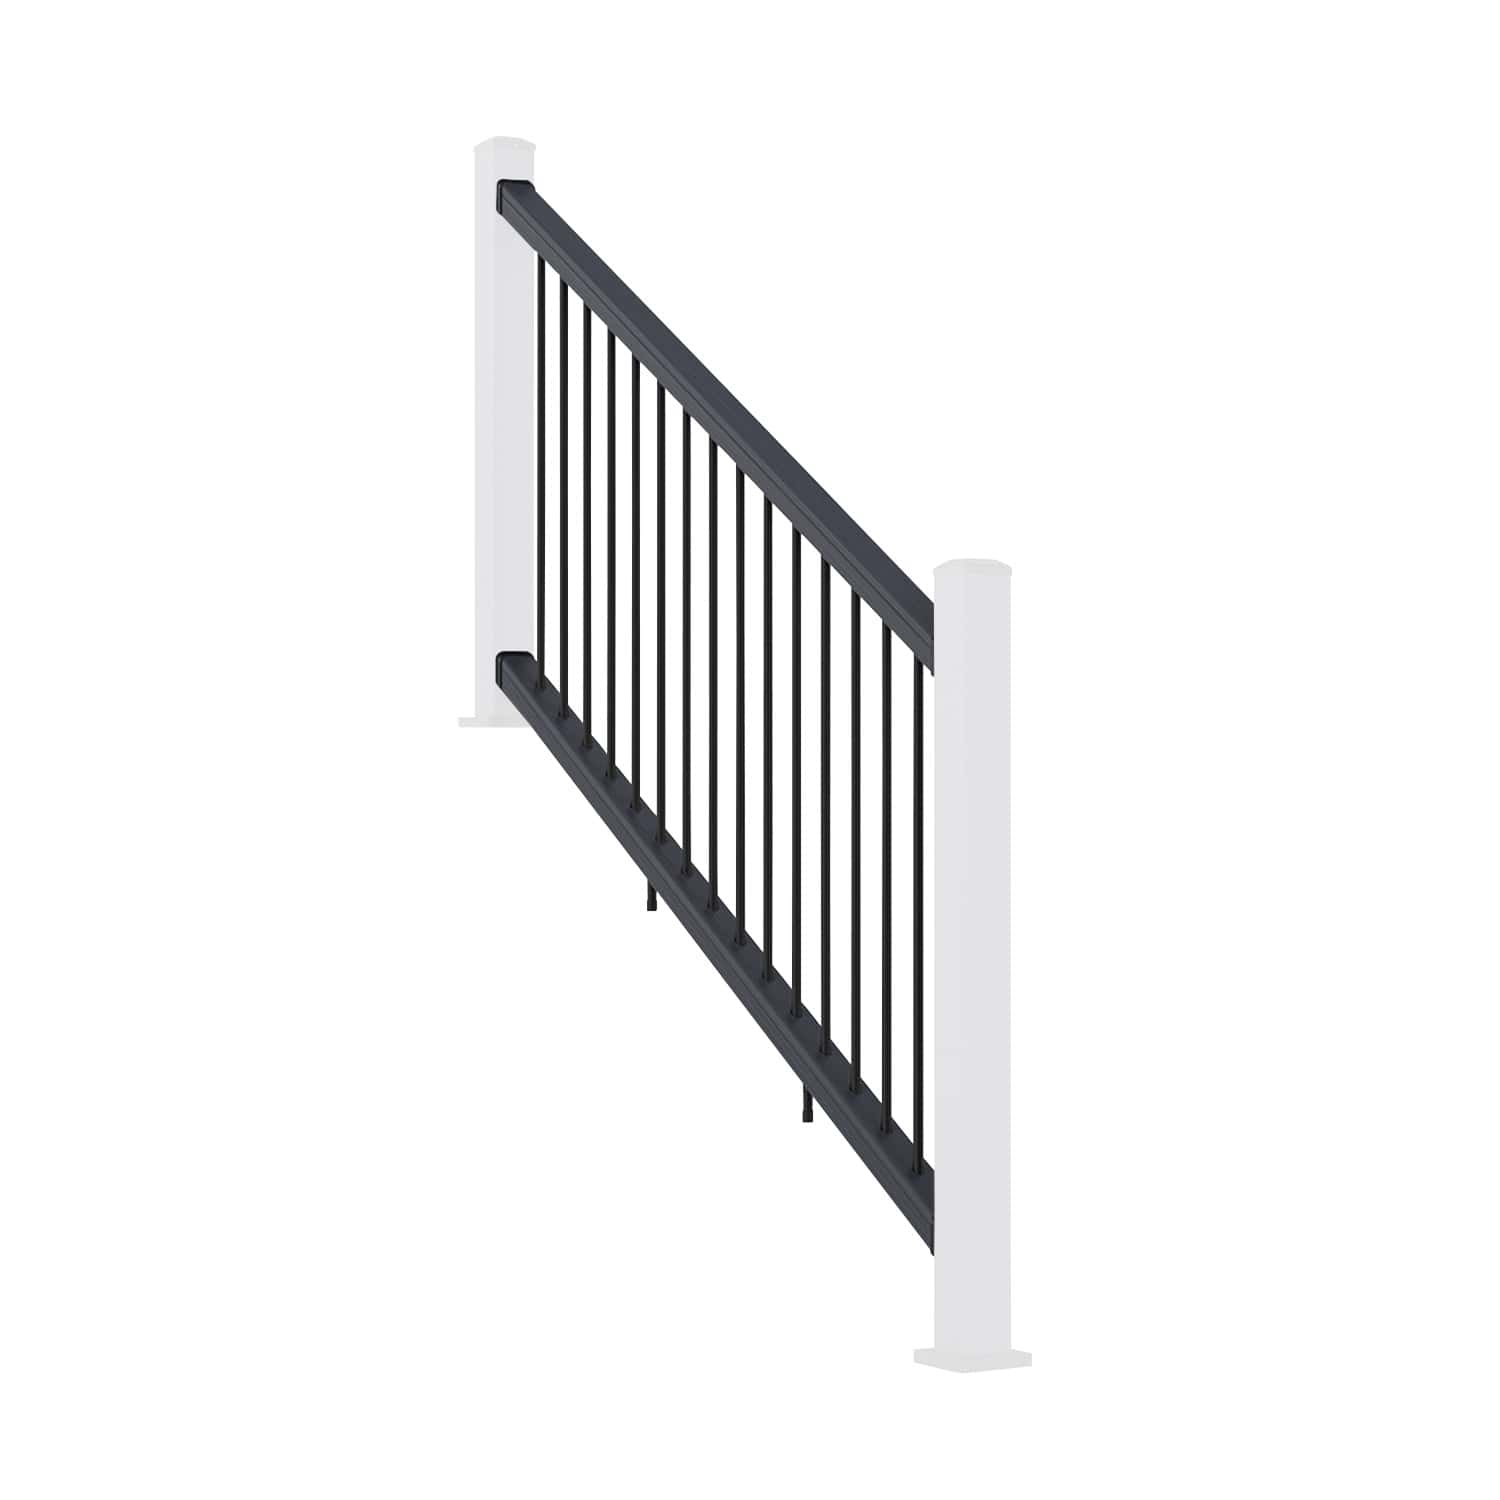



How to Fit Composite Balustrade Posts to Your Deck Structure
Installing composite balustrade posts onto decking starts with a suitable supporting structure and correctly positioned fixings. This guide explains how to position the NeoTimber® metal post mount, secure it to the deck structure and finish the post with its composite sleeve, skirt and cap.
Whether you are planning a new deck or adding a balustrade to an existing area, use the seven steps and accompanying diagrams below alongside the installation instructions supplied with your system.
Before Installing Railing on Composite Decking
NeoTimber® recommends fitting these posts through a solid composite deck board, rather than a hollow board, into a solid supporting subframe joist, such as suitable timber or recycled plastic lumber. The board alone is not the supporting structure: the post mount must be secured to the substrate beneath it.
Before installing decking balustrades, check the planned post positions against the railing layout and make sure each fixing location has the required support. Refer to diagram 36 for the substrate range, and confirm the required fixings and access beneath the deck before starting.
Step 1: Position the Post Mount Above the Supporting Substrate
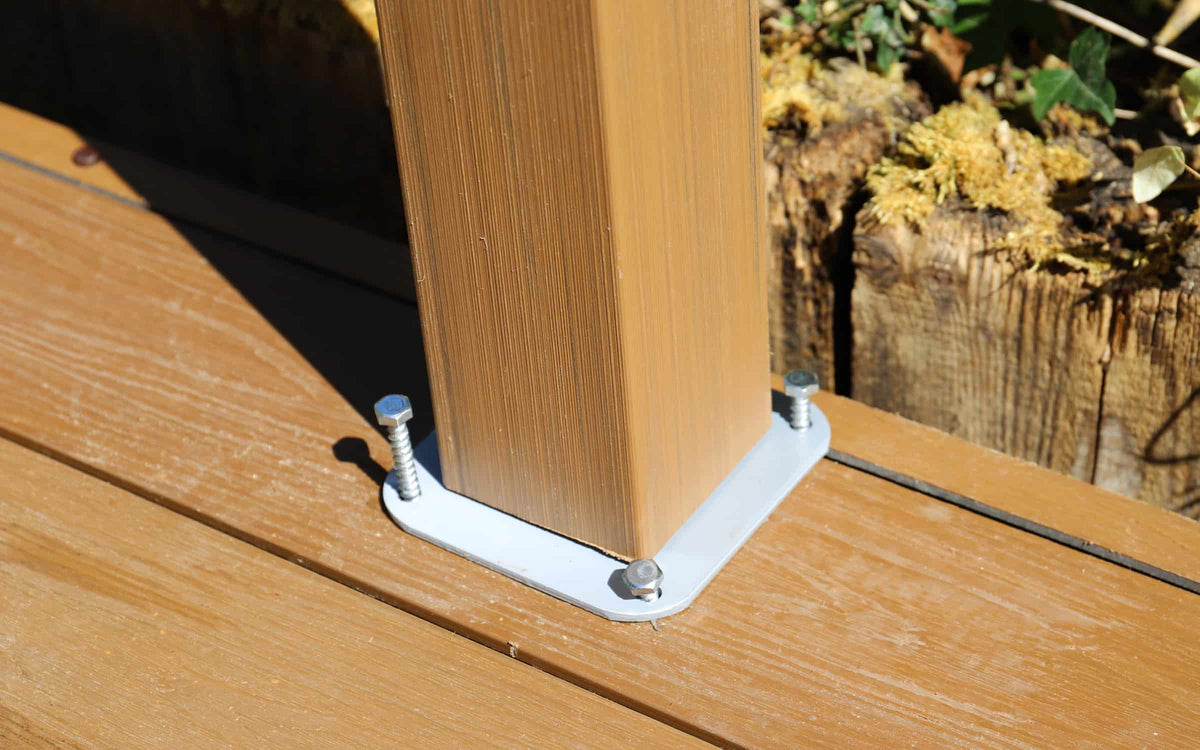
Position the balustrade post mount (J-LV-0215-36) as shown in diagrams 35 and 36. When installing composite deck railing, the mount must sit above a suitable substrate beneath the solid deck board, so that the fixings can secure it to the supporting structure.
Check that the substrate falls within the range shown in diagram 36 before marking or drilling any holes.


Step 2: Mark the Base Plate Fixing Holes
With the post mount in its final position, mark the fixing holes with a pencil or marker, following diagram 37. Check the position and alignment before moving the mount aside.

Step 3: Drill the Marked Holes
Drill at the marked positions, as shown in diagram 38. Use the hole size and drilling depth specified for the chosen fixing system and supporting material.

Step 4: Fit the Post Mount Fixings
Return the metal post mount to its position over the pre-drilled holes. Insert the specified fixings through the base plate and into the supporting structure, following diagram 39 and the supplied installation instructions.

Step 5: Secure the Fixings Beneath the Deck
Complete and tighten the fixing assembly, including the washers beneath the substrate, as illustrated in diagram 40. Follow the instructions for the specified fasteners and check that the mount is secure before fitting the sleeve.
Correctly fixing decking balustrades depends on the connection to the supporting structure. Confirm the fixing type and underside access requirements before installation if either is unclear.

Step 6: Slide the Composite Sleeve Over the Mount
Slide the composite post sleeve over the secured metal mount, as shown in diagram 41. Check that it is seated correctly before adding the finishing components.

Step 7: Add the Post Skirt and Cap
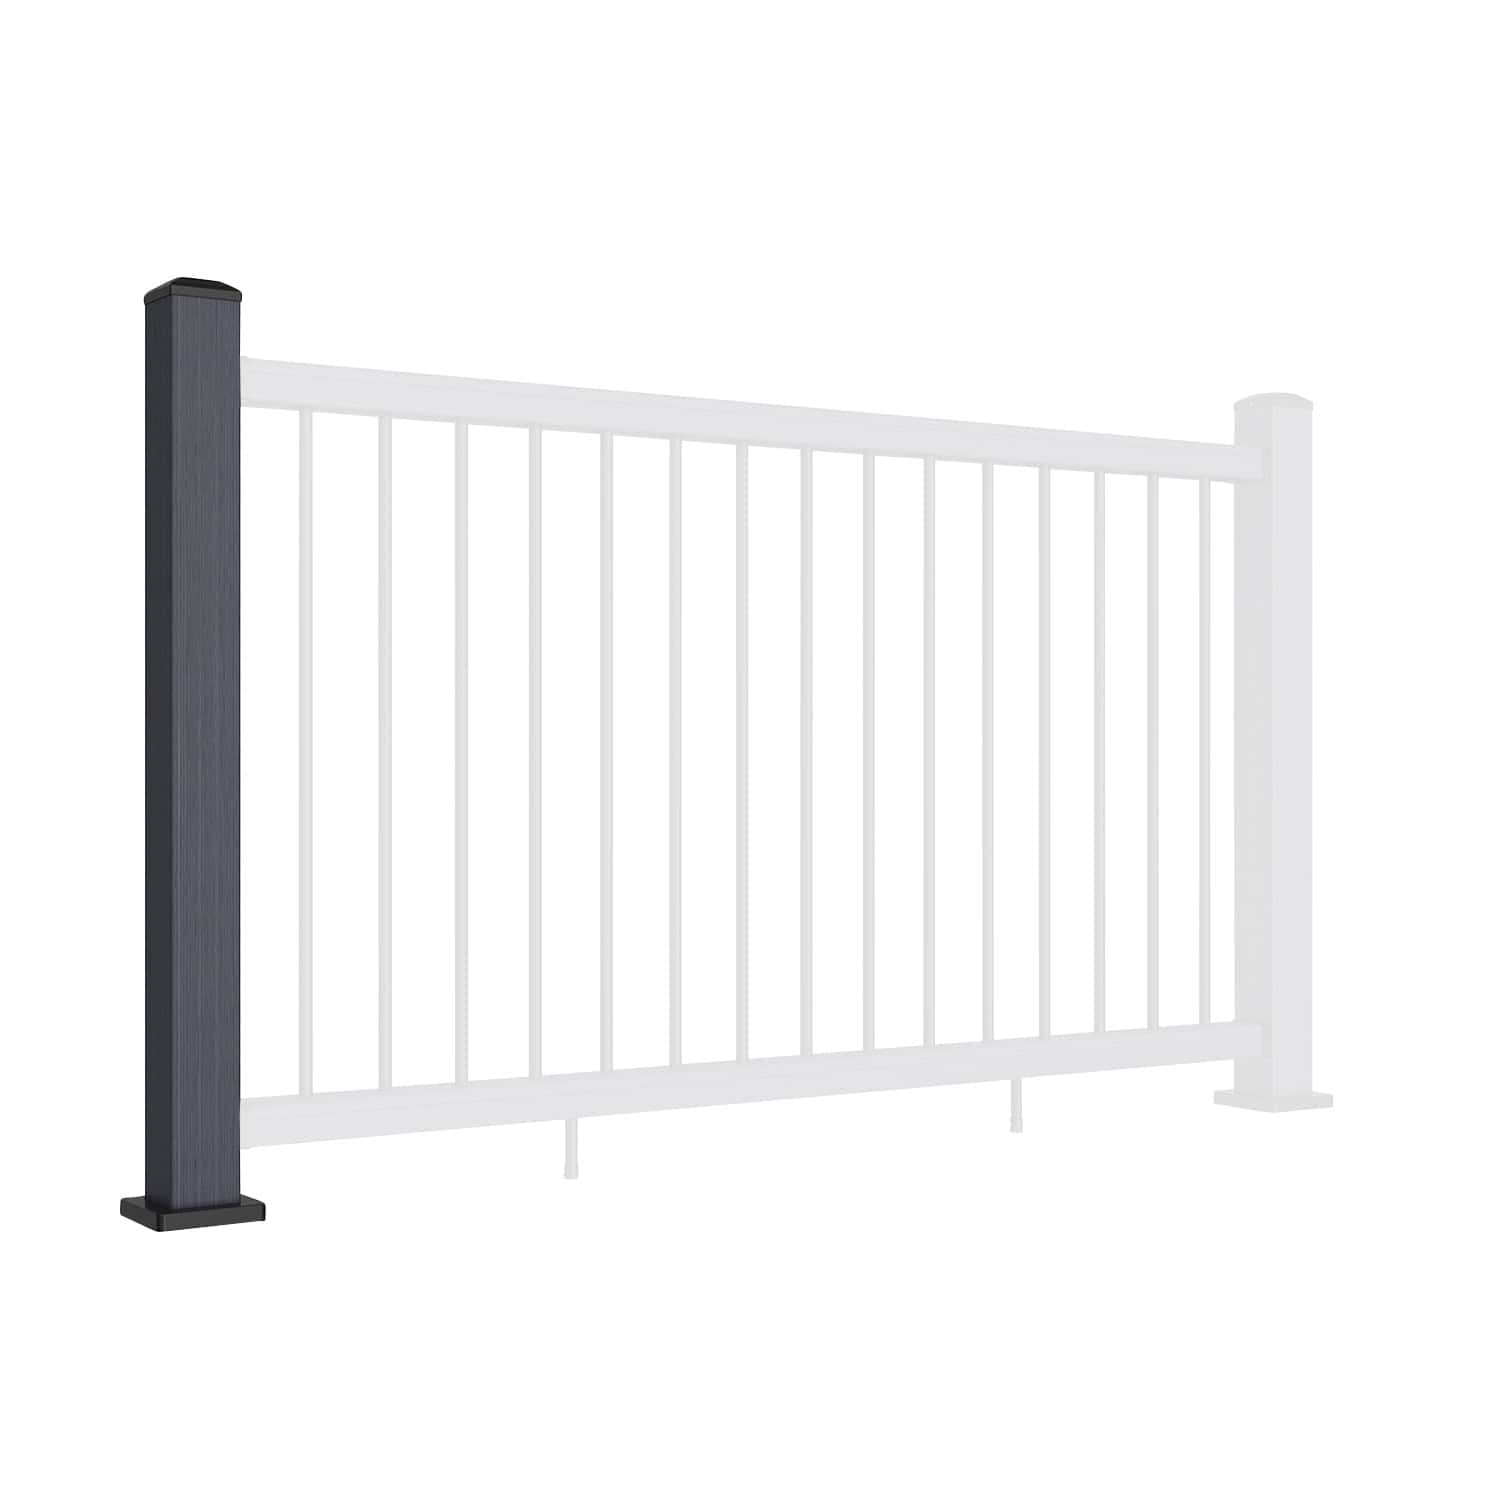
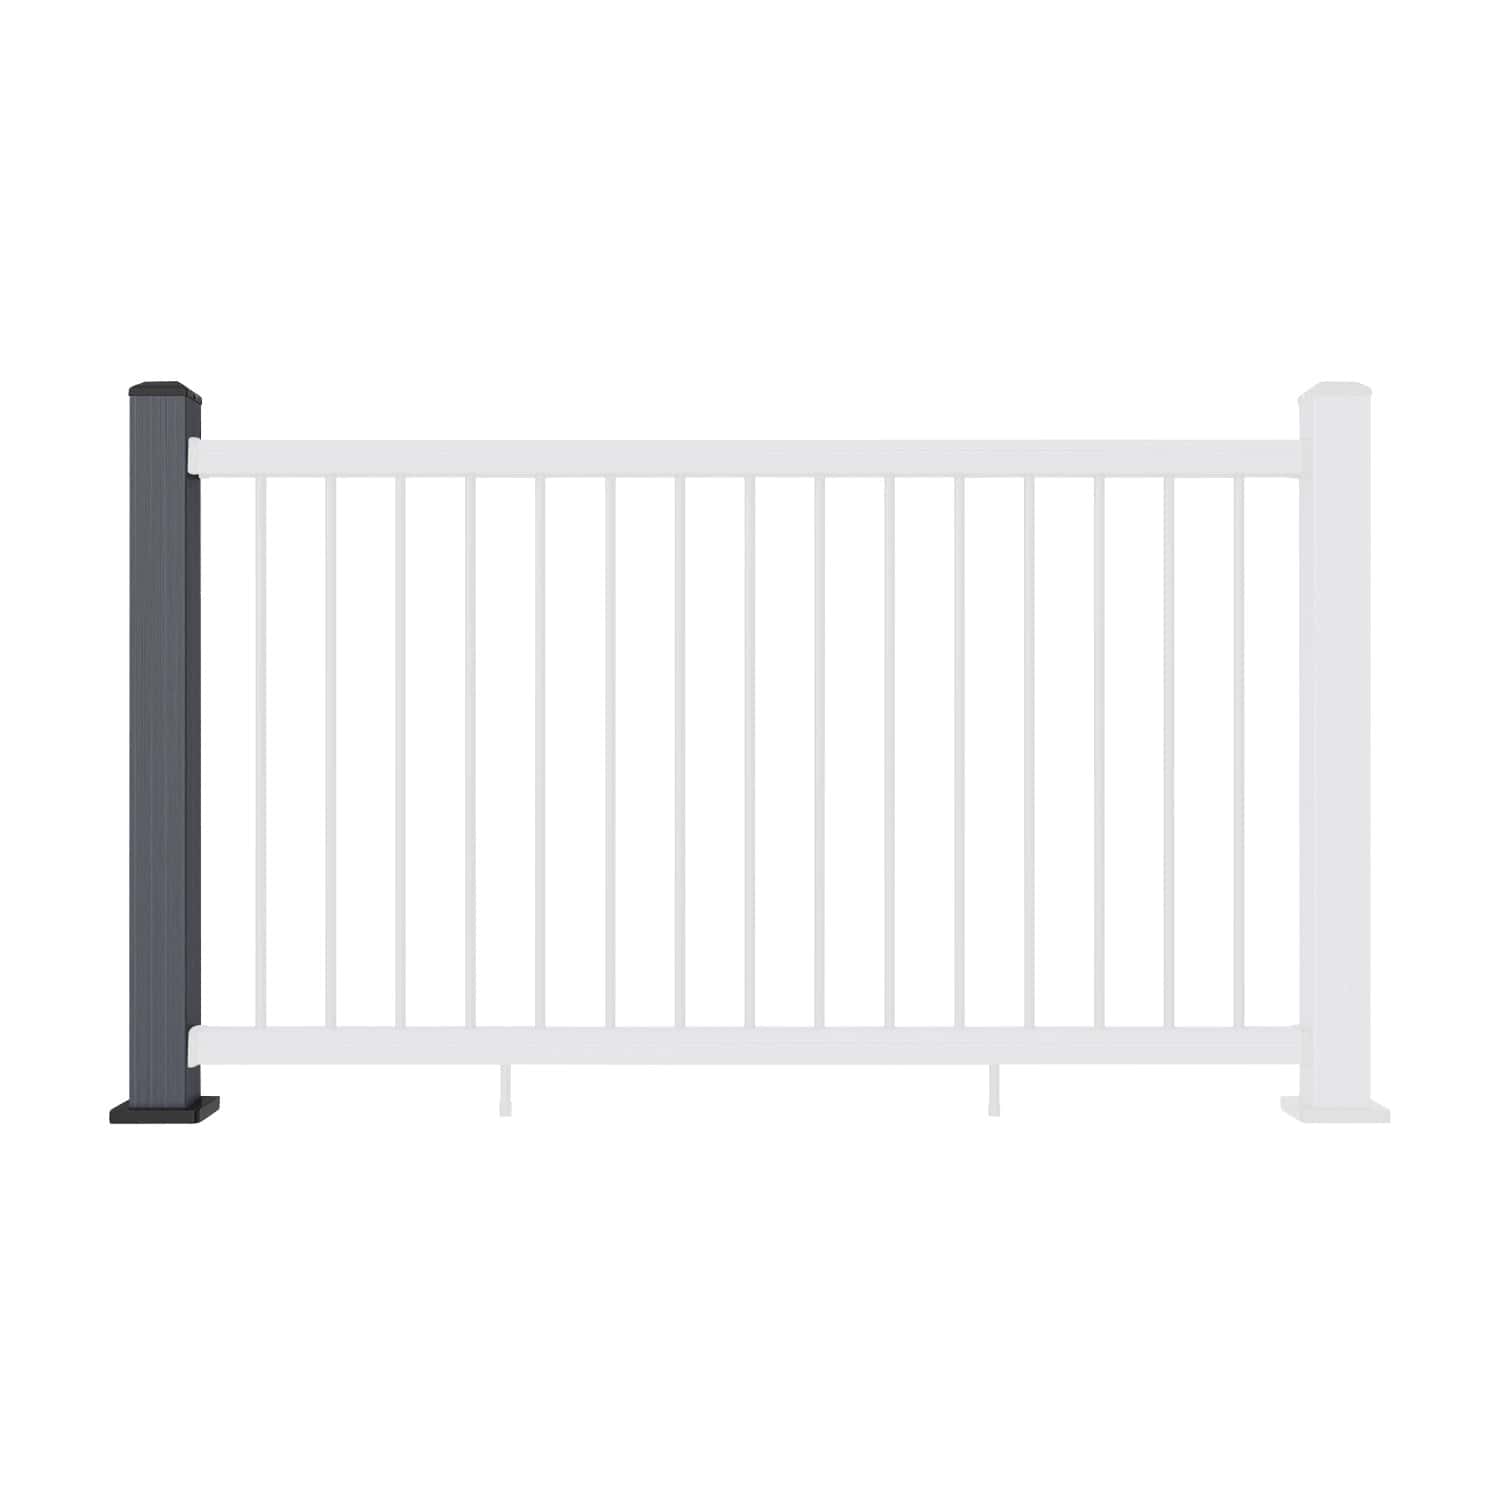
Lower the post skirt (K-LV-0119) over the post sleeve to cover the base of the metal mount, following diagram 42. Then fit the cap to the top of the post, as shown in diagram 43.


Next Steps for Installing Composite Deck Railing
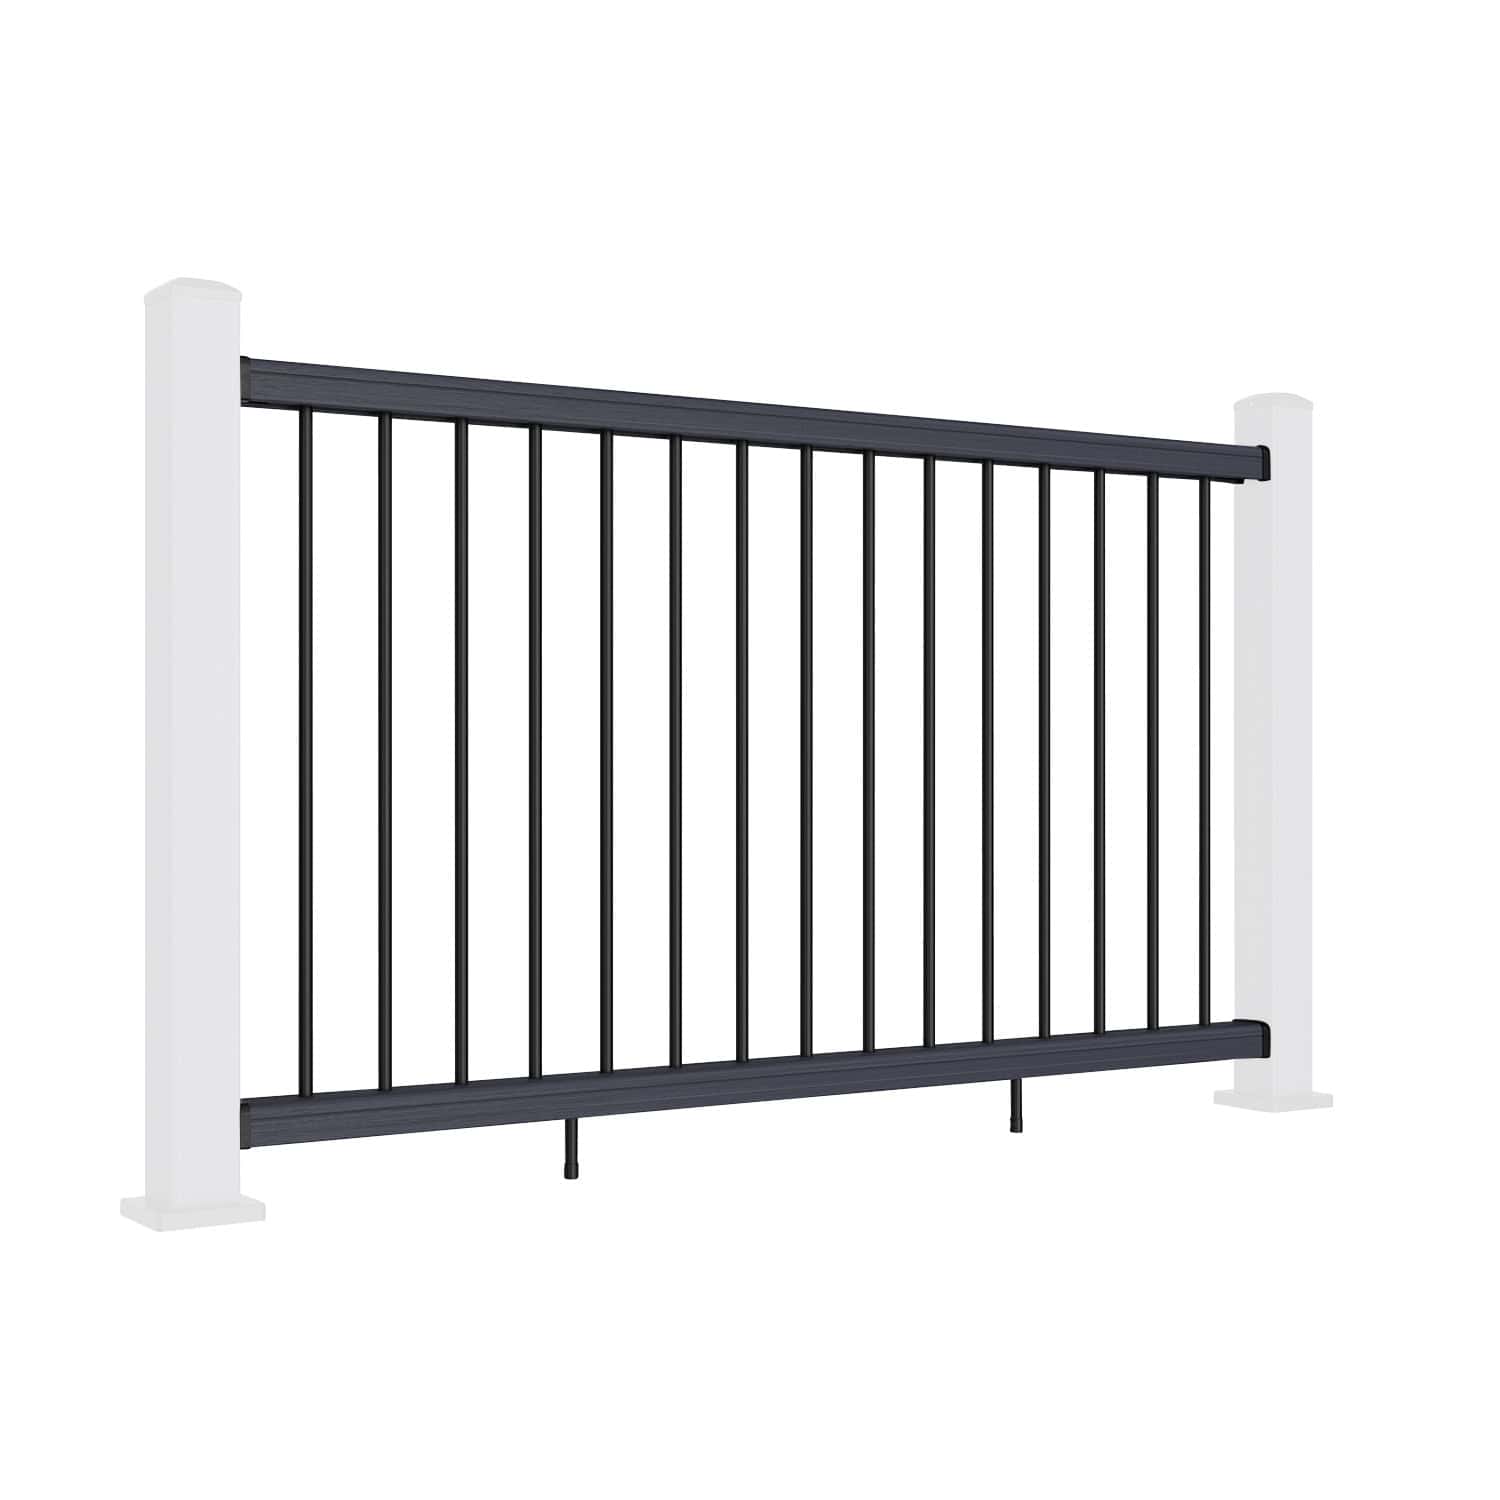
Once the posts are fitted, continue with the separate instructions for your railing sections. This guide covers the posts; completing the balustrade also requires the correct rails, brackets and connections for your layout.
Frequently Asked Questions
Can I fix a balustrade post to a composite deck board alone?
No. For the method shown here, the post mount needs to be secured through a solid deck board to a suitable supporting substrate beneath it. Position the mount and substrate according to diagrams 35 and 36.
Can I use hollow decking boards for this installation?
NeoTimber® recommends a solid, rather than hollow, deck board with a solid supporting subframe for this method. If your existing deck uses hollow boards, confirm a suitable installation detail with NeoTimber® before proceeding.
What should I check before installing composite deck railing posts?
Check the post layout, supporting substrate, fixing specification and access beneath the deck. Match the components to the supplied parts list and use the installation instructions for your particular system.
Does this guide cover the complete railing installation?
No. These seven steps cover the post mounts, sleeves, skirts and caps. Follow the relevant railing installation guide to fit the remaining components and complete the system.