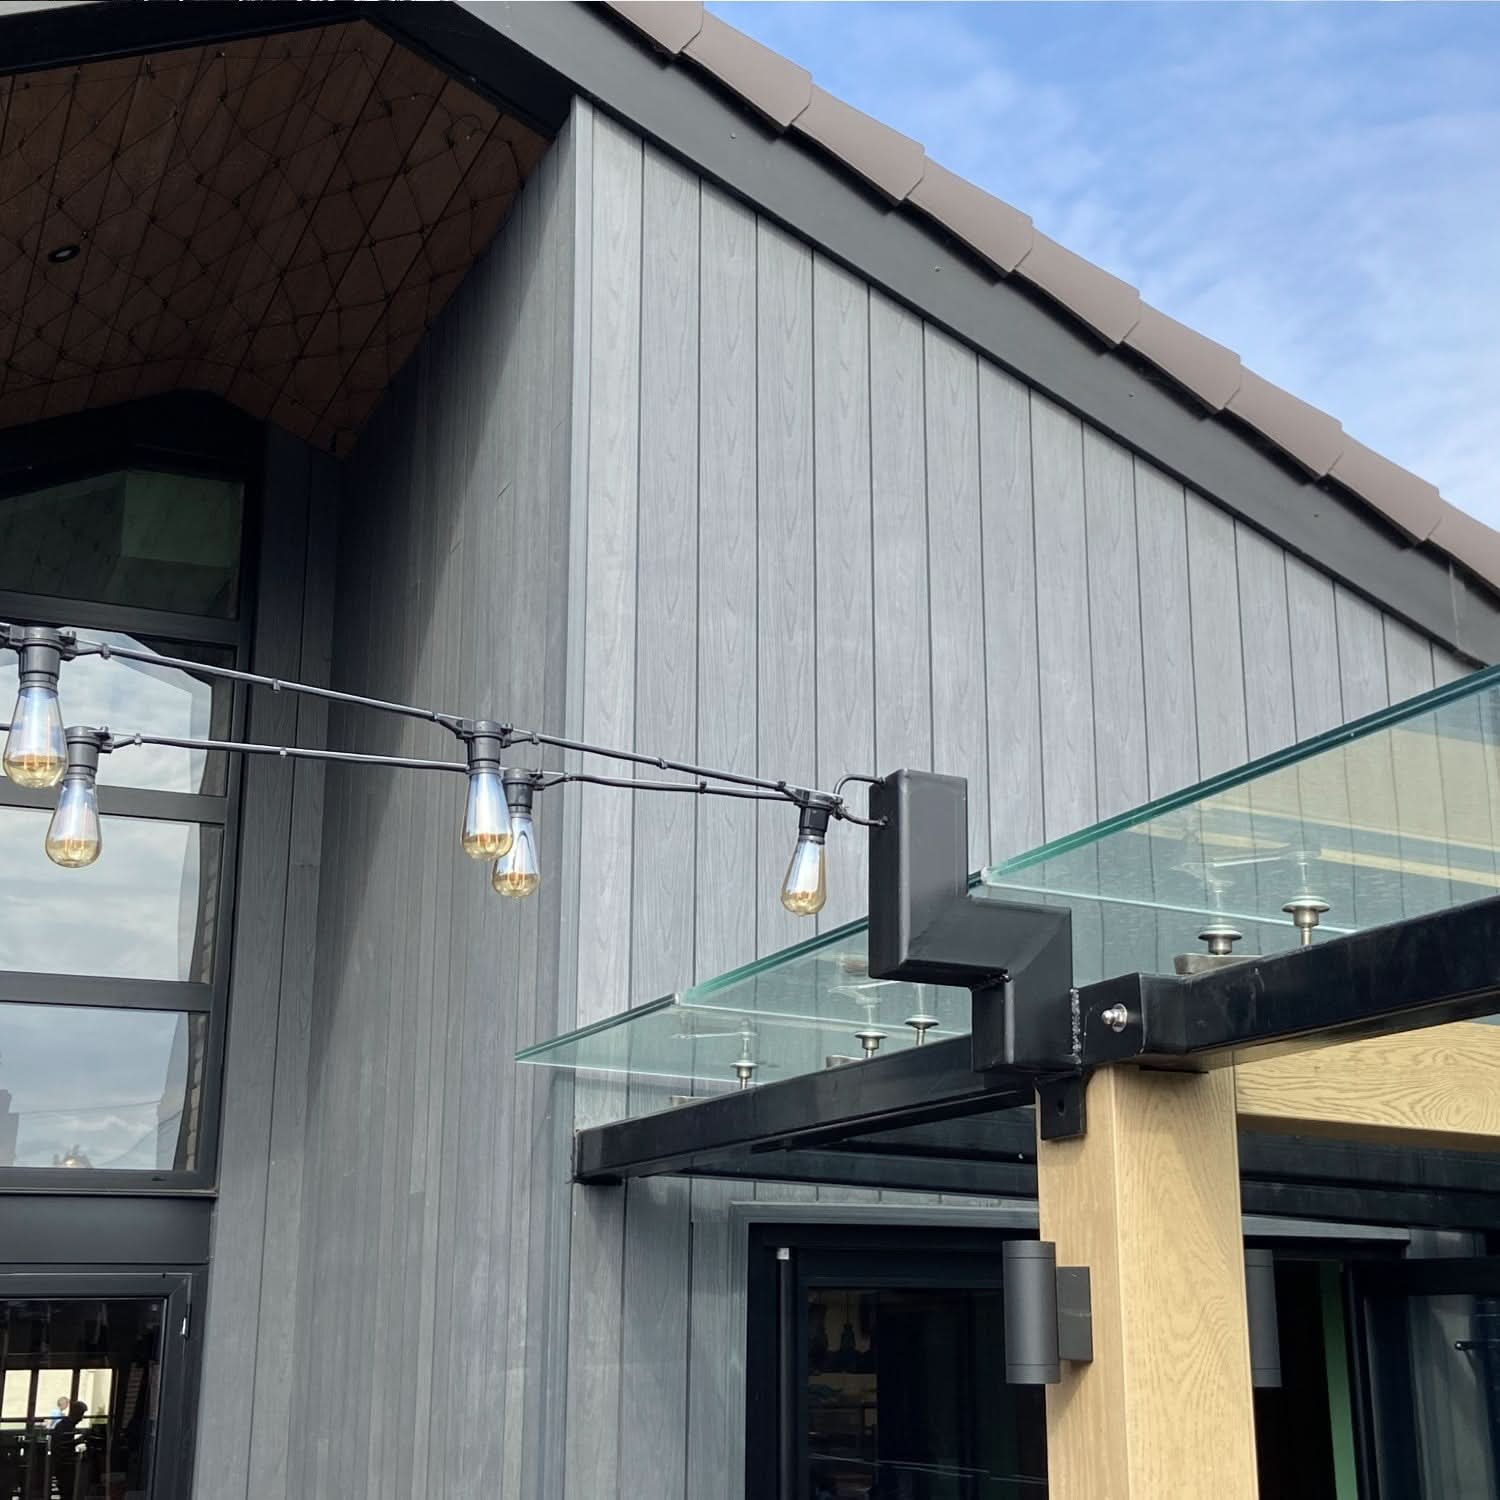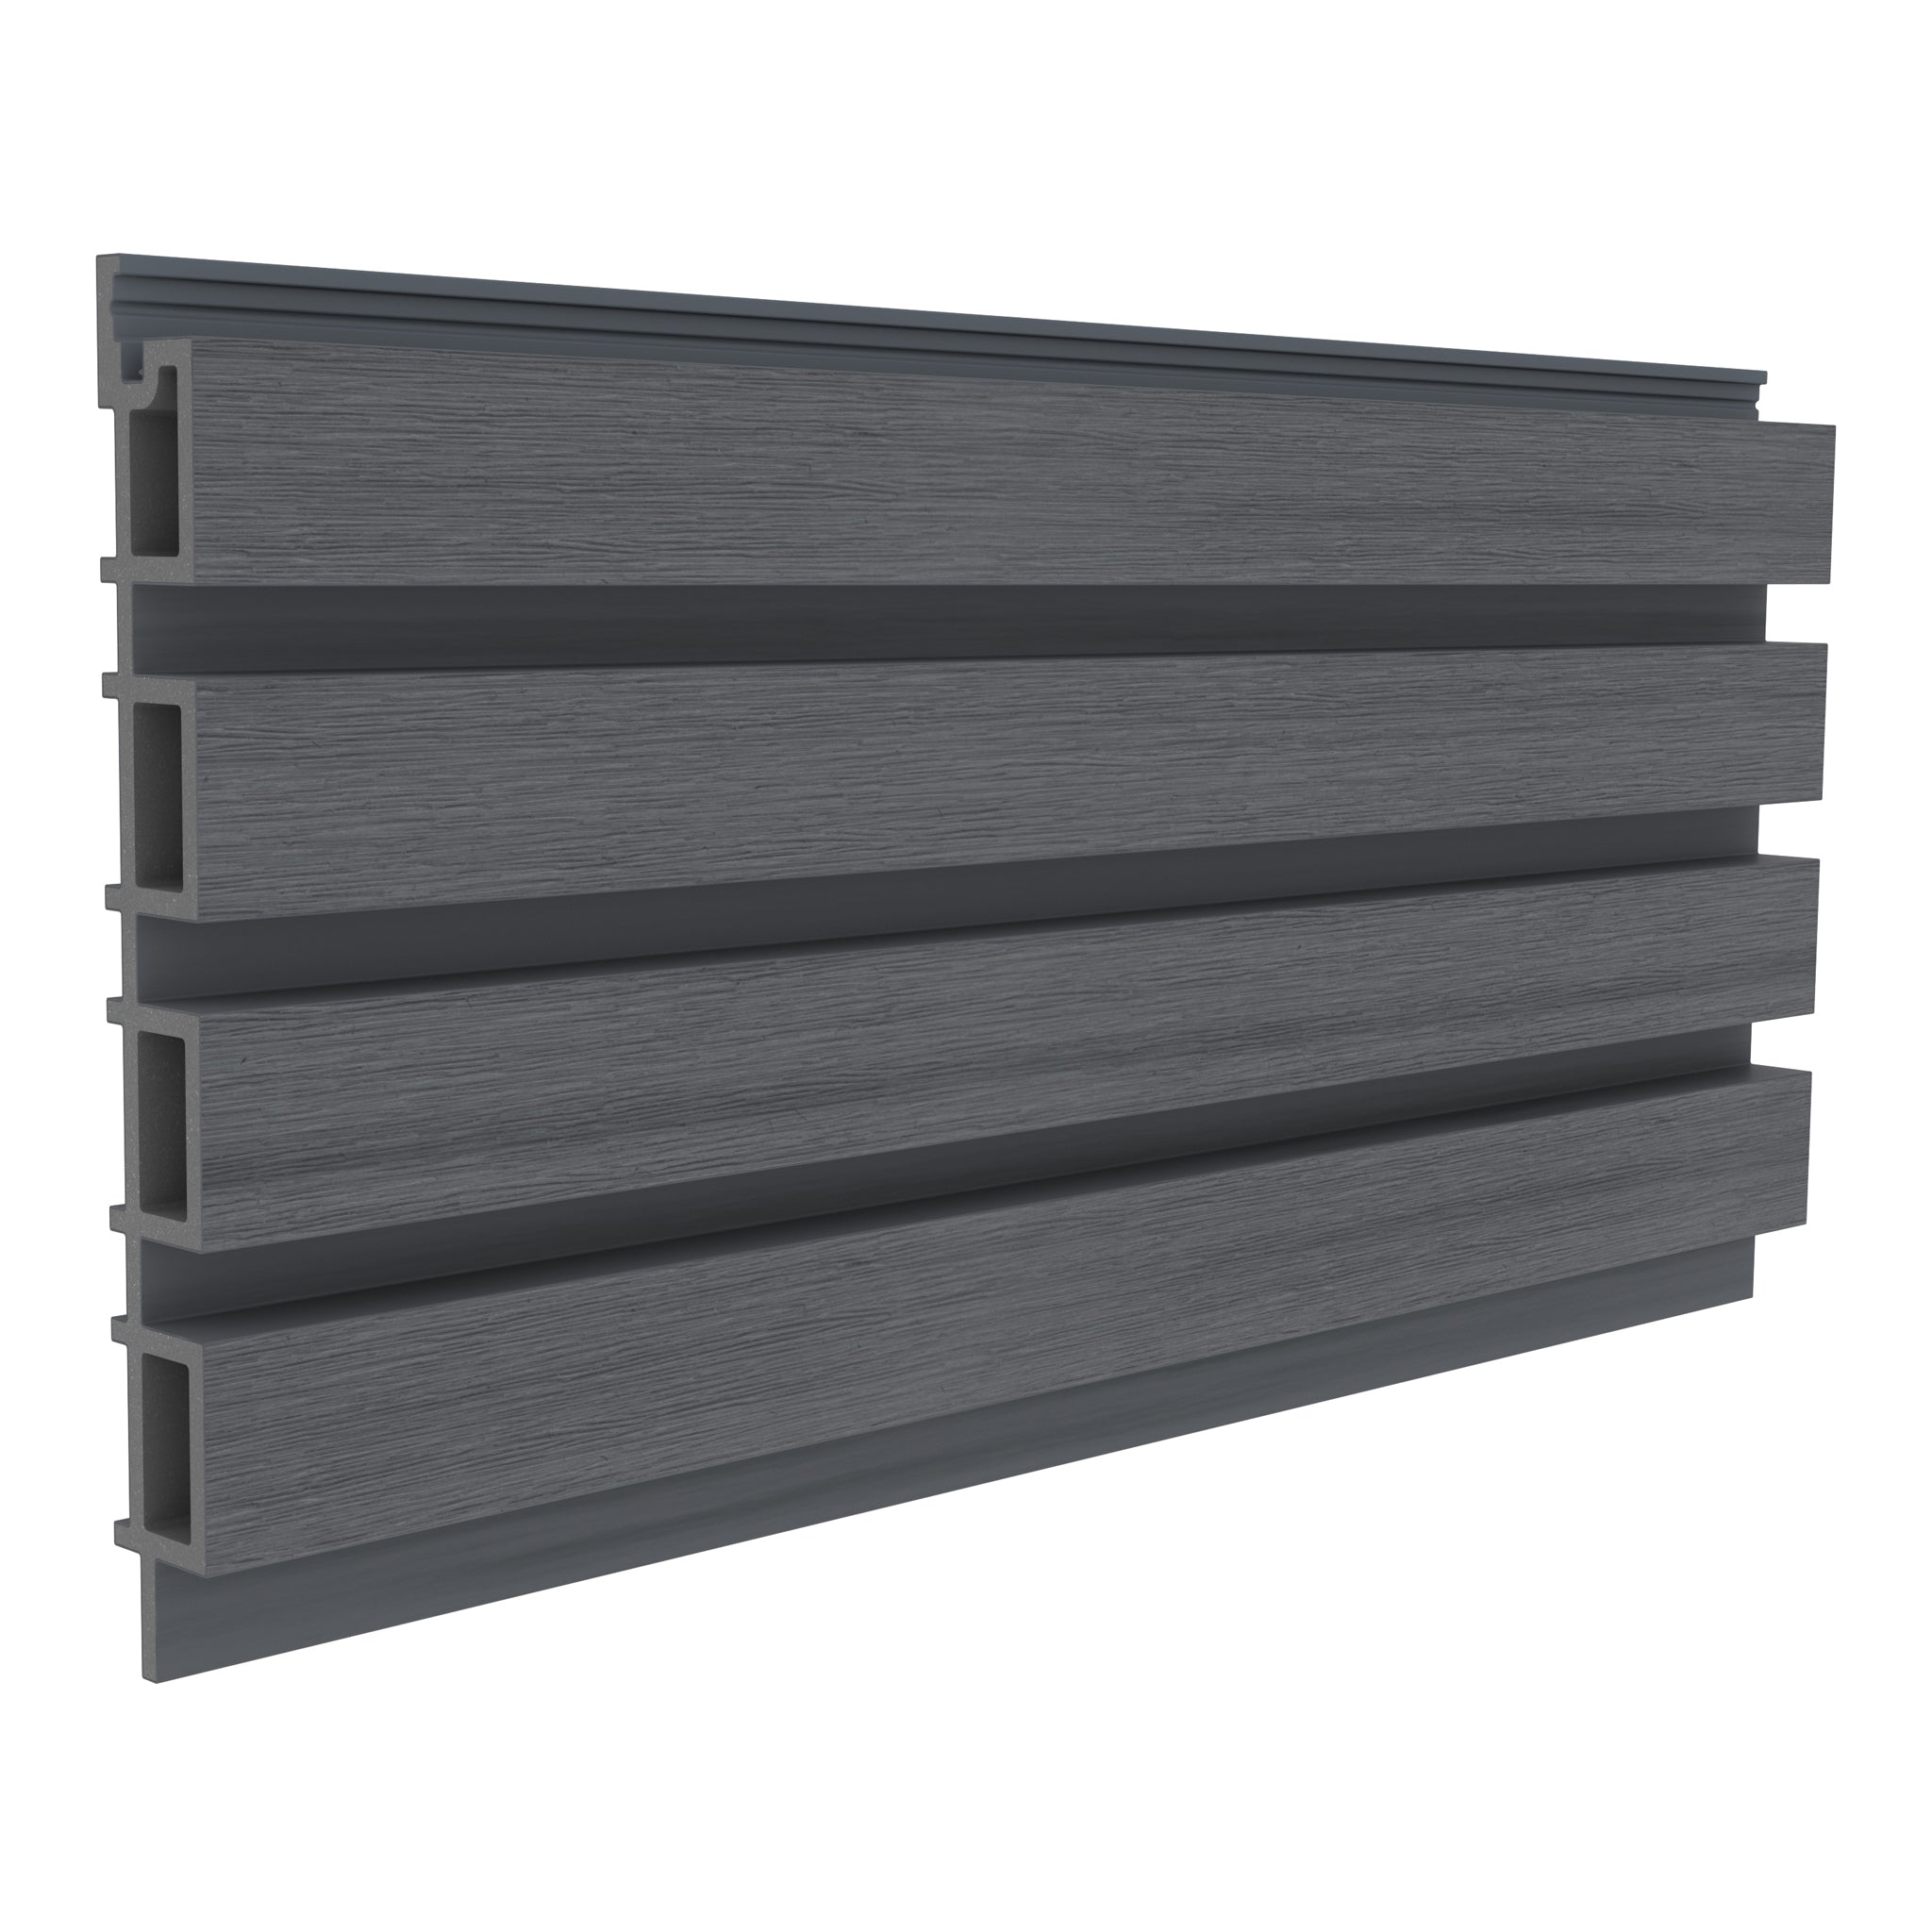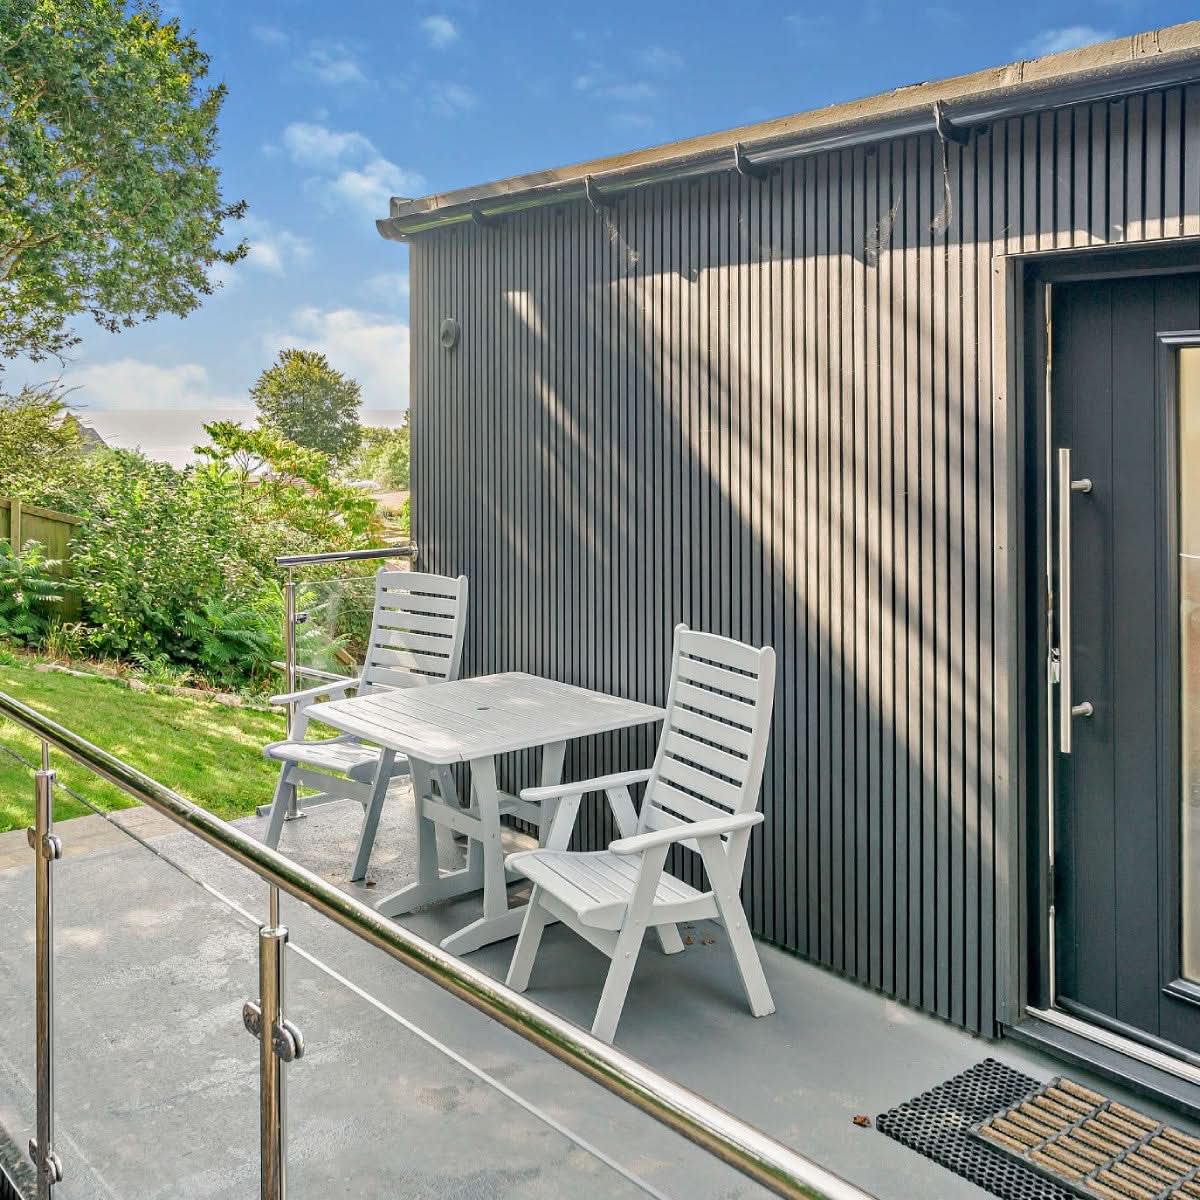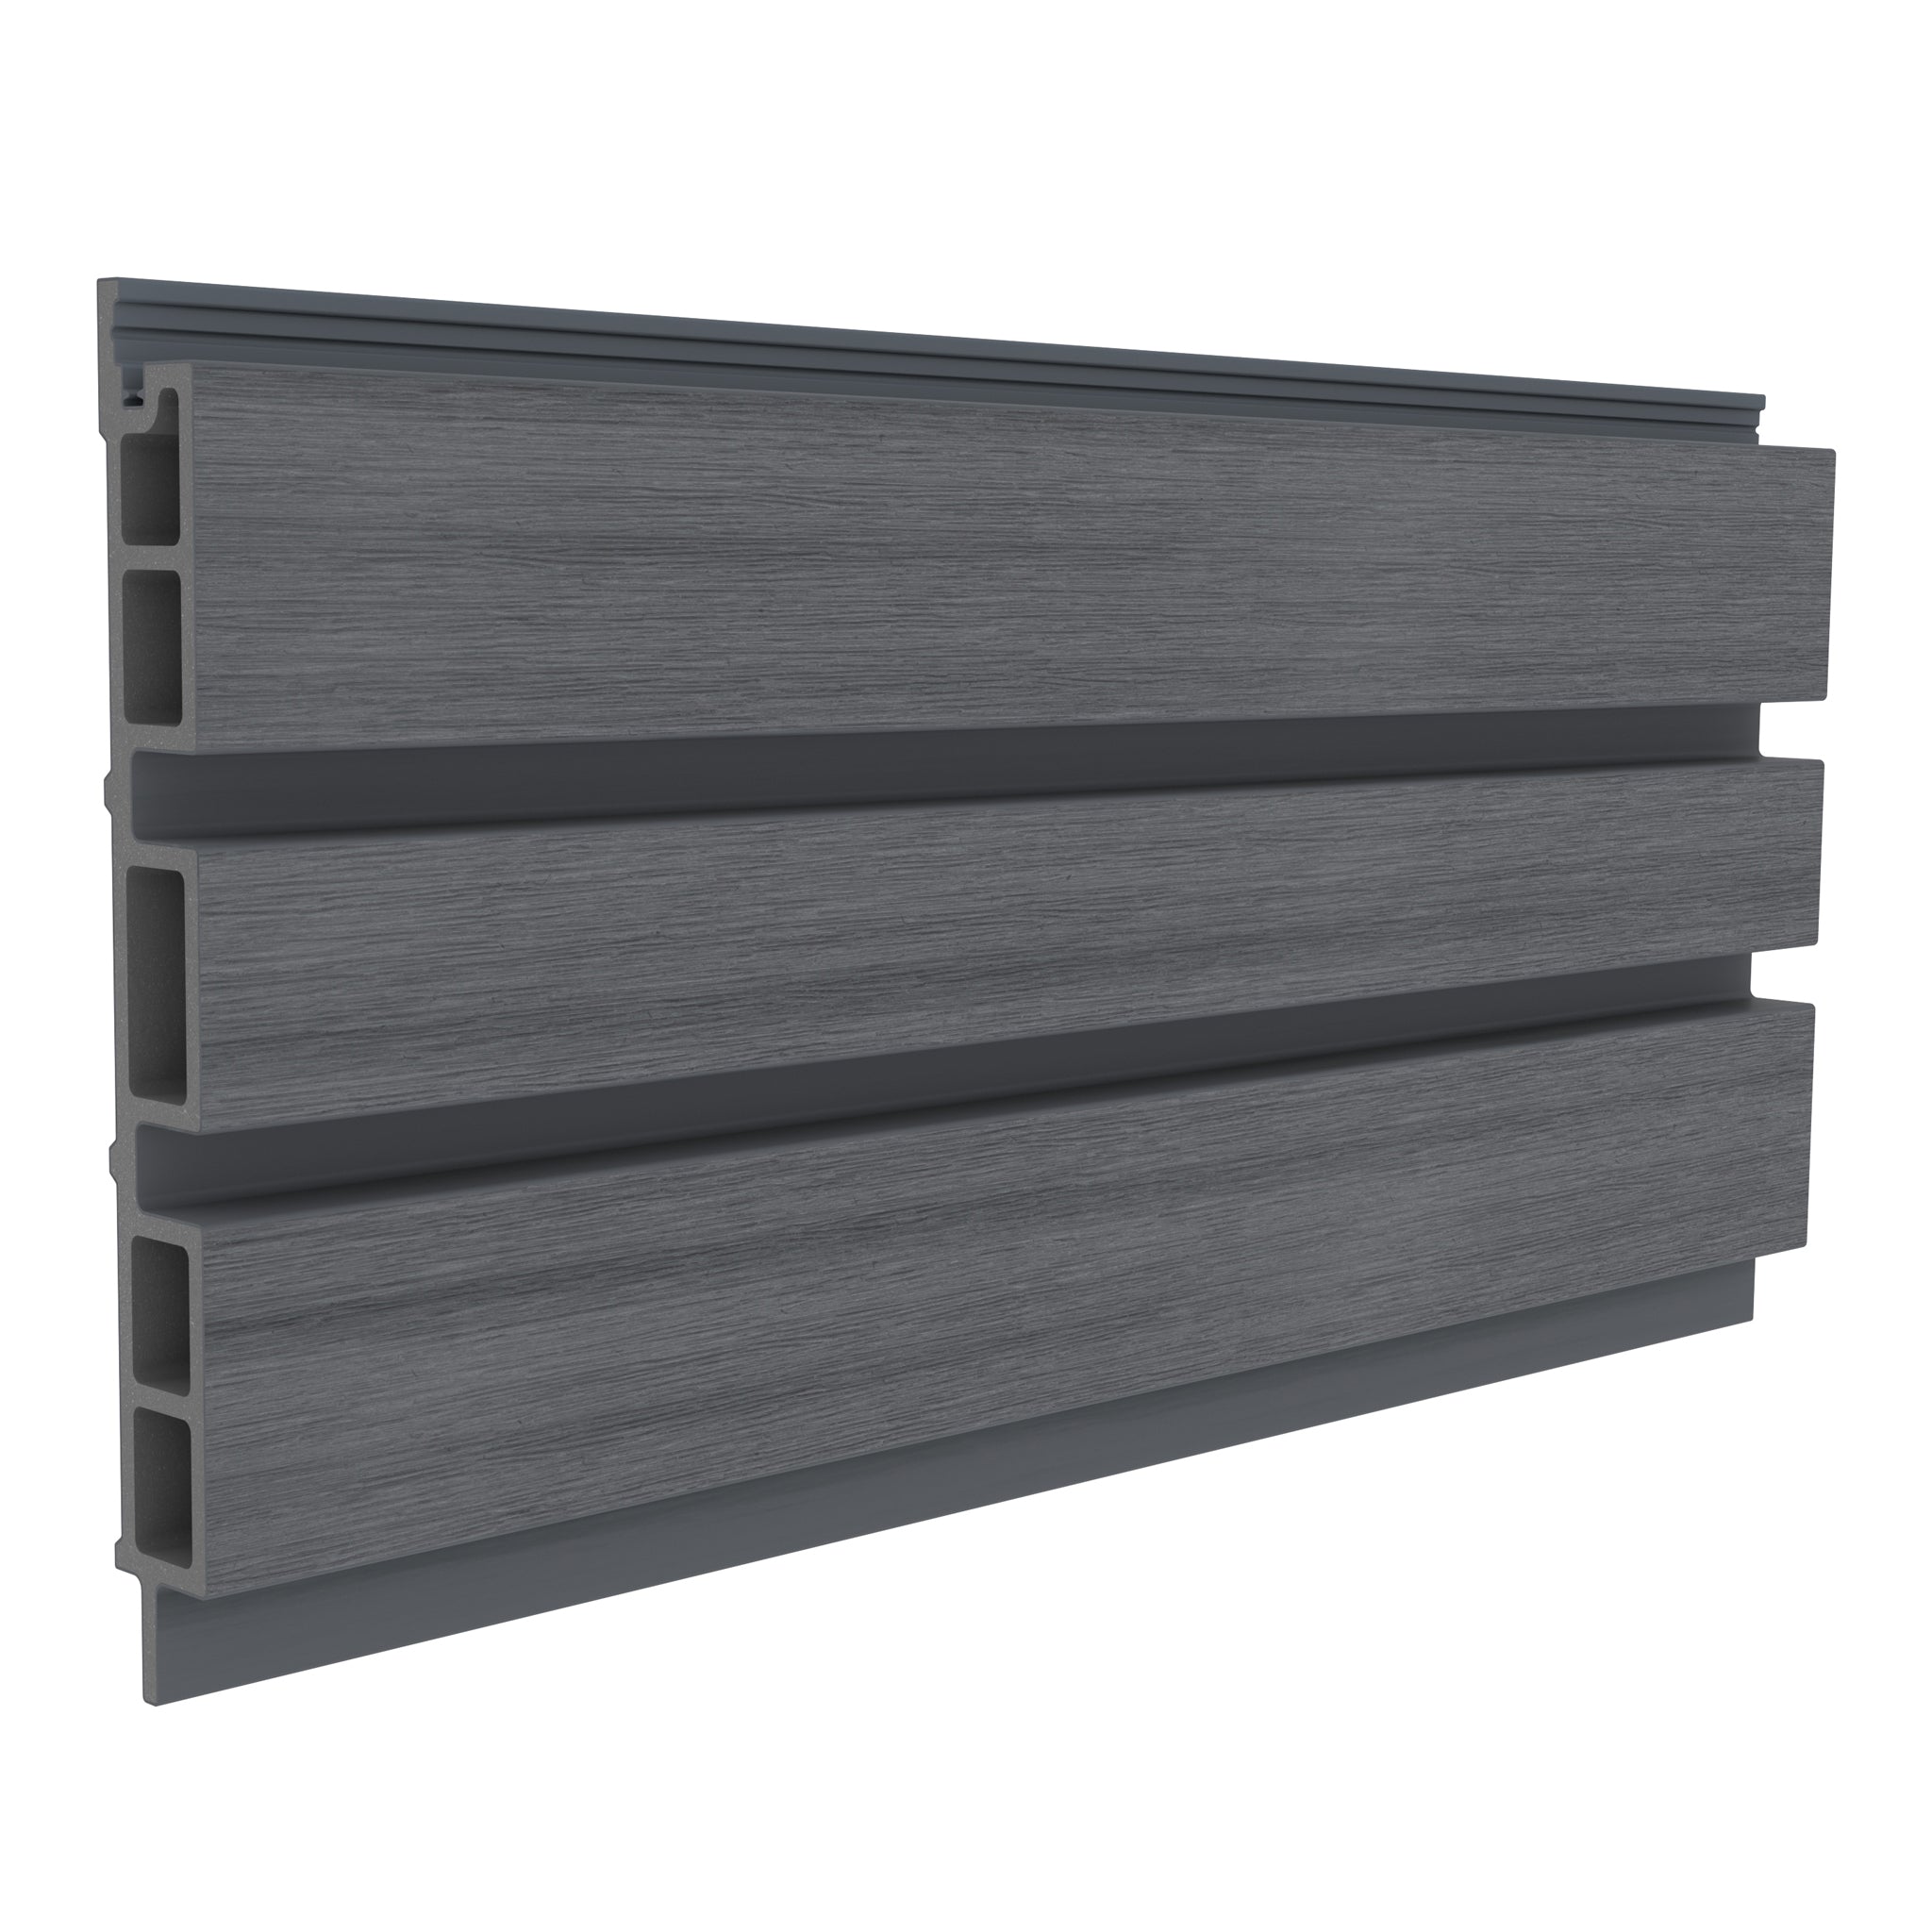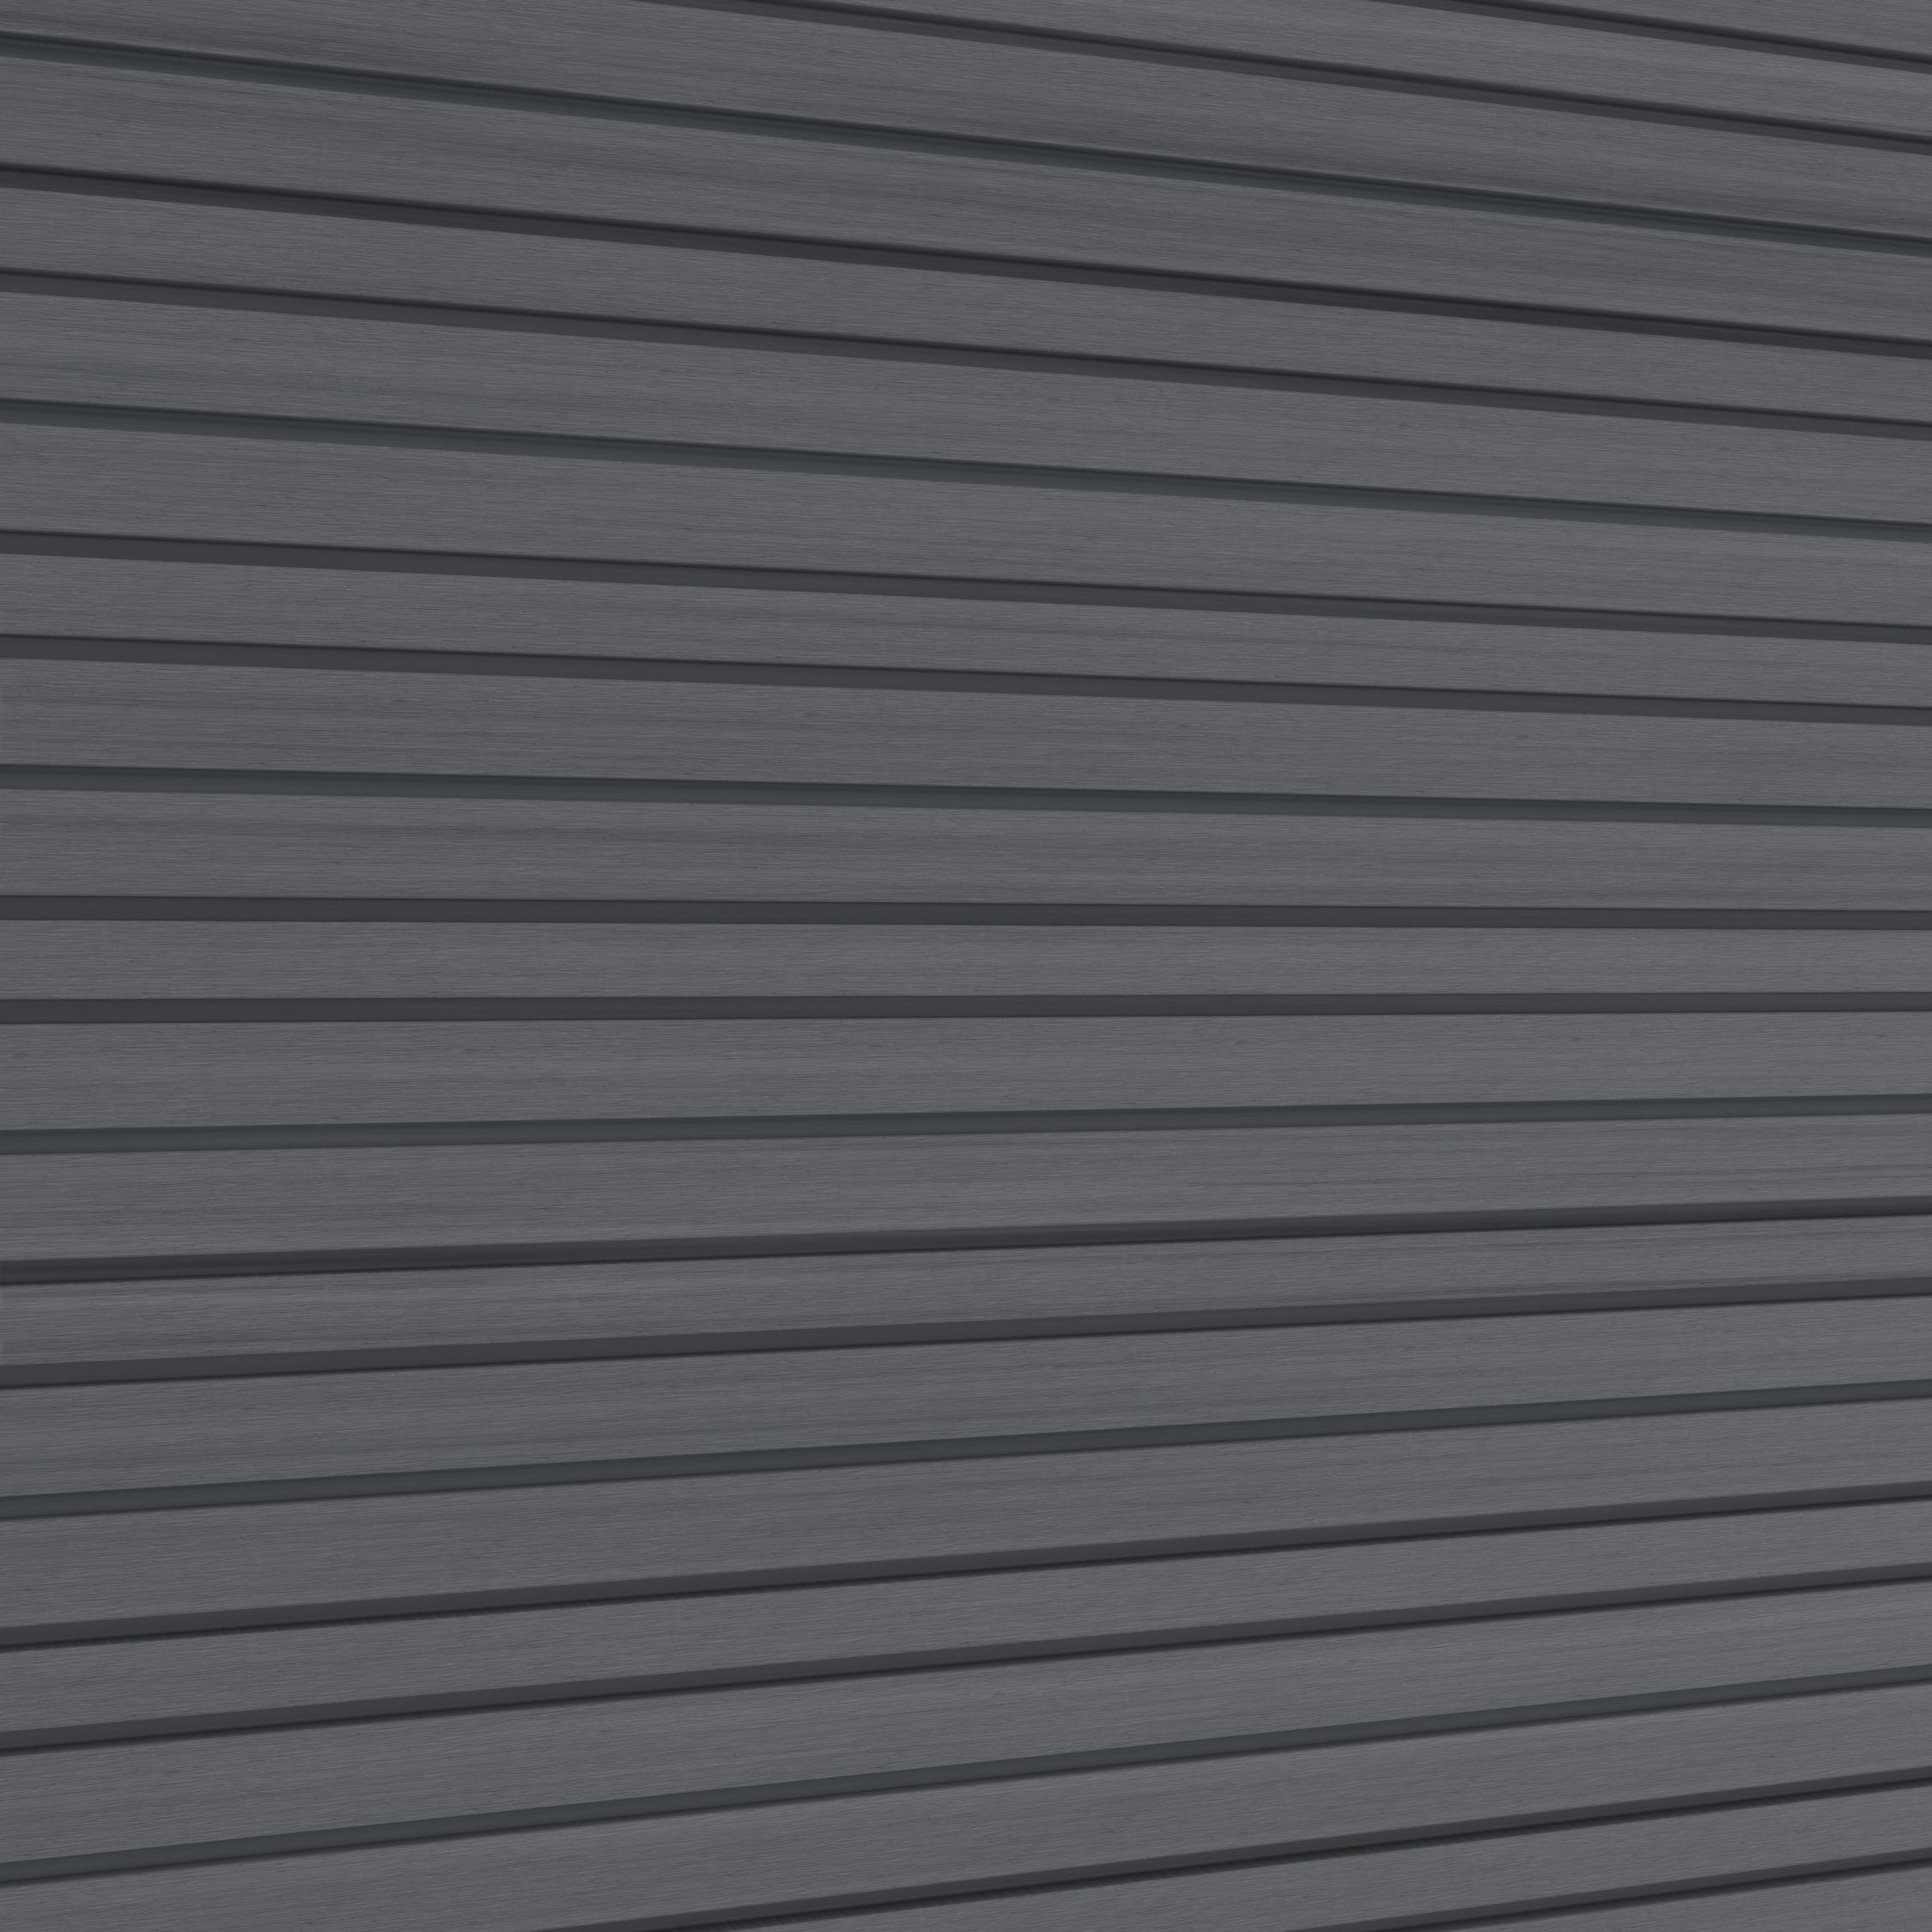
Build a Better Cladding Finish From the Framework Out
A composite cladding subframe is the supporting framework behind the visible boards. It provides fixing positions, establishes the alignment of the finished surface and helps create the space needed for the specified cavity arrangement. Planning it properly is essential to a complete cladding installation.
The term “composite cladding frame” can mean either a frame supporting composite boards or a frame made using composite support members. Here, we explain both the planning principles and the role of the NeoTimber® composite cladding joist.
Whether you are renovating a house, finishing an extension or planning a garden room, start with the wall and its supporting details before calculating the final board order. The framework is easier to assess and adjust before it disappears behind the cladding.
What Does a Composite Cladding Subframe Do?
A well-planned subframe connects the chosen cladding system to a suitable underlying structure. Its job is more specific than simply placing evenly spaced strips against a wall.
| Role | Why it matters | What to plan |
|---|---|---|
| Board support | Provides the required fixing positions | Support layout for the selected board and orientation |
| Surface alignment | Establishes the plane of the finished wall | Existing wall condition and approved levelling details |
| Cavity arrangement | Forms part of the ventilation and drainage design | Required depth, airflow paths and perimeter details |
| Junction support | Accommodates board ends, corners and openings | Additional supports and compatible finishing components |
| Connection to the building | Transfers the cladding loads to the supporting structure | Appropriate substrate fixings and their specification |
A cladding subframe is not the same as the primary structural frame of a building. Do not assume a cladding joist can be used as a freestanding beam, floor joist or structural spanning member simply because it is called a joist.
Understanding NeoTimber® Composite Cladding Joists
The NeoTimber® cladding joist is a wood-polymer composite support profile supplied in a charcoal finish. The current product specification lists dimensions of 59mm × 40mm × 3600mm and a weight of 5.54kg per length.
It is intended for cladding subframes and can help form a ventilated cavity when incorporated into a suitable installation. Check its fixing and support requirements against the current product guidance and the proposed wall construction.
The product information describes resistance to rot, warping and splitting. These properties should not be interpreted as a promise that the material absorbs no moisture, undergoes no movement or makes the entire wall waterproof.

Composite Supports or Timber Battens?
The most useful comparison is between suitable, specified systems. Timber battens should be assessed by their grade, treatment where required, condition and intended use. Composite supports should be assessed by their product specification, support requirements and fixing compatibility.
Choosing composite can be attractive when you want a support component designed for the cladding system. However, material choice alone does not establish a correct installation. Either arrangement needs a sound substrate, appropriate connections and the required ventilation and movement details.
When discussing options with your installer, compare the whole framework arrangement: component cost, fixing method, preparation, access and compatibility. Avoid treating every timber batten as unsuitable or every composite member as interchangeable.
Plan the Board Layout Before the Support Layout
Begin with the chosen board profile, direction and intended joint positions. The subframe then needs to provide support where the installation detail requires it, including around interruptions in the wall.
Horizontal cladding
Review where each board meets the supporting members and how board ends will be accommodated. Establish the starting line, then check how it relates to doors, windows and the top of the elevation.
Vertical cladding
A change in board direction can require a different supporting arrangement, including counter-battening where specified. Do not simply rotate a horizontal layout without reviewing support and airflow. The cavity design must remain effective behind the chosen orientation.
Windows, corners and changes in height
Mark these details individually. A uniform grid drawn across an elevation may not provide every fixing location needed for cut boards or finishing profiles. Resolve the openings and perimeter alongside the main wall area.
The NeoTimber® installation resources should guide the detailed layout. Use the instructions for the exact board and system rather than copying a photograph as a complete specification.
Ventilation, Drainage and Movement Need Separate Attention
Creating a space behind the boards is only part of planning a cavity. The intended openings and airflow paths also need to work with corners, windows and the top and bottom of the wall.
Do not block a required opening merely to hide a visible line. Equally, a gap that appears in a finished installation is not automatically a ventilation detail. Follow the designed arrangement rather than improvising once the boards are fitted.
Movement allowances need their own consideration. Similar materials do not necessarily expand and contract identically in every location, and using composite boards with composite supports does not remove the need for specified gaps or fixing preparation.
Weather protection also depends on the complete wall construction. Membranes, flashings and other junction details, where required, have roles that the framework alone cannot fulfil.
Fix the Subframe to a Suitable Surface
Assess the existing wall before setting out the framework. Damaged masonry, defective render, decayed framing or unresolved dampness should be investigated rather than hidden behind the new finish.
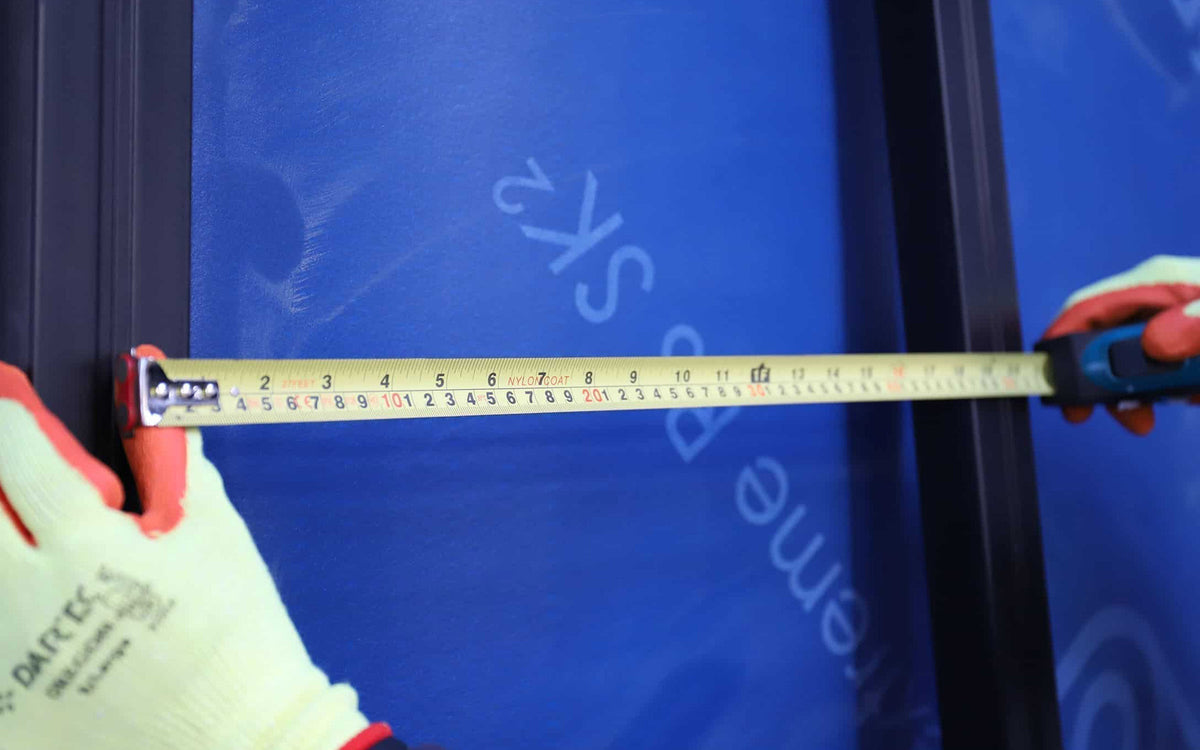
Keep two connections distinct: the fixings that attach the subframe to the building, and the screws that attach the cladding boards to the subframe. The appropriate wall fixing depends on the substrate and project requirements; a board screw is not automatically suitable for that job.
Establish a consistent finished plane using the approved support and levelling arrangement. Do not force a member against an uneven surface and rely on the boards to straighten the result.

How to Estimate Your Composite Cladding Frame Materials
Wall area is a useful starting point, but it cannot describe every support, opening or connection. Work from a drawing of each elevation.
- Record dimensions and openings. Include returns, corners and changes in level.
- Confirm the cladding layout. Identify the board direction, lengths and planned joints.
- Apply the required support arrangement. Use the current guidance and project specification.
- List individual support lengths. Include the requirements at openings and boundaries.
- Prepare a cutting plan. Allow for stock lengths, cutting losses and usable offcuts.
- Count each fixing category separately. Include framework connections, starter clips, board screws and trim fixings.
The cladding calculator can help begin the estimate. Check the result against the actual framework drawing before ordering, particularly on elevations with several windows or changes in direction.
Plan Accessories Alongside the Frame
Finishing components can affect where support is needed and when parts must be installed. Include them before completing the framework rather than leaving every edge decision until the end.
- Starter clips and cladding screws secure the boards through their specified fixing arrangement.
- Corner trims, end profiles and fascia boards complete suitable junctions and terminations.
- Range-compatible accessories help coordinate the board and finishing details.
Check compatibility with the selected cladding profile. Matching colour names do not establish that a trim or fixing is suitable for every board.
Check the Framework Before Installing the Boards
A short review at this stage can prevent more disruptive corrections later. Confirm alignment, specified support positions, fixing security and the intended details around openings.
Check that the cavity arrangement and any required wall components have been addressed before access is restricted. Take photographs and retain product references with the installation records.
After completion, keep relevant openings clear during routine care and investigate unexpected movement or loose components. A concealed subframe should not be described as something that can never need attention.
Composite Cladding Subframe: Frequently Asked Questions
Is a composite cladding frame always made from composite?
No. The phrase can describe a framework supporting composite boards. Its material must be suitable for the selected system; NeoTimber® offers a composite joist option for that purpose.
What spacing should I use between supports?
Use the spacing specified for the exact board, orientation and installation arrangement. Confirm the current guidance and project requirements before setting out; do not choose spacing solely to reduce material quantities.
Can I fix cladding directly to the wall?
Follow the installation system for the selected product. The NeoTimber® approach uses a supporting framework, so direct fixing should not be assumed to be an equivalent alternative.
Does a composite subframe make the wall waterproof?
No. The framework supports the cladding and forms part of the cavity arrangement. Weather protection depends on the complete wall and its junction details.
Can composite cladding joists replace structural beams?
Do not assume so. A cladding support profile should be used within its intended application and support requirements, not substituted for a structural member without an appropriate specification.
Start With a Clear Framework Plan
A well-considered composite cladding subframe provides the setting for a neat finish: suitable support, a consistent plane and properly planned connections. Resolve those details alongside the boards, rather than treating the hidden work as an afterthought.
Explore the NeoTimber® composite cladding joist, compare our composite cladding boards, or contact the NeoTimber® team with your chosen range and project layout for product guidance.