Create a Balanced Exterior With Horizontal Cladding Boards
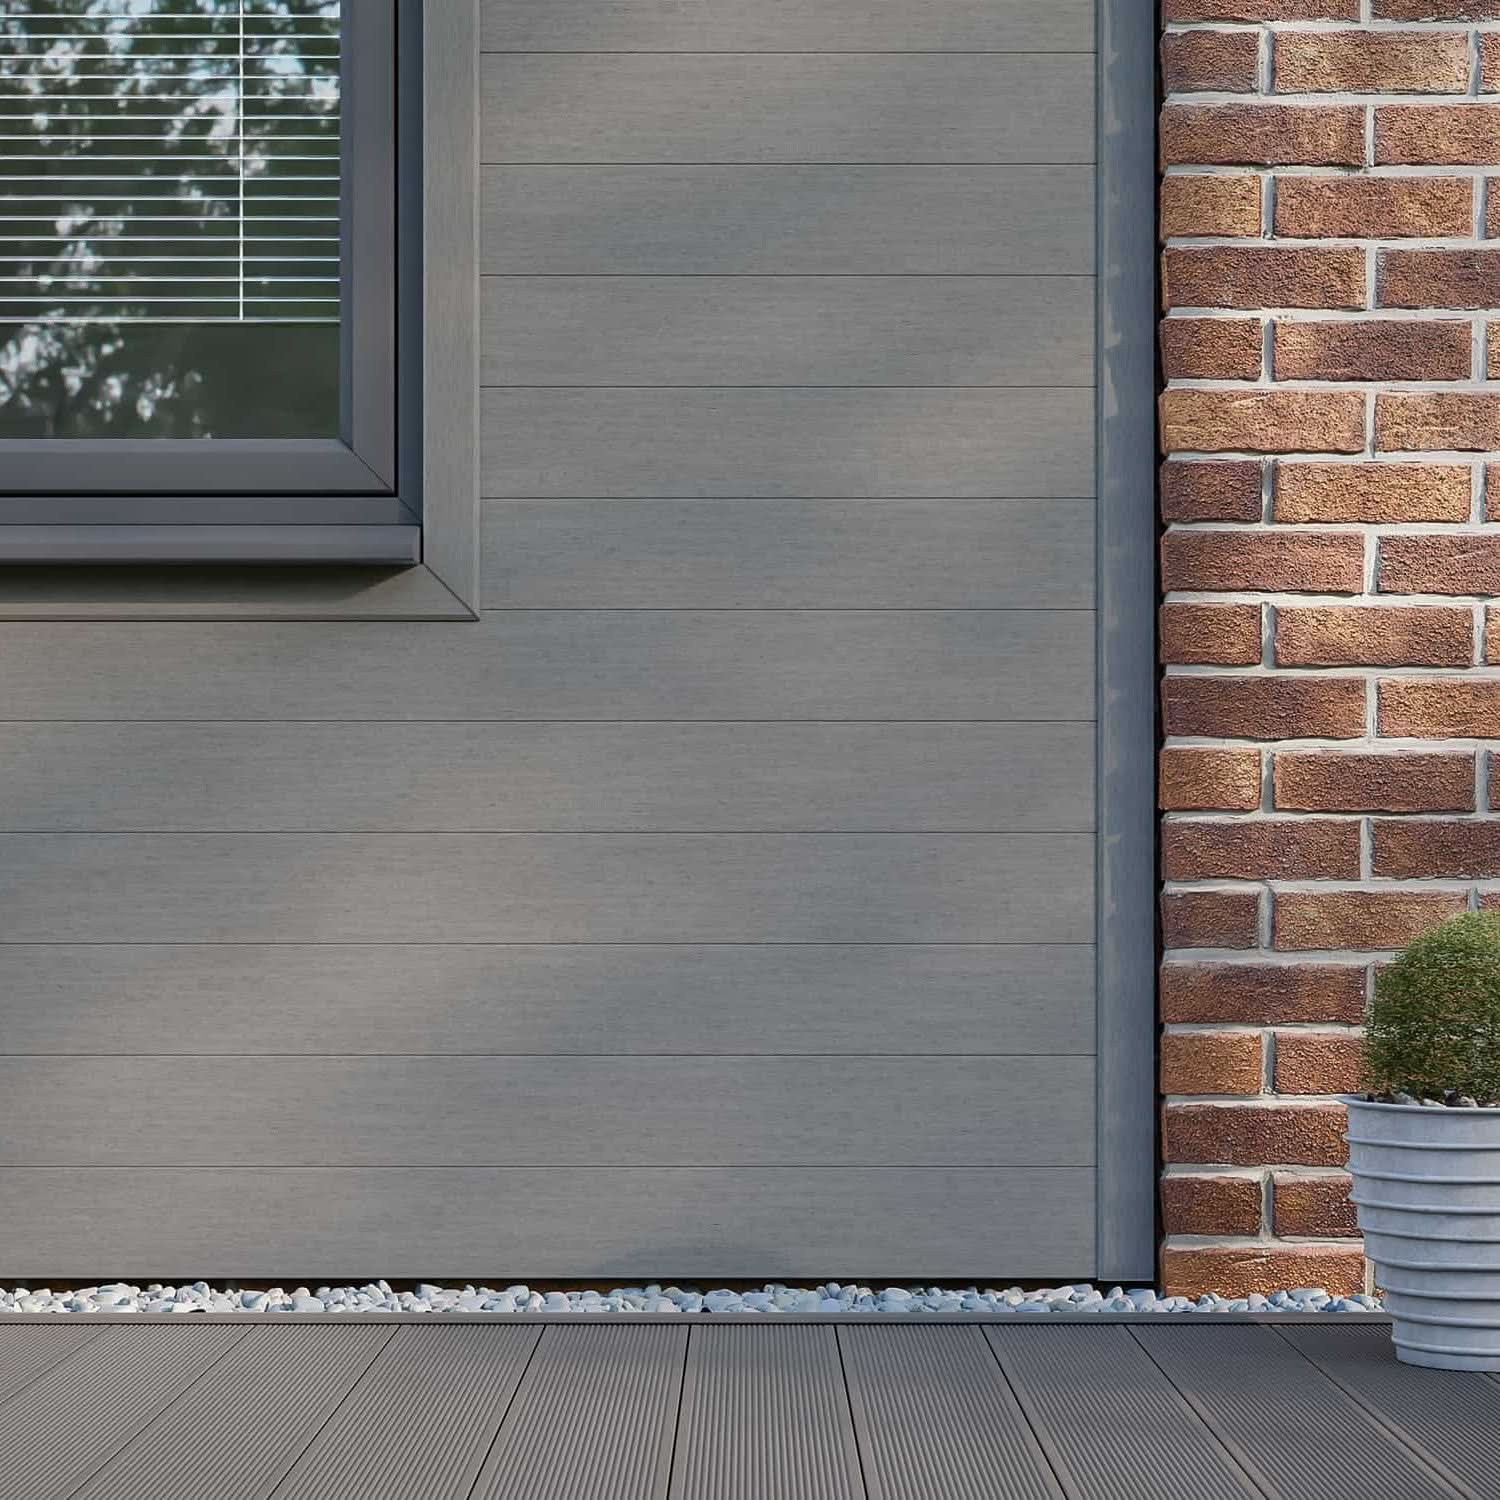
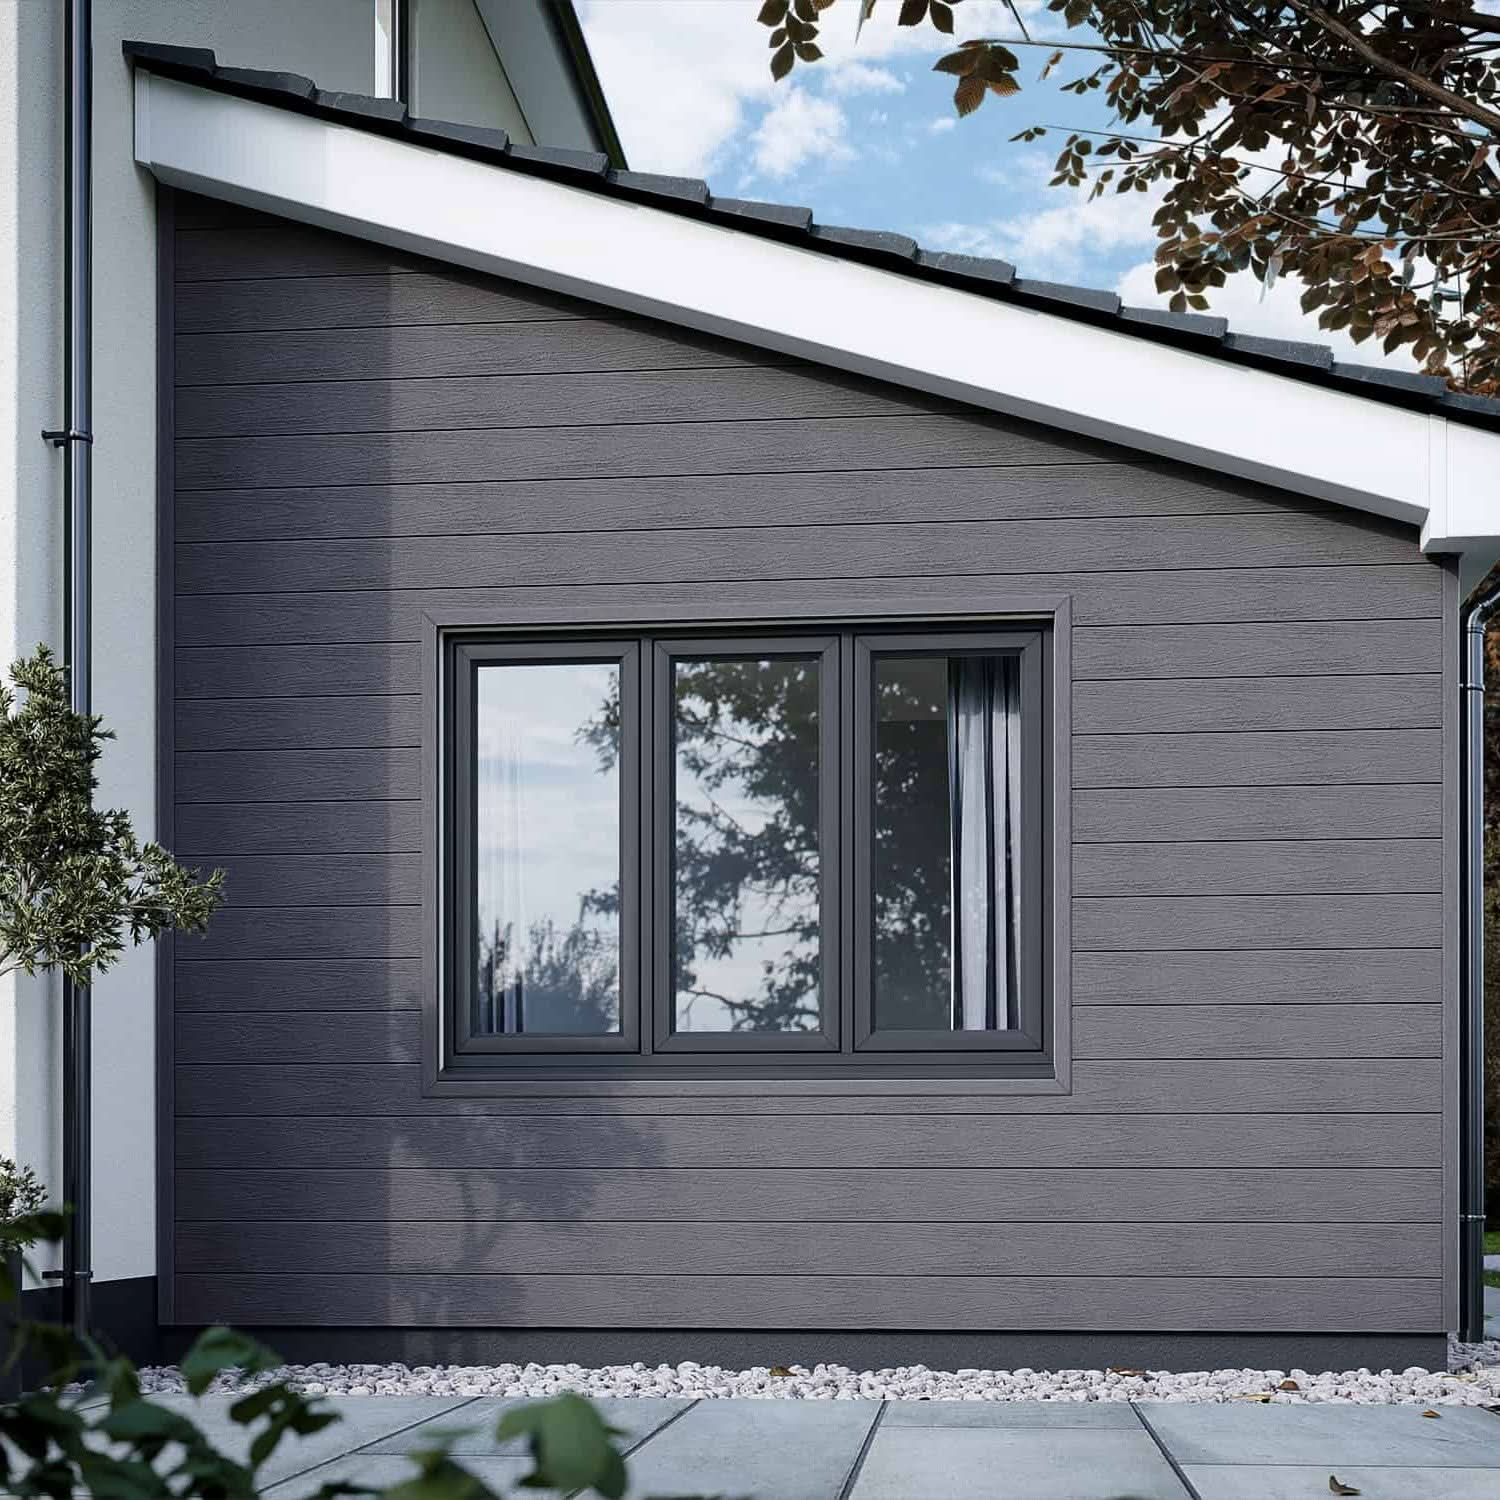
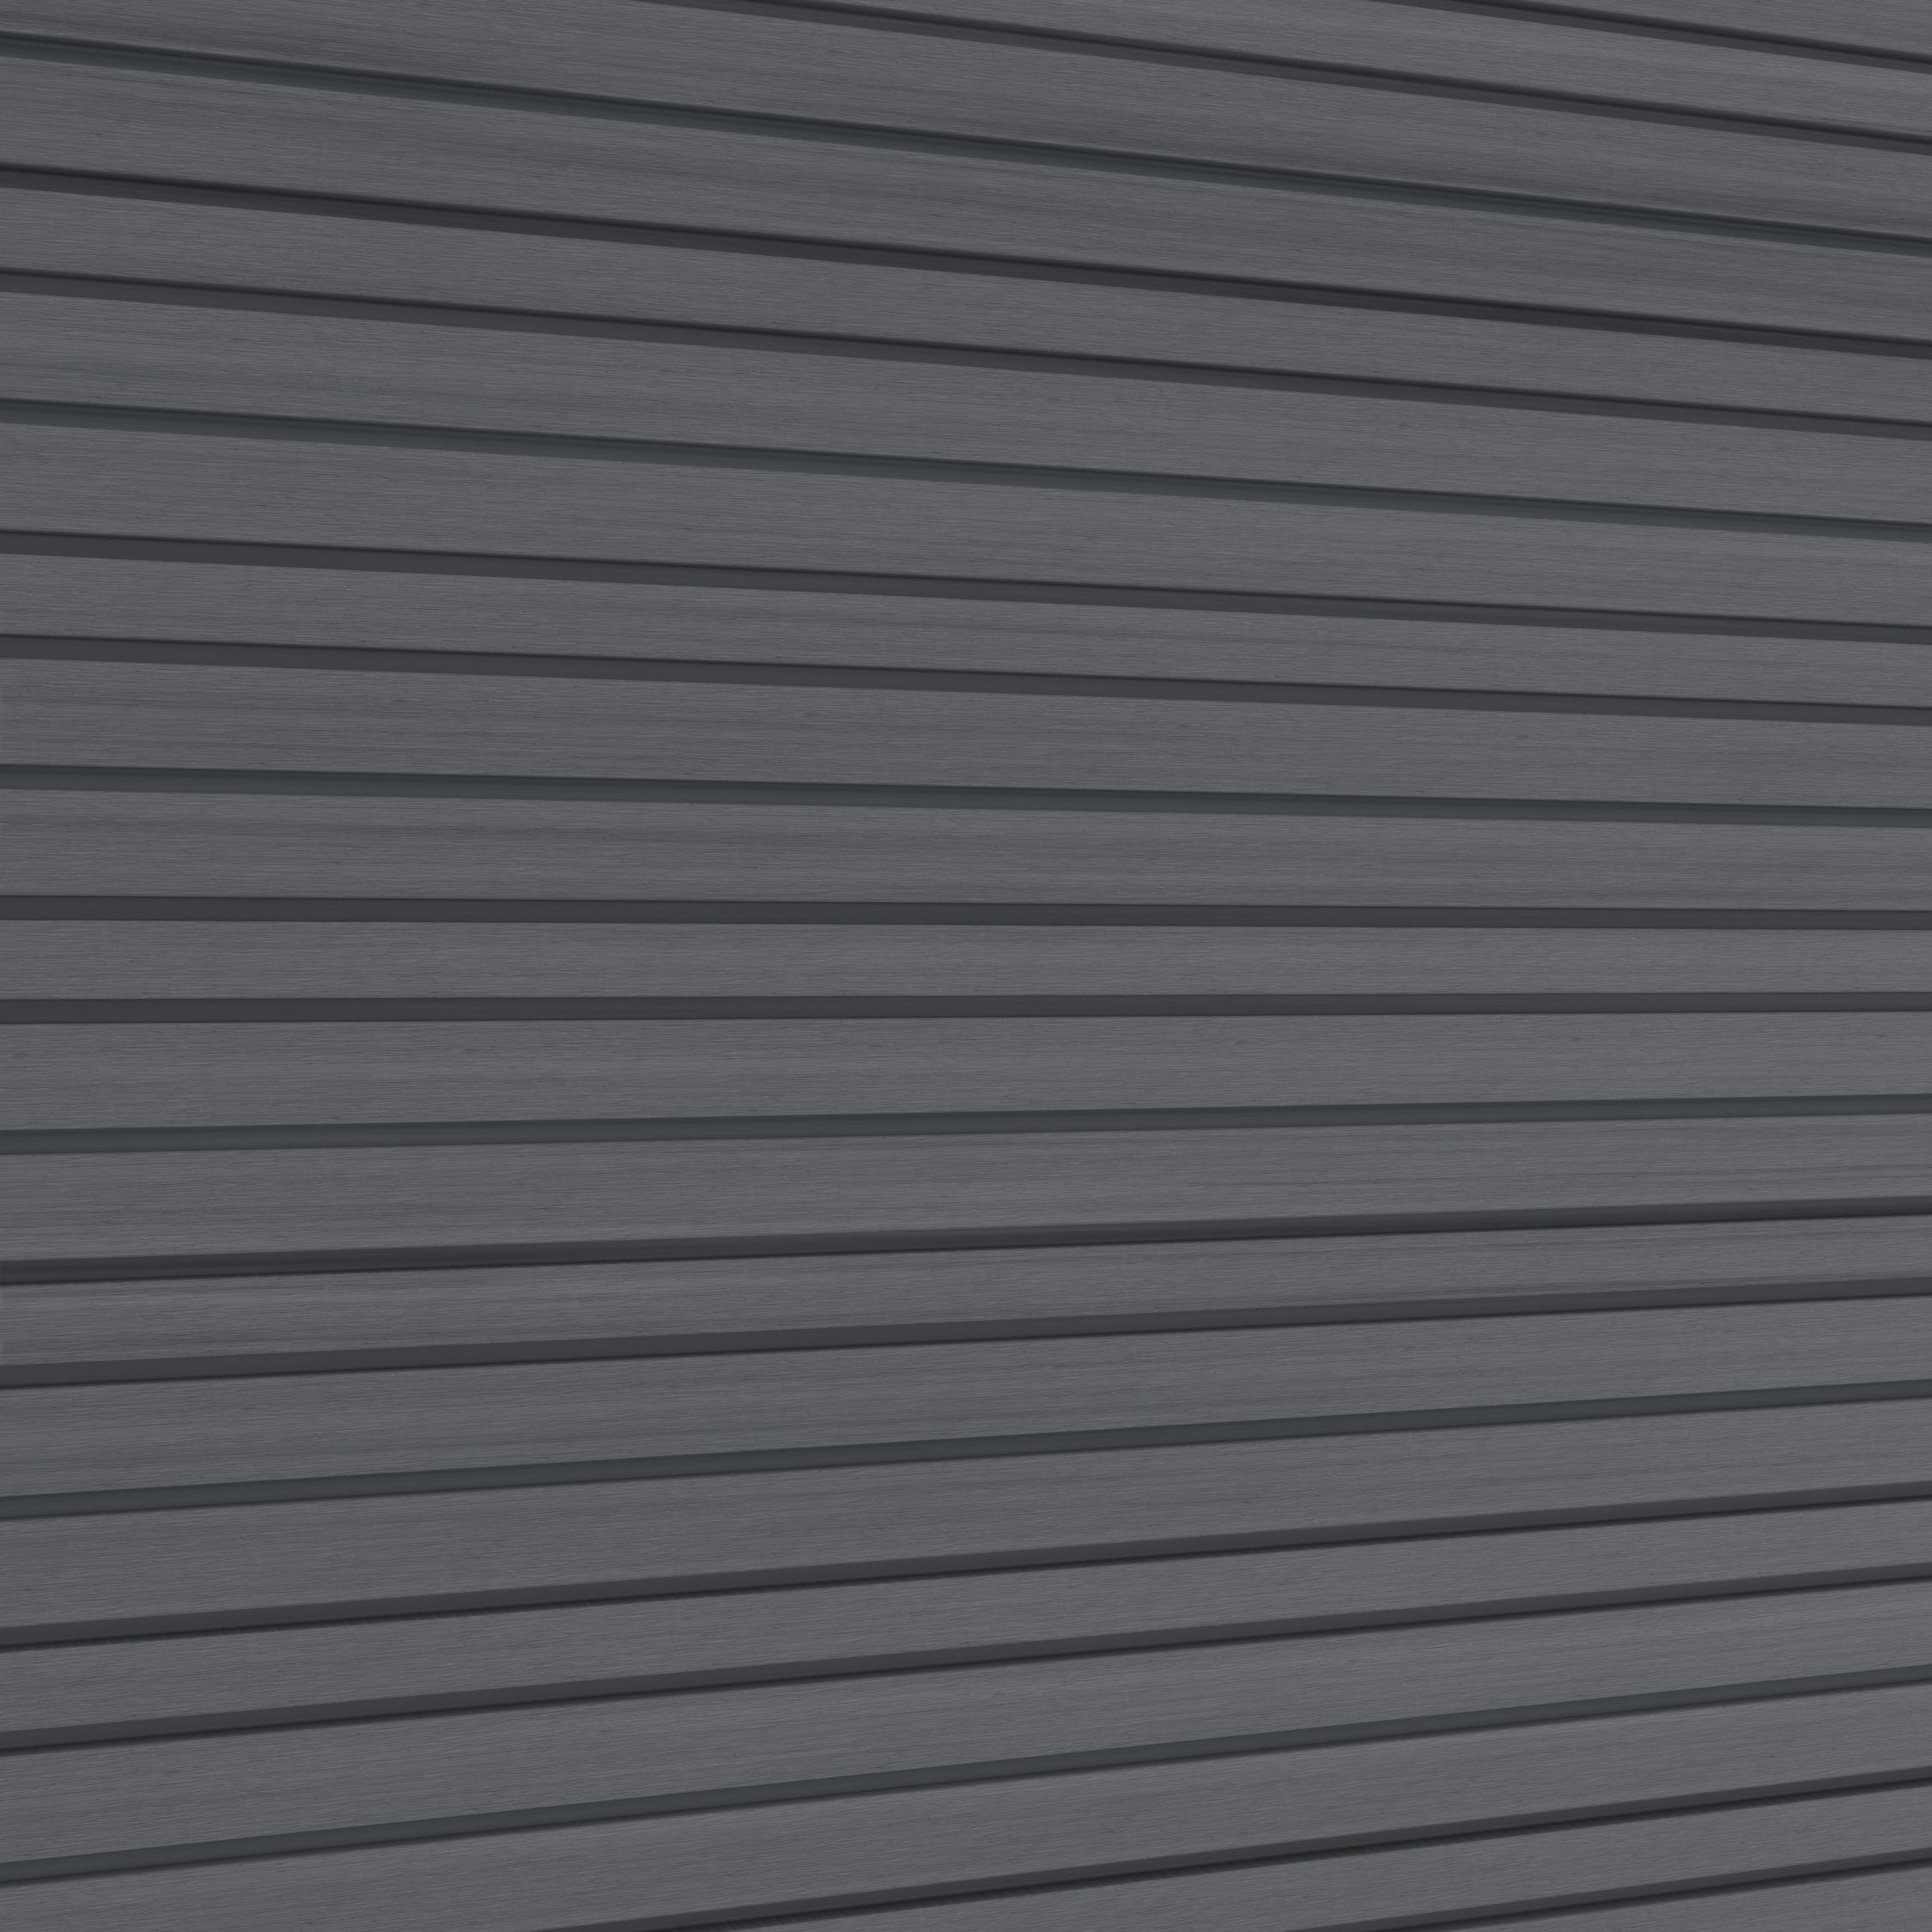
Horizontal composite cladding brings clean, continuous lines to an exterior. It can provide a timber-inspired finish for a garden room, introduce contrast beside brickwork or define a selected area of a house facade. The horizontal layout works with both traditional boarded designs and contemporary colour schemes.
A successful result depends on more than board direction. Colour, texture, joint placement and the way the cladding meets windows and corners all influence the finished appearance. Here, we explore design choices, practical planning and the installation details to consider before ordering.
What Is Horizontal Composite Cladding?
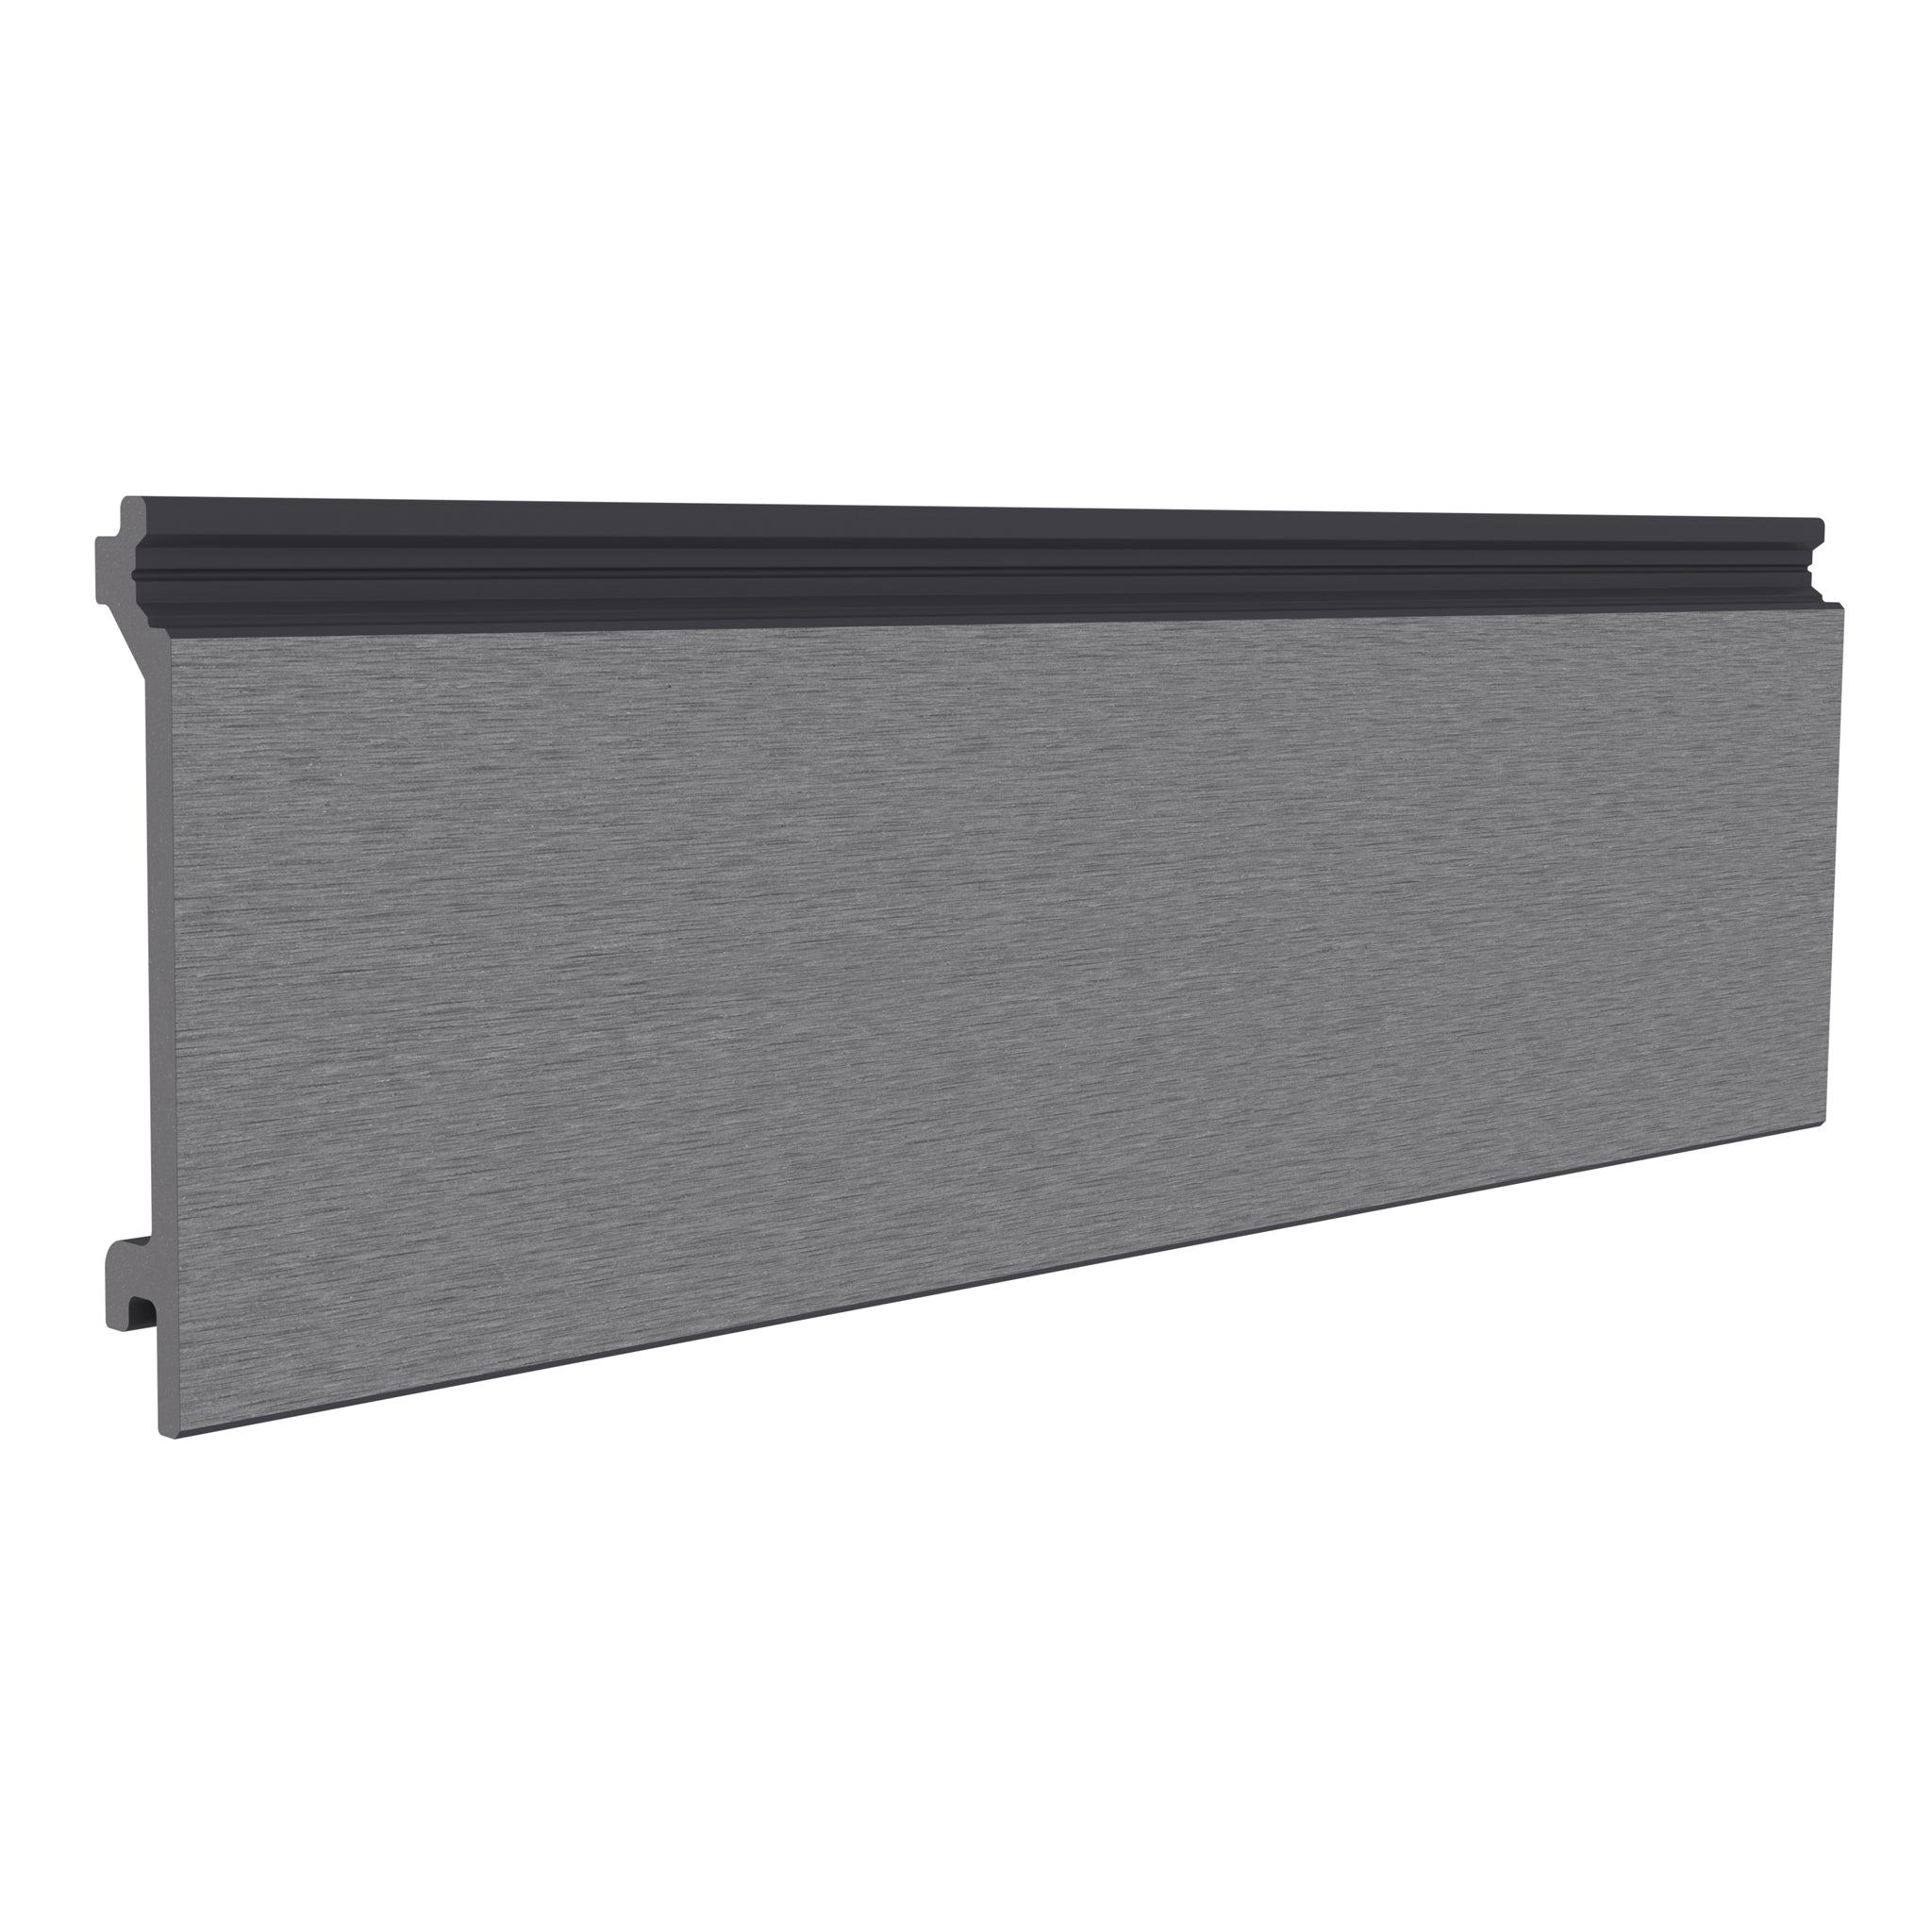
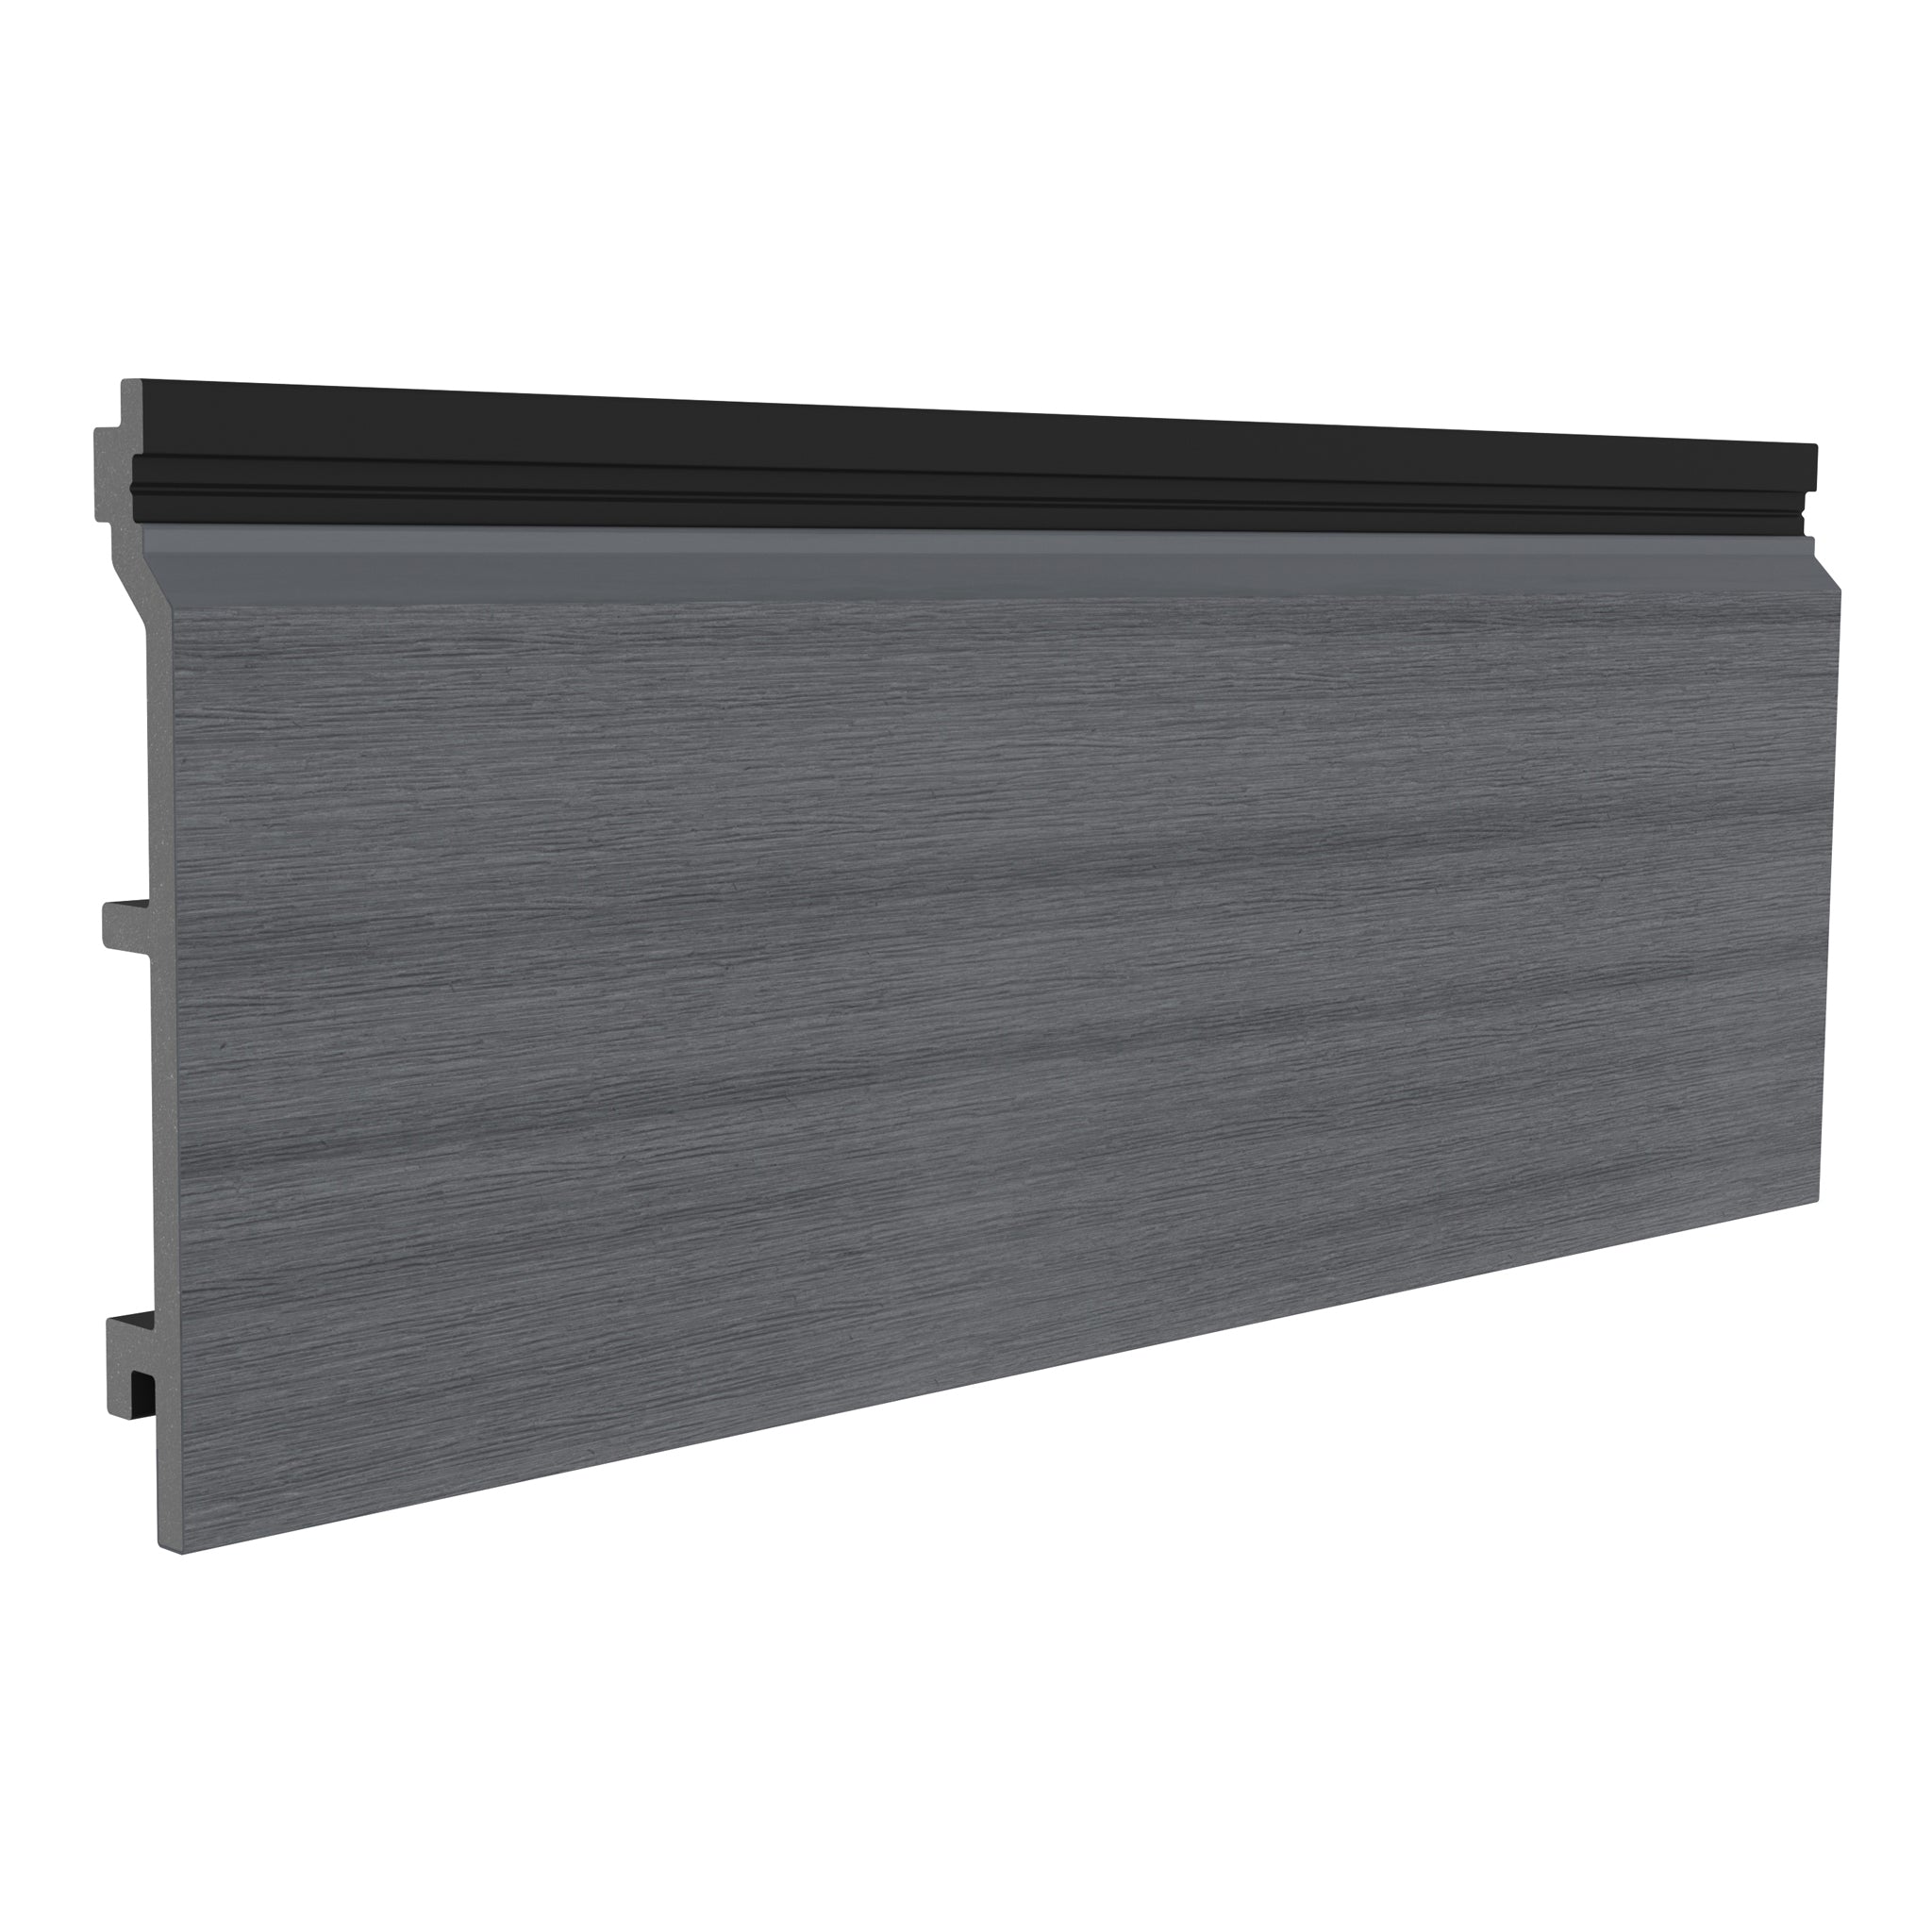
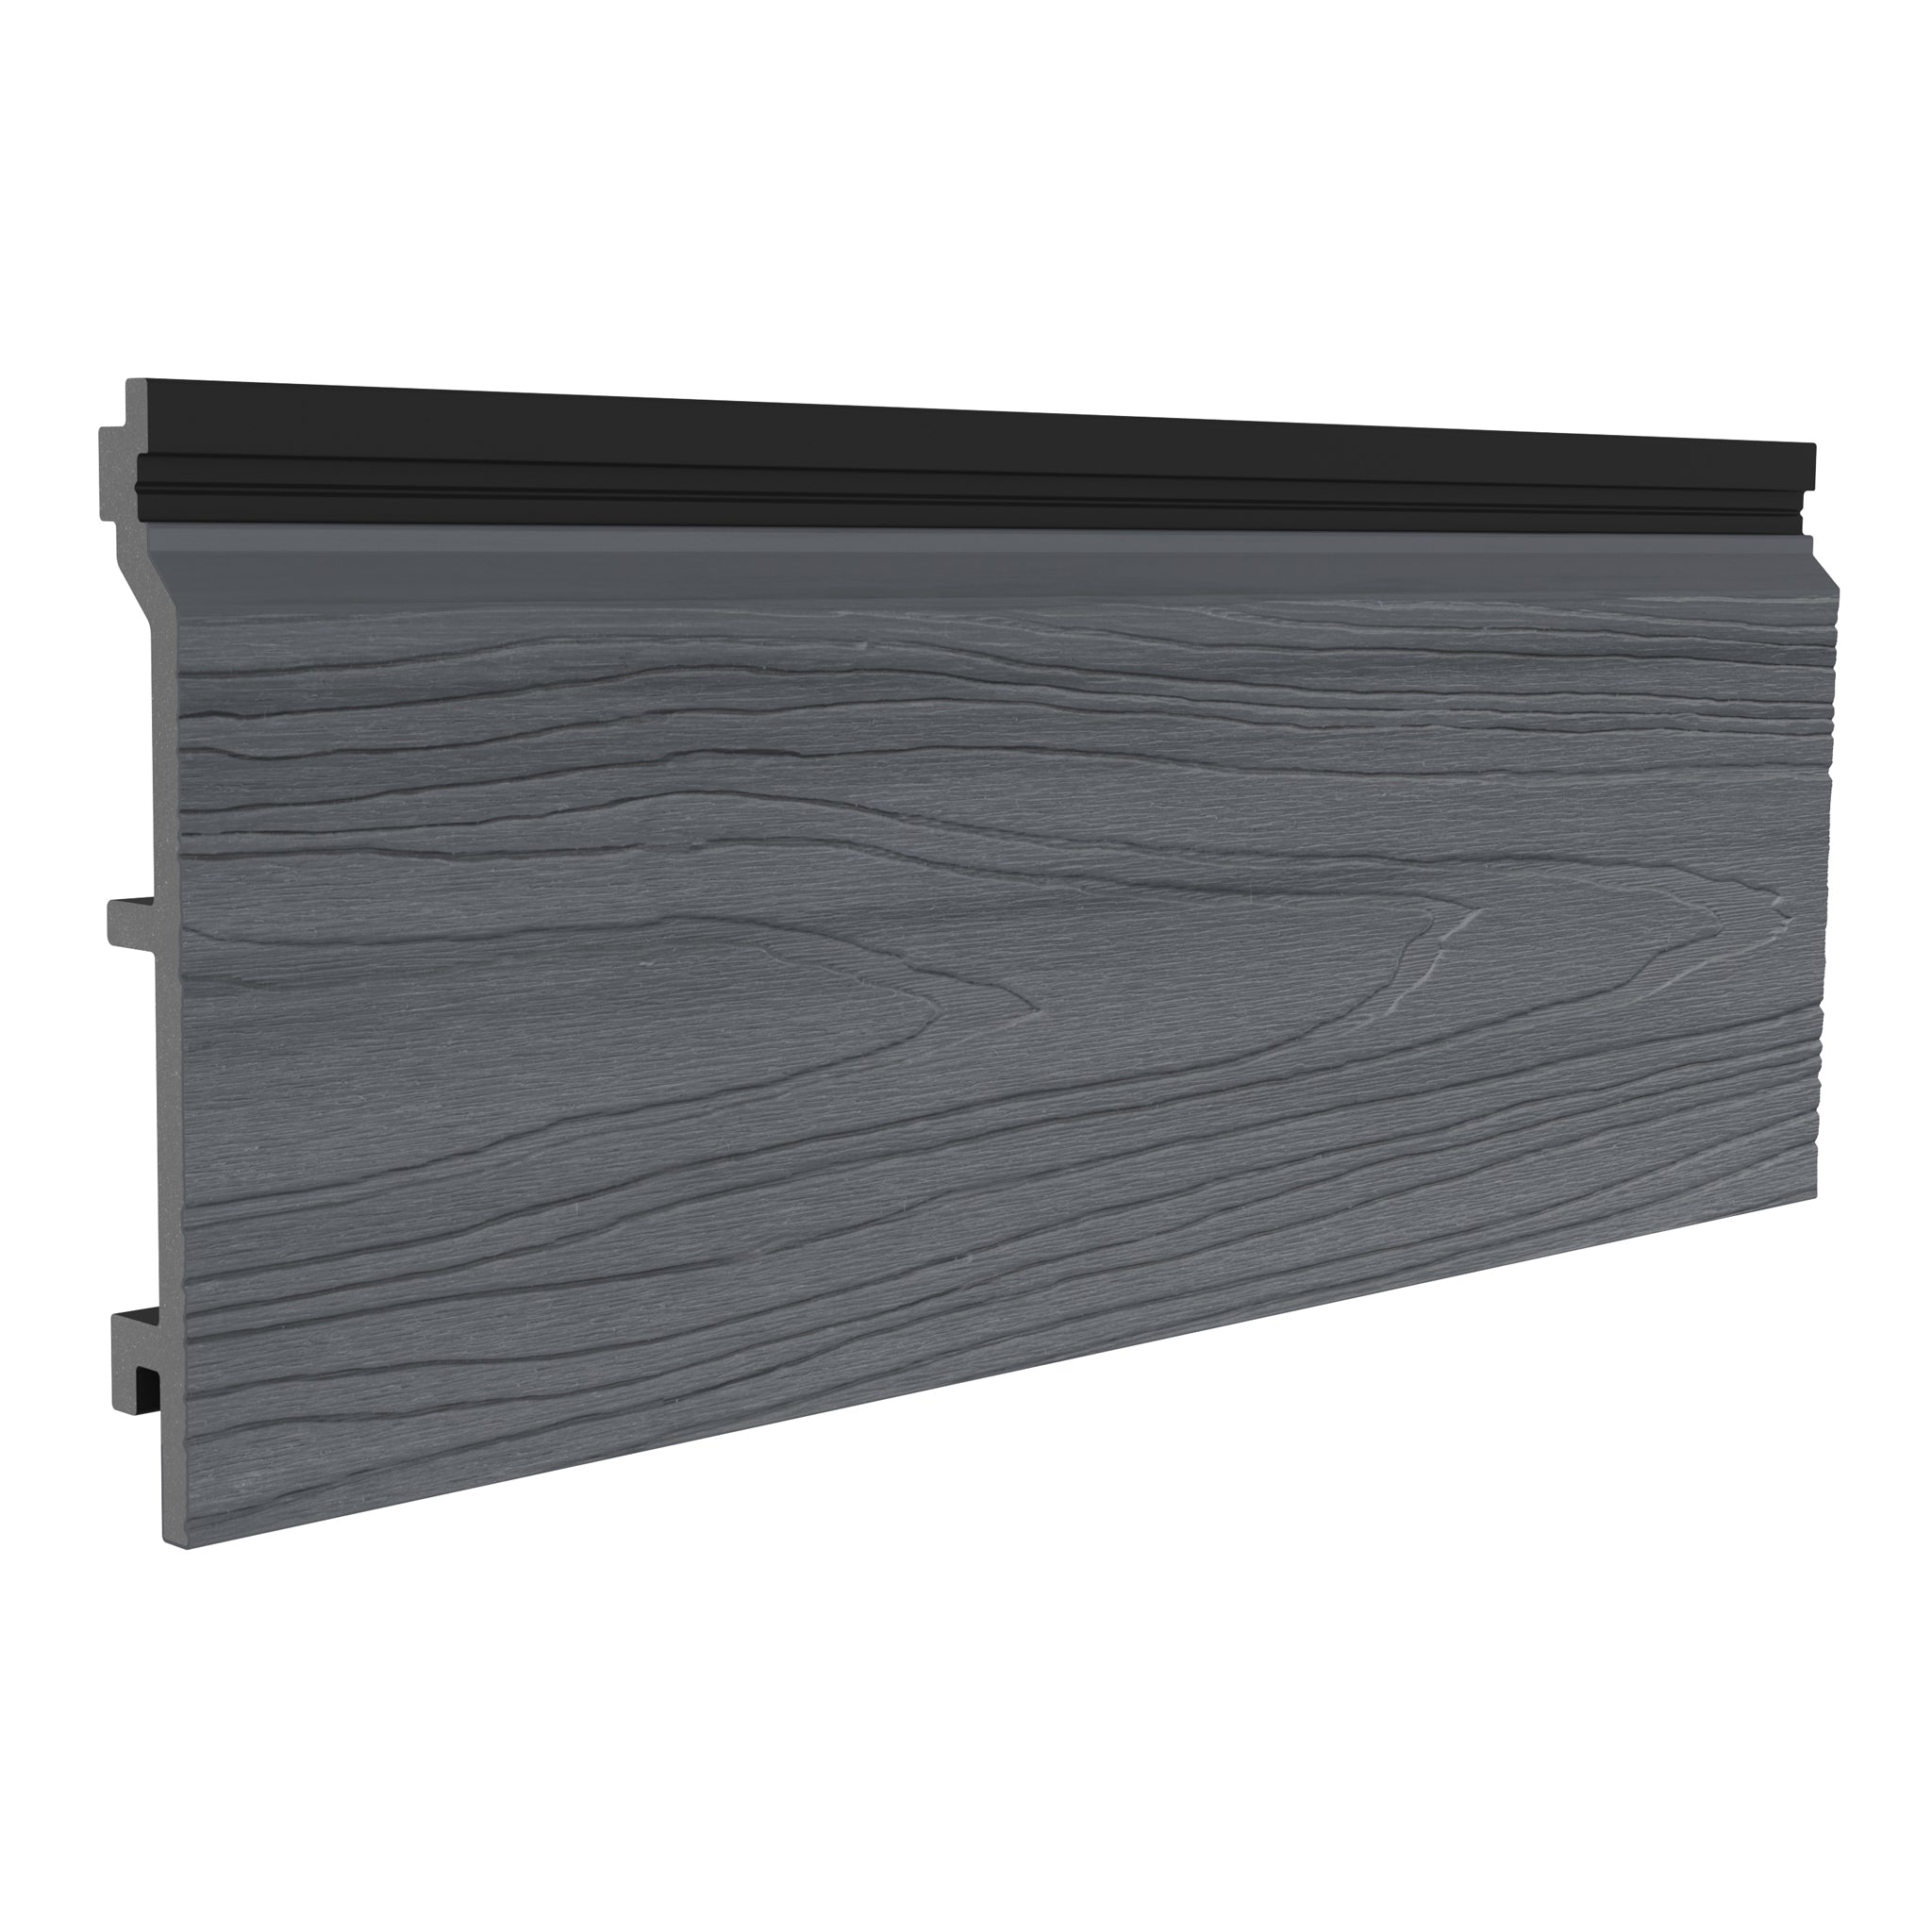
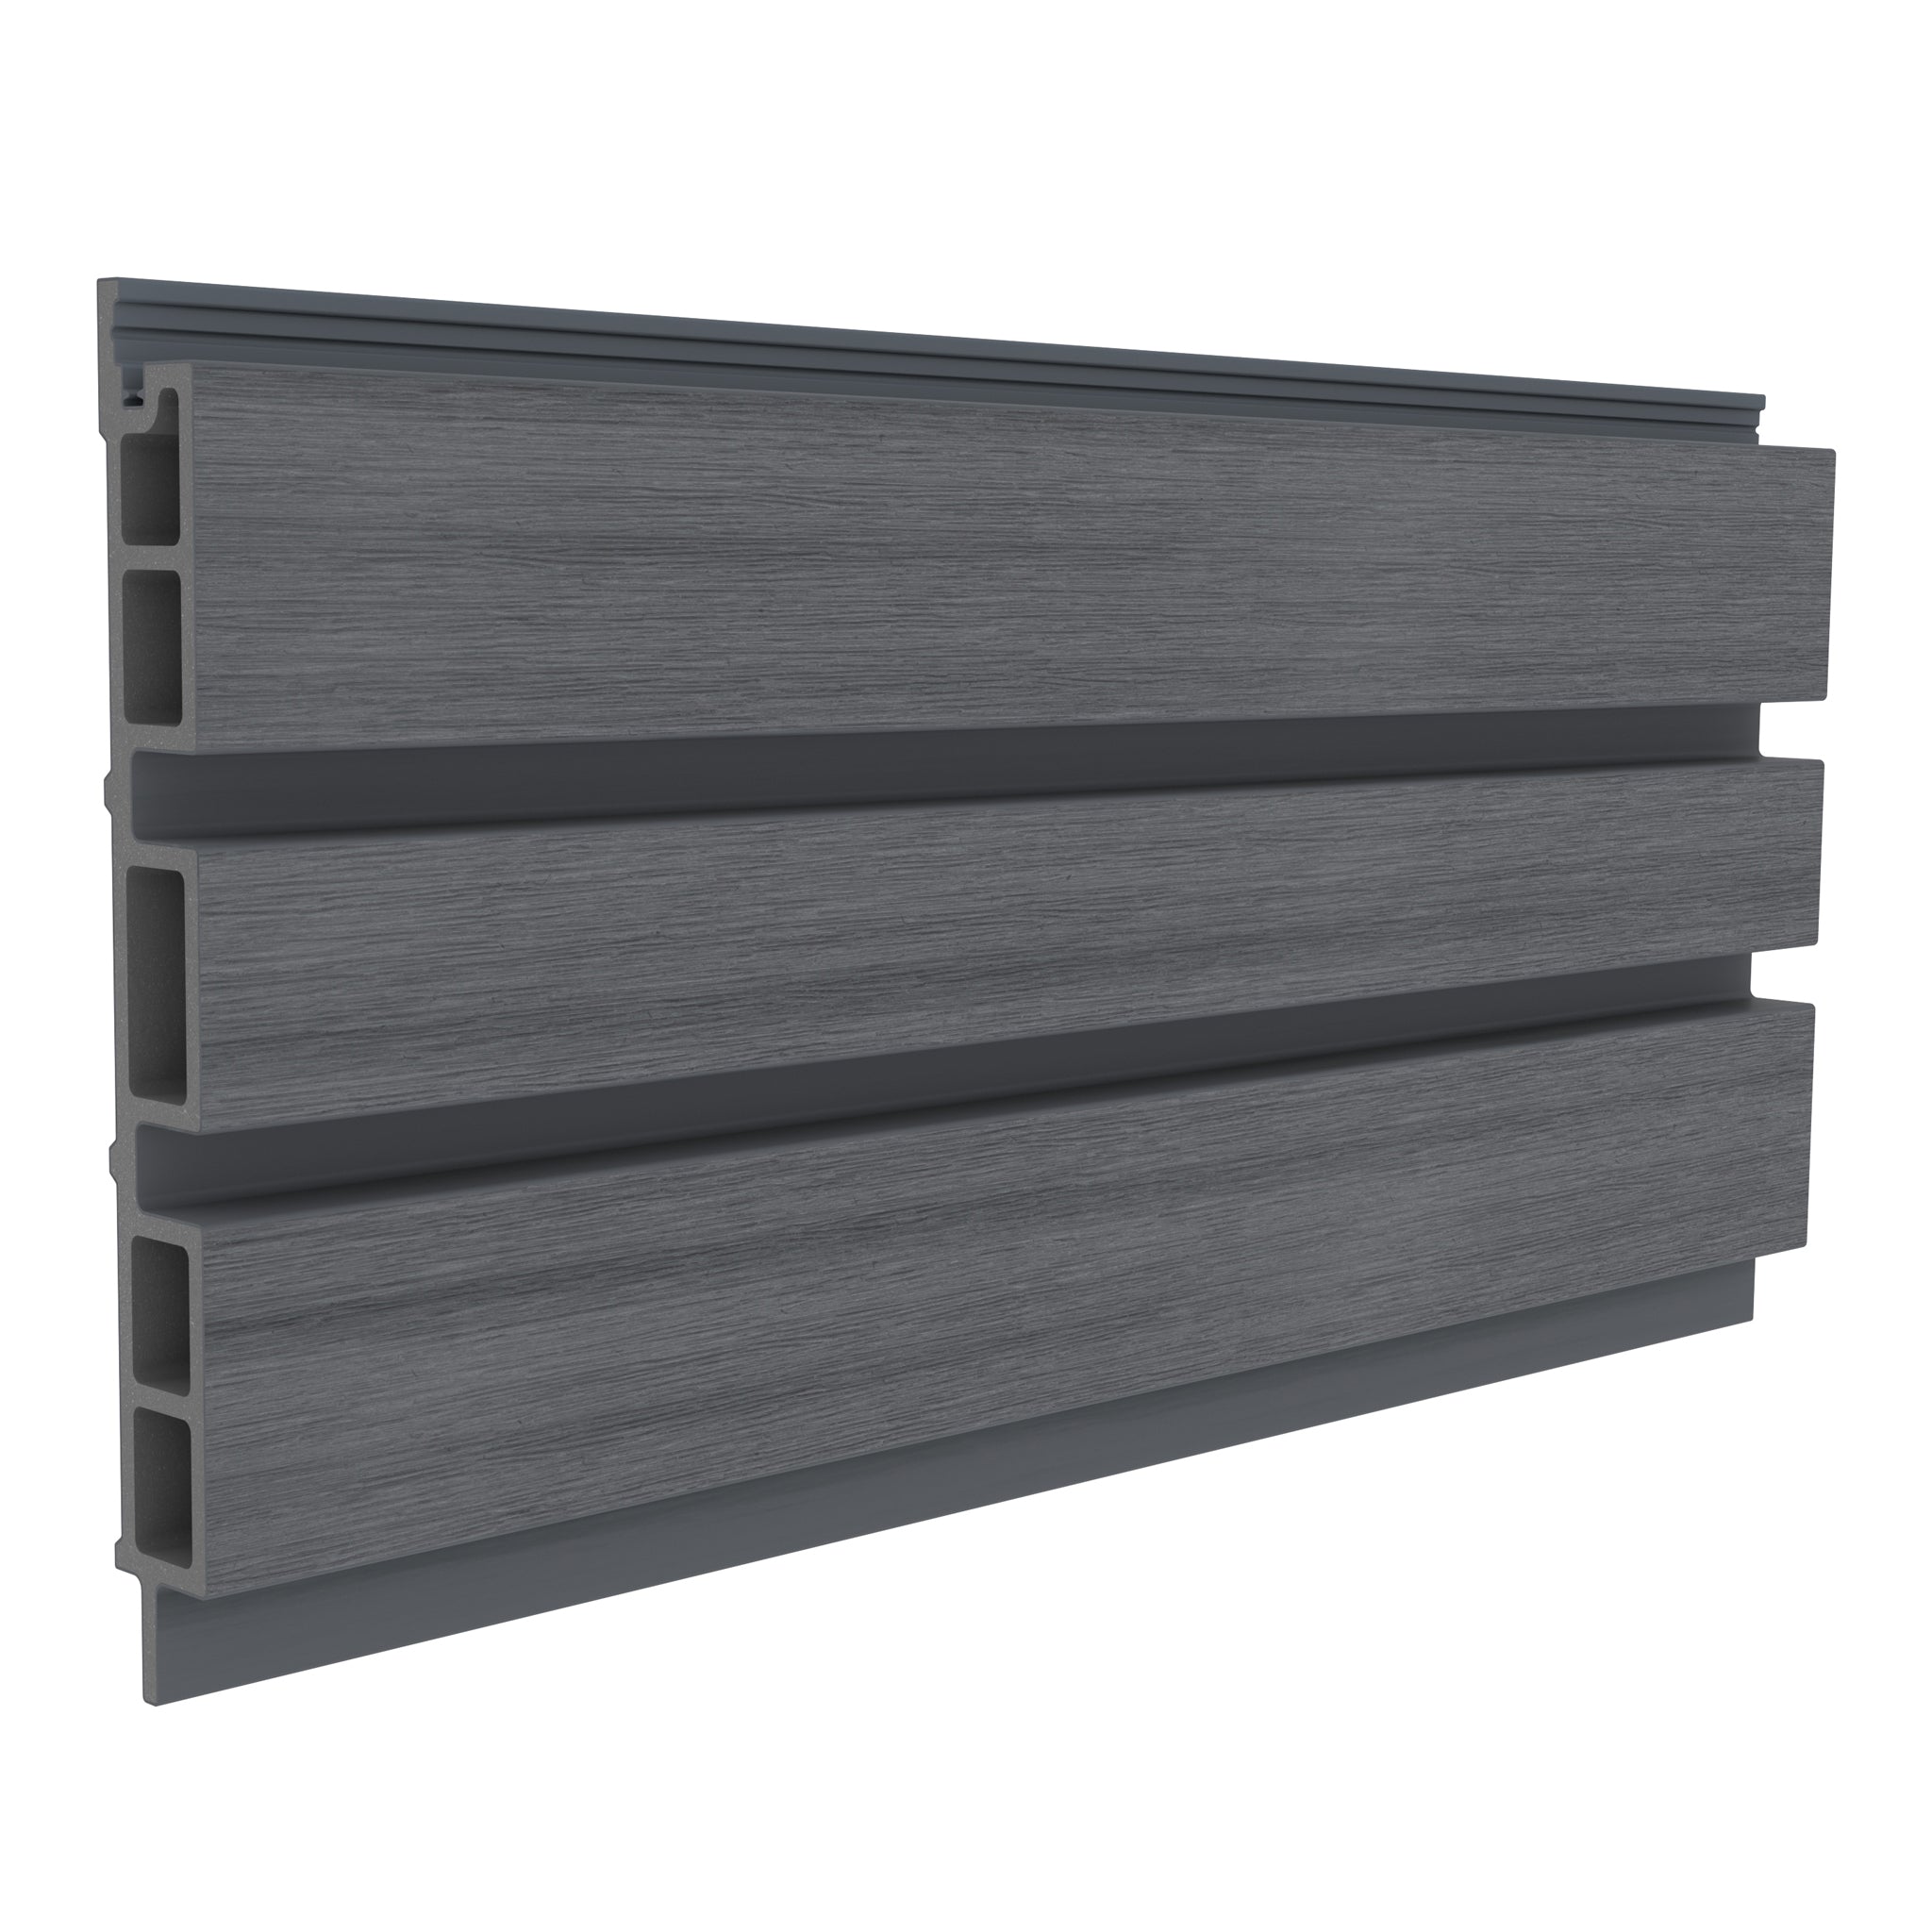
Horizontal composite cladding describes exterior composite boards installed with their lengths running across the wall. NeoTimber’s composite cladding collection includes wood-polymer boards with different finishes and profiles. Choose a product whose installation instructions support your intended orientation.
You may also see this arrangement described as horizontal composite siding. “Siding” and “cladding” commonly refer to exterior wall coverings; the product specification matters more than the terminology. The cladding forms part of a wall system, alongside its supports and the appropriate moisture-management details.
Why Choose a Horizontal Layout?
Emphasise the Width of an Elevation
Horizontal lines draw the eye across a wall and can emphasise its width. This may help a narrow elevation feel more balanced, particularly when the boards relate to window lines or an adjoining garden wall. The effect depends on the building’s proportions, the board profile and the amount of cladding used.
Create a Familiar Boarded Appearance
A horizontal layout can echo traditional weatherboarding while introducing a manufactured timber-alternative finish. Choose a subtle surface for a restrained design or a more pronounced grain if texture is a central feature. Compare samples with the existing exterior materials before making your decision.
Define a Feature Area
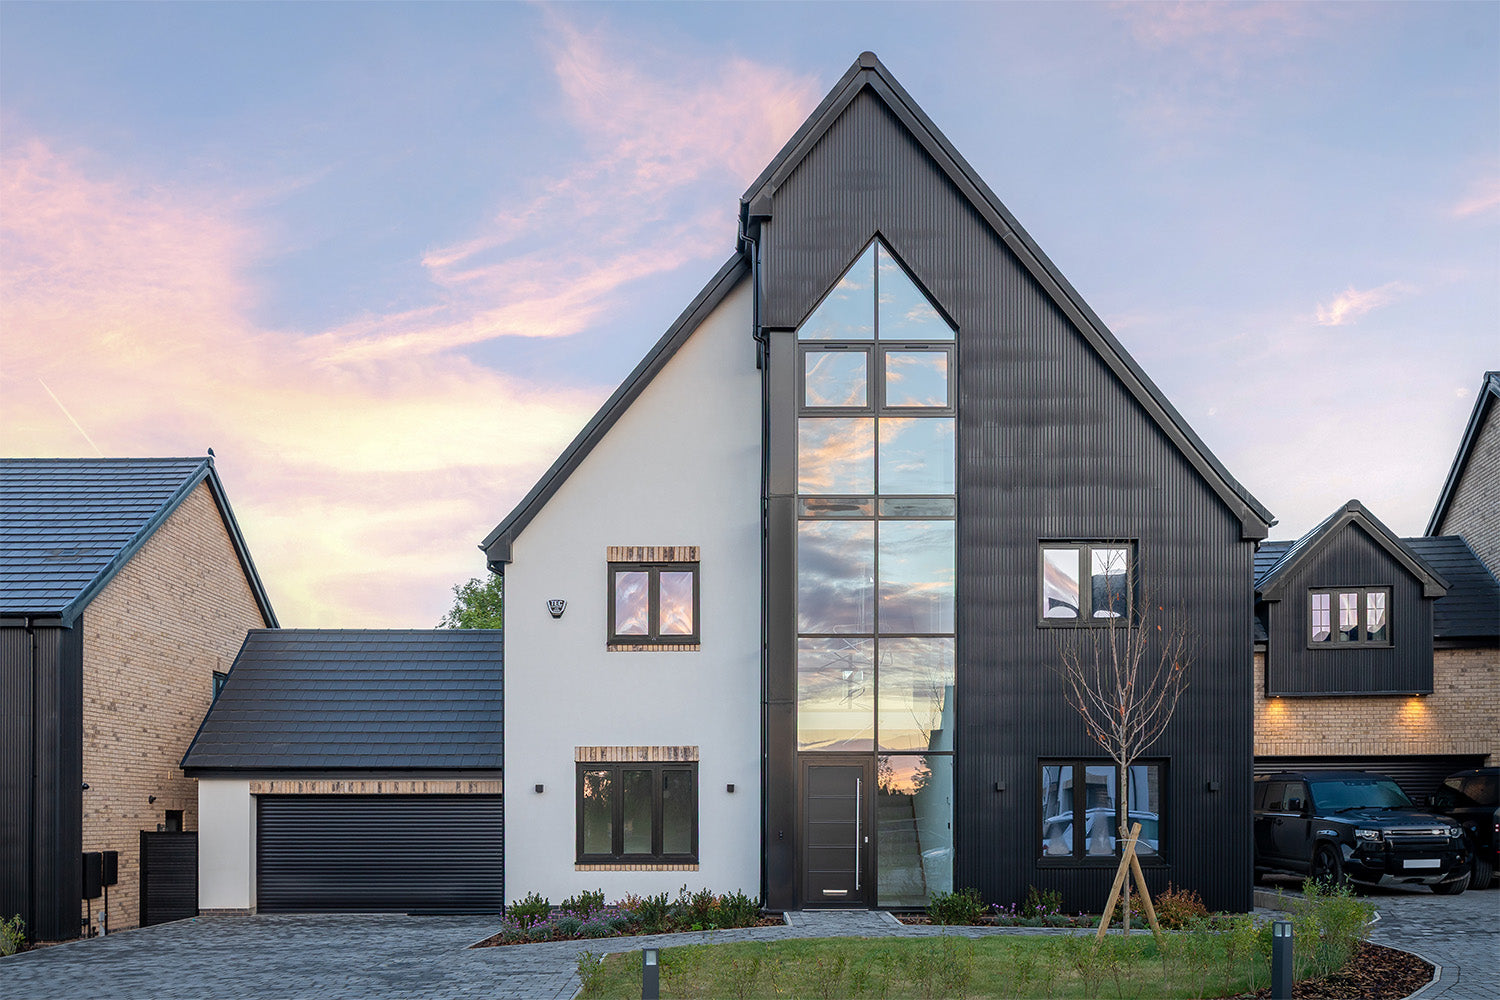
You do not need to cover every wall to make an impact. Horizontal composite cladding can define an entrance, a garden-facing elevation or a selected section beside render. Part-cladding the ground or upper floor can also work where the transition is designed carefully.
Plan the edges of the clad area as deliberately as the surface itself. A clear relationship with window heads, sills and corners usually creates a more coherent result than ending the boards at an arbitrary height. Explore the cladding ideas guide for inspiration.
Choosing Colours and Finishes
Start with the property’s existing palette: brickwork, roof, glazing and landscaping. Warm timber-inspired tones can soften a modern exterior, while darker shades can create contrast. A lighter finish may give a different balance beside dark window frames.
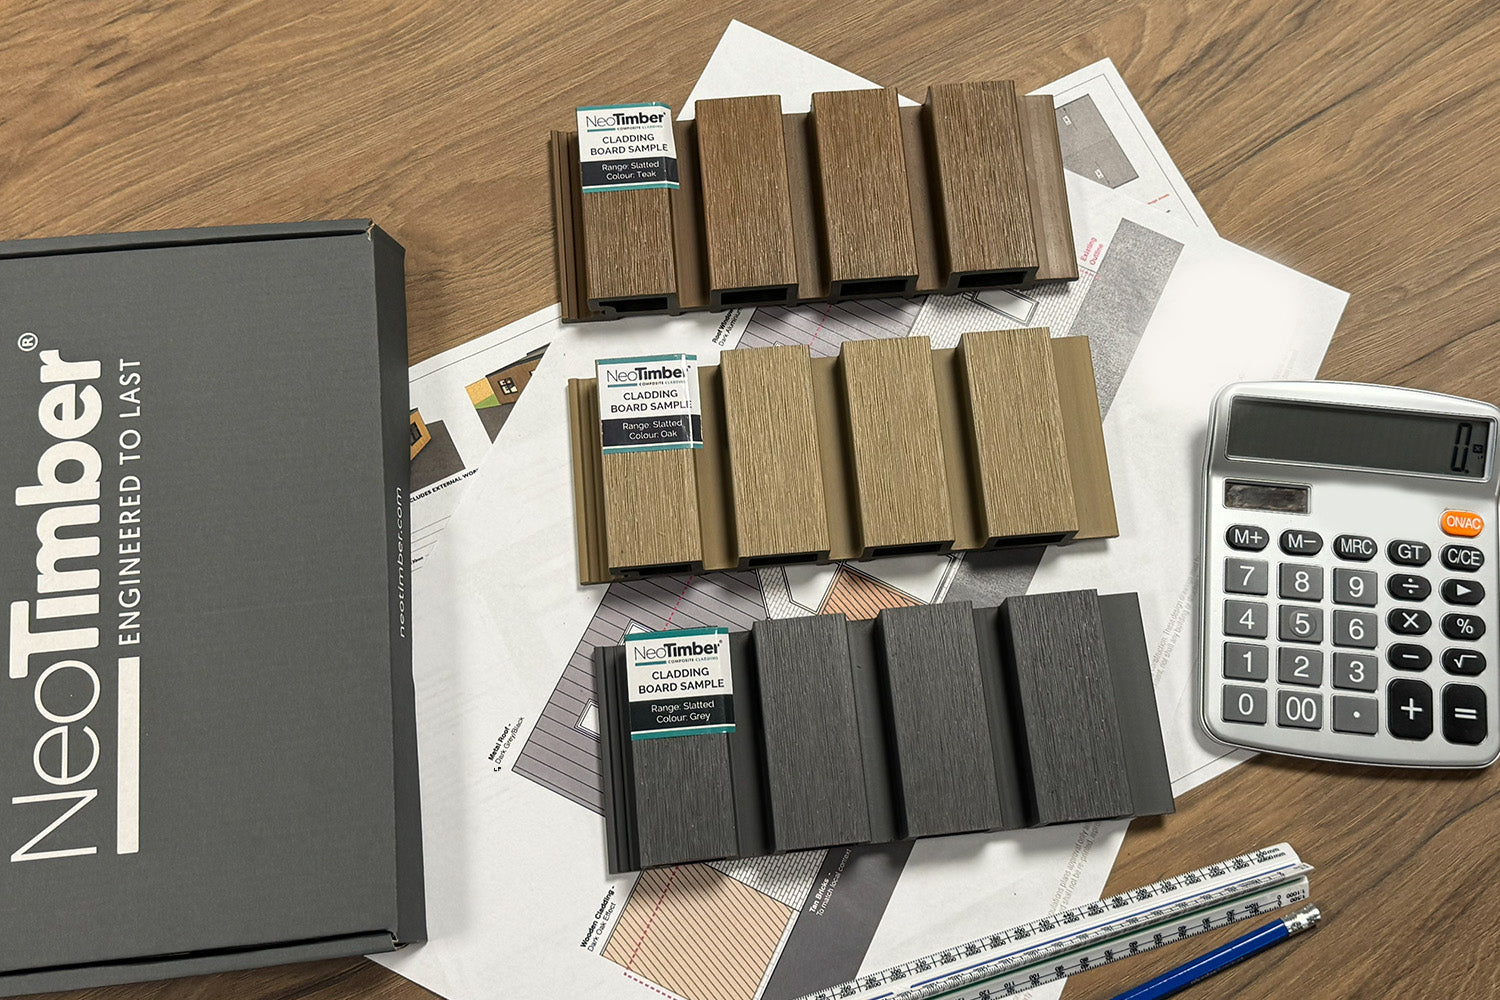
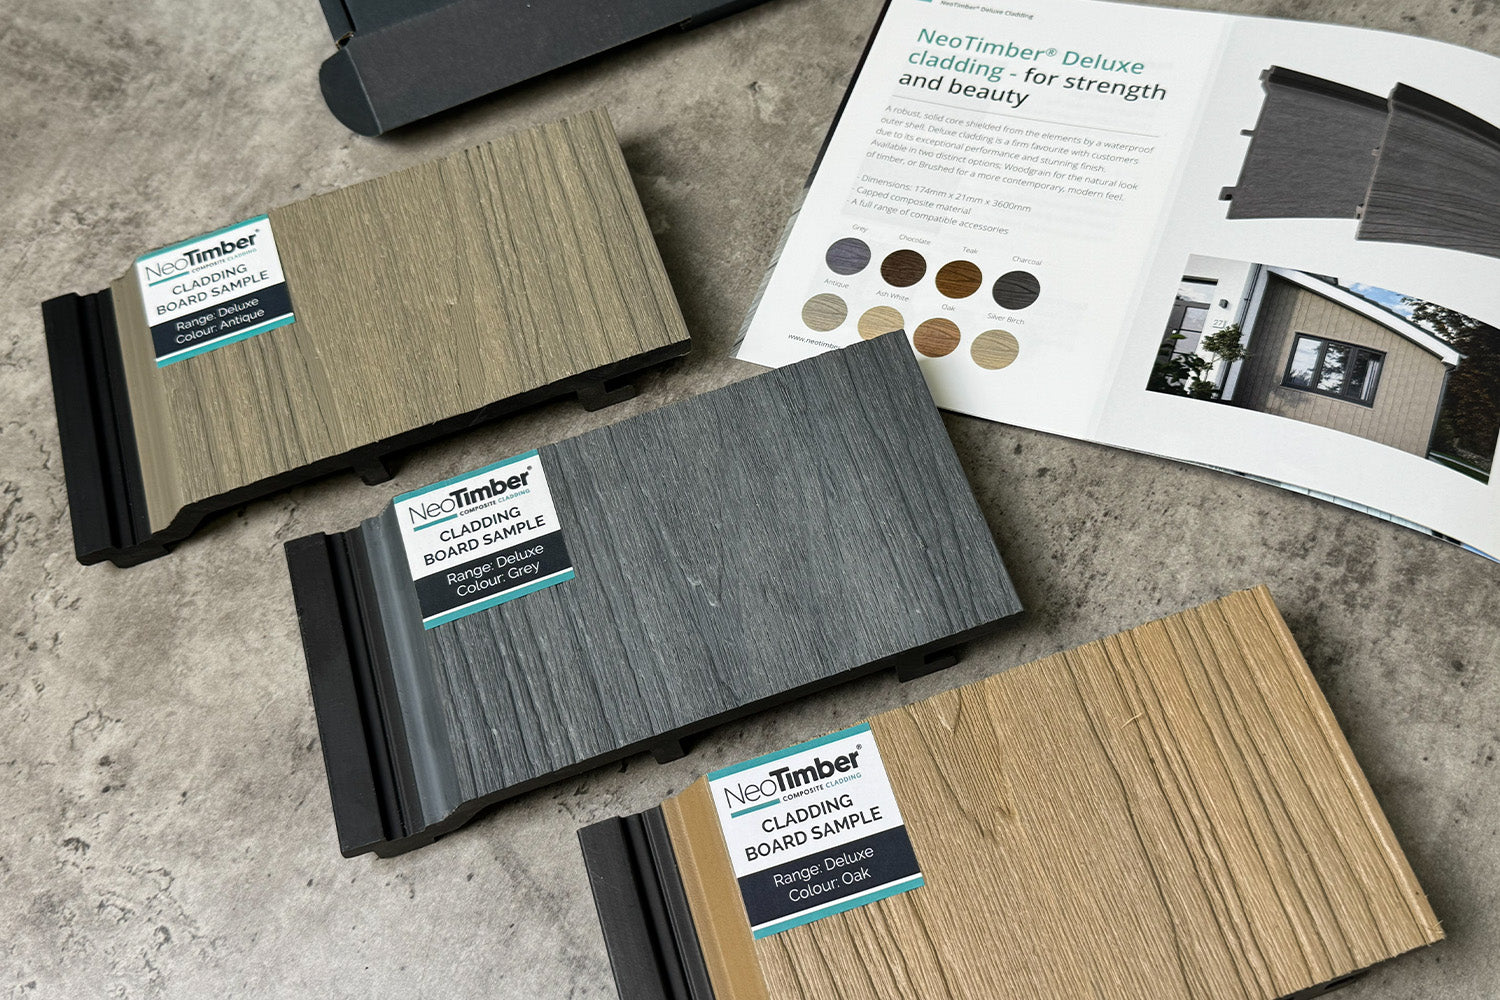
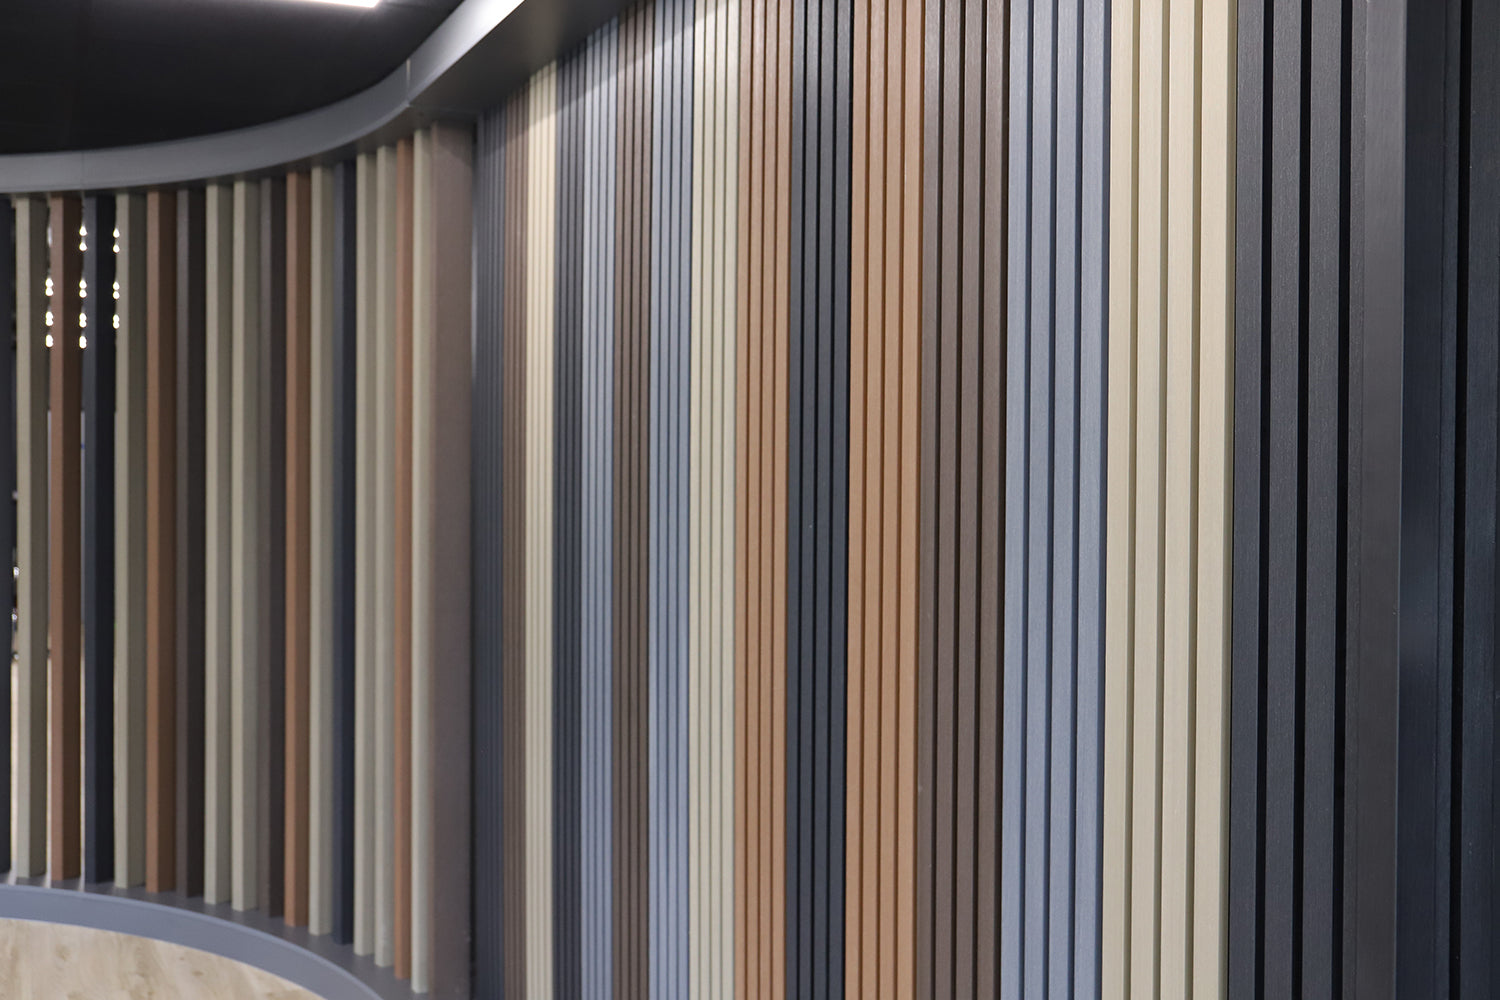
NeoTimber’s cladding colour guide can help you shortlist options. Check current availability for the selected range, then view physical samples in daylight and shade. Screens and photographs are useful for inspiration, but they do not show exactly how a finish will appear at your property.
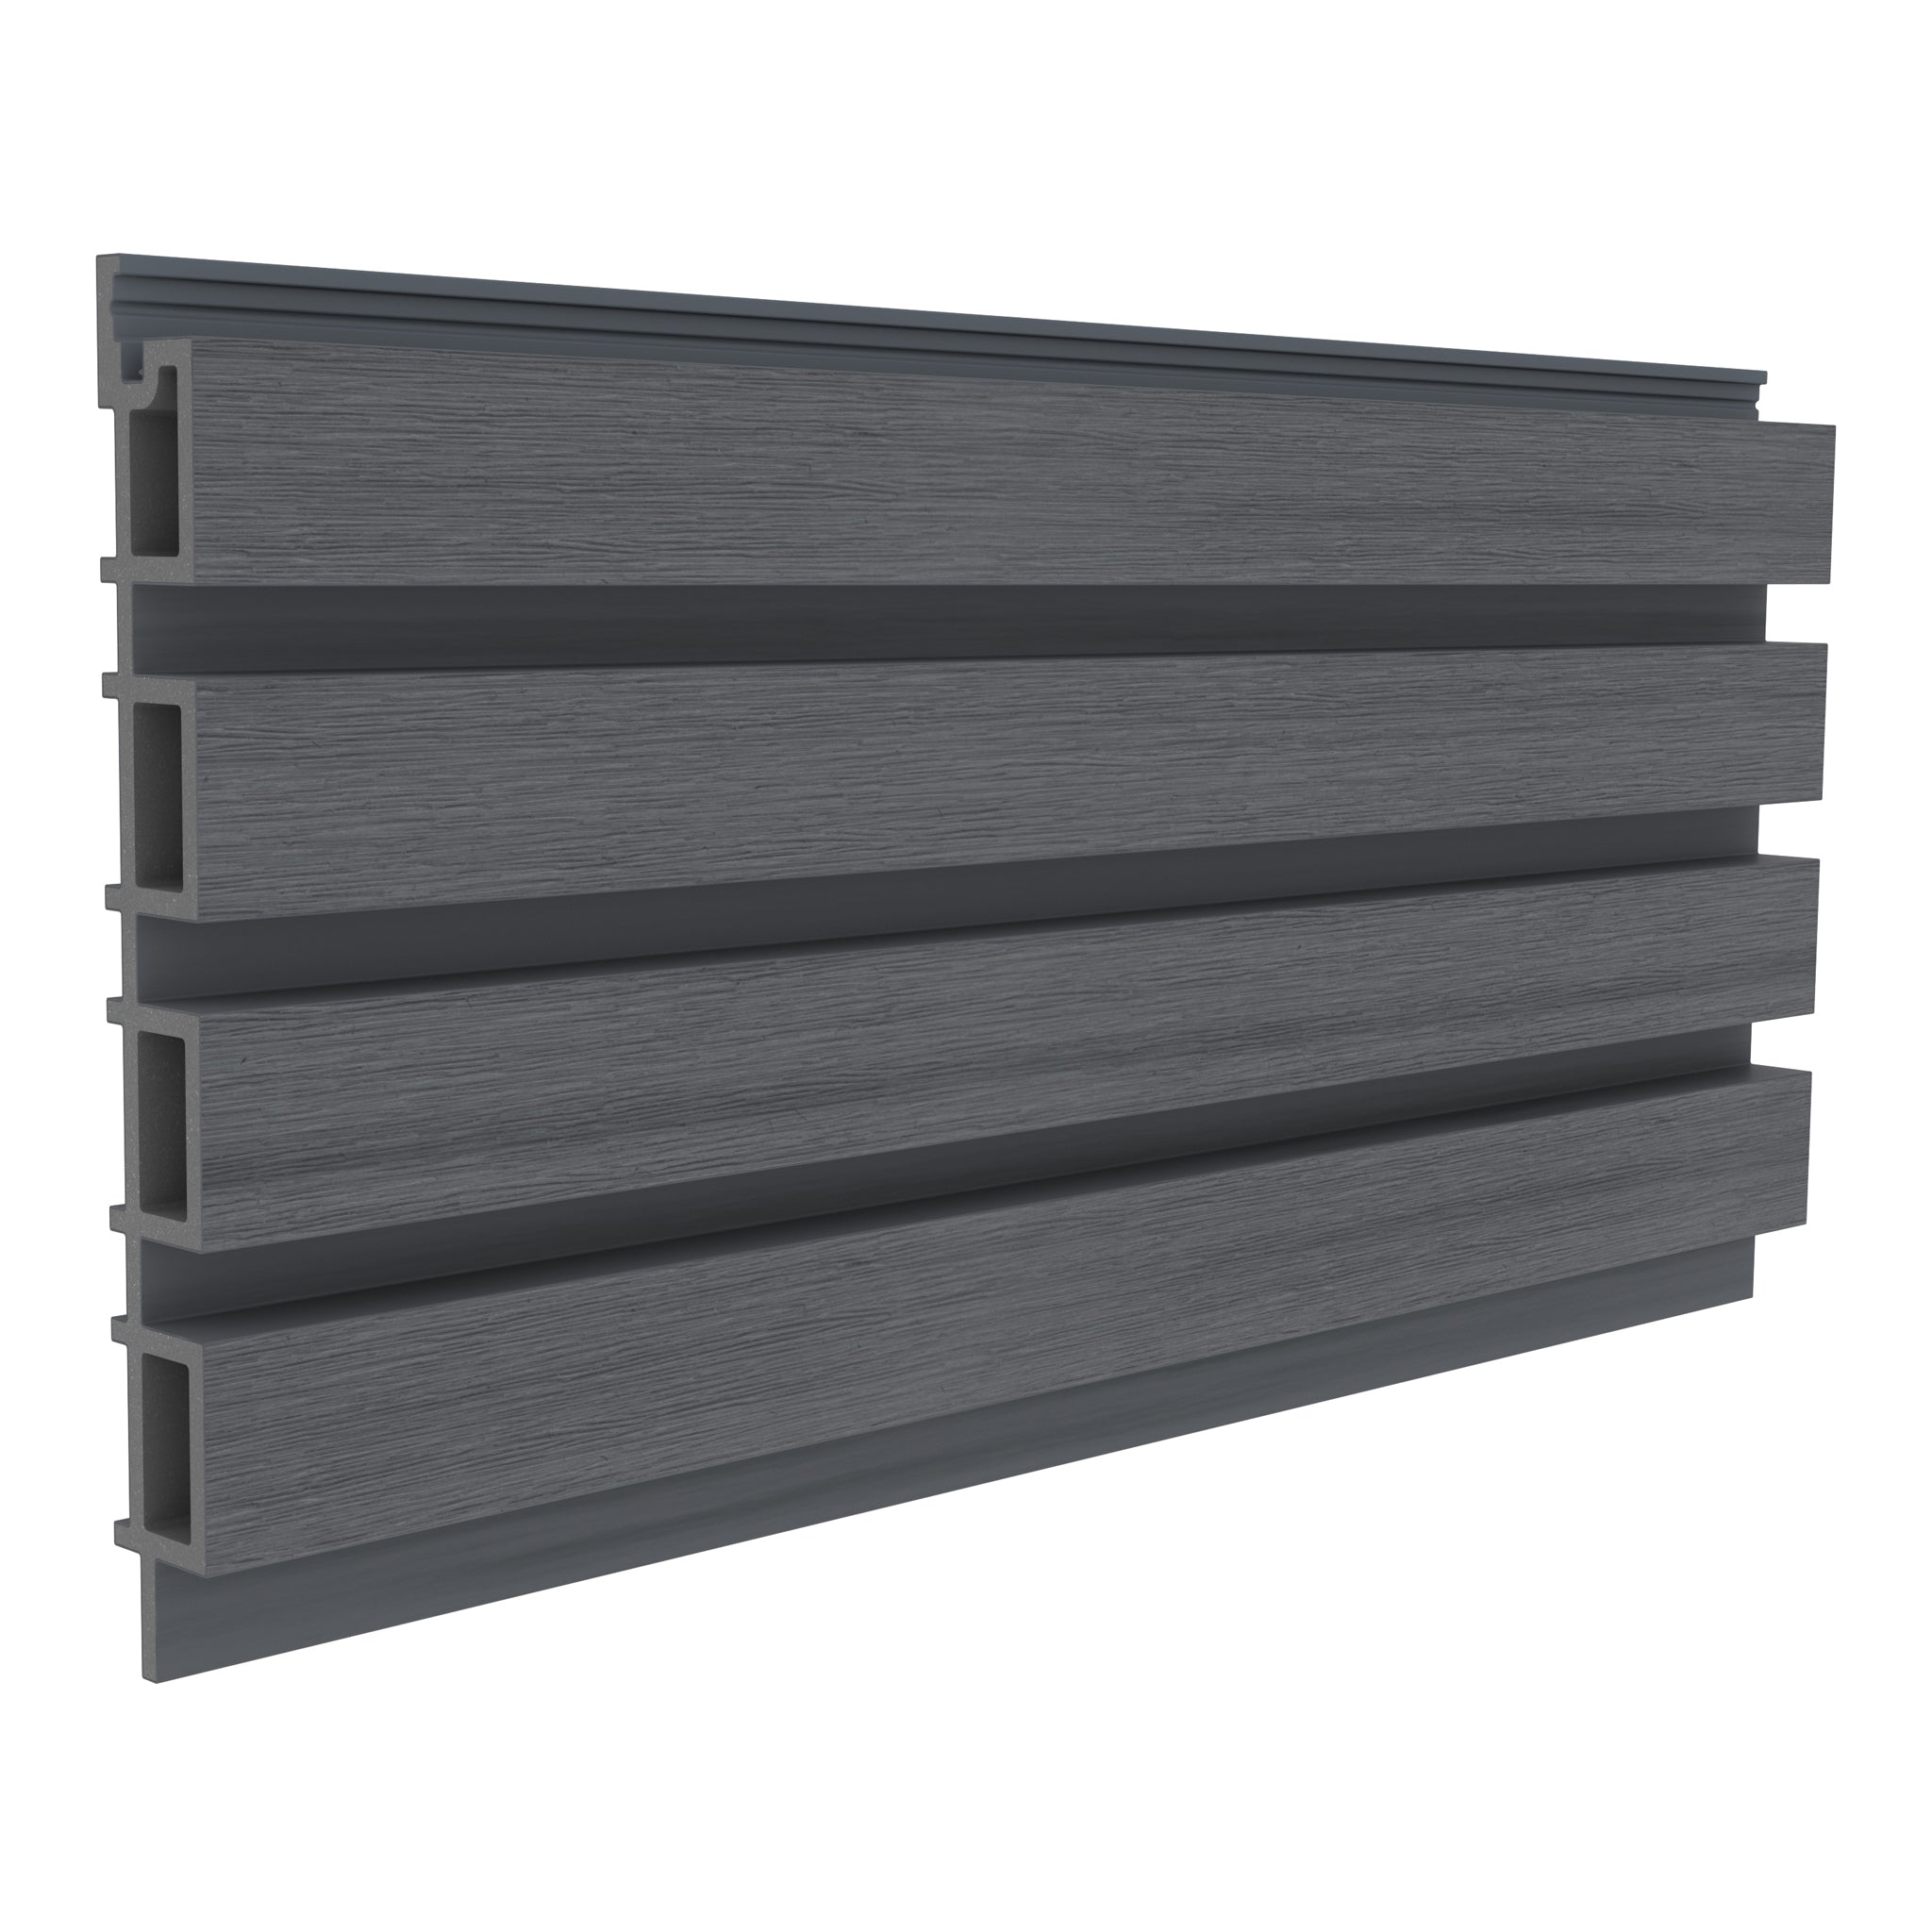
Consider texture alongside colour. A defined woodgrain surface and a restrained sanded finish can produce different impressions even in similar shades. Also check the profile: not every board creates the same visual lines when fitted. Confirm that both the appearance and installation arrangement suit your design.
Plan the Board Layout Before Installation
Sketch the elevation with its openings, corners and intended board joints. Think about where each board will begin and end, how the joints will relate to one another and how trims will complete the perimeter. Include the cutting layout when calculating quantities, rather than relying on wall area alone.
- Align the design: consider the relationship between board lines and nearby windows or doors.
- Plan joints: avoid leaving board-end positions to chance when ordering lengths.
- Include accessories: allow for compatible trims, fixings and the supporting framework.
- Resolve transitions: decide how the cladding meets render, brickwork and other finishes.
How Is Horizontal Composite Cladding Installed?
The following overview explains the planning sequence. Use the current NeoTimber® installation resources and product instructions for the detailed fitting method, dimensions and fixing requirements.
Prepare the Wall and Supporting Framework
Assess the backing wall and establish a suitable support arrangement. Horizontal boards generally use vertical fixing battens. The framework must also preserve the required drainage and ventilation paths. Follow the subframe installation guide for the selected system.
Establish the Starting Line
A carefully set starting line helps keep the courses consistent. Follow the specified method for the starter components, board position and base clearance. Check the alignment before continuing across the wall.
Fit Boards With the Specified Movement Allowances
Follow the chosen board’s instructions for fixing positions, pre-drilling and movement gaps. Composite boards can expand and contract with temperature changes, so allow for this during installation. Do not assume one drilling or countersinking method applies to every profile.
Complete Openings, Corners and Edges
Fit compatible finishing components and check that the completed details retain the intended moisture-management paths. Inspect alignment and joints before treating the installation as complete.

Horizontal or Vertical Composite Cladding?
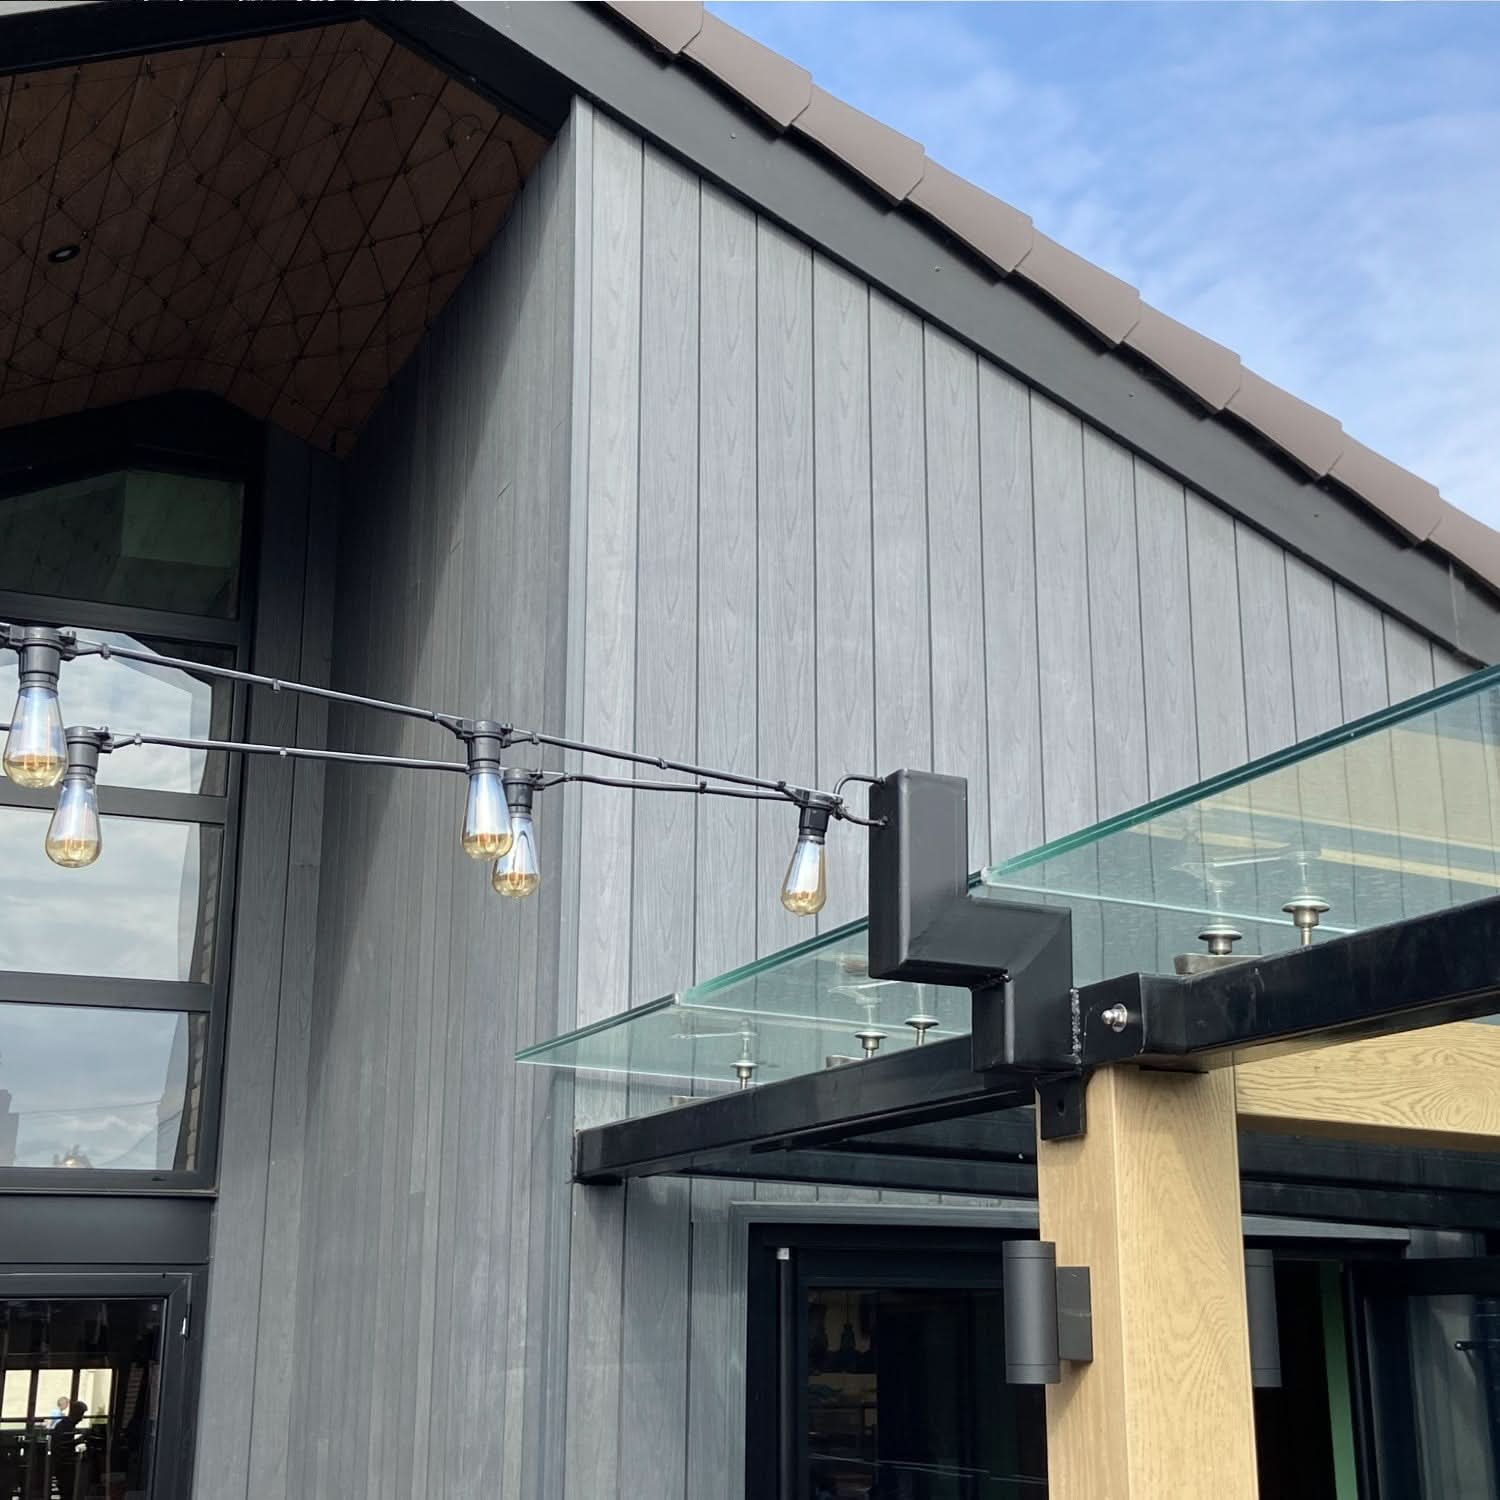
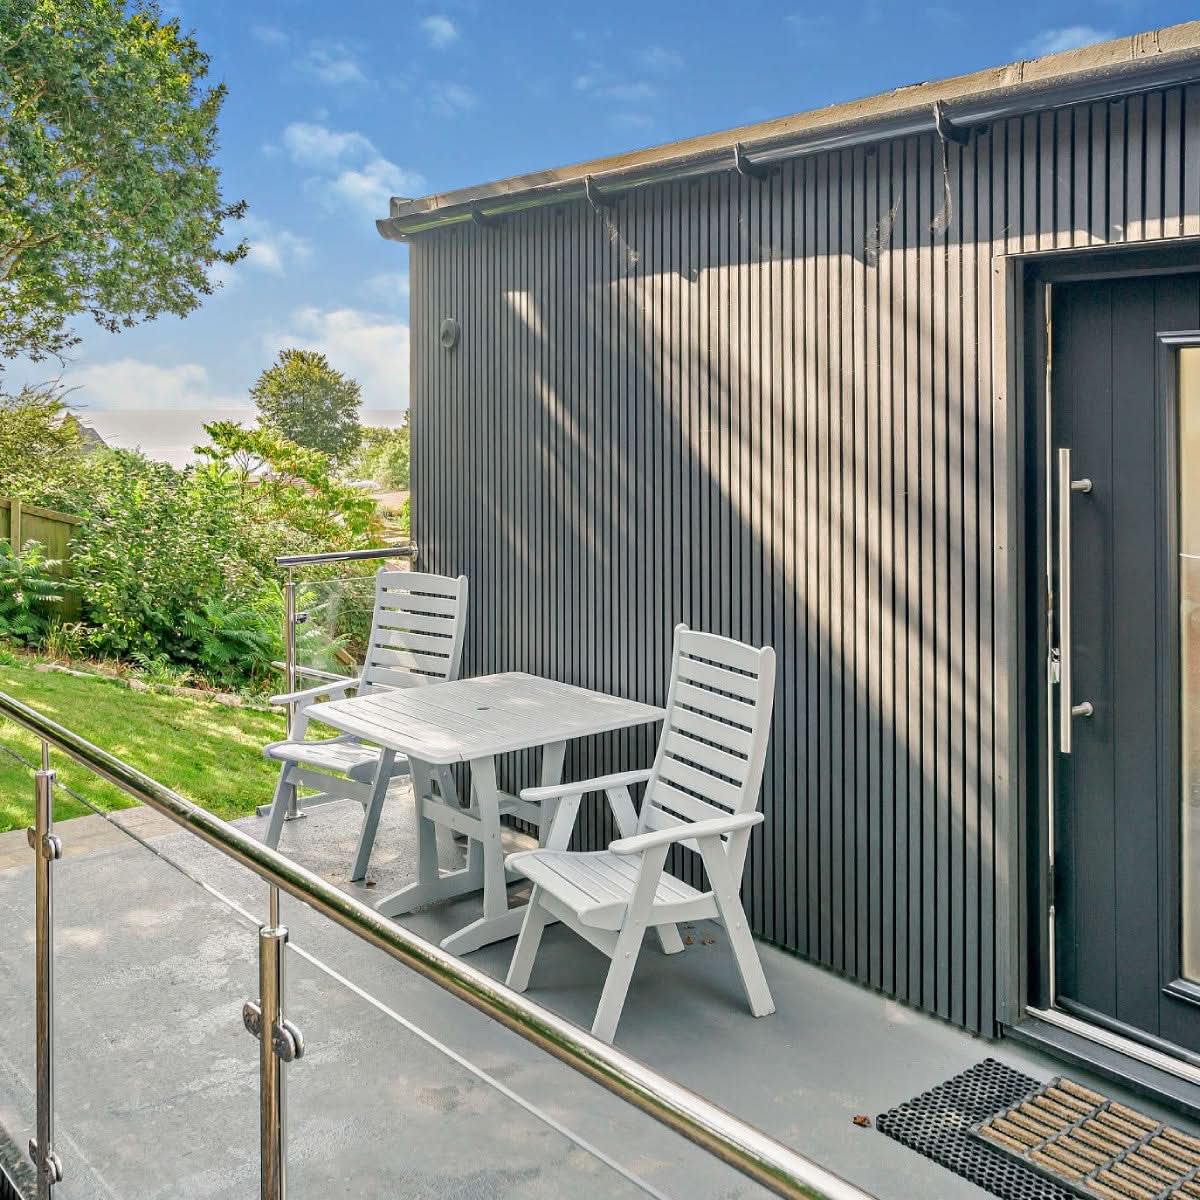
Horizontal boards emphasise the lines running across an elevation, while vertical boards draw attention upwards. Neither orientation is automatically better: compare how each would relate to the building’s proportions, openings and existing materials.
Orientation can also affect the support arrangement, cutting plan and detailing. Confirm the full installation build-up before switching direction. The choice should work practically as well as visually.
Looking After Your Cladded Exterior
NeoTimber® composite cladding does not require routine painting or staining to maintain its intended finish. Cleaning remains part of its care, with frequency influenced by the location and exposure. Follow the maintenance guide when removing dirt or marks.
Inspect the installation periodically and keep the relevant drainage and ventilation paths clear. If comparing composite with timber, consider the appearance you want to maintain and the care each specific product requires. Our composite cladding vs wood guide can help with that decision.
Horizontal Composite Cladding FAQs
Can Horizontal Cladding Make a House Look Wider?
Horizontal lines can emphasise width, although the visual effect depends on the building’s proportions, board profile and extent of the clad area.
Can I Clad Only Part of a Wall?
Yes, a selected area can form a feature. Plan its edges and junctions with the surrounding materials, and confirm the supporting construction and detailing for the project.
Can Horizontal Composite Cladding Be Fixed Directly to a Wall?
The NeoTimber® system requires a suitable supporting framework. Use the relevant instructions to establish the supports and the space needed behind the boards.
Is Horizontal Cladding Suitable for Every Building?
Suitability depends on the product and project. Ask the installer or designer to confirm the applicable building requirements, including fire performance, before choosing a range.
Explore Your Horizontal Cladding Design
Choose a colour and texture that complement your property, then plan the layout and installation details together. Order free NeoTimber® cladding samples to compare finishes at home, or browse the composite cladding collection to explore options for your horizontal design.