Create a Defined Deck Border With the Right Boards and Supports
Composite decking picture framing creates a border around the main deck area. It can define the outline, conceal the cut ends of the infill boards and introduce a matching or contrasting finish. The detail needs planning beneath the surface as well as on top: the border boards and adjoining board ends require appropriate support.
This guide explains how to choose composite decking picture frame boards and plan their installation. Explore our general decking page for project inspiration and compare the composite decking range before finalising the border.
Choosing Composite Decking Picture Frame Boards
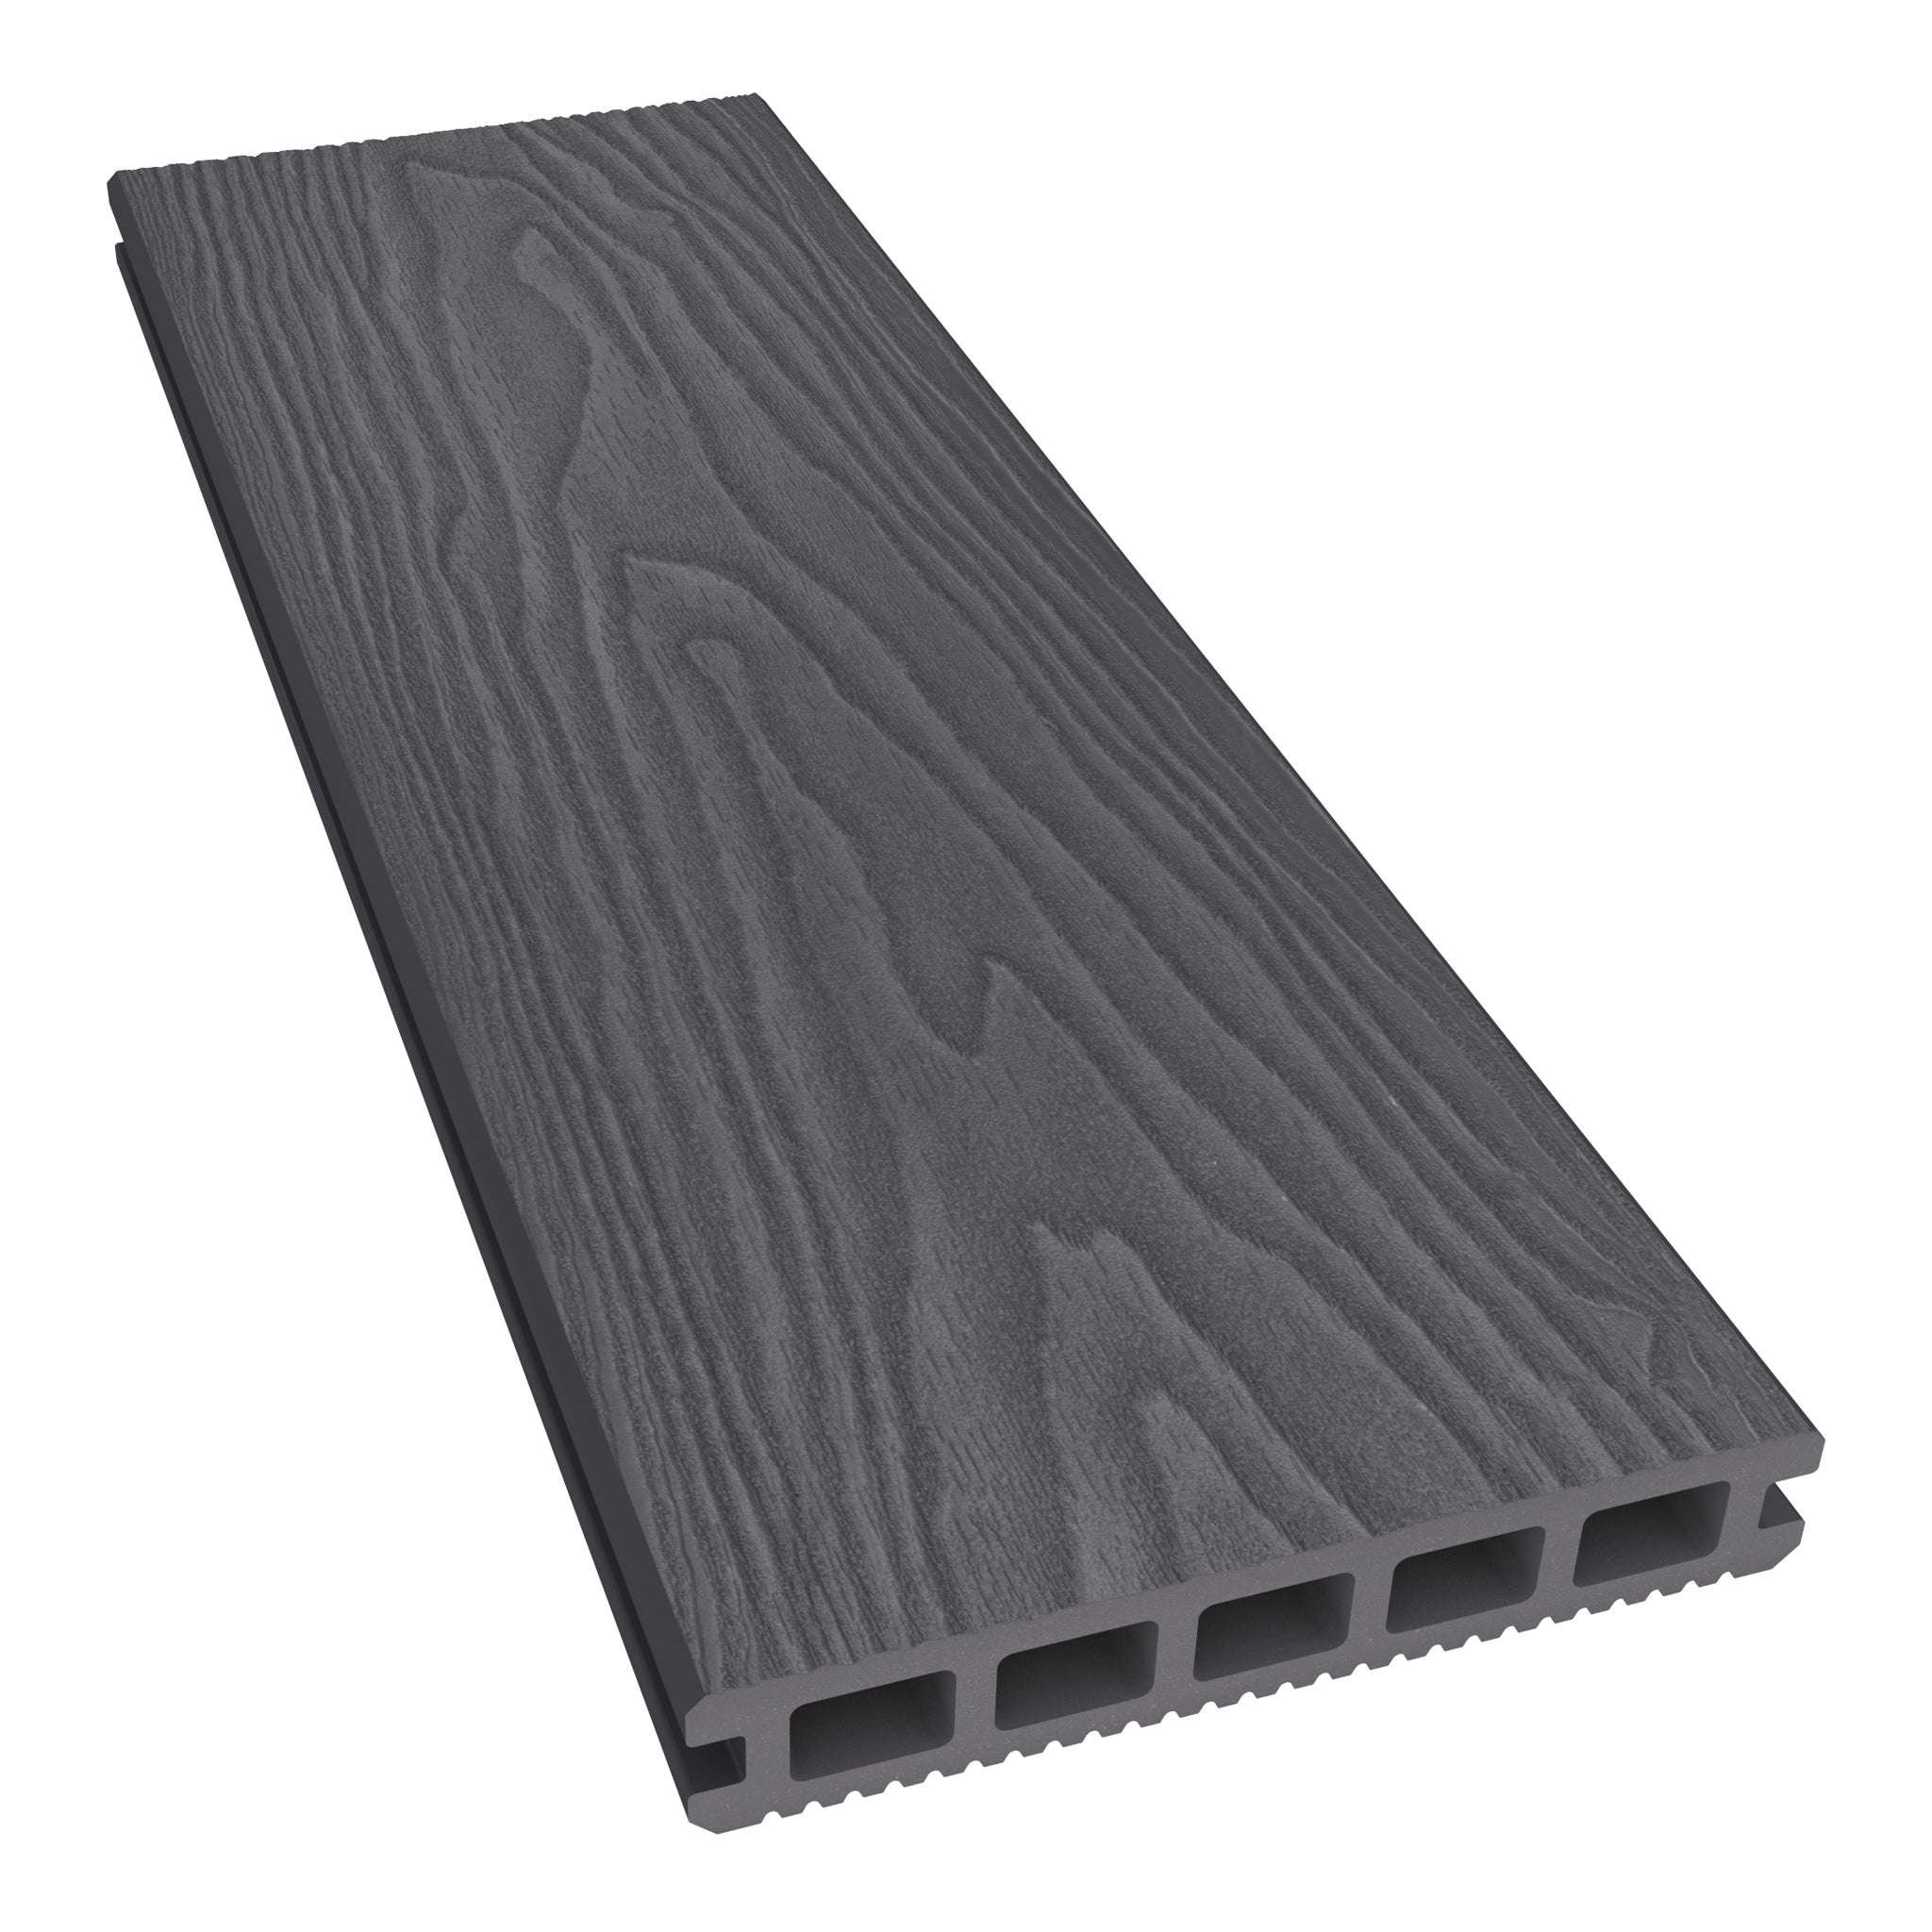
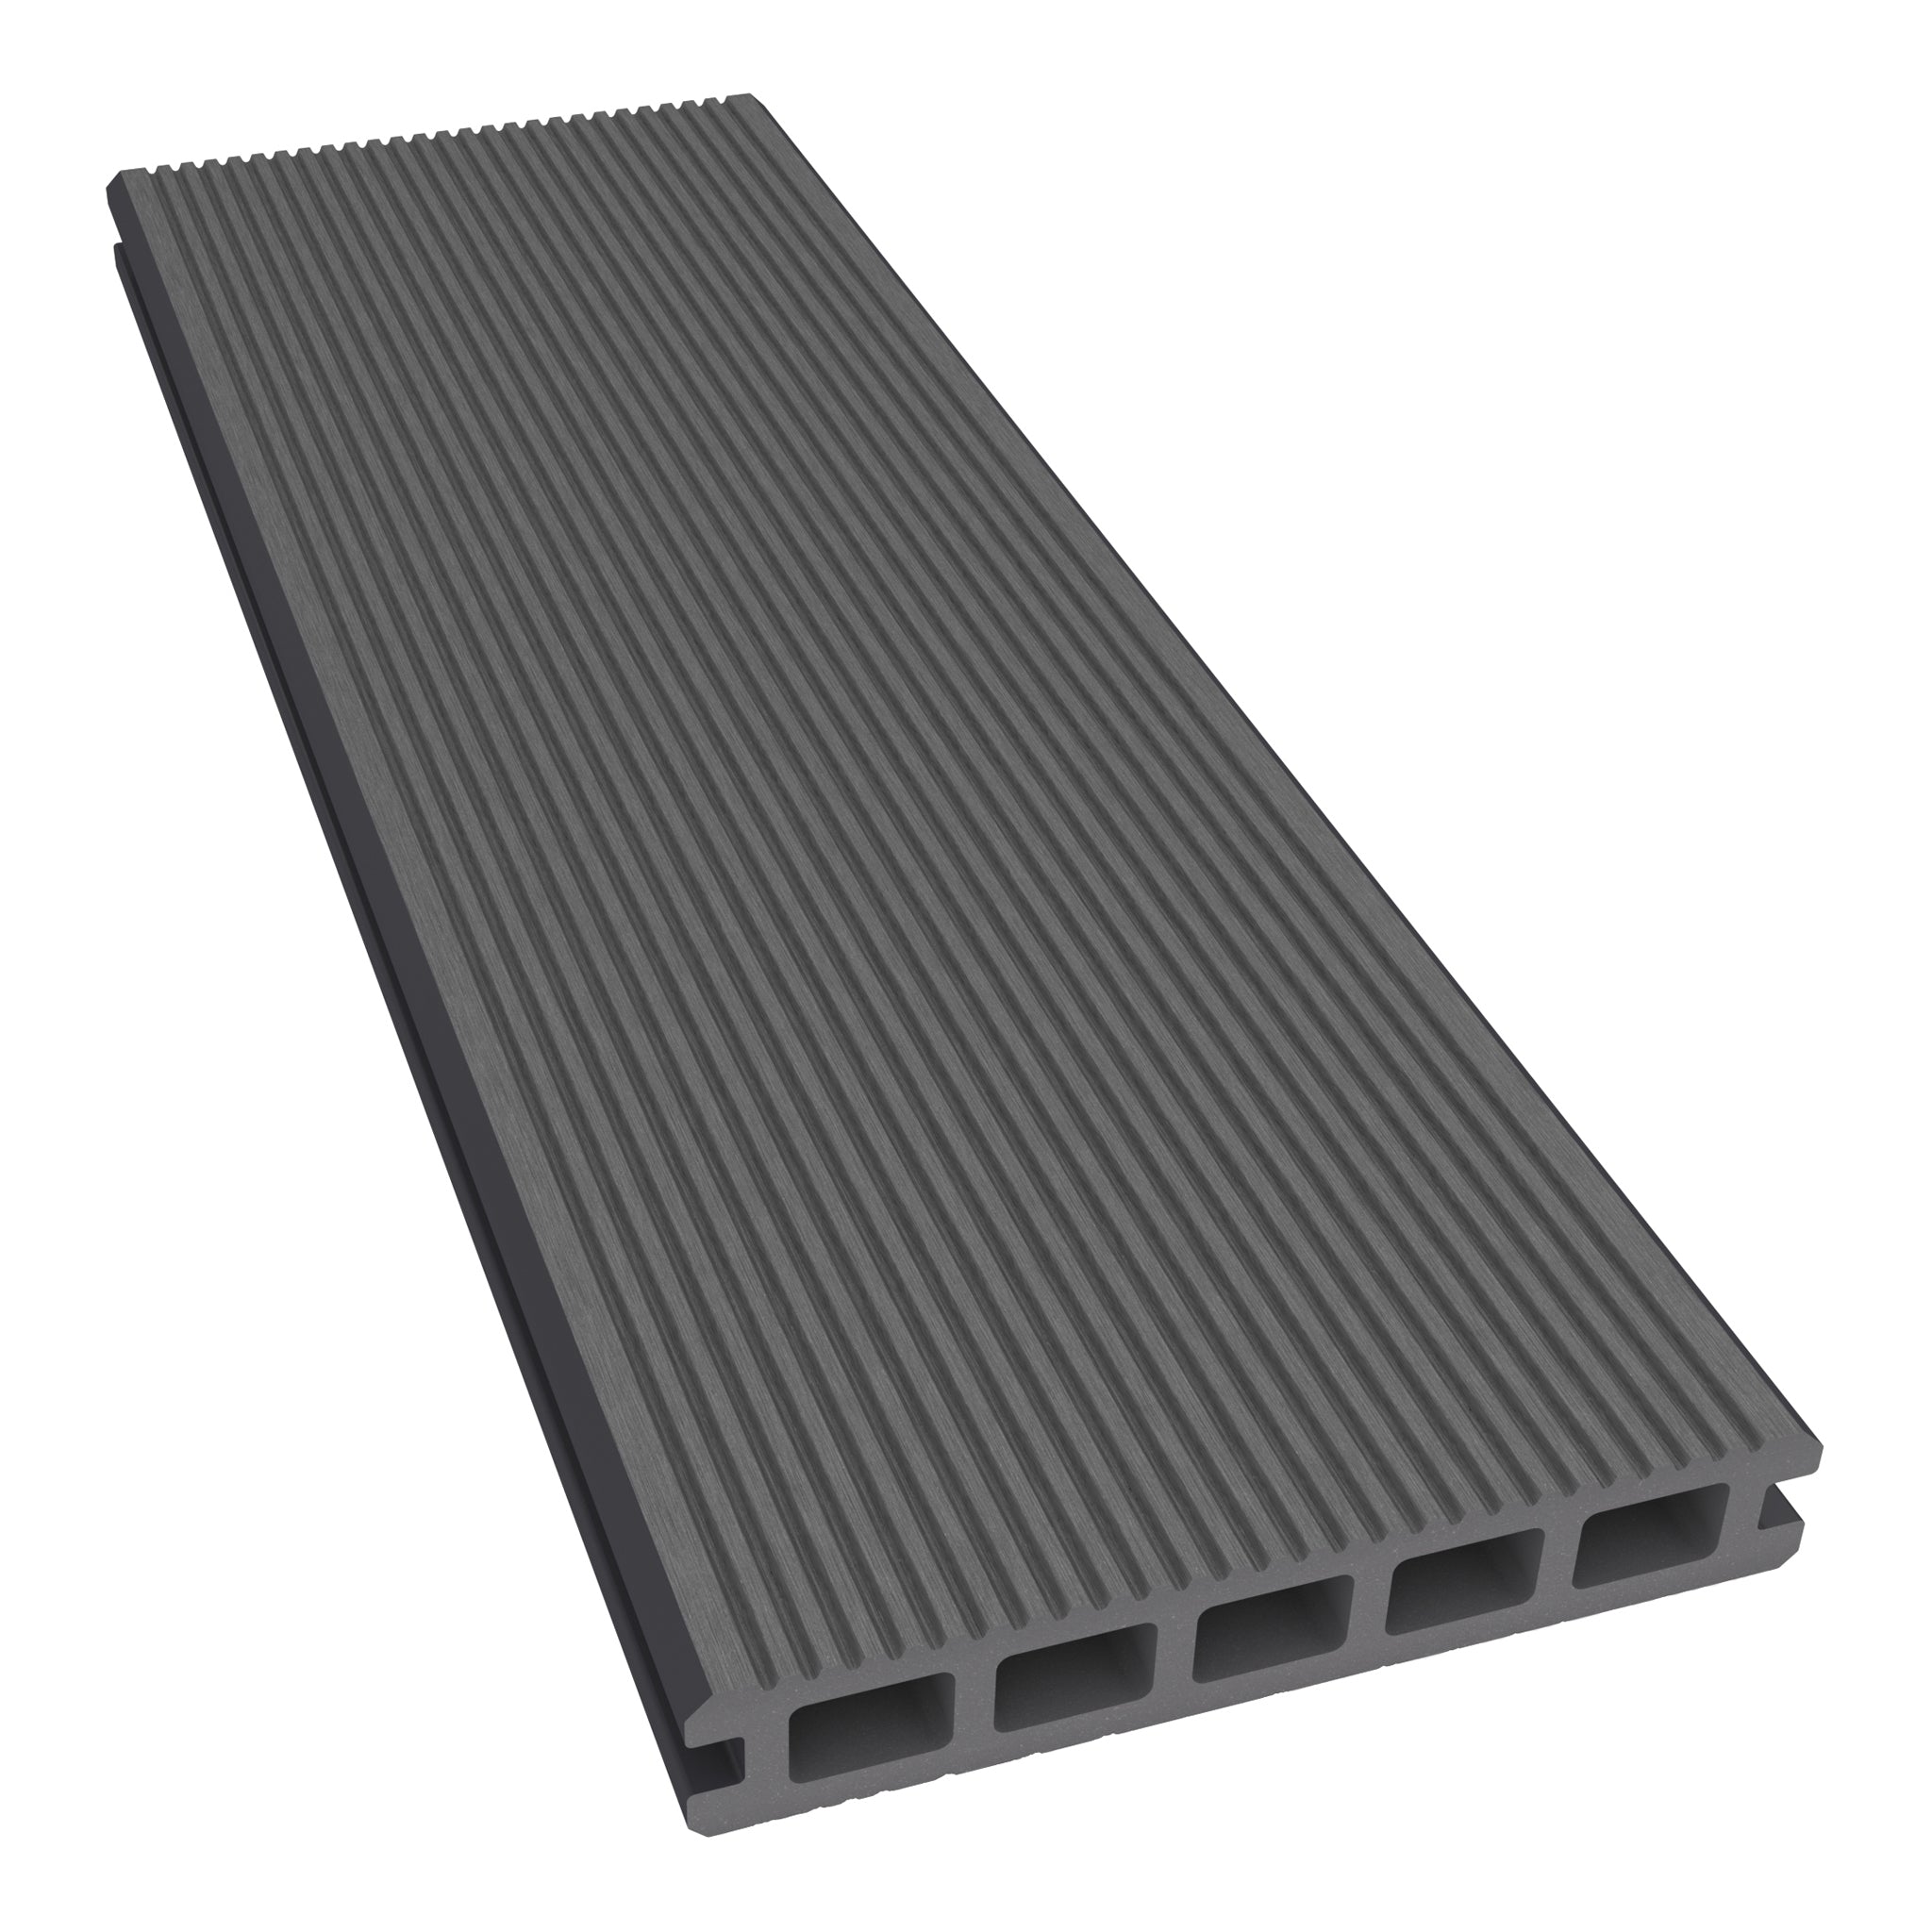
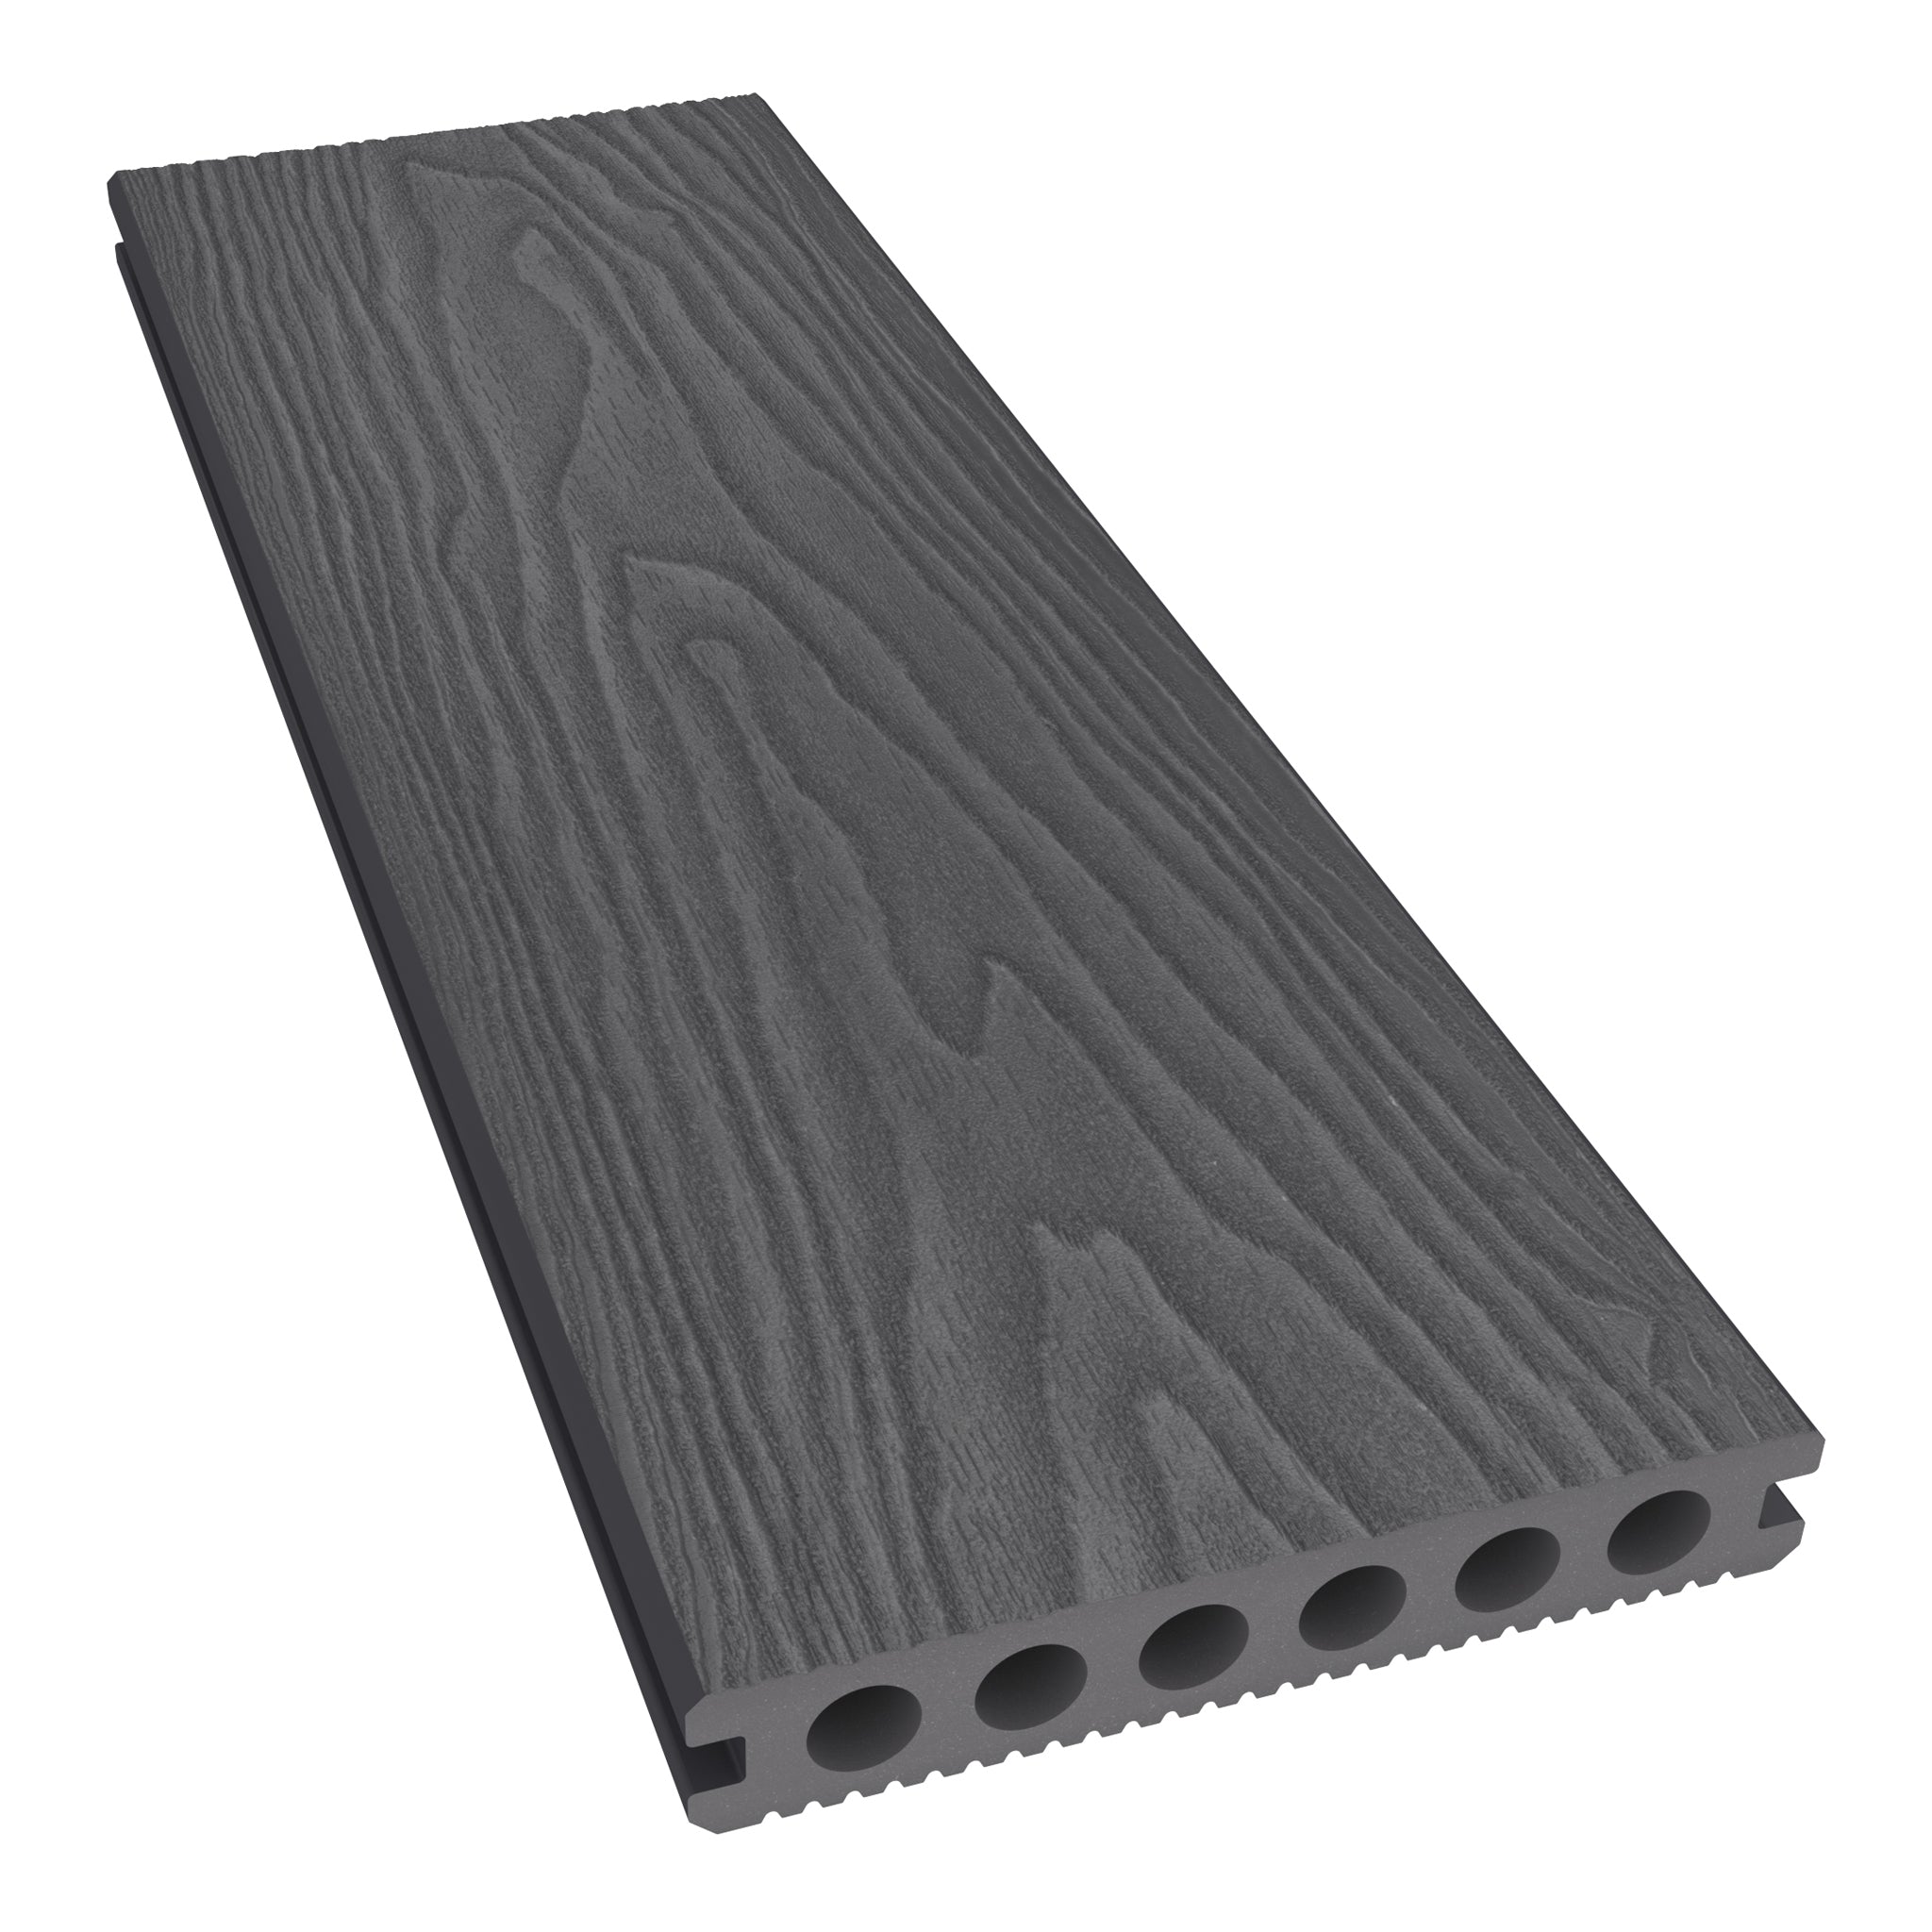
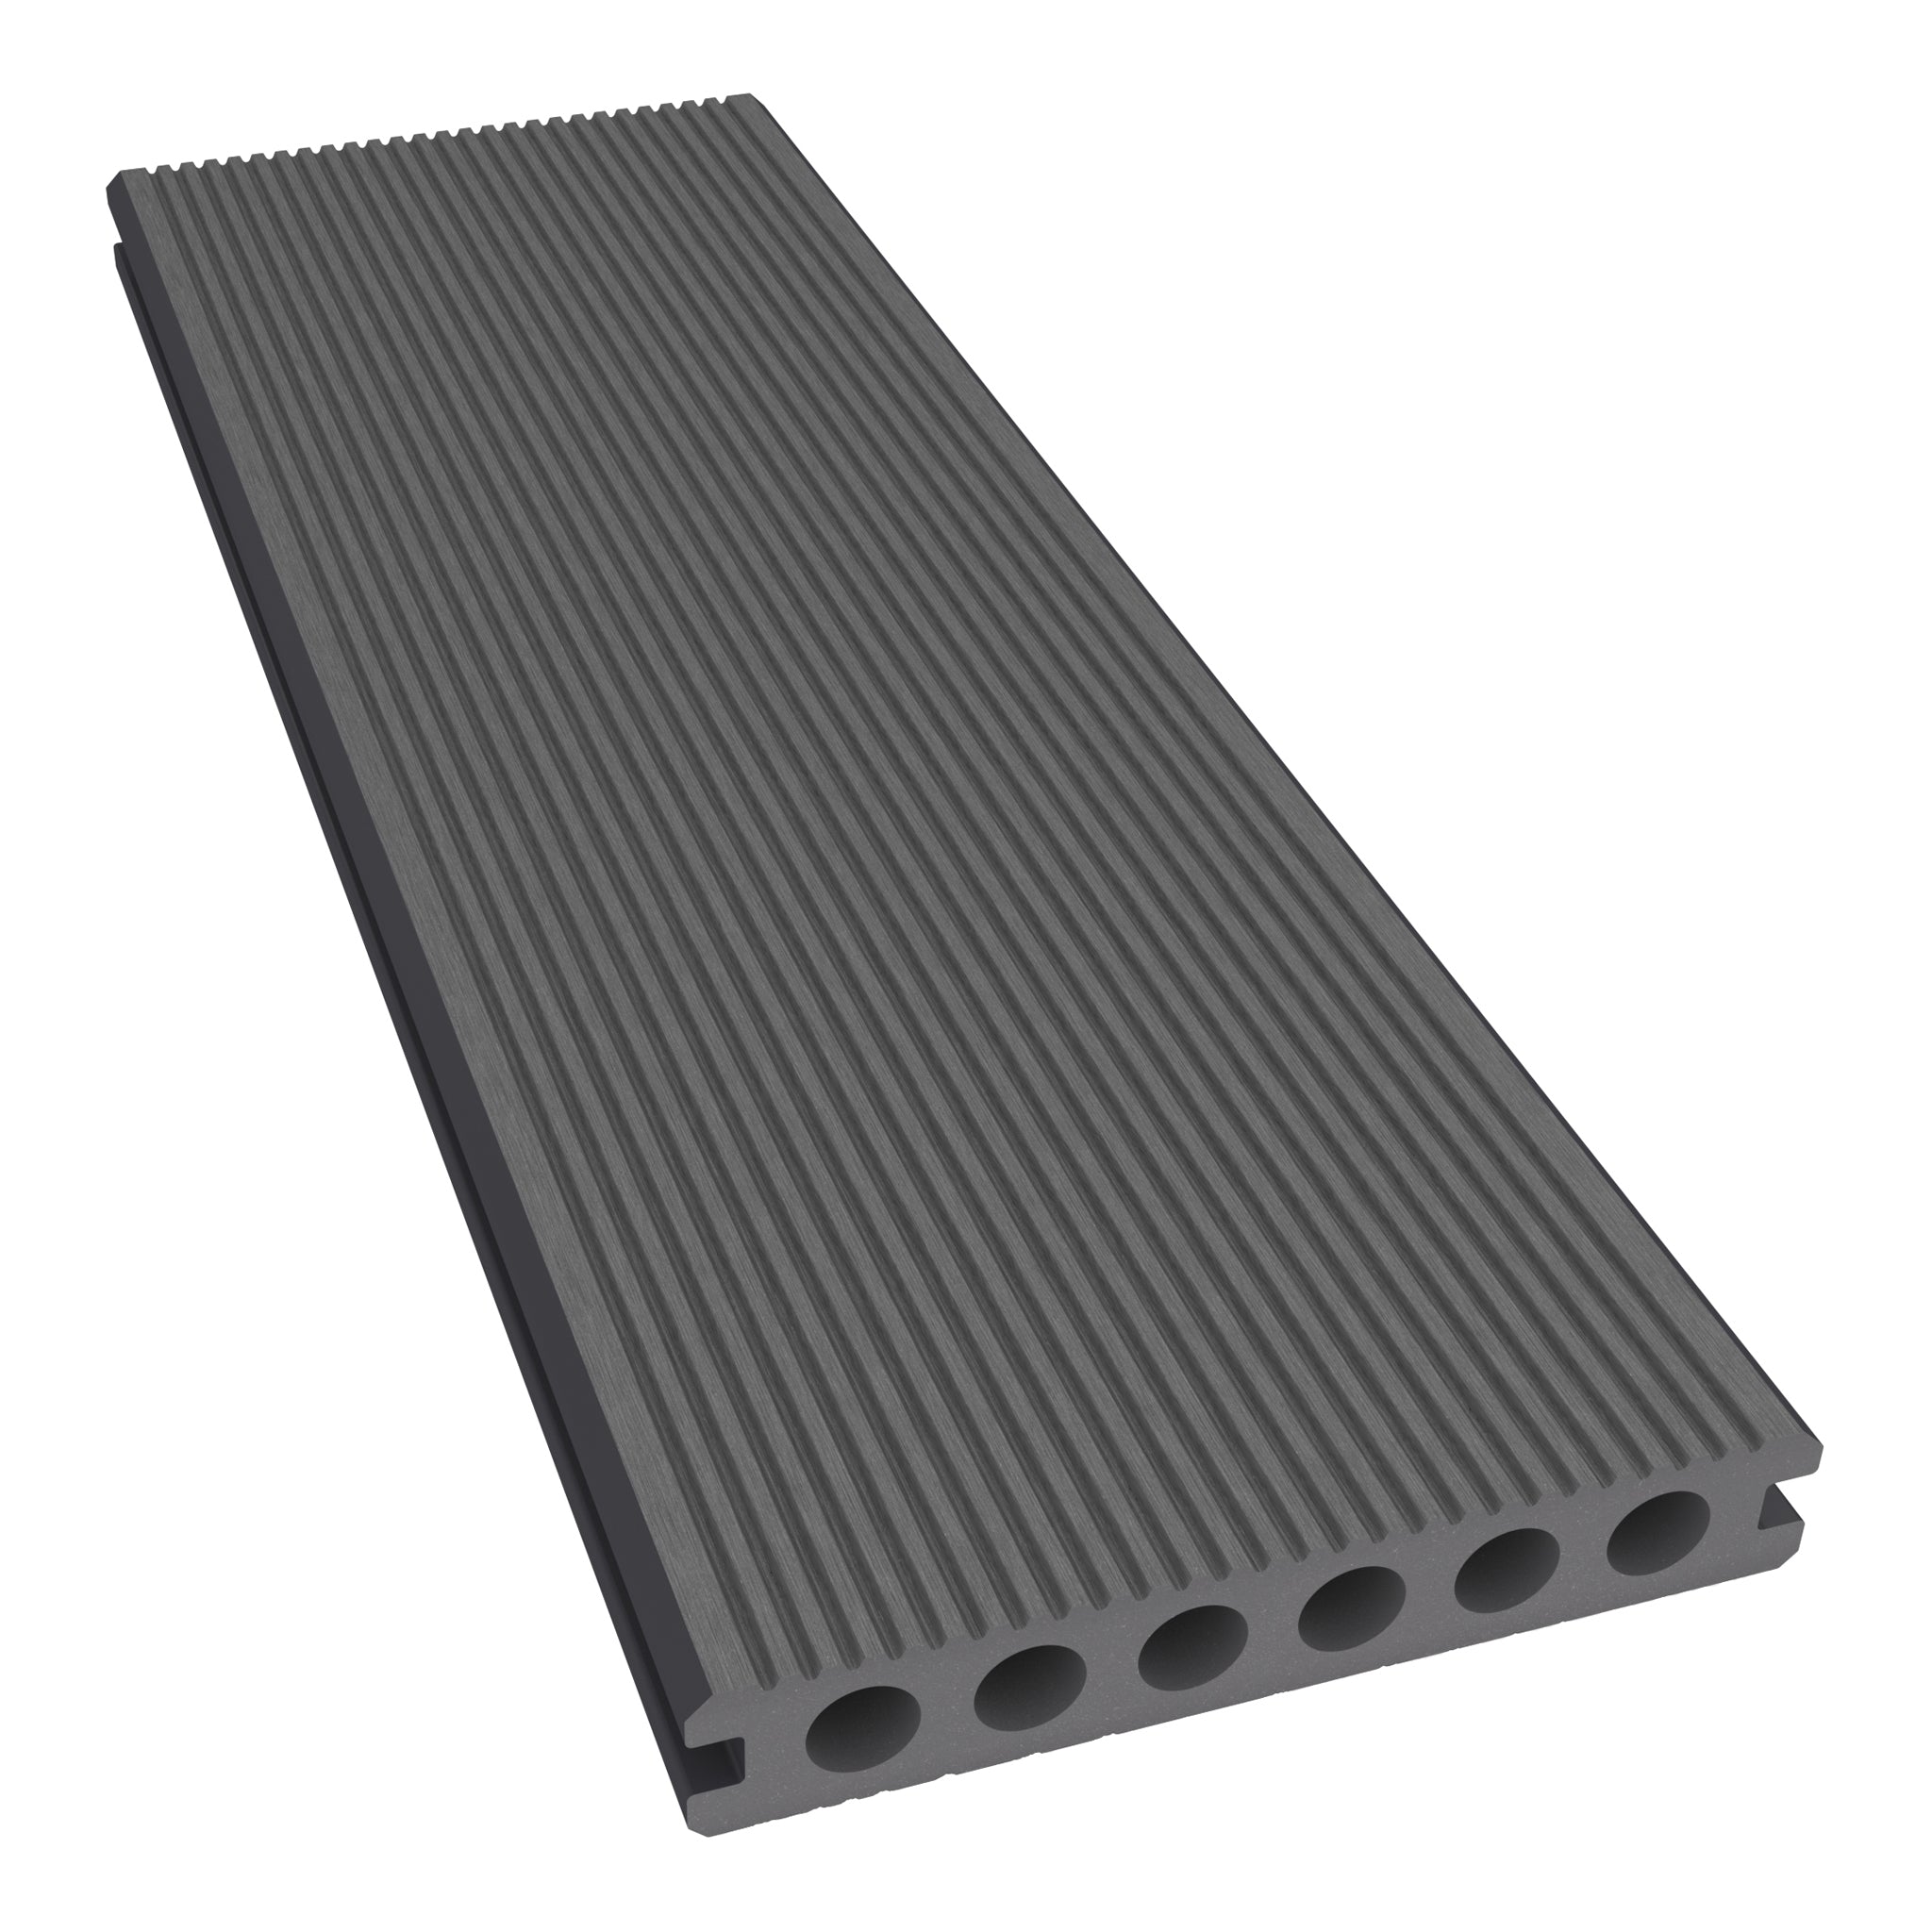
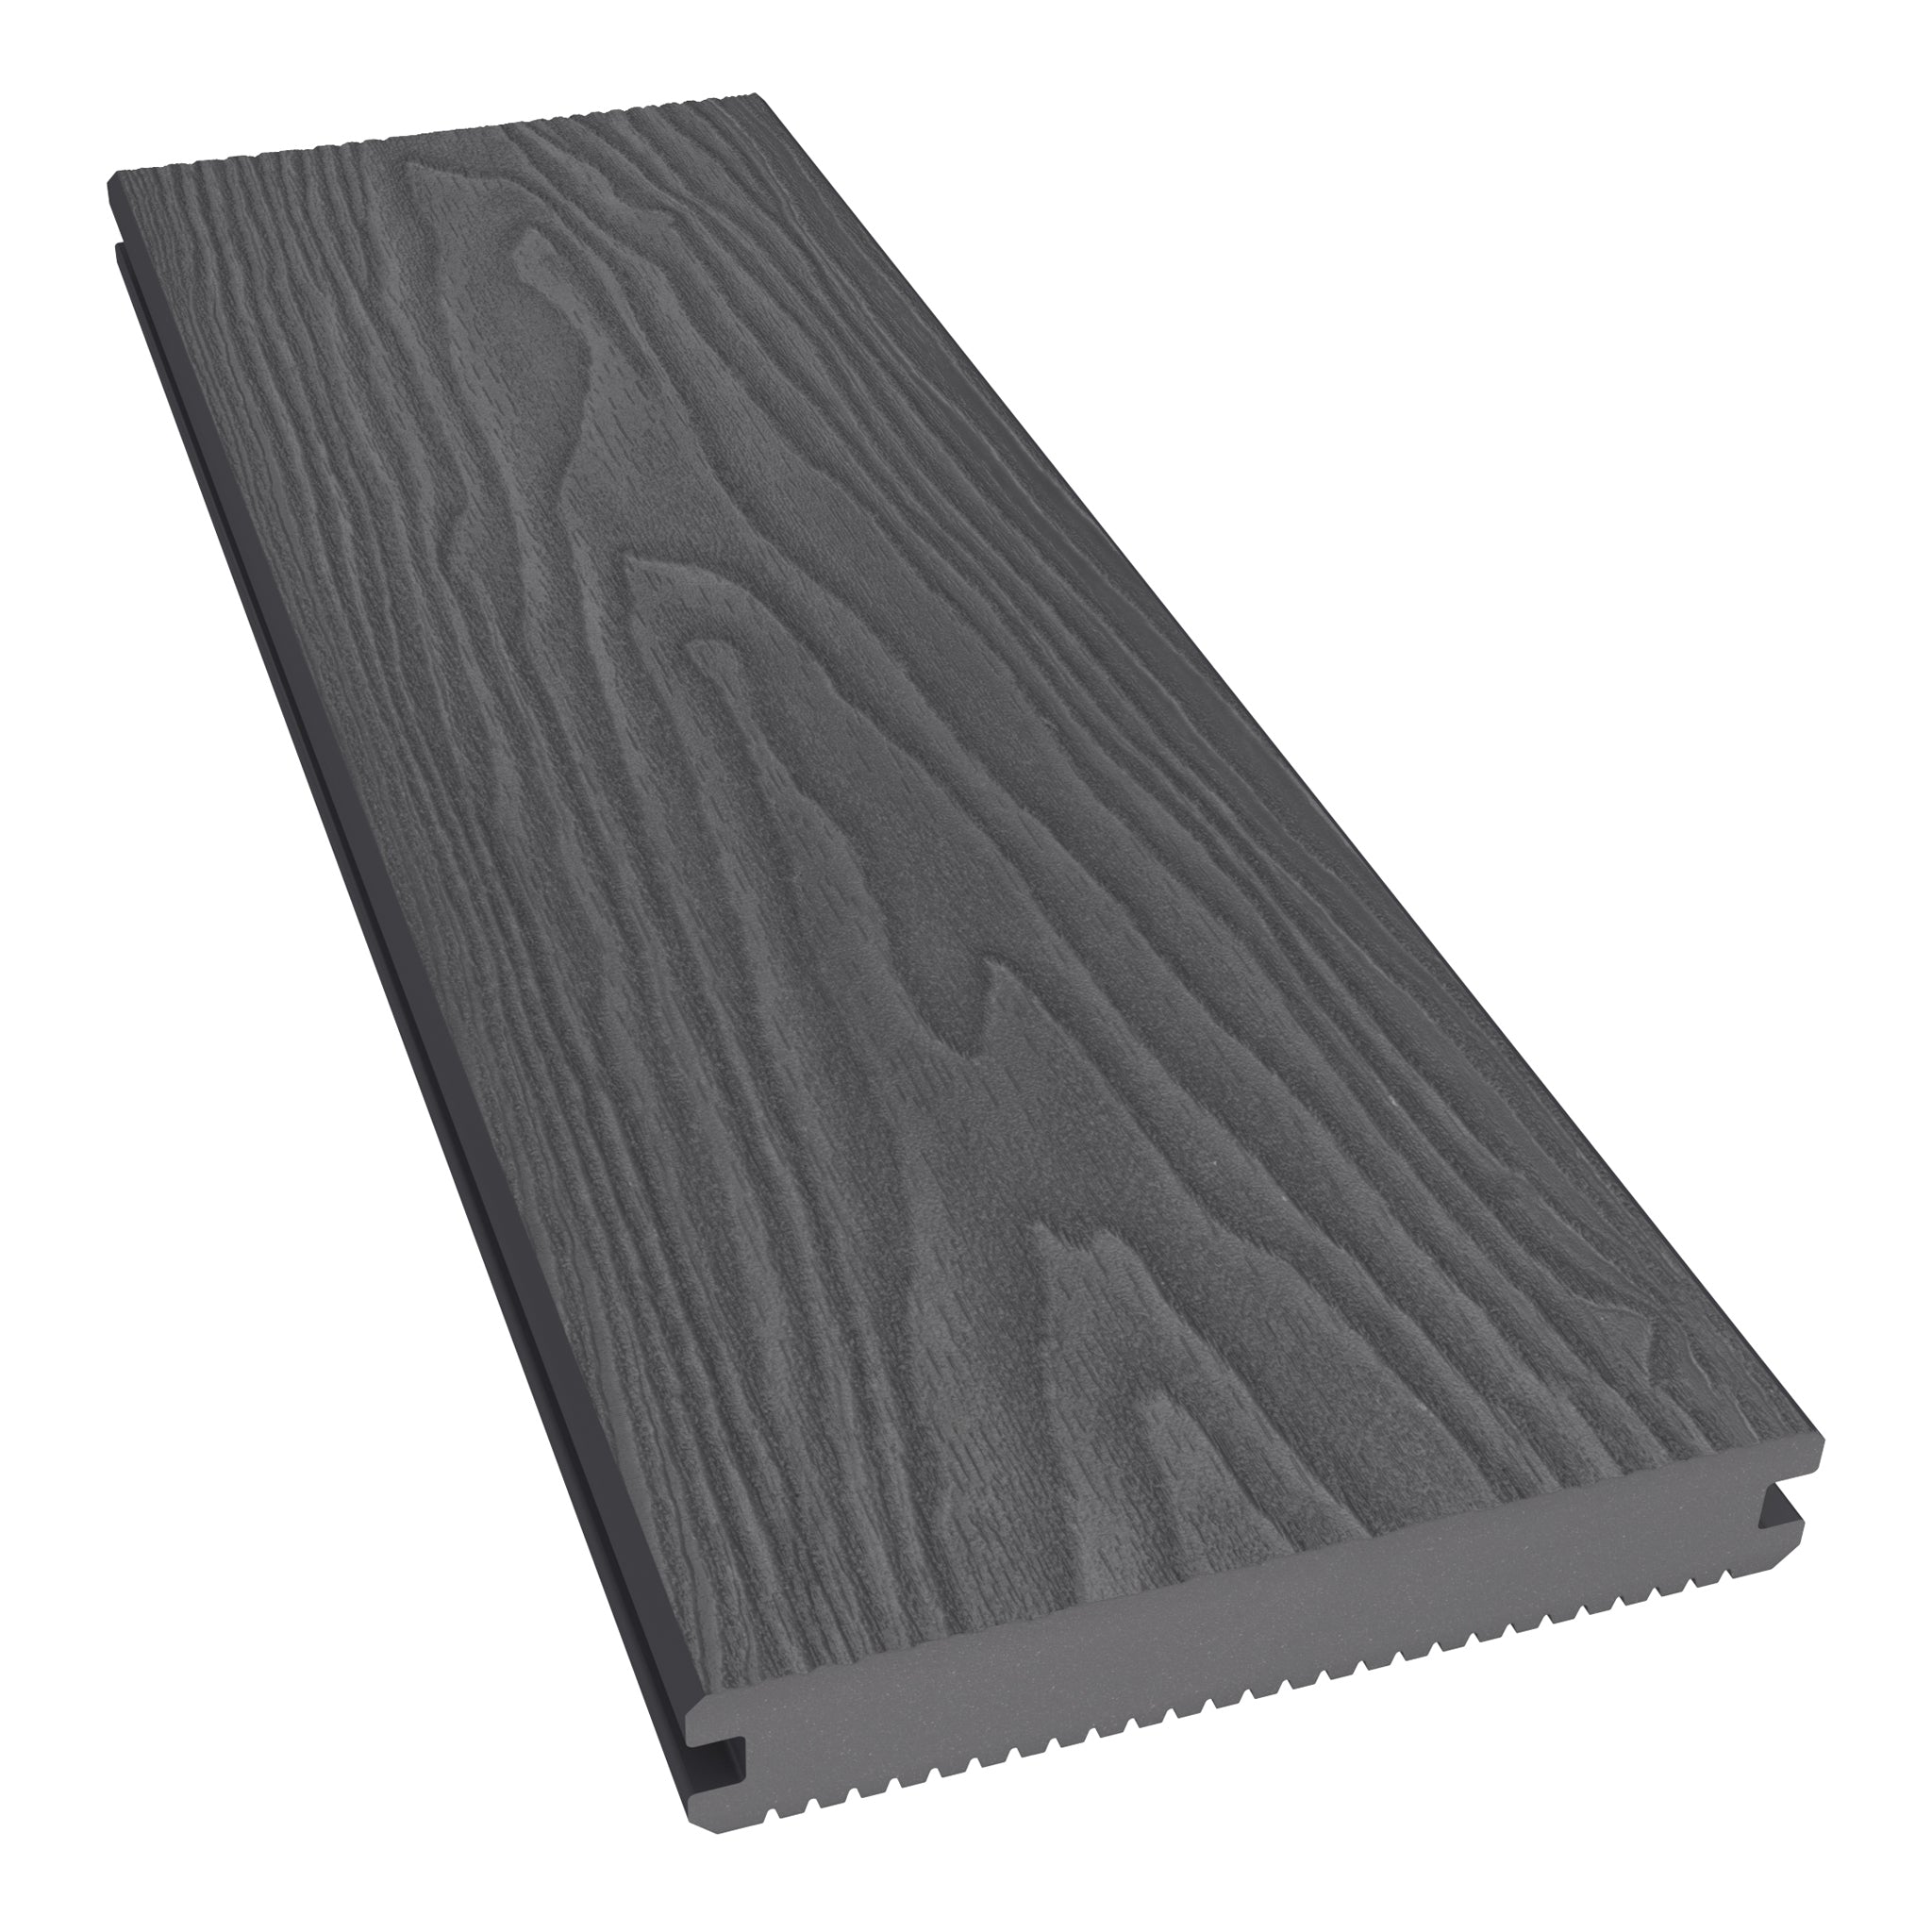
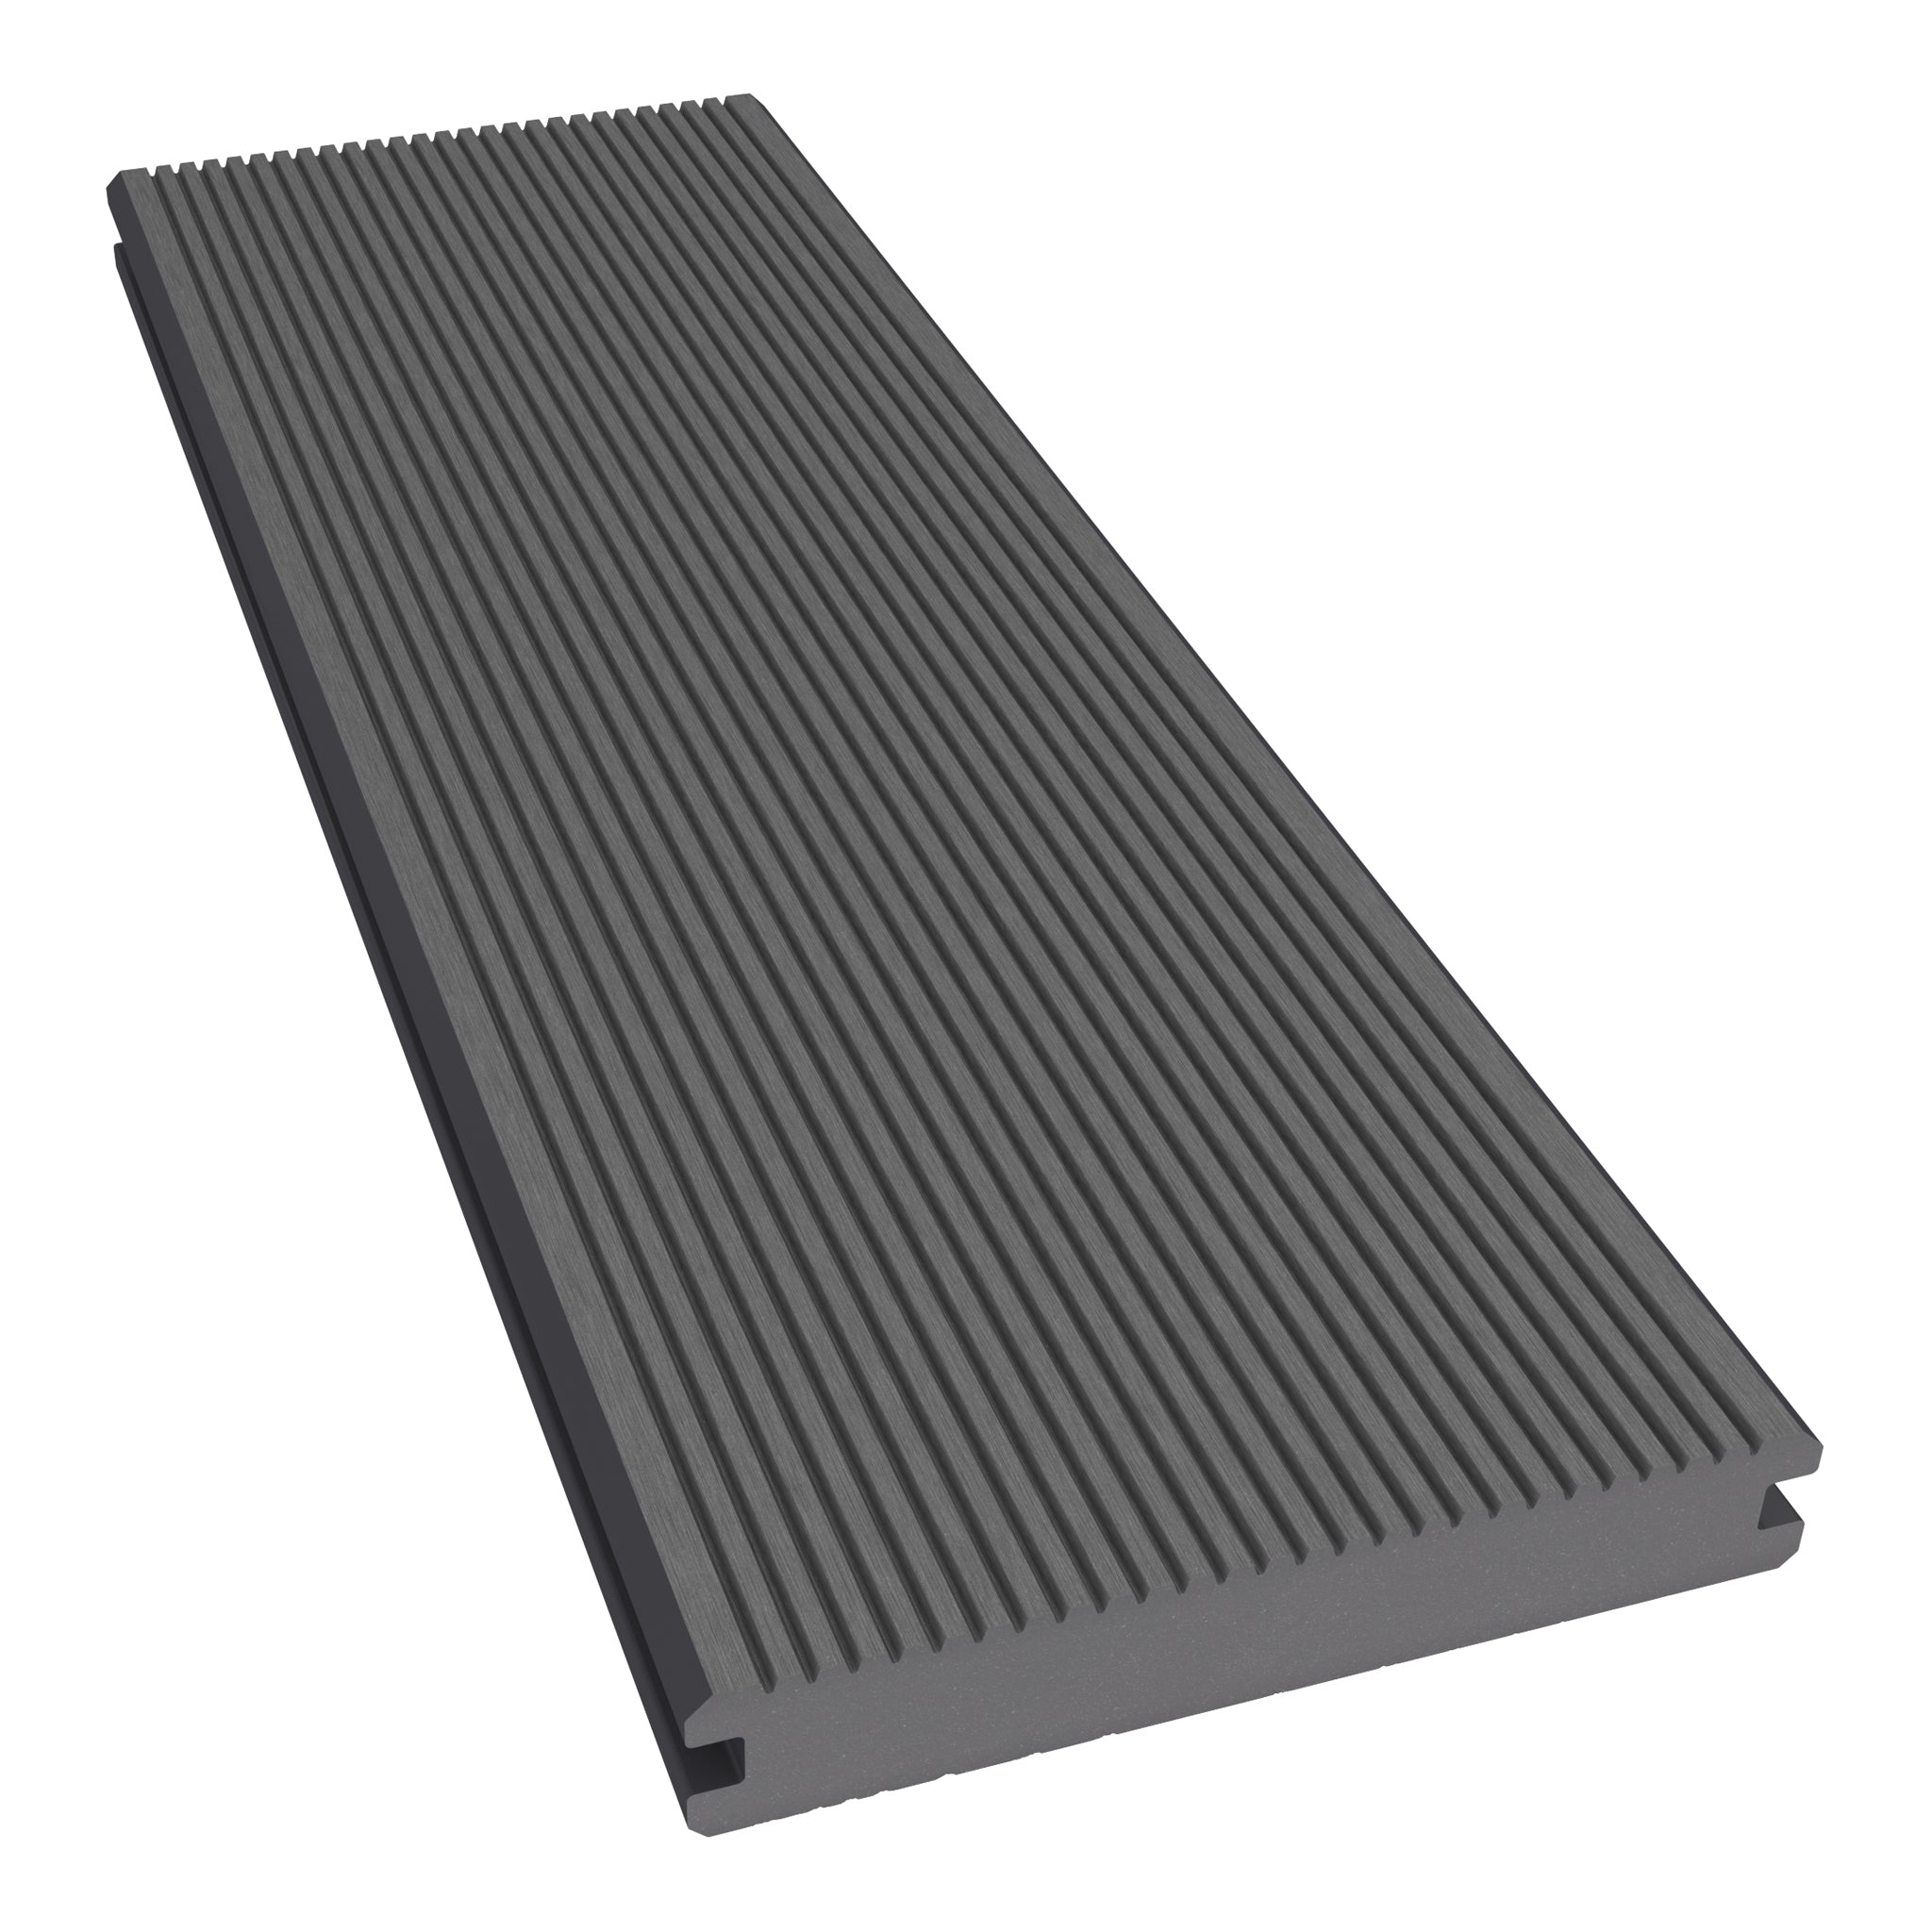
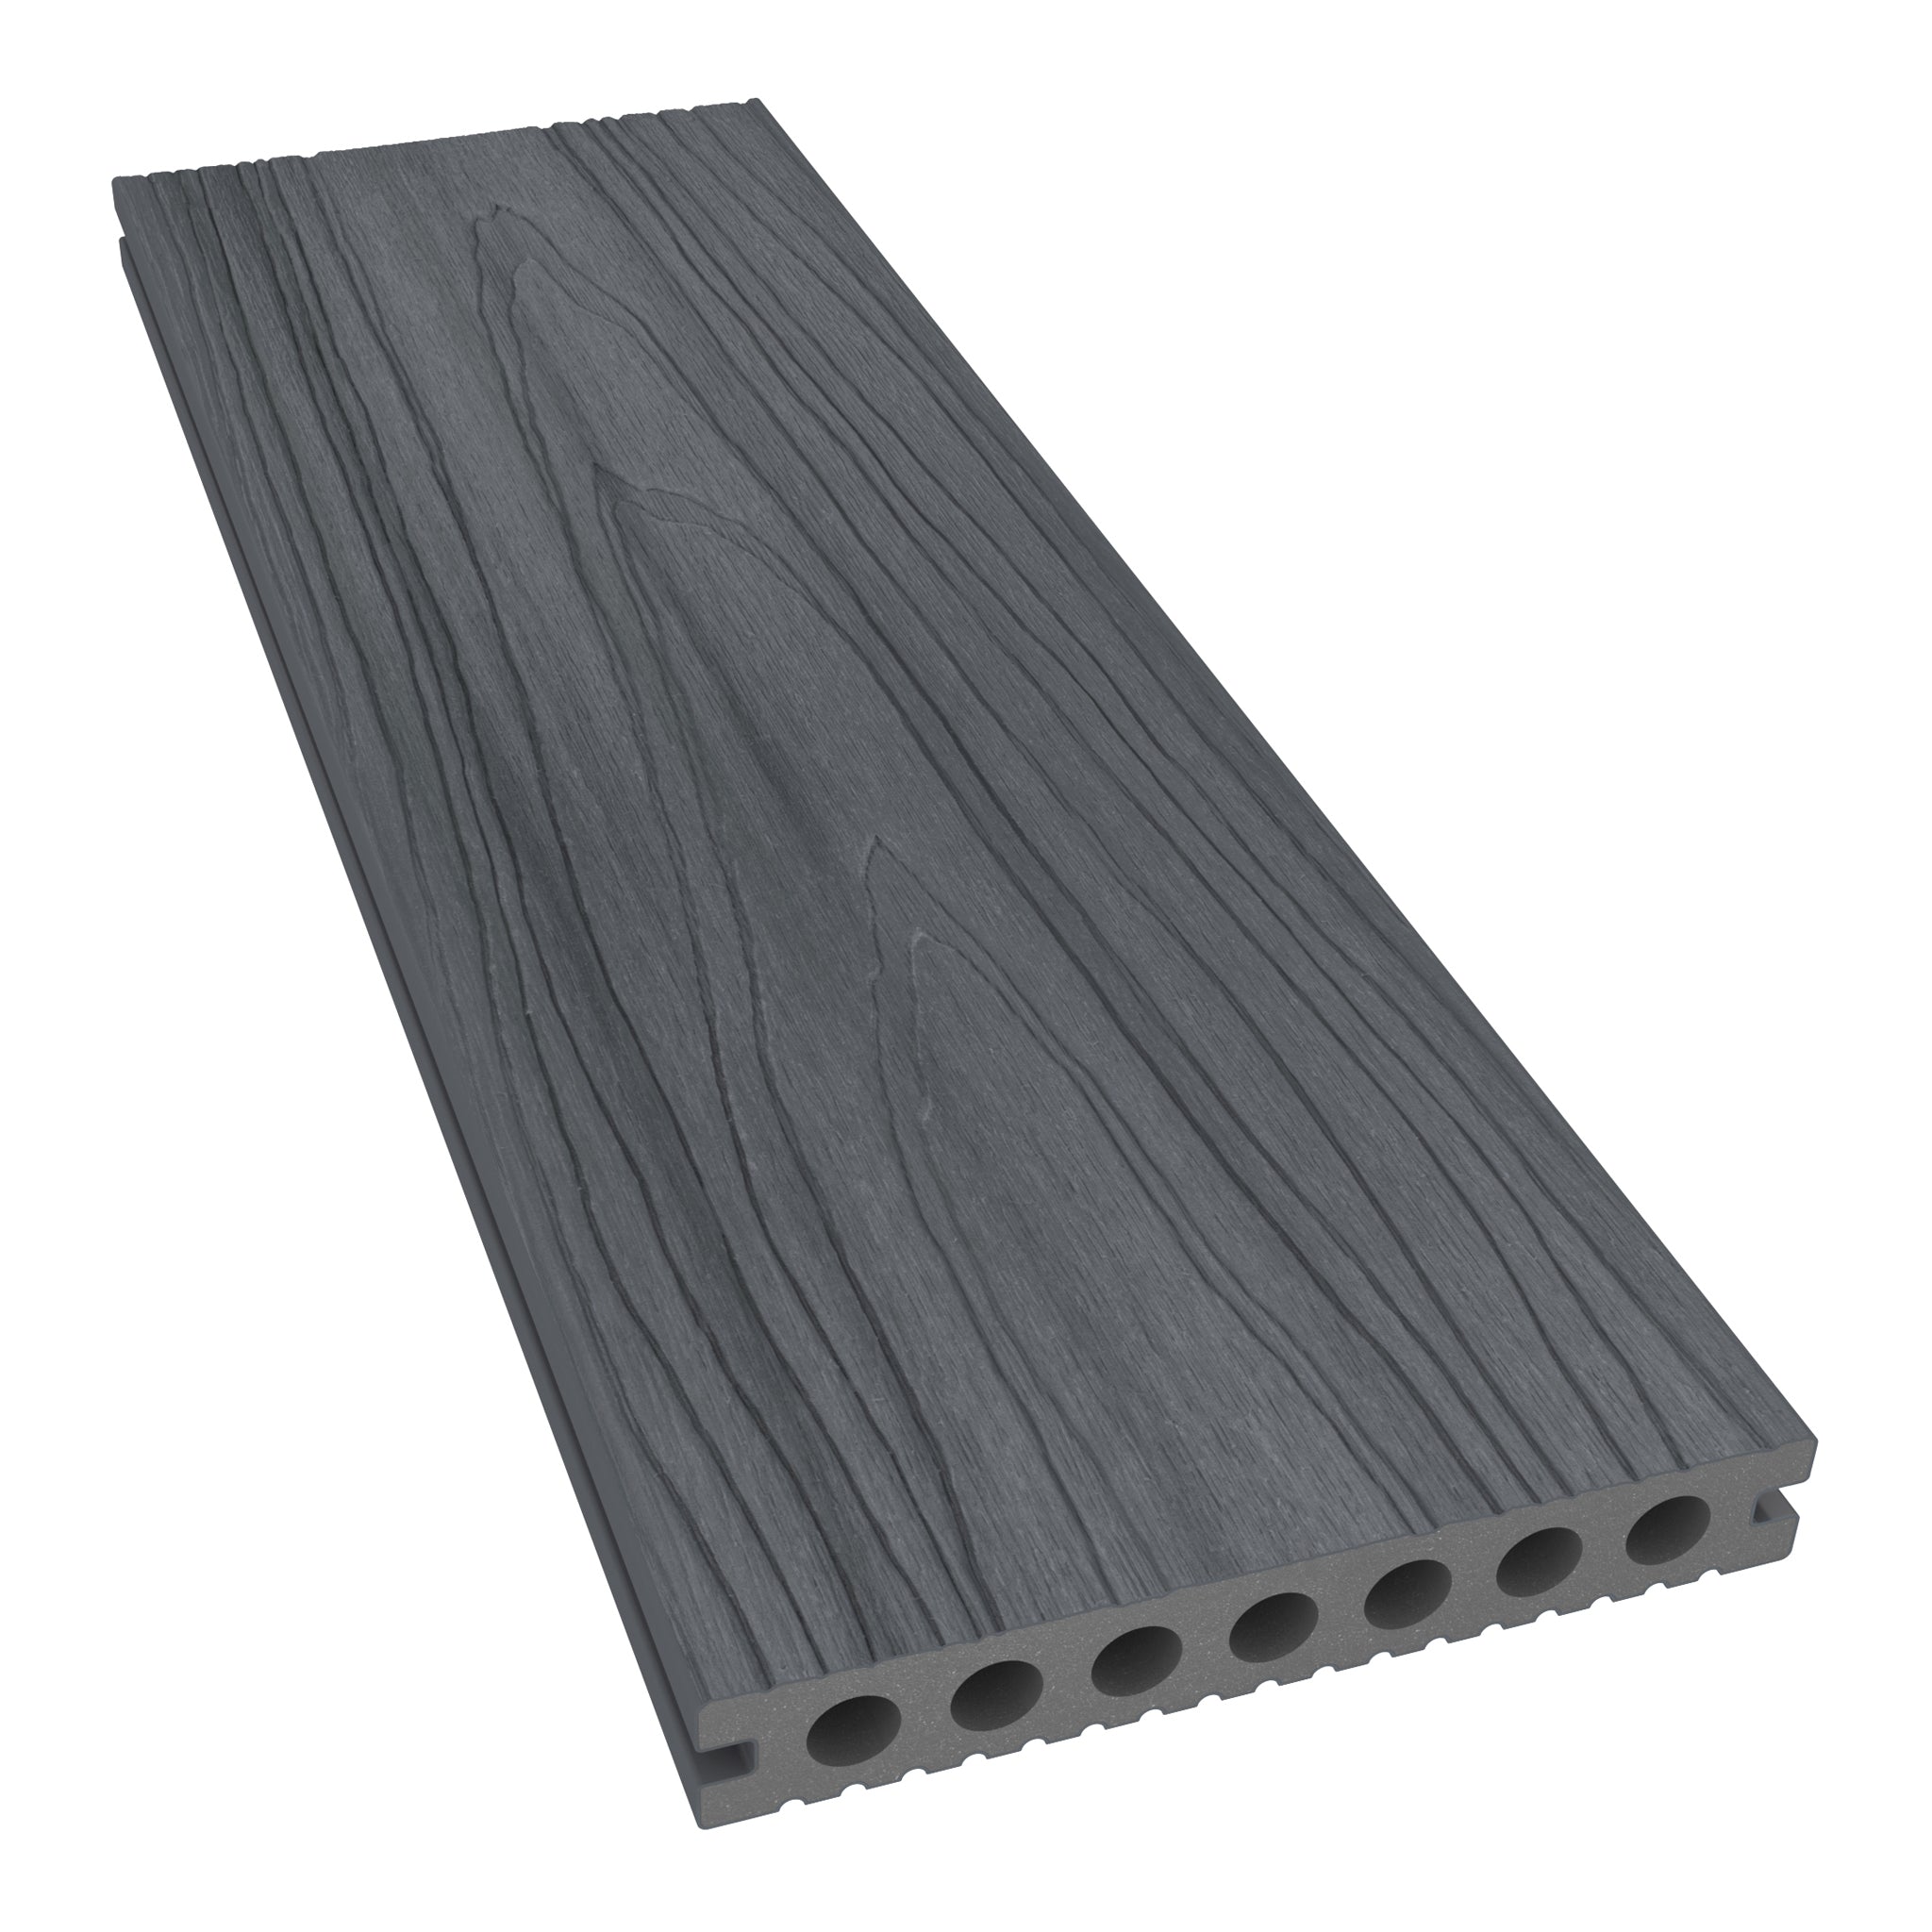
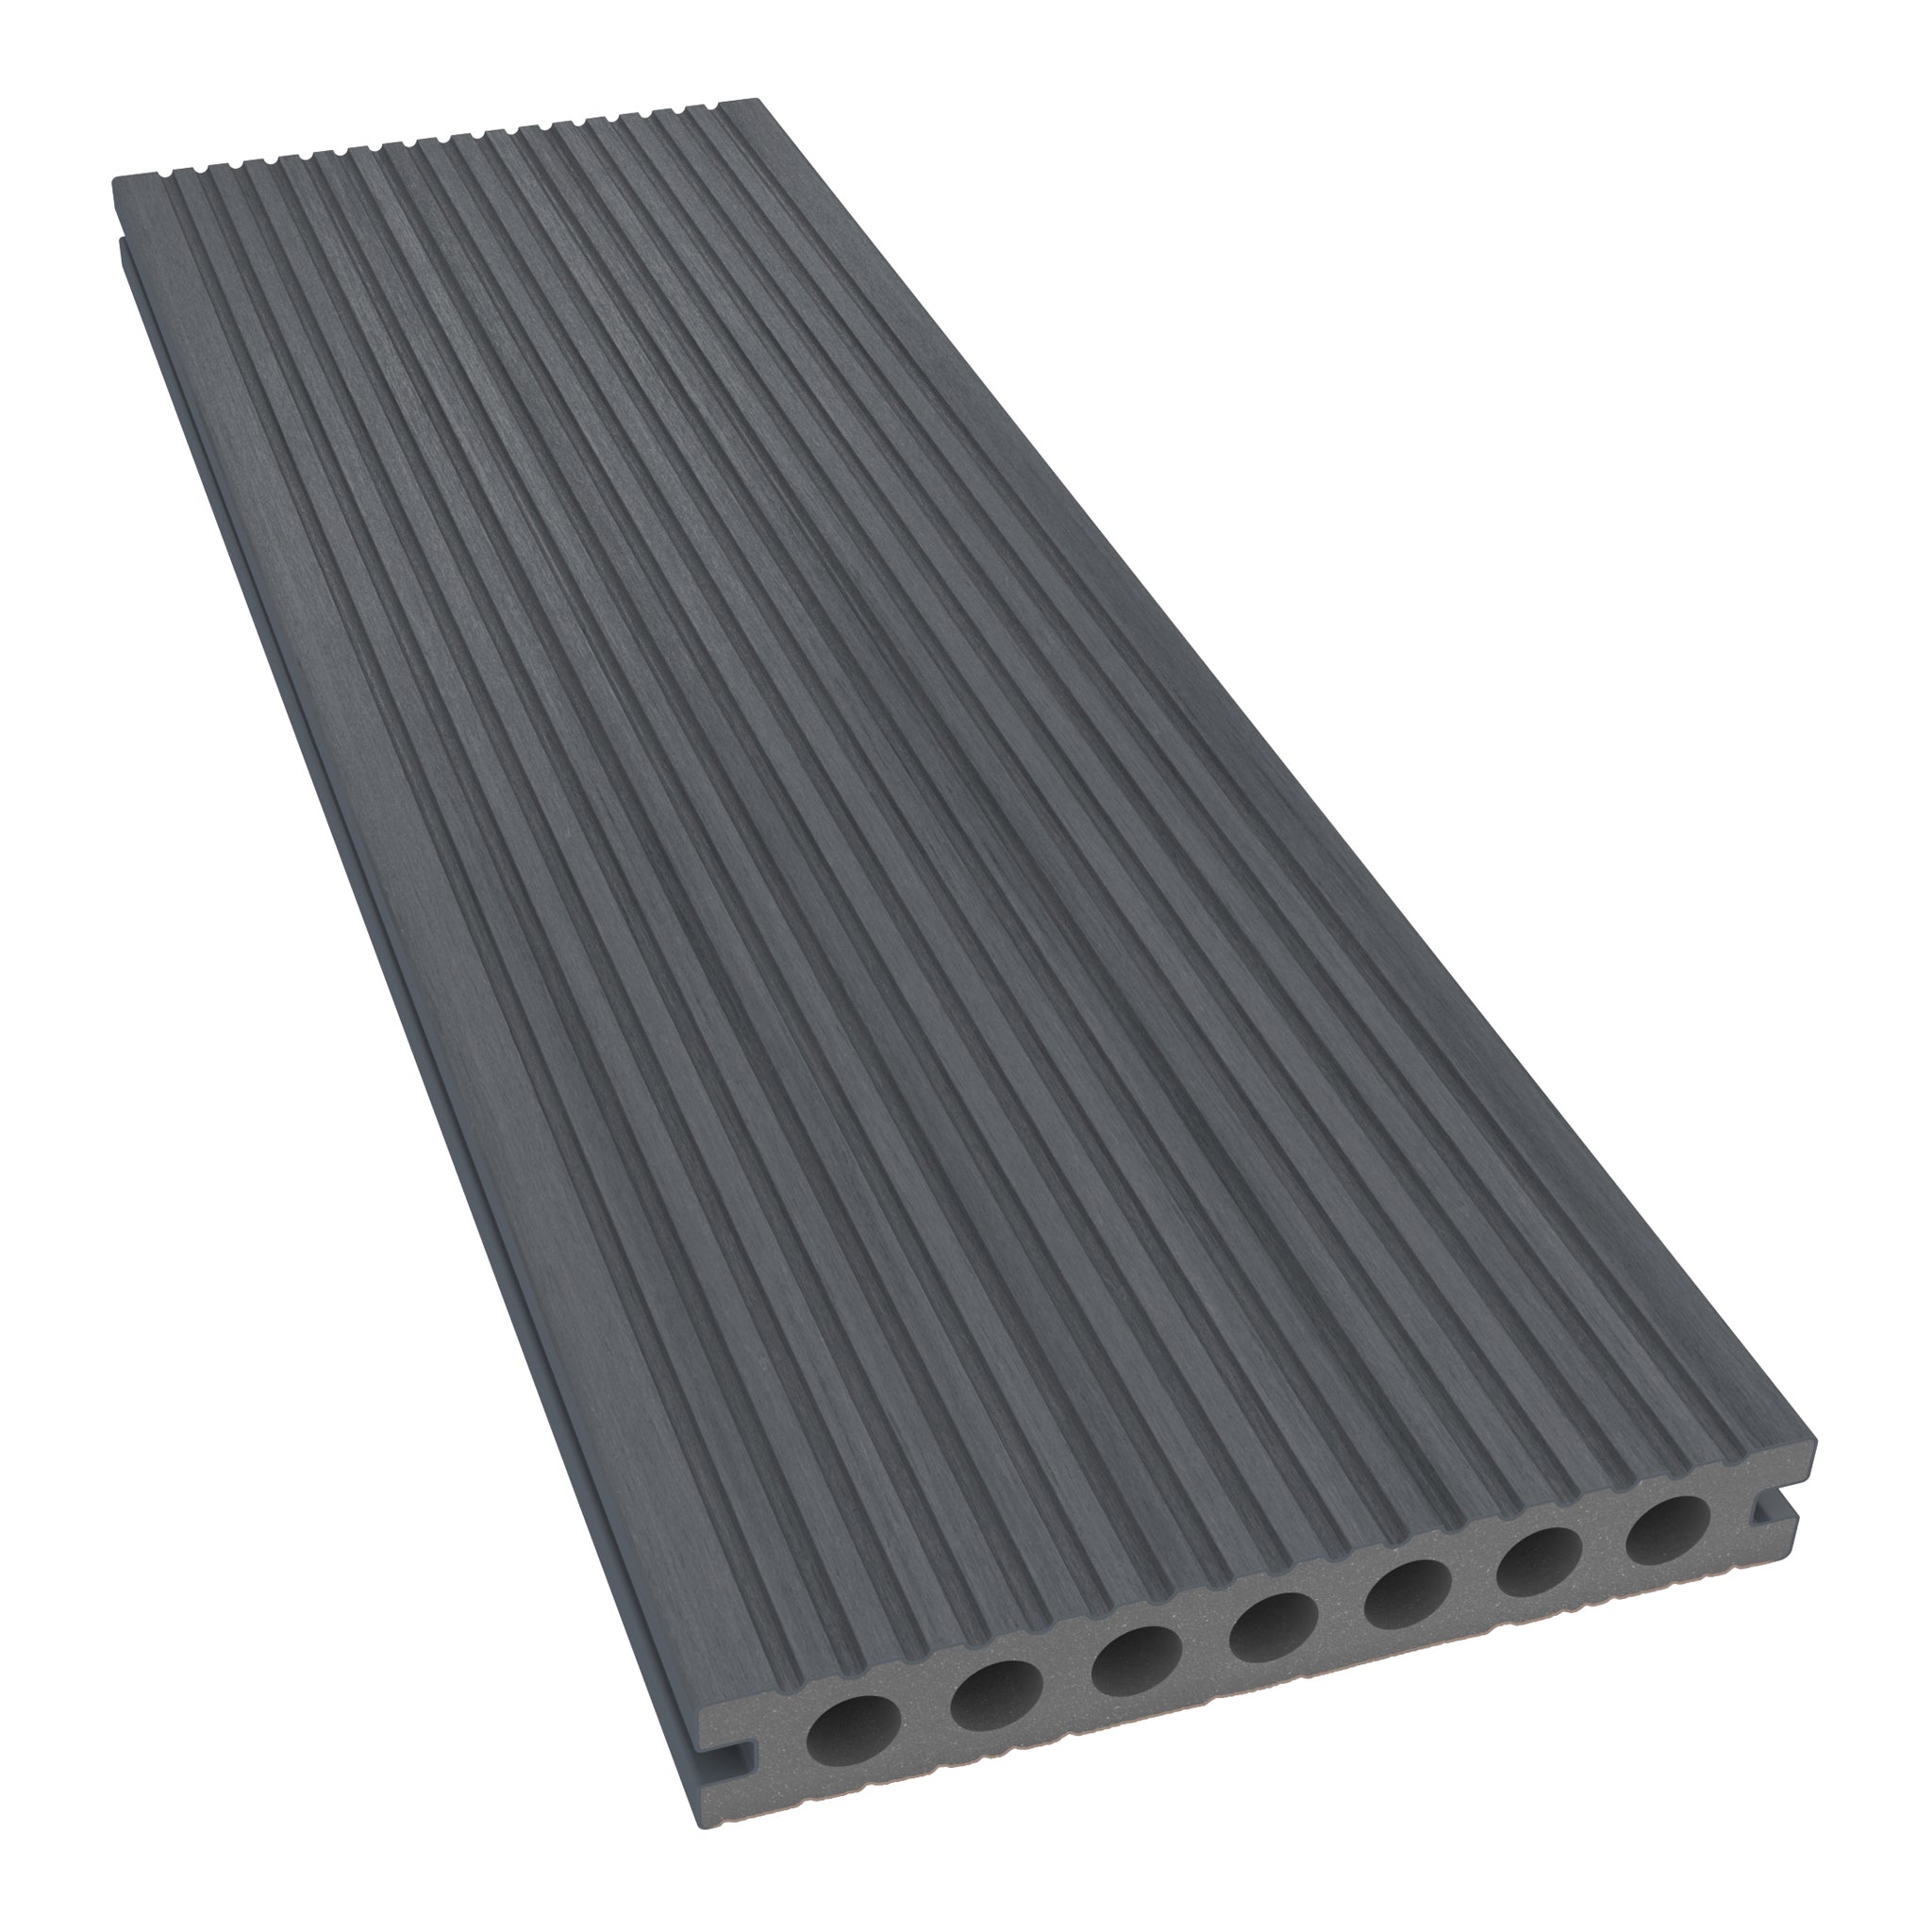
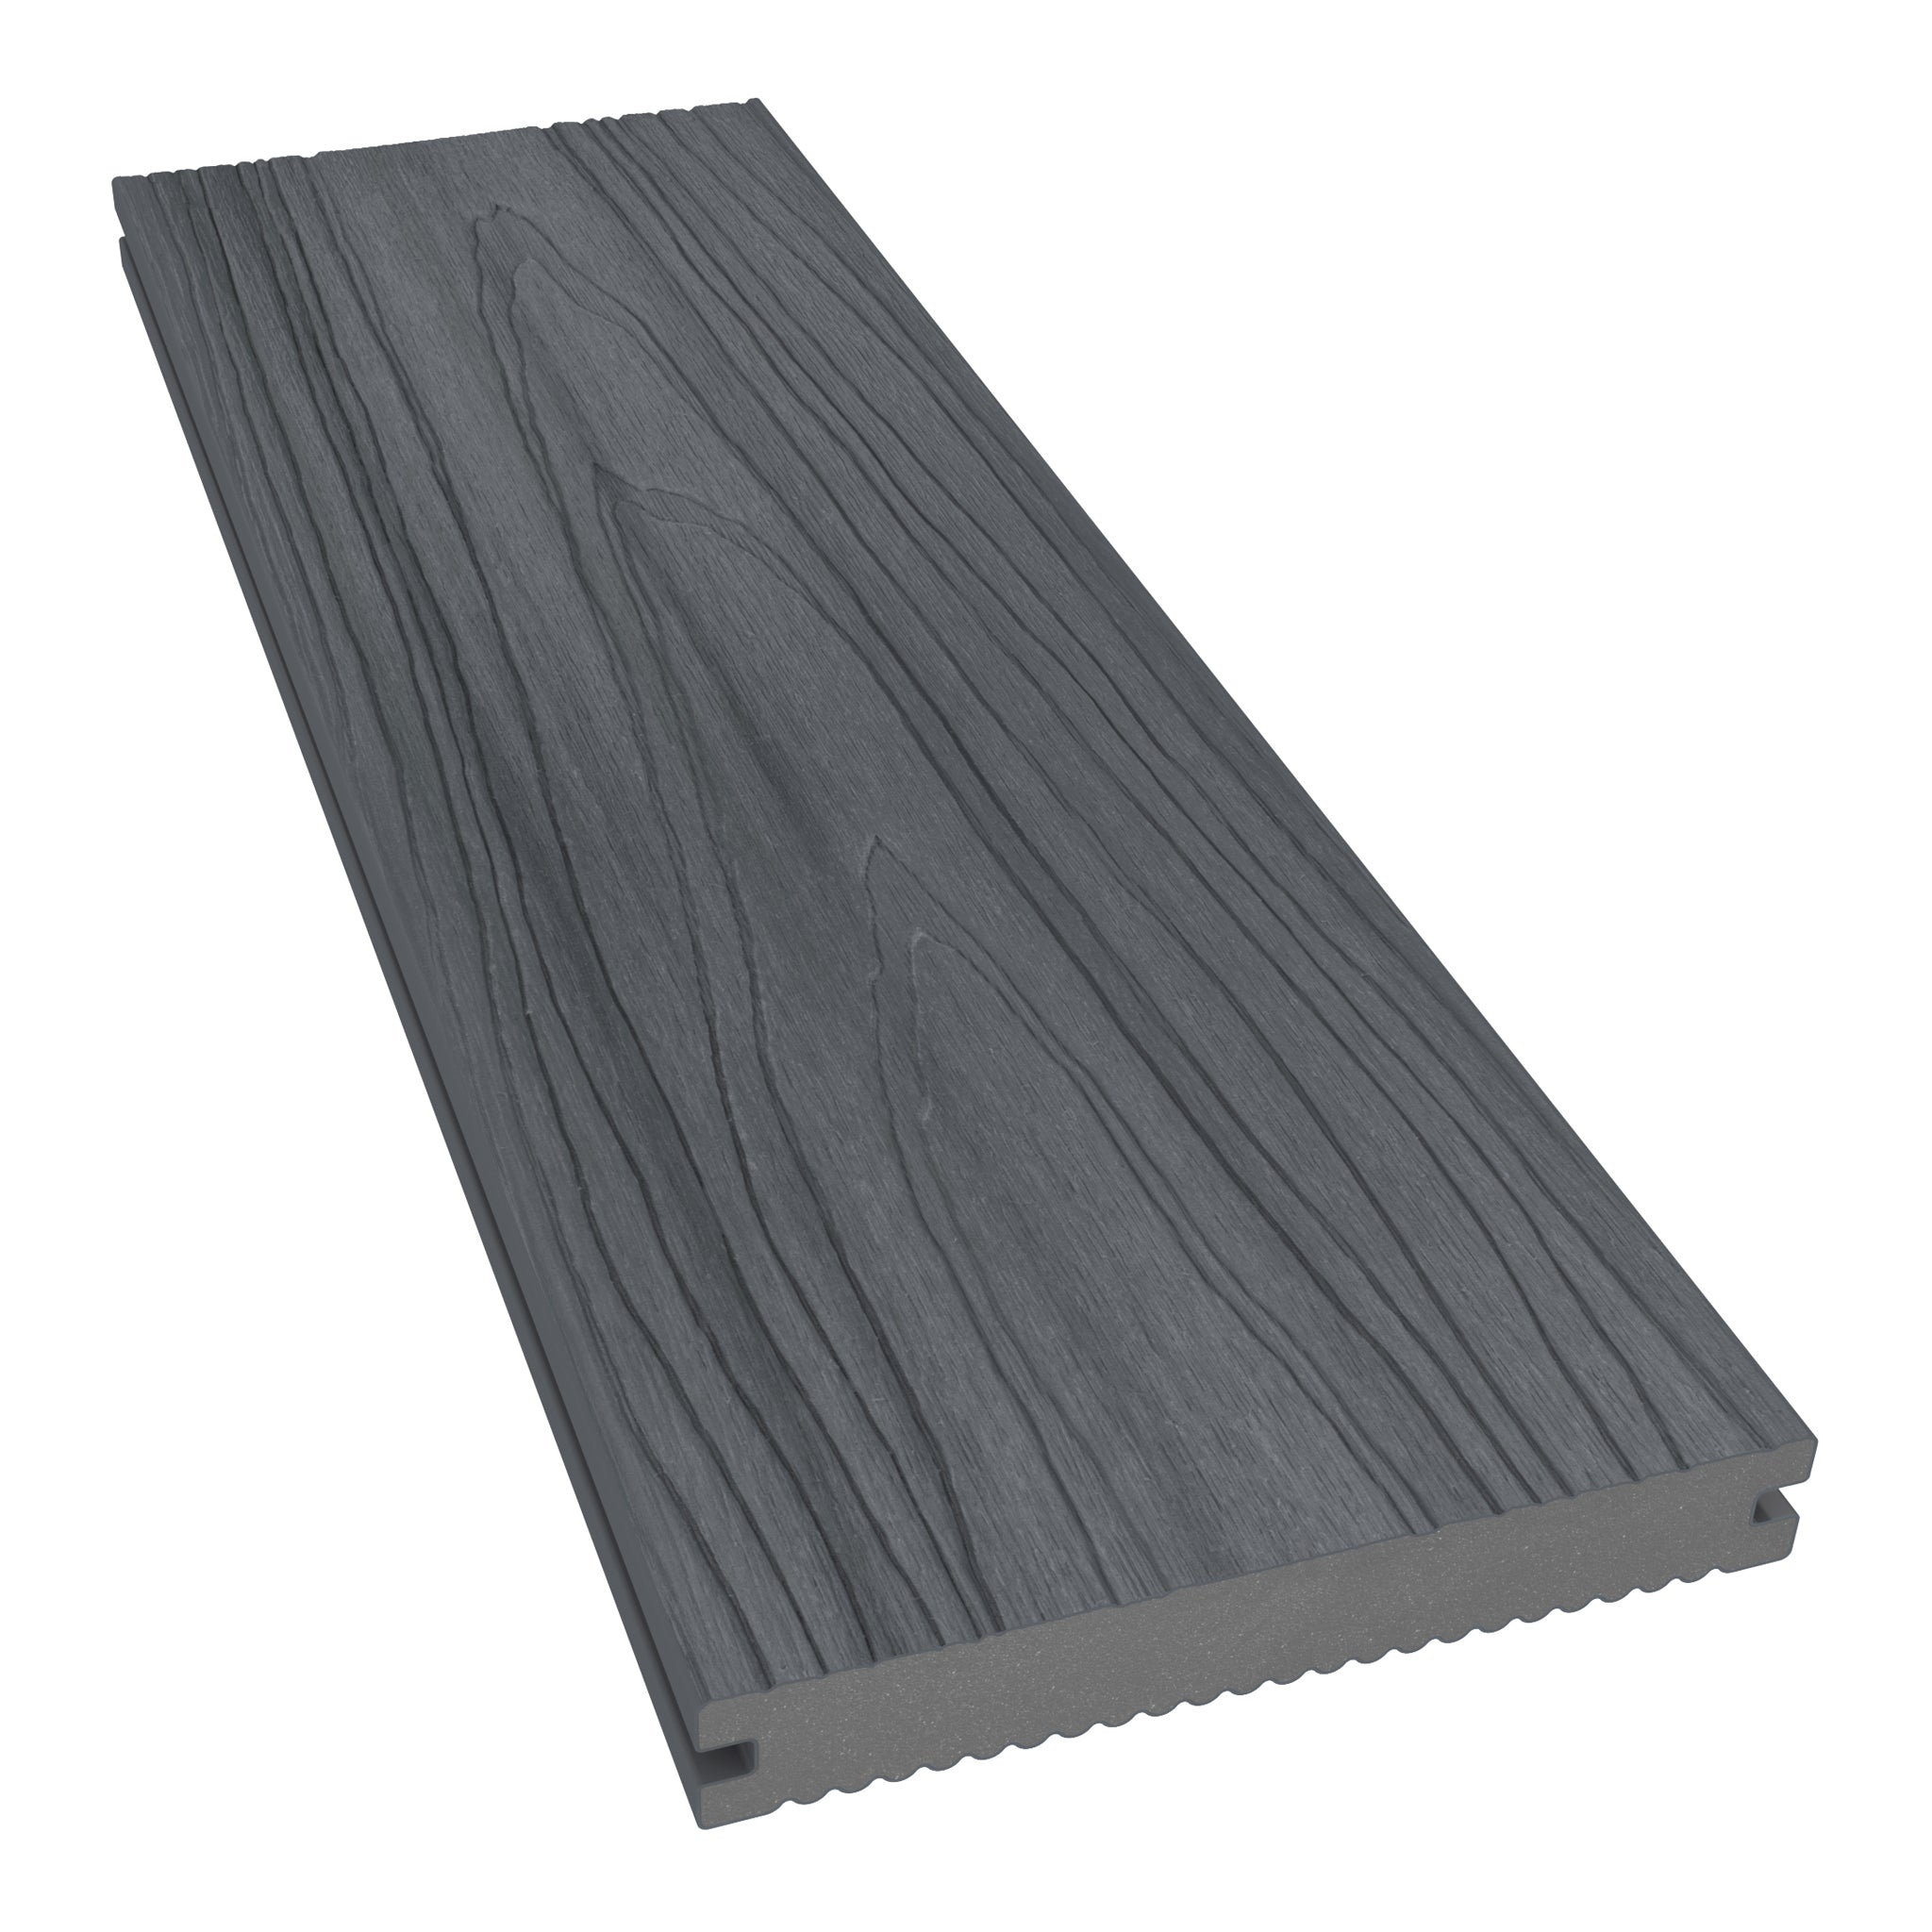
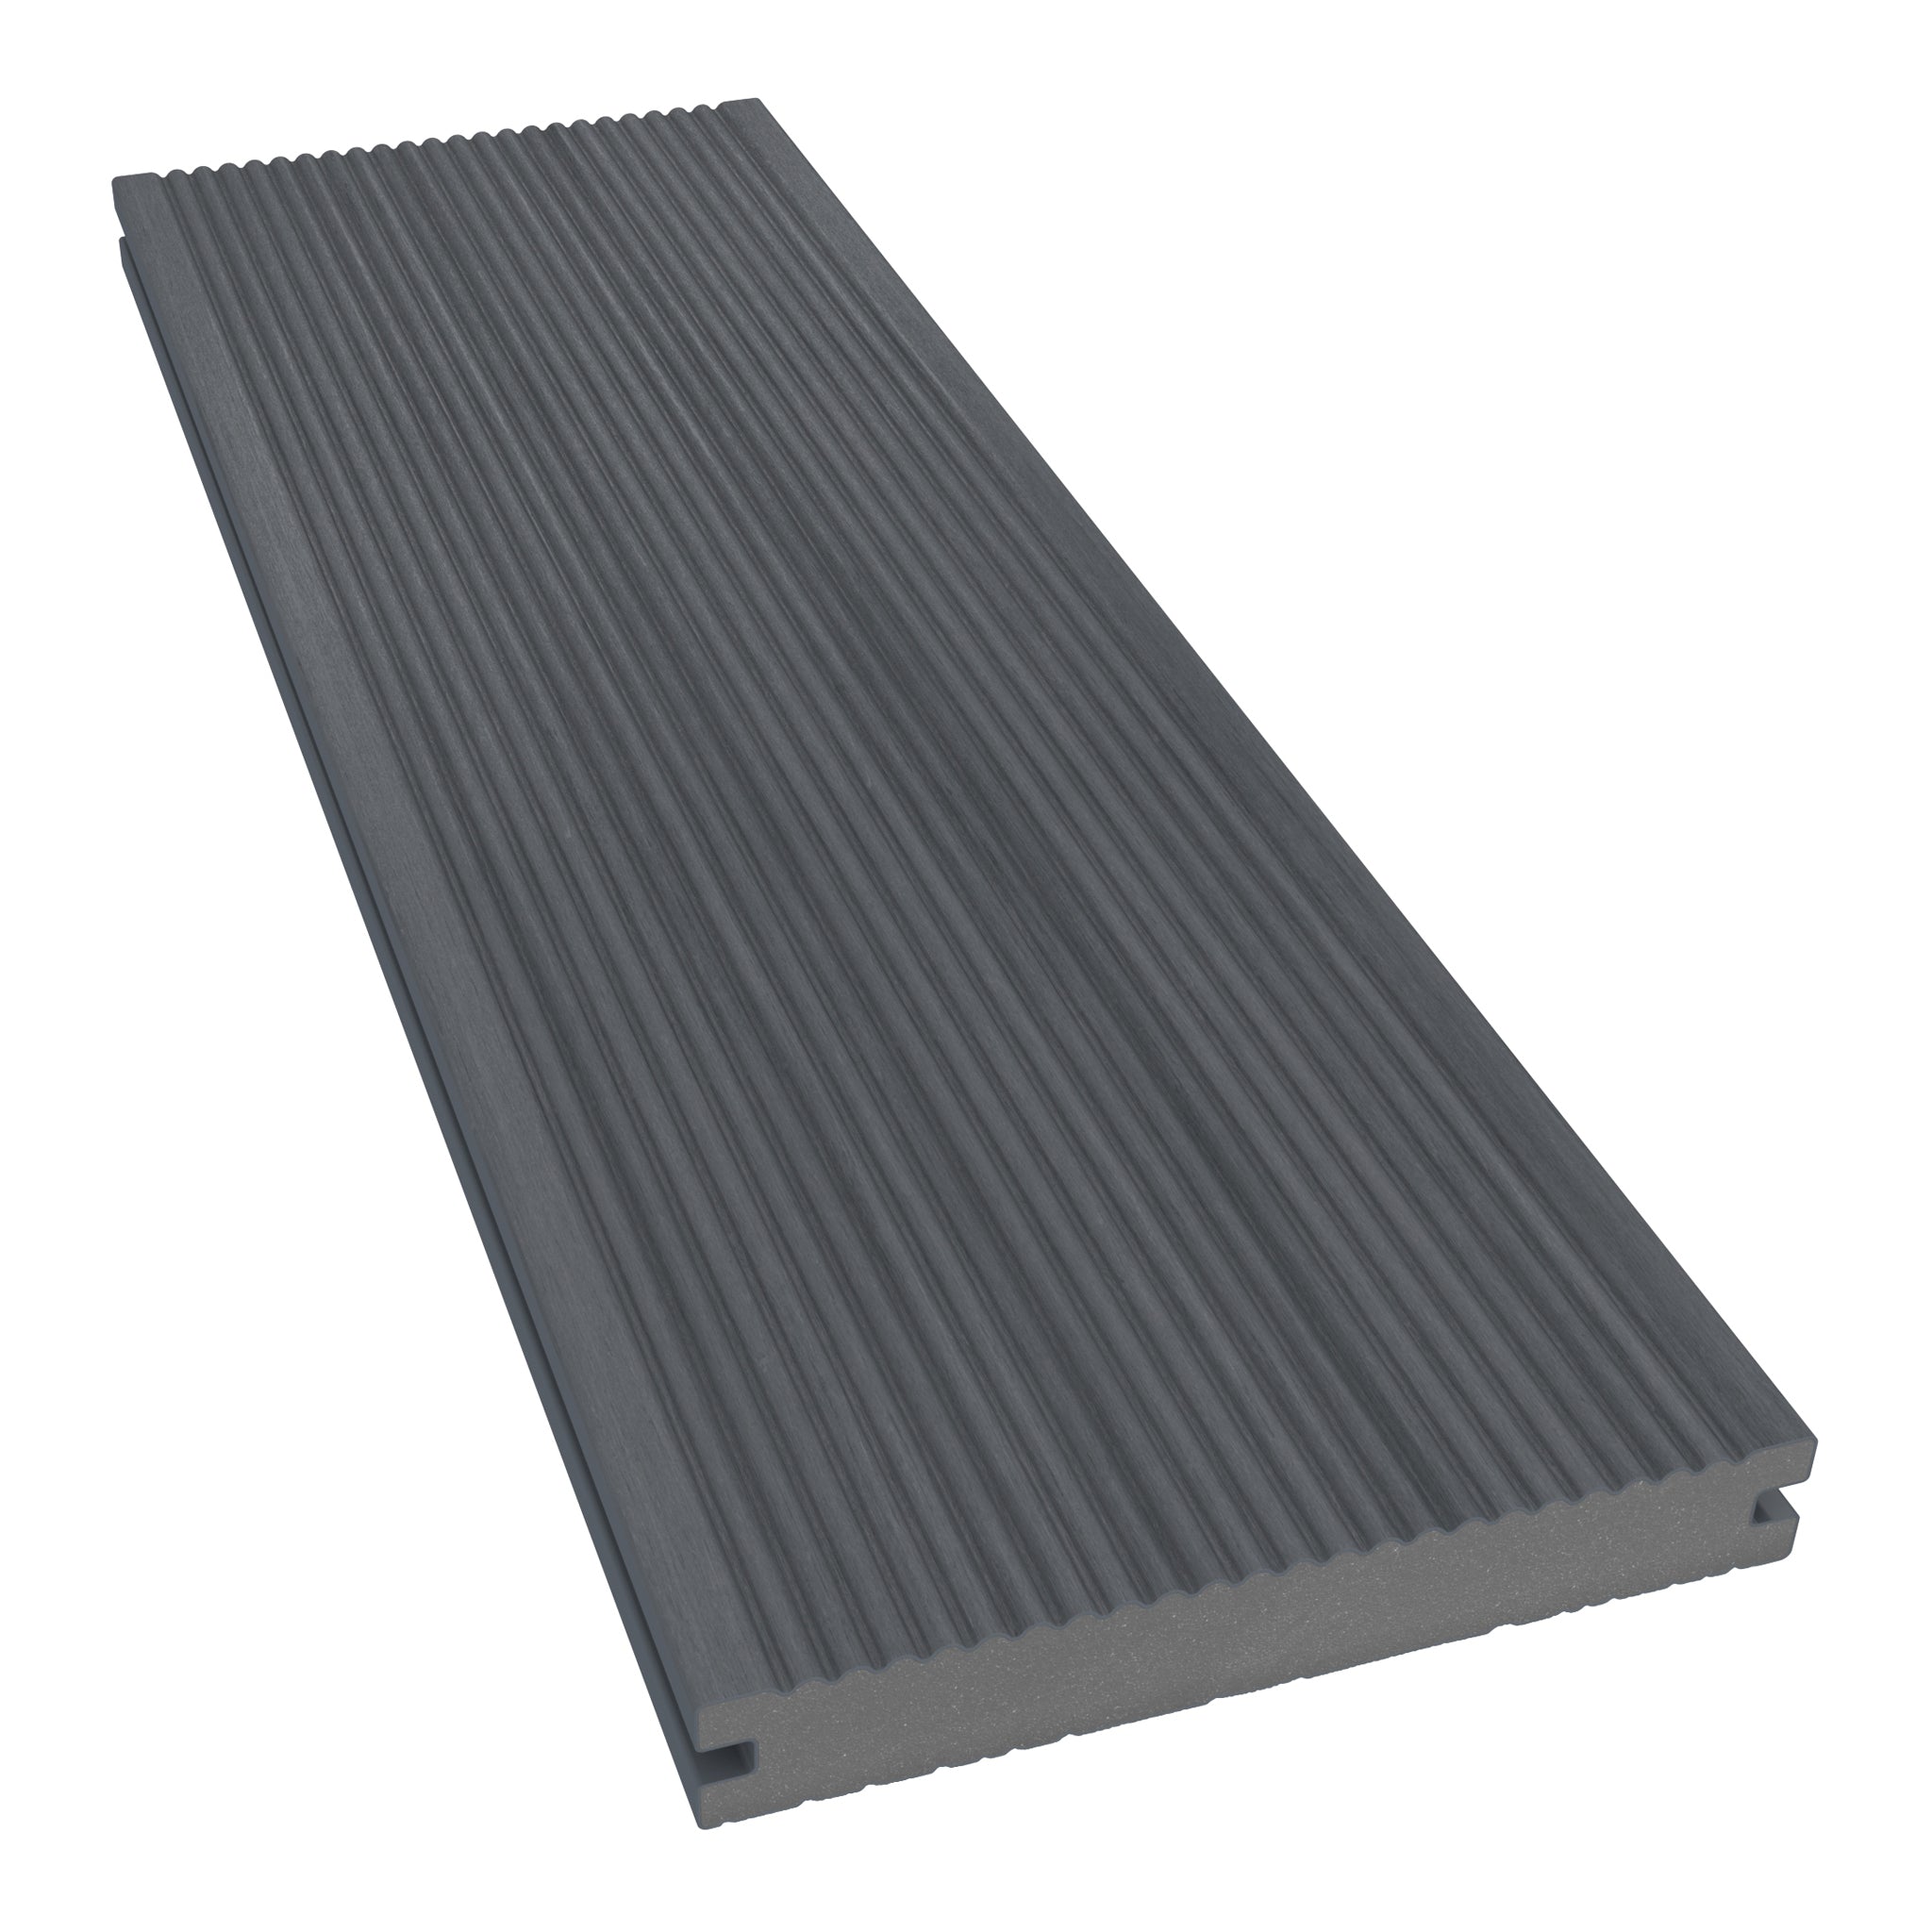
“Picture frame board” describes a board's role in the layout, rather than necessarily a separate product category. NeoTimber's illustrated details use either standard deck boards or dedicated edge boards. Choose the profile alongside the edge appearance and fixing method you want.
- Standard deck boards: can continue the main decking's finish around the perimeter, subject to the specified support and fixing detail.
- Edge boards: provide an alternative perimeter profile with a dedicated fixing arrangement. Review our decking edging options before choosing.
A fascia or decorative corner trim is not automatically a substitute for a load-bearing board. Check the intended application of each component, and confirm that the profiles you combine work together.
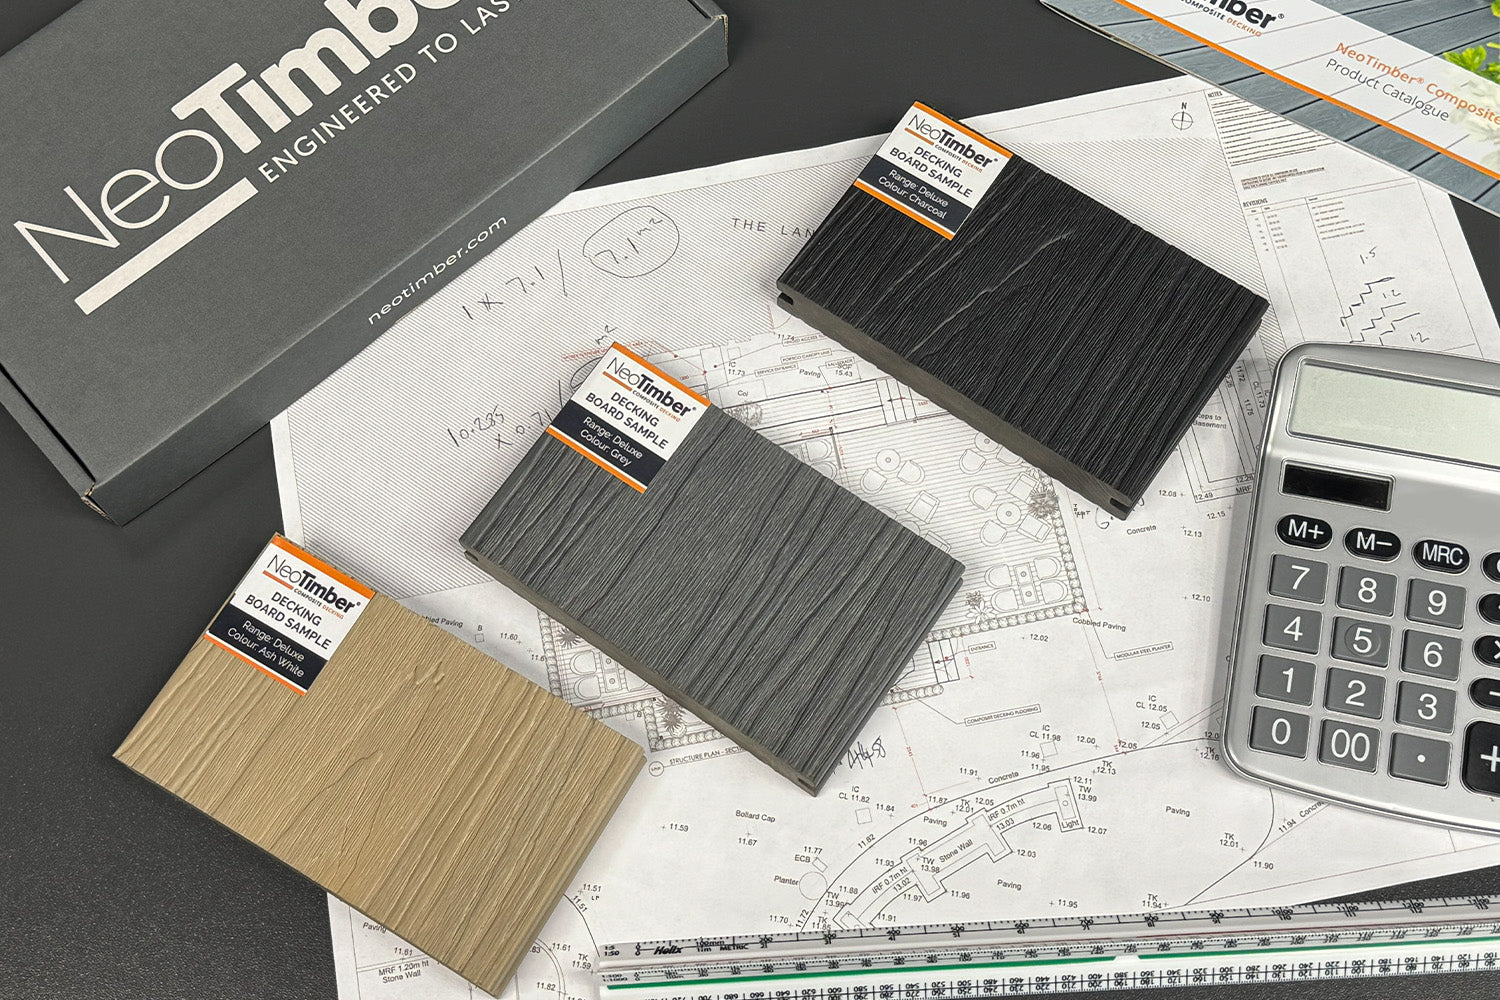
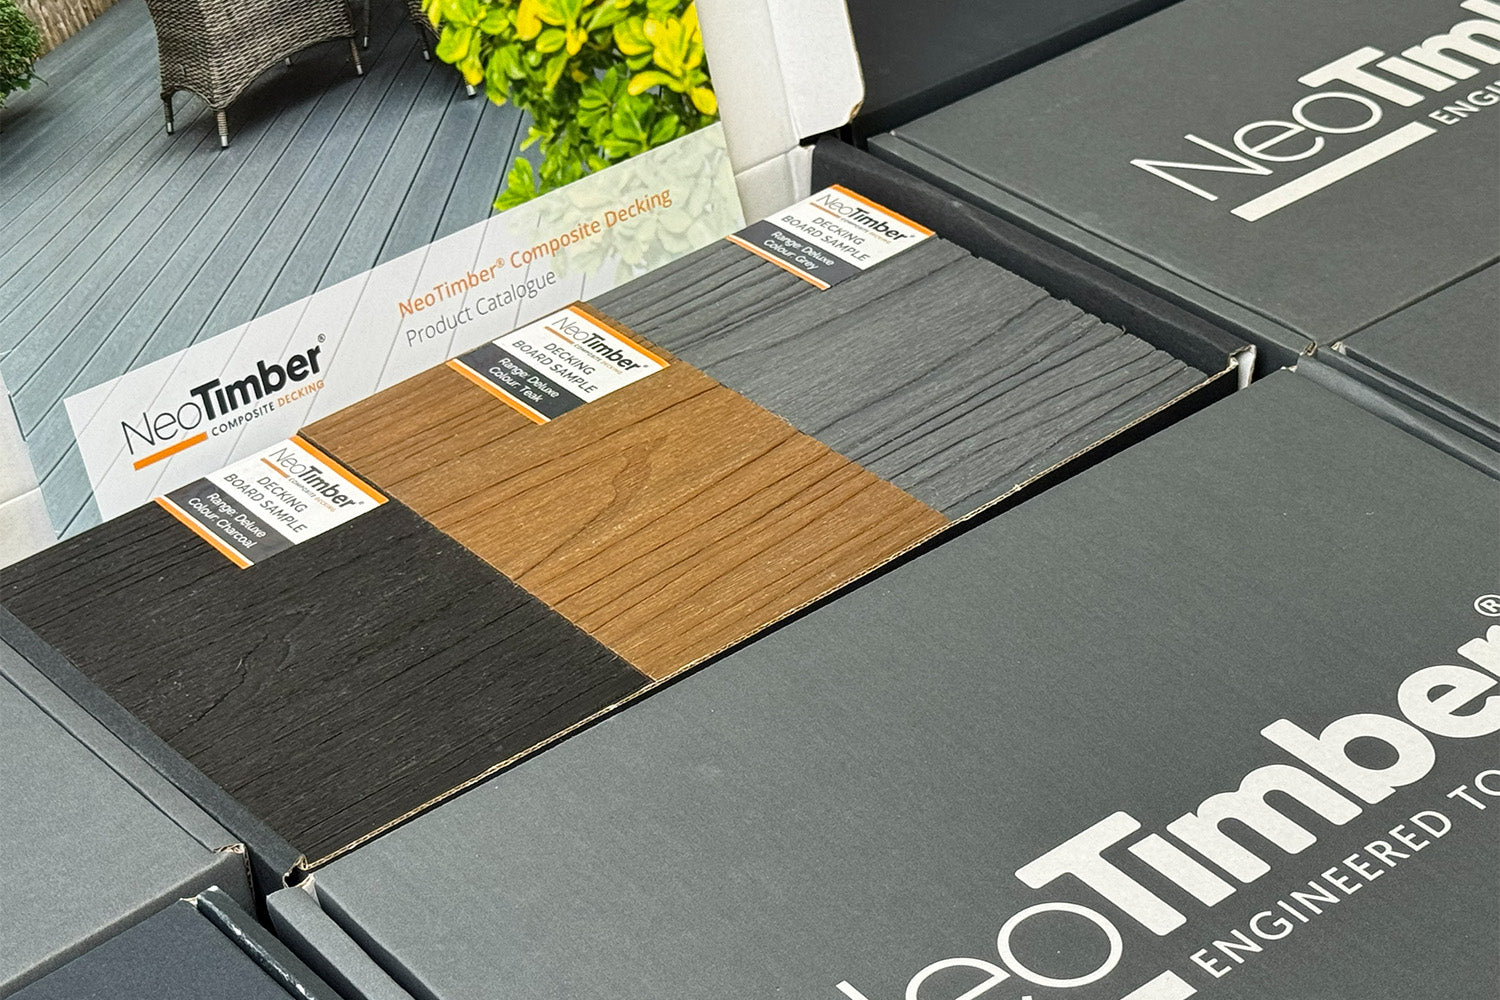
A matching border creates continuity; a contrasting colour can emphasise the outline. Compare samples together and consider how corners, steps and adjacent paving will meet the frame. Appearance alone should not determine the construction detail.
Plan Picture Framing Before Building the Subframe
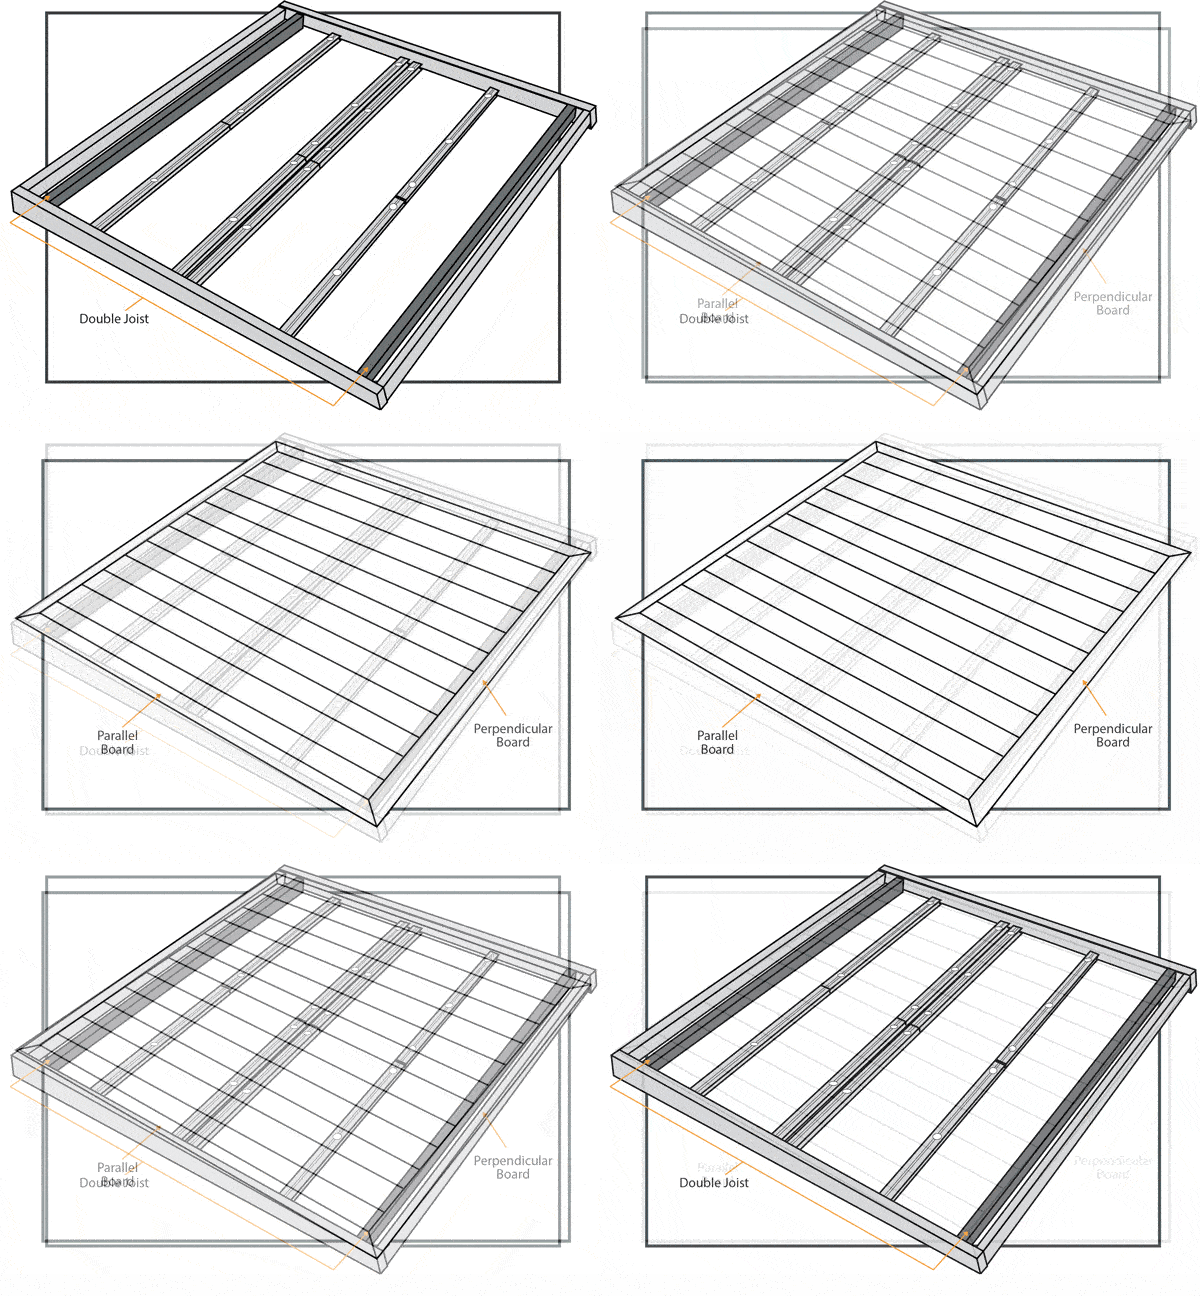
The main decking and its border run in different directions around the perimeter. Mark both on your drawing before placing joists. Allow fixing positions for the border, support for the infill board ends and the additional structure needed at corners.
NeoTimber's illustrated perpendicular-board detail uses double joists. Do not assume a normal perimeter joist supports every edge of every board. Review the decking frame and subframe guide alongside the current installation instructions for the selected materials.
In the sections below, “parallel” and “perpendicular” describe the border board's direction relative to the main deck boards. These positions have different support and fixing details.
Using Standard Deck Boards as a Picture Frame
1. Fit the Parallel Border Boards
Border boards running in the same direction as the main deck can follow the applicable standard board-fixing method. Set out the border width and corner positions first, keeping the main field aligned with the frame.
For the illustrated NeoTimber® mitred detail, corners are cut at 45 degrees with a 4mm expansion gap. Confirm the current detail for your selected board: do not close mitres tightly for appearance or apply one gap measurement to every joint across the deck.

2. Support and Fix the Perpendicular Border
Use the specified double-joist arrangement for the perpendicular board. In the illustrated standard-board detail, a decking starter clip secures the inside position, with the exposed grooved edge screw-fixed into the supporting frame.
Check the board is supported and aligned before fixing. Follow the applicable screw, pilot-hole and movement requirements rather than borrowing a detail from another board profile.

Using Edge Boards as a Picture Frame
NeoTimber's edge-board border is installed before the main run of boards so the fixing positions remain accessible. Set out the full perimeter, check dimensions and establish the intended corner joints before working inwards.

1. Install the Parallel Edge Board
The illustrated detail uses starter clips on the outside of the framework, engaging with the underside of the edge board. The inside groove then receives the compatible FastClip ready for the adjoining deck boards.
Follow the specified corner gap and ensure the frame leaves adequate fixing positions. Review the decking clips and fasteners guide when comparing the components.

2. Install the Perpendicular Edge Board
The underside starter-clip arrangement secures the outer edge in the illustrated method. The inside is fixed through the exposed groove into the joist network using the specified angled fixing detail.
Consult the current installation instructions for fixing intervals, screw selection and oversized pilot holes. Do not assume the fastening method for a parallel board also applies across the perpendicular side.
Fit the Main Deck Boards and Complete the Border
Once the edge-board perimeter is secured, install the main boards using the appropriate fixing system. Keep the infill aligned and allow the required movement gaps where board ends approach the border.
Where the final board needs face fixing, pre-drill and fasten it at the required support positions. Use the specified screws, such as colour-matched composite decking screws where appropriate. Consult the board installation guide for the relevant detail.

Picture Framing Checks Before You Finish
- Support: confirm border boards, corners and adjoining board ends are supported as specified.
- Movement: check the correct gaps for corners, board ends and fixed obstacles.
- Fixings: confirm clips and screws suit the board profile and frame material.
- Alignment: check the border remains consistent without forcing boards into position.
- Drainage: keep the perimeter detail from trapping water or obstructing ventilation.
Composite Decking Picture Framing FAQs
Do I need special composite decking picture frame boards?
Not always. The illustrated NeoTimber® methods use standard deck boards or dedicated edge boards. Choose the product against the required appearance, support arrangement and fixing detail.
Can I add a picture frame after fitting the deck?
Possibly, but the existing frame may need alteration to support the border and the infill ends. Plan the detail before building wherever possible rather than treating it as a trim added at the end.
Should I leave gaps at mitred corners?
Yes, follow the specified movement allowance. The illustrated corner detail above includes a gap; it is not intended to be forced into a tight joint. Check the current instructions for your selected product.
Can the border be a different colour?
Yes, provided the selected boards and profiles are compatible with the installation detail. Compare physical samples and confirm dimensions before mixing products.
Does picture framing replace all fascia and trims?
No. A border finishes the horizontal perimeter; exposed vertical framework may still need a separate fascia detail. Decide which components are required for the complete edge.
Will picture framing require more materials?
Allow for border boards, additional supports, fixings and cutting waste. A measured drawing helps identify quantities more accurately than deck area alone.
Plan Your Border Alongside the Main Deck
Choose the board profile, colour and support detail together. Browse the NeoTimber® composite decking range, request free decking samples and use the composite decking calculator for an initial estimate. Have the border layout and extra framework checked before ordering.