Plan a Better Deck Build With These Practical Preparation Tips
The most useful tips for composite deck building start before you cut a board. A measured layout, a suitable frame and a realistic materials list can help you avoid expensive changes once work is underway.
Whether you are replacing an old deck or creating a new seating area, treat the boards, supports and finishing details as one project. This guide highlights ten decisions that make a build easier to organise, from assessing the site to checking the completed surface.
Explore our general decking guidance for an overview, and compare our composite decking collection when choosing your boards. Use these tips alongside the selected product’s installation instructions.
Jump to: Project scope · Permissions · Layout · Boards · Subframe · Materials · Tools · Gaps and fixings · Final checks · FAQs
1. Define the Whole Project Before Setting a Budget
Write down what the work includes. Removing an old deck, disposing of waste, preparing the base and improving access can take as much planning as fitting the boards. Check whether you will also need steps, edging, lighting or guarding.
If you hope to reuse an existing frame, assess its condition and suitability for the new boards. A frame designed for timber may have unsuitable spacing, connections or support positions for your chosen composite product. Covering it with new boards will not repair deterioration beneath.
Set a budget for the complete installation, including delivery, tools and labour. Keep a contingency for issues discovered during preparation rather than spending the entire allowance on the visible finish.
2. Check Planning and Building Requirements Early
Establish what approvals apply to your property before ordering. Deck height, location, property type and restrictions on permitted development can affect the answer.
For houses in England, the Planning Portal’s decking guidance explains relevant permitted development conditions, including limits on height and coverage. Those allowances do not apply to every property, and rules vary across UK nations. Ask your local planning authority where the position is unclear.
Planning permission and building regulations are separate considerations. Raised decks, balconies and roof terraces may need specialist input on structure, access, guarding and fire requirements. There is no universal rule that composite boards are acceptable simply because a building is below a certain number of storeys.
3. Draw the Layout and Check It on Site
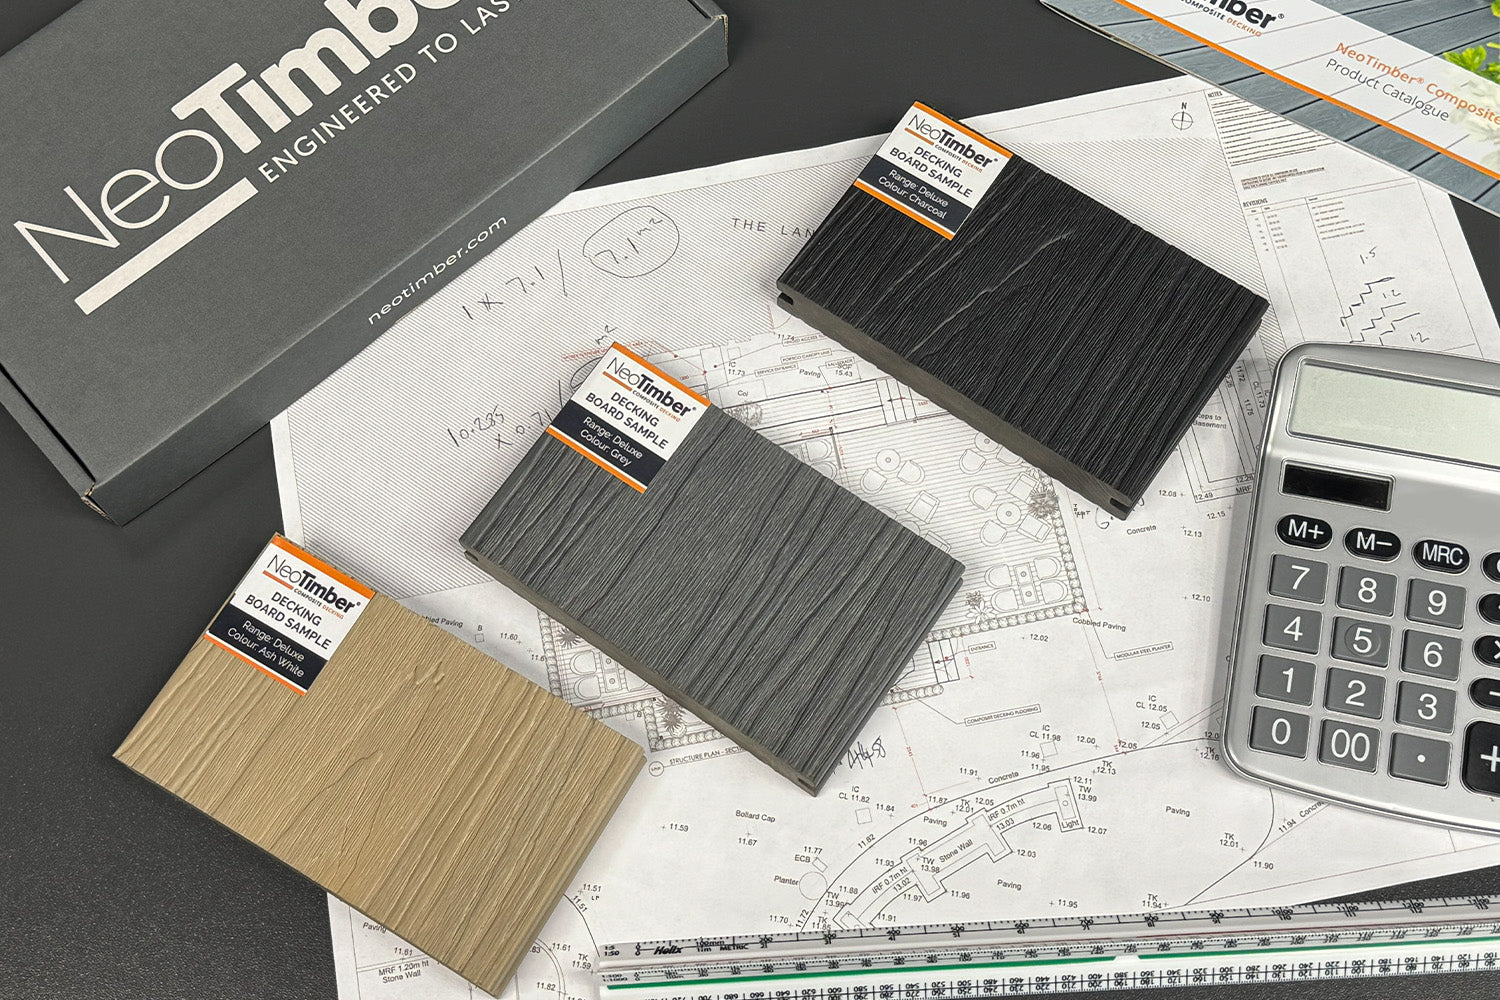
Measure the area and make a scale sketch showing doors, drains, walls, paths and changes in level. Mark the intended board direction and finished height. Confirm how water will leave the area without obstructing existing drainage or compromising the building’s damp protection.
Set out the footprint temporarily and place furniture within it. Can chairs move comfortably? Is there a clear route to the garden? Observe sunshine and shade at different times rather than assuming the spot beside the house will suit every activity.
Plan borders, steps and changes in direction now. Our decking laying patterns guide can help you compare layouts, but each pattern also needs an appropriate support arrangement.
4. Choose Boards for Their Intended Use
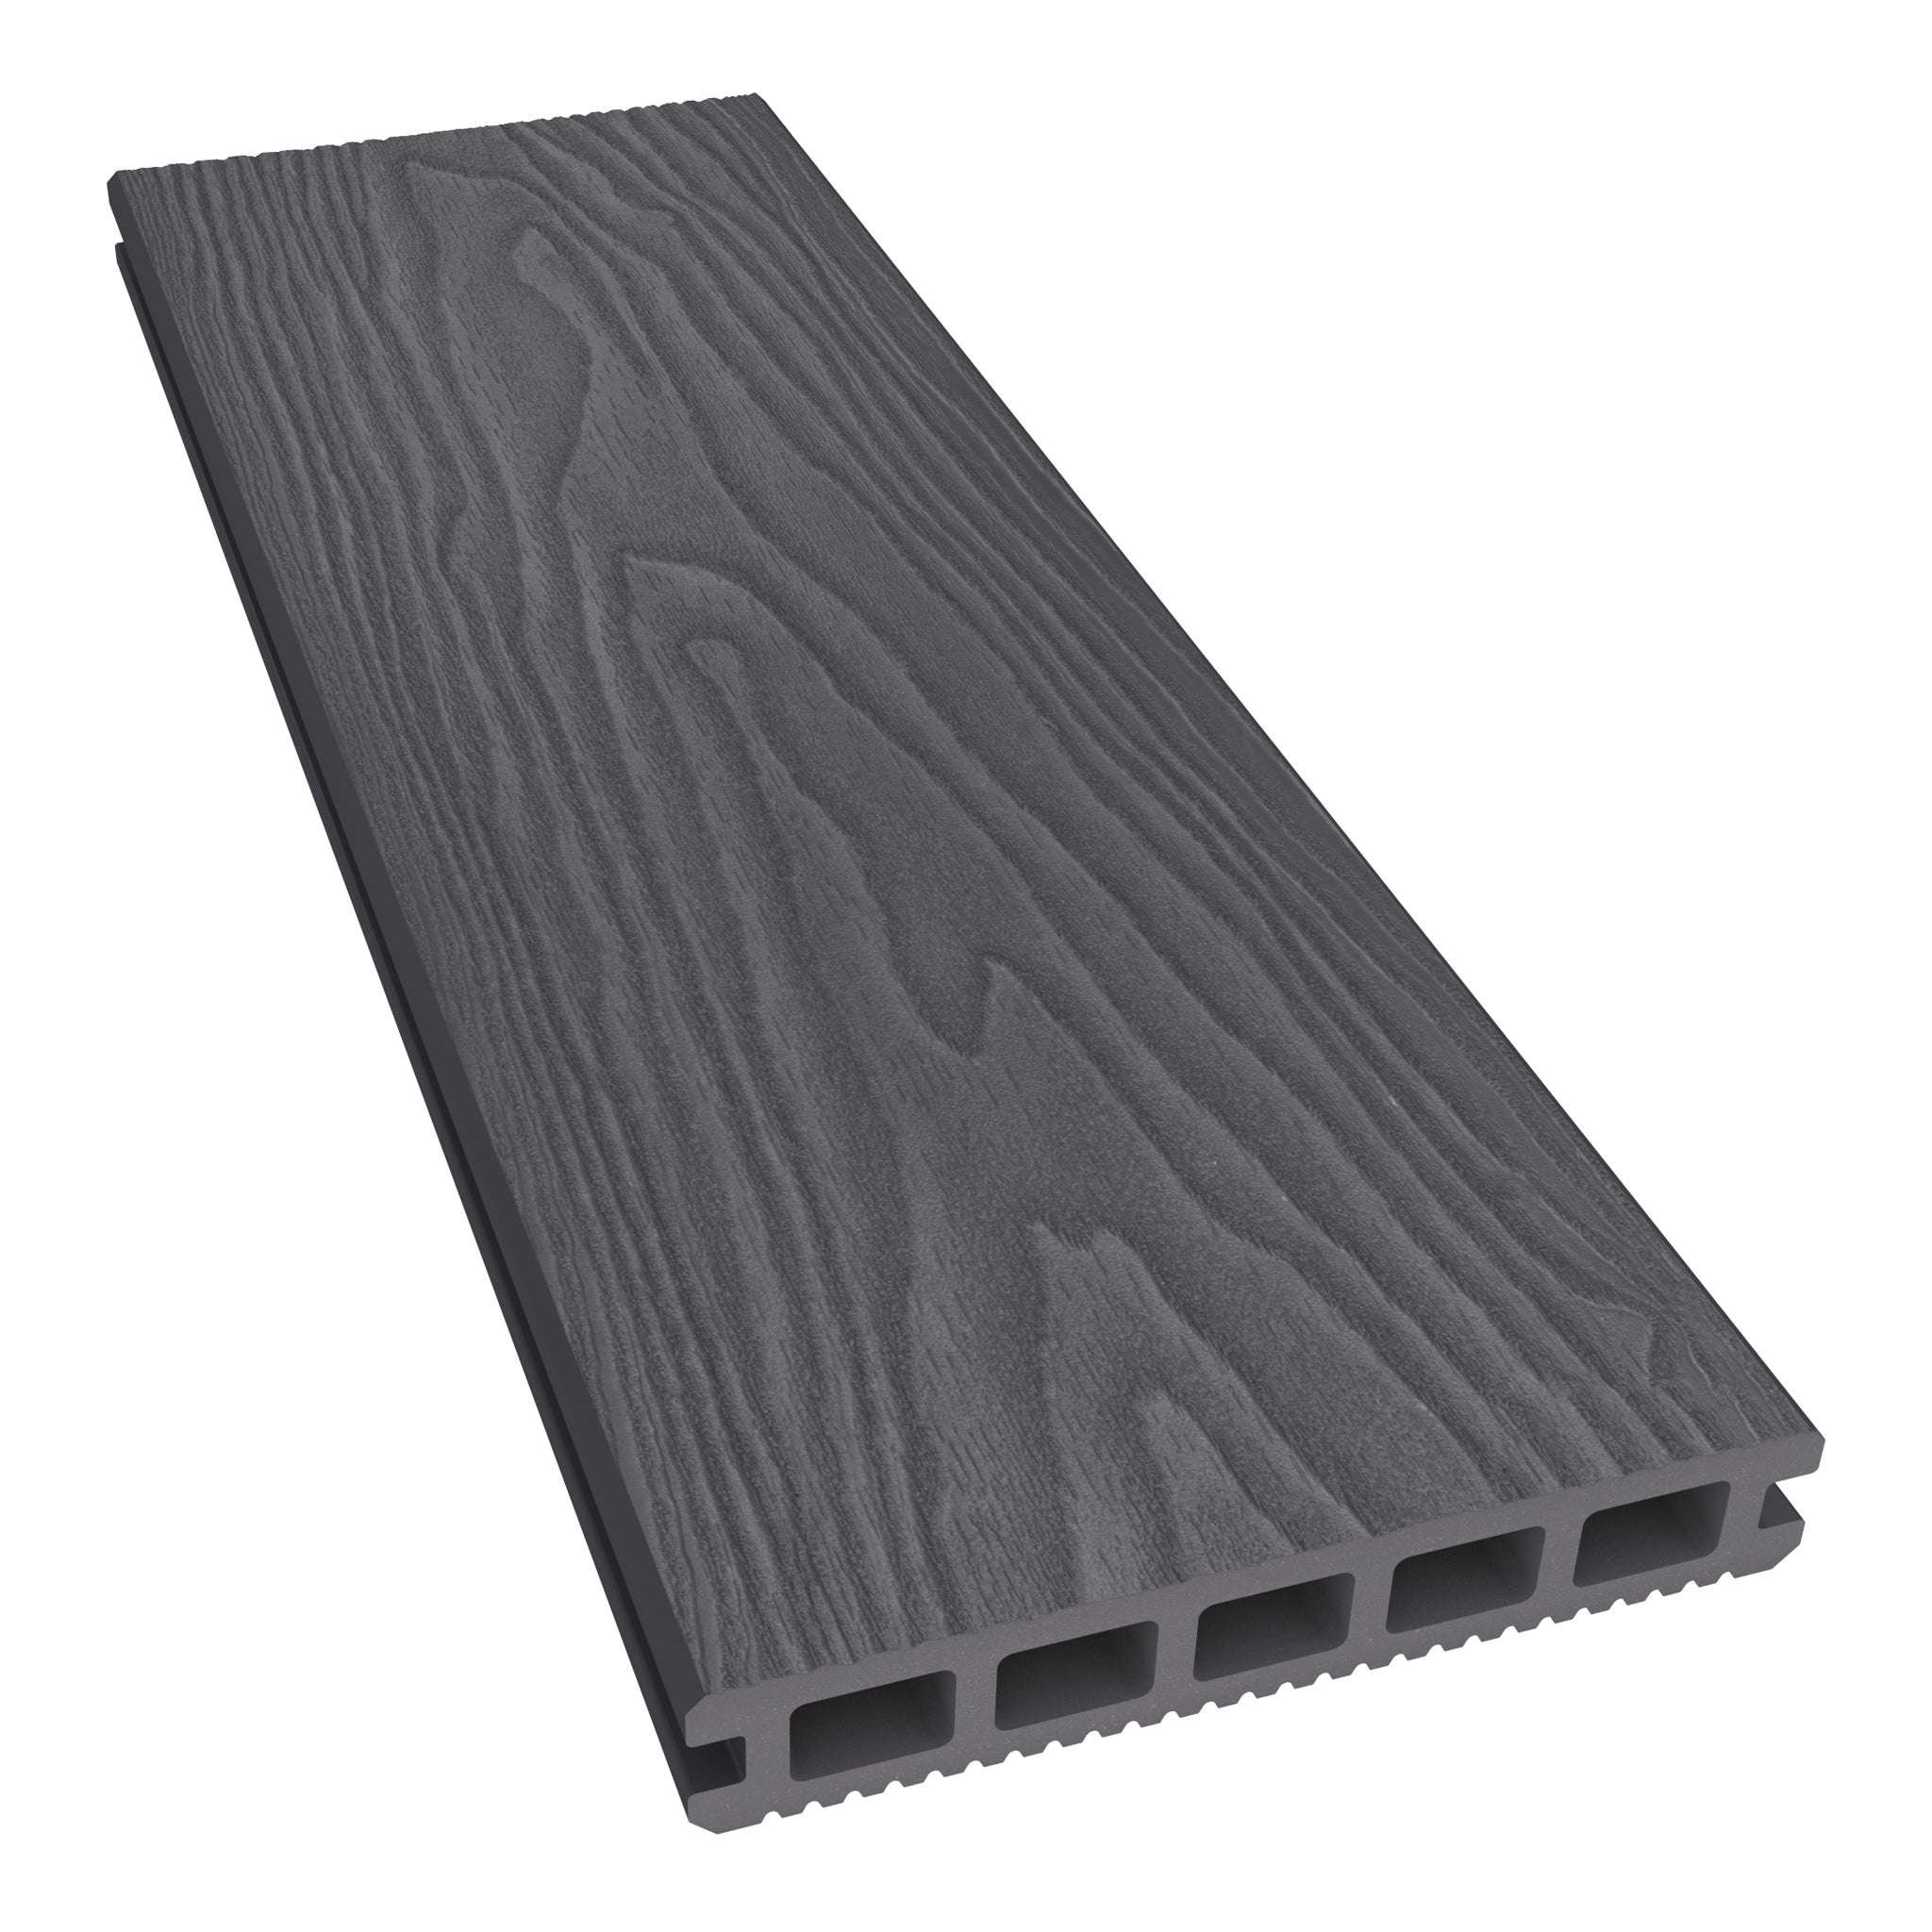
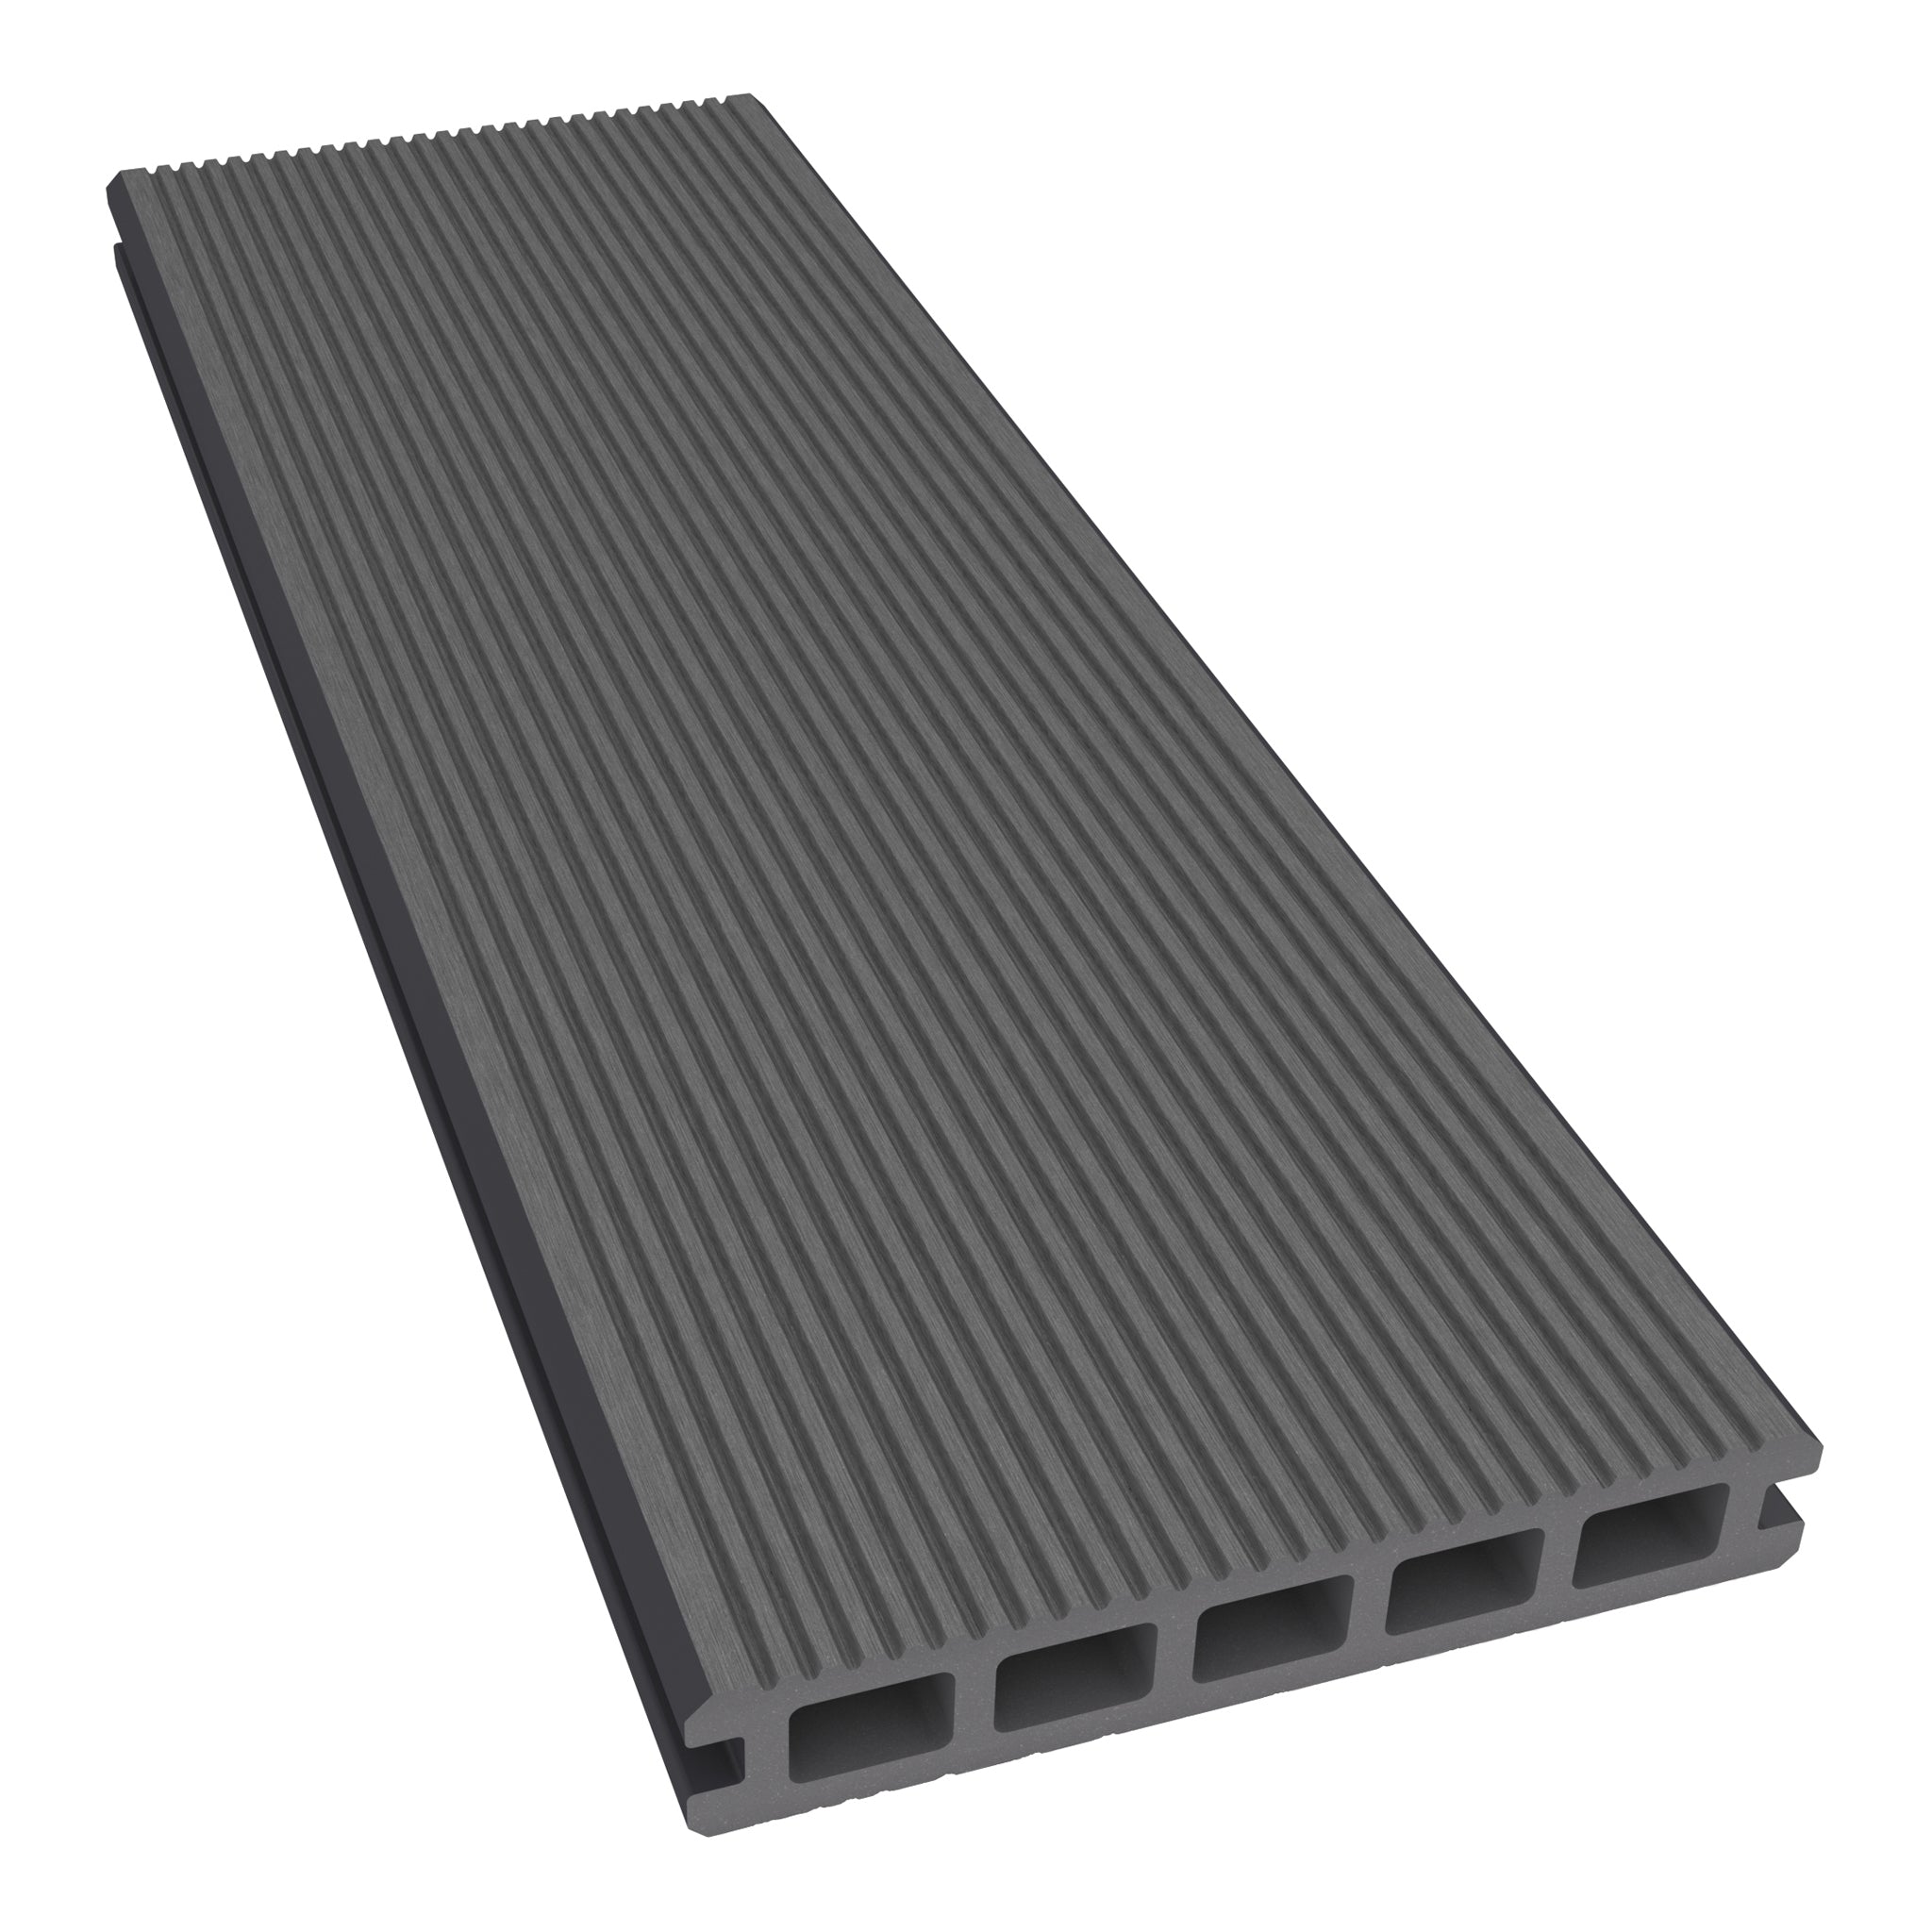
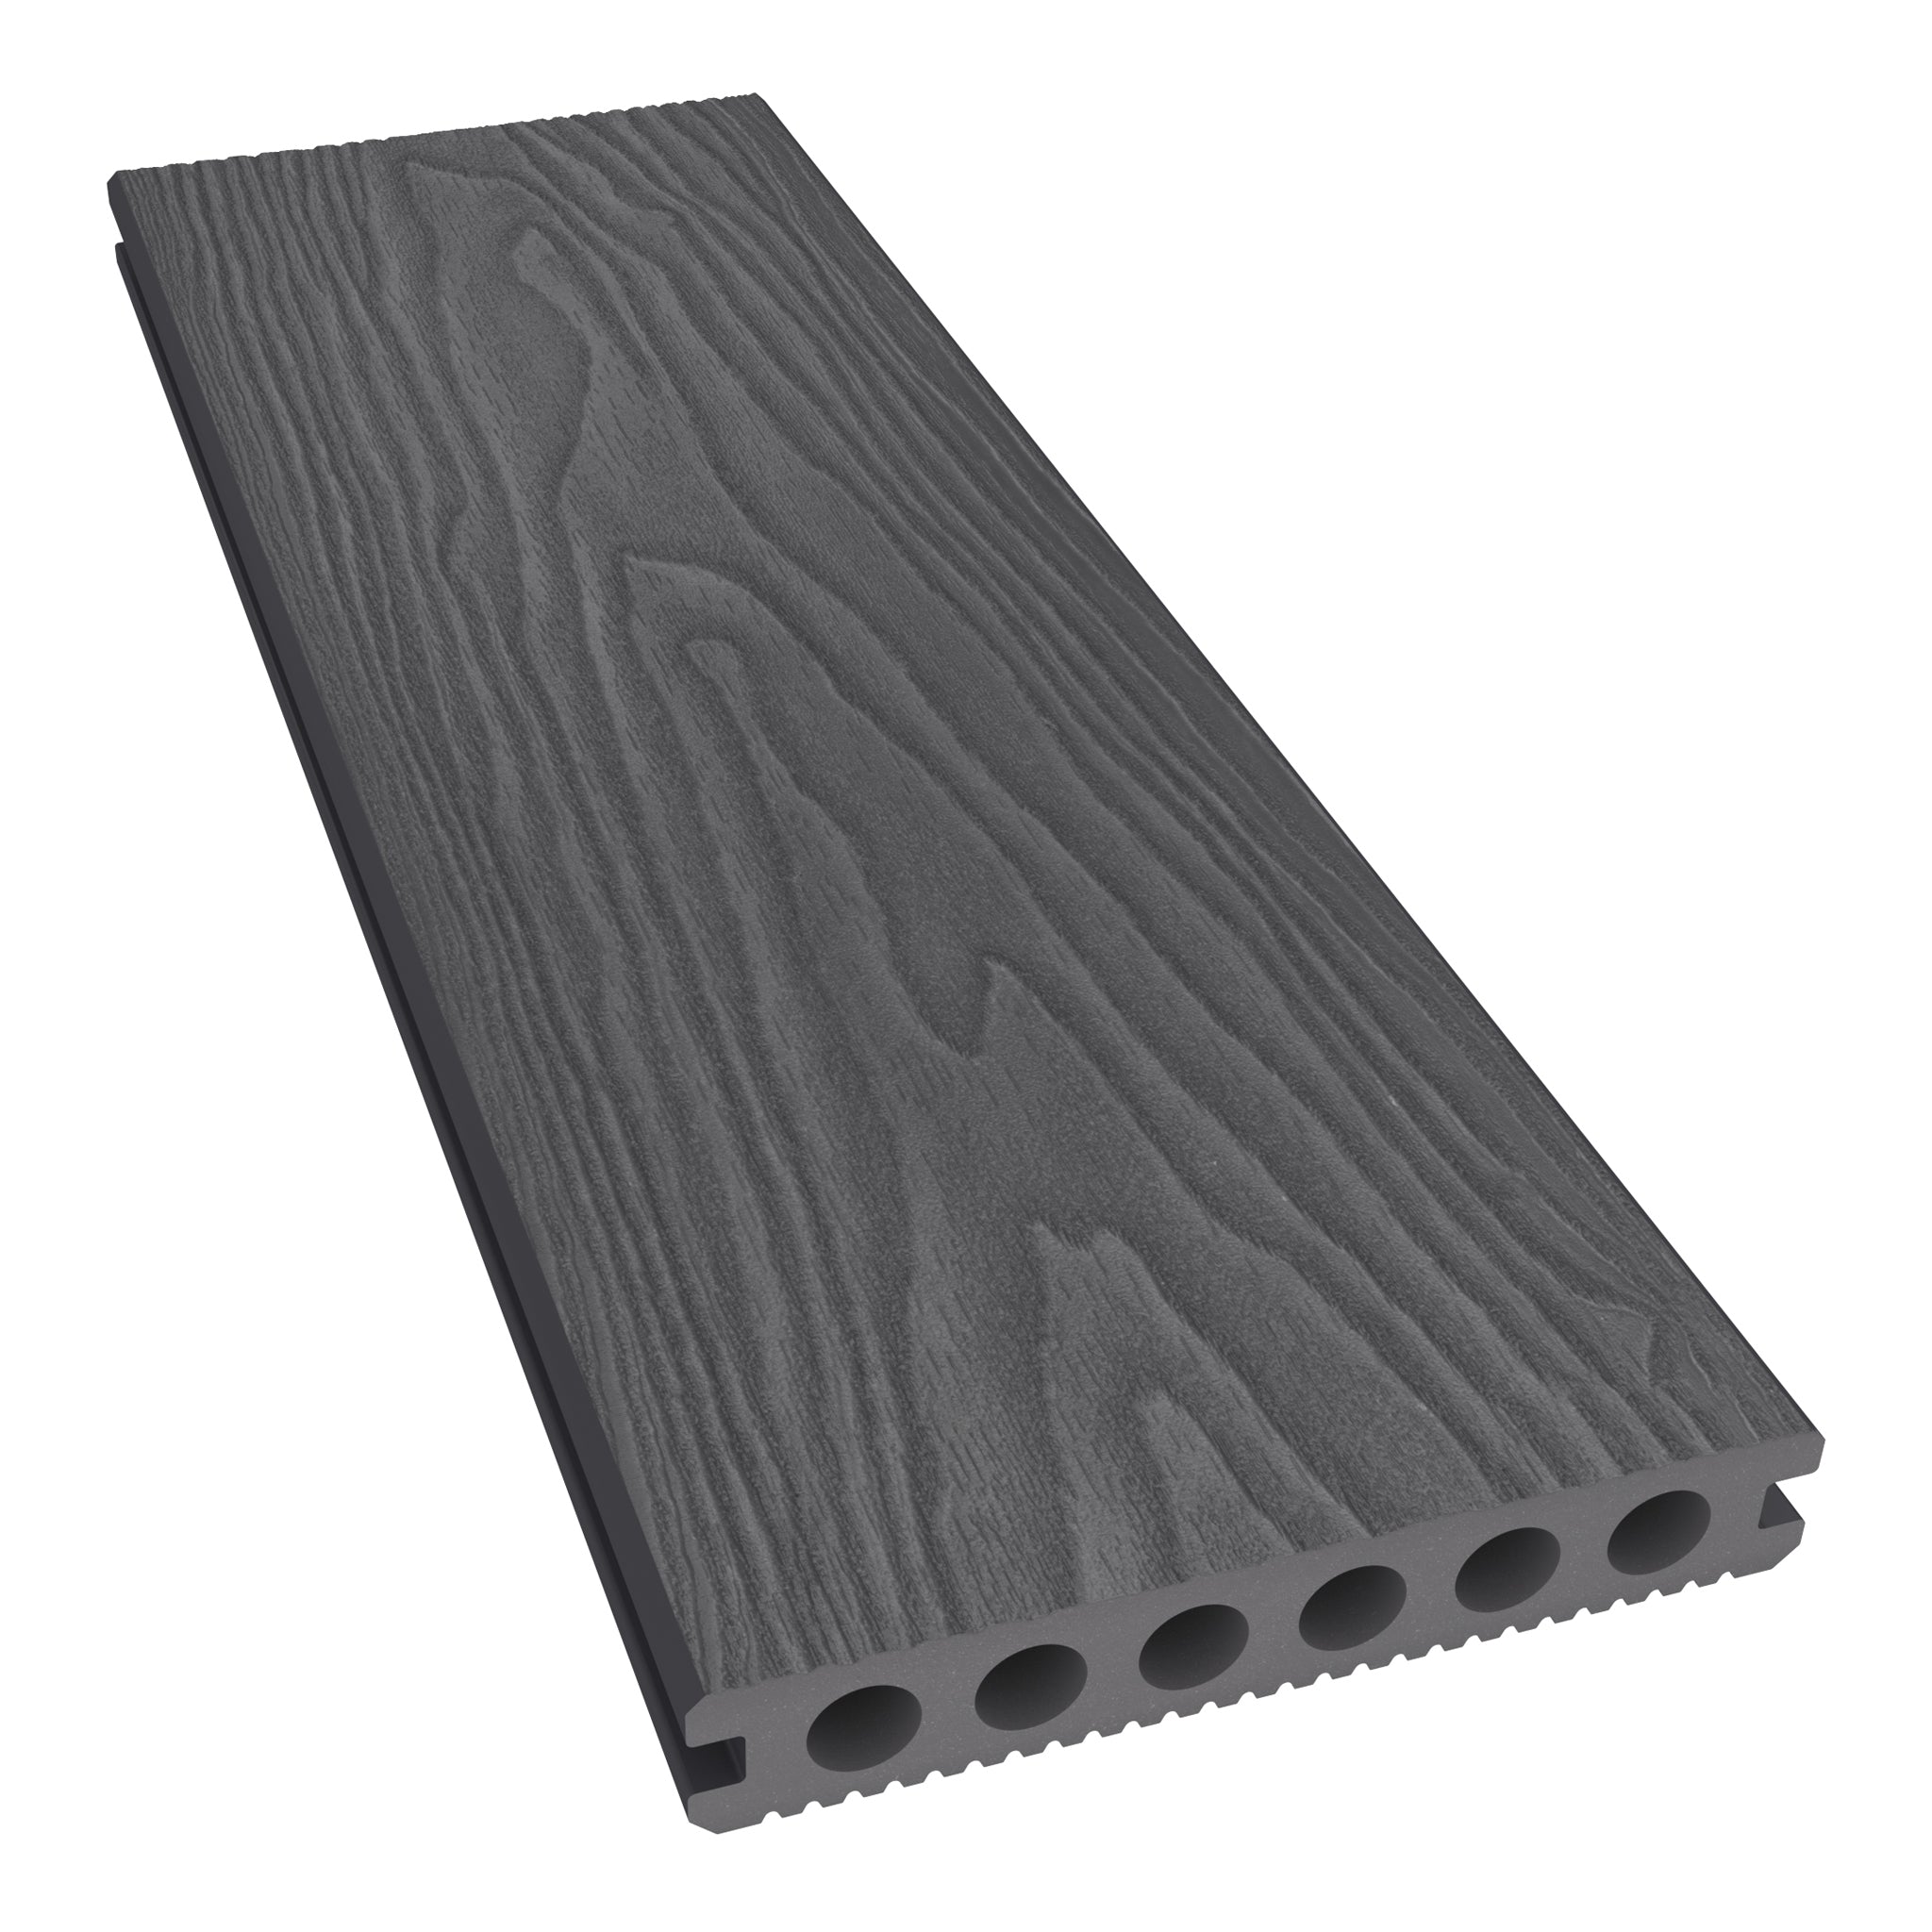
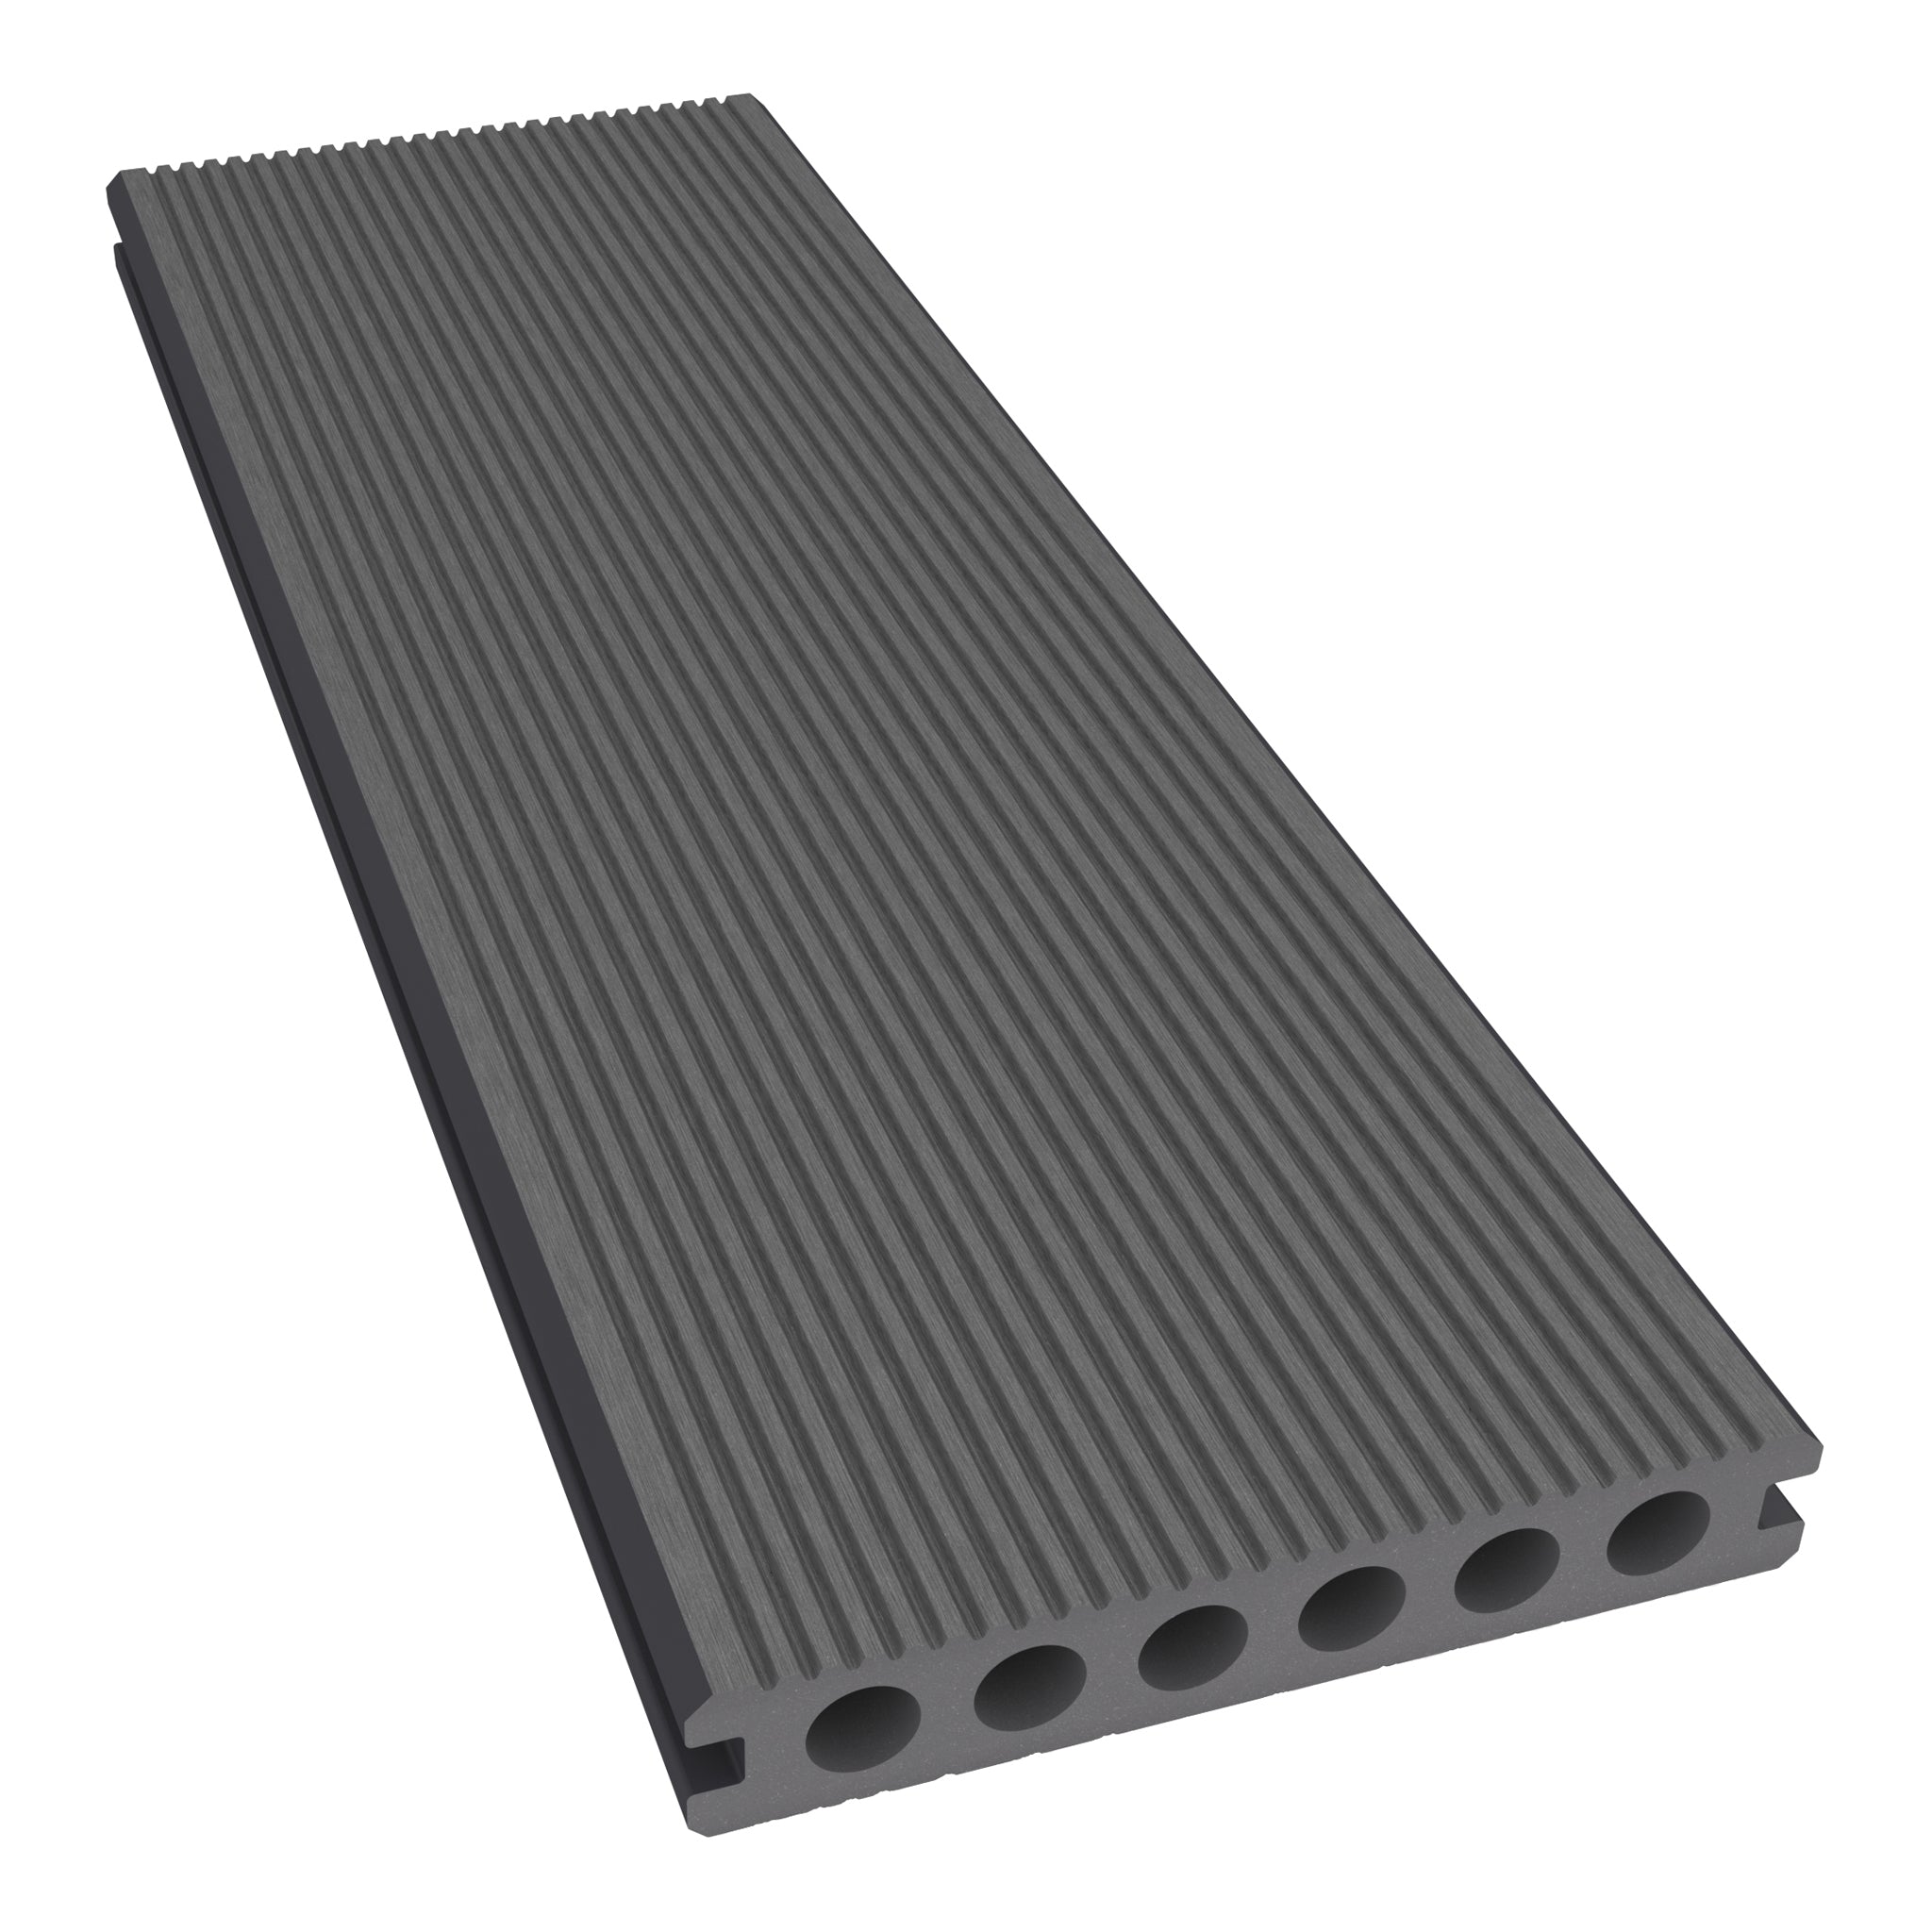
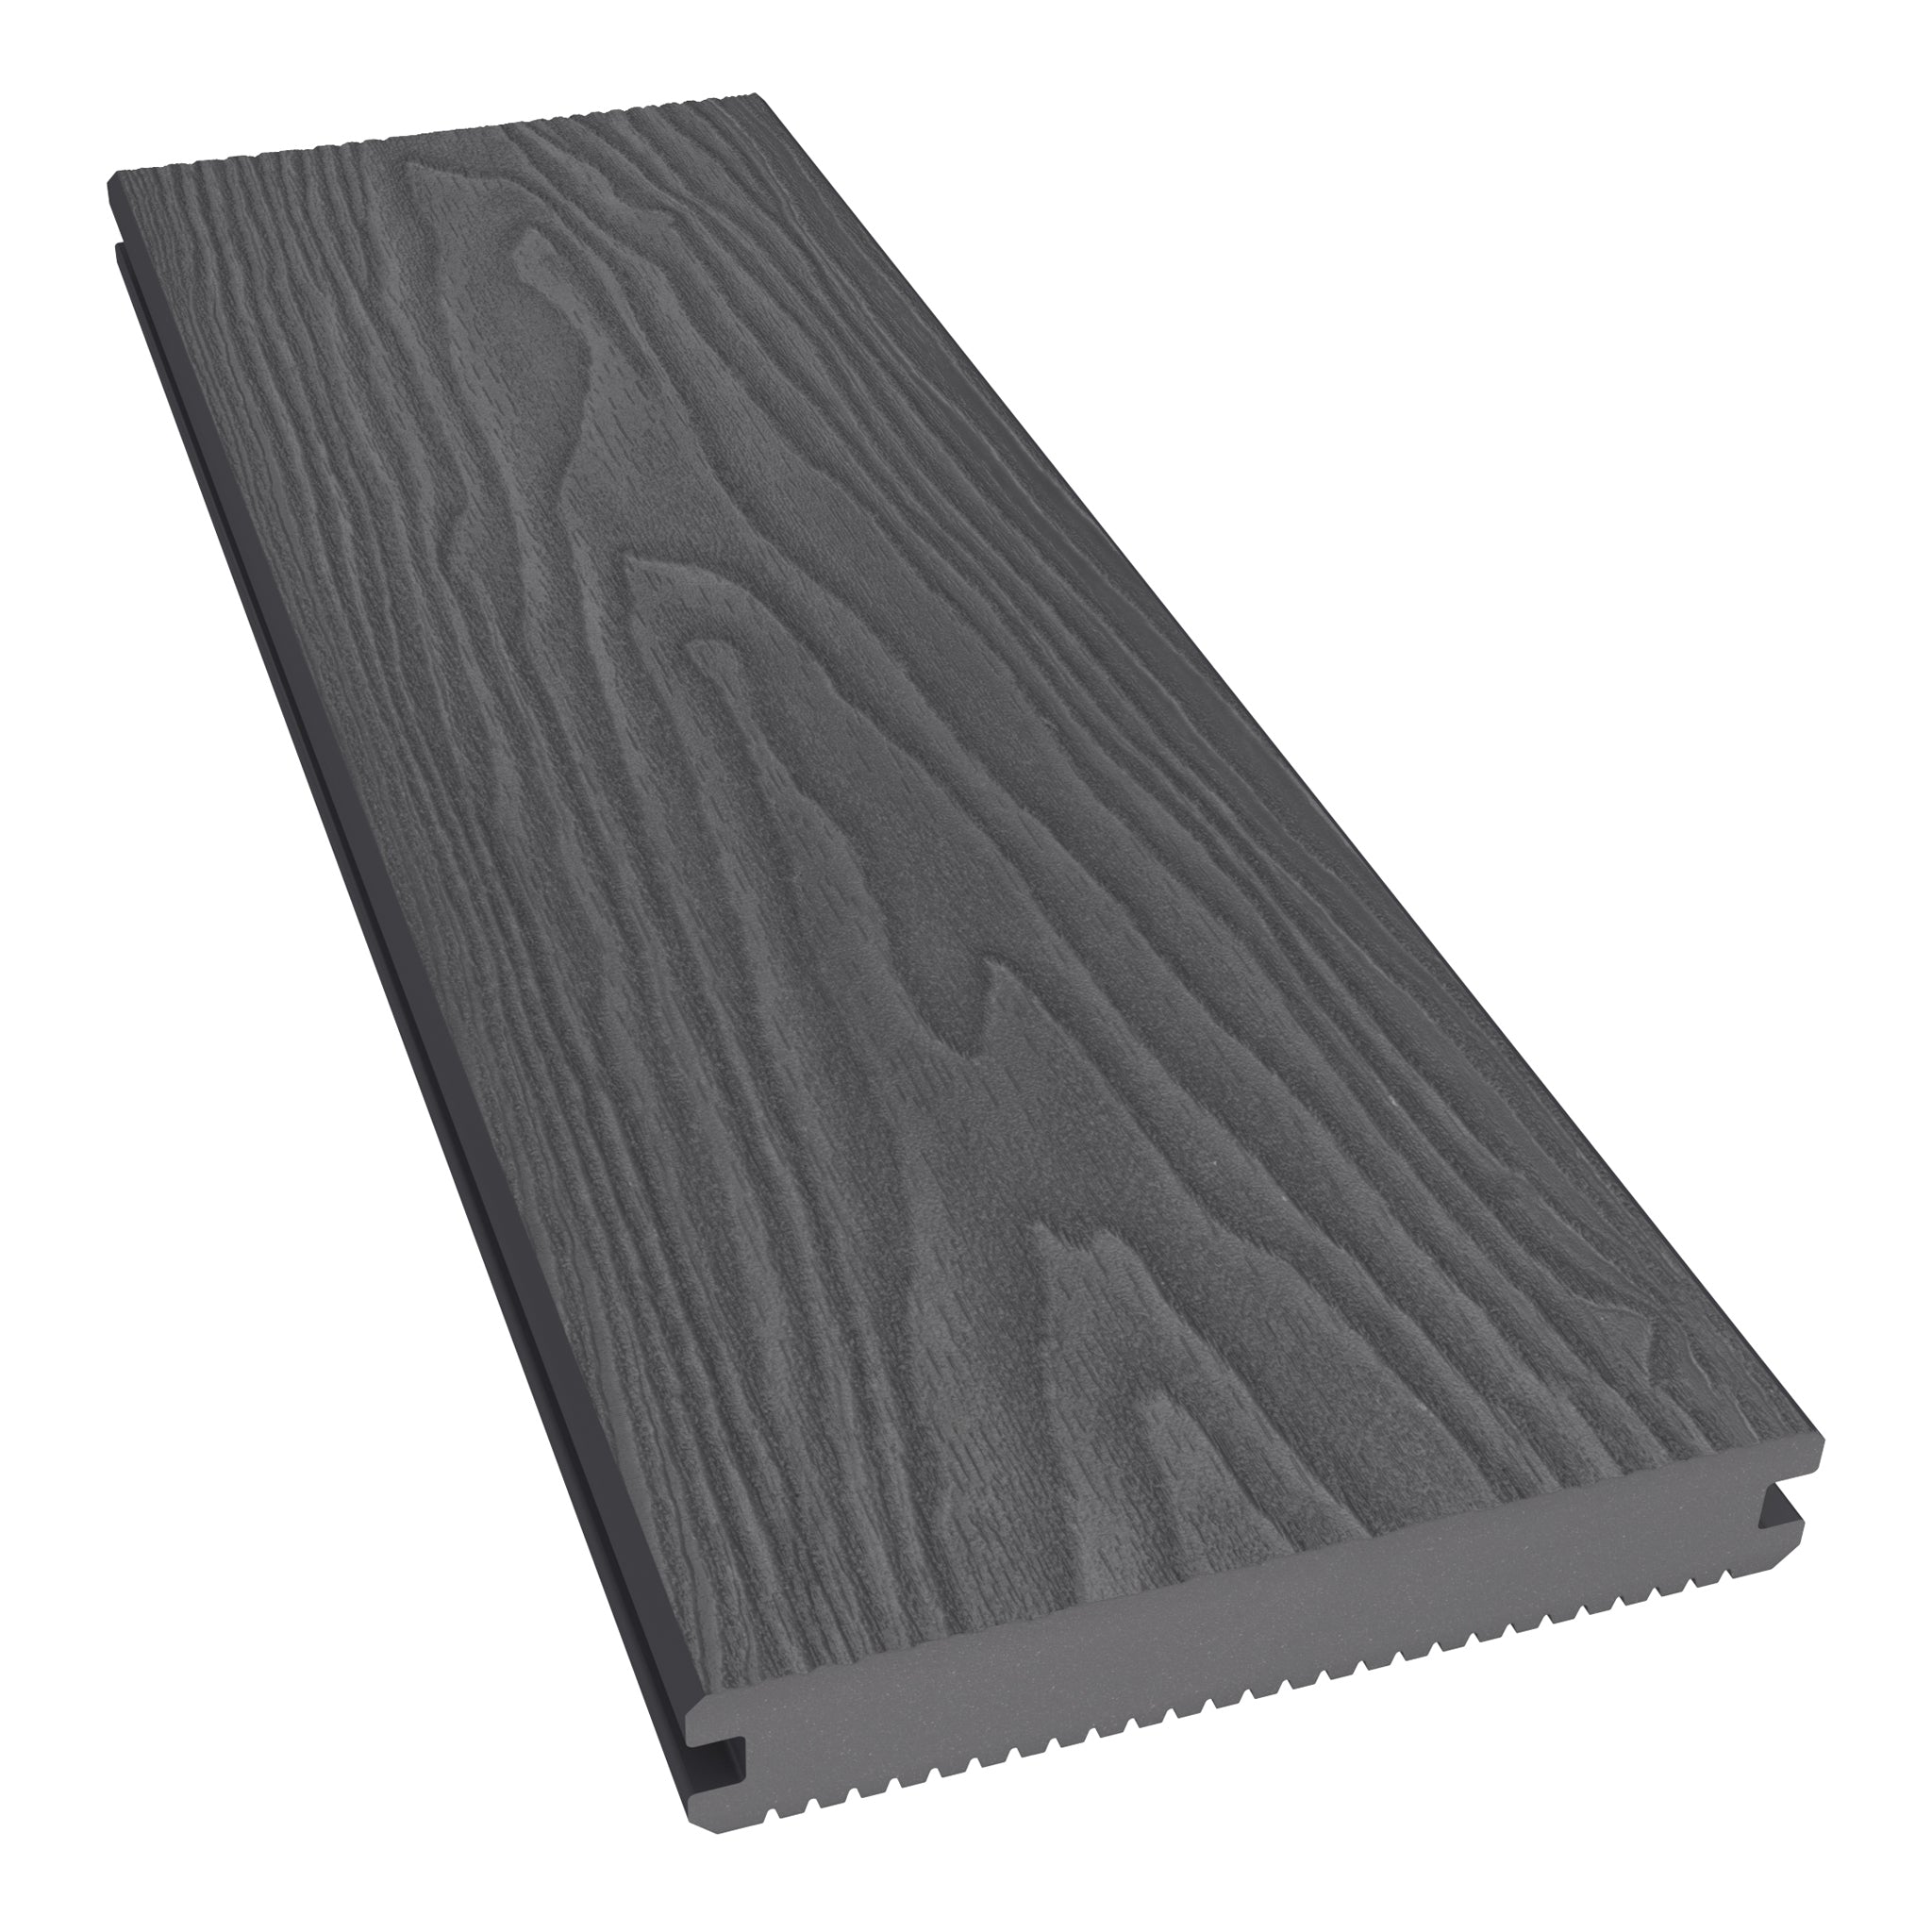
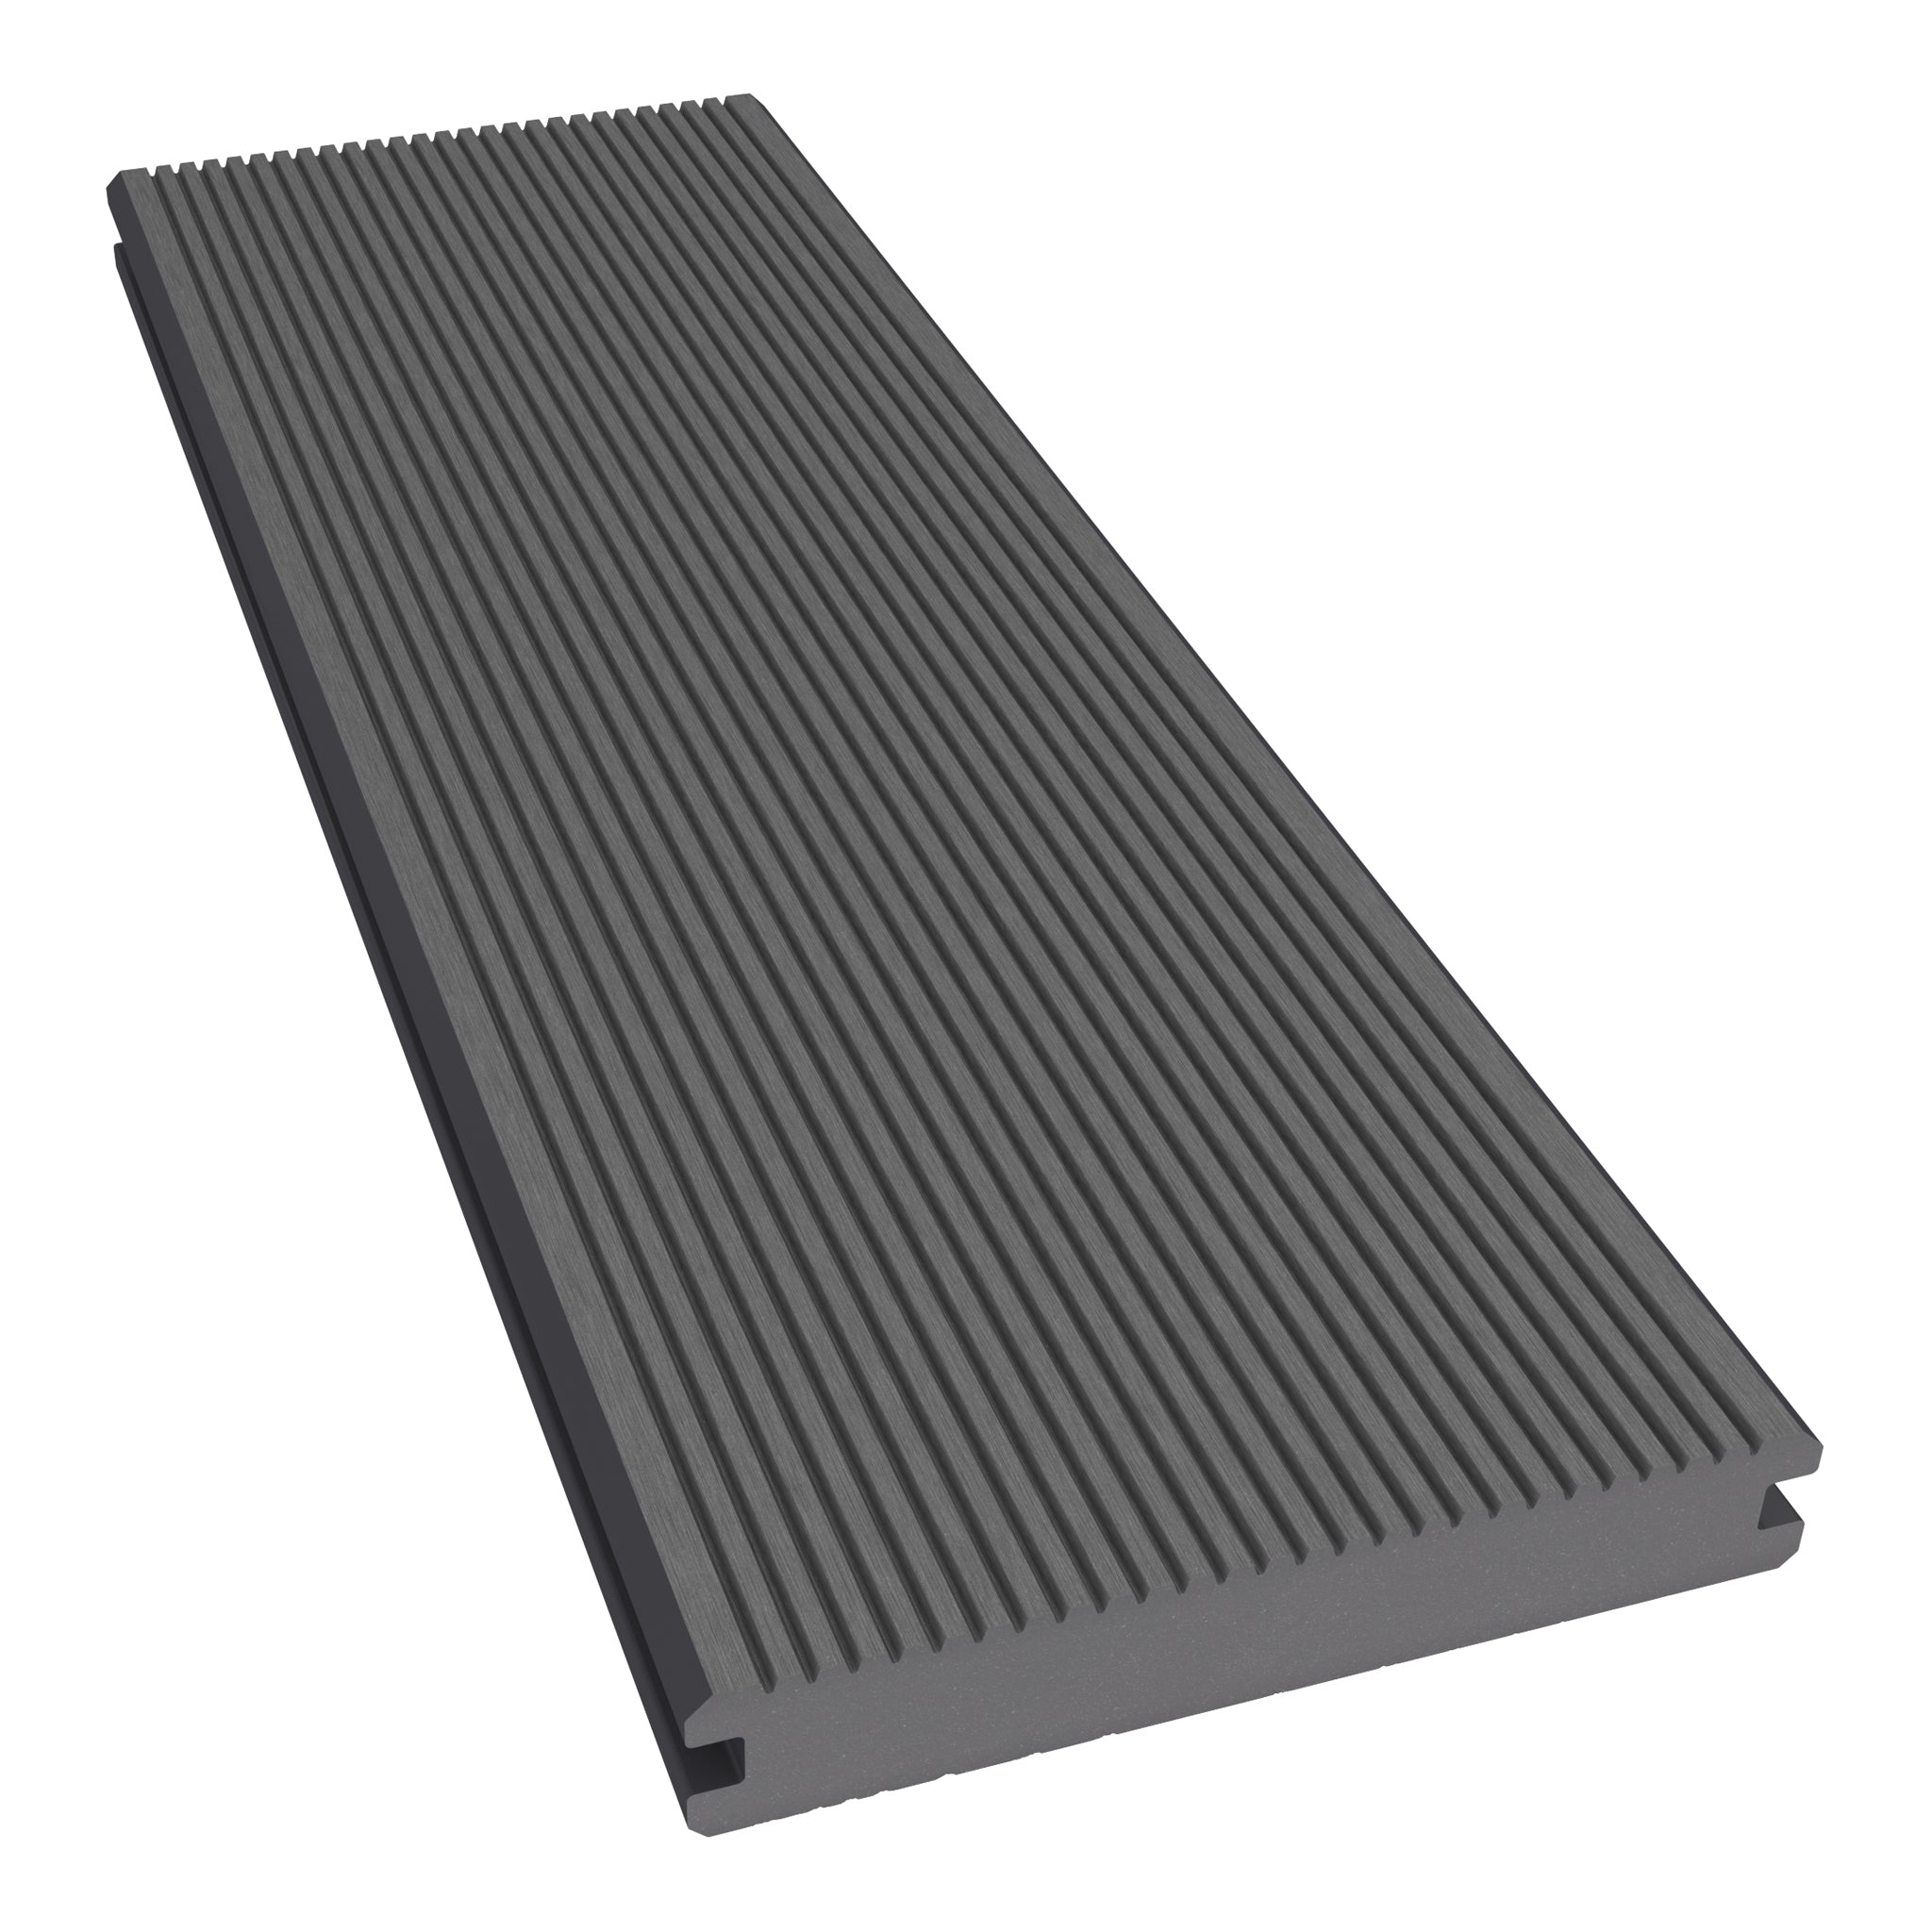
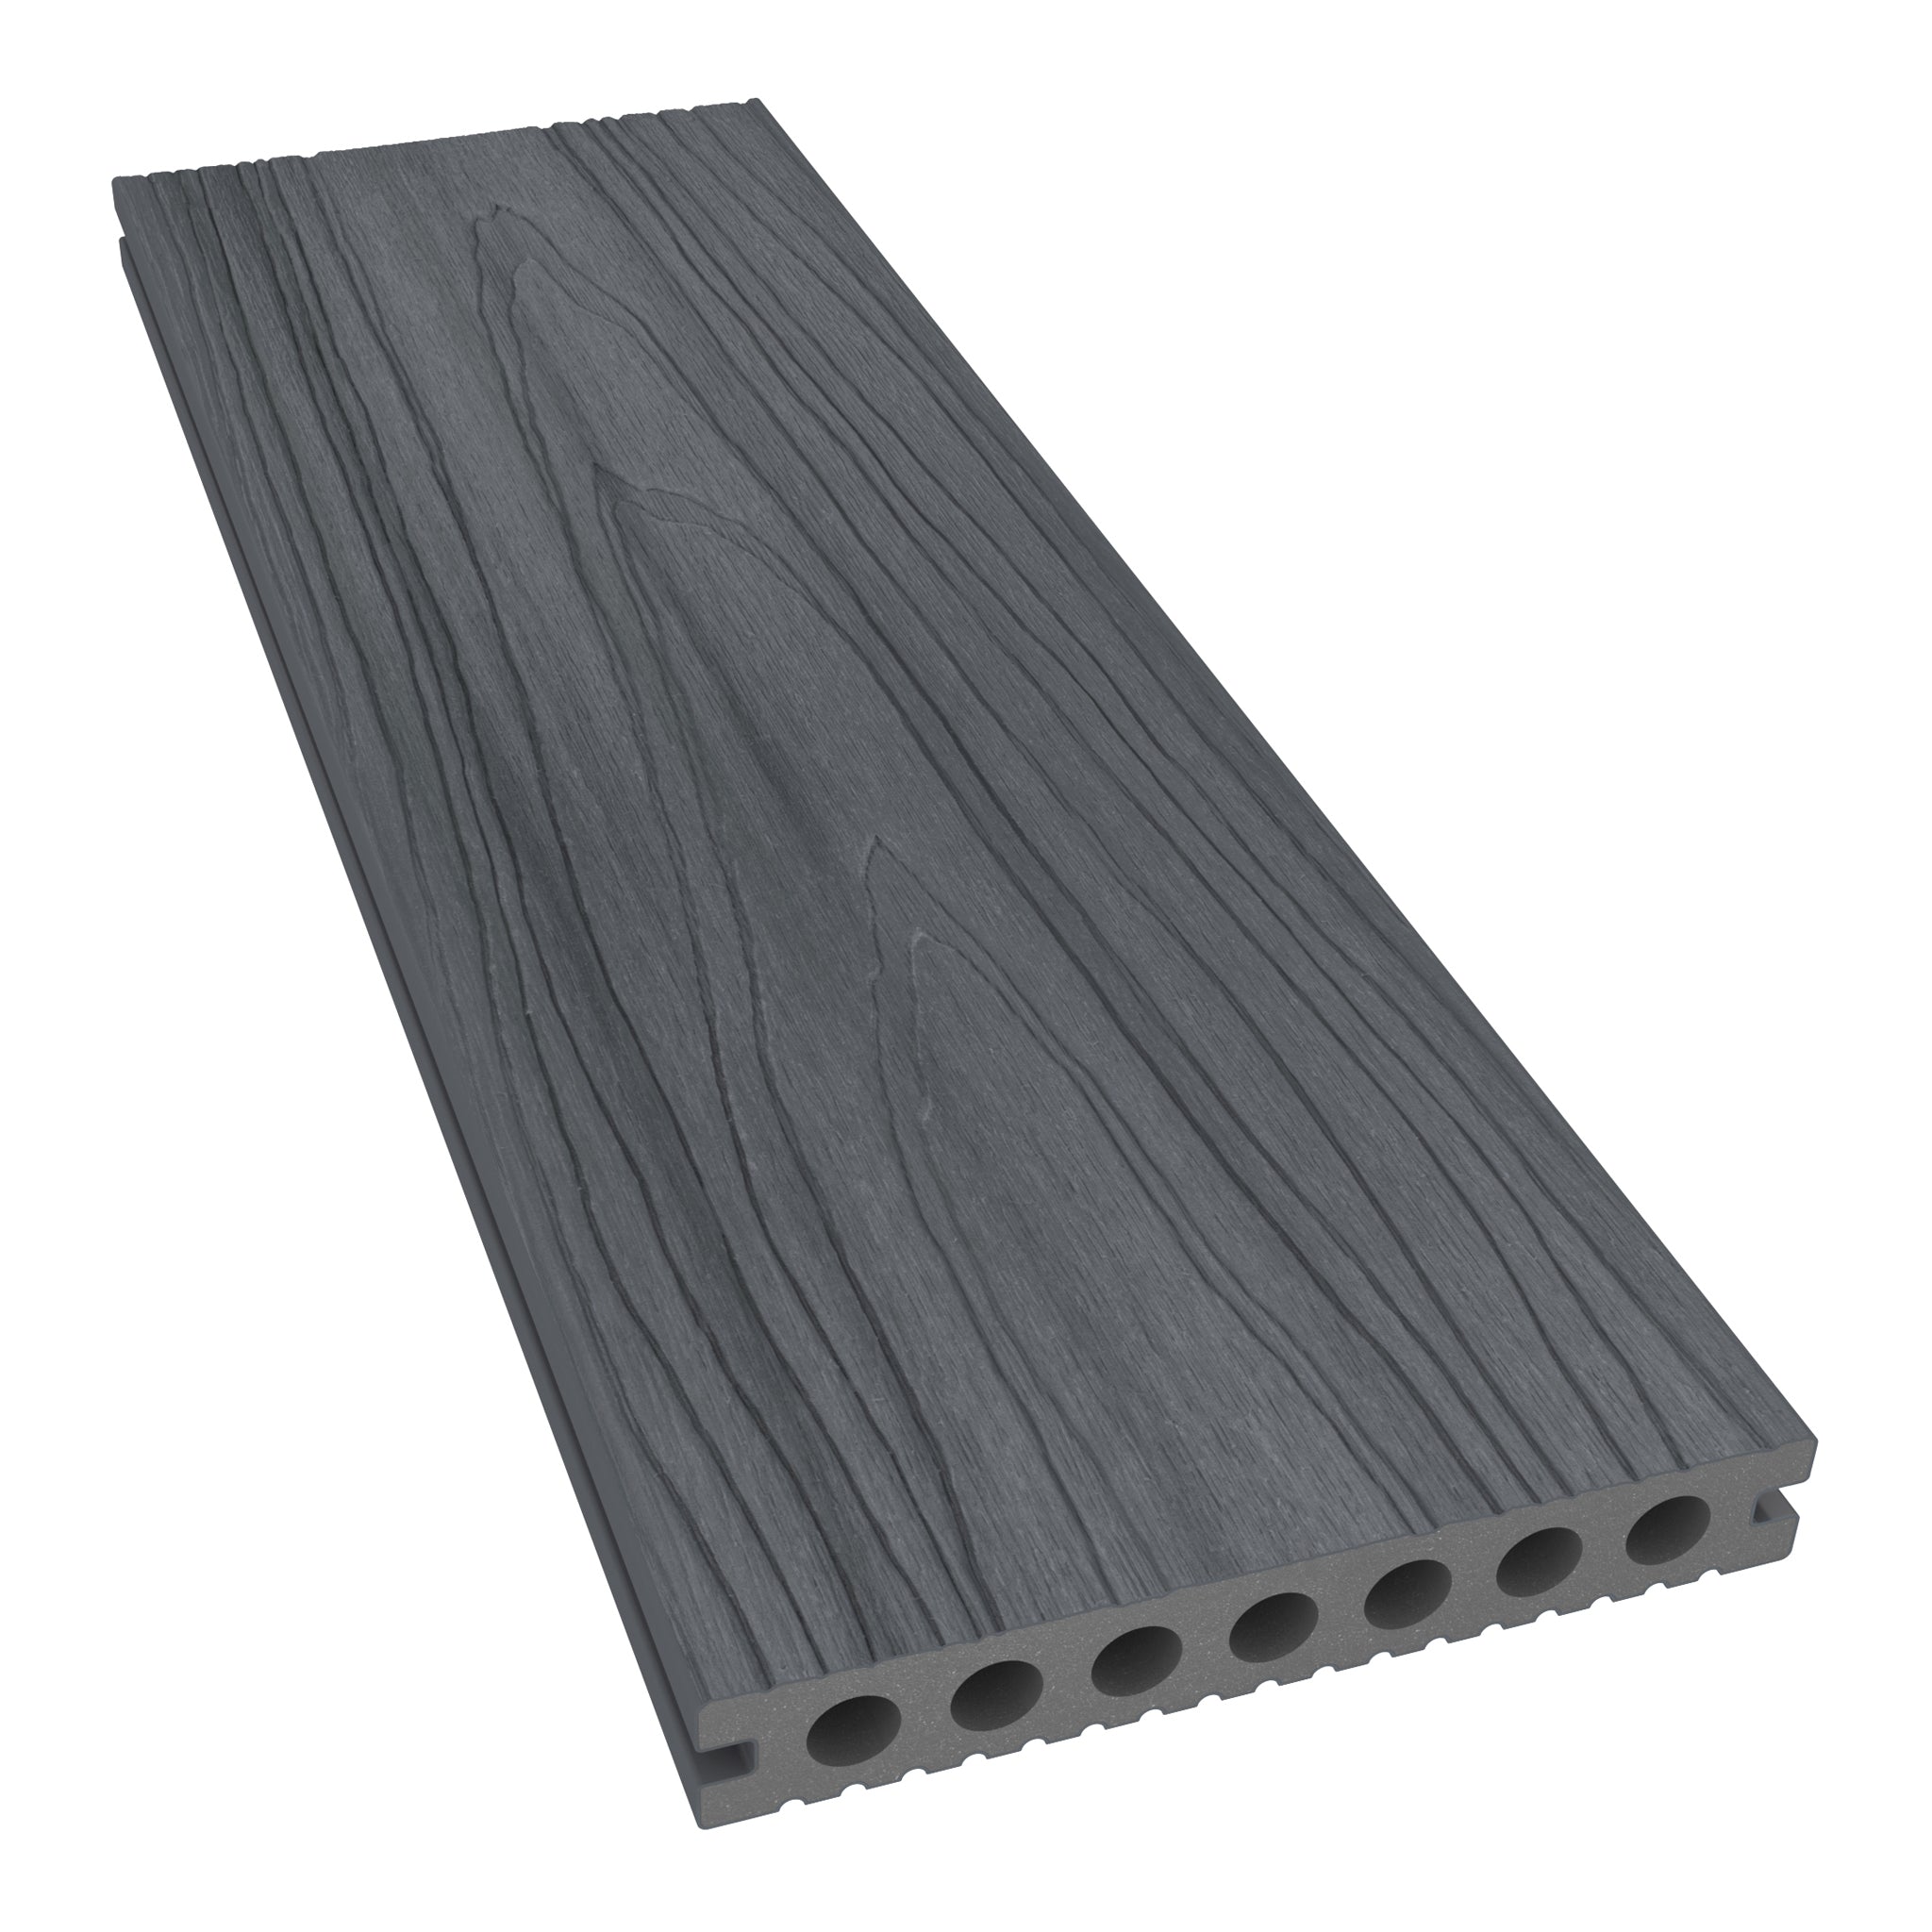
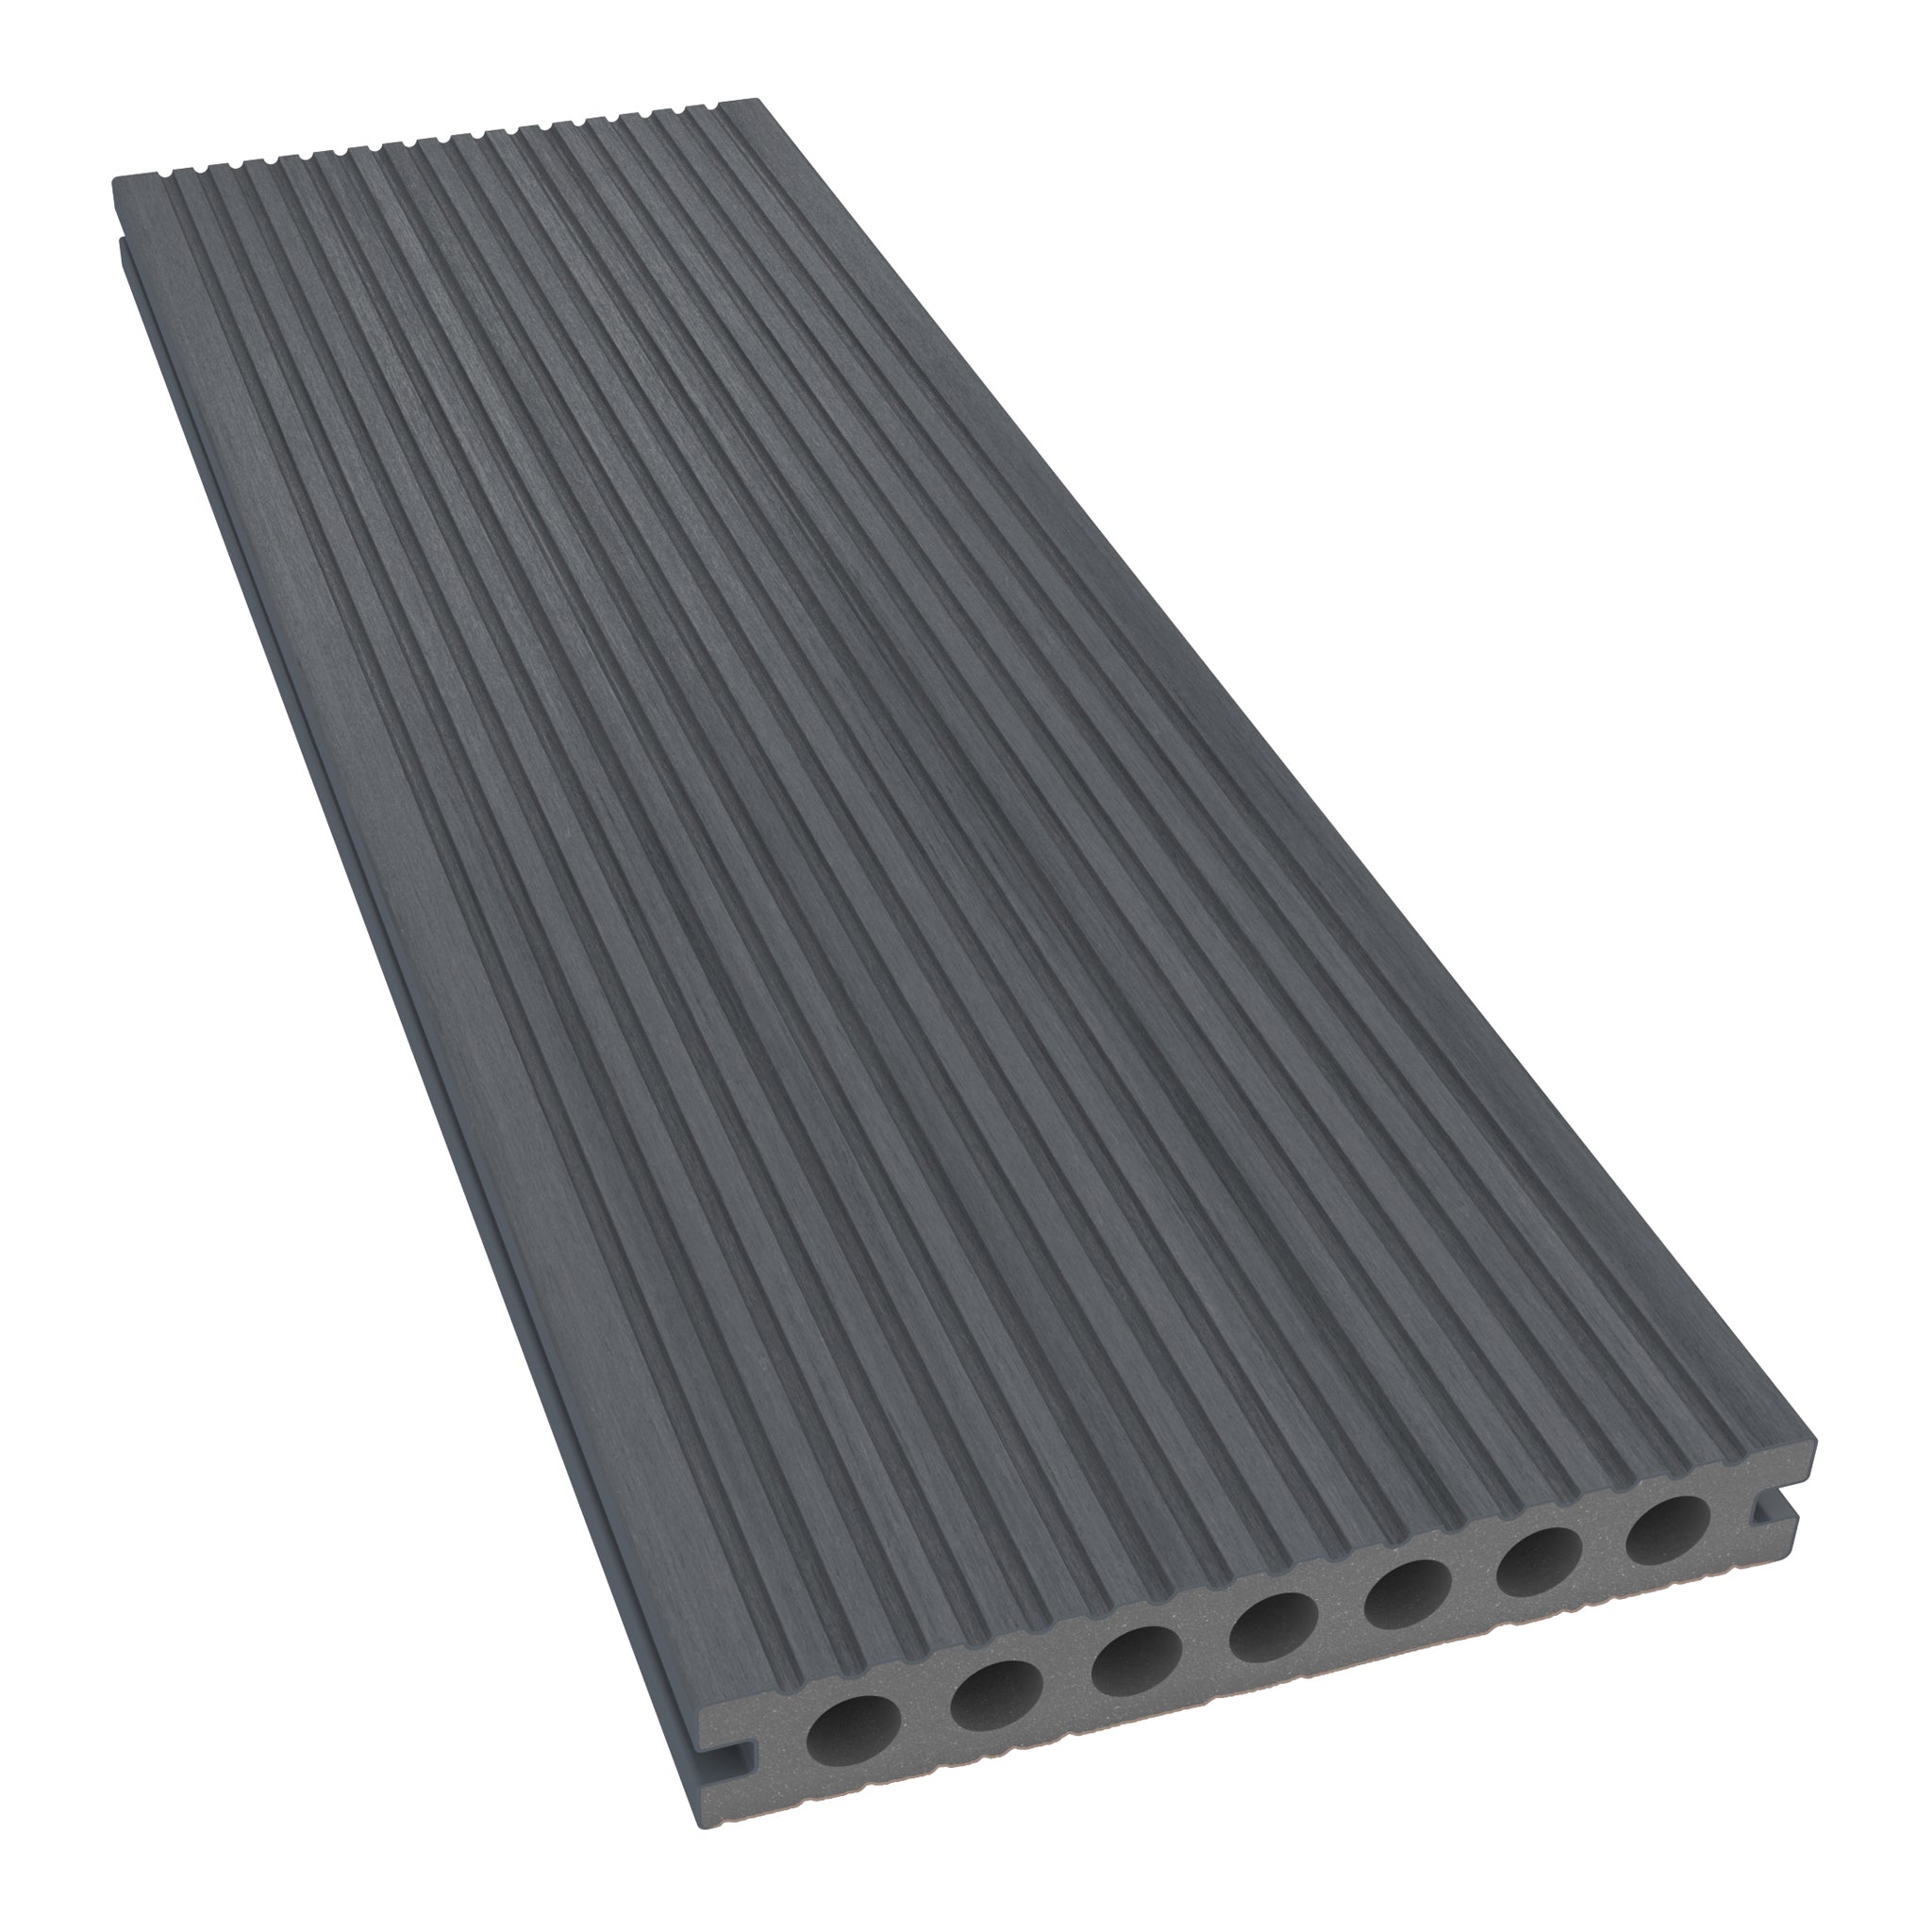
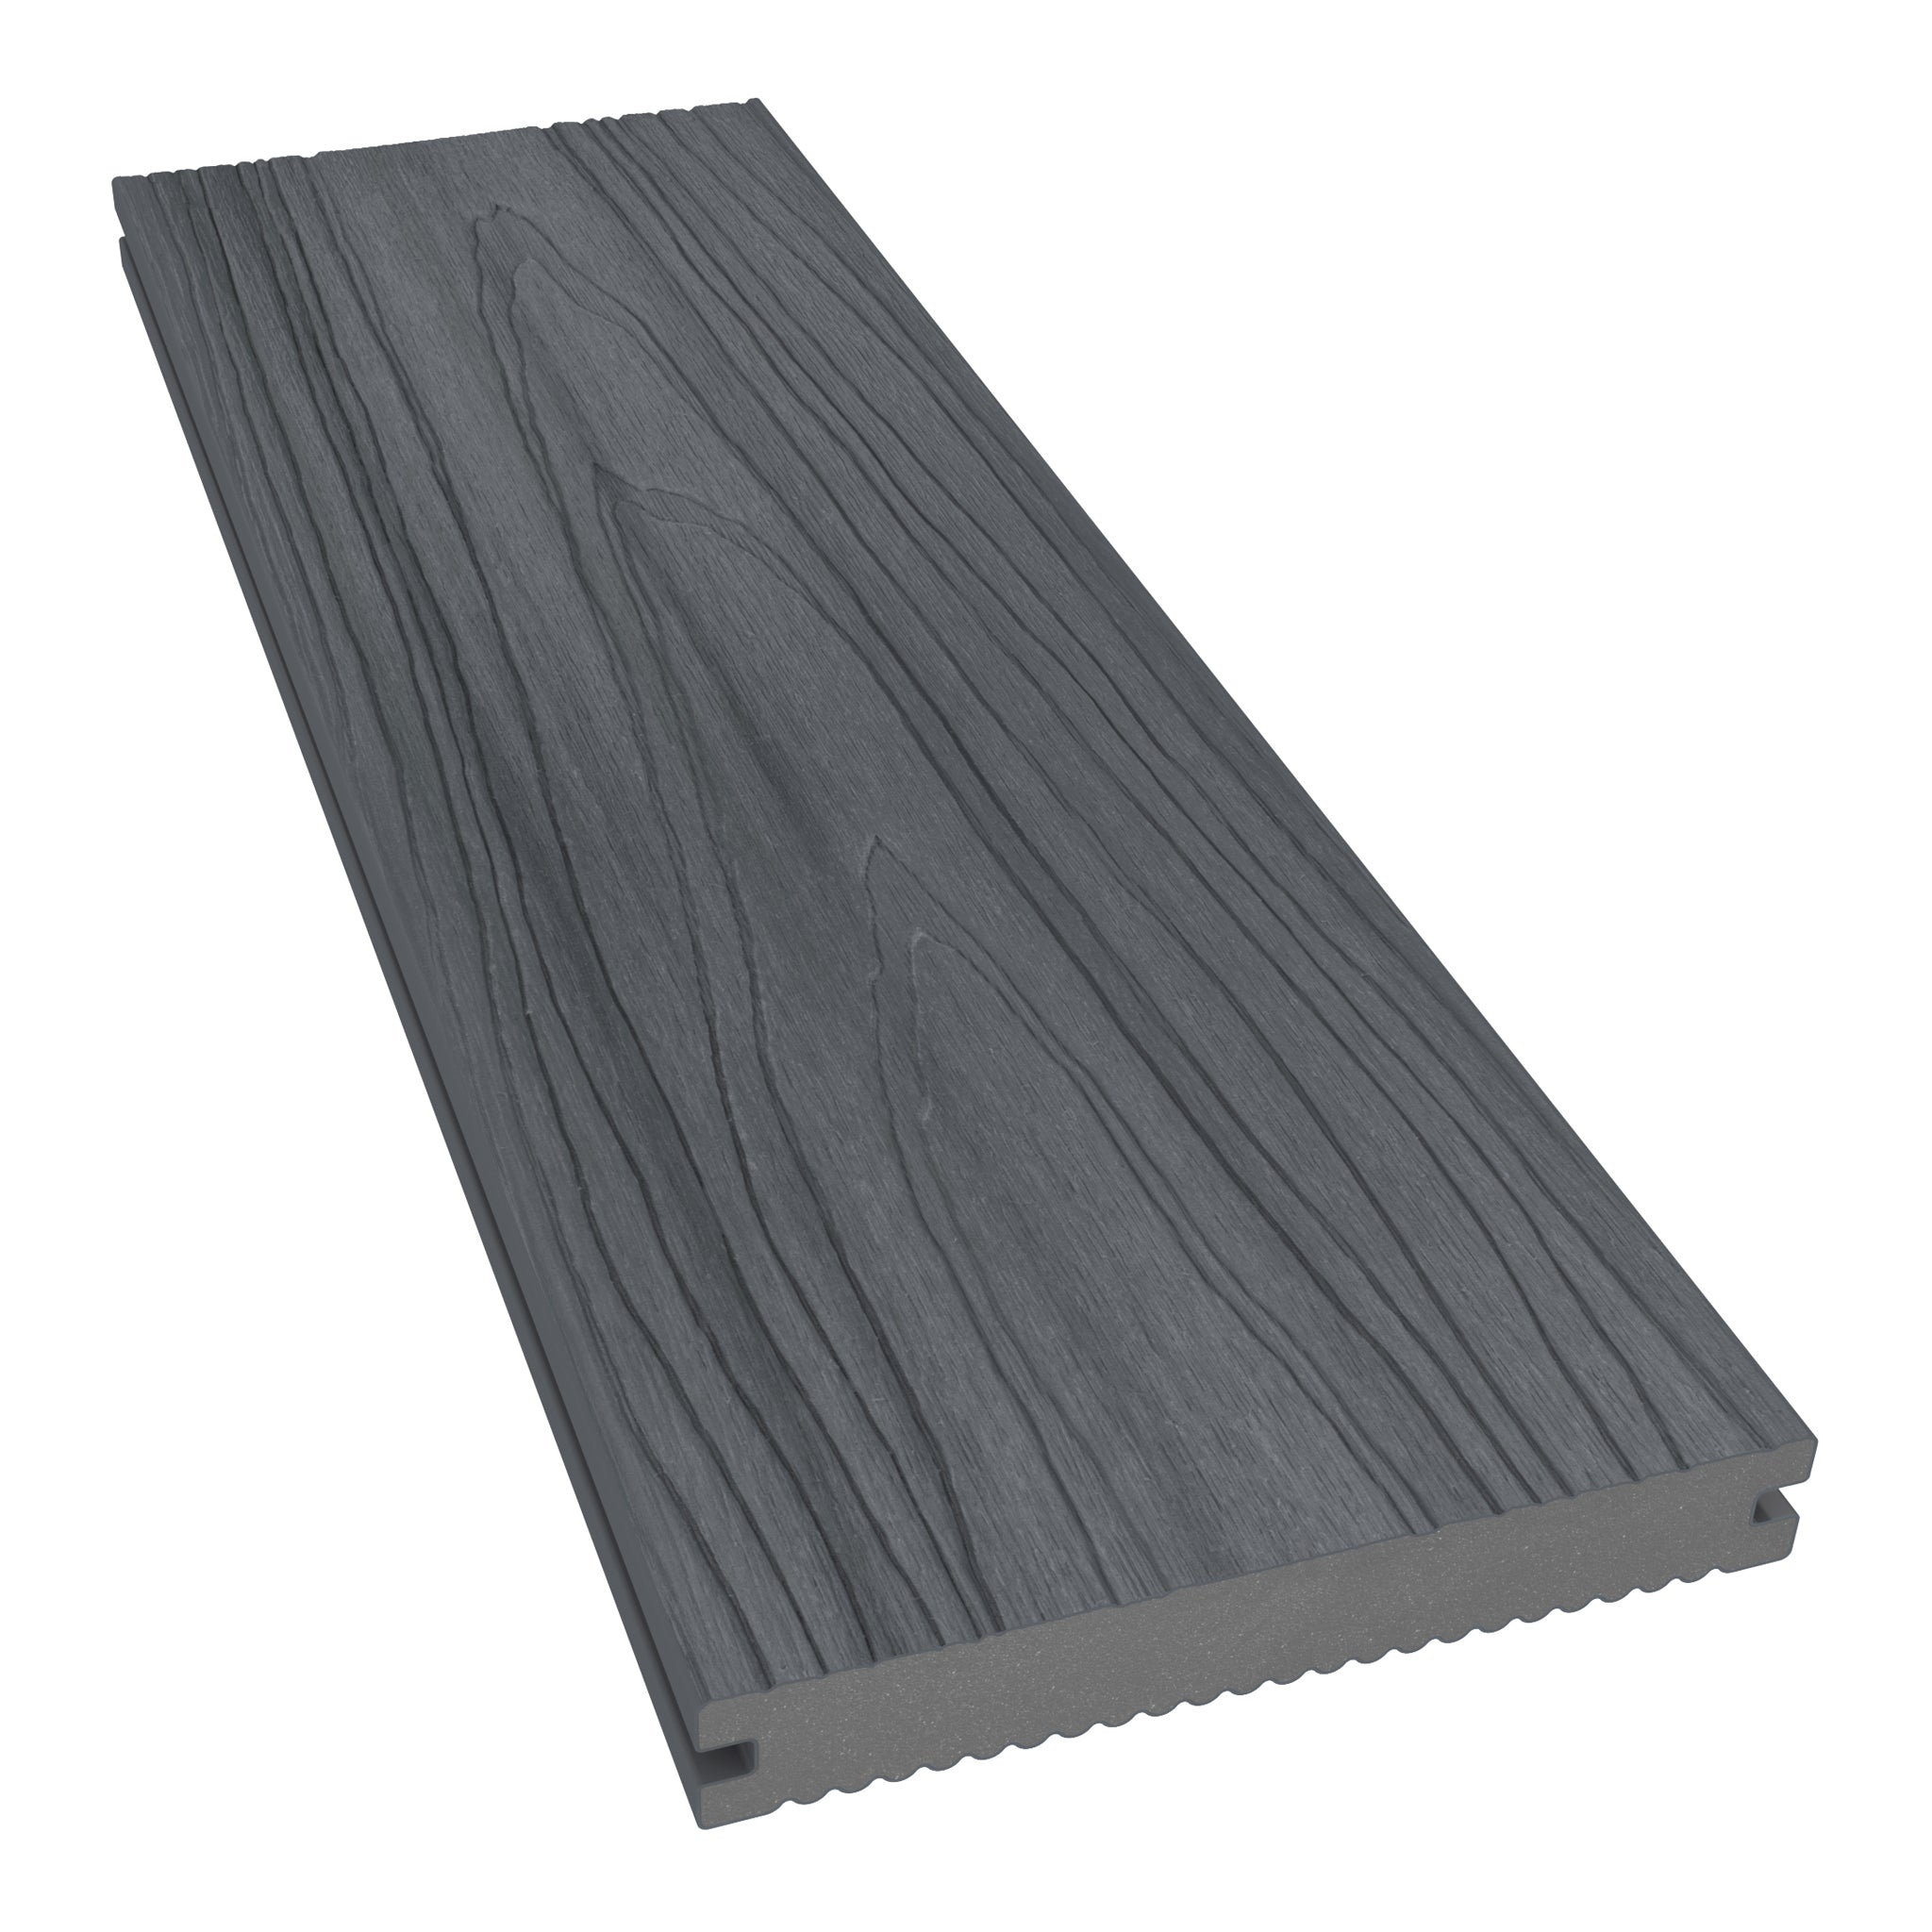
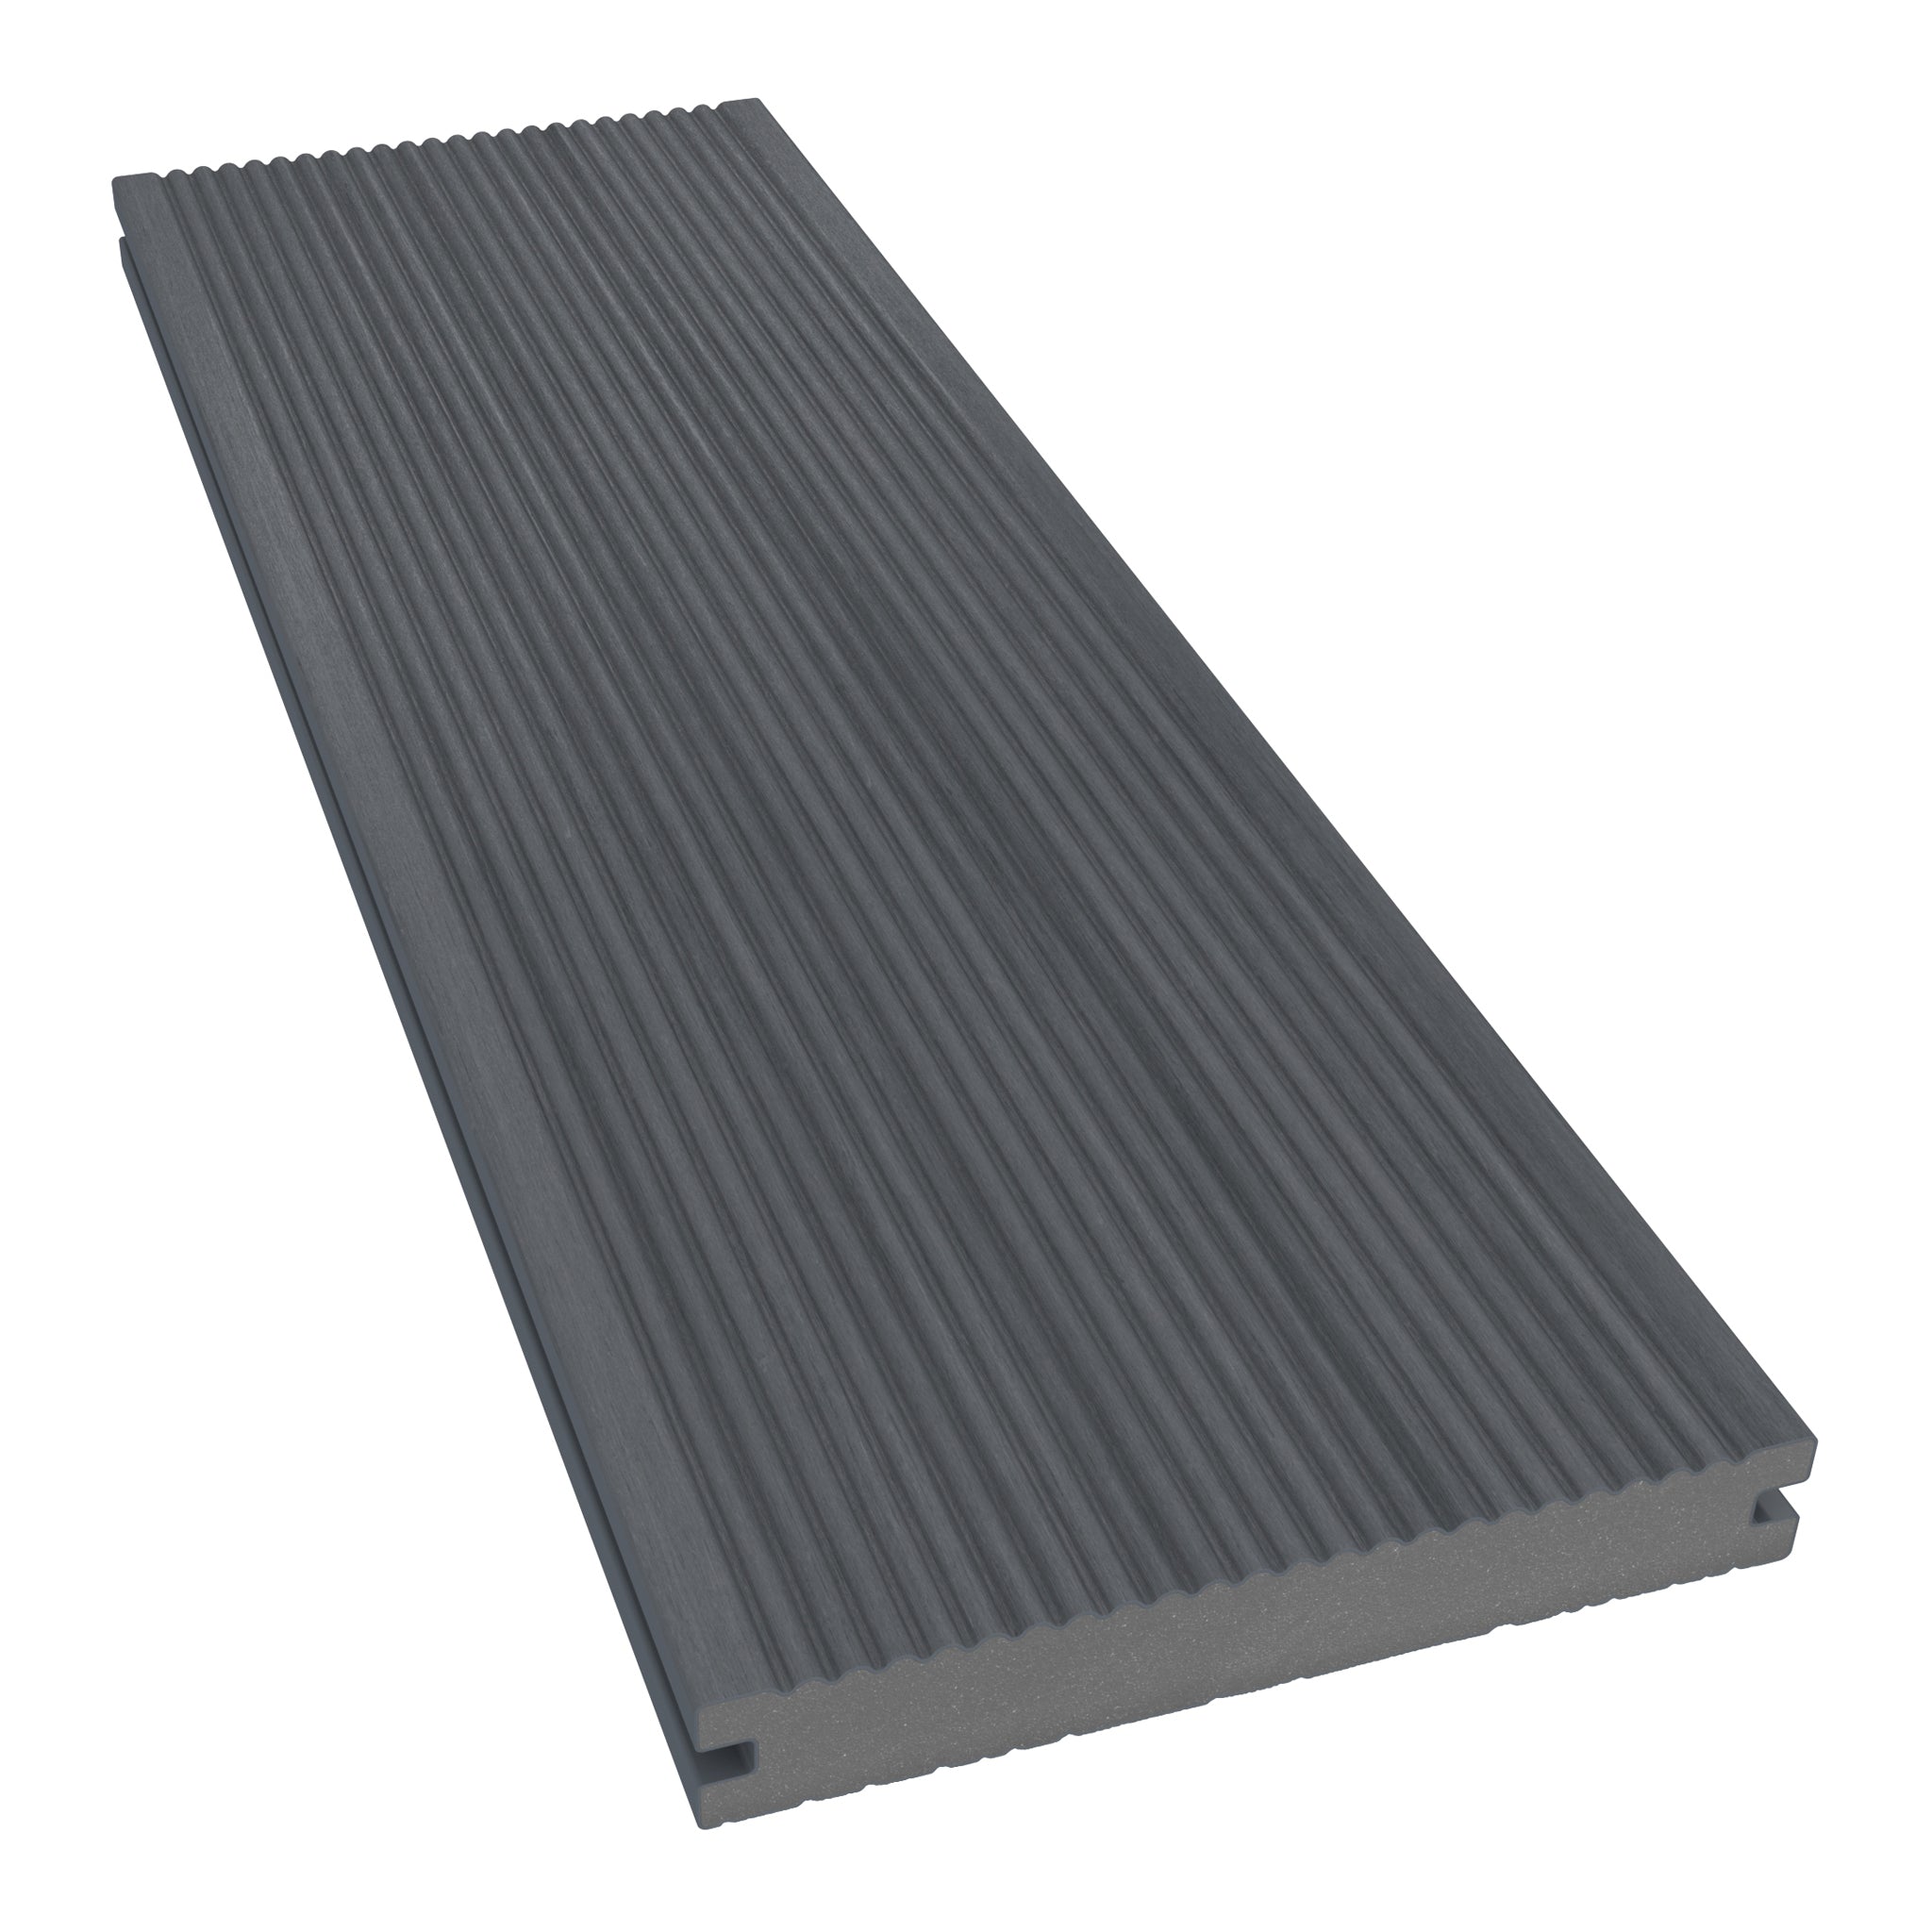
Compare capped and uncapped surfaces, hollow and solid profiles, colour and texture. These are separate choices: a solid board is not automatically capped, and a heavier board does not establish the capacity of the entire structure.
Check current product specifications rather than relying on a general board weight or an old range name. Long boards can be awkward to handle regardless of weight, so arrange suitable assistance and clear handling routes.
For hot tubs or substantial planters, assess the total load and its support requirements. Choosing solid boards alone does not make a deck suitable for a filled hot tub. Request structural advice before committing to the layout.

5. Match the Subframe to the Base and Loading
A low-level deck over a sound solid base needs a different solution from a raised structure over uneven ground. Select the frame material and support system together, using the manufacturer’s span and connection requirements.
Distinguish between the distance separating joists and the distance between supports along each joist. The first relates to board support; the second relates to the joist’s own capacity. They are not interchangeable measurements.
Allow for ventilation, drainage and access to services. Low-profile composite joists intended for a solid base must not be used as unsupported beams. Explore our decking frame and subframe guide before choosing a system.
6. Turn Your Drawing Into a Materials and Cutting List
Use our decking calculator for an initial materials estimate, then compare it with your detailed layout. A calculator does not replace a cutting plan or structural design.
Map board lengths to the layout, noting joints, borders and reusable offcuts. Waste depends on the shape, pattern and cutting sequence; a single percentage will not suit every project. Confirm quantities before buying, especially where matching trims and extra border supports are needed.
- Boards and appropriate edge or fascia products.
- Joists, supports and frame connections.
- Compatible starter clips, board clips and approved screws.
- Materials for steps, borders and any required guarding.
- Delivery, waste removal and installation consumables.

7. Prepare Your Tools and Working Area
Read the cutting and fixing guidance before selecting blades and drill bits. Suitable woodworking equipment can be used for composite boards, but blade compatibility, sharpness and the type of cut matter. A carbide-tipped saw blade is often useful; that does not mean every drilling task requires a specialist carbide bit.
Support boards securely, practise on an offcut and follow the tool manufacturer’s safety instructions. Use appropriate eye, hearing and dust protection, manage dust and keep hands clear of cutting equipment. Consult our cutting composite decking guide for more preparation advice.
8. Plan Movement Gaps and Use Compatible Fixings
Composite boards expand and contract with temperature. Follow the selected range’s requirements for end gaps, perimeter clearances and installation conditions. A clip’s side spacing does not determine the required gap between board ends.
Provide the specified support and fixing arrangement at joints. Do not force two board ends onto a support that cannot accommodate the required fixings. Use approved face-fixing methods where instructed for details such as finishing boards; avoid improvising screw positions.
9. Build Time for Checks Into the Schedule
Break the work into preparation, frame construction, board fitting and finishing. Allow time for deliveries, weather and corrections. Project duration depends on the site, design and experience of the people doing the work, so avoid assuming a particular area can always be finished in a day or a week.
Check the frame before covering it and review board alignment as you progress. If part of the work exceeds your skills, find a decking installer rather than proceeding with an uncertain structural detail.

10. Inspect the Finish and Plan Ongoing Care
Before use, check fixing security, edges, joints, step details and any unusual movement. Remove debris and confirm that drainage routes remain clear. Arrange repairs where needed before opening the area to regular use.
Keep the product information and photographs of concealed construction for future reference. Review the applicable warranty terms and follow the care guidance. Low maintenance still includes cleaning, debris removal and periodic inspection.
FAQs: Tips for Composite Deck Building
Can I build a composite deck myself?
A straightforward project may suit an experienced DIYer who can follow the relevant instructions. Structural complexity, height, ground conditions and specialist details may require professional help.
Can I reuse my old timber frame?
Only if it is sound and suitable for the new board system and intended loads. Check condition, spacing, connections and joint support before deciding.
How much extra material should I order?
Base the allowance on a cutting plan. Borders, diagonal patterns and irregular shapes can create more waste than a simple rectangular layout.
What gaps should I leave?
Use the selected product’s installation instructions for the temperature and detail concerned. Board-end gaps, perimeter clearances and clip-controlled side gaps serve different purposes.
Does a deck need planning permission?
That depends on the property, design and location. Check the applicable national guidance and any local restrictions before starting.
What is the best first step before ordering?
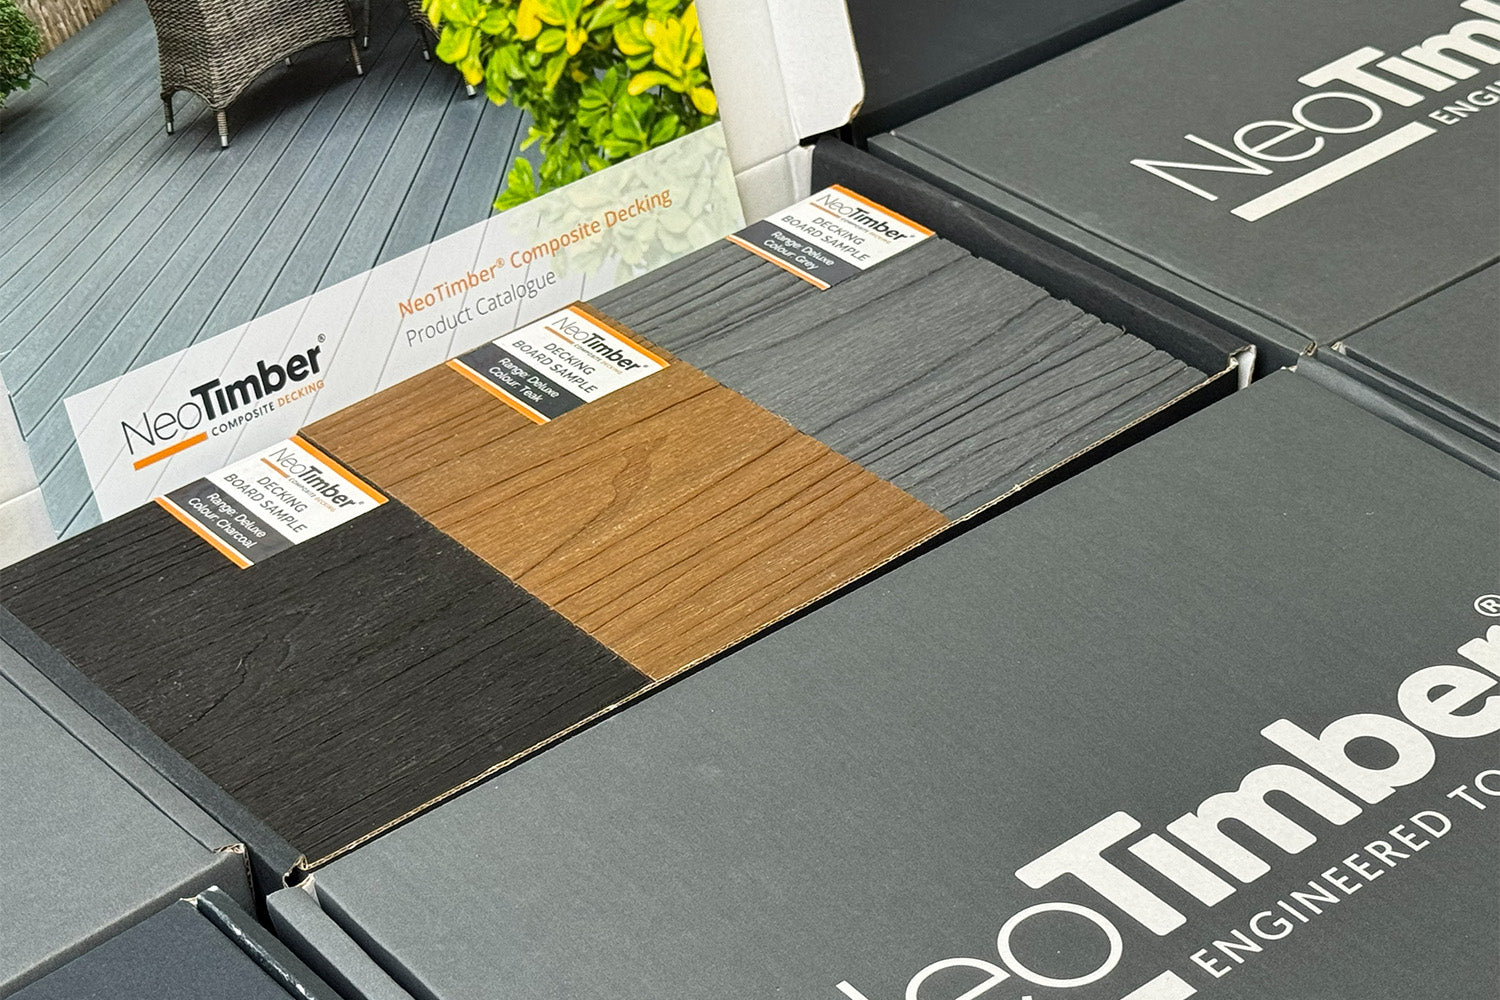
Measure the site, sketch the layout and assess the supporting structure. Then request free composite decking samples and compare the technical requirements of your preferred boards.
Start With a Clear Plan and Build From There
Good preparation connects the design you want with the structure and materials it needs. Work through these tips for composite deck building, confirm the product-specific details and resolve uncertainties before construction begins. Contact the NeoTimber® team for help with product selection and installation resources.