Your complete guide to NeoTimber’s composite cladding fixing clips and composite cladding hidden fasteners.
How many times have you bought a product, whether a flatpack wardrobe or a kitchen cabinet, only to find that you need to buy the fixings? We get it. Some companies totally fleece you by designing over-engineered, over-complicated installation systems which are the only ones compatible with your item!
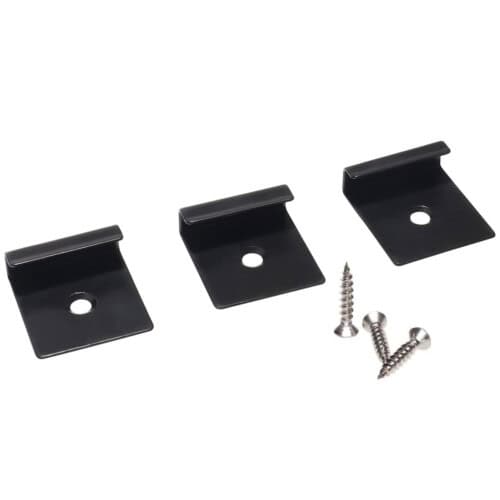
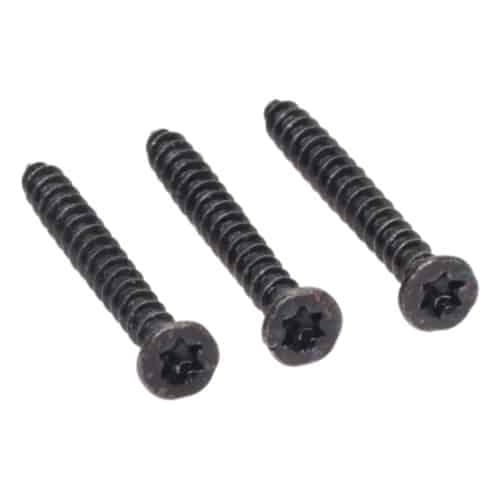
Not NeoTimber®. We’ve designed two very simple accessories to make installing your composite cladding the simplest project you’ll take on this year. Our composite cladding starter clips, and cladding screws are designed to securely attach the boards to the battens. All of our composite cladding is designed with a tongue and groove design which neatly and firmly locks into place.
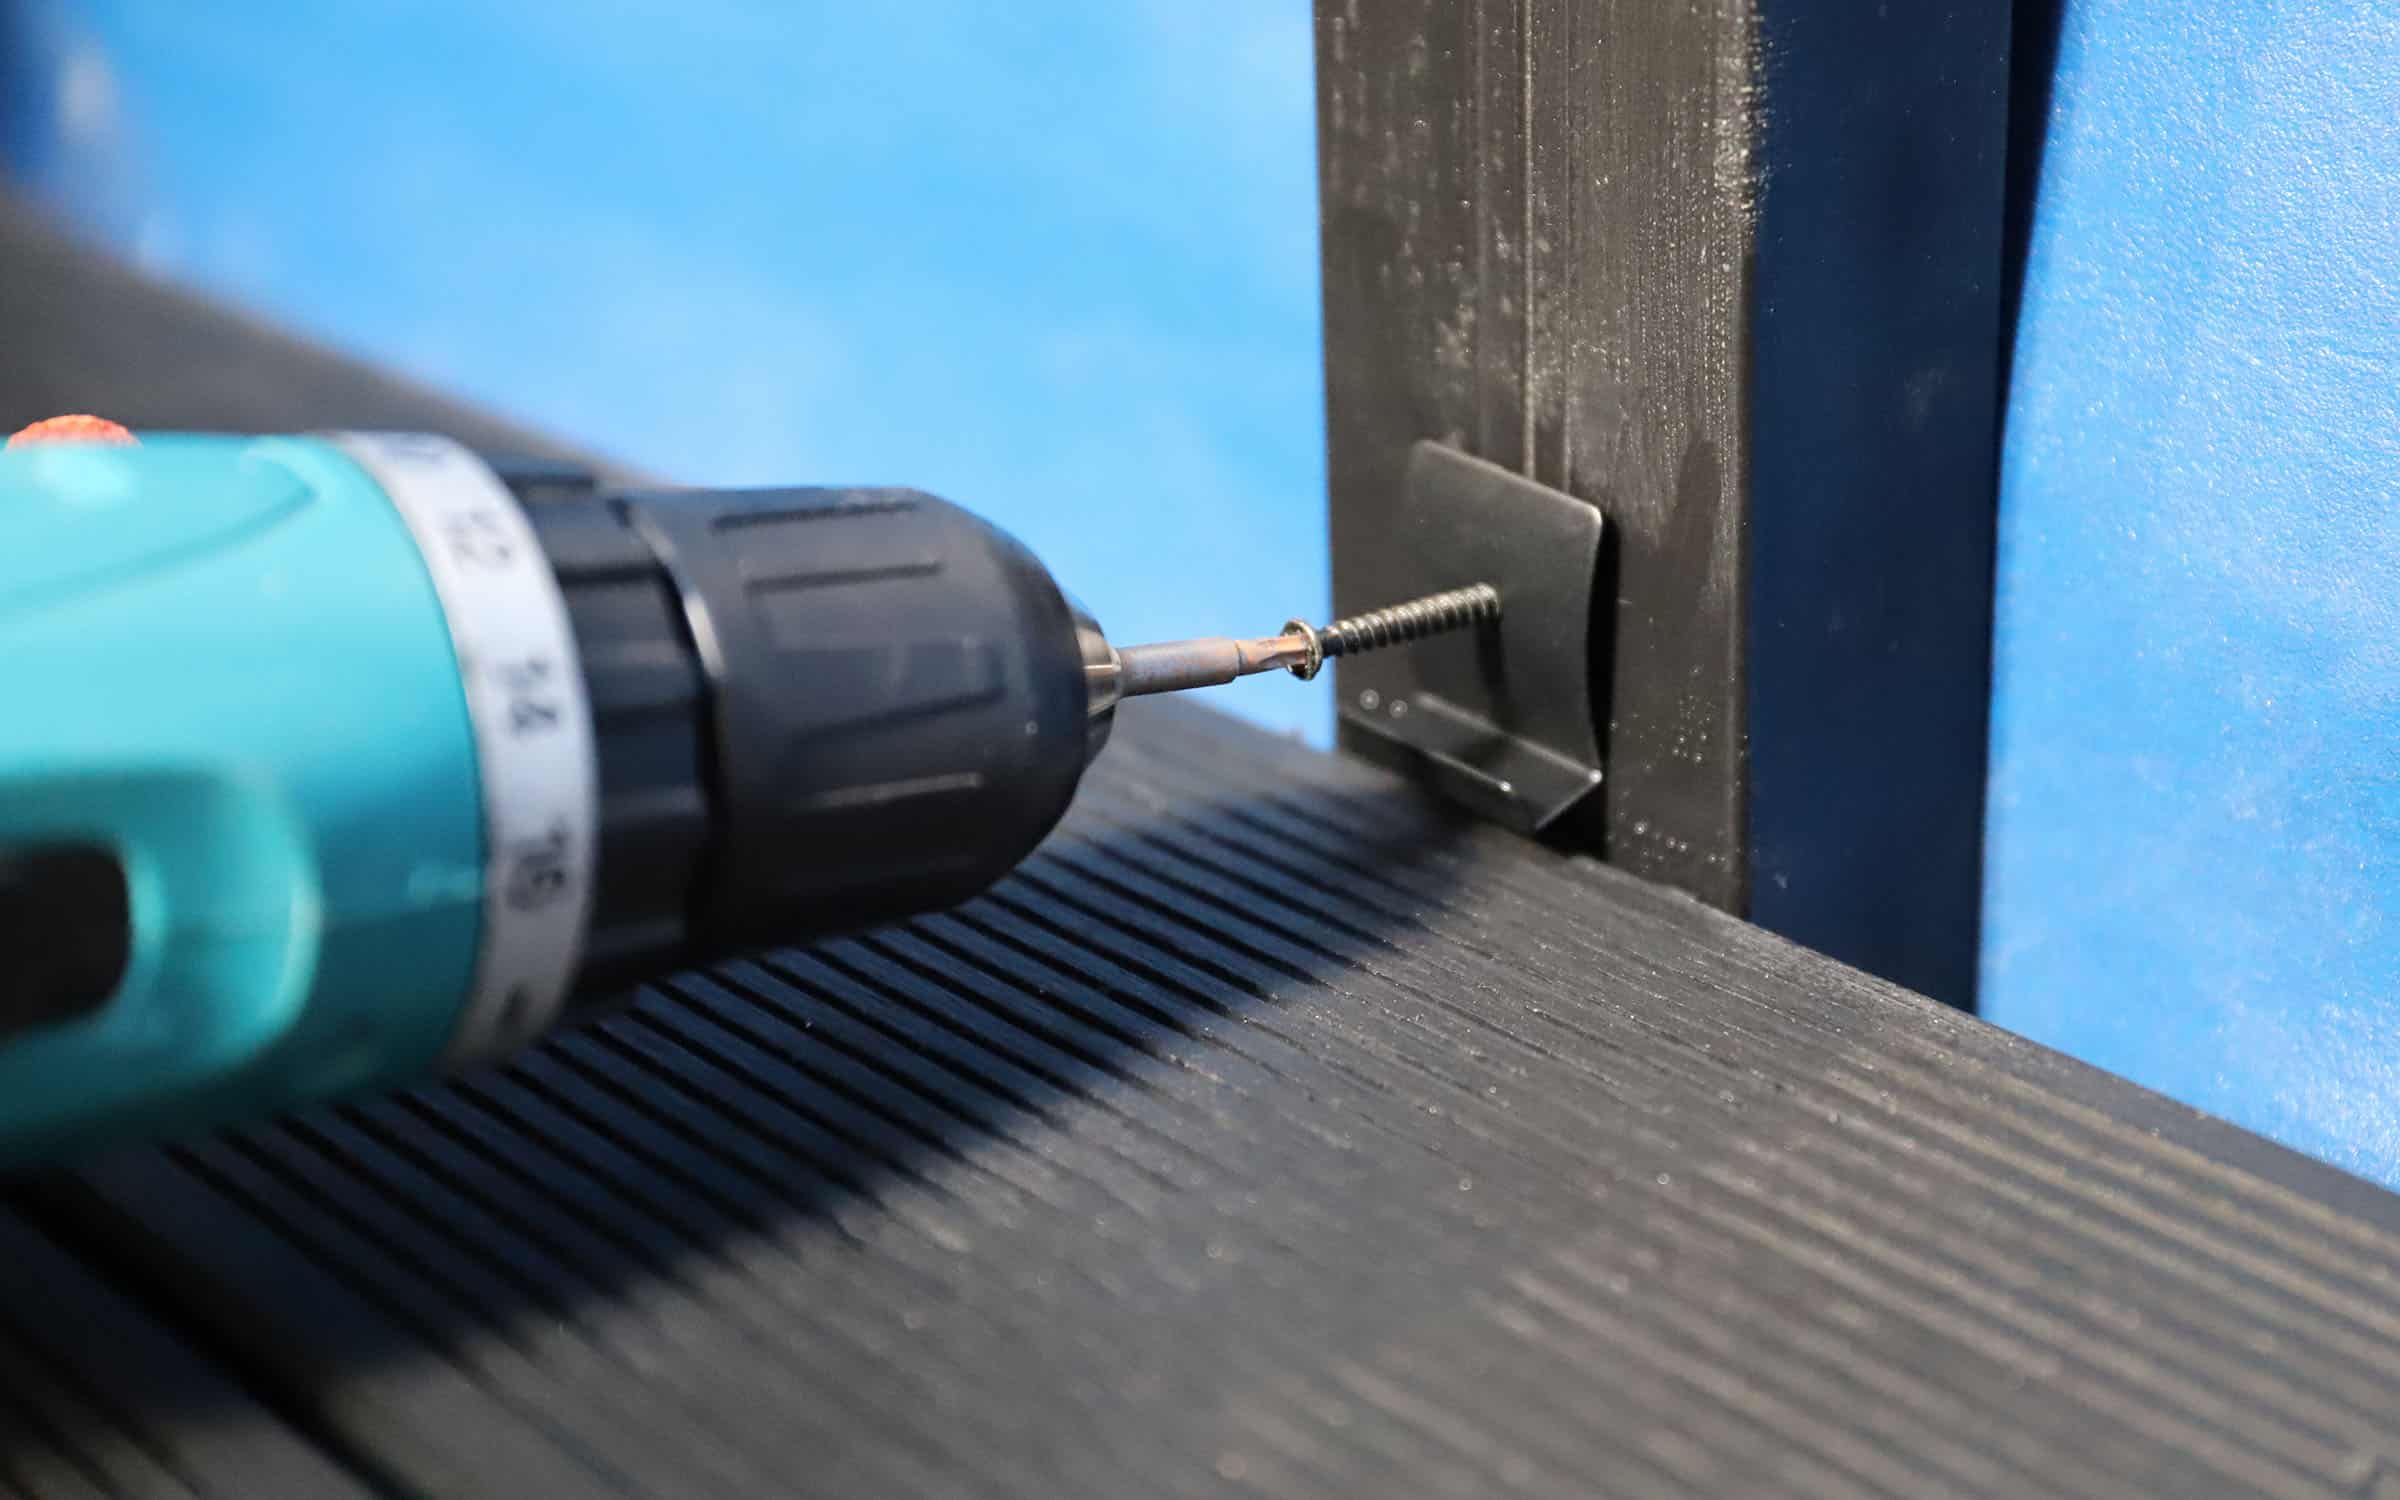
Let’s get started on NeoTimber® Cladding Starter Clips. Our composite cladding starter fixing clips are made from metal and screw neatly into each batten. To install your first run of boards just attach our composite cladding fasteners to the bottom of each batten. Each NeoTimber® composite cladding board has a niche at the bottom and so will neatly sit on the composite cladding clips, discreetly concealing your fixings.
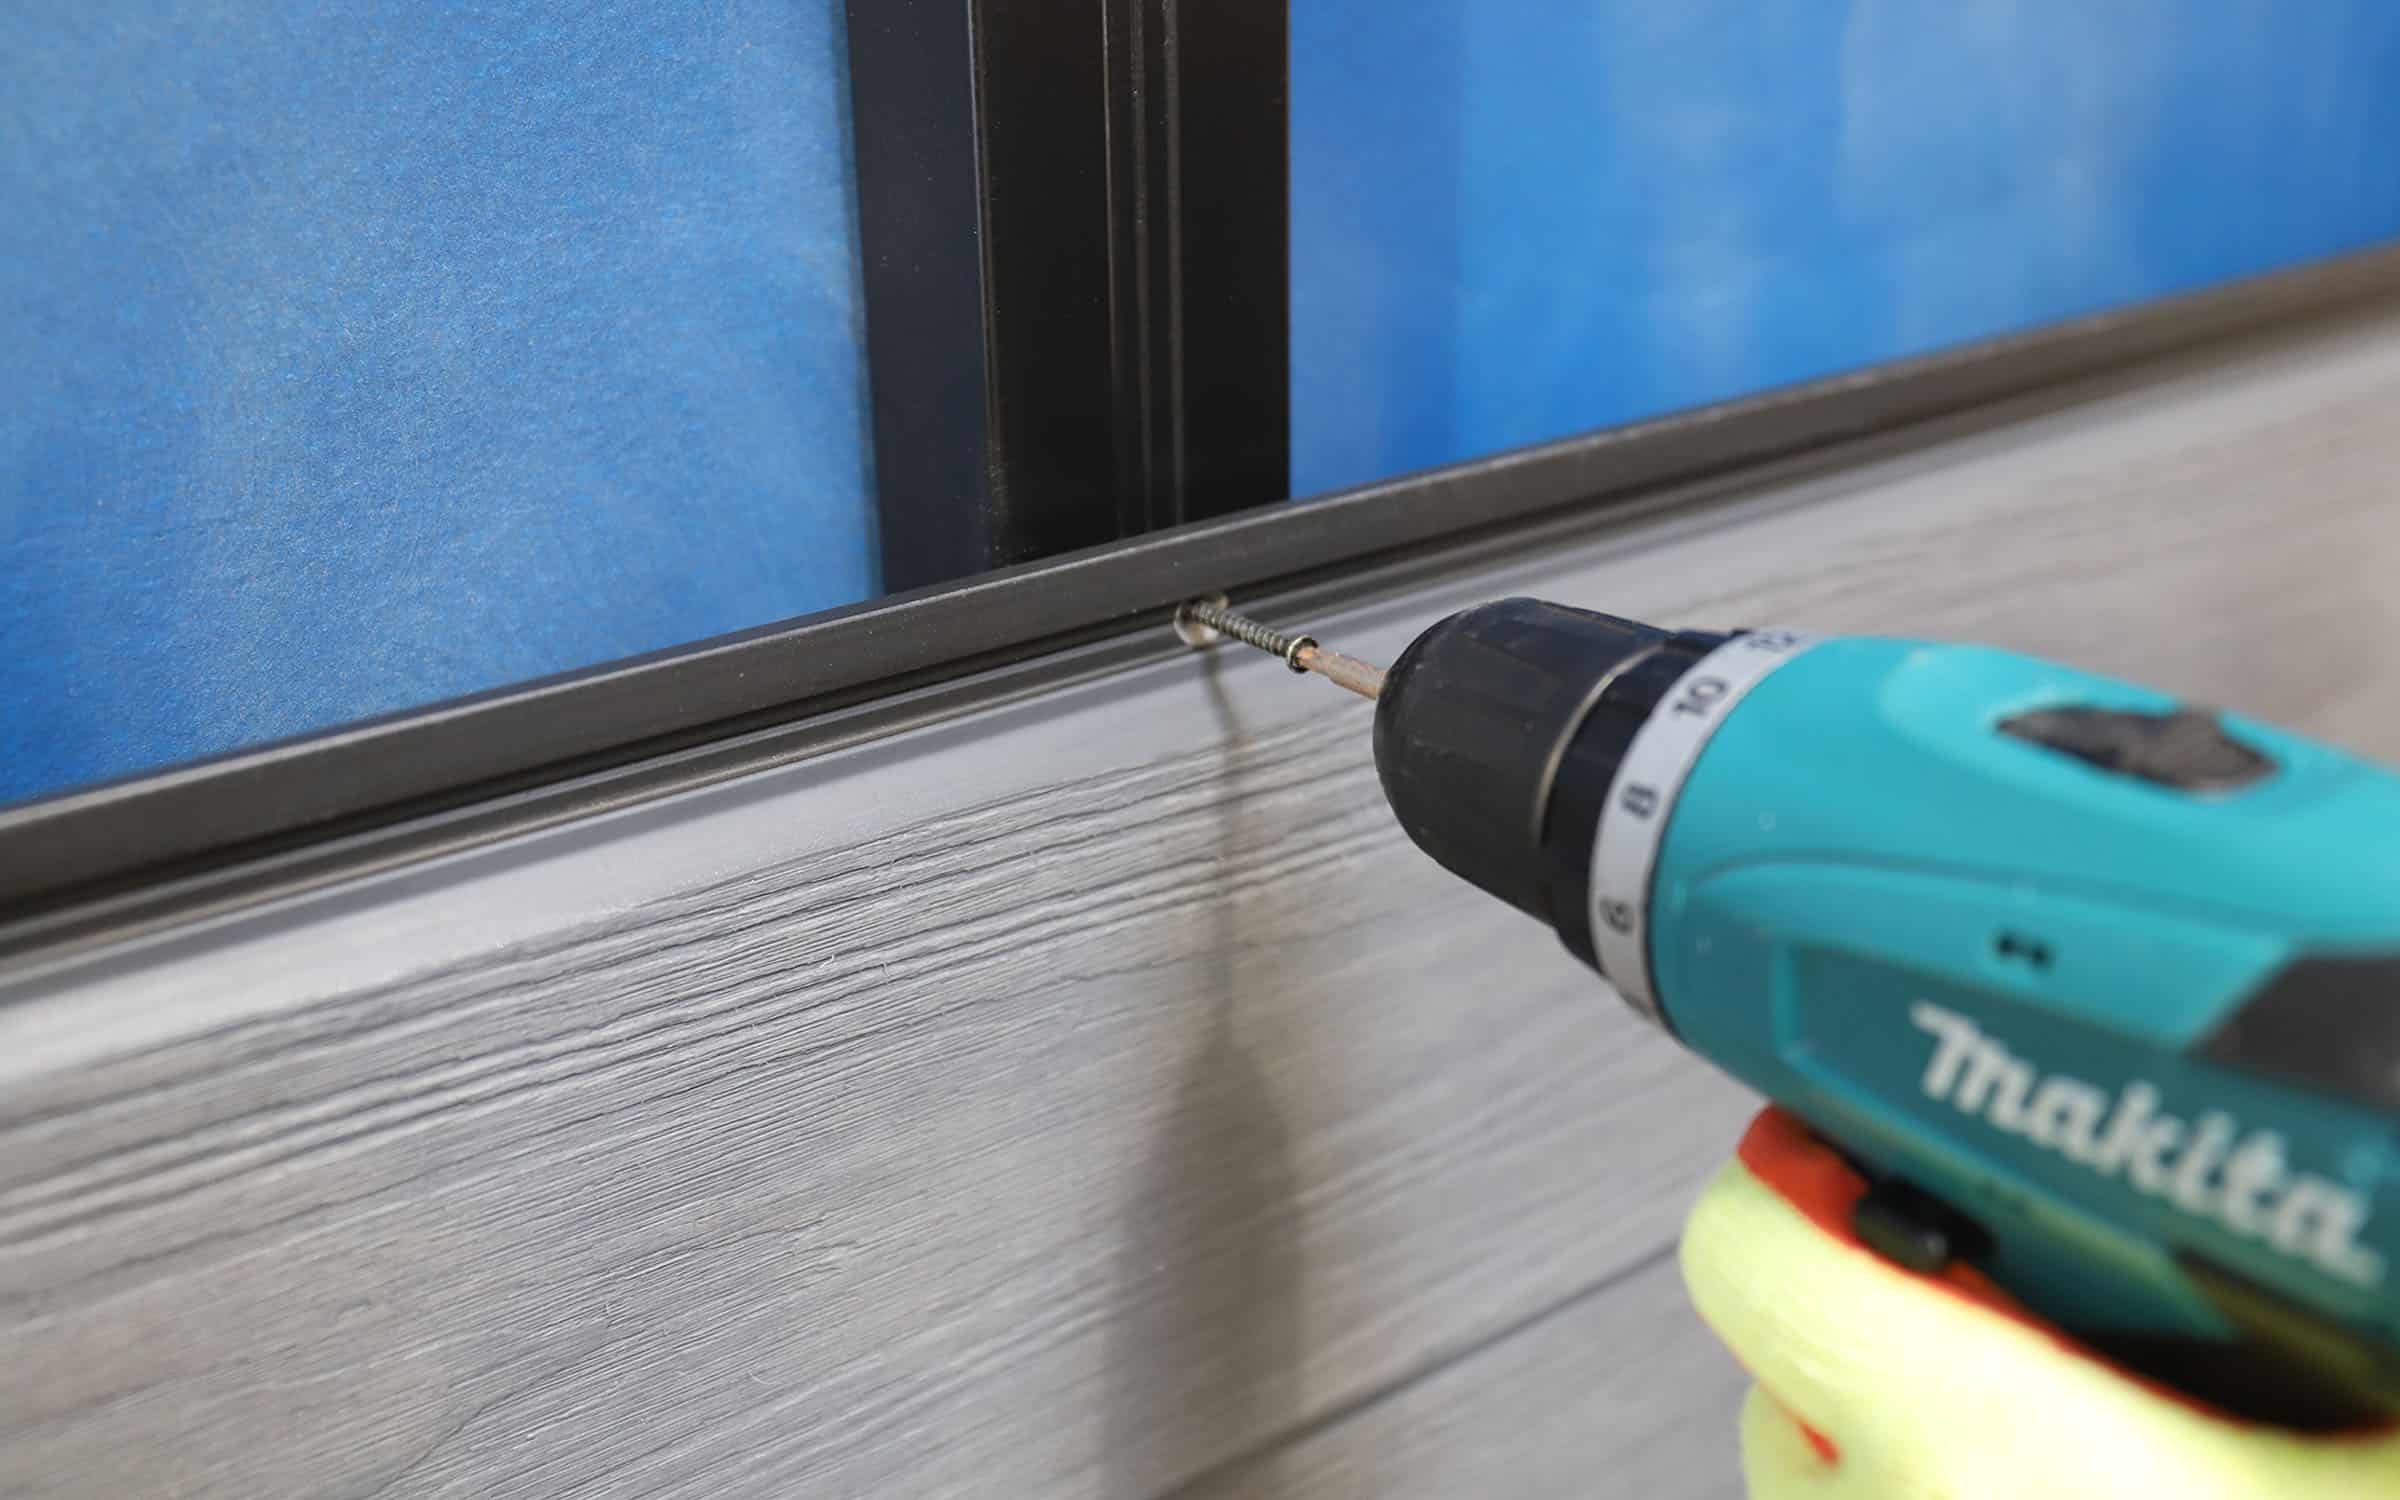
Once your first board is in-situ, you can simply screw through the board to using our NeoTimber® Cladding Screws to firmly secure the top edge to the battens. We recommend drilling a pilot home first to prevent cracking the board and countersinking the screw to ensure the following board can fit tightly over the top.
Need Further Support or Advice?
If you’ve still got questions that have not been answered here, or you would like additional advice,
support or assistance then please give one of our friendly experts a call and we’ll be happy to help.
Just give us a call on 01530 382 180.


