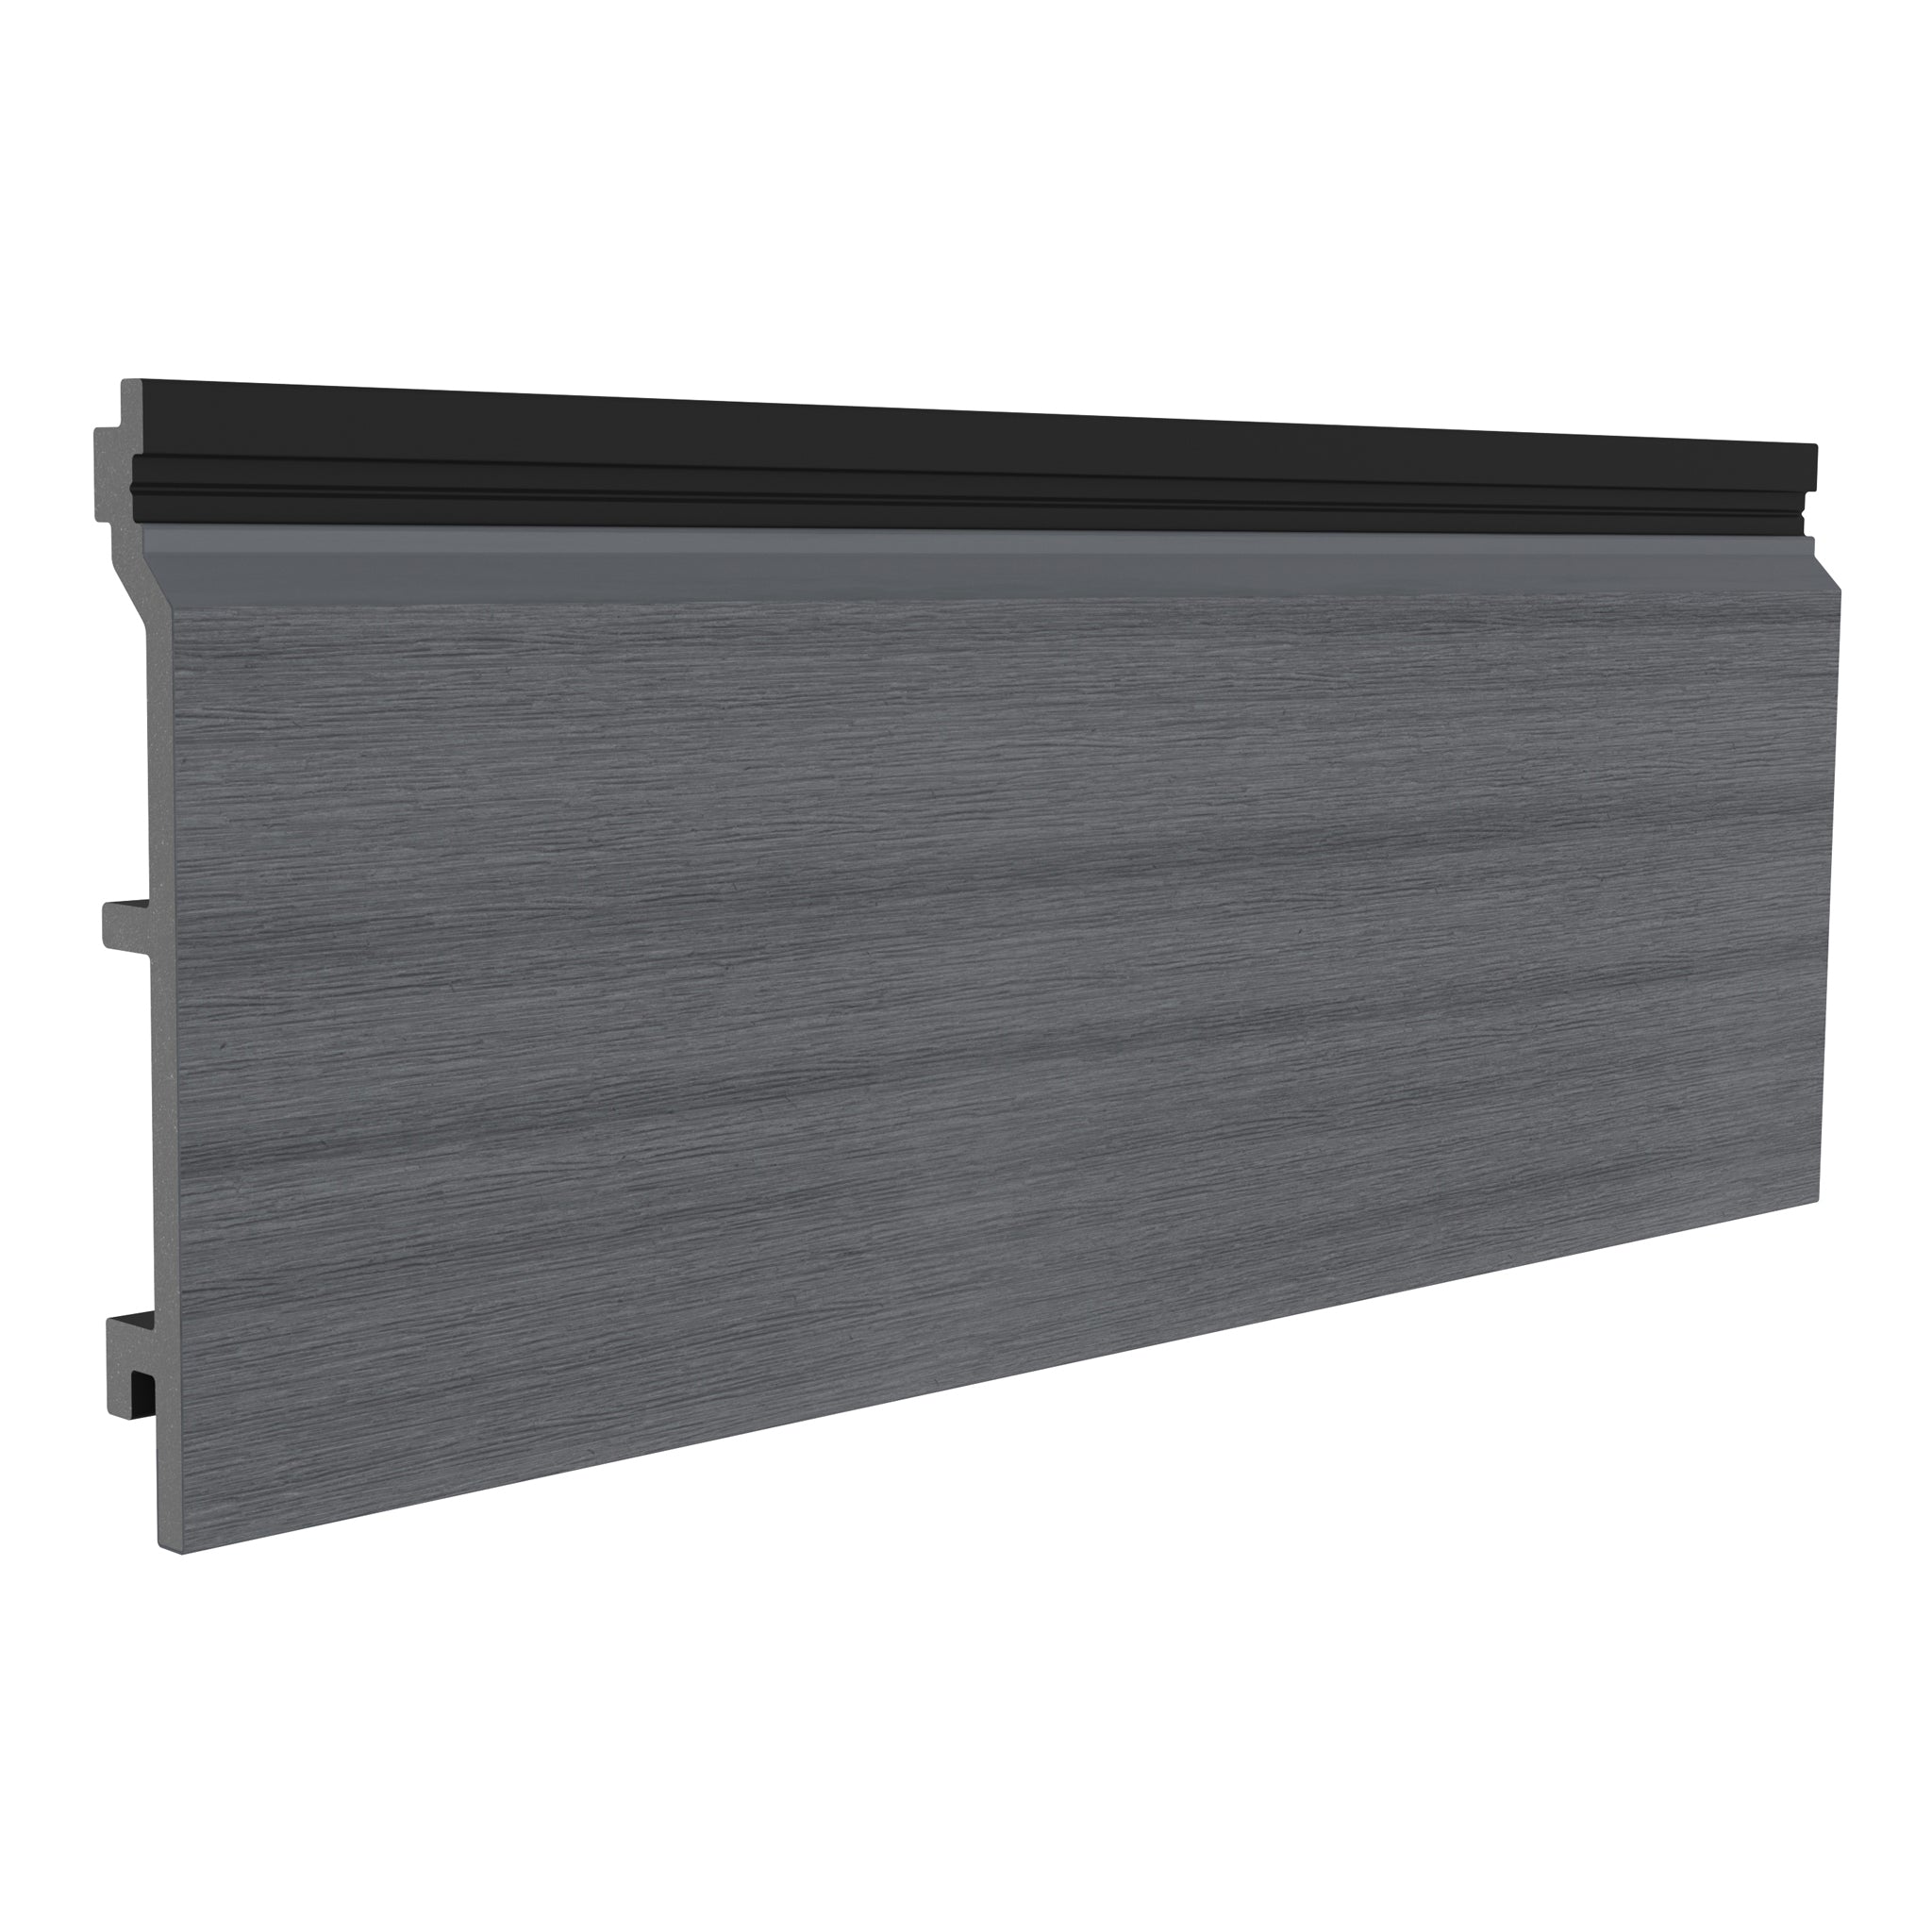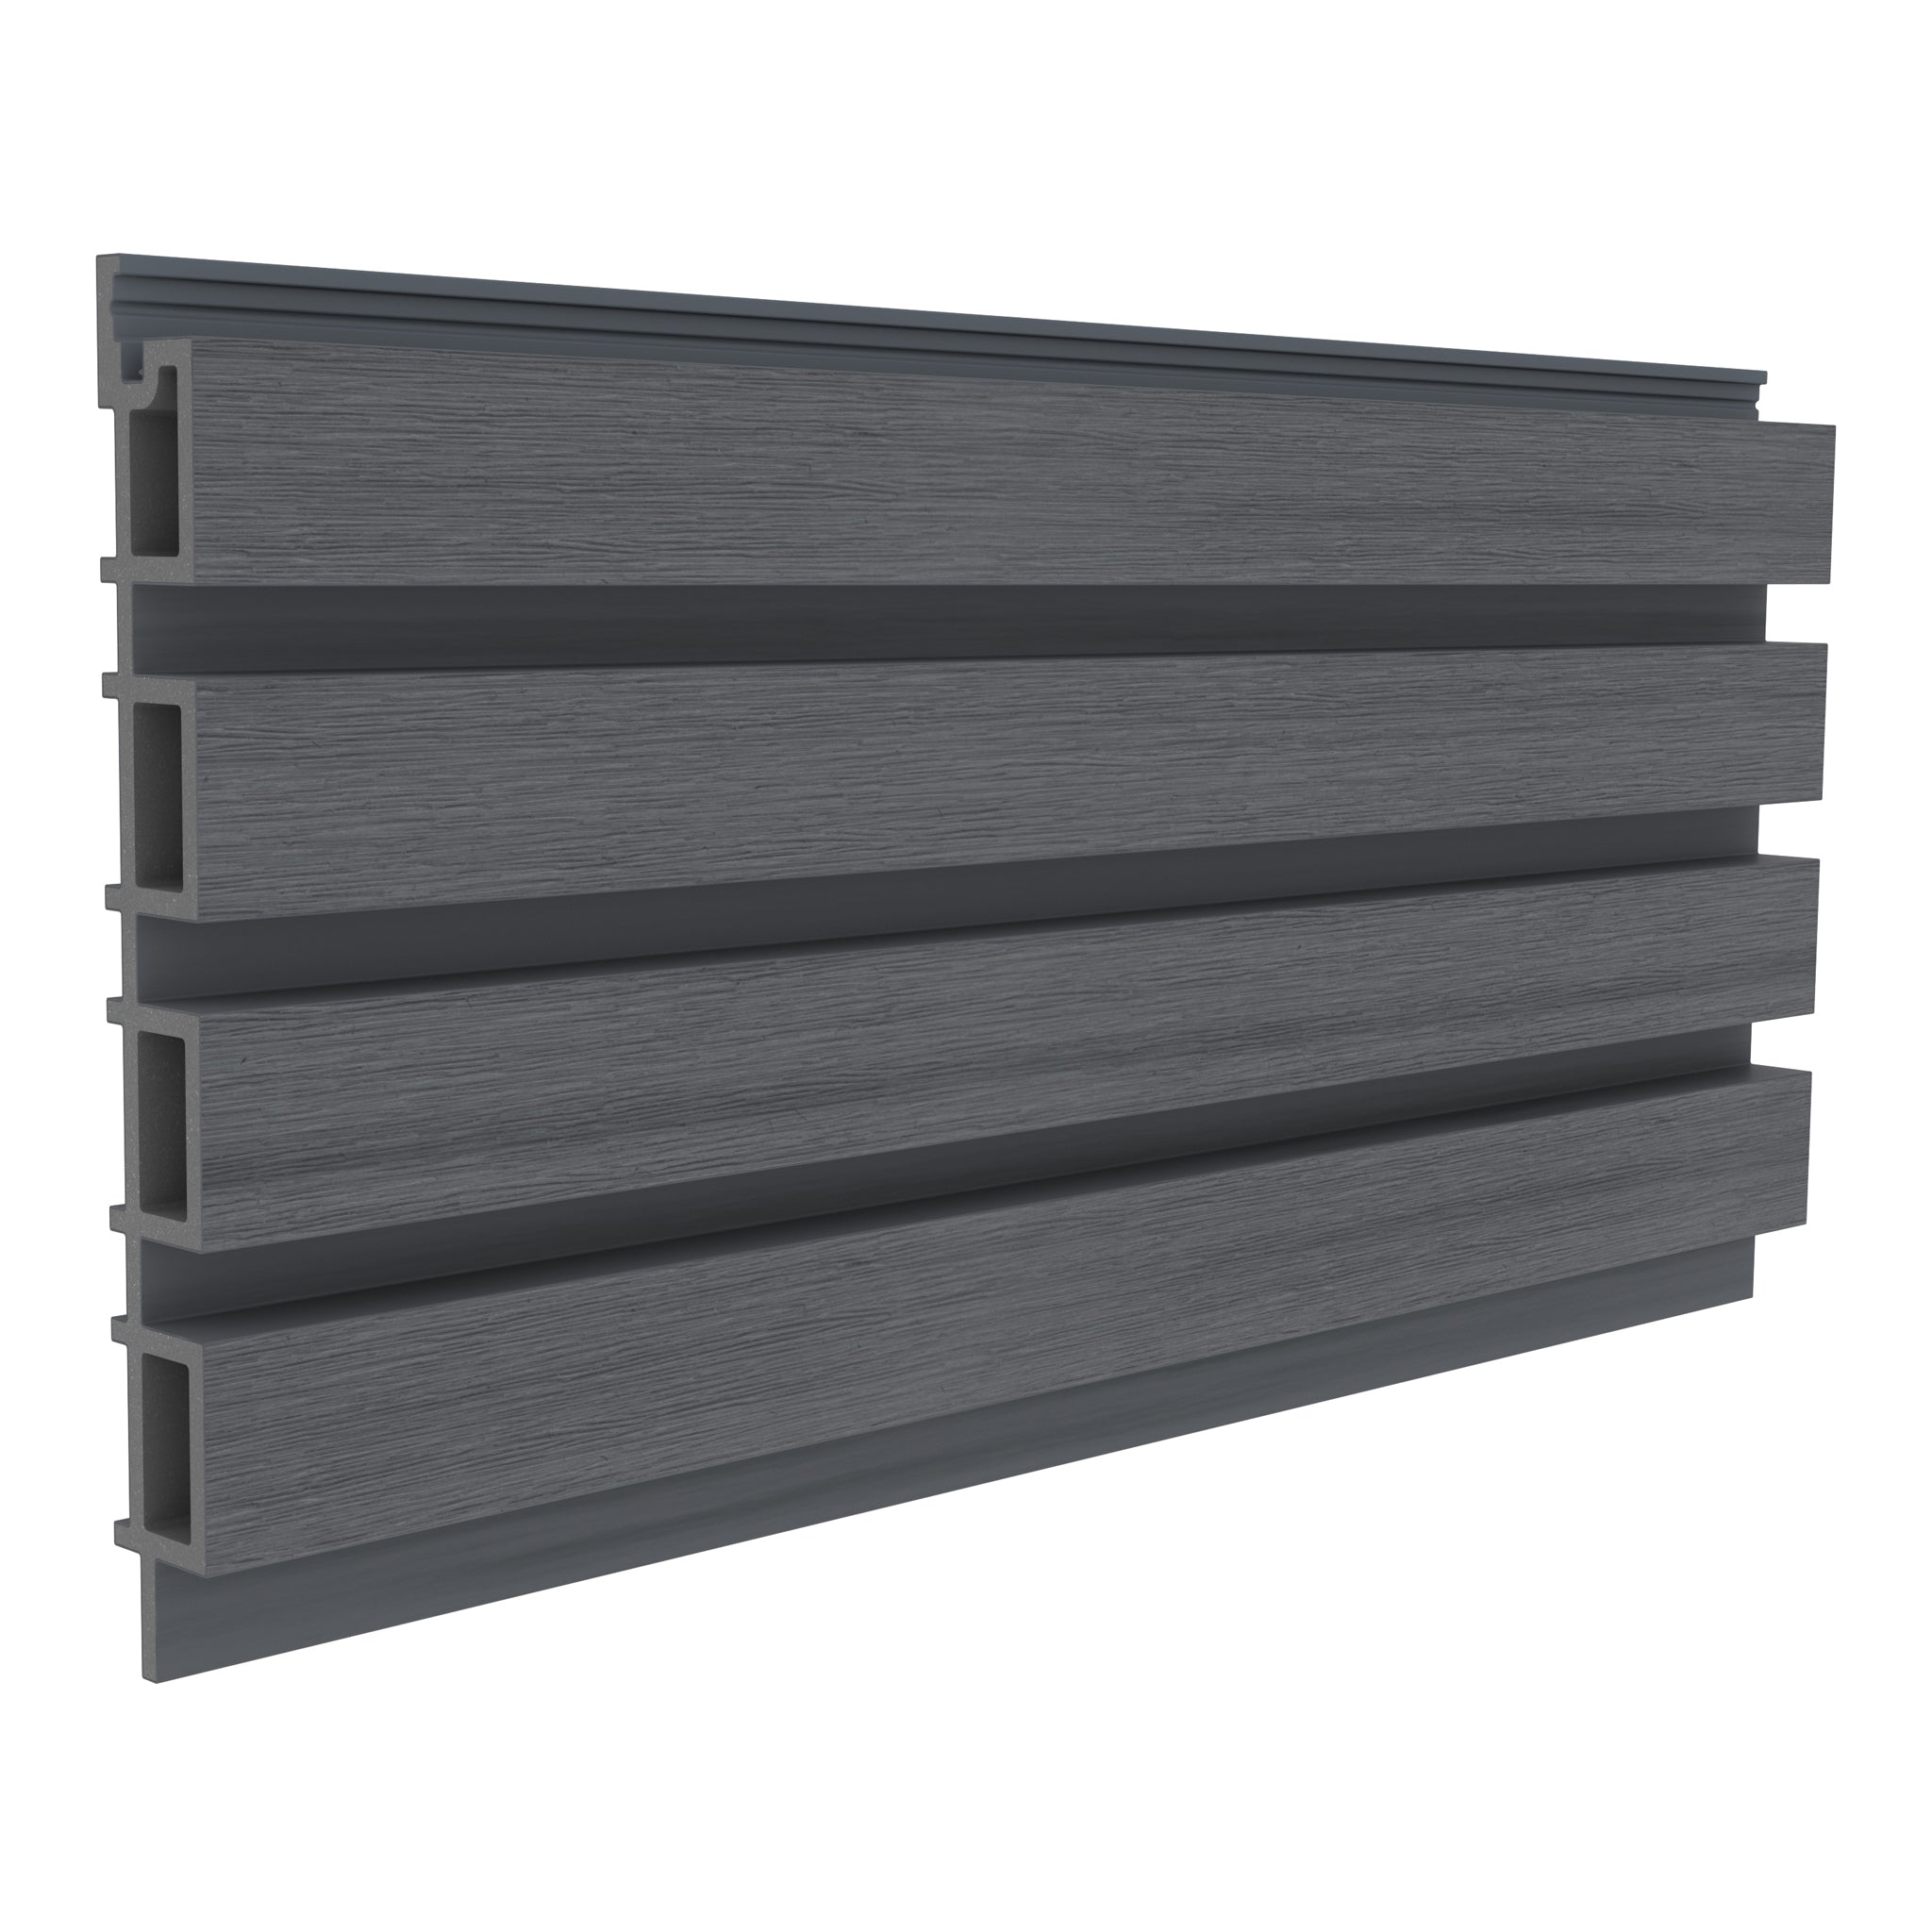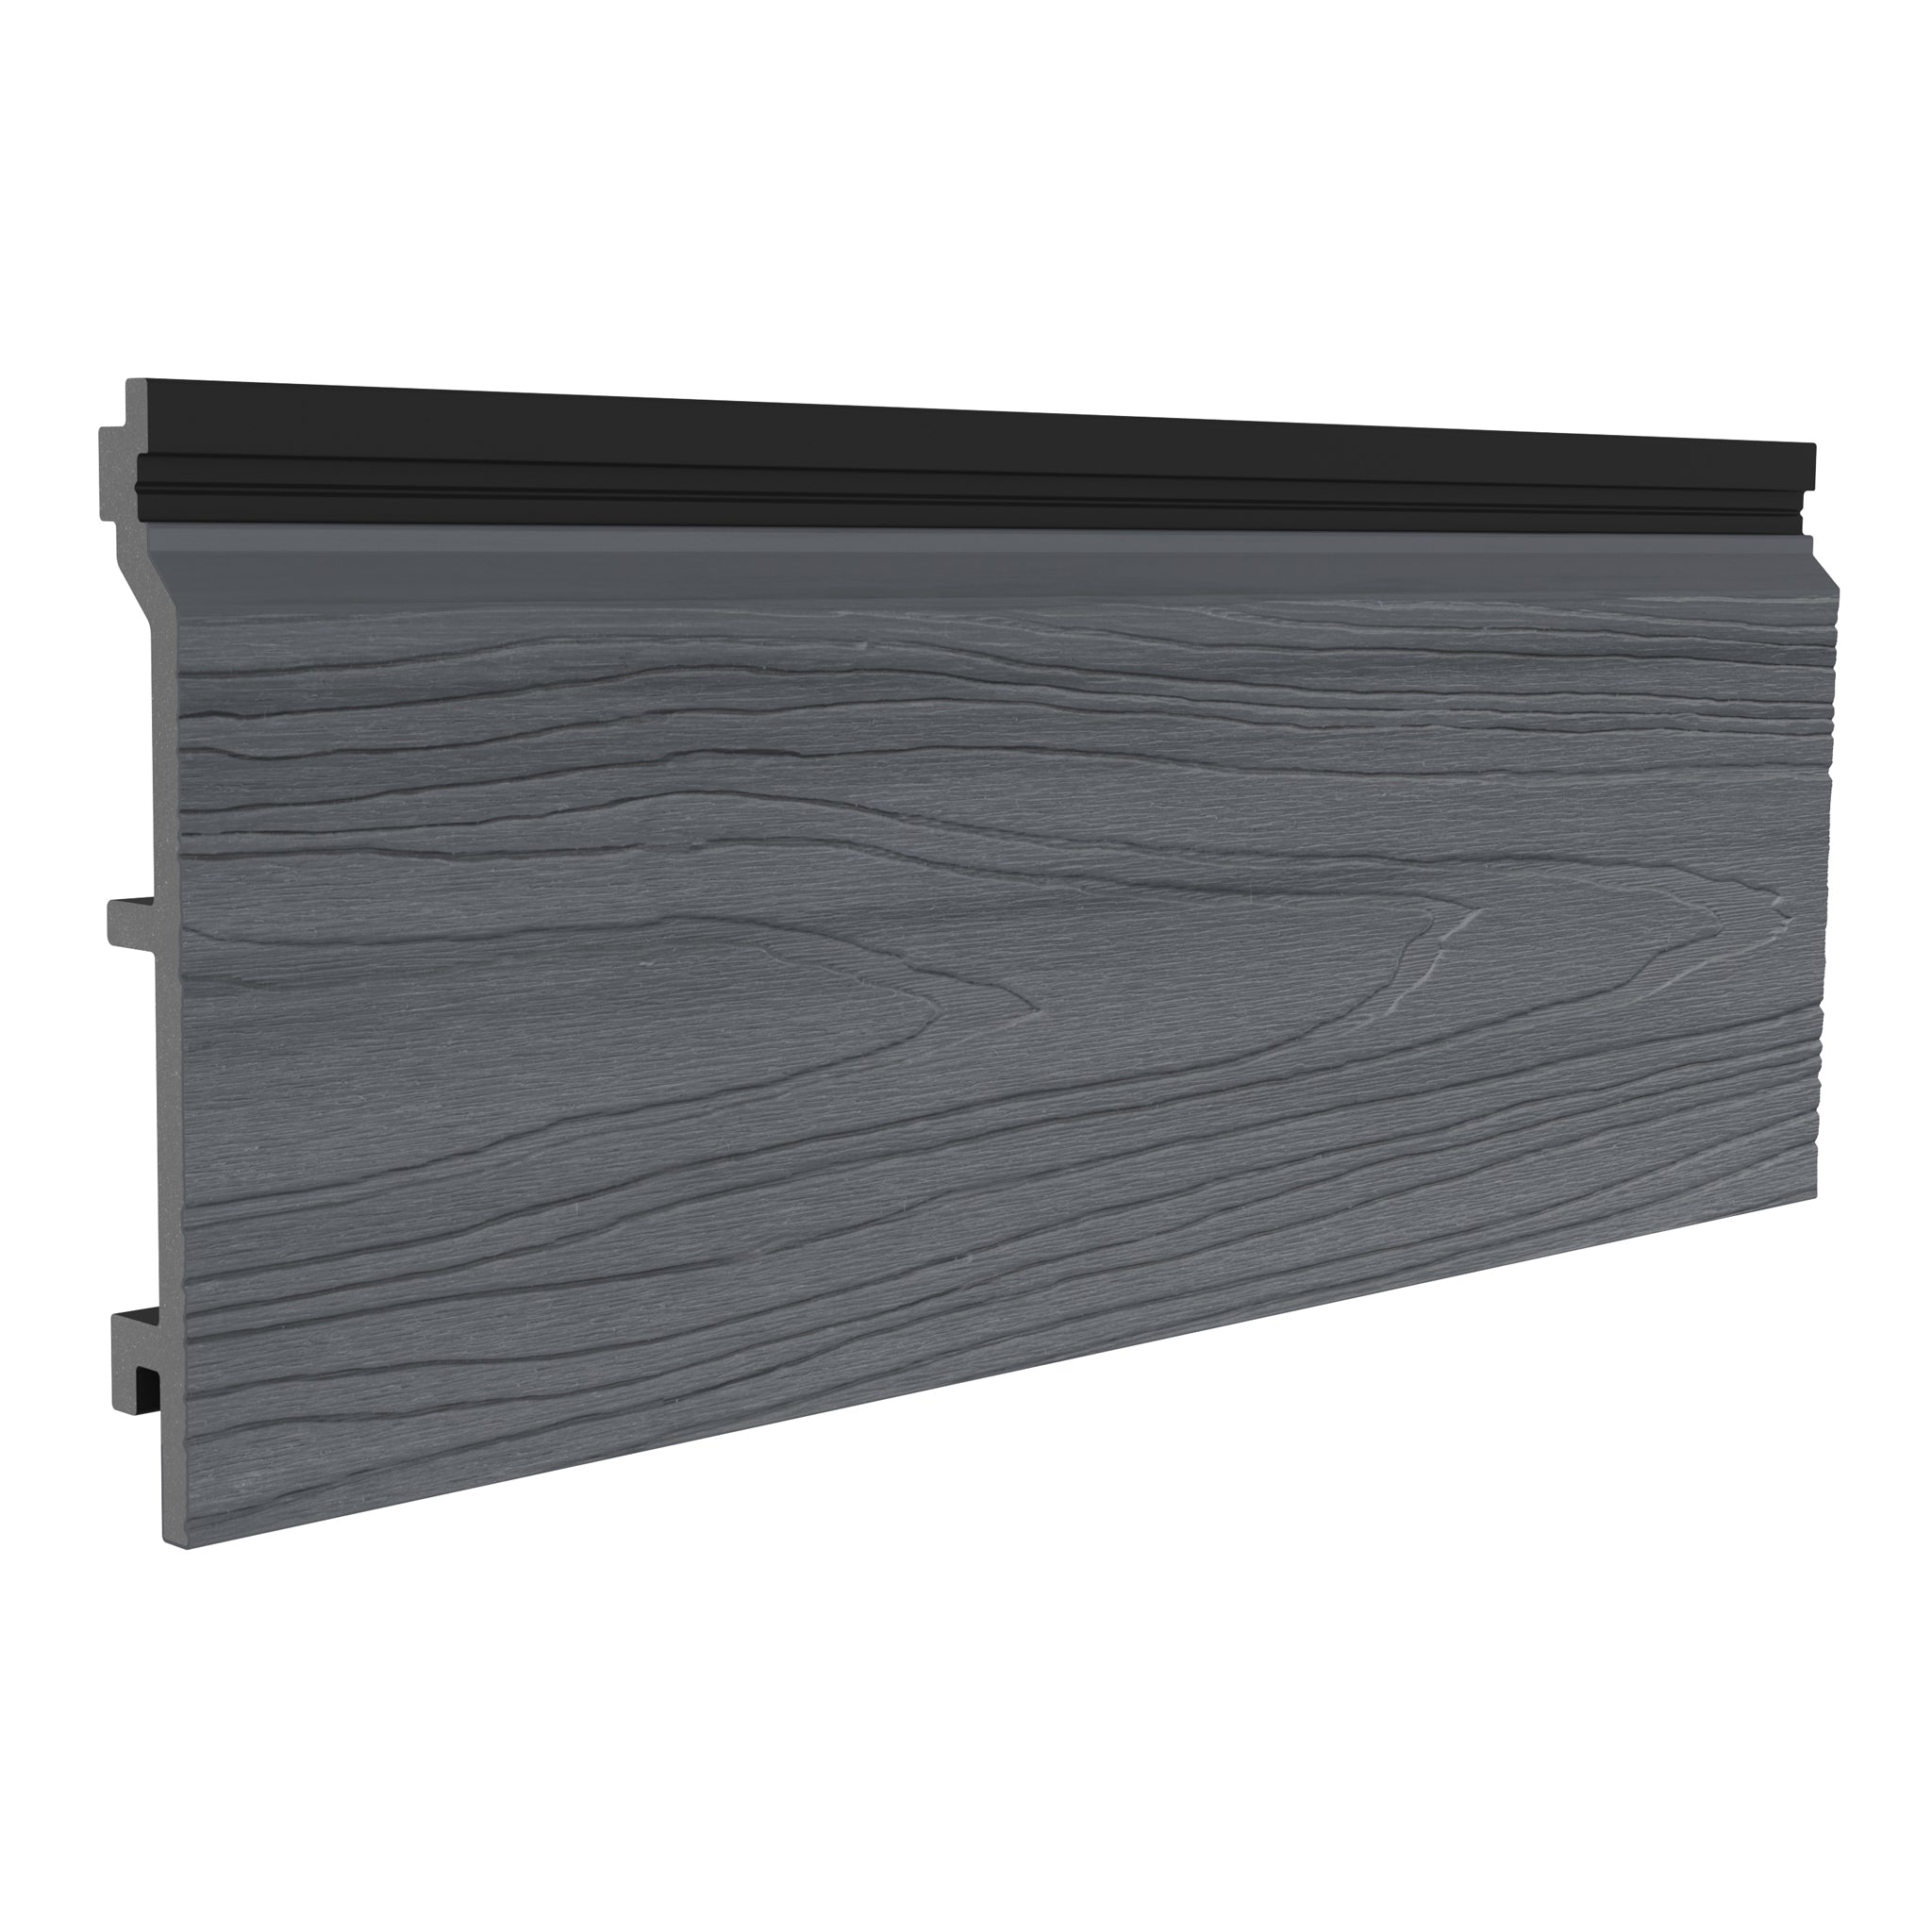




Complete Your Louvre Battens With Steel Inserts and Matching End Caps
Composite louvre batten finishing and reinforcement involves two different tasks: fitting any required steel inserts inside the hollow profiles and closing exposed ends with compatible caps. Plan reinforcement before completing the installation, then fit the finishing details once the inserts and fixing arrangement have been checked.
This guide covers the sequence described in the supplied NeoTimber® installation information. Use it alongside the current product-specific installation guidance, confirming that the details apply to your chosen profiles and application.
Plan Reinforcement Before Closing the Ends
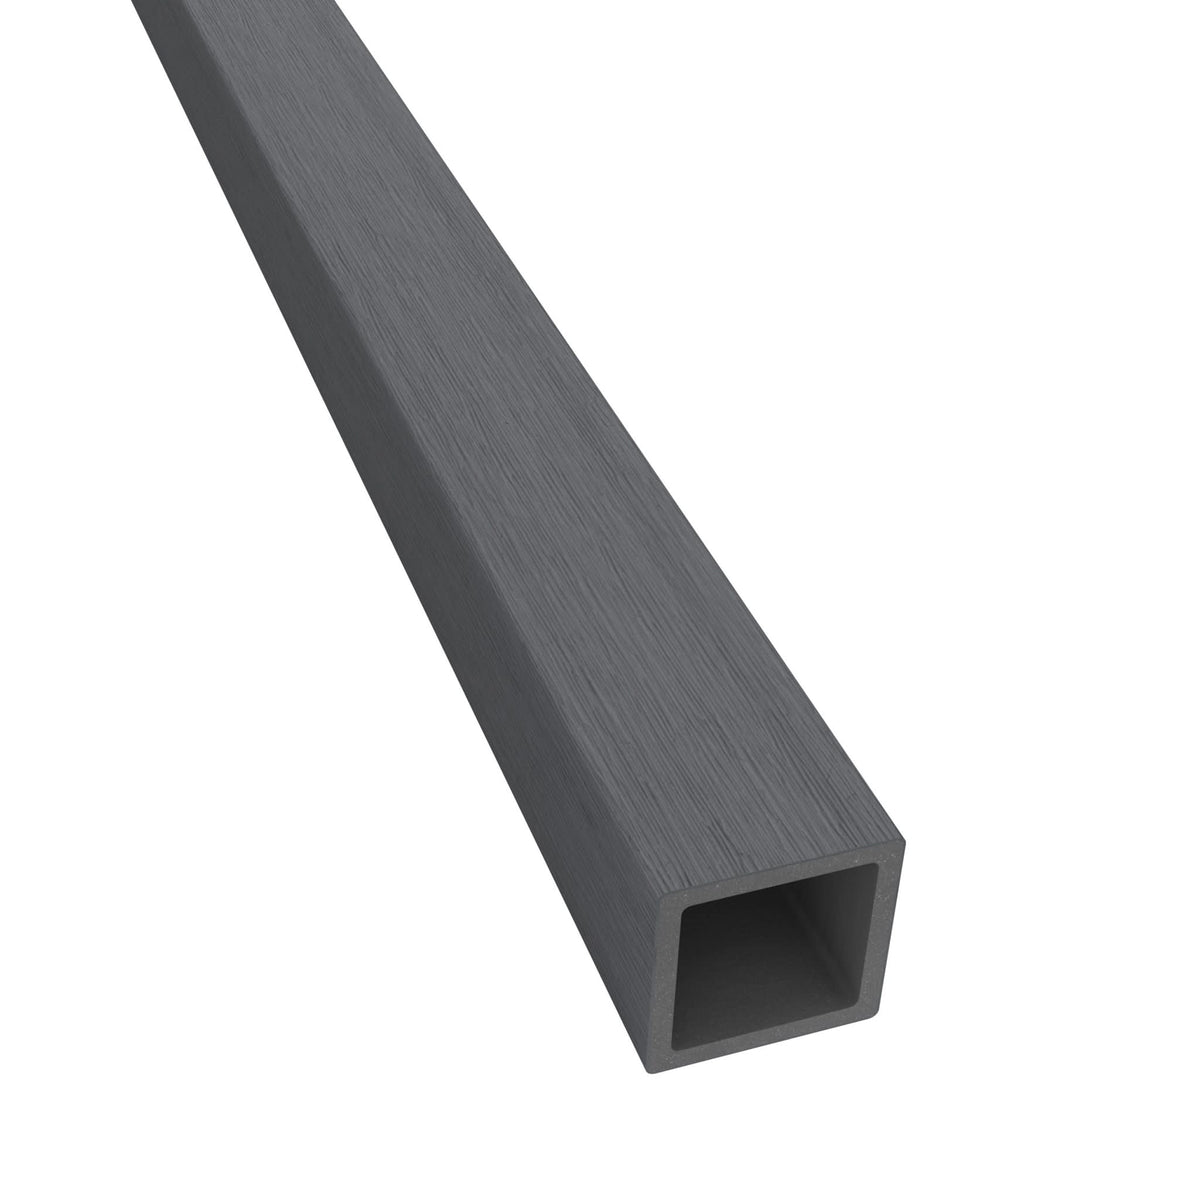
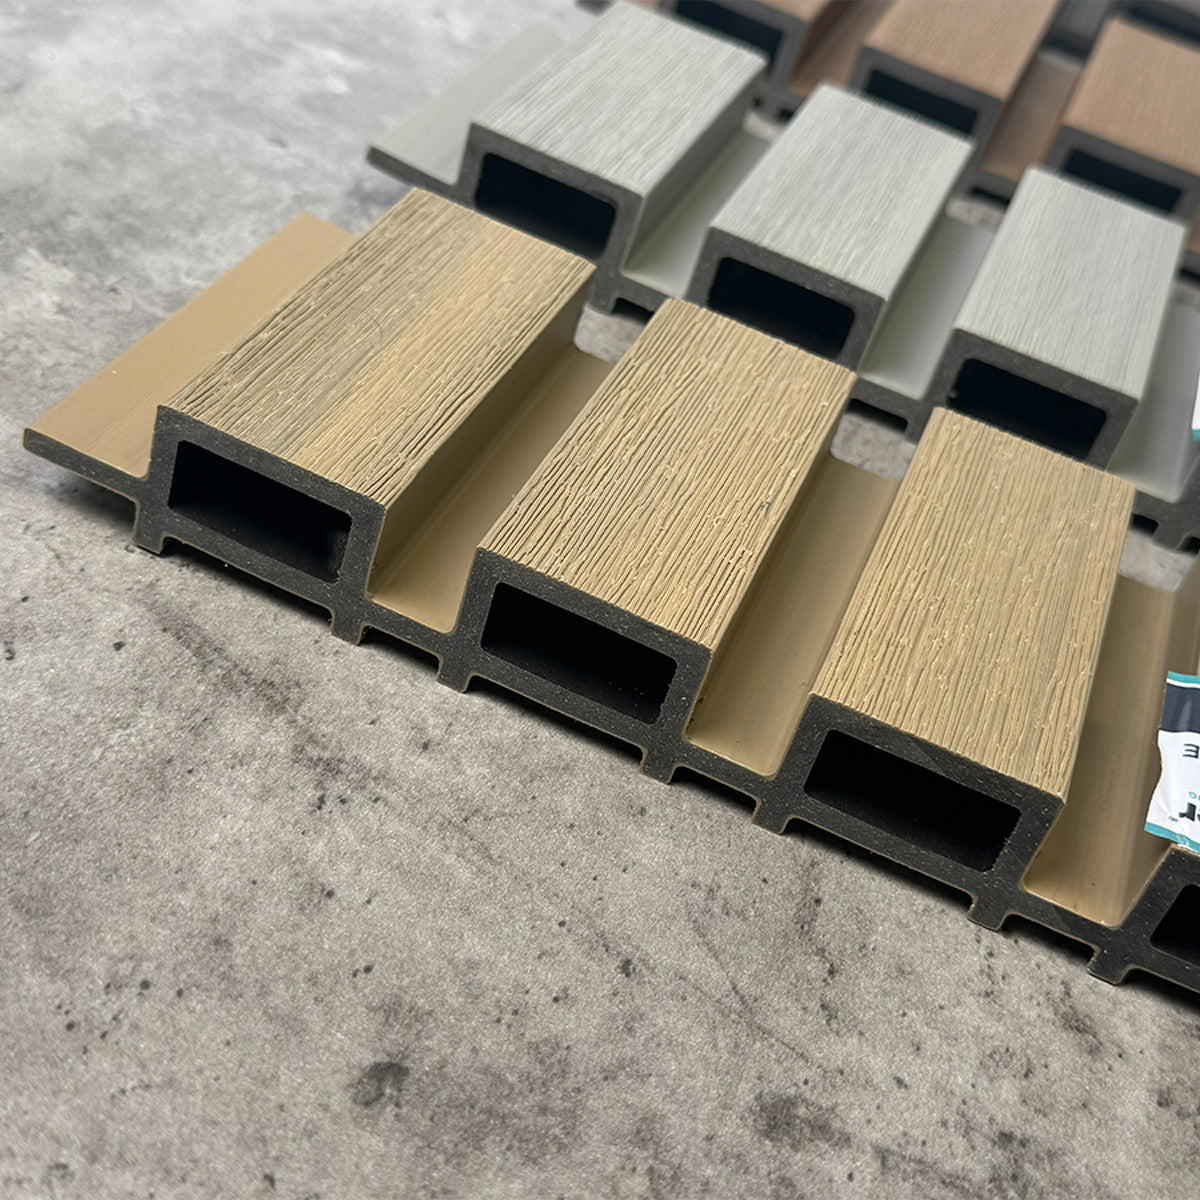
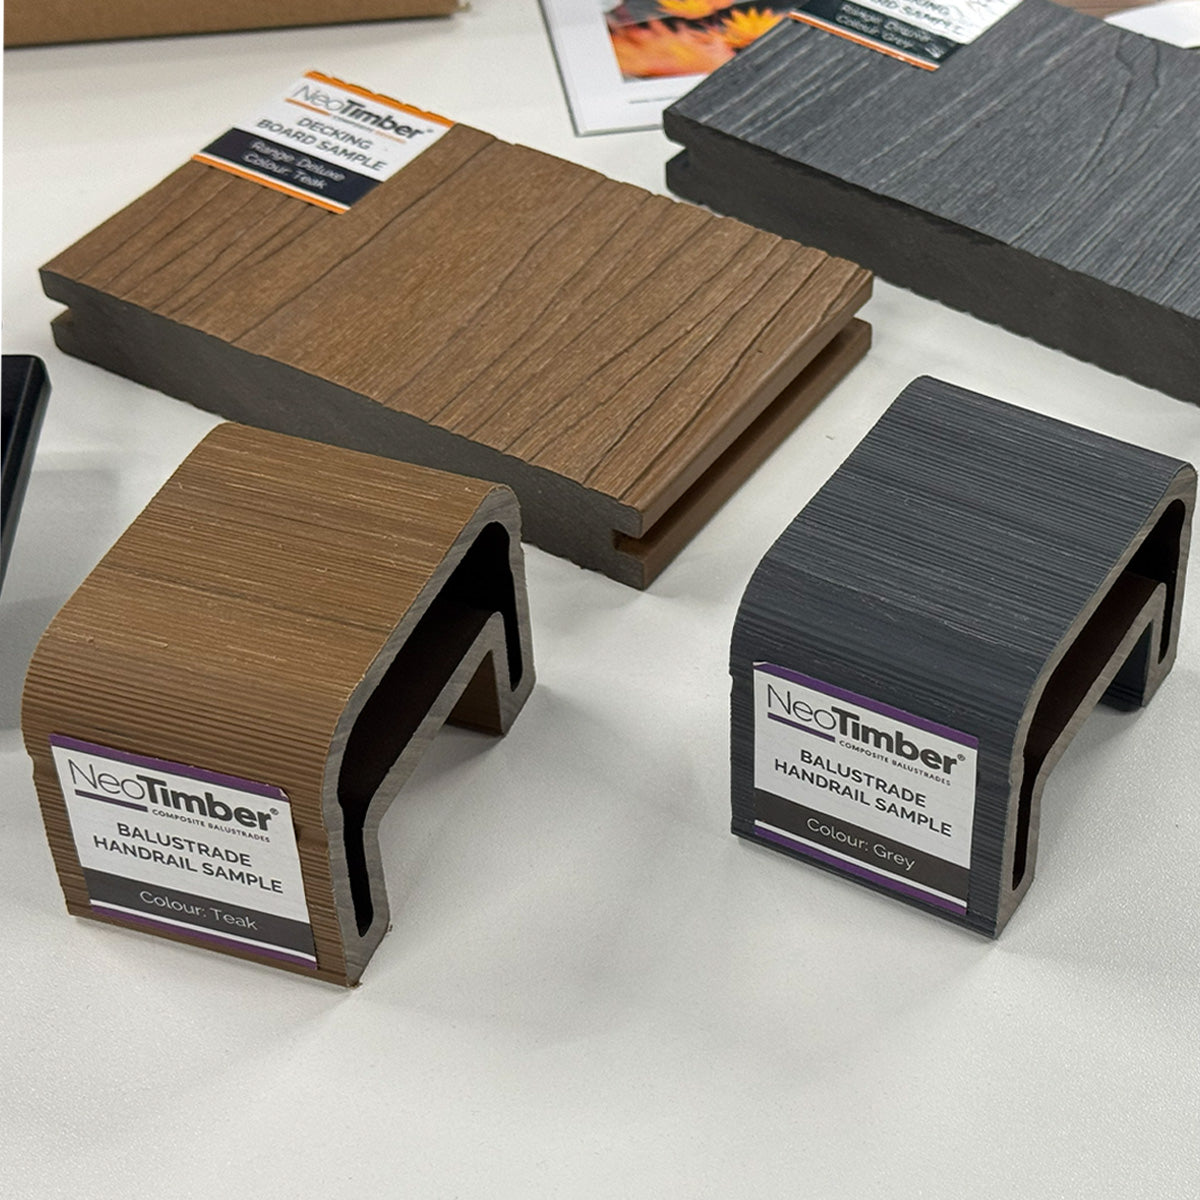
A galvanised steel insert sits inside the hollow chamber to add rigidity. An end cap closes the exposed profile end and gives it a coordinated appearance. Neither replaces a suitable supporting framework or the required connections.
Decide whether inserts are needed while planning the supports, rather than waiting until every batten is fitted. Where access will be restricted, the installation sequence may require inserts to be positioned before the profiles are attached.
Components to check before finishing:
| Component | Purpose | Check before fitting |
|---|---|---|
| Galvanised steel insert | Reinforcement inside the hollow chamber | Compatibility, length and required end clearance |
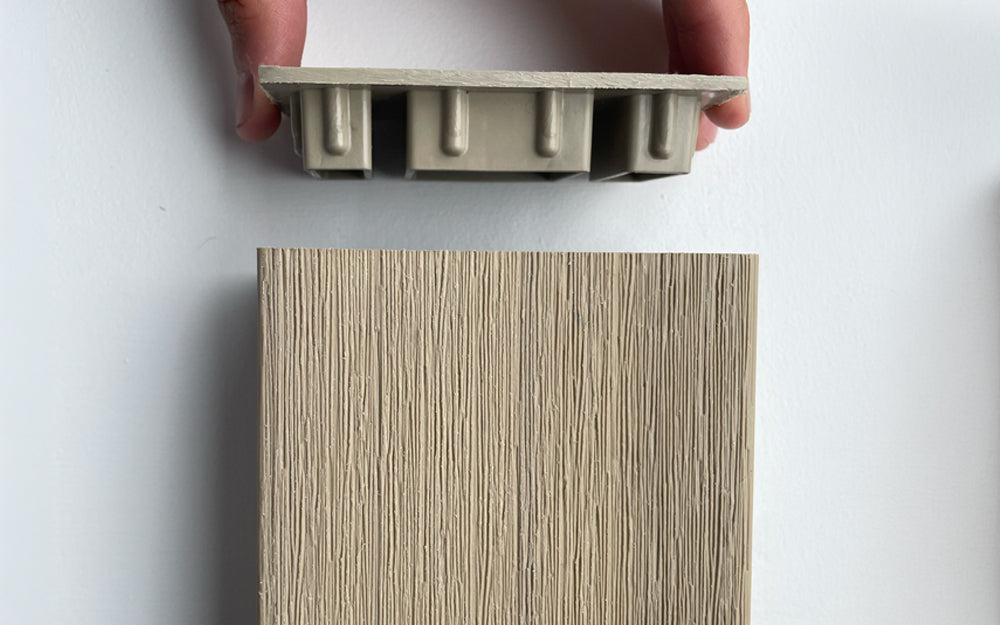
| Composite end cap | A neat closure at an exposed profile end | Correct profile size, colour and seating |
| Specified silicone adhesive | Secures the cap as described in the installation instructions | Compatibility, application and curing instructions |
| Supports and concealed fixings | Retain the profiles and transfer loads | Approved arrangement for the complete installation |
Understand What the Support-Span Figures Mean
The supplied installation information gives a maximum recommended batten support span of 600 mm without an insert and 1,200 mm with the specified steel reinforcement. Confirm these limits against the current guidance for the selected profile and application before setting out the supports.
These figures describe the batten’s support arrangement. They are not the visible gaps between adjacent profiles, a universal post spacing or an approval for a particular fence height. Wind exposure, anchors, rails, posts and foundations still need to suit the project.
The supplied insert specification is 38 × 38 × 3,600 mm, with a 0.8 mm wall thickness and a stated weight of 3.2 kg per full length. Check that the insert supplied is the correct accessory for the chosen profile; do not substitute a similar-looking section without approval.
Step 1: Cut and Position the Steel Inserts Where Required
Confirm the required quantity and cutting lengths before assembly. The supplied guidance recommends one compatible insert per reinforced batten length. Use suitable tools and handling precautions for the steel, and follow any instructions for cut-edge treatment.
Leave 20 mm clearance at each end between the insert and the composite profile end. That makes the insert 40 mm shorter overall than the batten. For example, a 3,600 mm profile would require a 3,560 mm insert under this detail.

Check that the insert sits correctly and does not obstruct the profile’s attachment. The supplied instructions retain the concealed clip method with or without reinforcement; use the clips and screws specified for the actual profile and supporting material.
Step 2: Check Both End Clearances
Measure the clearance at both ends before closing the chamber. An insert that is short enough overall can still be positioned incorrectly if it is pushed too far towards one end.

Inspect the exposed ends and prepare them as instructed. Make sure there is no debris or obstruction preventing the caps from seating. Do not force a cap against an insert that projects into its required space.
Step 3: Fit the Colour-Matched End Caps
Select the cap that matches both the profile size and finish. The supplied method uses silicone adhesive to secure the cap inside the open end. Use the specified compatible product and follow its preparation, application and curing instructions.
Position the cap carefully and seat it as directed, then check its alignment with the surrounding face. Repeat at the remaining exposed ends. Follow the installation detail rather than adding sealant indiscriminately or blocking any required drainage provision.

Final Checks Before Completing the Installation
- Confirm that the supporting arrangement matches the approved project detail.
- Check the profiles are retained correctly on their specified fixings.
- Confirm insert positions and end clearances before caps conceal them.
- Check cap size, colour, alignment and adhesive curing requirements.
- Review corners, changes of direction and exposed ends for consistency.
- Keep required drainage, ventilation and movement provisions clear.
Investigate loose connections, damaged components or unexpected movement before considering the work complete. Reinforcing a profile does not correct an unsuitable framework.
For the wider sequence, revisit pre-installation planning, supporting framework and fixings and batten installation. If the details supplied with your components differ, contact NeoTimber® before proceeding.
Finishing and Reinforcement FAQs
Do all installations need steel inserts?
No. The need depends on the approved support arrangement and project requirements. Confirm whether the chosen profile requires reinforcement before assembly.
How much shorter should the insert be?
The supplied detail requires 20 mm clearance at each end, so the insert is 40 mm shorter overall than the composite profile.
Is the reinforced span the same as the gap between battens?
No. Support span concerns attachment and support along a profile. Decorative gaps are the visible spaces between neighbouring profiles.
Can I fit the caps before deciding on reinforcement?
Plan and fit any required inserts first. Closing the ends too early can obstruct access and lead to unnecessary removal of finishing parts.
Do inserts replace posts, rails or structural checks?
No. They reinforce the compatible profile within the specified arrangement. The supporting structure and its connections still need to suit the application.