
Refresh Your Exterior With a Well-Planned Composite Cladding Installation
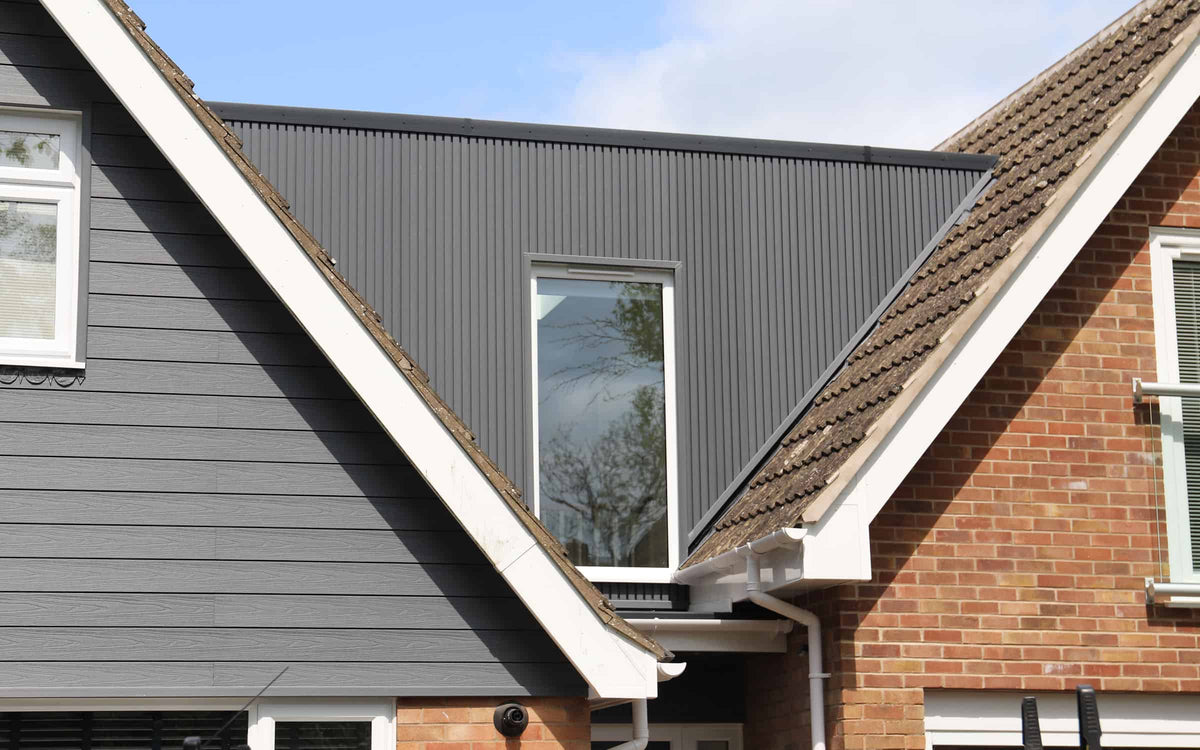
Exterior composite cladding can introduce a new colour, texture and profile to your home's walls. Whether you want a feature area or a coordinated finish across a larger elevation, the best results start with a suitable product and a clear installation plan.
Also described as exterior composite siding or external composite cladding, wood-plastic composite boards offer a timber-inspired alternative with less routine painting or staining. This guide explains the main stages of planning and fitting NeoTimber® boards, from measuring the wall to completing the edges.
Use it as a project overview, then follow the current NeoTimber® composite cladding installation instructions for the dimensions, clearances and fixing details that apply to your selected system.
What Is Exterior Composite Wall Cladding?
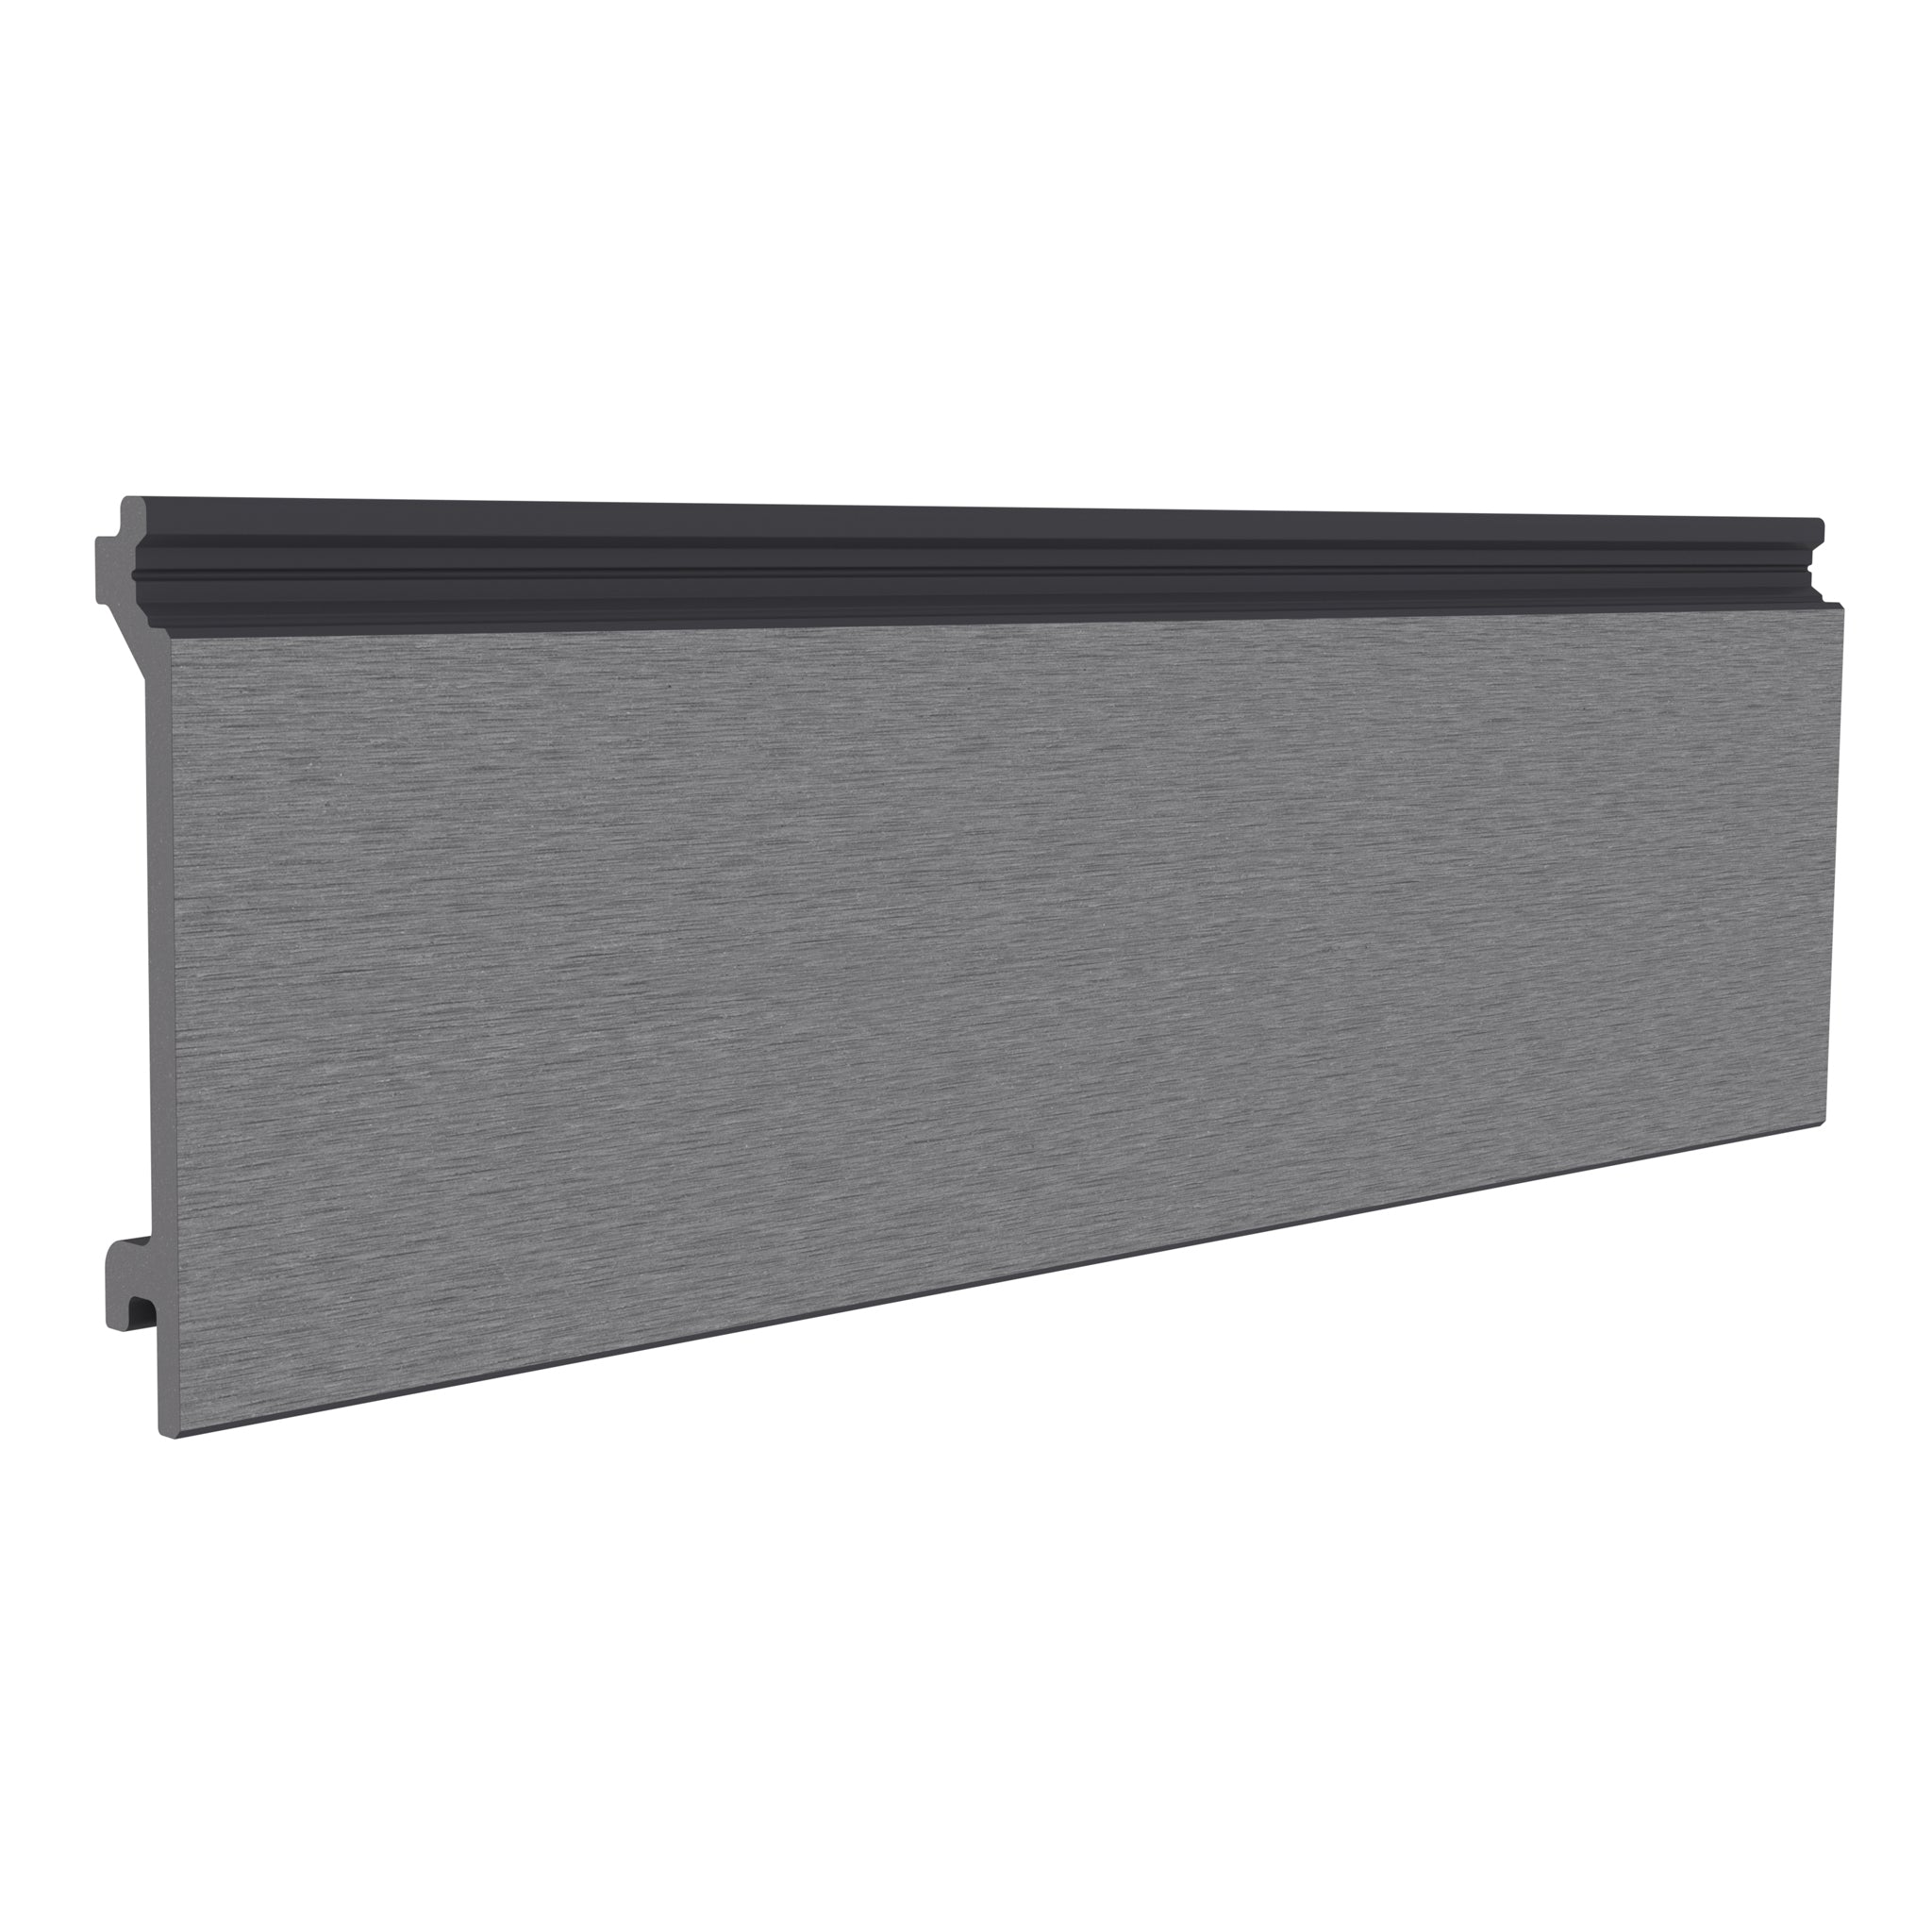
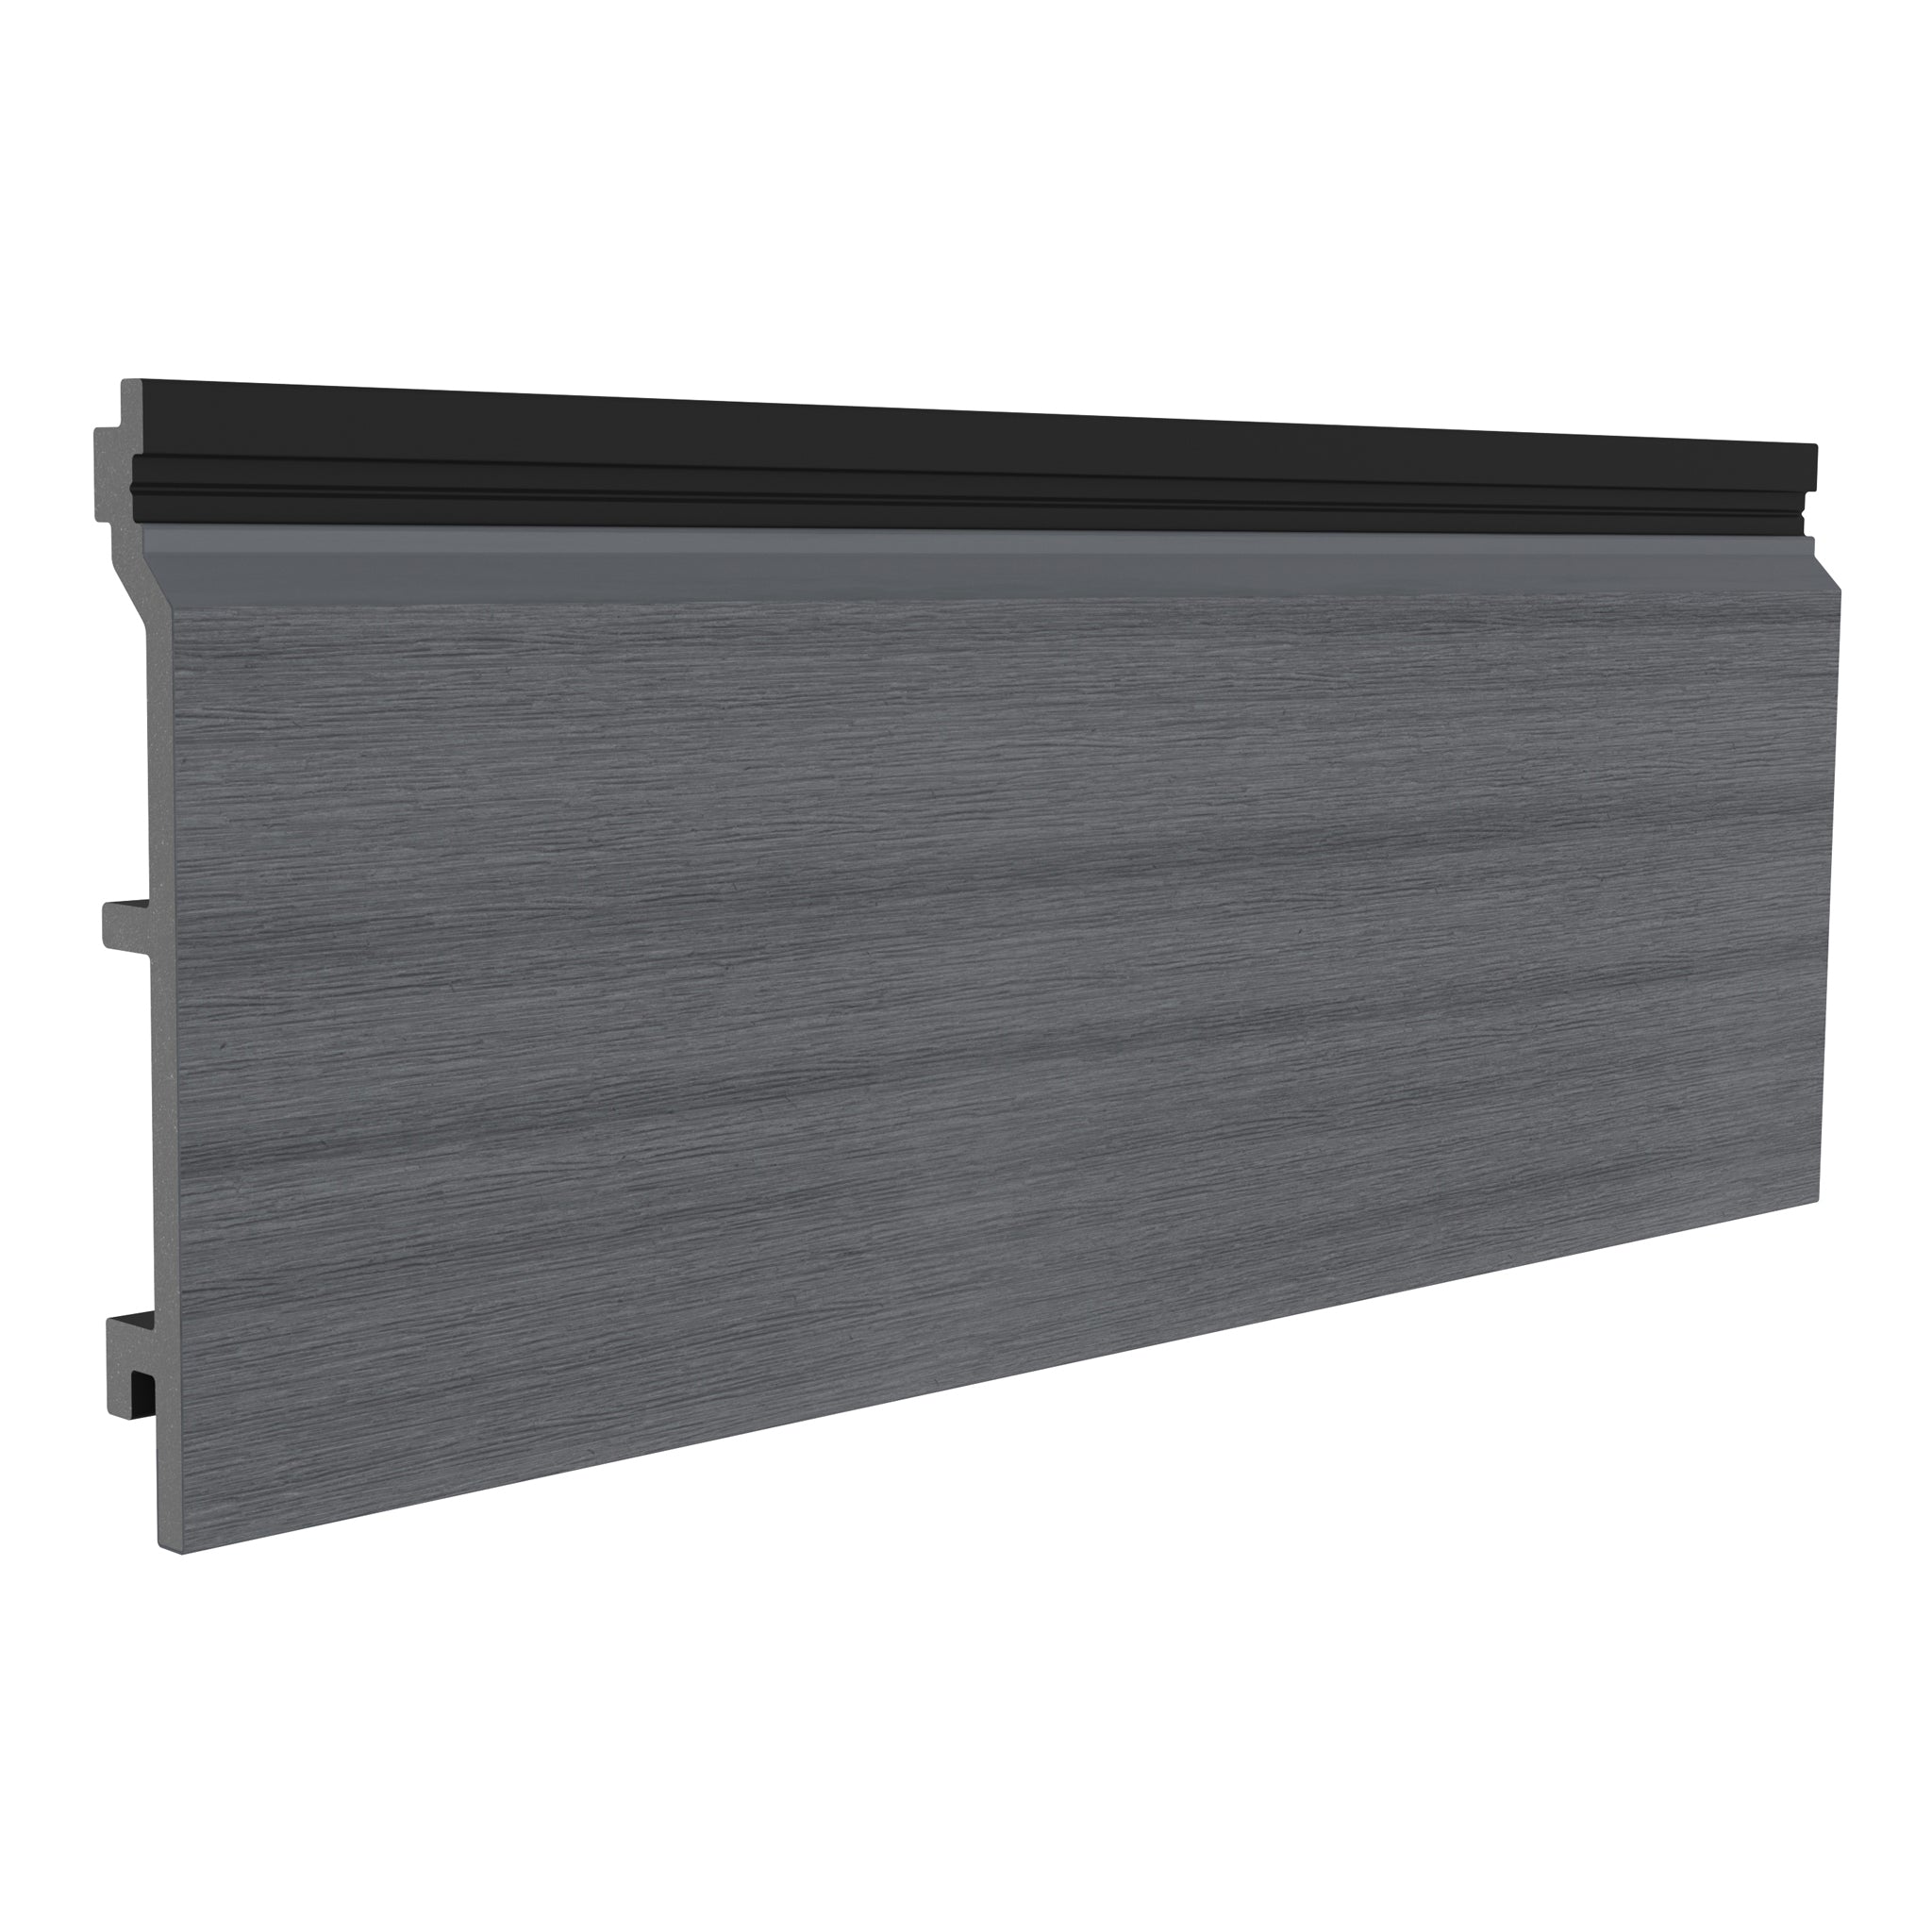
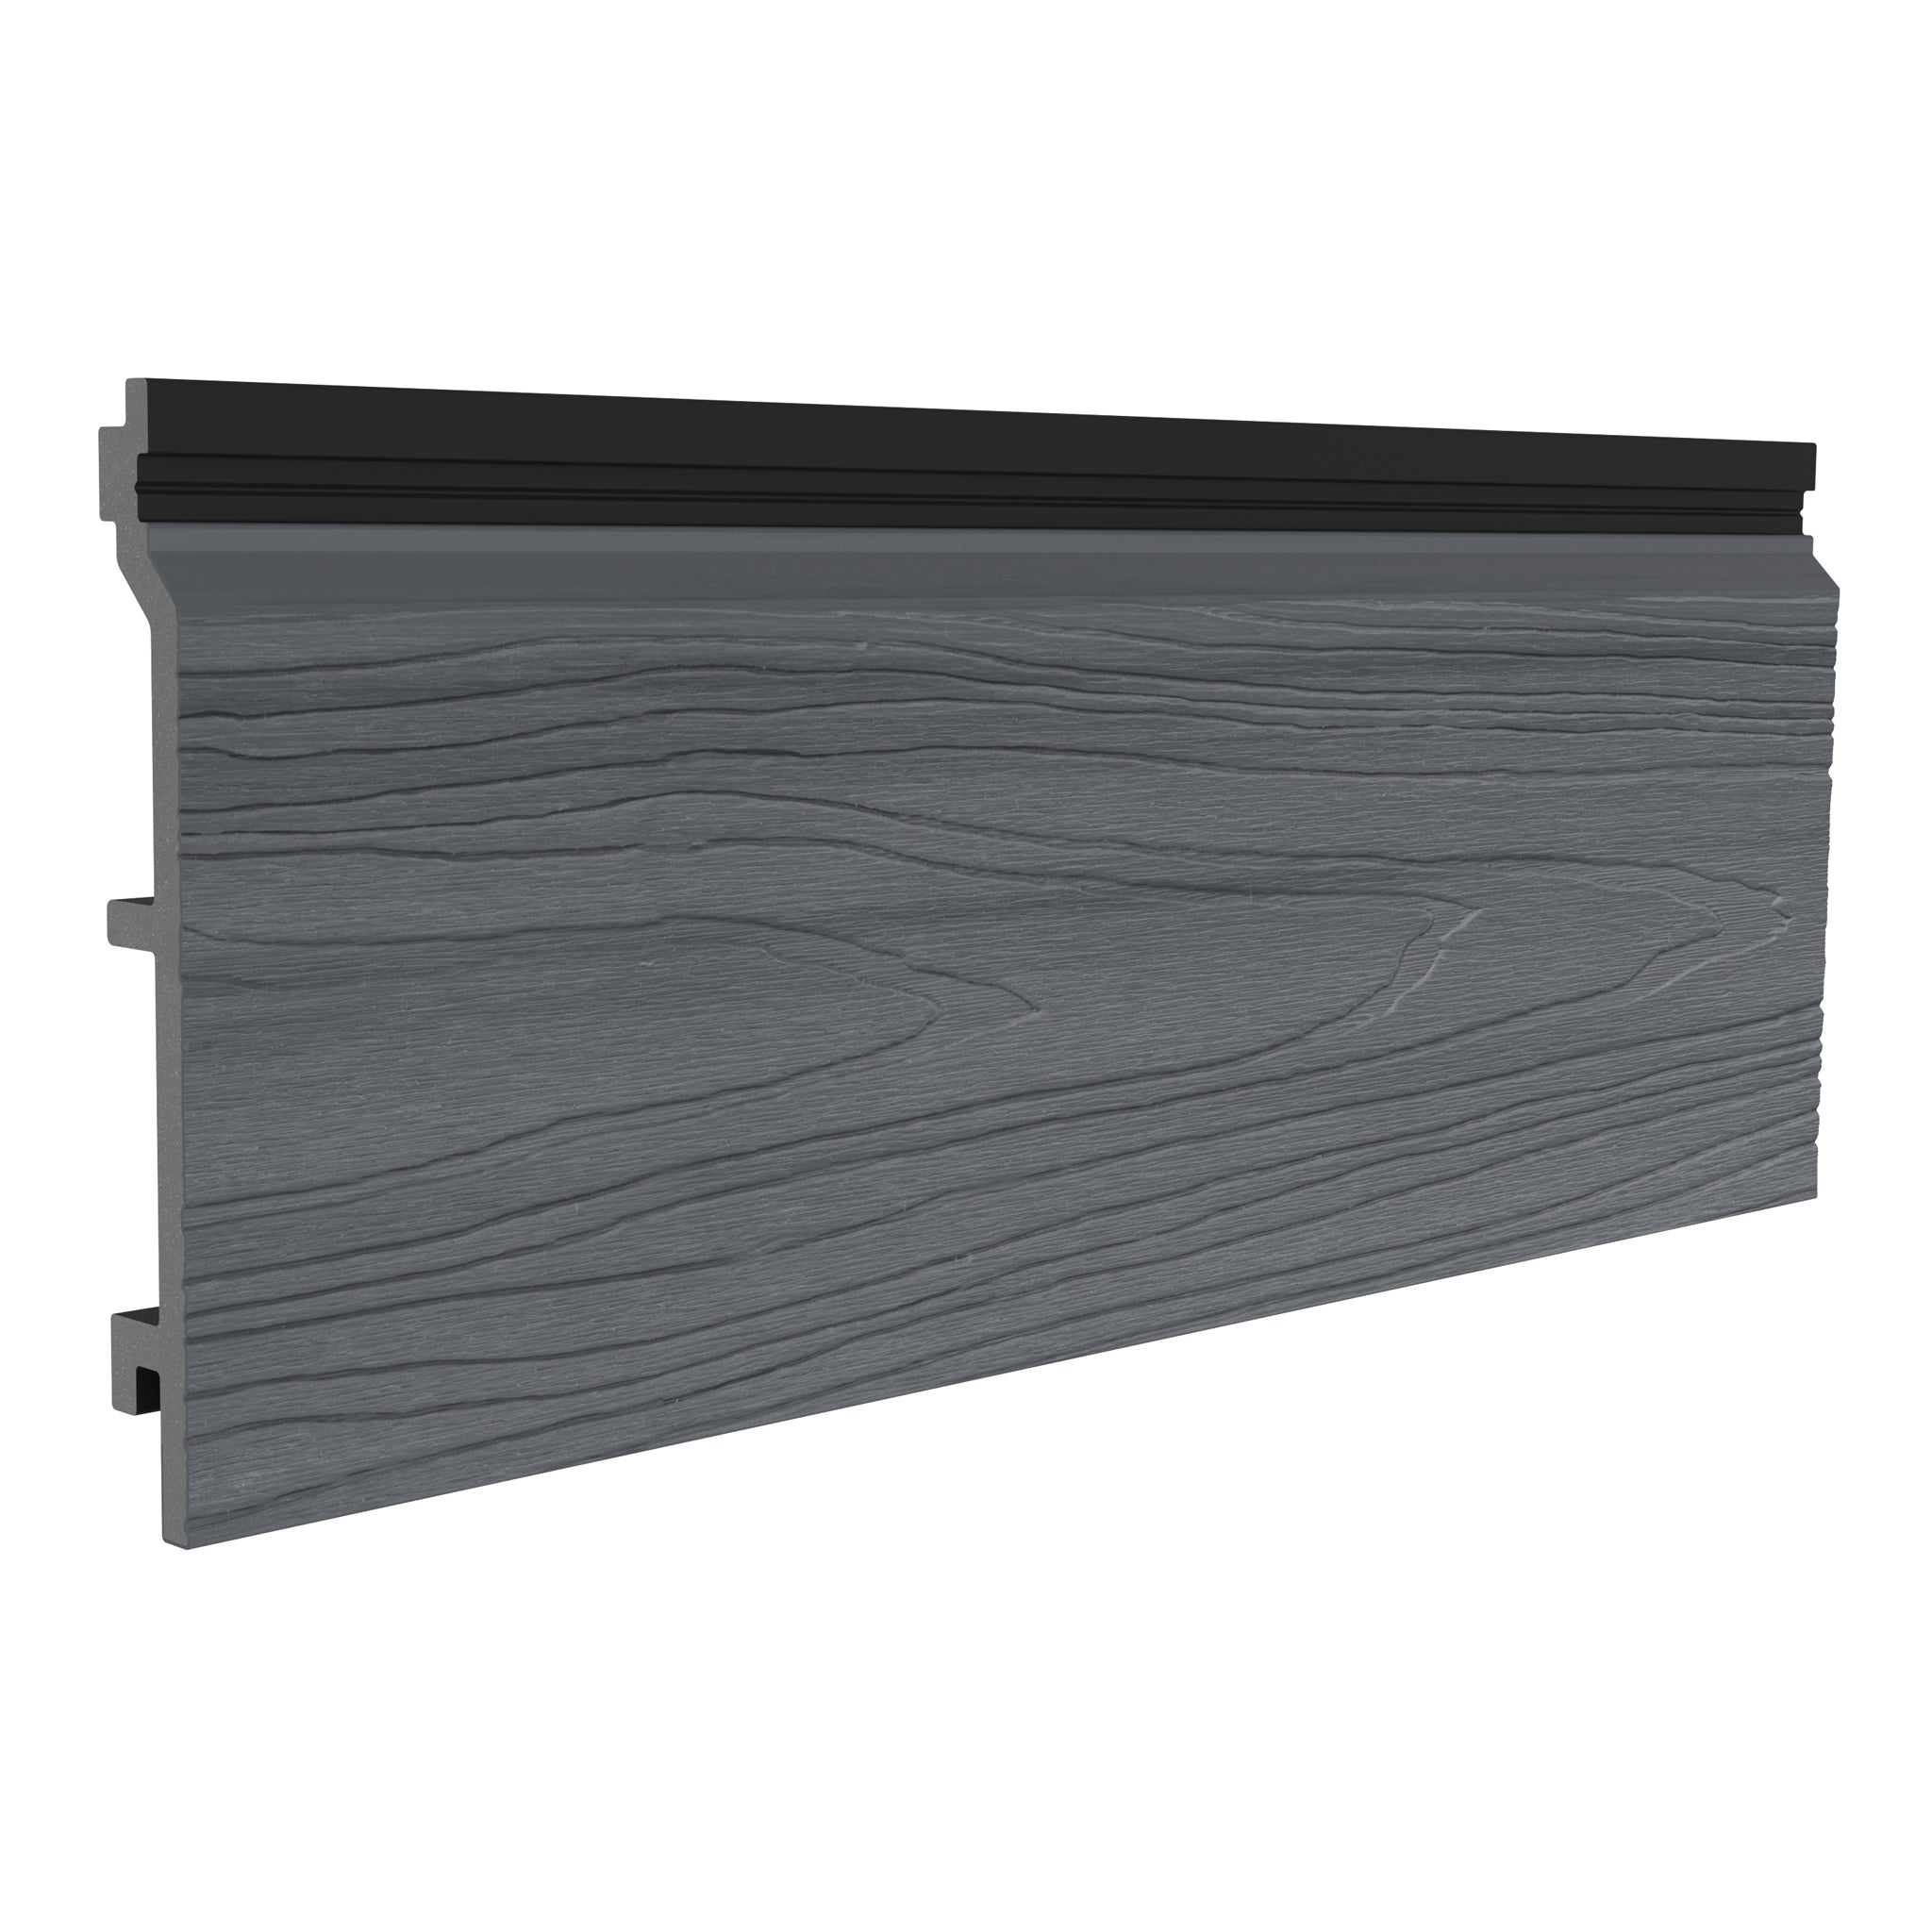
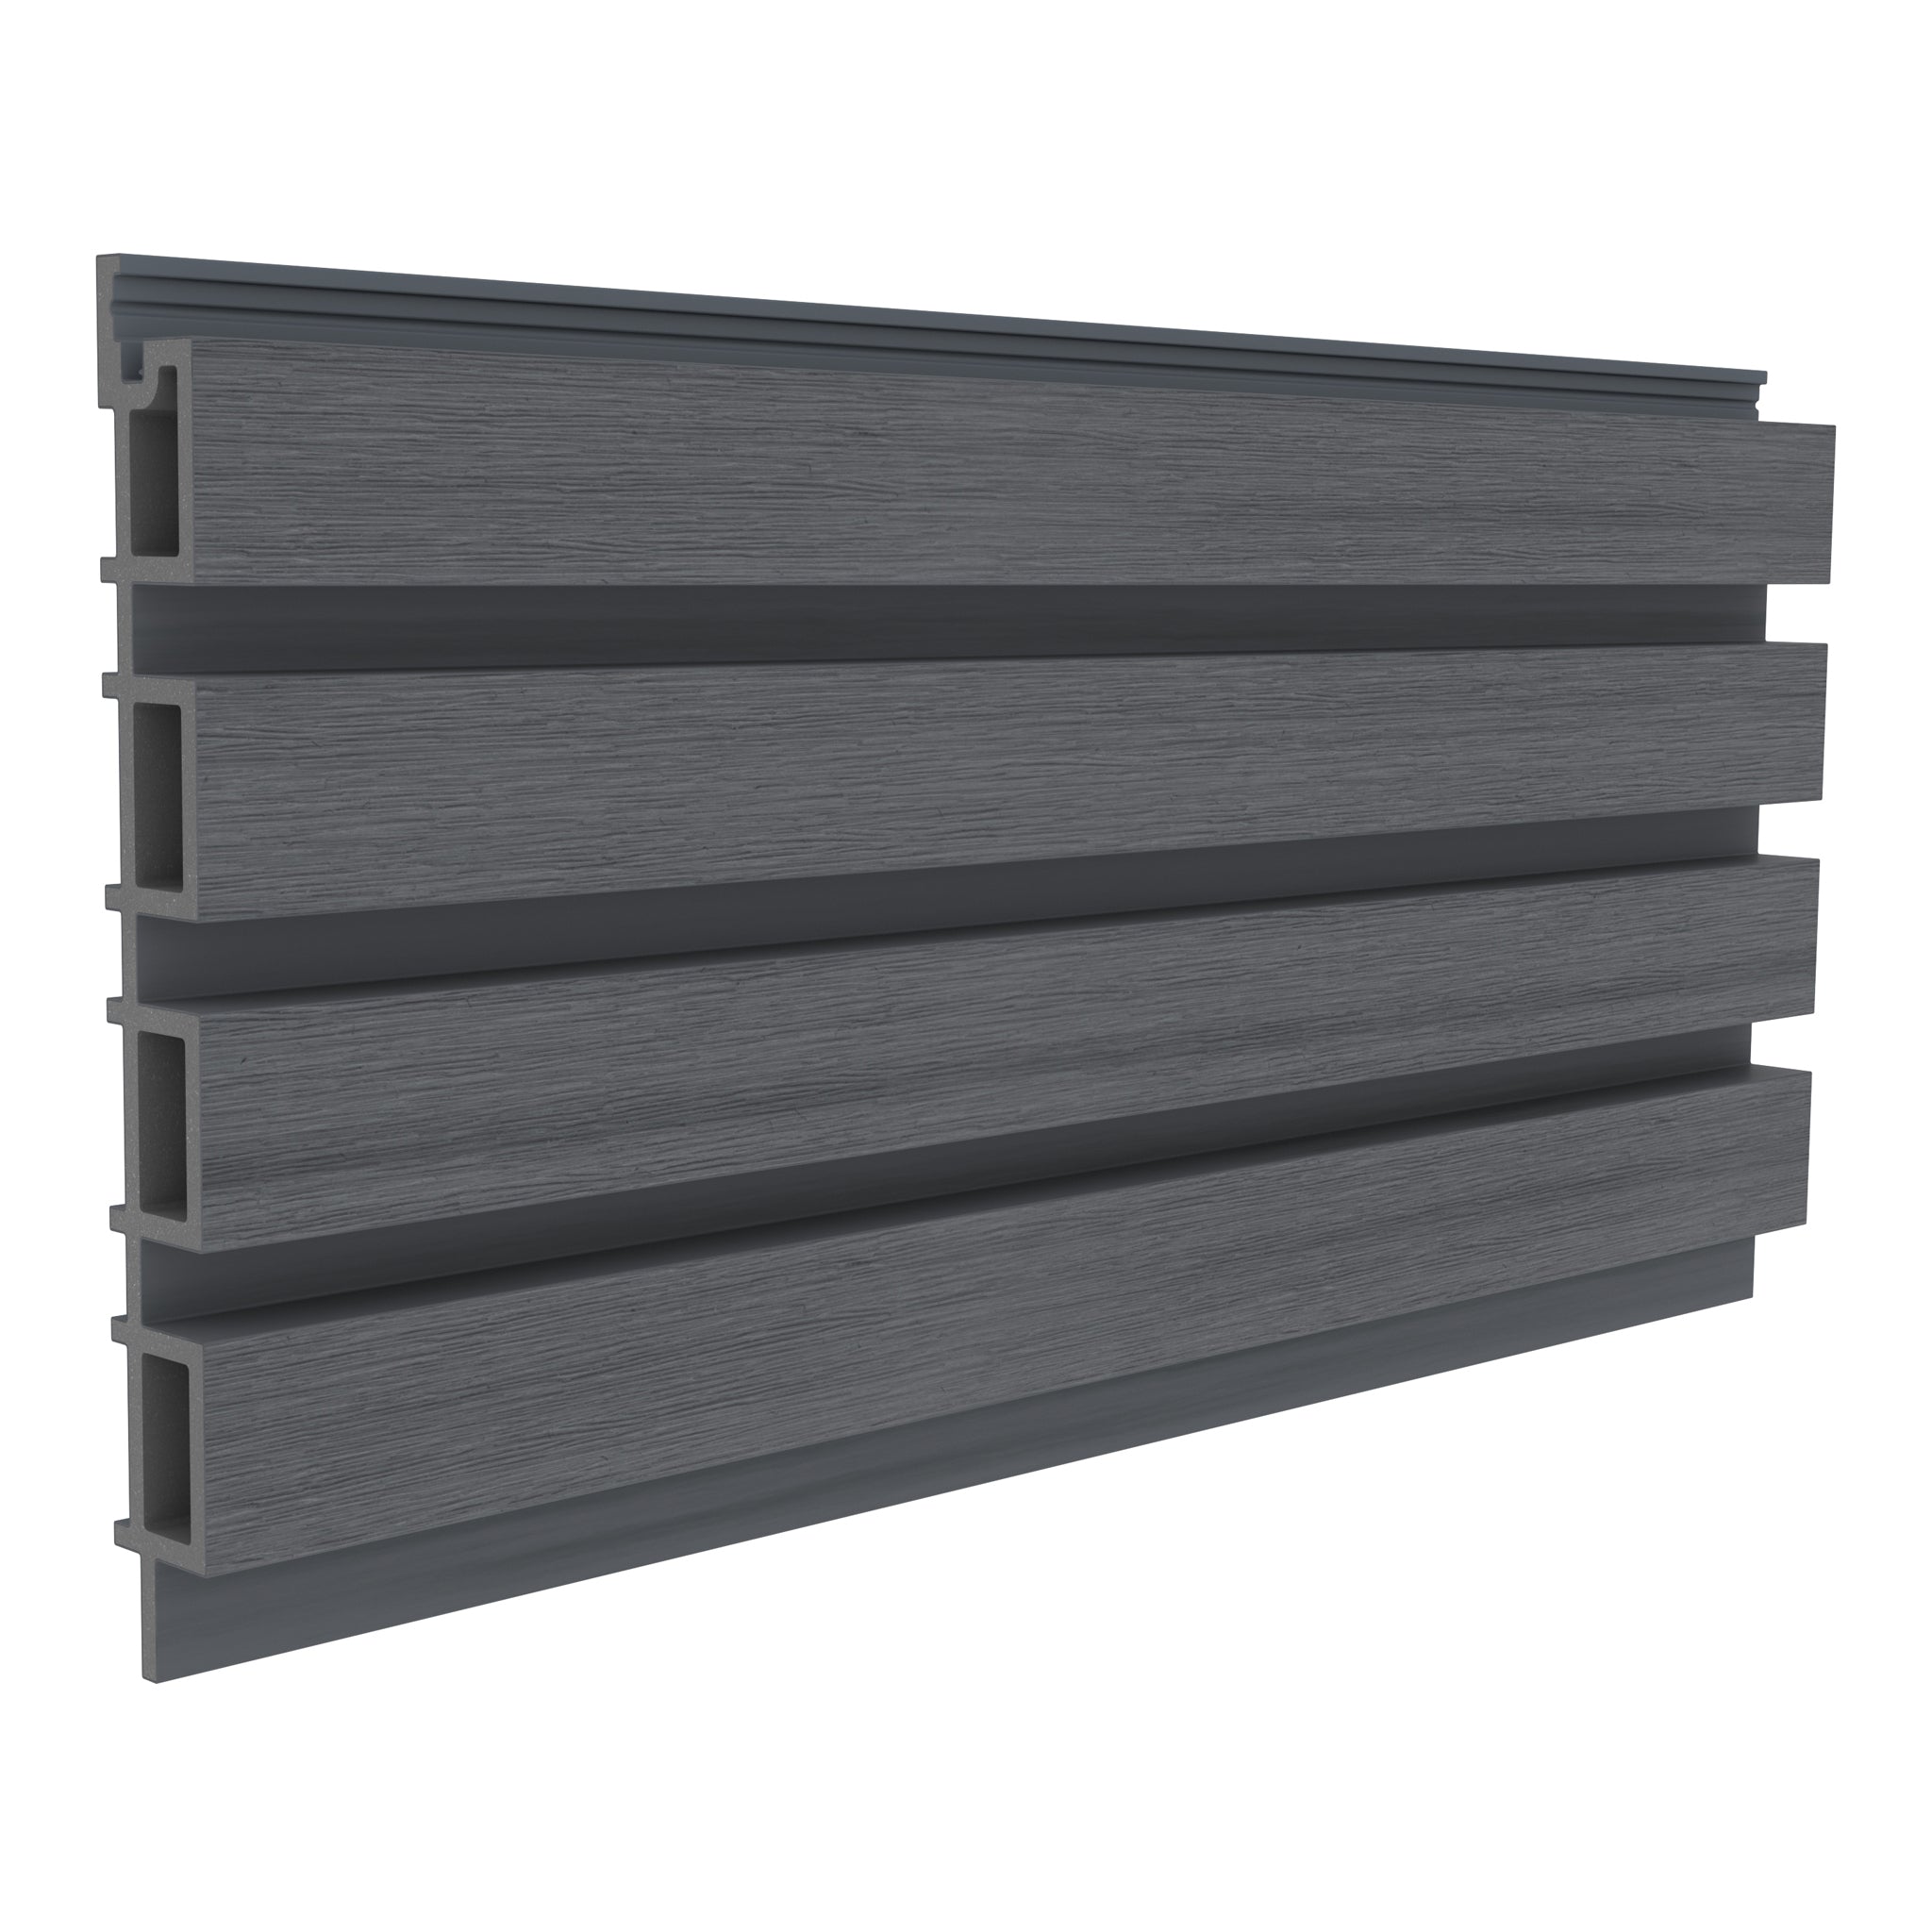
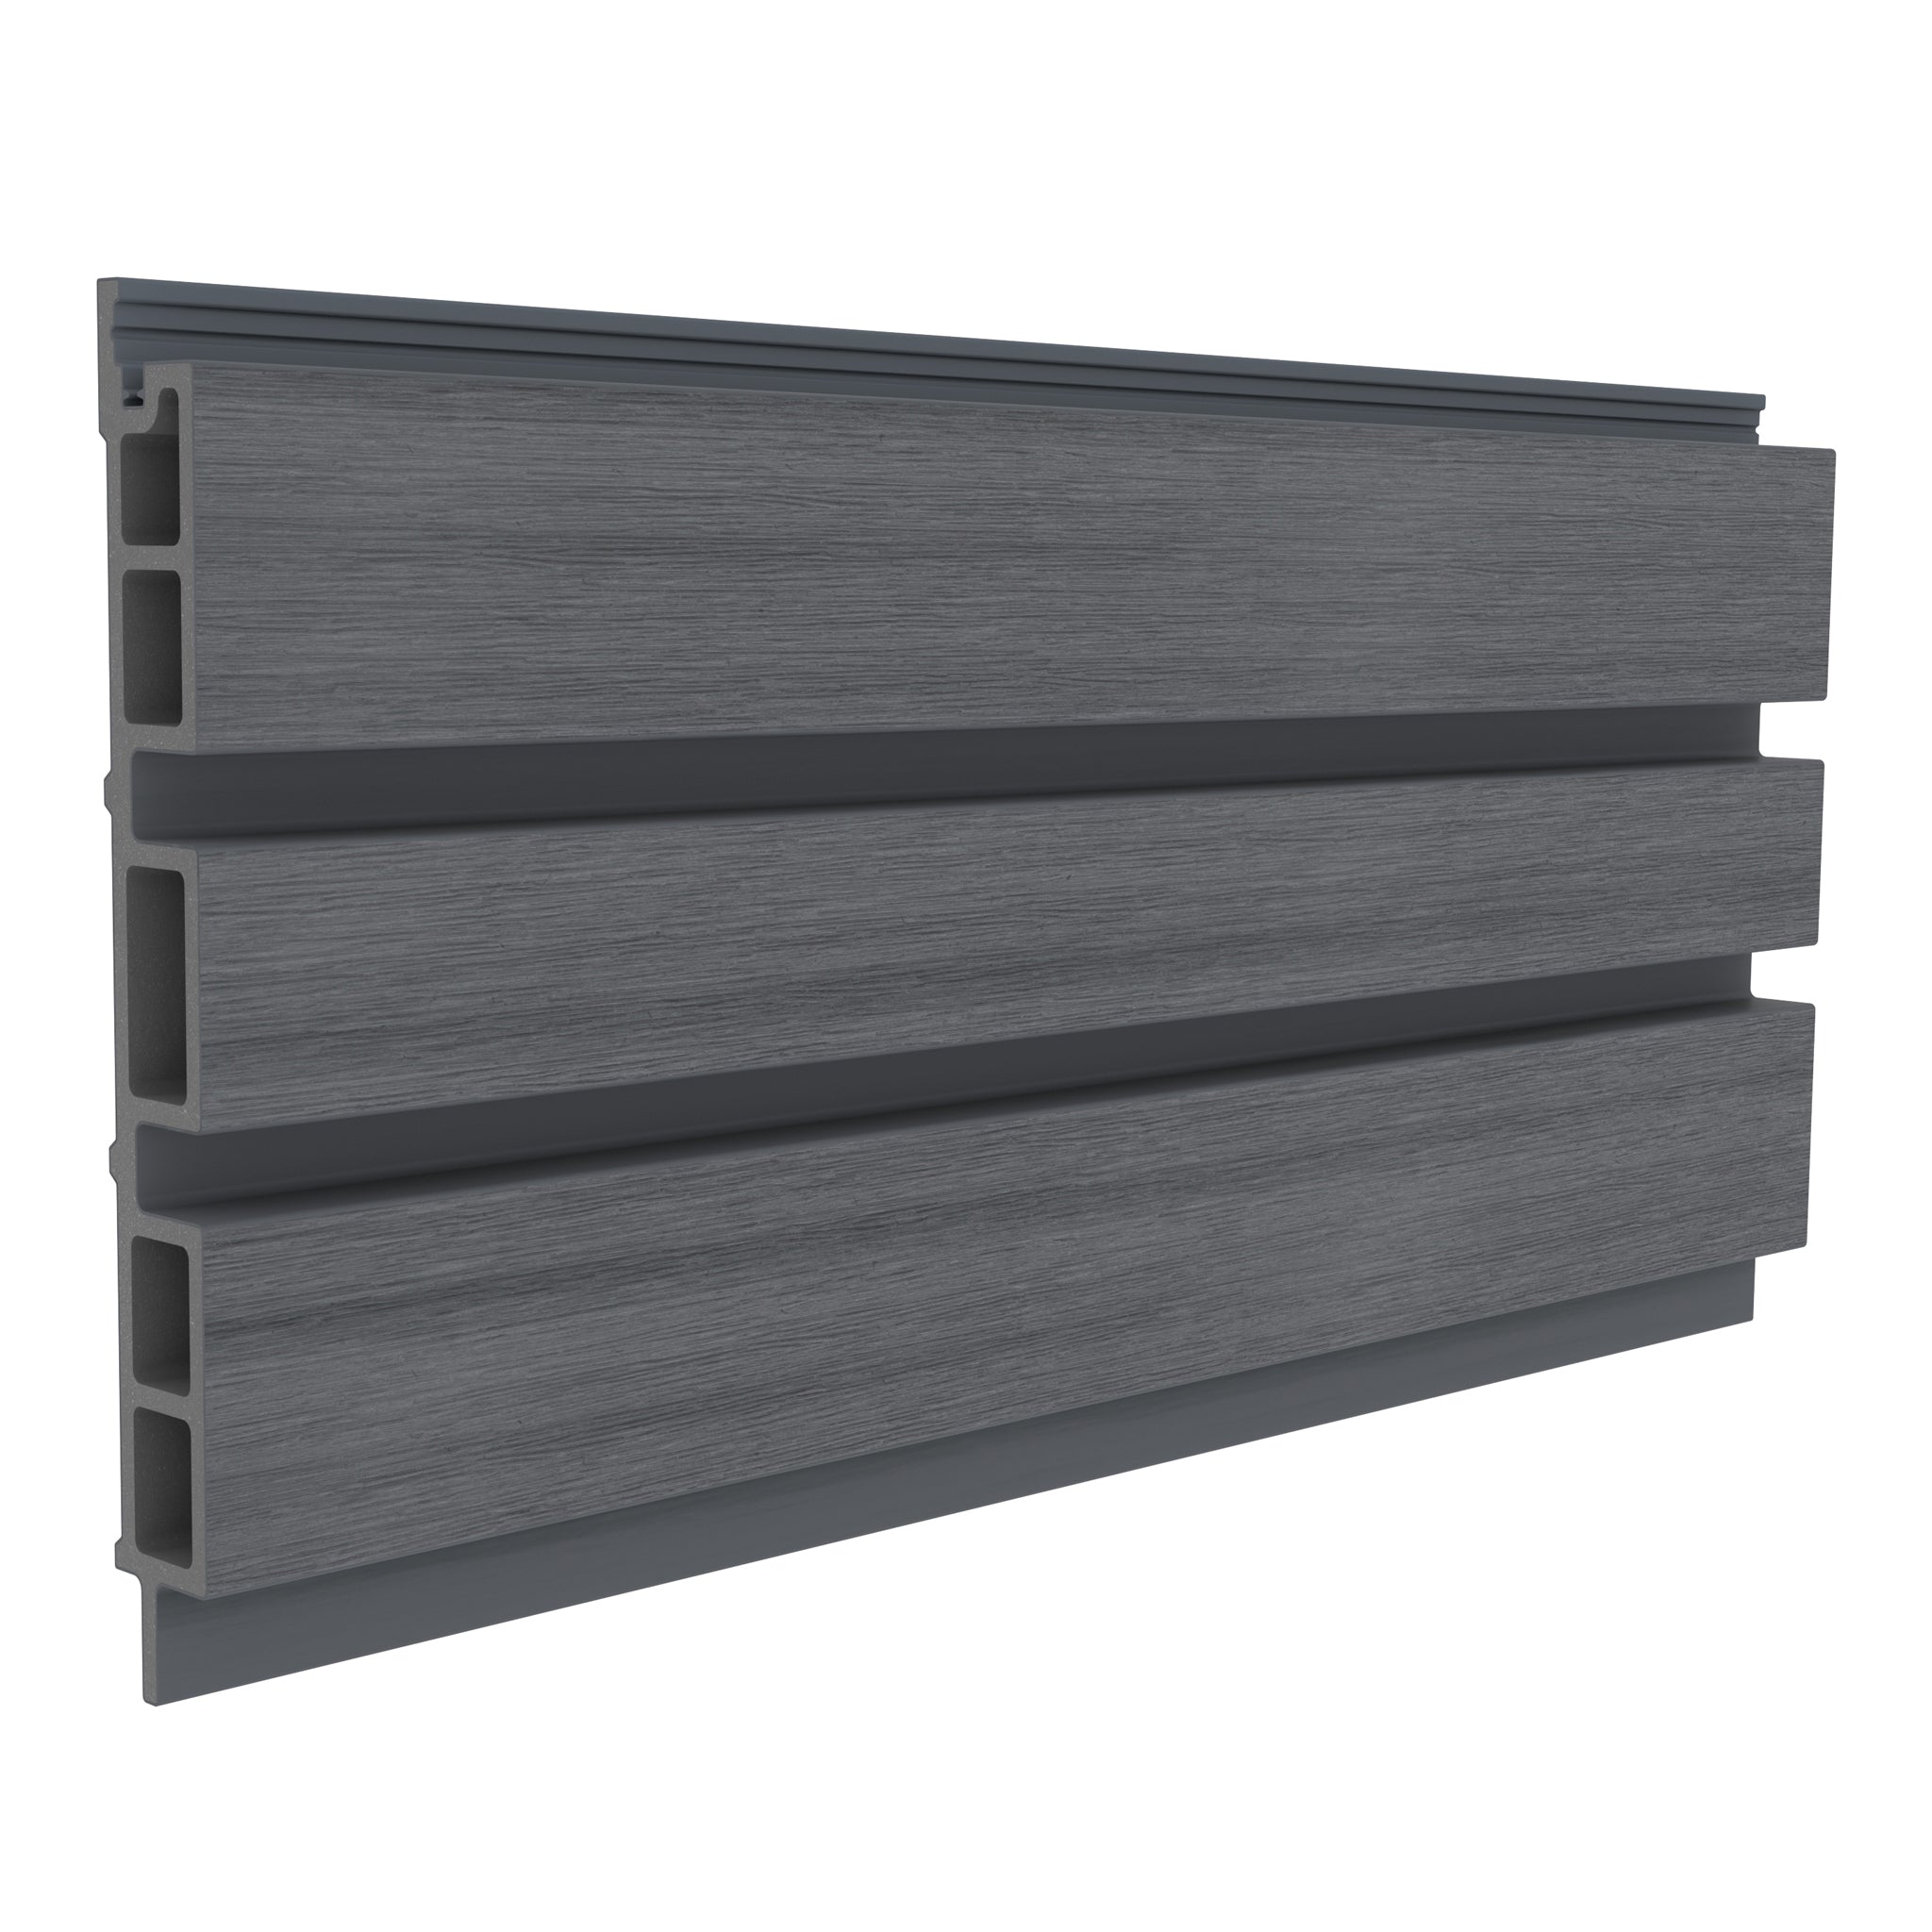
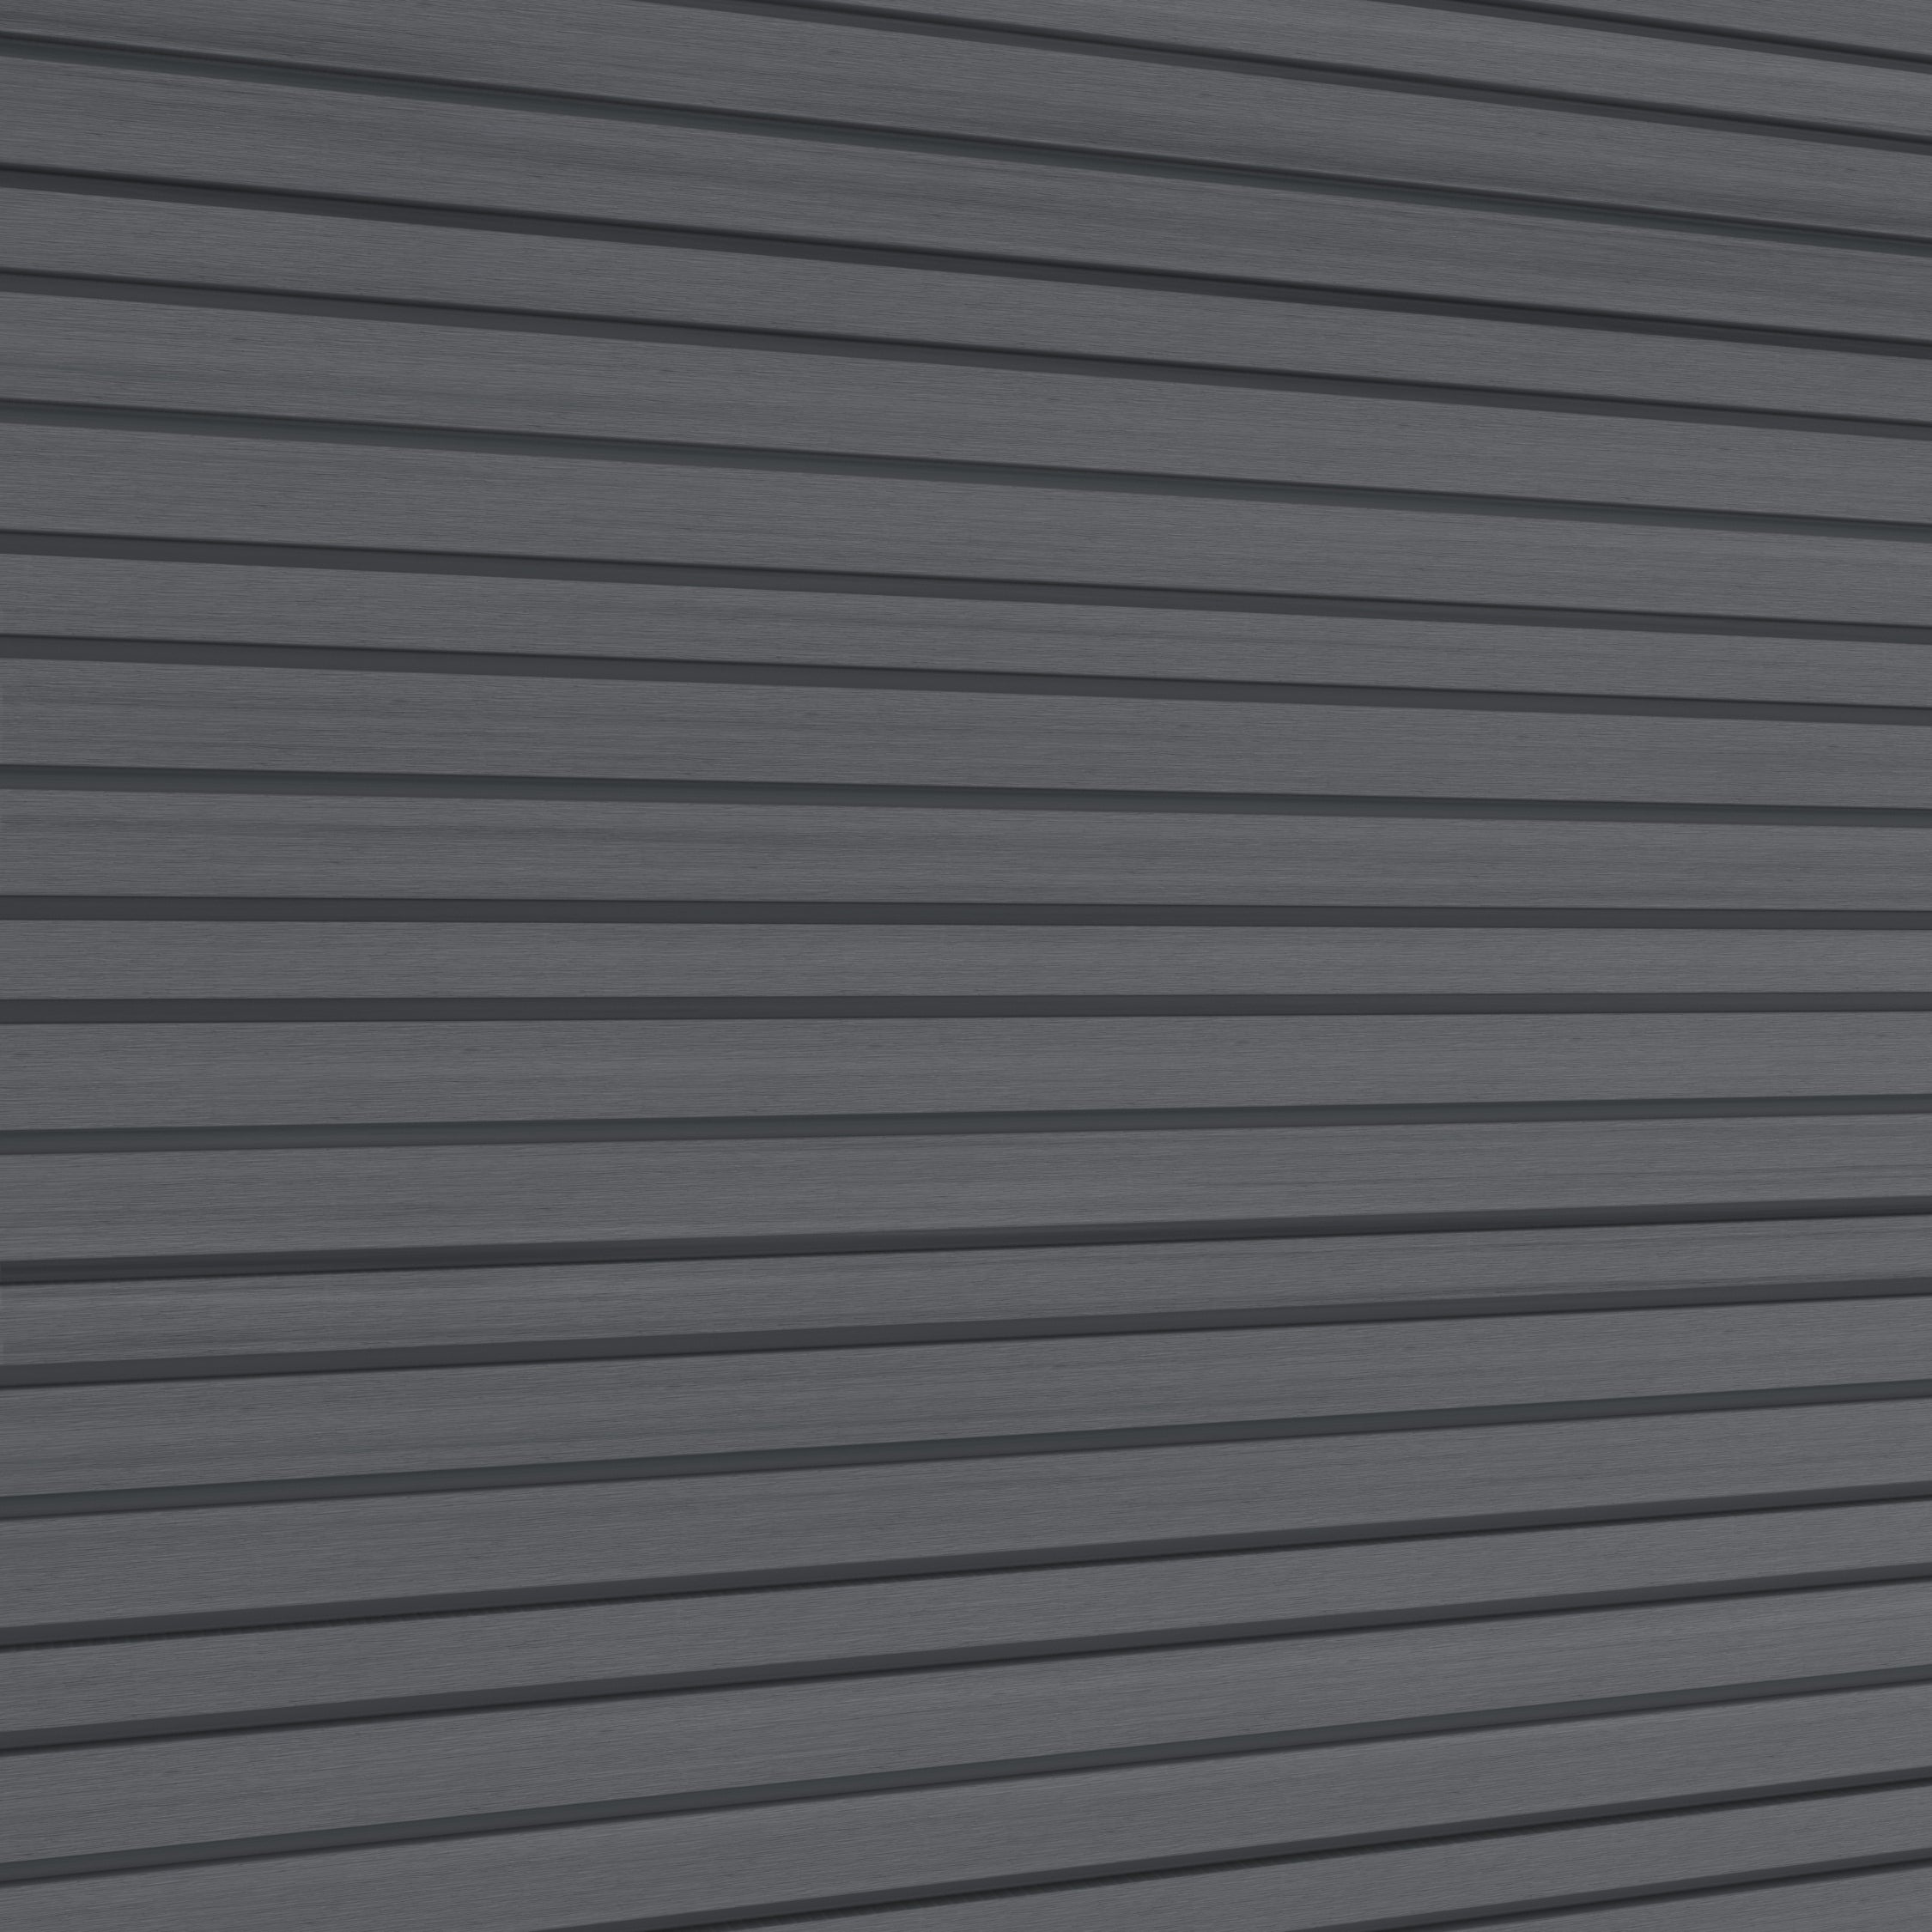
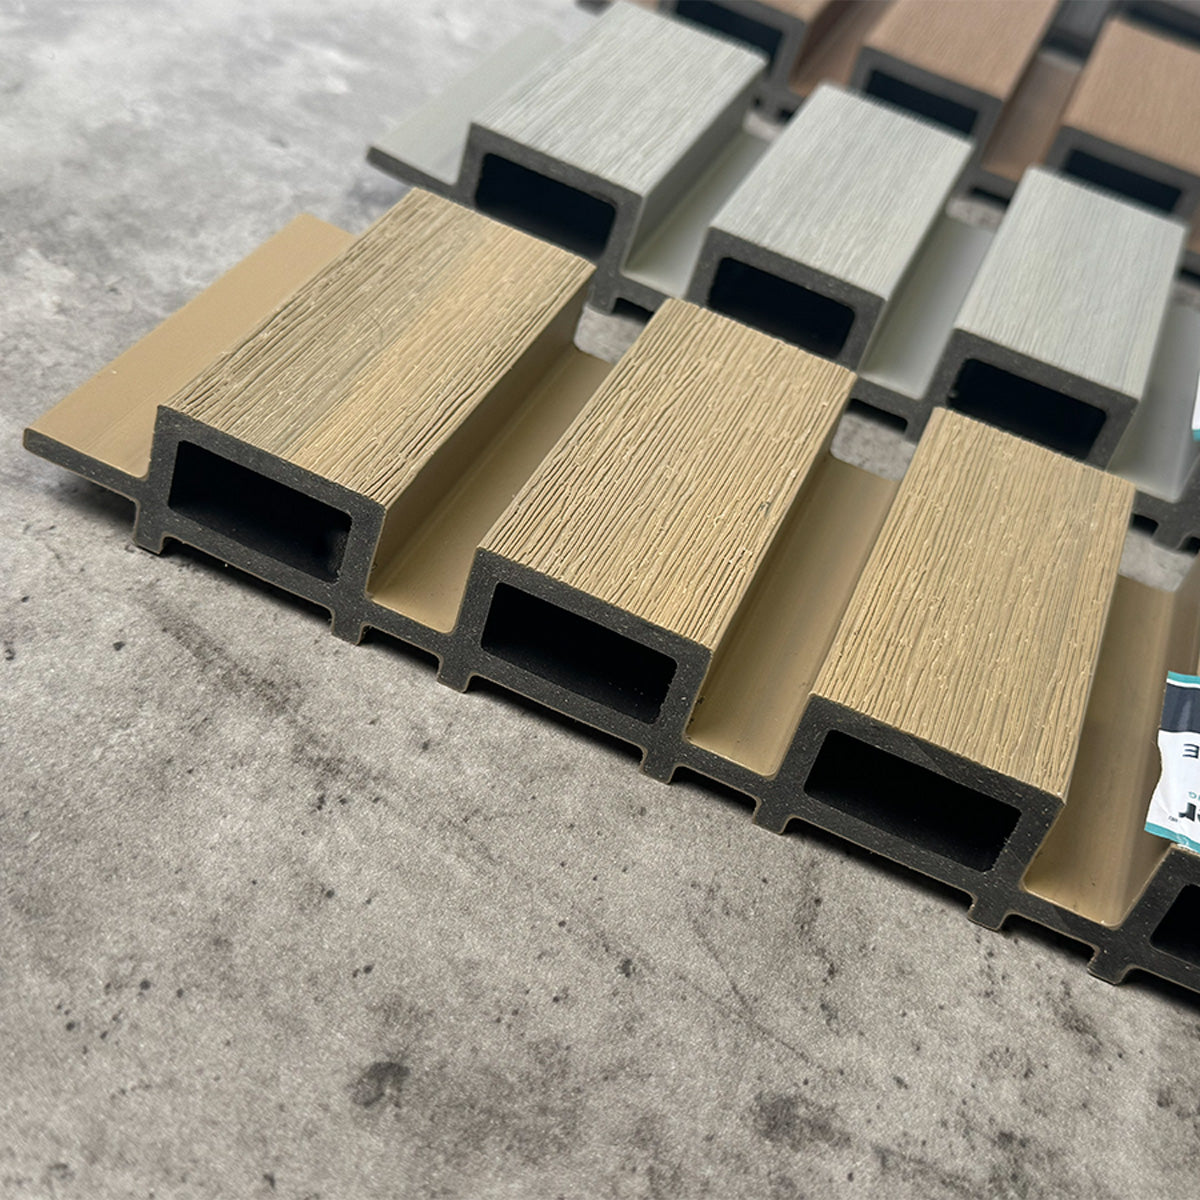
Exterior composite wall cladding is an outer finish made using composite boards. NeoTimber’s wood-plastic composite cladding combines wood fibres with plastic polymers and is available in different profiles and surfaces.
The terms “siding” and “cladding” describe the exterior-covering function. They do not independently establish a product's suitability, so check the exact range and the requirements of your building before ordering.
Explore the NeoTimber® composite cladding collection to compare finishes.
Before You Start: Assess the Wall and Project Requirements
Cladding changes the visible surface; it is not a repair for unstable masonry, damp or other unresolved defects. Assess the supporting wall and complete necessary repairs before covering it.
Confirm the selected product's suitability for the building and intended use, including relevant fire-performance requirements. Check any planning or building-control requirements applicable to the work.
Where the project includes moisture-control layers, insulation or complex junctions, have the complete construction specified. Avoid adding a generic “vapour membrane” without establishing its purpose, type and position.
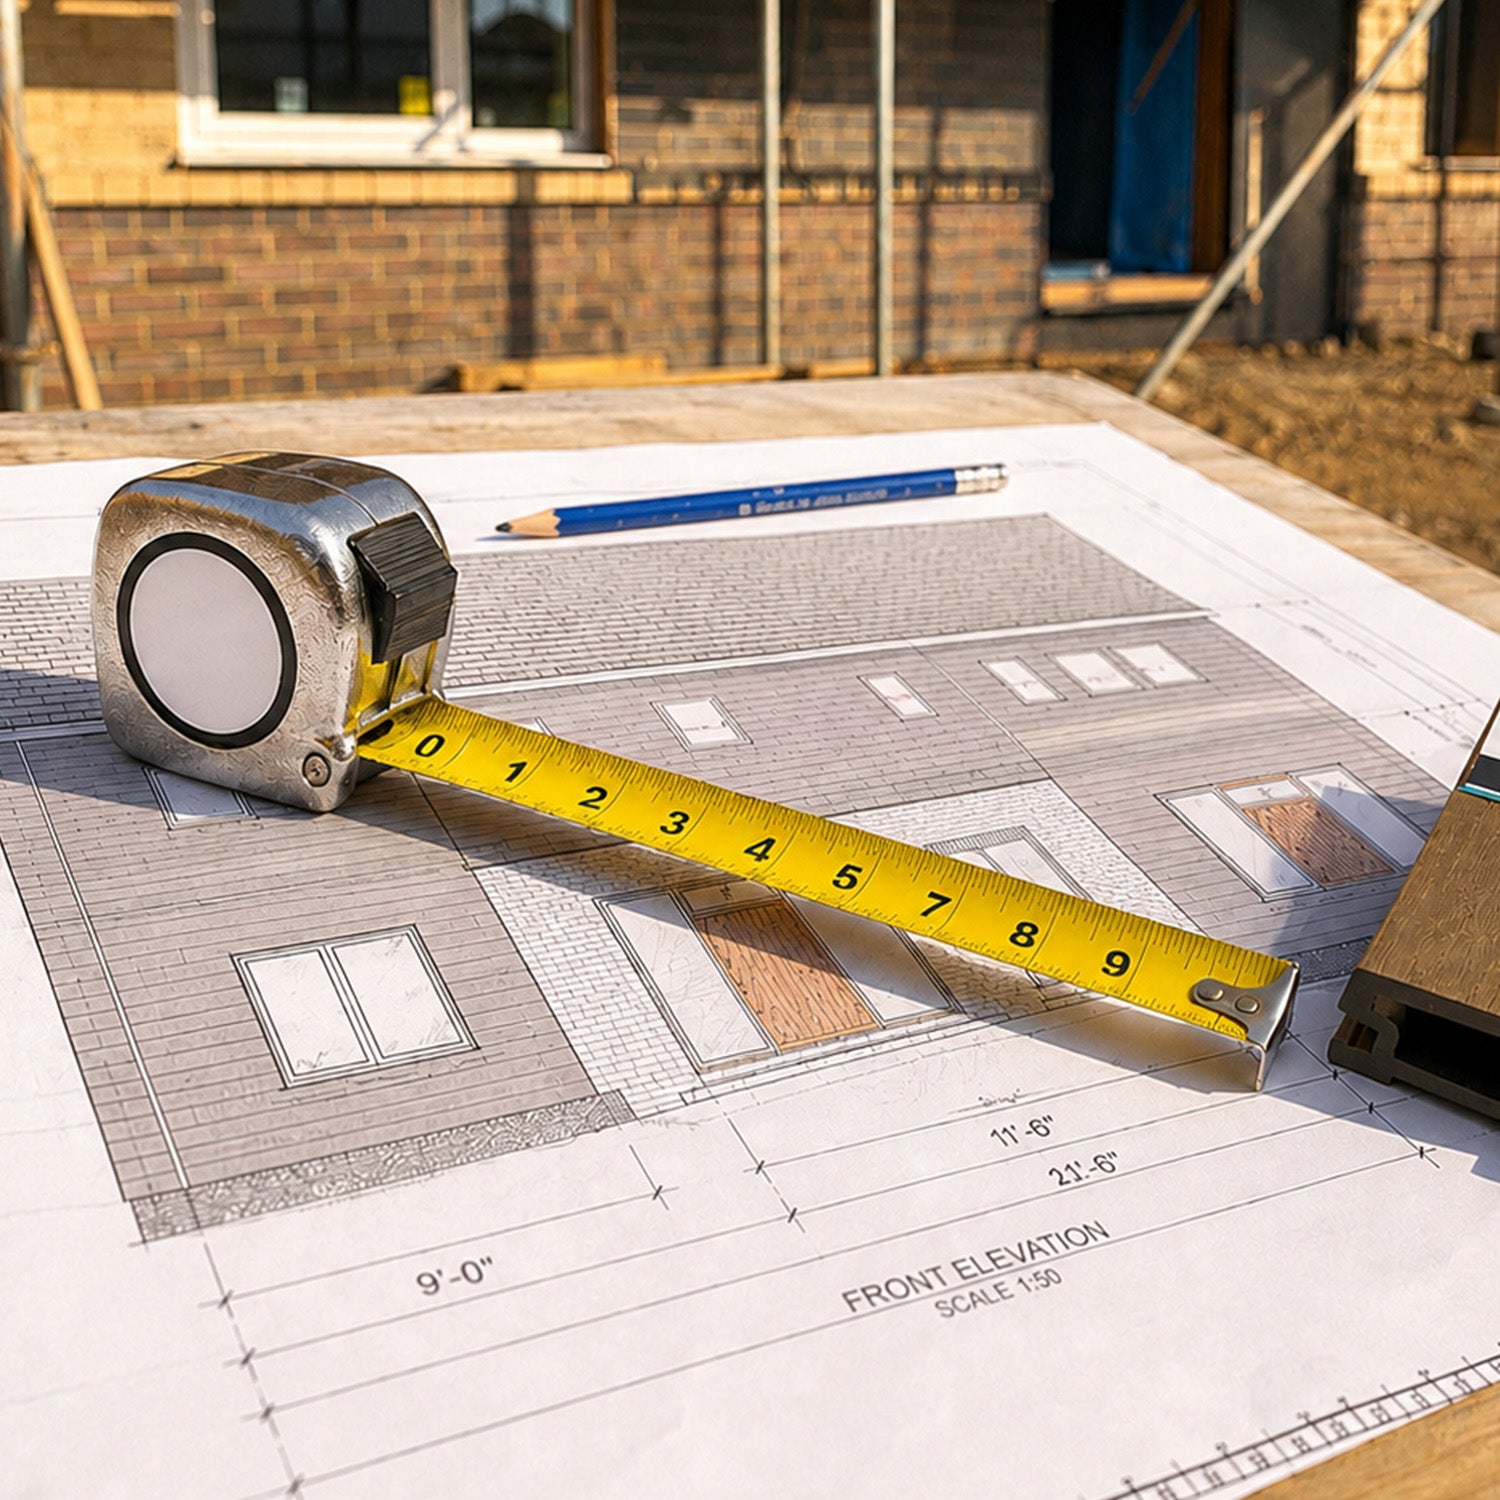
Step 1: Measure and Plan Your Exterior Composite Siding
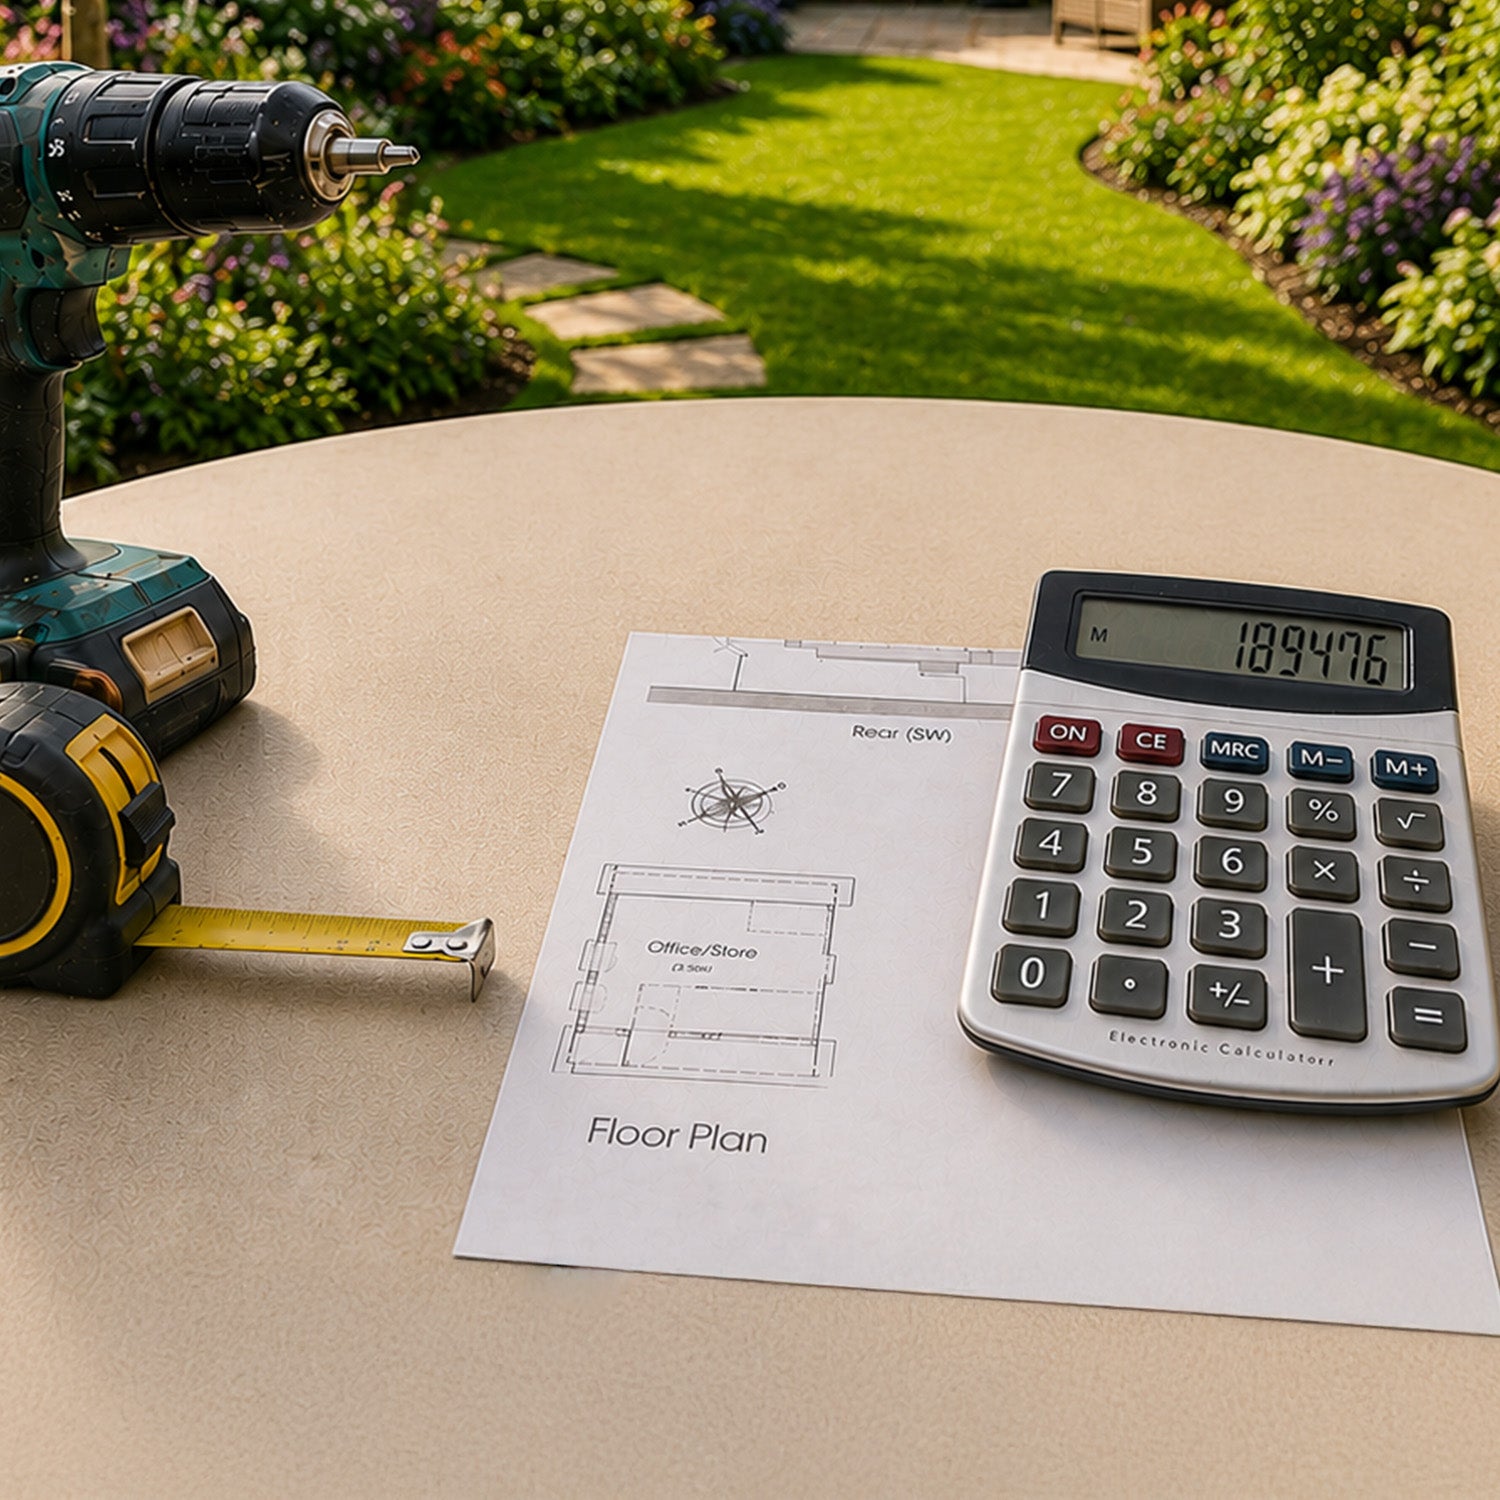
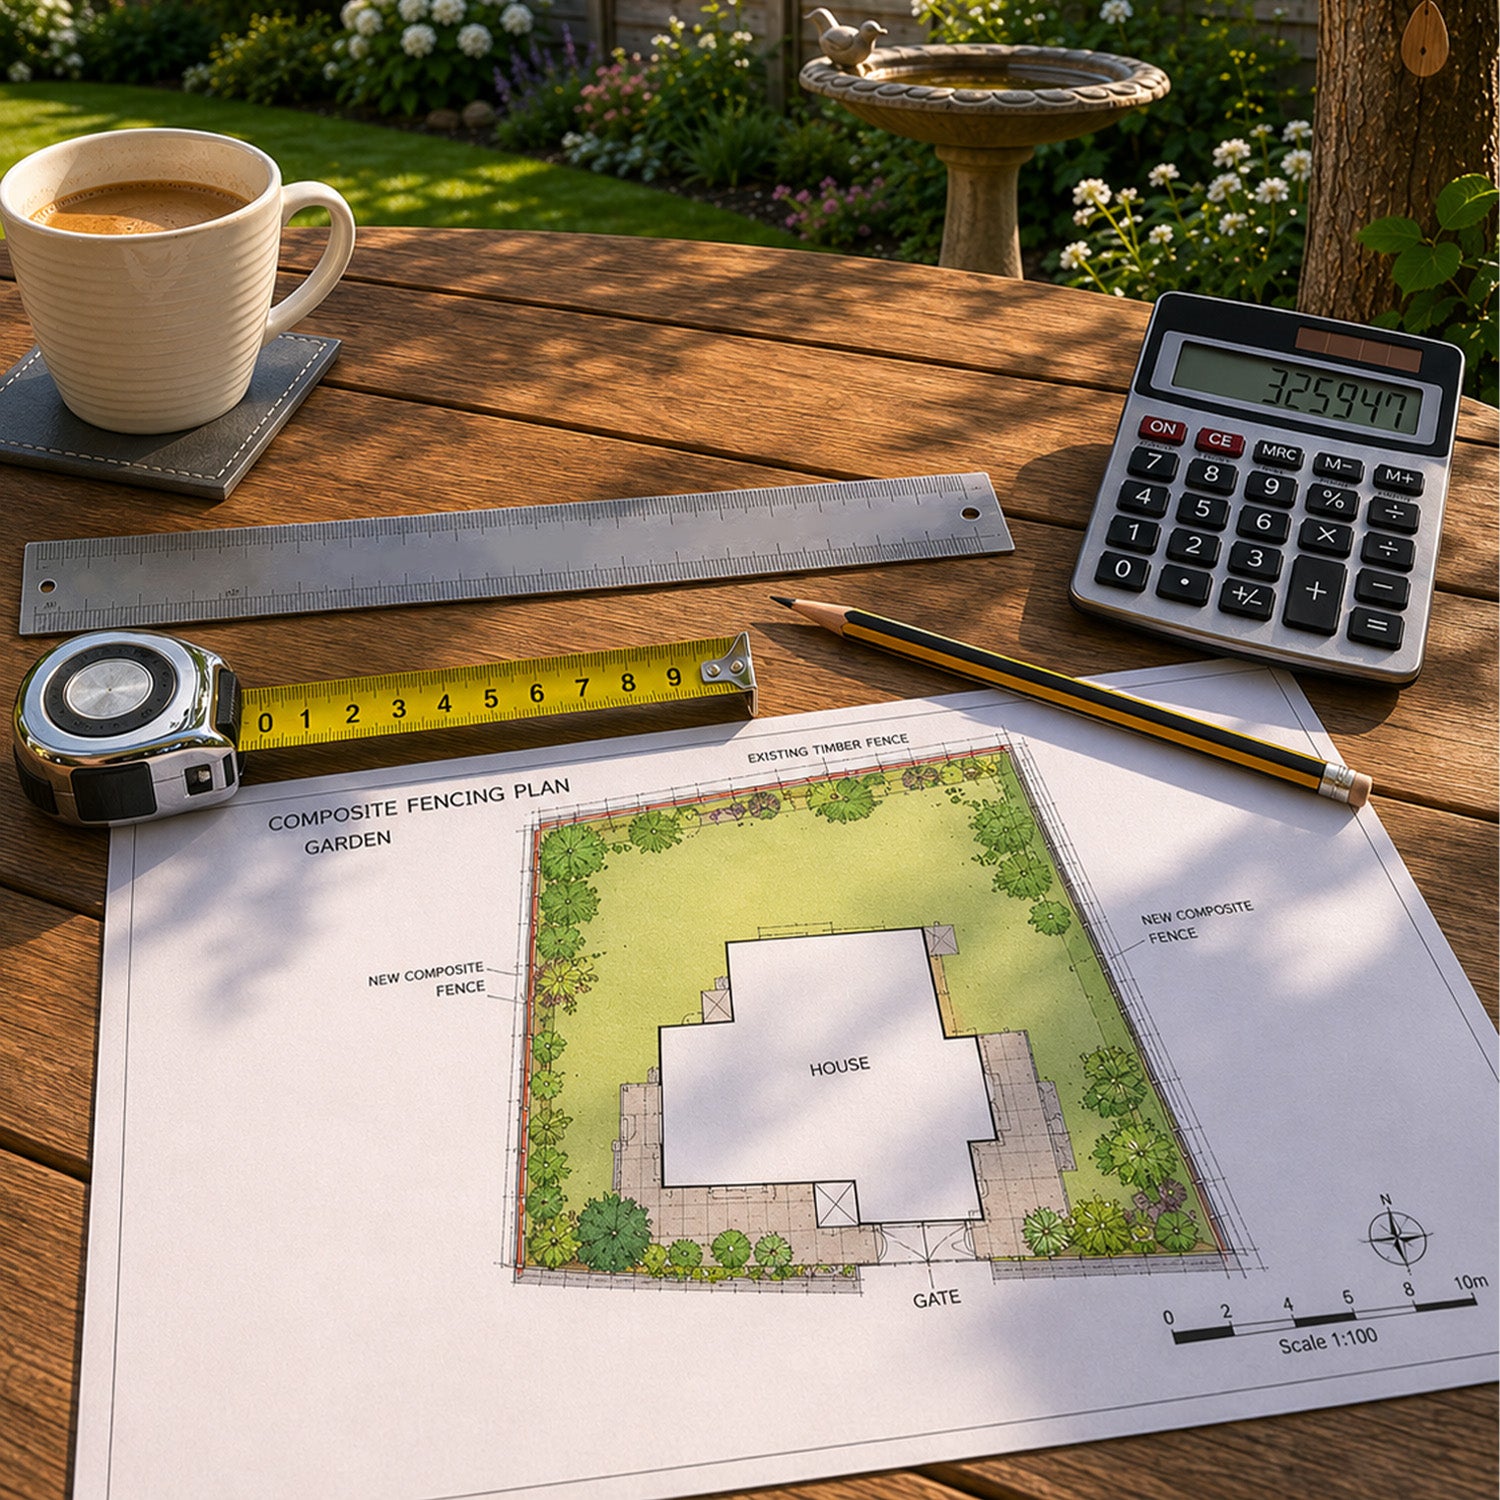
Measure each elevation and record doors, windows, corners and other features. For a simple rectangular wall, multiply its width by its height: a wall 4 metres wide and 3 metres high has a gross area of 12 square metres.
Area alone does not determine the complete order. Board direction, joints, cutting waste and finishing accessories also affect the materials required.
Use the NeoTimber® cladding calculator as a planning aid, then check the estimate against your layout. Confirm whether the quoted total includes framework, fixings, trims, delivery and labour.

Step 2: Prepare a Suitable Subframe
The supporting framework establishes the plane of the finished wall and provides the fixing points for the boards. Its material, attachments and layout must suit the selected system and supporting structure.
Do not assume one framework material is always cheapest or most durable. Compare suitable options against the project requirements. NeoTimber’s composite cladding joist is an option to investigate where its specified use fits the design.
Follow the subframe installation guide for spacing, alignment and orientation. Confirm the intended drainage and ventilation details, and check the framework before the boards conceal it.

Step 3: Fit the External Composite Cladding Boards
NeoTimber’s fitting method uses starter clips and cladding screws. For a horizontal layout, establish a level starting line, position the starter clips and engage the first board. Secure it using the specified method, then continue fitting successive boards.
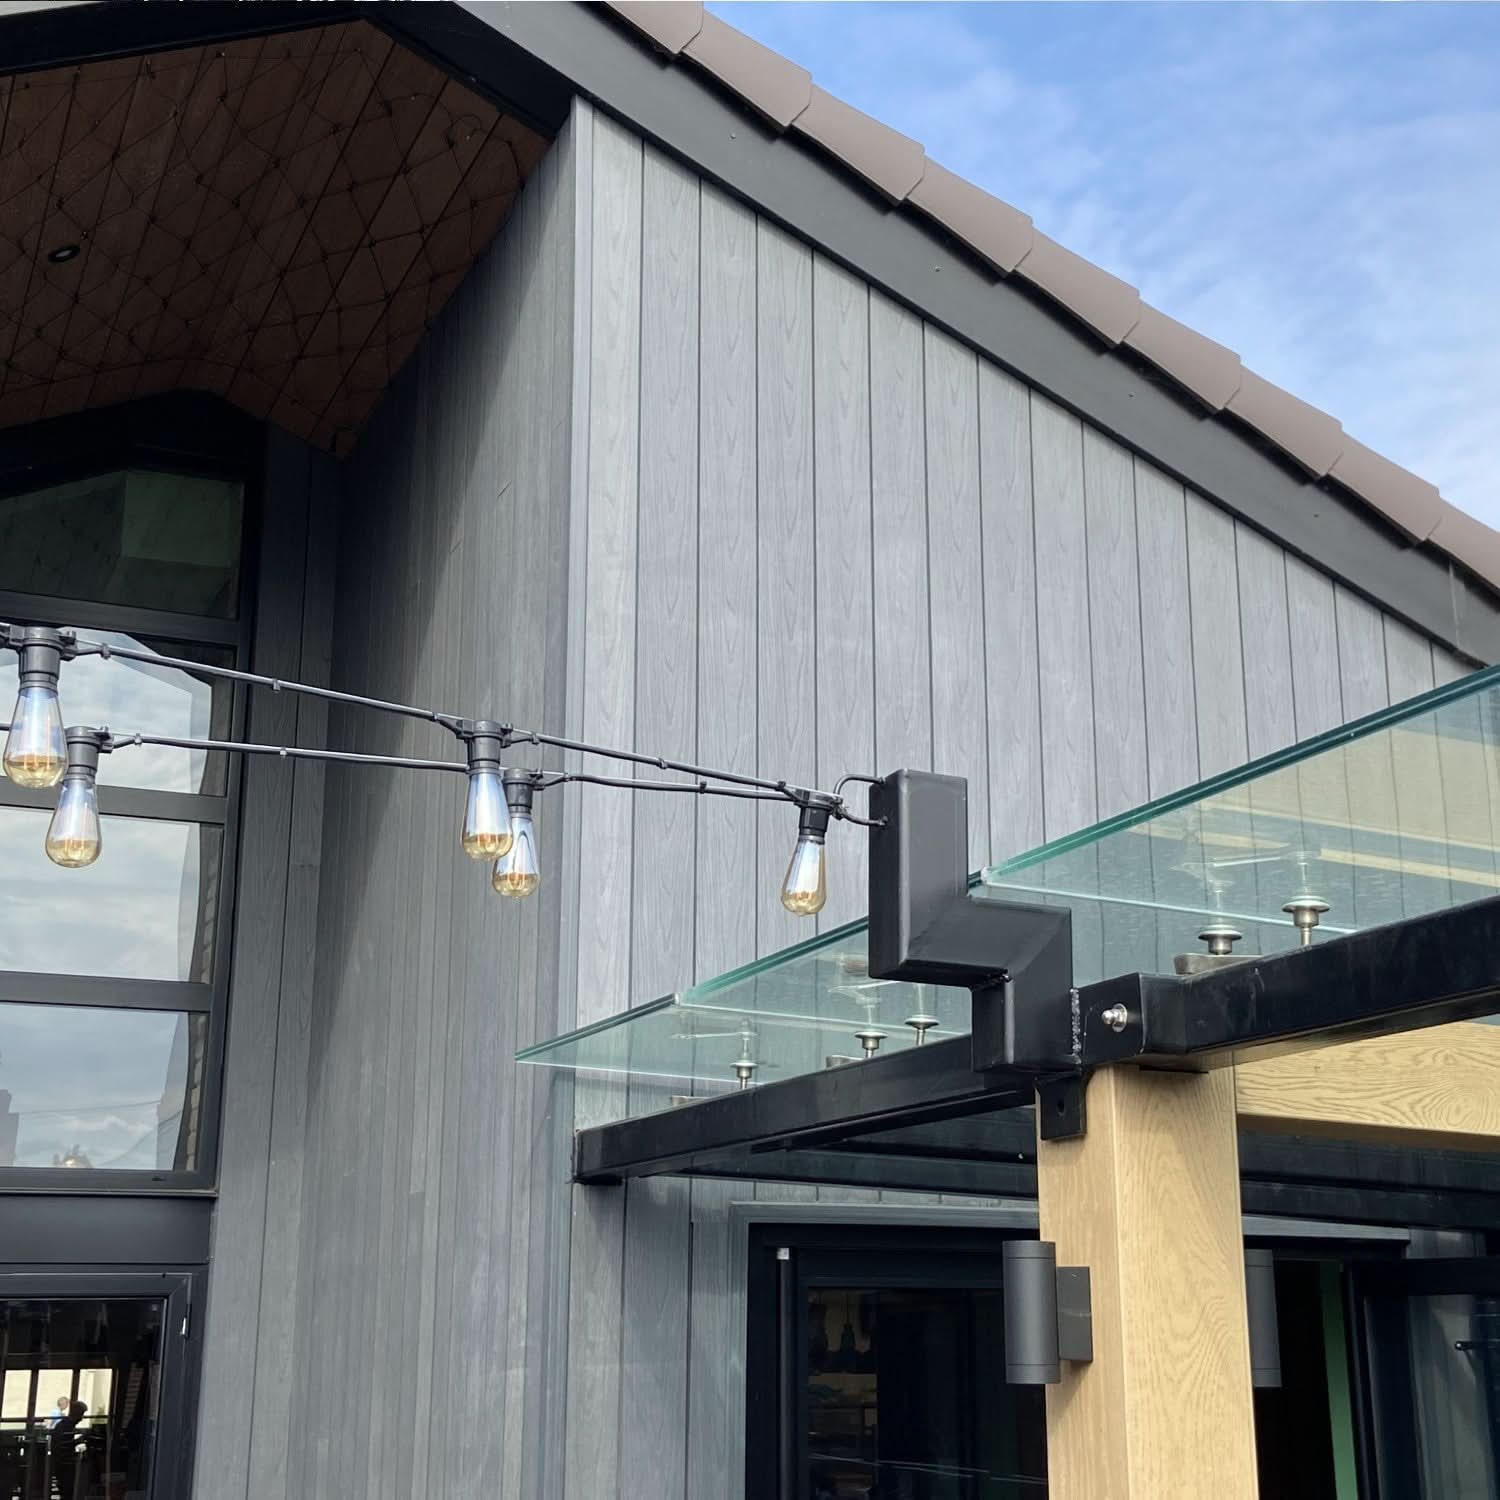
Use the board-fitting guide for pilot holes, fixing locations and support requirements. Vertical installation has its own starting and framework details, so consult the relevant instructions.
Plan the cuts around openings and the final board before reaching them. Use the documented fixing details for cut sections rather than assuming they can be secured like a full board.

Allow for Expansion and Contraction
Composite boards respond to temperature changes. Follow the pre-installation guidance for preparation and movement allowances.
A pilot hole alone does not accommodate every aspect of movement. End joints, perimeter clearances and fixing details must work together as specified.
Step 4: Complete Corners, Edges and Openings
Finishing details deserve attention during planning. Identify how the cladding will meet corners, windows, doors, eaves and the base of the wall, then order compatible profiles.
NeoTimber’s edging guide explains the available finishing options. Use the specified screws and fitting method; do not assume adhesive is an interchangeable alternative.
Where the junction is not covered by a standard detail, seek advice before fitting. Neat trims do not replace the need for appropriate weather detailing behind them.

Choose the Appearance You Want Over Time
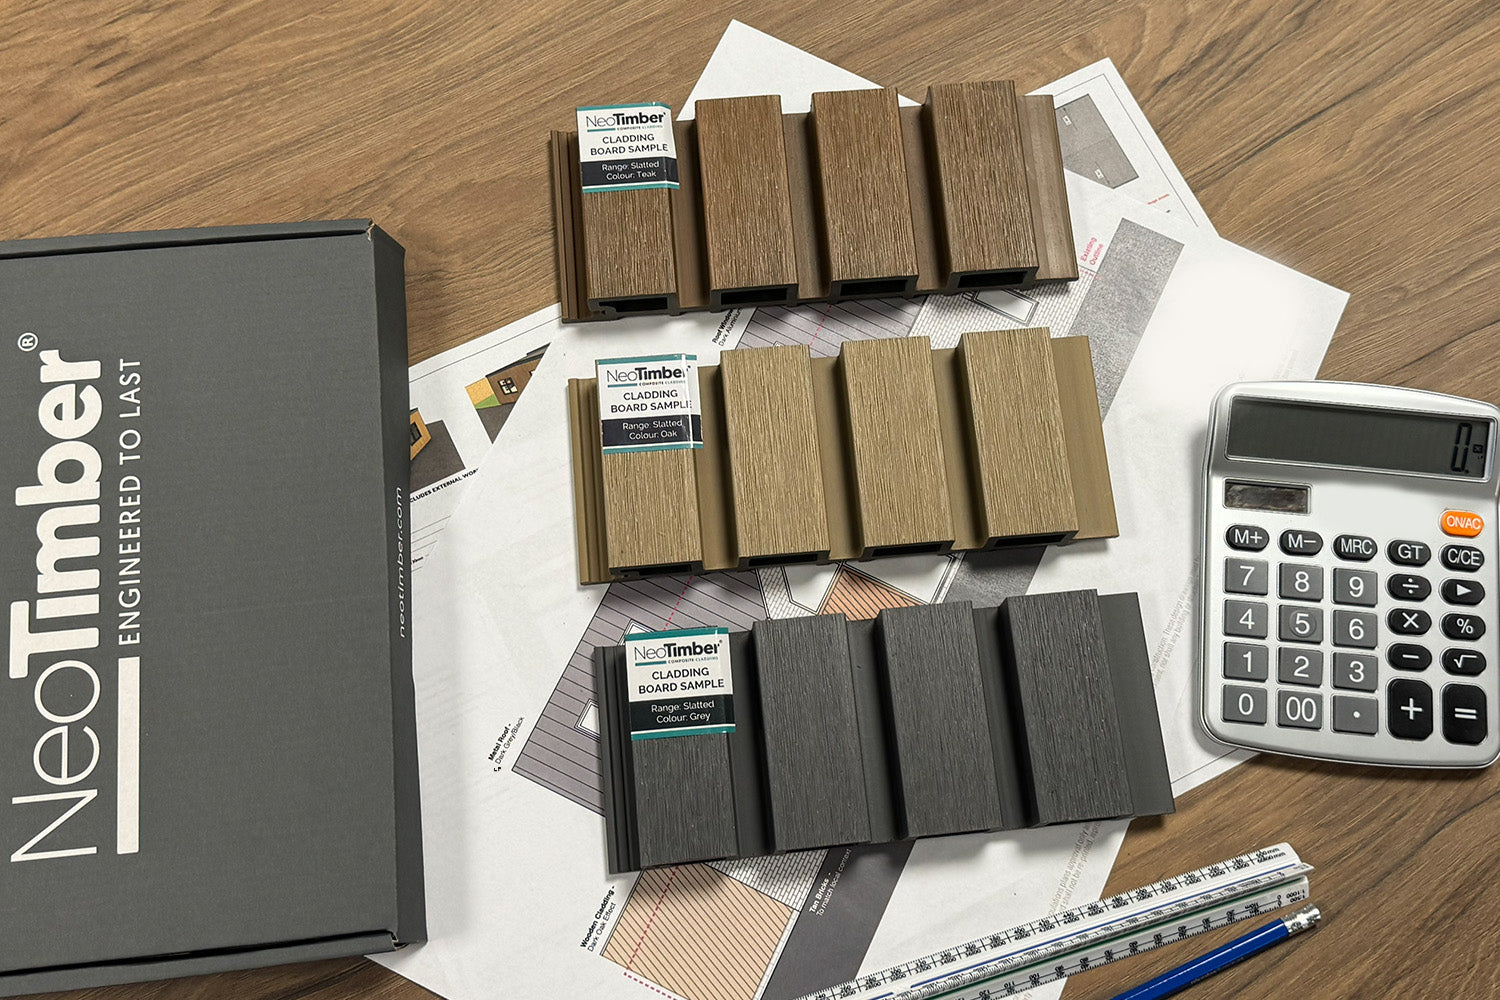
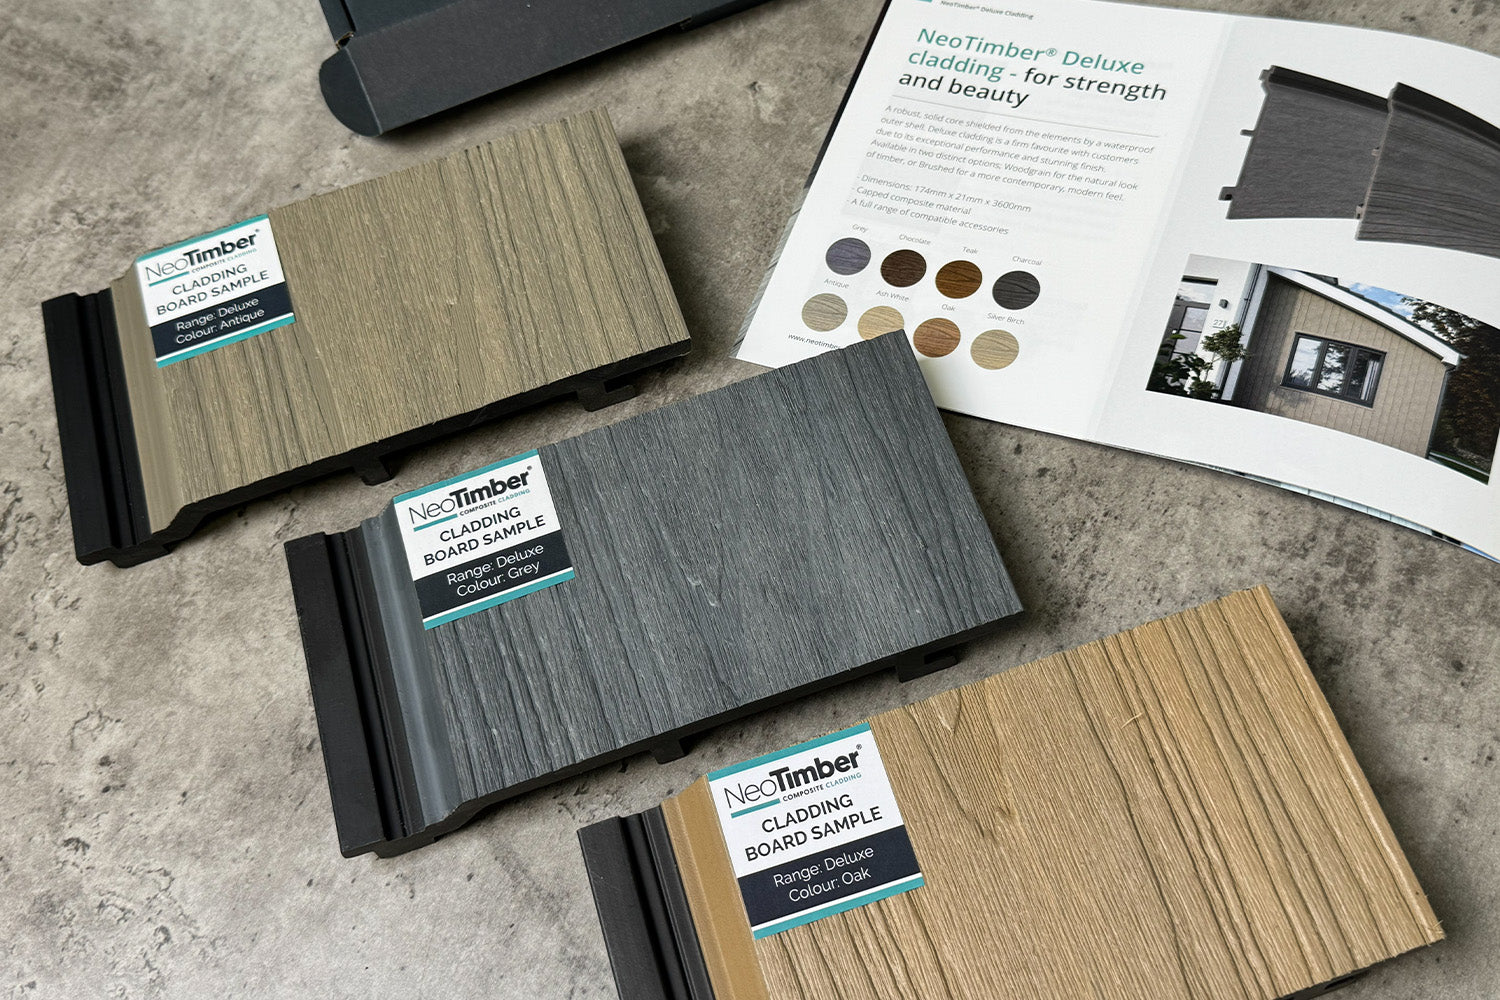
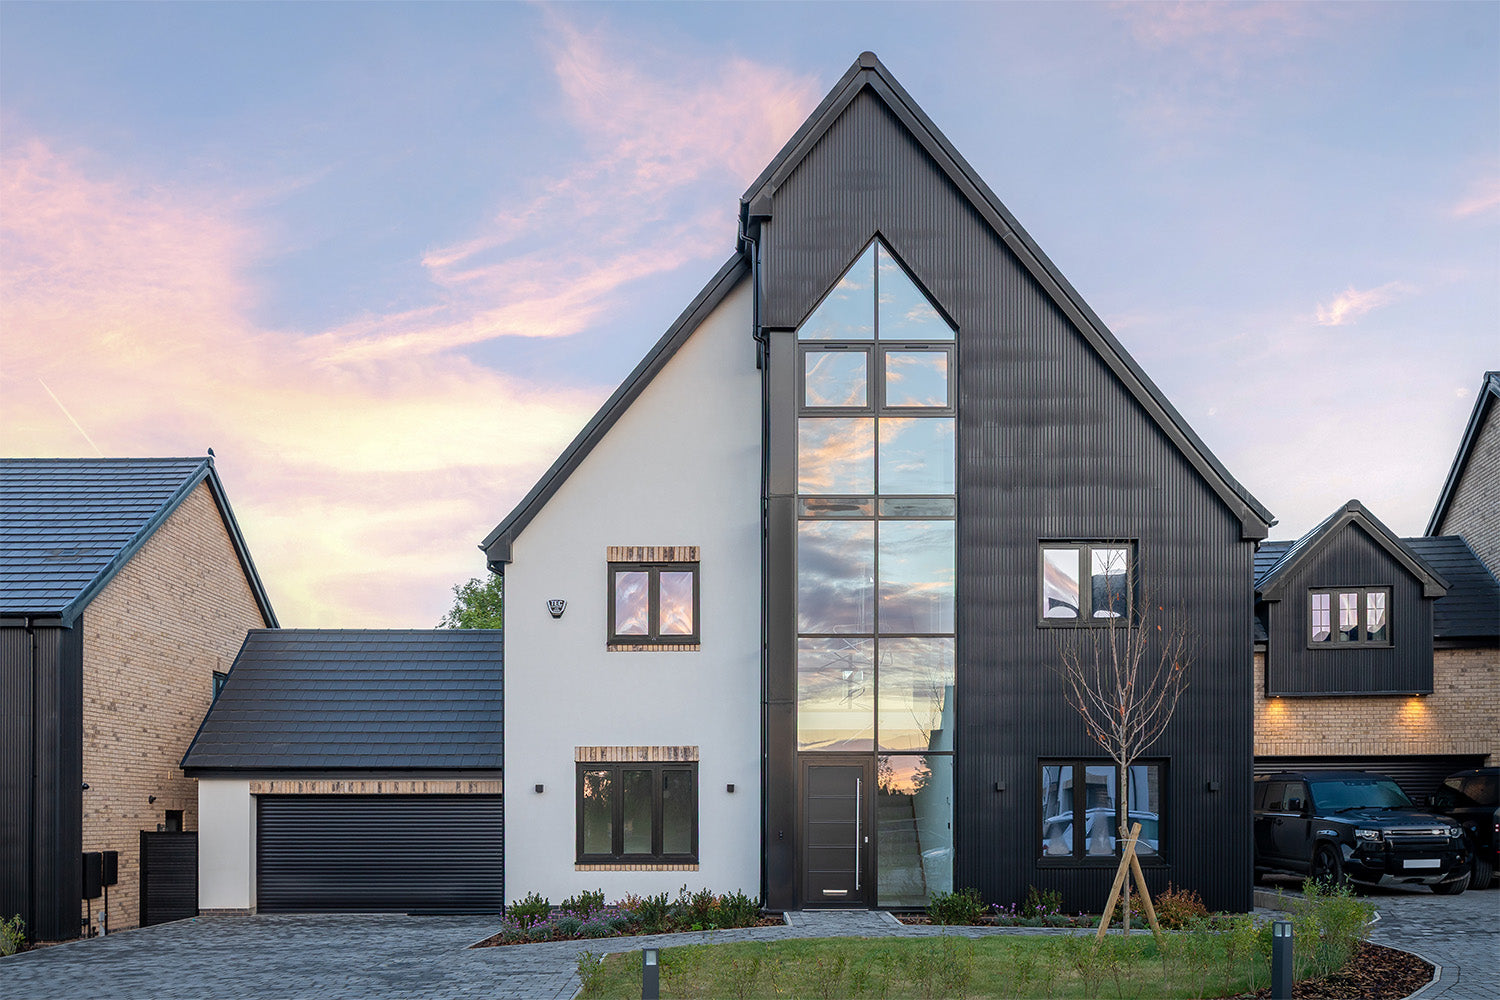
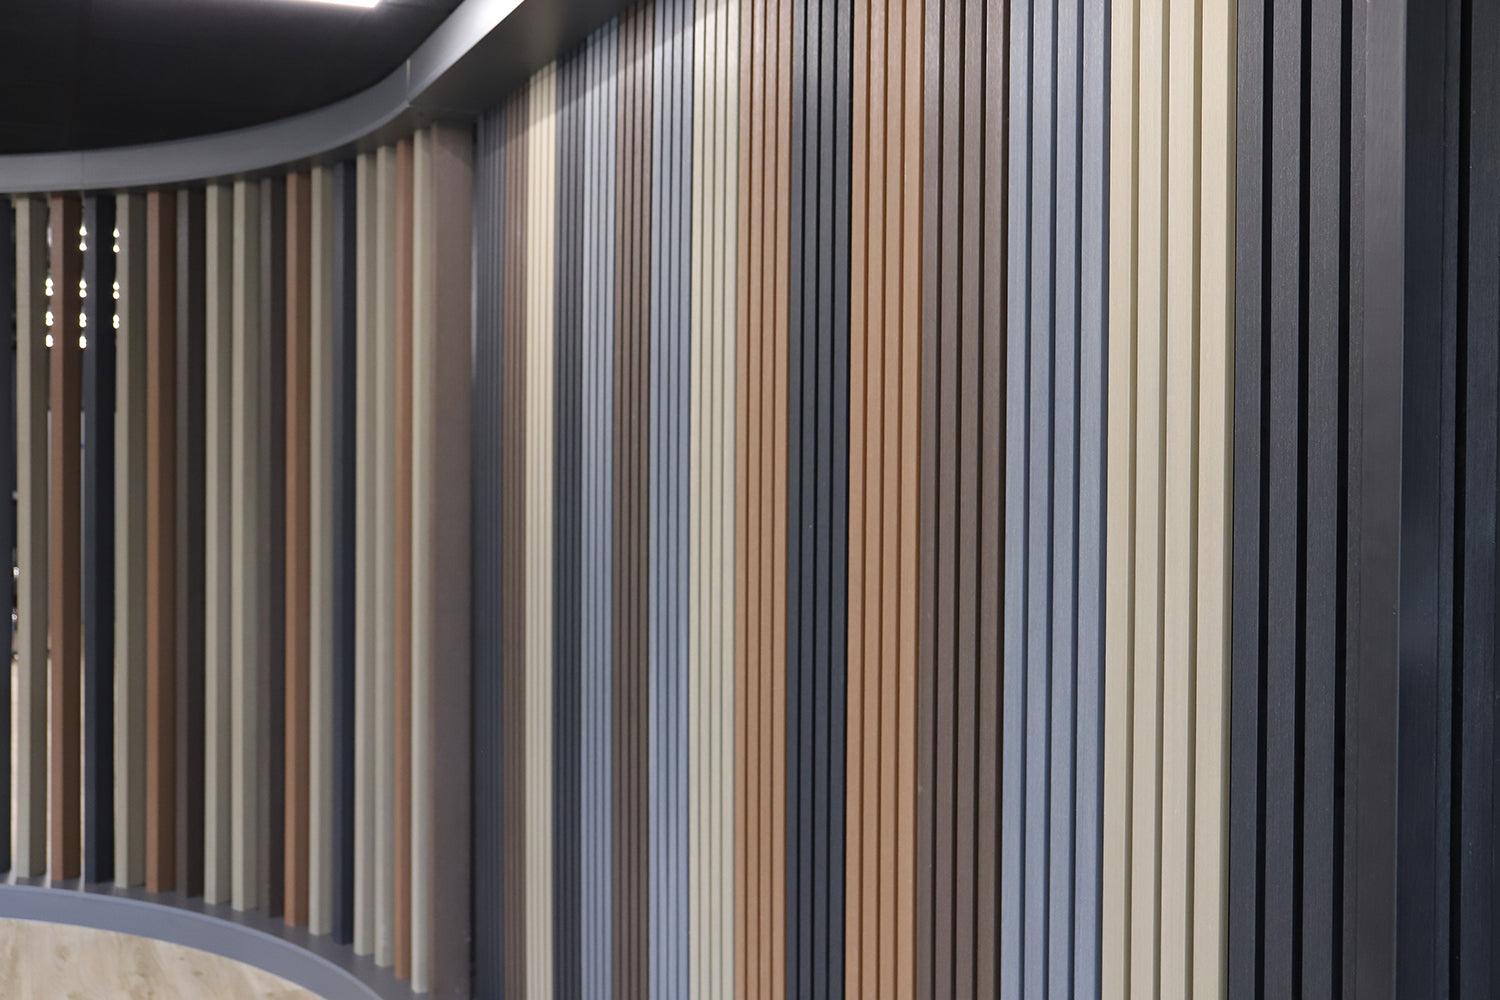
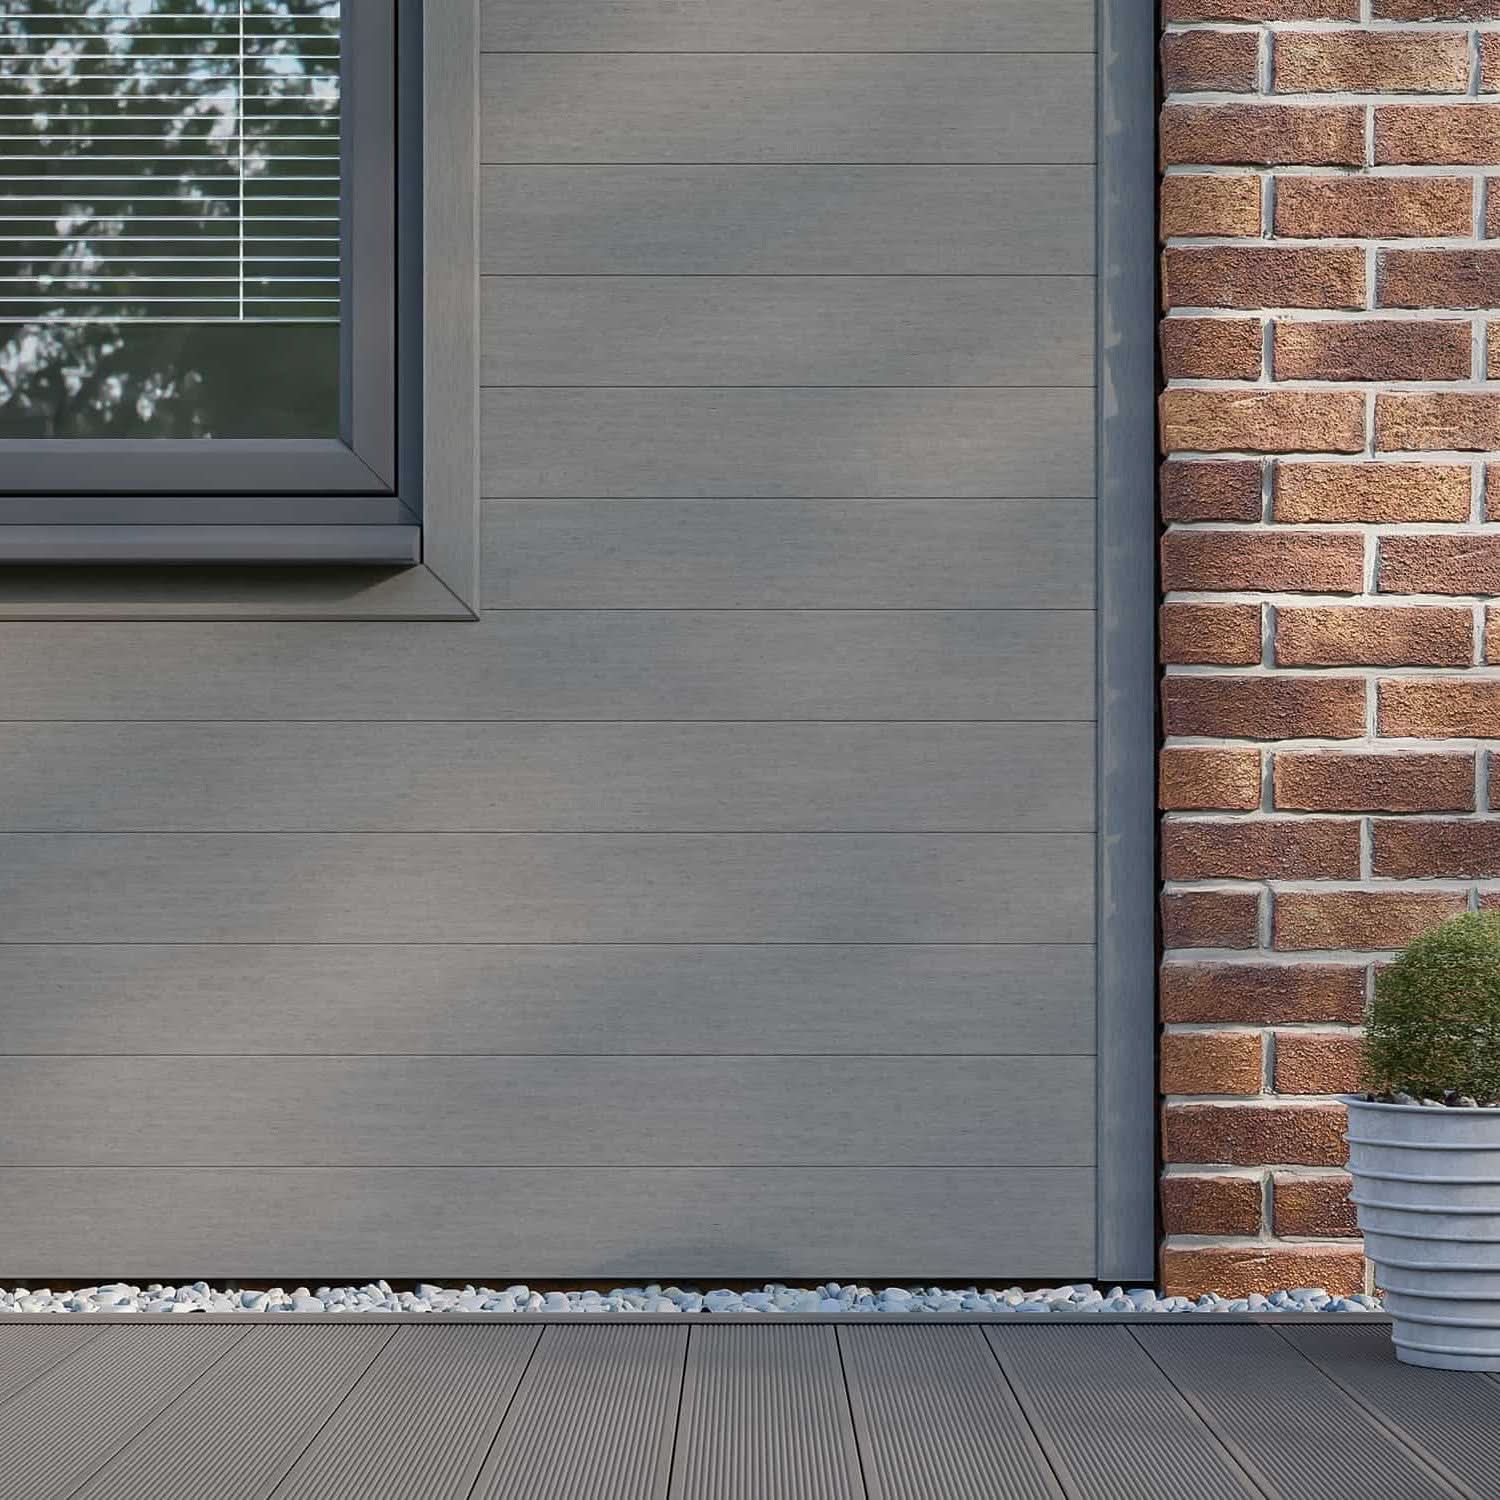
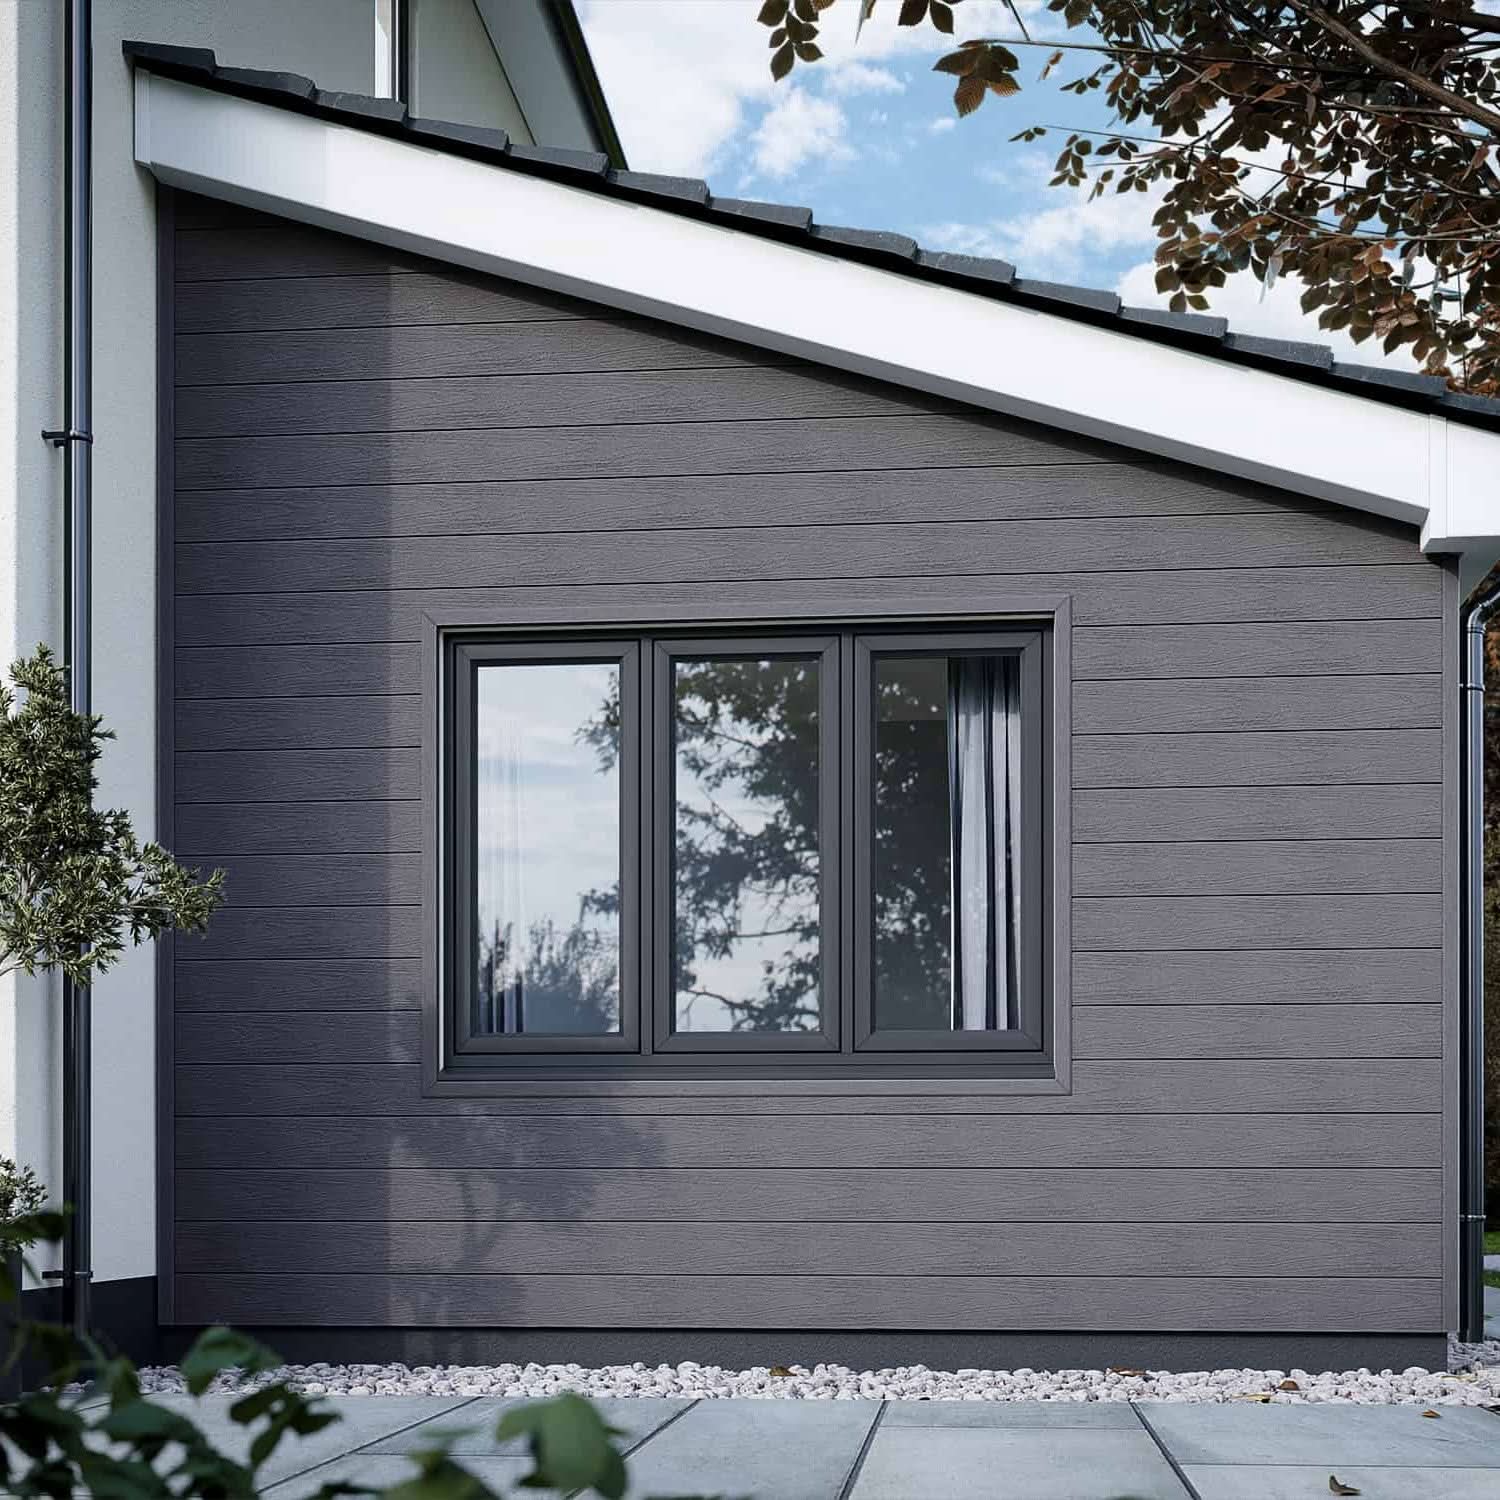
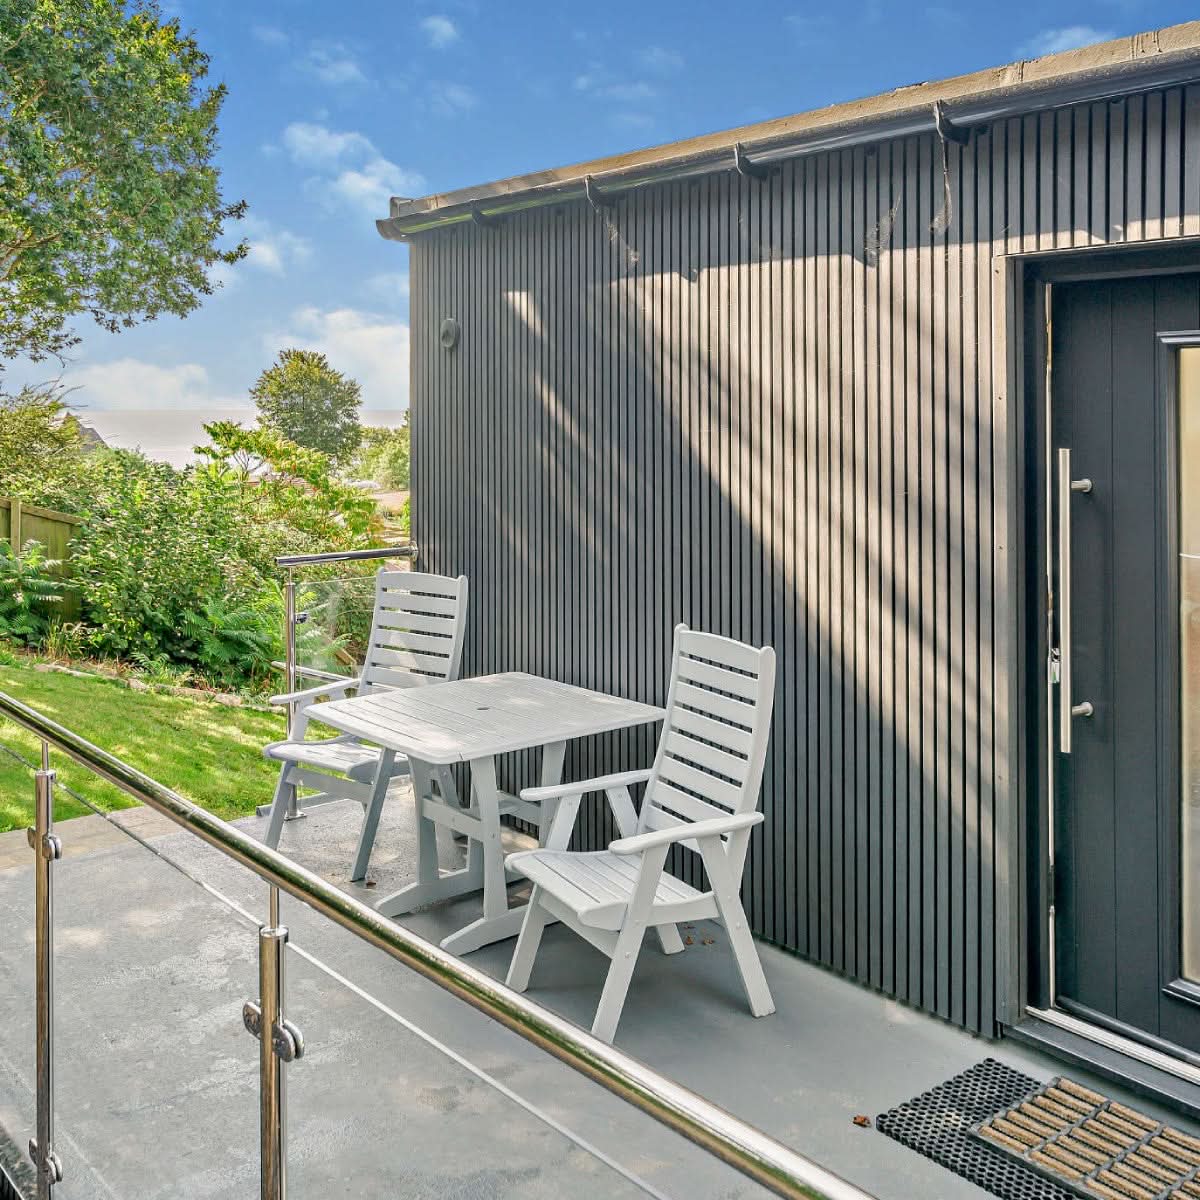
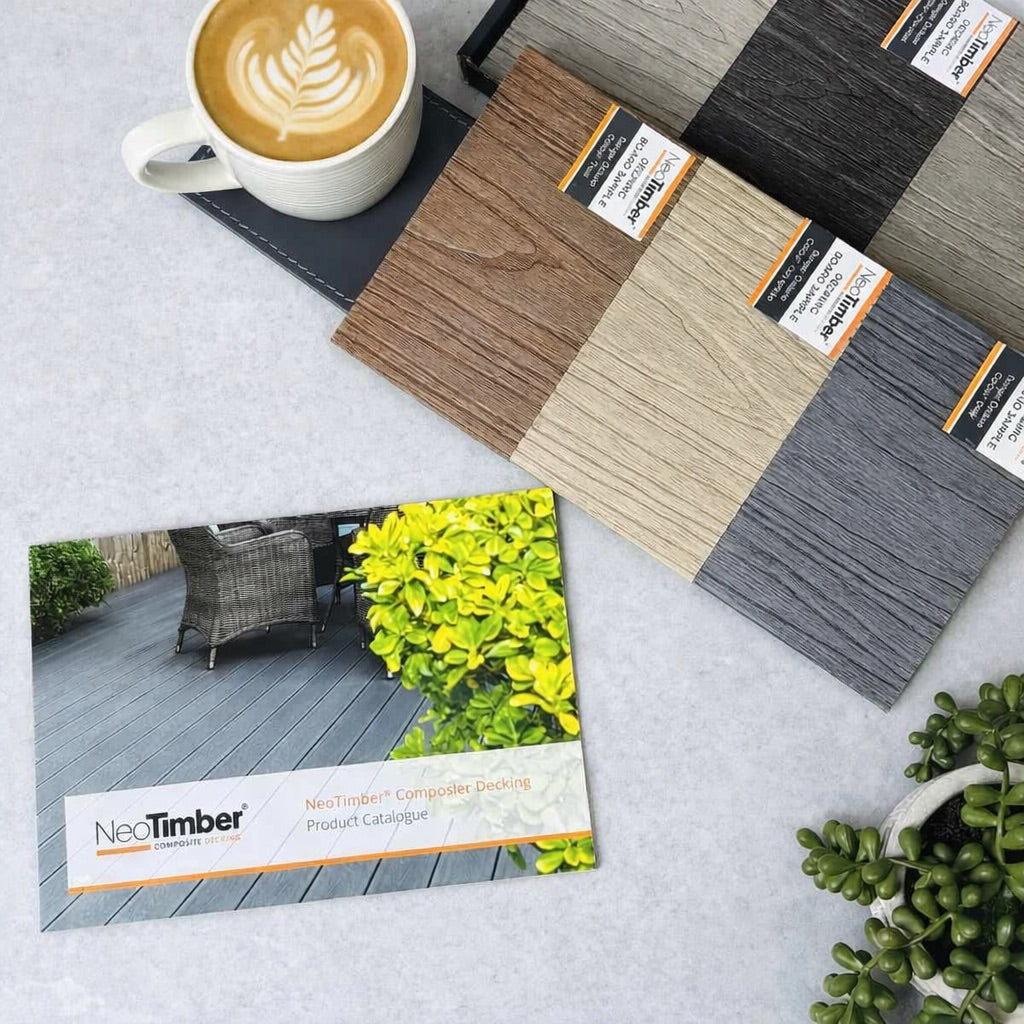
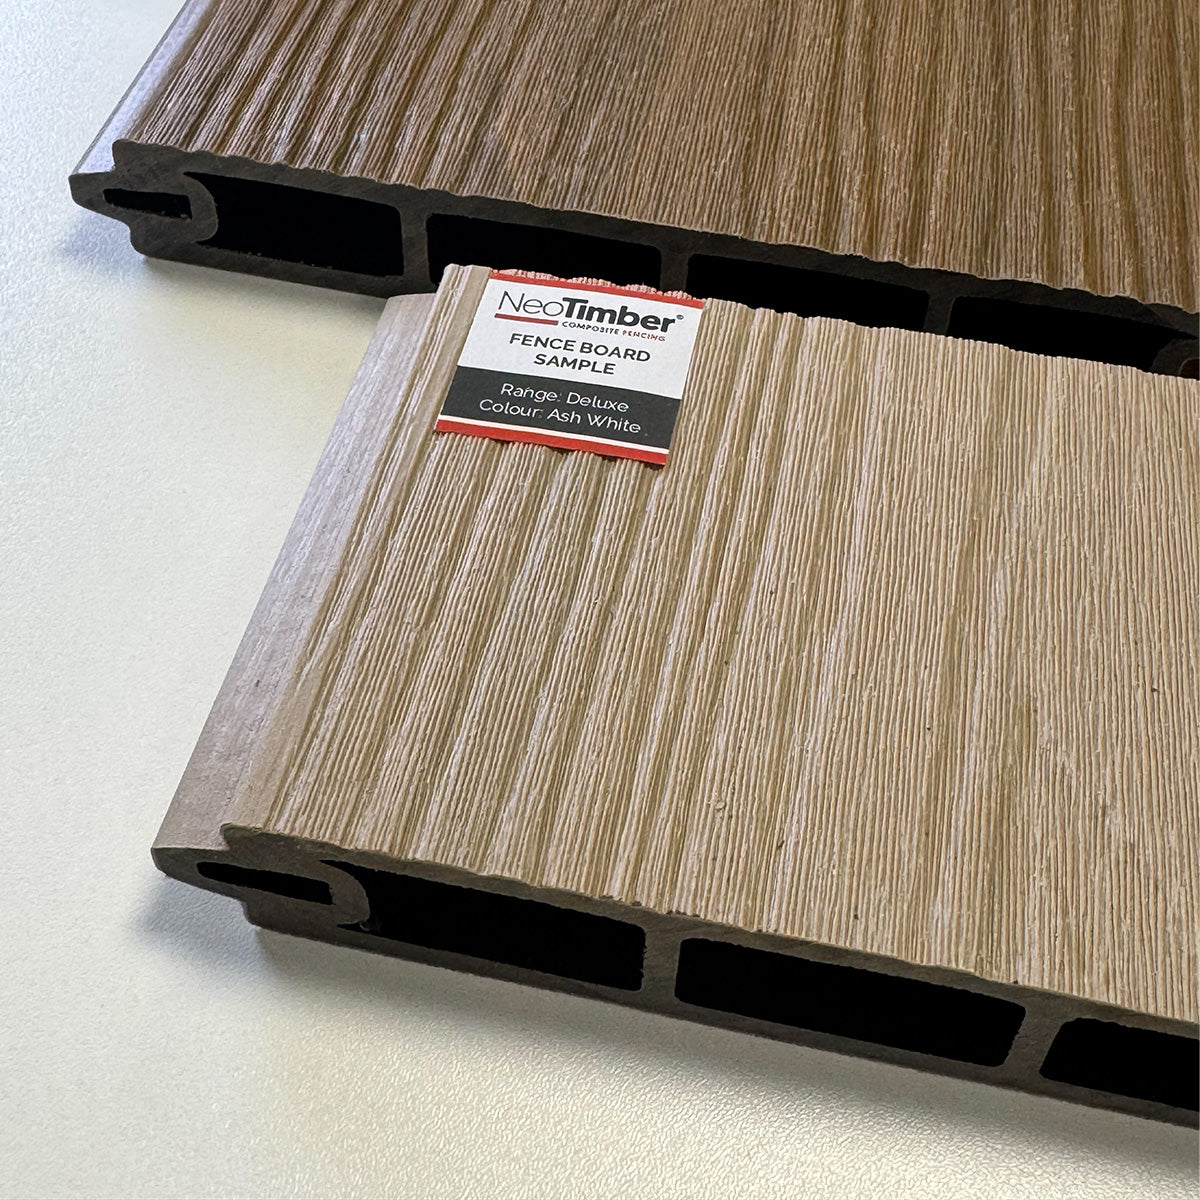
Compare the colour and profile against your existing brickwork, paving and window frames. View samples outdoors and use installed photographs to judge the finish across a larger area.
NeoTimber’s Classic boards develop an initial weathered tone, while capped Deluxe and Slatted ranges prioritise improved colour retention. Check the expected behaviour when choosing your cladding colour.
Installation and Care Checklist
- Supporting wall assessed and necessary repairs completed.
- Product suitability and project requirements confirmed.
- Orientation, joints, cuts and opening details planned.
- Framework and accessories selected for the system.
- Movement allowances and fixing instructions understood.
- Access and handling arrangements appropriate for the work.
- Finishing details checked before completion.
Keep product information and installation records with the property documents. Follow the maintenance guide for routine cleaning and care.
Frequently Asked Questions
Are Exterior Composite Siding and External Composite Cladding the Same?
Both terms can describe an exterior covering. Confirm the specific material, board profile and installation system when comparing products.
Can Composite Cladding Be Fitted Over Brick?
It can be considered where the supporting structure is suitable and an appropriate framework is specified. Resolve underlying defects before installation.
Can Boards Be Installed Vertically?
NeoTimber’s guide covers horizontal and vertical fitting. Follow the appropriate framework, starting and finishing details for your layout.
Does Exterior Composite Wall Cladding Make a Building Waterproof?
The boards alone do not guarantee a waterproof wall. The complete construction, openings and junctions must manage weather exposure appropriately.
Can I Fit the Cladding Myself?
Assess the project against your experience, tools and access arrangements. Seek professional help where the underlying construction or detailing exceeds your experience.
Plan Your Exterior Upgrade With NeoTimber®
Exterior composite cladding works best when the chosen finish and installation details are planned together. Compare the profiles, establish suitability and follow the current fitting guidance from preparation through to completion.
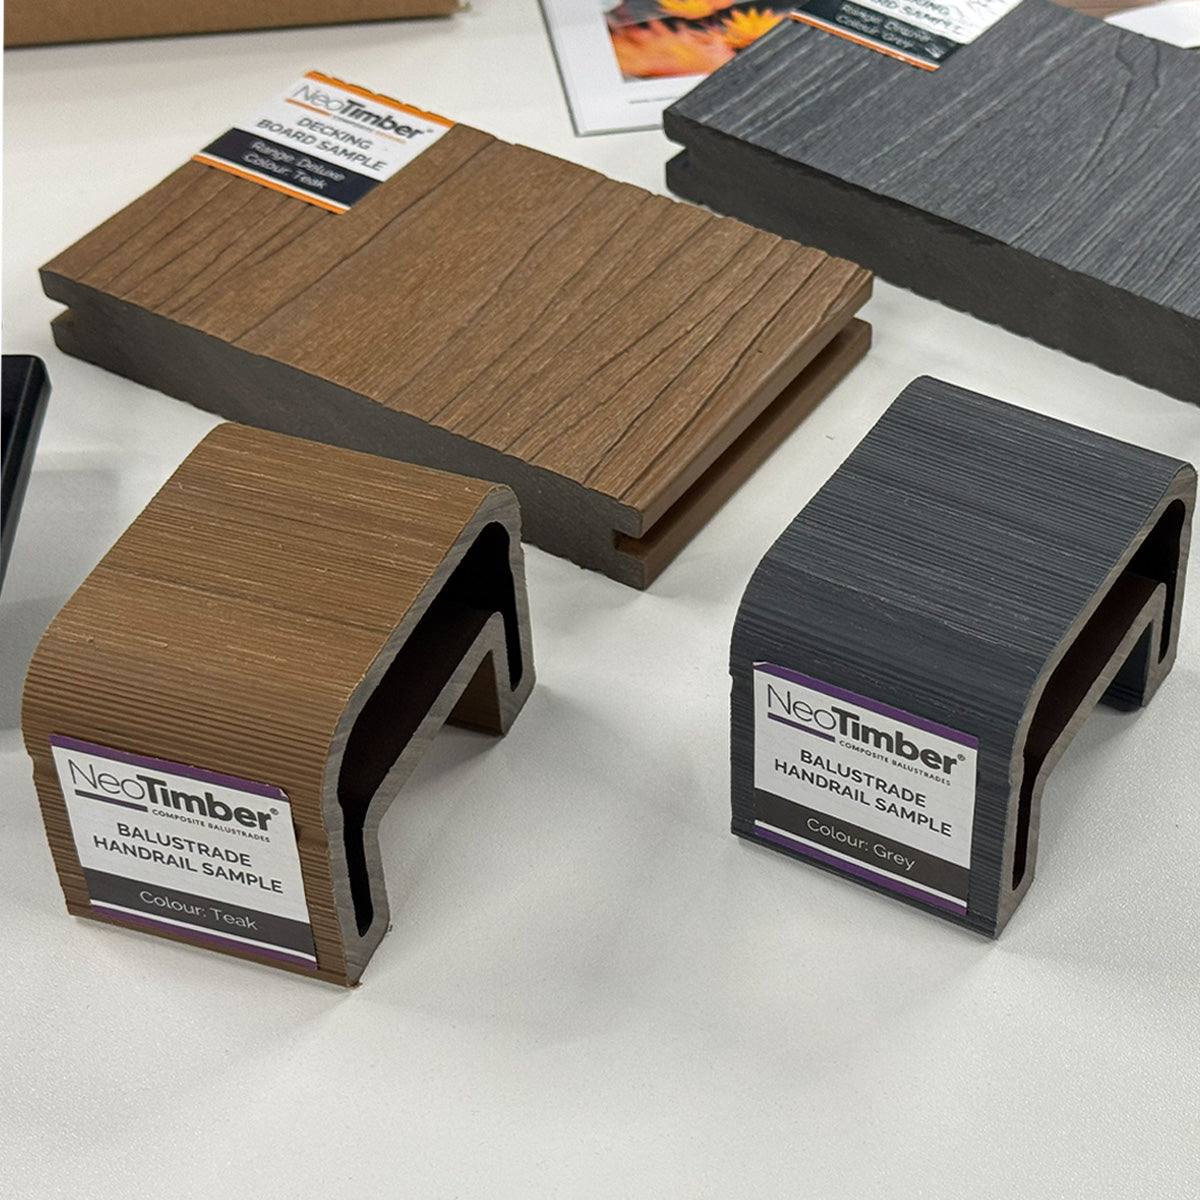
Browse the NeoTimber® cladding range, order free samples or contact the team with product-specific questions before ordering.