Plan, Fit and Finish Your Composite Exterior With Confidence
Installing composite cladding brings together the visible design and the construction behind it. Boards, starter clips and screws are important, but the backing wall, framework, movement allowances and moisture details all contribute to the finished installation.
This guide explains how to fit composite cladding using NeoTimber’s board-and-fixing approach. It covers planning, horizontal fitting, vertical layout considerations and finishing trims. Use it alongside the current instructions for the exact products selected and the project’s agreed specification.
If you want to install composite cladding, start by resolving the complete wall system. A neat surface cannot compensate for unsuitable supports or blocked drainage. The most effective installation process makes those details clear before the first board is fixed.
Installing Composite Cladding Starts With a Complete Plan
A cladding project is more than a sequence of boards. Its layout needs to work around windows, doors, corners and adjoining materials, while the framework must support those choices. Decide the board direction and joint positions before ordering quantities or fitting battens.
Sketch each elevation with its openings and boundaries. Include the intended board lengths, cut sections and finishing components. A drawing can reveal narrow final boards or awkward joints while there is still time to adjust the layout.
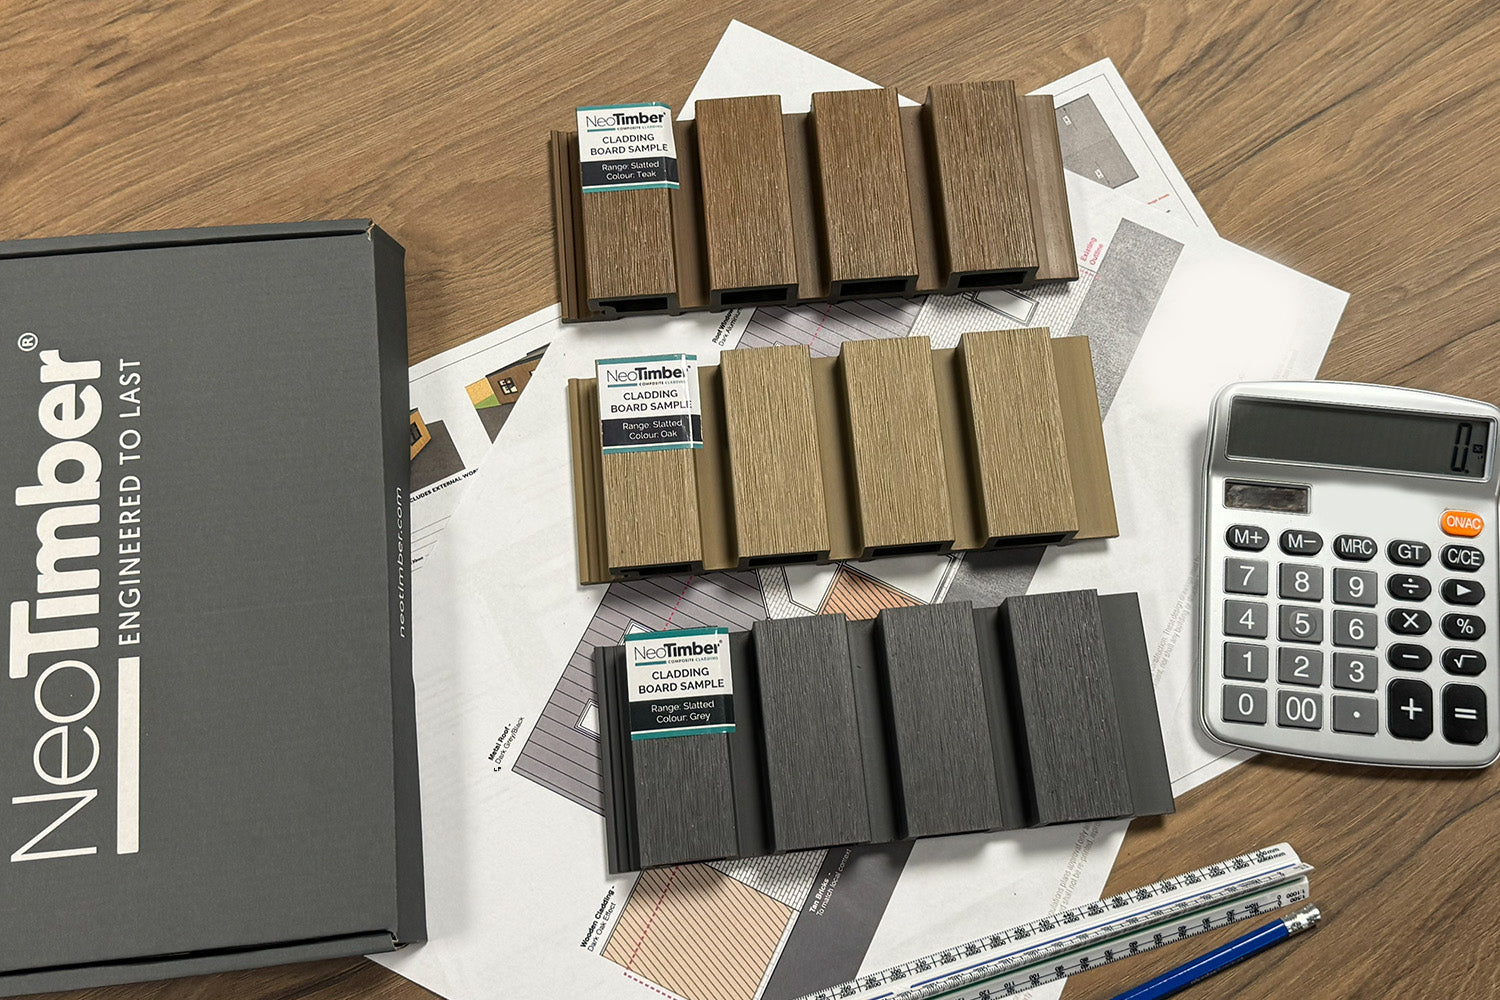
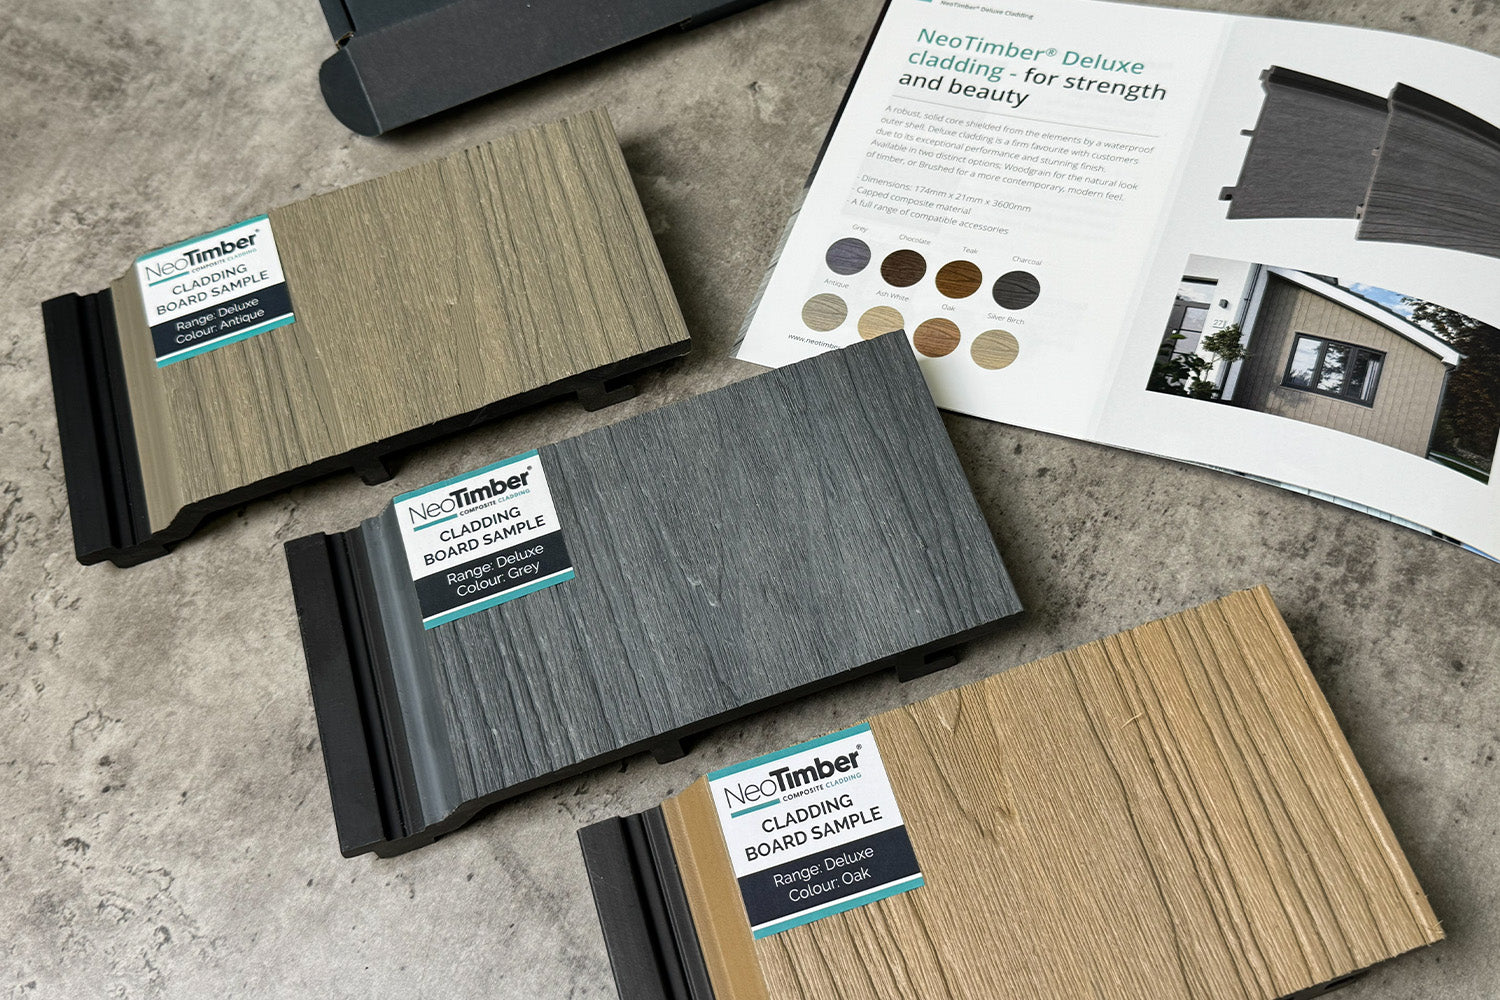
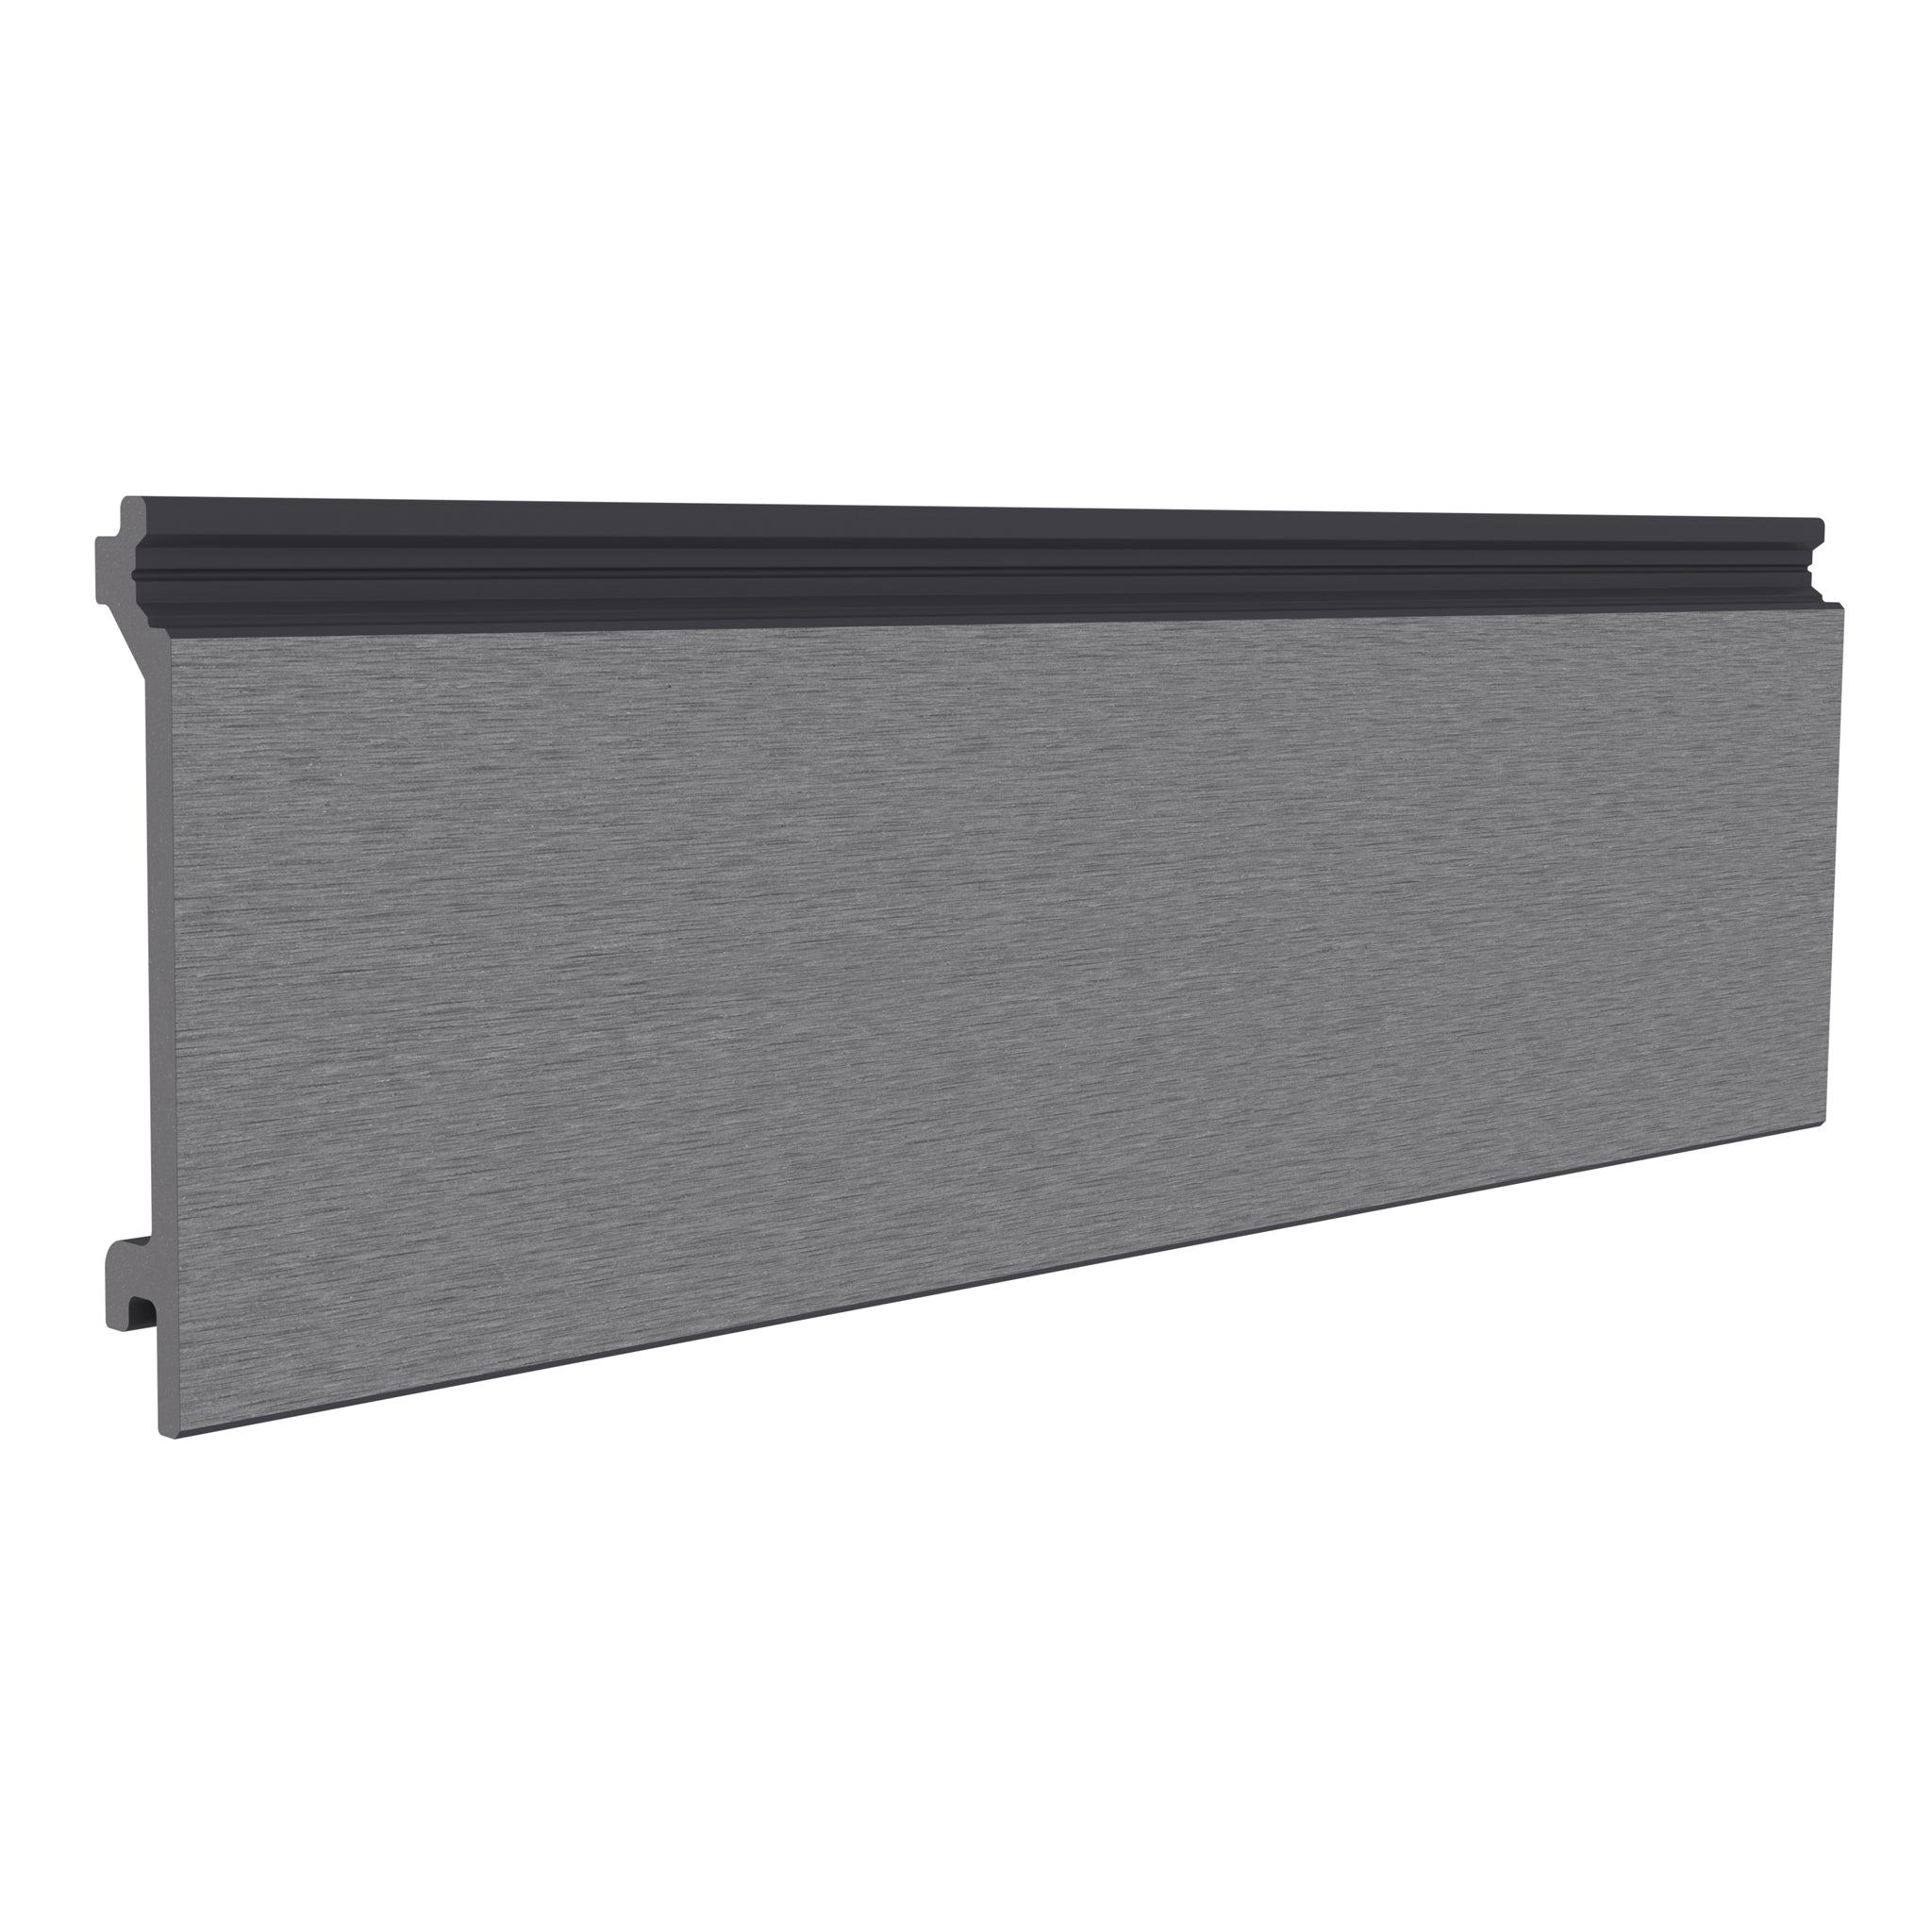
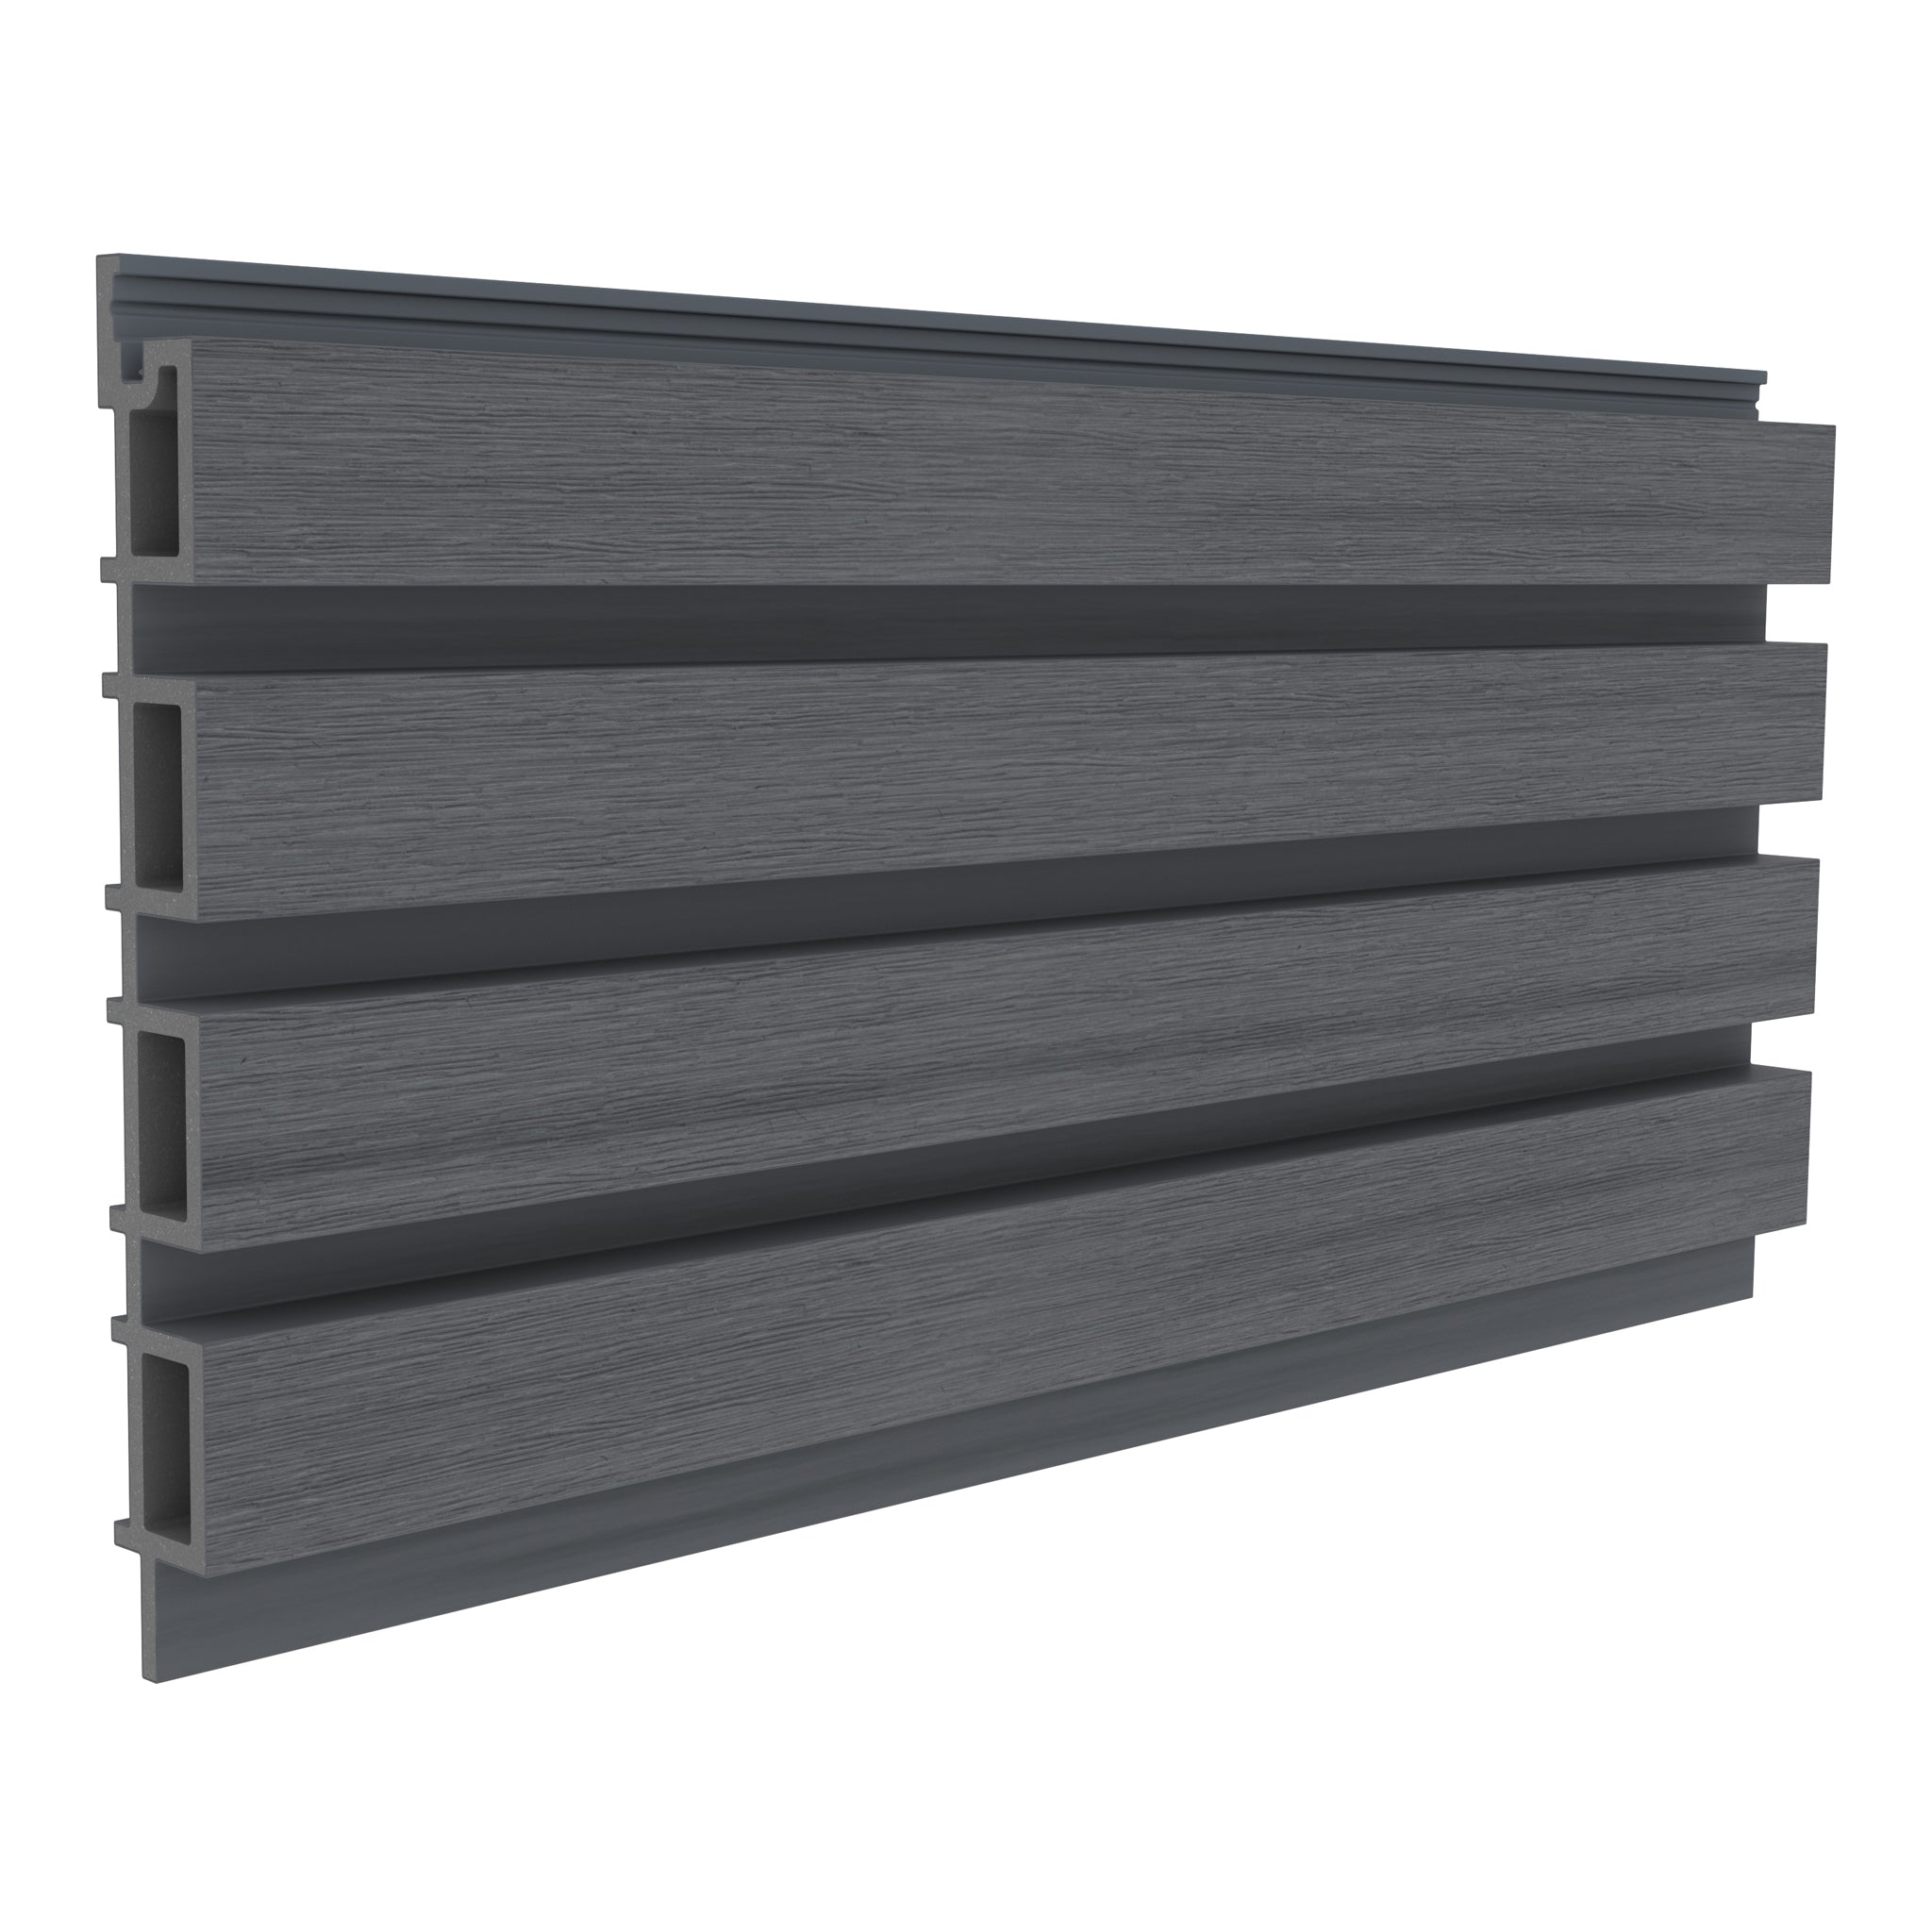
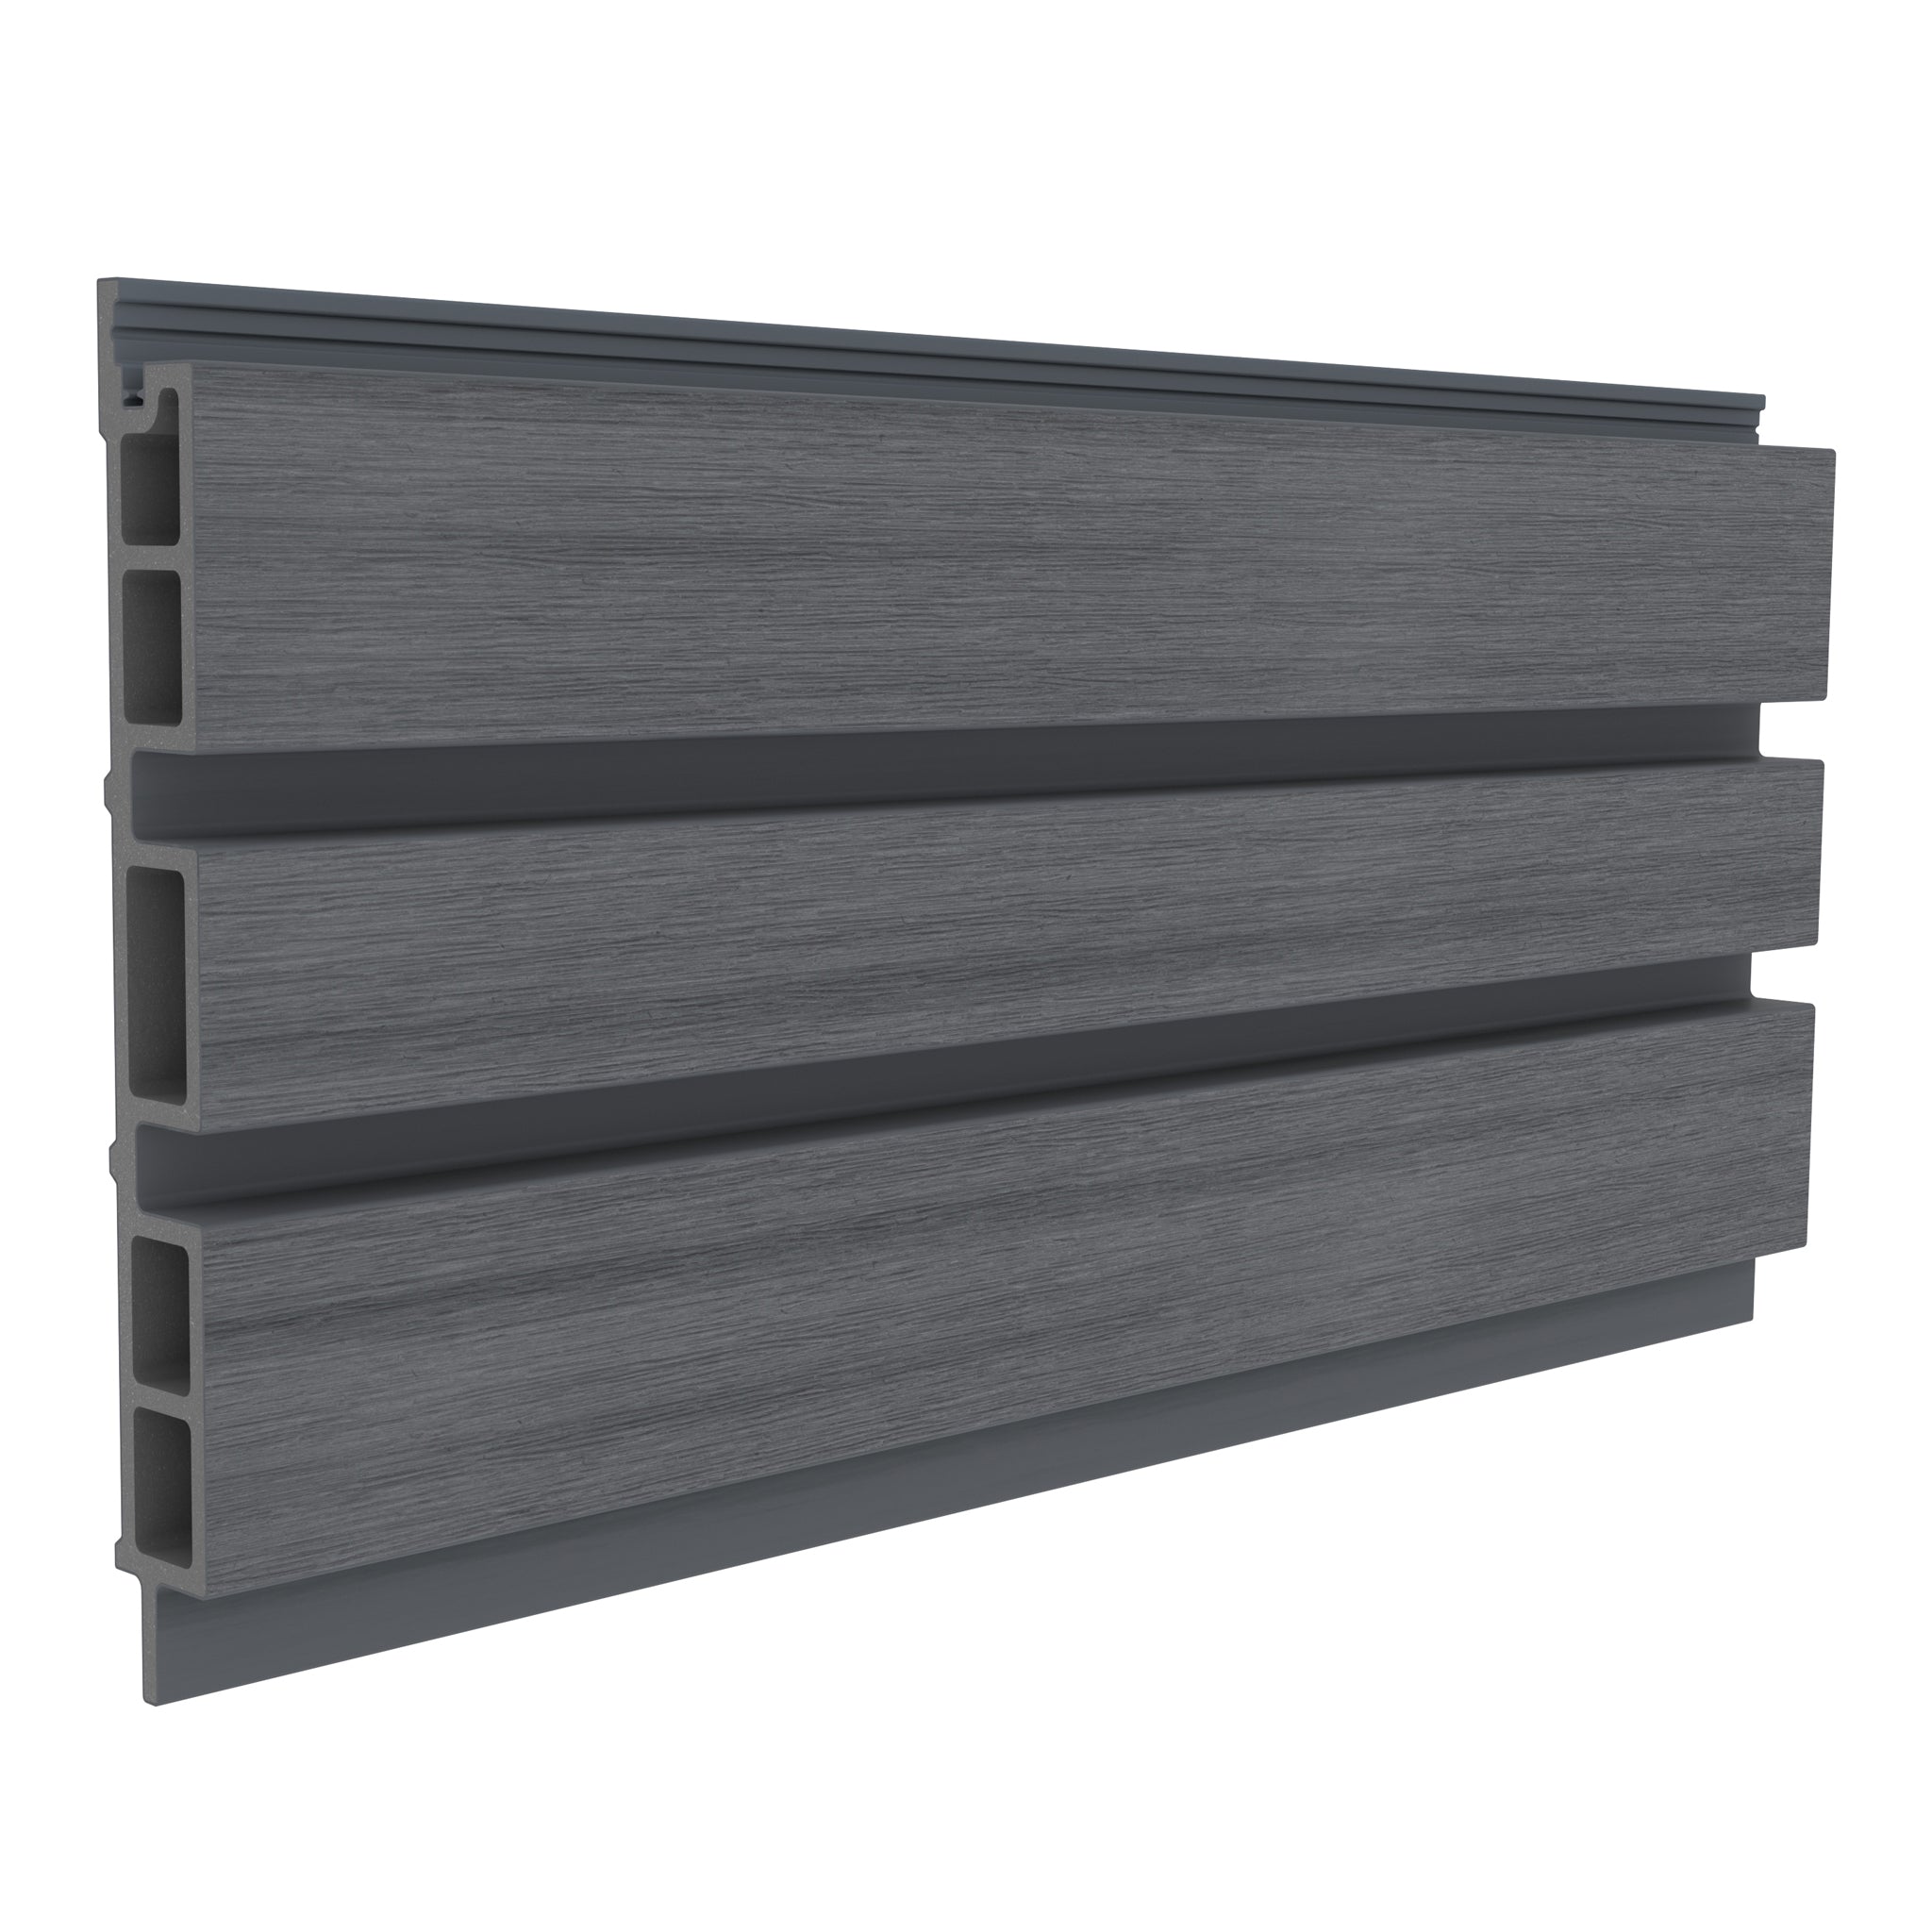
Confirm the chosen range, colour and accessories. NeoTimber’s composite cladding collection includes different profiles, so do not assume every detail from another product applies to yours. For a broader overview, visit our cladding resources.
Before You Install Composite Cladding
Check the Supporting Wall
Assess the substrate and resolve damp, damage or defects before covering the area. Establish which anchors and supports are suitable for the wall and the proposed loads. The new finish should not be used to conceal an unresolved problem.
Identify services and plan access to the work area. Where work at height is involved, use suitable access equipment and an appropriate working arrangement. A straightforward board connection does not remove the practical demands of working on an elevation.
Confirm Suitability and the Wall Specification
Ask the installer or designer to confirm the selected products and applicable building requirements, including fire performance. The backing construction, exposure and details around openings are part of that decision.
Resolve any membrane, flashings, ventilation and cavity details required by the wall design. A decorative trim is not a substitute for weatherproofing. Different membrane types also serve different purposes, so specify the required layer rather than treating them as interchangeable.
Read the Current Product Instructions
Use the NeoTimber® installation resources and the pre-installation guide before fitting. Confirm storage, handling, preparation and the relevant movement information for the selected boards.
Keep the instructions available during the work. Product-specific dimensions and details should take precedence over a generic tip remembered from another installation.
Tools, Components and Quantities for Fitting Composite Cladding
Prepare the measuring, setting-out, cutting and drilling equipment recommended for the selected system. Check tool suitability and the required personal protection before cutting or drilling. Provide a supported work surface so boards can be measured and cut accurately.
Include the following components in the project schedule:
- Boards: the specified range, lengths and colour, with allowance for the cutting layout.
- Framework: suitable joists or battens and the specified wall anchors.
- Starter components: compatible starter clips and their fixings.
- Board fixings: the specified cladding screws.
- Finishing components: compatible trims and colour-matched trim screws.
Calculate quantities from the actual board coverage and the proposed courses, rather than wall area alone. Openings can reduce the visible area while adding cuts, offcuts and finishing work.
Prepare the Framework Before Fixing Composite Cladding
The frame supplies the board fixing points and establishes the finished plane. Its arrangement also needs to preserve the drainage and ventilation paths behind the cladding. Alignment and moisture management should be checked together.
For horizontal boards, the fixing battens generally run vertically. Plan support at board ends and around openings, and confirm the centres and wall anchorage against the selected system and project conditions. Use the subframe installation guide for the framework details.
Check across the battens with suitable setting-out equipment. Individually straight battens can still sit at different depths, producing an uneven surface. Correct the framework before covering it with boards.
Record the completed frame and inspect the supports, joints and cavity. Once the covering is fitted, access to the wall anchors and other hidden details becomes more difficult.
How to Fit Composite Cladding Horizontally
The following sequence describes the approach in the supplied NeoTimber® board-fitting guidance. Confirm that it applies to your selected product and use the current instructions for all dimensions and fixing details.
Step 1: Set Out and Fix the Starter Clips
Establish a level reference line for the first course. Position the starter clips at the base of the supporting joists according to the specified arrangement, then secure them using the appropriate supplied fixings.
Check the complete line before adding the board. A small setting-out error at the start can affect subsequent courses. Keep the required base clearance and ventilation details intact; the starter position should follow the designed wall detail.

Step 2: Seat the First Board in the Clips
Align the first board’s concealed groove with the starter clips and position it securely in the full run. Support the board while it is being located and while its upper fixing channel remains unsecured.
Check that the board is properly engaged and aligned before drilling. Do not use excessive force to compensate for clips that have been set out incorrectly. Correct the supporting detail rather than forcing the board into place.

Step 3: Fix the First Board at Its Supporting Joists
The supplied guide specifies pre-drilling a 3mm hole in the upper channel before securing it with a NeoTimber® cladding screw. Confirm that pilot-hole instruction against the current documentation for your board and fixing combination.
Work along the board so the specified fixing is provided at every supporting joist. Maintain alignment and follow the required fixing position. Do not substitute an arbitrary screw because it appears to fit the channel.

Step 4: Continue Fitting the Subsequent Courses
Engage the next board with the previous course using the specified groove connection. Once positioned, pre-drill and secure its upper channel as instructed. Repeat the sequence while checking alignment across the elevation.
Keep planned board-end joints on the required supports and retain the correct movement gaps. Avoid closing a joint simply to create a more continuous visual line. Movement requirements belong to the performance of the installation.

Step 5: Fit Cut Boards Around Openings
Measure and cut boards to suit the planned window or door detail. Use the conventional groove and channel fixing arrangement where the profile permits it. Where cutting removes that fixing arrangement, follow the specified face-fixing detail with compatible trim screws into an appropriate support.
A cut board still needs secure support. Do not leave an edge unsupported or assume the adjoining board will carry it. Coordinate the visible covering with sills, flashings and other moisture details rather than treating the cut shape as the complete junction.

Step 6: Secure the Final Board
If the final board retains its upper fixing channel, follow the normal fixing arrangement. If it must be cut along its length, use the specified face-fixing method into the supporting framework.
Plan that final course before beginning the wall. A narrow finishing strip may be difficult to detail neatly, and its support should not be improvised after the earlier boards have been fitted.

Movement Gaps: An Essential Part of Fixing Composite Cladding
Composite boards expand and contract with temperature changes. The required allowances depend on the product and the applicable installation conditions. Use the temperature and movement guidance in the pre-installation resources rather than choosing a universal board-end gap.
Board gaps, framework joints and trim joints serve different components. A dimension specified for one should not automatically be applied to another. Record the relevant details before fitting begins.
Trims may conceal a movement joint visually, but they must not restrain the movement it is intended to allow. Confirm the arrangement and fixing positions where a finishing component spans or covers a joint.
How to Install Composite Cladding Vertically
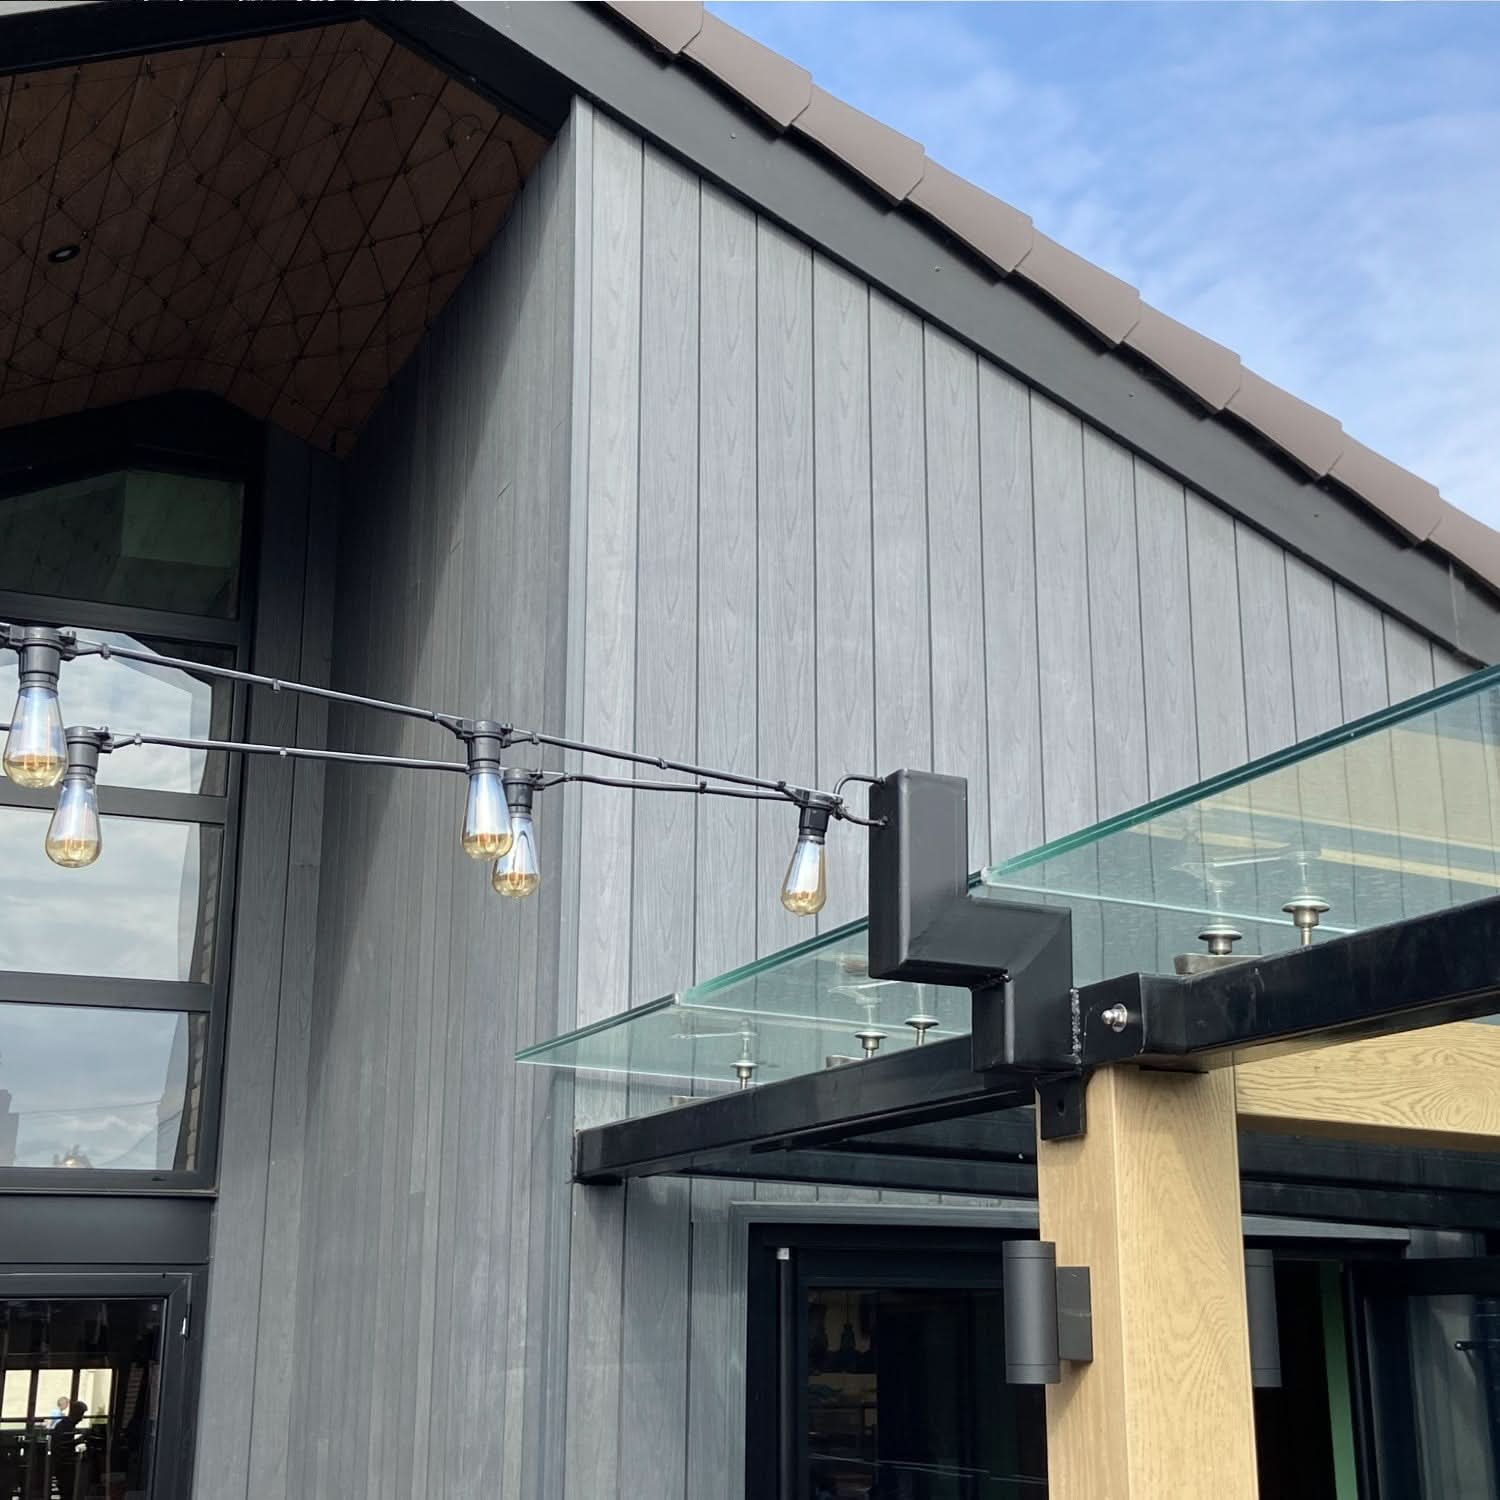
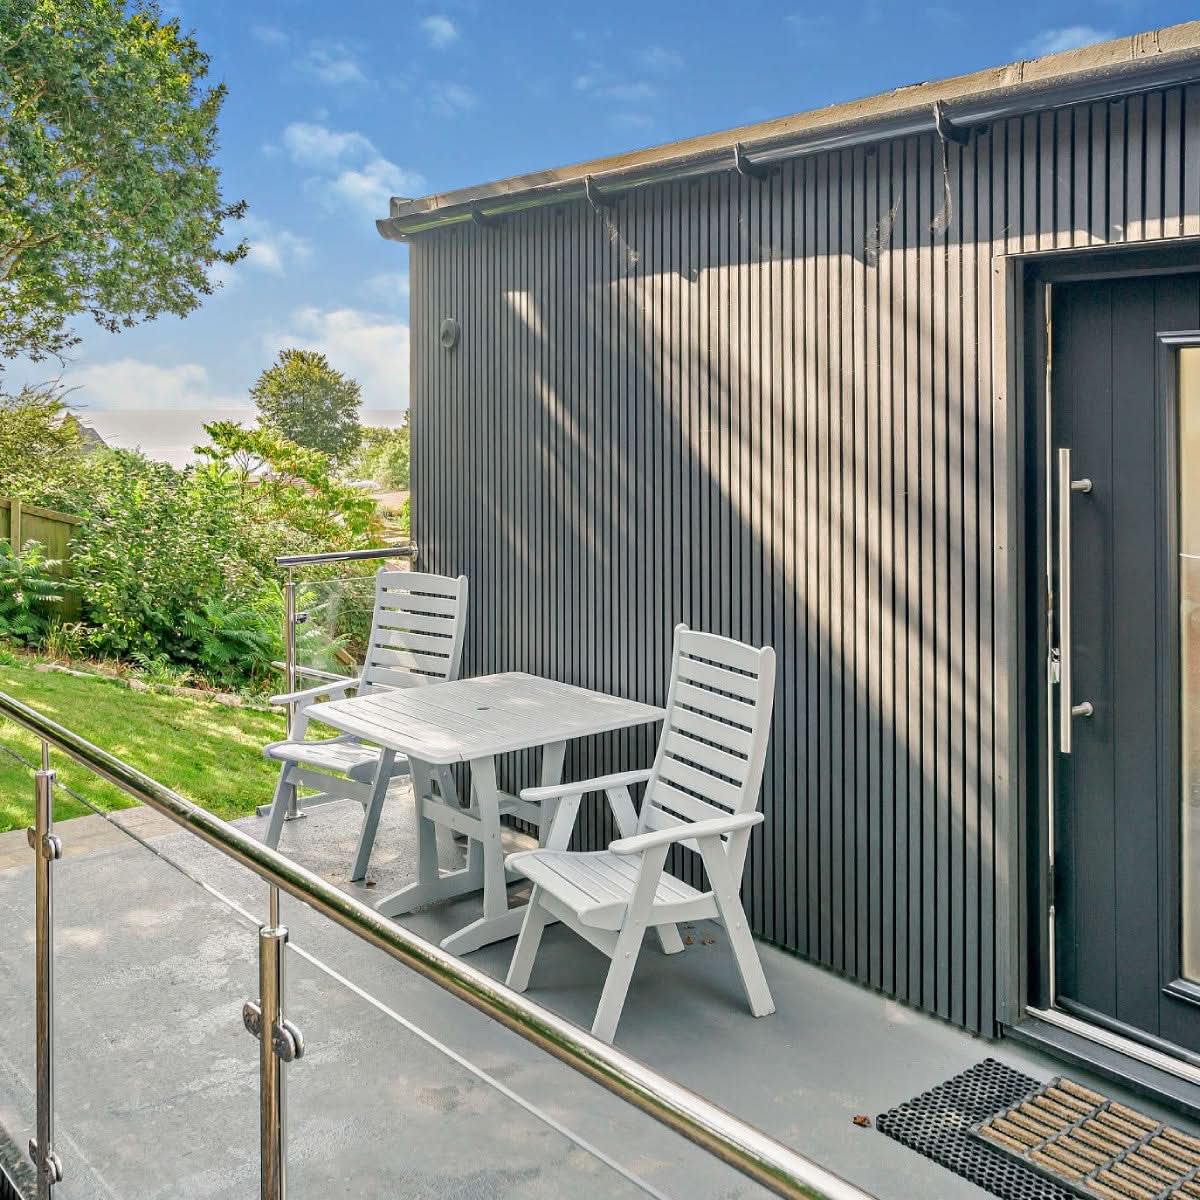
NeoTimber’s supplied guidance describes a vertical board arrangement using starter clips at the edge of the framework, then the corresponding board connection and fixing sequence. Establish a plumb starting line for the vertical courses.
The framework needs its own assessment. Horizontal fixing battens must not interrupt the intended drainage and ventilation routes; an appropriate counter-batten arrangement may be needed. Do not assume rotating the boards and battens through 90 degrees resolves the complete wall build-up.
Confirm the supported orientation for the selected range and plan board-end details, openings and the base. Review the vertical cladding guide for design context, alongside the technical instructions.

Fixing Composite Cladding Trims
Finishing trims can conceal exposed edges and complete corners or returns. Choose components compatible with the selected range, including the skirting trim and corner trim where appropriate.
Measure the actual installation before cutting the trim. Consider its fixing support, joint positions and movement allowances as well as the visible edge. A tidy finish must preserve the necessary moisture-management routes.
Corner Trims Around Windows and Doors
The supplied detail uses mitred cuts where corner trim lengths meet. Check the angle and position against the intended junction, then pre-drill and fix using the specified colour-matched trim screws.
The source guidance gives 300mm fixing intervals for the illustrated trim arrangements. Confirm their applicability to the actual trim and project. The trim’s appearance should not obscure an incomplete sill or flashing detail.

Skirting Trims and Exposed Edges
Use the specified fixing method to secure the selected trim over the exposed edge or return. The supplied guide calls for oversized pilot holes in the relevant skirting-trim arrangement and a minimum 2mm gap between joining trim ends.
Confirm those details in the current product instructions rather than transferring them to board joints or another trim system. Fixings should secure the component without creating cracking or preventing the intended movement.

How to Fix Composite Cladding Without Creating Avoidable Problems
Start with the correct fixing system. Starter clips, board screws and trim screws have different roles, and wall anchors need to suit the backing structure. A screw that looks similar is not automatically a suitable substitute.
Use the fixings and clips guide alongside the product instructions. Follow the required pilot holes, fixing positions and support arrangements, and check the result as work progresses.
Do not use screw force to pull a distorted board or inadequate framework into alignment. Address the underlying problem before continuing. That decision may take longer at the time, but it avoids burying an issue behind subsequent courses.
Common Mistakes When Fitting Composite Cladding
- Planning joints during fitting: resolve their positions and supports on the elevation drawing first.
- Covering a defective wall: address damp, damage and anchor suitability before fitting the frame.
- Closing movement gaps: use the applicable product guidance rather than prioritising an uninterrupted line.
- Rotating the system without checking drainage: confirm the full build-up for a vertical arrangement.
- Using generic fixings: specify the appropriate component for boards, trims and the backing wall.
- Treating trim as waterproofing: resolve the complete junction around openings and edges.
- Leaving the final course to chance: plan its cut width, support and fixing method before starting.
Inspect the Installation Before Handover
Check the completed elevation against the agreed layout. Review alignment, joints, cut boards and finishing components. Confirm that the required drainage and ventilation paths remain clear.
Record the products used and photograph the finished details. Retain the instructions, fixing specification and any relevant project documents. Those records provide a clearer starting point for future maintenance or enquiries.
Clean the boards using the recommended method and hand over the maintenance guidance. Review the warranty terms so the owner understands the relevant conditions and exclusions.
DIY or Professional Installation?
A manageable feature wall and a complex house elevation can present different demands. Assess your ability to check the wall, design the supports, work safely and complete junctions around openings before deciding to fit the system yourself.
Professional input can be useful where the substrate is uncertain, access is difficult or the project requires specialist detailing. A clear brief should identify the products, layout, support arrangement and finishing details, not just the area to cover.
Compare quotations on that complete scope. Boards, framework, accessories, access and preparation all affect the cost. A cheaper fitting quote may omit work that another proposal includes.
Installing Composite Cladding FAQs
How Do I Fit Composite Cladding?
Plan the wall and framework, establish the starter line, engage and secure the boards using the selected system, then finish openings and edges. Follow the current product instructions for the exact dimensions and details.
Can I Fix Composite Cladding Directly to Brickwork?
The NeoTimber® system uses a suitable supporting framework. The frame provides board fixing points and the space needed behind the covering. Confirm the wall anchors and arrangement against the project specification.
What Screws Should I Use?
Use the specified cladding screws for the board channels and compatible trim screws where the relevant detail requires them. Wall anchors are a separate selection based on the supporting substrate and loads.
Do All Composite Boards Use the Same Expansion Gap?
No. Use the movement guidance for the exact product and installation conditions. Board, framework and trim gaps should not be treated as interchangeable.
Is Vertical Fitting the Same as Horizontal Fitting?
The board connection principles may be similar, but the supporting layout and drainage details need to be resolved for the orientation. Confirm the full arrangement before rotating the system.
Can I Hide Board Gaps With a Trim?
A compatible finishing detail may conceal the joint visually, but it must not prevent the movement or moisture-management function required by the installation.
Where Should I Start Before Buying Materials?
Start with a measured elevation drawing and the chosen product instructions. Resolve joints, openings and supports, then calculate boards and accessories from that plan.
Plan Your Composite Cladding Installation
A successful installation joins the design to the details behind it. Resolve the backing wall, framework and junctions first, then use the correct products and fitting sequence to complete the surface.
Explore NeoTimber® installation resources, compare the cladding ranges, or order free samples while planning your finish. For layout inspiration, visit the horizontal cladding guide.