Create a Defined Deck Border with a Thoughtful Picture-Frame Design
Composite deck picture framing means arranging border boards around the perimeter of the main deck surface. Like a frame around a picture, the border gives the design a defined outline and creates opportunities to vary colour, texture and board direction.
A well-planned frame can also help present the ends of the main board runs neatly. However, it is more than a finishing accessory: the border needs appropriate support, fixings and movement allowances, all considered before installation.
This guide explores the design choices and practical planning behind a considered result. Start with NeoTimber’s decking guide for an overview, or browse our composite decking range as you develop your ideas.
What Does a Picture-Frame Border Add?
A picture frame can give a deck a clear visual boundary, connect the surface with surrounding landscaping or introduce a second colour without covering the whole area in a pattern.
It is an optional design choice, rather than a requirement for a complete-looking deck. A simple straight-run layout can work equally well when its exposed edges are properly detailed.
| Design choice | Possible effect | Planning consideration |
|---|---|---|
| Single-board border | A restrained outline | Available space and support beneath the perimeter |
| Double-board border | A more substantial frame | Extra width, material and supporting details |
| Contrasting colour | More visible definition | Product compatibility and relationship with the garden palette |
| Matching colour | A quieter, coordinated finish | Board direction and texture become more prominent |
| Edge board | A purpose-designed outer profile | The specified fixing method and any fascia requirements |
1. Choose the Border Width Before Building the Frame
Single- and double-board frames are useful starting points, but proportion matters more than adding extra rows. A wide border can look substantial on a large deck while taking up too much of a small seating area.
Sketch the border alongside furniture and circulation space. Include board widths, gaps and the main runs so that the completed layout can be assessed before ordering materials.
Our pre-installation guidance helps you consider the layout before cutting and fitting.

2. Decide Whether to Match or Contrast the Finish
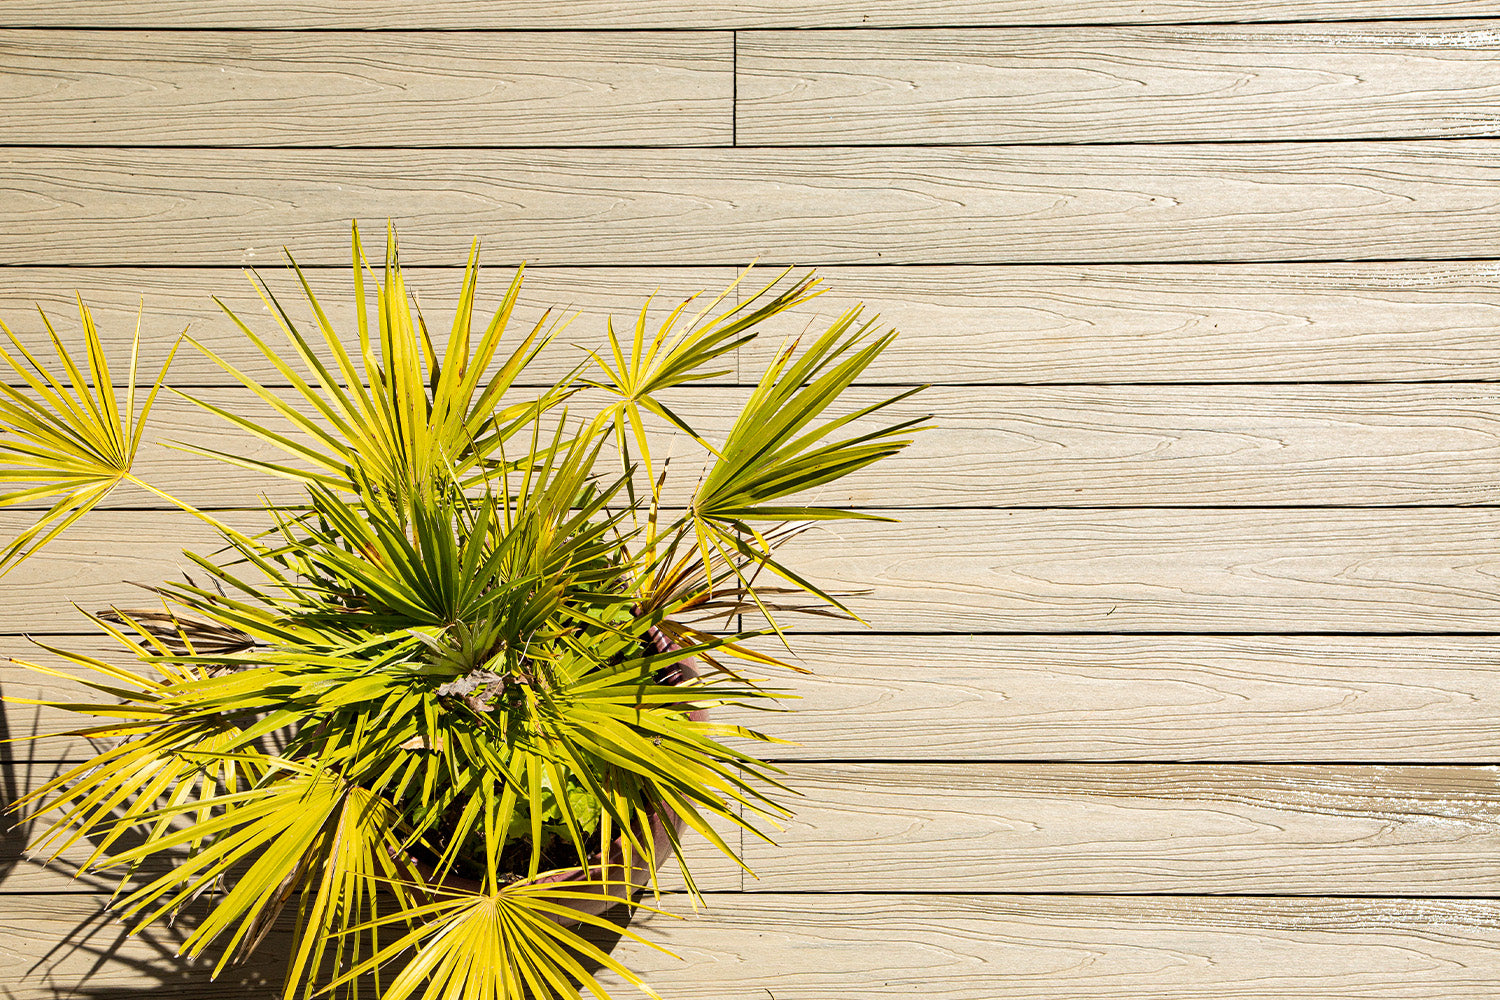
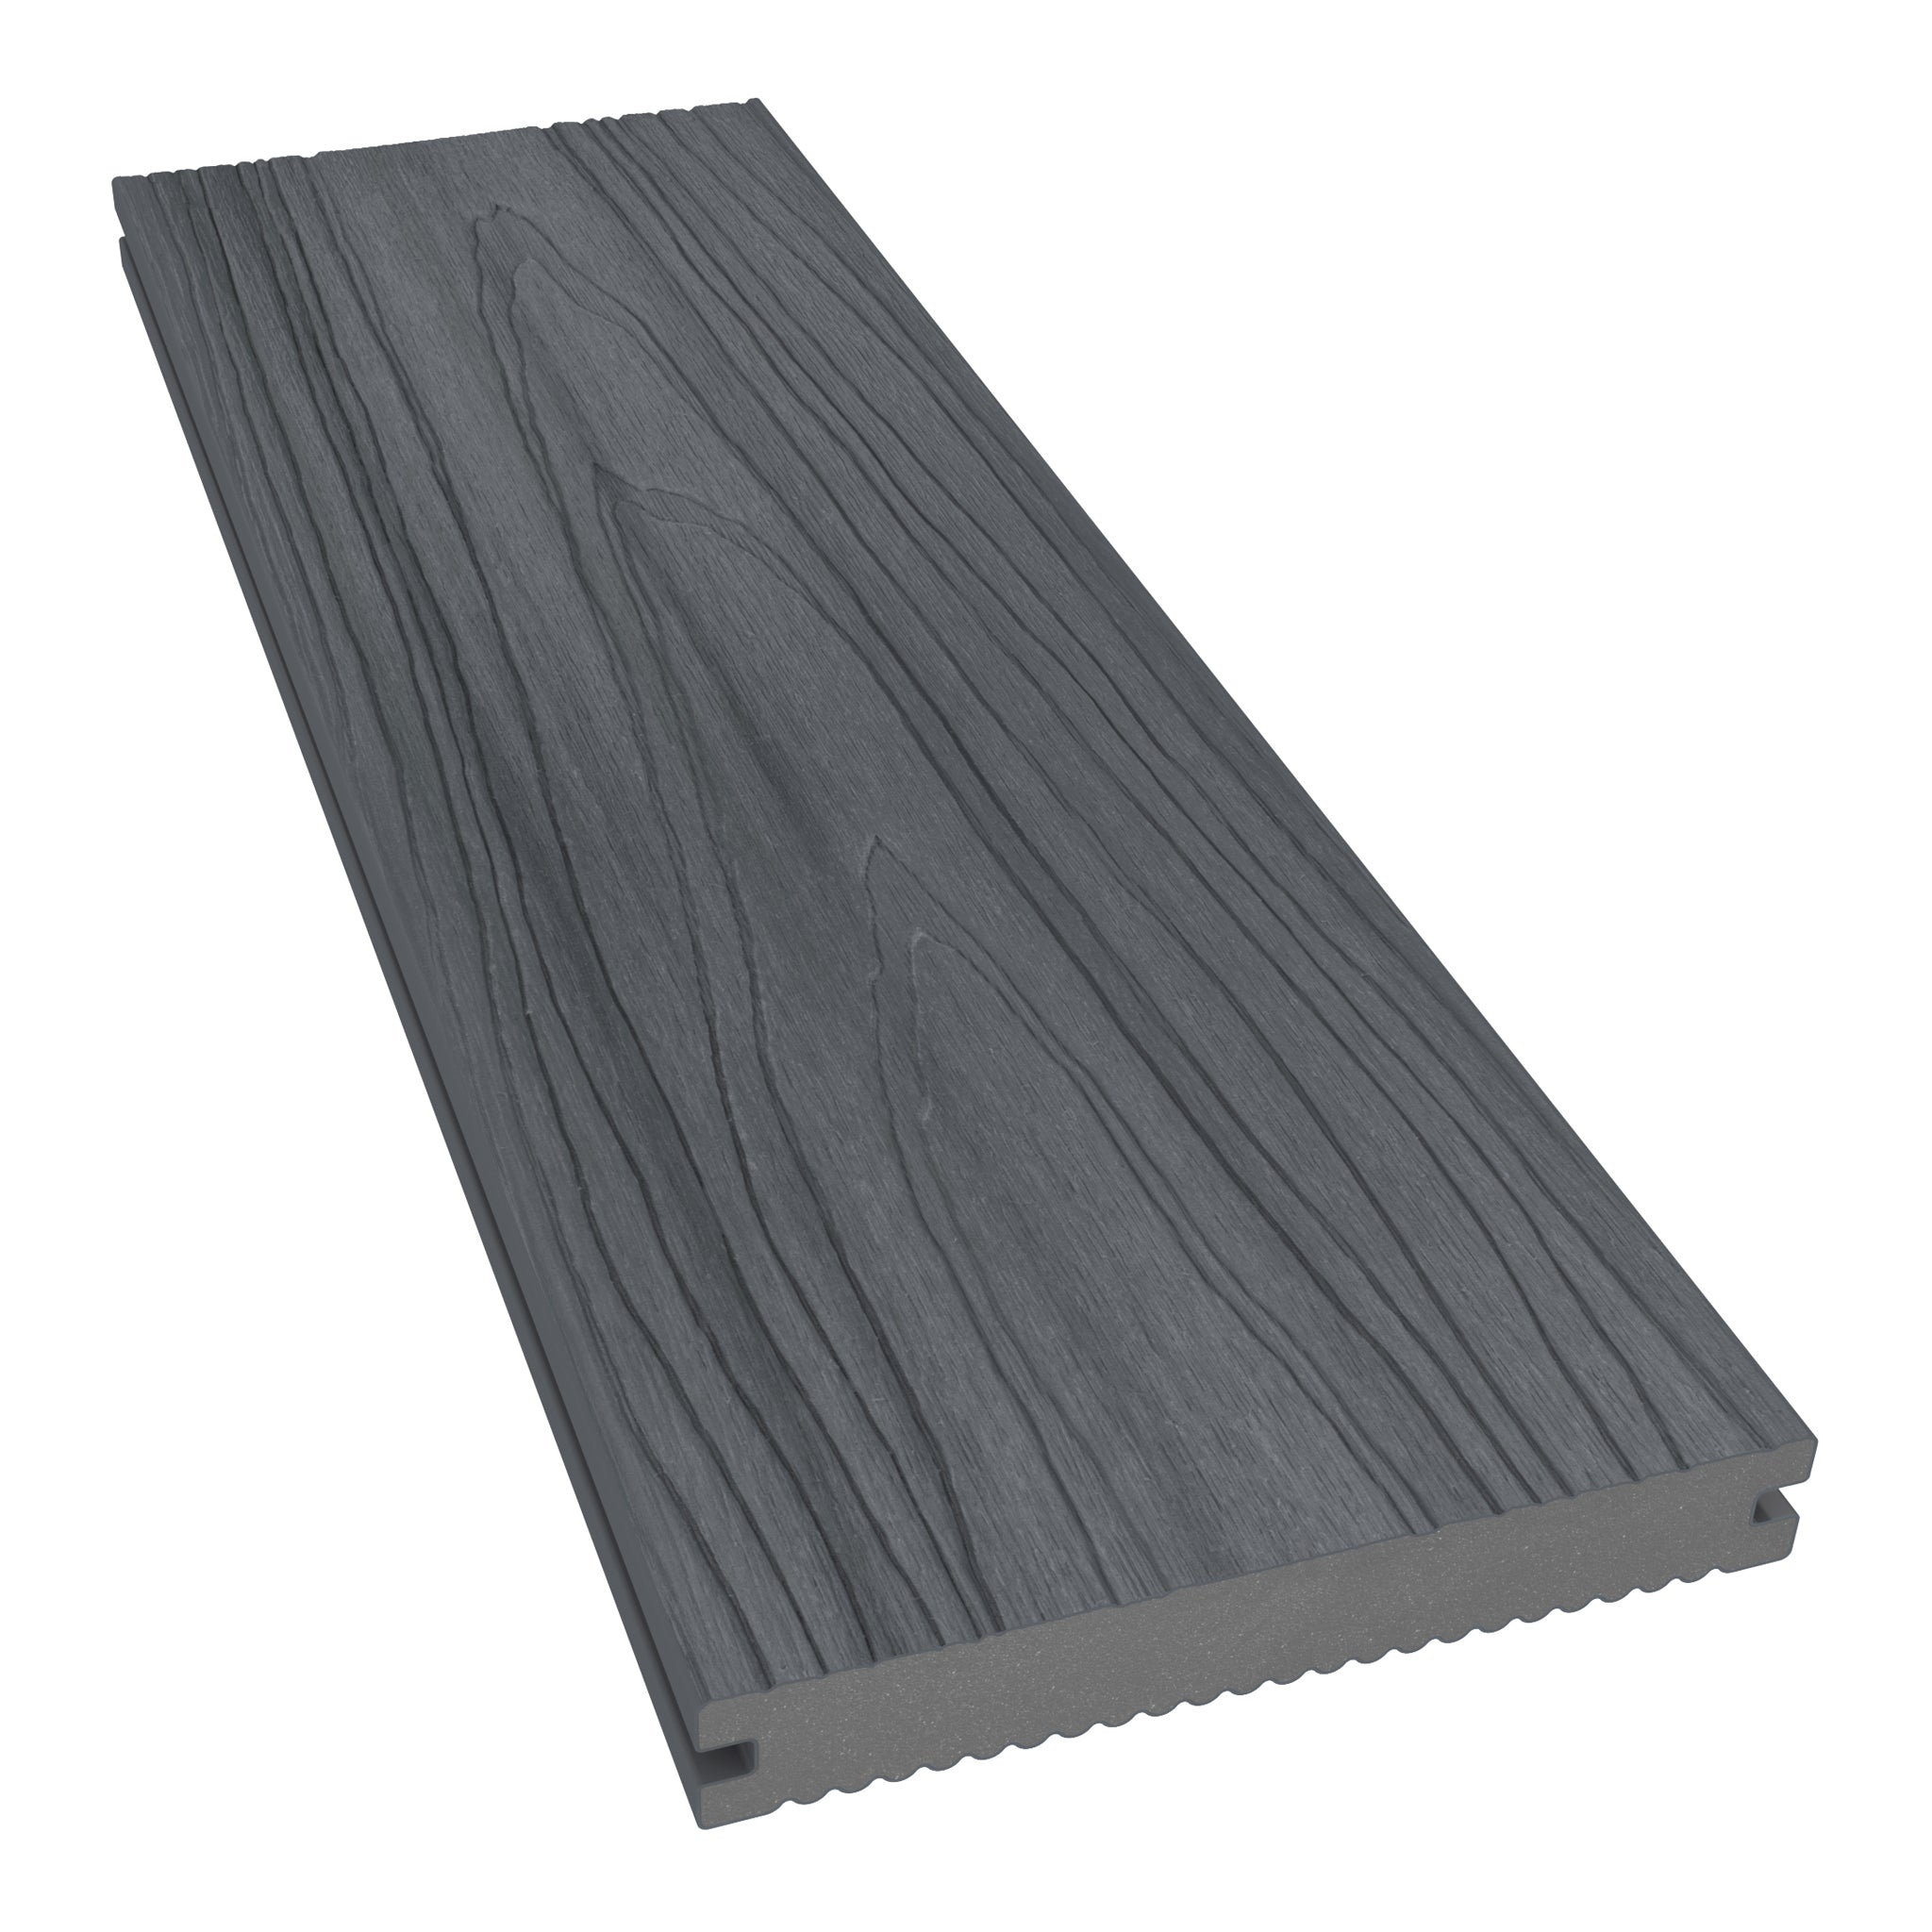
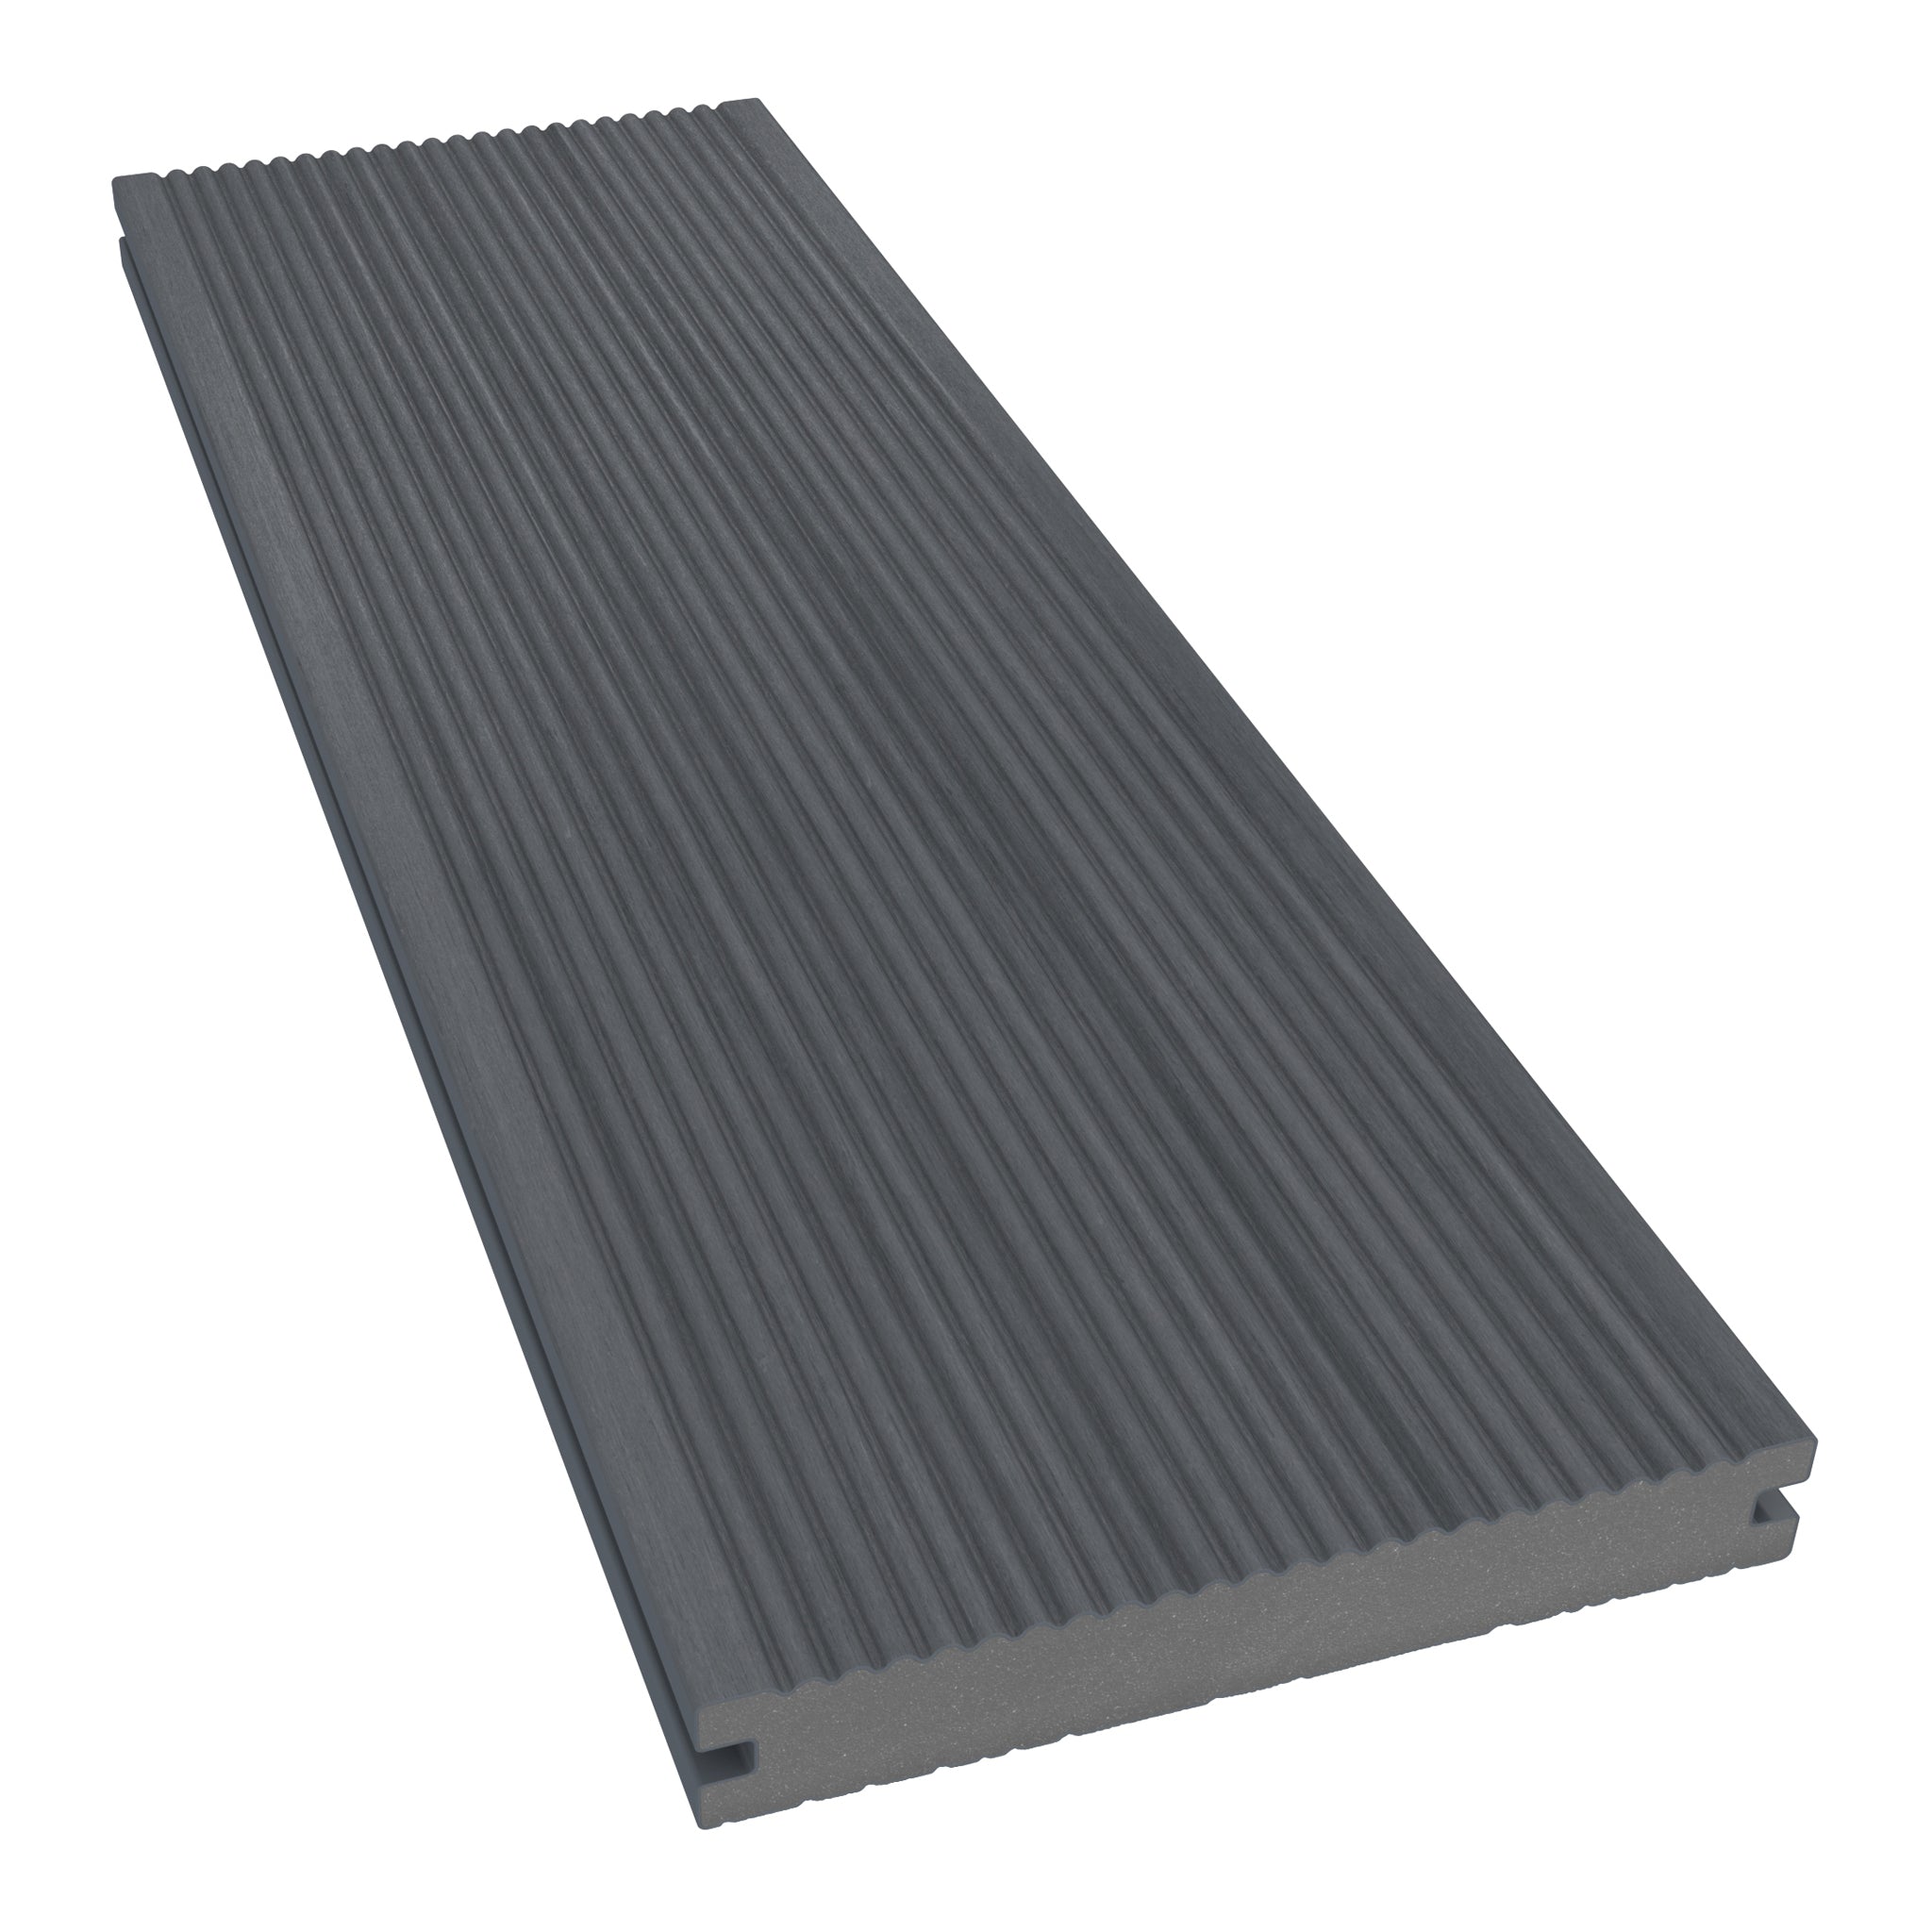
A matching border can create definition through a change in direction alone. Alternatively, a different approved surface texture can add detail while retaining a consistent colour.
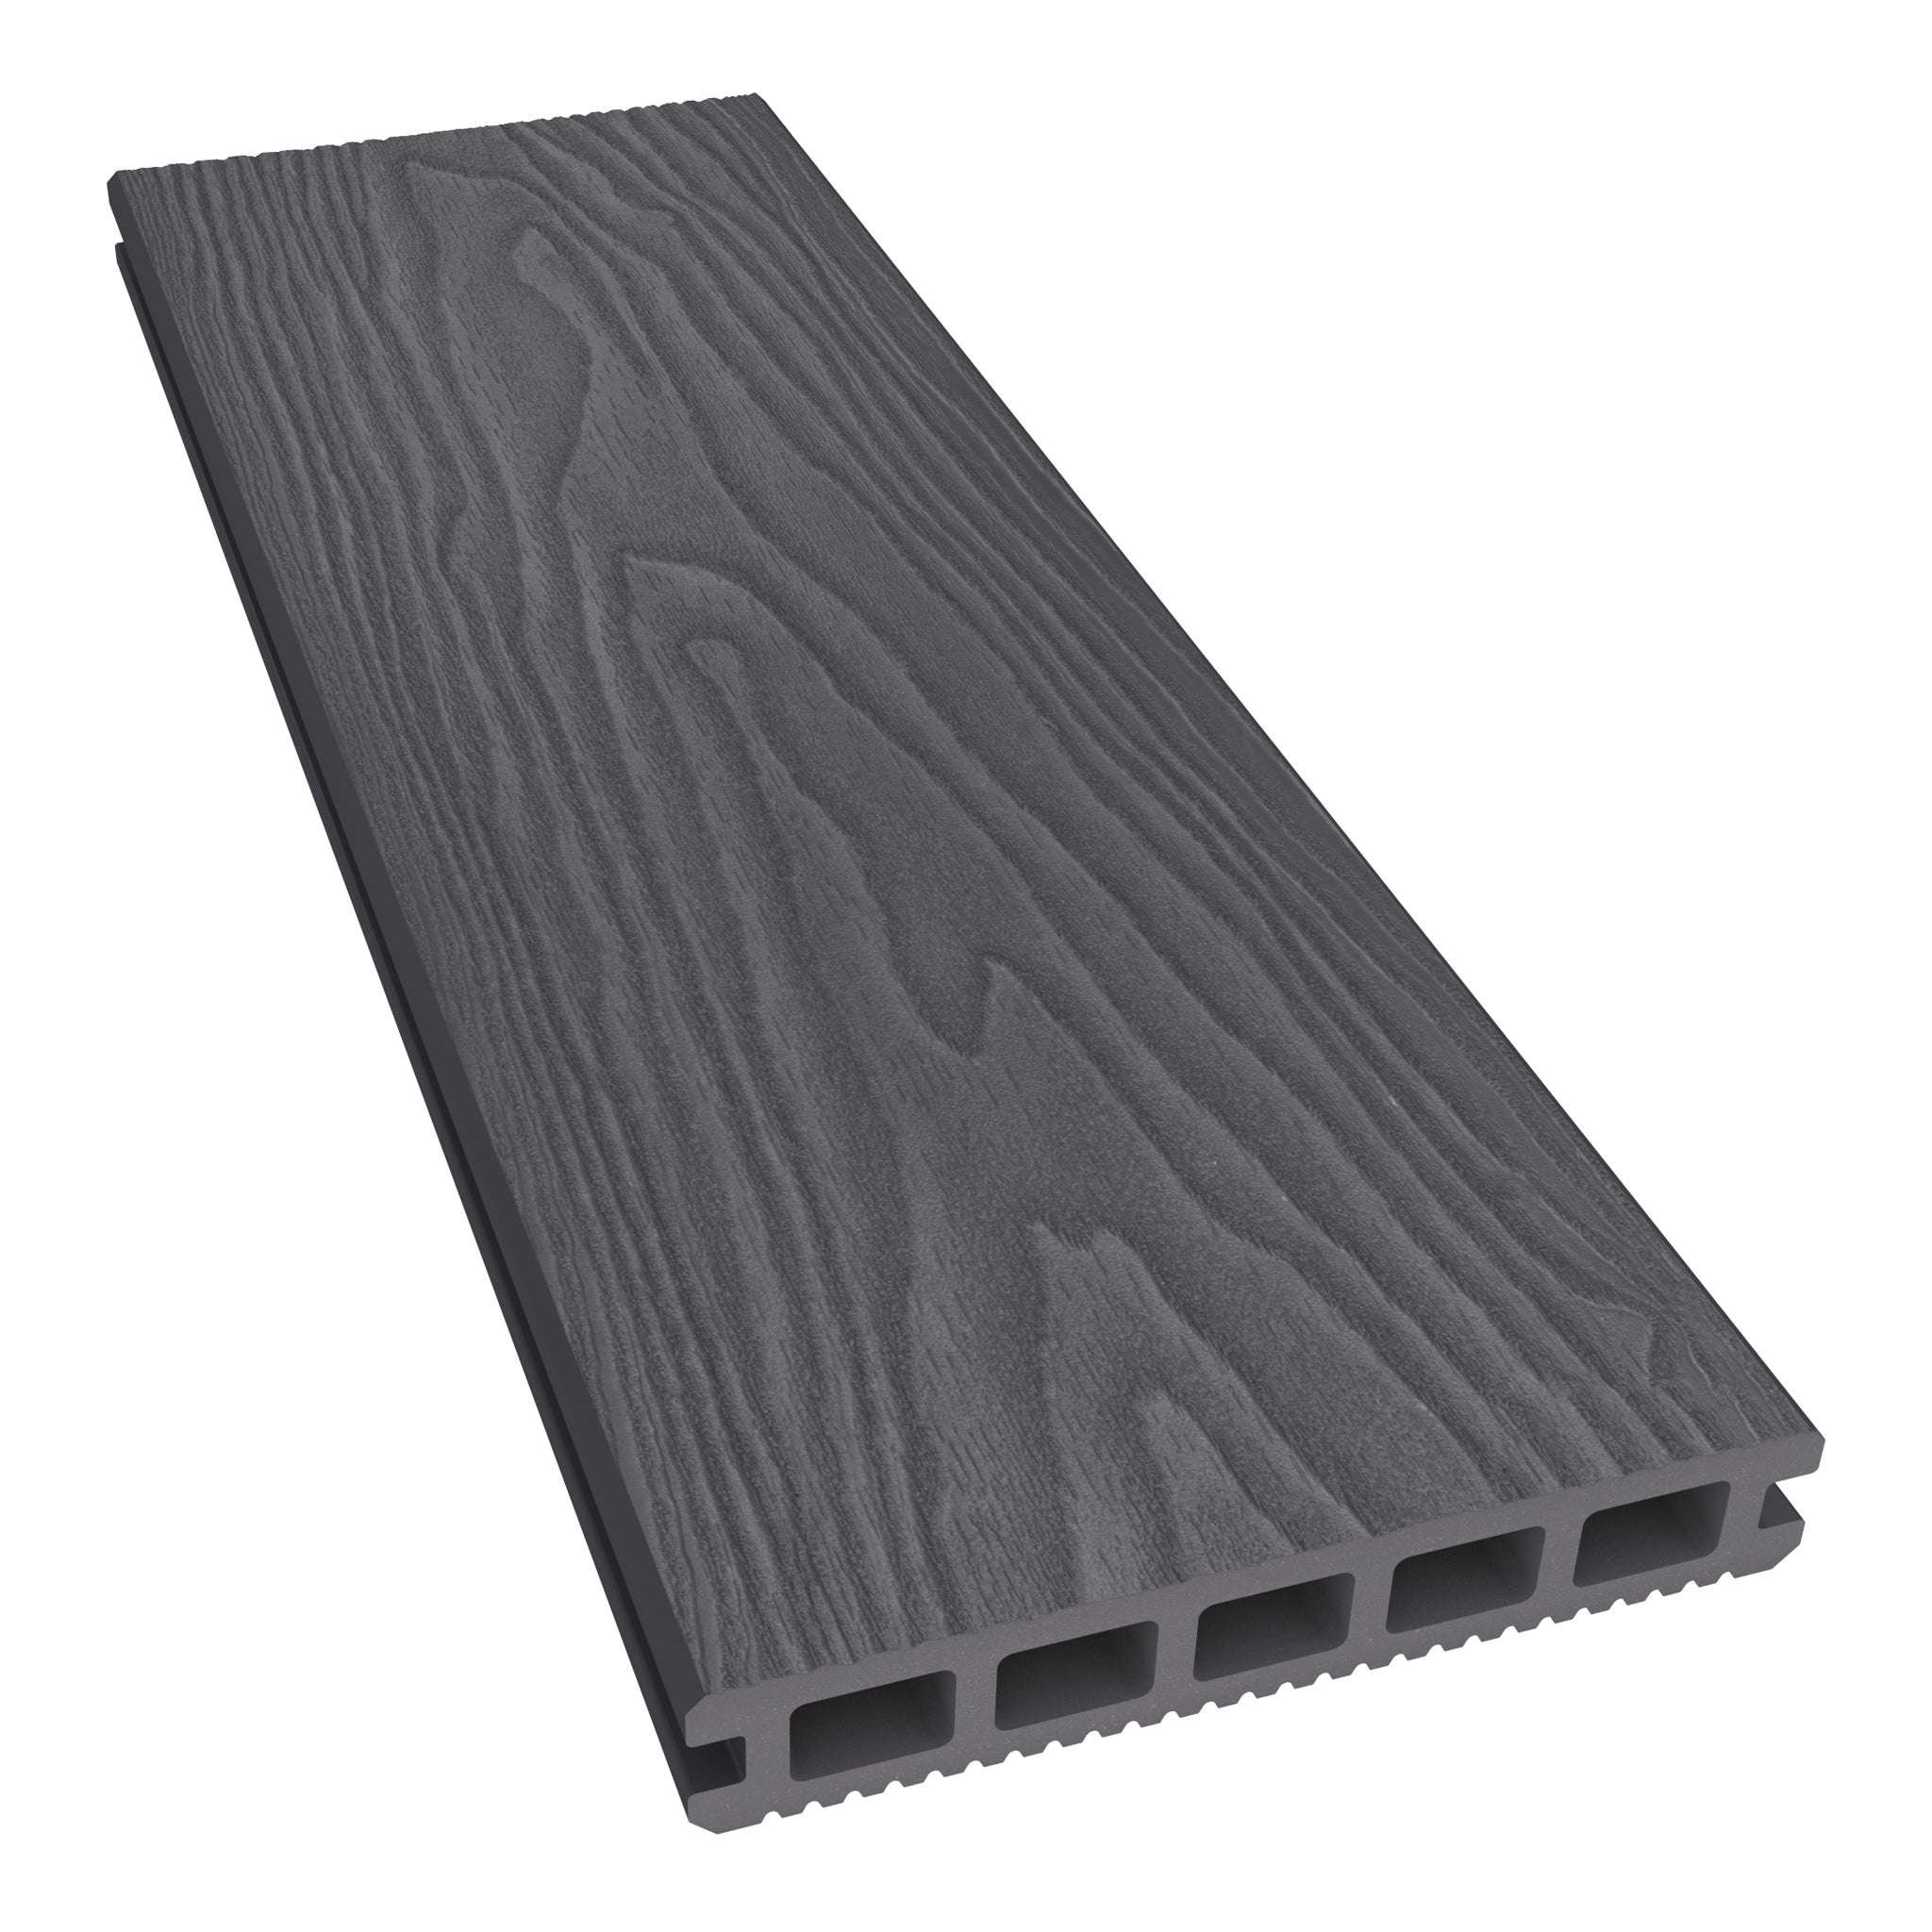
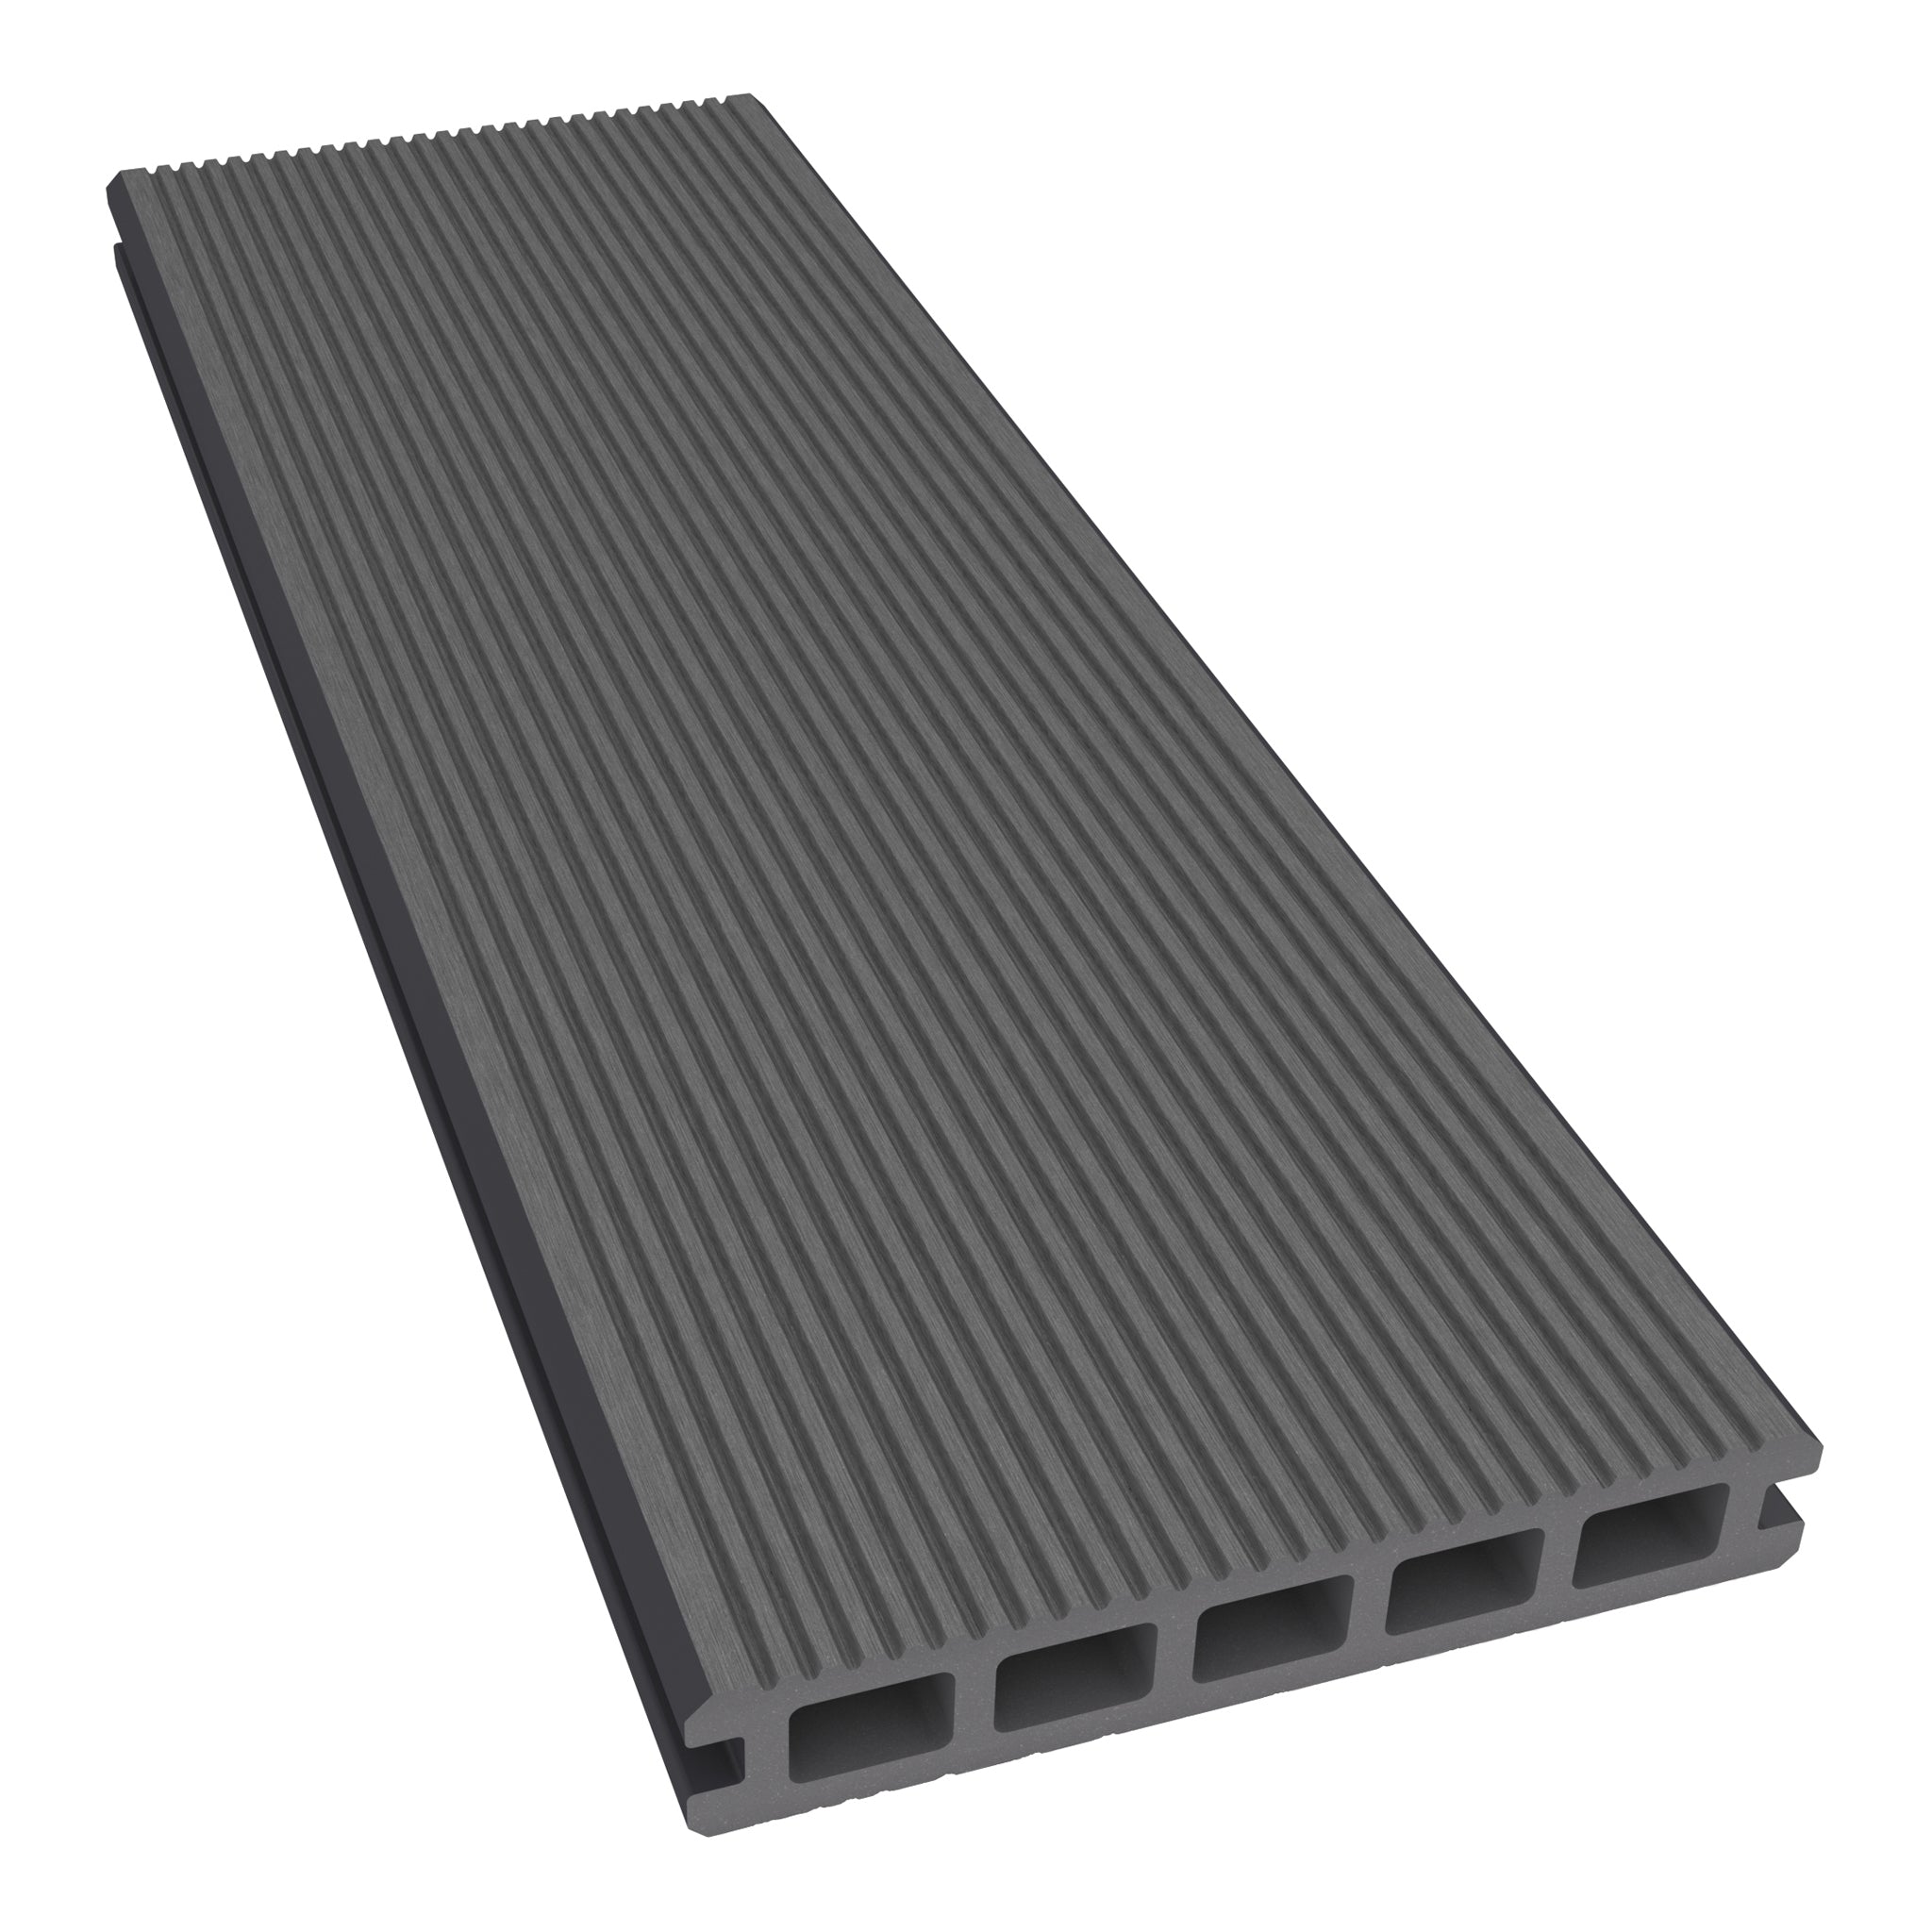
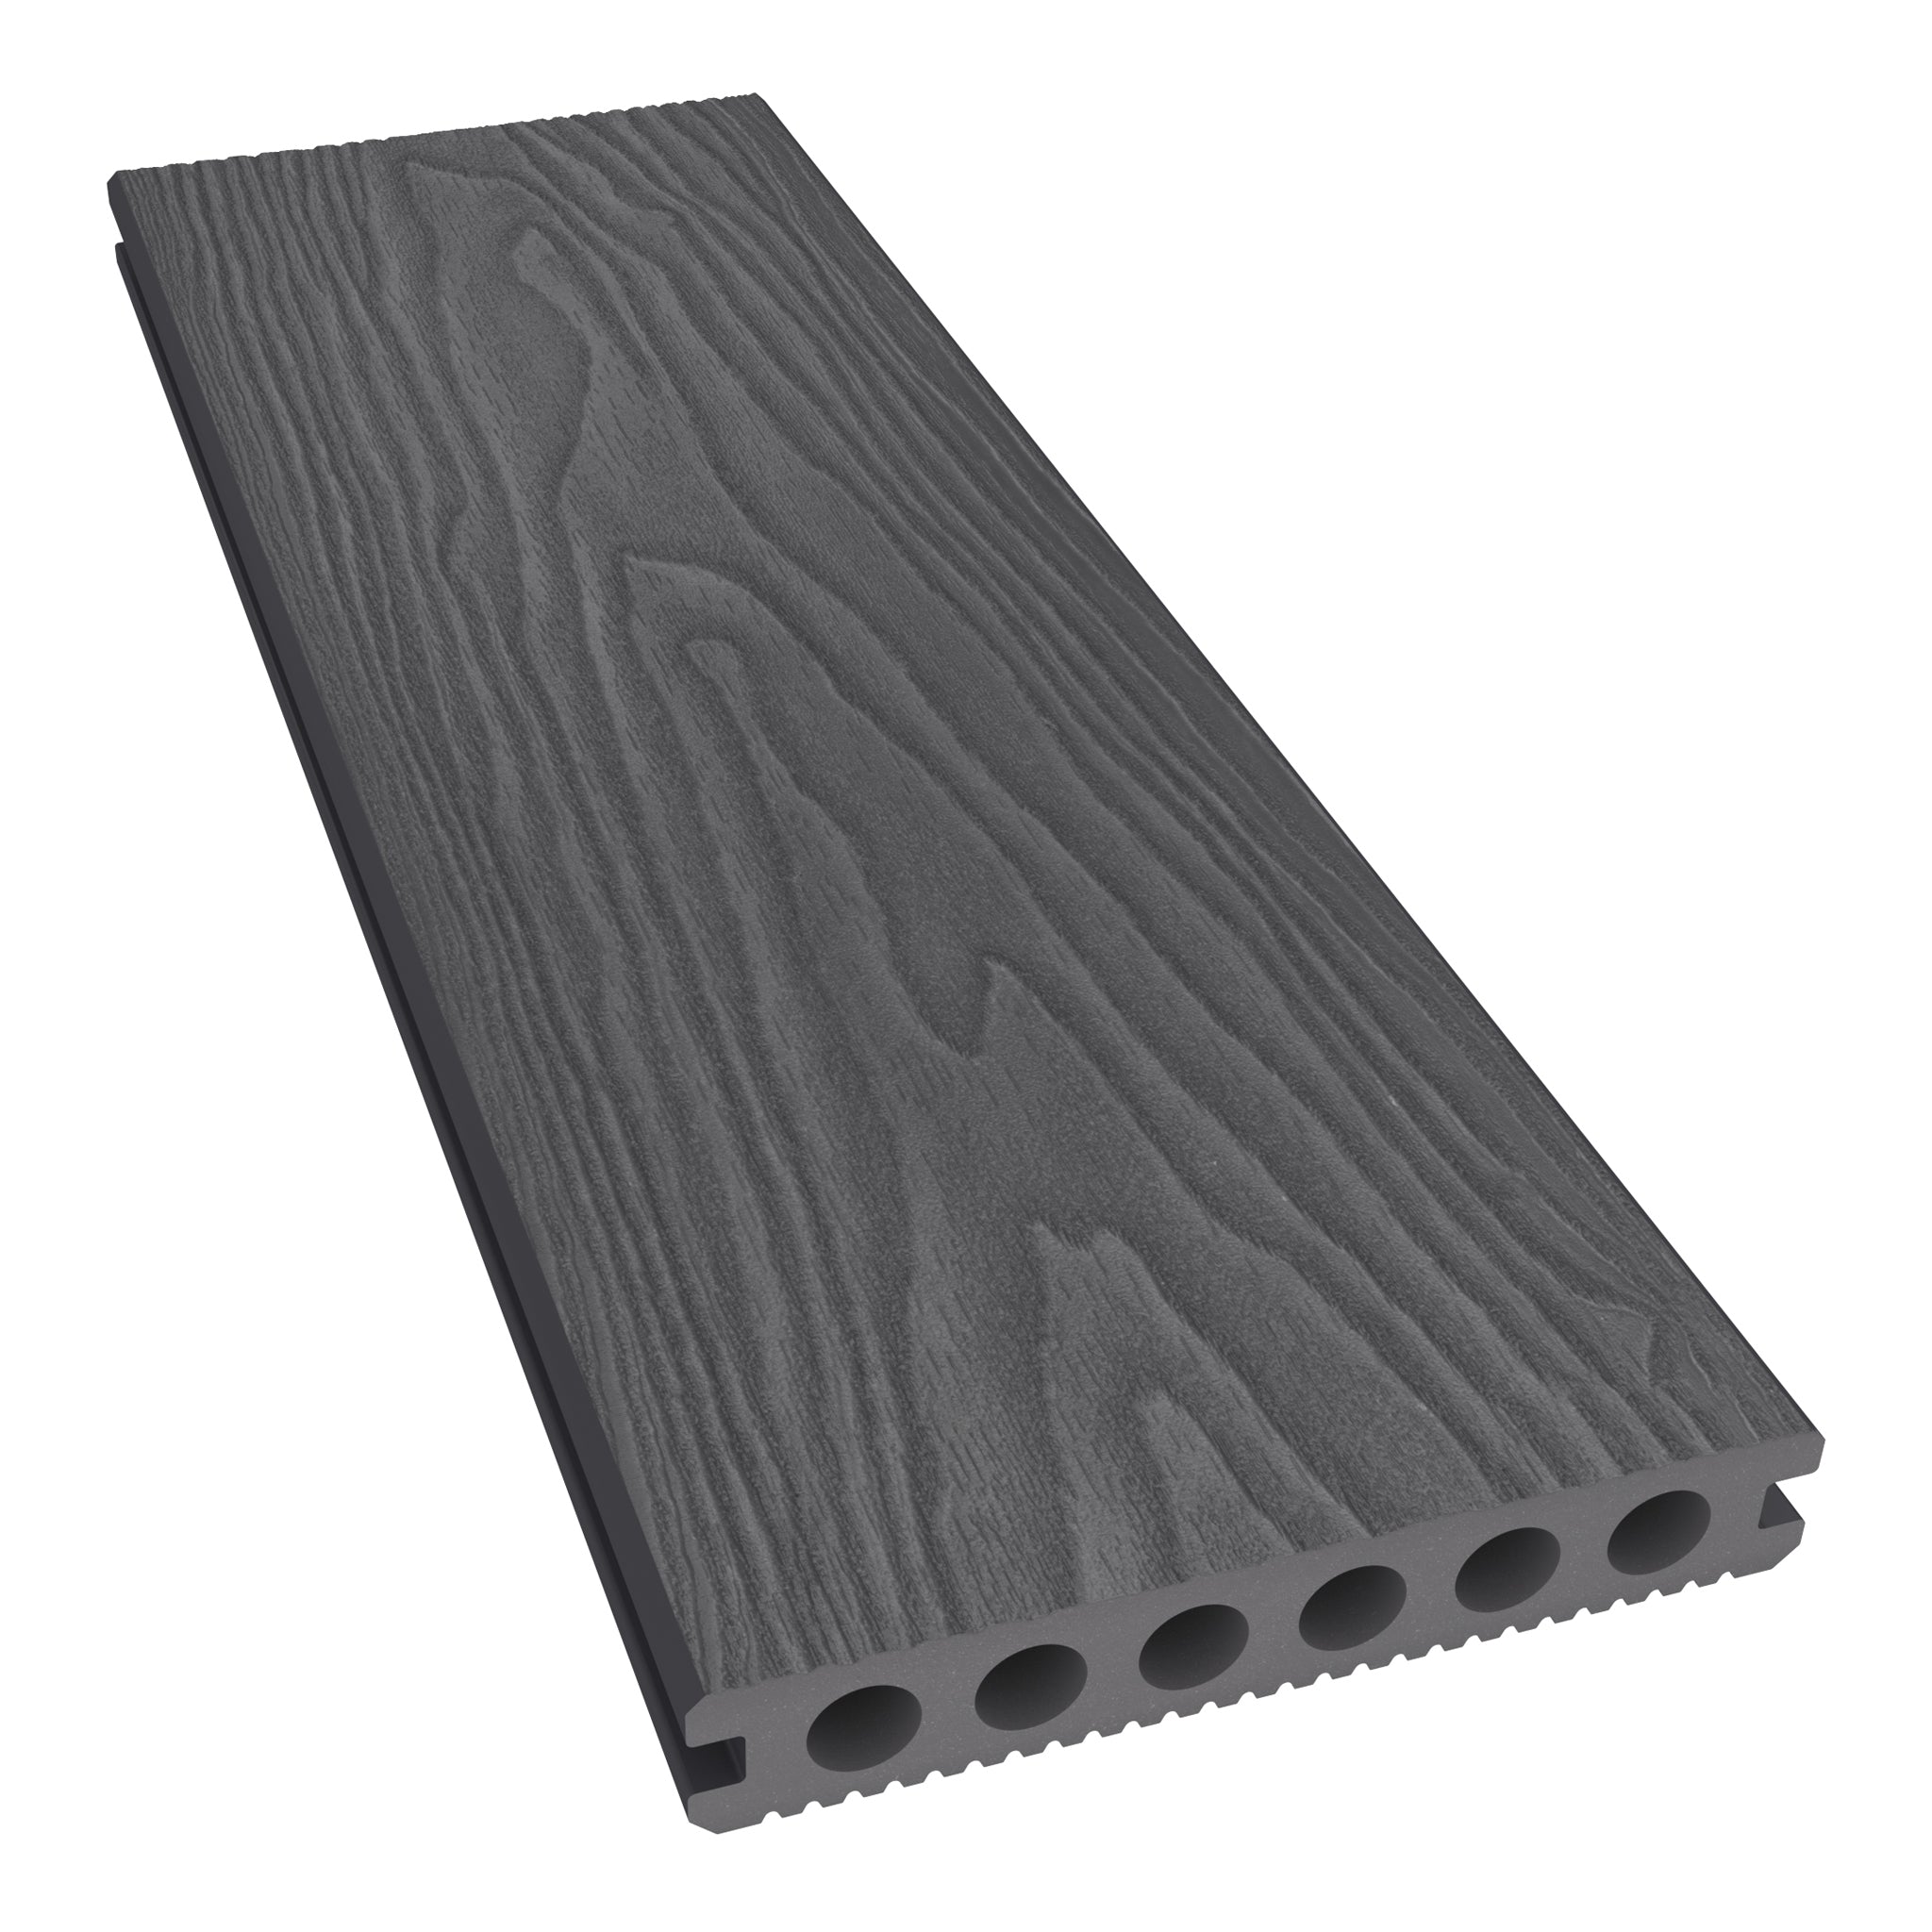
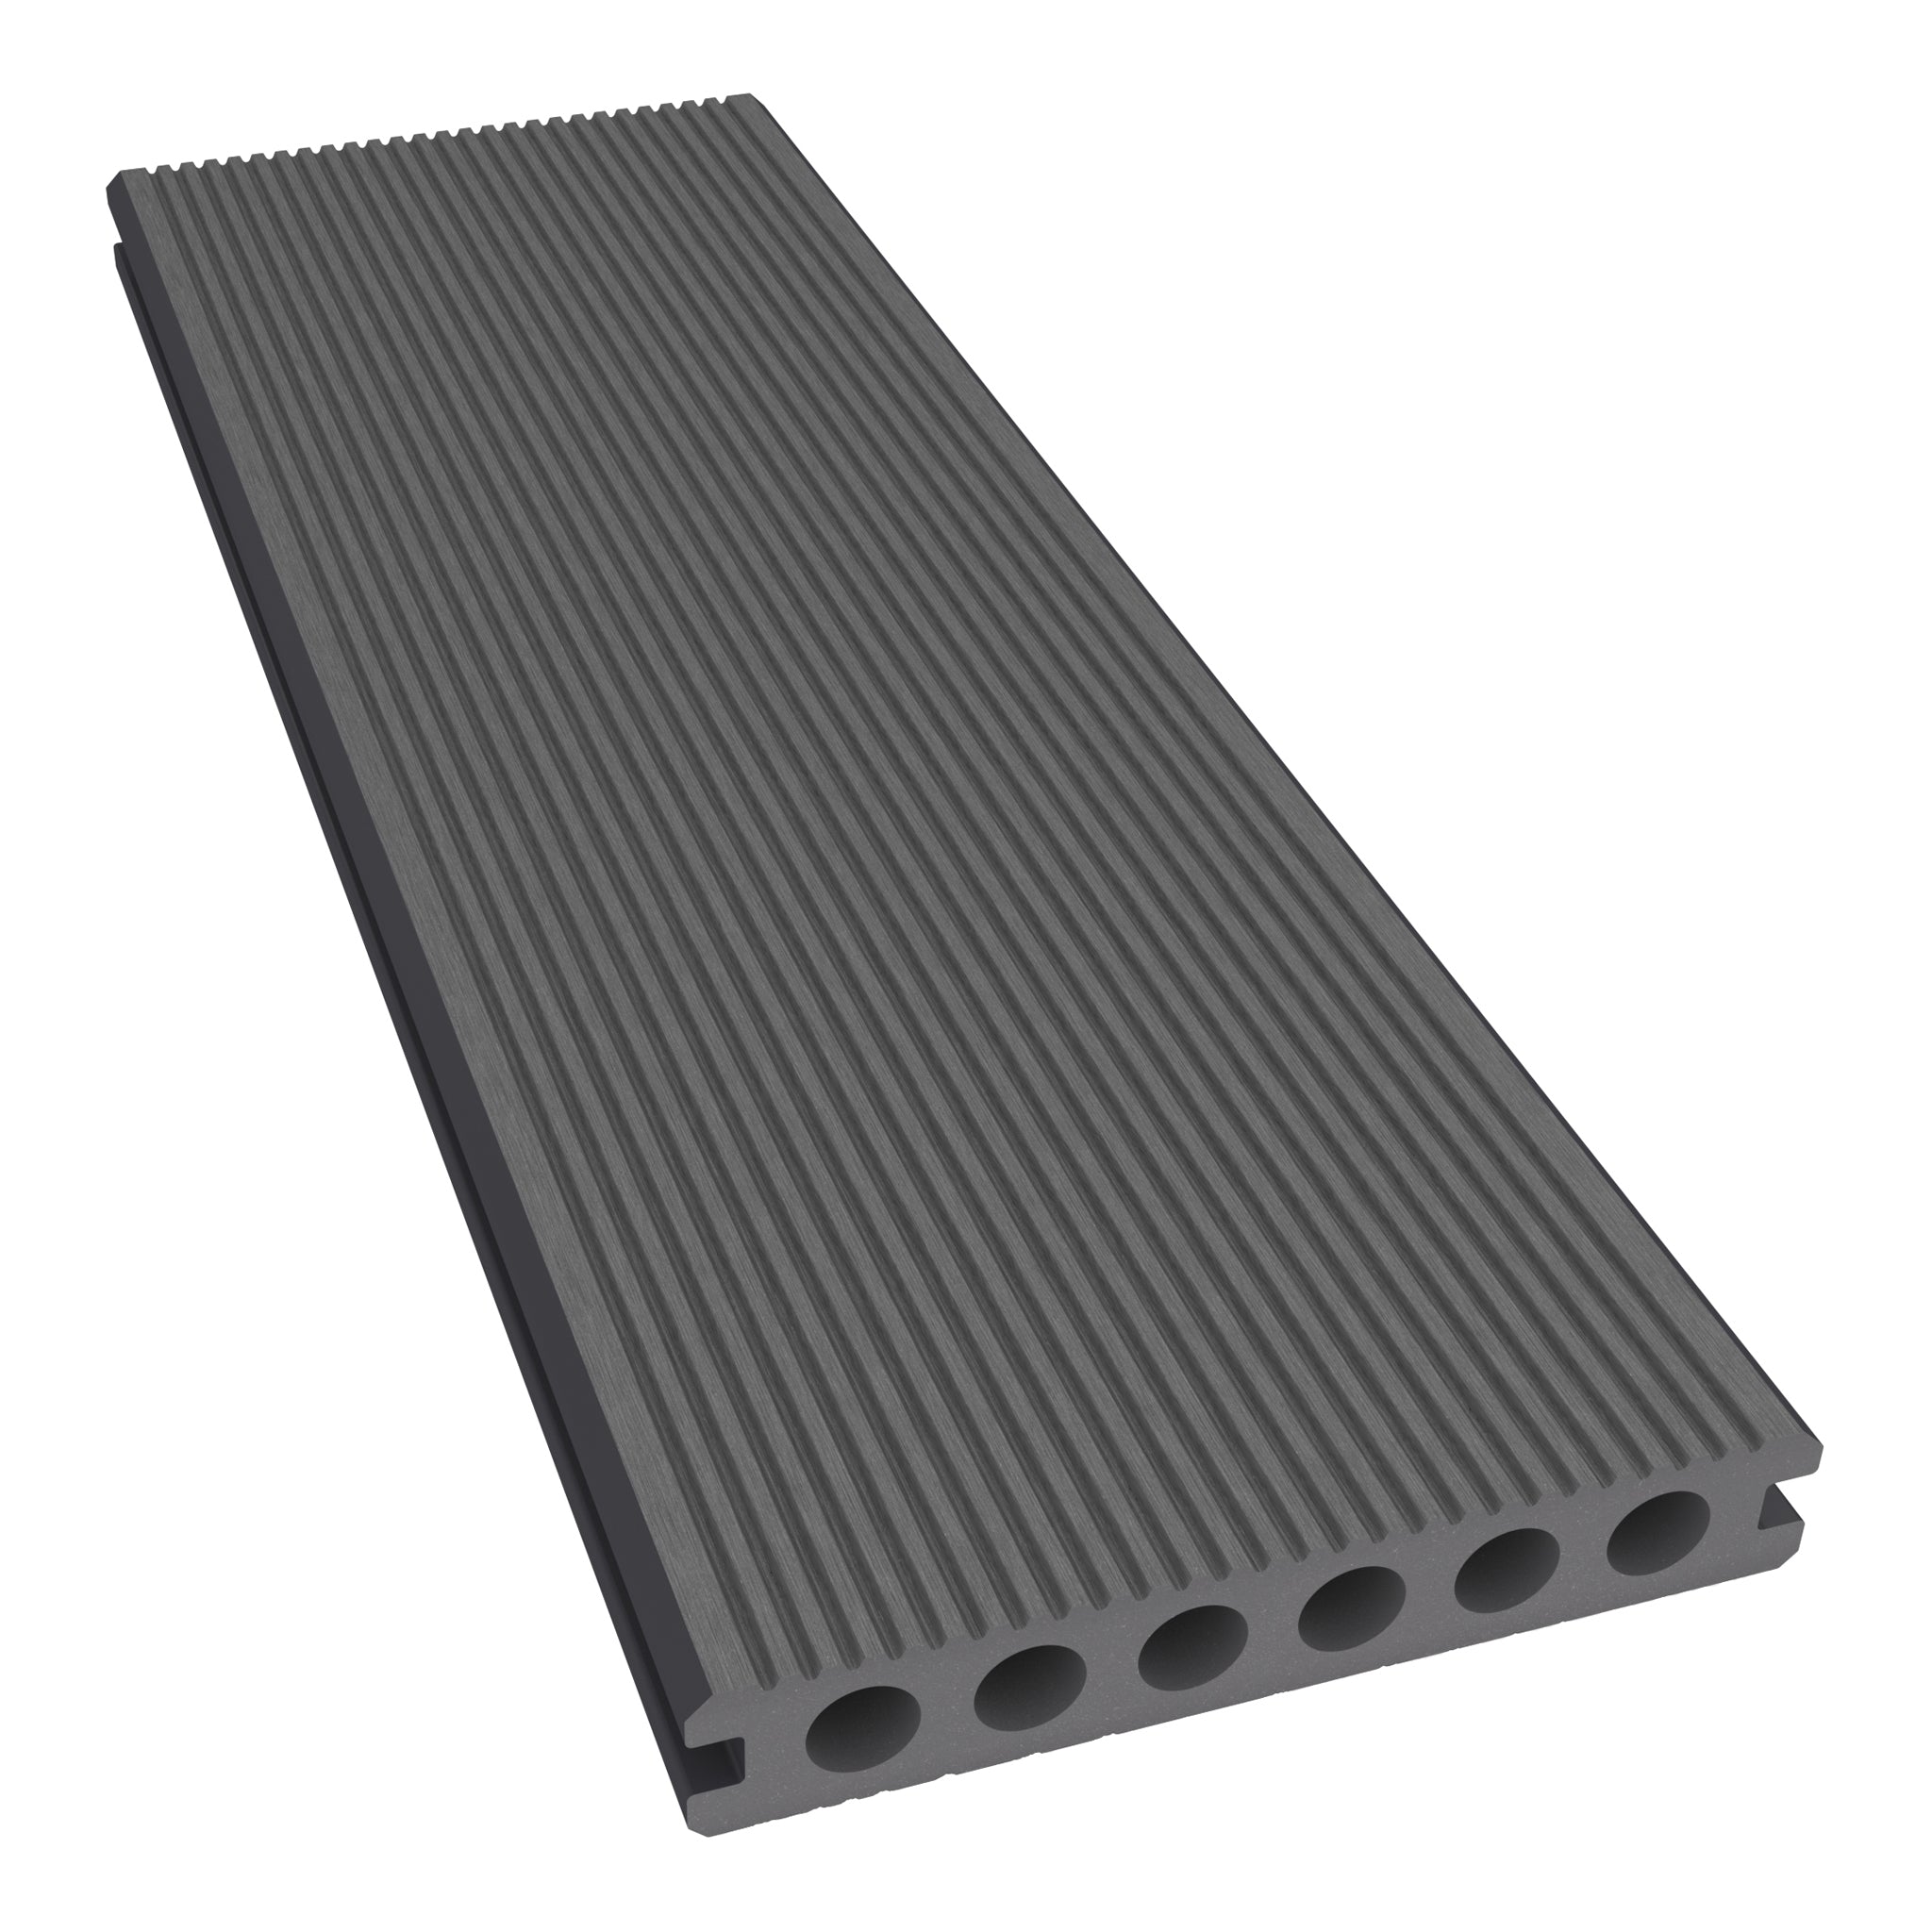
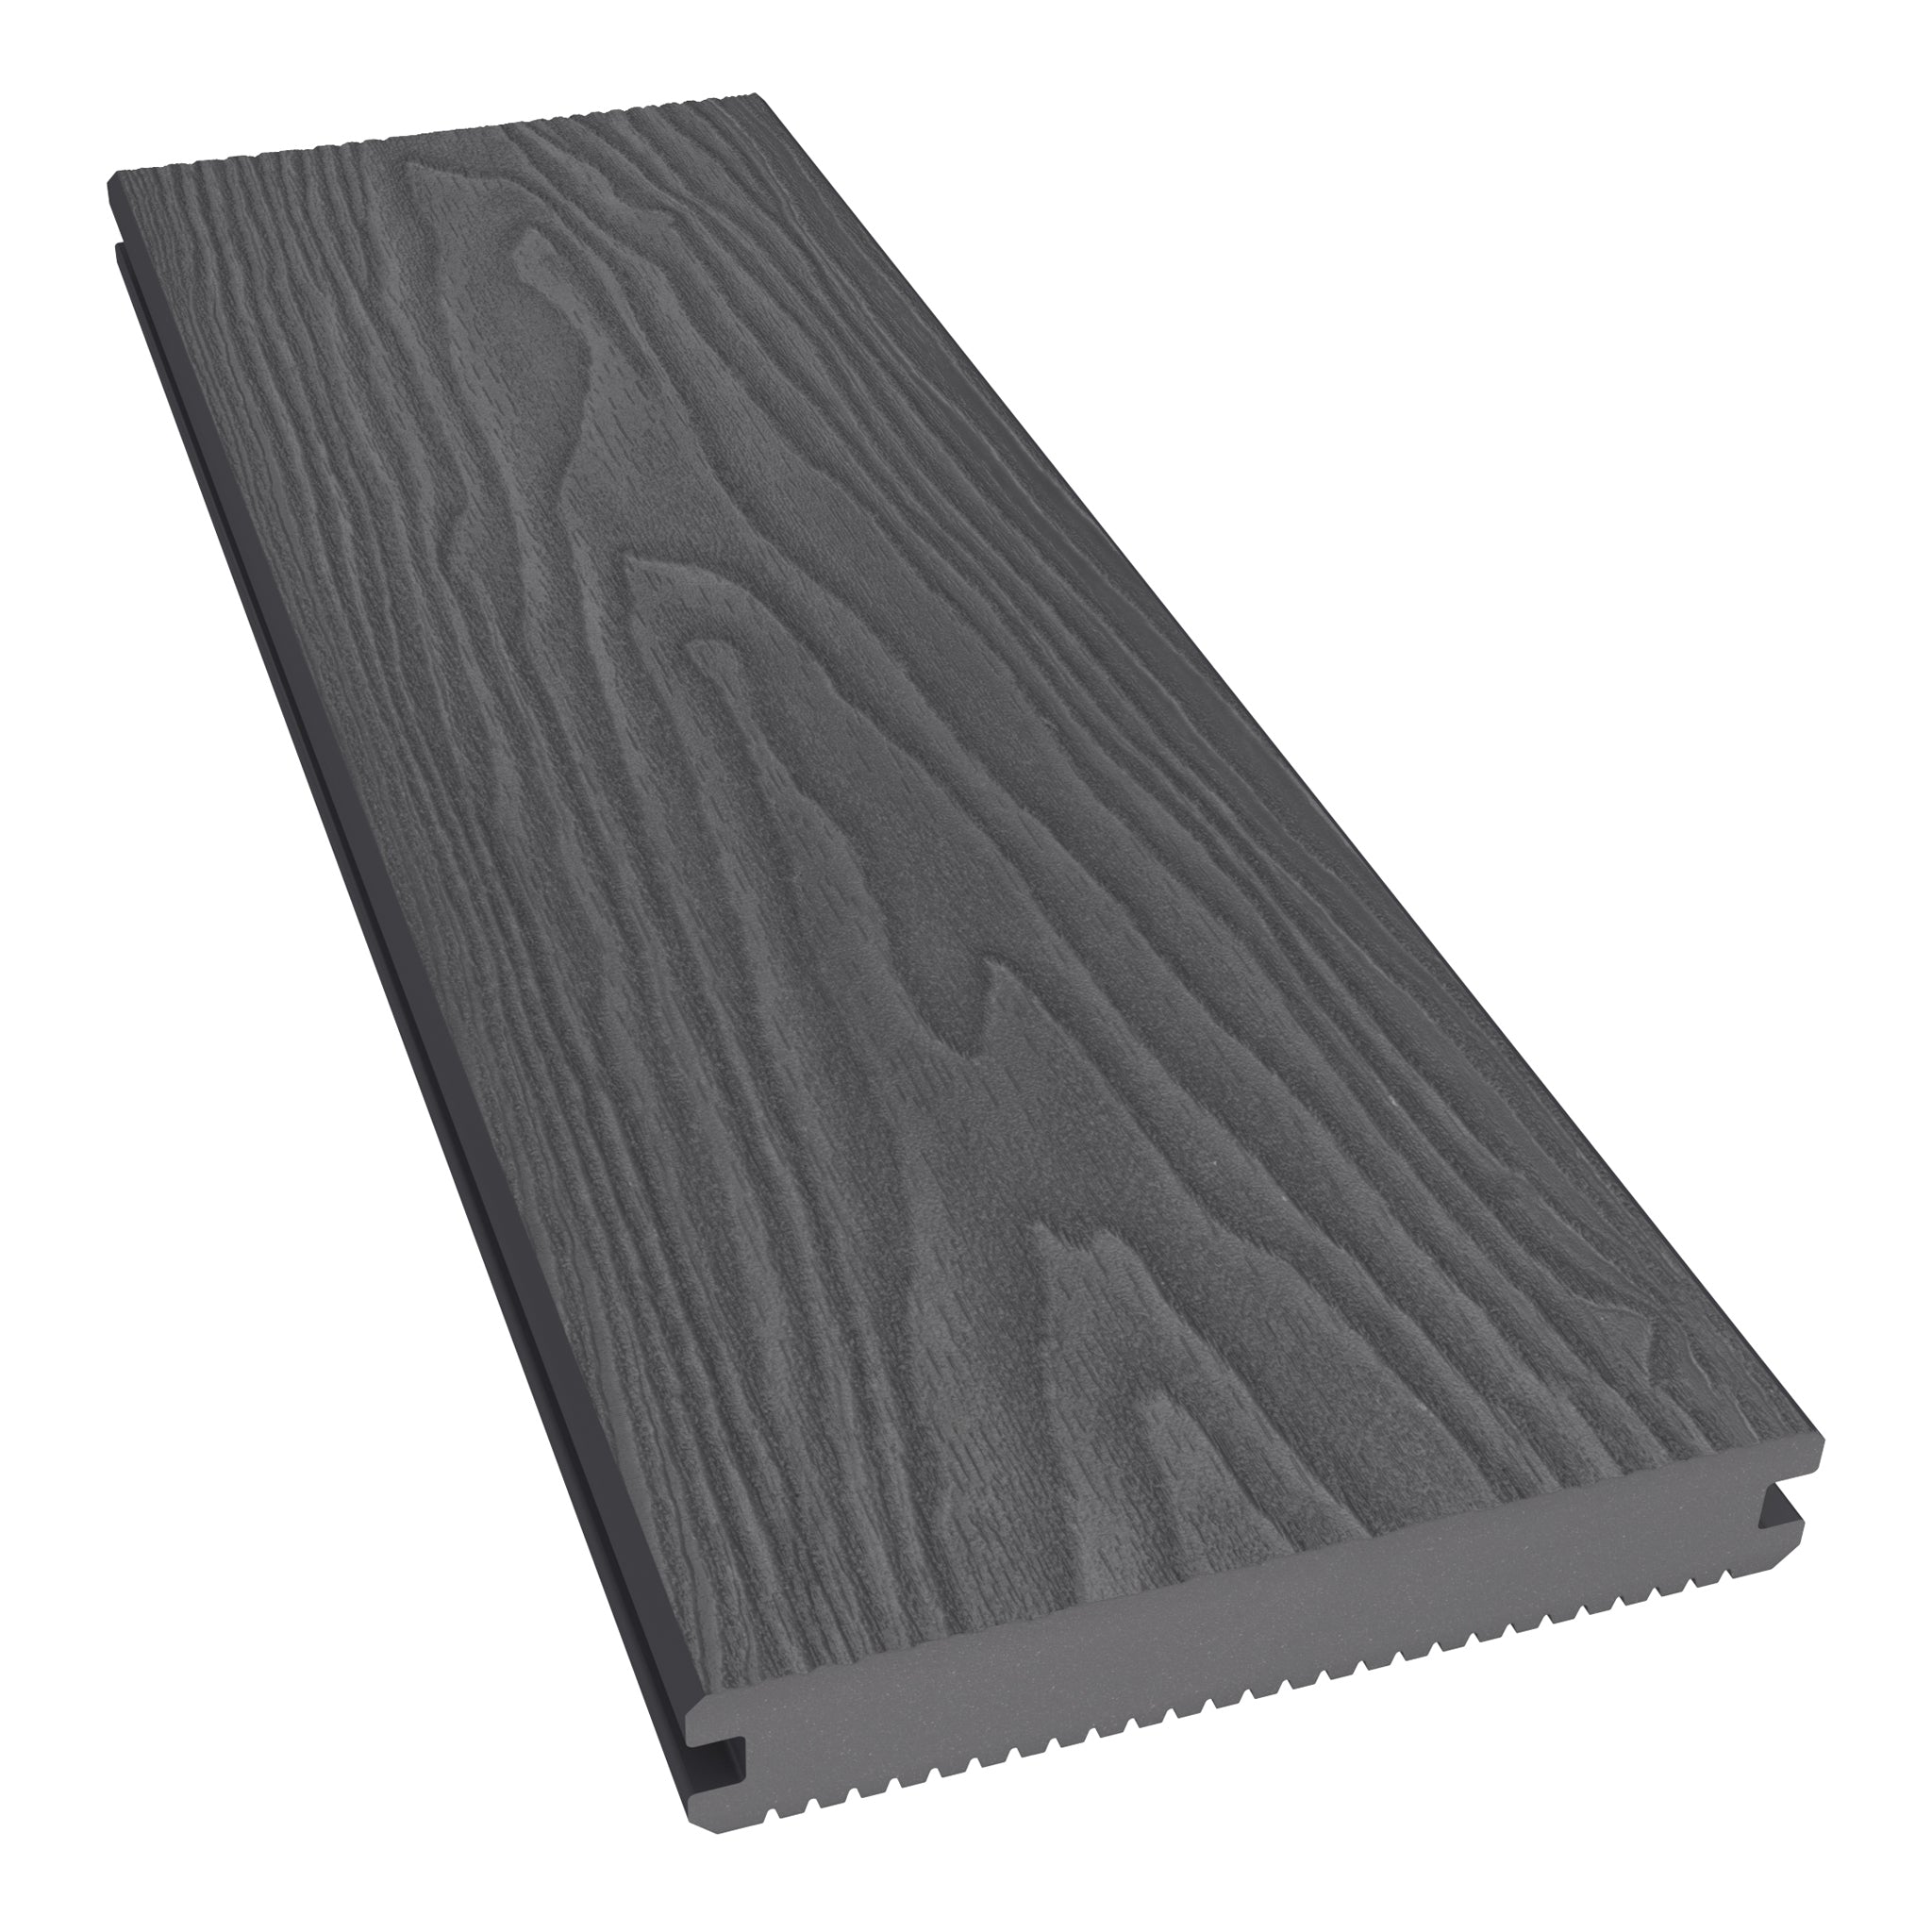
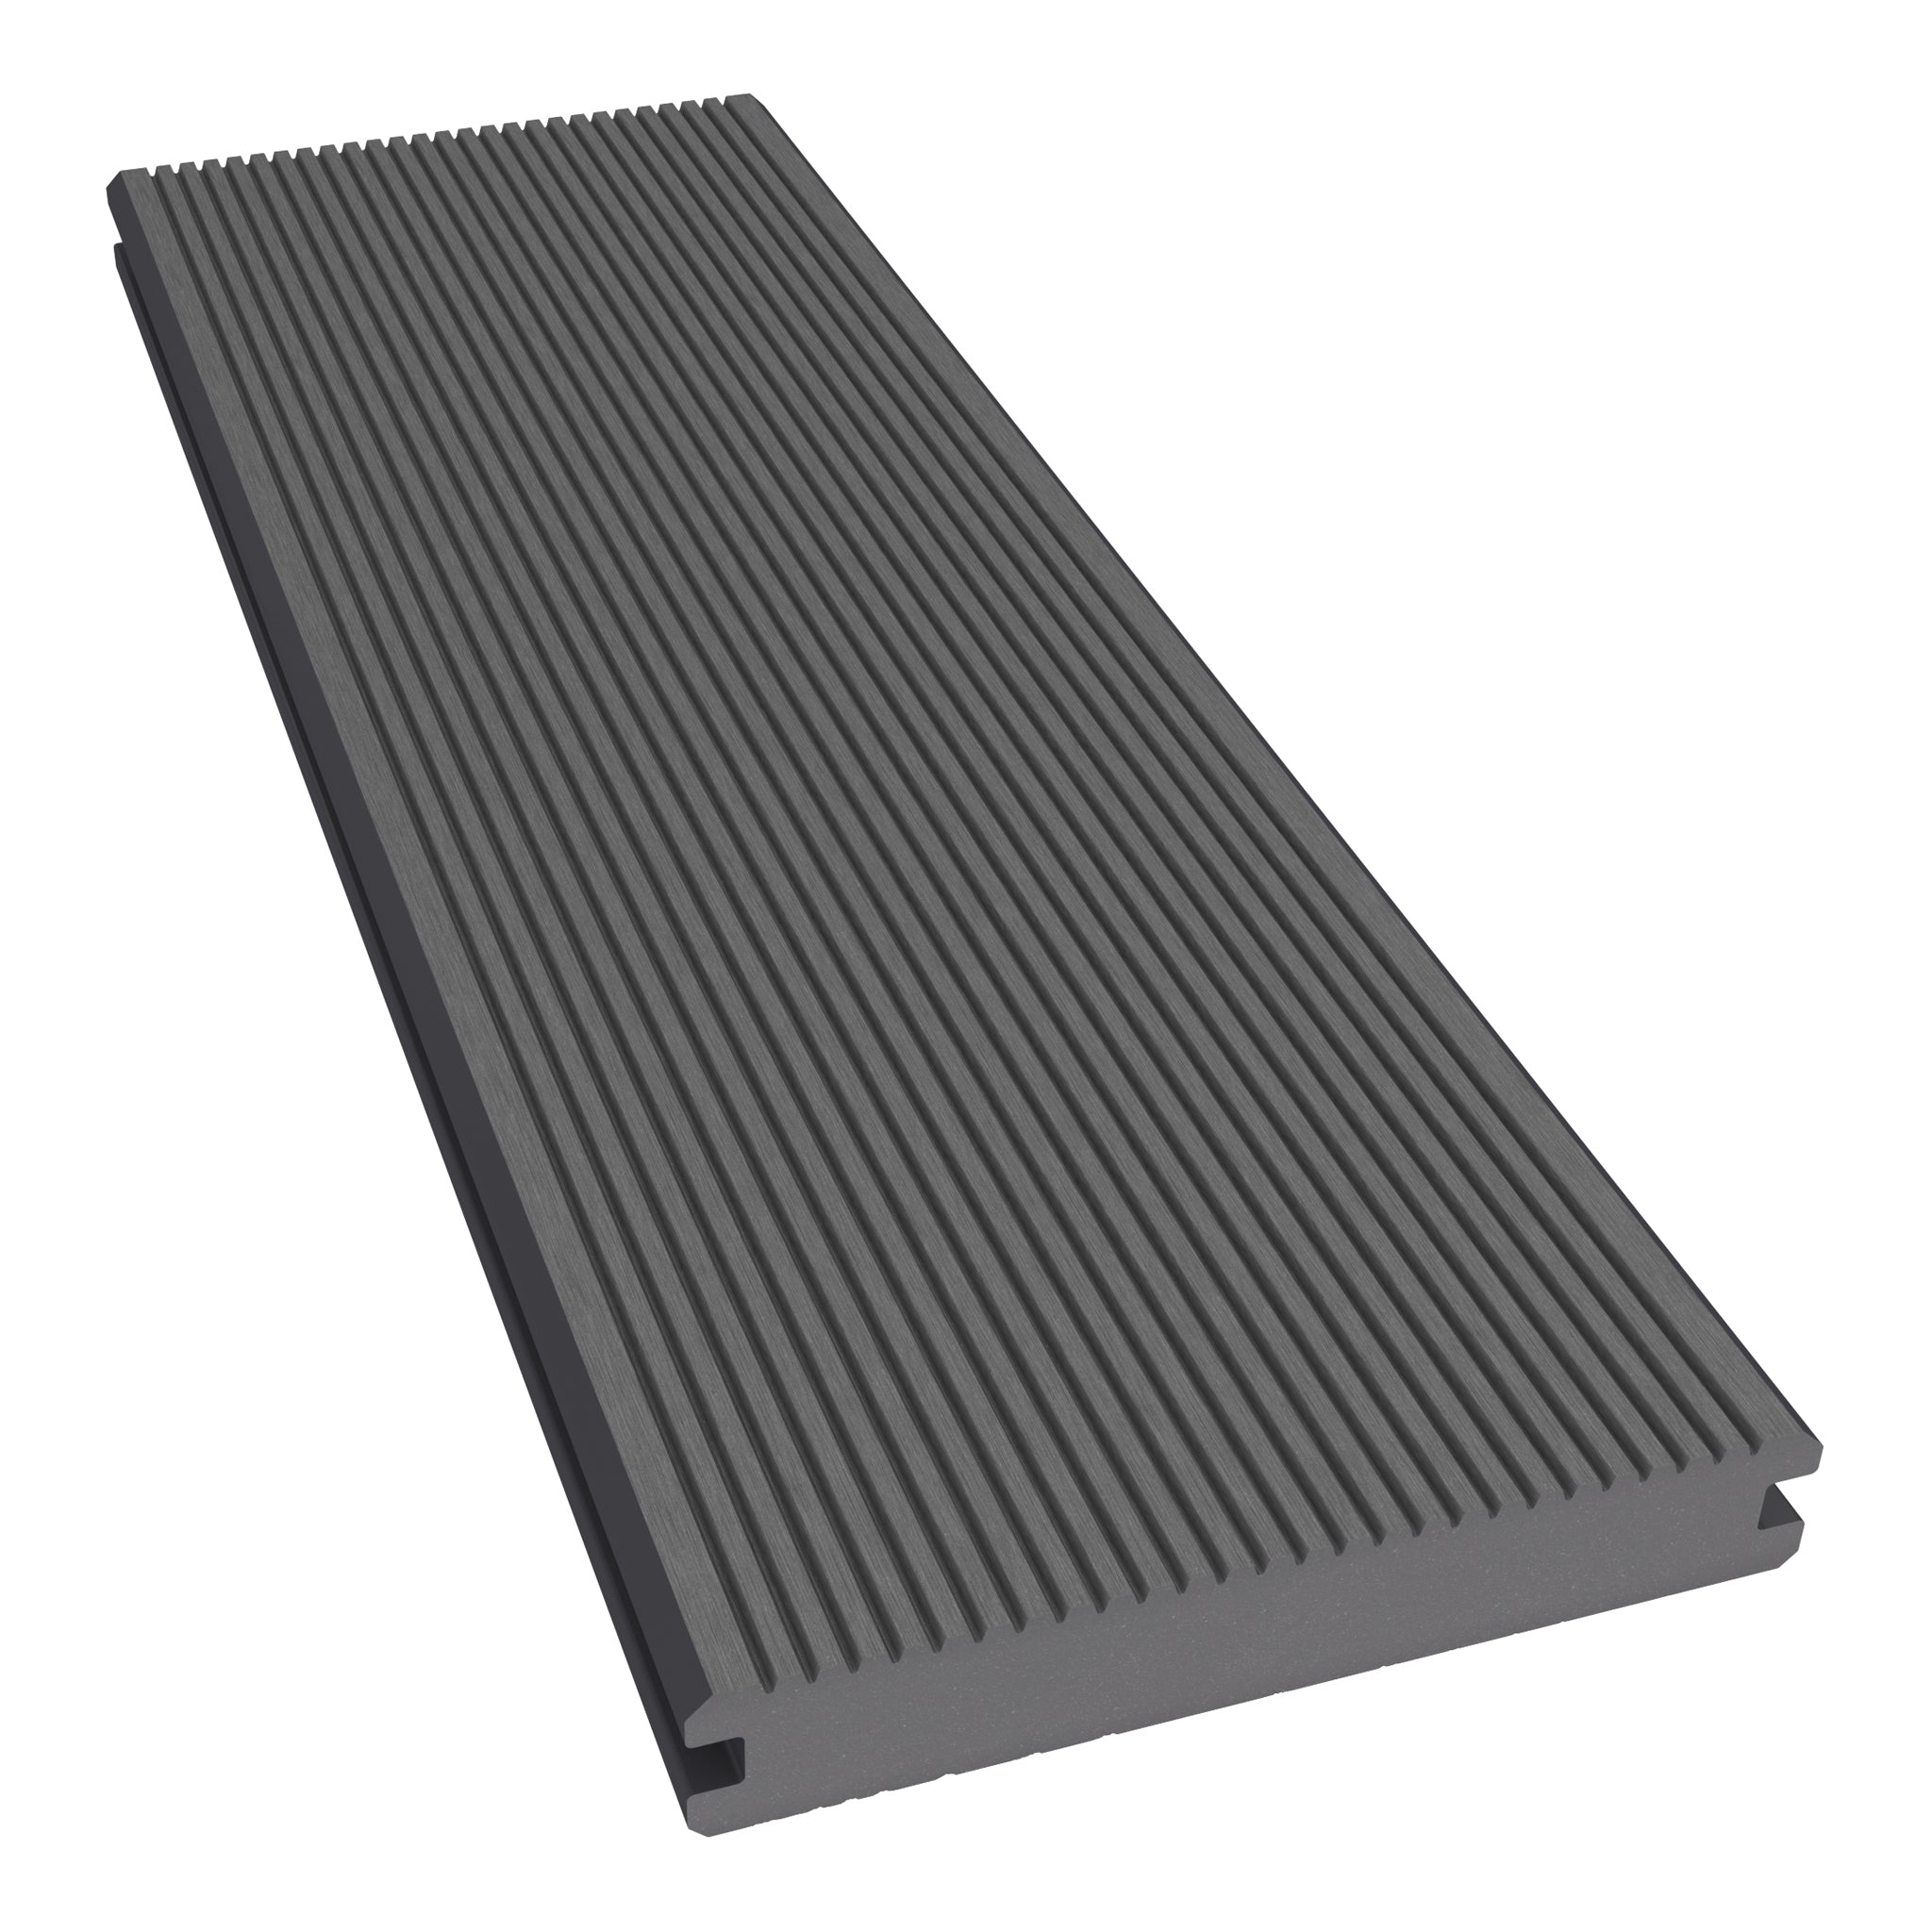
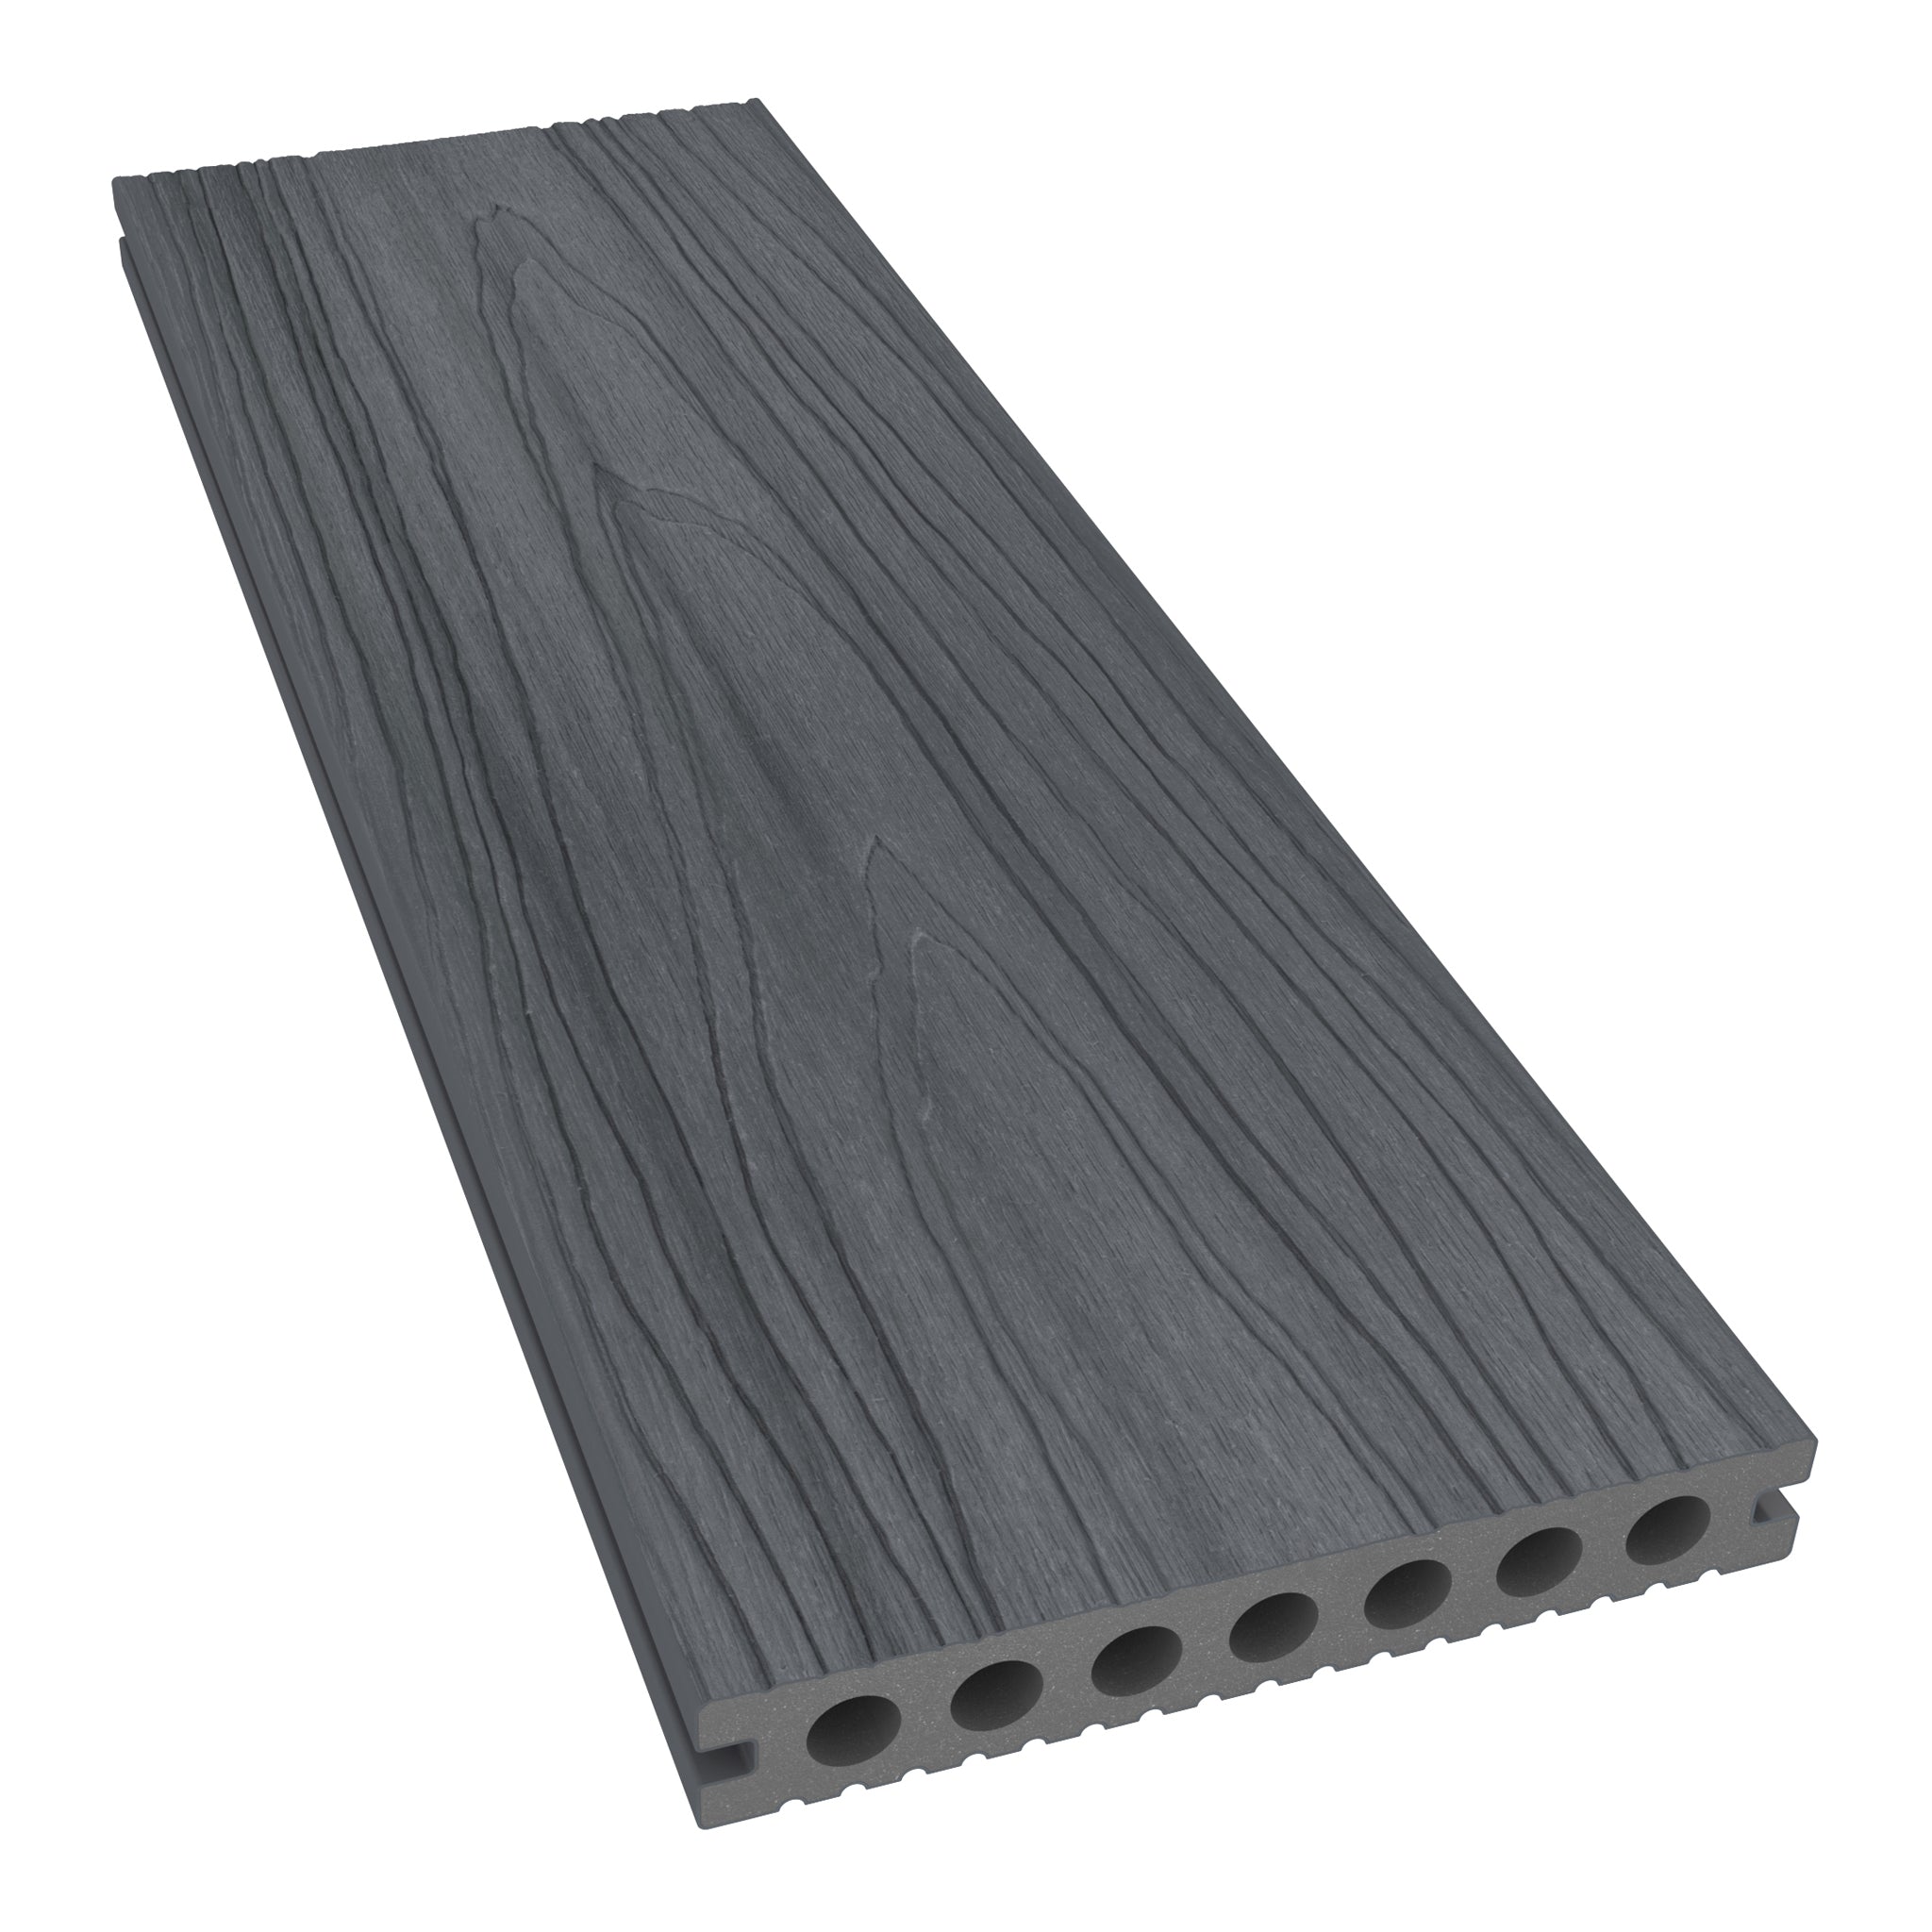
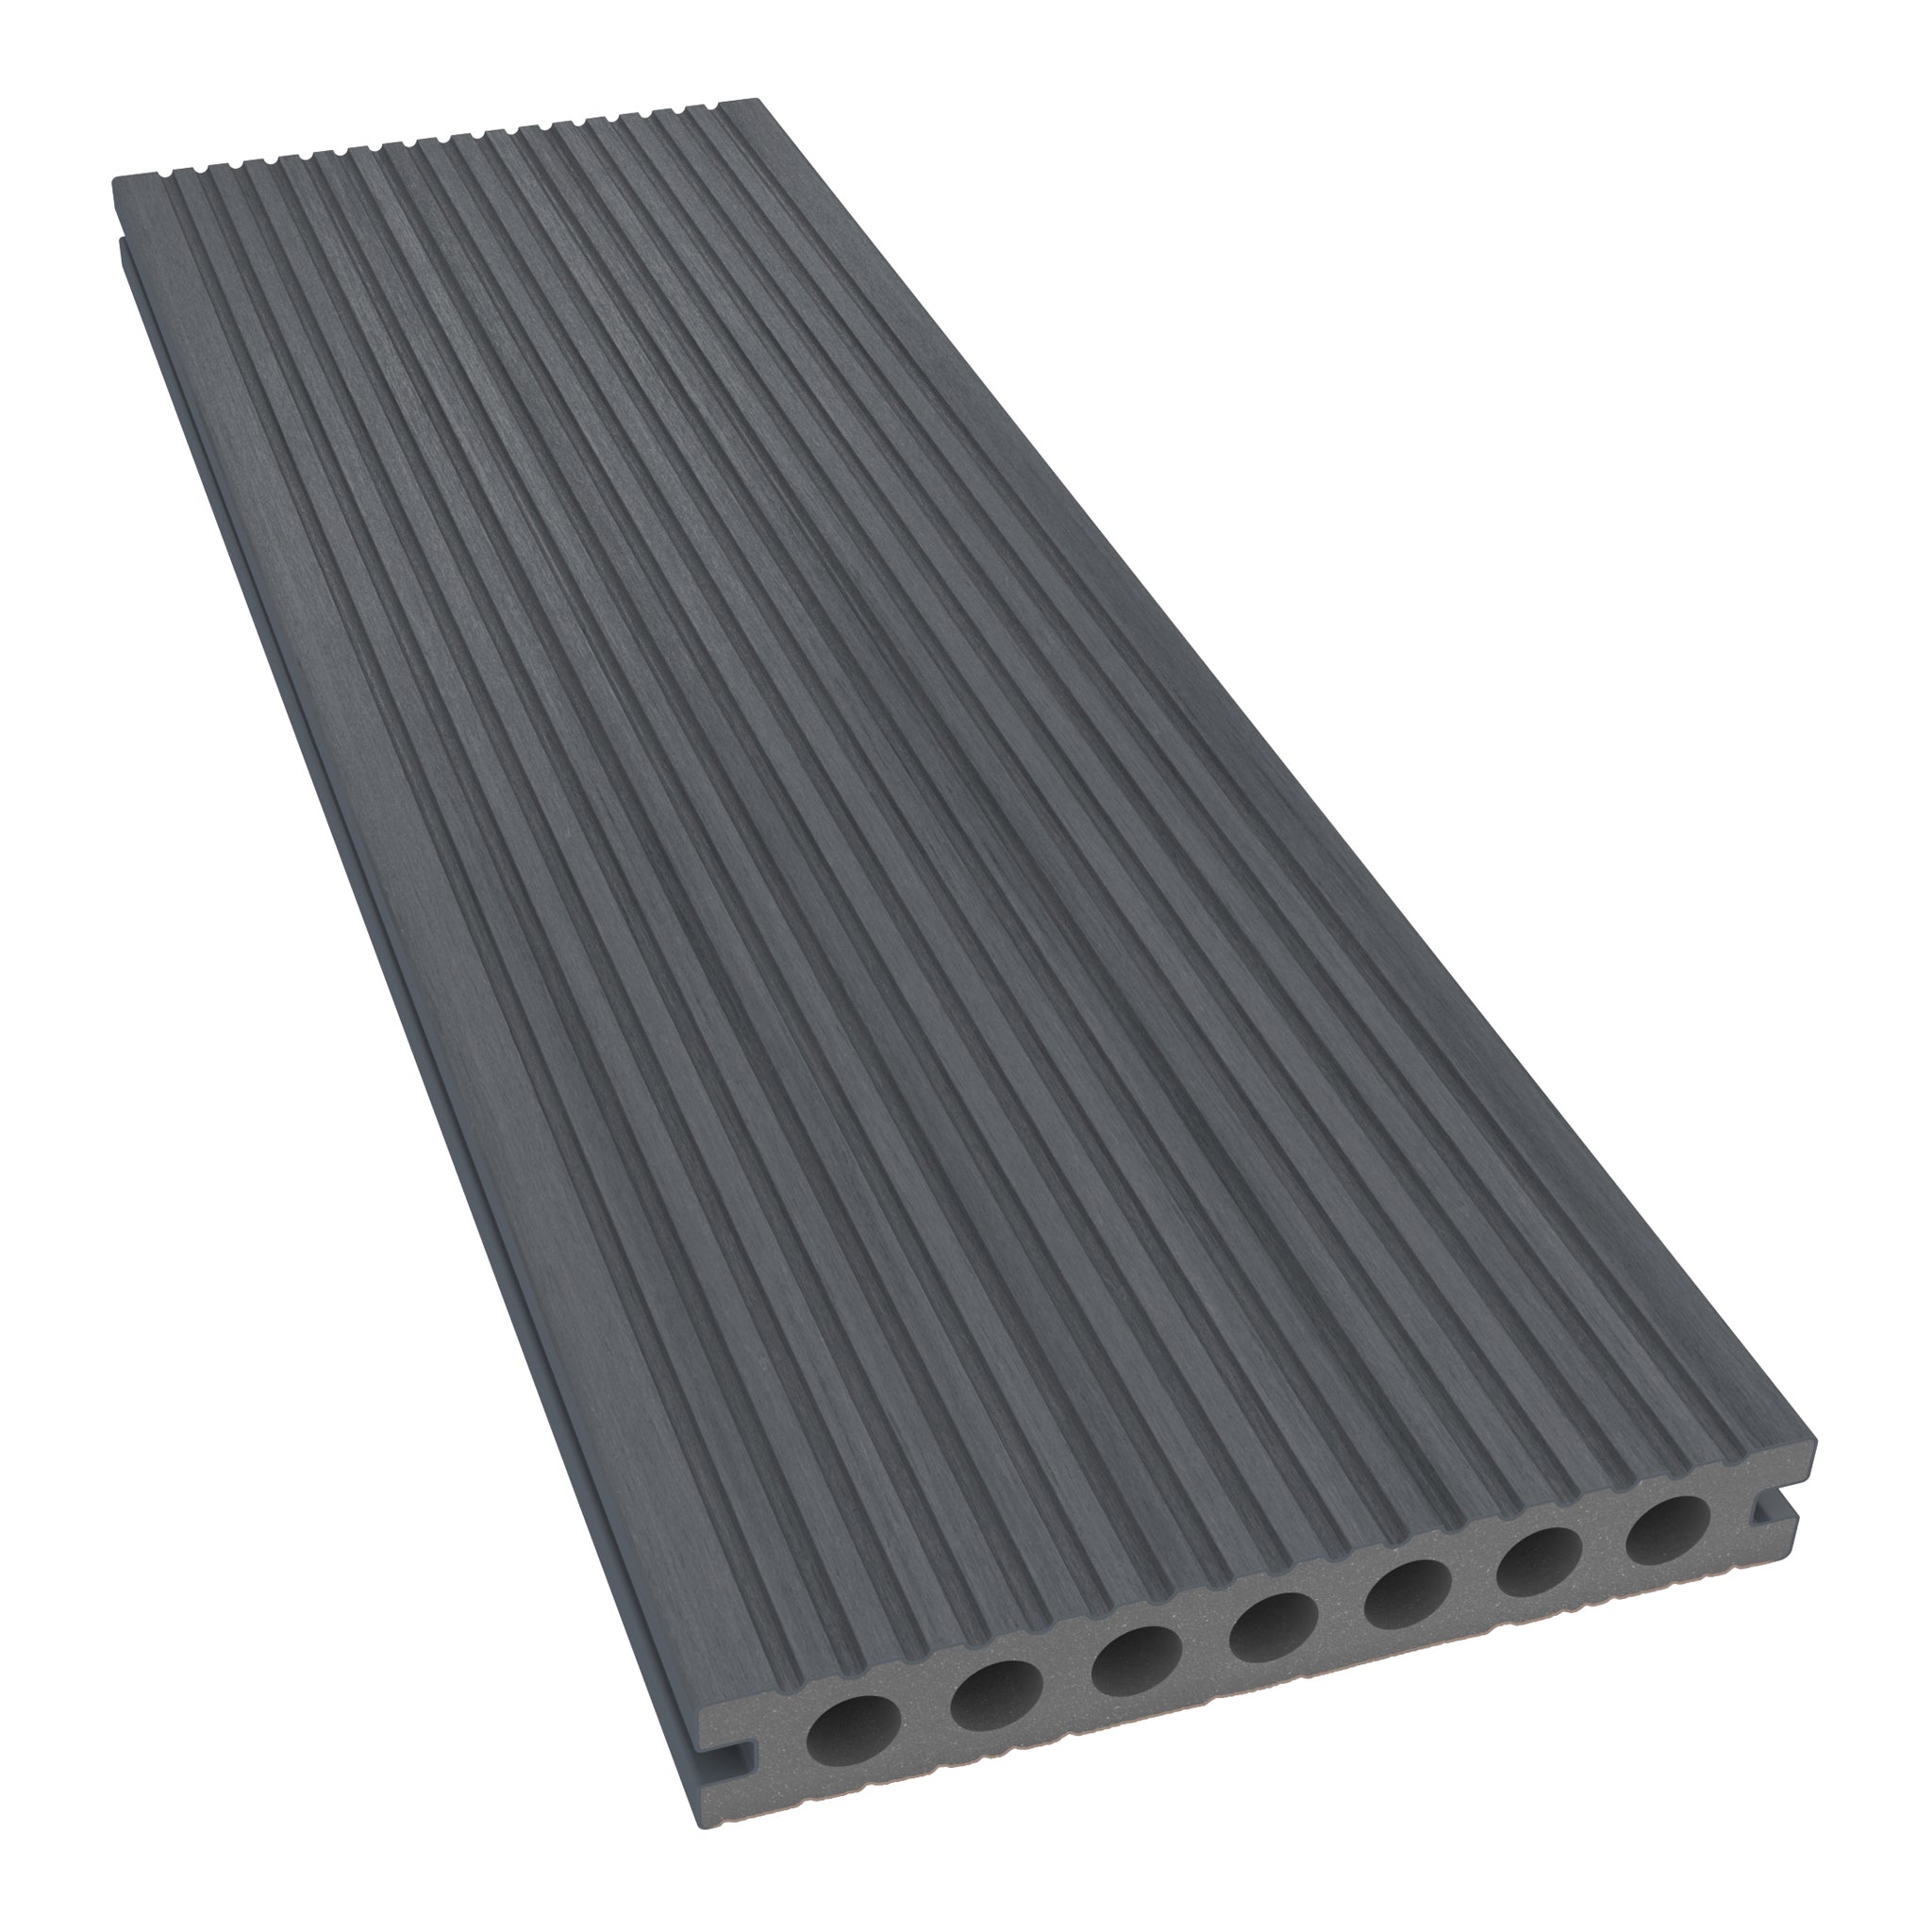
Check the selected product’s walking faces rather than assuming every board has identical reversible finishes. Compare the wood-effect options with the available grooved profiles and view samples together.
If mixing boards, confirm dimensions, finished levels and fixing compatibility before committing. A visual match is not a technical specification.

3. Plan the Corner Joints
Mitred corners bring angled board ends together for a frame-like appearance. Square-ended arrangements produce a different, more block-like junction. Select a detail that is permitted for the chosen system.
Check the actual site angles rather than assuming every corner is perfectly square. Each board end needs suitable support, and the joint must retain its specified movement allowance.
Do not aim for tightly closed corners simply because they look neat on installation day. Composite responds to temperature, so a border must accommodate movement. Read our cutting composite decking guide when planning the work.

4. Use Contrasting Colours with a Clear Purpose
A darker perimeter can emphasise a lighter main surface, while two related browns create a warmer, more subtle contrast. Consider Charcoal with Antique, or Chocolate with Teak, as ideas to explore.
Compare both colours beside the house, paving and planting. Confirm availability and compatibility within the selected product range, and consider differences in expected weathering.
Our decking colour guide can help you shortlist a palette.

5. Frame a Decorative Laying Pattern
A border can give diagonal runs or a herringbone arrangement a defined stopping point. It can also help organise a large surface into a readable design.
Decorative layouts introduce more junctions and cuts, so consider support positions and waste allowances early. The border should be designed with the main pattern, rather than added once the frame has already been built.
Explore our decking laying patterns and design inspiration before finalising the arrangement.

6. Consider an Edge Board for the Outer Perimeter
A dedicated edge board provides an outer profile designed for exposed perimeter details. It can offer an alternative to presenting a standard board’s grooved edge at the outside of the deck.
It does not automatically remove every need for fascia or other finishing components. A raised deck may still need a separate vertical finish, and the chosen arrangement must preserve drainage and ventilation.
Compare our decking edging options and confirm the fitting sequence before laying the main boards.

The Subframe Detail Behind Composite Deck Picture Framing
Support is central to the border design. NeoTimber’s picture-framing installation guidance distinguishes boards running parallel to the main deck from those running perpendicular to it, with double-joist details for the latter.
Use the current installation resources for the exact board and application. Border support and fixing details are not necessarily the same as those used across the main surface.
Before installation, confirm:
- The border width and direction of each board run.
- Support beneath border boards, corners and main-board ends.
- The compatible clips and specified screw-fixing details.
- Movement gaps at corners, junctions and fixed objects.
- The sequence for fitting perimeter and main-area boards.
Our subframe options guide introduces the materials. Ask for clarification where the proposed border does not match a documented installation detail.
Composite Deck Picture Framing FAQs
Can I add a picture frame to an existing deck?
Possibly, but the existing frame needs assessment. Adding a border can require extra support, changes to the board layout and lifting part of the surface.
Must the border be a different colour?
No. Matching boards can create an effective frame through direction and perimeter detailing alone.
Does the frame need extra joists?
It may. The supporting arrangement depends on the board directions and fixing method. Follow the relevant detail rather than assuming existing perimeter joists will be sufficient.
Can I fit the corners without visible gaps?
Follow the specified movement allowances. A tightly fitted joint that restricts expansion can create problems even if it initially looks tidy.
Plan Your Border as Part of the Complete Deck
Composite deck picture framing works best when colour, proportion and construction are considered together. Choose the visual effect you want, then resolve support, movement and fixing details before work begins.
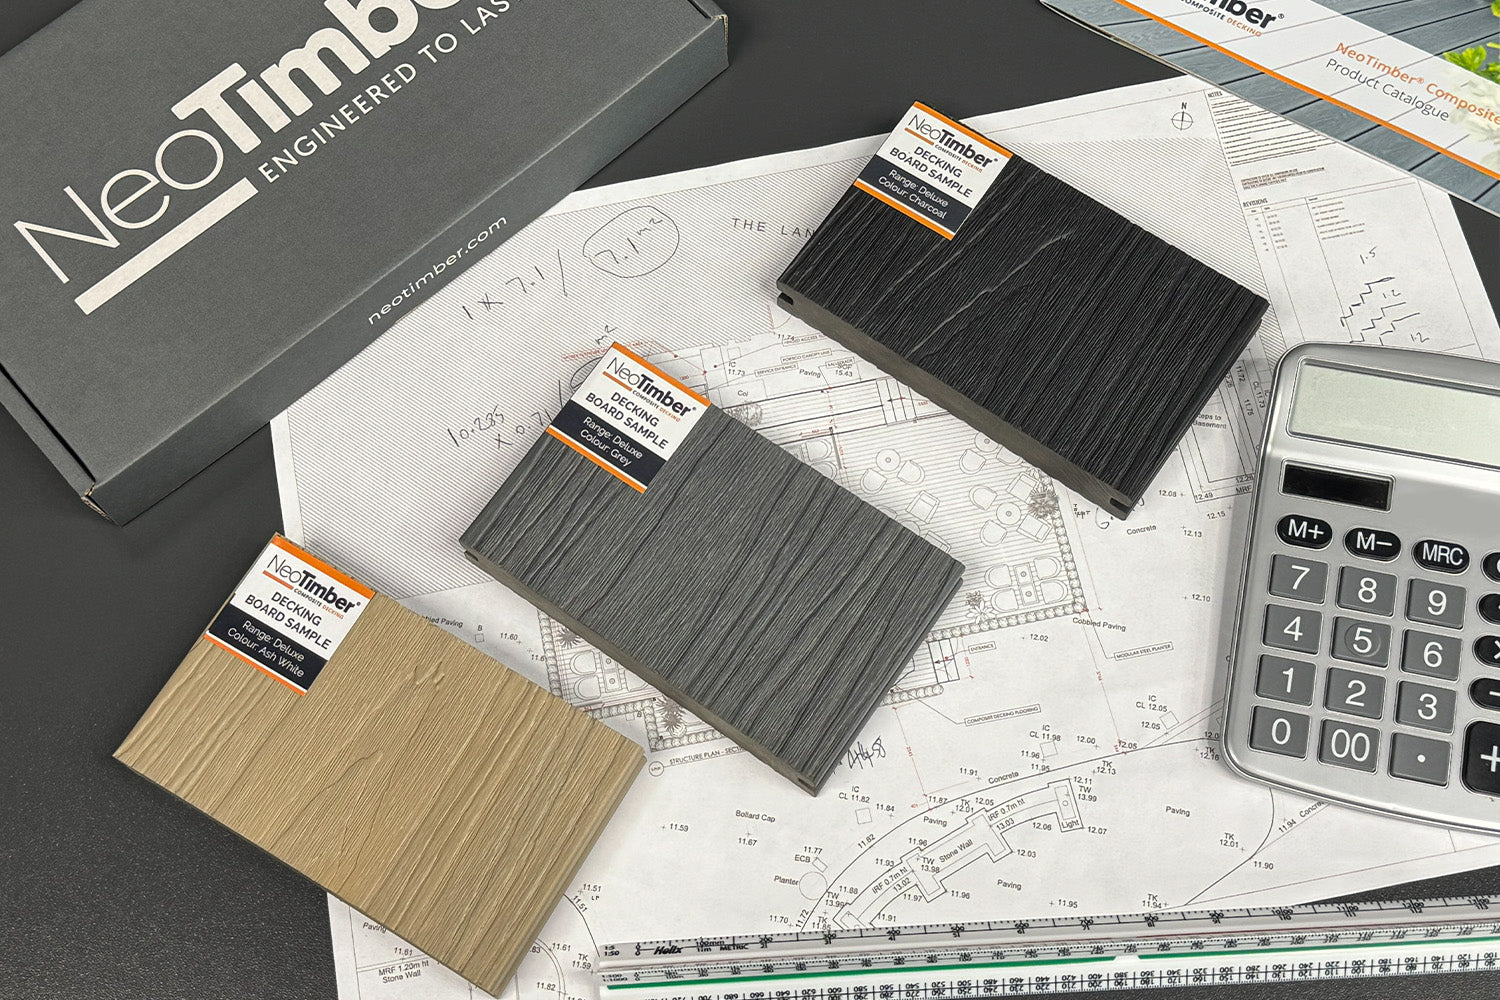
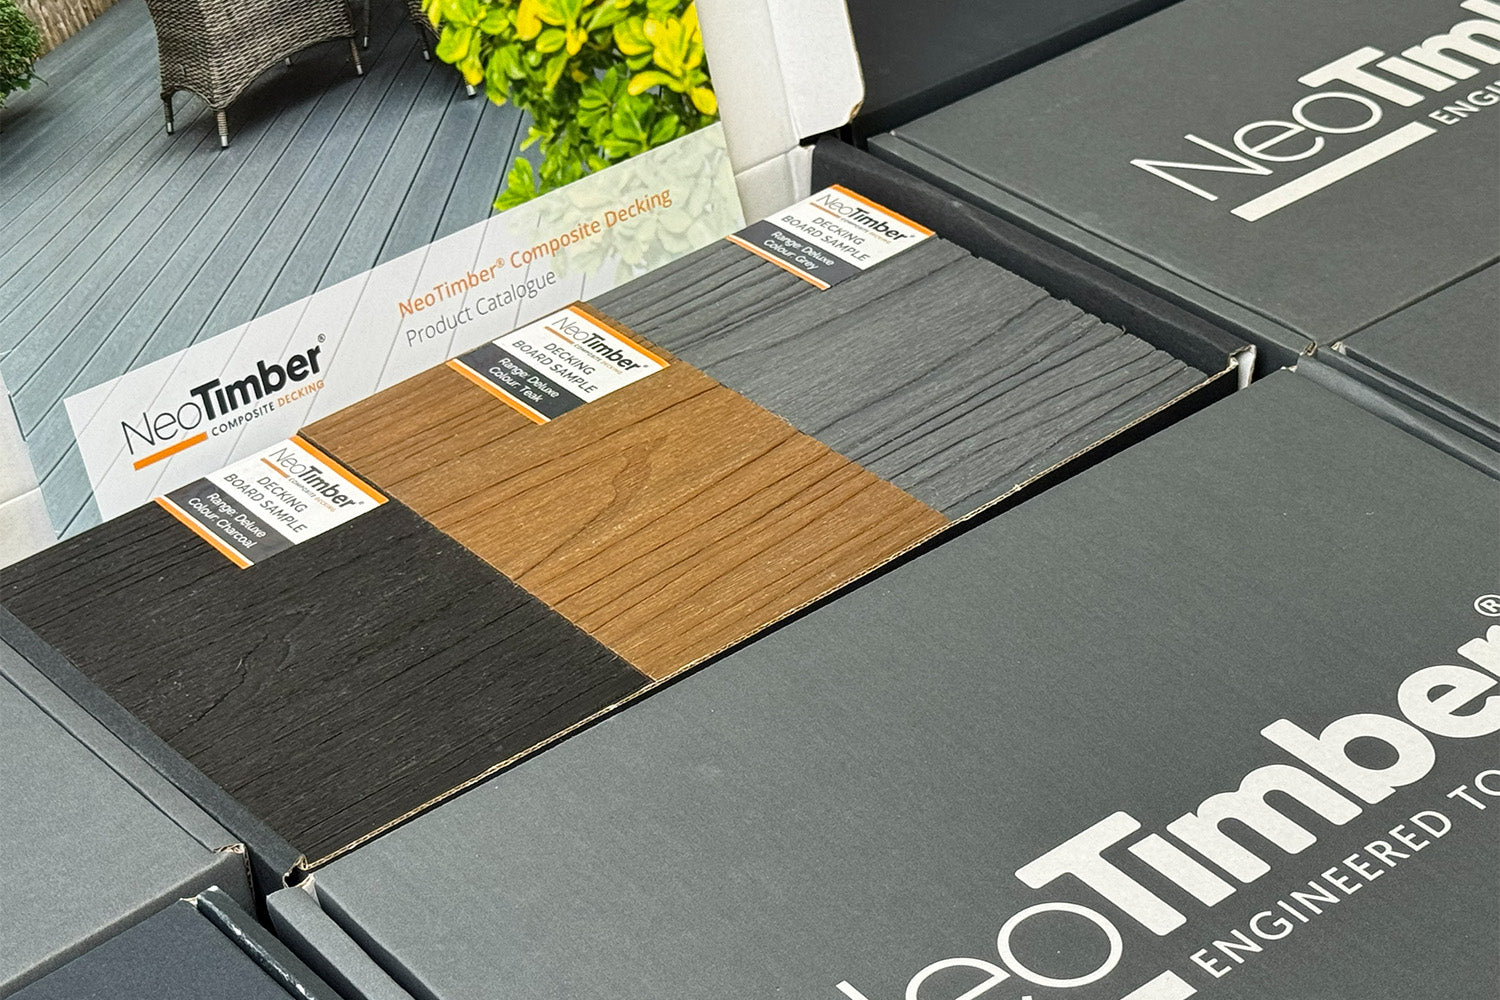
Request free decking samples to compare border combinations, browse our composite decking or contact NeoTimber® for product guidance.