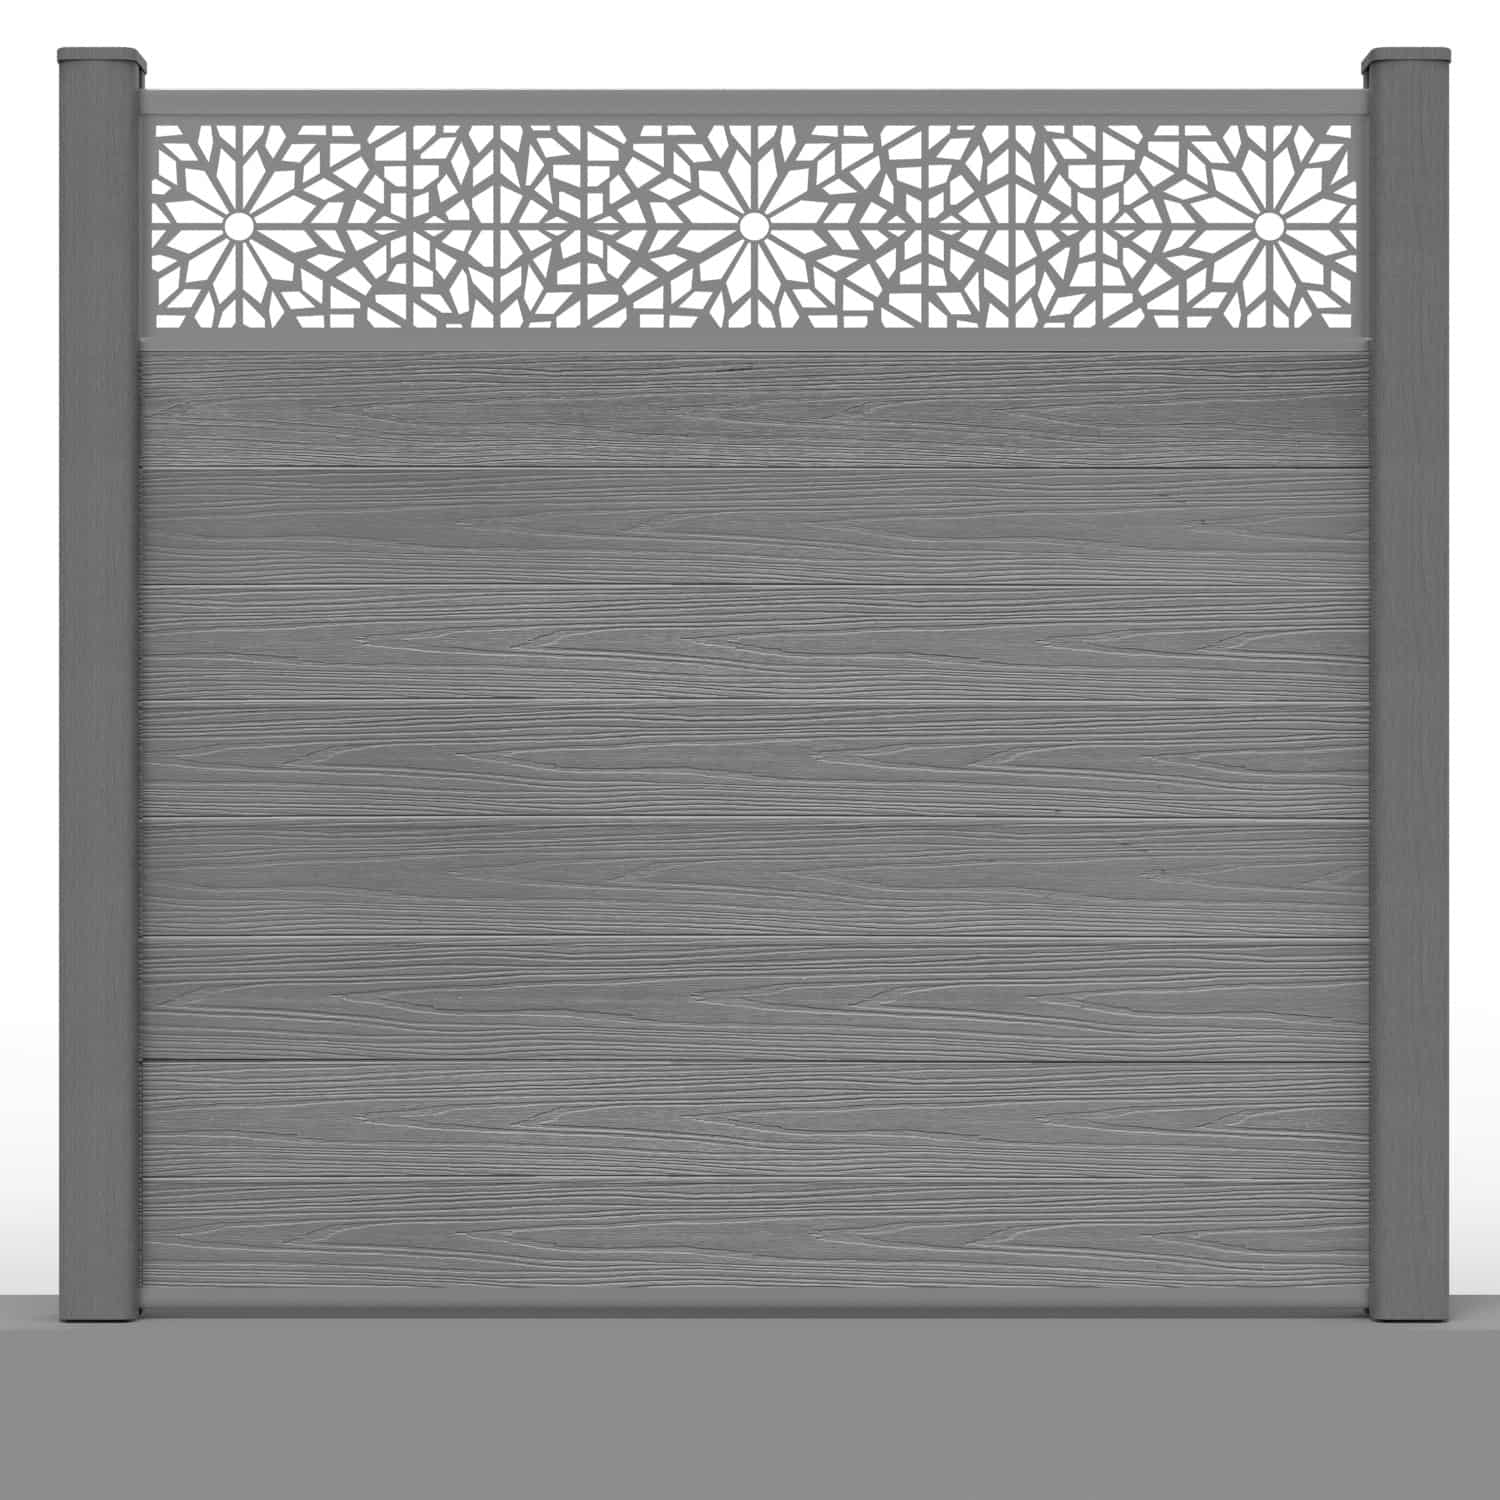
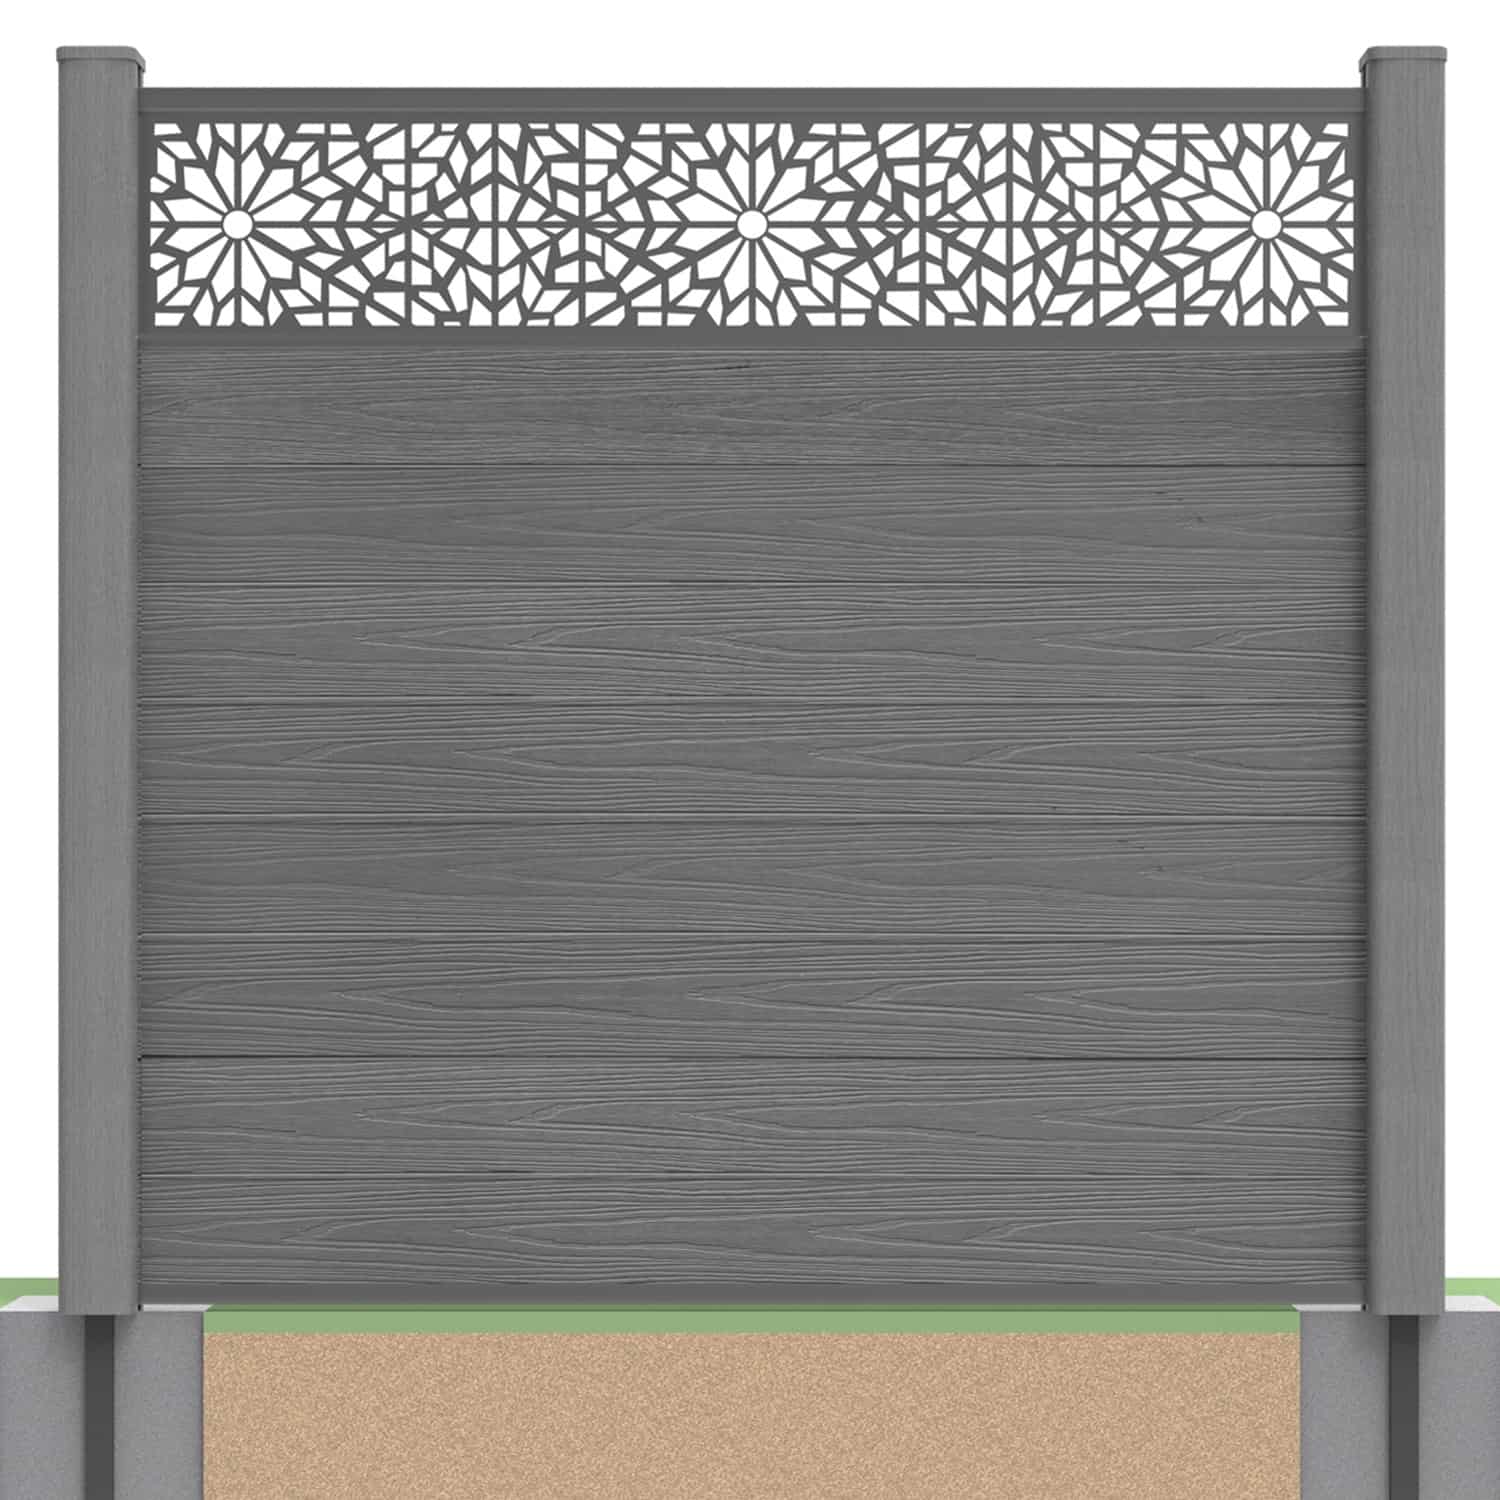
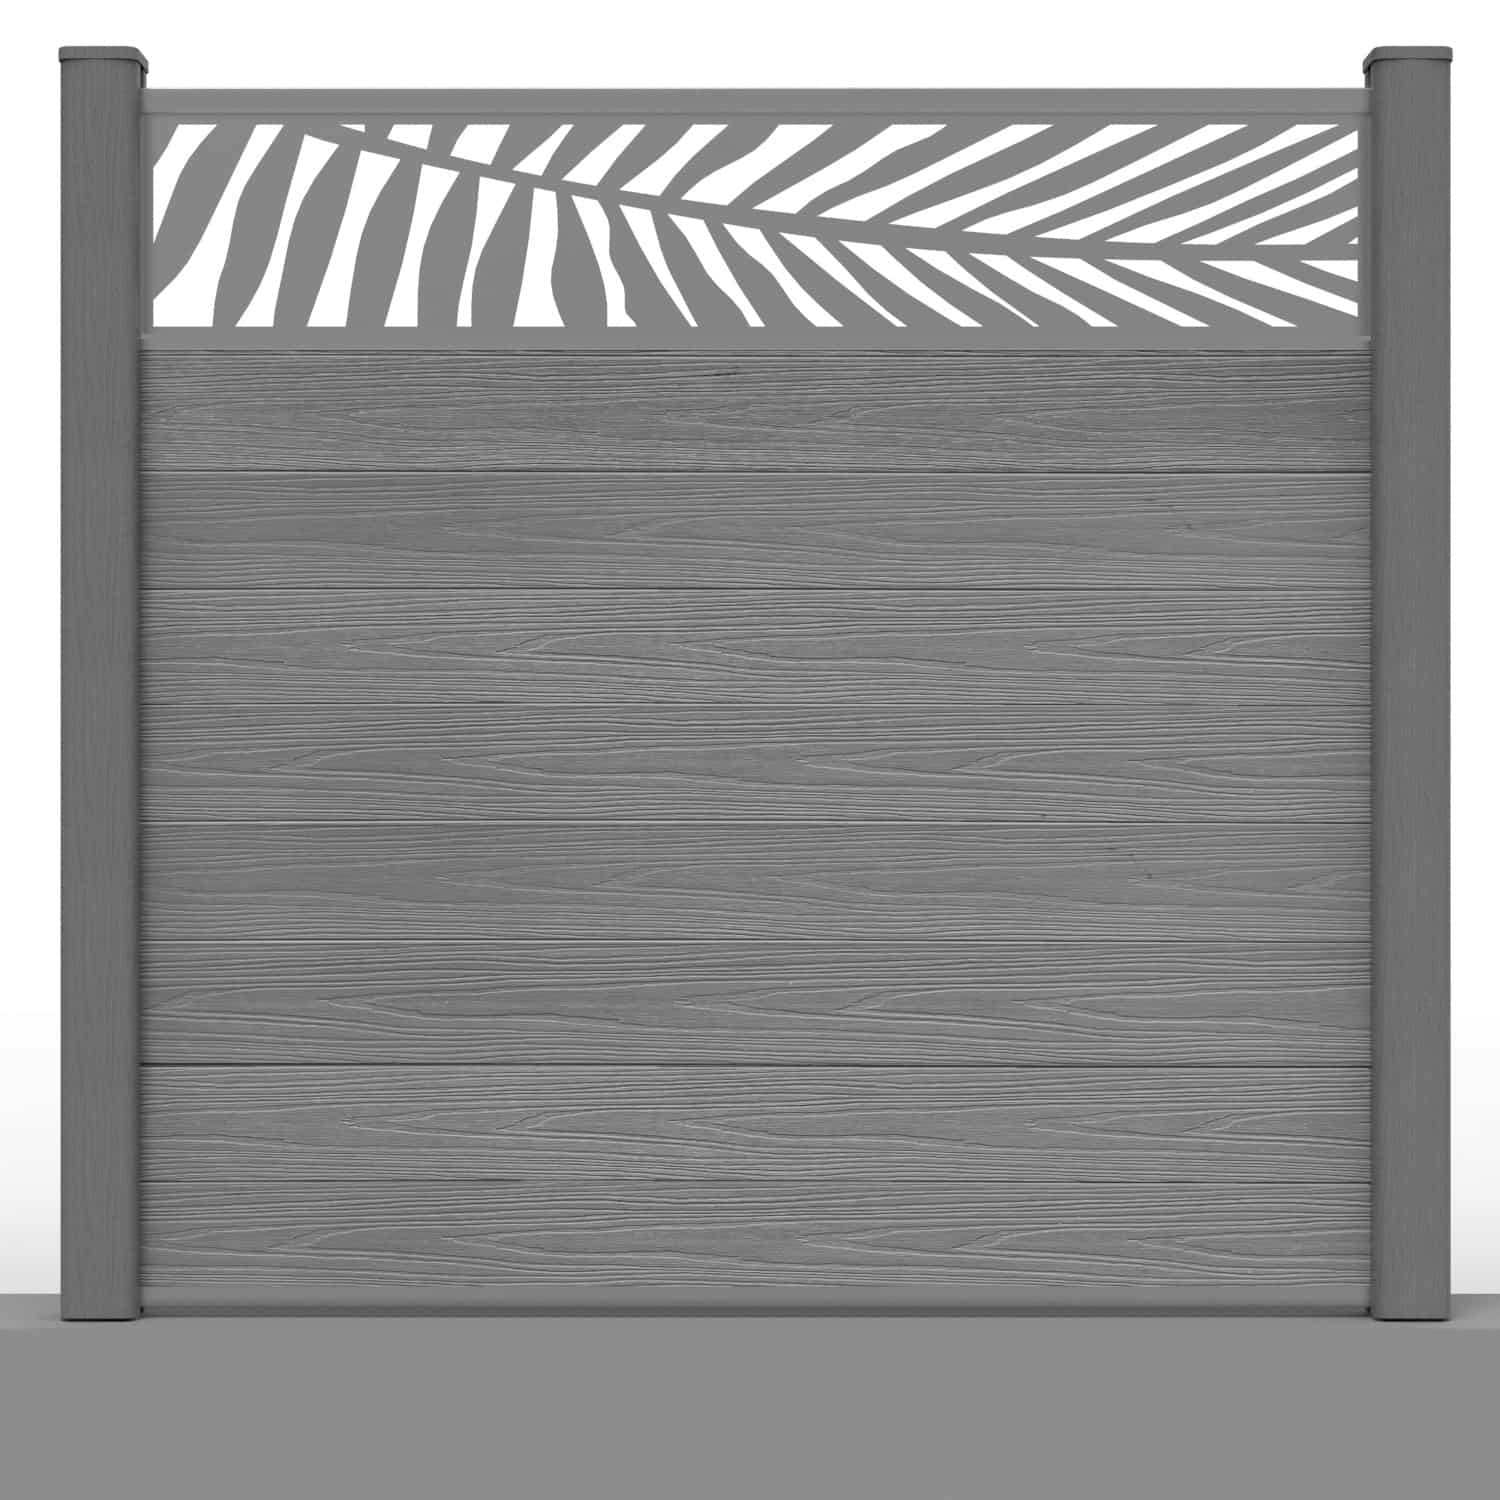
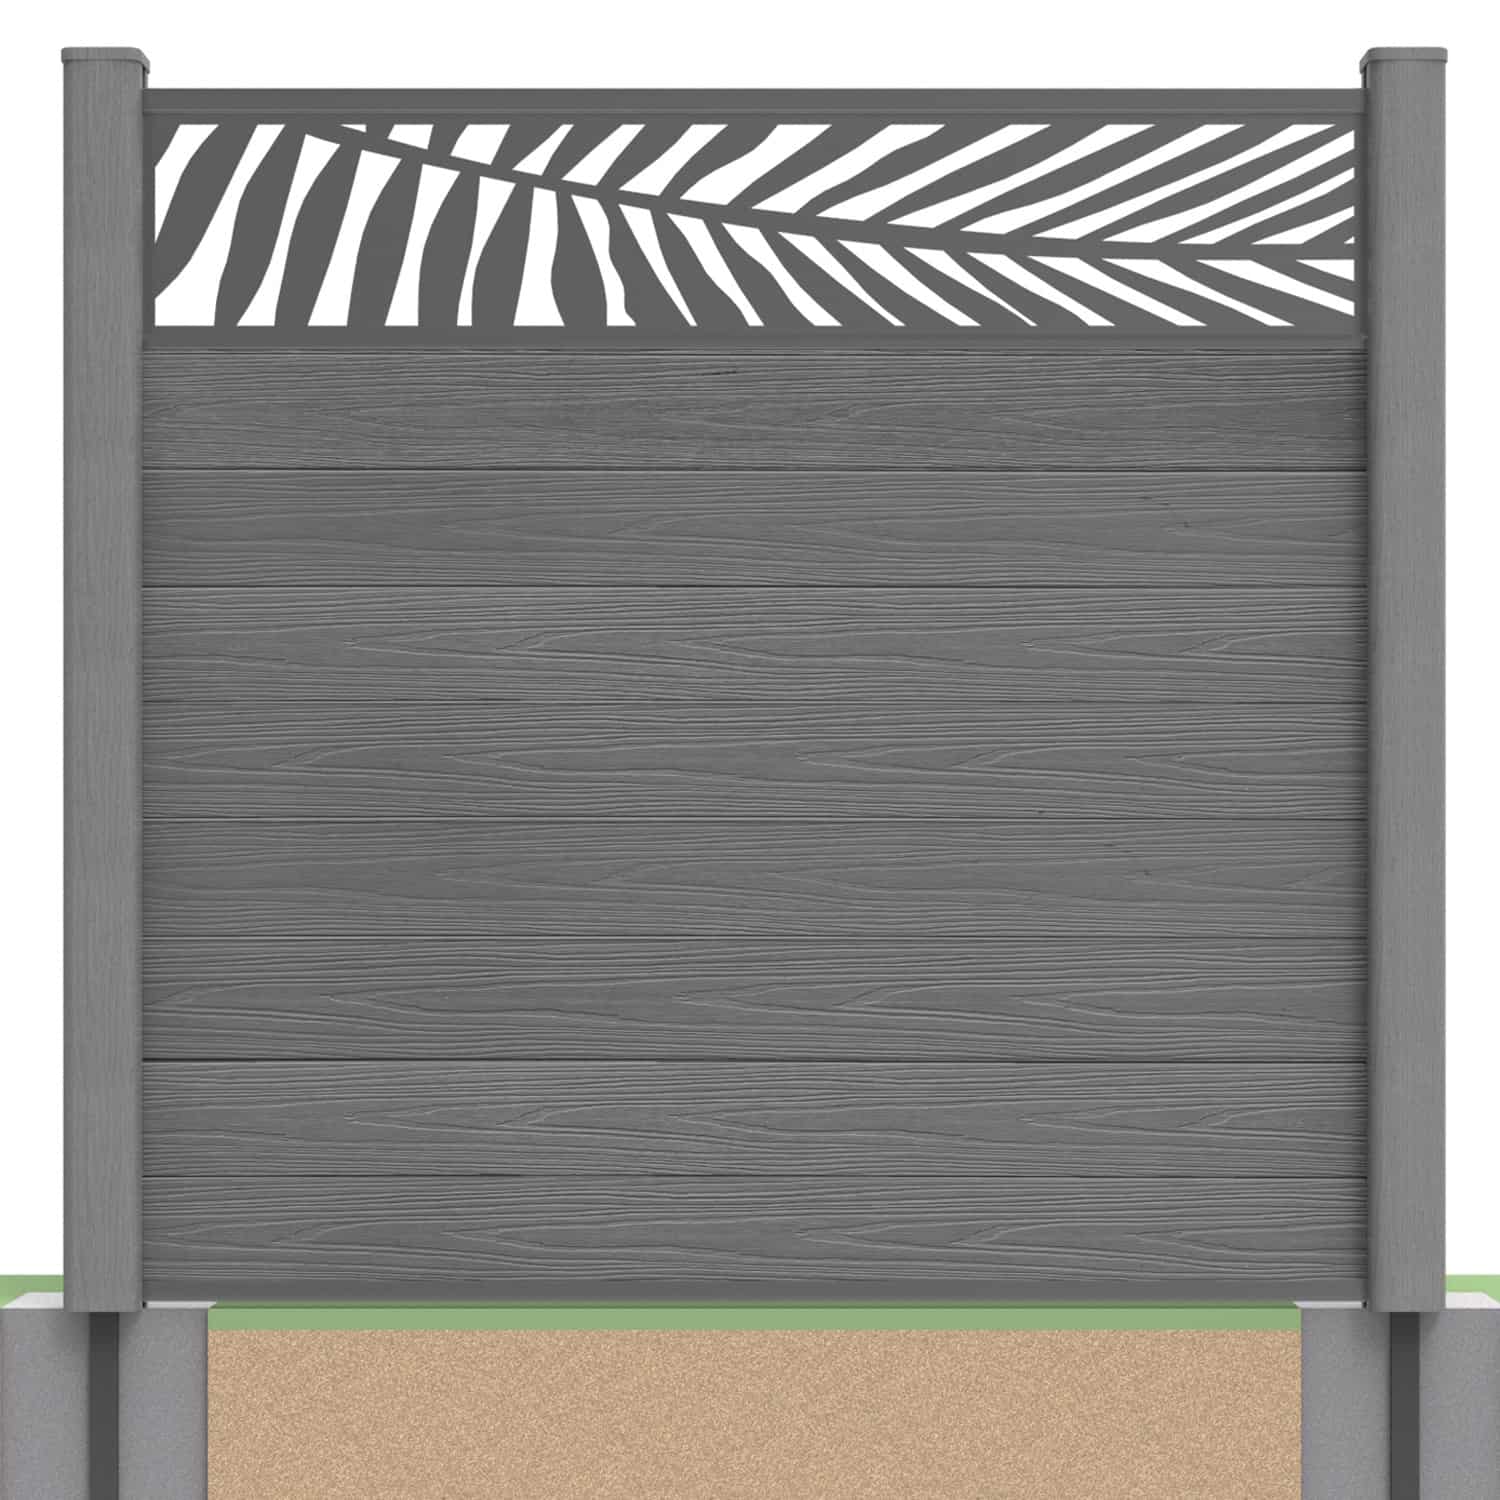
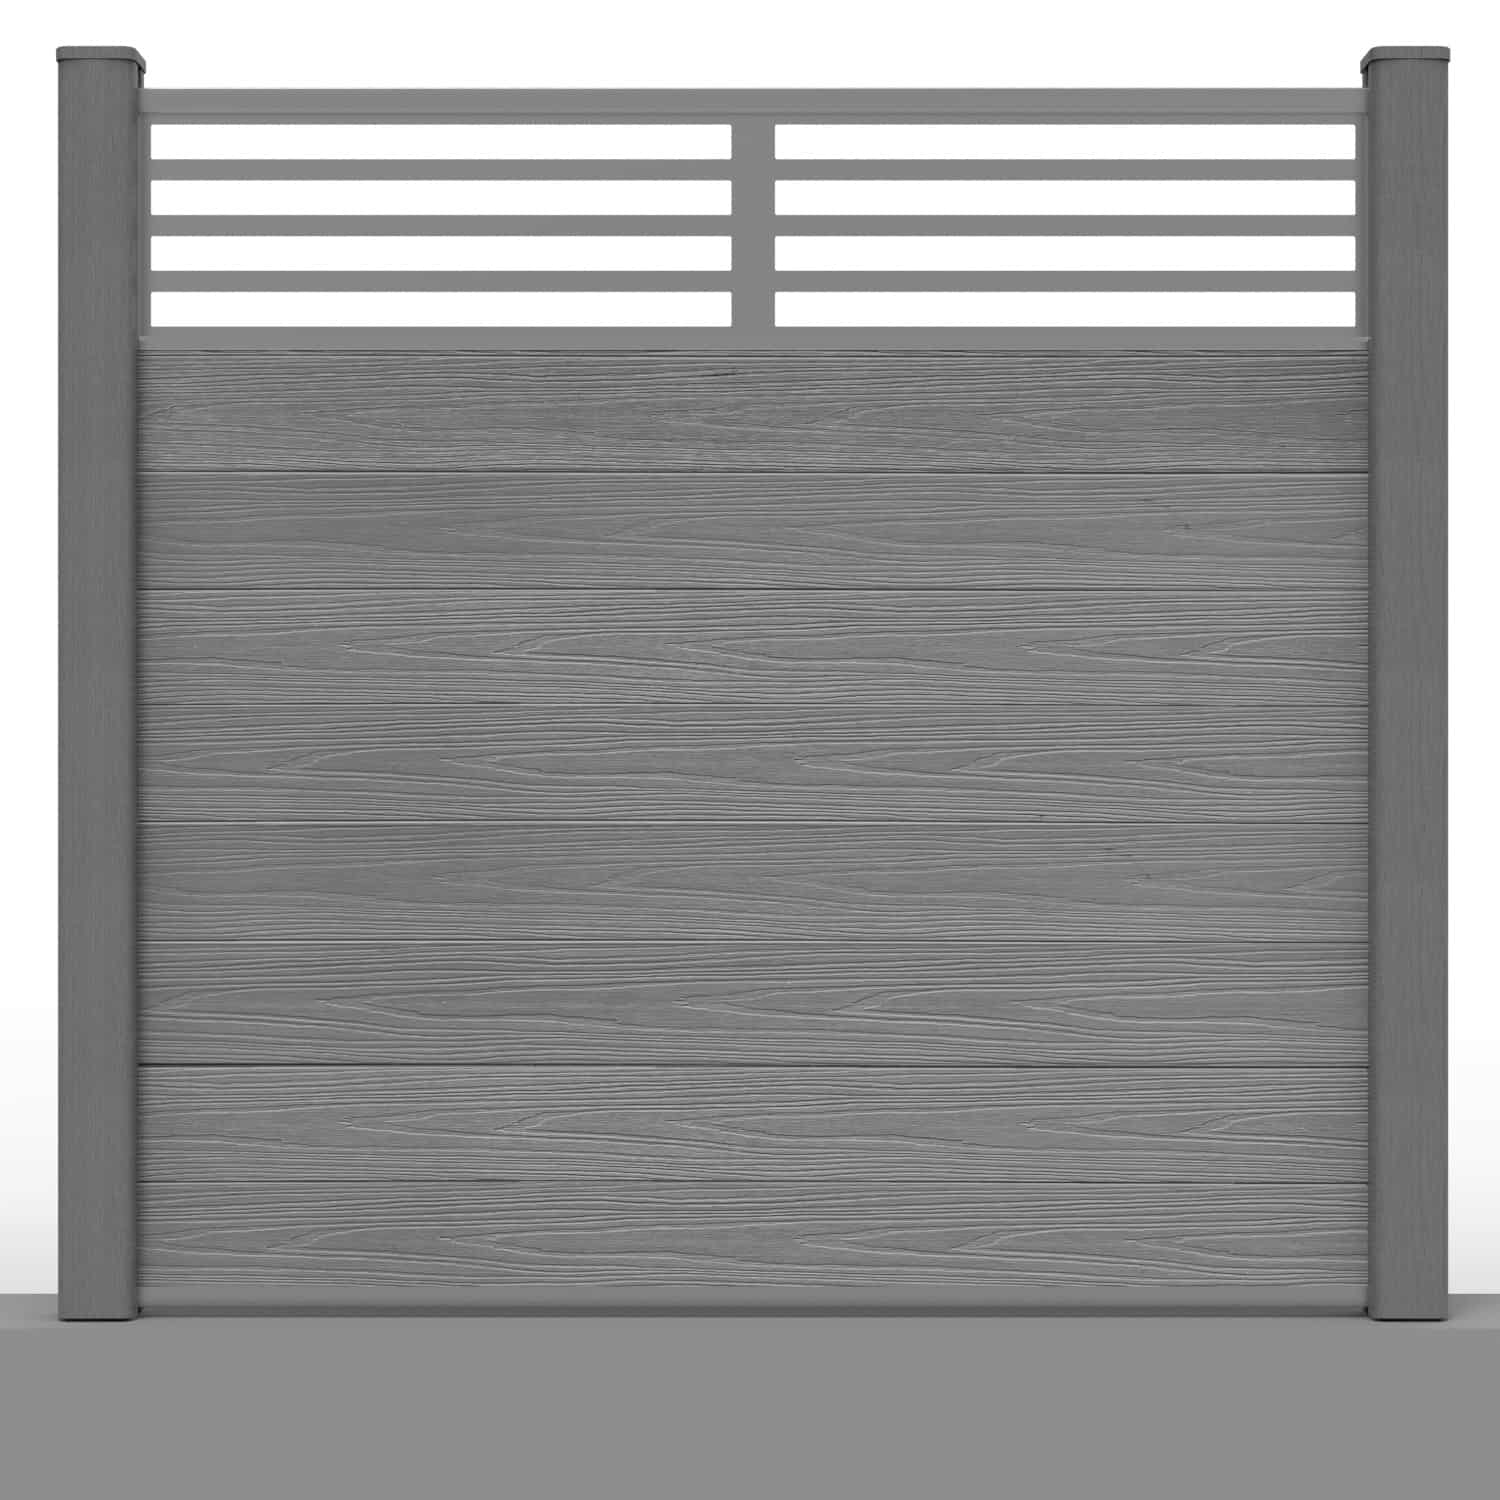
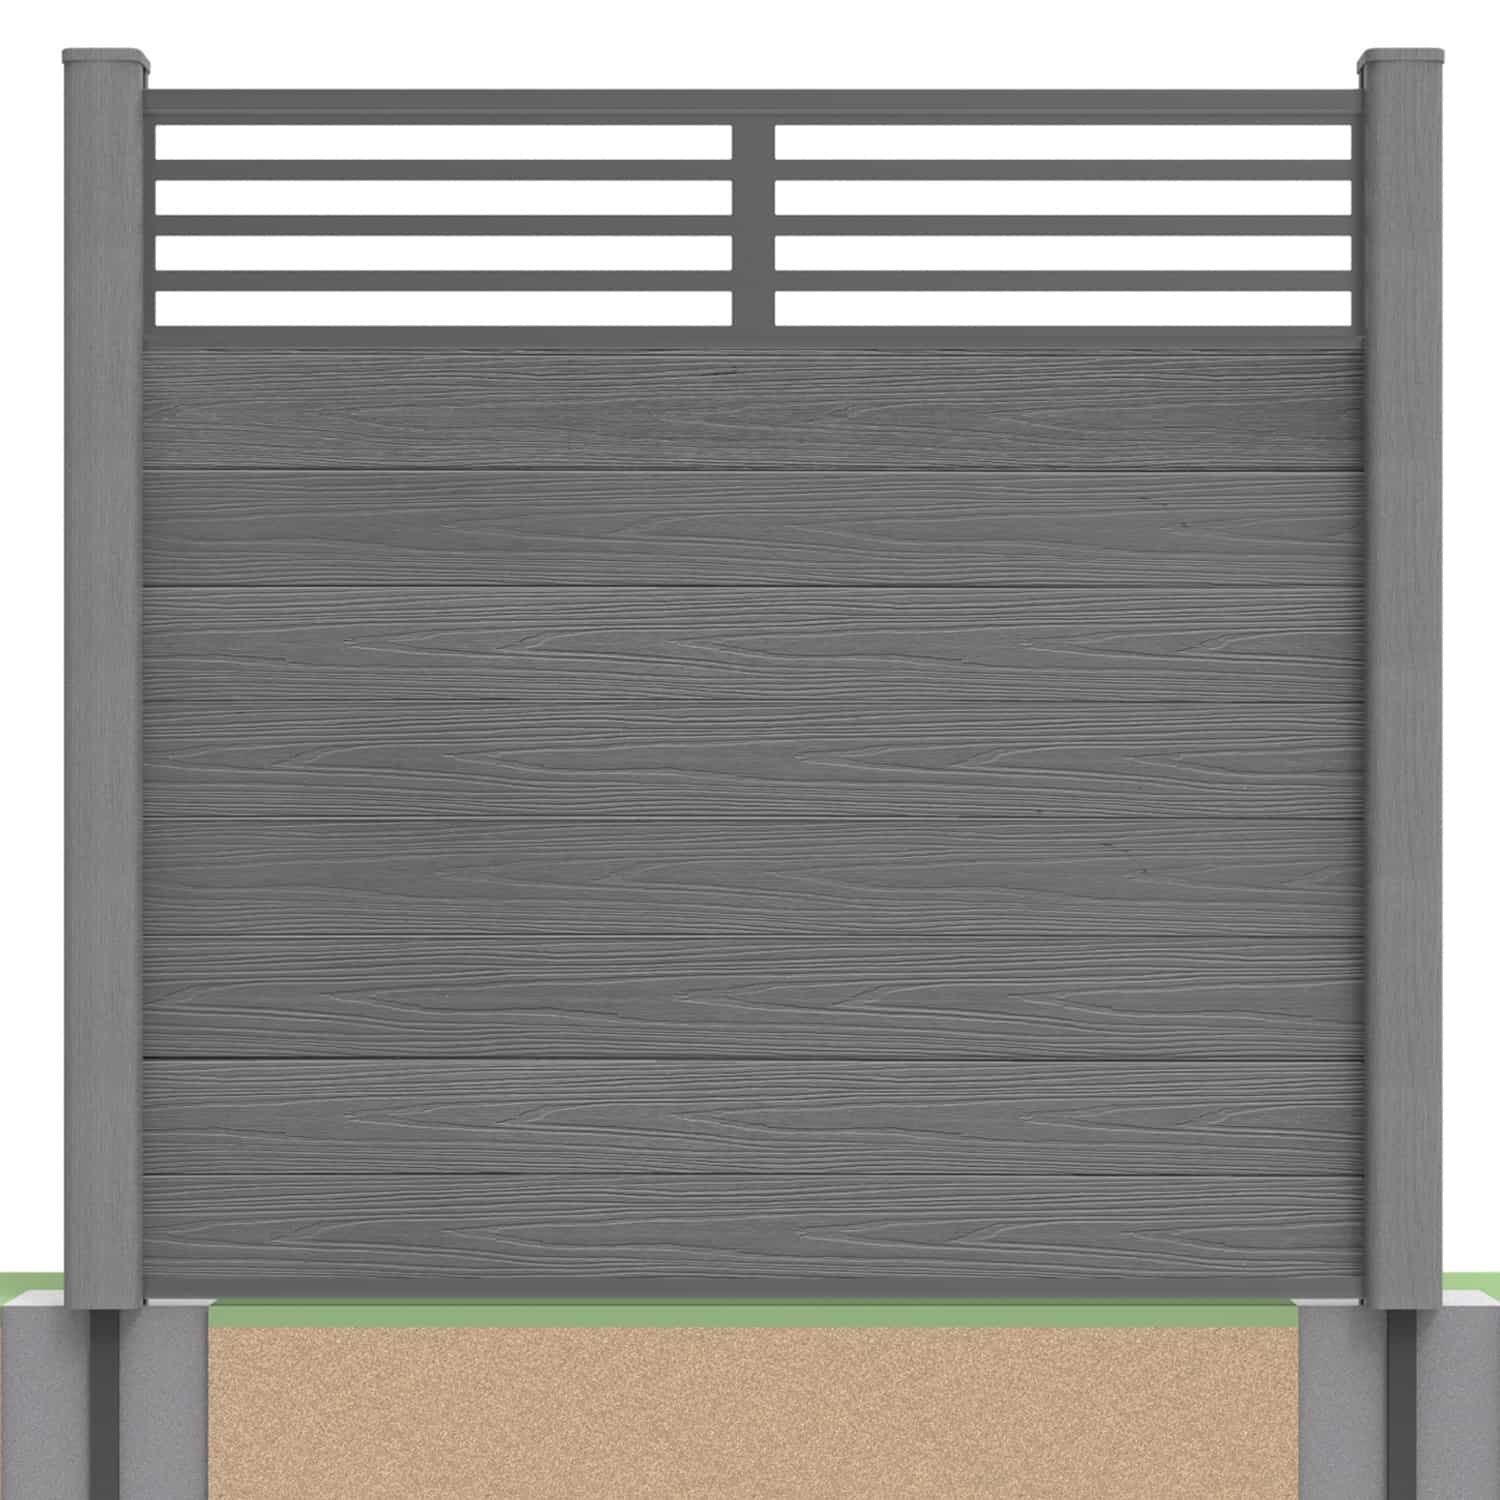
Can You Upgrade Your Fence Without Replacing the Posts?
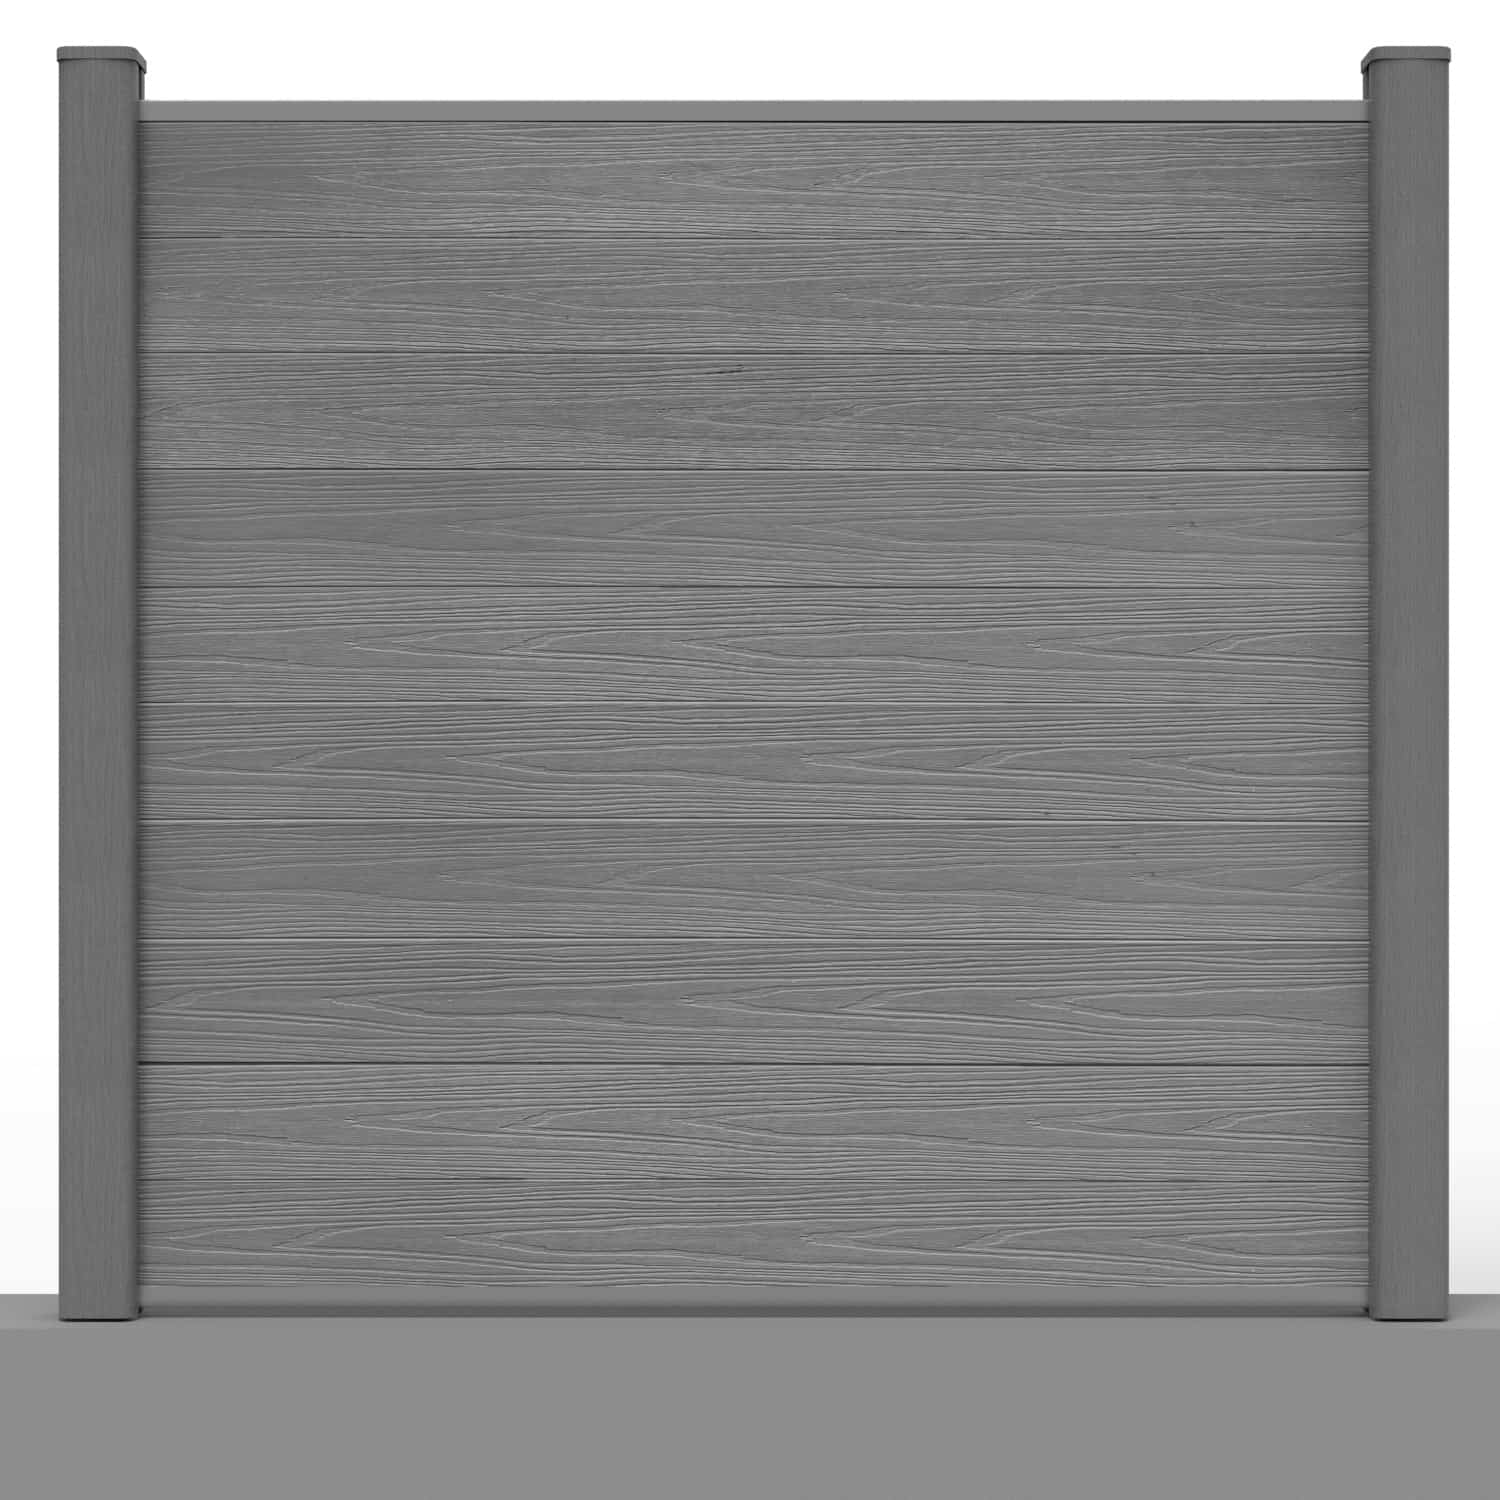
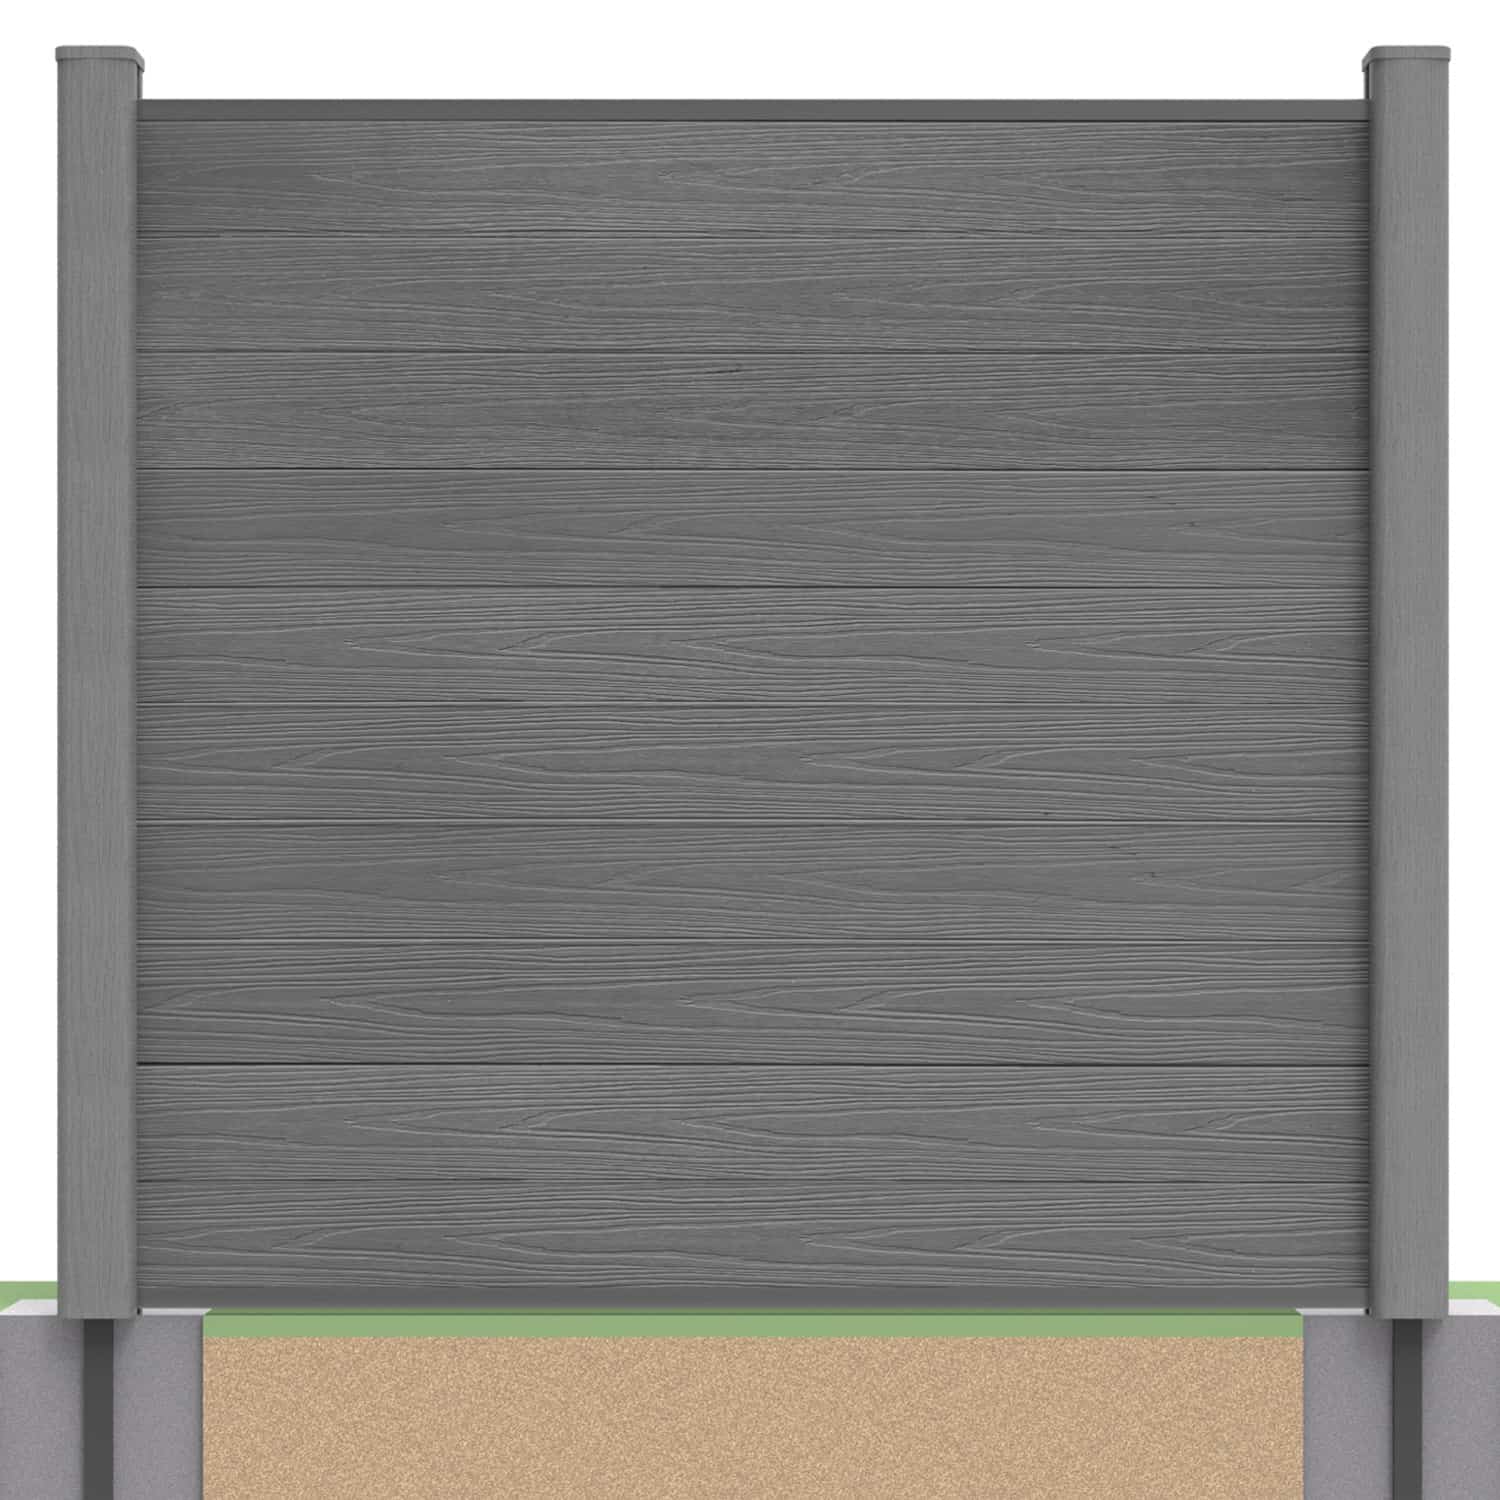
You may be able to retrofit composite fencing between existing timber or concrete posts, replacing the infill while keeping a suitable supporting structure. NeoTimber® offers compatible post inserts that create channels for the new boards and rails.
The first decision is whether the old posts and foundations are suitable for the new assembly. Reusing sound components can reduce removal work and the amount of replacement material required, but it is not the right answer for every boundary. This guide explains the checks to make before buying and the main stages of a retrofit project.
Explore our fencing products for wider advice, or browse the composite fencing range to compare composite styles.
In this guide: Check existing posts · Measure the bays · Choose inserts · Assemble the panels · Costs and reuse · FAQs
Check Whether the Existing Fence Structure Is Suitable
Assess the posts and foundations before deciding to keep them. A replacement infill can place different demands on an existing structure, particularly where the height, coverage or configuration changes.
Checks before reusing timber or concrete fence posts:
| Check | What to establish |
|---|---|
| Post condition | No decay, damage or deterioration that makes the post unsuitable. |
| Foundations | The footing and ground connection can support the proposed fence. |
| Alignment | Posts are suitably upright and positioned for the new assembly. |
| Dimensions | The bay and any concrete-post channels suit the compatible inserts and infill. |
| Site demands | Height, exposure, level changes and any gate connections are considered. |
Timber should be assessed for decay and the condition of the intended fixing area. Concrete posts need checks for cracking, damaged channels and movement. If their condition or foundation is uncertain, have a competent installer assess the arrangement before ordering.
Post inserts provide a connection; they do not repair rotten timber, cracked concrete or inadequate foundations. Replacing an unsuitable support is preferable to hiding a problem behind new boards.
Measure Each Bay Before Choosing Components
Existing posts may not follow a uniform layout. Measure each bay and record the clear opening, post dimensions, channel details where relevant and intended finished height. Identify shorter bays, corners and changes in level separately.
Do not confuse board length, post centres and the clear gap between posts. For retrofit work, the critical dimensions are those of the actual posts, inserts, rails and board engagement. Use the current drawings rather than applying a generic 1800mm post-centre figure.
Where trimming is permitted, allow for the required engagement and movement clearances. A bay wider than the approved board span cannot be solved by reducing those clearances or adding an unsupported joint. Ask for a suitable alternative arrangement.
Choose the Correct Insert for the Existing Post
Concrete Post Inserts
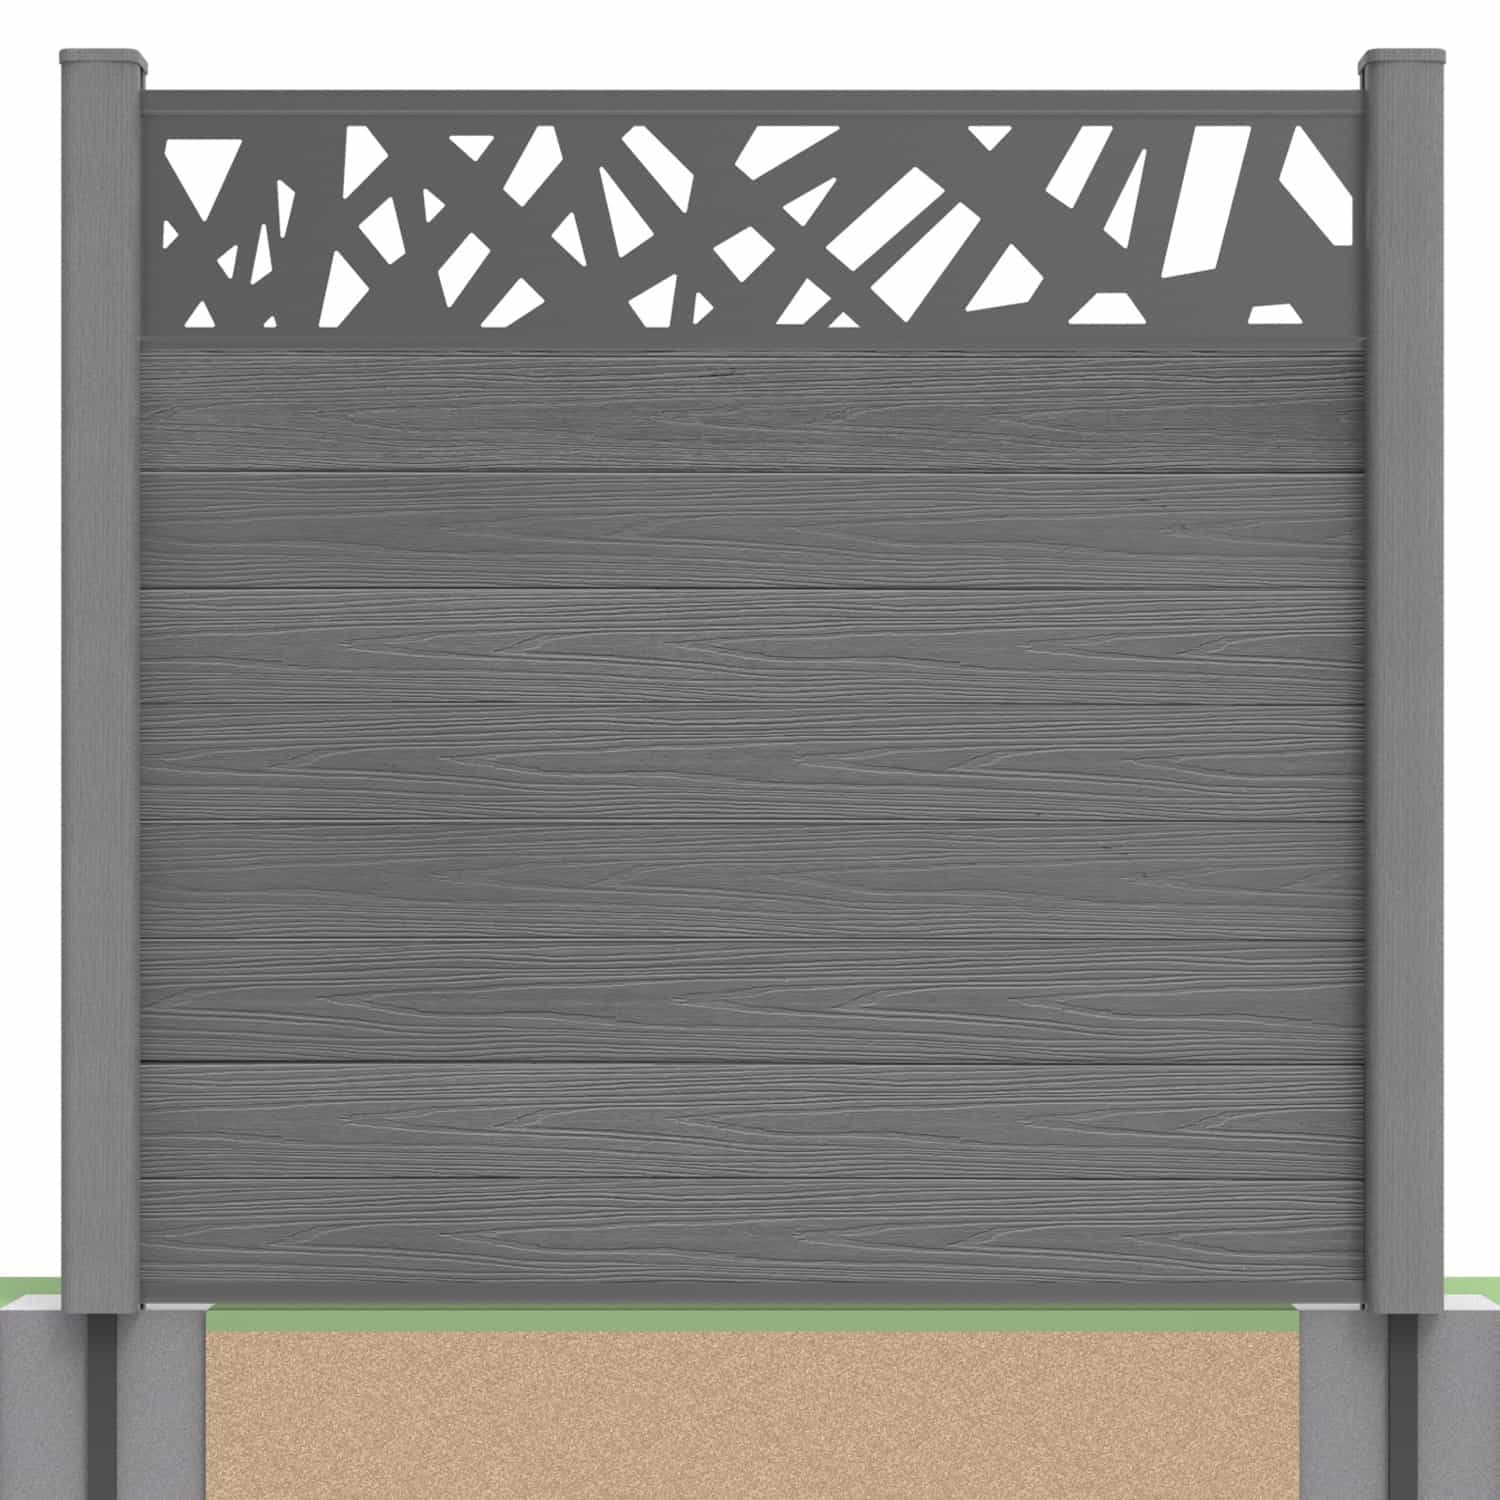
The concrete fence post insert is intended for a compatible concrete-post arrangement. Check the existing channel dimensions and condition before assuming it will fit.
Follow the concrete post installation guide for positioning and the specified connection method. Do not apply timber screw details to concrete posts or drill into reinforcement to make an incompatible arrangement work.

Timber Post Inserts
The timber fence post insert creates a compatible channel when fixed to a suitable existing timber post. Confirm the post dimensions, sound fixing area and required fasteners before installation.
Use the timber post fixing guide for the connection details. An insert fixed to weakened wood does not extend the structural life of the post.

How the Retrofit Panel Assembly Works
Once the existing supports have been assessed and the inserts correctly fitted, assemble the infill using the specified board-and-rail sequence. Keep the current installation instructions available throughout the work.
- Prepare the bay: remove the old infill without damaging the posts, then check the exposed structure and dimensions.
- Fit the compatible inserts: follow the method for the particular post material and selected configuration.
- Fit the bottom rail: position and secure it as specified.
- Install the boards: engage the tongue-and-groove edges in sequence while maintaining the required clearances.
- Complete the top rail: fit the specified components and inspect the finished panel.
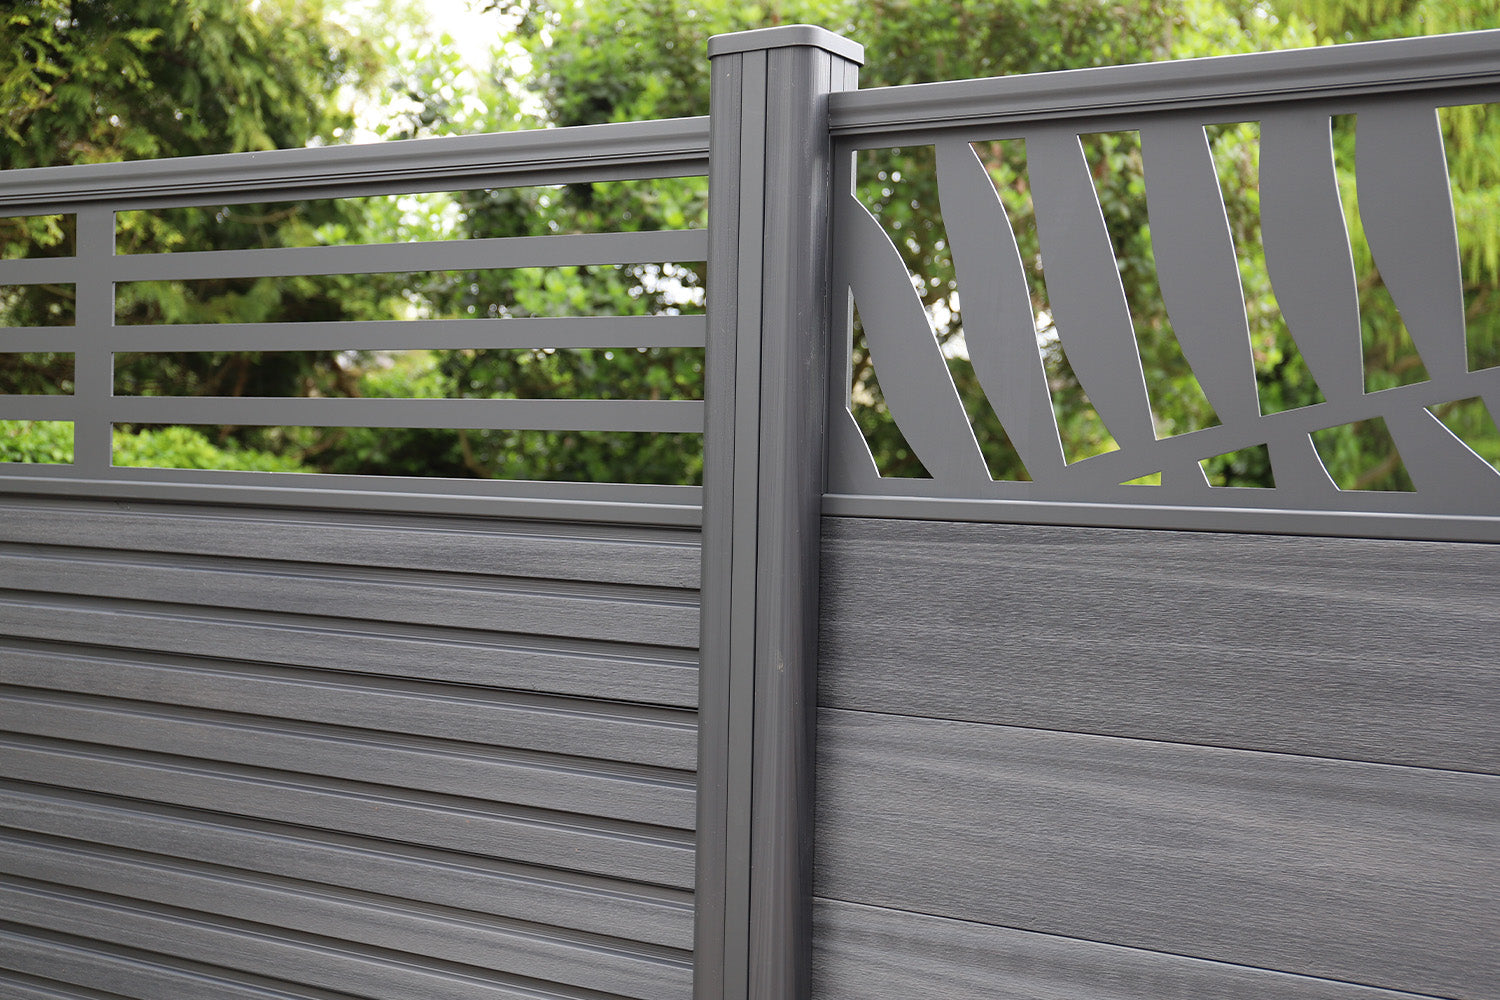
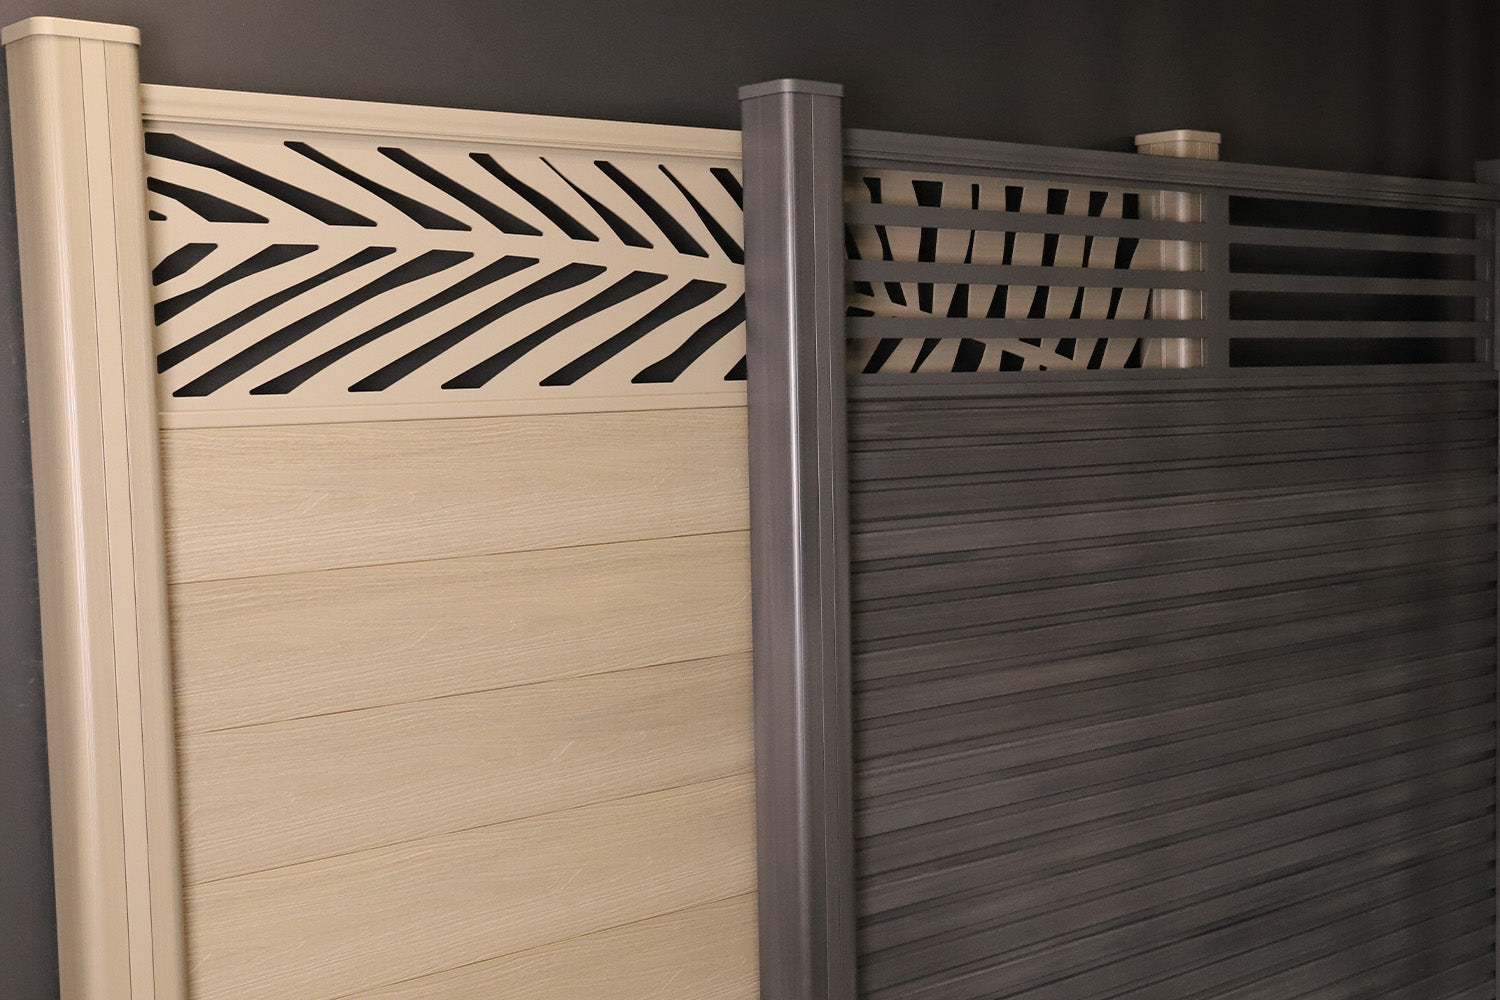
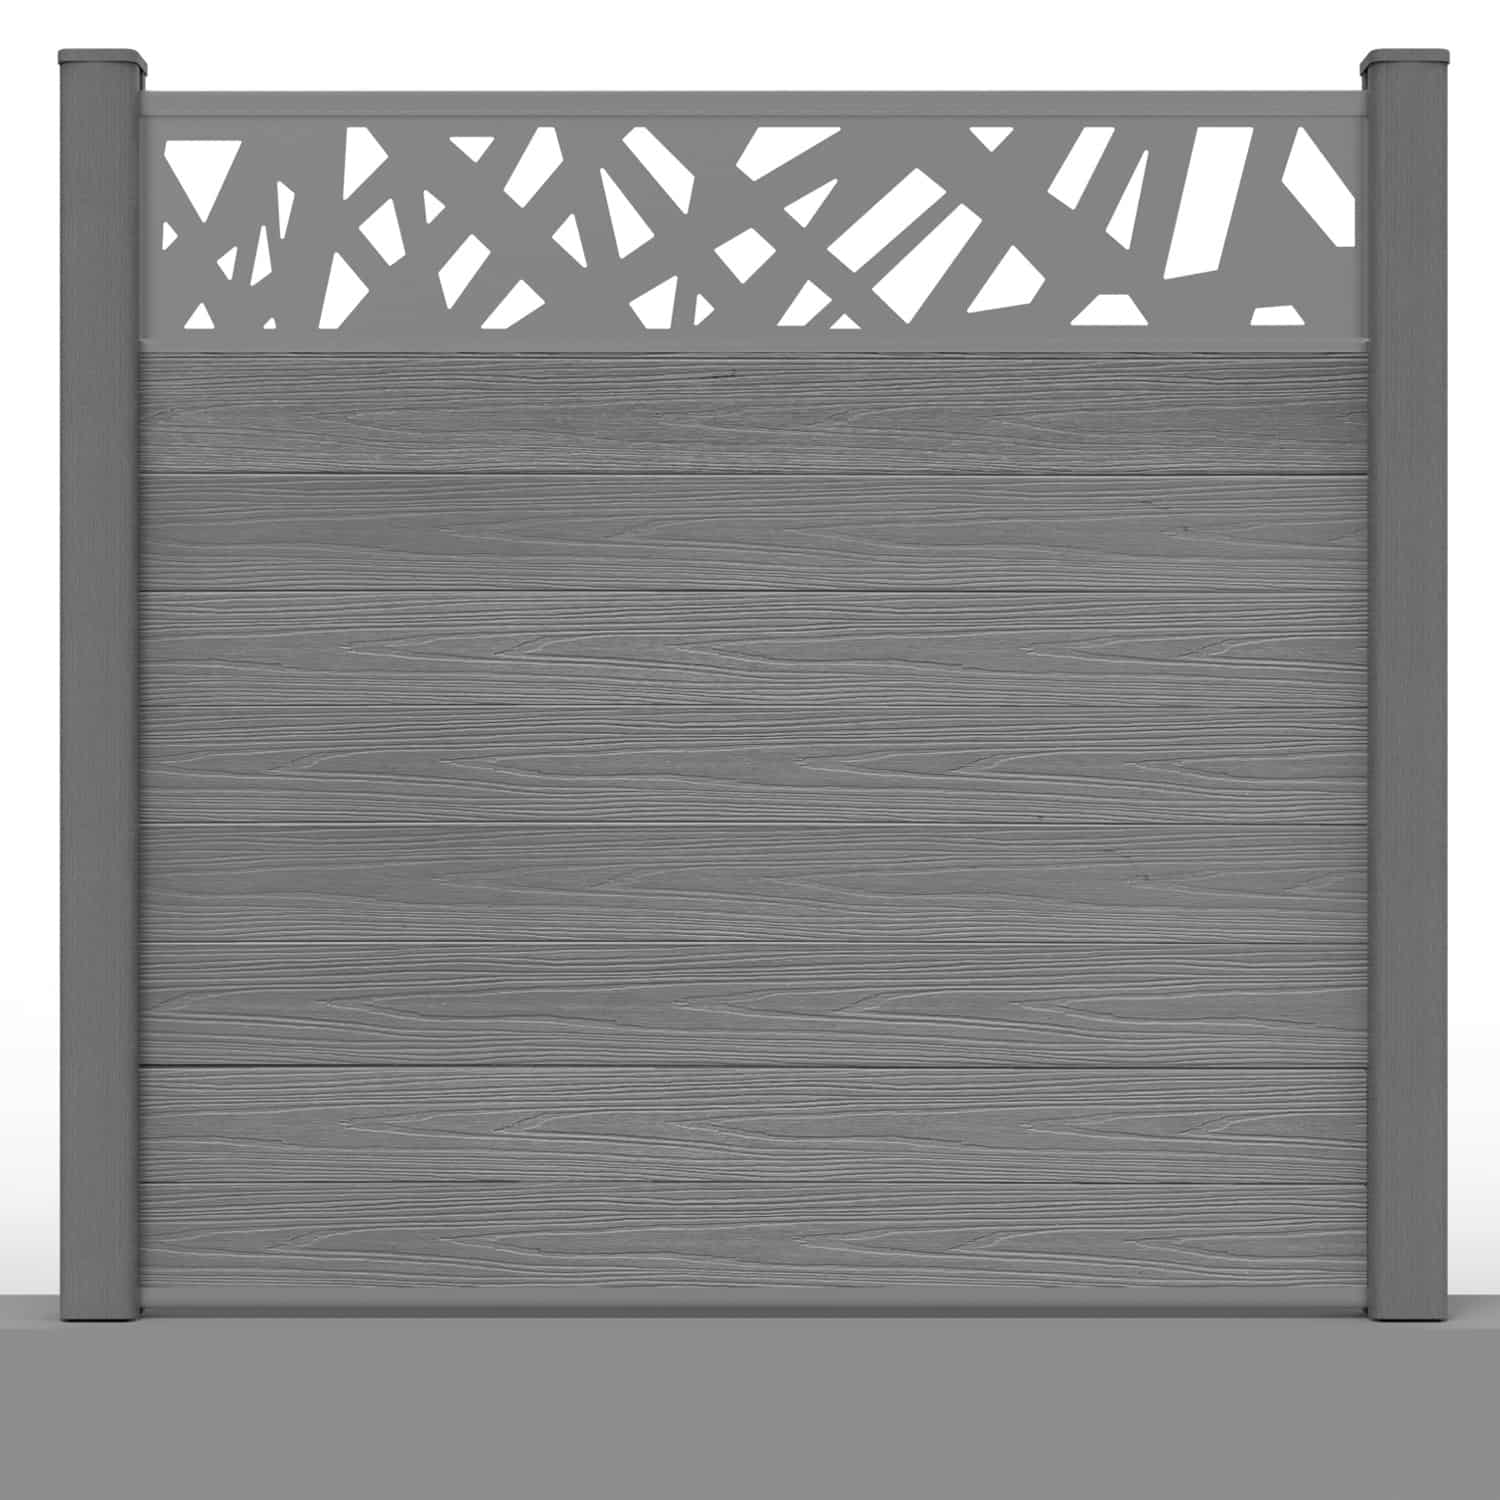
Use the standard panel assembly guide for the detailed board sequence. If decorative screens are included, follow the separate instructions for their compatible retaining components.
Can the Boards and Rails Be Cut?
Shorter bays may require approved cutting of the boards and aluminium rails. These materials need appropriate tools and techniques; do not assume one blade or method is suitable for every component.
Check the fence cutting guidance before trimming. Measure the actual bay, account for engagement and movement allowances, and confirm any warranty implications before modifying components.
What Can Retrofitting Save?
Keeping suitable posts can avoid some excavation, removal and replacement work. It may also reduce the quantity of new post materials and the amount of old material requiring disposal.
Those benefits depend on the site. Assessment, preparation, inserts, additional fixings and custom cutting still contribute to the project cost. Compare a complete retrofit quotation with a new-post installation rather than assuming one is always cheaper.
Reuse is a practical way to retain sound materials, but it does not establish that the whole project has a lower environmental impact in every case. Avoid keeping deteriorating supports simply to minimise the initial work.
Choose the New Finish and Plan Its Care
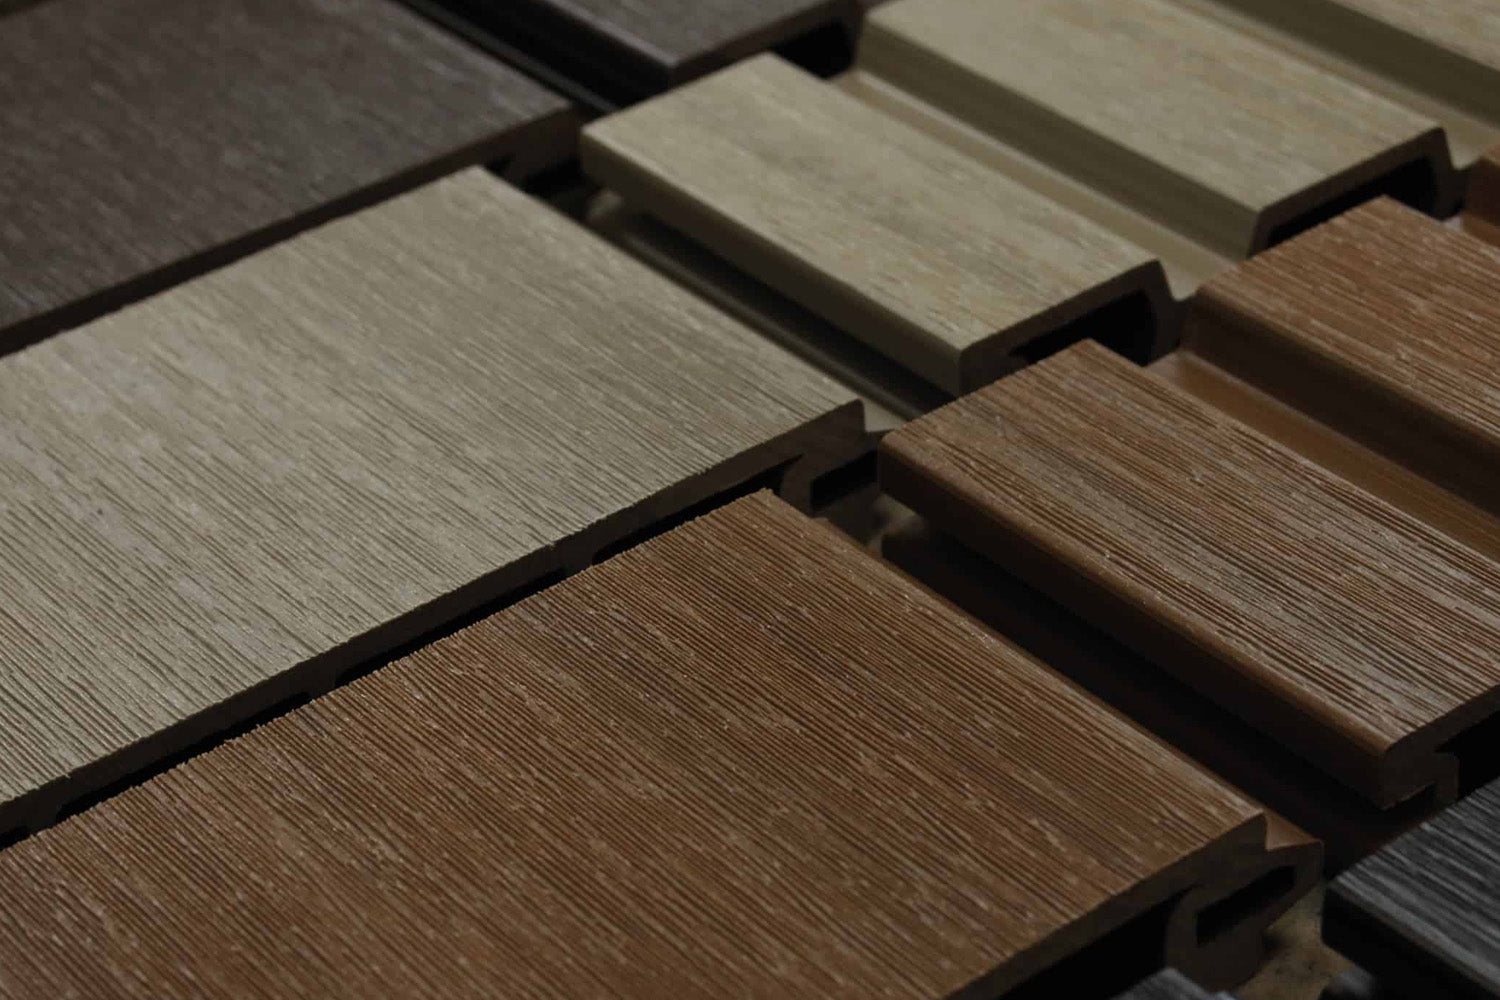
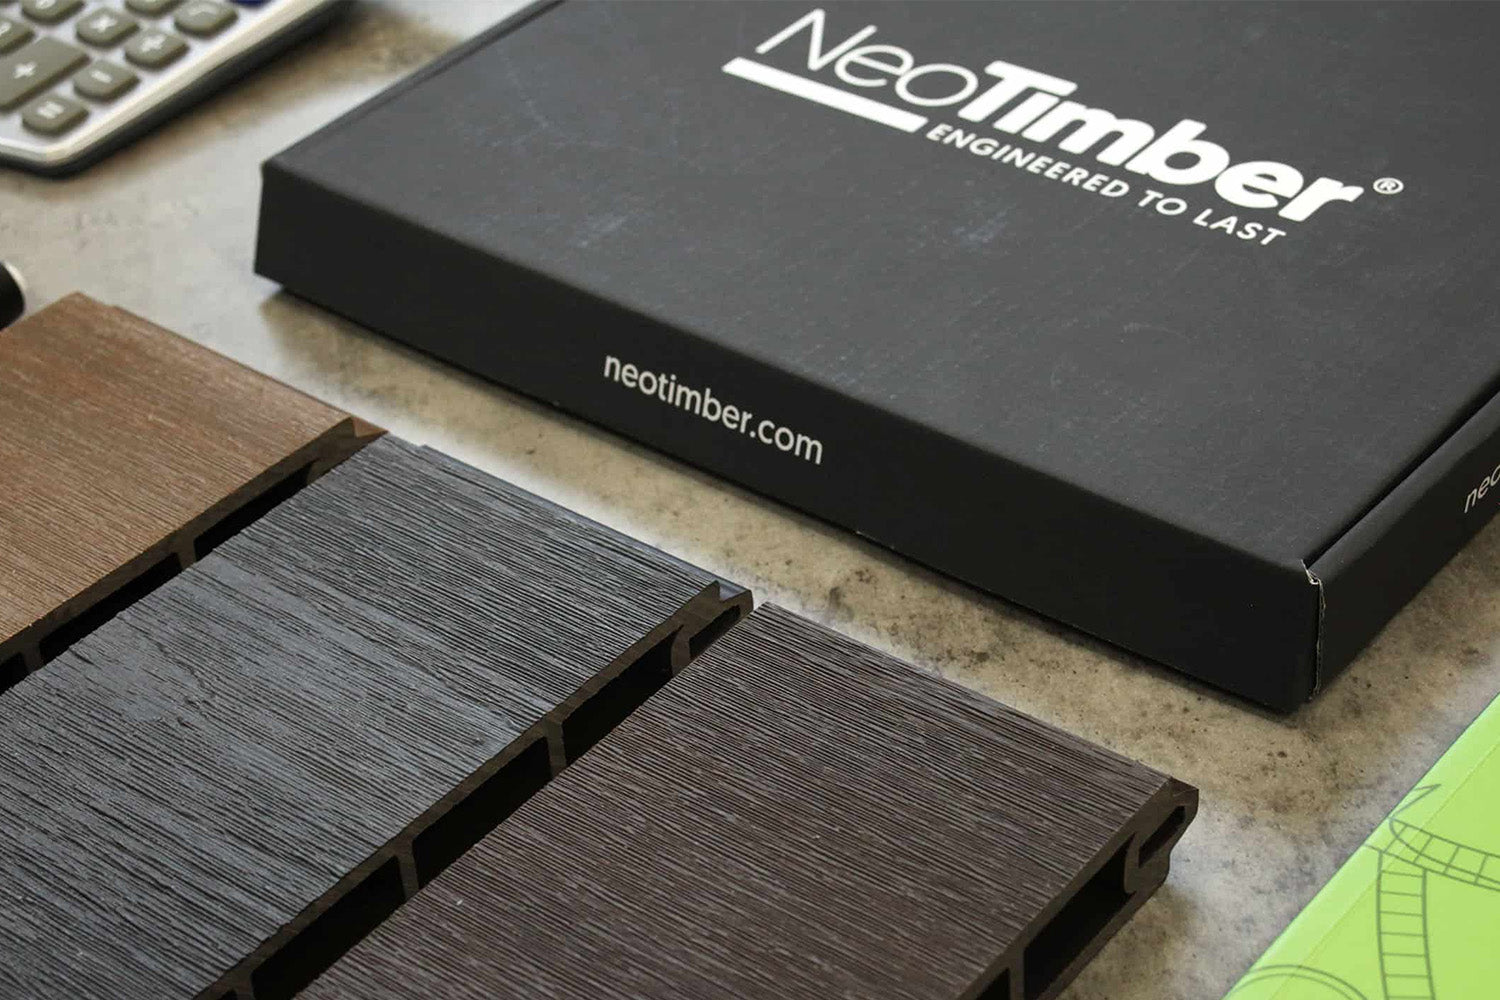
Compare colours and physical samples beside the posts you intend to keep. The contrast between existing posts and new infill forms part of the finished appearance.
Capped composite boards reduce routine painting and staining, but cleaning and inspections remain necessary. Retained timber posts may still have their own treatment needs. Follow the composite care guidance and review the fencing warranty terms for the selected components and use.
Frequently Asked Questions
Can I retrofit composite fencing between any existing posts?
No. Post condition, foundations, dimensions, spacing and compatibility must all suit the new system. Have uncertain supports assessed before buying.
Can I keep concrete posts and replace only the infill?
Potentially, where the posts, foundations and channels are suitable for the compatible insert arrangement. Check the relevant installation details first.
Do timber post inserts strengthen rotten posts?
No. They provide a connection for the new components and must be fixed to suitable sound timber.
What if the distance between posts is too wide?
Do not exceed approved spans or create unsupported joins. Ask about a suitable revised layout or support arrangement.
Does cutting the boards automatically void the warranty?
Check the current instructions and terms for the proposed modification. Do not assume either that all cutting is prohibited or that every alteration is covered.
Is retrofitting always cheaper than replacing the posts?
No. Savings depend on the condition of the existing structure and the work needed to adapt it. Compare complete project costs for both approaches.
Check the Structure Before You Refresh the Boundary
A successful retrofit starts with suitable existing posts and a compatible infill system. Explore the NeoTimber® composite fencing range and contact the team with your measurements and proposed layout before finalising your order.