Home / Advice / Installation Resources / Pre-Installation Information

Everything that you need to know prior to installing composite cladding.

NeoTimber® composite cladding is covered by an industry-beating warranty to cover any faults or defects of the product. However, you will not be covered if you have not followed the manufacturer’s instructions for installation.

Please read and familiarise yourself with this guide to ensure you have everything that you need before you begin installing. This guide will enable you to be better prepared by ensuring you have a thorough grasp of things first. You’ll have a better understanding of how to layout your cladding, and how to deal with any characteristics and tonal variations within the boards themselves. You’ll also understand the appropriate gaps to leave above and below your cladding and between joins.

Pre-Planning

The size, shape and orientation (horizontal or vertical) of your cladding area should be considered at the planning phase of your project. You will need to establish your chosen laying pattern as this will dictate the placement of your battens and the placement of joins (and additional joists) if necessary. Also, do factor in any fixed elements such as window cills, door openings and guttering.

fixing composite cladding

Product Handling

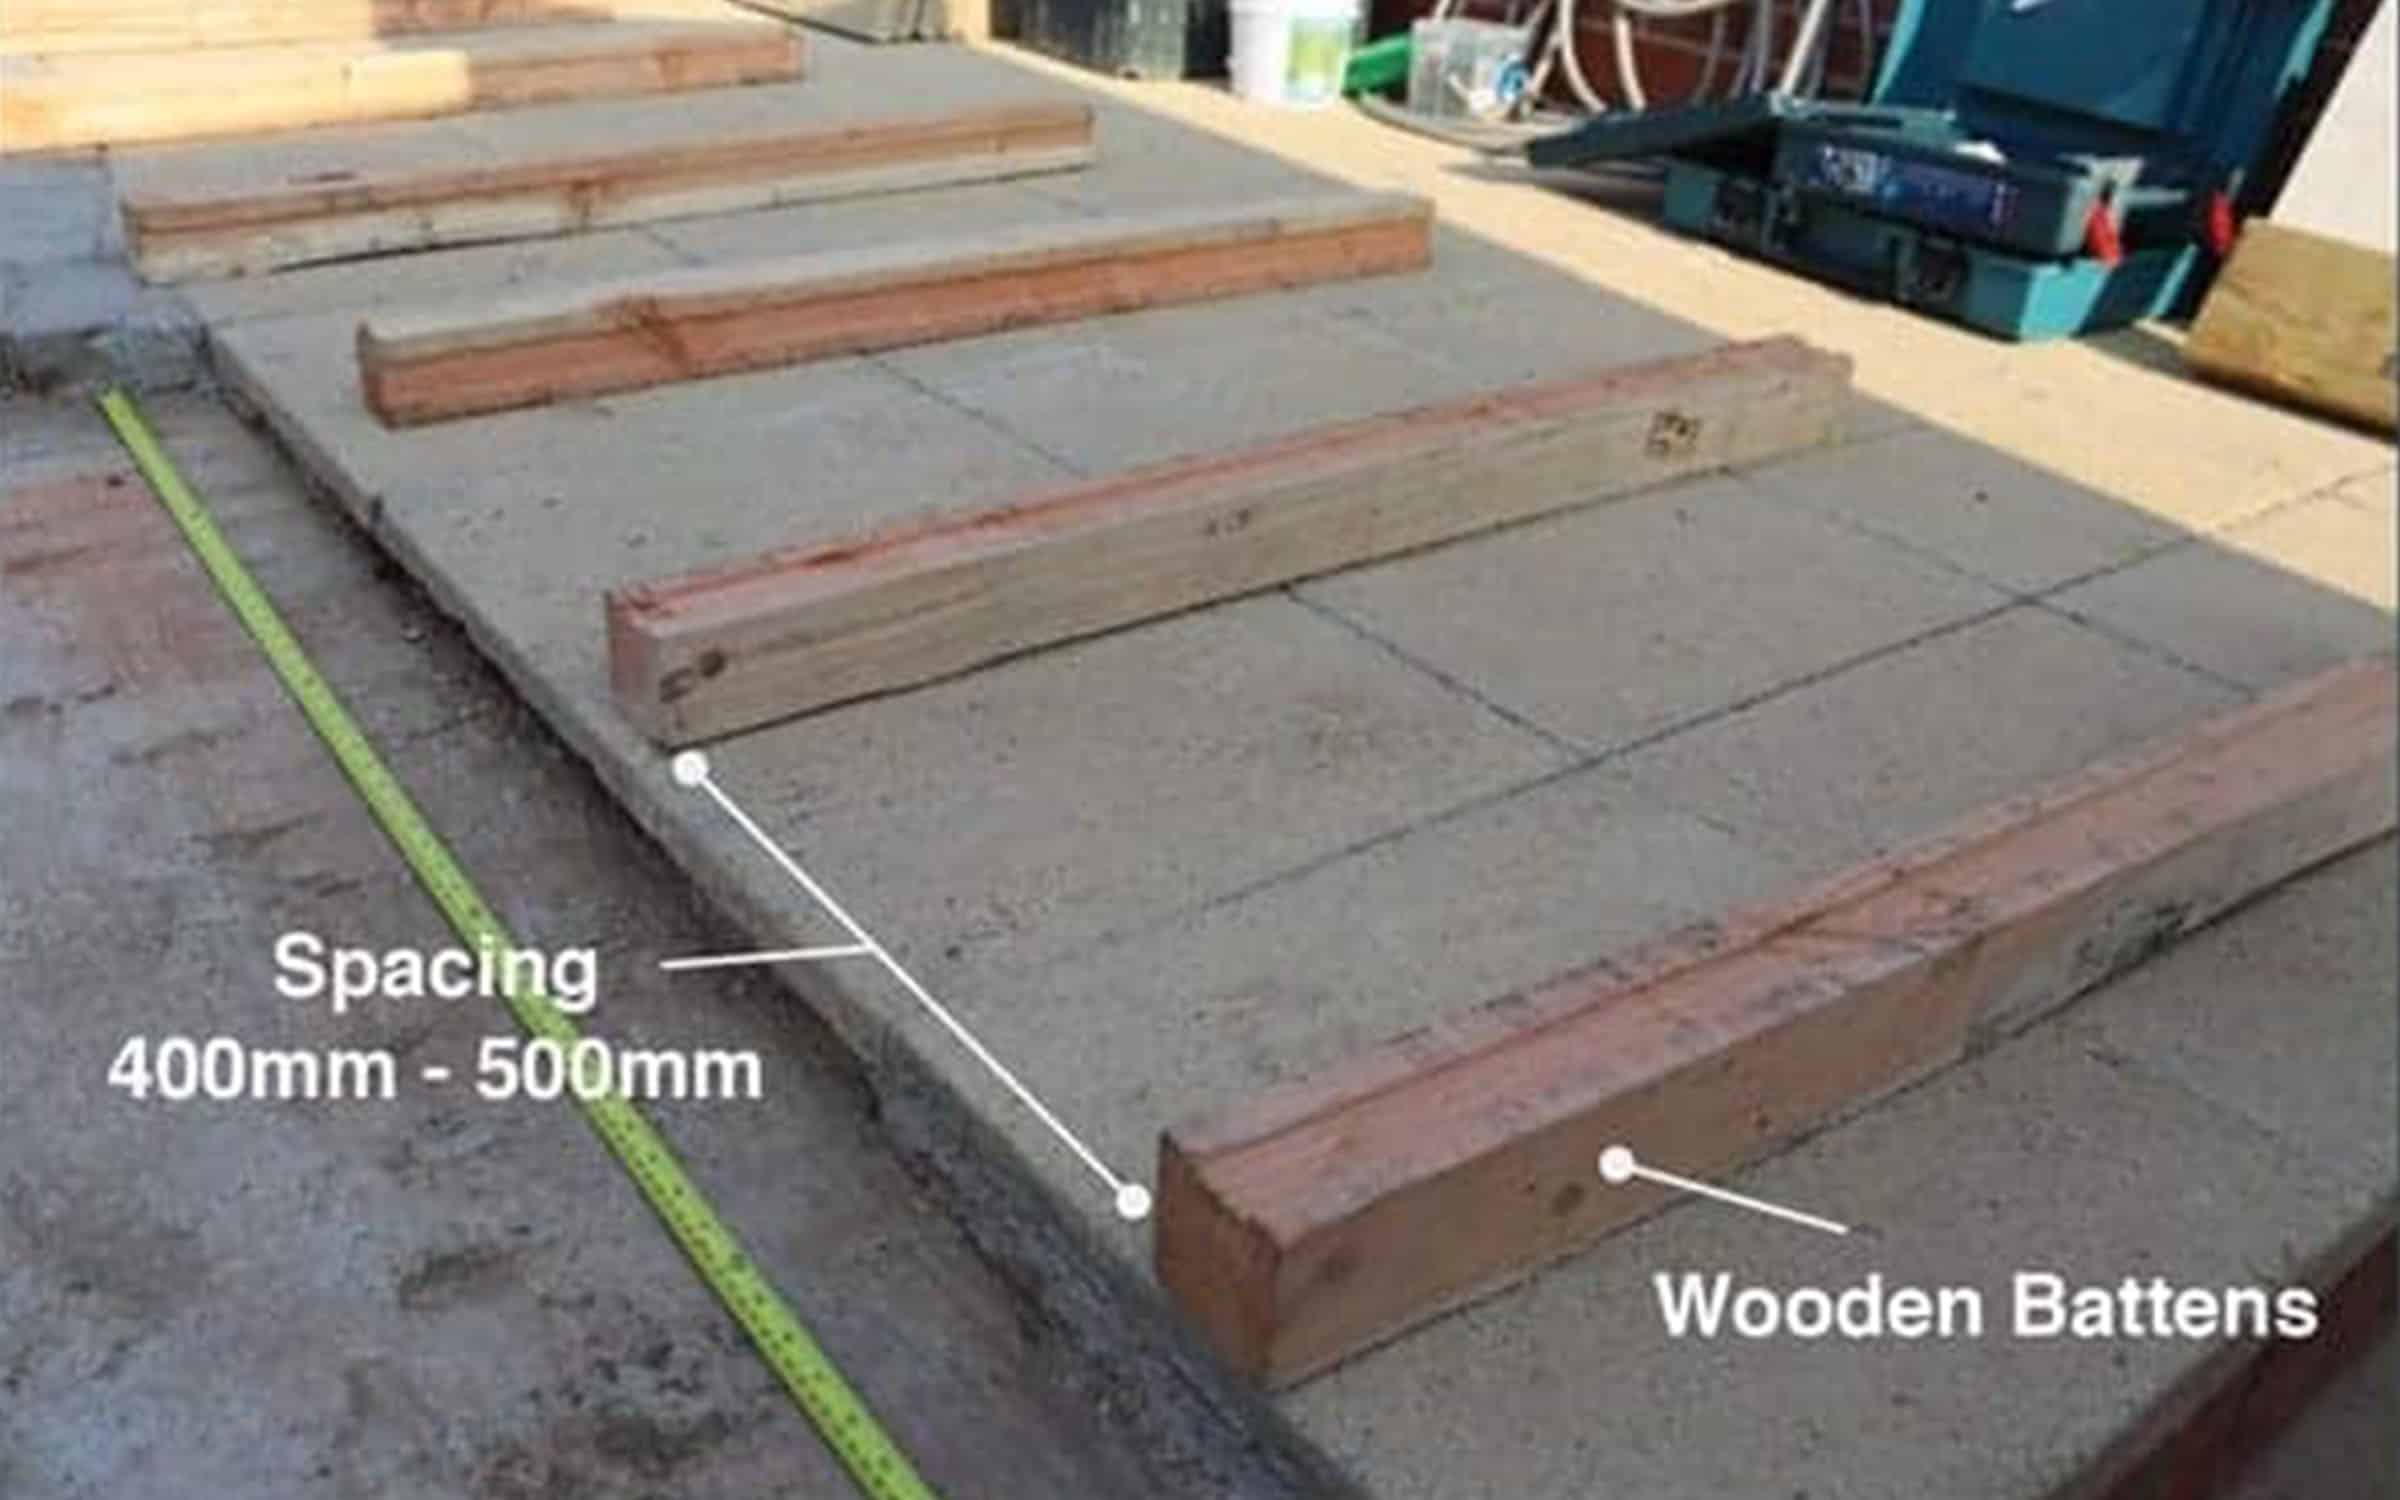
Prior to installation, clear a flat area to store your NeoTimber® composite cladding. Lay your cladding boards and all cladding accessories on wooden battens at 400-500mm spacings. This will ensure that the boards are lifted above standing water and are out of the way of dirt or grit that may scratch the cladding while waiting for installation.

If storing your boards outside for any period, cover them with a layer of sheeting. Doing this will prevent any uneven weathering of exposed cladding boards.

Boards can vary in weight. Take care when fitting cladding boards and when moving to avoid accidental scratching. Under no circumstances should you slide, drag or drop boards when laying on top of each other.

Keeping your work area clean and tidy to keep the surface of the boards free of any dirt or debris.

composite cladding installation preparation
neotimber tips and advice

How Temperature Can Affect Your Composite Cladding
Composite materials respond to variations in temperature expanding and contracting accordingly. Allow at least 24 hours prior to installation for your cladding boards to acclimatise to the outside environment.

Tools For The Job

Although standard woodworking tools can be used with NeoTimber® composite cladding, the plastic element within their composition may mean power tools are preferred to hand tools.

Hammer Drill

Ideal for attaching a subframe to a hard surface, like brick or concrete.

Hand Drill

Use a 3mm Tungsten Carbide Tip (TCT) drill bit for pilot holes and countersinking.

Jig Saw

We recommend carbide-tipped blades for the cleanest saw cuts.

Circular Saw

When using circular saws we recommend a 40-50 teeth carbide-tipped blade.

Pencil Or Chalk

Useful for marking boards to guide cutting.

Spirit Level

Assists you with ensuring your base, subframe and boards are level.

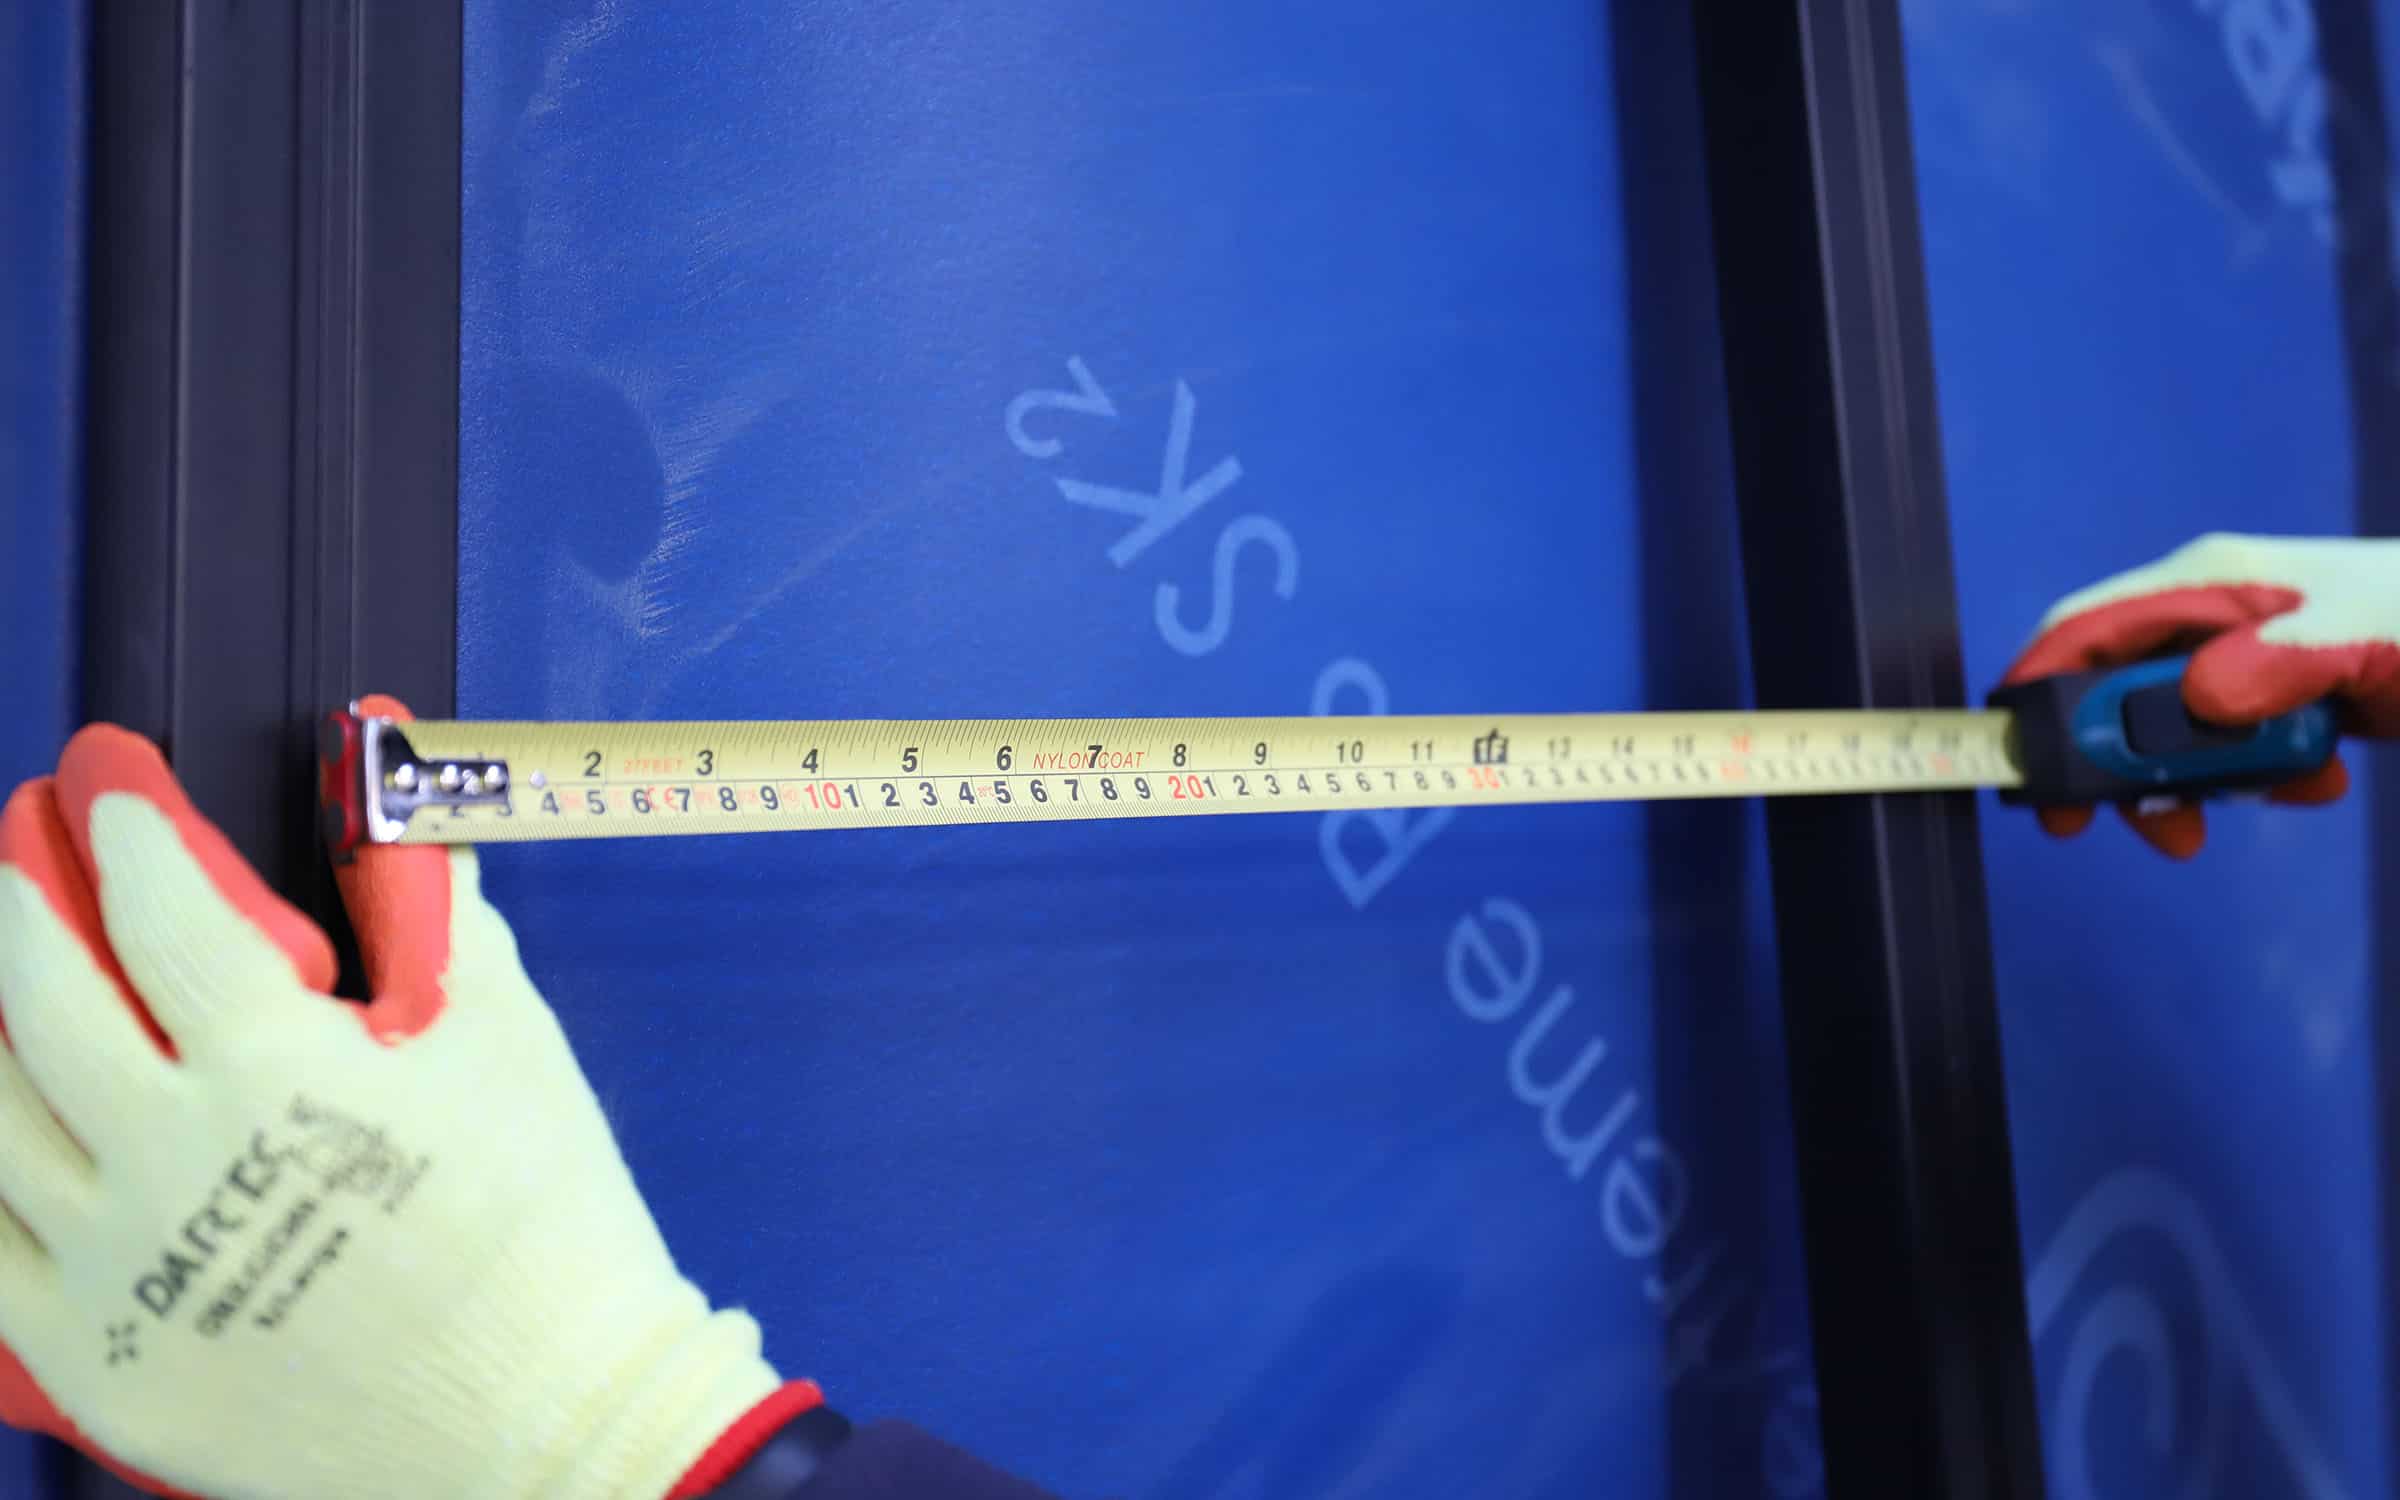
Tape Measure

Take care with measuring your project and materials.

Carpentry Square

Ensures straight markings where required.

neotimber tips and advice

Safety & Personal Protective Equipment (PPE)
Where possible, we recommend the use of safety glasses and relevant PPE when installing NeoTimber® composite cladding products.

Elements To Consider Before Installing Composite Cladding

Subframe Options:

how to fit composite cladding

Our composite cladding system should not be installed without a framework in place. All cladding boards must be installed directly onto a cladding subframe of composite, plastic, timber or metal joists. We urge users to check the fire rating of all building materials used to ensure that they are in accordance with the most up-to-date building regulations.

Temperature Considerations:

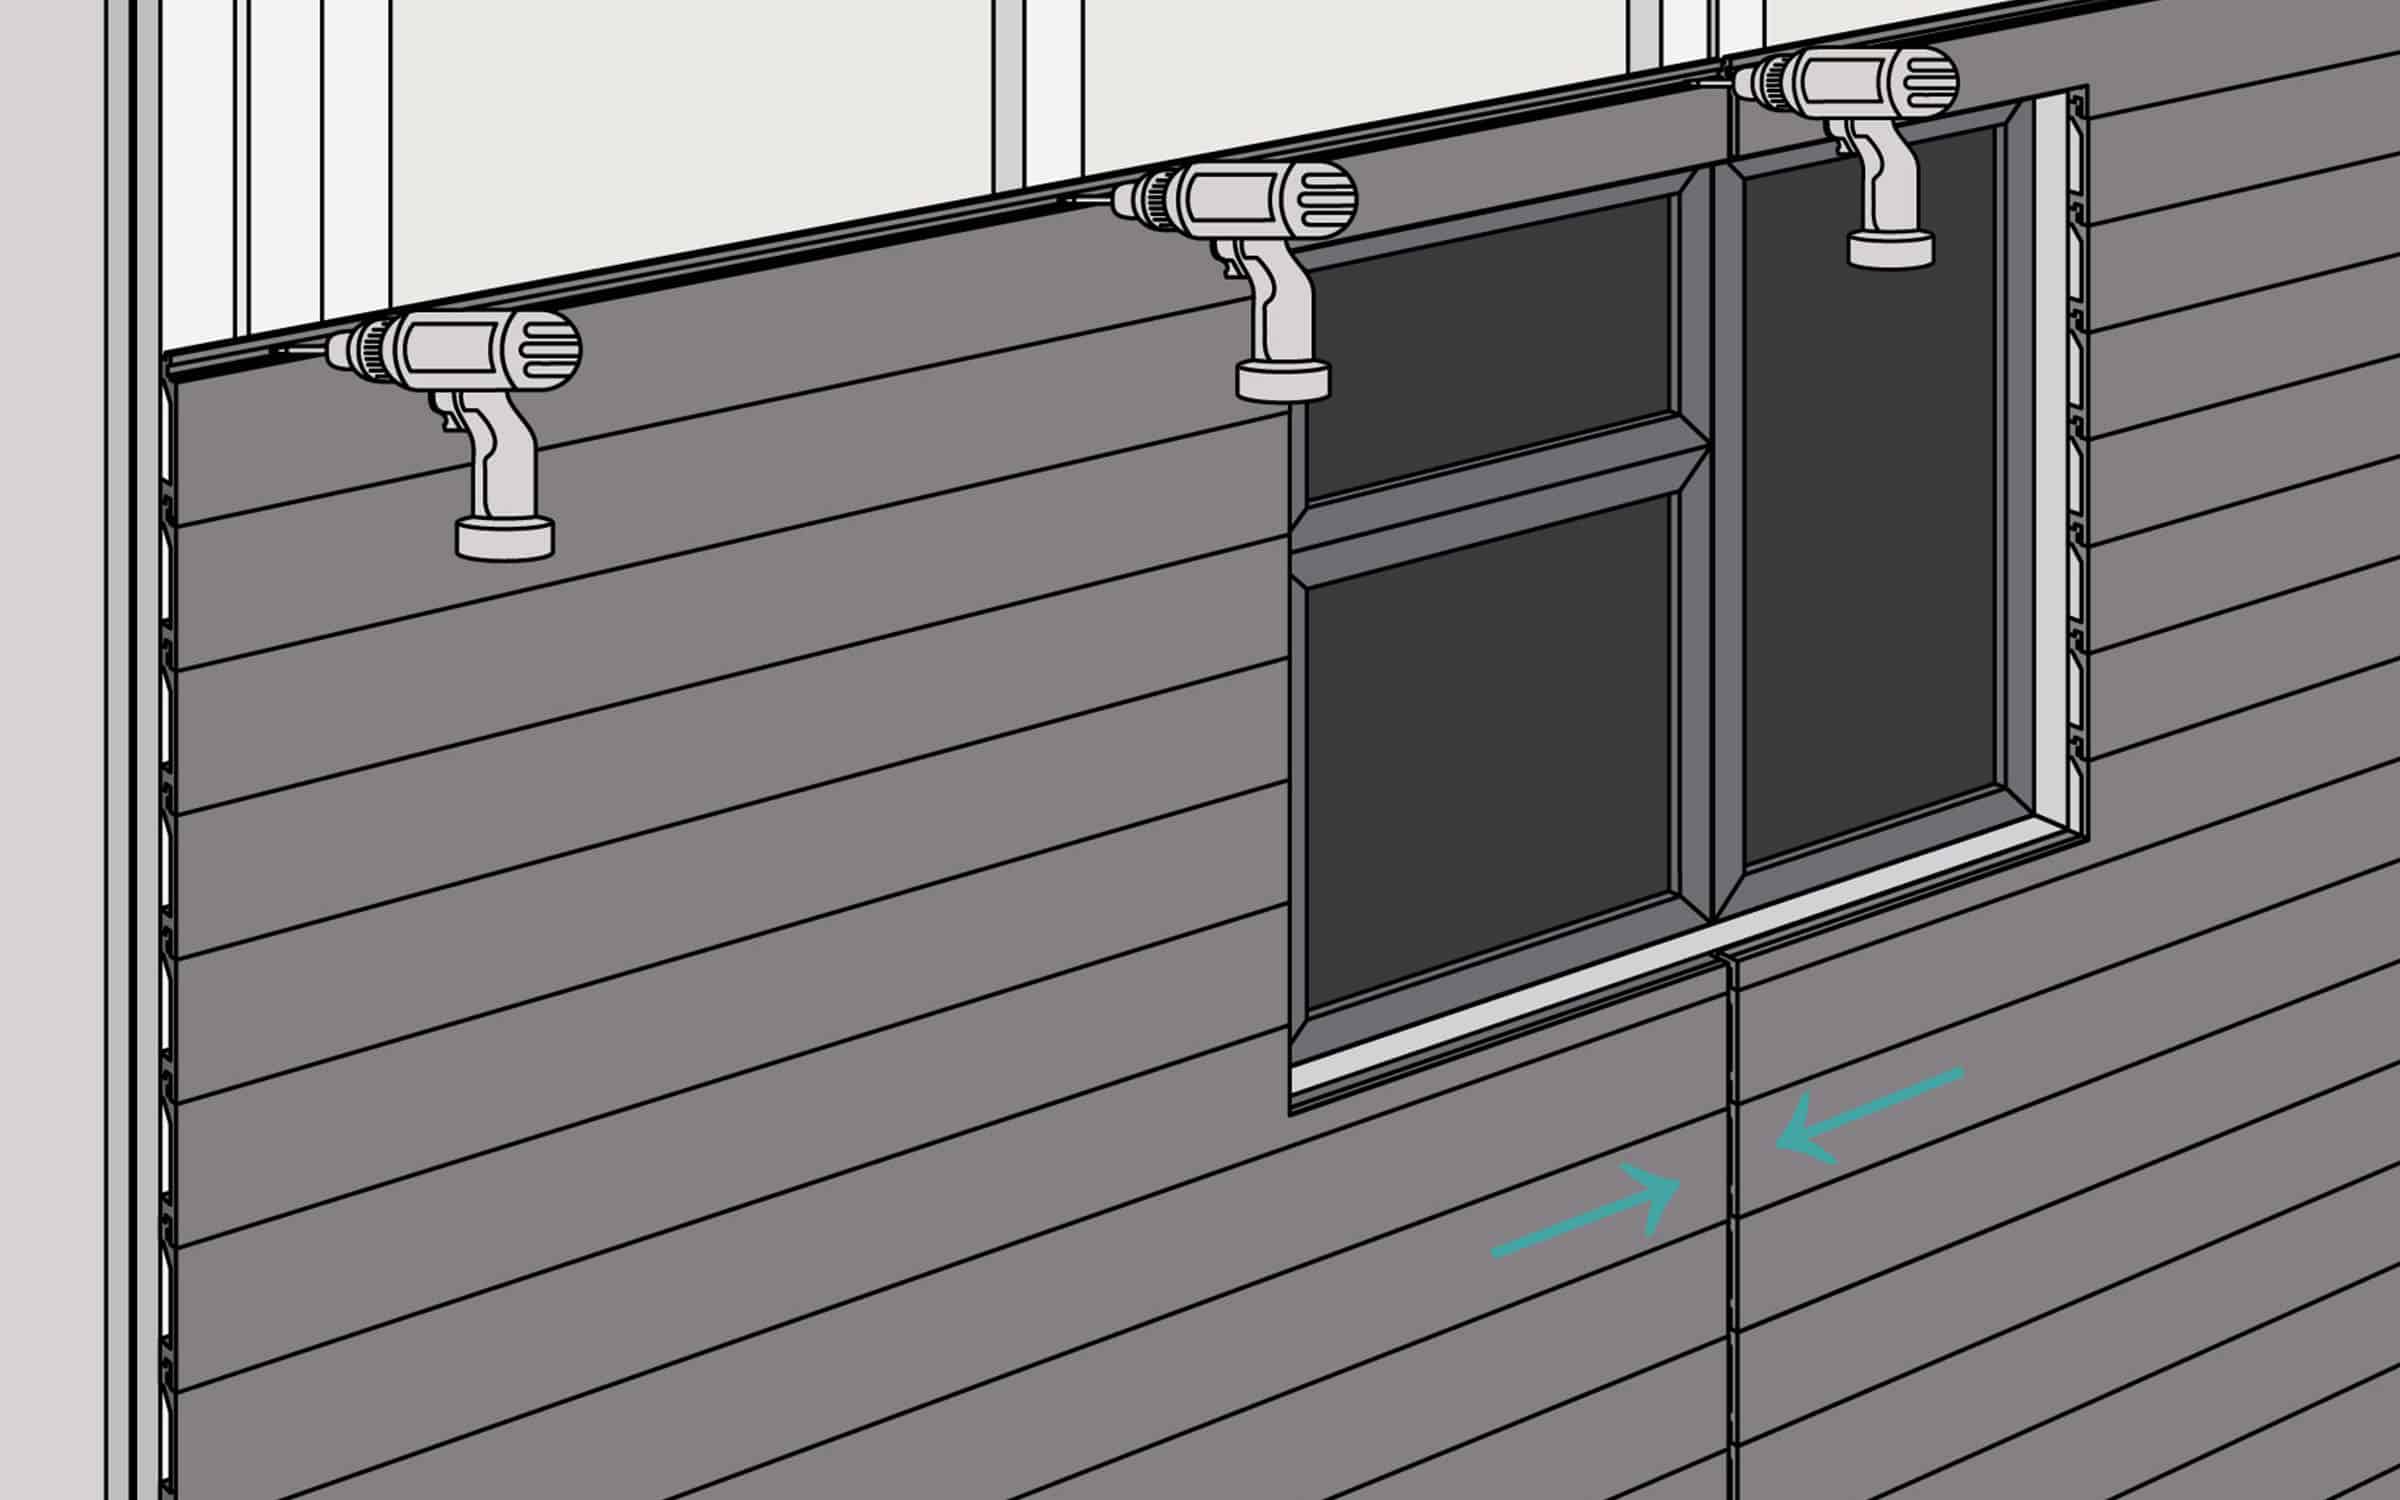
Composite cladding naturally contracts and expands in varying temperatures due to the plastic element in its composition. It is advised that suitable gaps should be maintained at end-to-end joins to allow for this, as outlined in the adjacent illustration and table. Failure to do this can result in bowing and cracking of the boards.

TEMPERATURE GUIDANCE TABLE
Outside Temperature End-To-End Gap
Below 4°C 6 mm
Between 4°C – 25°C 3 mm
26°C or over 1 mm
installing composite cladding

Colour Characteristics:

Traditional Composite Cladding

Our traditional composite cladding boards (the NeoTimber® Classic range) will undergo a level of weathering (lightening-up) within the opening phases of installation (usually 3-6 months). This process is a result of the oils within the material of the product lightening up as they react to UV exposure. Once this process has taken place, the rate of change will plateau and be minimal from there on in.

A colour contrast between the skirting/corner edging trims and your cladding boards may also be observed initially. This variation will be more subtle once the boards have assimilated to their weathered colour tone.


wood plastic composite claddingwood look cladding
install composite cladding

Capped Composite Cladding

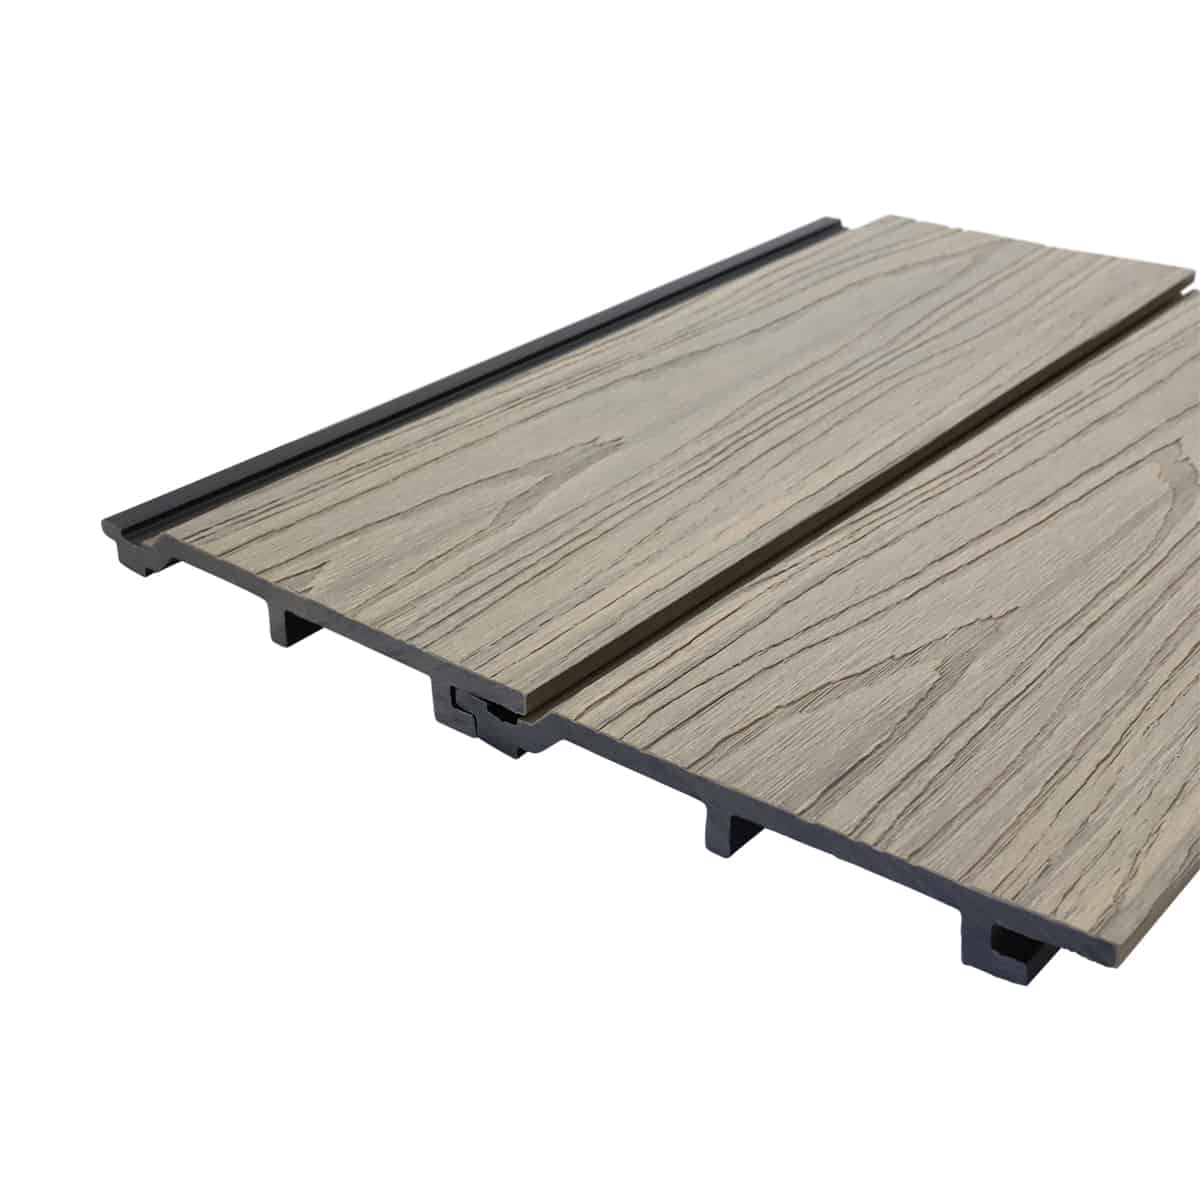
Our capped composite cladding boards (the NeoTimber® Deluxe and Slatted ranges) are armed with a plastic sleeve, or capping, ensuring high UV and fade resistance. They have been designed to have a dual-tone appearance. The colour tone of these composite cladding boards will slightly vary from board to board to convey an authentic, real wood finish. Consideration of this should be taken upon installation. Laying out your boards beforehand may enable you to find the best blend of tones.

neotimber tips and advice

Account For Wastage
Allow for a 5-10% wastage allowance. Whist our composite cladding calculator should provide you with a good indication on requirements, we recommend that you allow for corners, edges and human error as it is not always possible to order the exact same batch again.

Order Your Free Samples

Compare Our Ranges

Try Our Cladding Calculator

Find Some Inspiration

Need Further Support or Advice?

If you’ve still got questions that have not been answered here, or you would like additional advice,
support or assistance then please give one of our friendly experts a call and we’ll be happy to help.

Just give us a call on 01509 323 170.