Home / Blog - Advice / 6 Expert Tips On Installing Composite Decking On A Wooden Subframe

Here we outline 6 top tips to ensure that your timber subframe remains safe and stable for longer.

To ensure that your deck stays solid and steady, we share several tips to follow when installing composite decking onto a wooden subframe.
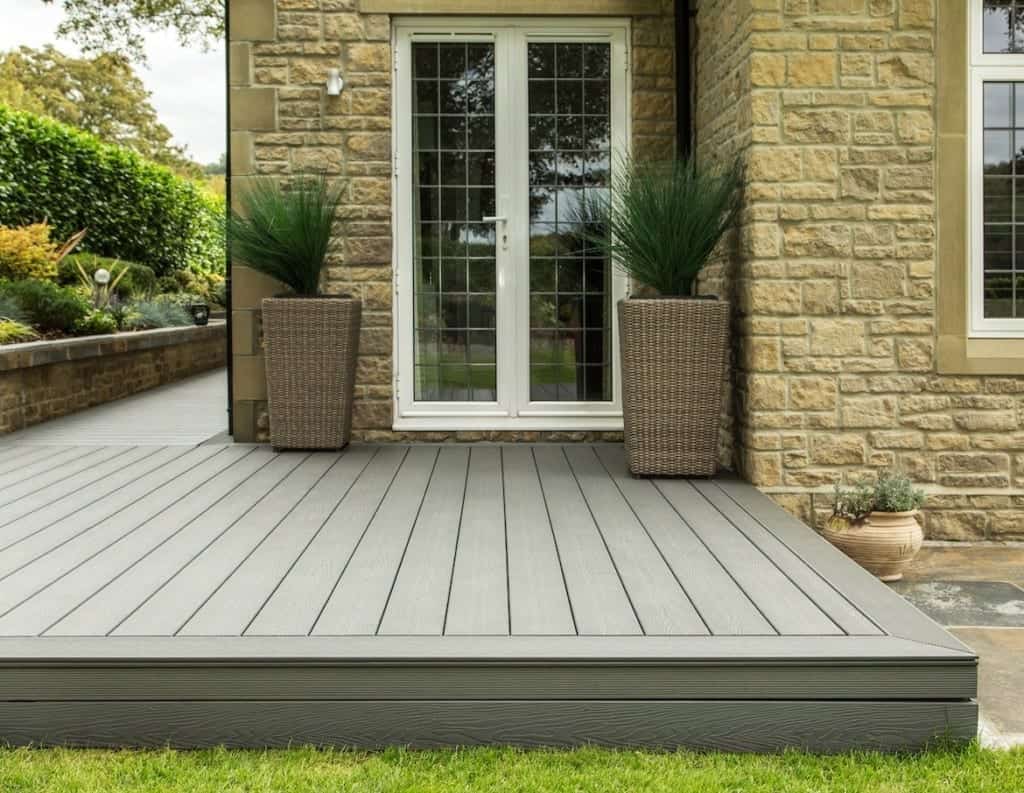
install composite decking on wooden subframe

We found that the average timber subframe lasts approximately 8-10 years. So, you can understand why we are often baffled when customers of ours opt to install our long-life composite decking (which comes with a 25-year residential warranty) onto this subframe solution. We promote the benefits of using our moisture-resistant composite and recycled plastic subframe options instead.

That being said – we do understand that this is a solution widely used by customers due to the relative cost savings that can be made in the short-term. While there is not a lot that can be done to fully prevent the inevitable damaging effects of moisture on your timber joists, we have outlined 6 top tips that you can follow to prolong these effects – meaning your timber subframe will remain safe and stable for longer.

1. Source A Tanalised/Treated Timber Joist Material

The first and most important tip on our list is that we strongly recommend using tantalised (or pressure-treated) timber joists to form your subframe. This process refers to timber that has undergone a treatment in order to preserve and protect the material from the effects of weathering. While this sounds technical – this material is incredibly common, and you will have no issues with sourcing this from your local timber merchant.

2. Treat The Cut Ends Of Your Timber Joists

We recommend that you follow best practice and ensure that when cutting, you treat the ends of your joists with a preservative. This way, the ends of your joists are protected much like the rest of the pressure treated material. While this does slightly increase the cost of using timber joists, it is worth the added time and effort in the long-run.

3. Incorporate A Slight Decline To Aid With Drainage

Sitting water is the biggest enemy of your timber joists and you should attempt to avoid this by incorporating a slight decline to your framework. This way – you can aid drainage and water run-off and reduce the chances of water pooling beneath your decking. We recommend a decline of approximately 1:100 to allow for a sufficient level of drainage.

4. Apply Joist Tape To The Top Surface Of Each Joist

Applying a waterproof membrane on the surface of your joists prevents water from penetrating through the top of the joist. This comes in the form of an adhesive tape that is applied to the top surface of your entire joist network. This joist tape product is designed to operate as a protective seal for your joists, prolonging the impacts of sitting water between the board and joist.

5. Aid Drainage Beneath The Joists Using NeoTimber Clips

NeoTimber’s hidden fixing clips allow for a gap between boards that assist with the flow of water between boards. What’s more – our Metal FastClip has 2 drainage holes that will reduce the level of water build-up between the clips and the supporting joists.

6. Clear Debris Between Your Boards And Joists

Lastly, we suggest that regular care and attention can improve your chances of maintaining your timber joists. In the winter months, we suggest taking a couple of minutes to remove excess debris that may find itself between your boards and joists.

Order Your Free Samples

Compare Our Ranges

Try Our Decking Calculator

Get In Touch

Need Further Support or Advice?

If you’ve still got questions that have not been answered here, or you would like additional advice,
support or assistance then please give one of our friendly experts a call and we’ll be happy to help.

Just give us a call on 01530 382 180.